DONATION DRIVE - SUPPORT MSW - DO YOUR PART TO KEEP THIS GREAT FORUM GOING!
×


ccoyle
-
Posts
10,520 -
Joined
-
Last visited
Content Type
Profiles
Forums
Gallery
Events
Everything posted by ccoyle
-
 Did I mention that both my parents grew up in Stockton? High school sweethearts at Franklin, class of '59. My mom lived between Cherokee Lane and Waterloo Road, and dad lived on the other side of 99 off Walker Lane. One grandpa worked at Sharpe Army Depot, the other was a night watchman at Rough and Ready Island. Still have family in the area.
 -
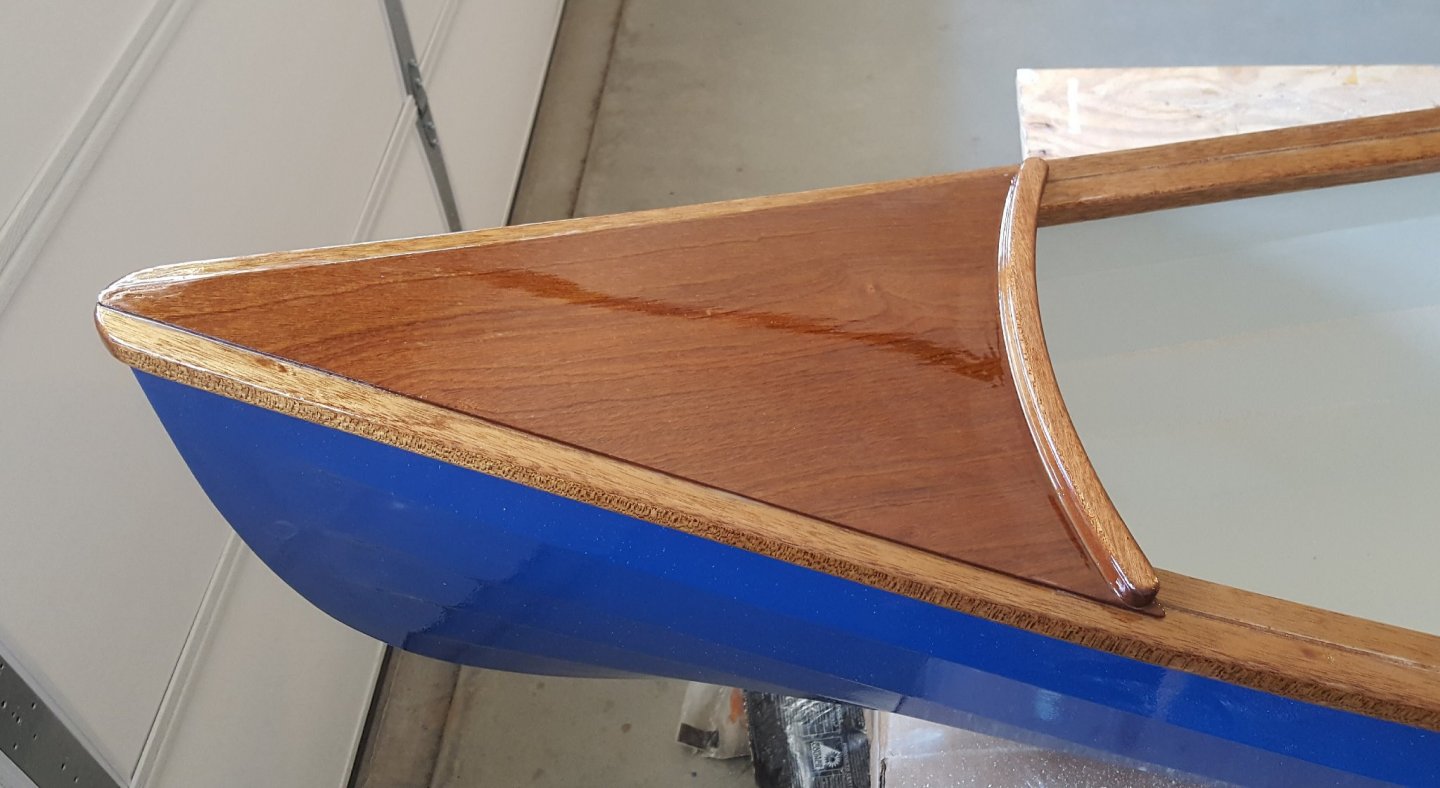
The great thing about wood is that you can nearly always fix boo-boos like that one.
-
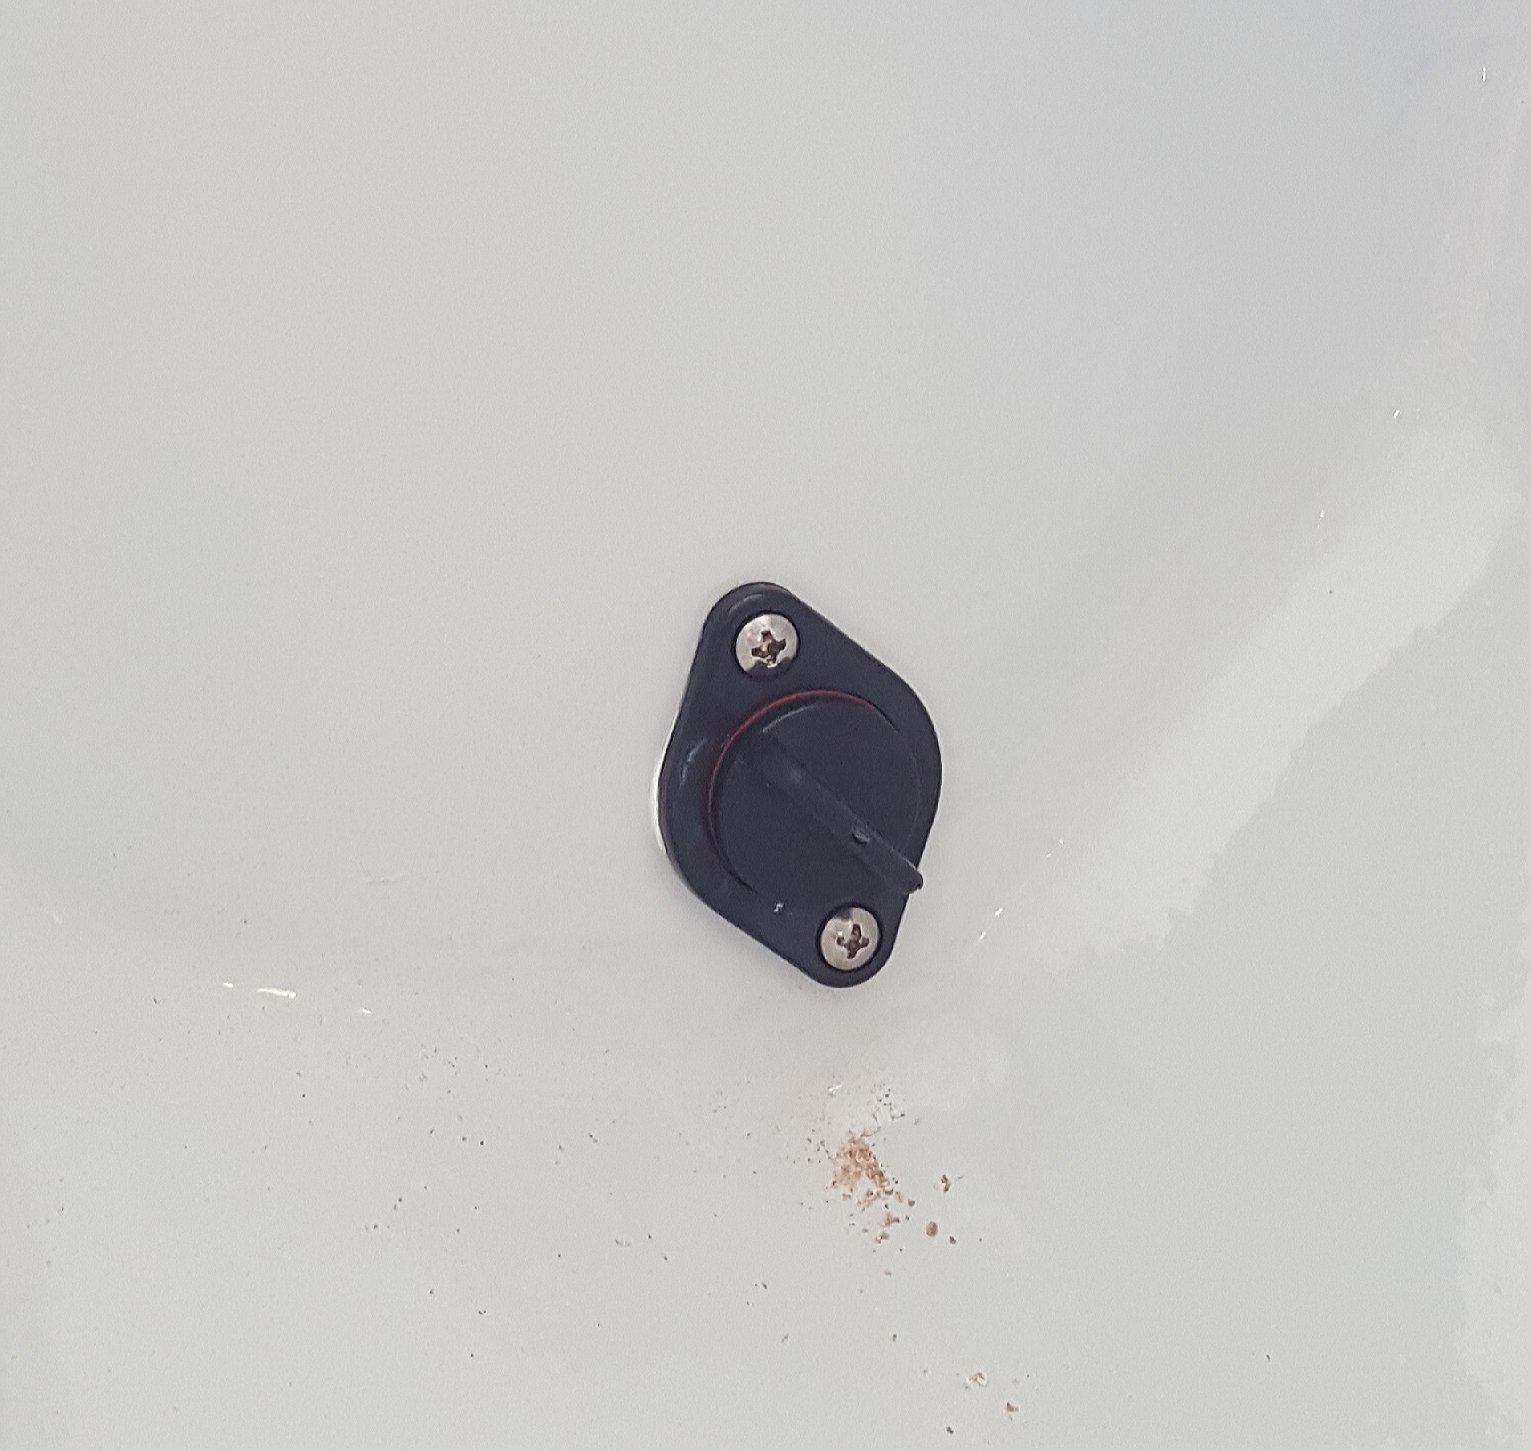
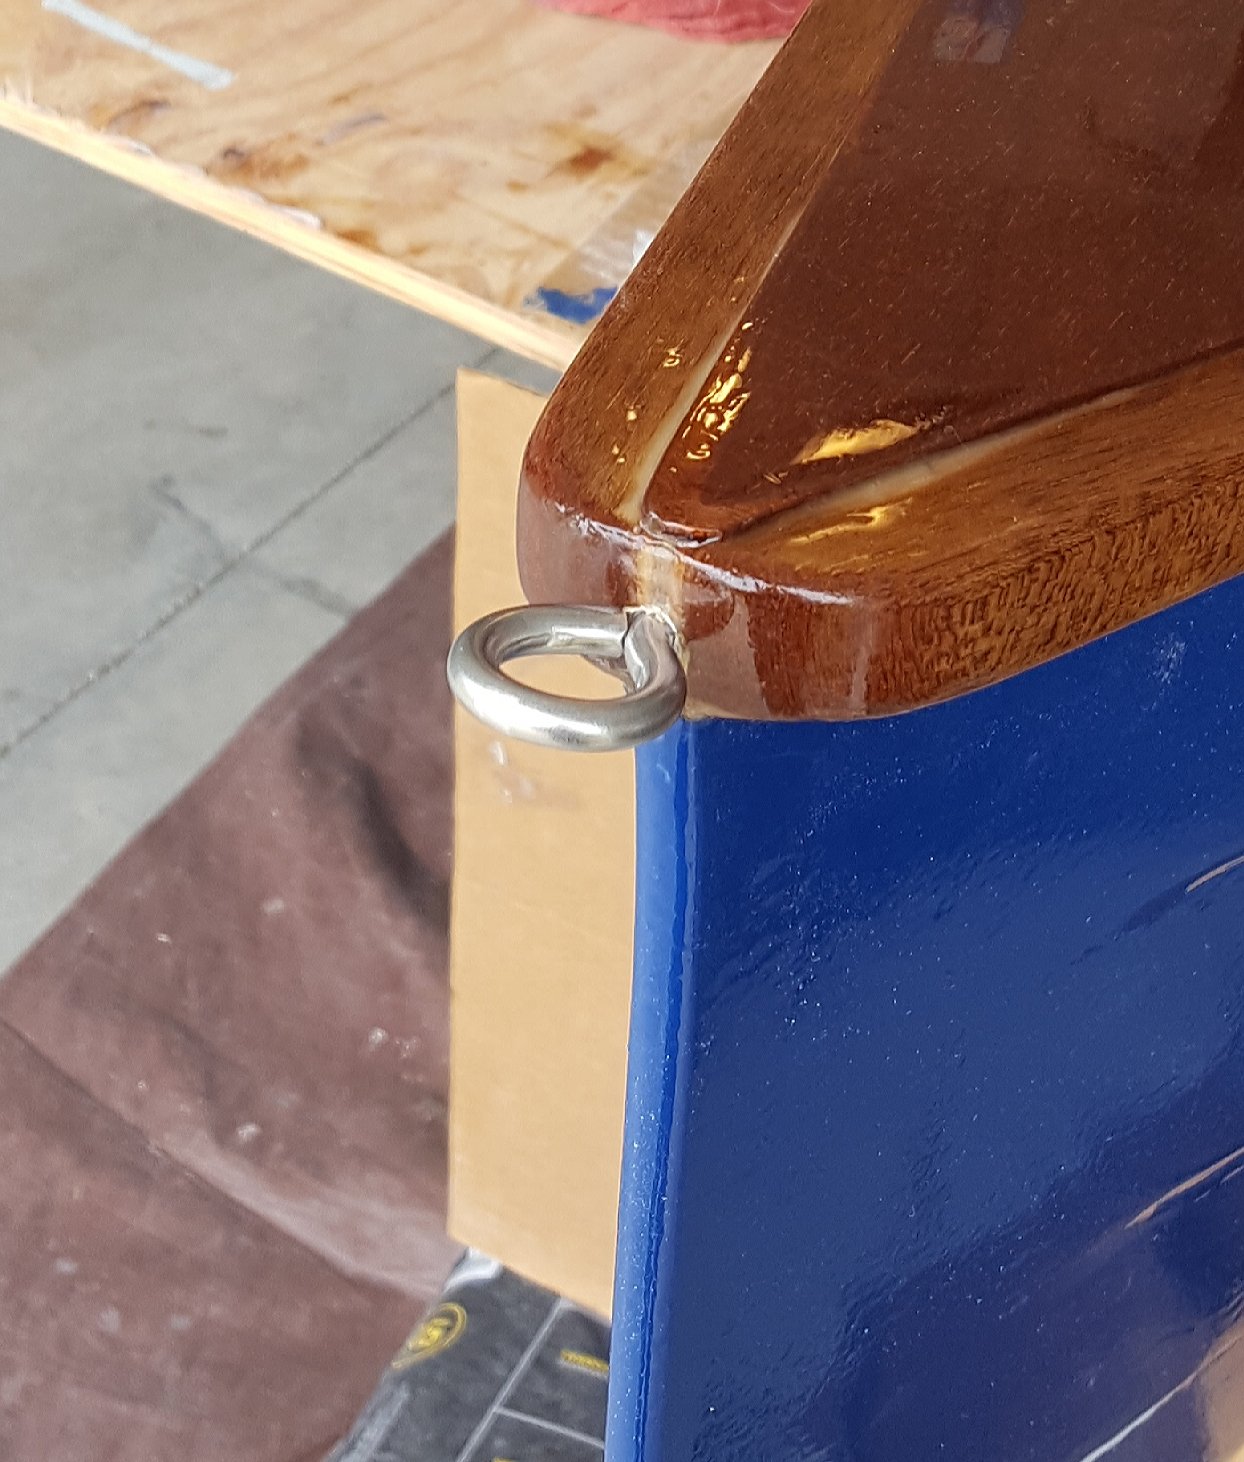
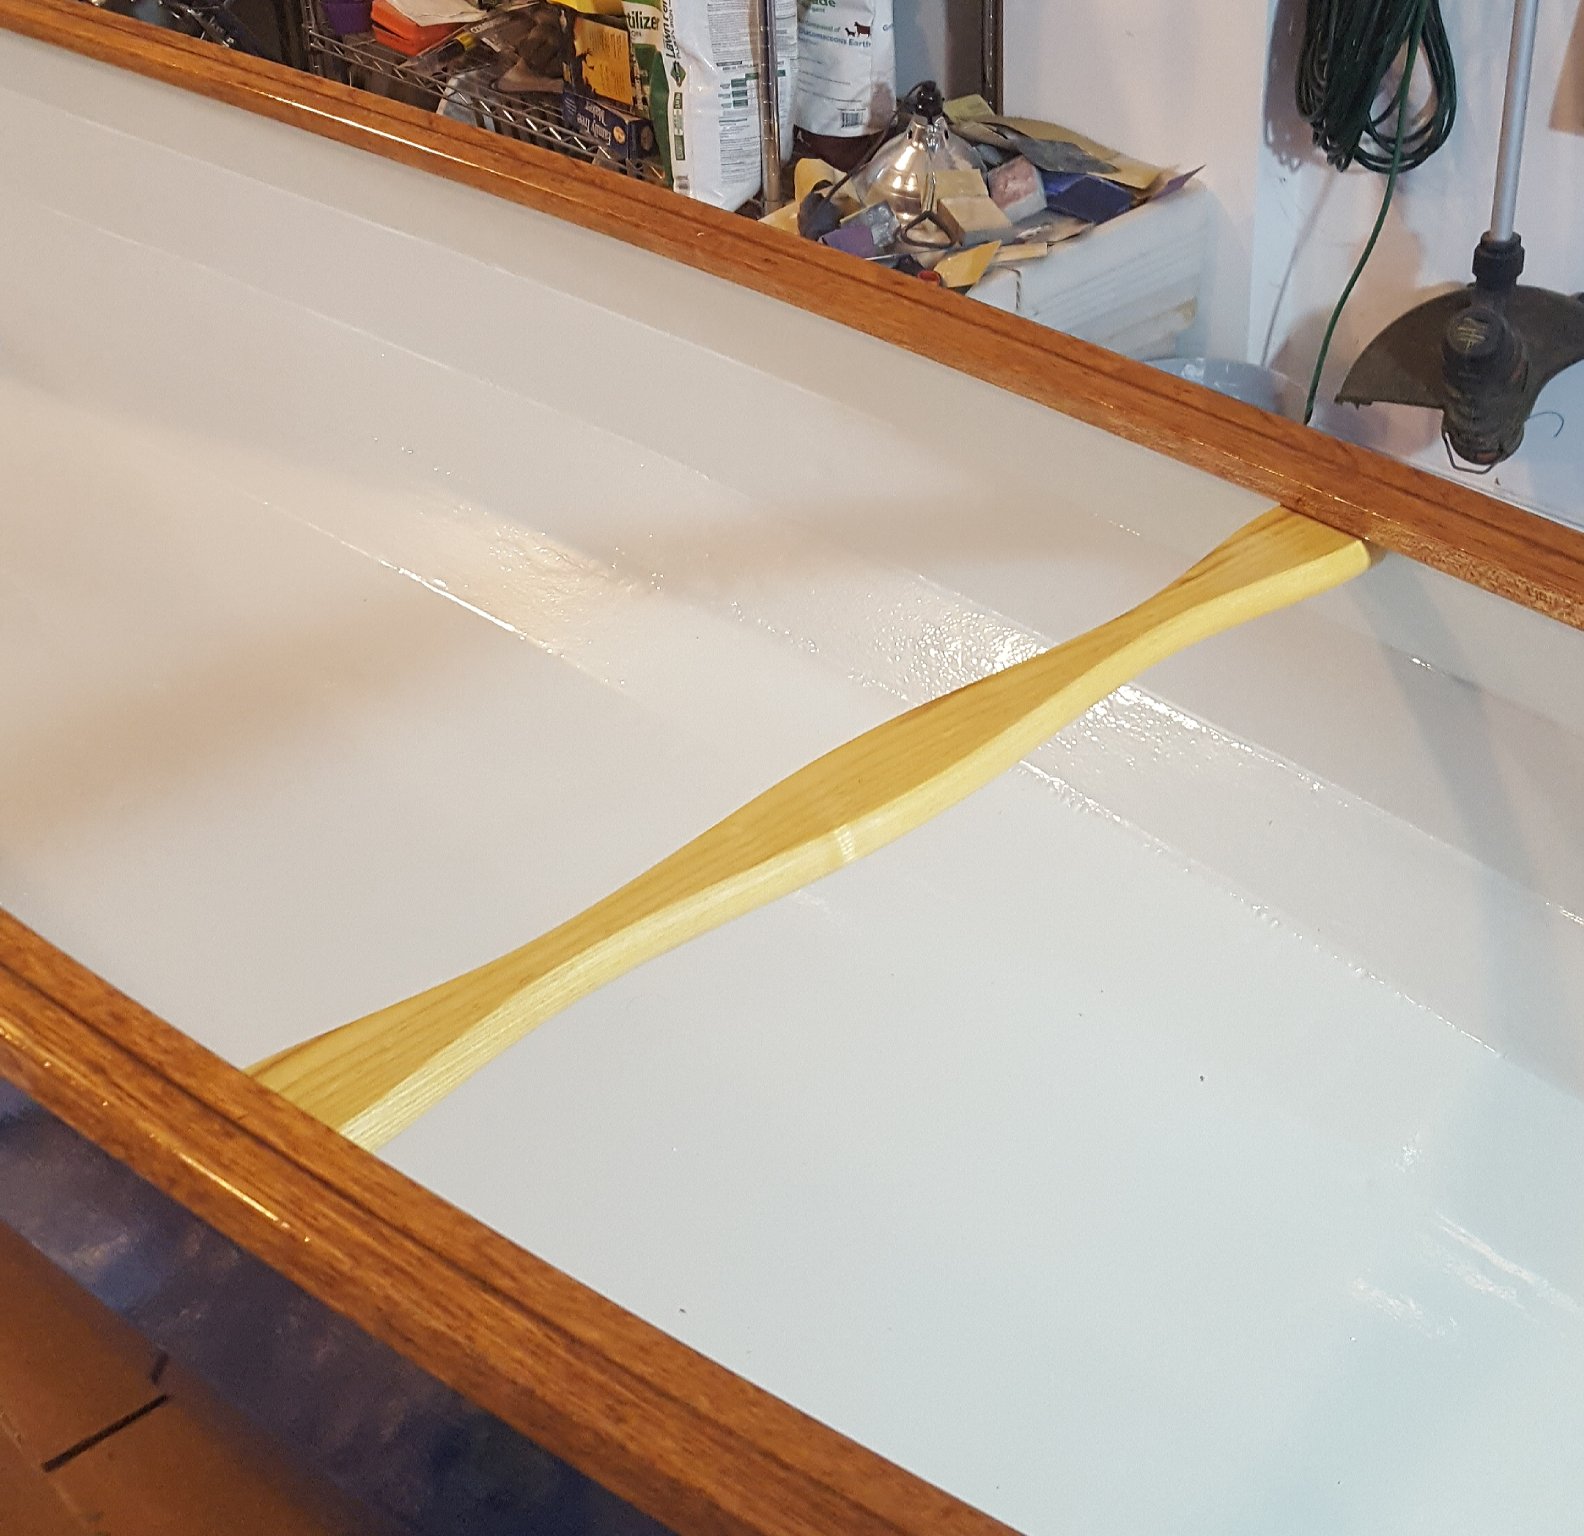
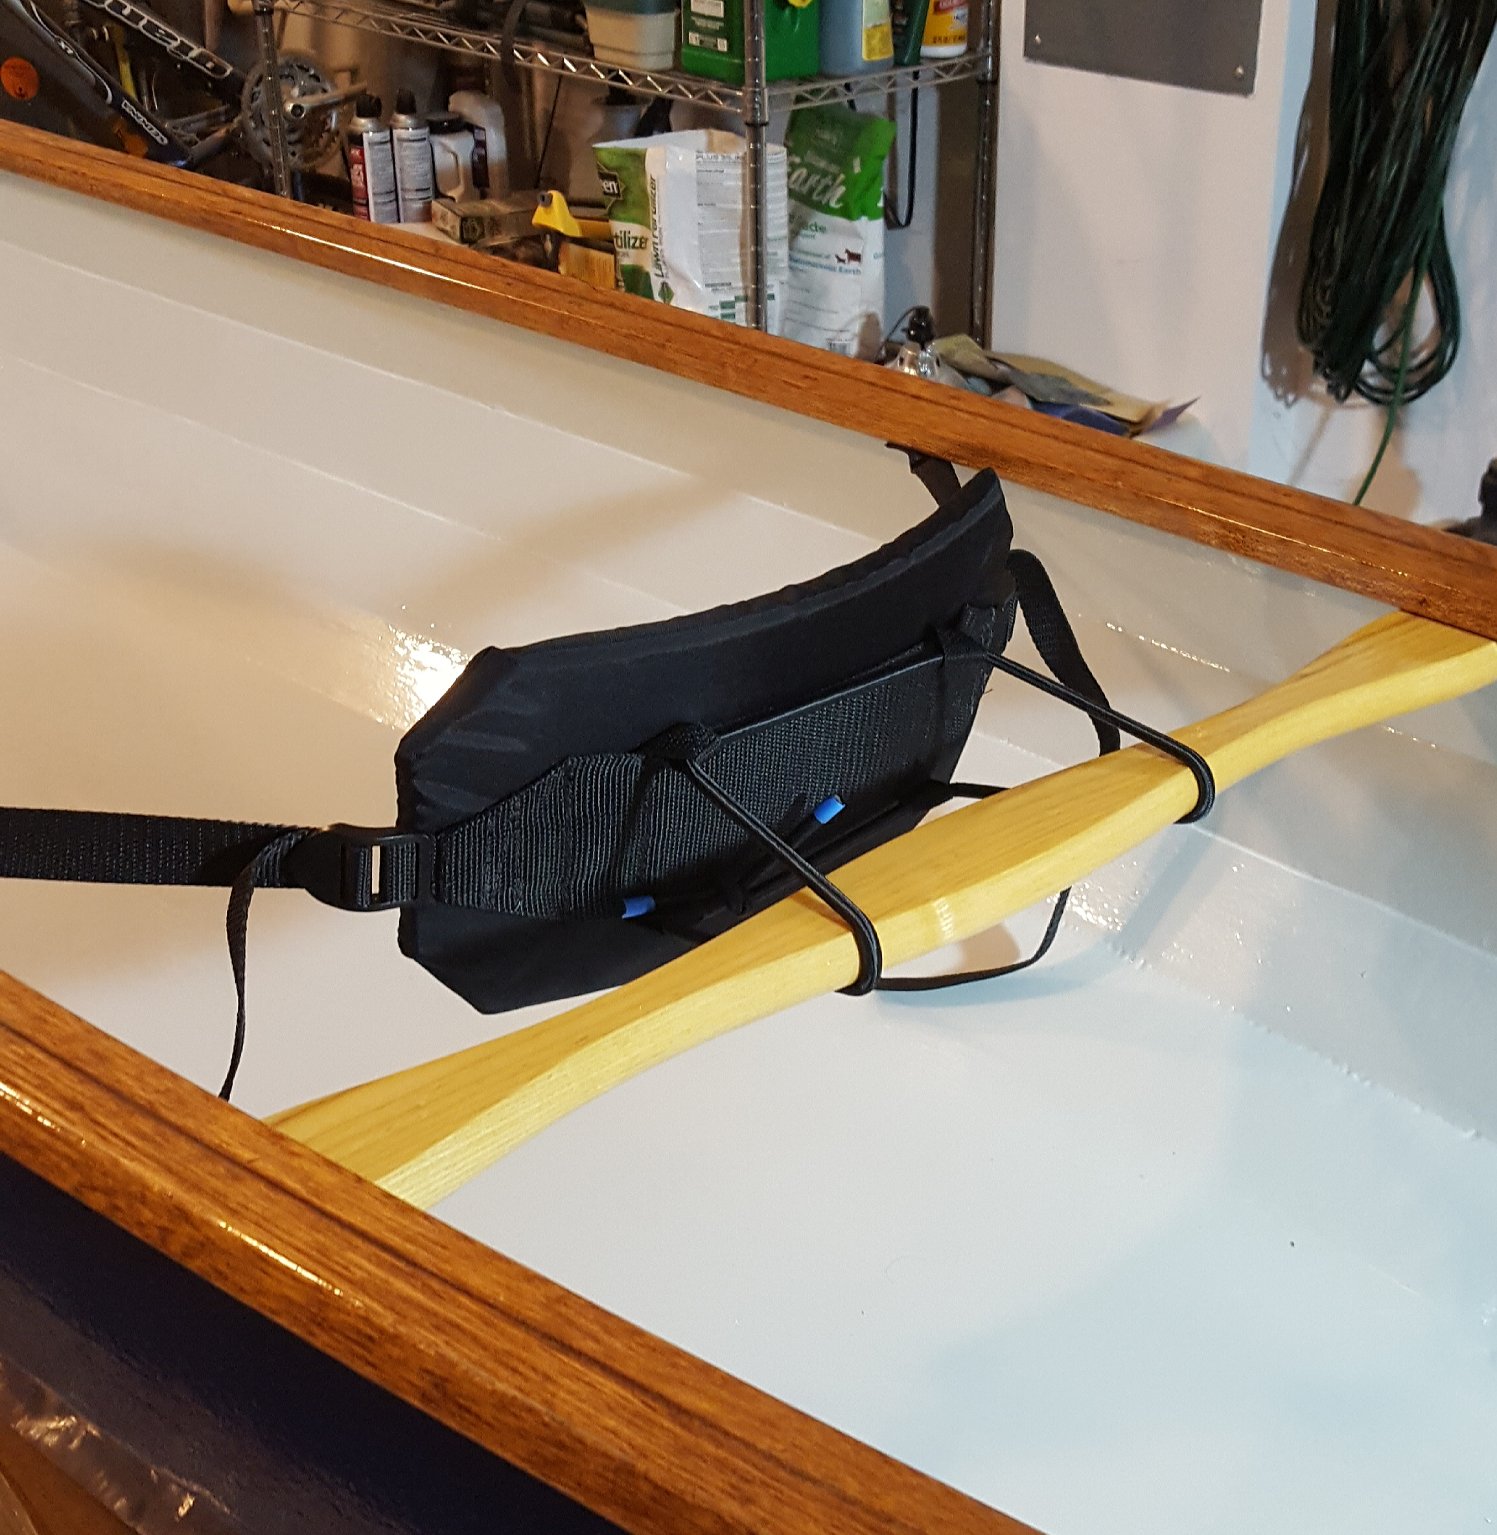
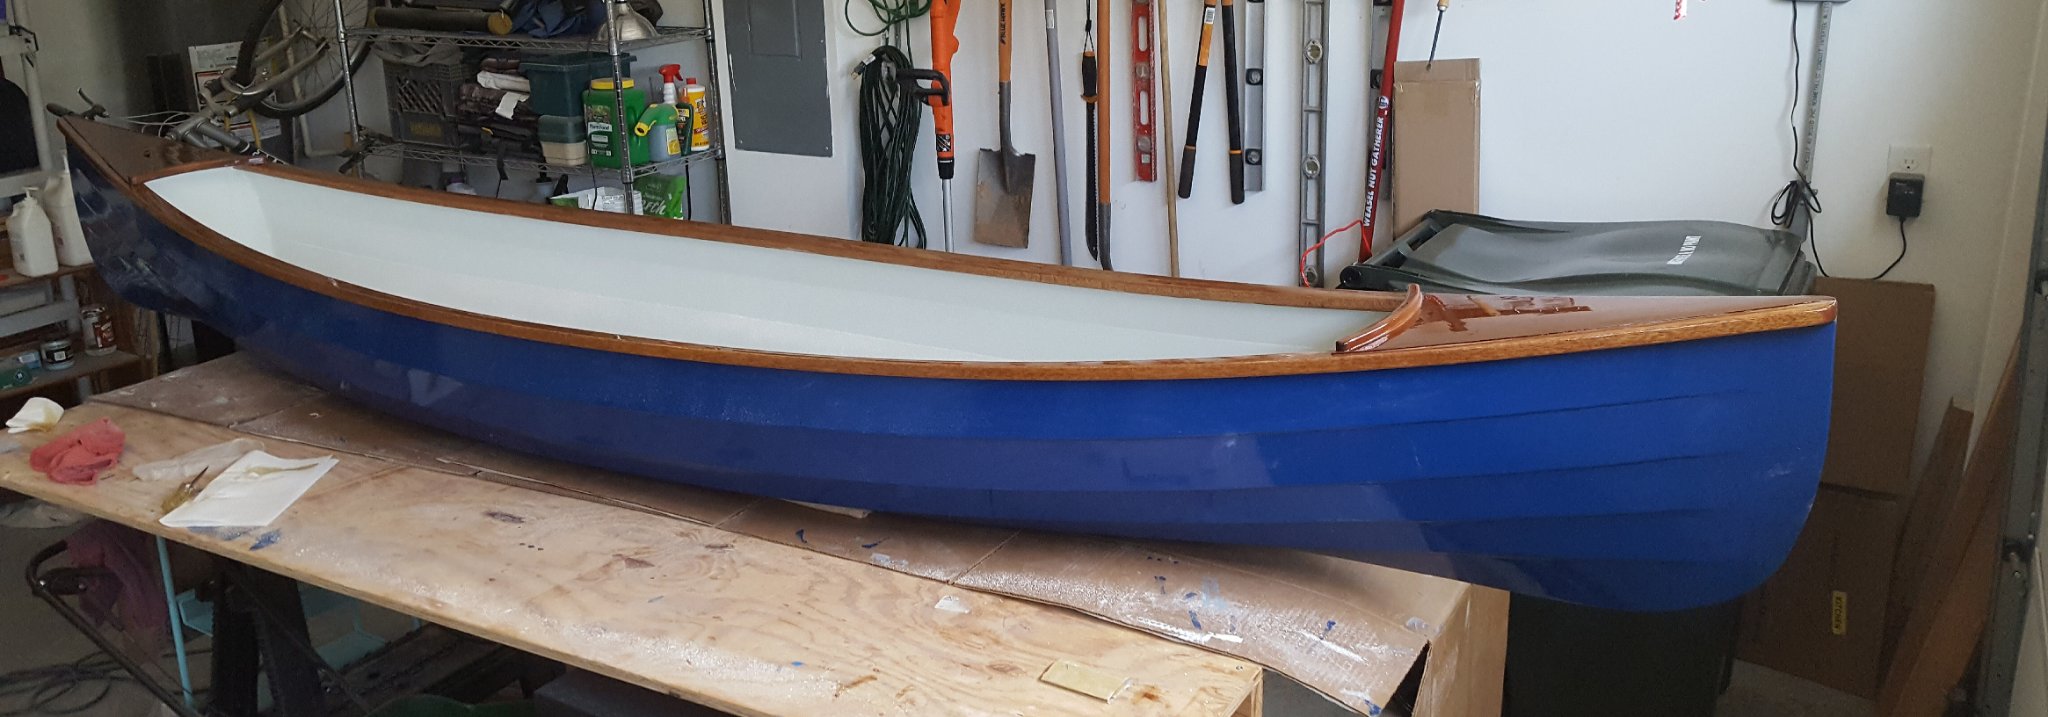
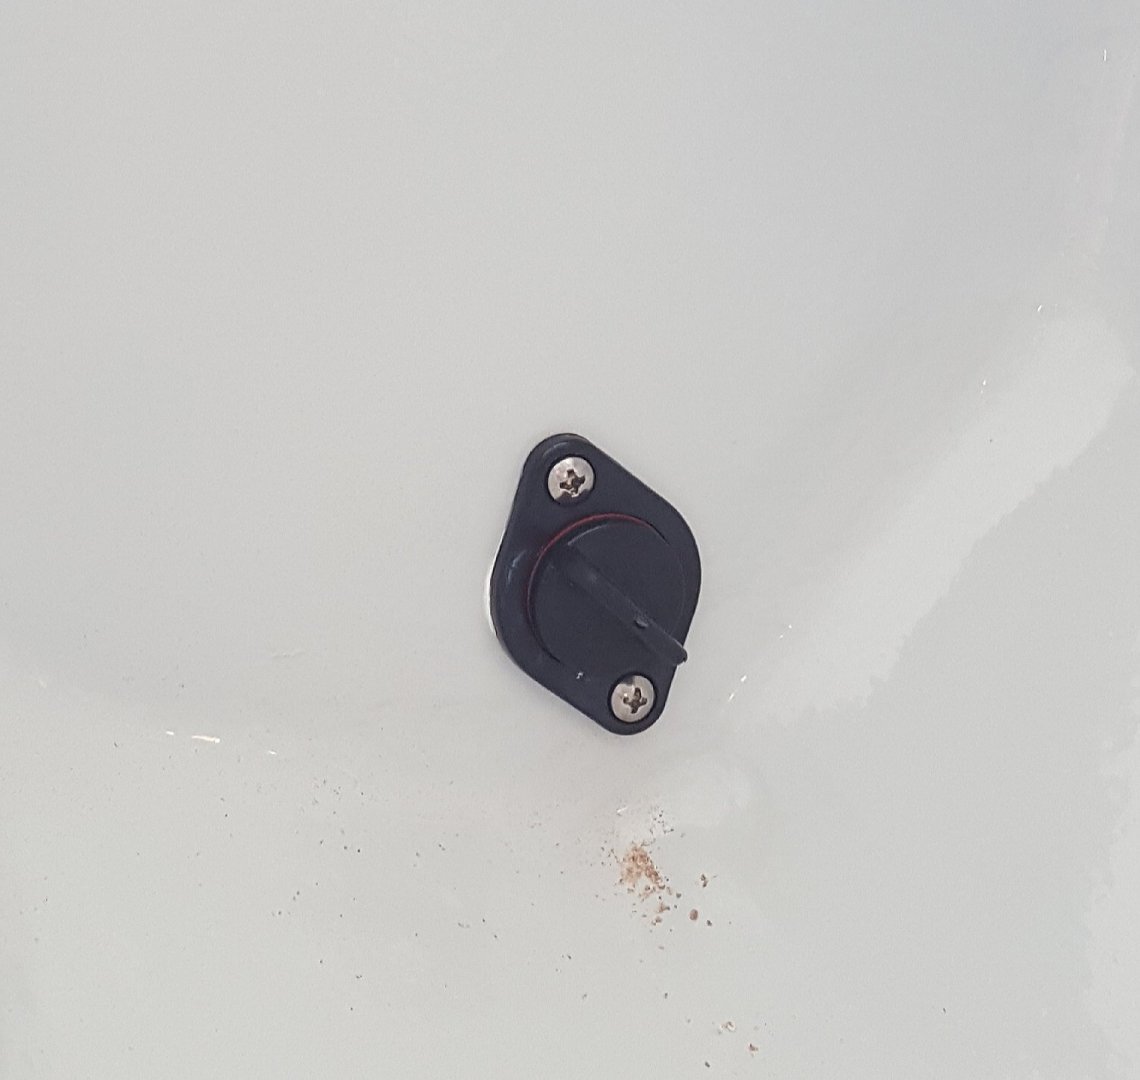
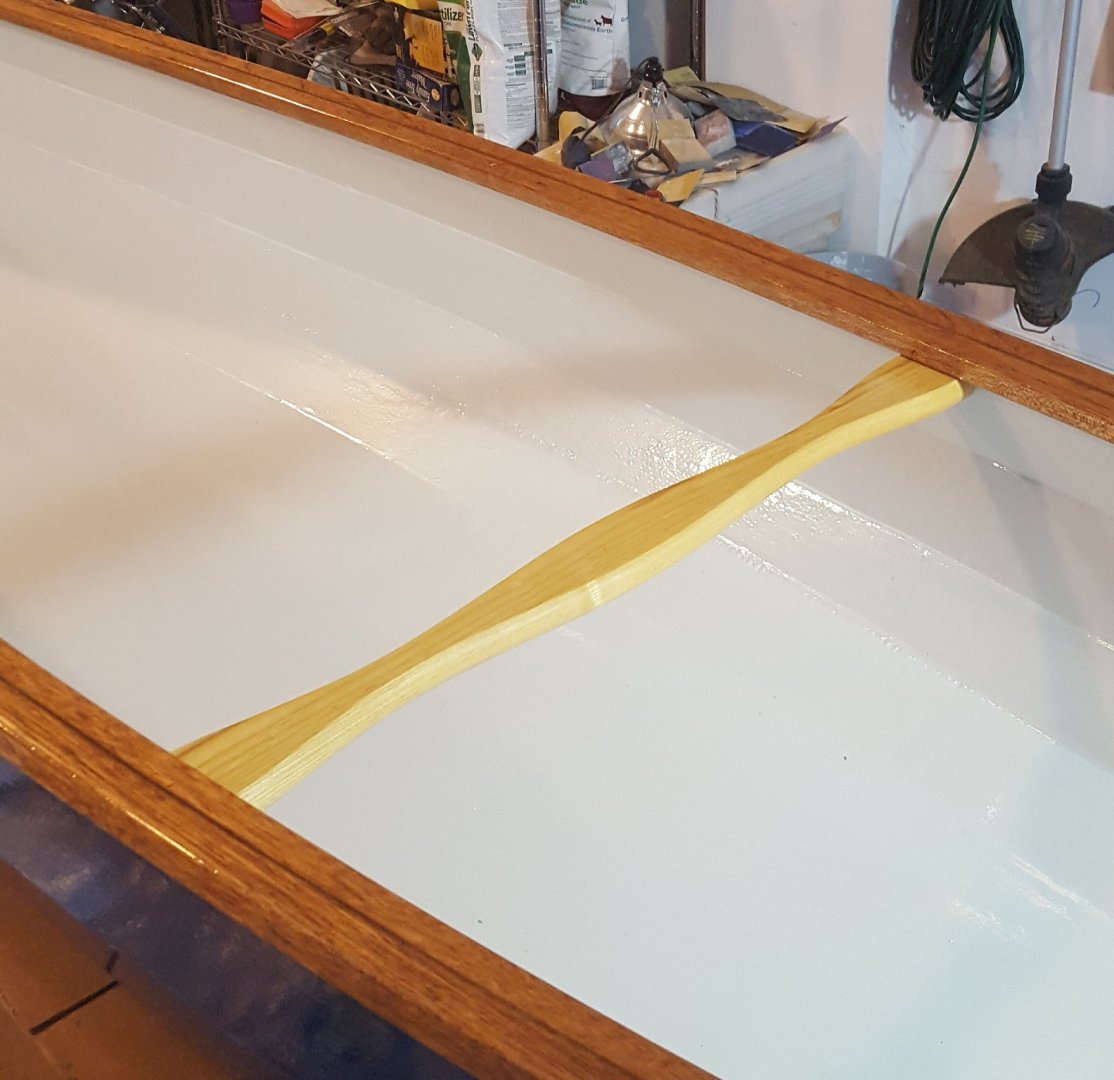
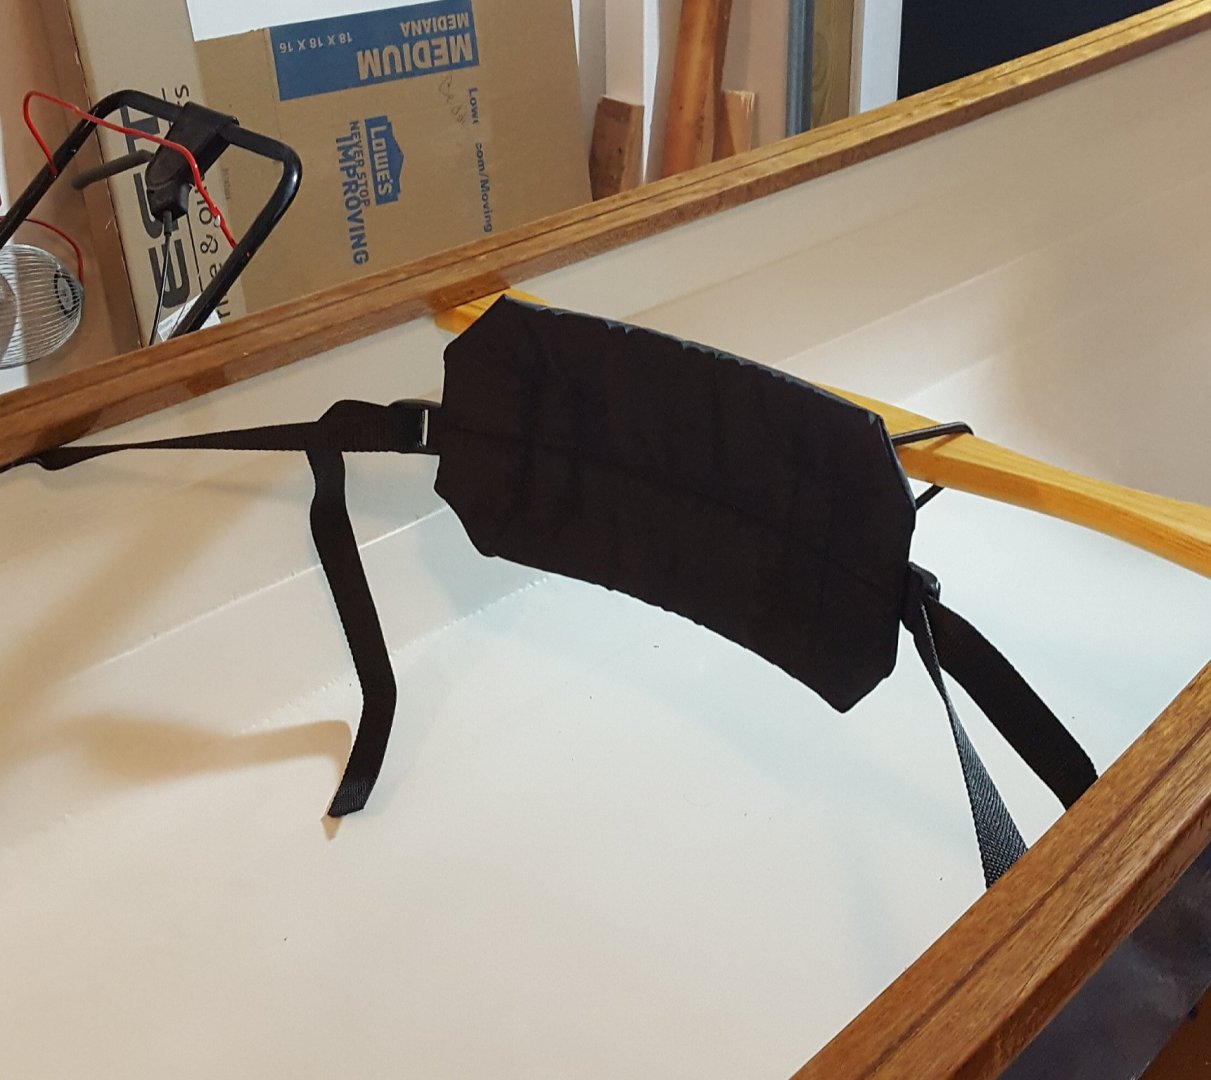
Moving forward. I decided that four coats of varnish were enough, not because four coats made everything pretty, but because I felt like my sanding between coats (scuffing, really) was making things look worse, not better. So I moved on to hardware and fittings. 😮 First up: drain plugs. Holes were cut with a 1" router bit, then plugs glued in with marine adhesive. Set the screws with adhesive, too. For tie-down points, I settled on inexpensive eye screws. These are also set with marine adhesive. The screws are set at the points where the inner rails join together (not visible in this shot); there's a healthy amount of wood and epoxy for the screws to bite into. Next up was the thwart. You know, I totally forgot to give consideration to which end should be the front -- I just got carried away installing stuff. Oh, well -- now it is carved in stone, er, wood. Each end of the thwart is attached to the underside of a rail by two countersunk screws. I bought myself a small ratchet driver for this job -- worked great, and it came in a set along with one of every type of driver bit known to man. Lastly for today was attaching the back rest. It is secured to the thwart by a bungee cord and tensioned by two adjustable web belts. We are getting close now!


- 299 replies
-
- 15
-

-
Lookin' good so far.
-
Don Dressel of the Ship Modelers Association spent ten years bashing this kit -- ended up using only the profile former and bulkheads and pretty much nothing else. Spectacular model, though, even out-of-the-box.
- 35 replies
-
- 4
-

-
-
- Mantua
- Sovereign of the Seas
- (and 1 more)
-
Nice work, James! You must have done all this before the pub visit with Shirley? 😉
- 355 replies
-
- 5
-

-
-
- vanguard models
- Sphinx
- (and 1 more)
-
Just finished sanding and putting on varnish coat #2. It's quite warm today, and the varnish gets tack-dry quickly, which I discovered when I carelessly rested an arm on one of the varnished decks (the one not pictured, obviously). Oops. Good thing it wasn't the finish coat. And stop with the name guesses -- you guys aren't even close! 😝
- 299 replies
-
- 13
-
-
It fits on a canoe.
-
She does! And I have already ordered the vinyl lettering for it, but the name shall not be disclosed until the final Big Reveal. 😯
-
That is the plan.
-
Great choice! I built their cannon yawl kit and loved the way the kit went together just right.
-
A bit of speculation on my part -- BlueJacket have a good reputation for fidelity to original subjects, and Dusek have been updating the old Mamoli kits as they re-release them, so either of those two is likely to be a good choice.
-
Hi, Jeff. I merged your update with your original build log. You can add updates in the reply window. I think the work you're doing will produce a much better result than a straightforward out-of-box build. Cheers!
-
Locking, as this is a double-post. I posted a response in your other thread. EDIT: Oops! My bad for locking this -- guess I didn't pay close enough attention. 😕 Fixed now.
- 1 reply
-
- 1
-
-
Thanks, Popeye. Not much has been done on this project lately (a little bit, though), since the canoe is currently getting all the available free time.
-
We have to be careful to distinguish between Amati kits in general and Victory Models kits in particular; Chris designed the latter. I have HMS Fly from the Victory Models line in my possession, and I can attest that the instructions are definitely written and illustrated to facilitate ease of construction for intermediate builders.
-
Which is awesome. Some manufacturers might have simply shrugged and used the off-the-shelf fittings.
-
Which Scale 1/200 or 1/350 Kit is the most detailed
ccoyle replied to Guyuti's topic in Plastic model kits
By virtue of the fact that is a larger scale, 1/200 will naturally allow for more detail. However, if you have seen some of the incredible detail sets that are now available in even 1/700 scale, the issue of detail per unit of scale is almost a non-issue. I think for many modelers it would be more a question of cost and available display space. -
What you need to know about this is that Chris Watton, who started at Caldercraft, designed the Victory Models line for Amati before starting his own company, Vanguard. Chris is an innovator who doesn't rest on his laurels -- he is constantly seeking ways to improve his kits, including design features, materials, plans, and instructions. There's a learning curve for this trade, as for any profession, so Chris's early work, though very good on its own merits, is not quite as splendid as his later efforts. So, Mercury, being one of his last designs for Amati/Victory, is roughly 2/3 of the way along Chris's career arc. It's a very good design with great instructions, incrementally better than his Caldercraft efforts, but it won't have all the latest bells & whistles seen in his most recent Vanguard offerings.* Basically, you can't really go wrong with any of Chris's designs. * I think that's a fair assessment of Chris's designing career -- he may feel free to correct me if I got anything wrong.
- 6 replies
-
- 14
-
-
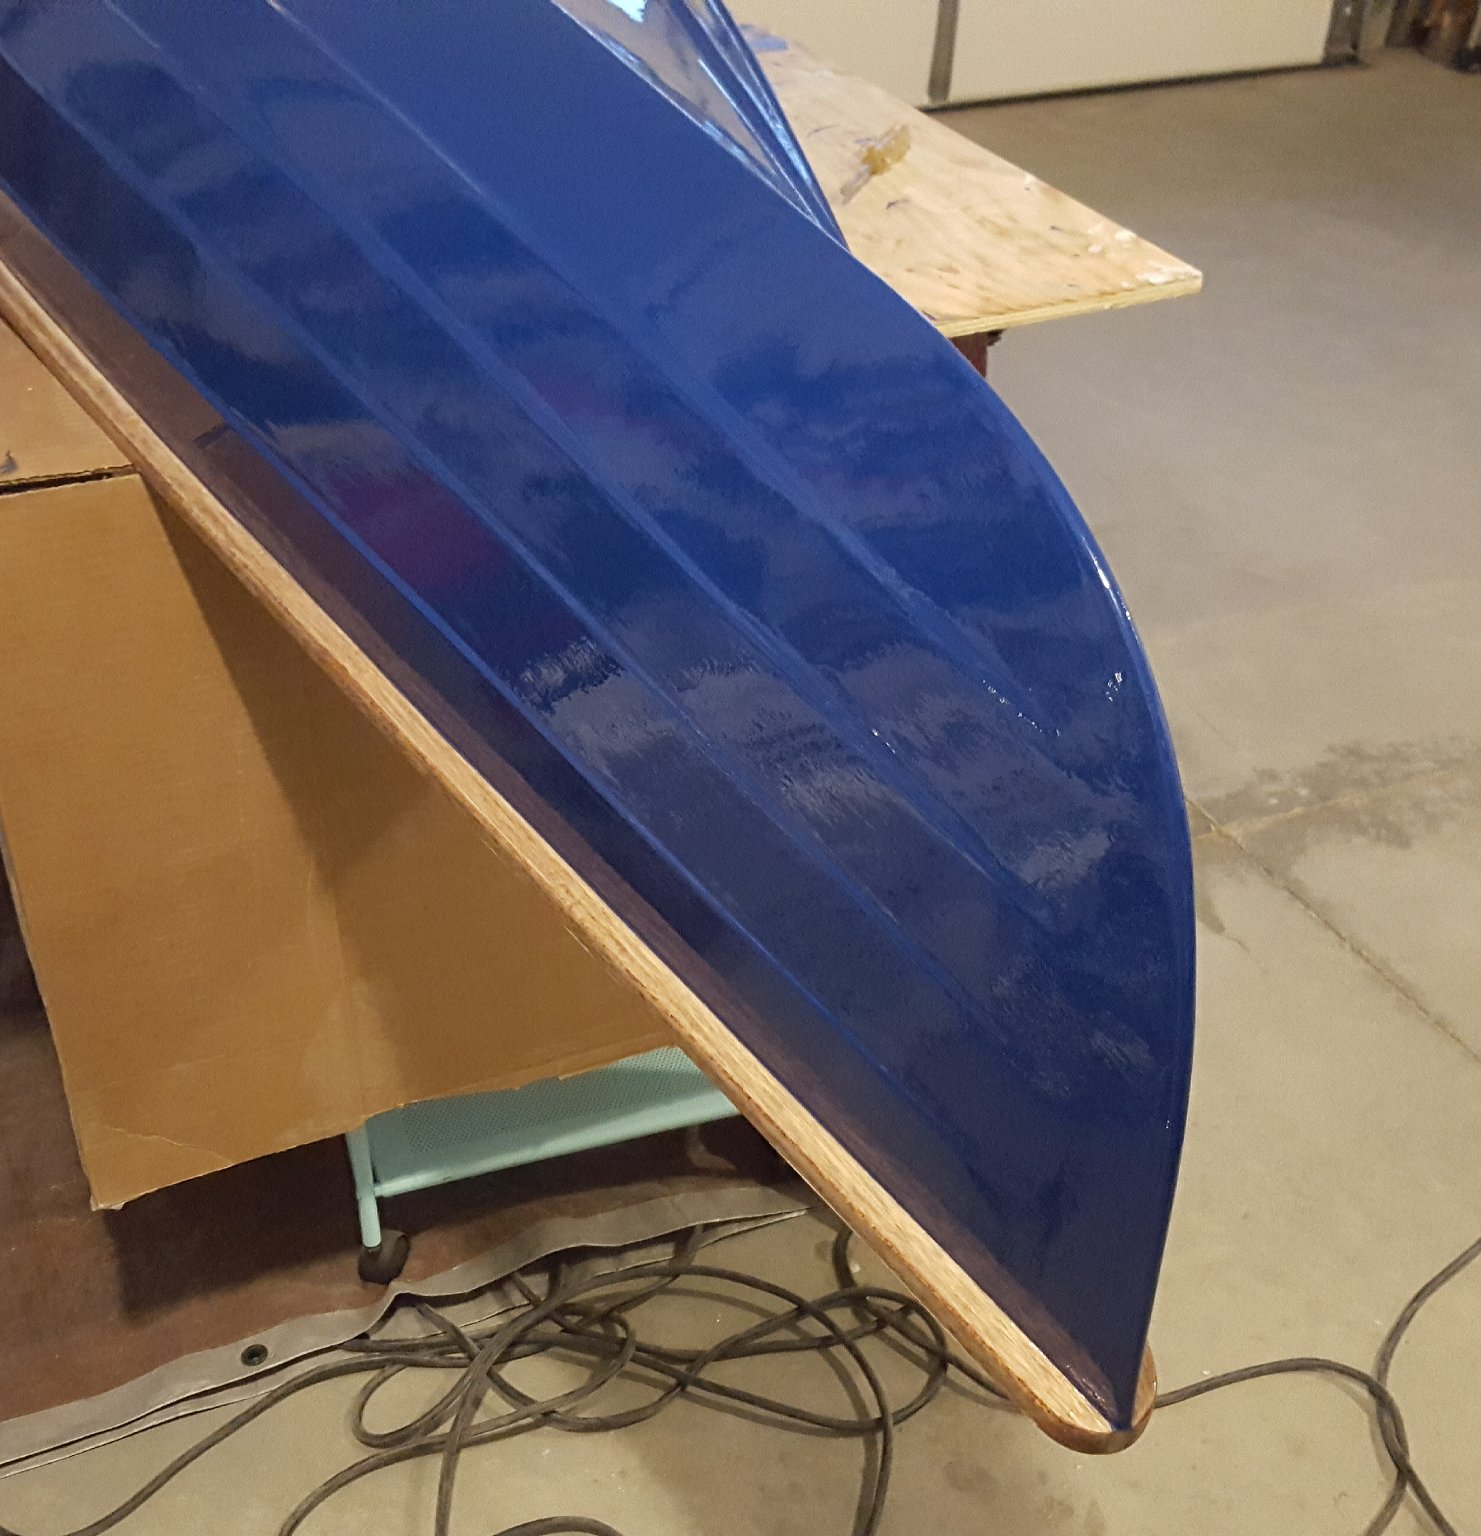
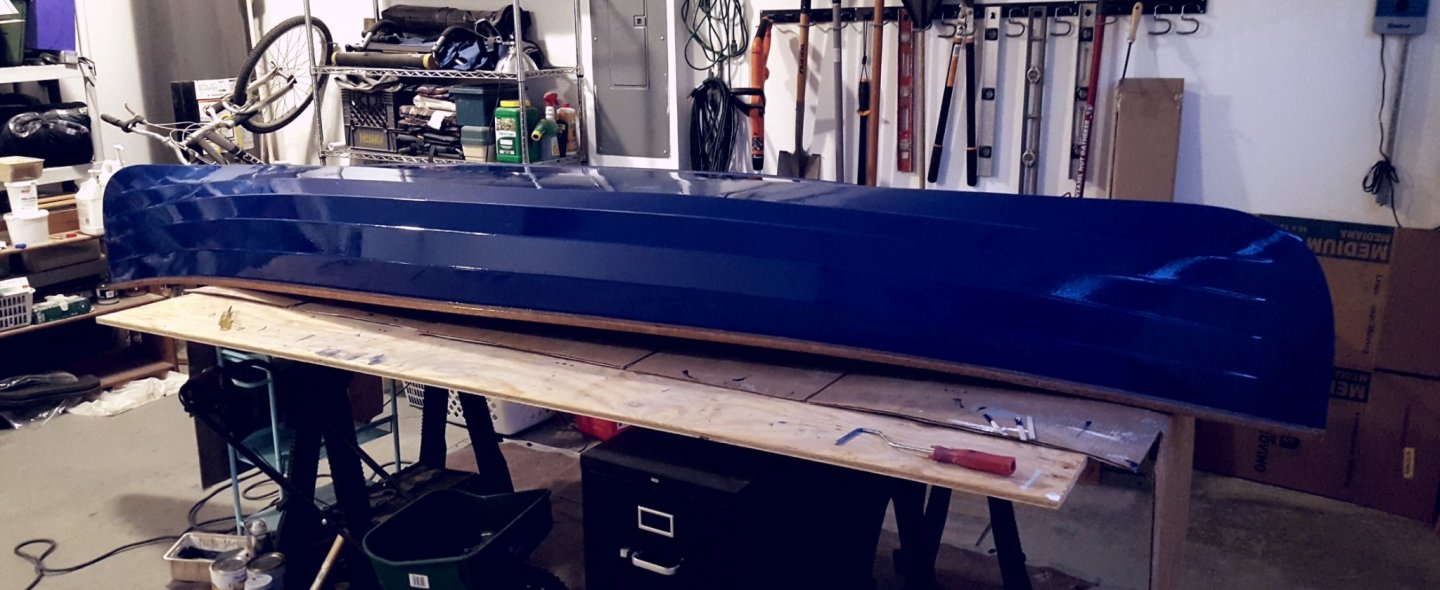
Okay, the third coat went on today. I do not think there is actually enough for a fourth coat. I'm not 100% pleased with my work, although I gave it my best effort. Despite trying to clean away the sanding dust as much as possible prior to painting, I still found plenty of minuscule particles in the finish -- after all, I'm working in a garage, not a clean room, and I don't have a shop vac. Had a few minor runs, too. The glossy finish under bright lighting shows up every flaw quite well! After allowing the paint to become tack-dry, I pulled the tape. Voila! The speckles in the photo are irregular reflections, not bare spots. Can't wait to start throwing some varnish on that bare wood, but I intend to wait 48 hrs before flipping her over onto her tender bottom. Yes, I said that -- there's no need to quote it. 😆

- 299 replies
-
- 18
-
-
Okay, this is a question for the experts on polyurethane paint out there. I finished scuffing exterior coat #2 last night in preparation for coat #3, and I became mildly alarmed at how easy it is to scuff the paint with 400-grit sandpaper. So, thinking ahead to bumping into rocks, brush, docks, and boat ramps, how durable is marine-grade polyurethane actually supposed to be? It doesn't say anything on the can, but is there a "completely cured" time in excess of the touch-dry/sand-dry times? Thanks!
-
My el cheapo tweezers have a bad habit of initiating that phenomenon. 🙄