ccoyle
-
Posts
10,603 -
Joined
-
Last visited
Content Type
Profiles
Forums
Gallery
Events
Everything posted by ccoyle
-
Welcome aboard, Noggy!
-

Book on planking
ccoyle replied to Fraser1945's topic in Building, Framing, Planking and plating a ships hull and deck
https://thenrg.org/resources/Documents/articles/APrimerOnPlanking.pdf -
Just like on a real ship, you need to get your masts steadied first. This means your stays (forestays and backstays) and shrouds should be done first. In any case, you can't do the ratlines until the shrouds are set up.
-
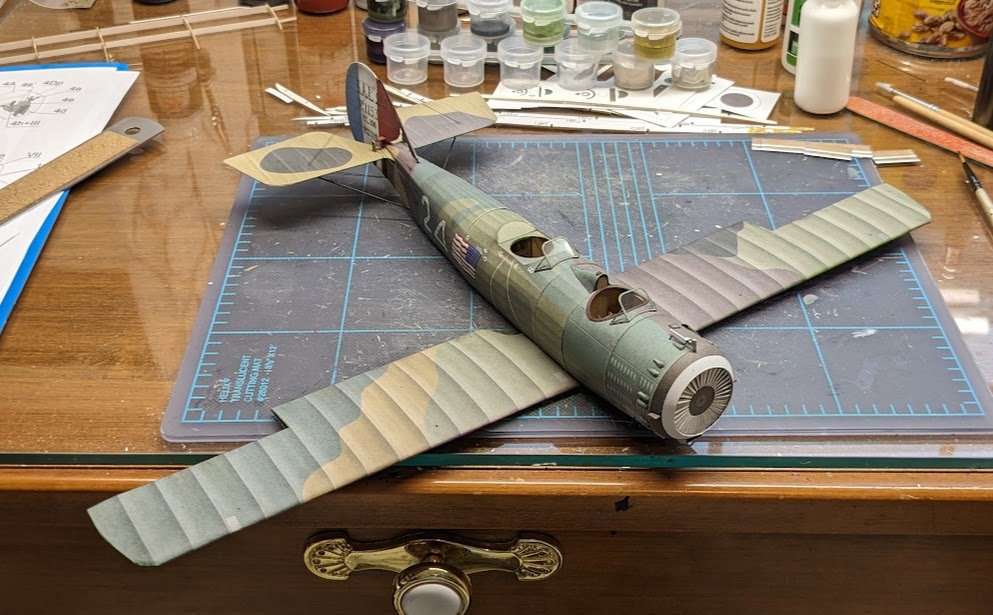
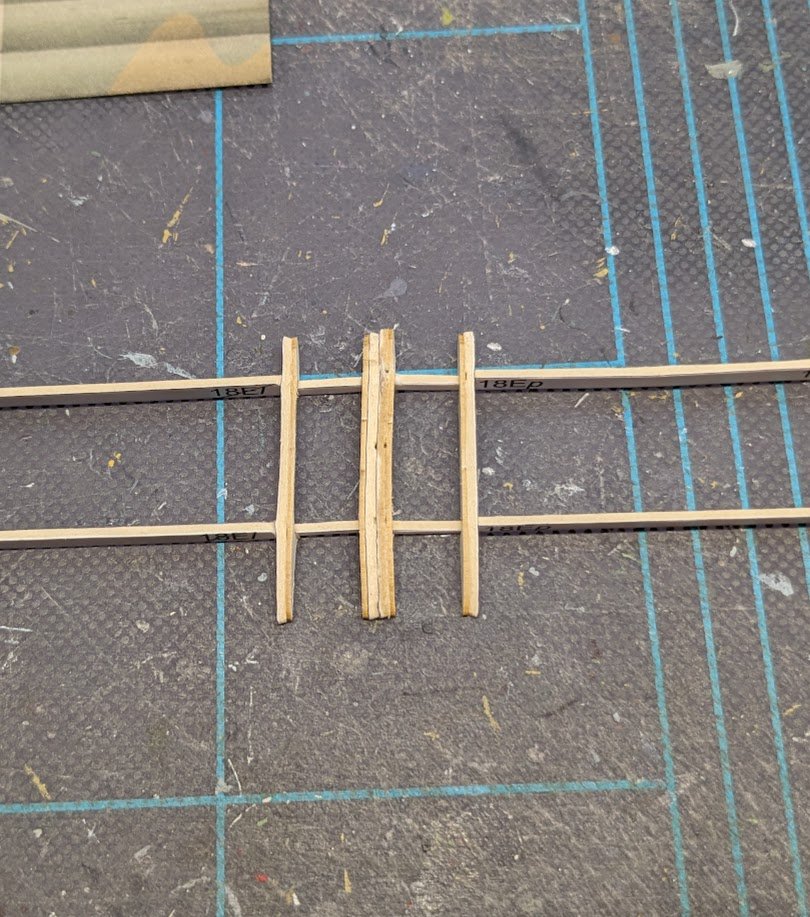
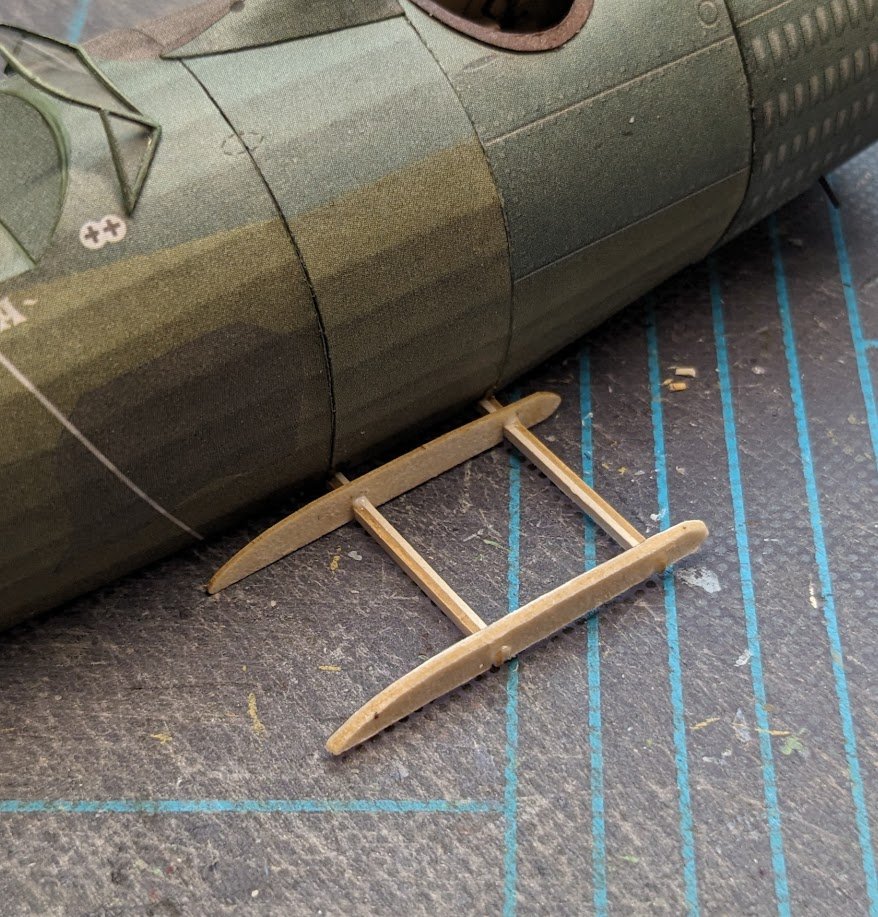
So, last night I got the skins edge-colored and started work on beefing up the internal frames, starting on the center section. There are multiple issues here. First, the instructions and diagrams provide virtually no guidance on where the innermost ribs are supposed to go. Second, the wing is supposed to have a slight dihedral, as suggested by the shape of the spars, but the diagrams do not include a three view (which is a criminal oversight, IMO), and the frames do not include any kind of obvious parts for making sure the proper dihedral gets locked in. That means there is some guesswork involved here. I added the innermost pair of ribs at the joints between the left and right spars, glued the two wing halves together, liberally saturated the area with thin CA, and then left the whole thing to cure overnight while sitting in a crude jig. Will that sufficiently stabilize the center section? That remains to be seen. In hindsight, I now suspect that the 'inner' ribs are supposed to be located at the outboard ends of the center section, forming a central 'slice' of wing that would butt join the outer wing panels by inserting the thinner bits of spar into slots in the center-section ribs (it would've been super nice if, ya know, this had been shown somewhere like maybe, I dunno -- IN THE DIAGRAMS??). This is just so unlike any construction method I have previously used that it didn't register in my brain -- at all. One upshot of this is that the beefy pseudo-rib I have created in the middle of the wing has too much material in it -- the center skin will not fit properly, so material will have to be removed from the internal framing. Sigh. 😑
- 107 replies
-
- 14
-

-

-
The problem is, adding a sub-forum for every modeling niche creates clutter on the homepage, and in the past we have had to prune categories because members complained that there were too many! Striking the happy balance between too many and not enough is always difficult. But -- every SIB build log is tagged with the word 'BOTTLE', so they can easily be found.
-
Yep, they are not cheap. For many it comes down to a choice of either building models or buying cases. 😬
-
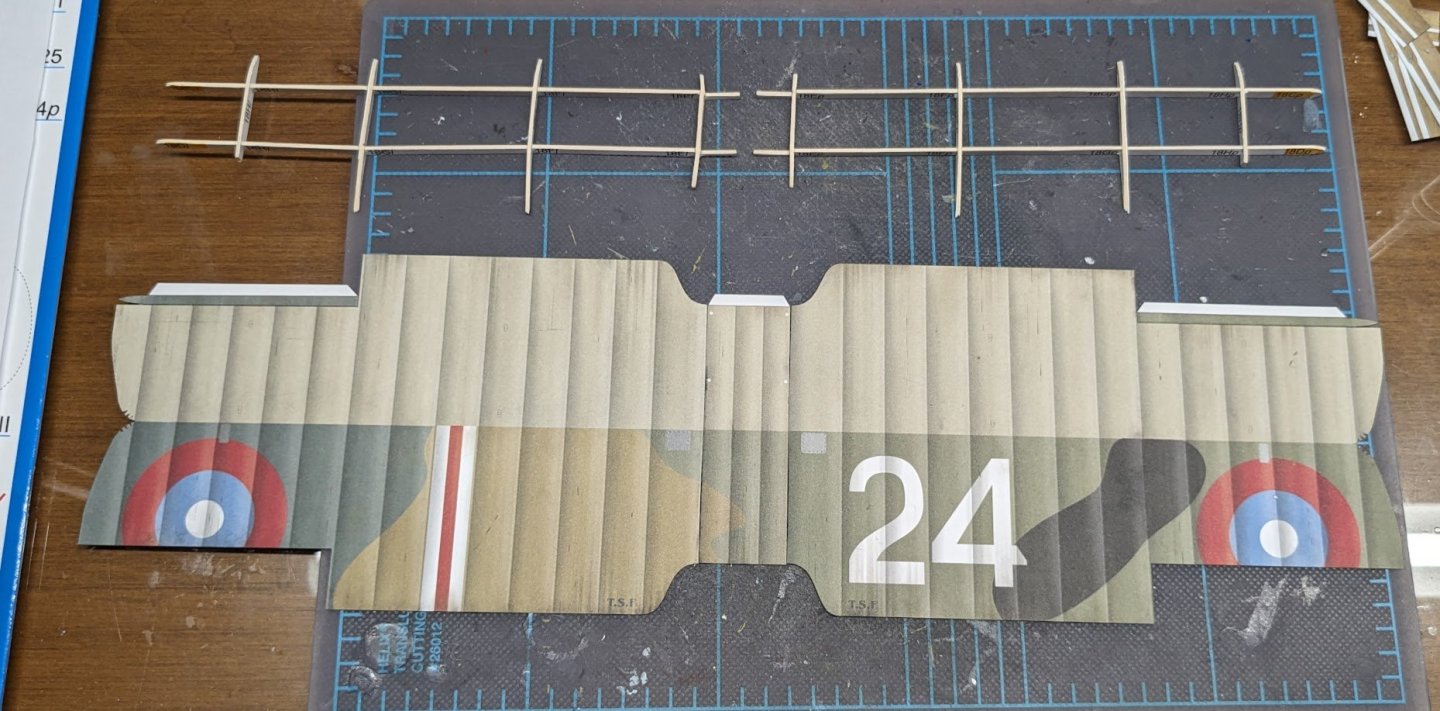
I know I said that this project would go on hold once the Speeljacht had arrived, but this one is in such an advanced state that it would be a shame not to finish it off. So, I have pretty much decided to forge ahead with it. Moving along to the upper wing, I had just enough time last night to throw together the internal framing and cut out the wing skins. I will have more to say on the underwhelming internal structure in my next post.
- 107 replies
-
- 15
-
-
A great choice of subject!
-
I haven't checked for blocks, but I have plenty left over from my Wuetender Hund build. I suspect only a handful are needed. As for pins, I suspect the subject predates their widespread use.
- 146 replies
-
- 6
-
-
- Speeljacht
- Seahorse
- (and 2 more)
-
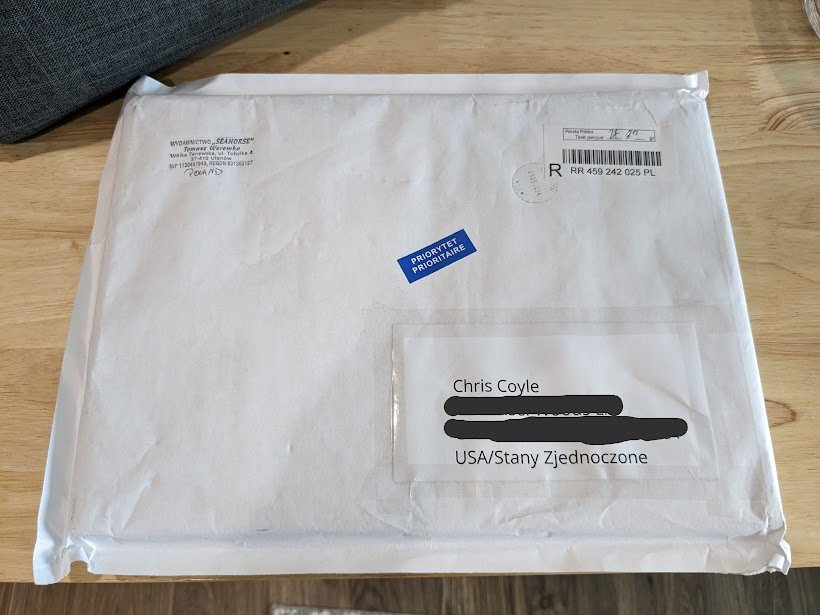
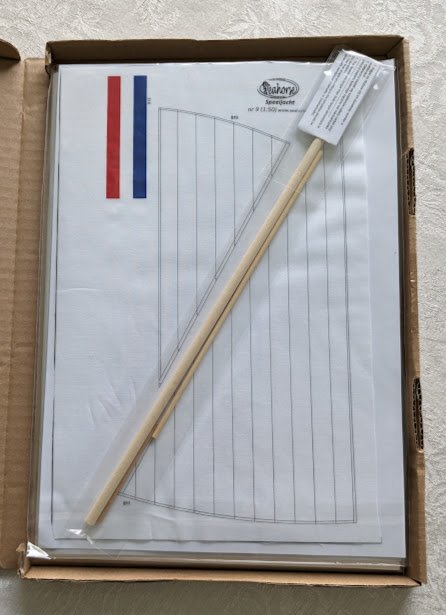
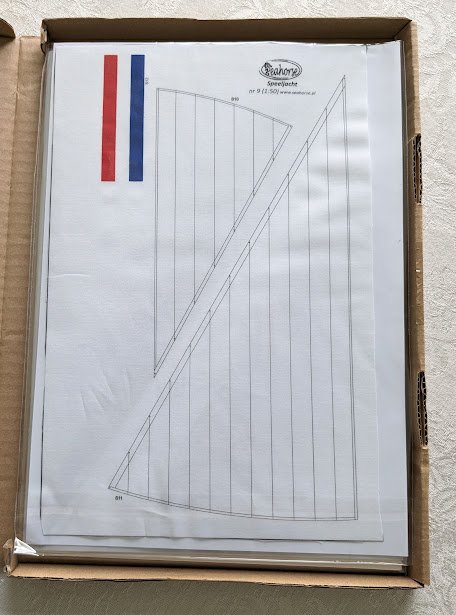
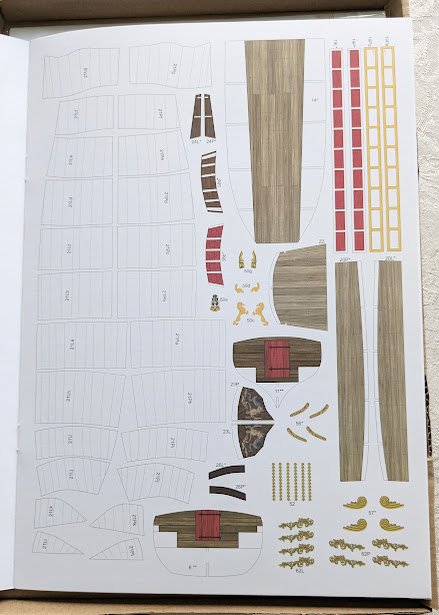
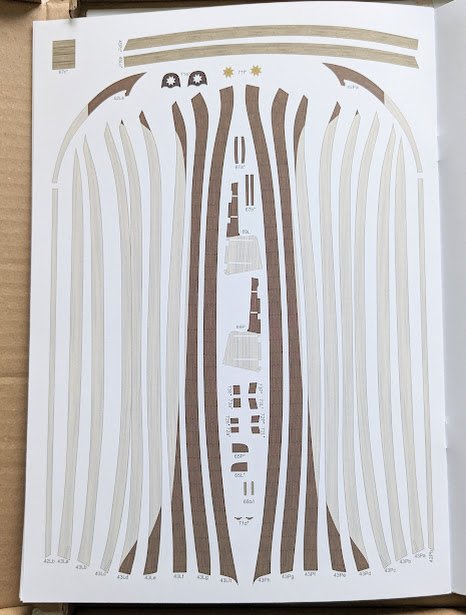
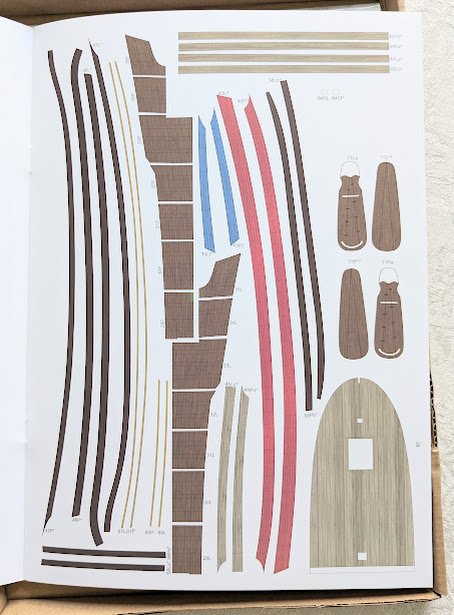
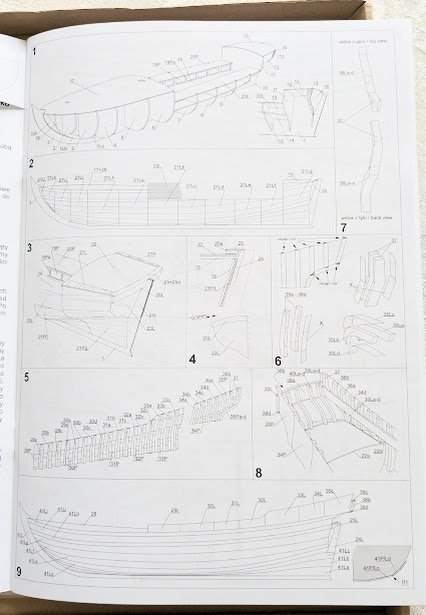
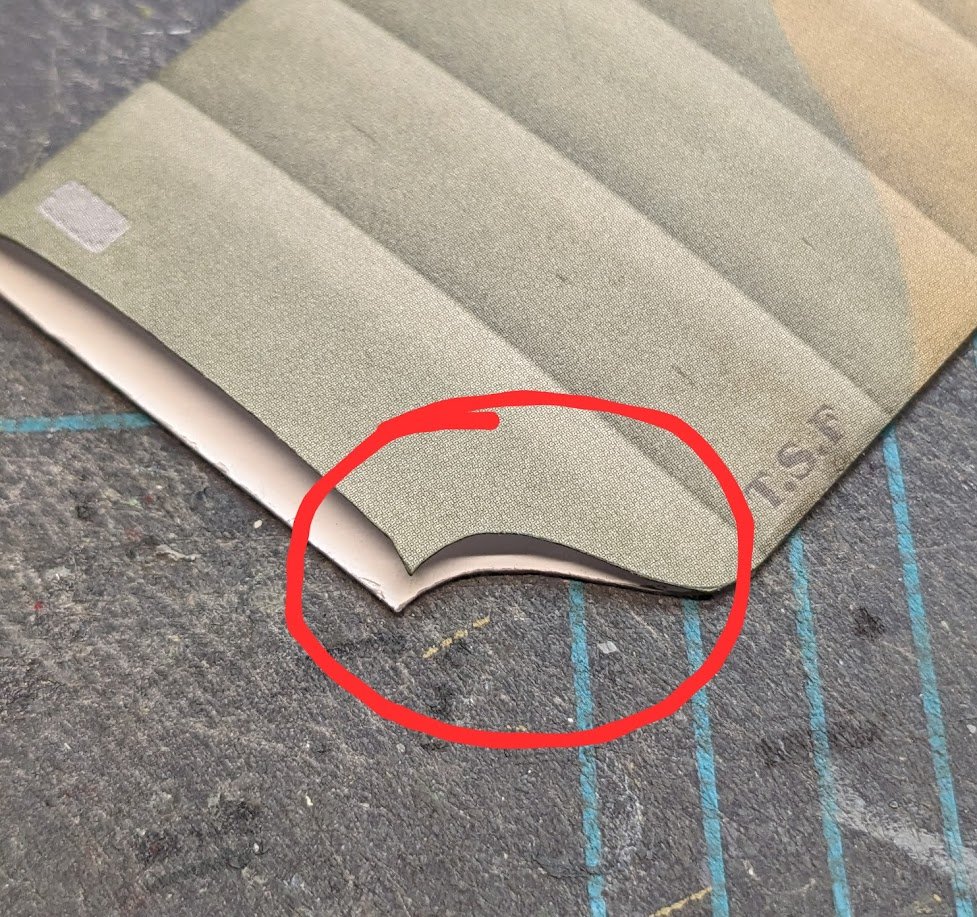
Well, two weeks after placing the order, everything arrived safe and sound. You can add Seahorse to the list of conscientious shippers -- all was securely packed. First glimpse inside. I believe Tomek has described his mast sets as something like "just sticks," but they are reasonably priced, and I like the fact that I don't have to source dowels of the right diameter and cut them to length. They will need to be shaped, obviously. Pre-printed sails. These include suggestions for dying, reinforcing, and adding boltropes. The kit itself. Believe it or not, my knife slipped while slicing open the protective plastic sleeve. Fortunately, I only damaged the back cover. Whew!!! Some parts . . . . . . and diagrams. And, of course, laser-cut frames. Looking forward to starting soon


- 146 replies
-
- 19
-
-

-
- Speeljacht
- Seahorse
- (and 2 more)
-
Hmm. I got a couple of the lines mixed up. 20 is definitely an outhaul -- you can see it attached to the jib boom traveler. The foresail doesn't have an outhaul, since it is bent to the forestay -- it can only slide up or down the stay. So 16 is the tack, and 18 is the downhaul
- 63 replies
-
- 1
-
-
- card
- Revenue Cutter
- (and 2 more)
-
I can't say. Just because I can't figure it out doesn't mean that the designer didn't have a plan -- he just didn't communicate the plan very well!
-
Maybe. I have to wait until I get home to check the mail.
- 146 replies
-
- 4
-
-
- Speeljacht
- Seahorse
- (and 2 more)
-
Have you tried searching for scale bolt heads? They are available as after-market parts for the scale armor modeling community. I don't know if they are available in 1/50 scale, but 1/48 scale is a certainty.
- 76 replies
-
- 4
-
-
- Pinas
- kolderstok
- (and 2 more)
-
This is more of an example of shopping by designer rather than by publisher. As loyal readers may recall, some publishers print the work of multiple designers, so the name of the publisher is not always a reliable indicator of kit quality. There are exceptions, of course -- Pawel over at Kartonowa Kolekcja only publishes his own work, at least for aircraft (I'm not familiar with any of KK's ship or armor designs), and his designs are always top-shelf. But WAK is a mixed bag. Interestingly, this kit is advertised as "suitable for beginners," but it's another 'beginner's kit' that would've stumped me as a beginner. This kit also illustrates the fact that one designer's work can show up under multiple publishers. The same designer of this kit also designed the Hawker Nimrod kit from Answer that is in my stash. Needless to say, I'm not as enthusiastic about that kit as I once was. 😑 On the other hand, at least one of the other WAK kits I have in my stash is designed by Lukas Fuczek, whose kits have not always been easy to build, but they are definitely detailed and have nice graphics; the two of Lukas' kits that I have finished were published by Orlik.
-
Welcome aboard! We have a few members who have dipped their toes into the forbidden waters of aircraft models. Some of us spend quite a lot of time wallowing there! 🤫
-
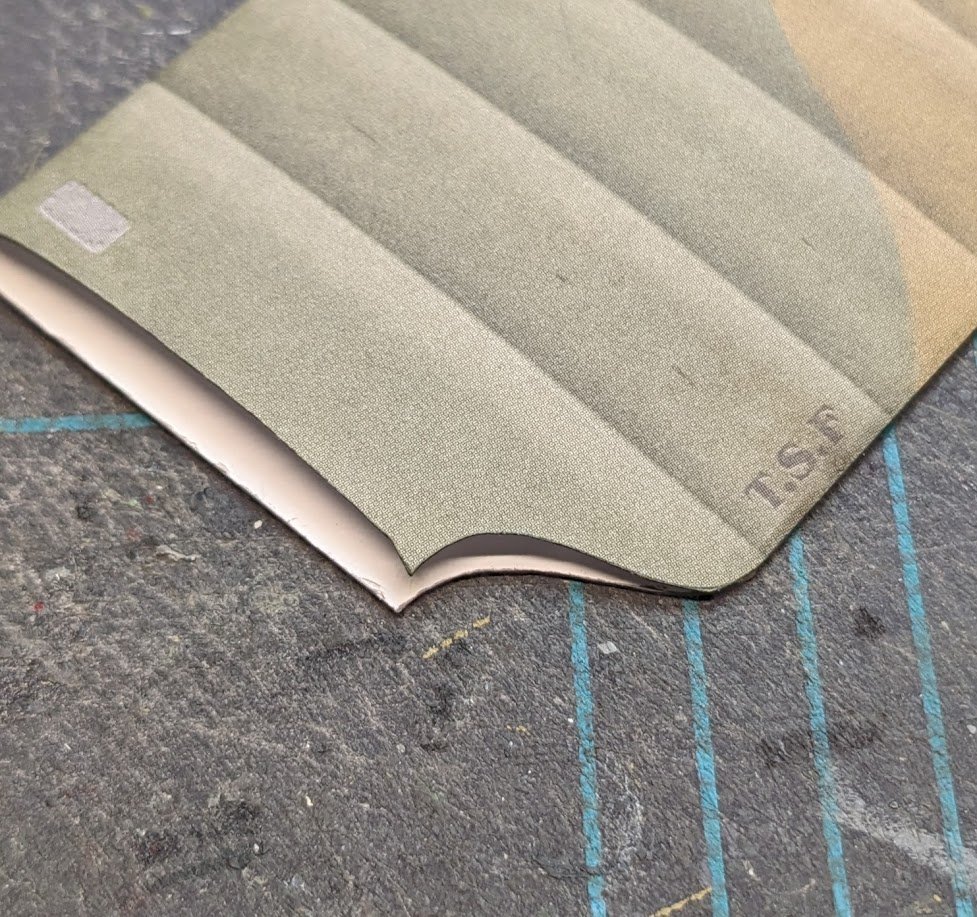
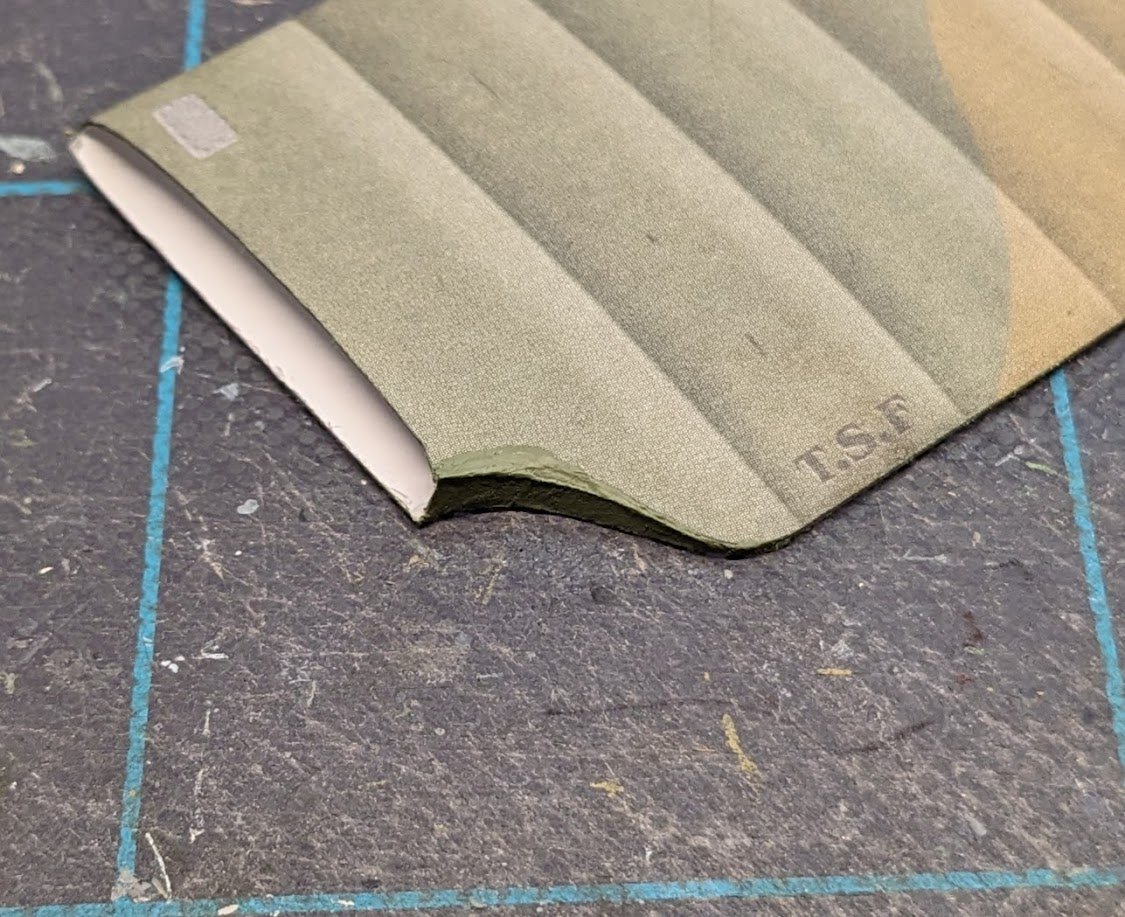
Playing around with the wing-to-fuselage fit. As I said, there is virtually no guidance in the instructions or diagrams about how this structure should go together. To begin with, I stiffened the bulkhead extensions and then doubled them. Then I added the ribs, both the original 0.5 mm original and its 1.0 mm replacement. The structure is now quite rigid and guides the wing right to where it (hopefully) is supposed to go. And then there's this part: Once again I have no clue about how the upper and lower edges are supposed to be brought together, and wing roots do not seem to have been the focus of any photos found online. So, this structure will be treated as one of those "no one will notice it, so I'm going to guess at it" structures. My plan is to add a fillet to the gap and paint it to match the kit colors. Tune in later to see the result!
- 107 replies
-
- 11
-
-
We have some exceptionally fine examples on this site of this impressive kit being built, and yours is one of them! I'm very impressed by the detail painting -- well done!
- 106 replies
-
- 2
-
-
- Soleil Royal
- Ship-of-the-line
- (and 2 more)
-
Welcome aboard!
-
Me neither! Good luck with your project, Emily!
- 6 replies
-
- 2
-
-
- Hurricane Island pulling boat
- Laughing Whale
- (and 1 more)
-
16 loks like the foresail tack, 20 should be the foresail downhaul, and 40 looks like the topsail downhaul.
- 63 replies
-
- 2
-
-
- card
- Revenue Cutter
- (and 2 more)