


KeithAug
-
Posts
3,867 -
Joined
-
Last visited
Content Type
Profiles
Forums
Gallery
Events
Posts posted by KeithAug
-
-
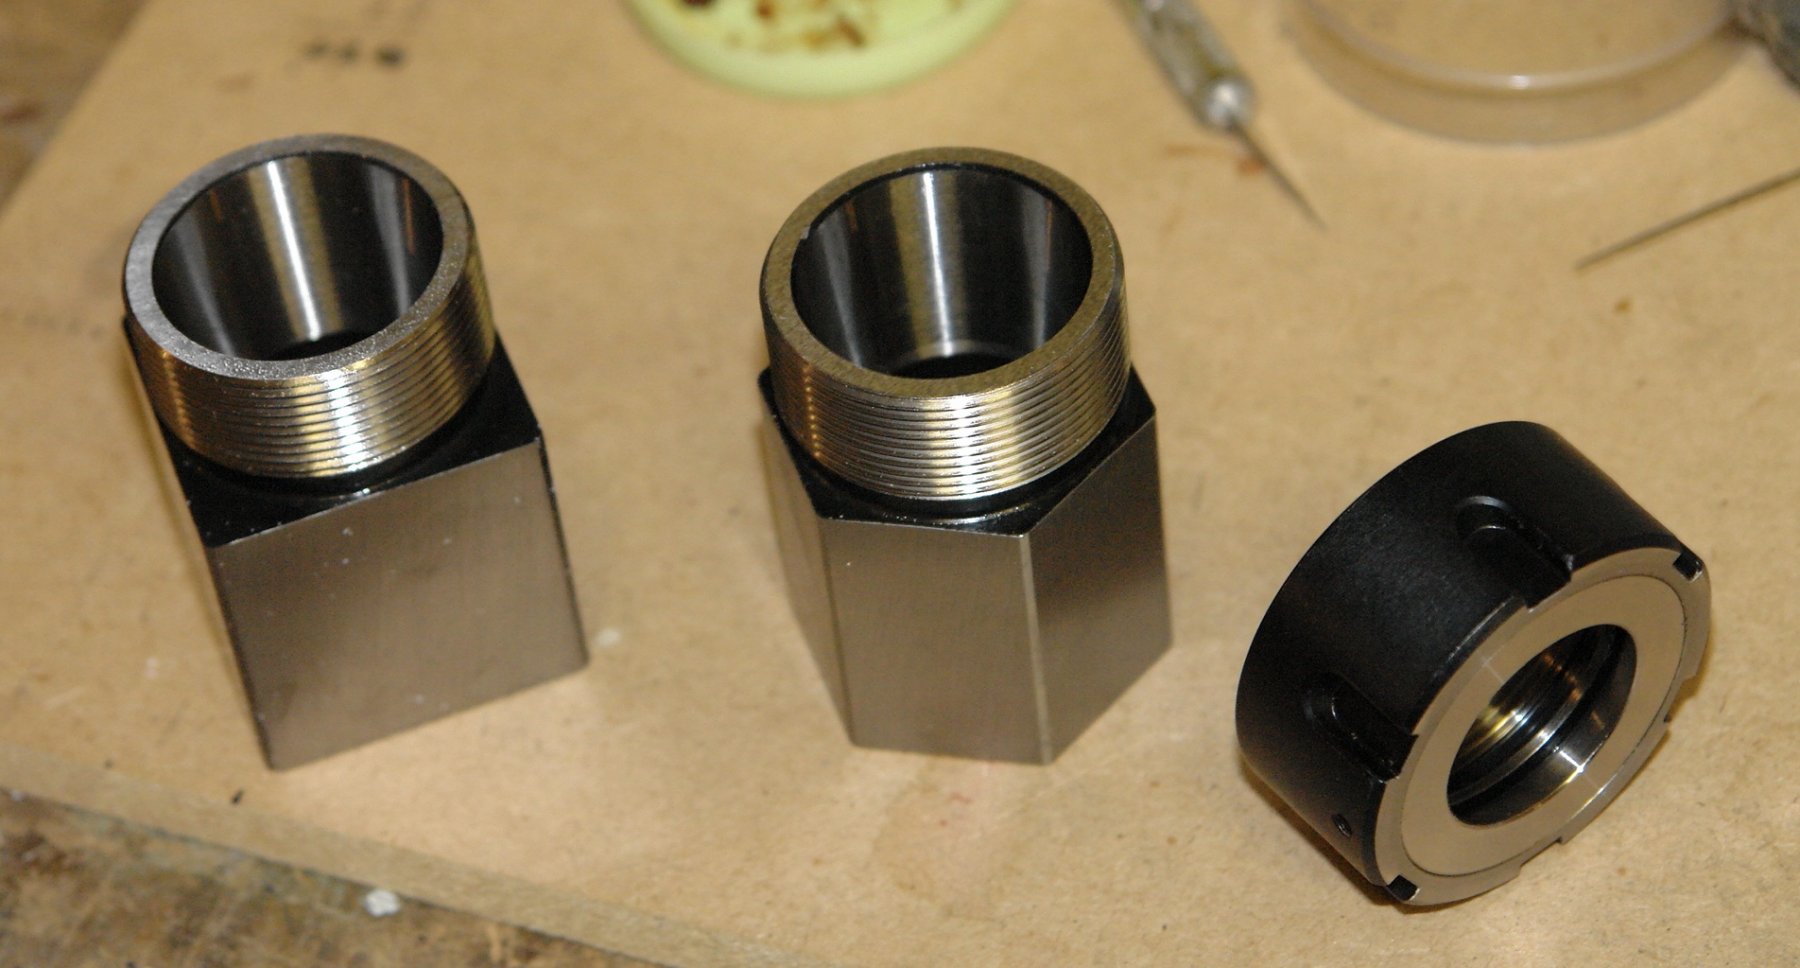
Collet blocks are used to simplify the milling of square and hexagonal shapes on round bar. The block use standard ER collets and are available in ER25, 32 and 40 sizes.


If you are like me and don't have a collet chuck on the lathe you can mount the hex block in the 3 jaw lathe chuck or the square block in the 4 jaw chuck. The accuracy of the set up depends on the accuracy of the lathe chuck. Fortunately mine is pretty good. By using the collet chuck I can hold smaller diameter bar (down to .040") and of course I avoid the jaws damaging the bar.
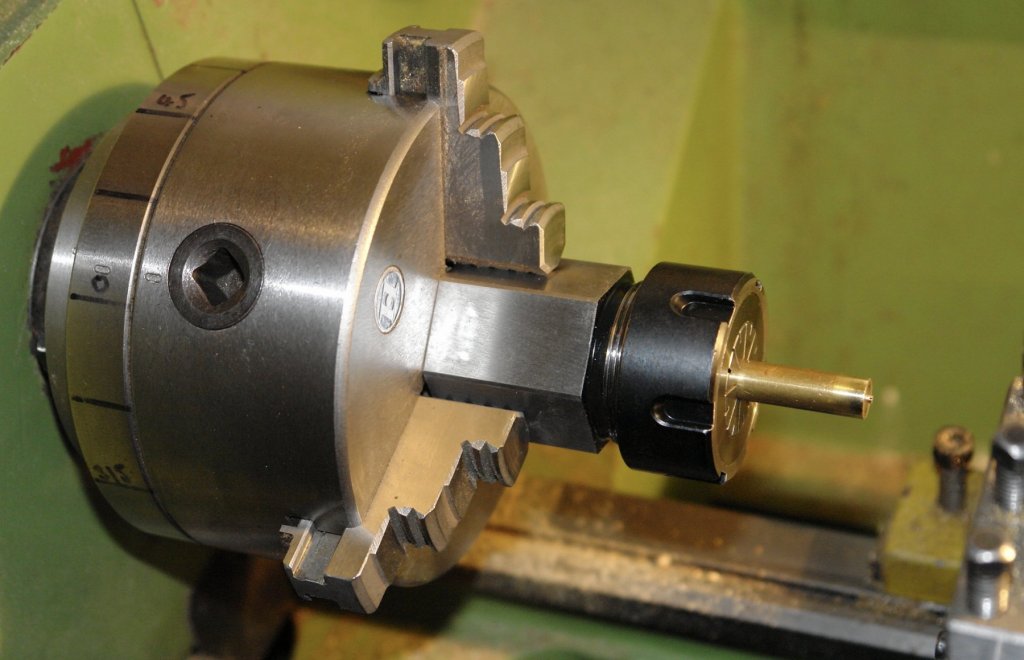
I bought mine from www.arceurotrade.co.uk - they ship abroad.
-
-
-
Thank you Richard.
Preparations for Christmass and family visits have disrupted the build somewhat but today I got back not there workshop for the first time in over a week. My schedule going forward is looking better so I hope to make more progress over the next 2 weeks.
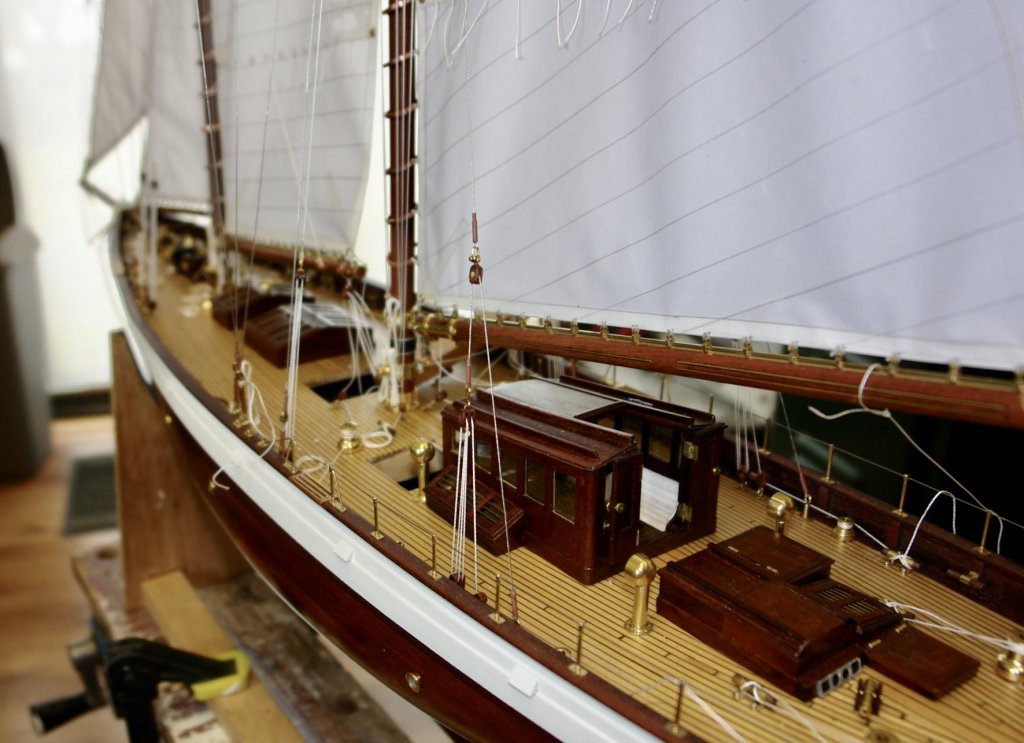
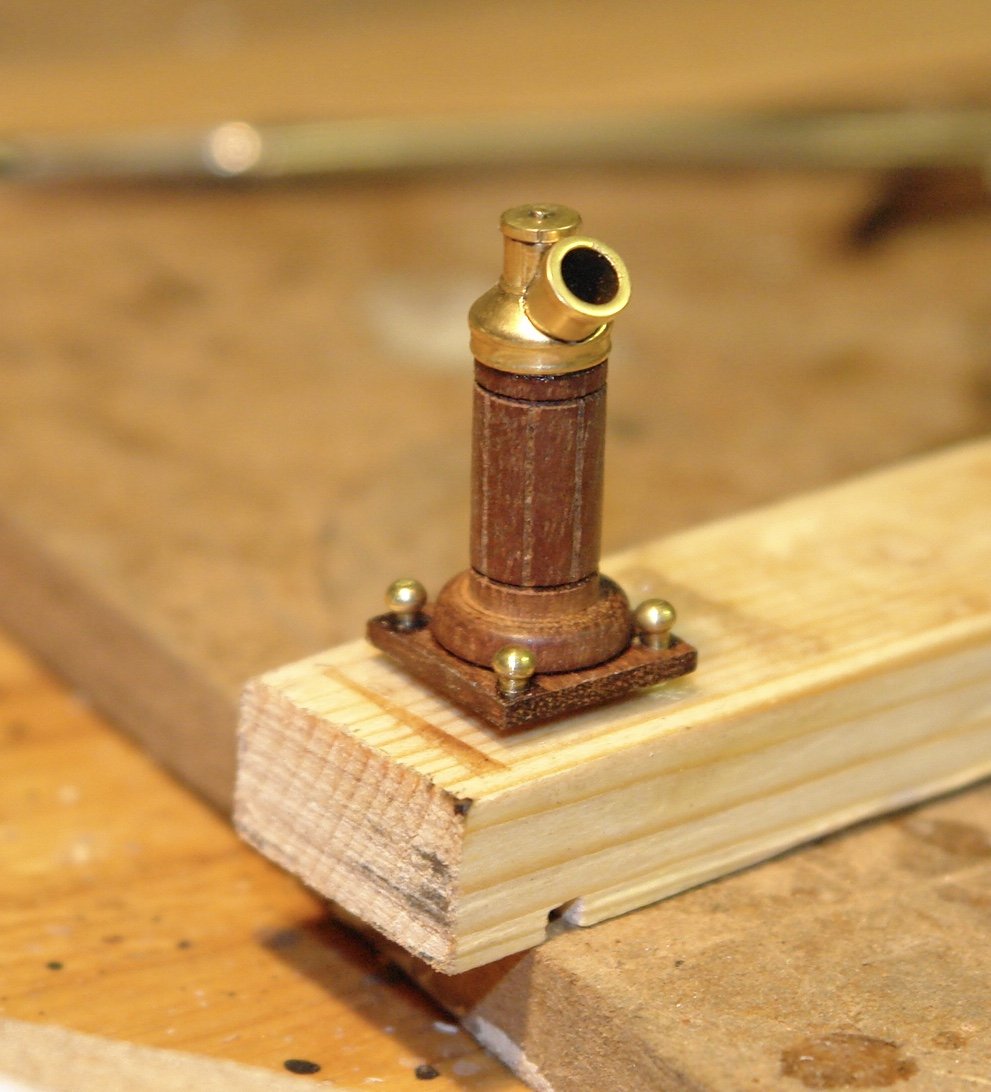
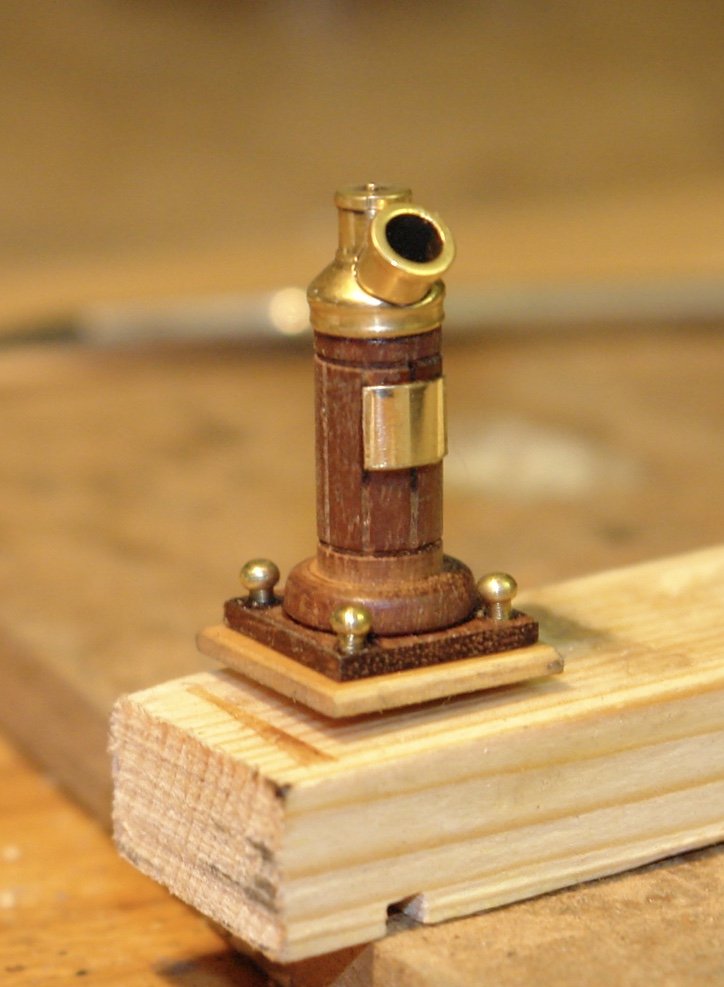
Some time back I had a go at the binnacle but on checking my photo library i raised I had missed off the mounting plinth and the brass access plate. So I corrected the error, painted it with poly and mounted it on the deck. Its about 1 inch high.


I then made a start on the mountings for the port and starboard lights.
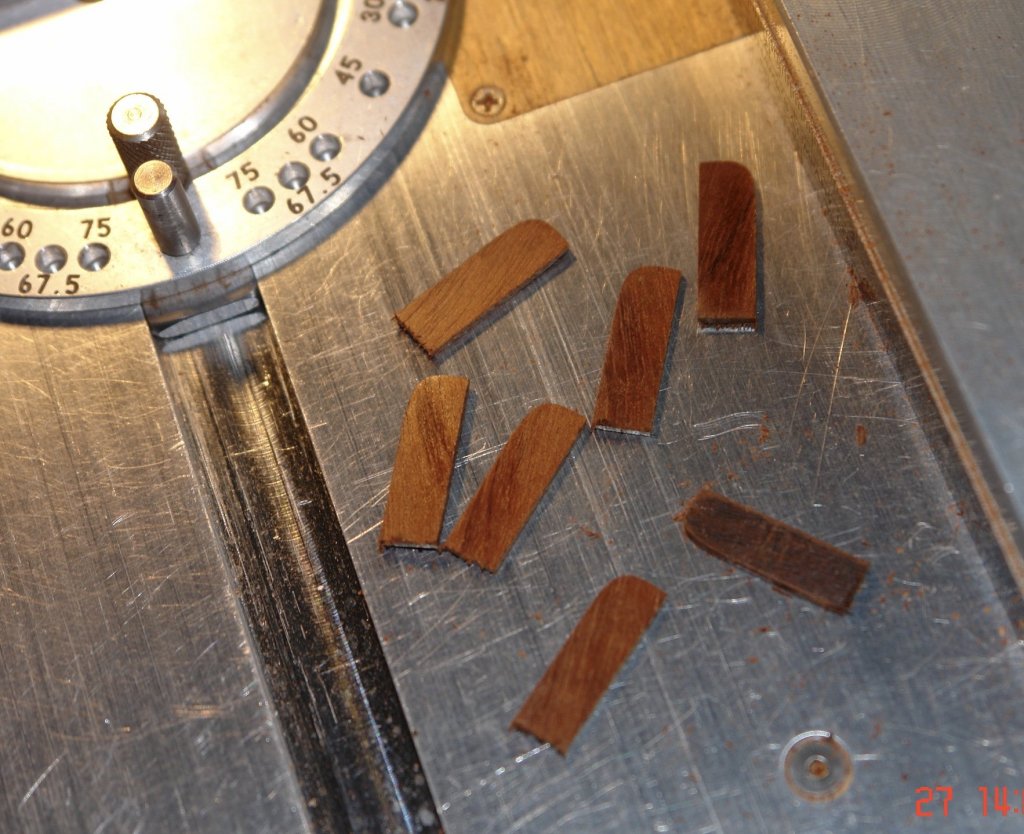
I turned the basic shape of the lights and segmented it into quarters of which I only need 2.
-
Nice launcher Kevin. It would have grieved me to have paid for it.
- popeye the sailor, mtaylor and Piet
-
 3
3
-
Nice work Jon.
Have you thought how you will lower the centre of gravity for sailing. On the plans for the sailing version of Altair the suggested modification is to attach a separate lead keel on a skeg some 4 inches below the level of the real keel. The technical reason for this is that scaling down does not work if you want good sailing performance. Sail area varies as the square of the length while displacement varies as the cube. The result is that if you do a true scale model it has too little displacement and much too much sail area. Im sure from your previous builds of sailing yachts you are aware of the problem.
The Altair plans also show a sailing rudder that has about twice the area of the scale rudder. -
Nils, cleaning all those small spaces between decks requires specialist skills. Can I suggest you buy one of these. https://www.google.co.uk/search?q=model+figures+cleaner&ie=UTF-8&oe=UTF-8&hl=en-gb&client=safari#imgrc=thgAXWf_HUfN_M:
- Mirabell61, popeye the sailor, Piet and 2 others
-
5
-
-
Thank you Michael. Im saving rope making for my next build, once I have made a rope walk, and a rear tool post, and a table for the scroll saw, and decorated the games room, and, and, and - life is just too short.
- John Allen and mtaylor
-
2
-
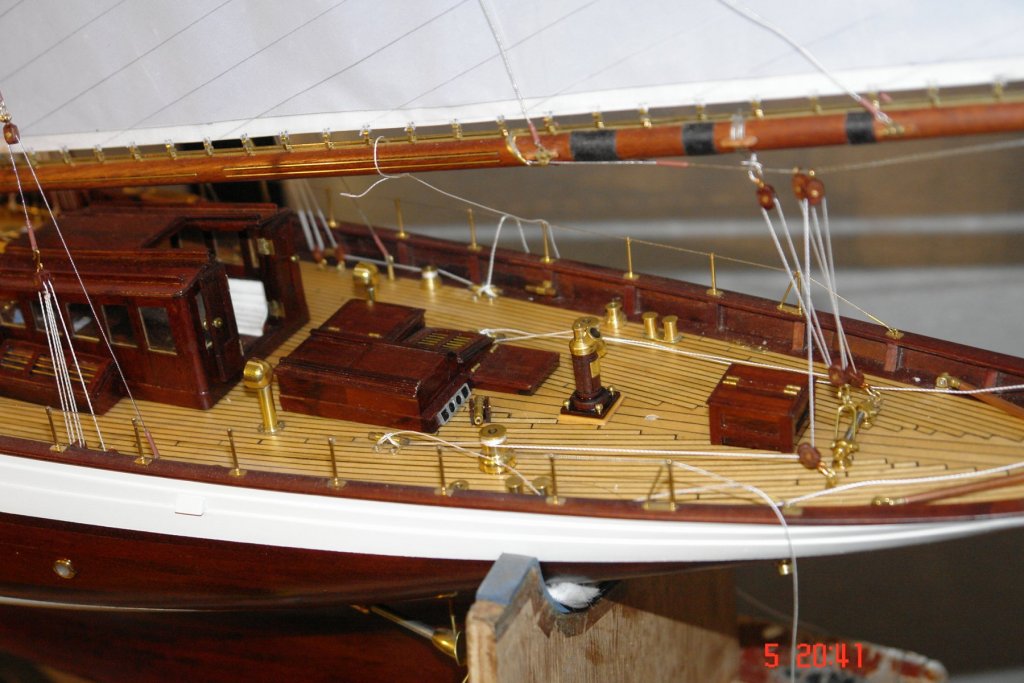
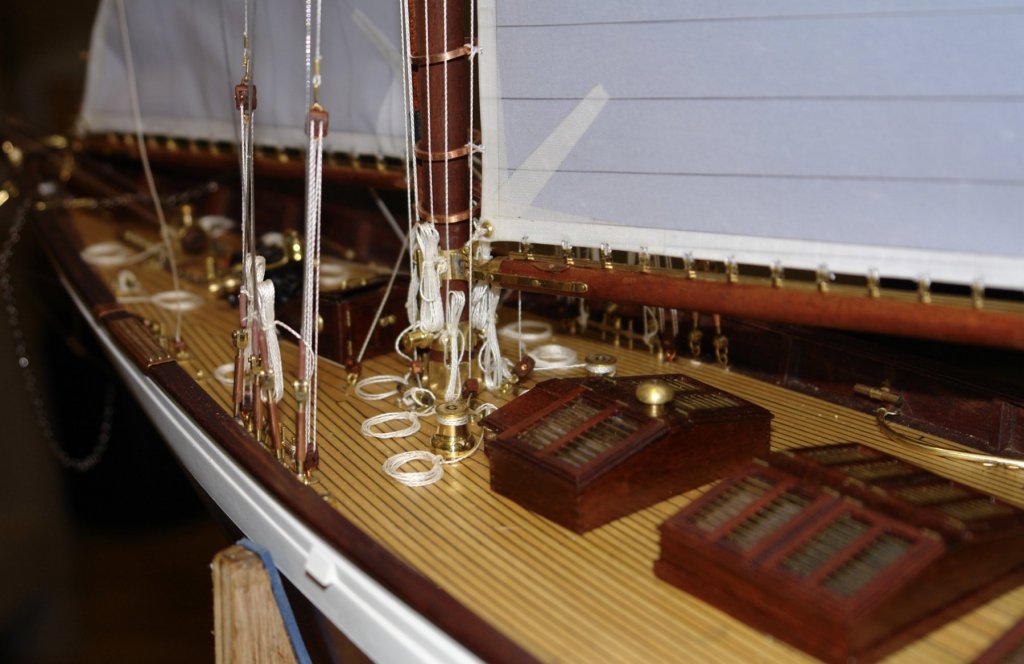
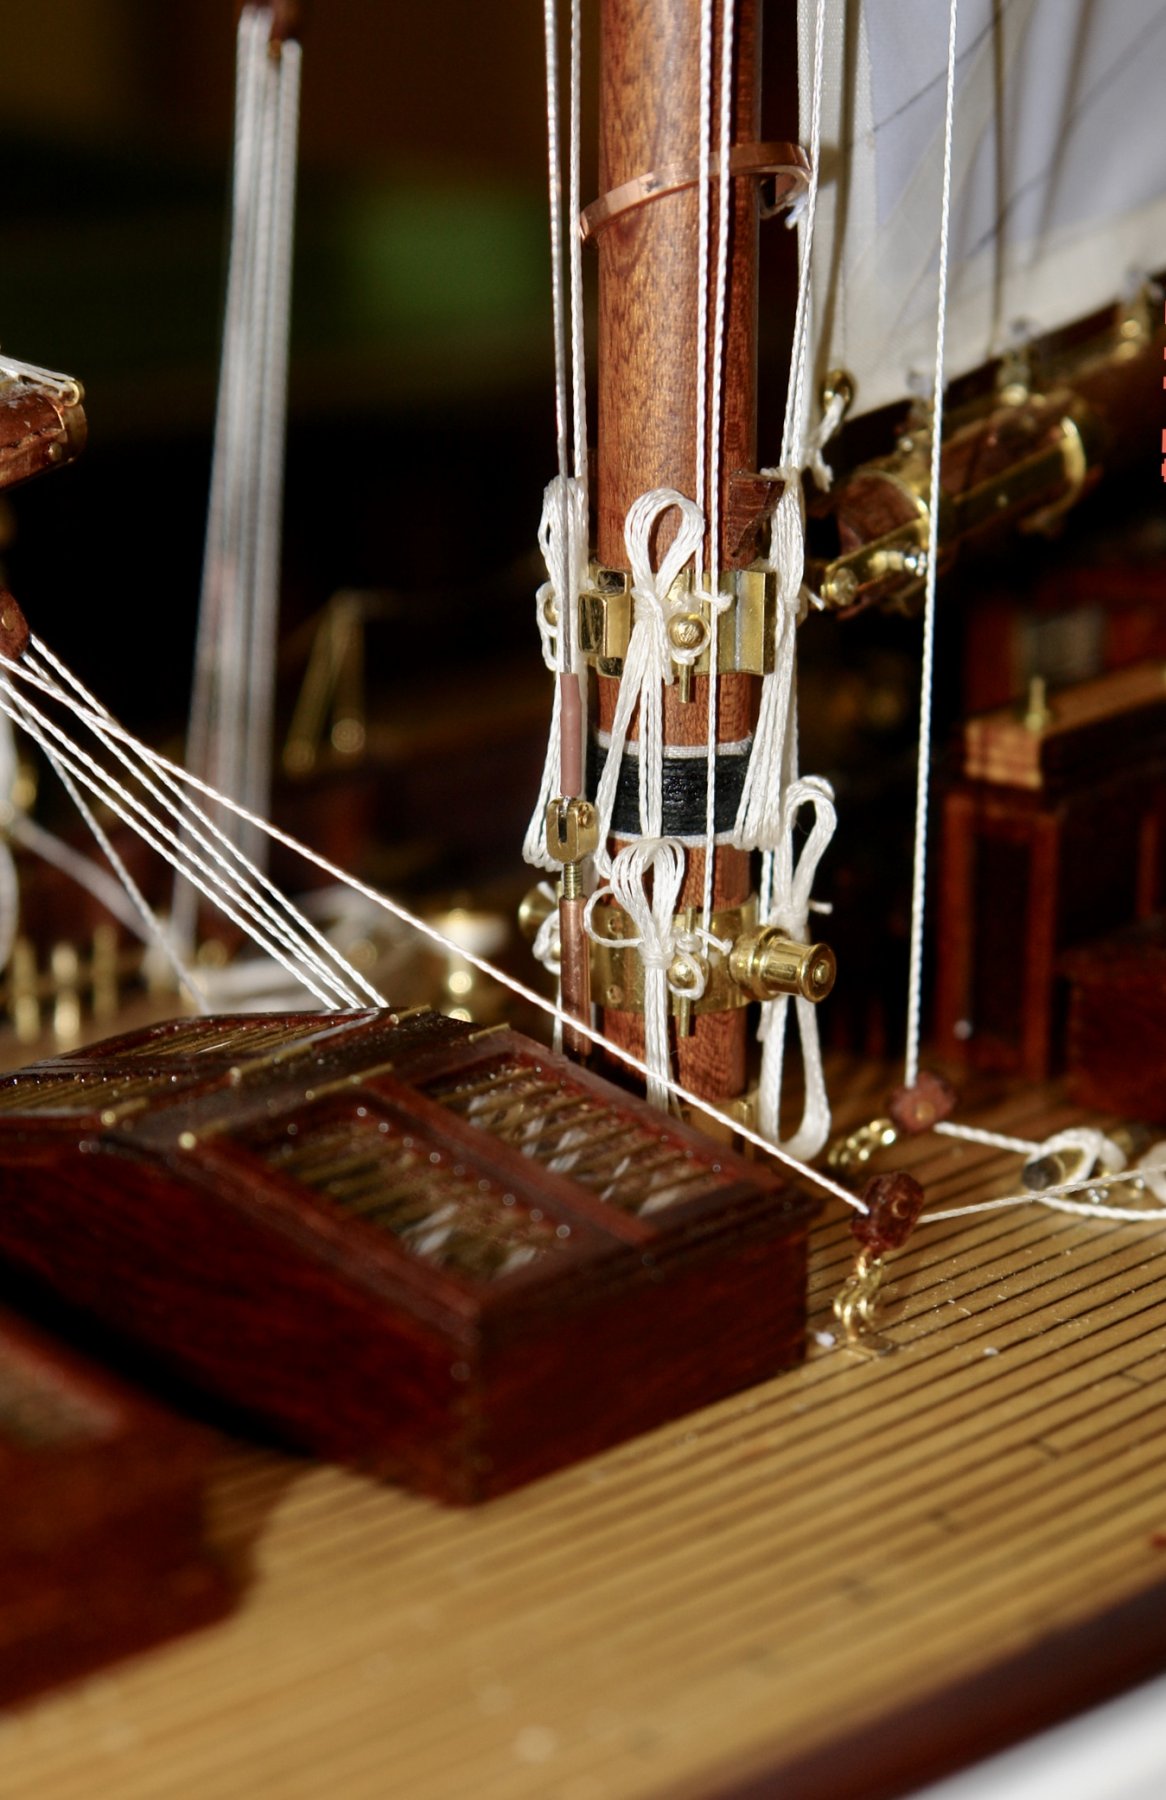
I have been continuing with the rigging - still a bit to do though. It does not seem as though I have made much progress over the last week despite having been in the workshop for quite a few hours. Perhaps its just a slow part of the build.
I completed the sheets on the main top sail. The topmast lift and numerous other lines.
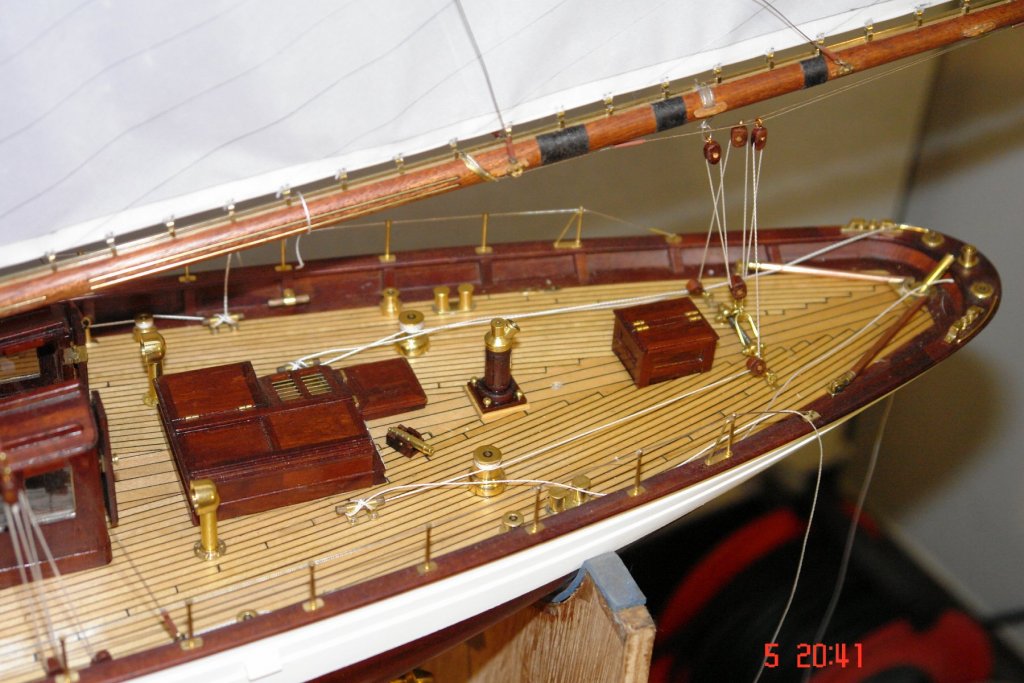
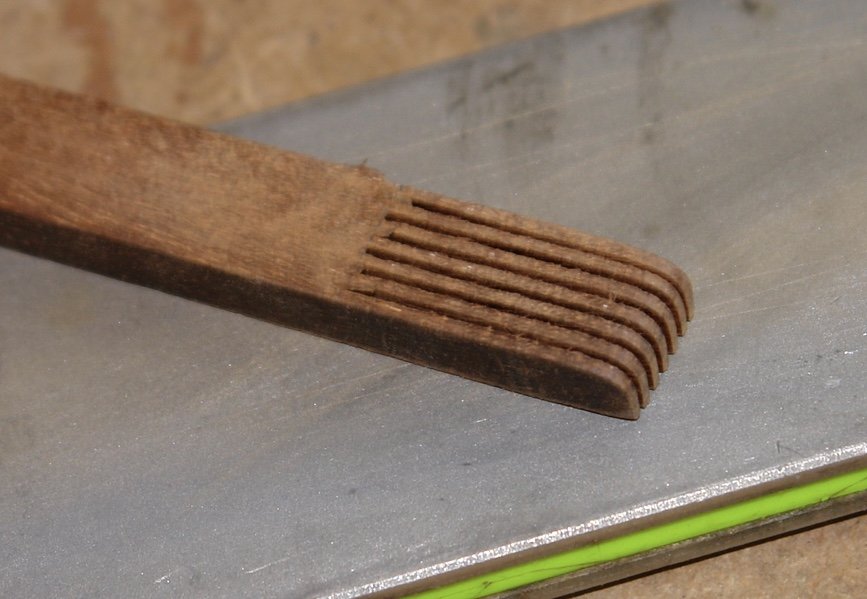
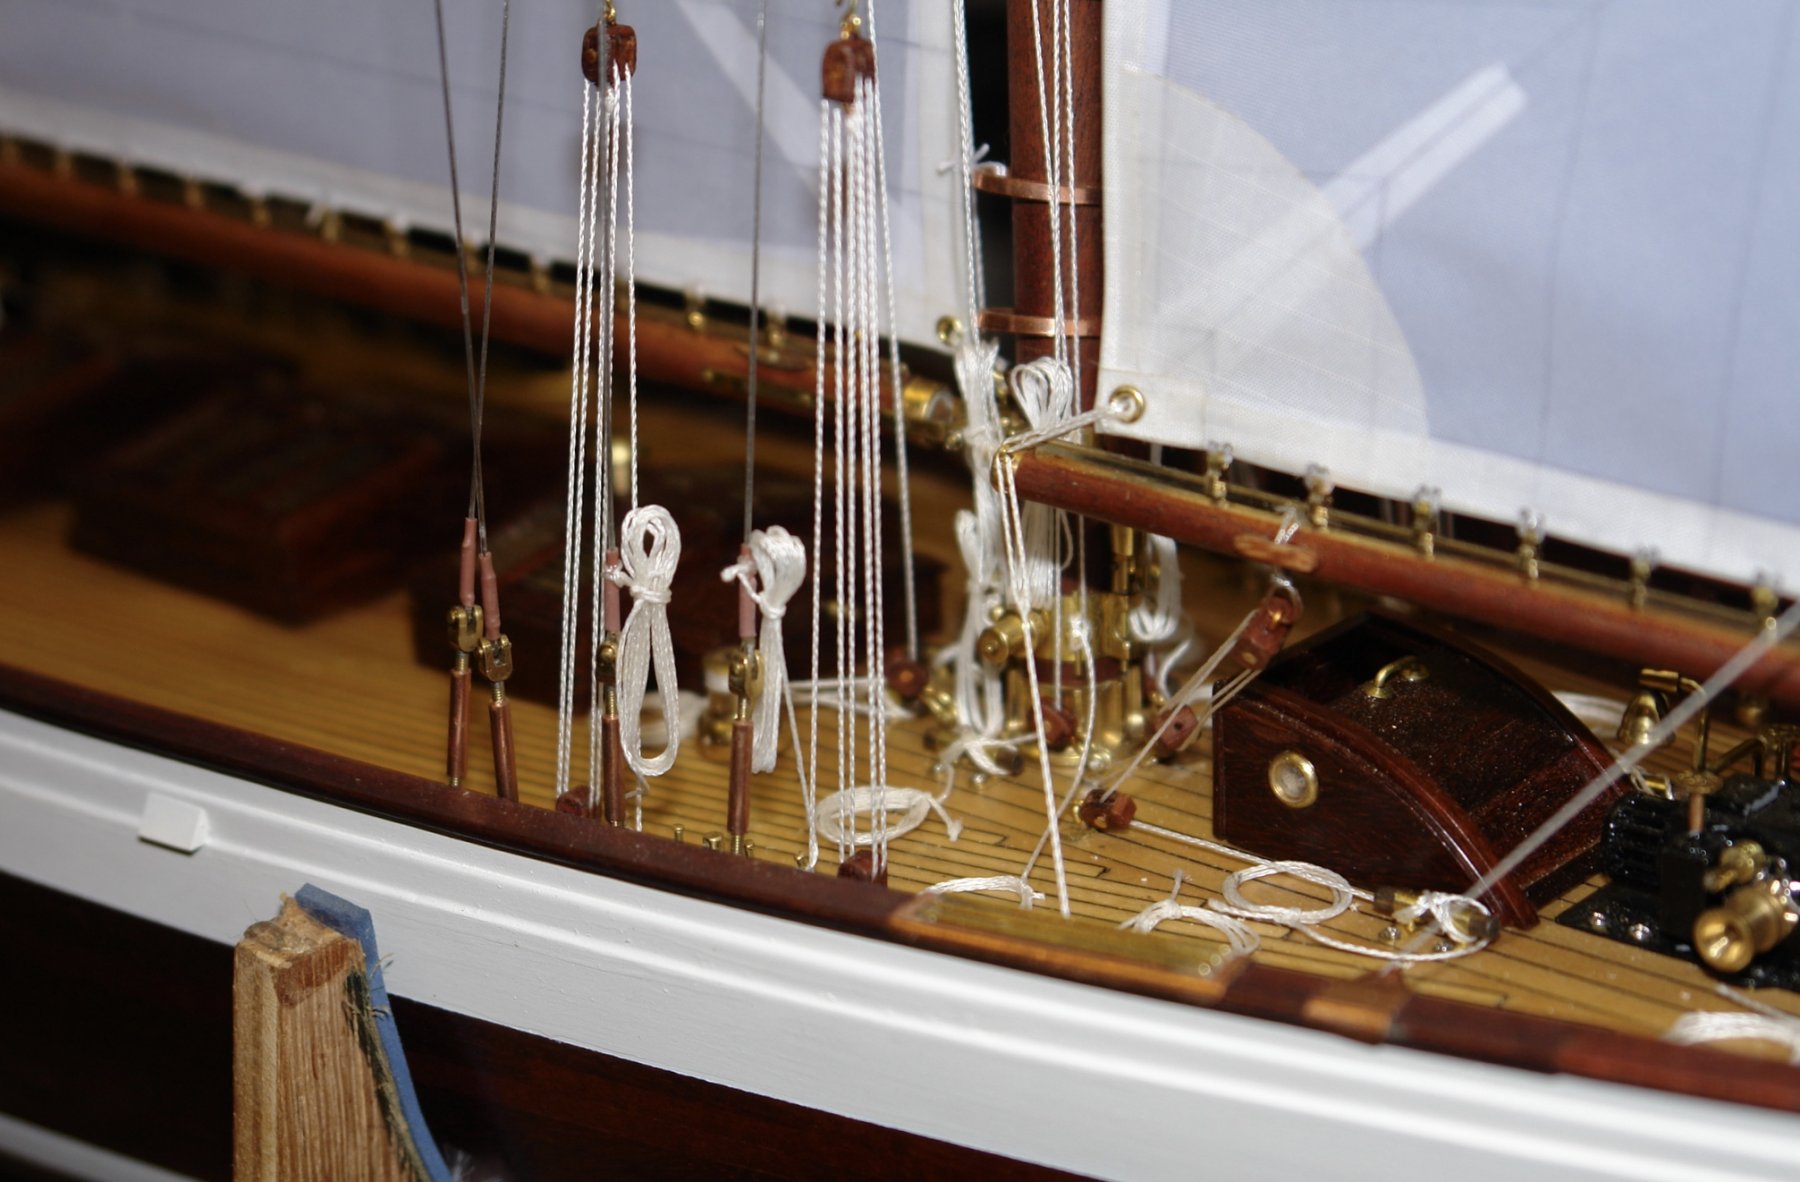
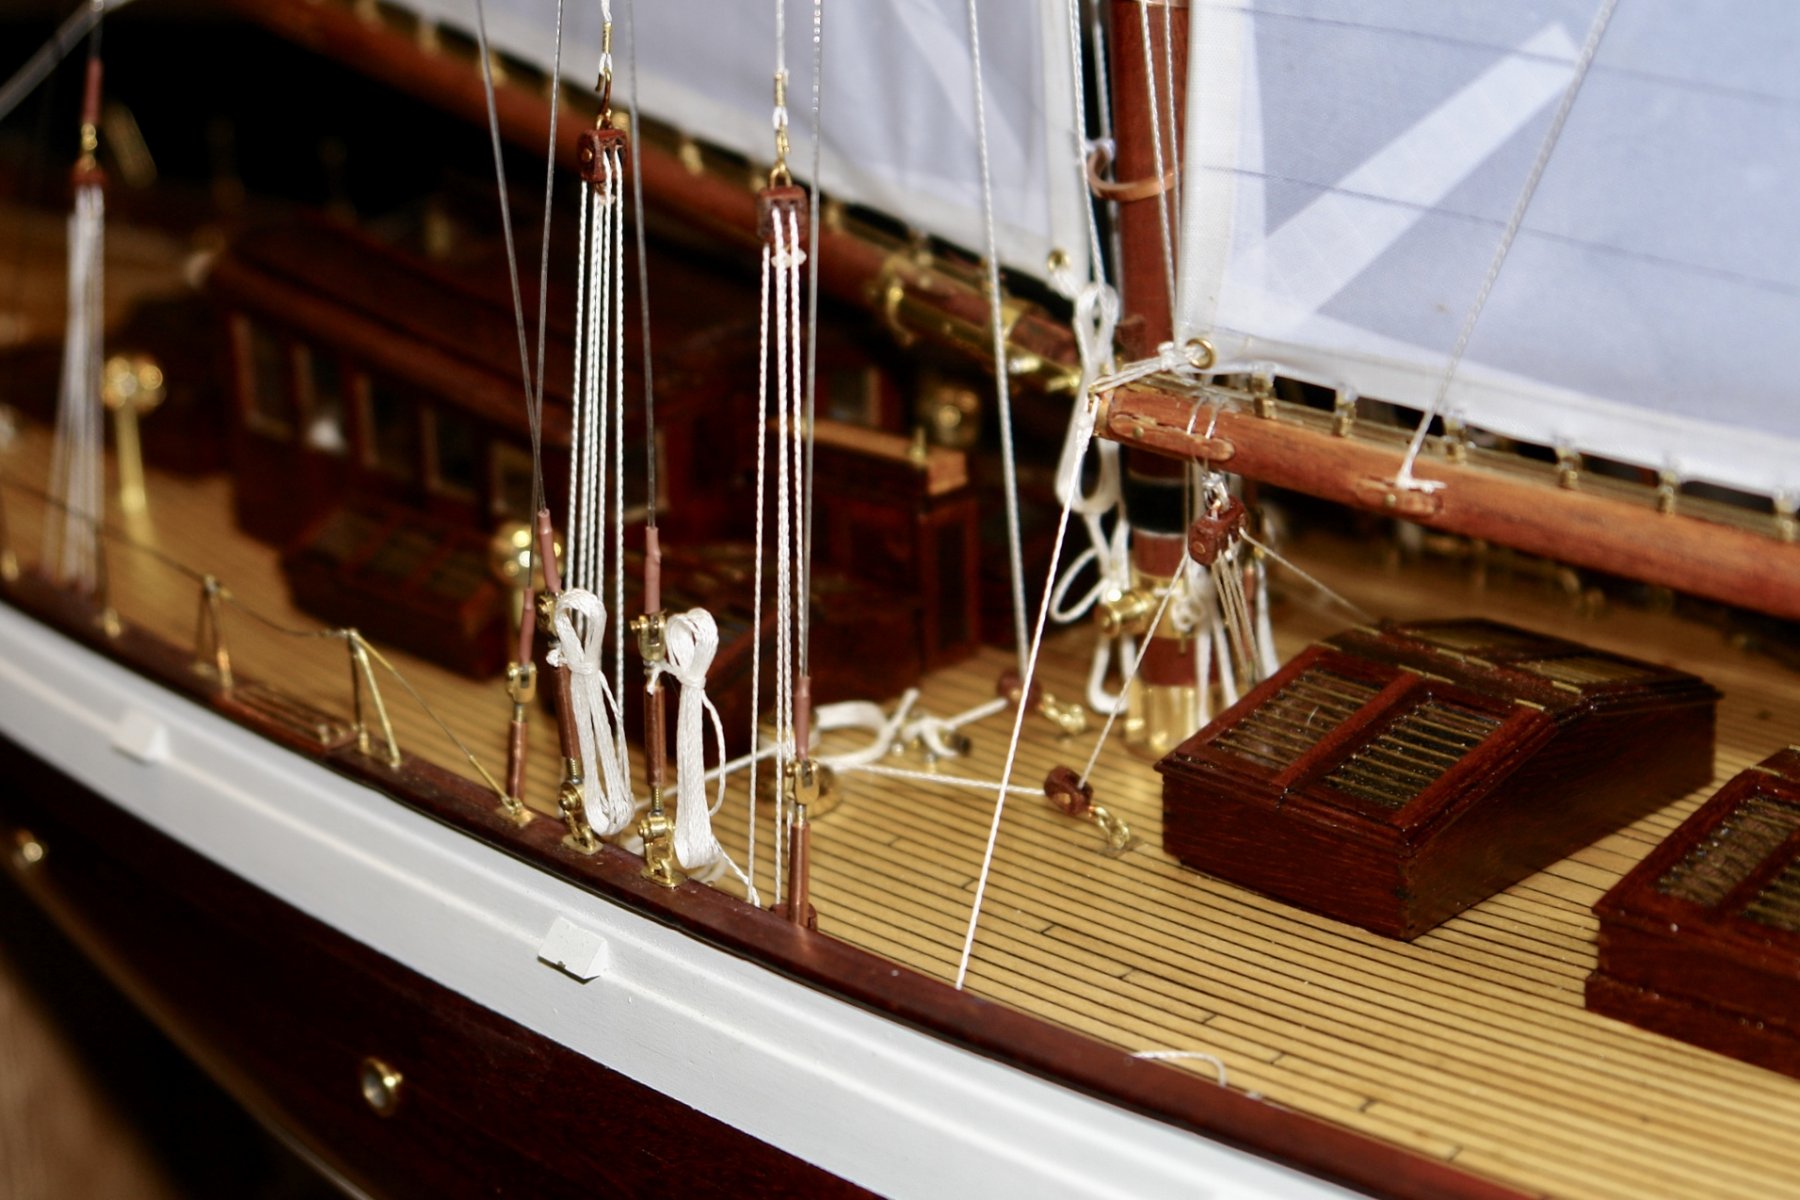
Once more I ended up with a rats nest of lines on the deck. The piece of wood with metal pegs is my rope coiling tool.
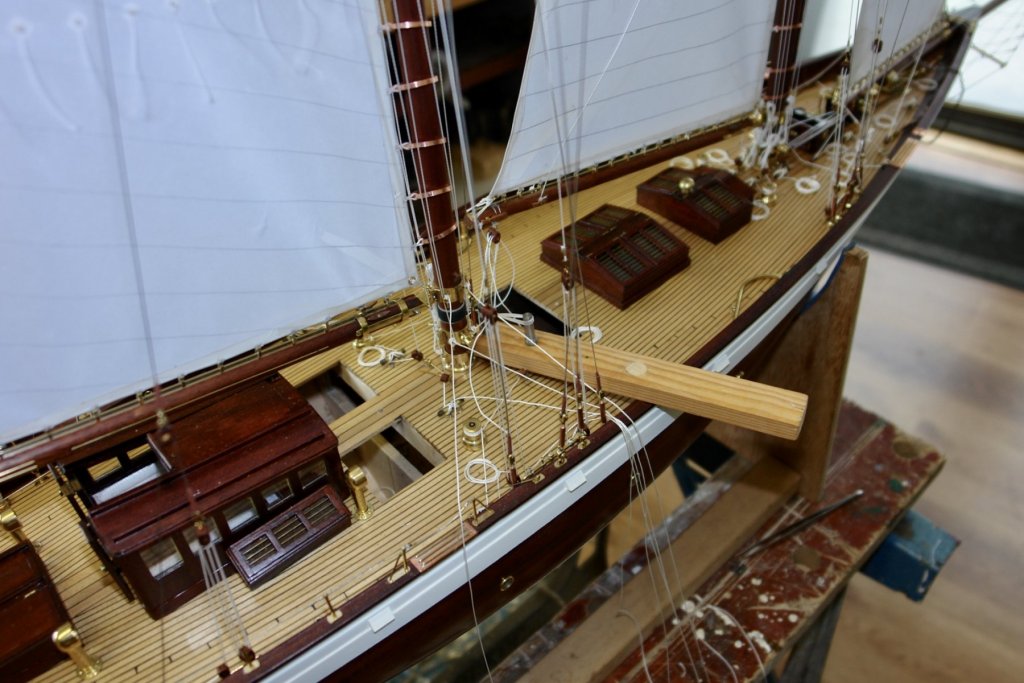
Some time later all was tidy.


-
2 hours ago, probablynot said:
What can I spend it on???
I seem to recall flowers for the wife was a suggestion!!!!!!!!!
- cog, John Allen, Canute and 1 other
-
4
-
Coming along very well. Nice hoops - how were they made?
-
Hi Nils
6 minutes ago, Mirabell61 said:Here is a 1:48 helmsman for the ship`s boat
He looks like he ate too many pies, or is it a beer belly?
- davyboy, Mirabell61, mtaylor and 3 others
-
6
-
-
Deck is looking really nice Per. Re your comment:-
16 hours ago, Nirvana said:the nibbling was a challenge and with the varnish the flaws are showing up.
Have you tried mixing a little deck sanding dust with PVA and filling the areas you are concerned about with the mixture?
- Nirvana, popeye the sailor and Elijah
-
3
-
-
Jon, My commiseration to the turkey but I hope everyone else had a good time.
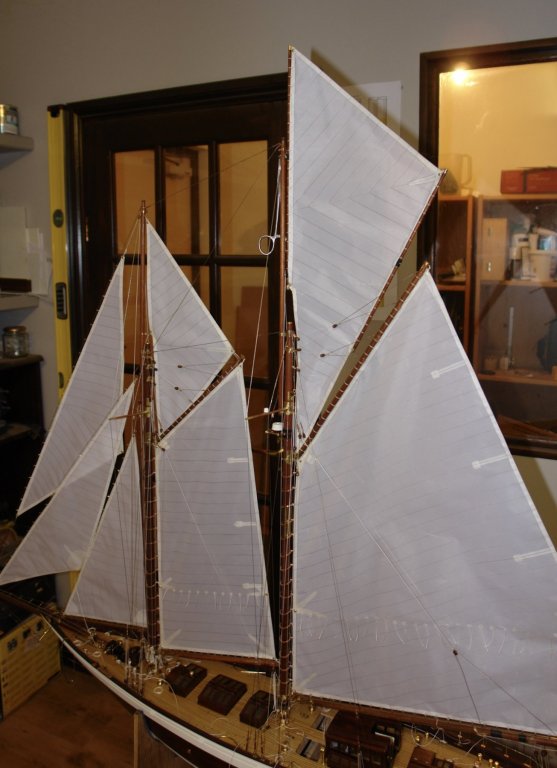
The main topsail was the subject of last nights and todays activity.
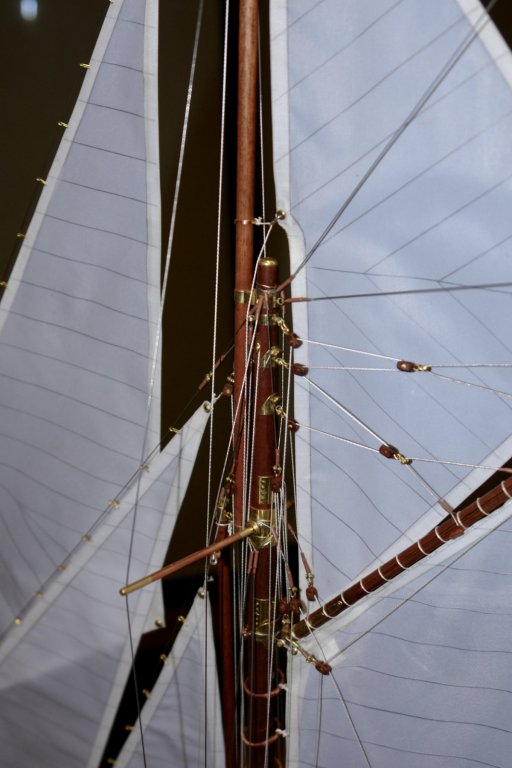
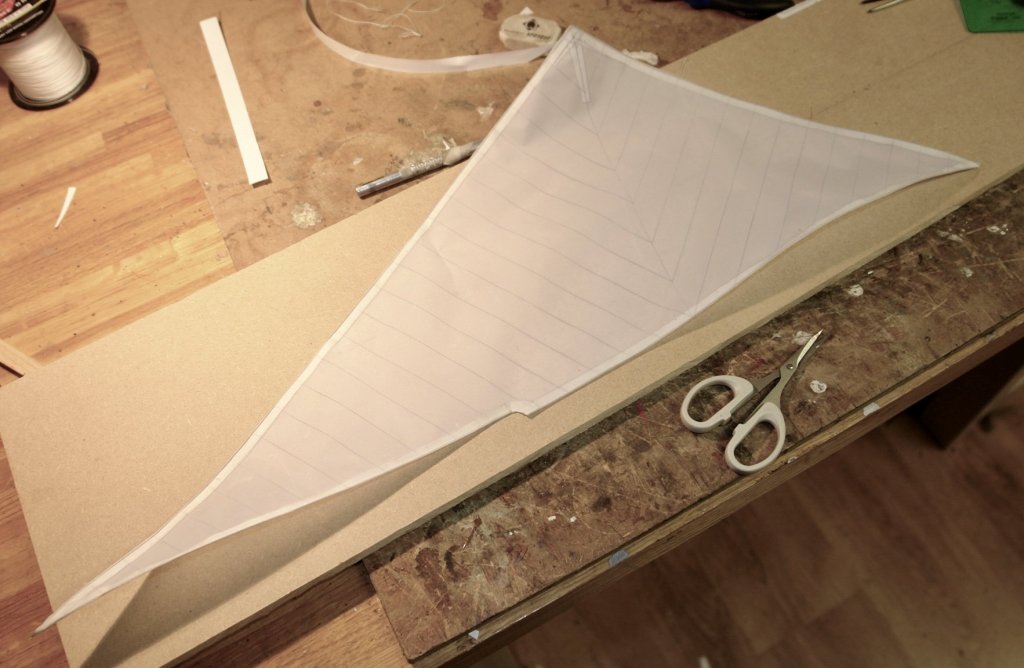
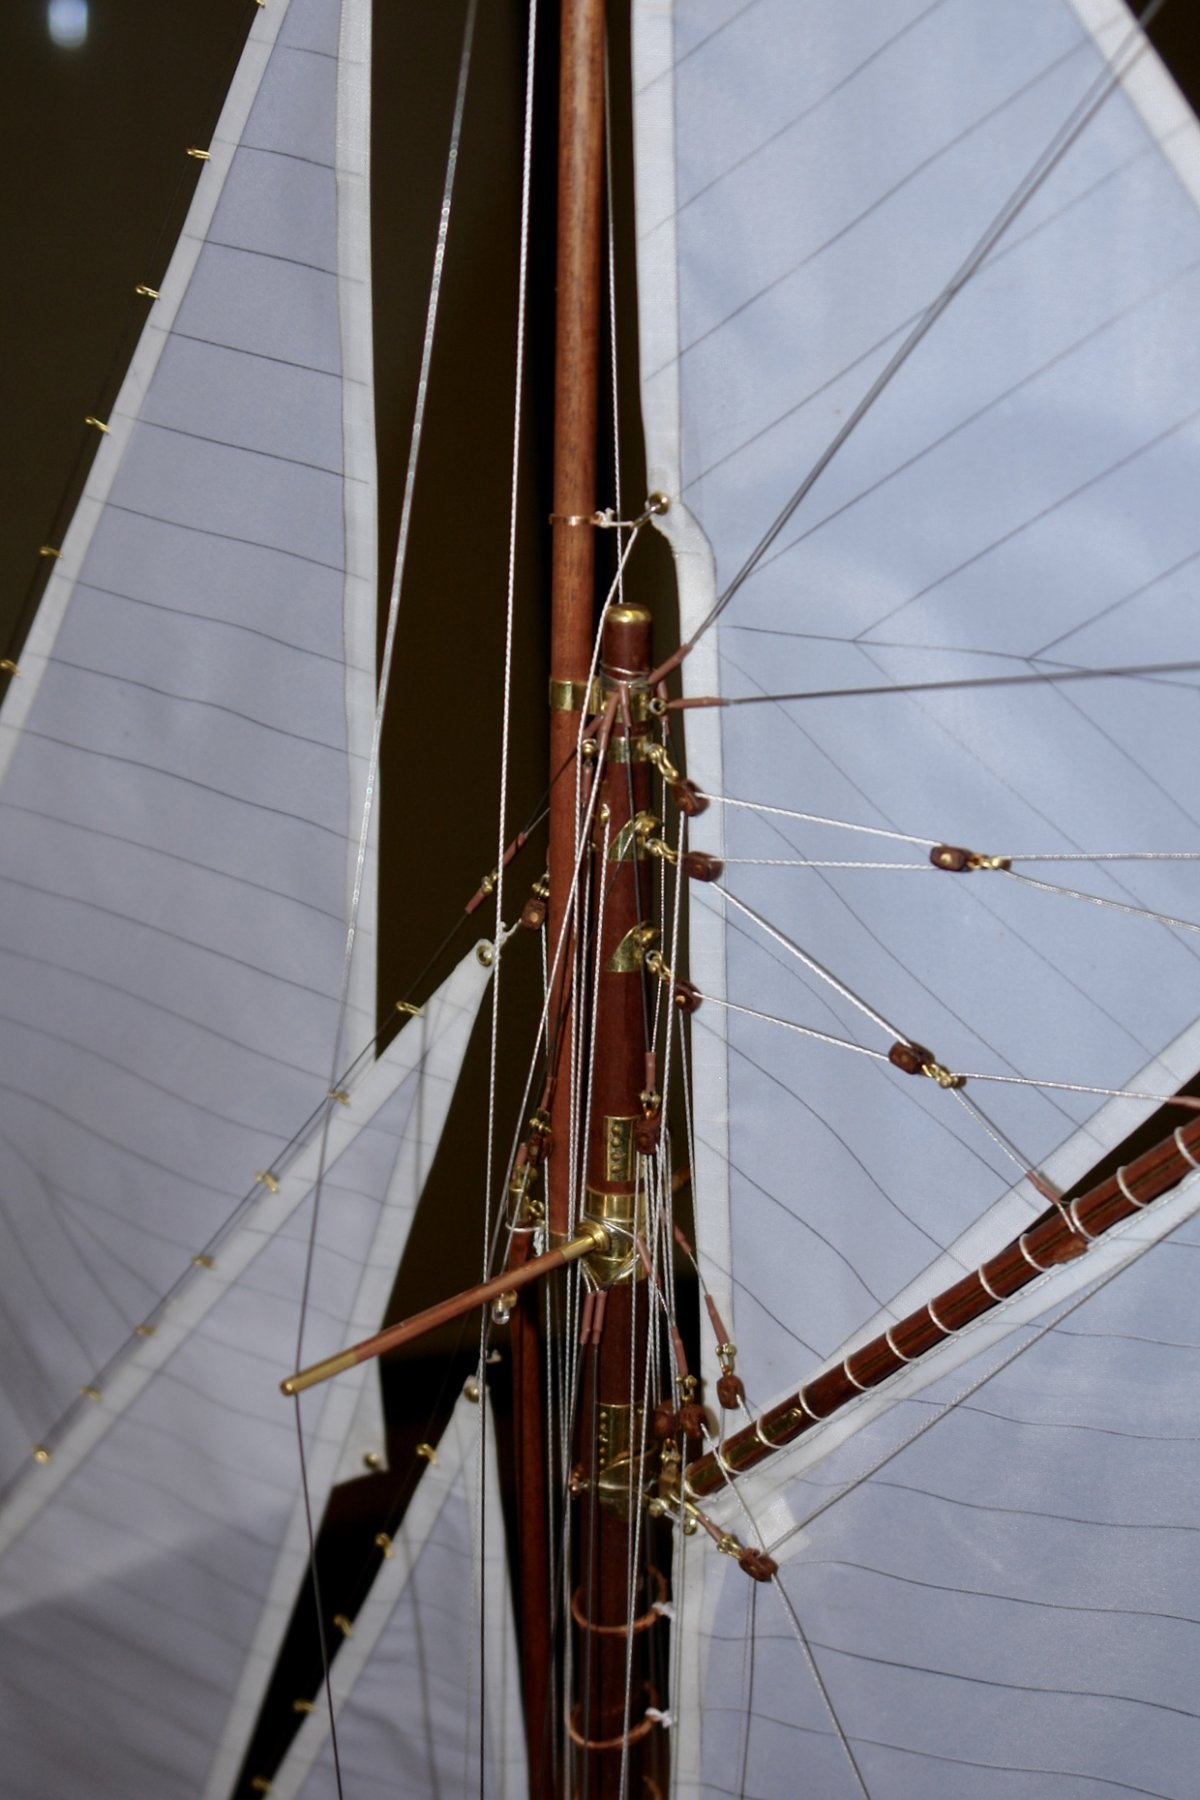
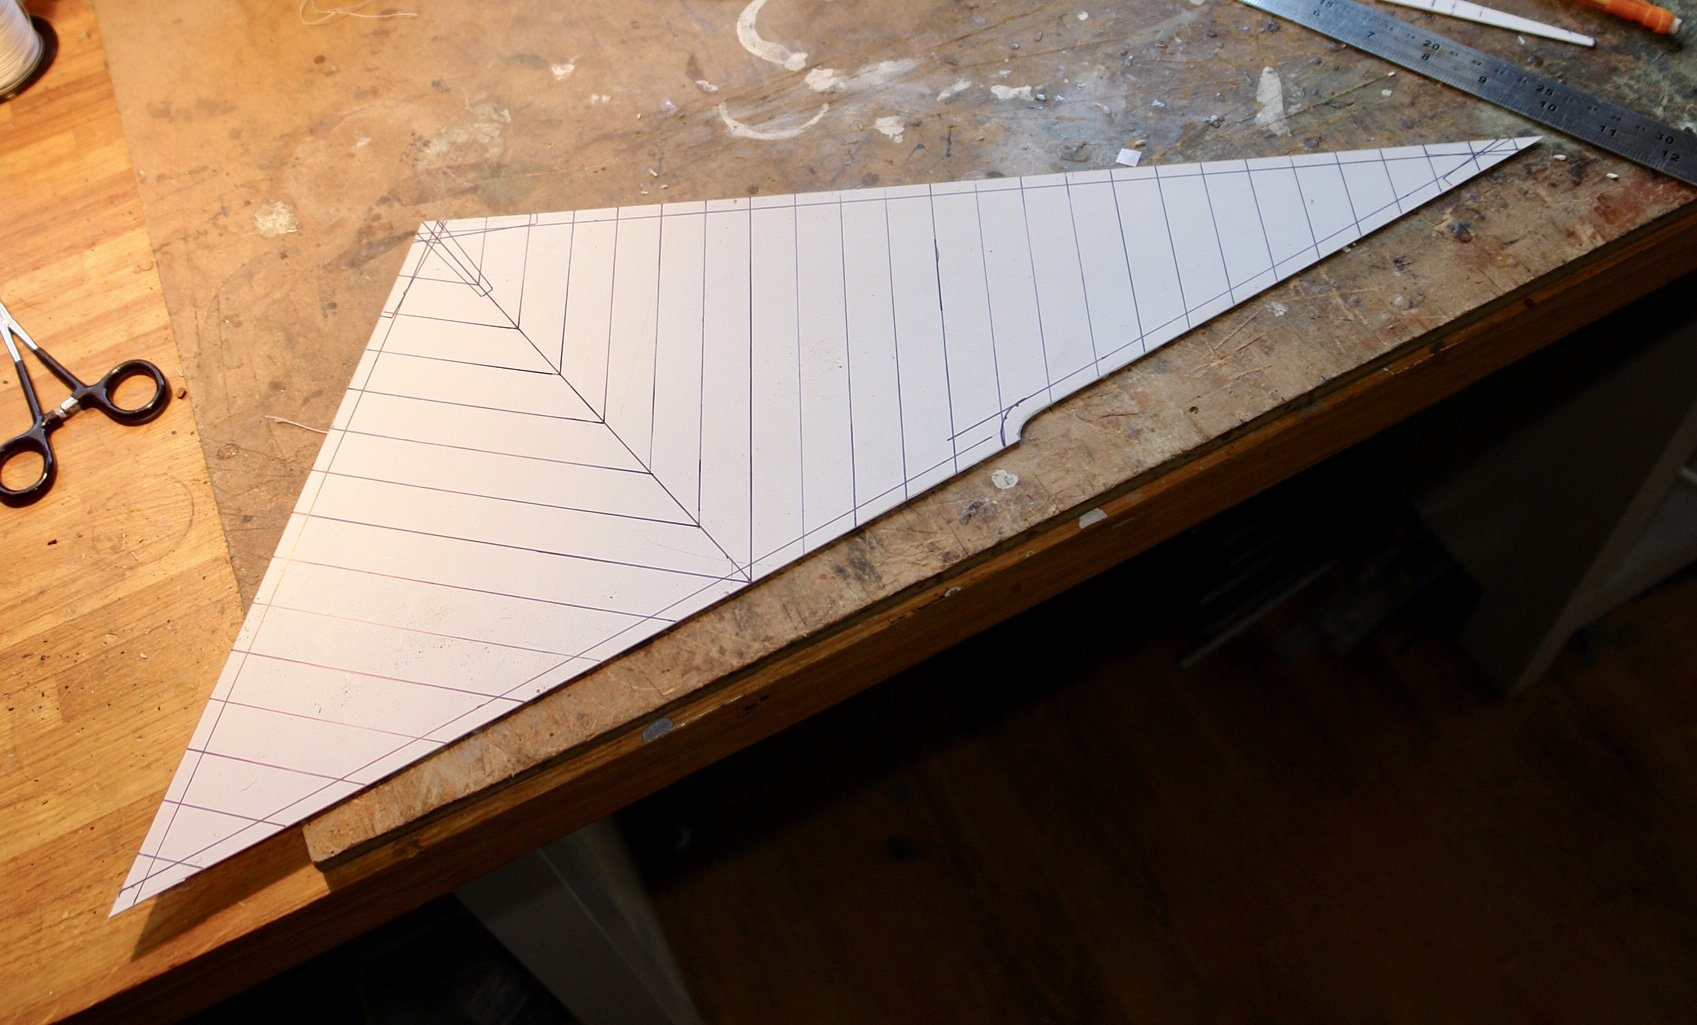
I started as normal with a template. Basically as per the plans with minor adjustment as a result of offering it up to the topmast. The plans do not show the cutback of the luff to clear the top of the mainmast. As the cutback is clearly visible in the photos I decided to include it.

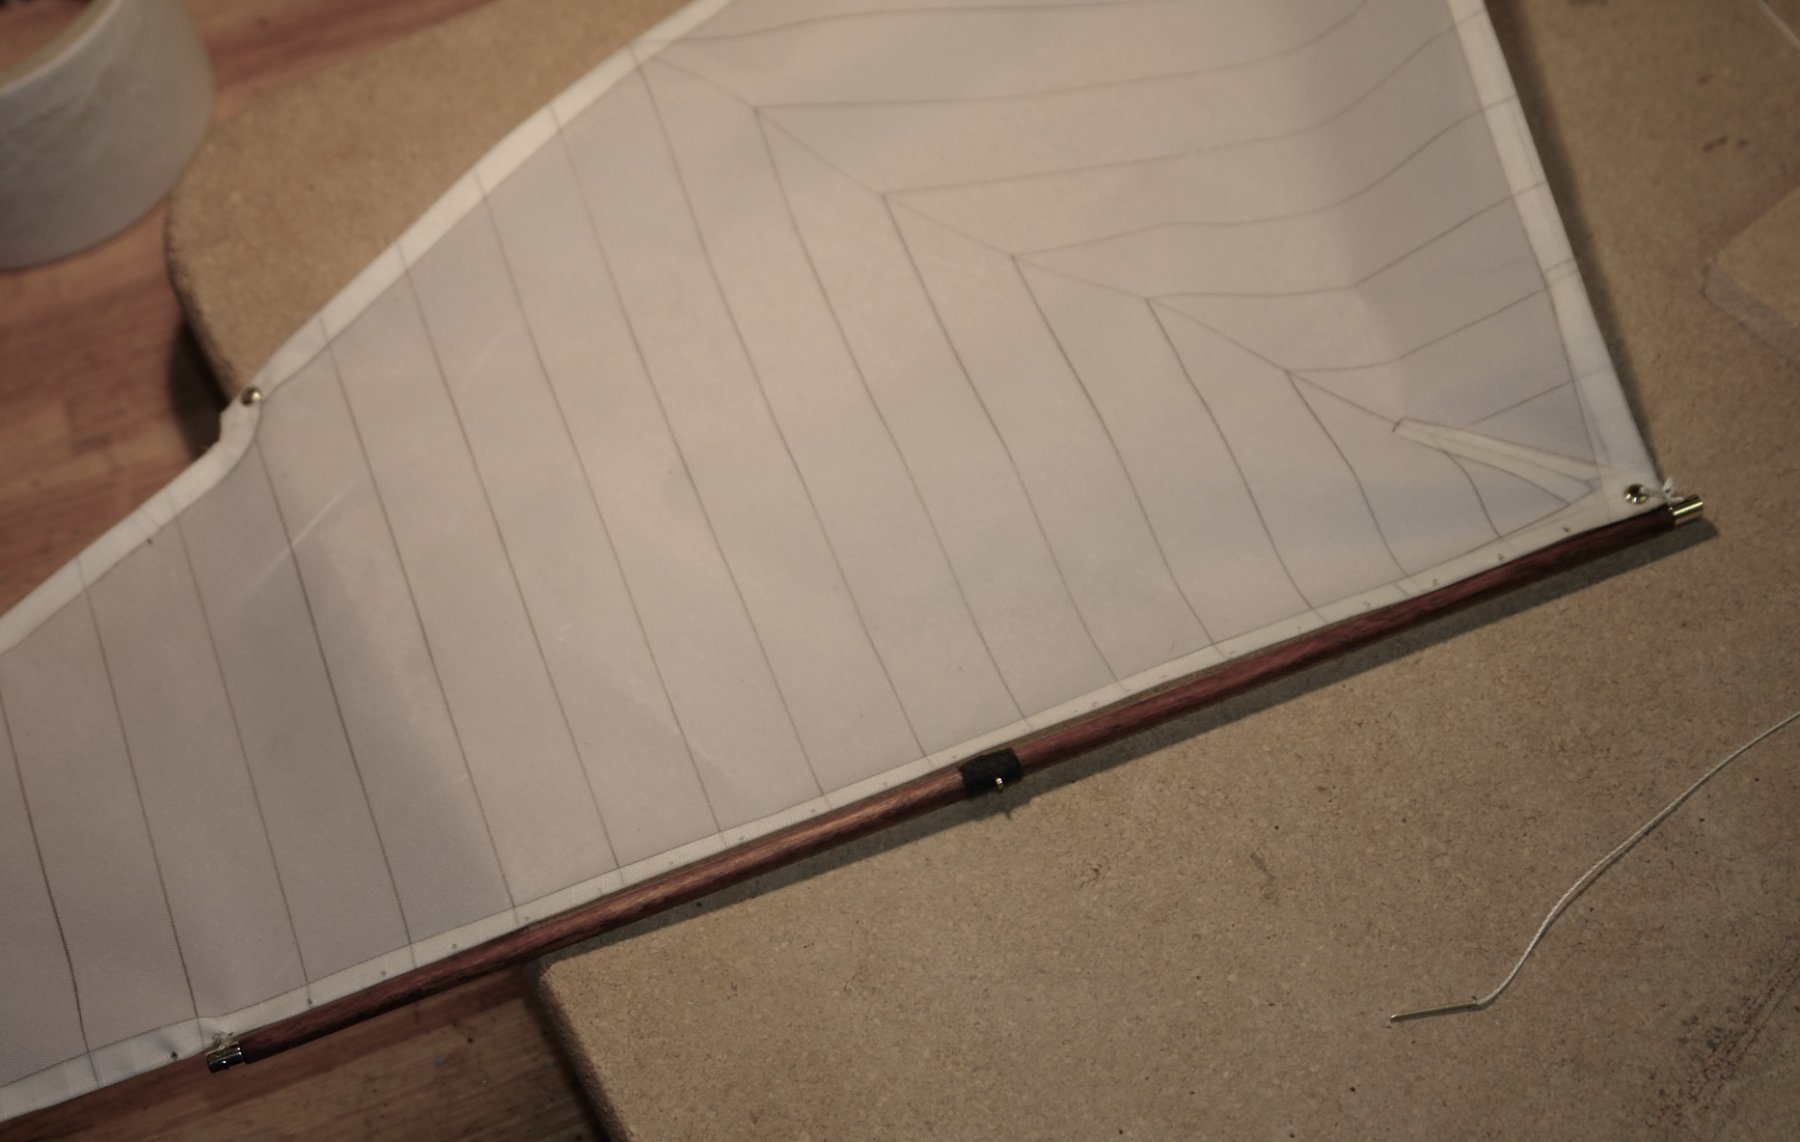
The sail was made on the template with wired edges etc etc - as previously described for other sails.
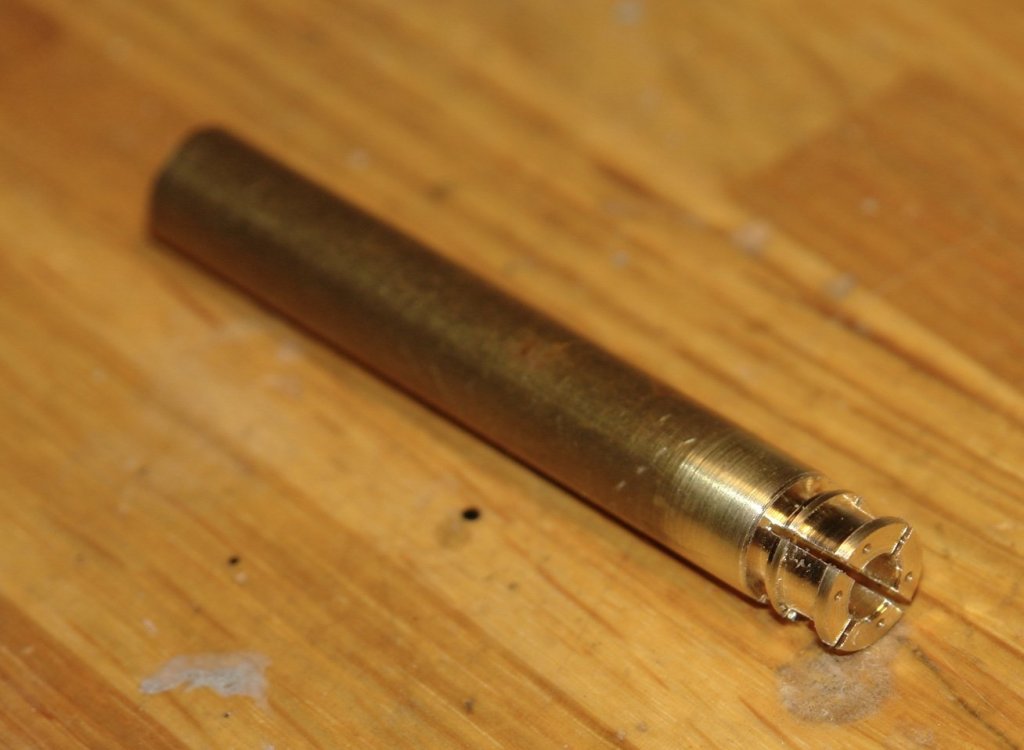
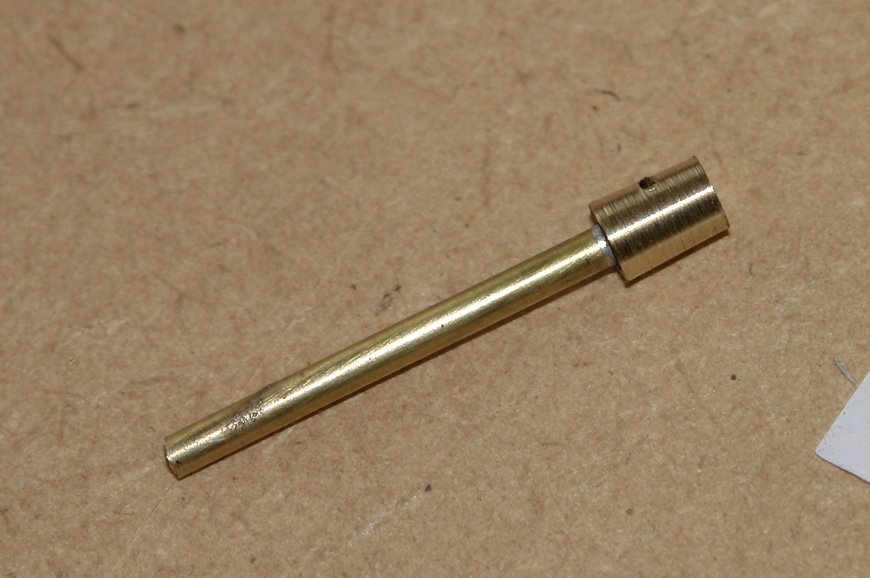
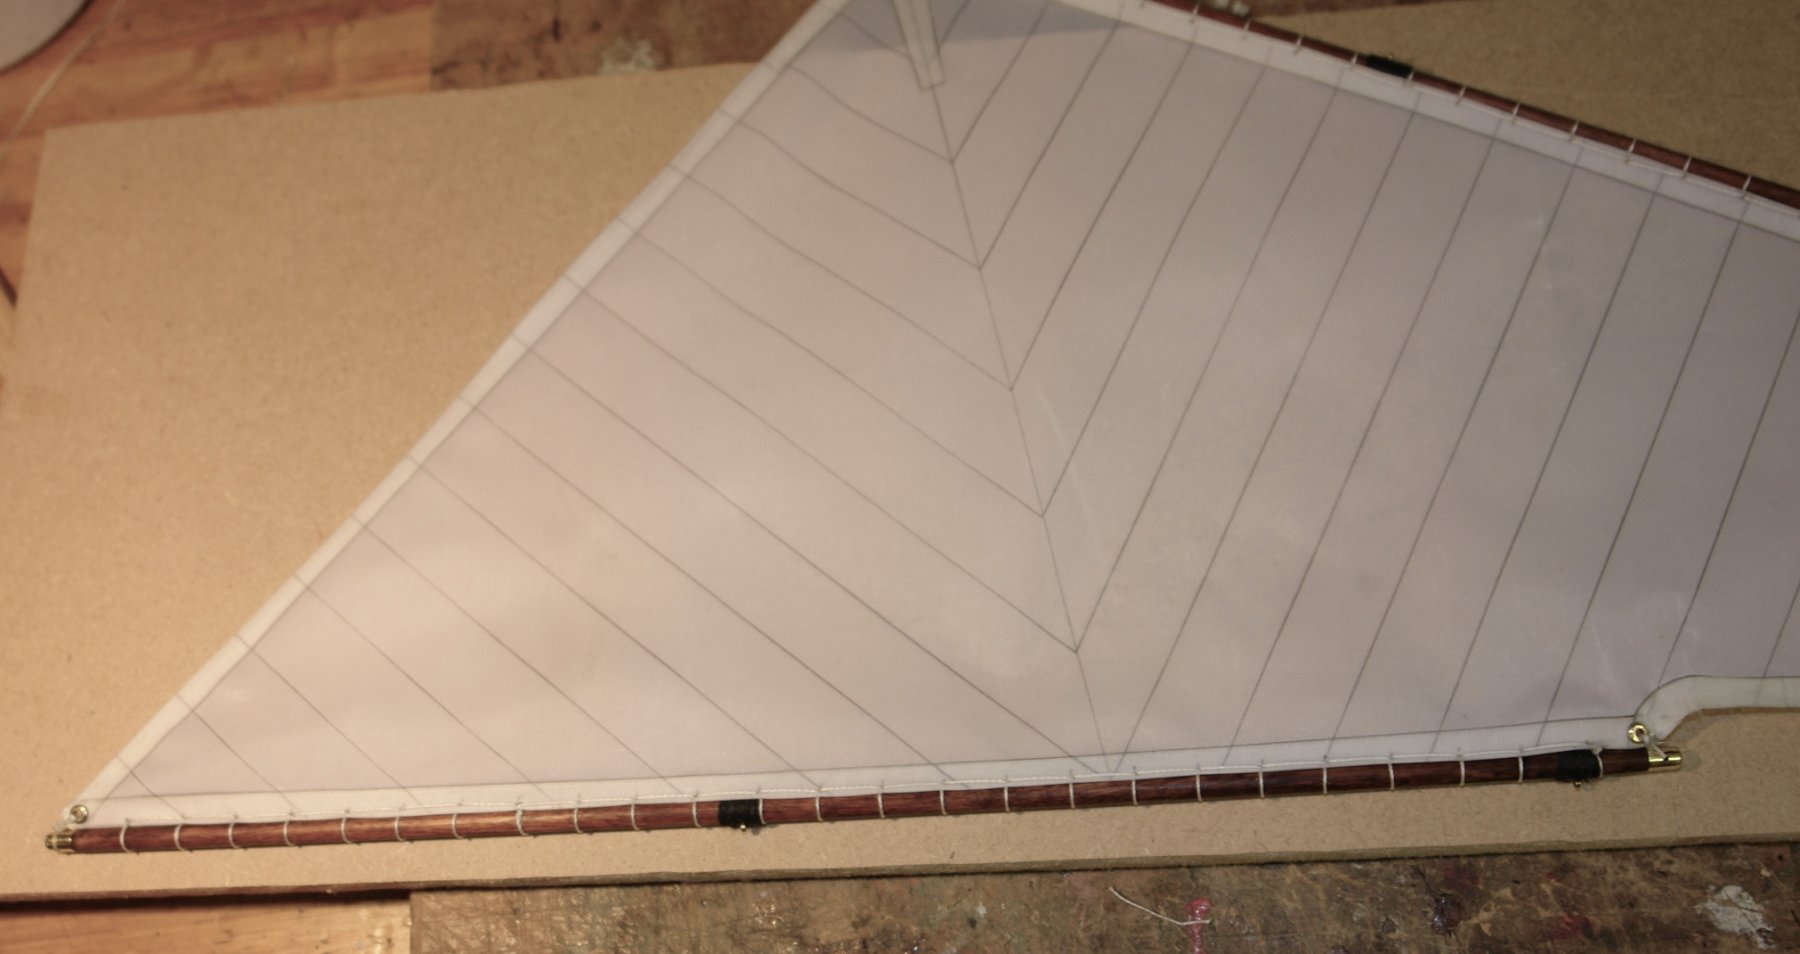
The topsail and jack yards were then attached and the sail spliced on. At the bottom right is my splicing (stitching) aid - the twine is cemented into a small bore tube (.08" OD) and the end is chamfered to a sharp point.

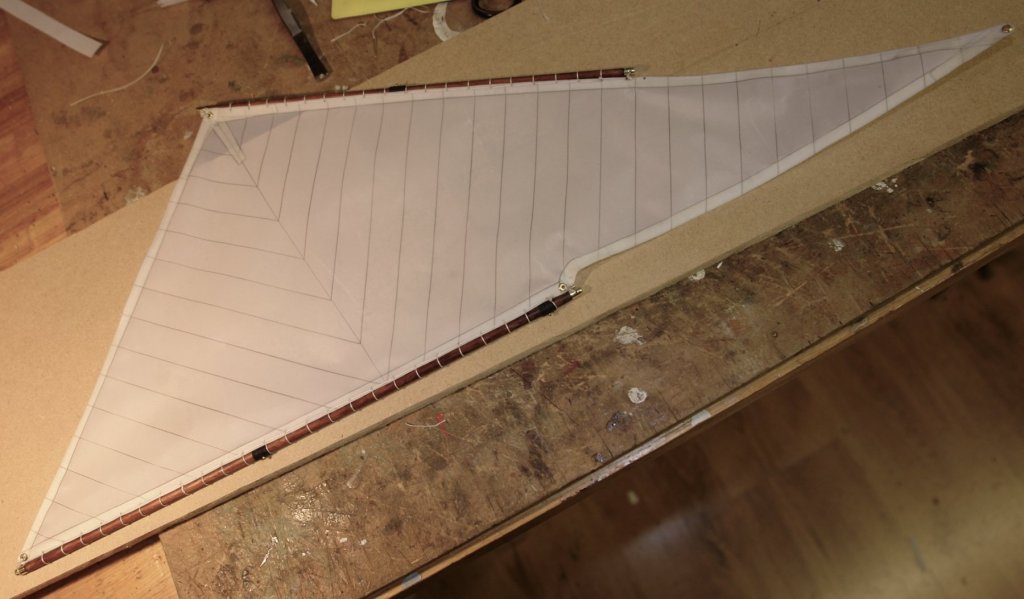

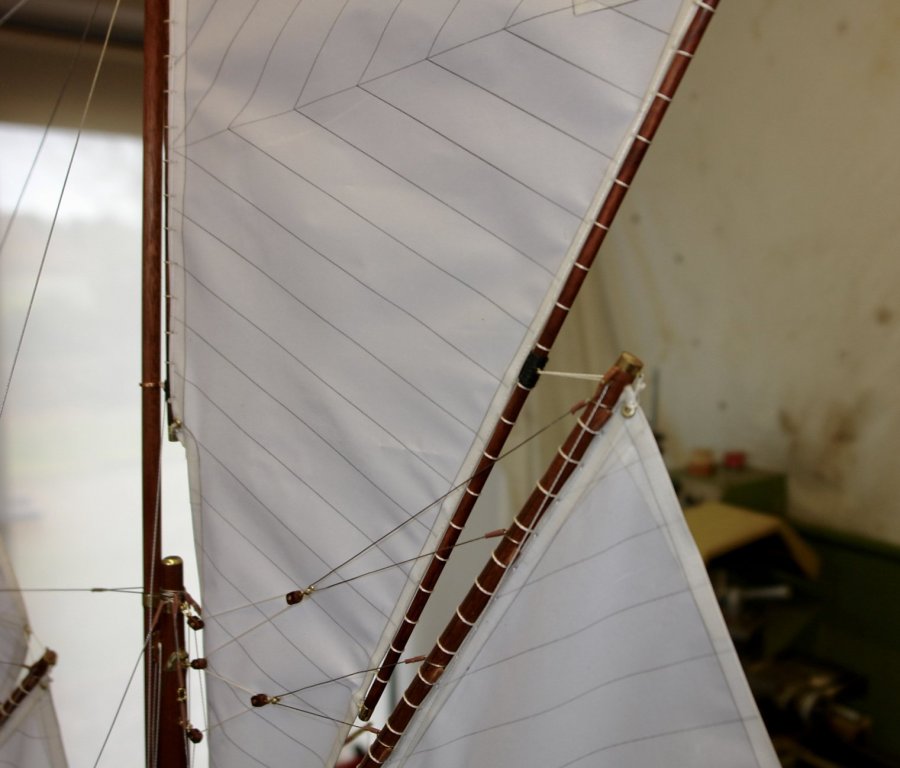
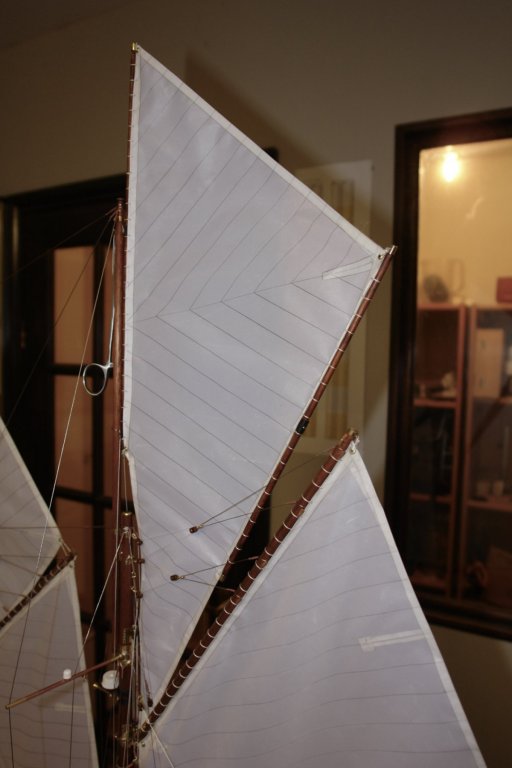
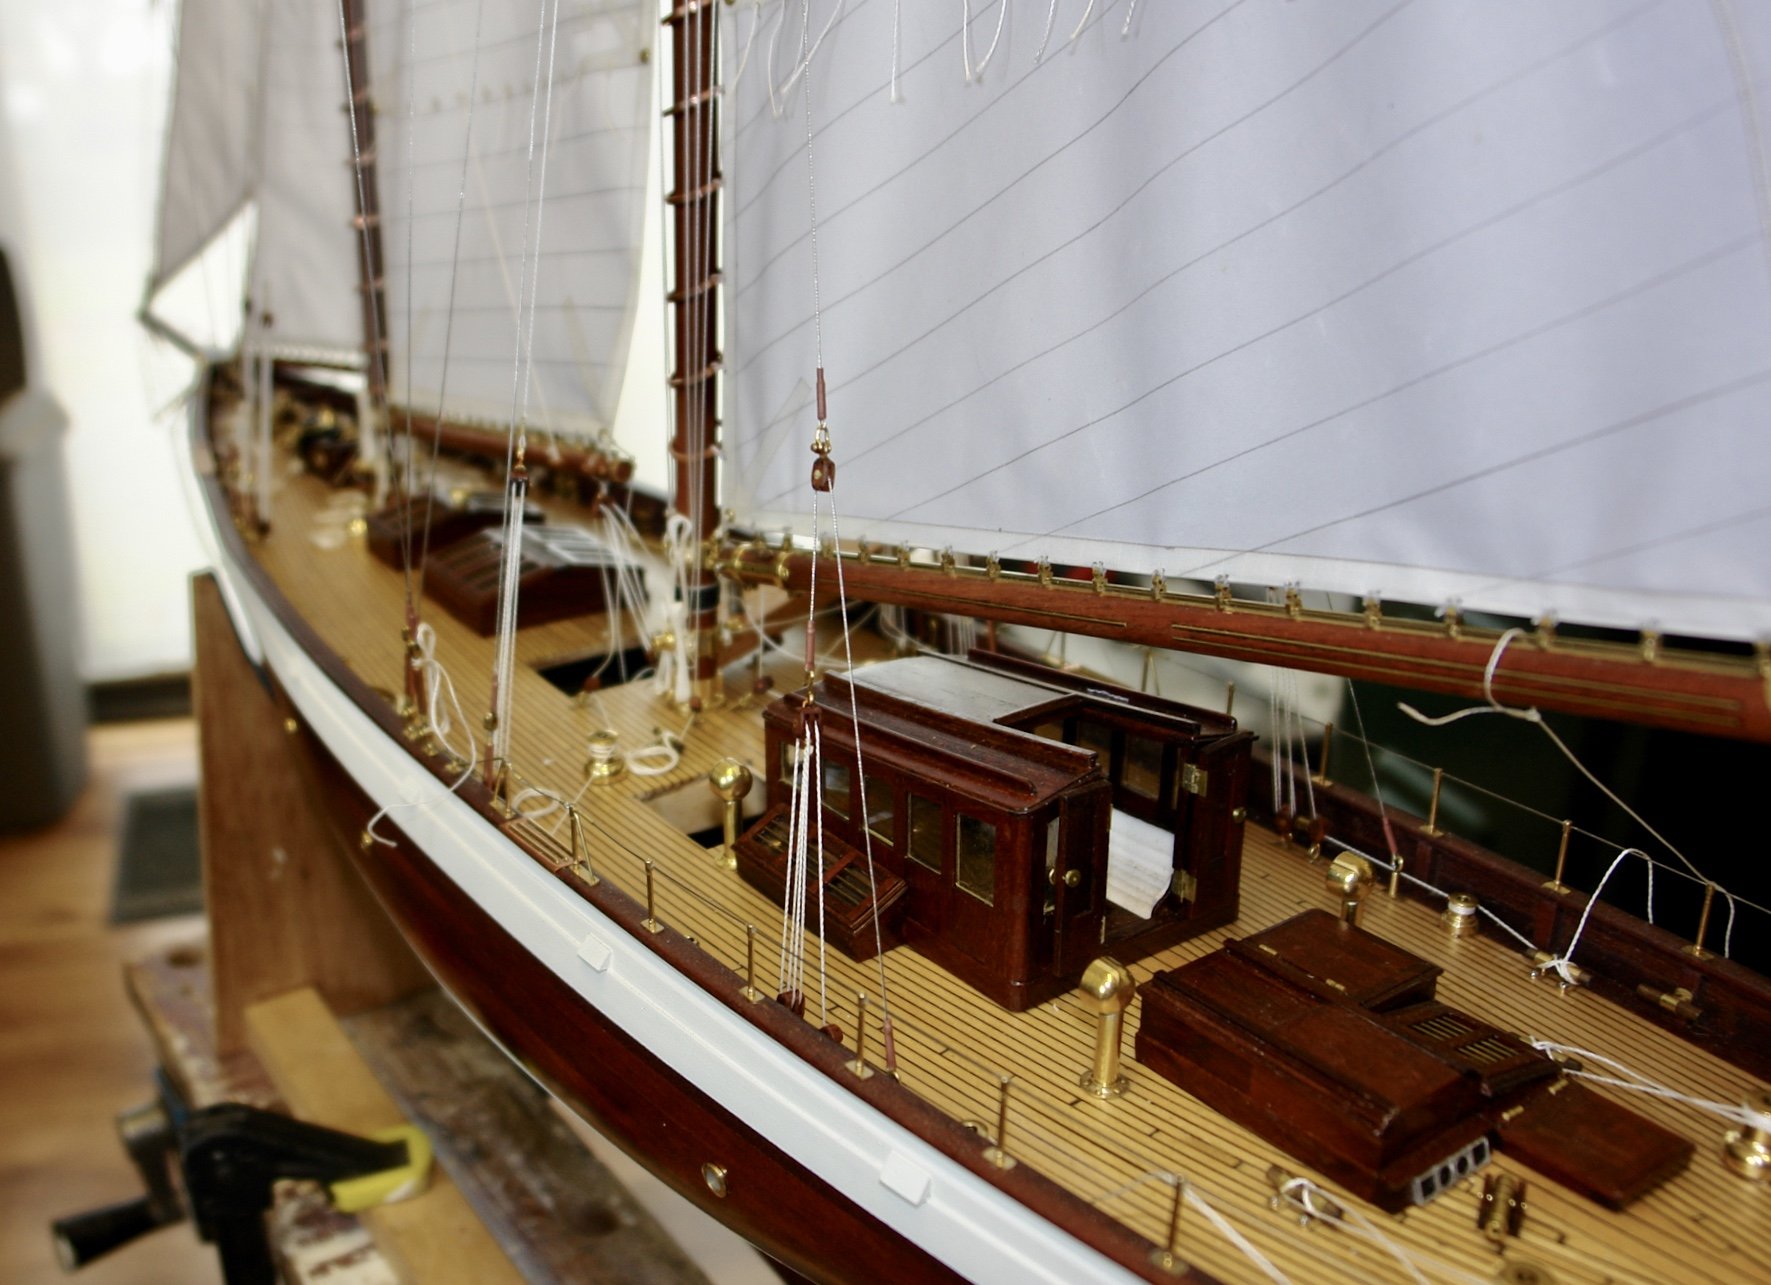
The sail is mounted on the topmast secured only at the top by the halliard and at the waist by the sliding ring. The tack is still hanging loose and the sheets are not yet rigged. The Halliard is temporarily secured by forceps - visible in the photos.

-
-
Bedford - thank you for the offer - I'm not sure that the other side of the world is very convenient though.
Thank you to everyone else who looked in.
MAIN TOPSAIL:-
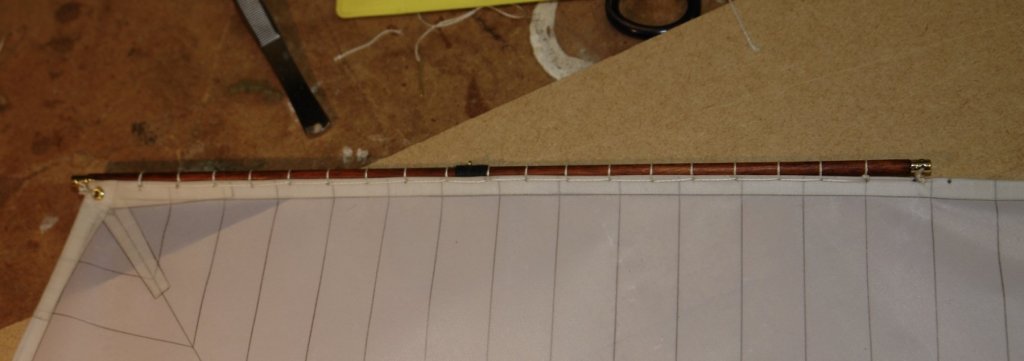
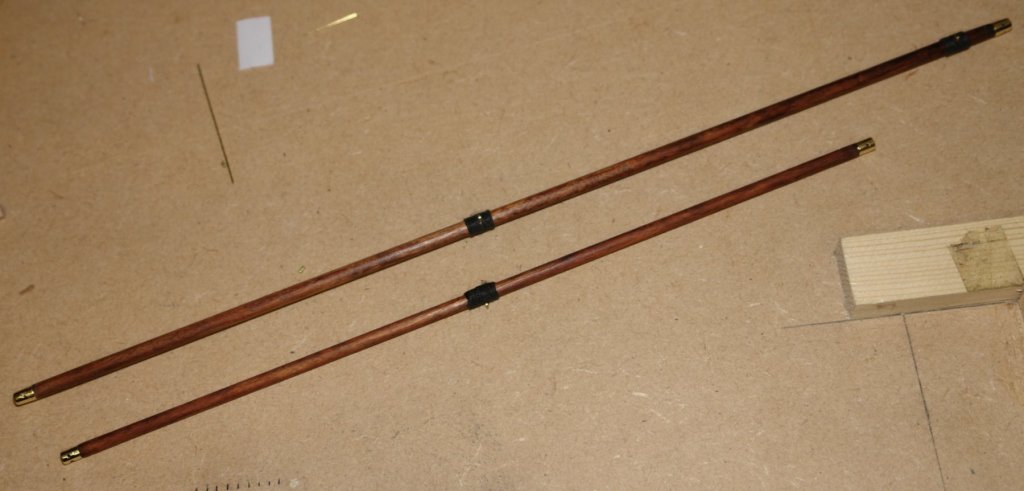
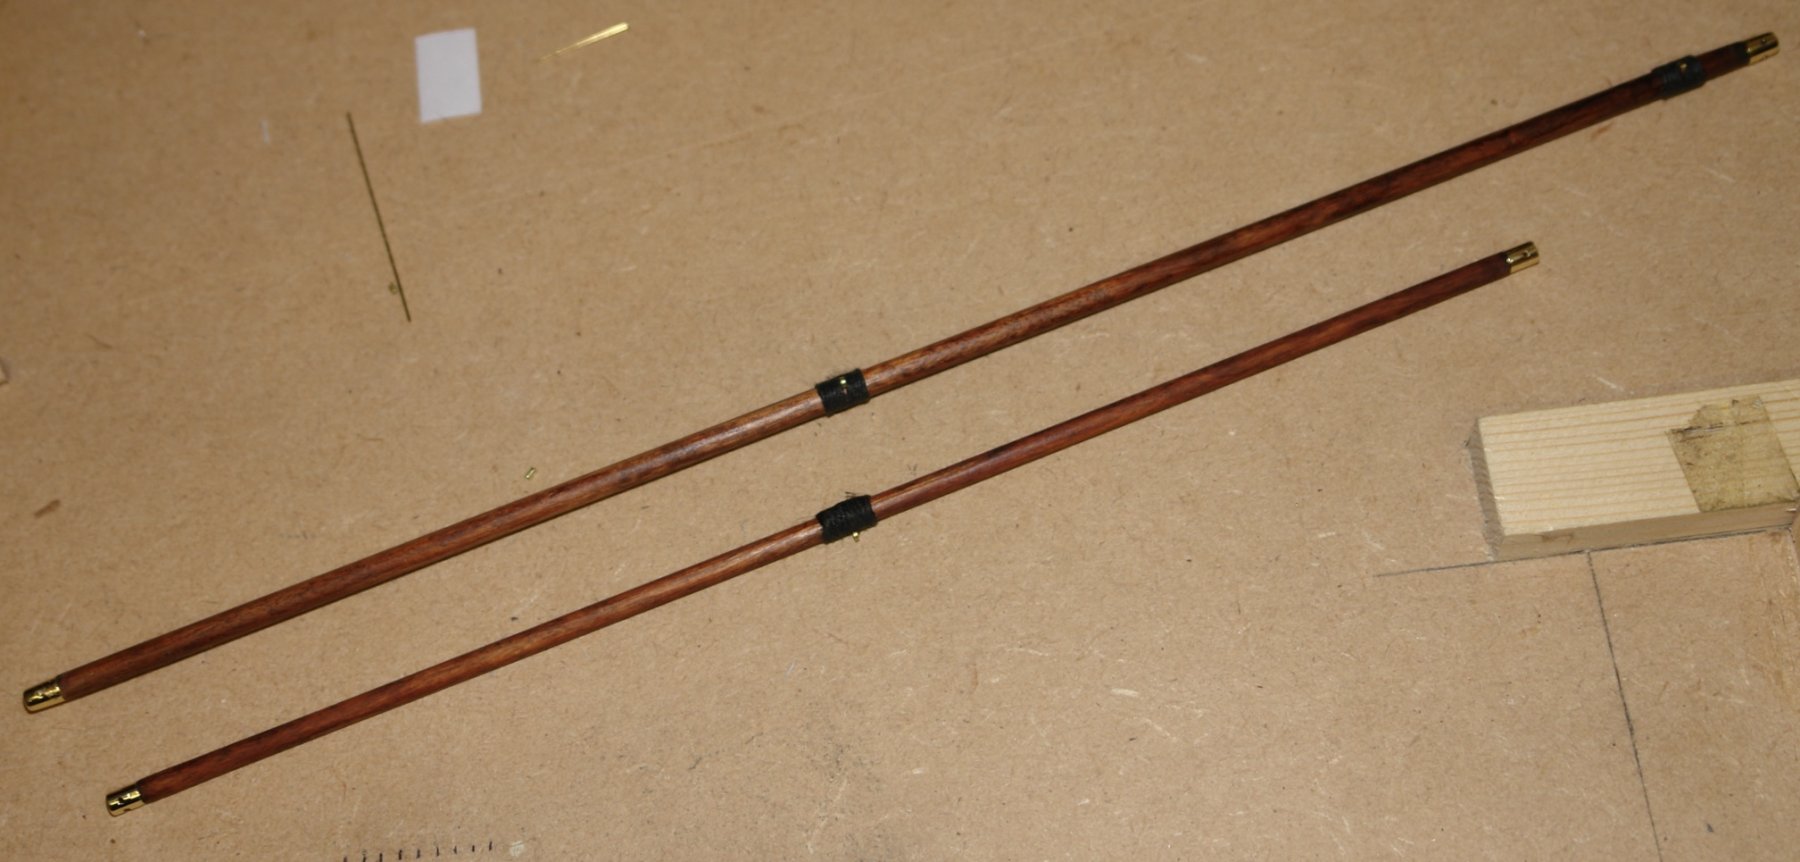
The manufacture of the jack and main topsail yards were not done during my mast making marathon easier in the year. Making them gave me a nice change from sail making and rigging.
I didn't have any photographic detail of these items and the plans were quite sparse. I decided to add a little interest in the form of brass end fittings. I had some mahogany dowel from which I intended making them but I realised that it was much too flexible at the desired diameters (jack yard = .190" dia and topsail yard .160" diameter). I did have some .200" ramin dowel that was stiffer but of course the colour was wrong. I decided that the ramin was the best bet in combination with a blend of Walnut and Georgian Mahogany wood dye by Liberon.
The yards were sanded to diameter on the lathe.
I took the opportunity with the end fittings of extending the mounting spigot to provide additional stiffness, the yards were drilled to take the spigot.
 The spigots are inserted in the yard and glued in place. You can see the wood colour is far from ideal.
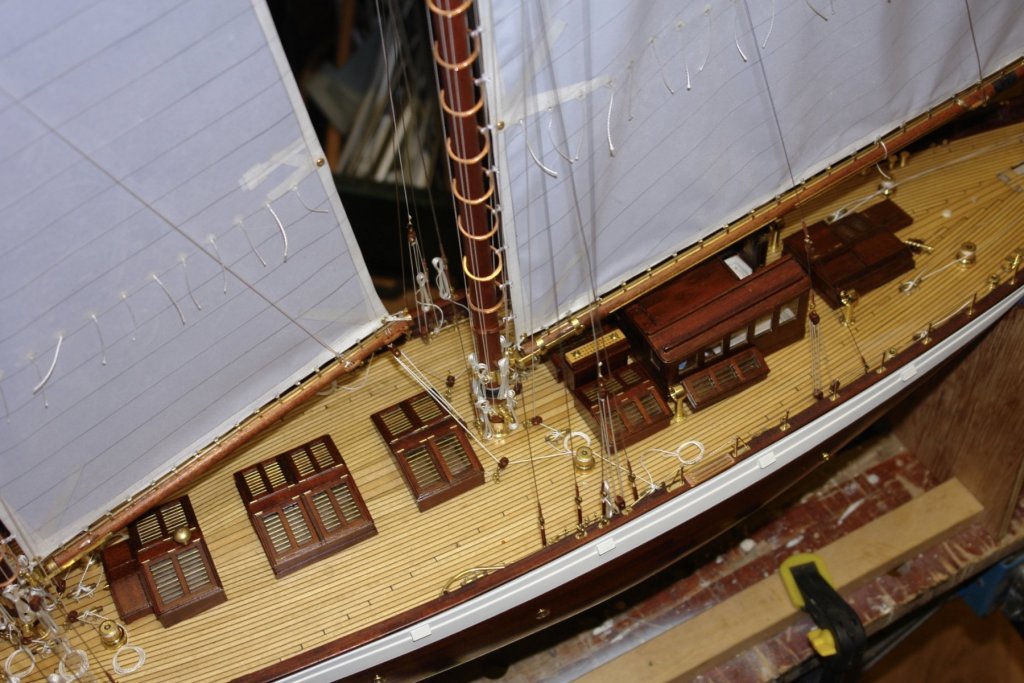
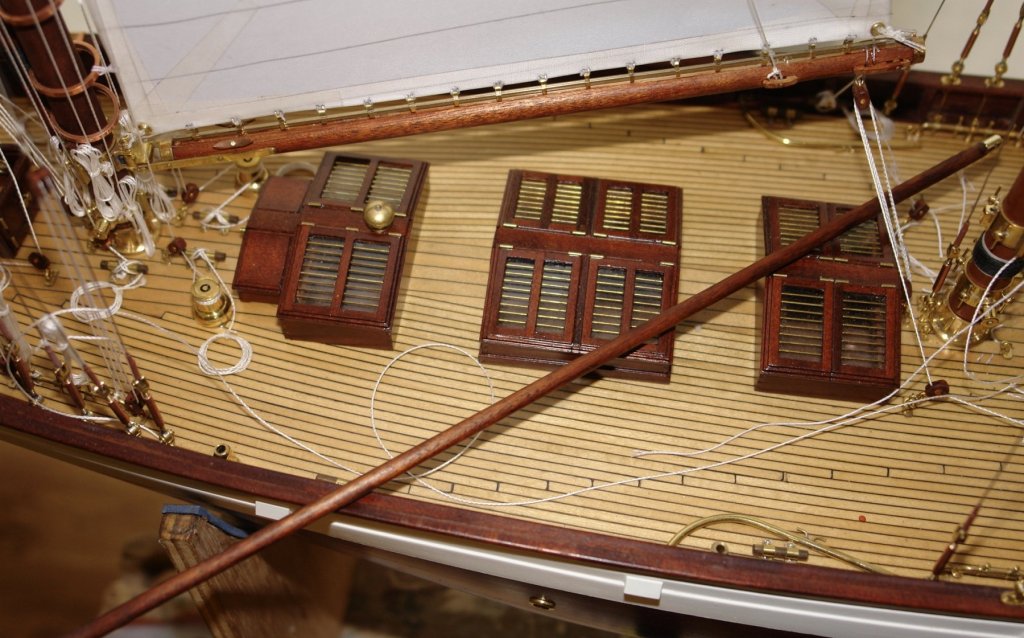
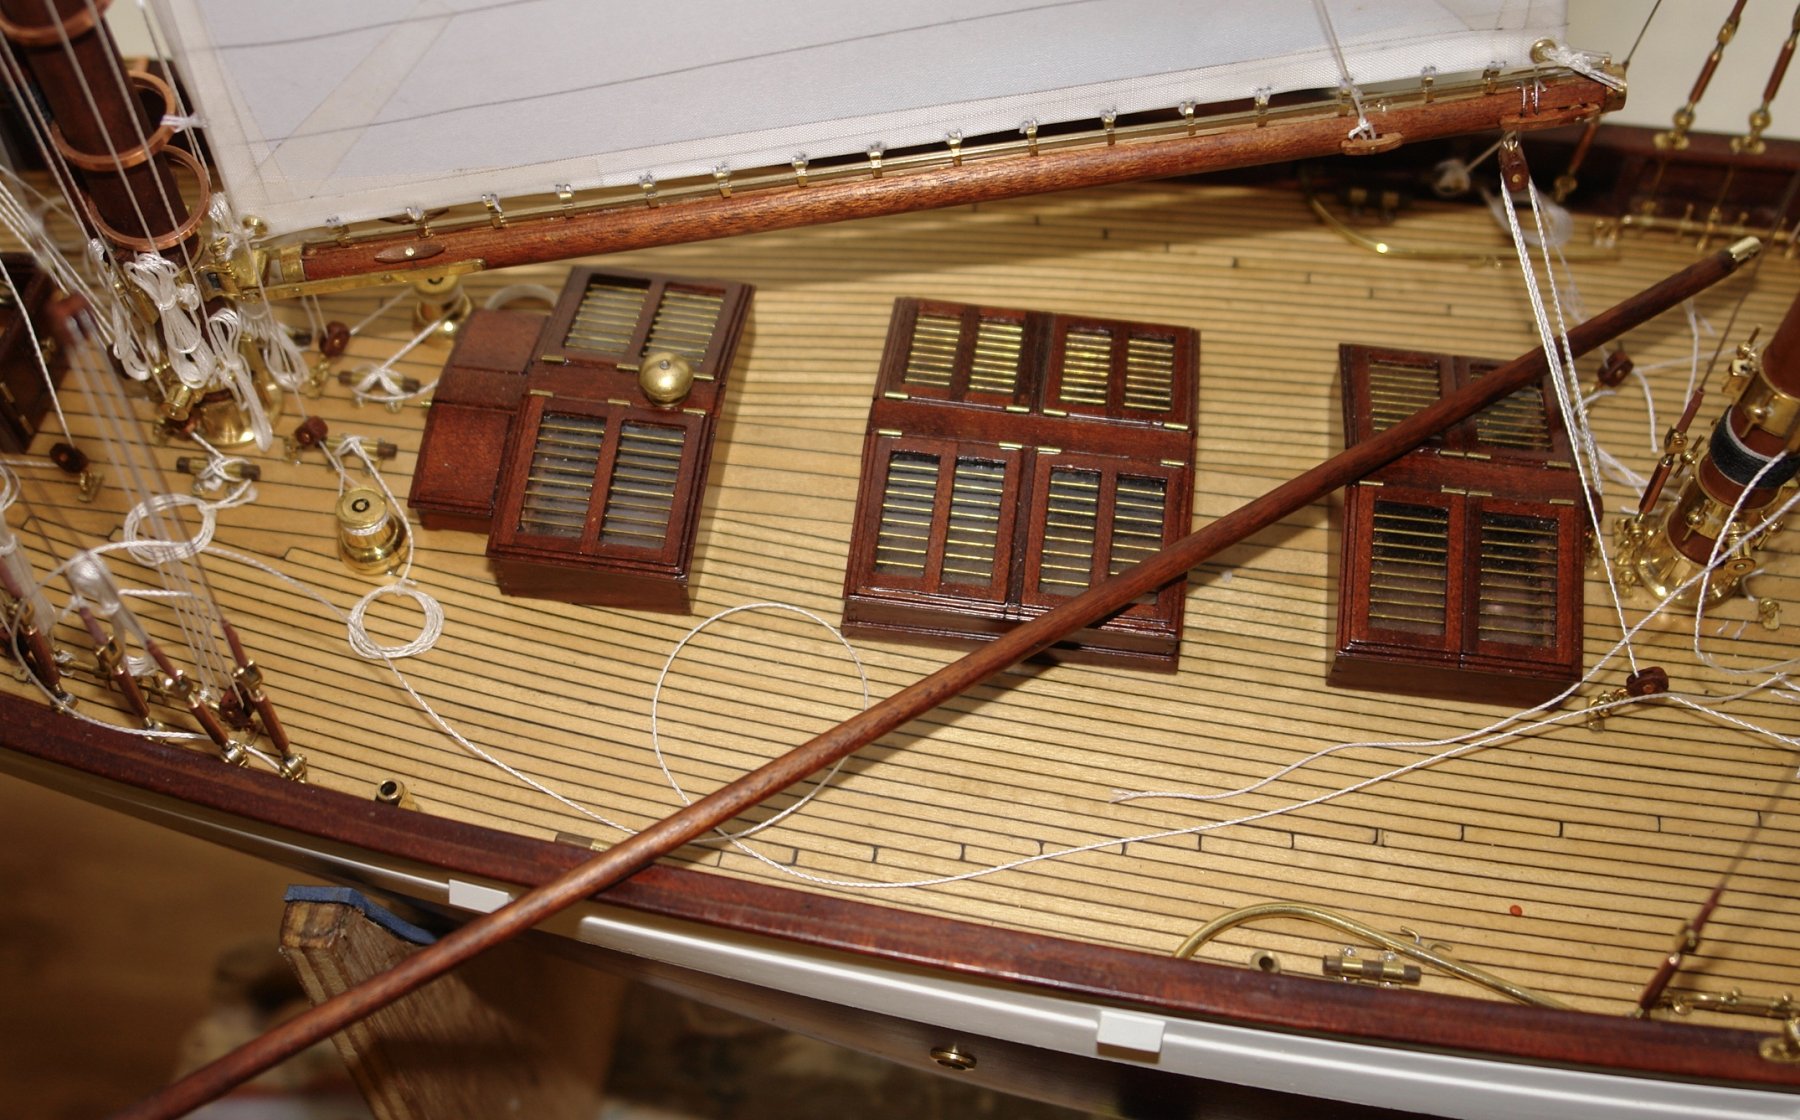
However it is wonderful what a bit of dye blending can achieve. The yard is laid over the deck housings to check the colour match.
A few eyelets and a bit of binding and the job was done.
And so back to sail making.
- mtaylor, John Allen, tadheus and 3 others
-
6
-
Magnificent Giampieroricci.
- PeteB, giampieroricci, John Allen and 1 other
-
4
-
-
Nils
Nice detail of the stoves internal brickwork.
- popeye the sailor, mtaylor, Piet and 3 others
-
6
-
Thank you John & John. Still some way to go before it is finished and a few significant items to make. I think I need to write a list and systematically work through it. My wife advises that all lists should start with jobs already done. Apparently that way you can immediately cross them out, feel good and celebrate with a cup of tea.
Michael, welcome back and thank you. Have you been on vacation?
11 hours ago, michael mott said:When you have finished this one you need to build a second one with a white hull now that you have had a little practice.
You are so right. I have to say that I have sadly neglected my epoxy filler skills of late. A white painted hull would certainly give me plenty of opportunity to wack on the epoxy and get out the 60 grit paper.
- mtaylor and John Allen
-
2
-


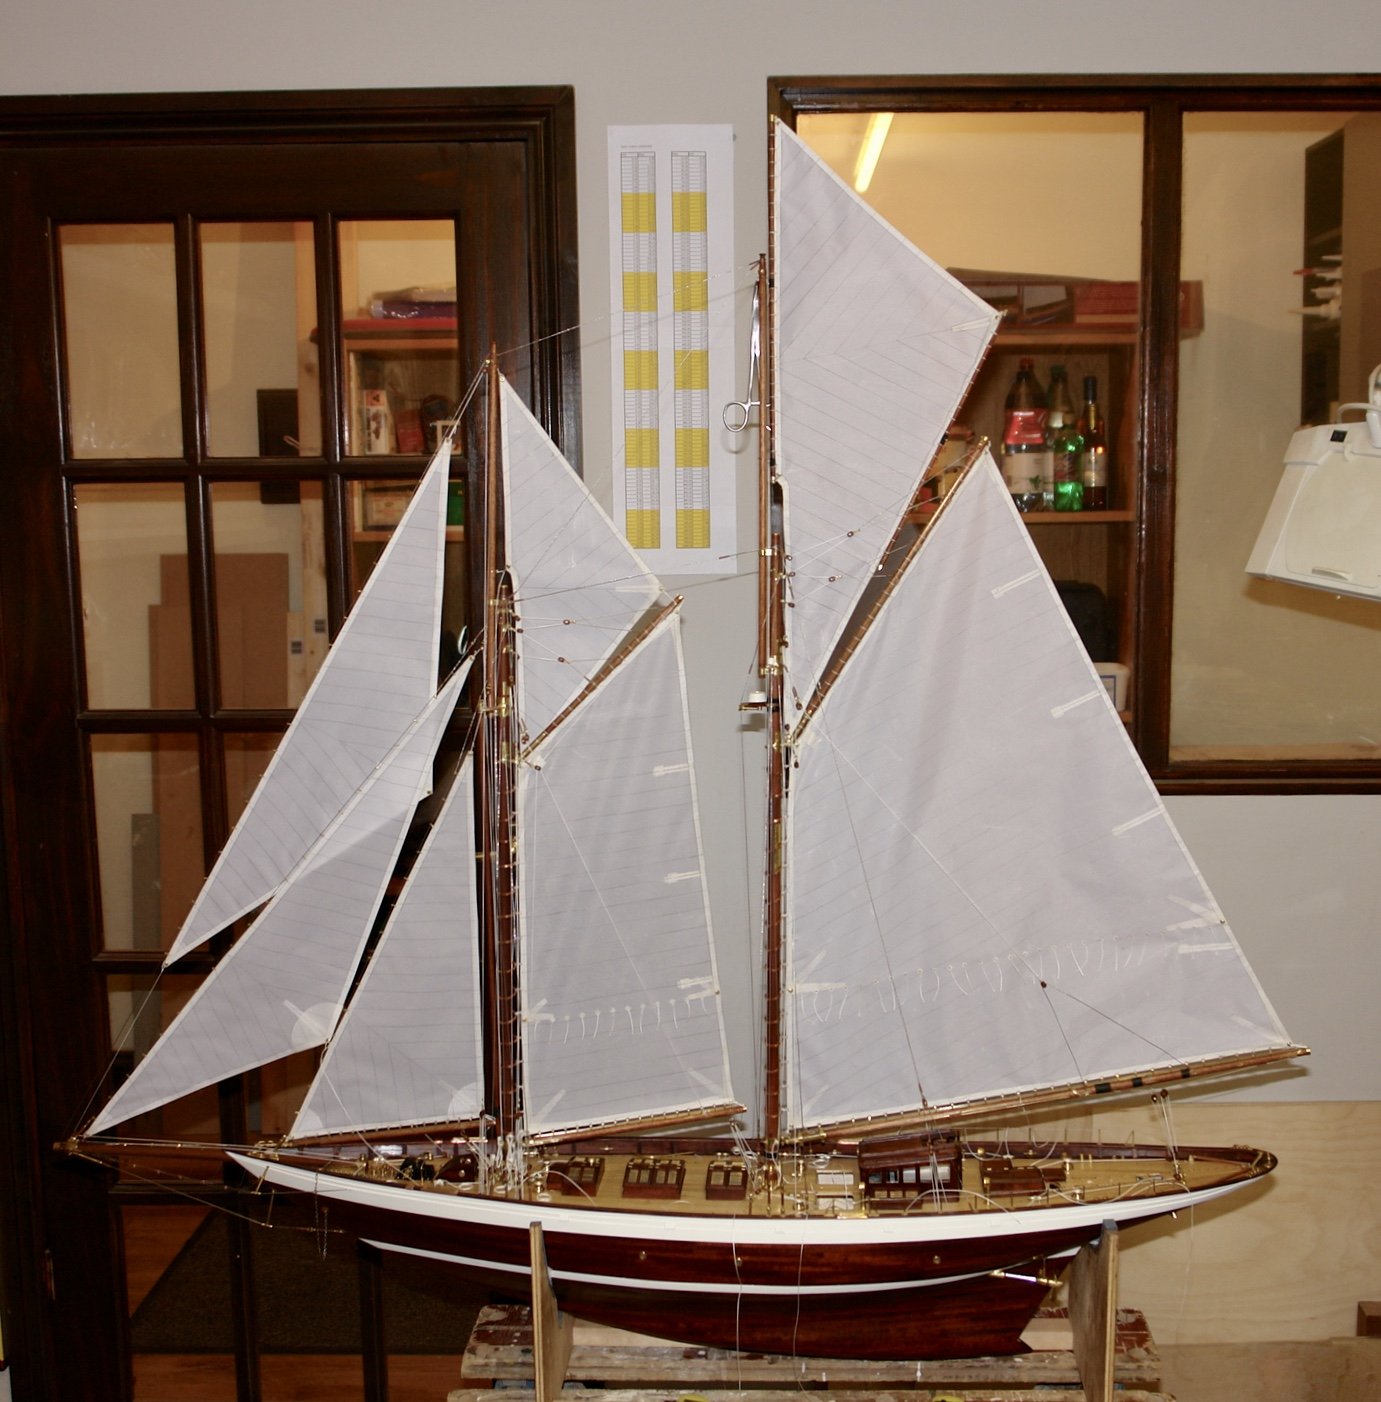

Altair 1931 by KeithAug - FINISHED - Scale 1:32 - schooner
in - Build logs for subjects built 1901 - Present Day
Posted
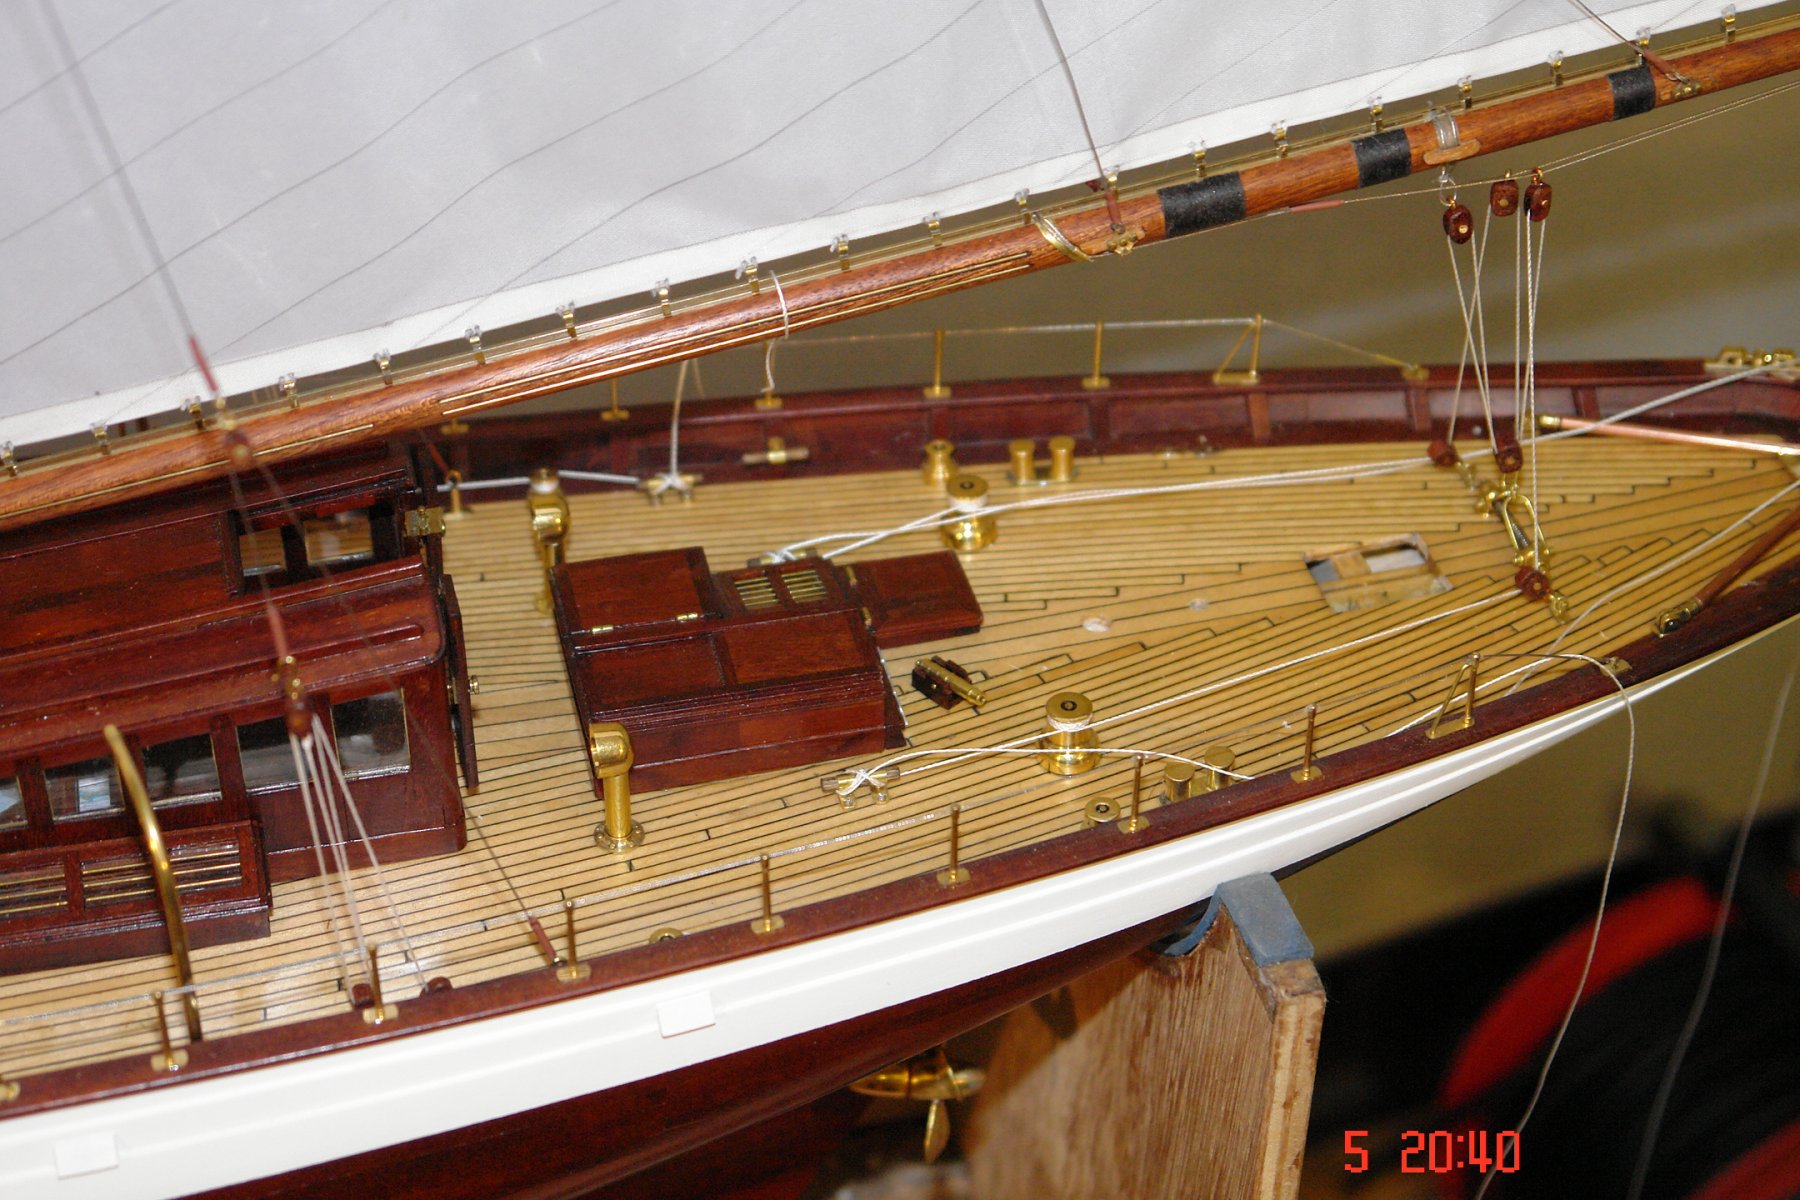
I made the navigation lights and housings and mounted them on the shrouds
I then rigged the reefing lines on the fore and mainsails.