


KeithAug
-
Posts
3,298 -
Joined
-
Last visited
Content Type
Profiles
Forums
Gallery
Events
Posts posted by KeithAug
-
-
Seats
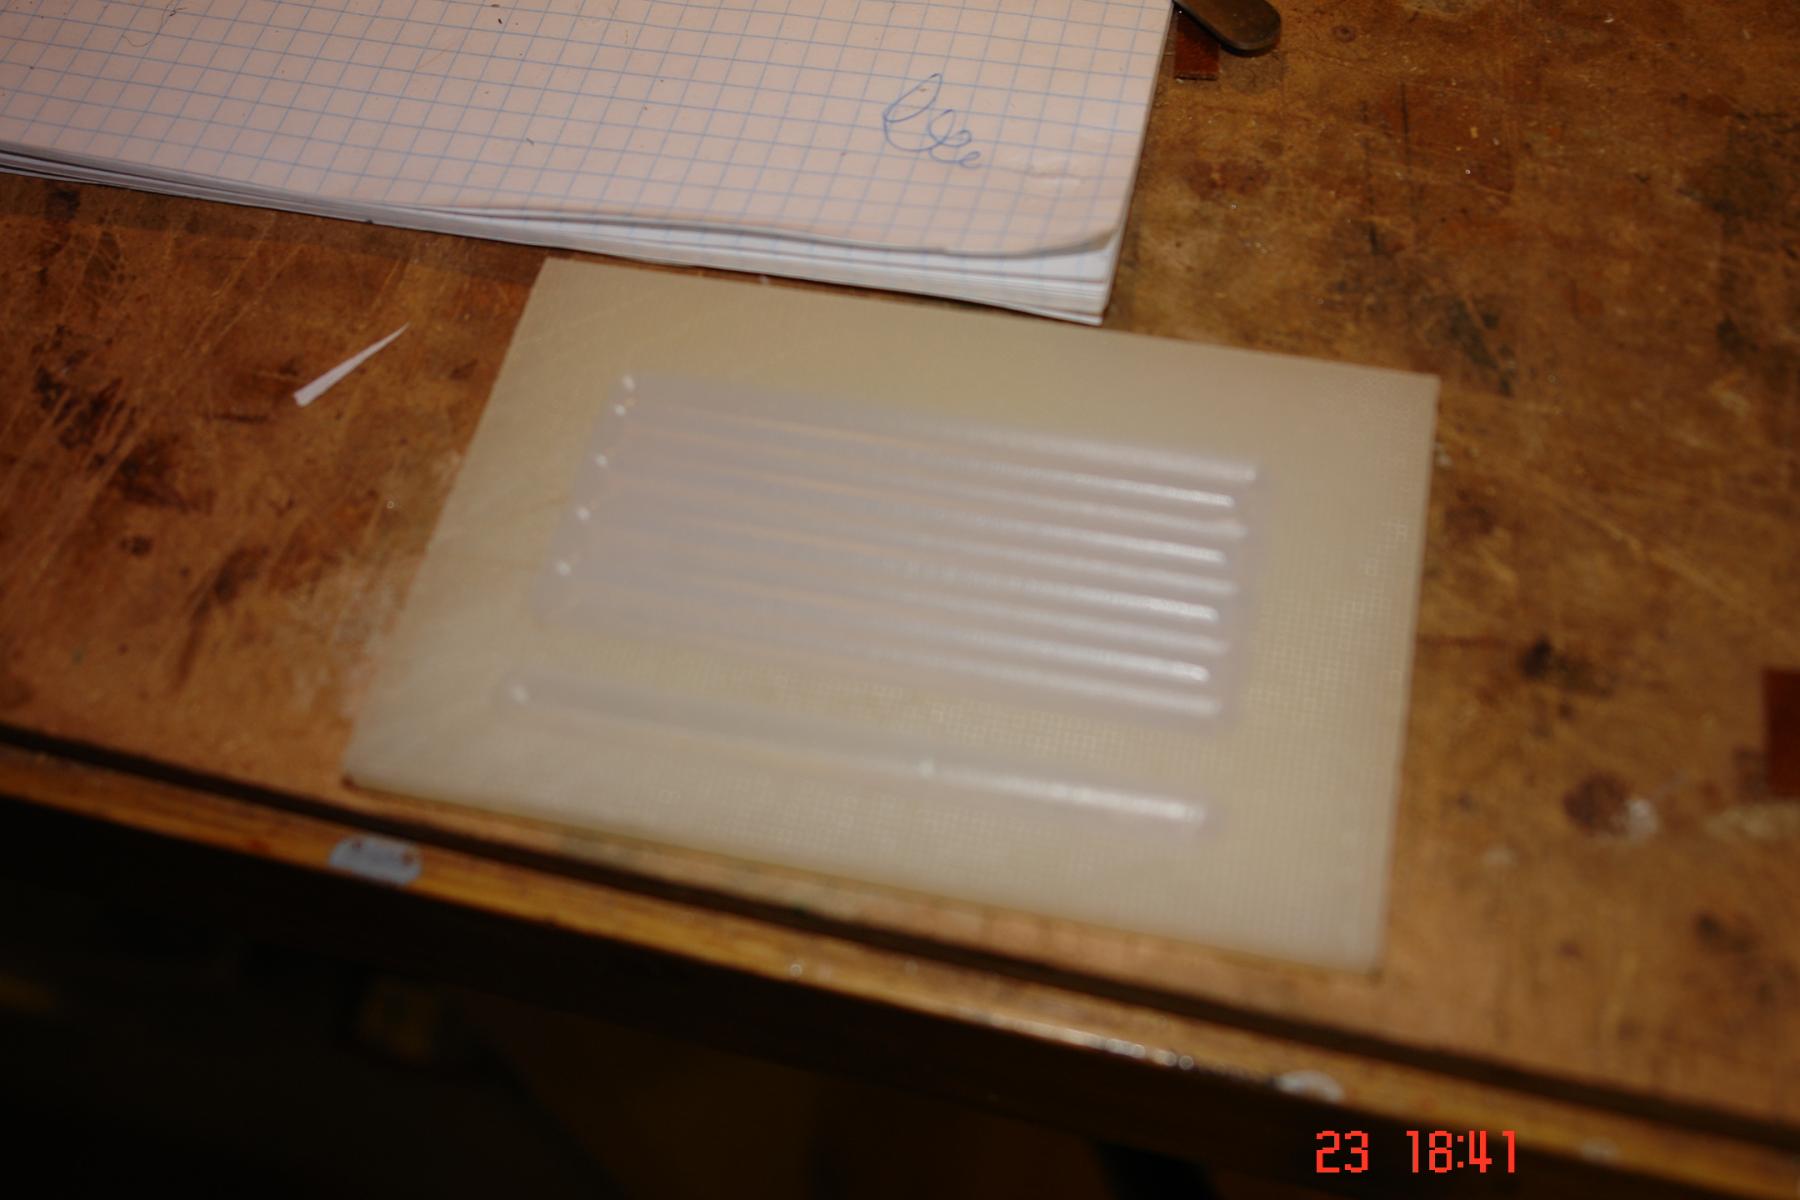
I thought a bit about how to make the seat cushions and backs. Altair has white seats without any features. I wanted to make the seats white but felt that some contouring would enhance the look. I did consider covering foam backed by ply with linen. I thought however that this would look clumsy at the scale of 1:32.
Eventually I decided on creating a ribbed mould and "casting" the cushions in silicone.
The ribs were cut in nylon sheet (actually an old chopping board) using a ball end milling cutter.


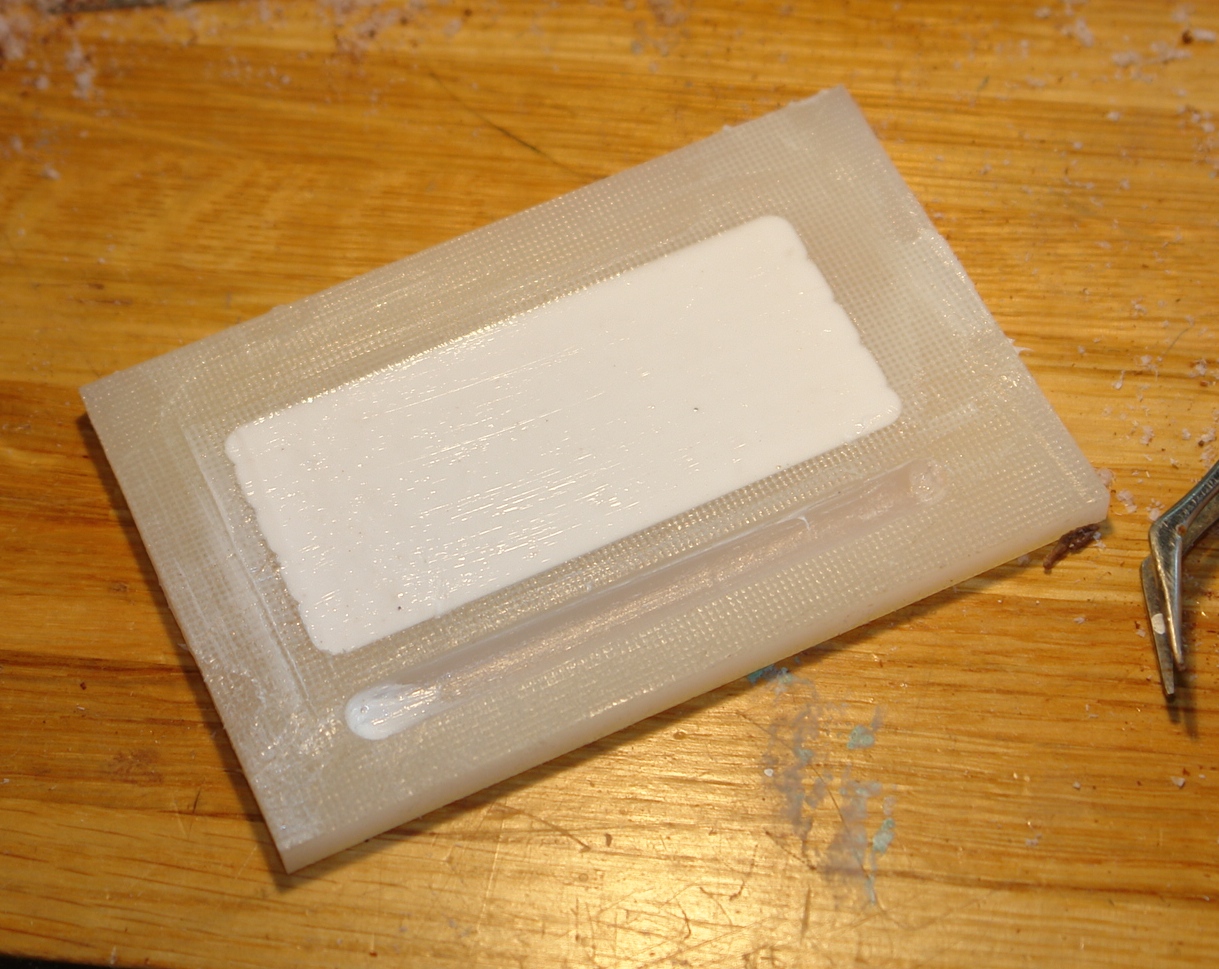
The casting was a fairy simple operation.

I produced 4 silicone castings over 3 days - allowing plenty of time for curing.
The sheets were then shaped to fit on to the benches
- Tecko, Roger Pellett, captainbob and 13 others
-
 16
16
-
-
-
Mark / John - thank you for your comments. Also thank you to all who have hit the like button.
John - I have a dilemma about leaving the draw open as in its open position it makes the flag locker even harder to see. Maybe I will have to move it on an annual basis. I am toying with making a parallel rule, dividers and a hand bearing compass but this may be a step too far. First I think i will have a go at the seat coverings.
-
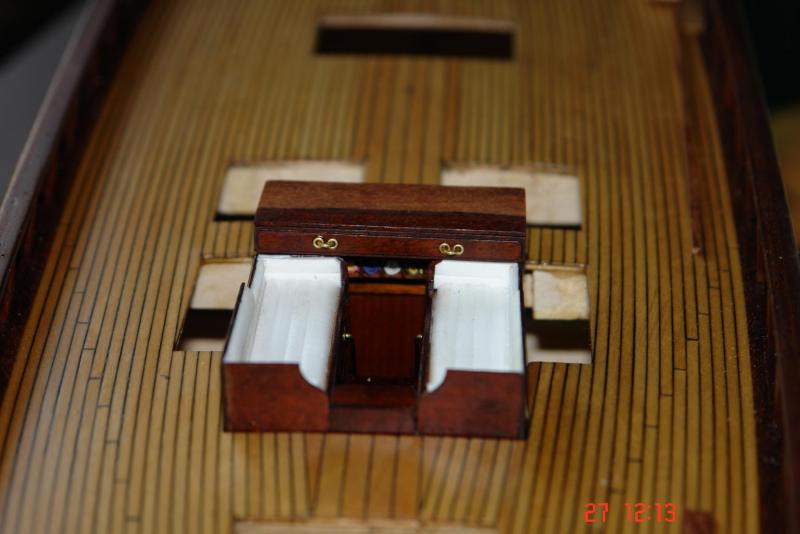
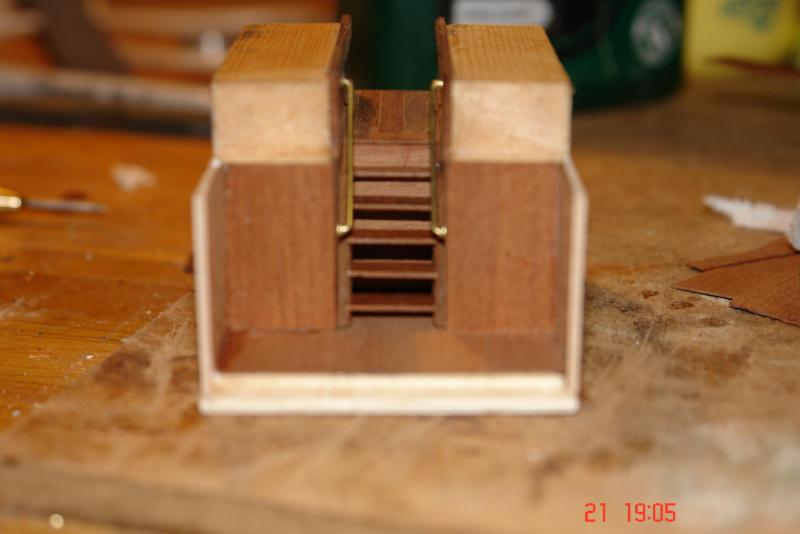
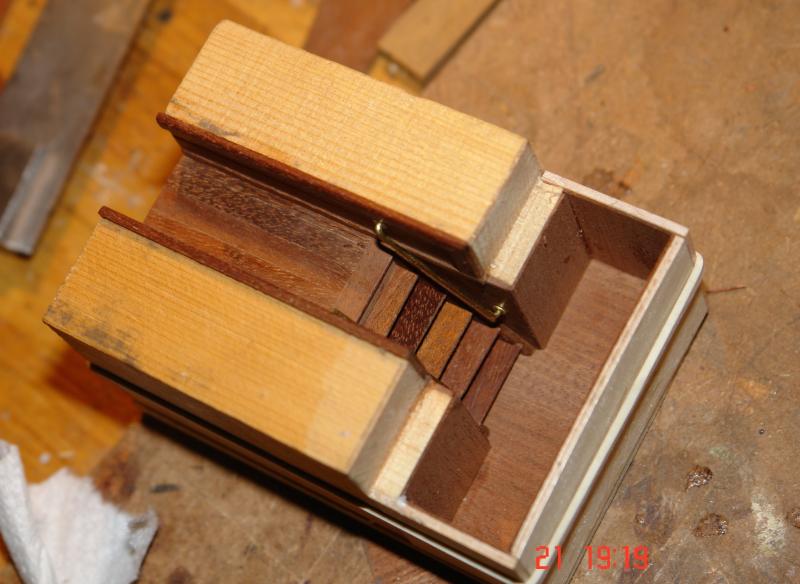
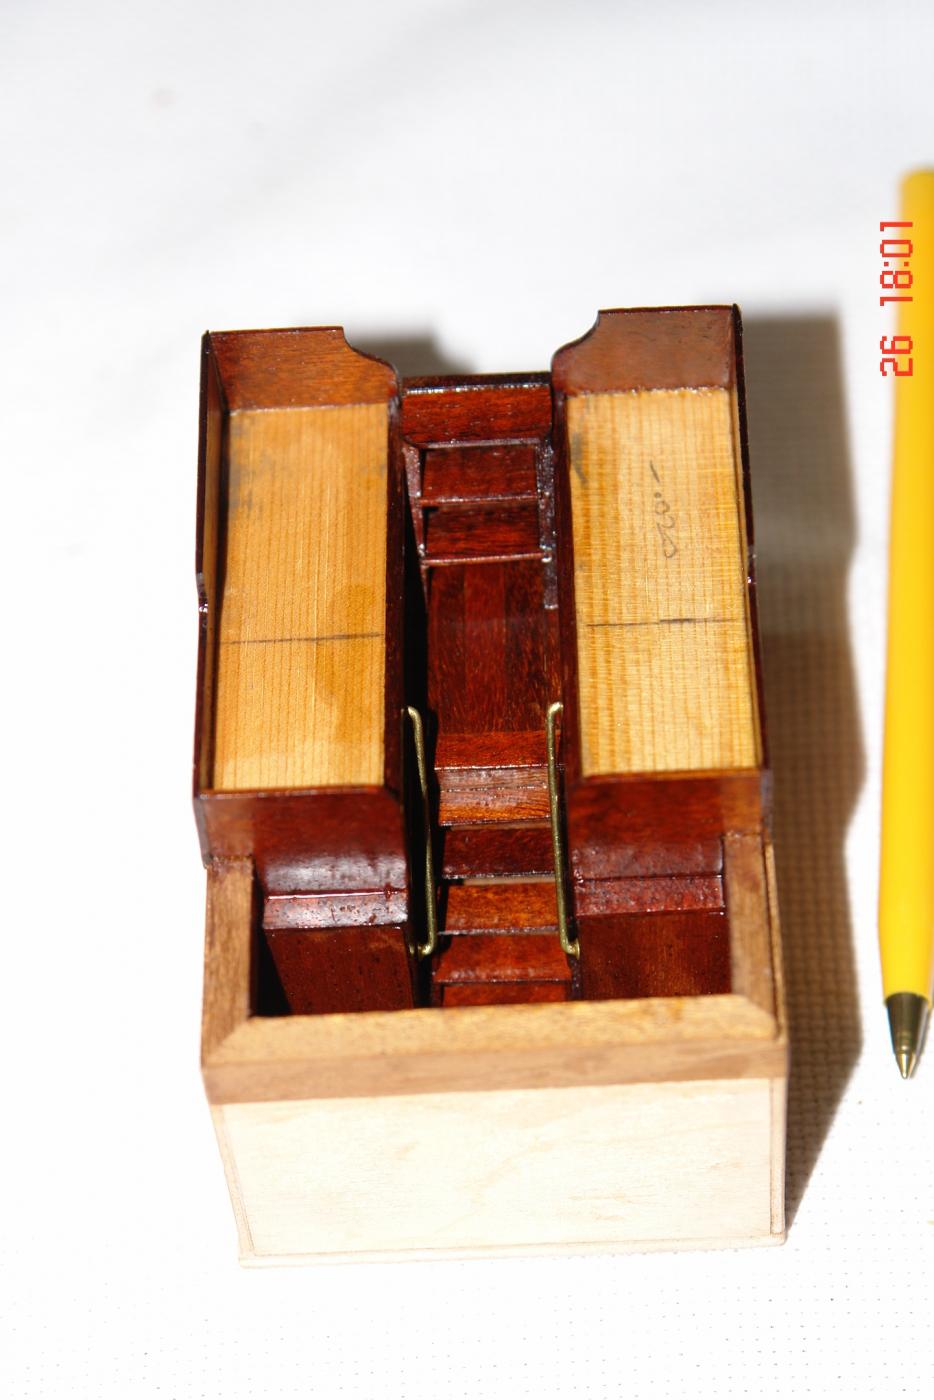
The upper steps in the deckhouse are now complete and the first finishing coats of poly applied.

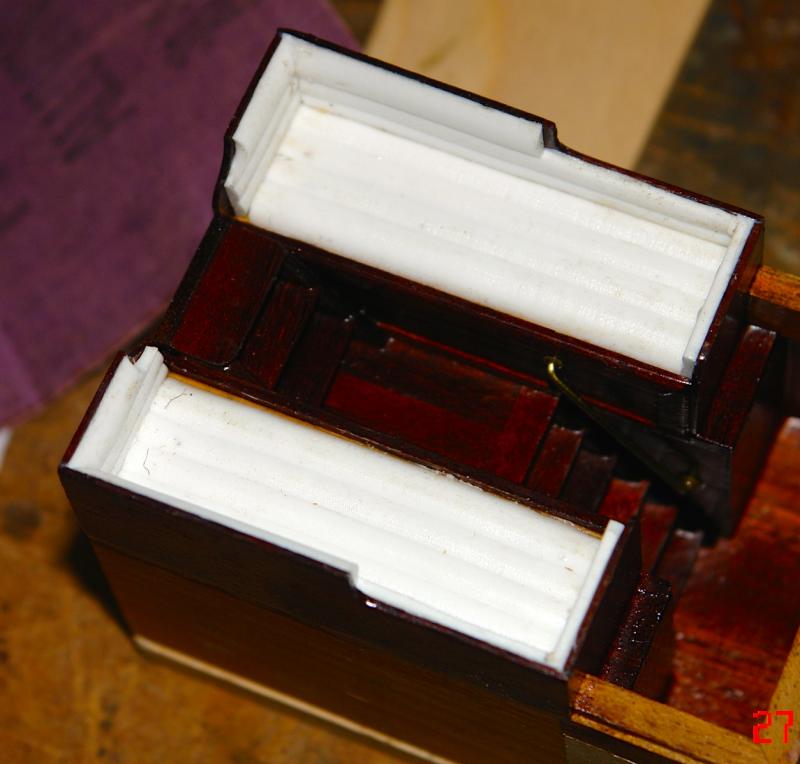
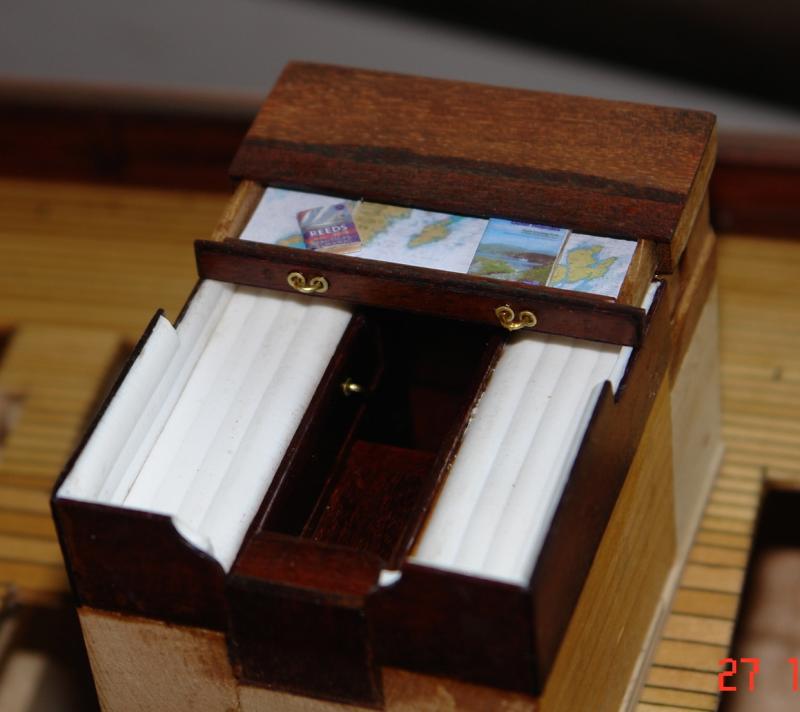
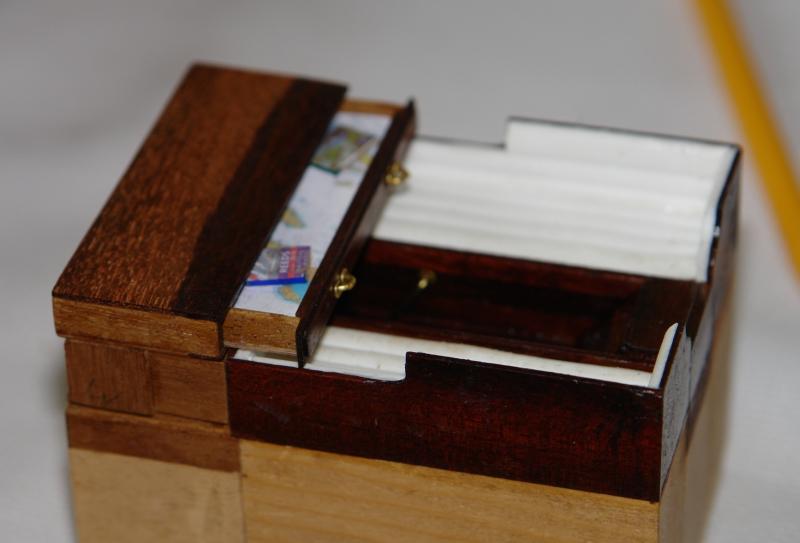
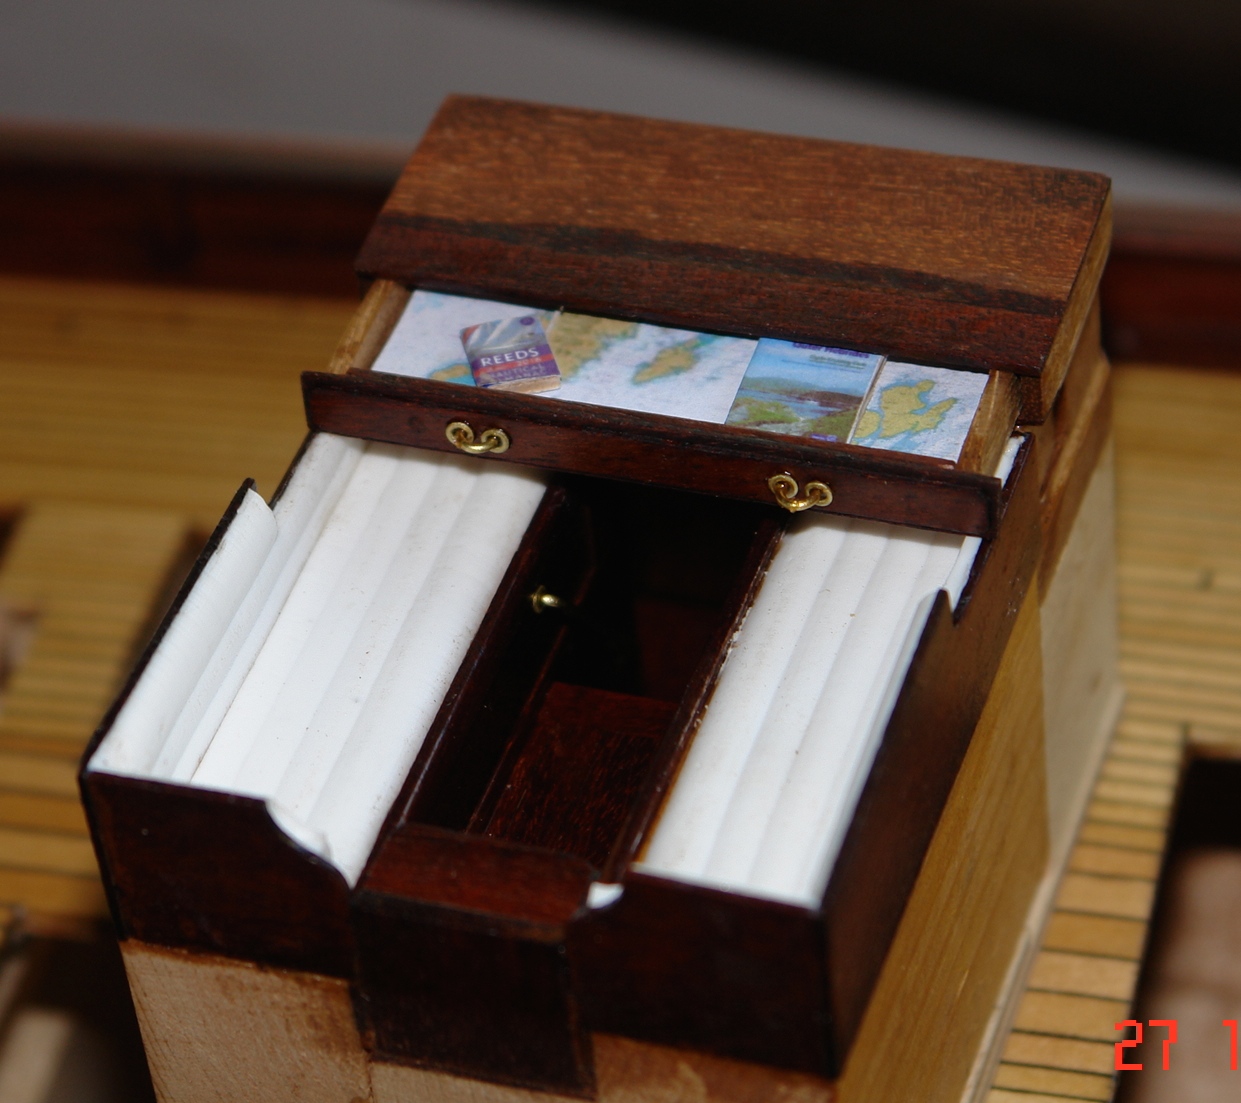
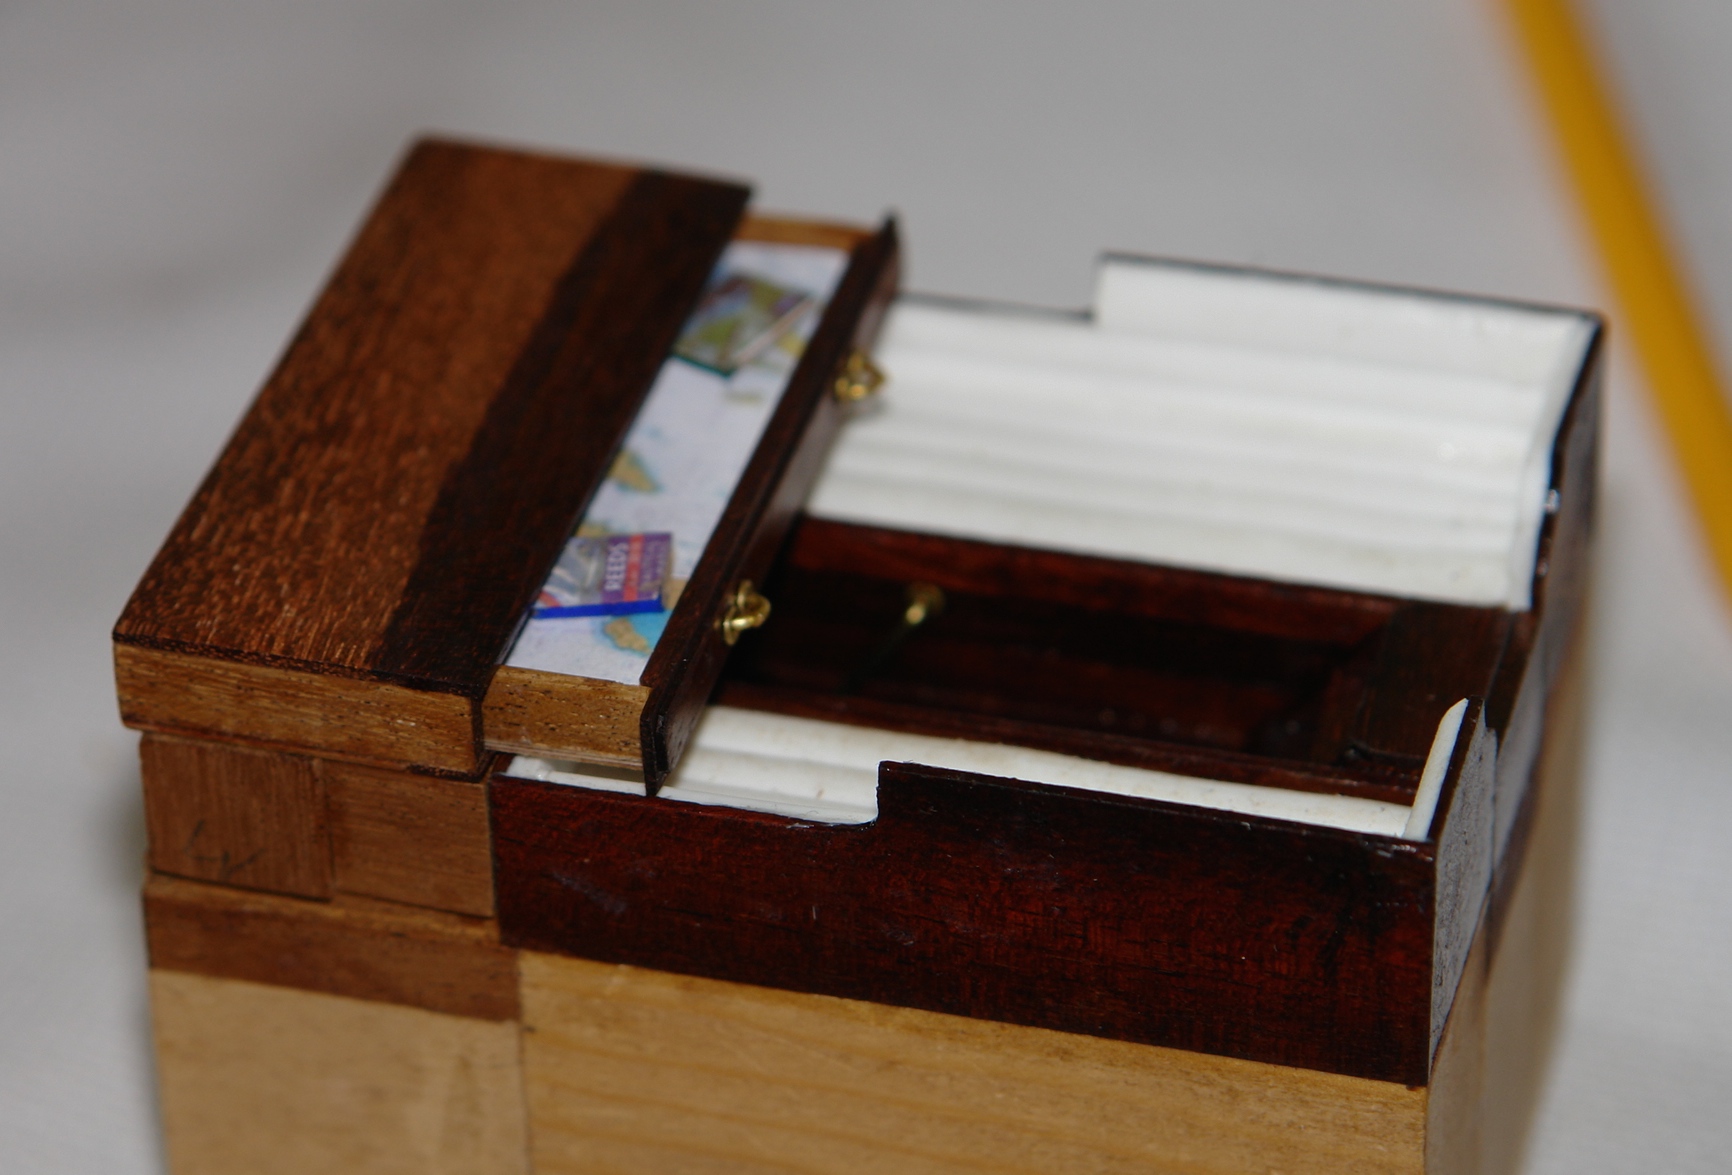
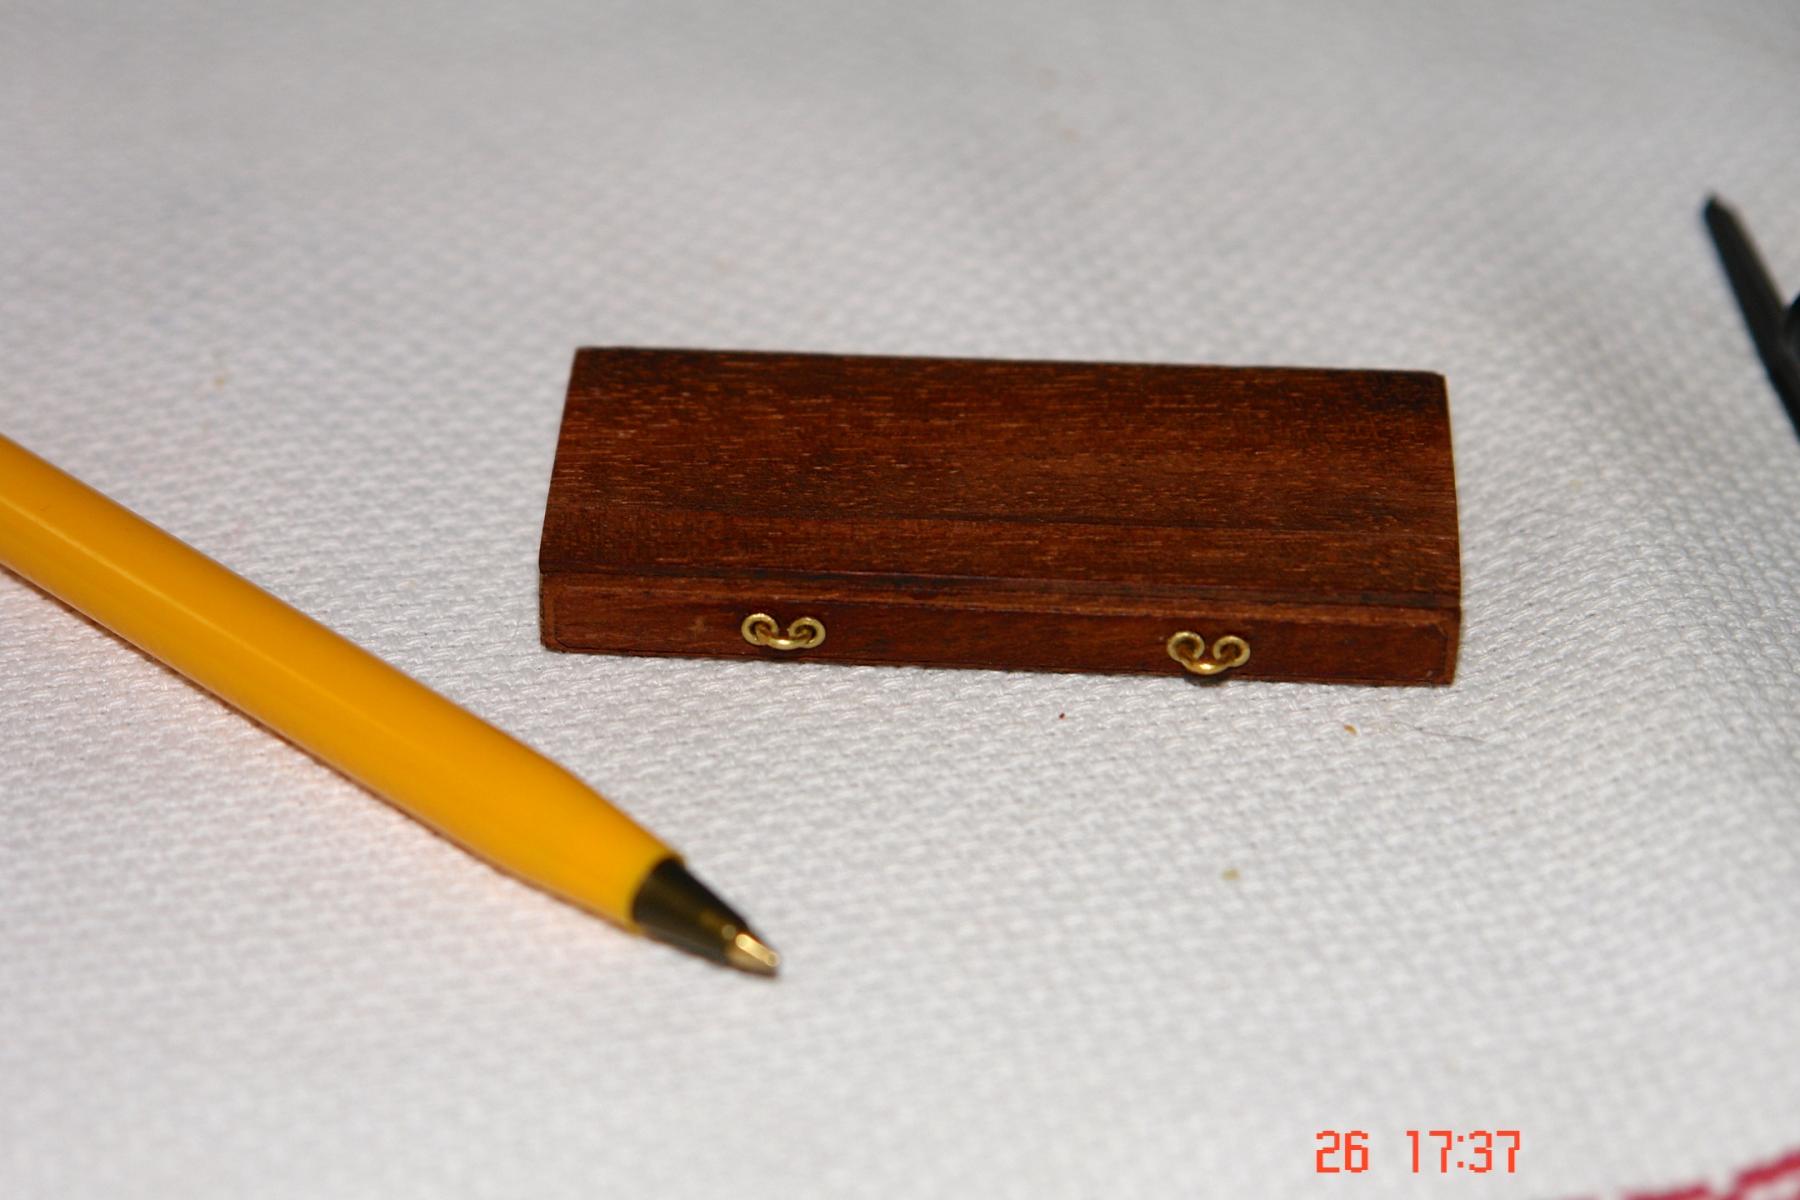
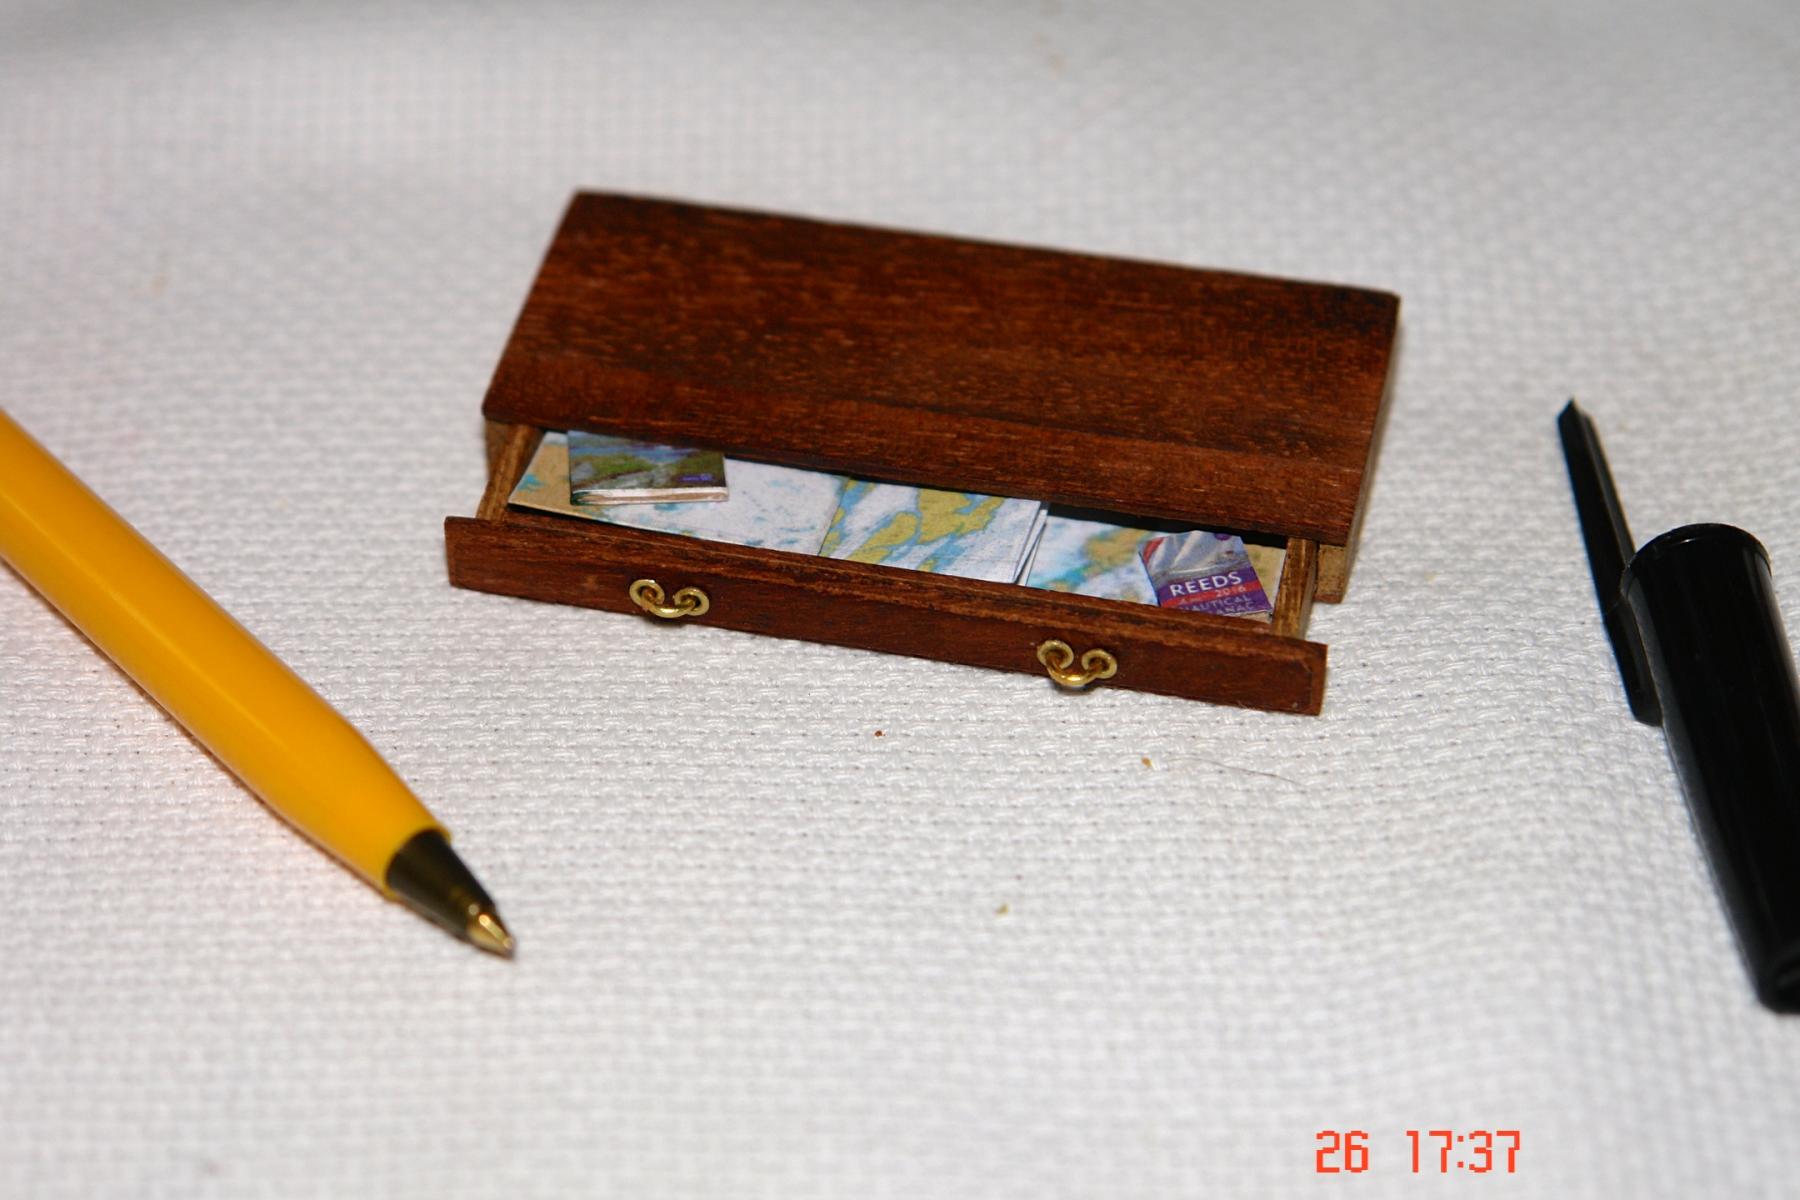
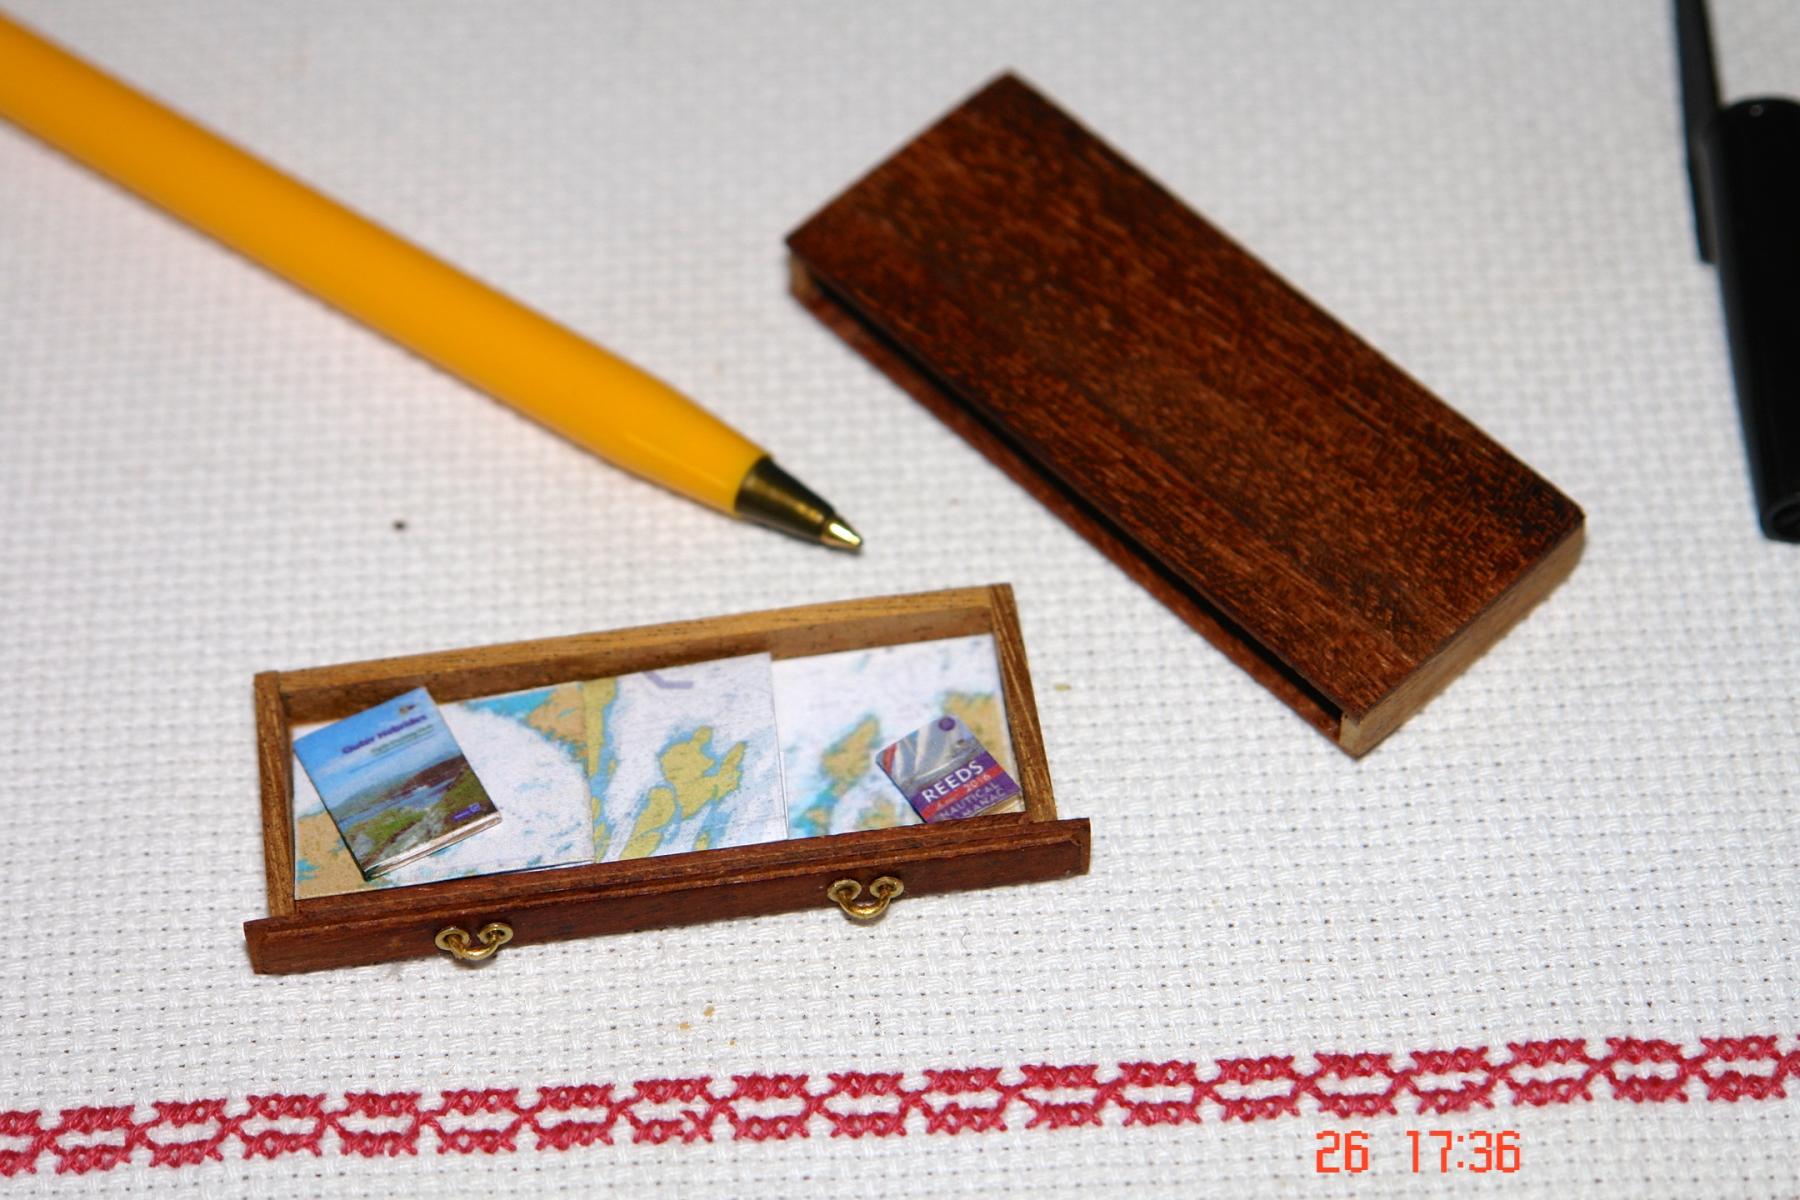
As I think I previously said the chart table sits above the flag locker. I got a bit carried away with making it.


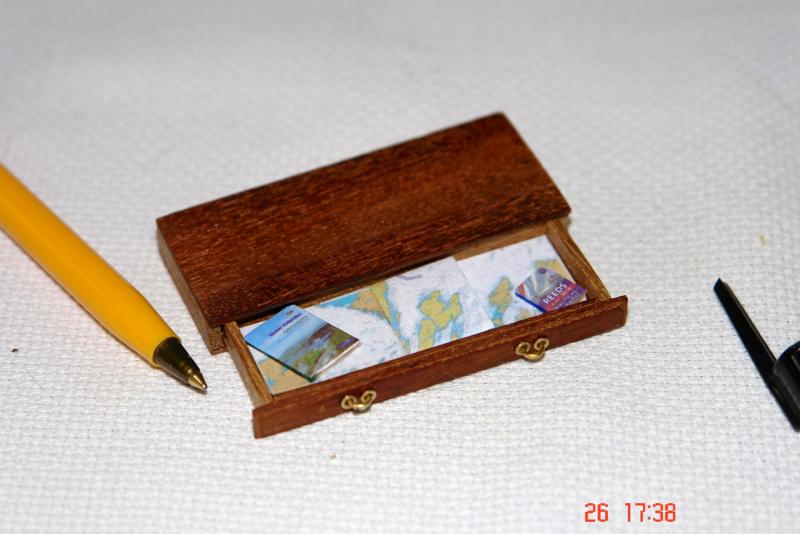

The charts cover the Western Isles from the Butt of Lewis to the Mull of Kintyre. The books are old friends - "The Yachtsman's Pilot to the West Coast of Scotland" and "Reeds Nautical Almanac".
- Bedford, Tim Curtis, crabbersnipe and 15 others
-
18
-
-
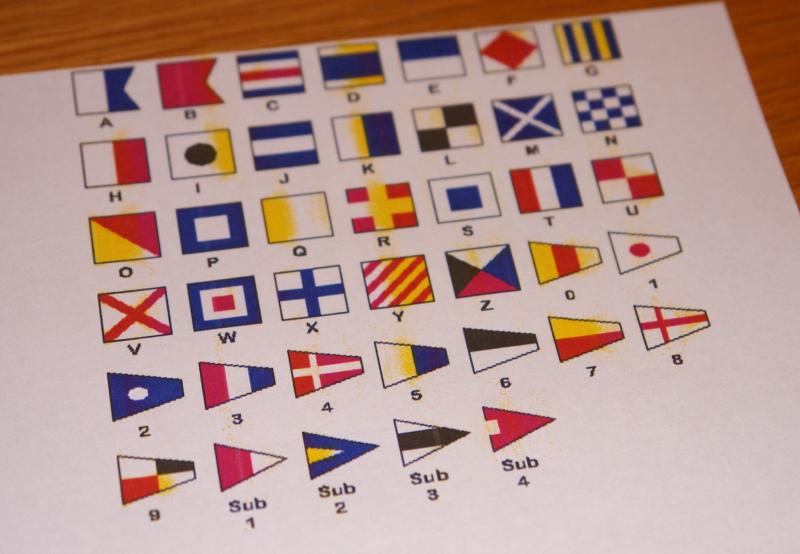
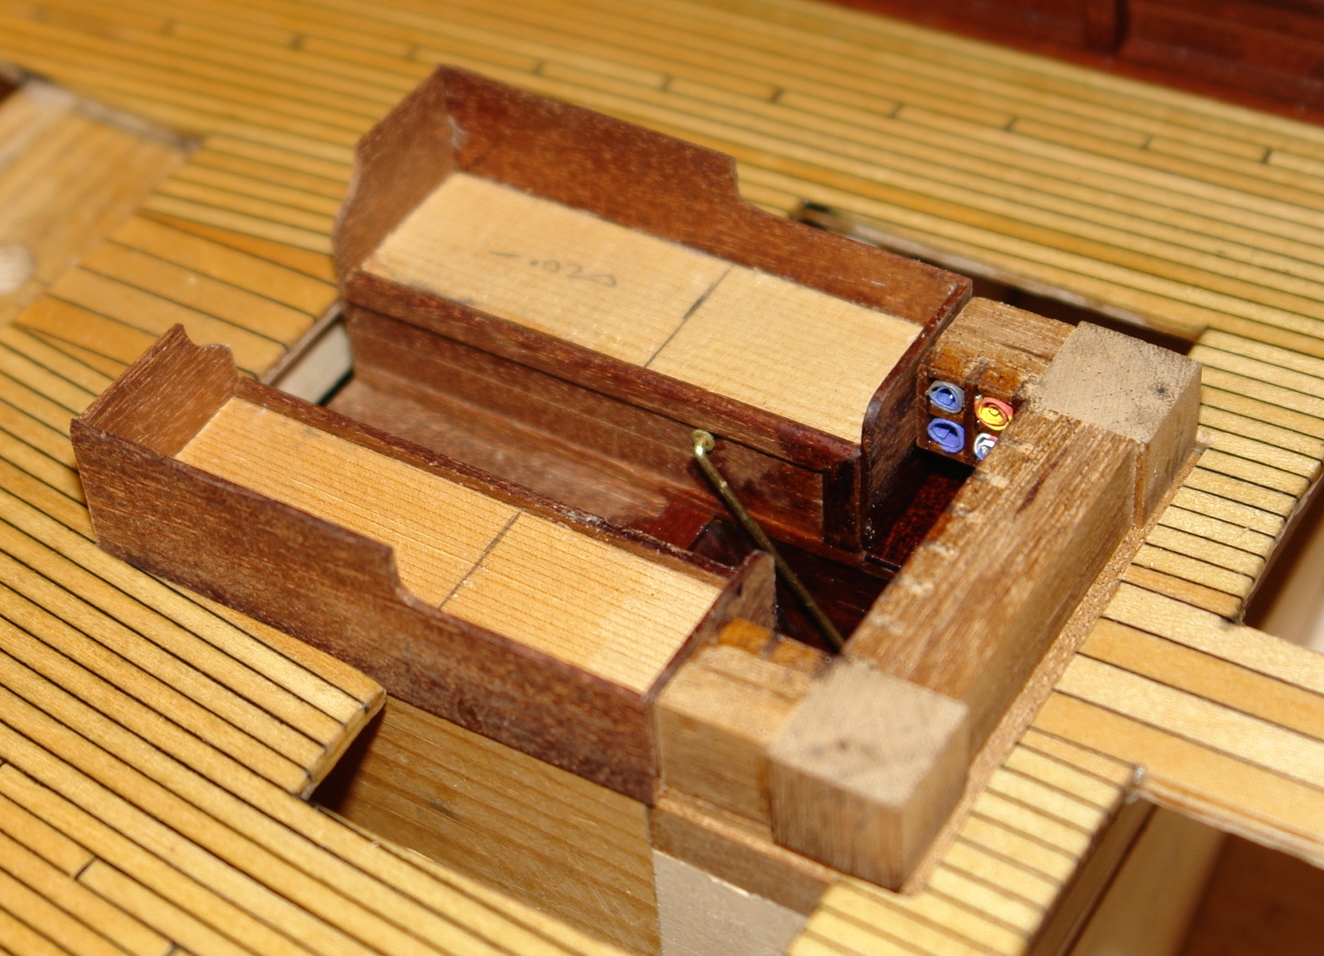
I thought the flag locker looked very bare......

So I got some flags from the net and filled the locker........
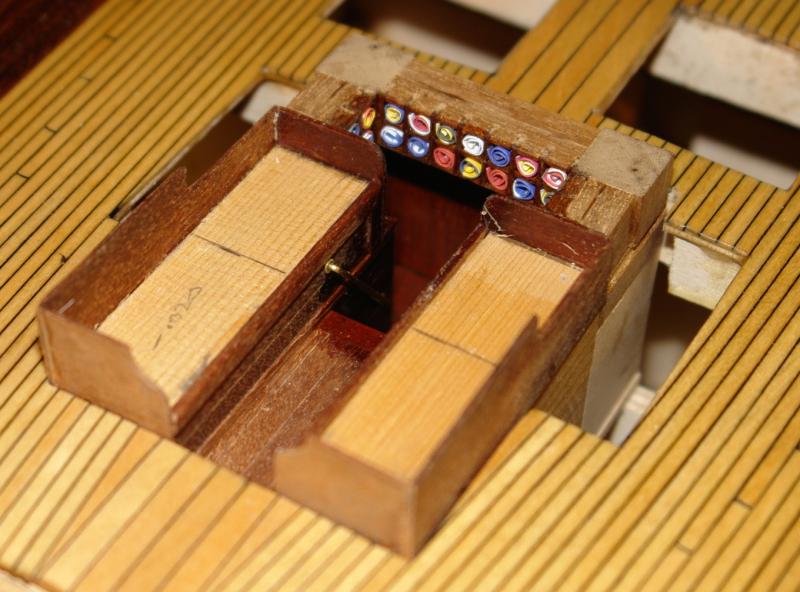
As you can see I also built up the sides of the seats. Cushions to follow.

Very little of the flag locker will be visible once the chart table is fitted over it. But I know it is there!!!!!!!
-
-
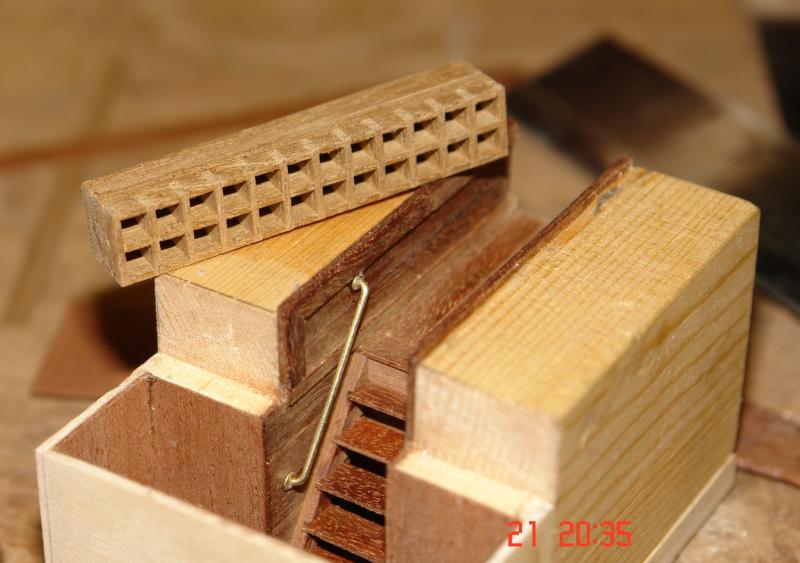
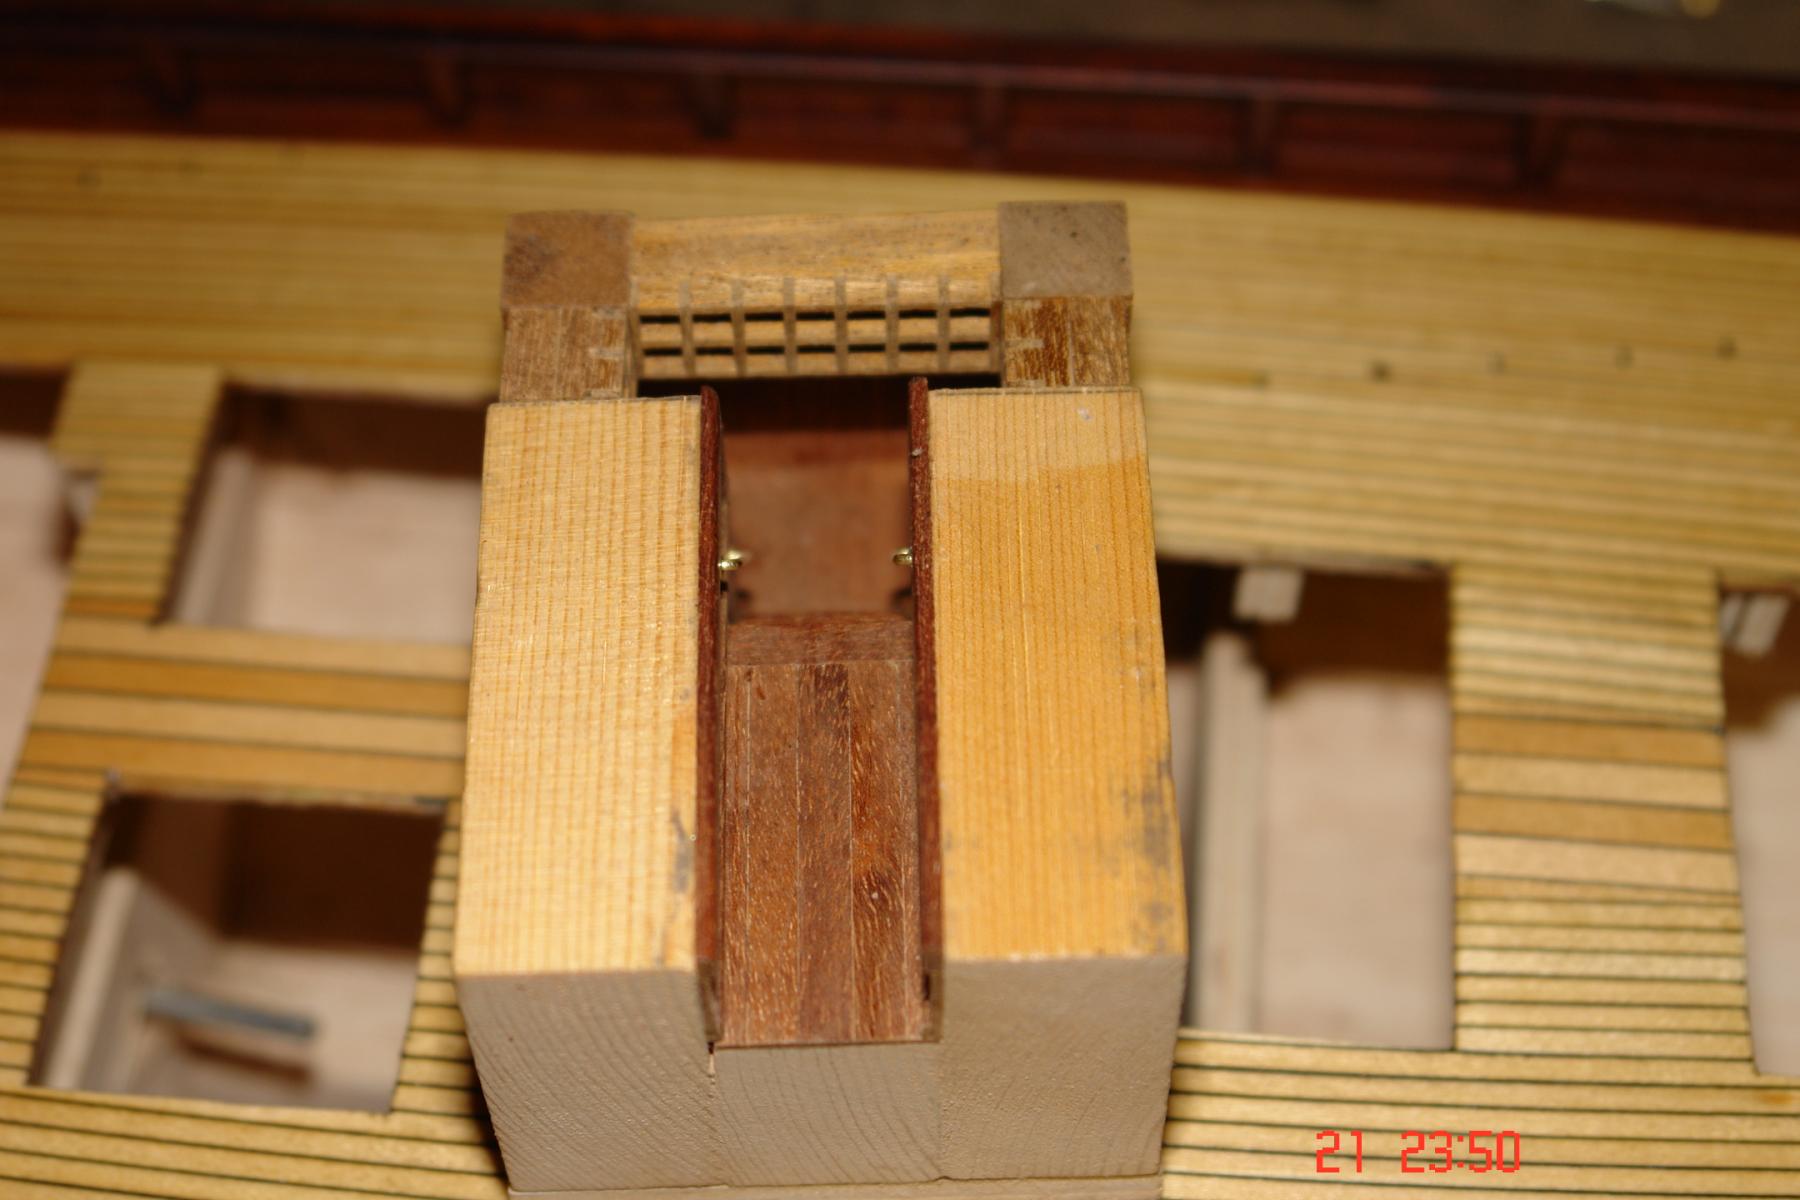
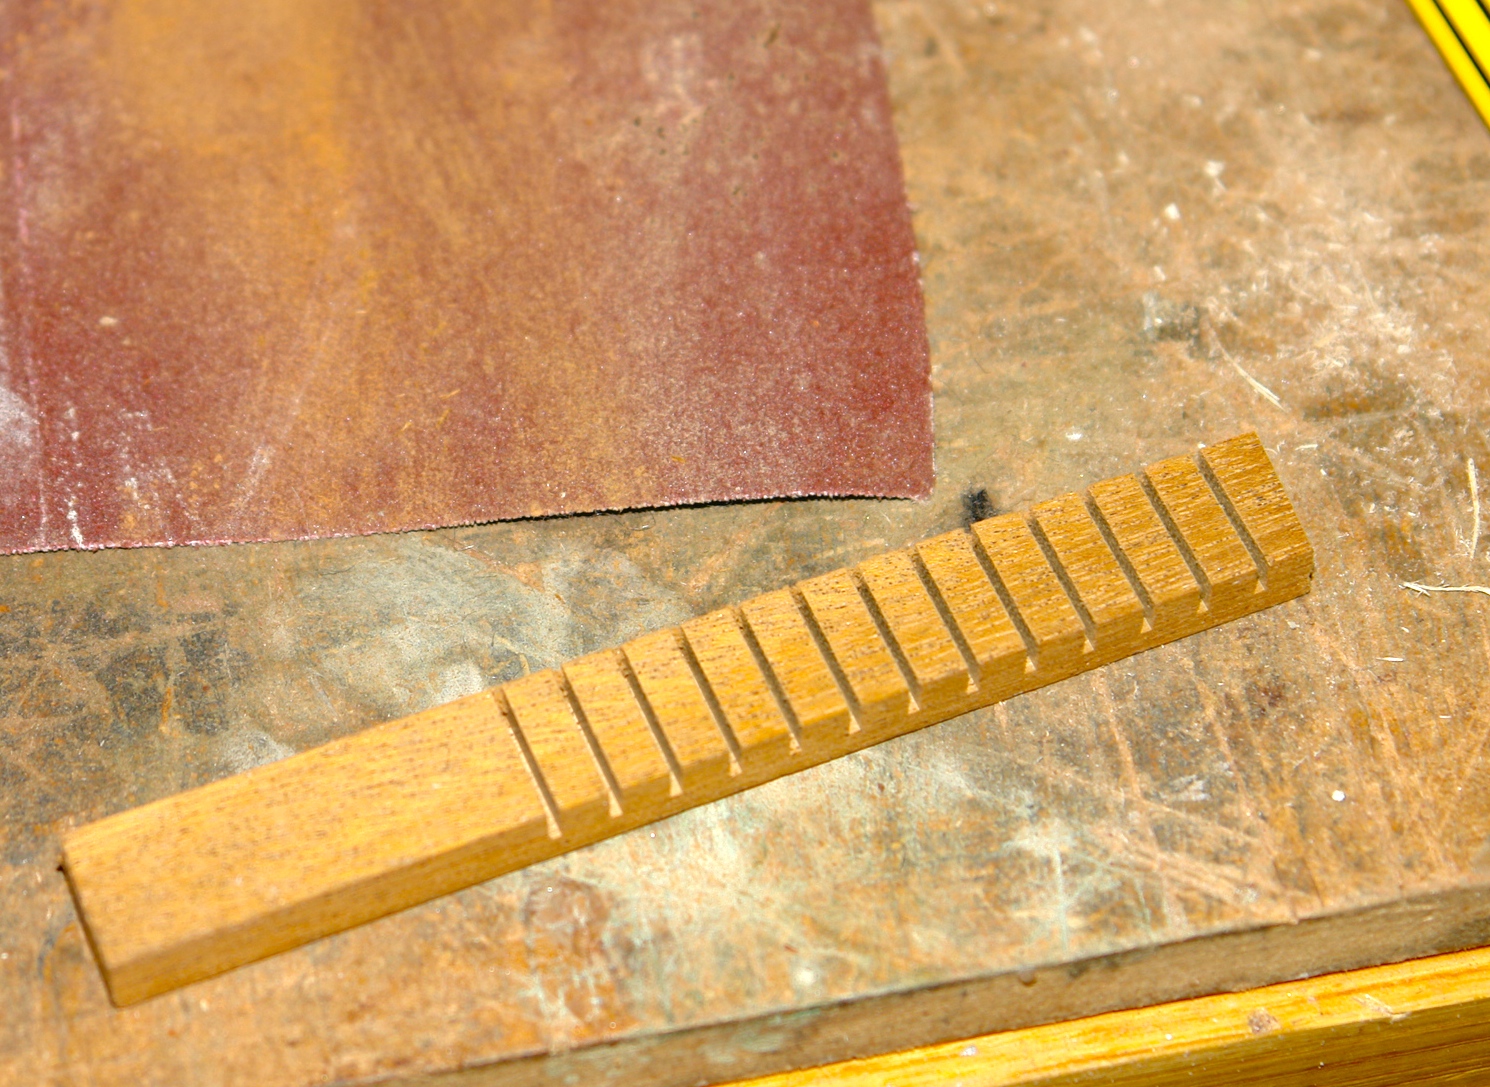
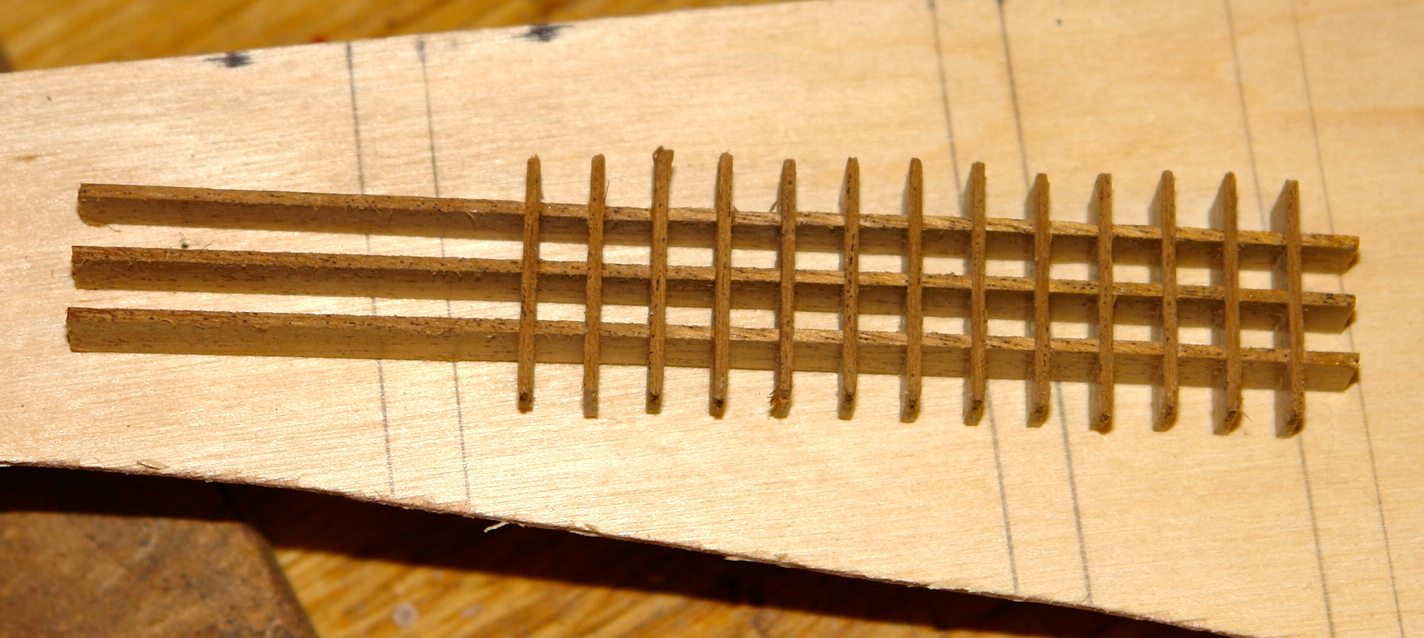
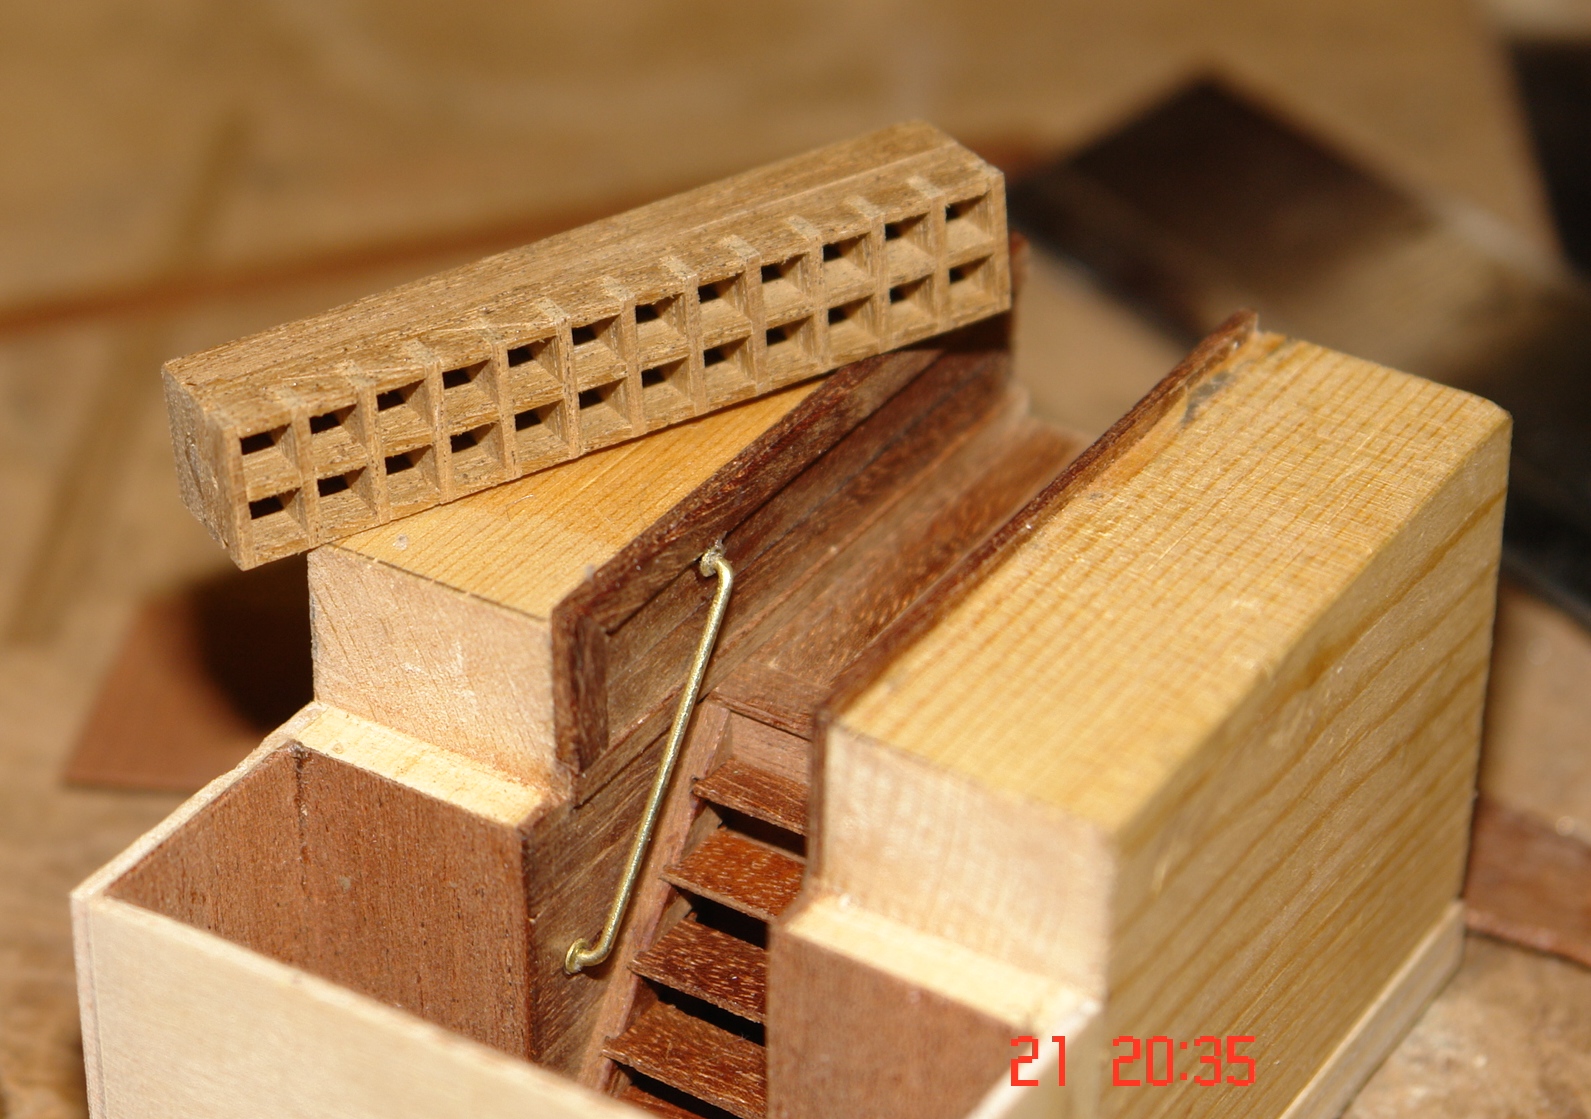
Above the transverse corridor sits the flag locker. It consists of a number of pigeon holes into which the flags are posted for storage. I made the pitch of the holes .200 inch with .040 walls - hole size .160 x.160 inch or 5.12 x 5.12 inch at full size.
Cross slots were cut in a piece of mahogany at .200 inch pitch before .040 inch slices were milled off.

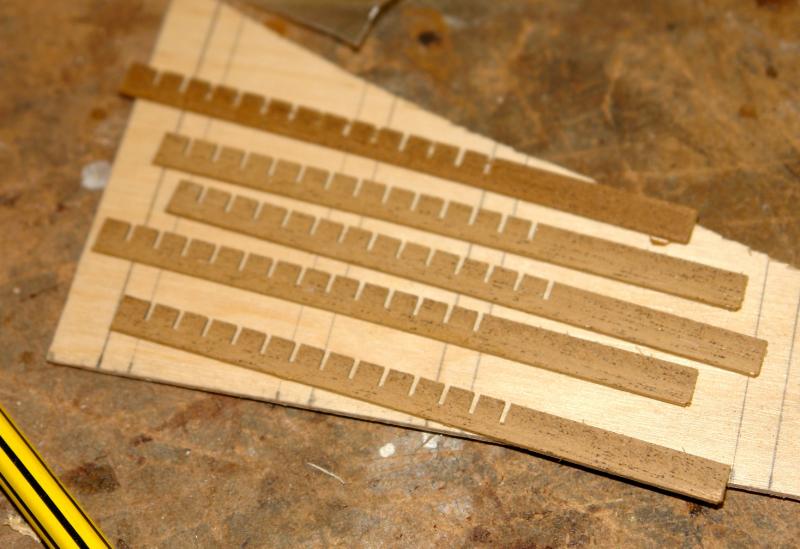
Assembly was easy, but care was necessary to avoid damaging fragile parts.

- pete48, captainbob, IgorSky and 8 others
-
11
-
Thank you John
Between redecorating duties I managed to make a bit more progress.
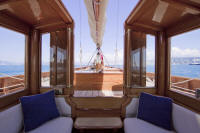
The deckhouse is quite open and I thought I needed to attempt some internal detail - to be viewed through the windows, open doors and deck house roof hatch.
Before I start a few photos of the original.

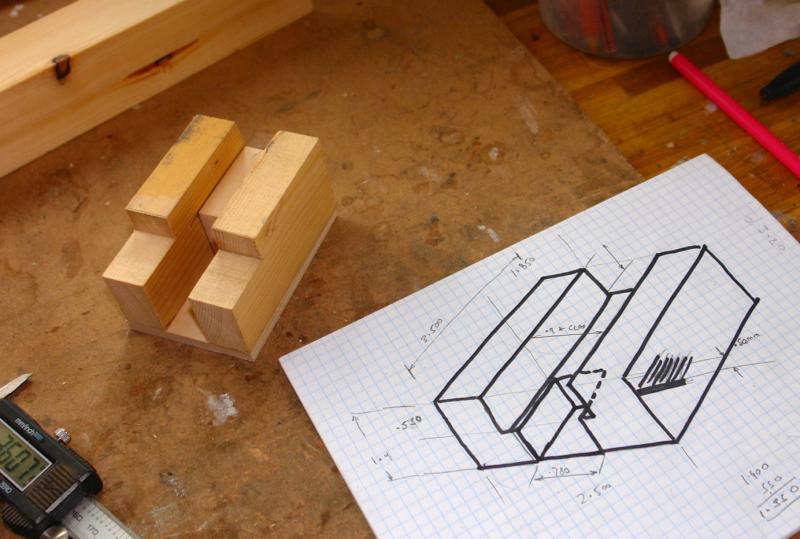
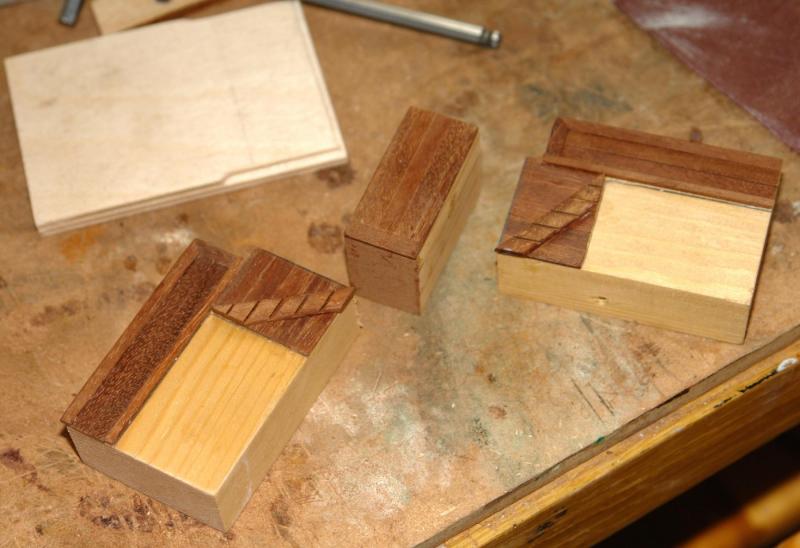
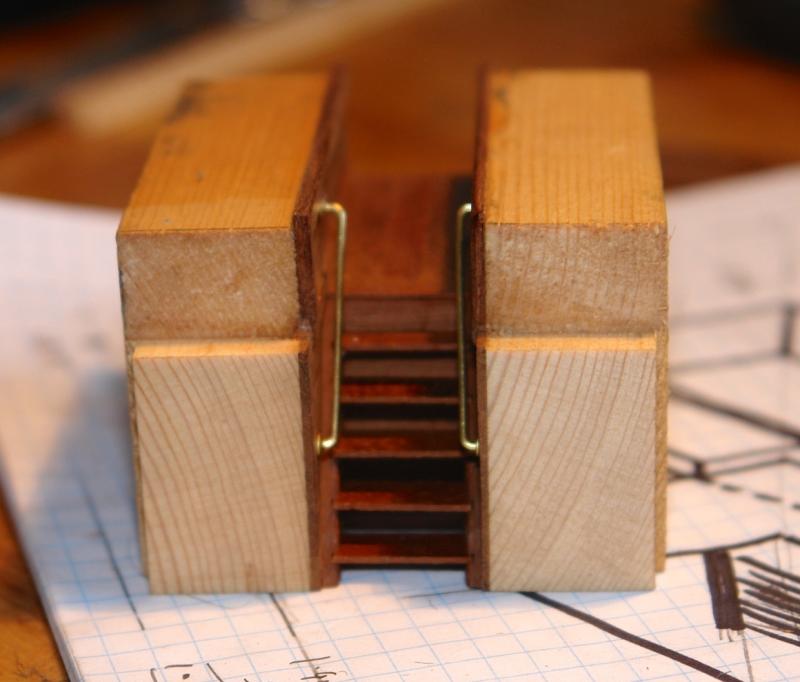
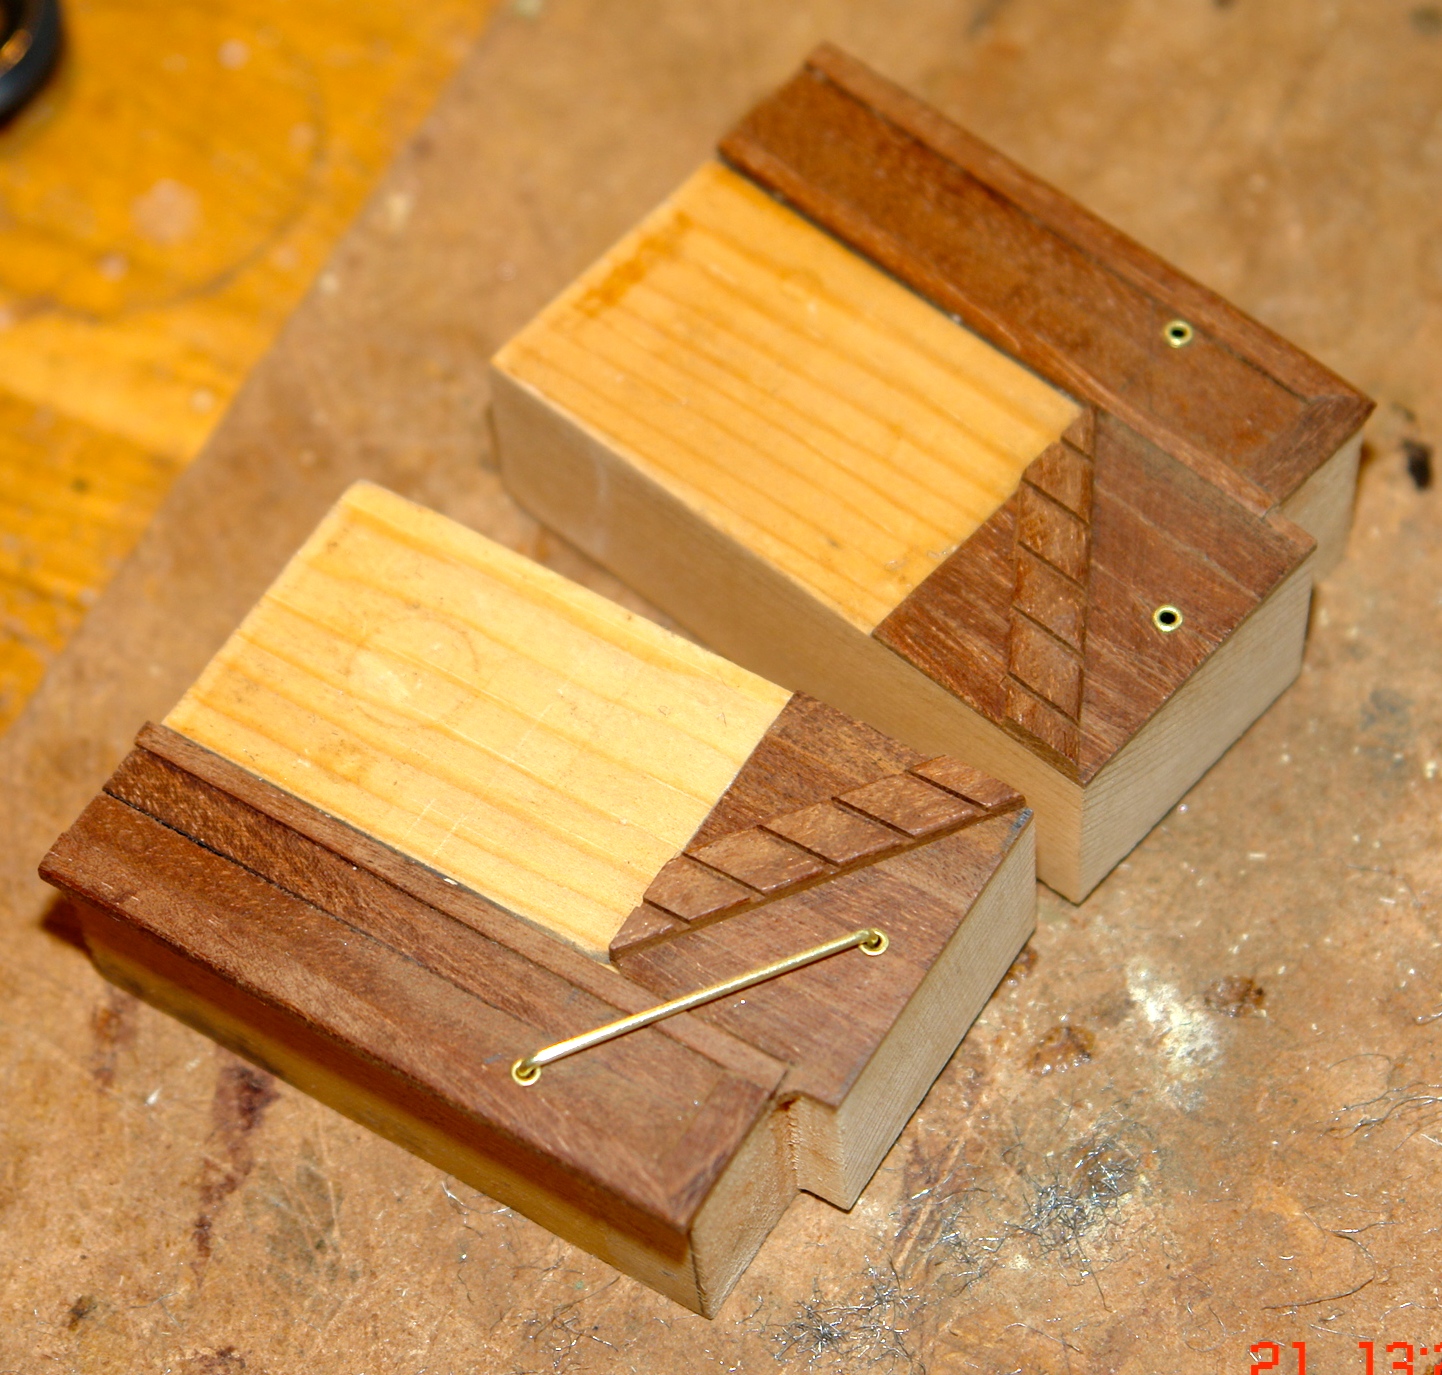
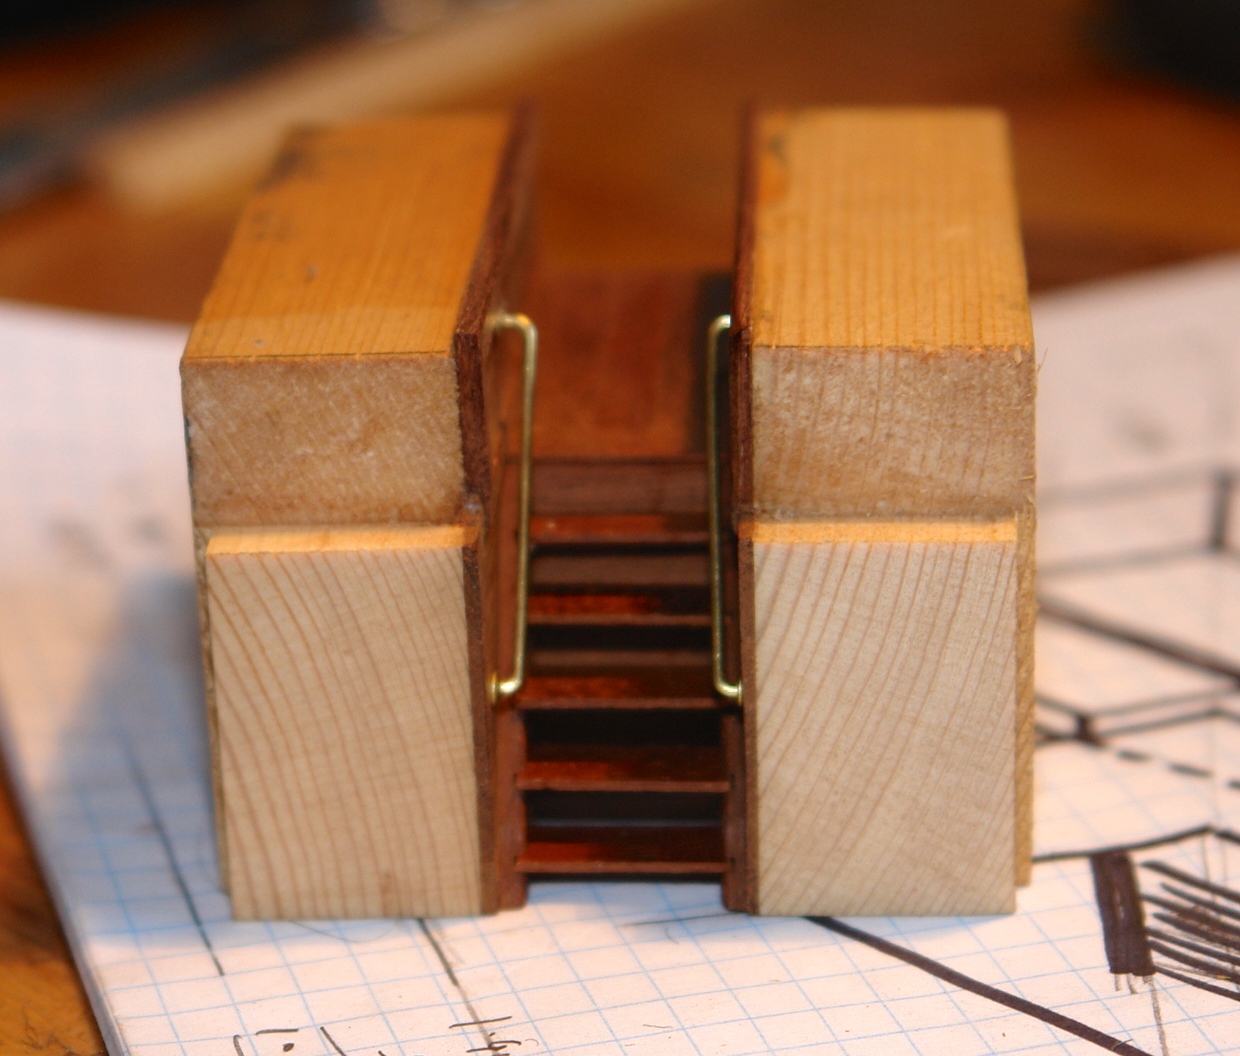
I started by blocking out the basic shapes.
Then I covered the visible surfaces in mahogany and cut out and attached the sides of the steps and the handrails.
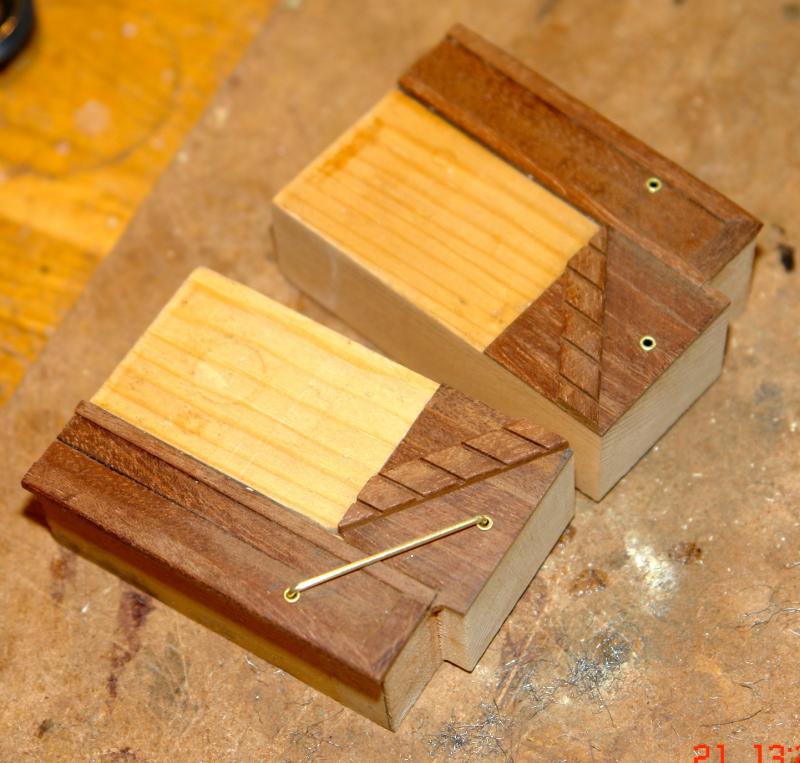
At the bottom of the steps is a transverse corridor. Its virtually impossible to see from outside the deckhouse but I thought I had better represent it.
- GuntherMT, captainbob, tadheus and 7 others
-
10
-
-
-
Hello Francis
The deck planking - particularly the caulking is a little tedious.
It's quite important to get the right black card. You want card that isnt too friable, I used Clairfontaine Trophee A4 card from Amazon.
I used PVA glue and put a thin bead on the deck alongside the previously laid plank - smoothing it out with my finger. I was trying to get a very light film of glue. Having applied the glue I then placed the next plank on the deck near the previous plank and used tweezers to place the 1mm wide card strip between the planks - working from one end I progressively pressed the planks together nipping the card between the planks. The plank being laid was held in place by pins as I had done on the hull planks. I wiped off the glue squeezed out between the planks as I went along. I hope that makes sense but come back to me if it does not.
I did my current build "Altair" in the same way and you may find the detail on this build helpful. In a number of the pictures you can see progress and the pins holding the most recently applied plank in place. - Pages 3 and 4 are the most relevant.
-
-
-
-
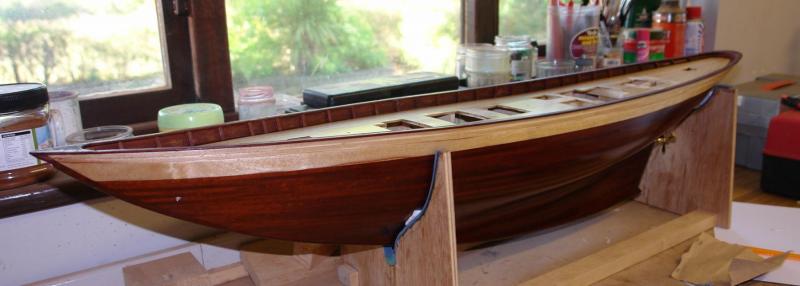
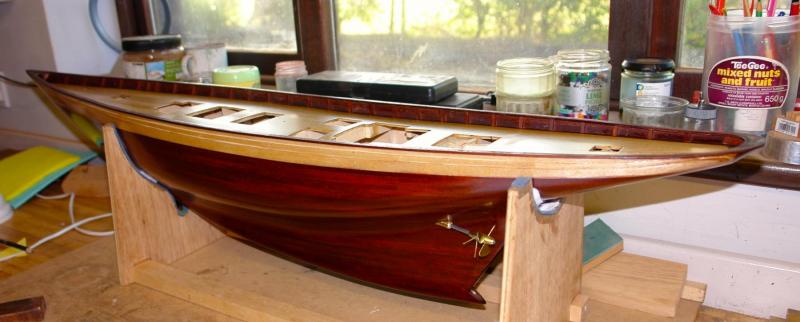
Scuppers---------
The penetrations through the bulwalk have covers on Altair.

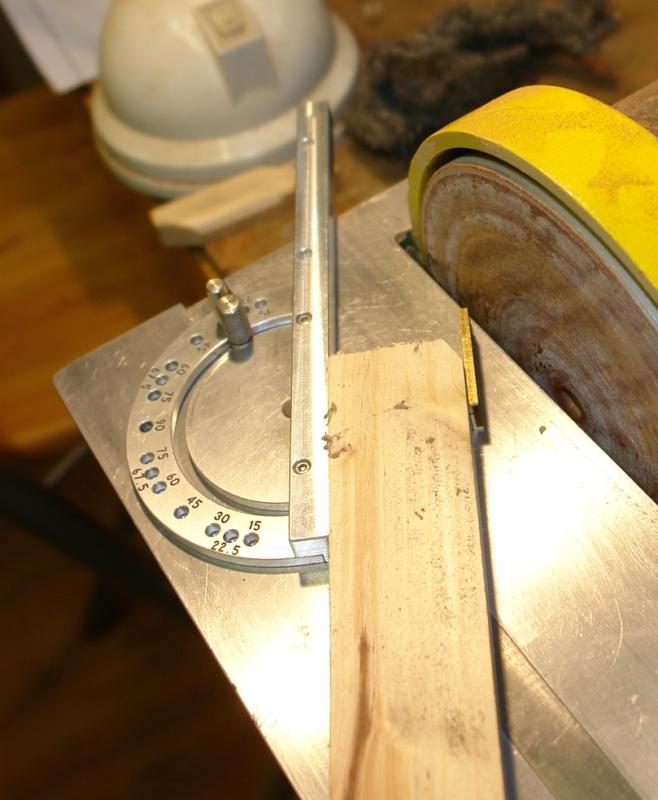
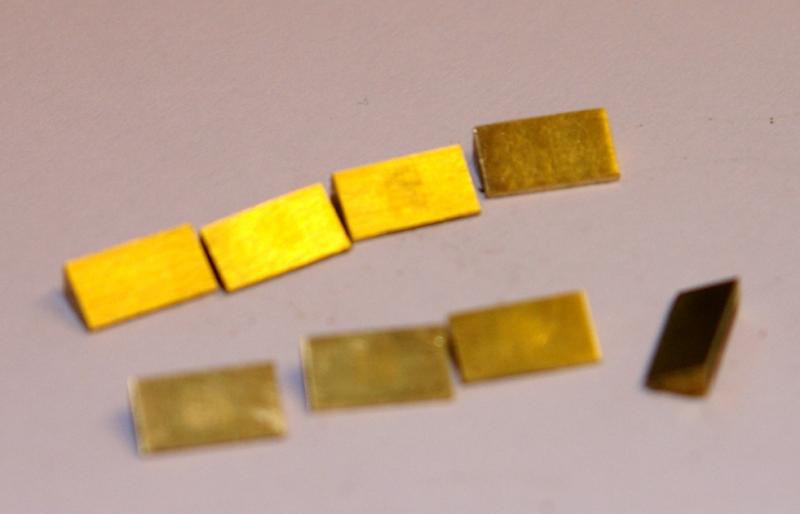
I thought the covers would look bad if they weren't identical so I decided to cut them from brass channel. The correct angles were formed using a combination of the disc sander and mill - with the settings being maintained through the use of simple jigs.
The uniformity was good and the test mounting looked fine.

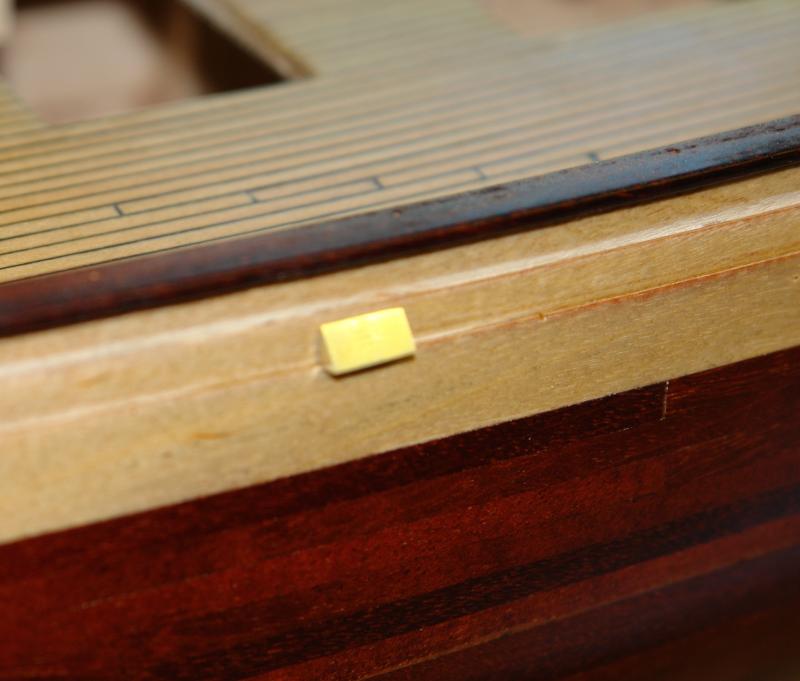
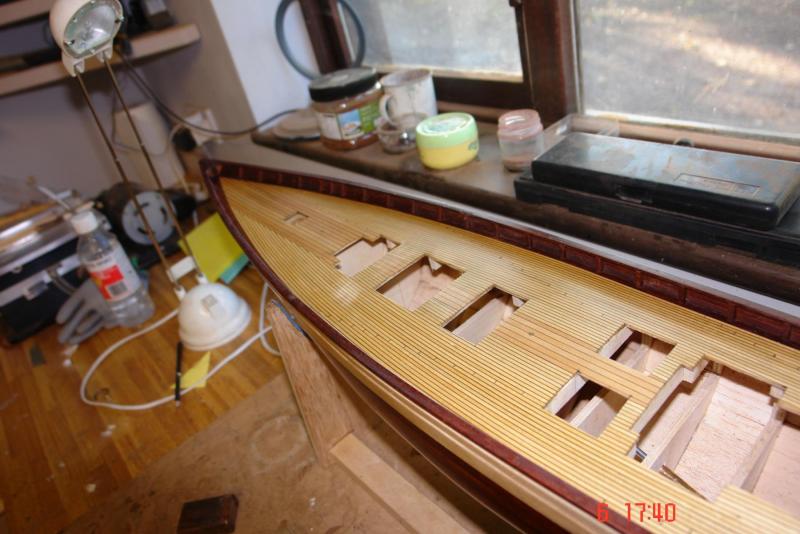
I also got round to putting the 1st coat of poly on inner surface of the bulwarks and capping rail.
- IgorSky, wyz, michael mott and 13 others
-
16
-
-
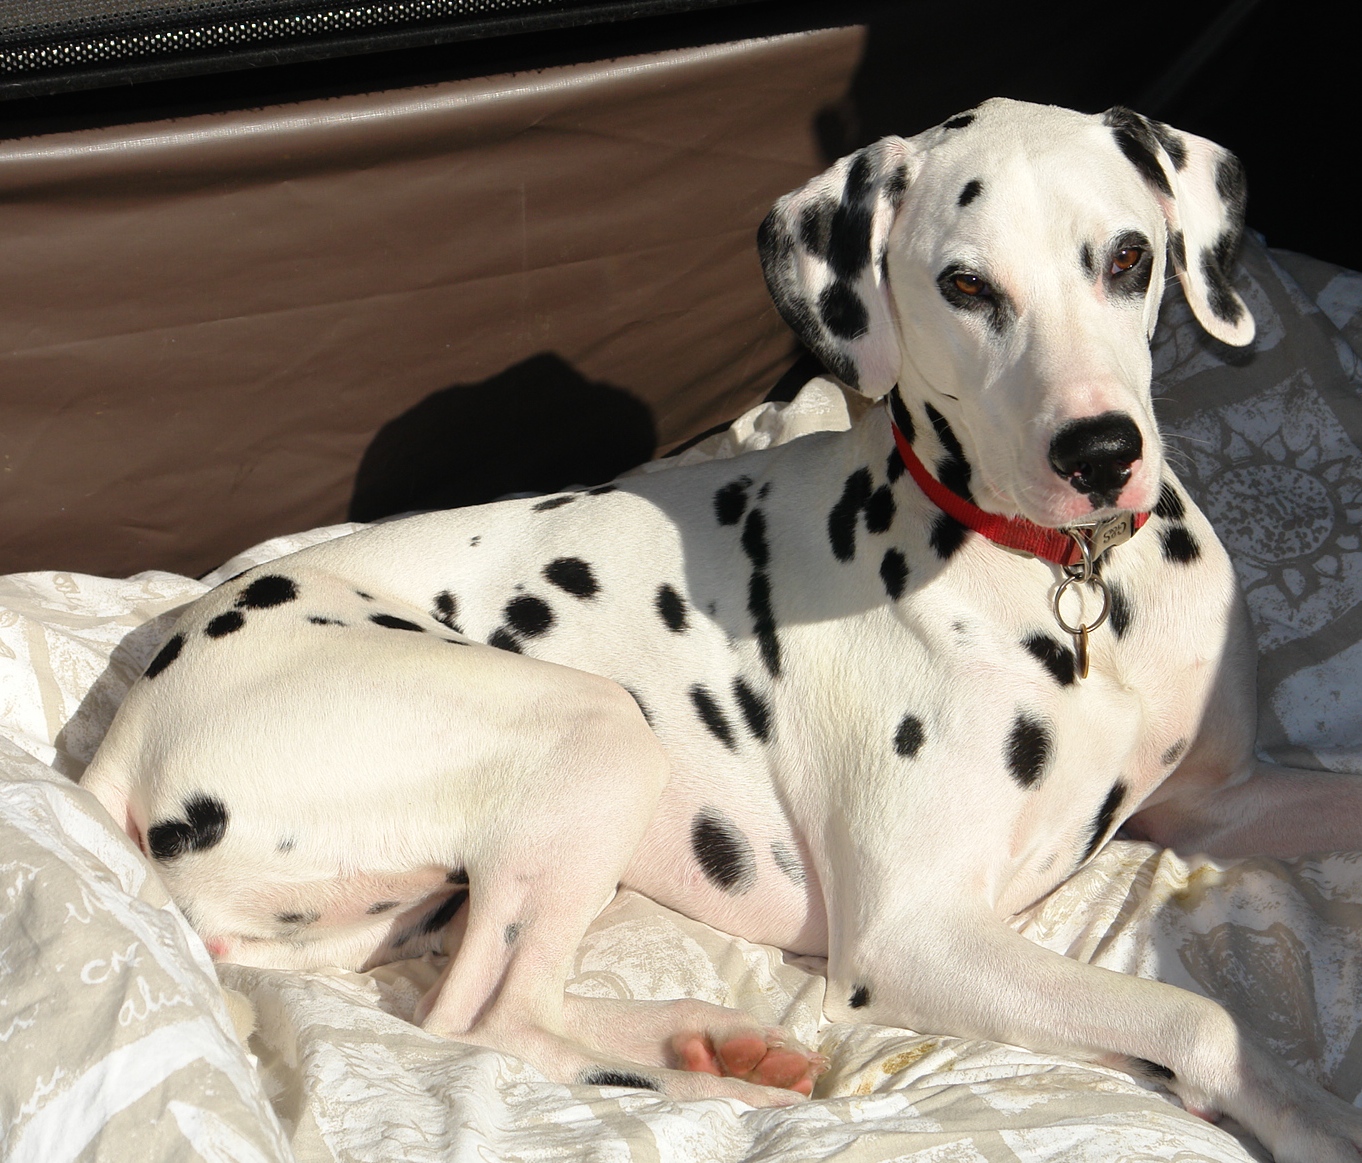
Progress is very slow. Much time away from home visiting family and holidays. At least the dog is getting a lot of walks and looking fit.

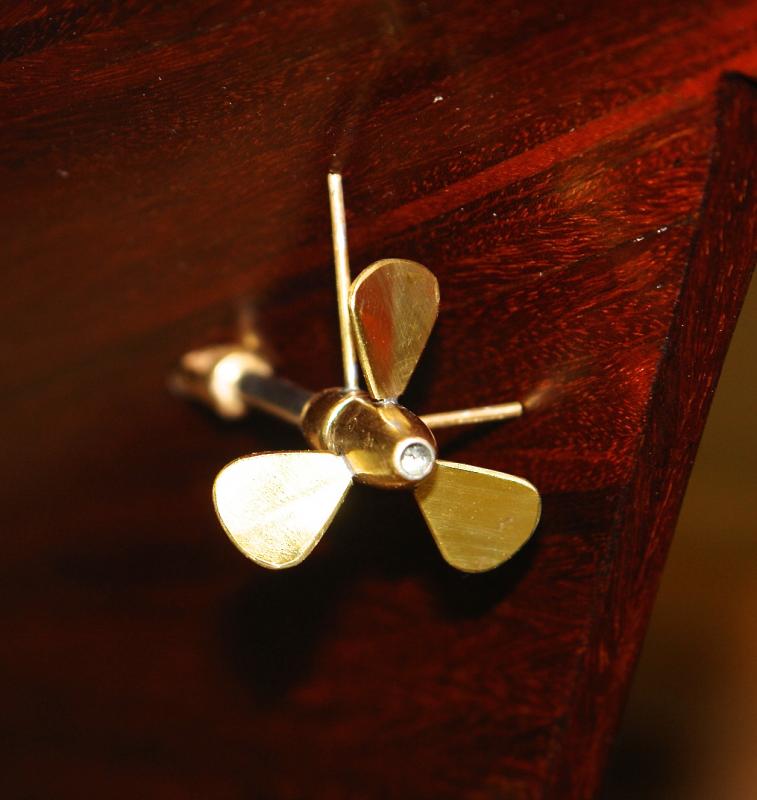
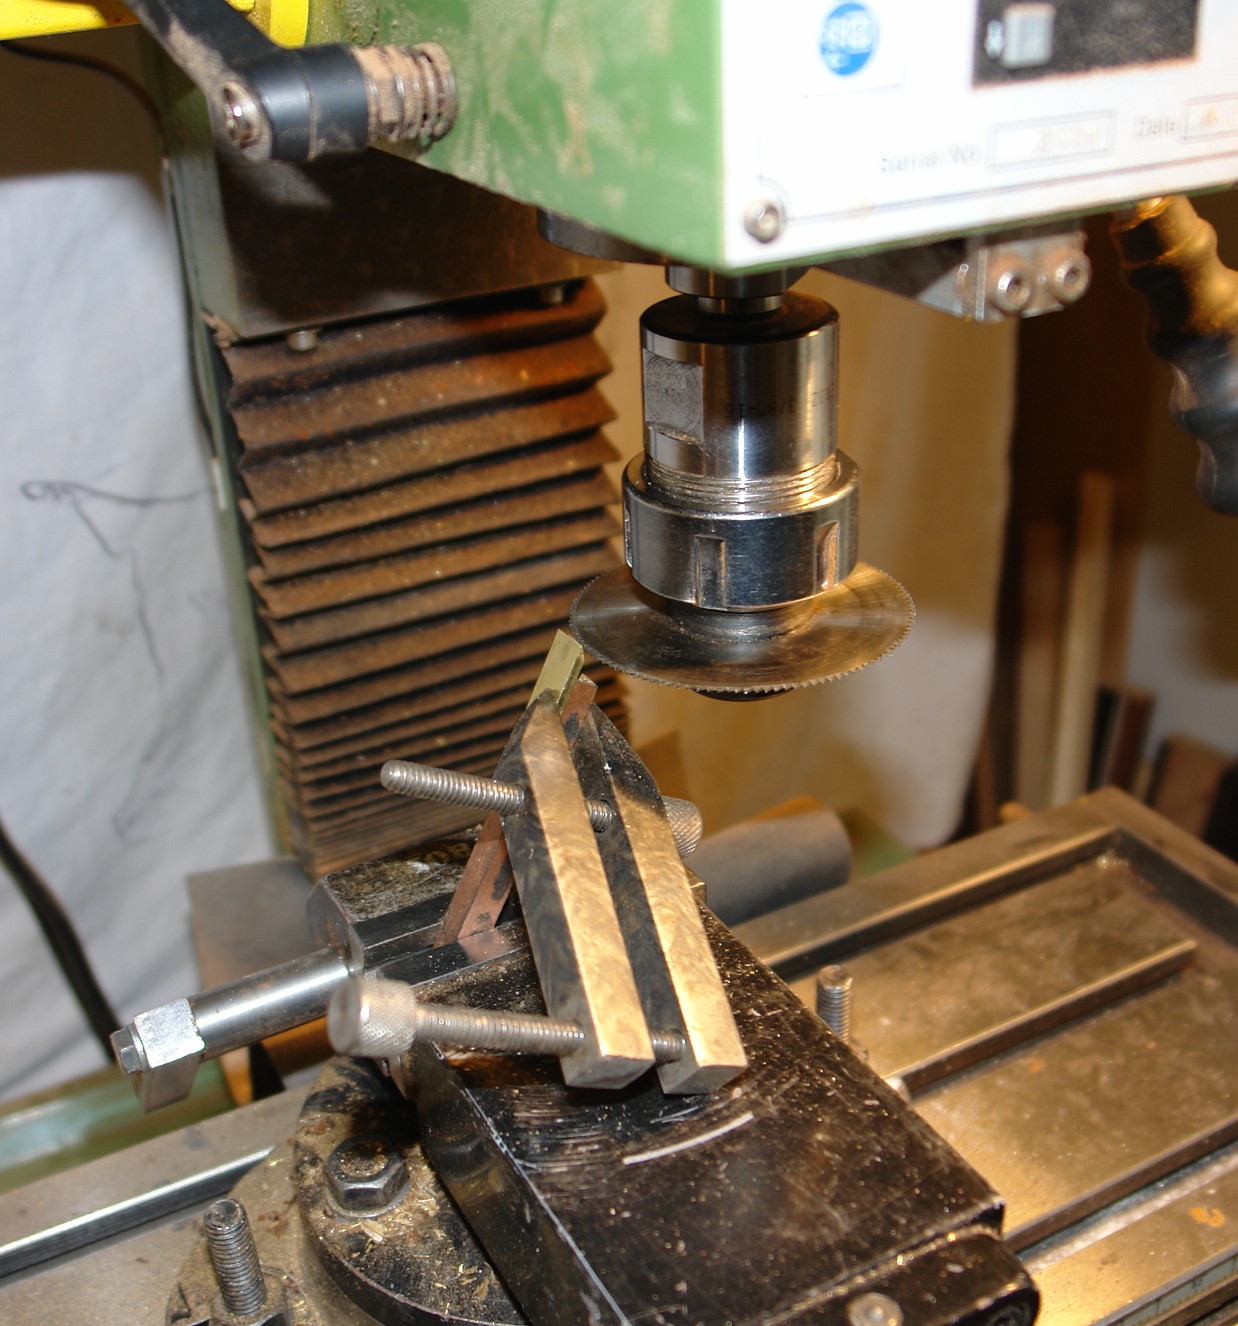
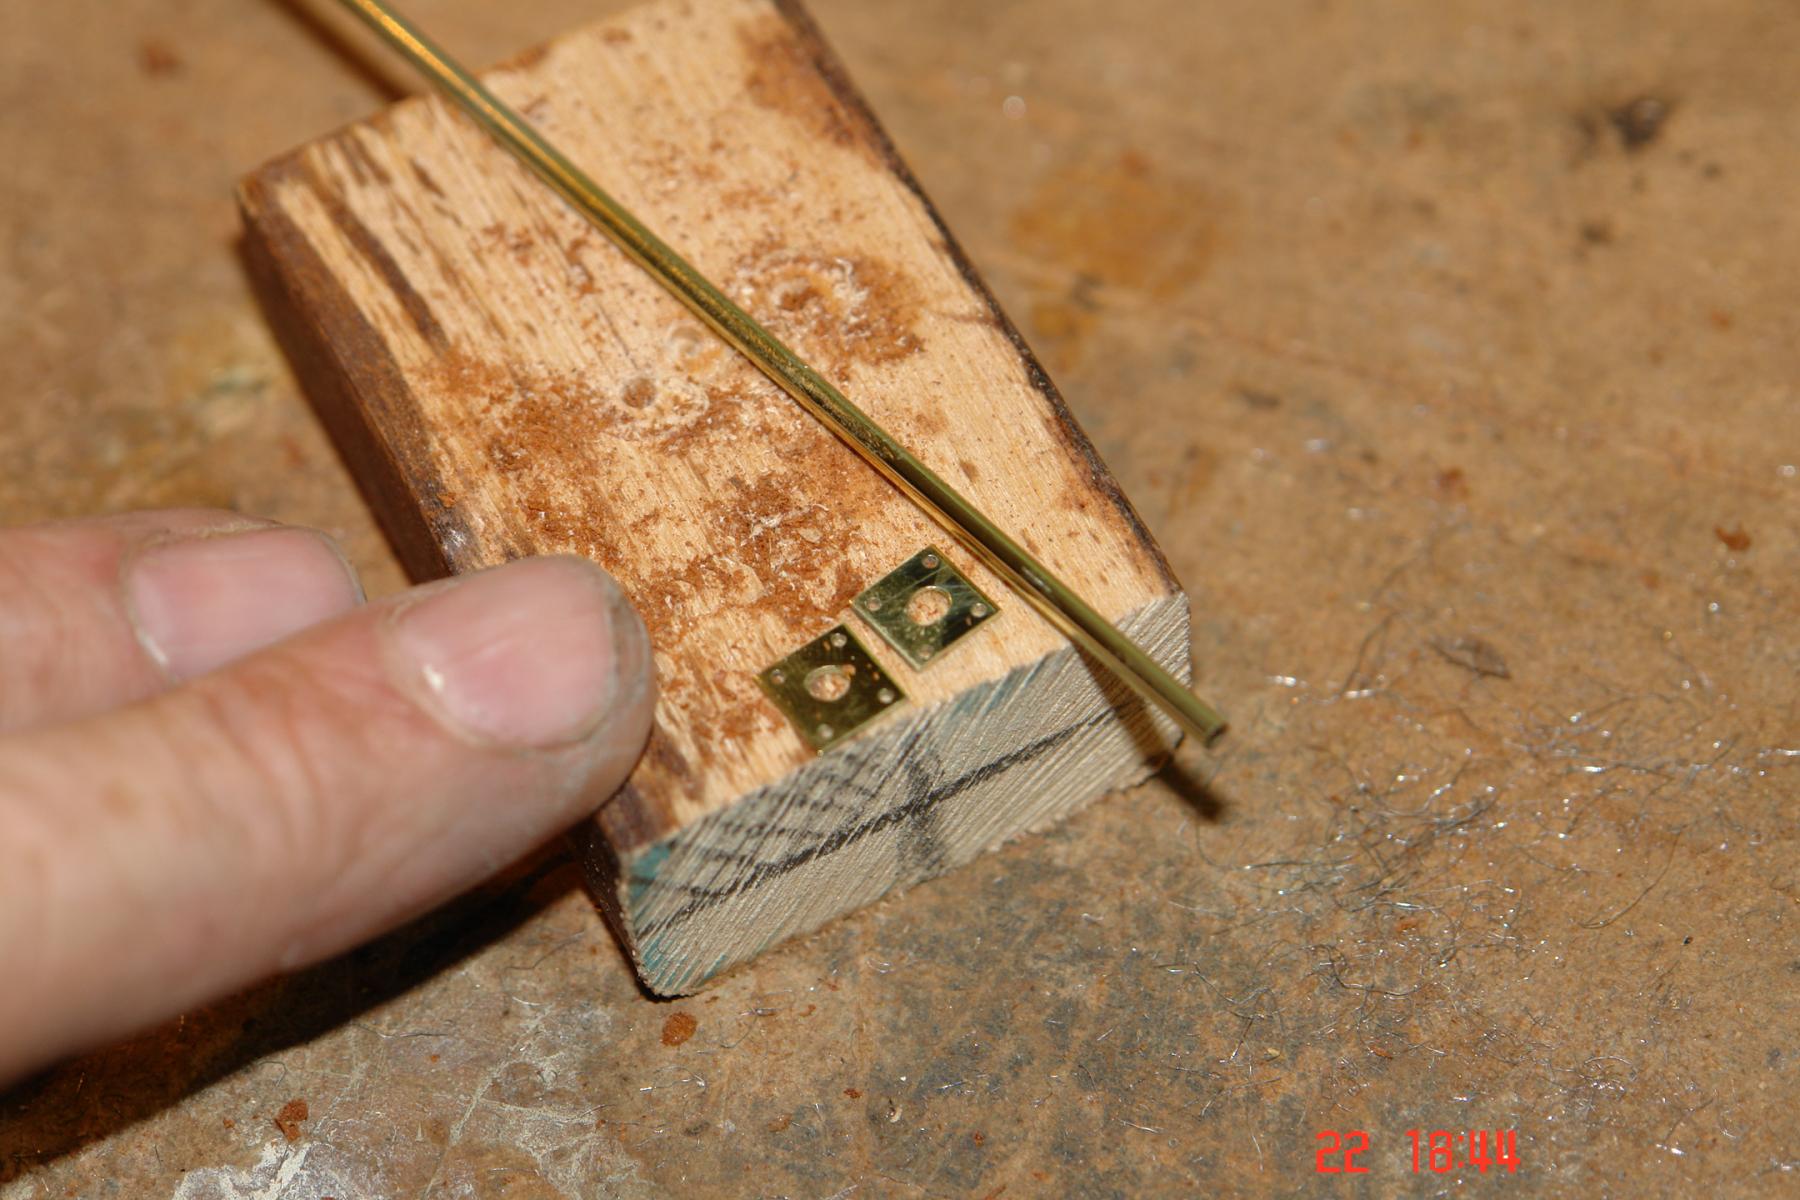
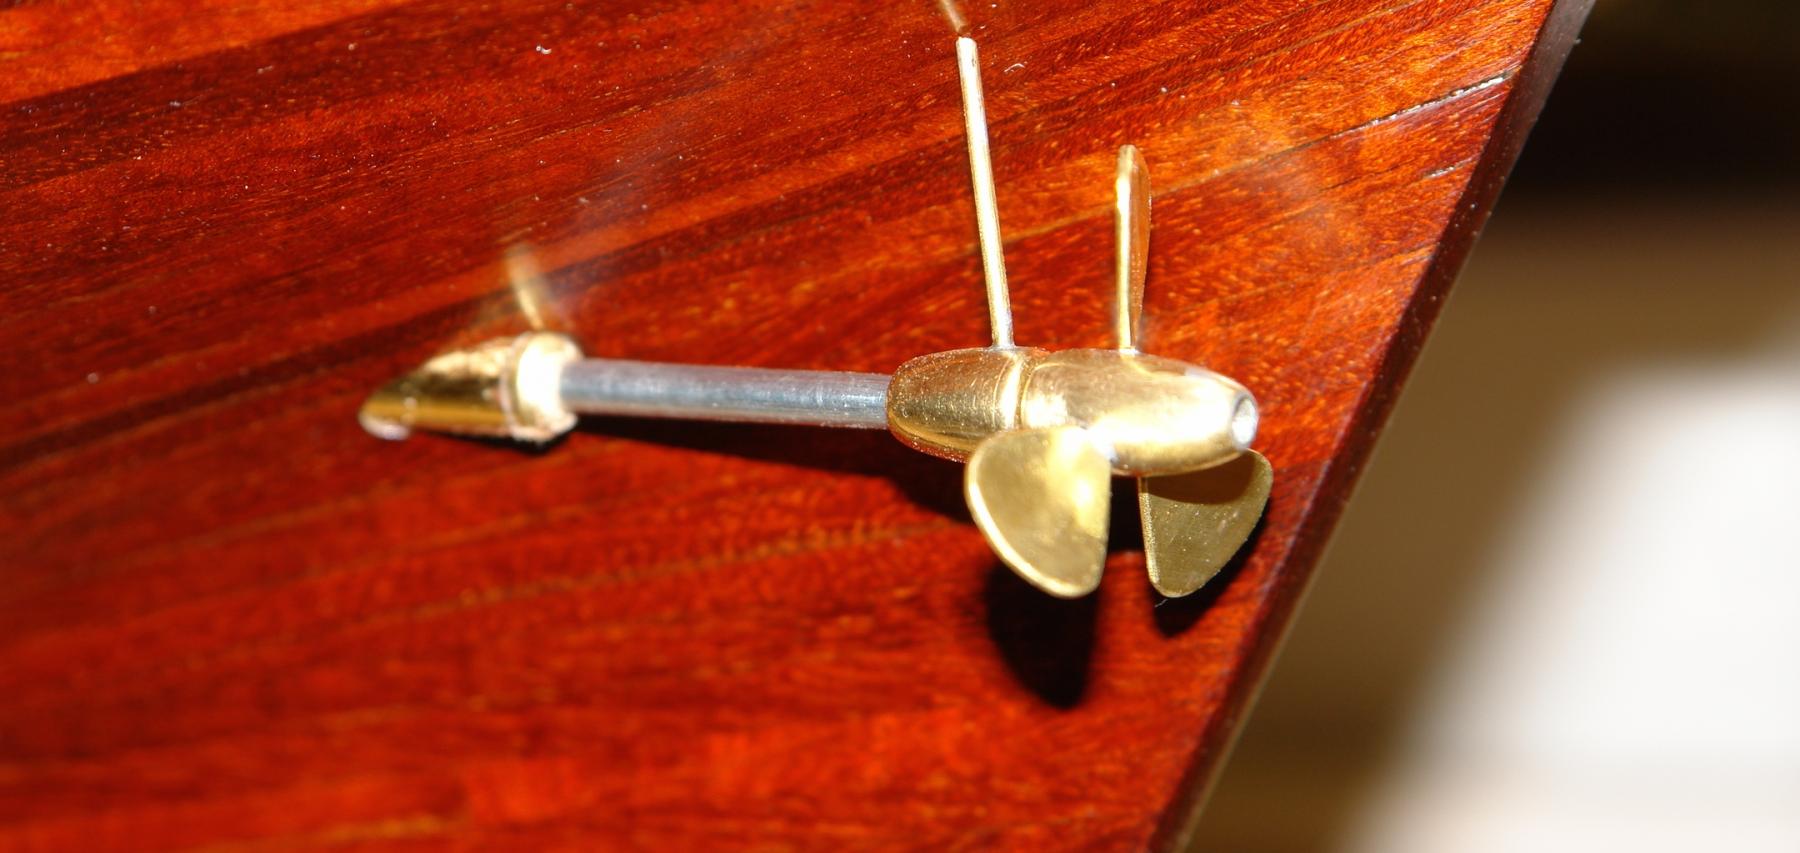
I did get an hour or two to make the prop shaft rear bearing and hull outing plates,

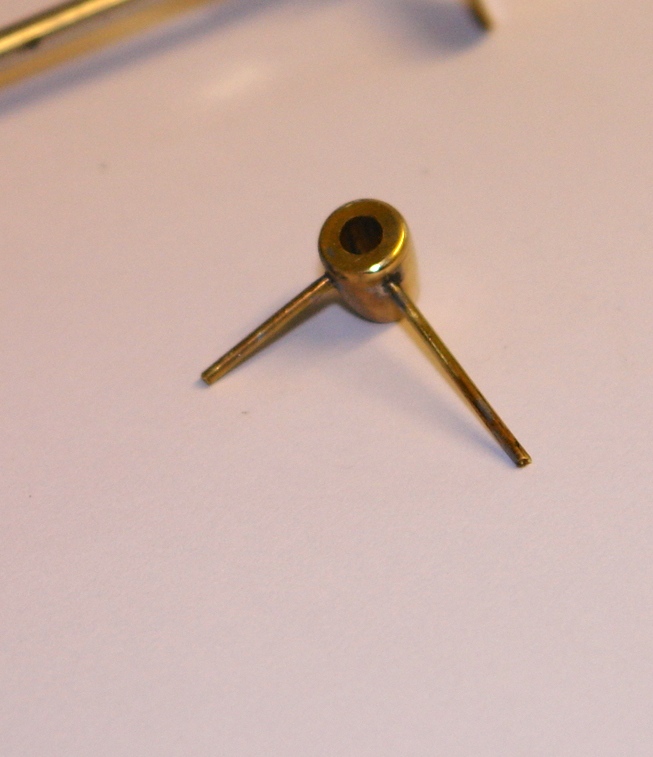
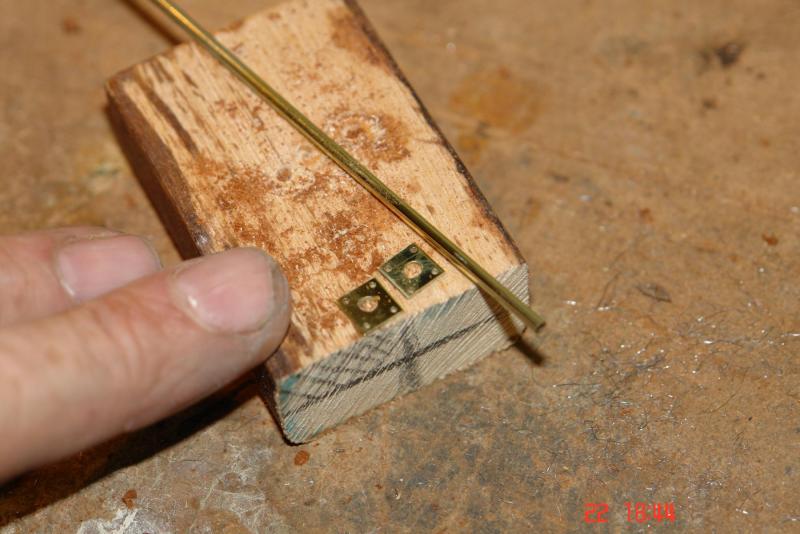
The test assembly looks ok but I'll postpone final installation until later in the build.

-
Hi Nils.
She is coming along very well. Loved the sanding drum, drill bit etc up-stands on the aft deckhouse. The vents are excellent.
- Mirabell61, Piet, Omega1234 and 2 others
-
5
-
-
I came across the attached product for the first time earlier today. I can think of a number of uses that I could have put it to on previous builds. Its worth watching the video.
http://www.albionhobbies.com/connecto/
I wondered how many other products are out there that a lot of us are unfamiliar with?????
Another useful link.
http://www.chronos.ltd.uk/acatalog/Abion-Alloys---Precision-Metals.html
-
Hi Kees
A good clear out and tidy up always makes me feel better - almost like a new begining. I hope it makes you feel the same. I hope you start feeling much better soon - your skills are missed.
-


Altair 1931 by KeithAug - FINISHED - Scale 1:32 - schooner
in - Build logs for subjects built 1901 - Present Day
Posted
Bob
Thank you. Your kind comments are much appreciated.