-
Posts
3,053 -
Joined
-
Last visited
Content Type
Profiles
Forums
Gallery
Events
Everything posted by Cathead
-
Looks like you're getting lots of good practice in problem-solving, and giving some great examples of how to approach it! Looking forward to seeing how this comes together.
- 17 replies
-
I'm in no way an expert on this, but on my builds involving exposed wood, I've always used natural food-grade wood oil, the kind you'd use on cutting boards or wooden utensils. You can see the resulting finish on builds like my revenue cutter or NRG capstan in the signature below if you want to assess the look. The oldest model I've treated this way is 9 years old, has gone through lots of temperature and humidity swings in my house, and has been just fine. My strongest reason for doing this is I really don't like using hazardous stuff in my modeling. Poly comes with all sorts of concerns from being an oil-based flammable to needing adequate ventilation for application to not wanting it on your skin. Whereas food-grade wood oil is as benign as it gets. It's probably true that, in the long run, an initial application of wood oil won't protect as well as one of poly, because it doesn't create a hard seal. In other applications (like countertops) you would normally apply more wood oil every now and then to maintain the surface, which isn't practical on a ship model. So down the road it's possible that wood oil would still lead to some level of warping, cracking, etc. But I haven't seen it yet, and my guess is that a well-built model kept in reasonably stable indoor conditions shouldn't see major problems; our models aren't subjected to the same stress as countertops or utensils. At least I assume you aren't planning on eating off the Cheerful's deck! I don't have a deeply educated opinion on the long-term value of one or the other, but I've seen no problems with this approach over multiple models, and really value the simplicity and benign nature of the material. I'd be interested to hear counterarguments from someone with relevant experience.
-
Oh, I agree, you don't want a vessel full of cowboys. But I was referring more to the overall style of dress in the European figures, it still looks distinctly European to me, though I don't claim an expertise in these matters. In the same way that, even today, I feel like American vs. European styles of dress are fairly distinctive, even setting aside obvious stereotypes like cowboy boots. I'd say let's get this thread back on track, but since I don't have any progress to report, I don't have much standing in that regard!
- 255 replies
-
Here are a couple HO sets I turned up in a quick Google search. One advantage of these is they're by American manufacturers and follow American clothing designs, whereas I've found that most European figures, not surprisingly, look distinctly European in styling. Which isn't to say you can't use them, it's just something to consider. Heck, maybe your story is it's carrying a bunch of immigrants! https://outlandmodels.com/products/old-west-people-figure-set-20-pcs-1-87-ho-scale https://shop.bachmanntrains.com/index.php?main_page=product_info&products_id=3029 I know there are more out there because I've purchased others in the past, but you can keep looking. These just show it's possible.
- 255 replies
-
Hey, thanks for checking in! The 1:87 scale was indeed chosen for a possible model railroad project that remains undecided. If you read through the beginning of the build log, you'll find a post where I explain this vessel's ties to local railroad history and how it might tie into a model railroad project. My previous Bertrand build (see link in signature) was also built at 1:87, for a similar reason, so this scale allows the Peerless to be comparable. Yet another reason is that, as you suggest, 1:87 makes a lot of accessories easier to obtain and use, whether figures, cargo, doors & windows, etc. The math on building in 1:87 is a bit awkward, but as you know, model railroaders manage it all the time. I'd say that using 1:87 figures would be just fine in your case. The 1:87 figures would be slightly undersized for 1:80, which is also good as figures tend to be scaled for modern people sizes but 19th century people were noticeably shorter, so if anything one could argue it's more accurate than modern 1:80 figures would be. Also, the OcCre steamboat kit isn't particularly historically accurate or scaled (though it produces an attractive model), so it especially doesn't matter if the figures aren't perfectly to scale. I don't know about any 1:80 figures, but there are a variety of 1:87 "old time" figure sets available that would be appropriate for a steamboat. I'll enjoy following along on your project and I hope you stick around for this one, which has gone on a longer hiatus than I intended but which is very much not abandoned.
- 255 replies
-
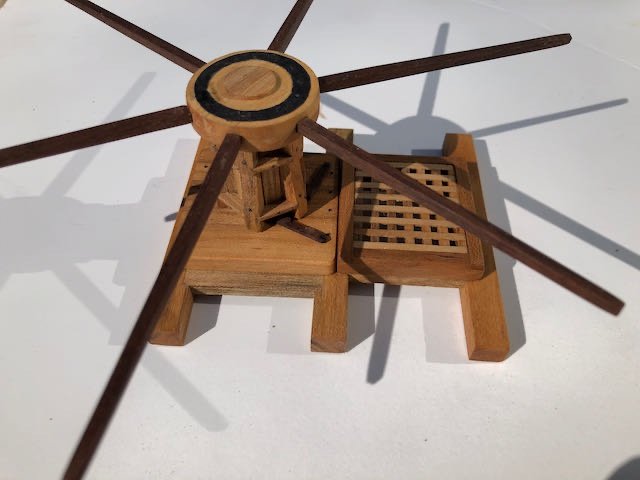
Looks like there are two different threads on this, one in Nautical General Discussion and one in Tools and Workshop Equipment, so at risk of further redundancy I'm reposting my response in the other thread because it seems important that there be as much outpouring of memory and support as possible for this wonderful contributor to our hobby. ~~~~~~~ I never met Jim in person but purchasing his table saw (on the strength of recommendations from MSW) opened up all sorts of new frontiers for me in this fascinating hobby and I'll never see it the same way again. Really sad for the deeper loss suffered by all those who knew him personally, and my deepest sympathy for his family. I hope Donna finds fulfillment in keeping the business going so that the legacy continues. As a sort of tribute, and a small example of Jim's legacy in my corner of the modeling world, here's a project I couldn't have done without his tools: the NRG capstan project but made with walnut, cherry, and maple I harvested and milled from my own property, and cut to final dimensions on a Byrnes table saw. My saw has contributed to other builds as well, but I've always thought of this one as a "Byrnes" project because that saw was so integral to its completion and uniqueness. Thanks to Jim and Donna for their roles in helping me become a better model builder, and to Chuck for taking the time to write such a difficult notice for us.
-
Frankly, that video channel seems pretty sketchy. Its Cairo video uses a ton of Brian's images without proper attribution. Nothing said or labelled in the video itself, just a tiny link embedded deep in the descriptive text, and that link is just to MSW, not to the actual build log.
- 600 replies
-
- Flying Fish
- Model Shipways
-
(and 2 more)
Tagged with:
-
Great, thoughtful review. So glad you decided to share the journey. Let folks know here when you start a new log for your next project.
-
Basically, these "hog chains" were iron rods anchored into the hull and superstructure that acted like the trusses on a bridge, holding the hull to a certain shape while still allowing some flexibility (much as a truss bridge can still flex or sway). They were tensioned or loosened using iron turnbuckles set partway down each length of rod. This kit is not, shall we say, lauded for its historical accuracy in any way; it's the steamboat equivalent of a Disney pirate ship ride. But it still makes an attractive model with a lot of options for modeler's license, so don't feel constrained by any of the above. Do what looks good and right to you! For example, the lashing in question was quite well done and would look nicely at home on many sailing ships, so be proud!
-
Congratulations on a wonderful model. I really enjoyed that time-lapse, what a neat way to summarize the work! I may steal that idea for a future build.
- 600 replies
-
- Flying Fish
- Model Shipways
-
(and 2 more)
Tagged with:
-
Lovely work, something you'll be proud to display and gaze upon. Thanks for sharing the journey.
-

Barncave Shipyard by mbp521 - Scale 1:1
Cathead replied to mbp521's topic in Non-ship/categorised builds
Looks wonderful! Gotta say I'm curious about some of the curios, like the baseballs (huge baseball fan and I have a few special ones of my own). I also dig the armadillo. Very much looking forward to the resumption of your towboat. My own project is on hold for probably a few more weeks at least and hopefully you can beat me to it. -
Very well done, that looks really slick! If you manage to swing an inside tour, please report back here, I (and I'm sure others) would love to hear about it.
- 46 replies
-
- Fast Response Cutter
- Dumas
-
(and 2 more)
Tagged with:
-

Timber-framed outdoor kitchen - Cathead - 1:1 scale
Cathead replied to Cathead's topic in Non-ship/categorised builds
Yep, we use pretty much everything. Feet make especially good broth. -

Timber-framed outdoor kitchen - Cathead - 1:1 scale
Cathead replied to Cathead's topic in Non-ship/categorised builds
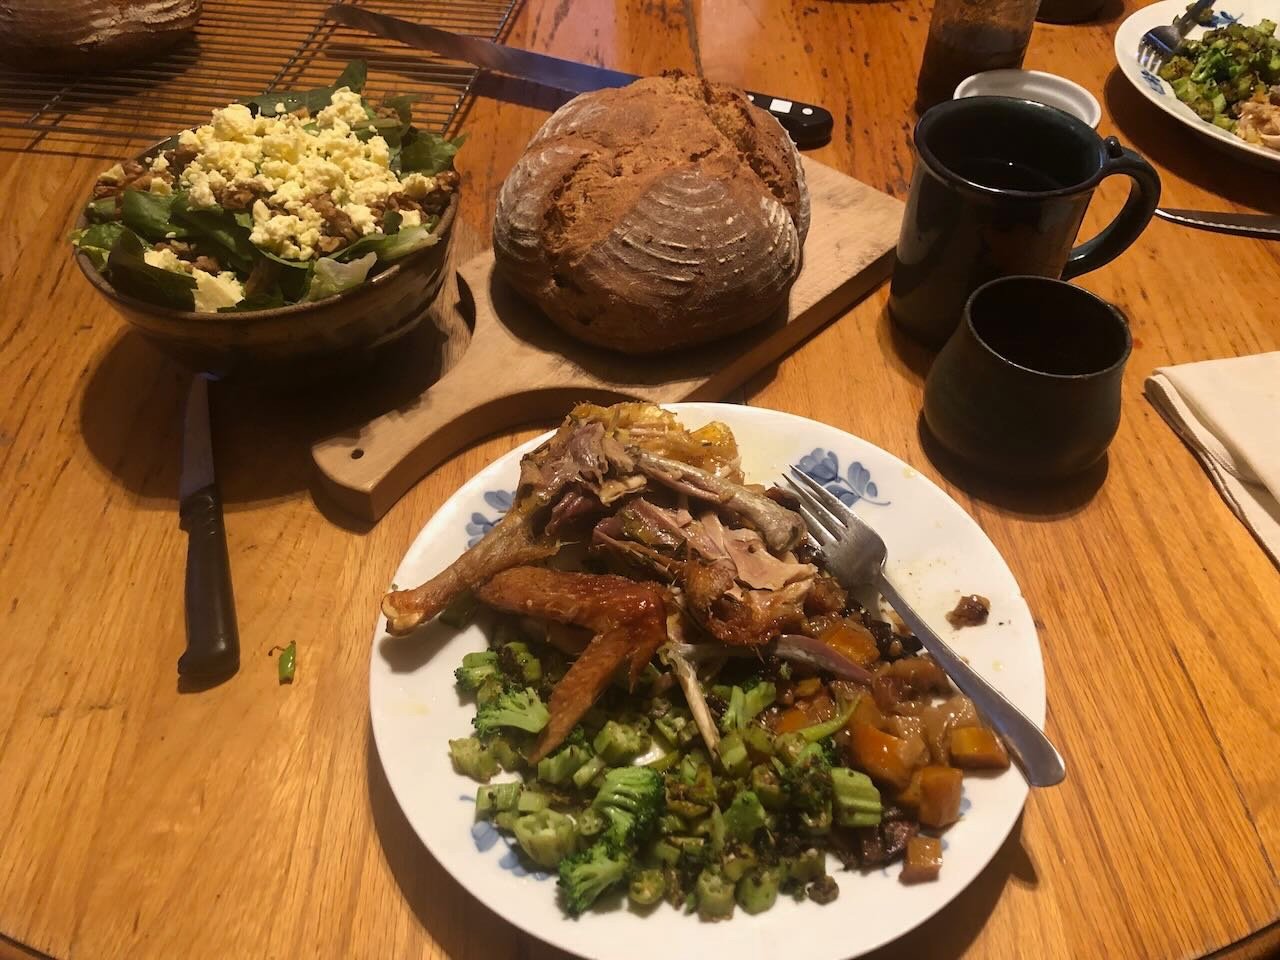
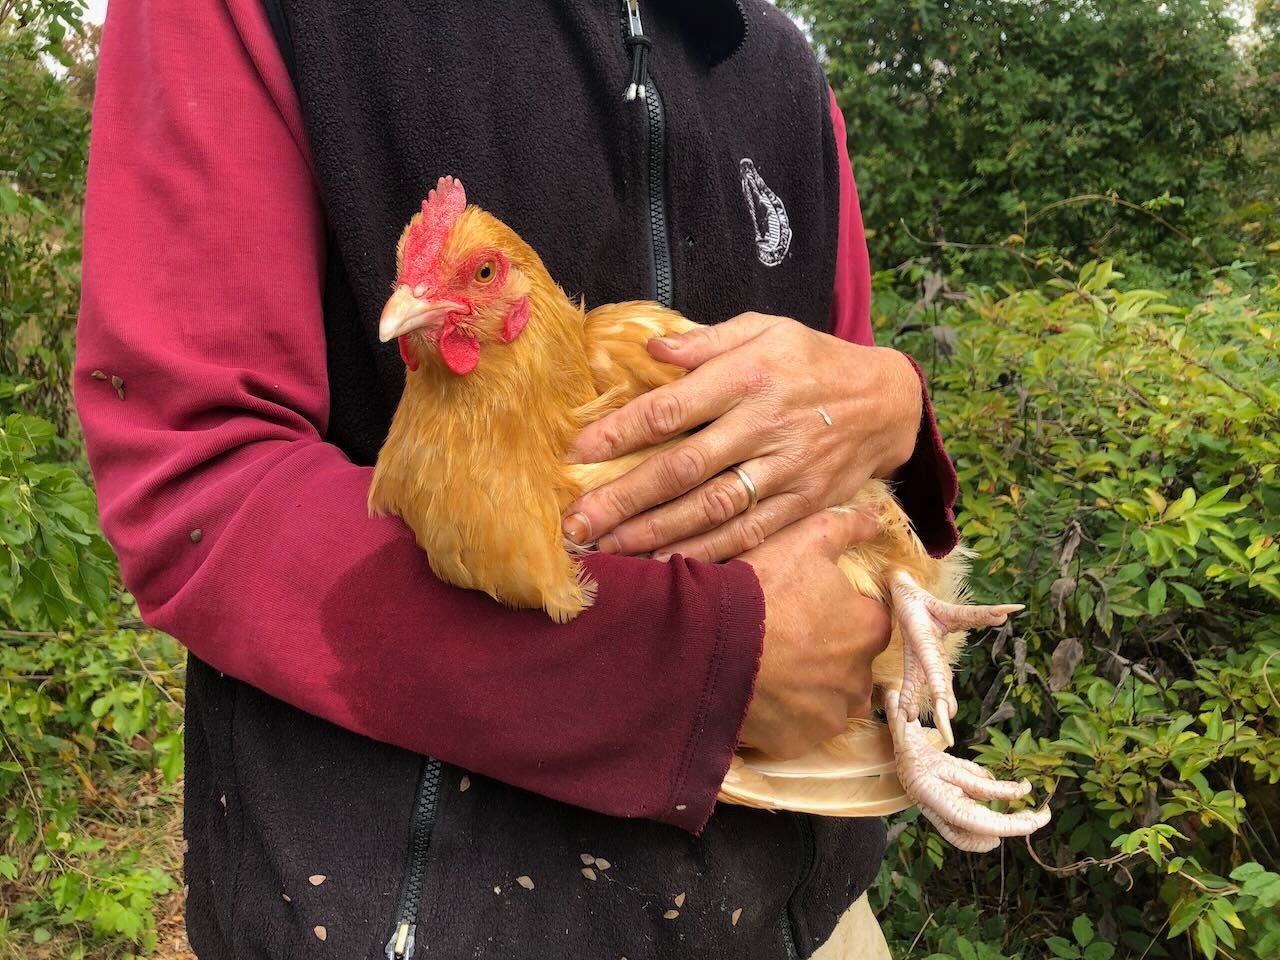
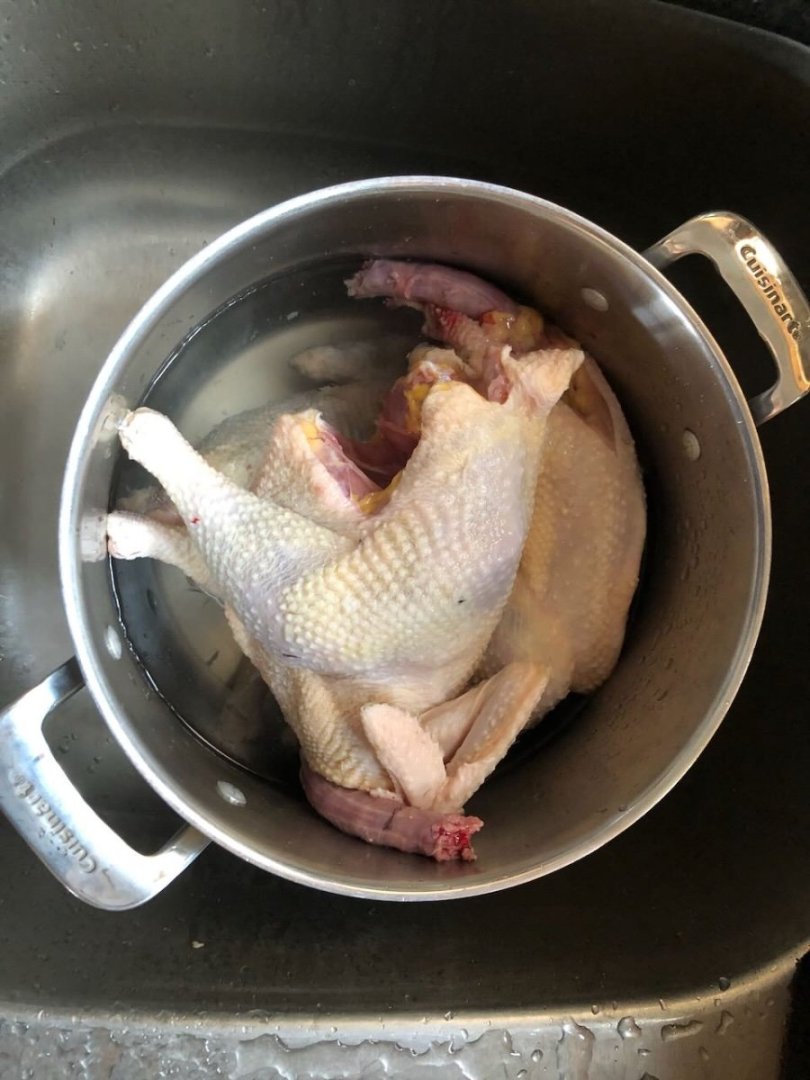
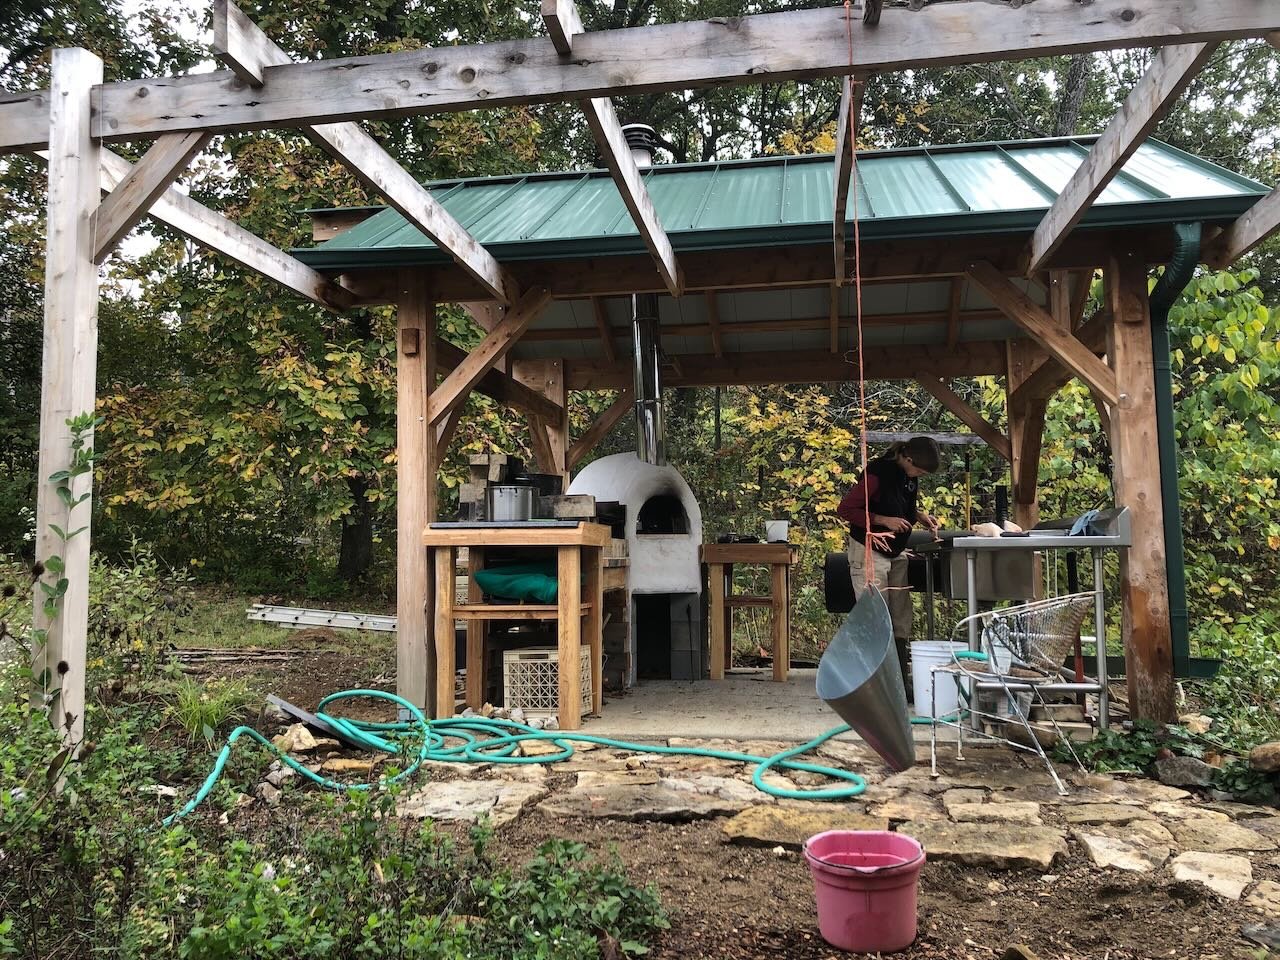
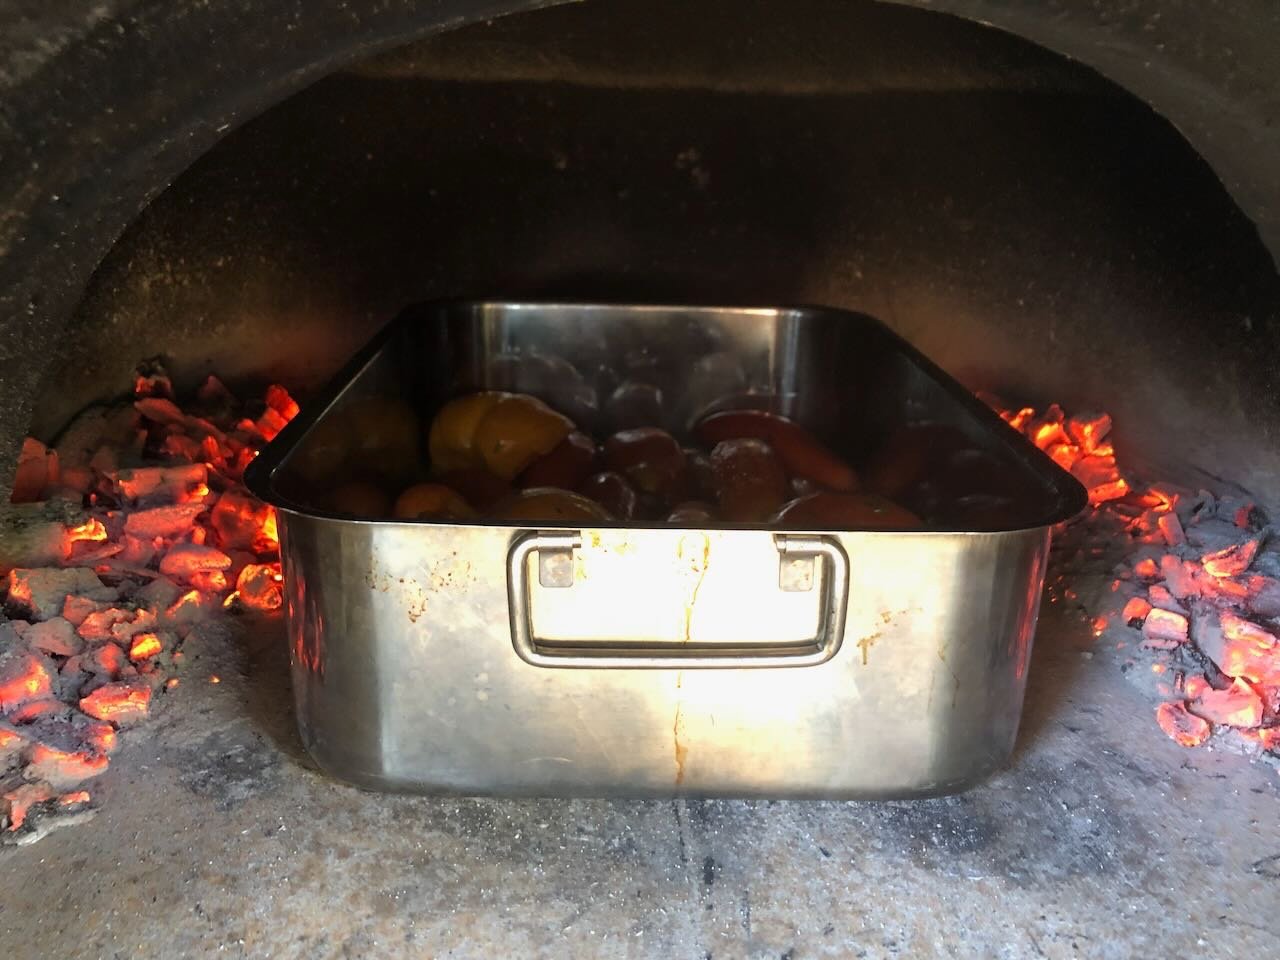
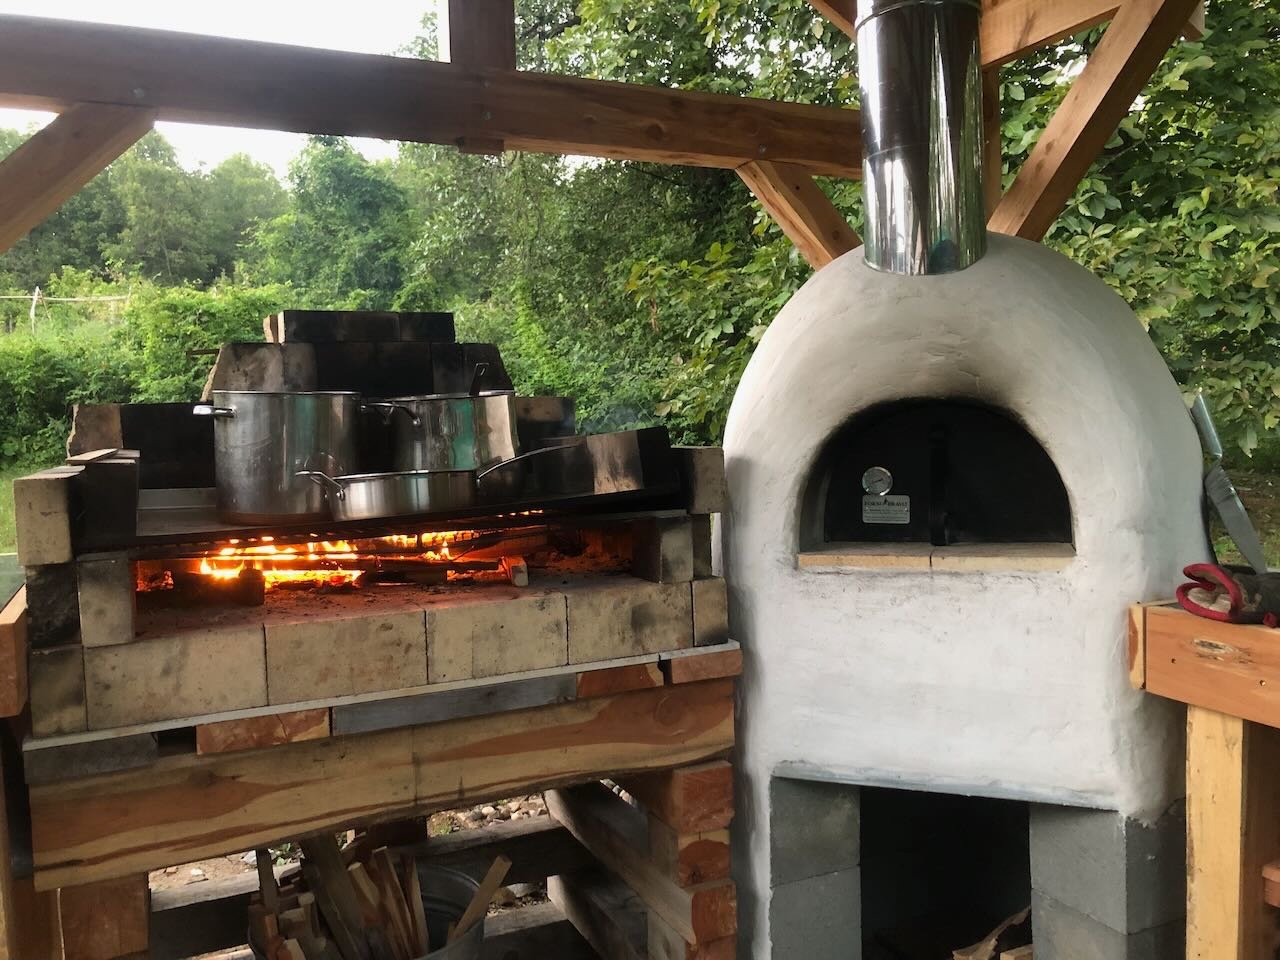
Well, the outdoor kitchen has very much fulfilled its potential during the late summer to fall harvest & preservation season. We regularly used the big grill to process large batches of garden tomatoes for canning, keeping a lot of heat out of the house and using on-farm wood instead of off-farm electricity. We also roasted many trays of tomatoes in the wood-fired oven before canning or freezing them, adding extra flavor. We've continued to host various friends and family with excellent meals of pizza, venison roasts, breads, and lots more. Haven't been taking photos of these but we continue to find dishes that the even wood-fired heat improves. I said I wouldn't do too many food posts, but the following was particularly special. Today we hit an especially worthwhile milestone that yet again proved this project's worth to us: chicken processing. We've kept chickens for a very long time, peaking at a laying flock of about 50 back when we ran a full-time vegetable farm. But we had to get rid of the flock a few years ago for various reasons and have missed having them. So this spring we bought four laying hens from an organic farmer friend of ours and free-ranged them in our orchard for the summer, not only producing copious eggs but providing significant pest control. It's probably not a coincidence that our cherries and grapes did especially well this year. Anyway, the plan was always to process these layers for meat in the fall. When we had our larger flock, they were a long-term investment. We did our own breeding and brooding every year, and always laid in a supply of chicken from the unwanted young roosters and older hens that needed to be retired. But we didn't want or need to keep these four over the winter; we'll just get more next year if we want. So they needed to go under the knife, and we've always done all of our own meat processing (deer, goats, hogs, chickens, rabbits, etc.). Earlier in this thread I showed how this kitchen structure supports deer butchering; well, it was great for chicken processing as well. The grill kept hot water at just the right temperature for scalding (necessary for feather plucking) without having to run back to the house stove for hot water. The killing cone hung easily from the open trellis, and the rest of the work could happen on the stainless steel table. The roof was especially welcome as this was a cloudy, drizzly day that would have been cold working in the open. We processed all four in the morning, then fired up the wood oven. Three went into the freezer, and one went into the oven for a low, slow roast. Dinner was an extremely satisfying and extremely fresh roasted chicken (rubbed with garden herbs) roasted in a cast-iron Dutch oven with garden onions, carrots, and turnips; fresh sourdough bread (also from the oven); garden okra and broccoli sauteed in freshly rendered chicken fat; and a garden salad of greens and homemade feta cheese (and purchased walnuts, how very feeble). As with everything else, that oven elevates whatever you put into it. Crispy skin with fall-off-the-bone tender meat and a rich, slow-cooked flavor made this a special meal. And all with a handful of wood (and a fair amount of work). This kitchen project continues to be worth every minute we put into it. -
Using the masking tape method, I found that when I needed to insert something into a square hole that I'd drilled or cut out, that the extra little wings of tape at each corner actually helped hold the square stock in place when it was pushed down in; just a bit of extra friction fit. I think you're right that it won't be noticeable regardless.
-
Thanks, LJP! Sadly it'll probably be a while longer before I can report progress, but I'm looking forward to getting back to it.
- 255 replies
About us
Modelshipworld - Advancing Ship Modeling through Research
SSL Secured
Your security is important for us so this Website is SSL-Secured
NRG Mailing Address
Nautical Research Guild
237 South Lincoln Street
Westmont IL, 60559-1917
Model Ship World ® and the MSW logo are Registered Trademarks, and belong to the Nautical Research Guild (United States Patent and Trademark Office: No. 6,929,264 & No. 6,929,274, registered Dec. 20, 2022)
Helpful Links
About the NRG
If you enjoy building ship models that are historically accurate as well as beautiful, then The Nautical Research Guild (NRG) is just right for you.
The Guild is a non-profit educational organization whose mission is to “Advance Ship Modeling Through Research”. We provide support to our members in their efforts to raise the quality of their model ships.
The Nautical Research Guild has published our world-renowned quarterly magazine, The Nautical Research Journal, since 1955. The pages of the Journal are full of articles by accomplished ship modelers who show you how they create those exquisite details on their models, and by maritime historians who show you the correct details to build. The Journal is available in both print and digital editions. Go to the NRG web site (www.thenrg.org) to download a complimentary digital copy of the Journal. The NRG also publishes plan sets, books and compilations of back issues of the Journal and the former Ships in Scale and Model Ship Builder magazines.


