HOLIDAY DONATION DRIVE - SUPPORT MSW - DO YOUR PART TO KEEP THIS GREAT FORUM GOING! (Only 20 donations so far - C'mon guys!)
×


rafine
-
Posts
2,932 -
Joined
-
Last visited
Content Type
Profiles
Forums
Gallery
Events
Everything posted by rafine
-
 Mounting makes her look even better. She's a beauty. Bob
 -
Thanks so much Denis, Carl, OC and Michael for the generous comments. Thanks also to the "likes. Appreciated as always. Bob
- 682 replies
-
- 4
-

-
- halifax
- lumberyard
- (and 1 more)
-
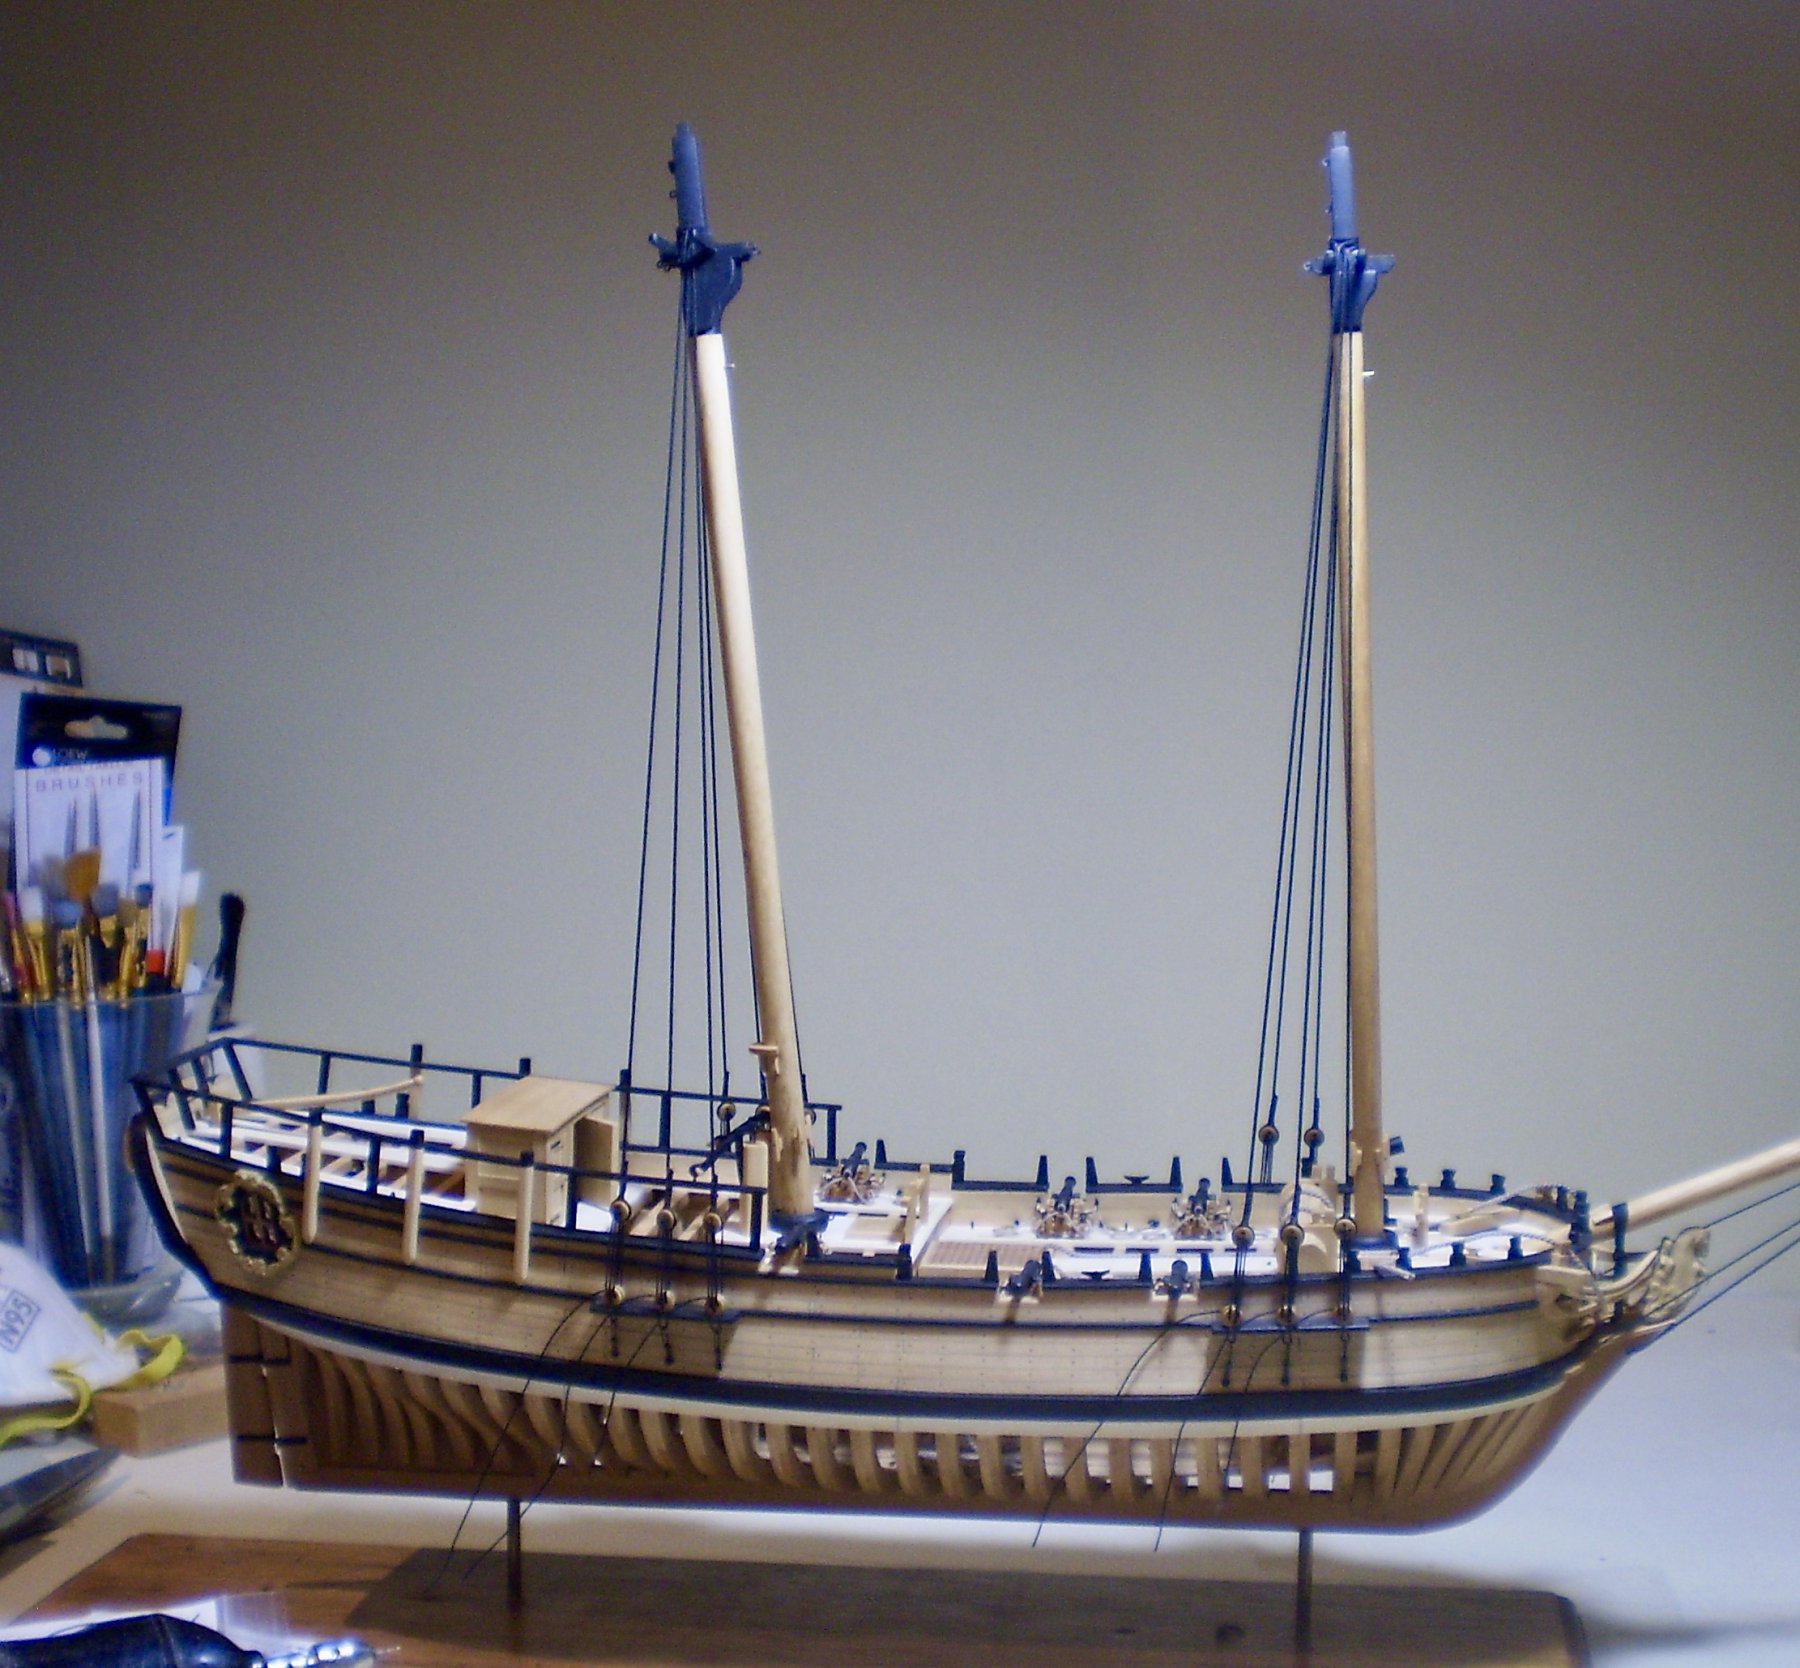
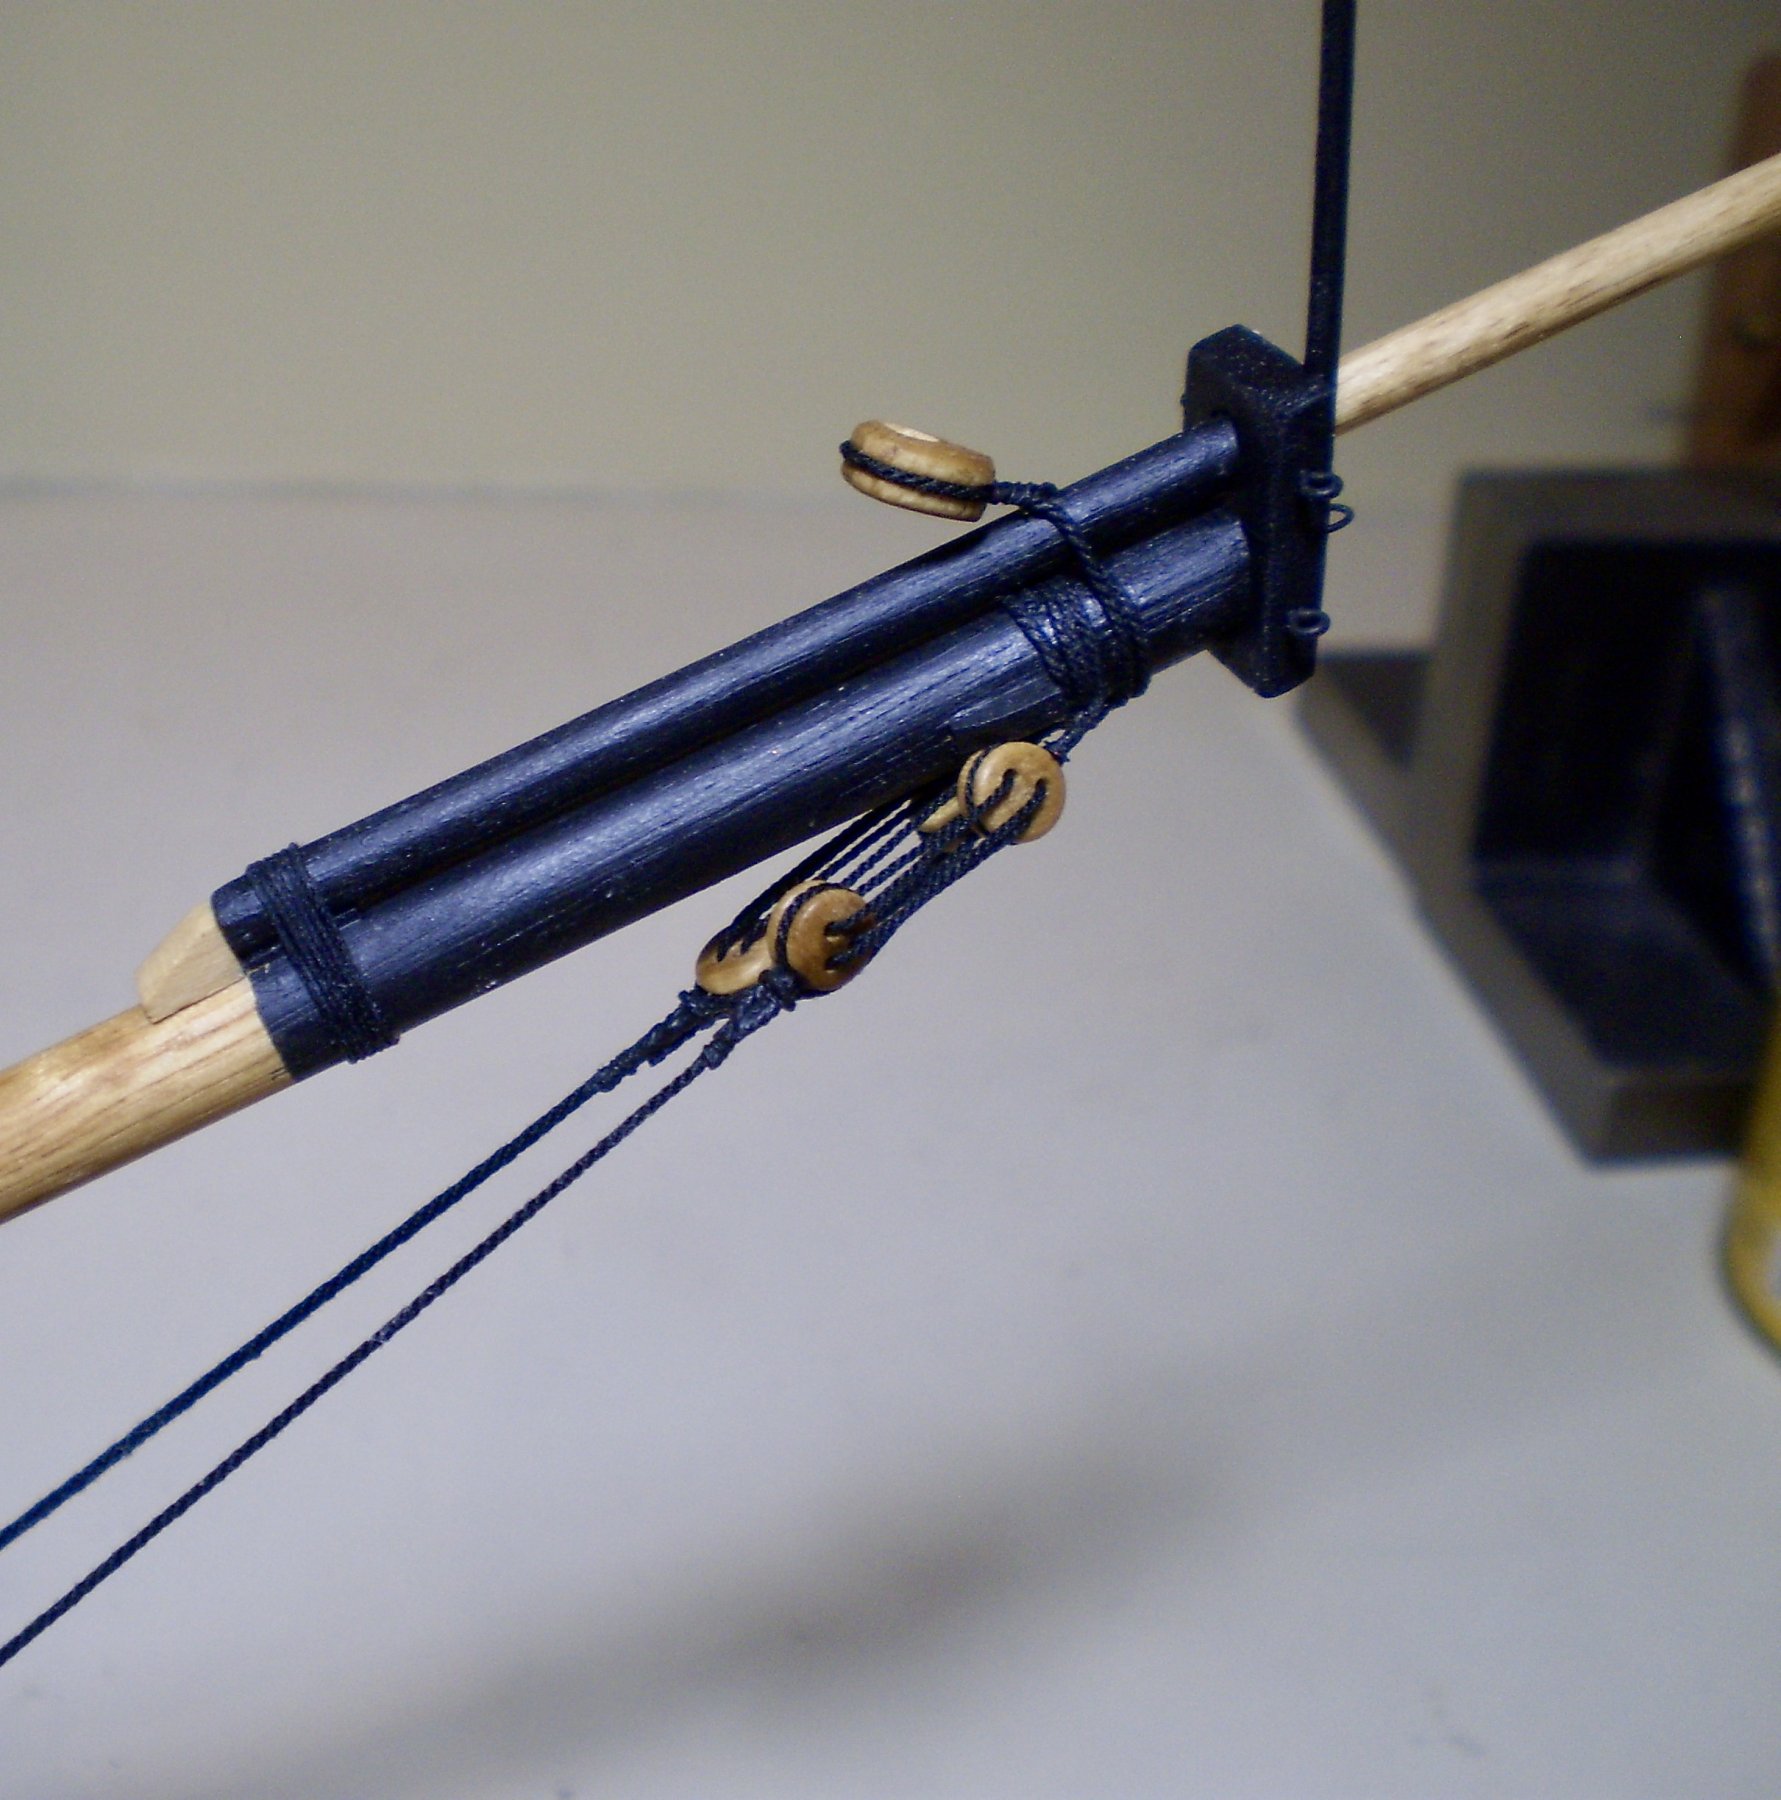
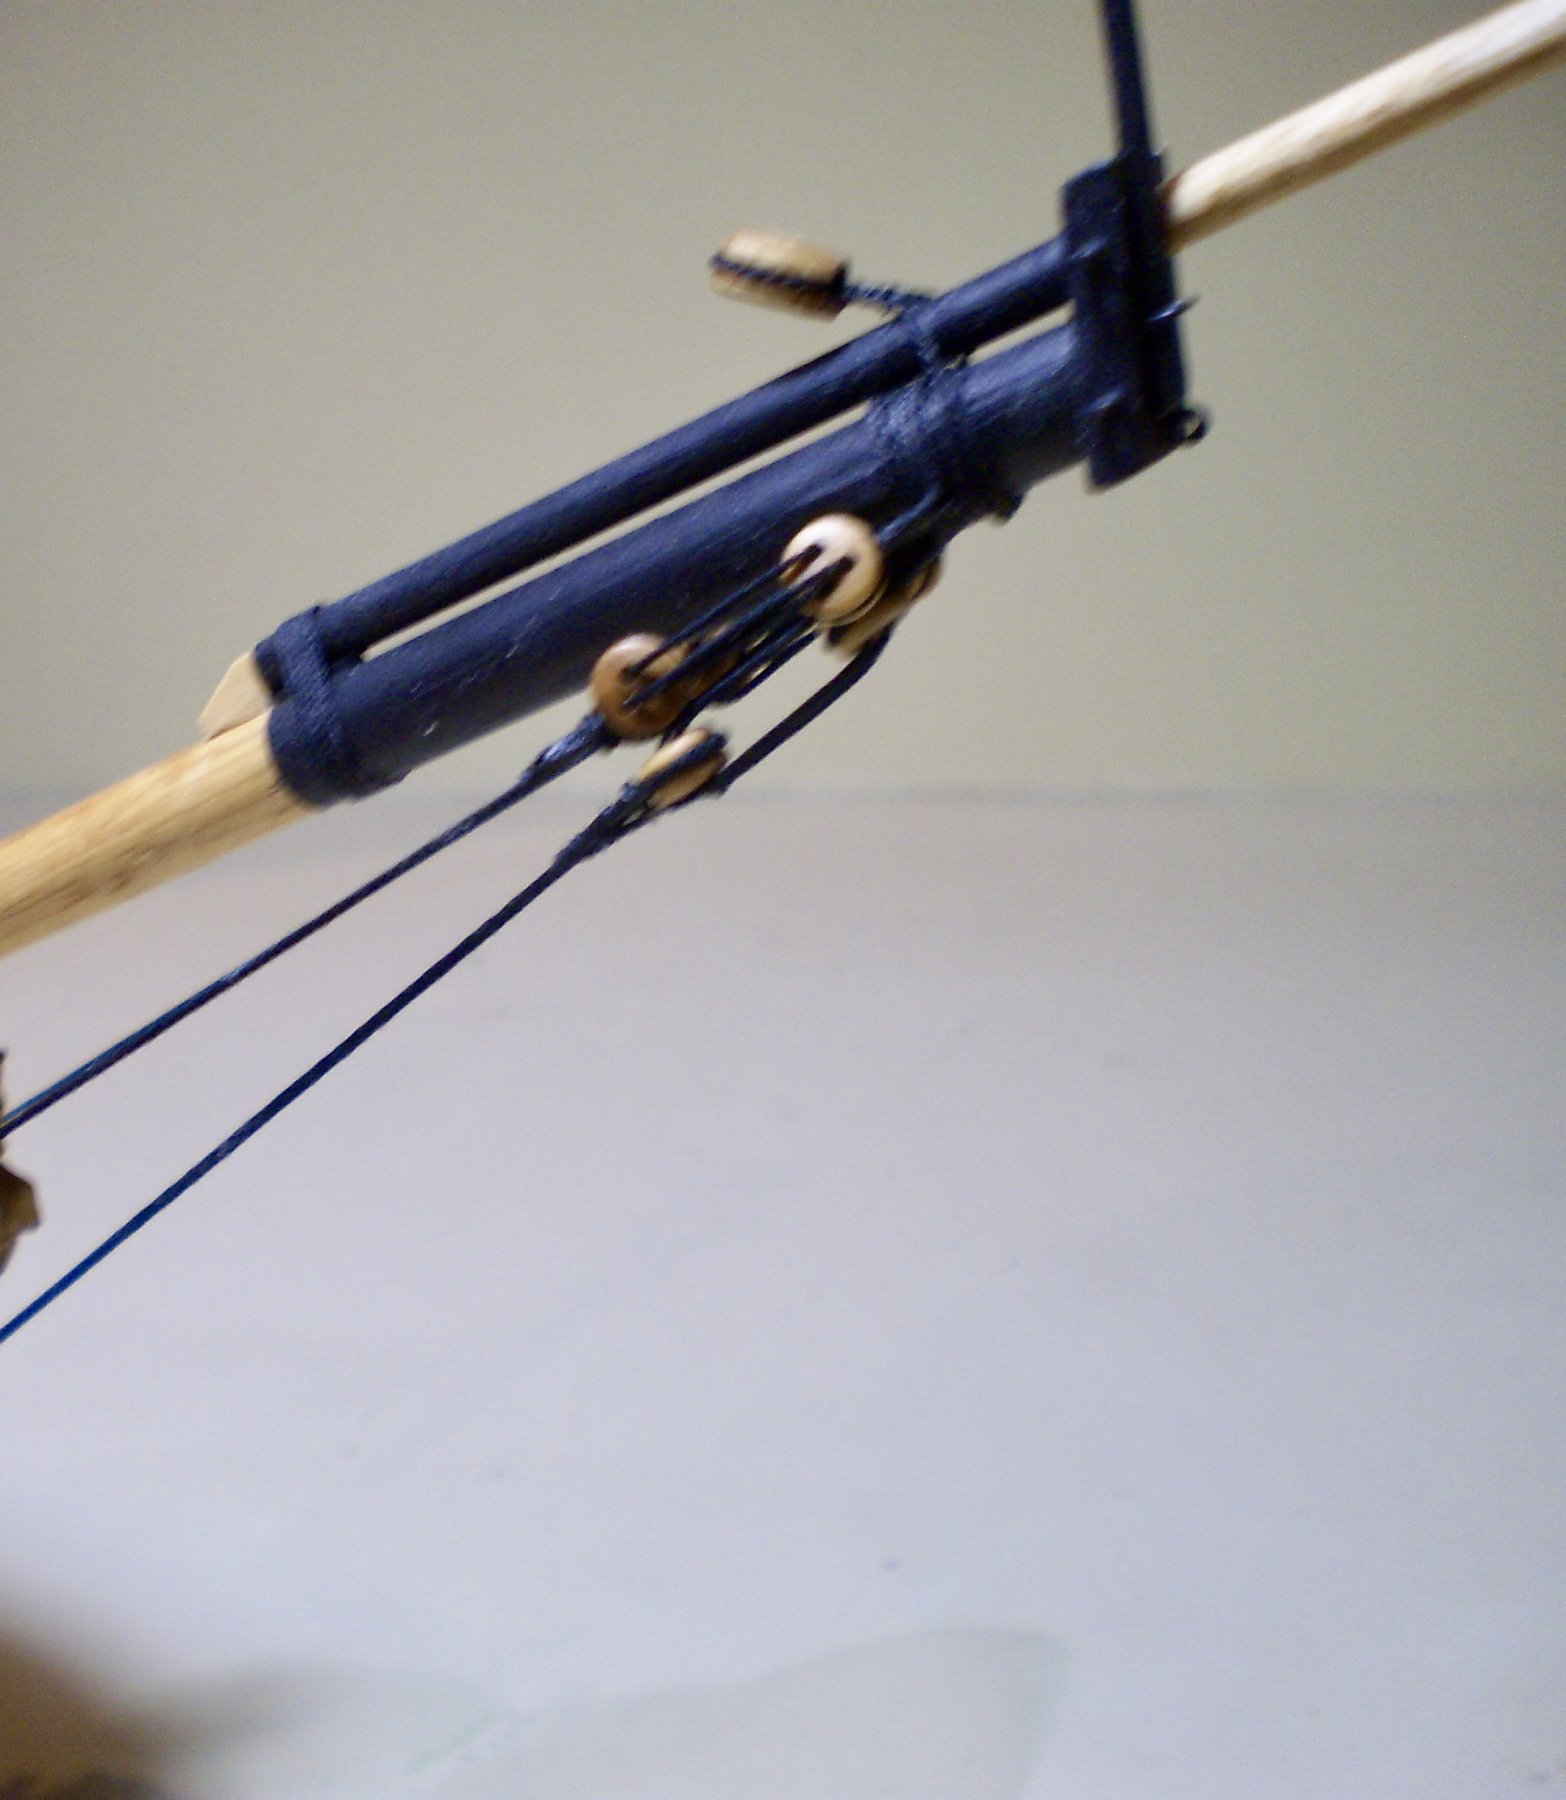
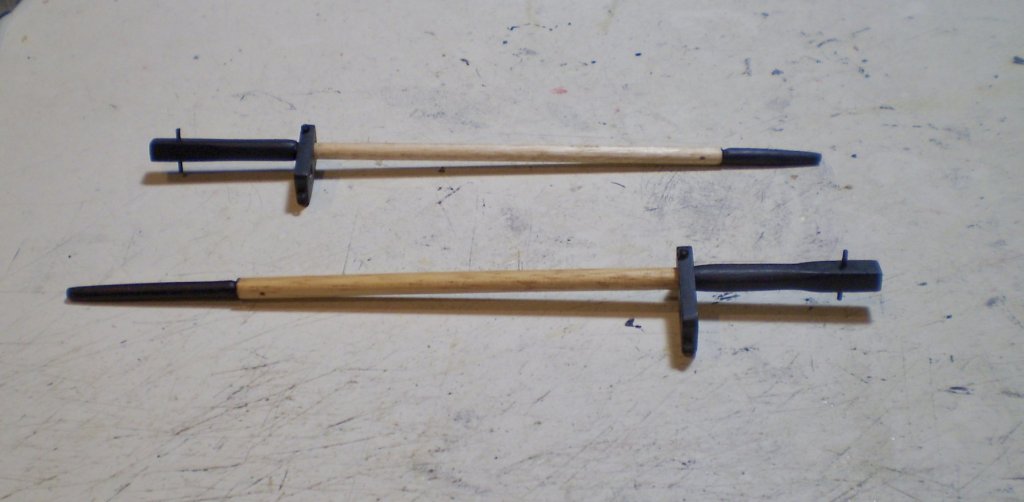
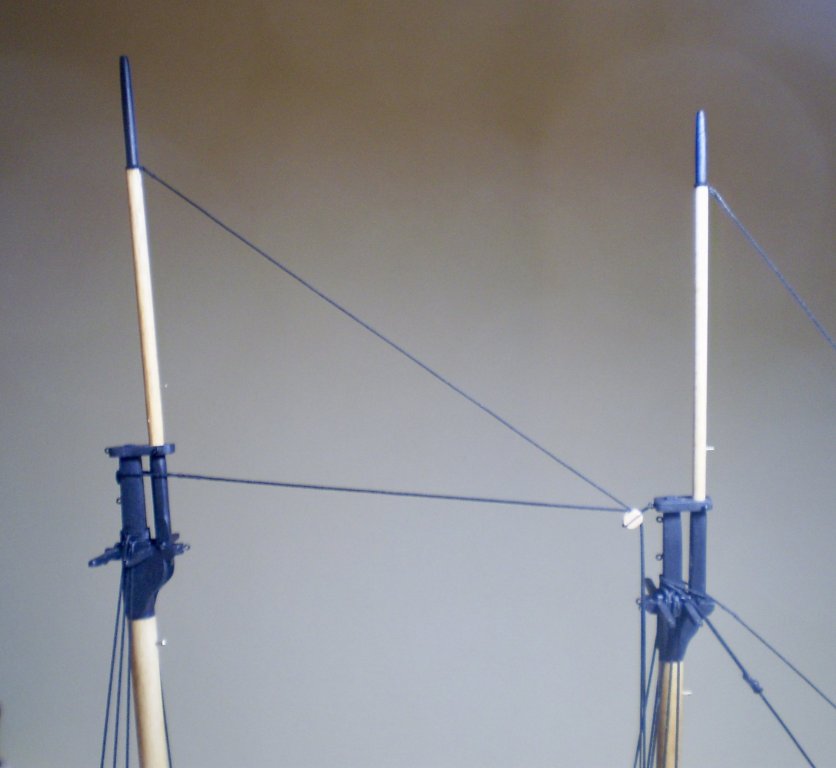
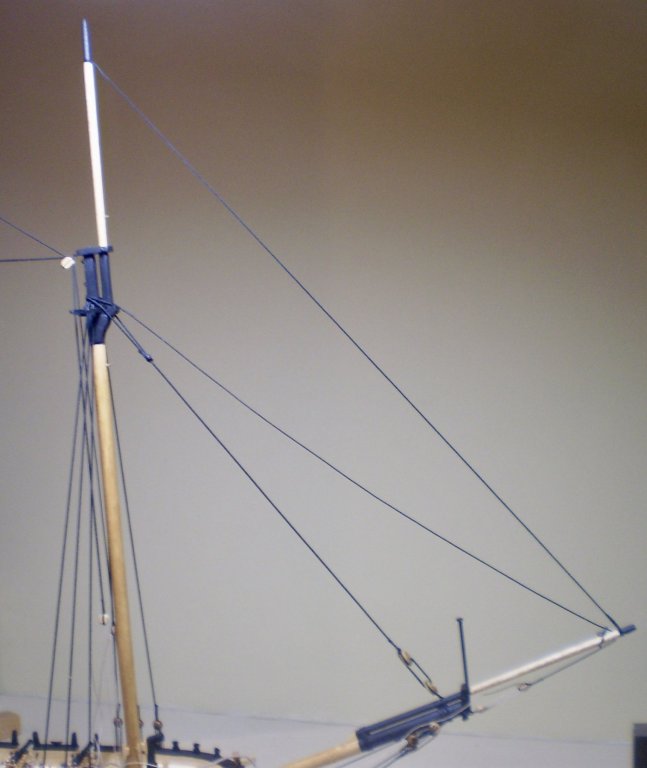
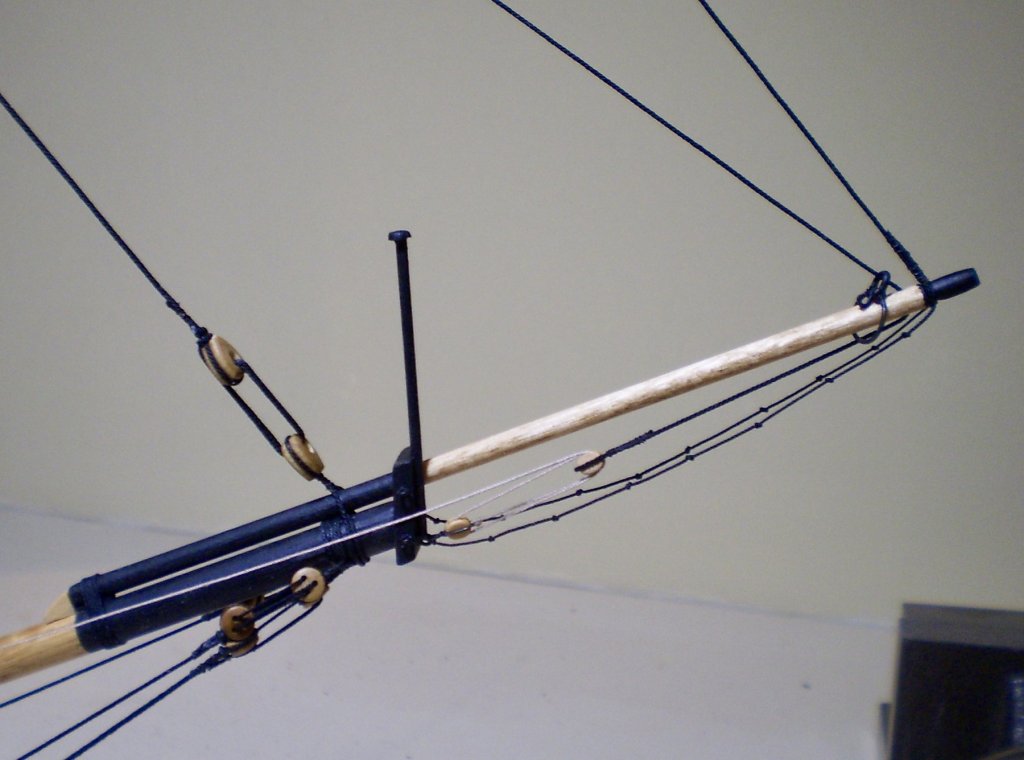
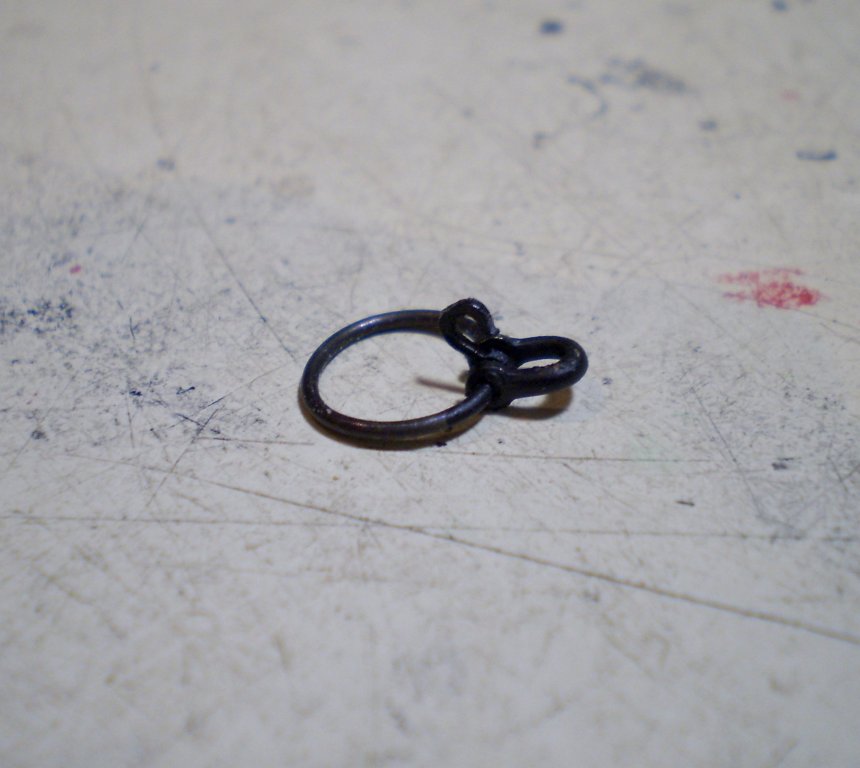
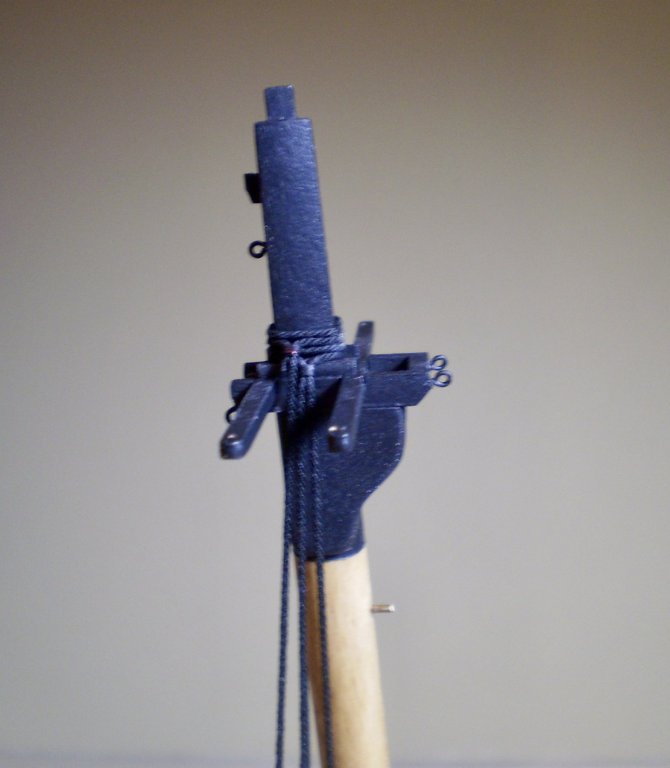
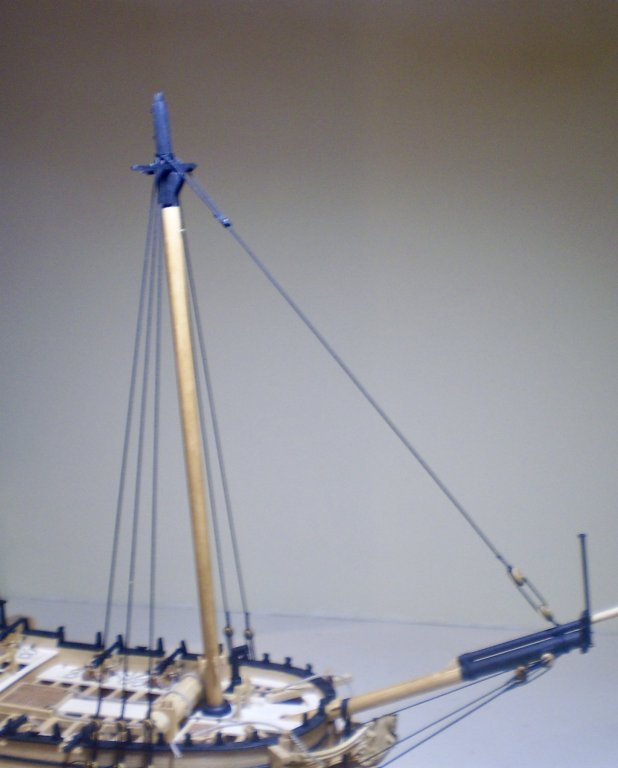
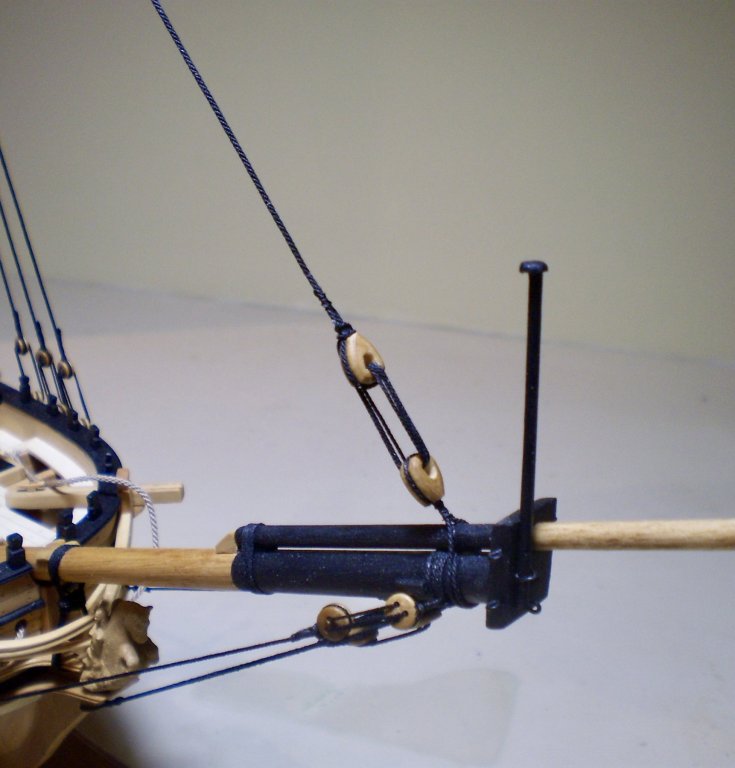
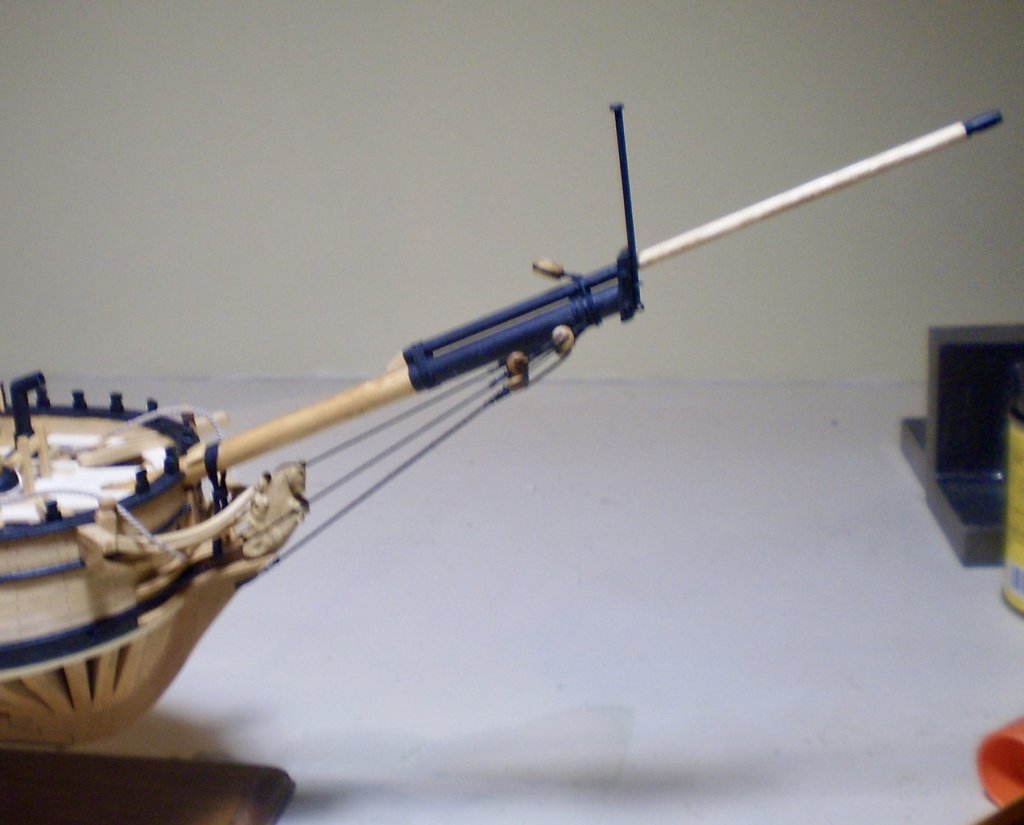
Before moving on with the standing rigging, I made the two topmasts and mounted them. The masts were made from dowels with the lower ends filed flat, strip wood pieces added to build up a flat square and a portion filed to an eight sided section. The upper ends were tapered, a shoulder cut in and sheaves drilled in. Fids were run through the square lower section. I then did the mainstay, the main topmast stay, the fore topmast stay, the jib stay and the jibboom horses. The two mainmast stays run through a double block on the foremast cap and then down through tackles to eyebolts on the deck at the mast. The tackles were not tied off at this time. The fore topmast stay is seized to the mast at it's top and to the jibboom at it's bottom. The jib stay runs from the head of the foremast, through a traveler on the jibboom , then through a sheave on the jibboom, and ends in a tackle attached to an eyebolt on the bowsprit cap. That tackle won't be tied off until later. The traveler was made from a piece of wire, a brass shackle from my stock, and a Syren hook. The horses were made by doing small knots in a piece of line that was then seized to the jibboom end and to eyebolts at the cap. Bob
- 682 replies
-
- 28
-
-
- halifax
- lumberyard
- (and 1 more)
-
Zappto, I do the filler in two ways. The first step is always to take a piece of the wood that is to be filled and sand it on a sheet of medium grade sandpaper until you have a small pile of sawdust. Then, if it is a small crack to be filled, I take a toothpick and put a small amount of glue on a tip and then twirl it around in the sawdust until the glue is covered and then run the toothpick over the crack to be filled. I then work the filler/glue in with finger until there is enough to fill the crack and a little extra. For larger areas, I run a bead of glue into the area to be filled and then sprinkle sawdust onto the glue until there is only sawdust showing and then work it a little with my finger. After letting the filler dry thoroughly, sand the area as you would with the planking. Although I'm sure that others have different ways of doing this, these methods have worked well for me. I would try any method you choose on some scrap first before doing it on your hull. Bob
-
Thanks so much Jon, Thomas, Denis and the "likes". Jon, I look forward to watching you work on Halifax. One word of caution: the accuracy of the rigging may be somewhat suspect. Hahn virtually admits this in his book. I've decided to go with what he shows. Thomas, I don't know about a jewel, but I'm certainly enjoying the build. Same to you Denis, and I hope that you didn't overeat the way I did. Bob
- 682 replies
-
- 8
-
-
- halifax
- lumberyard
- (and 1 more)
-
Thanks so much Dirk, Michael, John and the "likes". I really appreciate your continuing interest. Bob
- 682 replies
-
- 6
-
-
- halifax
- lumberyard
- (and 1 more)
-
Nice start B.E. Watching your work brings back a lot of good feelings of working with Chuck's excellent framing parts. Bob
- 574 replies
-
- 5
-
-
- cheerful
- Syren Ship Model Company
- (and 1 more)
-
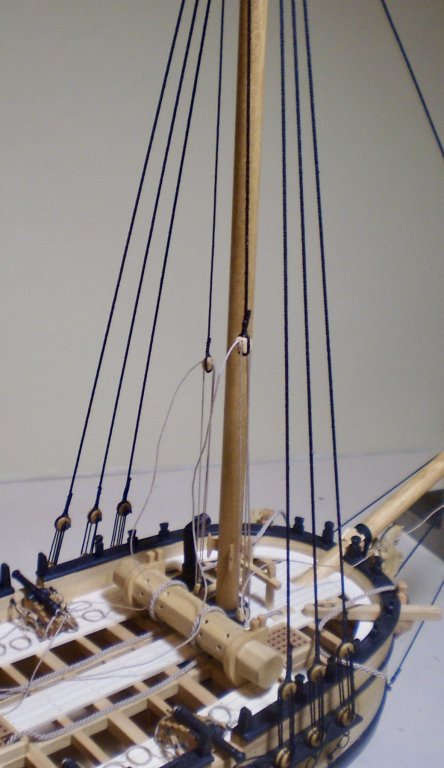
First, let me wish you all the happiest of holiday seasons and a healthy New Year. I've done two things since my last update: the lower shrouds are now in place, but I haven't tied off the lanyards yet, and probably won't until the stays and backstays are in place; next, I added the forestay with its mouse at the upper end and hearts at the lower end. I did tie off the lanyard for the hearts.The mouse is a very simplified affair made up from a bead glued to the stay and built up and shaped somewhat with glue, then painted black. Next up will be making the topmasts and doing the remaining stays. Bob


- 682 replies
-
- 37
-
-
- halifax
- lumberyard
- (and 1 more)
-
Mark, that is a lovely and very impressive piece of work. I'm sorry that I didn't follow along earlier Bob
- 652 replies
-
- 3
-
-
- royal william
- euromodel
- (and 1 more)
-
Thanks so much Geoff, Michael, Denis and the "likes". Michael, you're so right about the Syren rope. Bob
- 682 replies
-
- 6
-
-
- halifax
- lumberyard
- (and 1 more)
-
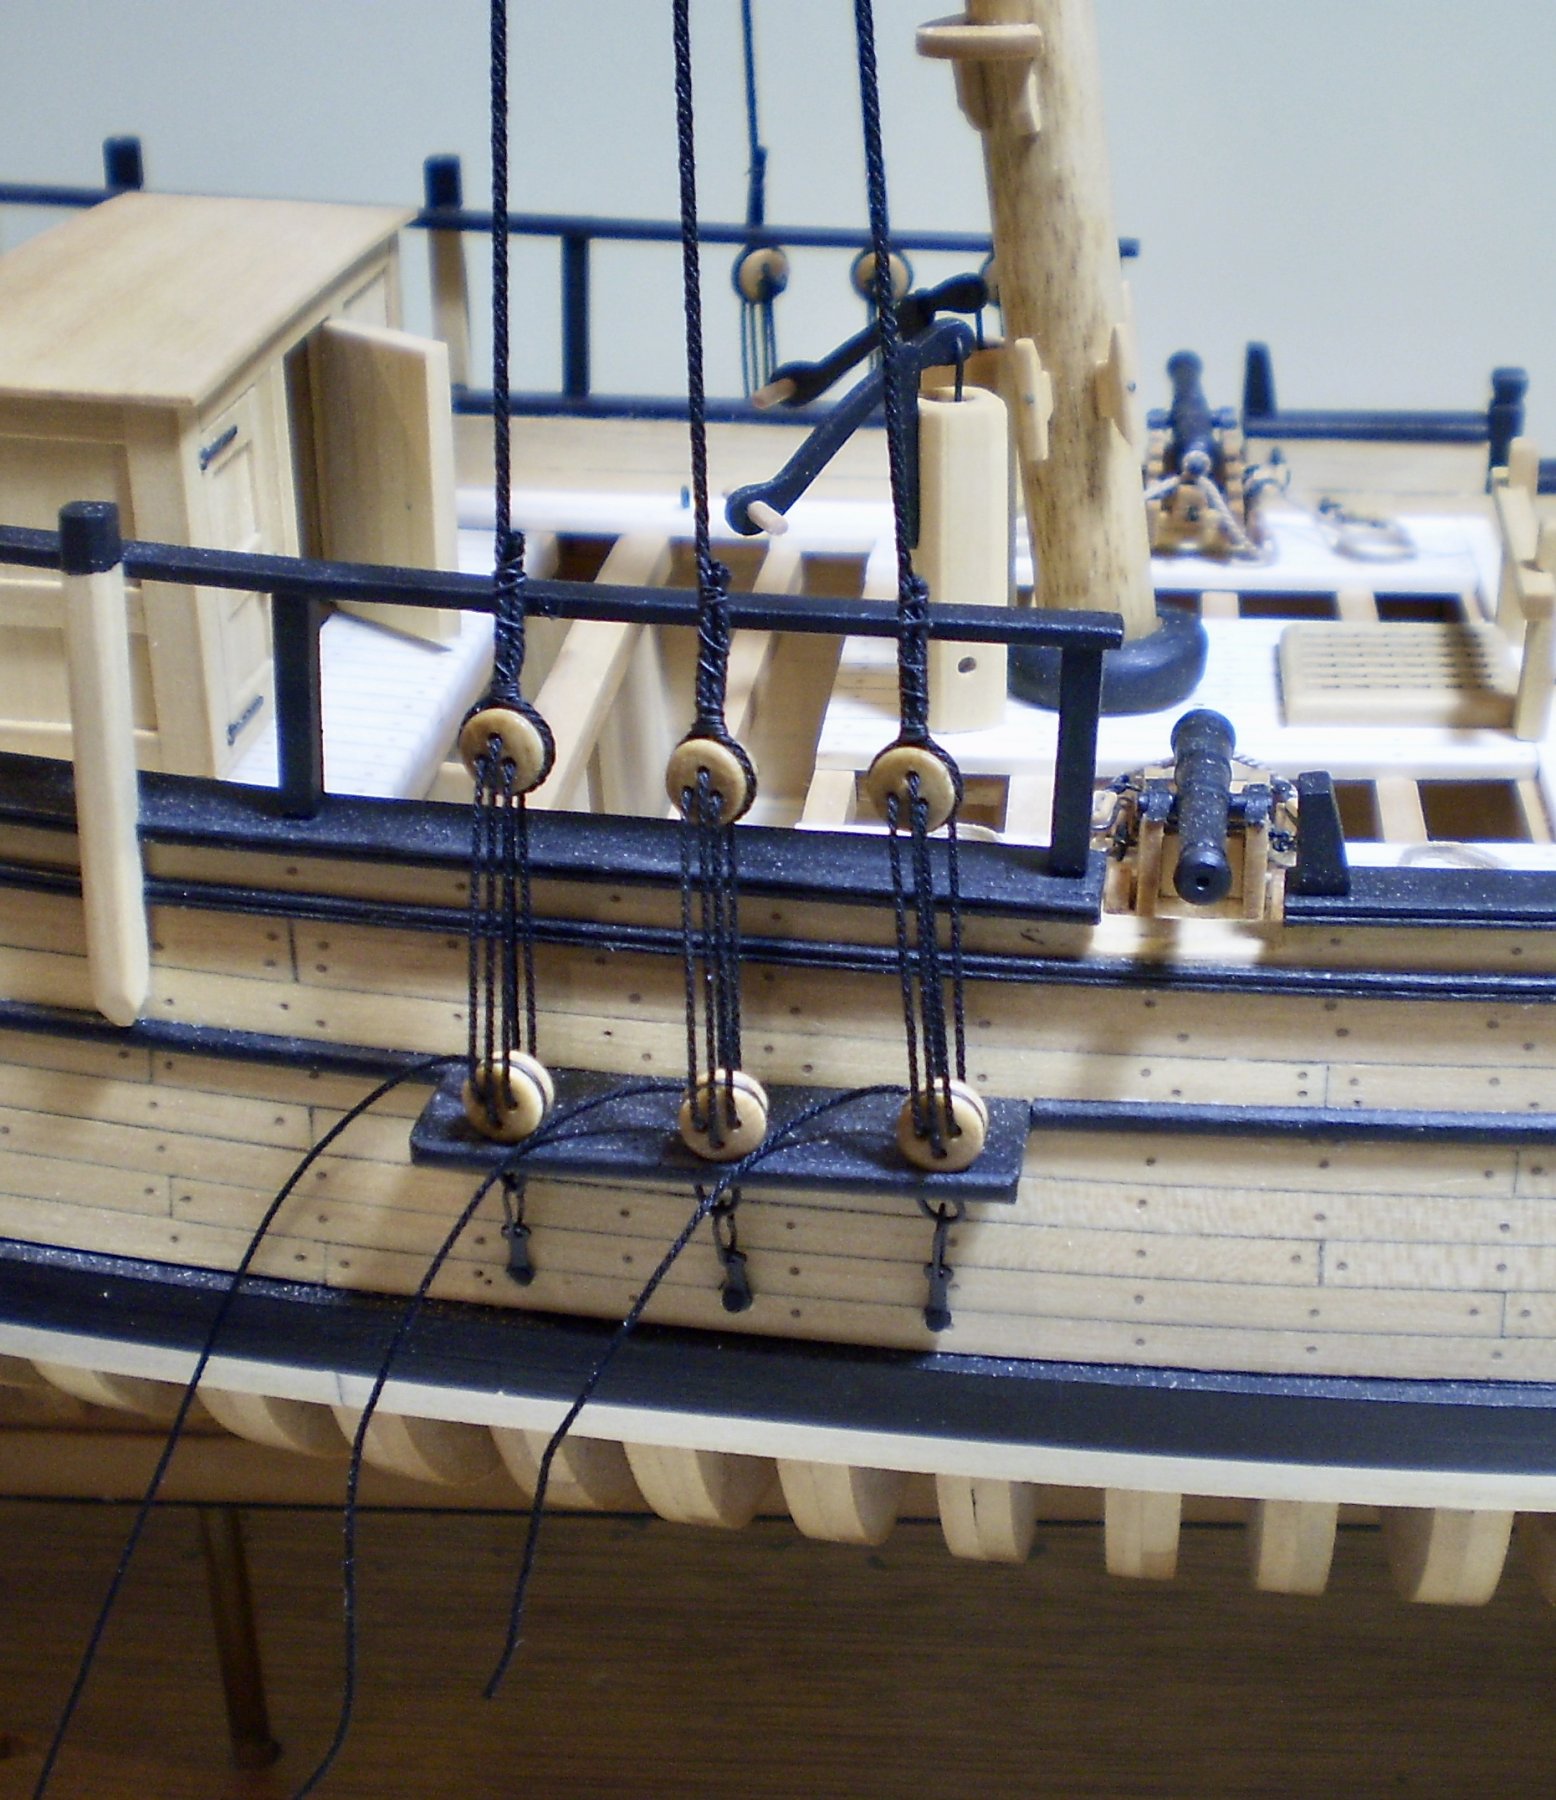
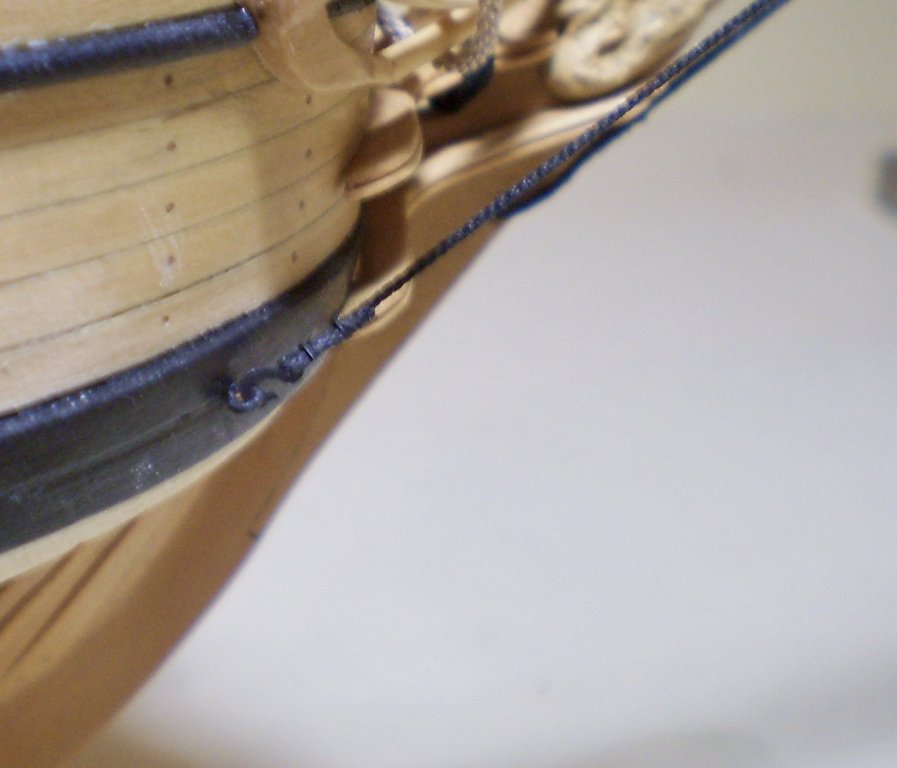
Actual rigging has now begun. I decided to start with the bobstay and the bowsprit shrouds (in part this was because I was awaiting line from Syren which was necessary for the lower shrouds for the fore and mainmast). The line is from Syren, the deadeyes are commercial items of unknown origin from my stock, and the hooks for attachment of the shrouds to the hull are from Syren. The awaited line has now arrived and I am starting on the lower shrouds. Bob


- 682 replies
-
- 18
-
-
- halifax
- lumberyard
- (and 1 more)
-
Thanks so much Jason. I appreciate the kind thoughts. Bob
- 682 replies
-
- 4
-
-
- halifax
- lumberyard
- (and 1 more)
-
Thanks so much Denis, Zappto and the "likes". Zappto, I don't wax my rigging lines. Bob
- 682 replies
-
- 4
-
-
- halifax
- lumberyard
- (and 1 more)
-
They were cut from boxwood sheet using card templates OC. Bob
- 682 replies
-
- 6
-
-
- halifax
- lumberyard
- (and 1 more)
-
Thanks so much Elijah. All of my painting is done with a brush. I have never owned an airbrush. Bob
- 682 replies
-
- 6
-
-
- halifax
- lumberyard
- (and 1 more)
-
Good start on the head Martin. BTW, the idea of lamination is to not use a scraper at all, but to create the molding shape by rounding the edges of the individual laminated pieces. Bob
- 467 replies
-
- 2
-
-
- fly
- victory models
- (and 1 more)
-
Very nicely done OC. Well worth the redo. Bob
- 455 replies
-
- 4
-
-
- slightly modified
- greyhound
- (and 1 more)
-
Thanks so much Don, Michael, Rusty, John and the "likes". Don, everything is done by hand. I have no power tools other than a Dremel. Michael, there is a perspective question, but the lower masts are actually quite tall in relation to the topmasts. Rusty, if you can still rig your Halifax, you should do it. It's an interesting, but not complex, rig in a large scale. Sorry, I'm not much for record keeping. John, always good to have you stop by. Bob
- 682 replies
-
- 6
-
-
- halifax
- lumberyard
- (and 1 more)