


Roger Pellett
-
Posts
4,519 -
Joined
-
Last visited
Content Type
Profiles
Forums
Gallery
Events
Posts posted by Roger Pellett
-
-
-
You’re doing a great job! I would love to own a real one of these boats but Minnesota is the land of 10,000 aluminum pontoon boats, not classic Herreshoff wooden boats. While it is tempting to show off your workmanship with a natural finish, I believe that the boat would look much better with white topsides and red antifouling bottom.
Roger
- Jeff preisler and yvesvidal
-
 2
2
-
-
Personal experience- The quotations promoting the book on the back of the dust jacket are called “blurbs” in the publishing industry. Before sending the book to the printer the publisher asks the author for a list of people who will review the book and are likely to give a favorable review. The copy “in the wild” that you saw is likely from one of these pre-publication reviews.
-
A knot, particularly when the line is wet and under tension is almost impossible to untie.
Cleats, levels, and belaying pins are simple but ingenious devices that allow the hitch securing the line to be untied without releasing tension. They also allow securing the bight of the line.
I, therefore, wonder what sort of knot or hitch was used to secure the bight of a long line to an open rail while still allowing Ir to be easily cast off under tension.
Roger
-
I seriously doubt if anyone is going to become financially deprived by buying shellac vs WOP vs lacquer.
I grew up well before we became conscious of environmental hazards of various finishing materials, manmade and otherwise. My parent’s hobby farm featured a long white board fence and my sister and I were the fence painters, each armed with a bucket of white oil based paint and a large paint brush. We got as much paint on ourselves as the fence. I am, therefore, rather insensitive to smelly paints and varnishes in my shop, particularly in the small quantities that we use.
WOP, shellac, lacquer- all work. It’s a matter of personal choice.
Roger
-
Kevin,
You’ve probably seen it but somewhere on the web, I believe with Titanic info, there is an interesting animation of Britannic sinking. It includes launching of her lifeboats.
If you have a modelmaker’s table saw and fine toothed blade, you can purchase small brass tubing and rip it into angles to be soldered into more scale like racks.
Roger
-
I have built one Dockyard style model, a 1:48 scale model of an 1812 era New York Pilot Boat. I used classic modeling Woods; English Boxwood, Pear Wood, and Holly. The model, fitted with stub masts was not rigged.
When I finished the model, I went to a local shop that sold auto body paints. I had them mix up a quart of clear lacquer. I sprayed the entire model with a primitive air brush.
The lacquer produced a nice matt finish without noticeable buildup. 44 years later the glass cased model still looks great. I recently took it out of its case to clean up some dust. The finish looks as good as new.
Roger
-
I don’t know how well equipped your shop is but I would make these from metal- soldered brass. I would start by using K&S brass shapes in order to get consistency. The circles could be made from slices of brass tubing. The solid center could then be filled in with a wood plug, bondo, or some other modeling paste. Simple wooden jigs can be made for alignment.
Roger
- mtaylor, Ian_Grant and Keith Black
-
3
-
Not necessarily ship modeling but maybe of interest to modelers looking for scale figures.
Imrie Risley Miniatures is back in business. For many years this company produced metal scale model figure kits; mostly military subjects and most 54mm (1:32 scale). They also offered some Naval and period civilian figures. Like many hobby related companies the sole owner passed on and his widow sold off inventory while looking for a new owner.
Last night I stumbled on to a new website for the company announcing new ownership. They are again accepting new orders. The website is irminiatures.com
Disclaimer: I have no interest, financial or otherwise in this company. I don’t know the owner and have not placed an order with the new company yet.
Roger
-
Shellac is a traditional ship model finish. The noted Naval Architect L. Francis Herreshoff has written about the benefits oh shellac and the fact that his father Nathaniel Herreshoff used it to coat his half models; those hanging on the wall of his office in the Herreshoff museum in Bristol R.I. Over 100 years later.
Roger
- scrubbyj427, Dave_E, RossR and 2 others
-
5
-
-
Brass sheet .010in or less in thickness can be easily cut with a pair of sharp scissors. I have found that these work better on thin stock than heavier metal shears.
A quality scroll saw can also be used. I first glue the brass to a piece of thin craft plywood with Ambroid cement, the old model makers cement. The brass is easily peeled from the wood after cutting. If you have and can use a jewelers saw this would work too.
Roger
-
The Fair American kit, of course builds a model of a model; the one owned by the Naval Academy Museum. Although the model is rigged, there is considerable controversy regarding the accuracy and age of the rigging. I believe that the famous or infamous Charles Davis, depending on your viewpoint, gets into the act. Our own Nautical Research Journal published a series of articles years ago discussing this.
I believe that the “new” Fair American Kit was developed by Eric Ronnberg, a noted rigorous researcher. Being aware of the problems with the Navy’s Fair American Model he probably decided to use Steele to reconstruct the rig.
Roger
- allanyed, thibaultron and mtaylor
-
2
-
 1
1
-
I have found that the easiest way to make spars is to start with square stock. This allows you to accurately lay the shape of the spar out on the wood. You can then cut the spat to its correct shape, still with a square cross section. You can even do this with a disc sander. You can then knock the corners off to make an octagonal cross section. Chucking the accurately shaped spar in a vise mounted dill as Bob posted above you can sand the spar to its final round cross section. It’s much easier than it sounds.
Roger
-
Hoping for a good outcome for you.
Roger
- mtaylor, Wintergreen and tkay11
-
3
-
Chris,
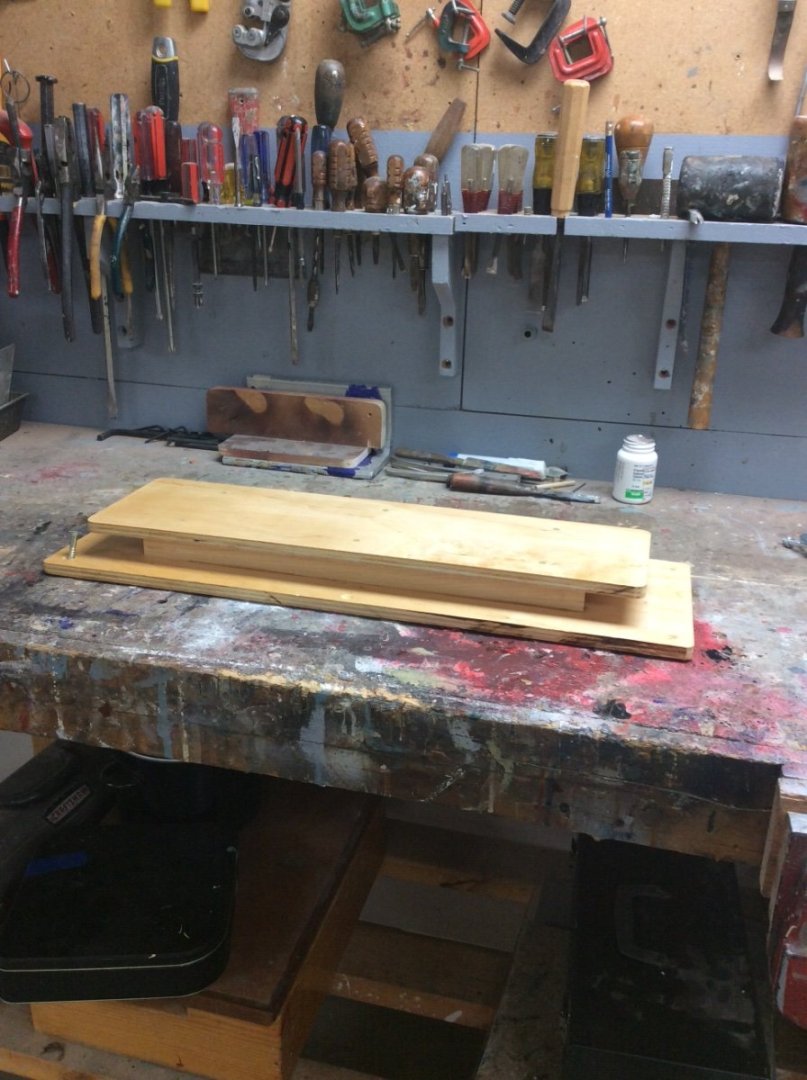
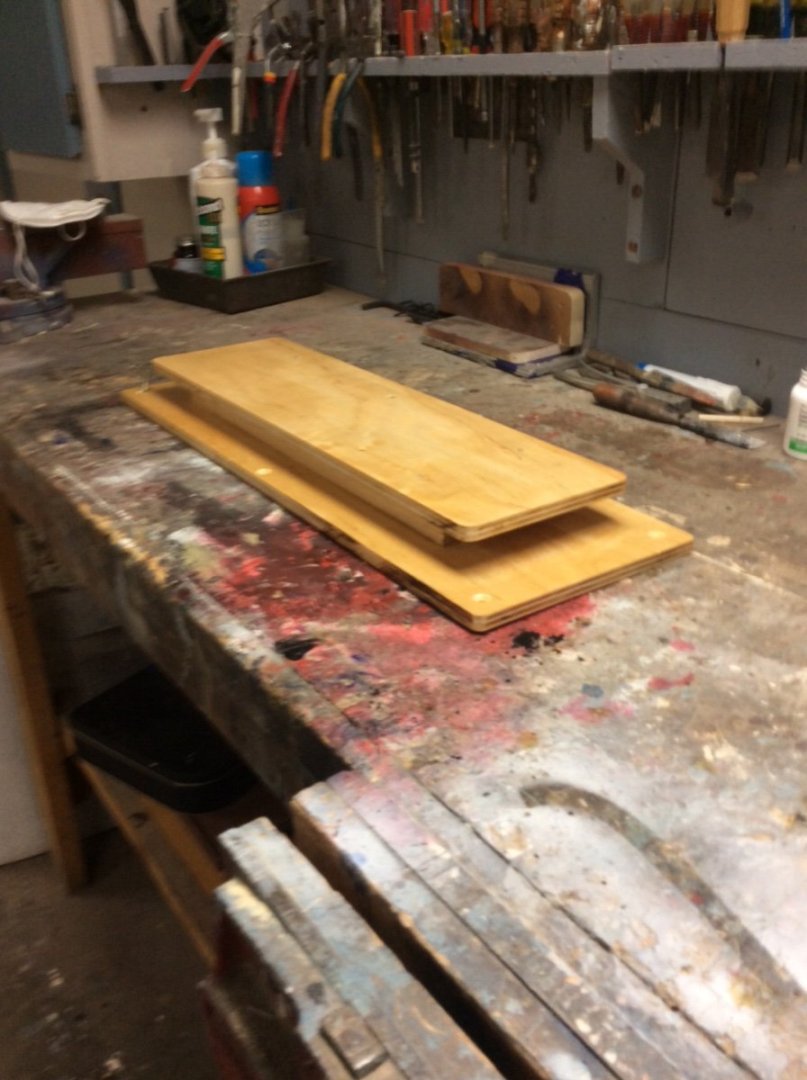
Wood, and wood products are not stable. They expand and contract with changes in humidity. Craftsmen, working with veneer, have learned to “balance” their work by adding a second veneer to the bottom of their work. Sellers of veneer sell cheap veneers especially for this purpose.
We can use this same technique to our advantage when constructing a building board. The attached photo shows a small building board that I recently built for an upcoming project. The top surface is balance by the piece on the bottom.
Roger
-
Post #39 above: Beautiful work!! It looks like the real thing.
I was a one design sailor as a teenager/ young adult. Wooden Thistle #1327 built with my father from a kit just before the fiberglass☹️ era. I raced in a mixed fleet and a well sailed Lightning was always tough competition.
Roger
-
The dimmer switch may or may not work depending on the drill motor. The switches that I am familiar with are variable resistors intended to work with resistance loads such as incandescent light bulbs. I have one wired into a circuit on my workbench. It works fine controlling the temperature of a soldering iron; a resistance load. It will control the speed of a very old rotary tool but the torque drops off quickly to the point where the tool becomes useless. I am not familiar with the latest electric motor technology but I understand that these dimmer switches will not work at all with some motors.
Roger
-
-
Guy,
in it’s simplest terms, lofting is nothing more than drawing a conventional lines drawing, then lifting off details for making patterns. Some of these patterns like those for square frames can be traced directly from the lines drawing. Others like cant frames require special projections for “true views.”
I still hand draw lines drawings. These do require some special tools:
A quality straight edge, at least as long as the drawing that you intend to draw.
A large drafting triangle
One or more splines, 3/16” approx cross section for long curves. I rip mine from straight grained spruce limber.
Drafting weights to hold down the splines. These are expensive to buy but you could rig up some homemade ones.
Ships curves; these are specialized “French Curves”. Used sets can be found on EBay, and new sets of 6 or so common ones are available there too.
I also have a rotary electric eraser. I find this to be necessary for completely erasing. By its nature drawing a set of lines requires a lot of erasing.
I make my drawings in pencil and then trace them in ink. Office supply stores sell disposable fine tipped technical illustration pens that work well. I use Frosted Mylar drafting film for both the pencil and ink drafts. Old time draftsmen were experts at making crisp, dark, pencil lines that reproduced well, but I don’t have that skill. An inked drawing reproduces well. I like to make these drawings twice as large as the intended model scale. This allows better interpretation of subtle details. I then have a half sized contact print of the inked drawing made by an architectural printing company.
I would also suggest that you visit the WoodenBook Store online. They offer a selection of lofting books. In particular they sell a book on half models that discusses lines drawings.
Roger,
-
Lofting was required for all ships including 600- 1000ft steel hulled vessels prior to the development in the late 1960’s or 1970’s of CAD systems linked to robotic plate burning equipment. Loftsmen were highly skilled and able to “fold” designs on the mould loft floor to save space.
Roger
-
Per my post above, The first J Boat rigged with rod rigging was the 1934 American Cup defender Rainbow.
There is an interesting connection between prewar yacht design and the aircraft industry. Starling Burgess, Rainbow’s designer designed airplanes in the 1920’s, and Sopwith, builder of the famous Sopwith Camel owned one or more of the British challengers. Designers of these high performance yachts, therefore, would have followed developments in building high performance aircraft. Burgess was also involved in the application of aluminum for boats and cars. Burgess used proprietary fittings for attaching rigging to Rainbow’s spars and the hull.
High quality small diameter diameter wire rope can be bought from fishing tackle suppliers. It is used for towing “downriggers,” heavy lead weights used to control depth of fishing lines. I also have a stash of very small diameter stranded wire cable that I used many years ago in an unsuccessful attempt at control line model airplane flying.
Roger
-
Computer technology aside, there are engineering reasons why a boat design cannot simply be reduced. Simply put the characteristics that produce a successful design are not linear. For example, displacement is a cubic function. If dimensions are halved displacement decreases by a factor of 8 (the new displacement is 1/8 that of the old). Transverse stability is an exponent function of the waterplane, and so forth.
Roger


Walnut ink with PVA test - Caulking
in Painting, finishing and weathering products and techniques
Posted
Regular old fashioned poster paint powder (the kind used in grade school art classes) can be used to color glues. I have used it for both PVA and Epoxy glues. It does not seem to react chemically with the. Glue.
Roger