


Roger Pellett
-
Posts
4,519 -
Joined
-
Last visited
Content Type
Profiles
Forums
Gallery
Events
Posts posted by Roger Pellett
-
-
Those fires in California are heartbreaking. While the losses in life are tragic, the complete devistation of the lives of the survivors is also horrible. I hope that things improve for you in the new year and that you can get back to doing what you enjoy.
Roger
- Rik Thistle, mtaylor, Canute and 1 other
-
 4
4
-
I am fortunate to have space for a dedicated shop equipped with full sized woodworking tools. Used on a day to day basis in order: Drill press, 10in table saw (an 8in saw would be almost as useful), 4in jointer, scroll saw, band saw, lathe and milling column.
I own a Byrnes saw, but so far have never really learned how to use it well. Before starting my next model project, I intend to tune it up, and learn how to make it work for me. As it stands now, for ripping anything thicker than say 1/4 in thick I use my full sized saw.
I have little natural manual dexterity so I often find myself making jigs, fixtures, and guides, hence my use of a wide variety of full sized tools.
Also, in 50 years of adult ship model building I find that interests and opportunities have pushed me into other activities as well requiring different tools. For example, given several derelict wood canvas canoes to restore I found that I needed to mill local rough cut native white cedar into rib and planking stock. This required access to a planer so I bought one of the portable ones. Although I seldom use it, it was also essential for milling a pile of locally harvested rough pear for future ship modeling projects. Over the years I have also built 10 glass cases for ship models. Each of these required use of my large table saw and my jointer.
The point of all this; If you are outfitting a shop, even if you think that you are just going to build ship models for the next 50 years, first spend your money on tools that can be used for a variety of projects.
Roger
- mtaylor, Canute, Rik Thistle and 2 others
-
5
-
I love these big “Flying P” ships. IMHO they exhibit power that epitomizes the final development of the commercial sailing ship. Unfortunately I don’t see myself ever tackling a model of one of them. This is actually one ship where I would prefer a waterline model.
The wooden kit producer A.J. Fisher used to offer a kit for a four masted iron/steel hulled four masted barque. They called it the “Californian.” You might be able to track down the kit or at least the plans on EBay. If you are fortunate enough to find the kit, in its day, A.J. Fisher kits produced accurate high quality models.
Bill, I hope you find the kit that you are looking for.
Roger
-
Here in the US, red oxide paint used to be known locally as Barn Red paint to distinguish it from bright red. It was called this because most wooden Barns were painted this color. This paint had one attractive property that appealed to tight fisted farmers. It was cheap! It also covered well. Even as late as the 1990’s a gallon of this paint bought from a local paint manufacturer cost $14.00; a fraction of the cost of other paints. Iron oxide was plentiful throughout the country.
There were also significant deposits of lead in Galena, Illinois on the Mississippi River nearby. Red lead has until recently also been a commonly used industrial primer. I am not sure when it began to be used but that should be easy to find out. Red lead color has an orange tint unlike red iron oxide paints.
If the bottom was not tarred, I agree that red oxide or possibly red lead would be a logical color.
- Cathead, mbp521, Keith Black and 2 others
-
5
-
All contemporary US Navy information that I know of relates to major warships intended for salt water service and of course these were coppered. On the other hand I believe that there were compelling reasons for applying some sort protective coatings below the waterline of these river vessels prior to launch. These would include minimizing leakage, rot, and providing rudimentary protection from fouling.
So the question is what was available, cheap, and easily applied. Cheap paint pigments would include black, made from soot, and red ( iron oxide ). It would also have been necessary to pay caulked seams to waterproof the caulking. Materials for this could include white lead, red lead, or tar. Of these, I believe that tar was the most likely.
It would, therefore, seem to me that a possible approach would be to assume that after paying the seams with tar, the rest of the hull would have been coated with the same stuff so it would be black.
If you wanted to avoid having an all black model you could subtly make the underwater coating a very dark brown.
You might also want to check the “Resources” section of the NRG website for an article by Eric Ronnberg about Nineteenth Century paint colors.
Roger
- mbp521, Keith Black, Canute and 3 others
-
6
-
-
I have a selection of gunsmith’s machine screws. I bought it from Brownells, a supplier of gunsmithing supplies. It includes small screws, down to #0. I’ve had it for many years and I don’t know if Brownells is still in business but you could give them a try.
- Keith Black, Saburo and mtaylor
-
3
-
If this helps the ship type is called a Galleon. This was a major type of ship used between about 1550 and 1650. It was armed with cannons and could be used both as a warship and to transport valuable cargos. These ships were used by the Spanish to transport the vast wealth from their American Colonies and both sides used galleons in the battles of the Spanish Armada. Galleons rate high in public imagination so many models of them have been built.
I agree that your particular model is what we would call a decorator quality model. It is not built to any particular scale, and is only an approximation of what current scholarship believes the real thing looks like.
Ship modeling can be a lifetime hobby and this might be the perfect opportunity for your son and his grandfather to do something together. I would suggest that you get your son a book or two about Galleons, the Spanish Armada, etc. so he gains an appreciation of the history behind the model.
Roger
-
The Erie Maritime Museum that operates the sailing vessel Niagara has used her extensively for what they call “experimental archeology.” This includes firing cannons at sample sections of hull structure to access damage. She is, however, armed mostly with carronades. I don’t know if they have conducted any fully manned gun drills. You might want to contact them.
- mtaylor, Larry Cowden and tmj
-
3
-
I recommend “Old Ironsides, The Rise, Decline And Resurrection Of The USS Constitution” by Thomas C. Gillmer.
Gillmer was formerly Professor of Naval Architecture at the US Naval Academy and was retained by the Navy to assess Constitution’s structural condition prior to her 2000 major repair. As such he is eminently qualified to write about this ship.
The book is nicely produced by the US Naval Institute and includes many technical drawings as well as paintings bymarine artist William Gilkerson. It includes a balance of nuts and bolts information about her construction and well written historical narrative.
-
-
It’s probably the upcoming alignment of Jupiter and Saturn but dispite singing the praises of my home made thickness sander I am toying with the idea of buying one from Jim Byrnes.
looking at the photos it seems tall and narrow. Since it works by sanding wood being pushed through it what keeps it from tipping over? My home made one is built onto an integral stand, but it seems that many users here on the forum use theirs sitting on a bench top not bolted down.
After cleaning up a number of non ship model model projects I am anxious to begin a new ship model that involves making a lot of saw dust and using up a pair of (real) boxwood planks that have been waiting in my stash for many years.
I am anxious to hear from forum members, pros and cons before making a buying decision.
Roger
-
-
My home made thickness uses a 1/3rd HP 110v AC motor that transmits power via v belt. A stepped pulley allows control of Sanding drum RPM.
When I first started using it sanding media life was so short that the machine was nearly unusable. Then after reading a post on this forum I had a Eureka moment that as an engineer I should have had much earlier: Reduce the RPM!
I flipped the belt on to a smaller sheave at the motor, thereby slowing the drum speed. The thing now works like a charm.
Running the drum sander at high RPM is not necessarily a good thing.
-
A very interesting model of an unusual subject
- Blackreed, Rik Thistle, Keith Black and 1 other
-
4
-
-
How about a model of a Sunfish sailboat?
Last night I finished reading SECOND WIND by historian Nathanael Philbrick, a quick read about his quest after a lapse of 17 years to compete in the North American Sunfish Class Sailboat Regatta.
Mr Philbrick a noted American historical writer was a champion Sunfish sailor as a teenager in the 1970’s who went on to become a College All American Sailor.
I bought the book because my father and I built a Sunfish from a kit back in the 50’s before they went over to the dark side (fiberglass). They were and still are great little boats- pure sailing fun.
Roger
-
The old gunsmith’s formula for finishing gunstocks is 1/3 linseed oil, 1/3 turpentine, and 1/3 varnish. This is applied with a rag and rubbed out with a Mark 1 Mod 0 finger.
I mixed some up a while ago using stuff on hand from previous projects; satin marine varnish (not polyurethane), boiled linseed oil, and real turpentine. It works great, providing a hard satin finish. It,keeps well in a screw top jar.
incidently, I have a big waste basket container in my shop where I keep a supply of tin cans, plastic yougart cups, etc. like Bob says, don’t throw things away.
Roger
-
I believe that during the voyage, whenever possible the small boat would have been towed. Ships’ boats of this period were quite large and heavy relative to the mother ship and crews complained about the difficulty of bring them on board. There was also the problem that all wooden boats leak like a sieve until the planking has swelled up from being in the water. Leaving the boat in the water would eliminate this problem.
Roger
-
I assume that “titanium” refers to titanium alloy steel, not pure titanium?
For steel to be useful for cutting it must be hardenable, by heat treatment. In the past this required a high carbon content in the iron alloy. Within the past 40 or so years low carbon steel alloys have been developed that can be heat treated to very high strengths. This is done by adding small amounts of elements like titanium. These are commonly known as microalloyed steels or in the industry vernacular, “addition of BatS&@$.”
These steels are strong but tough and exhibit much better ductility at low temperatures than the old high carbon steels. Chisels do not require enhanced cold weather properties and increased toughness can make sharpening difficult. I would rather have edge tools with easily sharpened blades made from the old high carbon steels. I suspect that this is a marketing gimmick by MicroMark.
-
Your plans are 3/8. You want to build the model to a scale of 1/2=4/8
4/8 divided by 3/8 = 4/3= 1.3333... so a close approximation would be to blow up your plan by 33%.
You’ll find lots of info elsewhere on the forum about dealing with distortion when enlarging drawings. Your best bet would be to get it done by someone who specializes in printing Architectural drawings.
-
Hi Steve, that’s a fascinating coincidence! Your Great Grandfather certainly made a wise decision. On the other hand, had he been in command he might have waited out the storm behind the lee side of the Kewanee Penninsula and saved the lives of all on board. But there was probably little warning. Radio technology was in its infancy, the transmitting and receiving sets were huge, and I’m not sure that the Noble was even fitted with an electrical system. Marconi’s manopoly also required a dedicated operator. As a result, Great Lakes bulk carriers would not be fitted with radios for many years. The Weather Service would have posted storm warning flags at the SOO had they known but midwestern weather can change quickly. It’s entirely possible that those on board the Noble wouldn’t have been aware of the storm until it was too late.
In my opinion, Francombe, the vessel’s manager bears the entire responsibility for her loss. He assigned too much cargo to haul and then hired a young captain that could be convinced to overload her.
Hi Dave, sorry to hear that you moved from Minnesota. I hope that you are enjoying life in Arizona. I don’t know if you heard but Sara Blanck left the Meteor Museum shortly after my book reception. Since then I have had little to no contact with them. The new director seems to be hostile to the idea of Developing the Meteor into anything other than a Tourist Attraction. There are things going on in the background that I don’t understand.
I apologize for letting this thread sit idle. While it would seem that I would have lots of modeling time due to Covid19. I have been cleaning up a number of part finished non ship model projects before moving ahead.
Roger
-
-
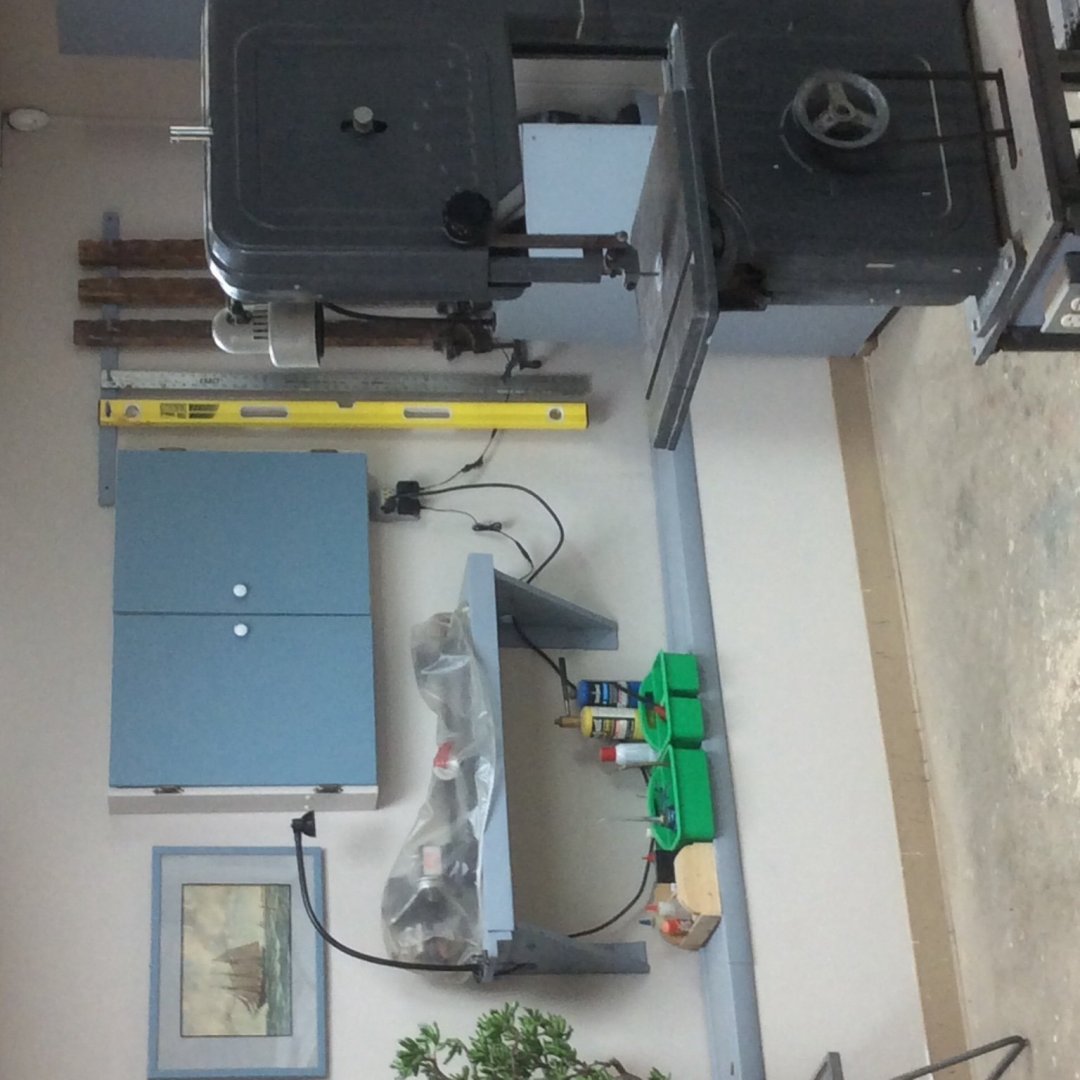
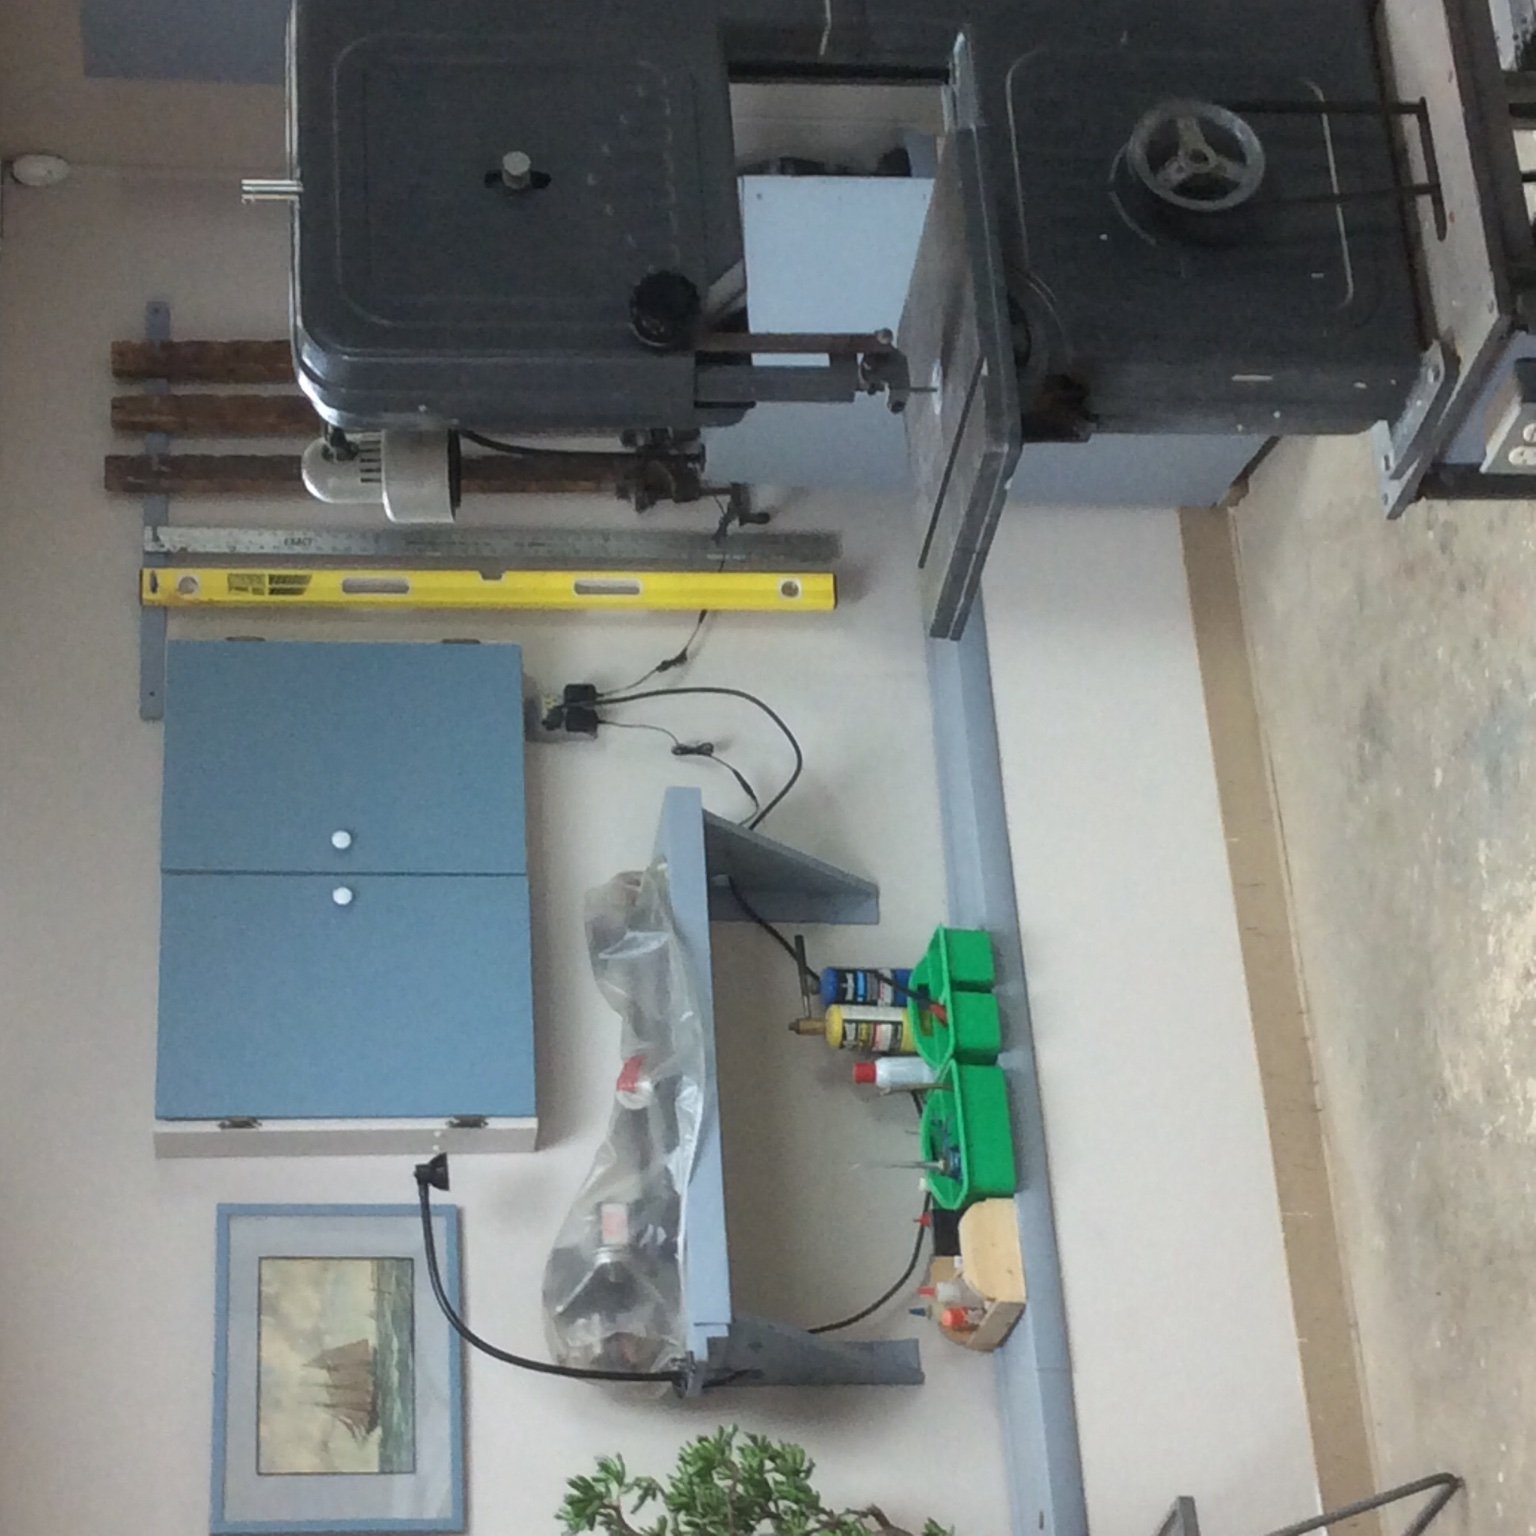
The LED gooseneck tool light over the lathe in the photo below was bought from Amazon. It can be fastened down anywhere. I seem to recall that it cost about $25. It would be easy to mount it for use with a scroll saw.
The other thing that I should mention is a dust blower to blow the sawdust away from the blade. The one that came with my saw died.
Sassafras 12 by ccoyle - Chesapeake Light Craft - FINISHED - 1:1 scale canoe - you read that right
in Non-ship/categorised builds
Posted
Chris, Very Nice work!
A suggestion- I assume that the bulkheaded ends are for flotation. A number of years ago I built a similar canoe from Tom Hill plans using the glued lapstrake method, the same idea as your stitch and glue but a different process. Anyhow, I filled the chambers at each end with urethane foam; the same stuff used for weatherproofing buildings. If the canoe ever swamps, you don’t want to find out that a pin hole leak has allowed the flotation chambers to flood.