-
Posts
1,553 -
Joined
-
Last visited
Content Type
Profiles
Forums
Gallery
Events
Posts posted by G.L.
-
-
3 hours ago, Jorge Diaz O said:
My treasures have arrived, I feel very happy.
A little cute white treasure.
- Jorge Diaz O and mtaylor
-
 2
2
-
Adequate method for making belaying pins. Thanks for sharing, I have to make pins as well soon for my smack cross section. I think I will use your method.
- FriedClams, paulsutcliffe, archjofo and 1 other
-
 4
4
-
-
-
-
Very nice dead eyes and chain plates!
- FriedClams, mtaylor and Keith Black
-
 3
3
-
19.2 The spars. The mast fittings.
19.2.1 The Mast hoops
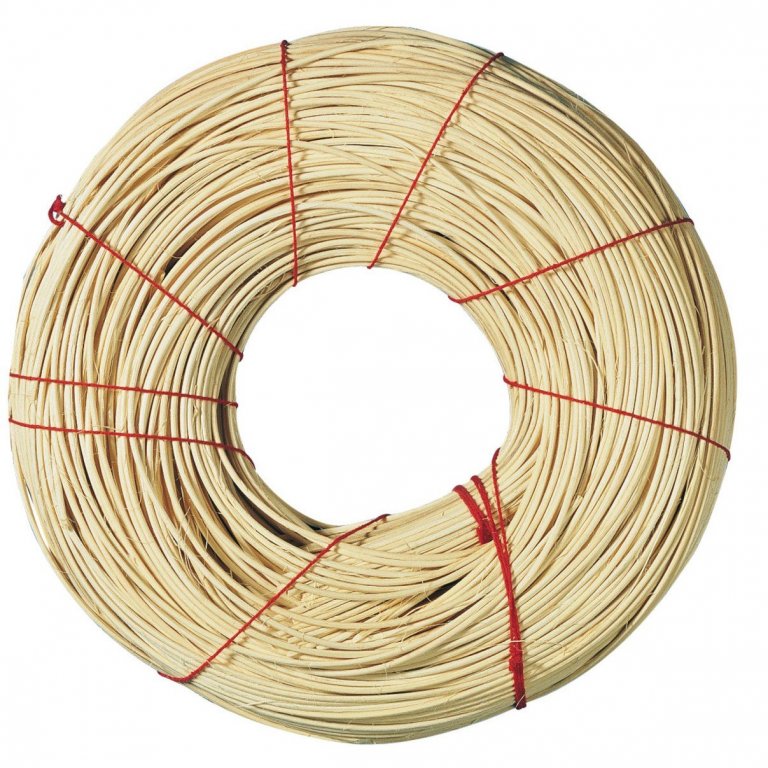
I make mast hoops of pit cane. It can be bought in hobby shops and is used for basket braids and flower arranging.
The outside surface of the mast hoops is flat, the inside round. To make the flat surface I cut a slice of one side of the pit cane.
The I make the pit cane wet, wind it around a round pipe with a slight bigger diameter than the mast and let it dry.
Next day the pit cane can be removed from the pipe like a spiral to be cut in separate rings.
I make a jig to glue the mast hoops. A wooden plank in which I drill holes of the same diameter as the mast hoops. With the help of that jig I determine the exact size of the pit cane rings and the overlaps that I need to glue them.
I file the overlaps. Put some wood glue on them and press the hoops in the jig.
The mast hoops, stained and varnished around the mast.
- tkay11, paulsutcliffe, cog and 15 others
-
 18
18
-
21 hours ago, Backer said:
Mooi gedaan. Nicely done.
Congrats 👍
Thank you Patrick, trying to keep up the standard of the Belgian ship modelers.
- Baker, John Allen and mtaylor
-
 3
3
-
On 3/30/2019 at 7:16 AM, woodeater said:
And what kind of showcase have you for your models?
My showcases are not as nice as yours. They are a lot more basic. Below the case that I made for my HMS Triton cross section. On top of the case stands a model of a friend. The table below is not a part of the showcase.
-
On 3/30/2019 at 9:04 PM, KeithAug said:
Nicely done - very pleasing result.
Thank you, Keith
On 3/31/2019 at 3:47 AM, BANYAN said:Looks great GL!
cheers
Pat
Thanks, Pat
On 3/31/2019 at 5:20 PM, cog said:turned out pritty spiffy!
Carl,
I have no idea what 'pritty spiffy' means but I assume that it is a positive comment, so thank you also very much.
-
20.3. Finishing the hull. Painting the hull.
I tried to postpone this part as long as possible. I decide to go for a tarred look above the waterline like I did for my Ostend shrimper. Below the waterline I want to go a kind of anti fouling or copper paint.
My instruments to draw the waterline are very basic: a spirit level from railing to railing and a pencil attached to an L square do it perfectly.
Mask taping ...
... and painting the tarred part with oil paint. I put thick layer oil paint.
After some hours when the paint had some time to dry a bit , I rub it up with a cotton cloth.
When the paint is dry enough to apply mask tape on it, I paint the rub rail in white.
Below the waterline I want to paint in a copper paint color. I made several color samples. I mix of medium cadmium red and burnt sienna acryl paint seemed the best to me.
I want to highlight where the hull is cut to obtain the cross section. Therefore I make the edge of the gash red with oil paint.
The last step in coloring the model is varnishing it with matt varnish.
- cog, Duanelaker, BenF89 and 17 others
-
 20
20
-
On 3/23/2019 at 1:14 PM, John Allen said:
Well done!
Thanks, John
-
10 hours ago, KORTES said:
After critical remarks of my friends, experts in snakes - I have redone the head.
What was wrong with the previous head?
Your carving looks perfect to me.
- mtaylor, FriedClams and Keith Black
-
 3
3
-
Mark,
I am hoping that you will build the 21' Cliff Gale design half hull. I am looking forward to it.
-
-
- mtaylor, Mark Pearse, Baker and 11 others
-
 14
14
-
On 3/17/2019 at 7:28 AM, Backer said:
Nicely made and very well explained.
Always a pleasure to follow.On 3/18/2019 at 8:06 PM, KeithAug said:Loved the hinge jig. One to remember.
Thanks for your comments and interest Patrick and Keith.
And also thanks for all the likes.
This week I finished the bulwark:
I make some rings of copper wire...
...and three large oak cleats.
Rings and cleats attached on the port railing ...
...and starboard railing.
-
-
-
20.1. Finishing the hull. Dead eyes and chain plates.
Making hardwood disks to make the dead eyes.
And at the other side I drill three holes in the position where they have to be in the dead eye.
Now I just have to place the dead eye in the hinge, close it and drill out the holes in the jig .
I use the mill on the Dremel to make slits above the dead eye holes.
I make rings from copper wire. The large rings will become the iron bounds and the small rings the iron bound rings.
Soldering the iron bounds.
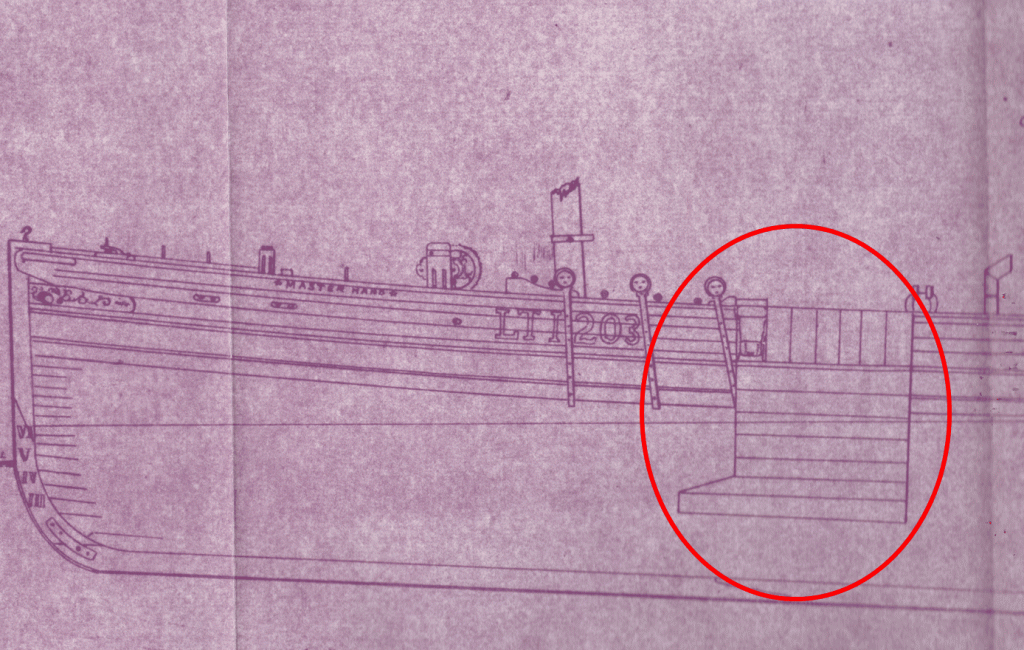
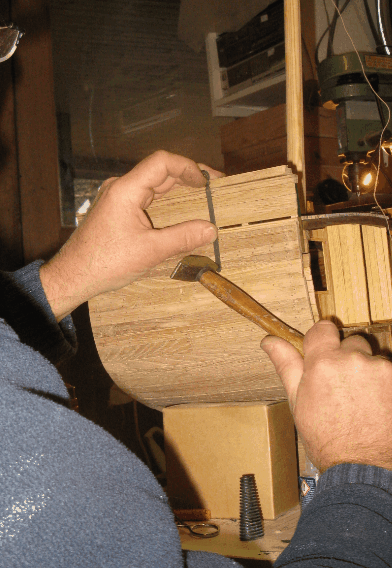
The making of the chain plates is very similar to the making of the hinge of the trawl gate. First bending a strip of brass around a 1.5 mm drill to make a loop at the end.
Closing the seam of the loop with solder and sawing the outer ends of it.
The assembled dead eye and chain plate.
I determine the angle in which the chain plate has to be placed with a string around the trestletrees.
To have the dead eyes at the correct height, I lay a wooden lath as height indicator on the rail cap...
... and mark the middle of each wale plank on the chain plate to drill the bolt holes.
Once the holes are drilled, I mark the holes to be drilled in the wale and drill them.
Now The recesses can be sawn in the rail cap and the chain plates can be nailed into place.
Just below the cap rail the chain plates are supported by a wooden 'guard'.
Guard, ready to be placed.
Port guard into position. Kept in place with two glue clamps until the glue is dry.
Below the railing and on top of the wale a rub rail is glued and kept in place with tape.
Starboard side.
-
On 3/11/2019 at 11:27 PM, Mark Pearse said:
Thanks for putting my question forwards.
My gut feeling is that it's to do with the way the boats handled when working, & possibly to do with the topsails as the rake forwards affects the topsails balance the most. It could also be to do with the shrouds angle to the mast, as they don't seem to have running backstays.
Mark,
I think you are right about the absence of a backstay. With the trawlgate at portside just aft of the mast, there is no space for a backstay. That might be the reason why the mast is inclining forward to be better supported by the shrouds.
- Mark Pearse, mtaylor and FriedClams
-
 3
3
-
22 hours ago, G.L. said:
Hello Mark,
I must owe you the answer on the first question. I passed your question to the author of the practicum, his grandfather skippered a smack.
For your question regarding the topsails. A lot of the smacks had two sets of top gallants, one for the winter and a longer one for during summer. So I guess that the topsails were used, weather permitting, to sail to and from the fishing grounds. I am not aware if 'race days' by fishermen were organized in our region. To be sure I check it also with Mr George Verleene.
Just received an answer of Mr. Verleene:
He does not know either why the masts rake forward. Maybe someone on the forum knows?
The top sails were regularly used.

- mtaylor and FriedClams
-
 2
2
-
3 hours ago, Mark Pearse said:
Hi GL
interesting. A couple of sail questions for you:
- do you know why they raked the masts forwards?
- were the topsails used regularly, or were they a 'race day' sail?
Mark
Hello Mark,
I must owe you the answer on the first question. I passed your question to the author of the practicum, his grandfather skippered a smack.
For your question regarding the topsails. A lot of the smacks had two sets of top gallants, one for the winter and a longer one for during summer. So I guess that the topsails were used, weather permitting, to sail to and from the fishing grounds. I am not aware if 'race days' by fishermen were organized in our region. To be sure I check it also with Mr George Verleene.
- FriedClams and mtaylor
-
 2
2
-
Dave,
I discovered this morning your log of the HMS Blandford cross section. Looks like a engaging project, on scale 1/32 it will become a very nice model.
I subscribe to follow your log.
Wishing you an interesting build.
Lots of regards,
- mtaylor, Canute, Old Collingwood and 1 other
-
 4
4


Fishing Smack c. 1920 by G.L. - FINISHED - Scale 1/20 - POF - cross-section
in - Build logs for subjects built 1901 - Present Day
Posted
19.2.2 The Mast cleats
Some 75 cm above deck level there are 5 cleats around the mast, 3 normal ones and two big ones.
Making the cleats:
The cleats around the mast.