


G.L.
-
Posts
1,553 -
Joined
-
Last visited
Content Type
Profiles
Forums
Gallery
Events
Posts posted by G.L.
-
-
-
-
Nice hull, Nils.
I like the scale of your model.
- Mirabell61, Keith Black, mtaylor and 1 other
-
 4
4
-
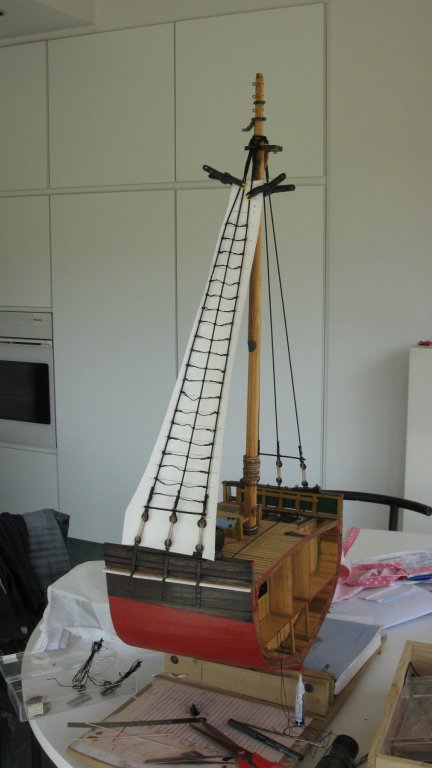
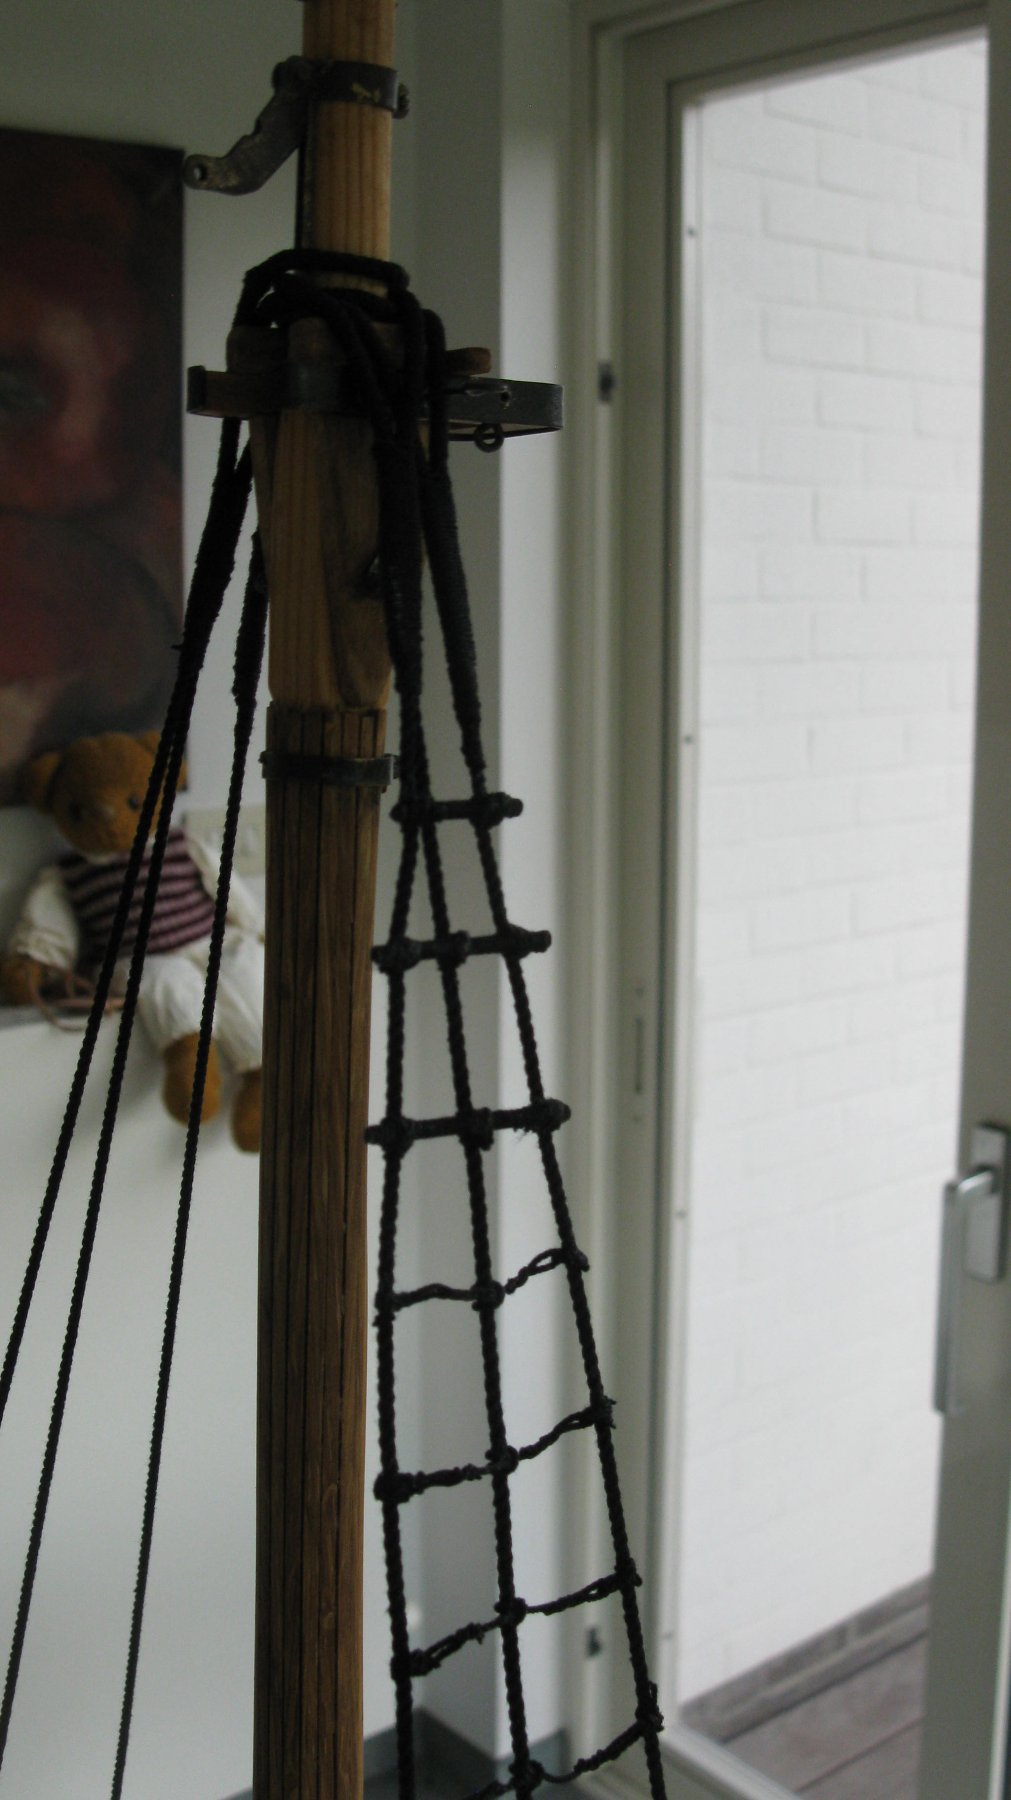
This week, the only thing to report is that the port shrouds are also provided with ratlines and staves.
- michael mott, FriedClams, KeithAug and 7 others
-
10
-
On 6/8/2019 at 10:00 AM, cog said:
nice result, even for "boring" work like ratlines
On 6/9/2019 at 5:48 PM, FriedClams said:Beautiful work on the shrouds and ratlines G.L. I really appreciate the detailed explanation of your work. The small boat came out excellent. The two tones of wood set off by the green are quite handsome - somehow nostalgic. Very nice.
Gary
On 6/11/2019 at 1:35 AM, BANYAN said:Looks the 'ants pants' G.L. Some lovely detail there.
cheers
Pat
Thank you very much for your encouraging words, Carl, Gary and Pat.
- FriedClams and mtaylor
-
2
-
-
As you show it in your images, it looks all so easy. But is surely isn't.
Beautiful craftmanship. Congratulations.
- mtaylor, popeye the sailor, ErnieL and 2 others
-
5
-
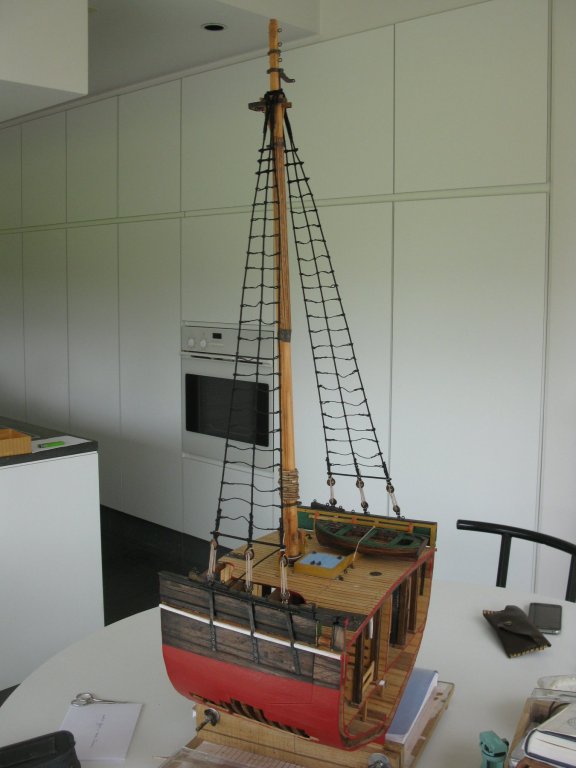
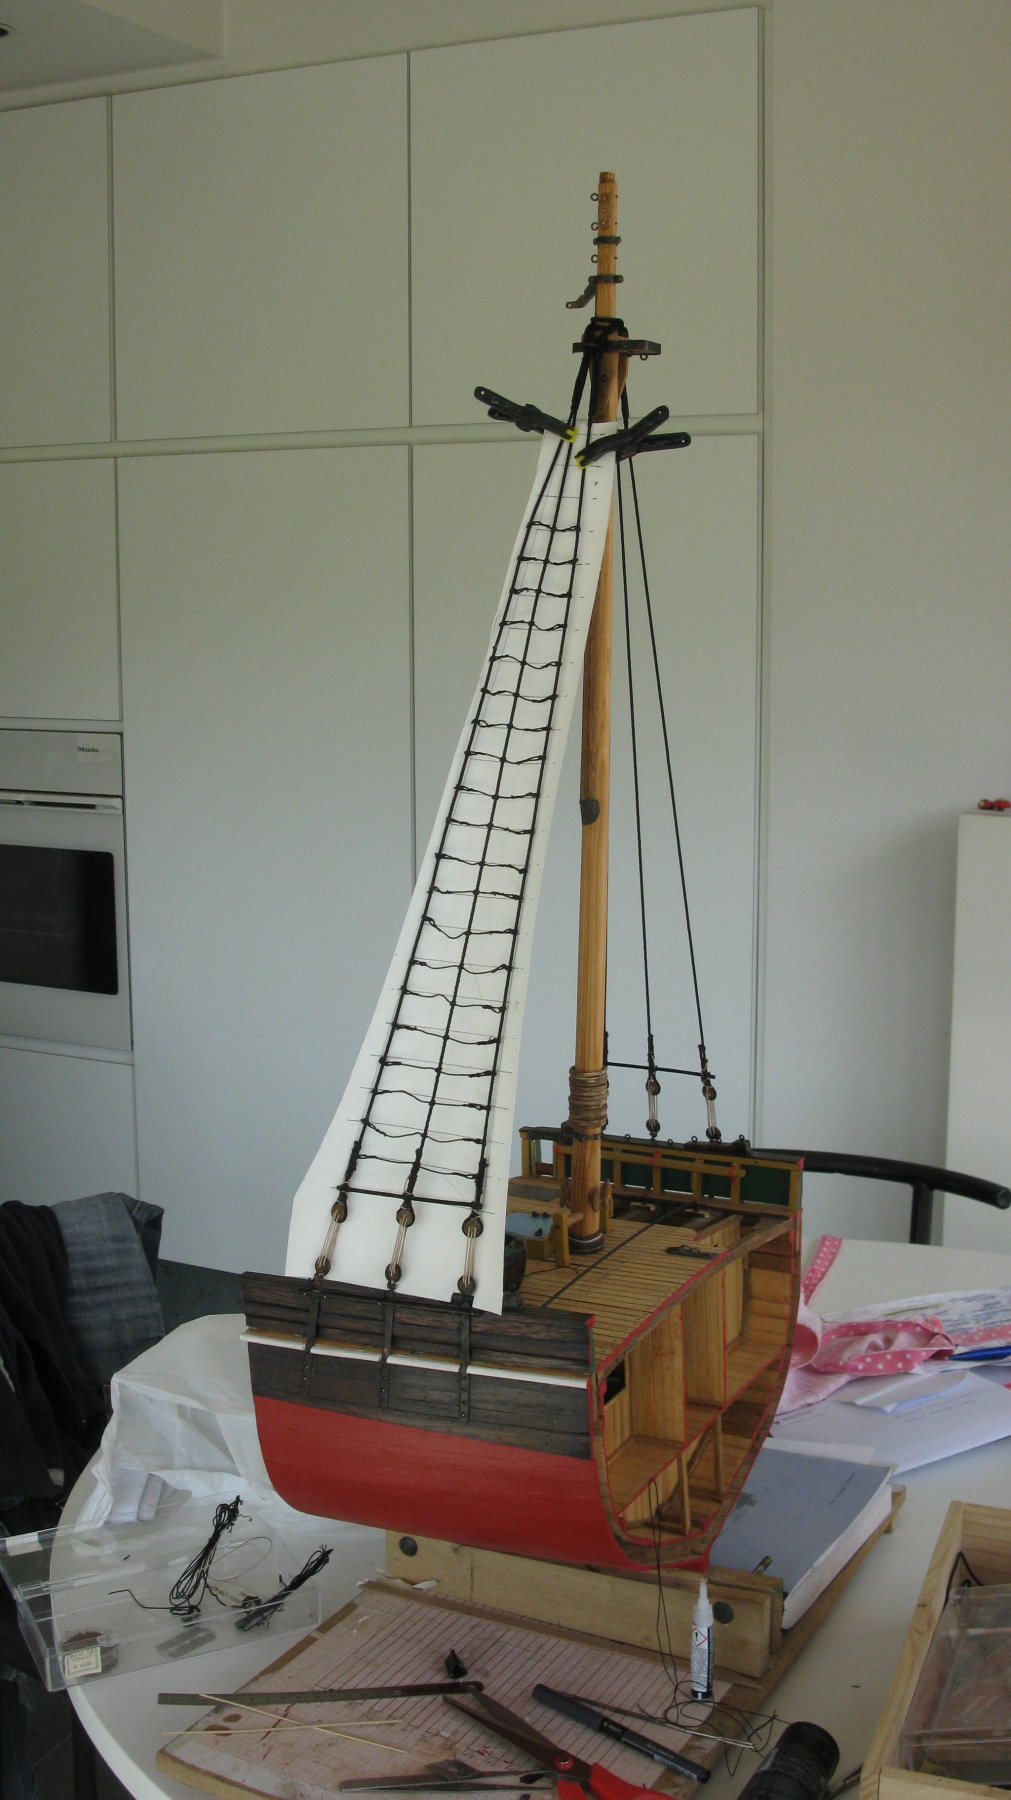
Practice makes perfect. Slowly I find my way in making the ratlines and at the end of the week the whole starboard side is done.
For the upper three steps the spacing between the shrouds becomes too narrow, I replace them by staves.
- Mark Pearse, BANYAN, cog and 10 others
-
13
-
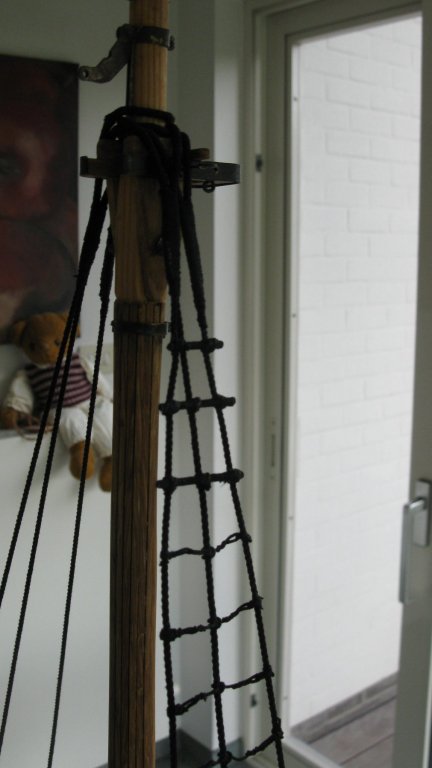
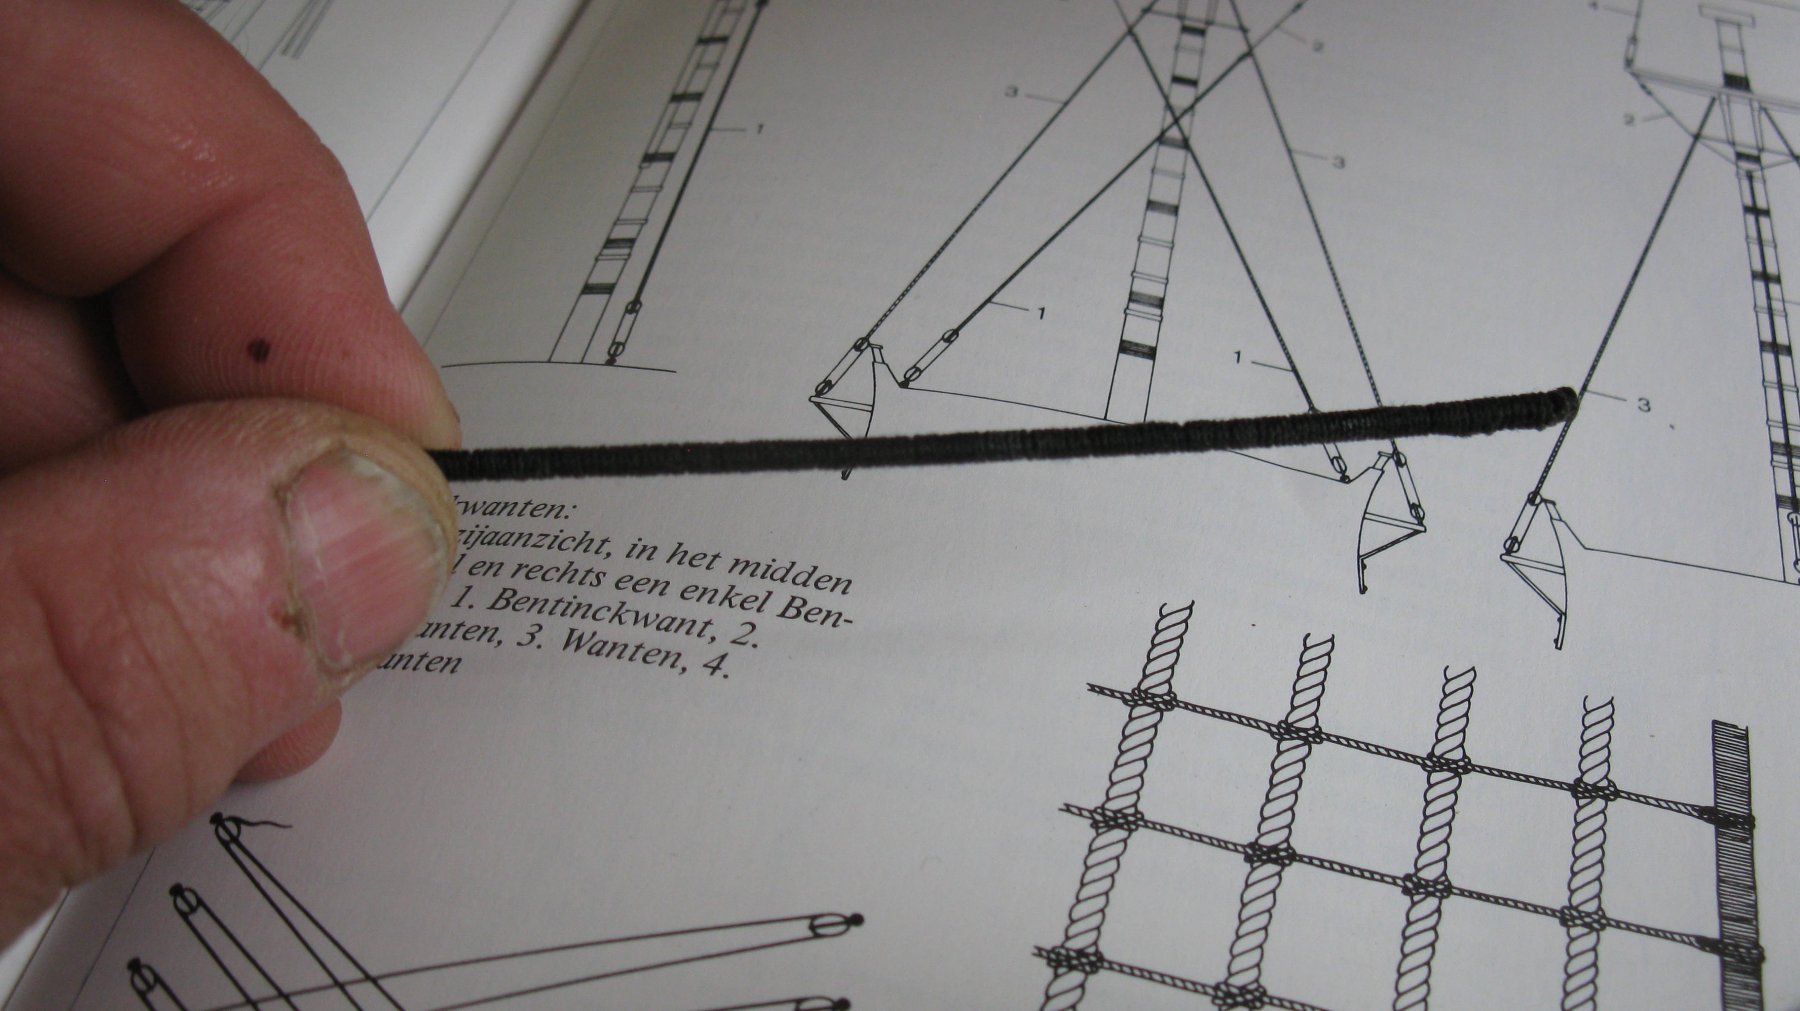
Now the rat-lines have to be tied to the shrouds. Seems a very boring activity to me, but it has to be done. At the bottom, just above the upper dead eyes comes a stave. On smaller boats it was often a wooden bar, but on a smack it was an iron stave, served with rope. I served a 1,5 mm brass bar.
The stave held into position for rigging.
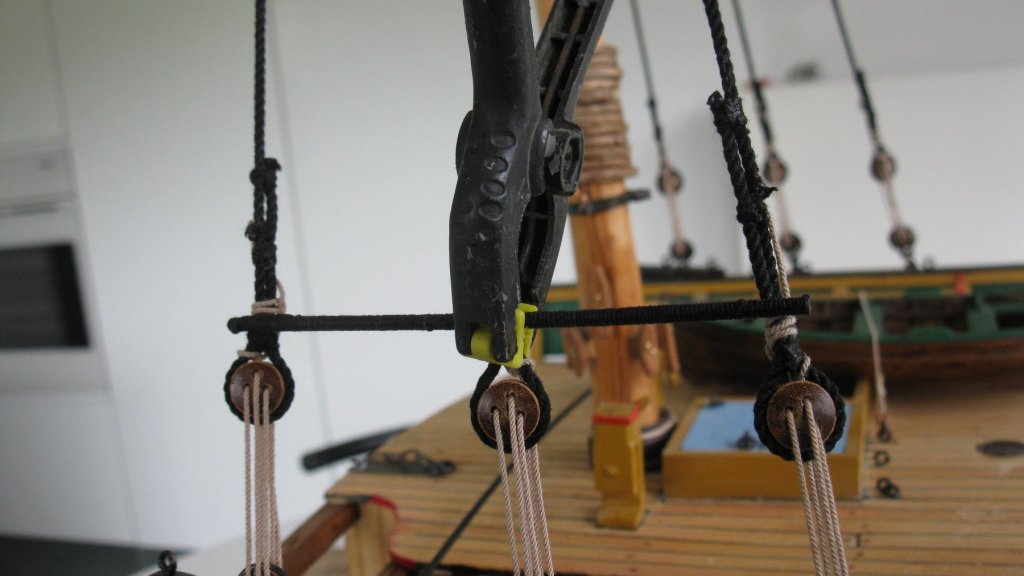
The port stave rigged.

Both staves rigged.
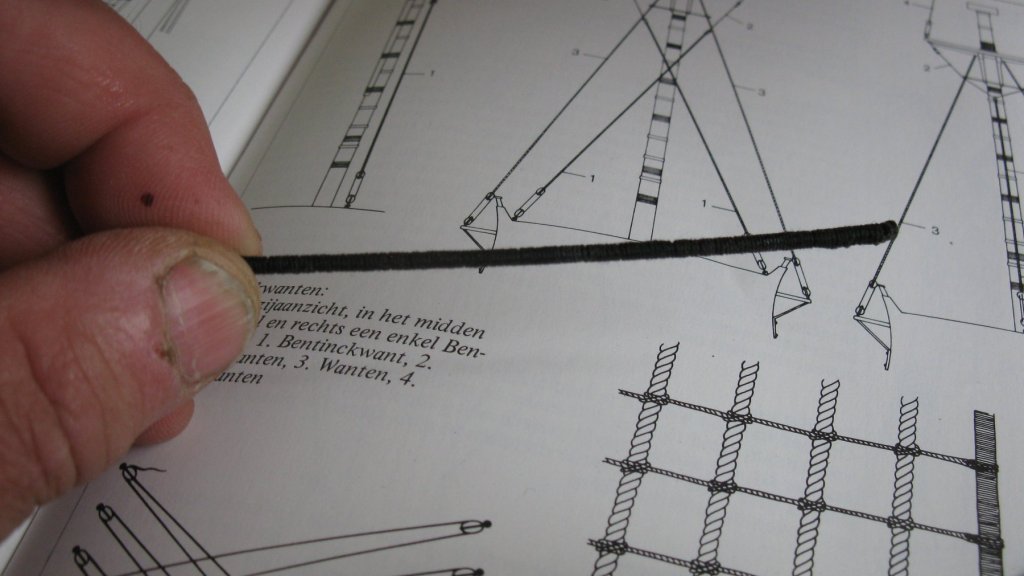
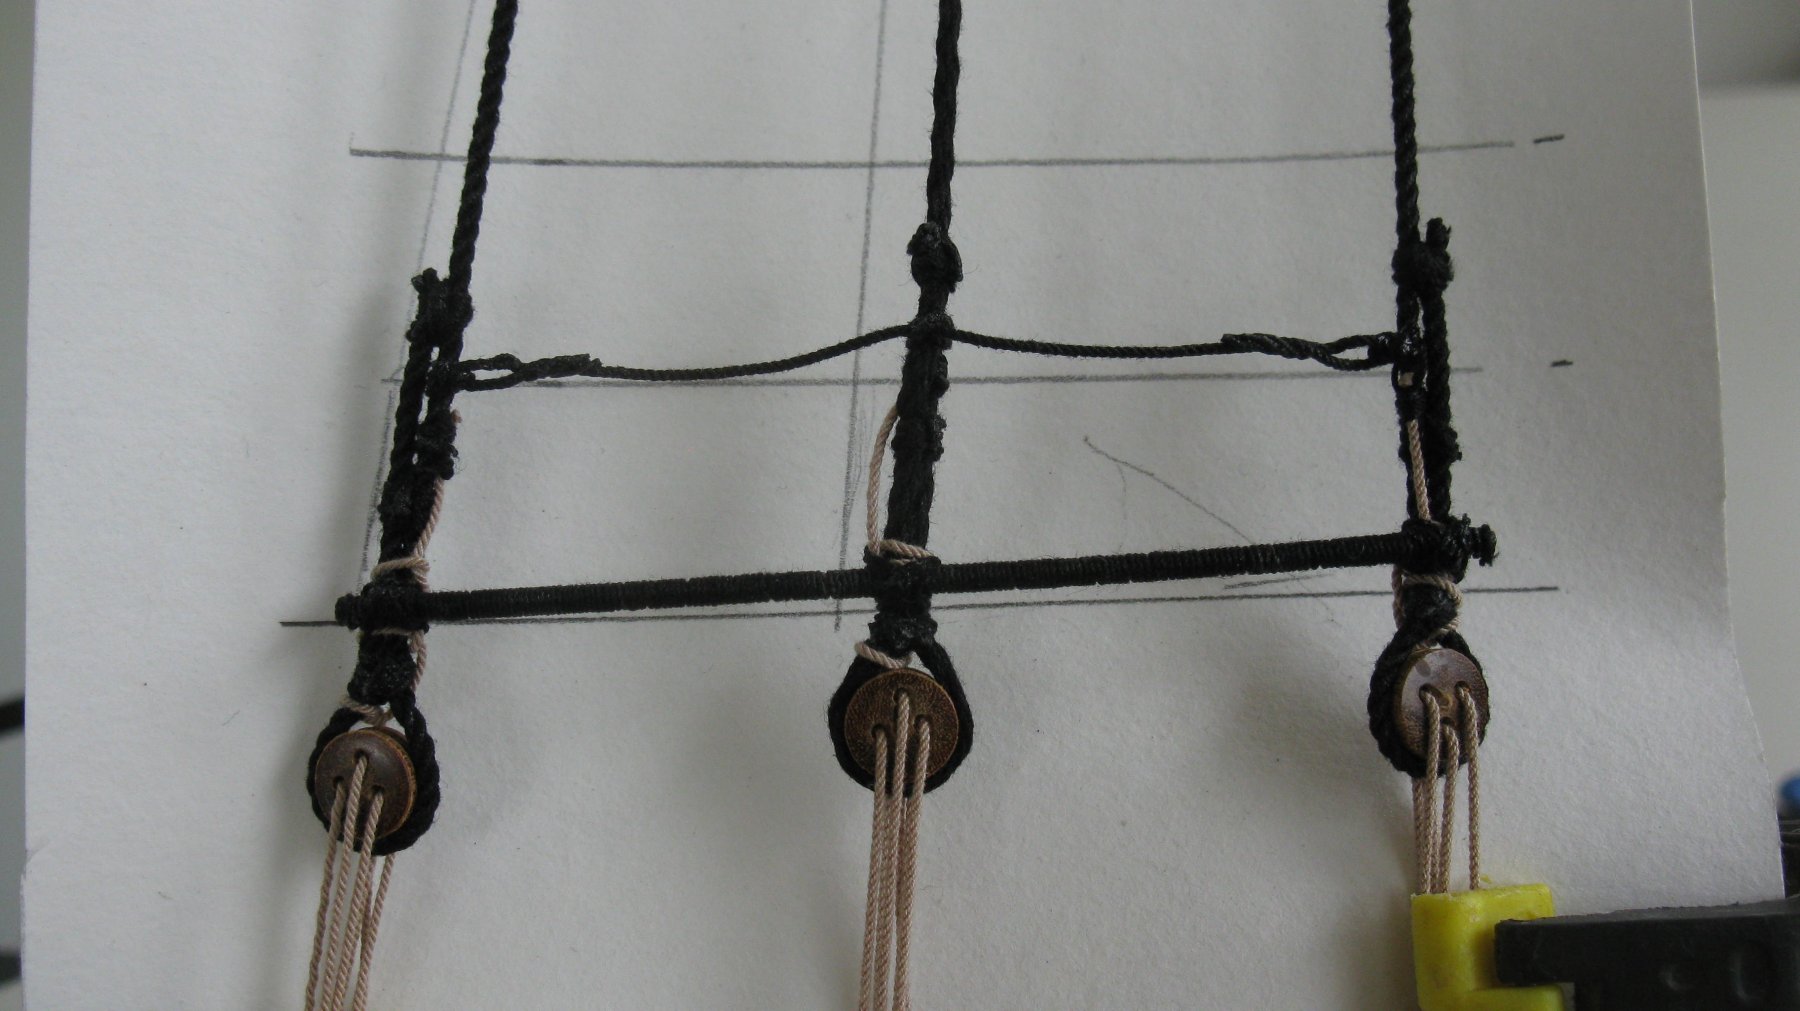
I clamp now a card with the rat-line intervals against the backside of the shrouds.
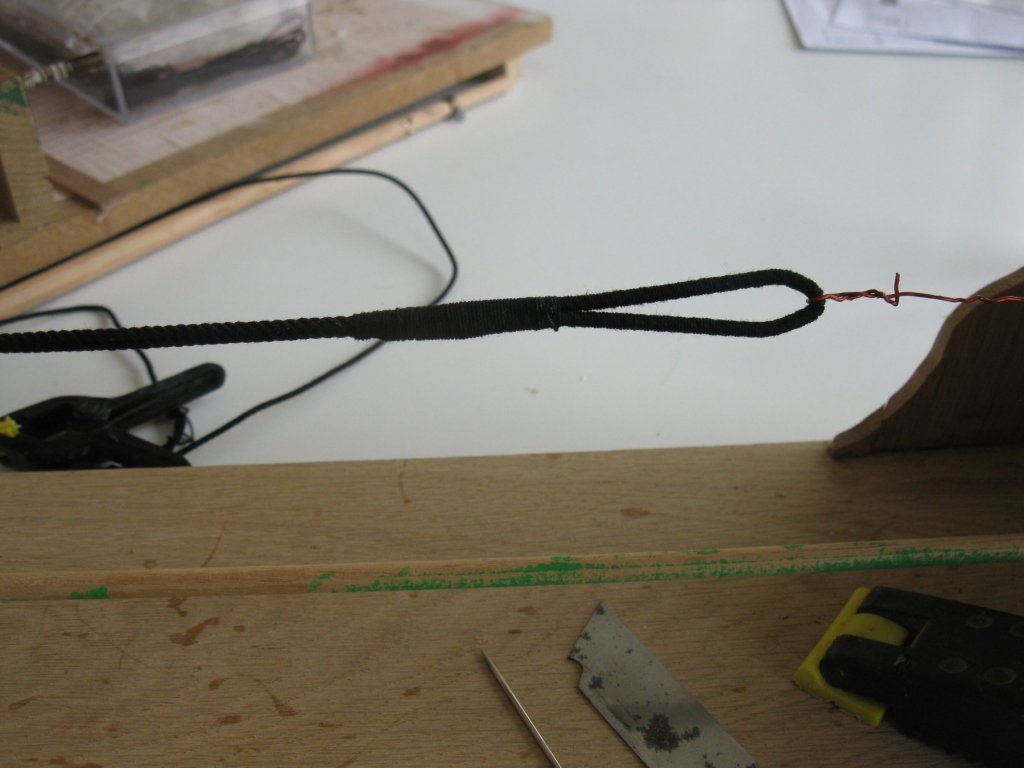
A ratline is a piece of cord with a loop at both sides.

It is parallel attached to the shrouds at equal distances.
It is tied to the middle shroud with a clove hitch.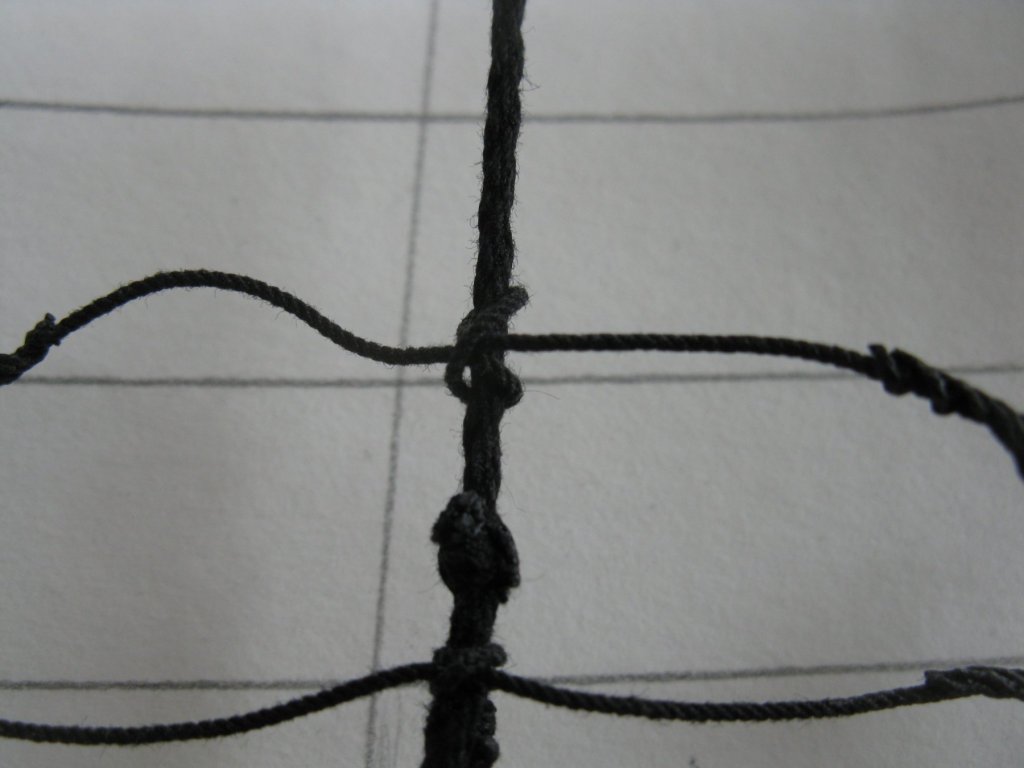
And the loops are attached to the outer shrouds with seizings. I am not very handy with rope work. Here is my progress after a whole afternoon.
- Moab, Baker, Mark Pearse and 5 others
-
8
-
Perfect! Just like real.
- paulsutcliffe, Keith Black, mtaylor and 1 other
-
4
-
-
Thank you Carl and Patrick,
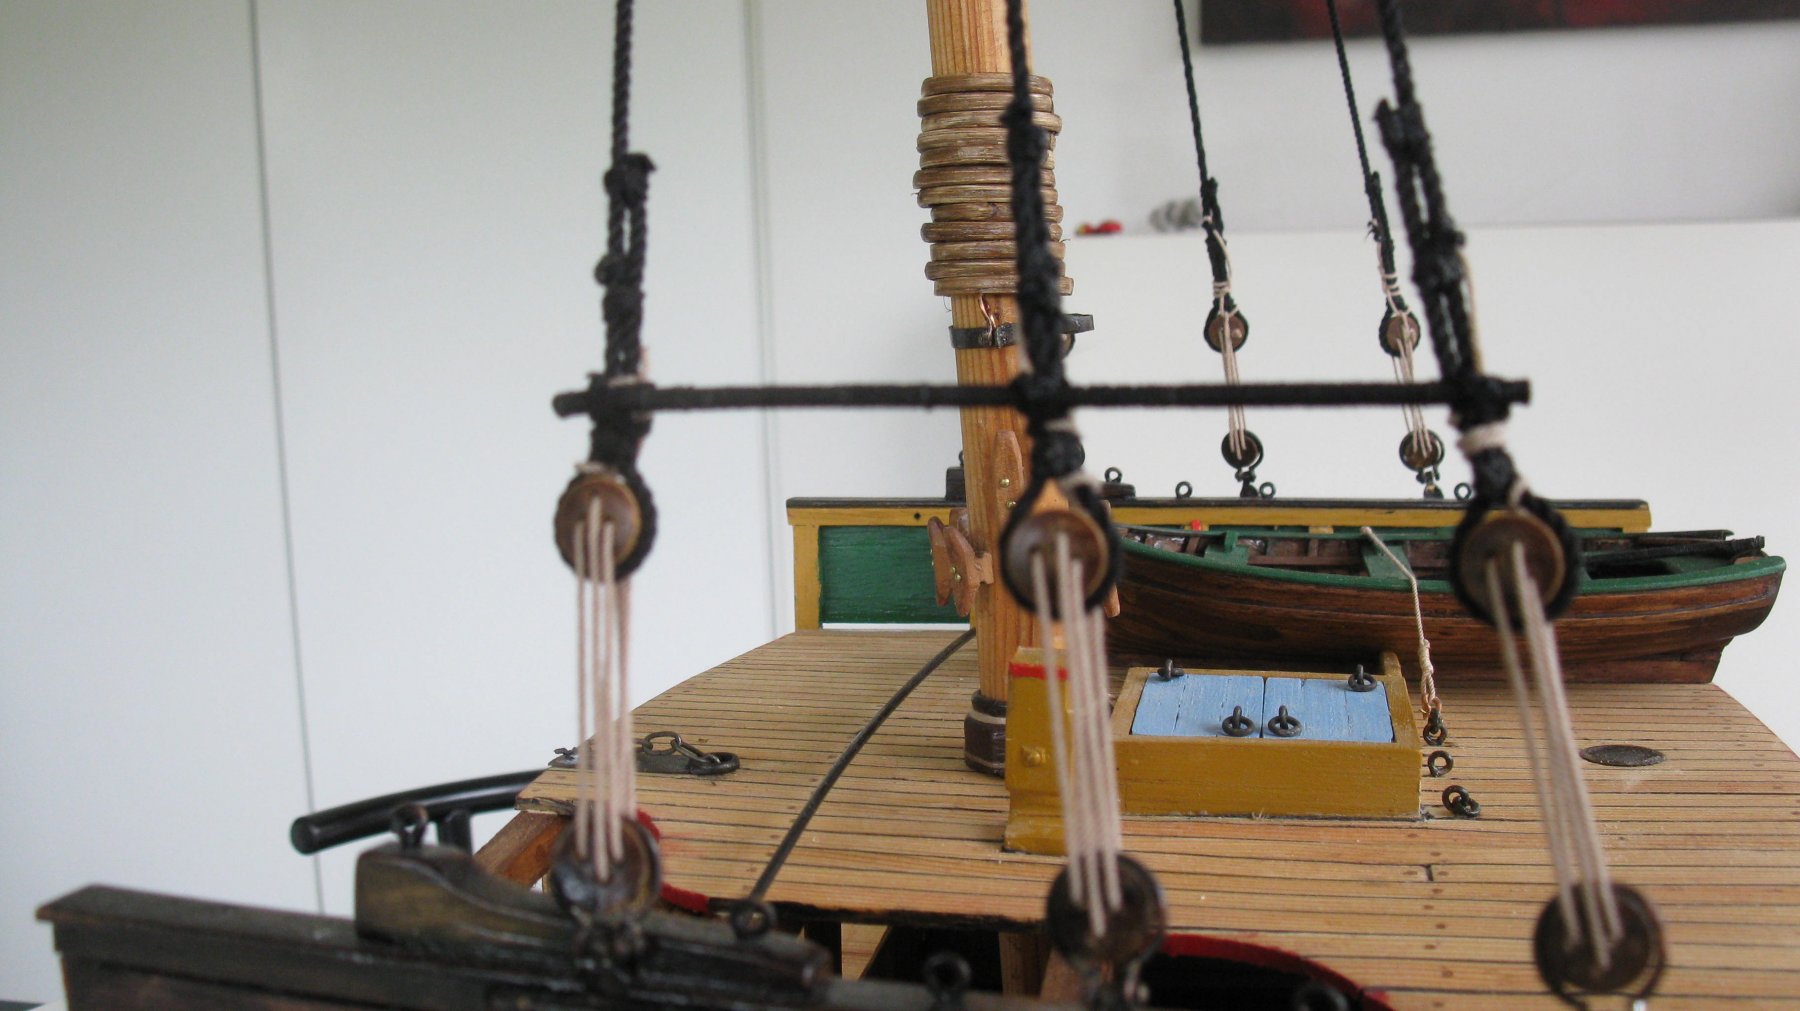
This week I continued with the shrouds.
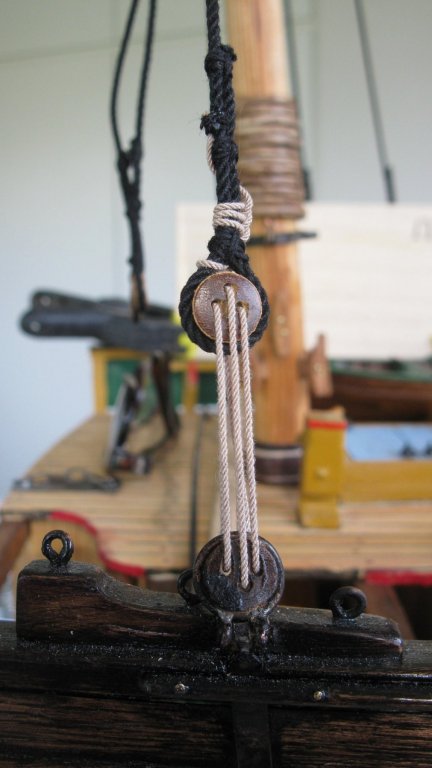
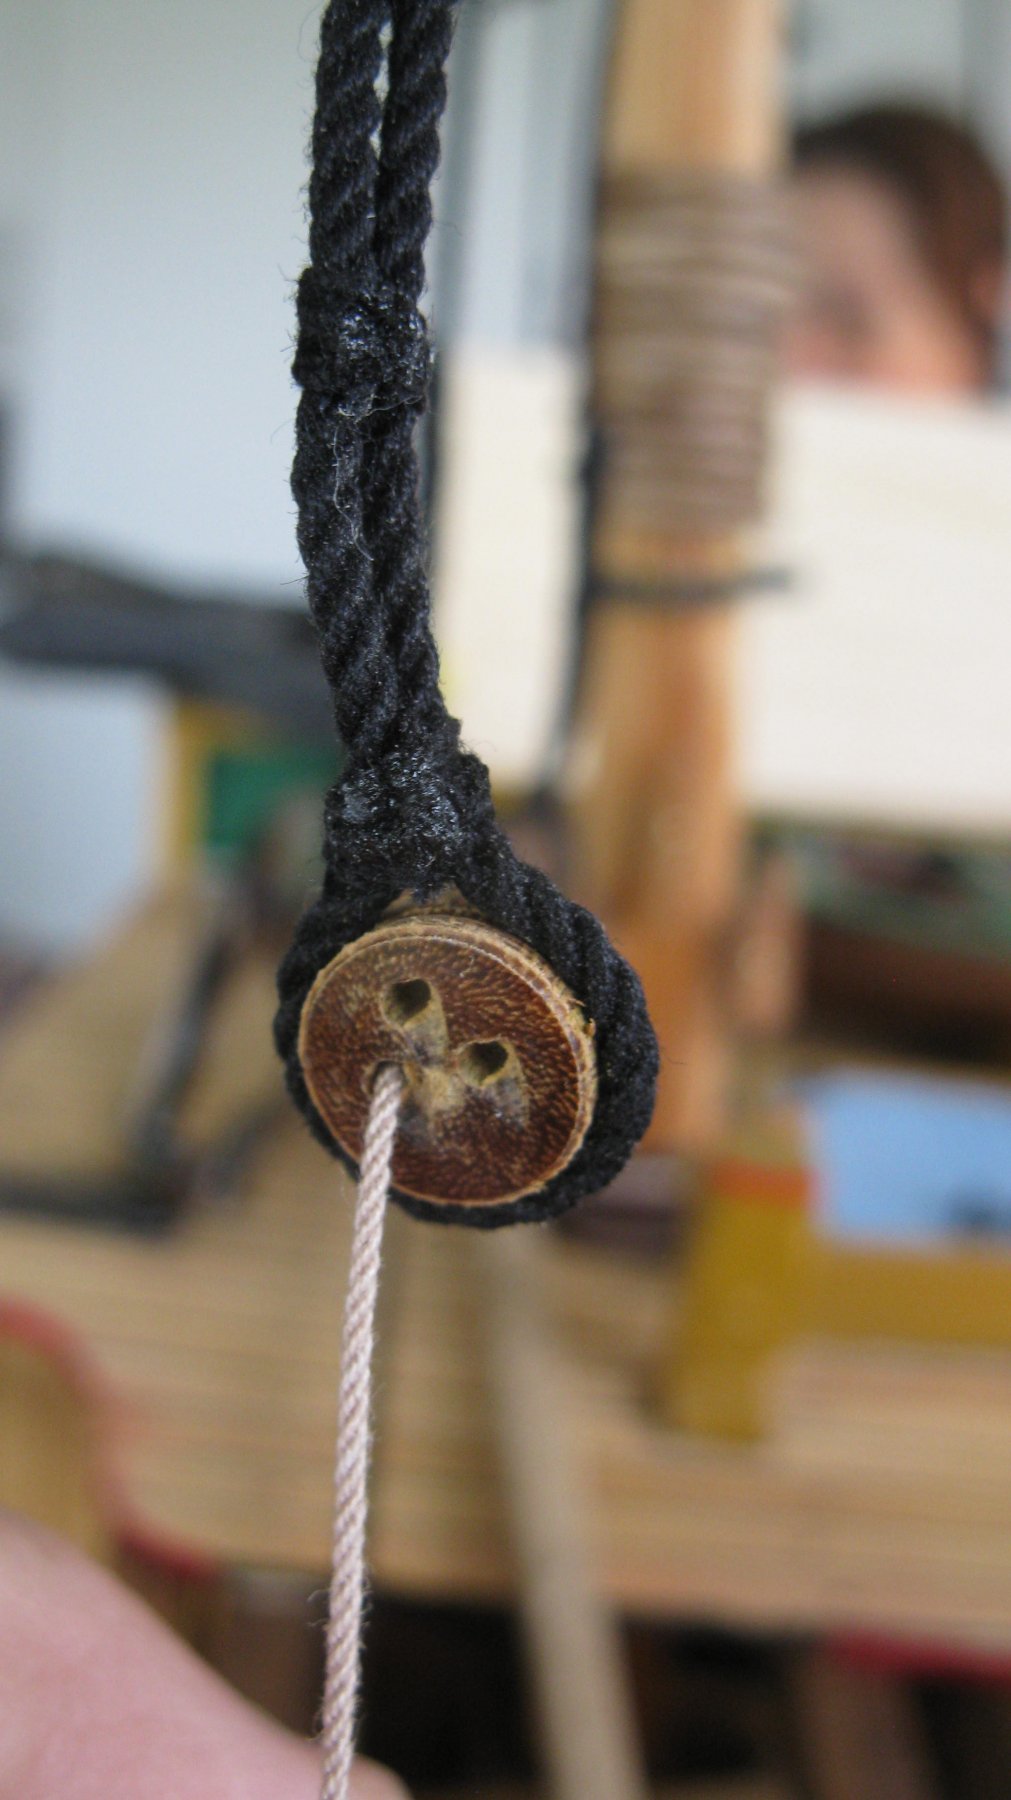
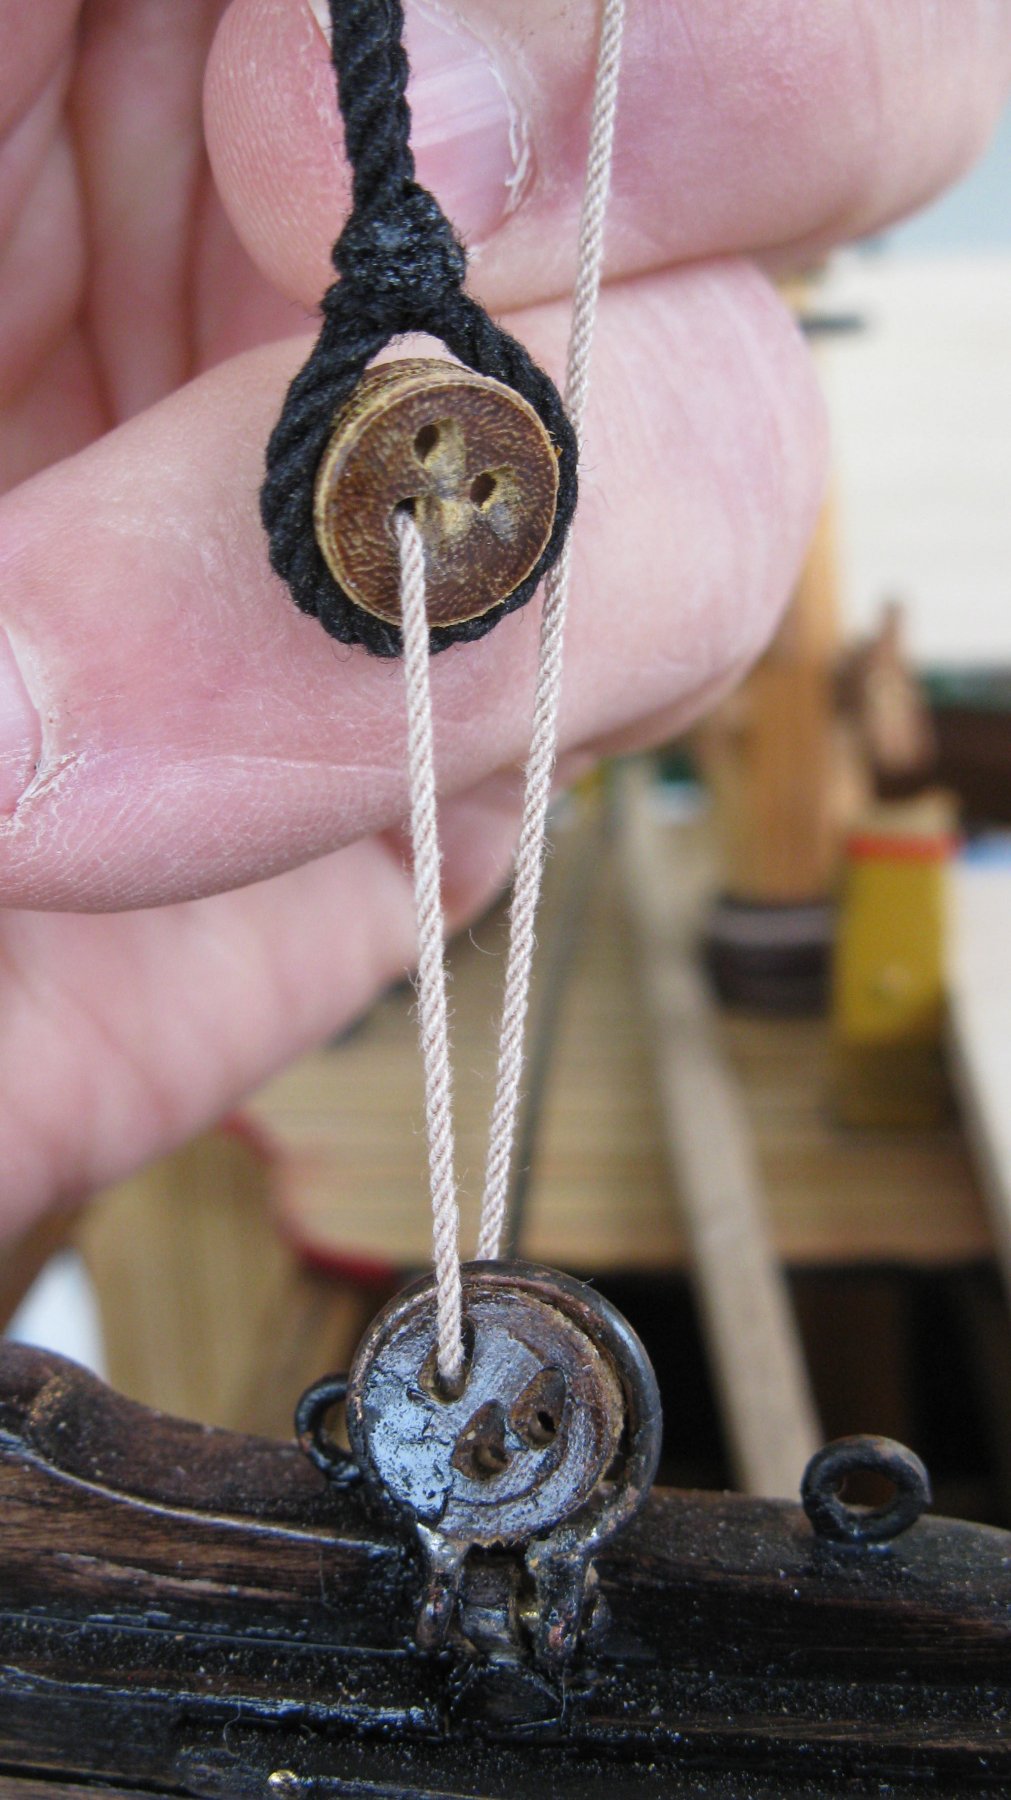
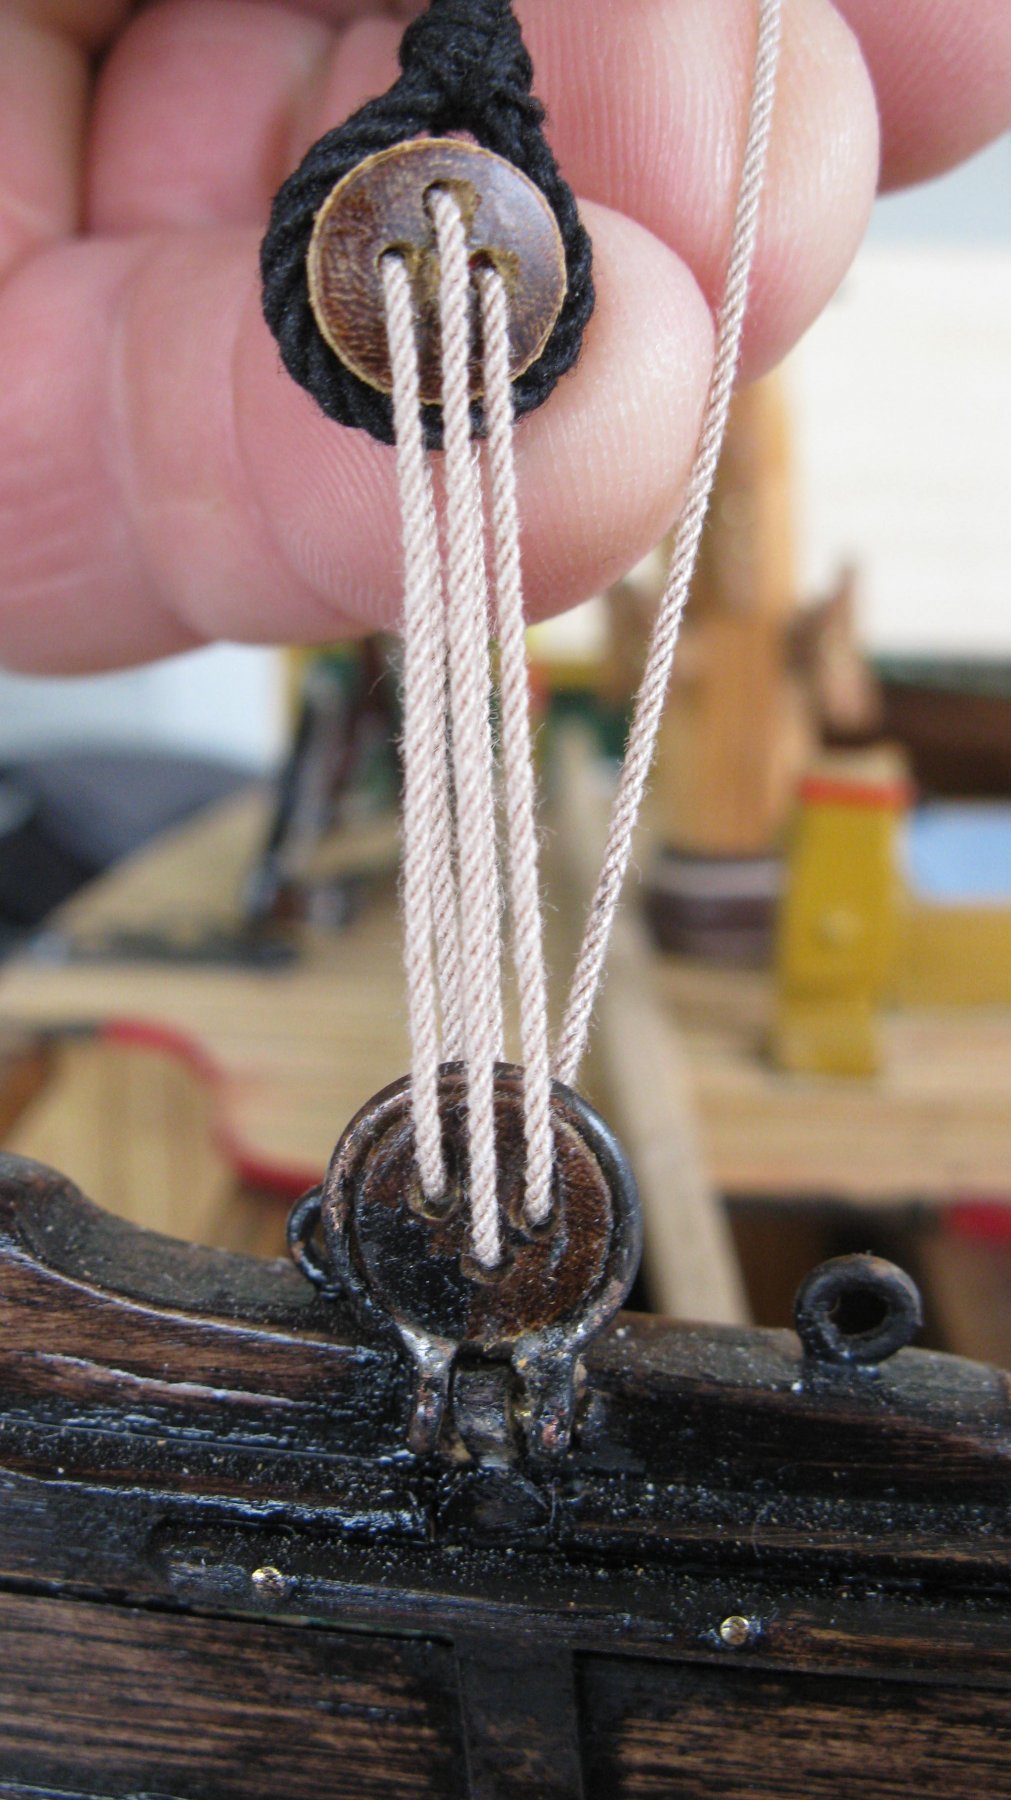
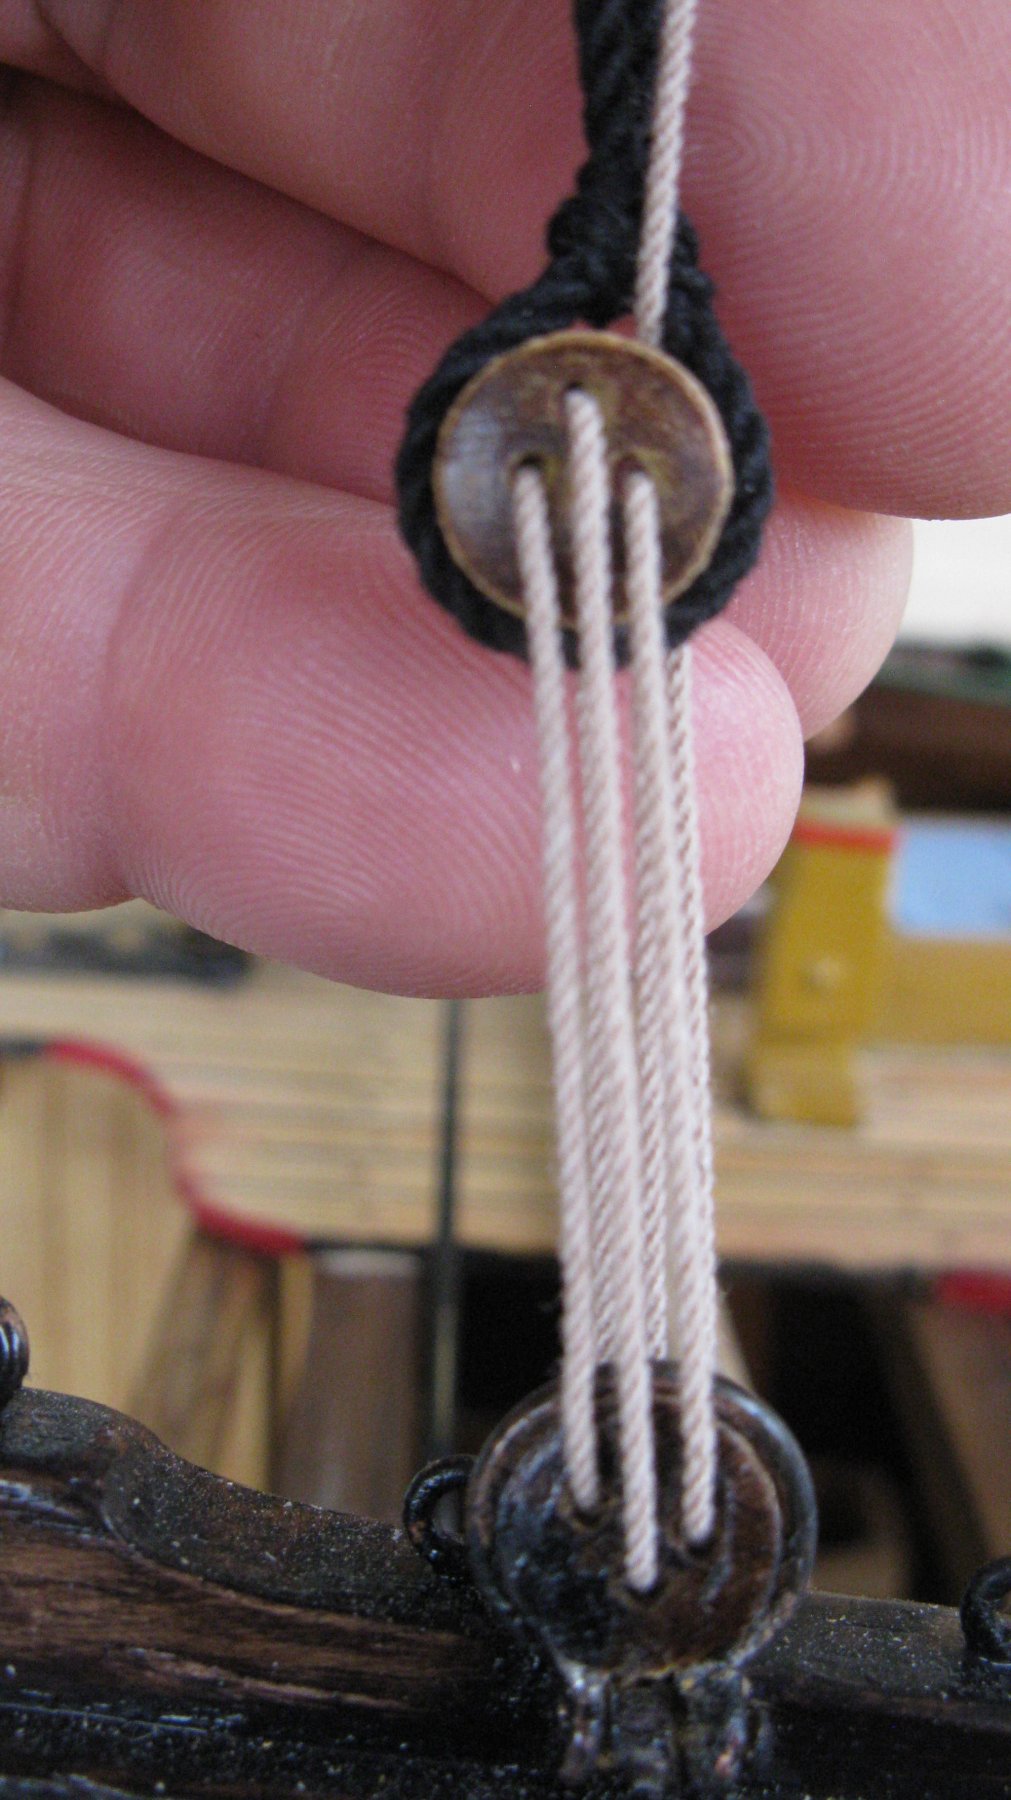
Now I can connect the lower dead eyes with the upper ones with the lanyards.
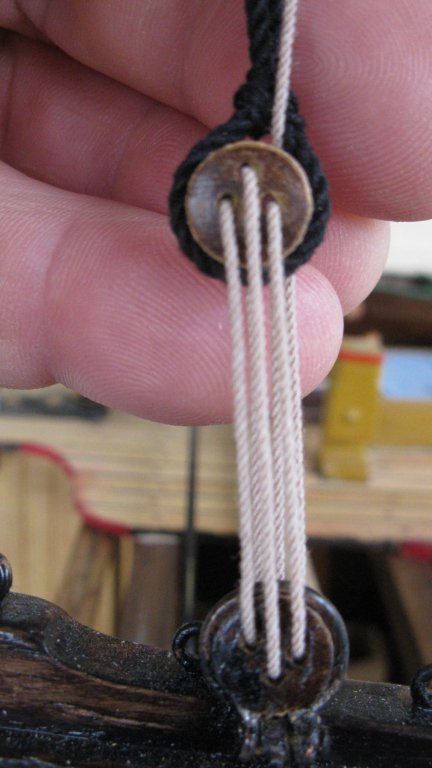
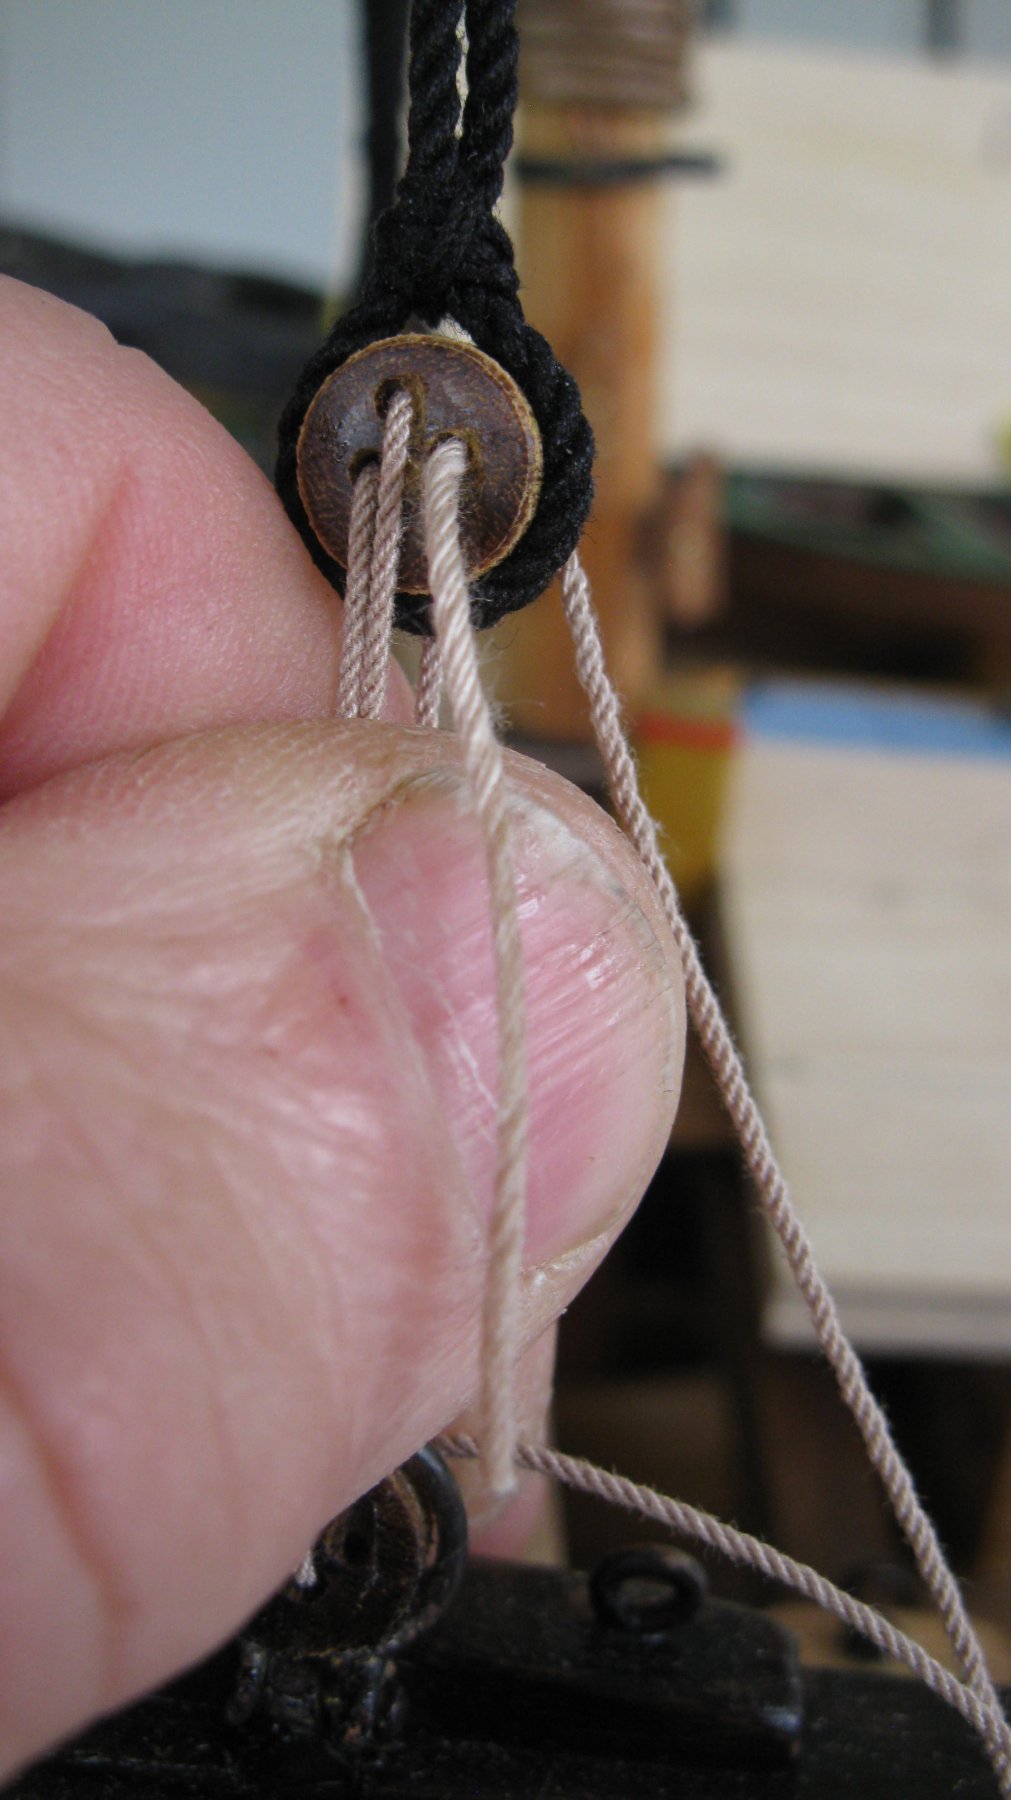
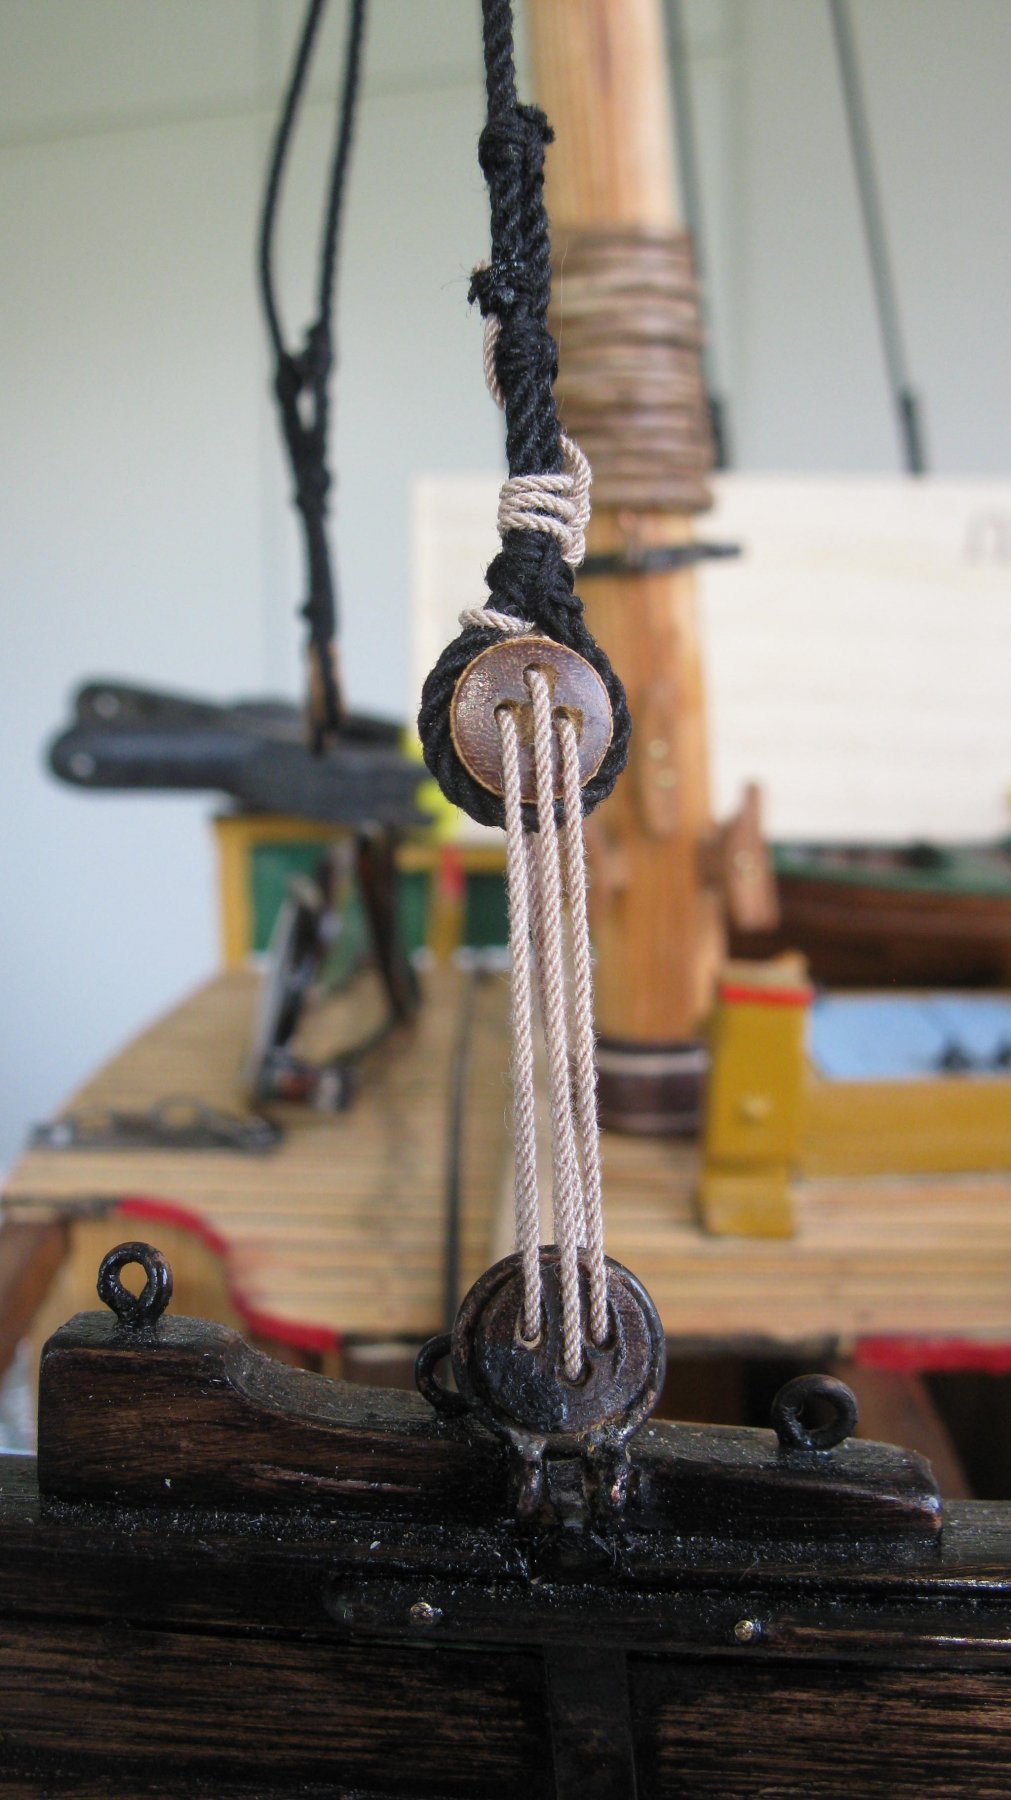
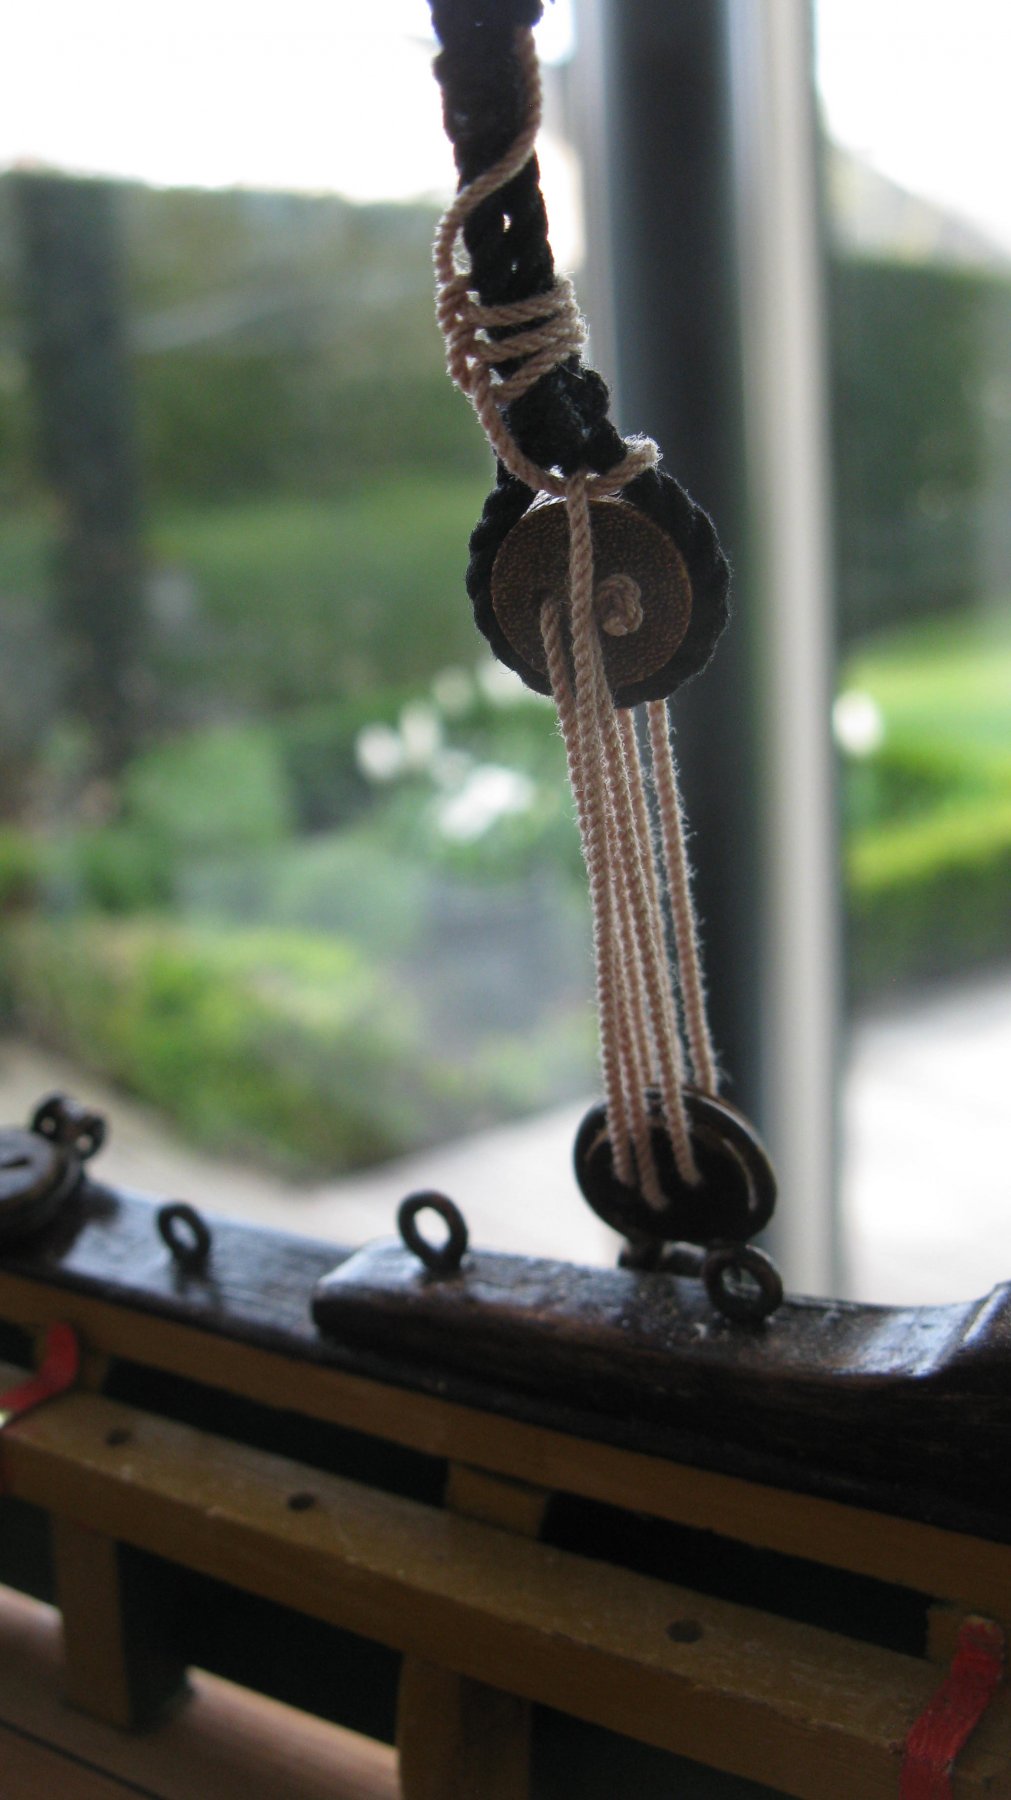
A knot at the end of the lanyard at the backside of the first hole in the upper dead eye prevents it from slipping out of the dead eye. The lanyard is going down and up through the deadeyes like shown on the pictures.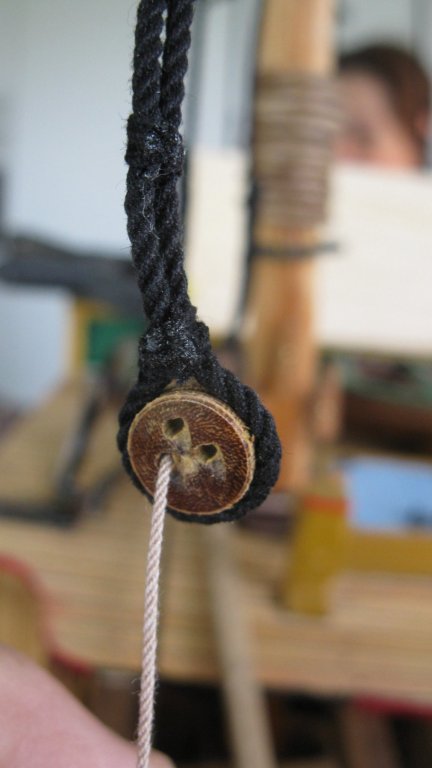
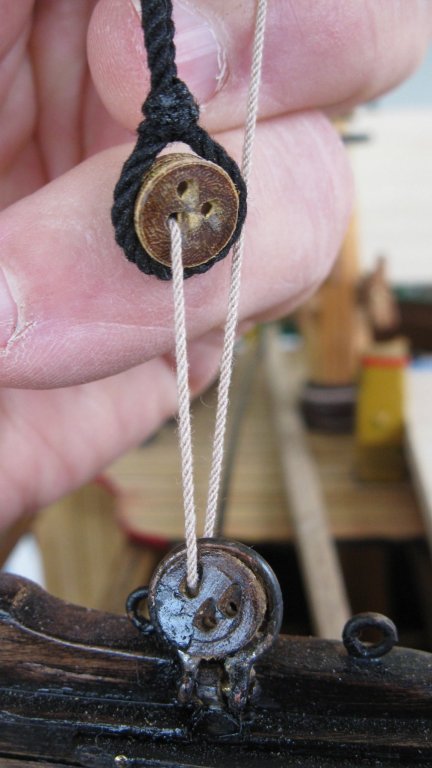
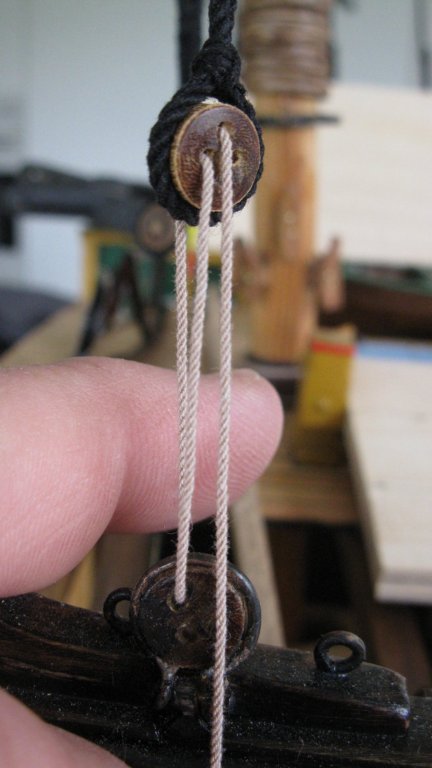
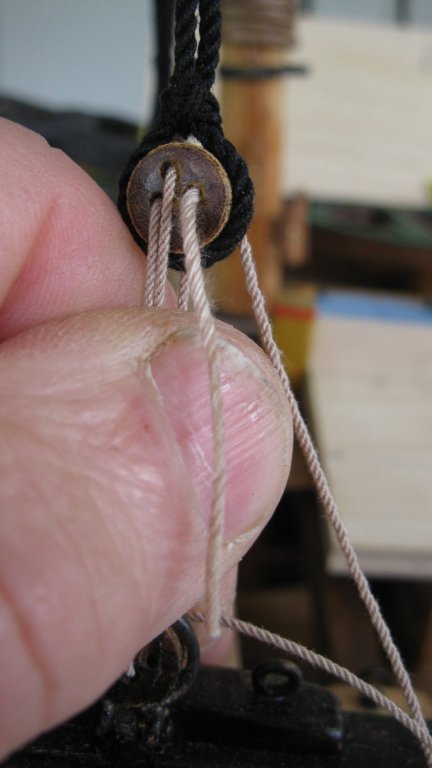

The end of the lanyard is tied up like described by zu Mondfeld in his book 'Historic ship models'

The following order of rigging the dead eyes is first the starboard forward shroud, followed by the port forward shroud.

Then the starboard middle shroud.
The port middle shroud.
Then the starboard after shroud
And finally the port after shroud.
- michael mott, Baker, Moab and 9 others
-
12
-
She is really a beauty, Mark.
- Mark Pearse, mtaylor and Keith Black
-
3
-
Outstanding work, Vaddock.
I am learning with every of your posts.
- mtaylor and FriedClams
-
2
-
Thank you, Mark.
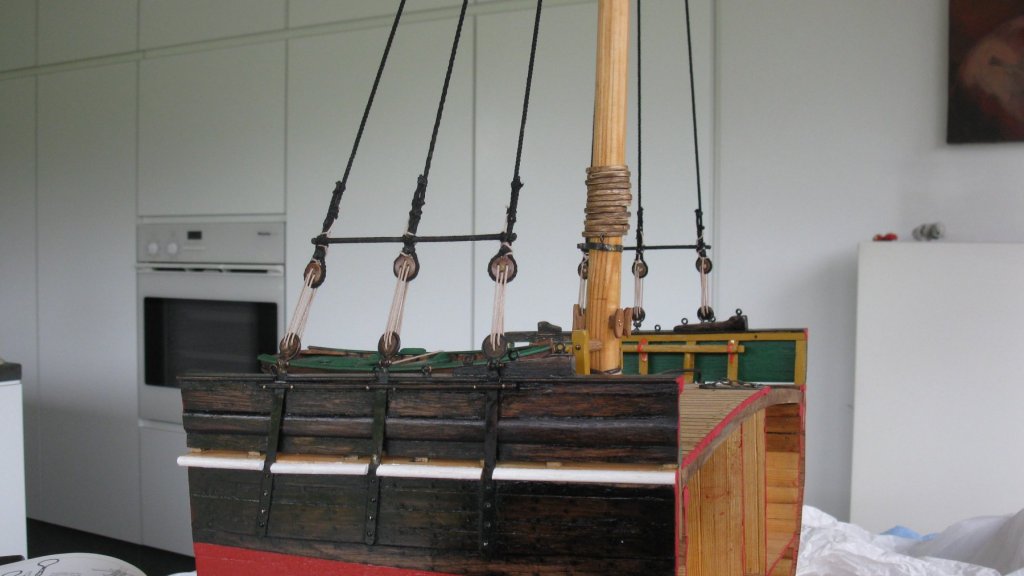
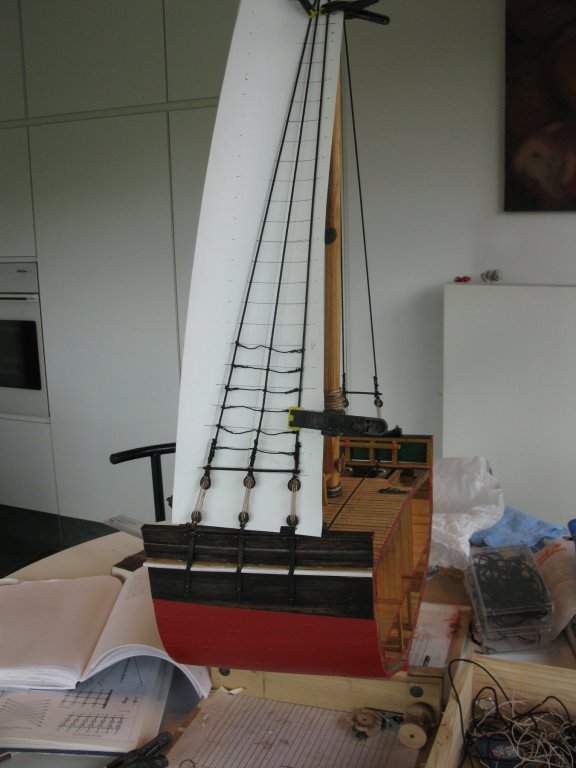
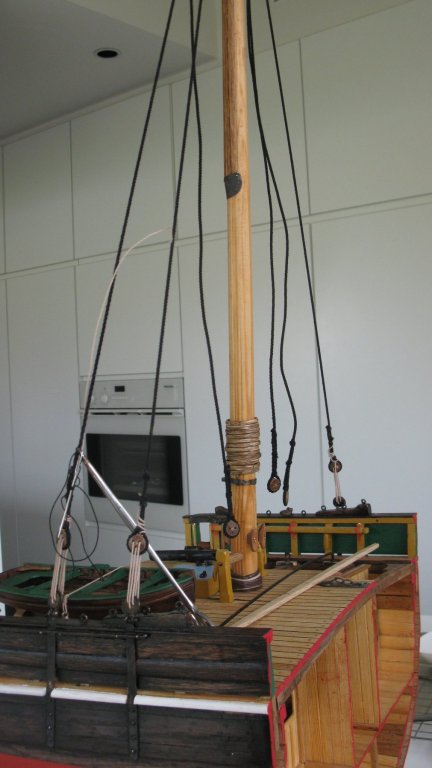
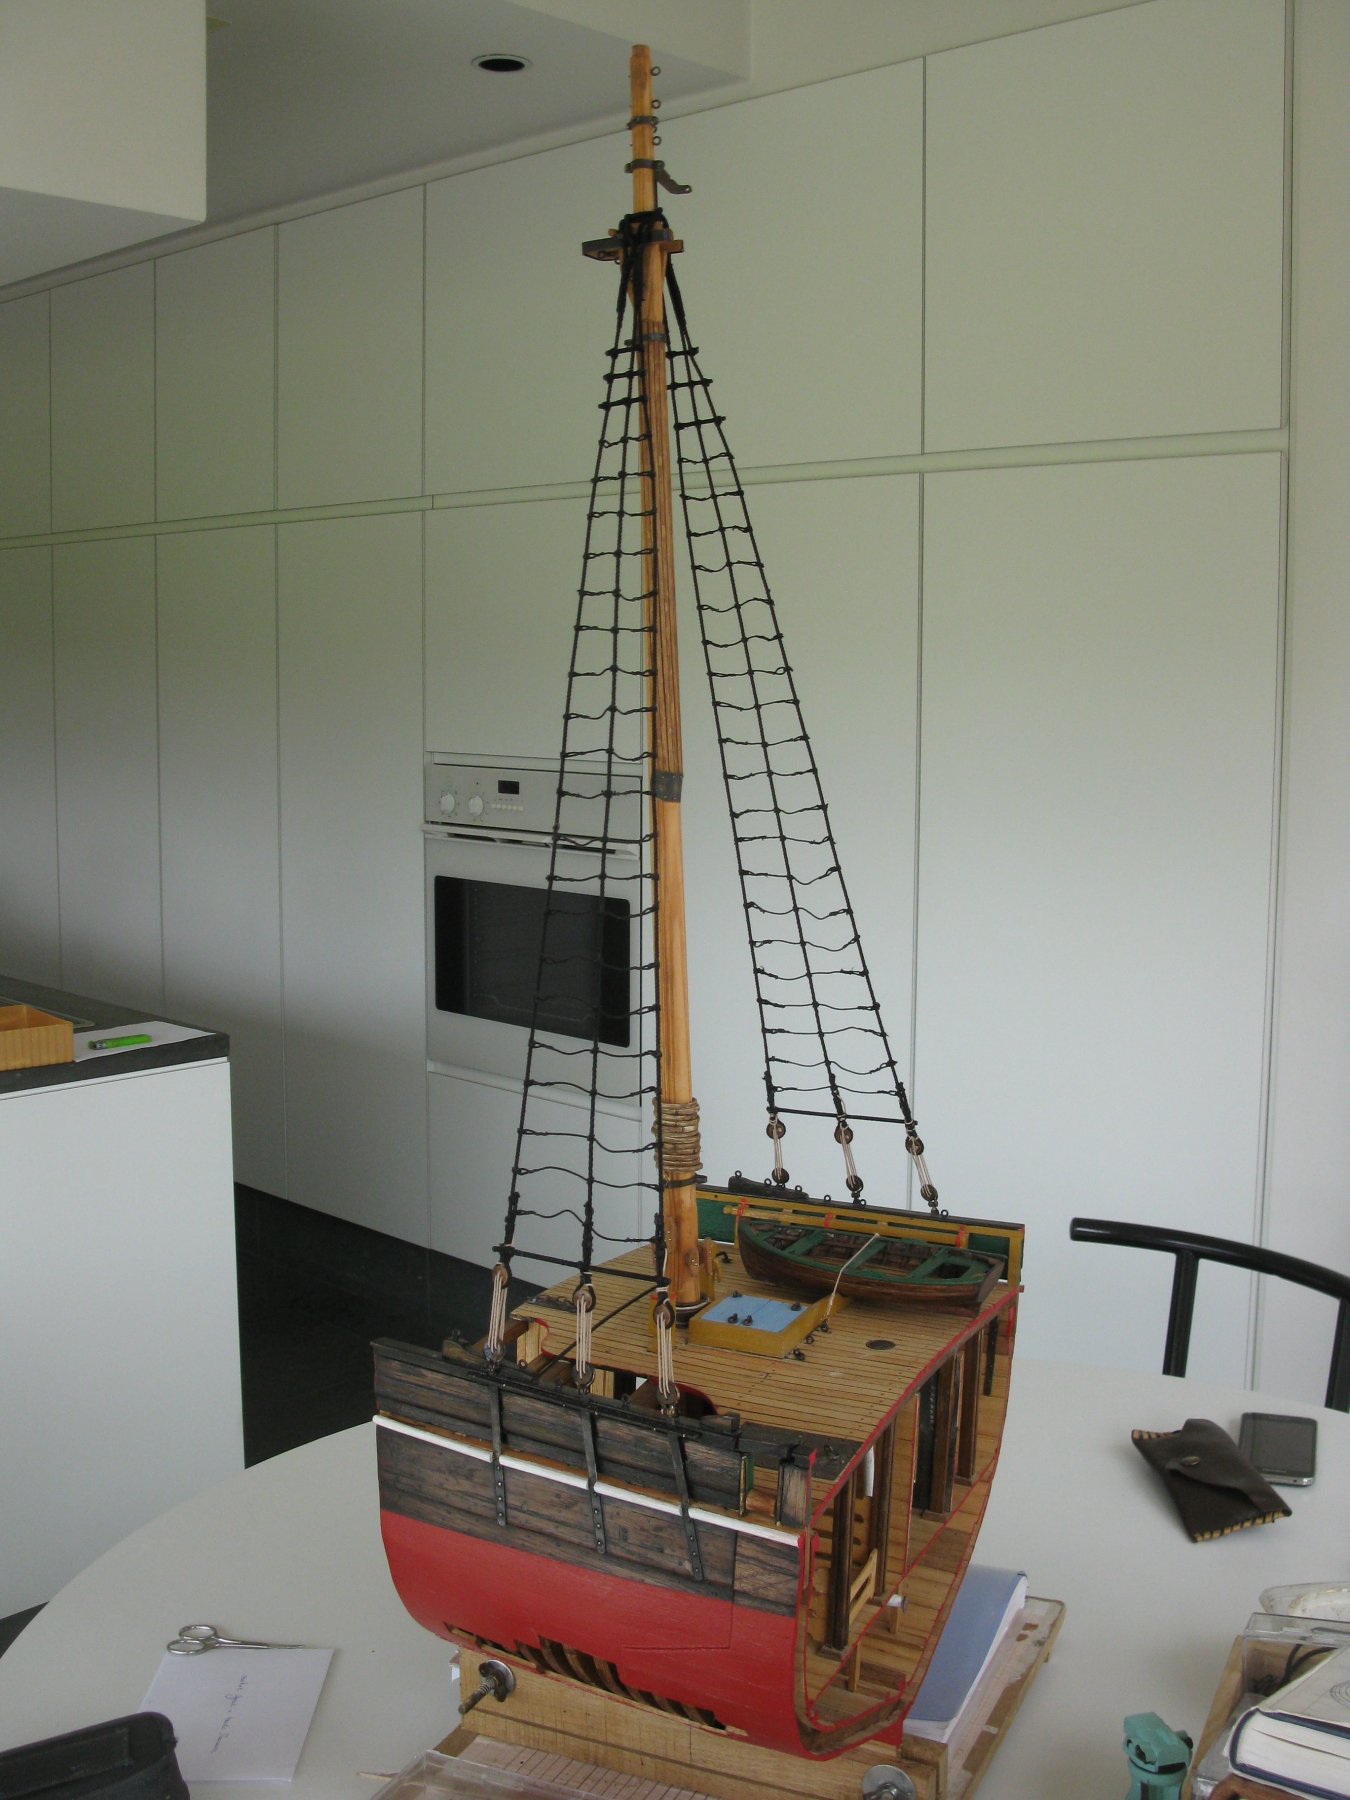
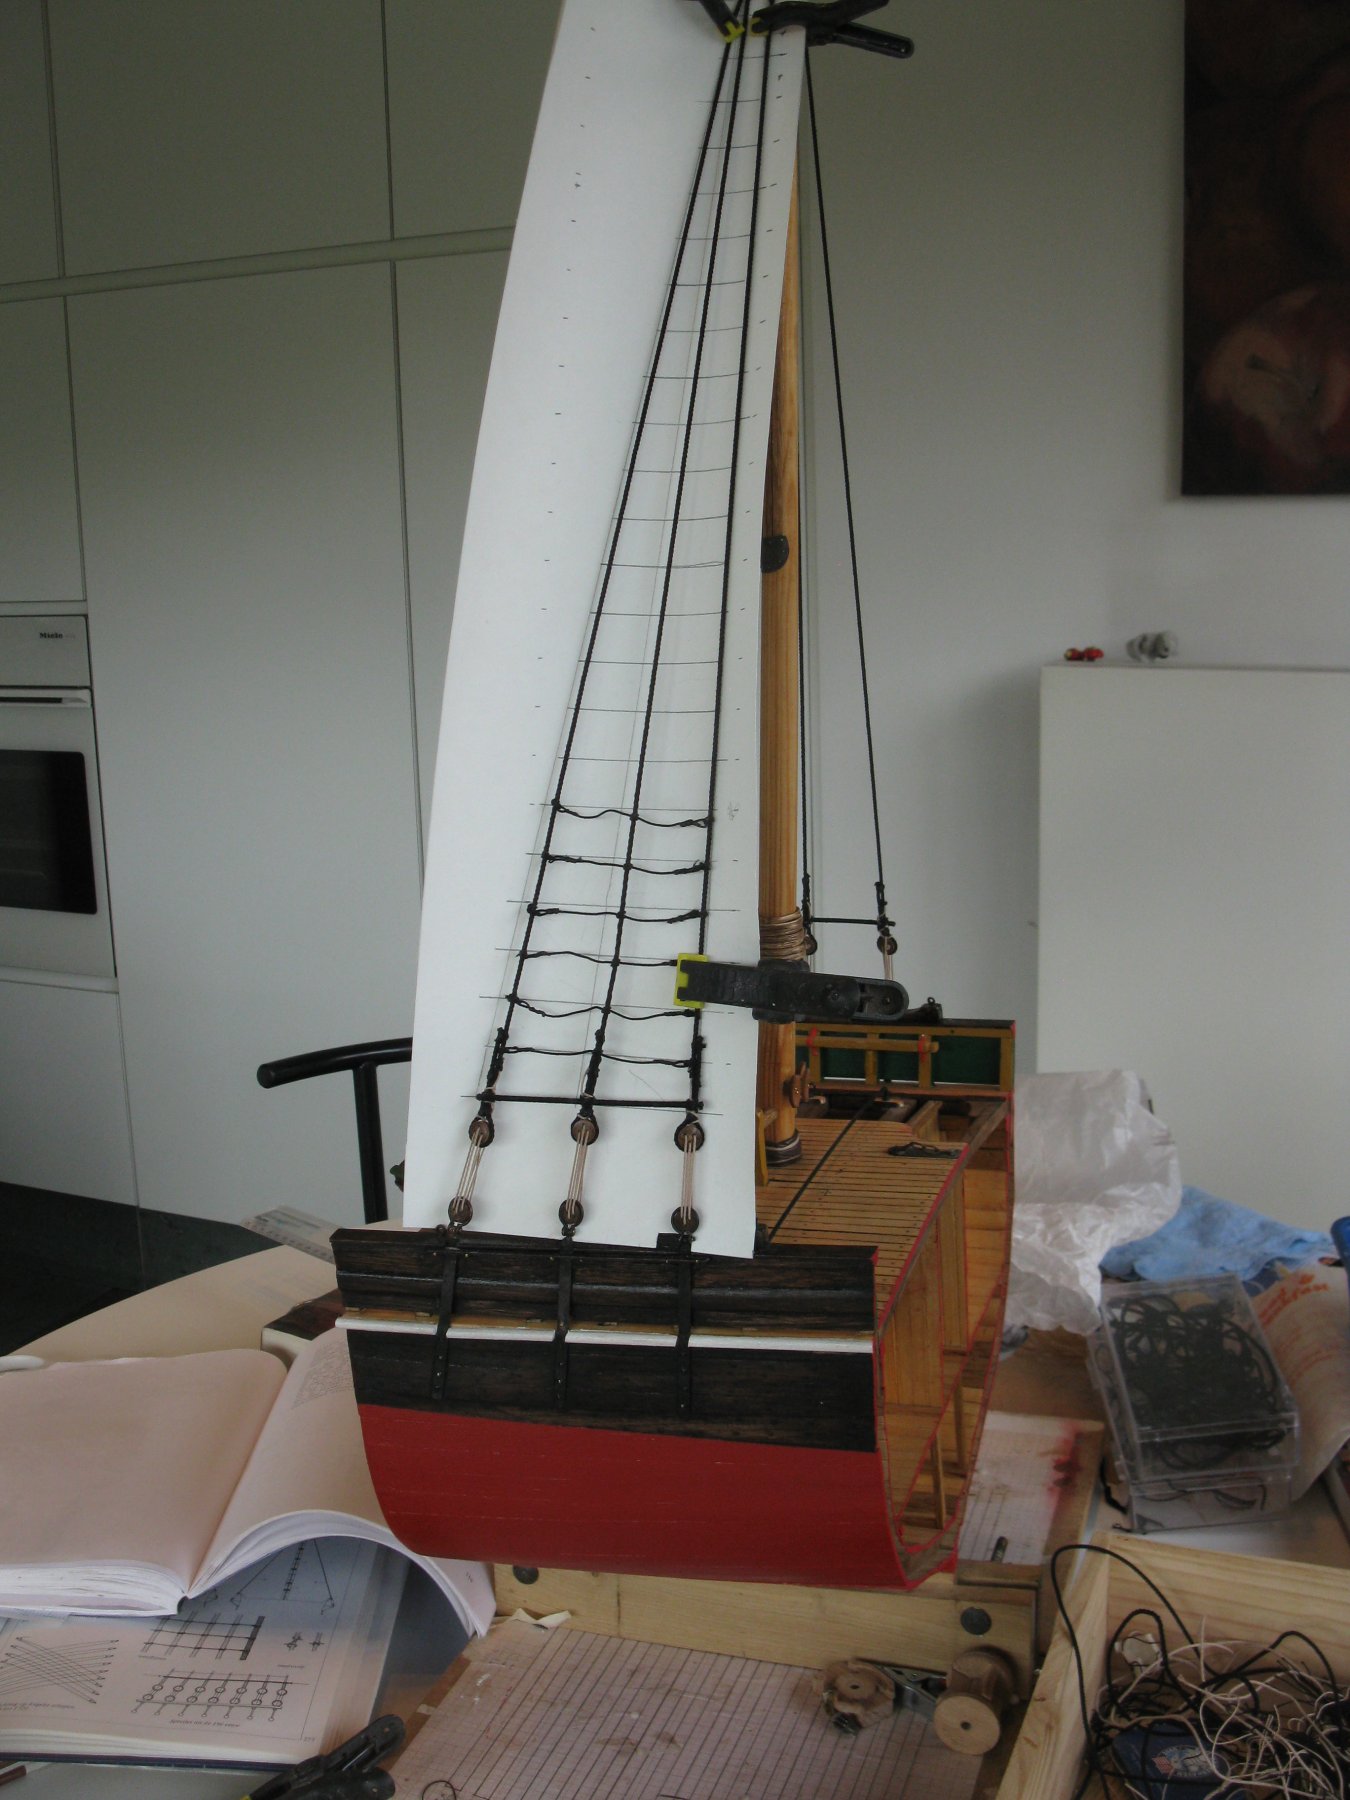
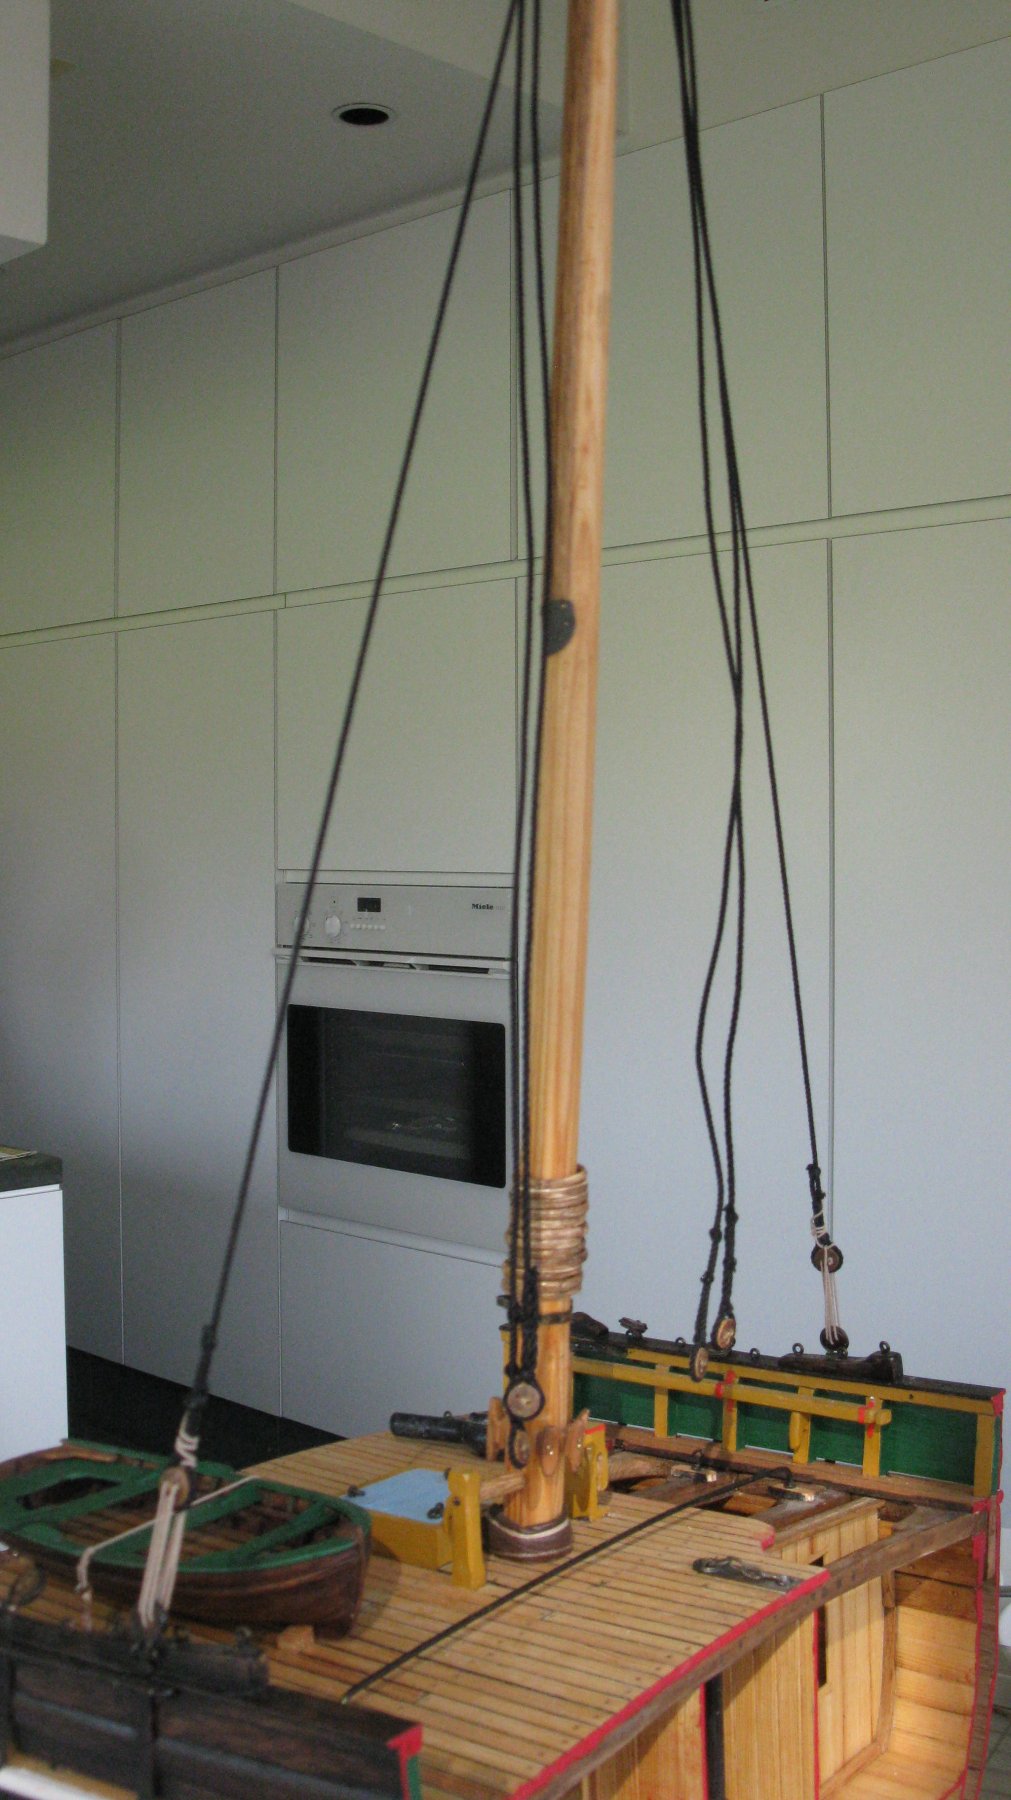
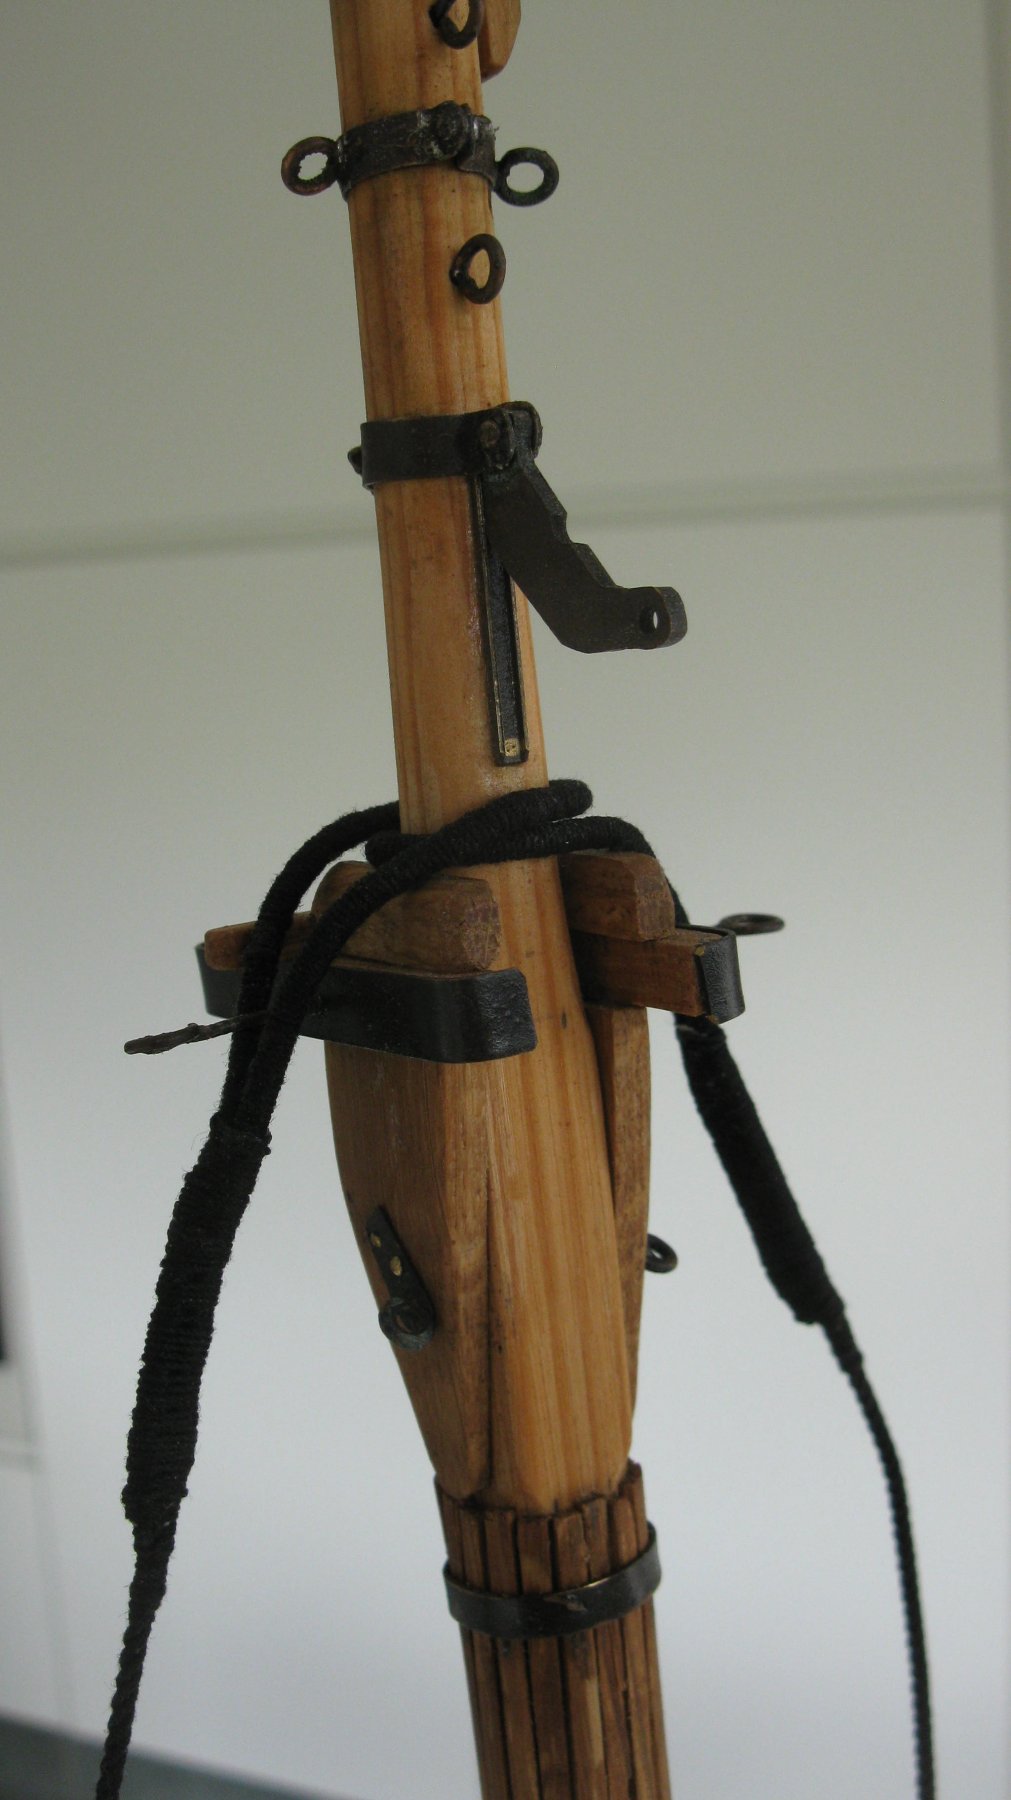
This week I went on with the mast.
19.3. The spars. Rigging the mast
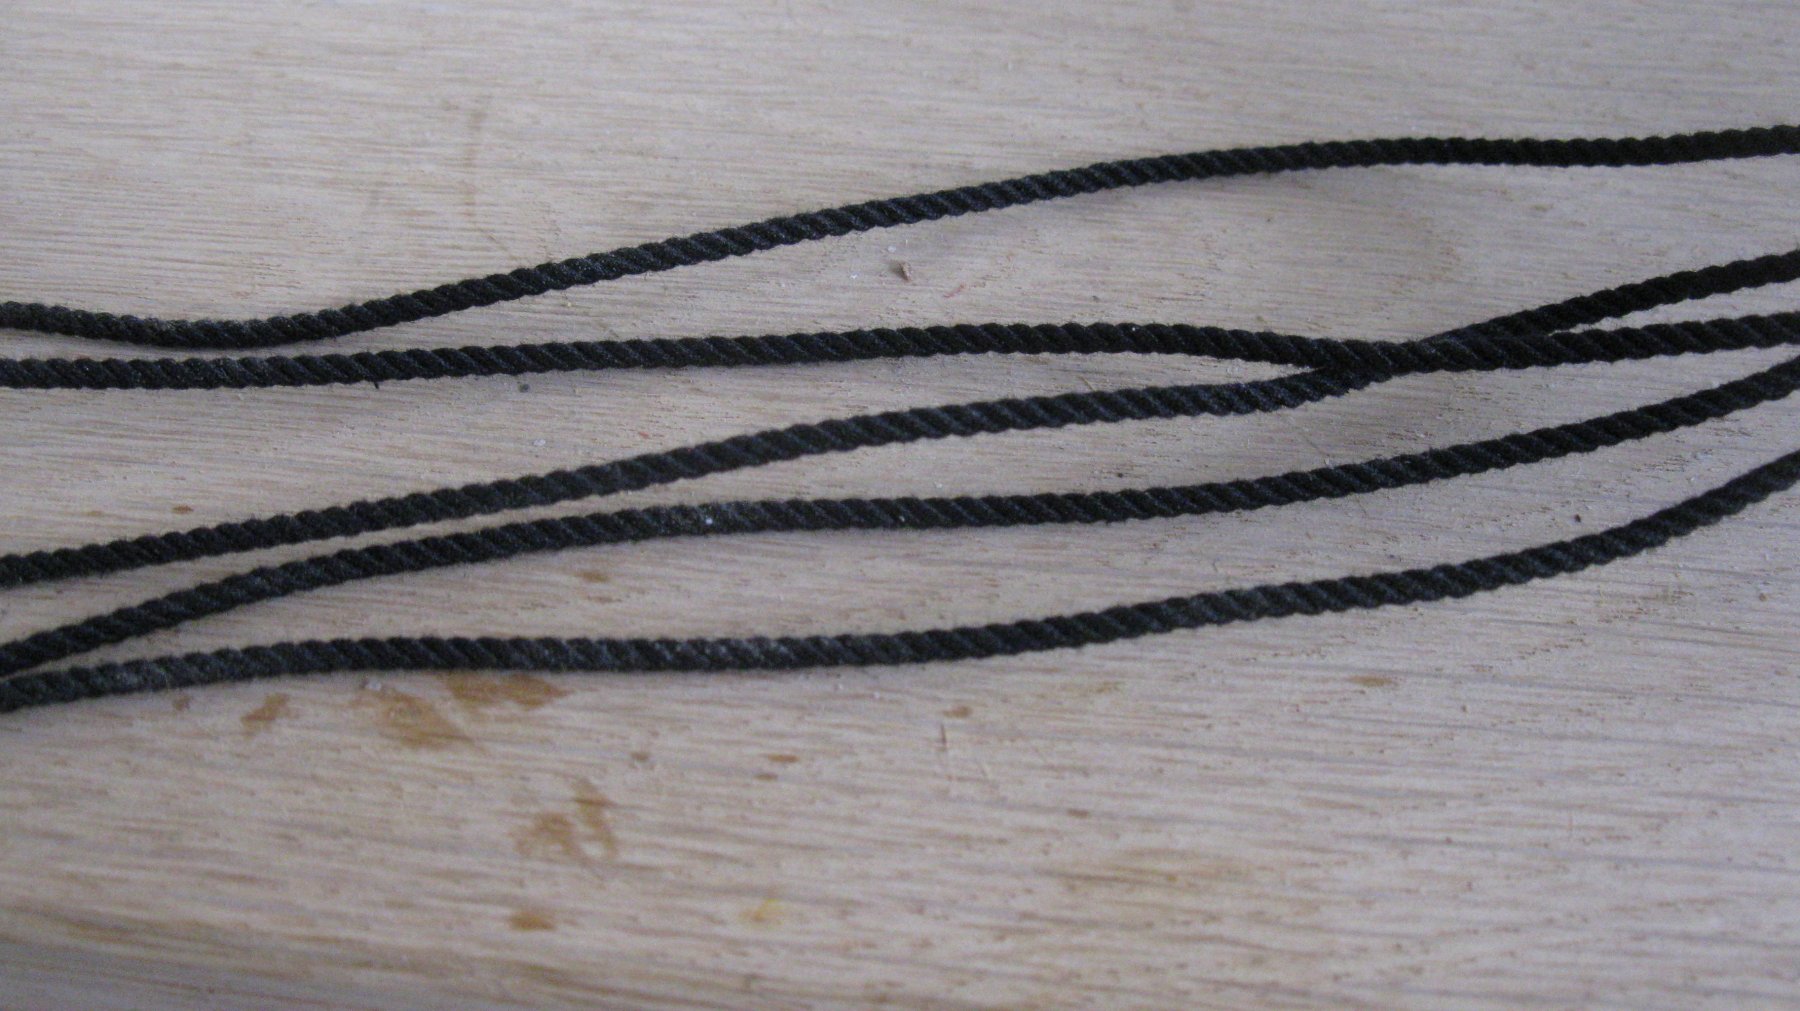
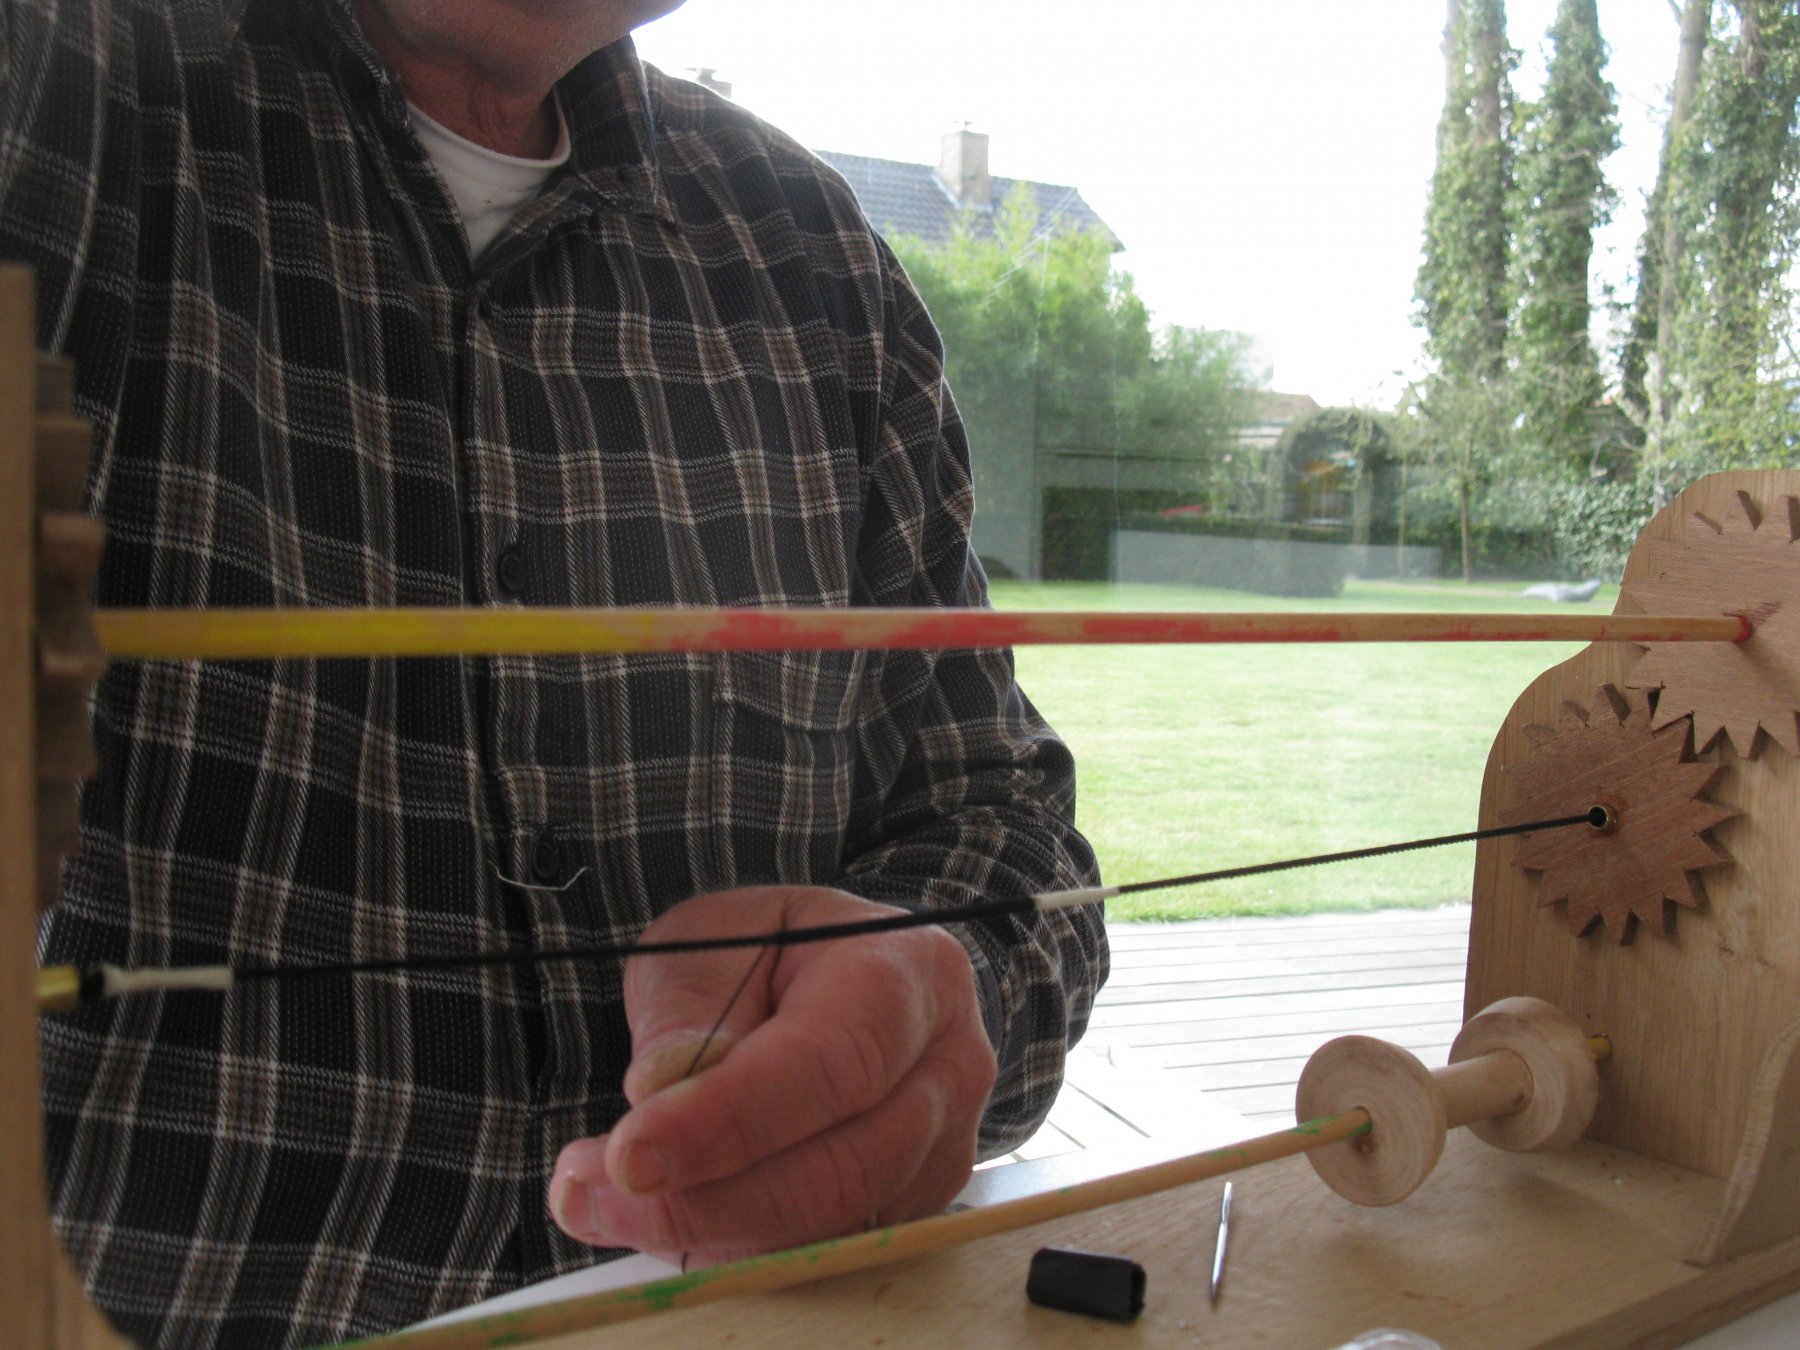
The rigging job starts with making rope for the shrouds. Three strings of four black yarn.

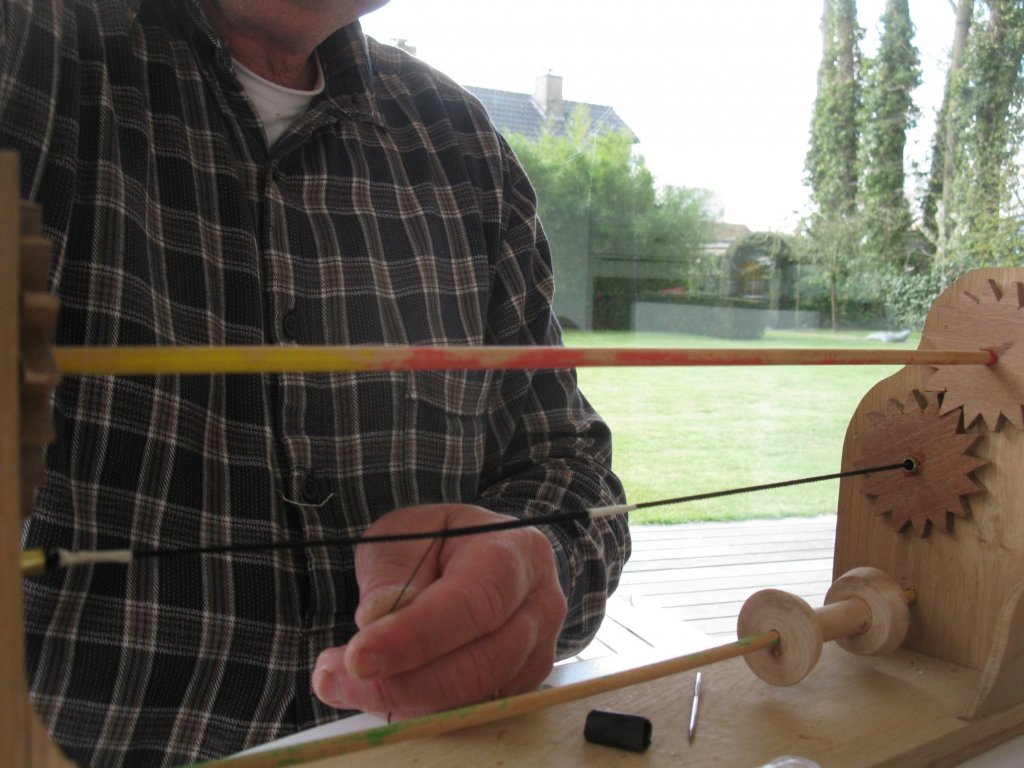
Serve the shrouds for the eye seizing with my self-made serving machine. It is inspired by the Syren serving machine, but surely not as good.
The first shroud is a single one for the starboard side.

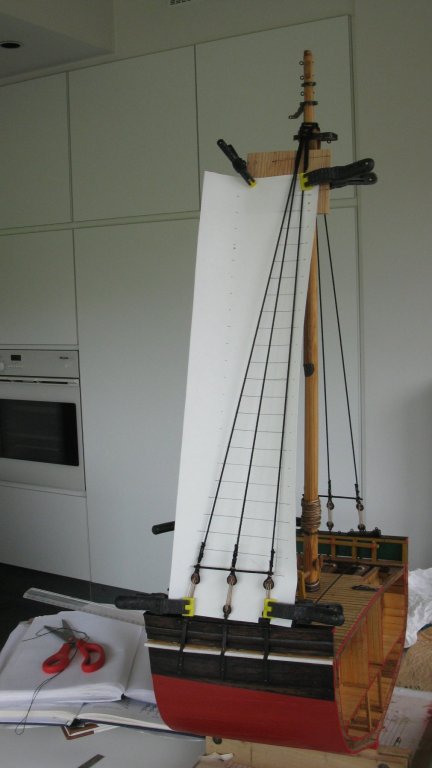
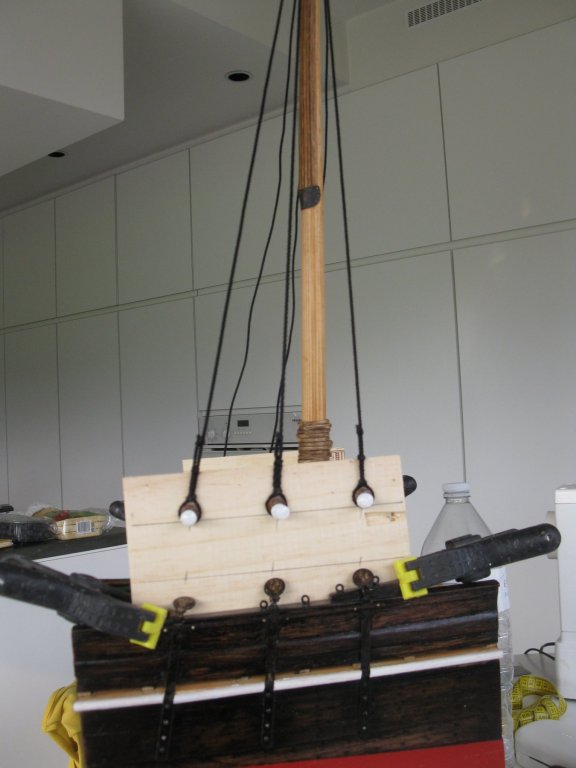
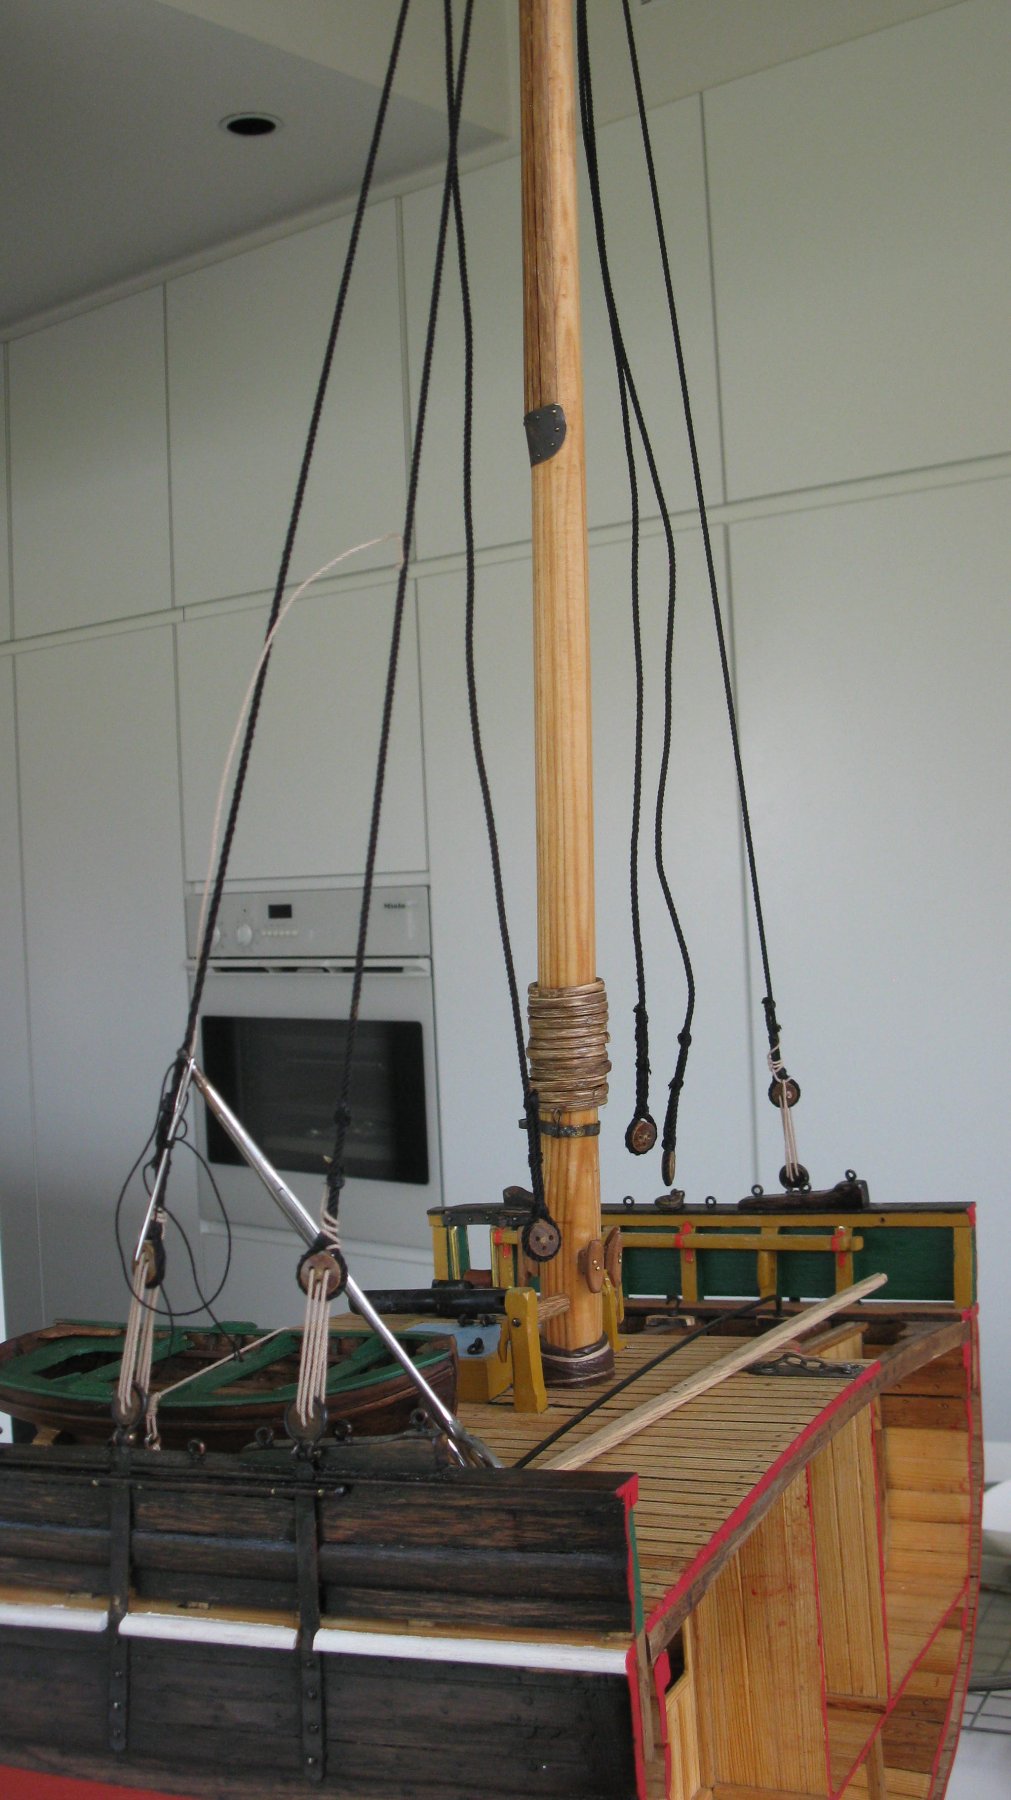
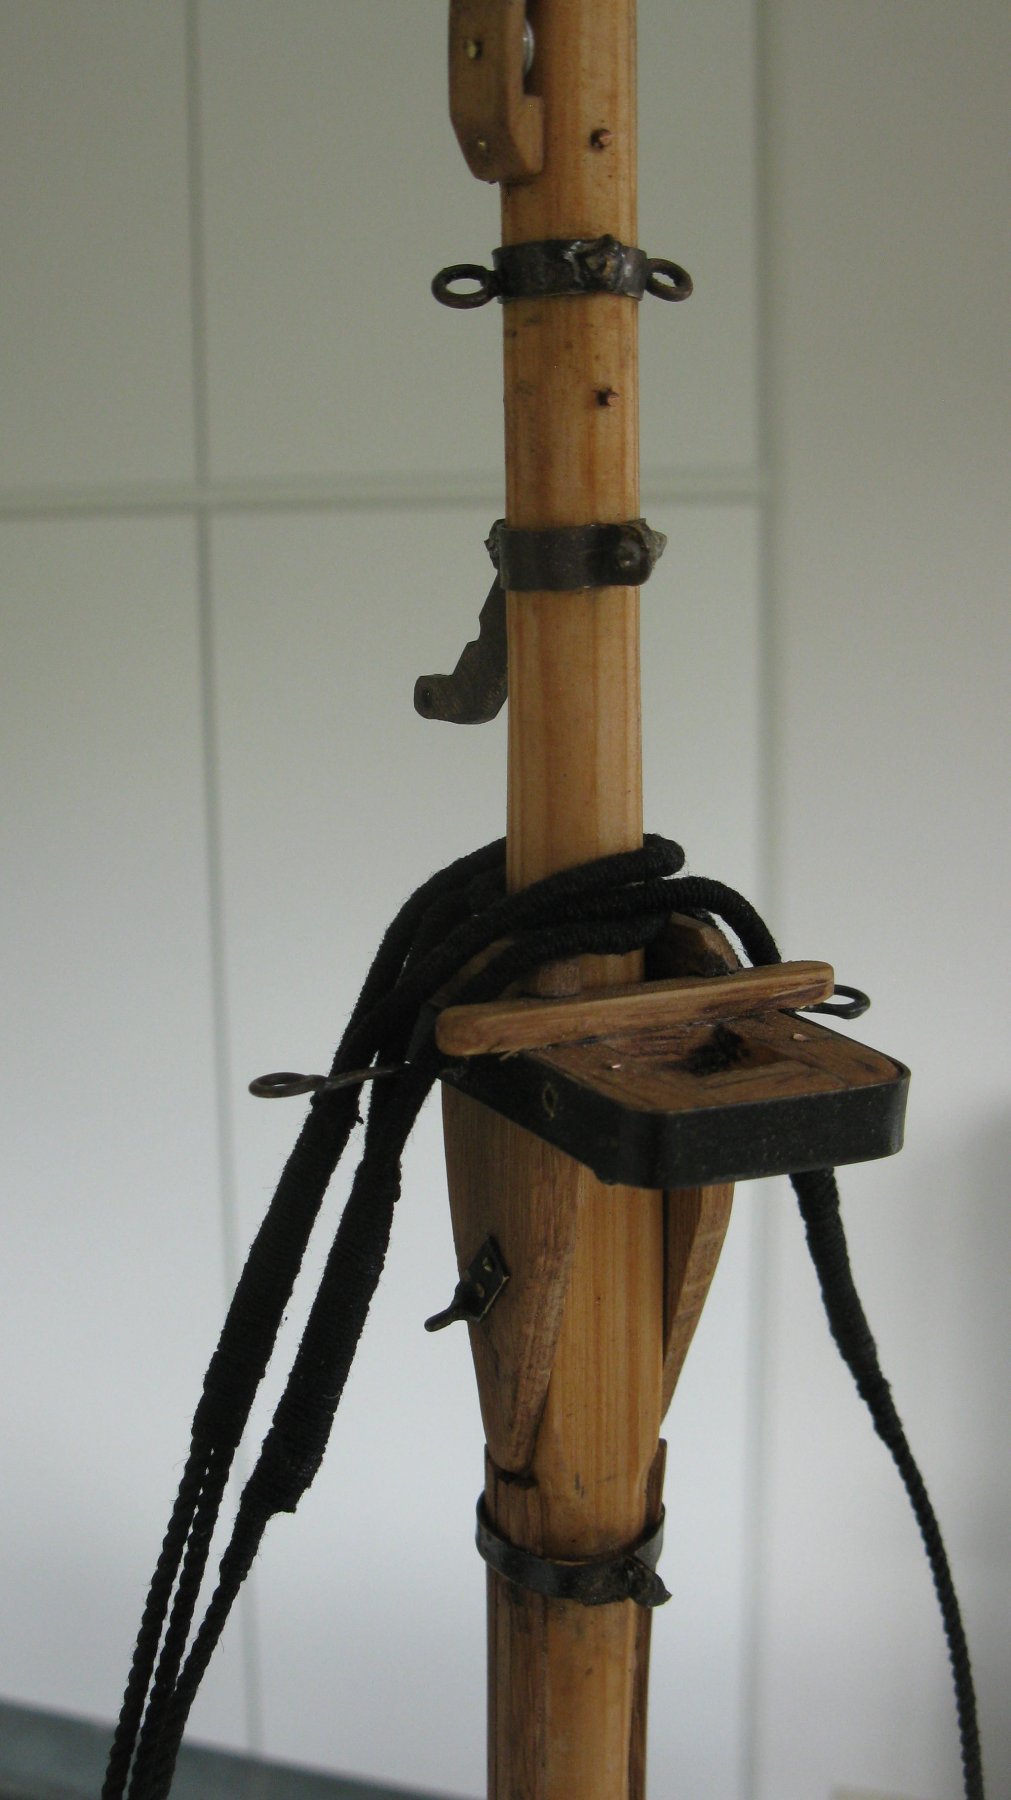
With the shrouds placed, the mast will be finally into position, so I may not forget to place the roll of the jib boom roller.

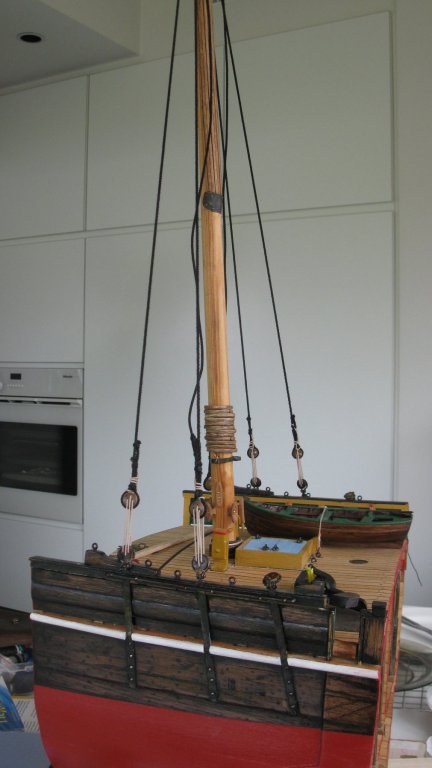
The forward starboard shroud laid around the mast.
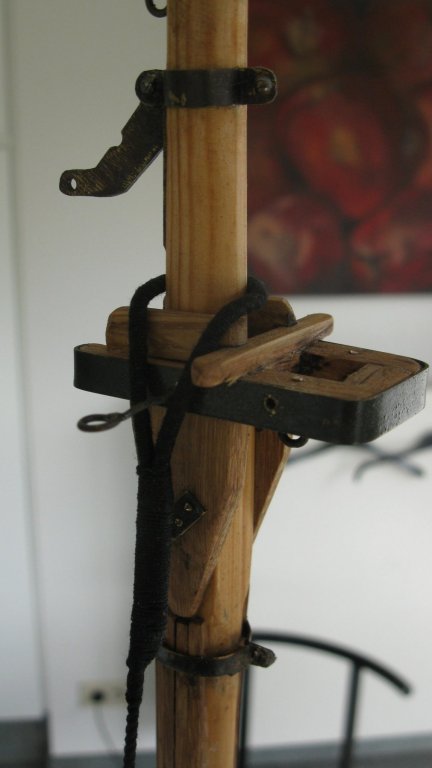
On top of it comes the forward port shroud.
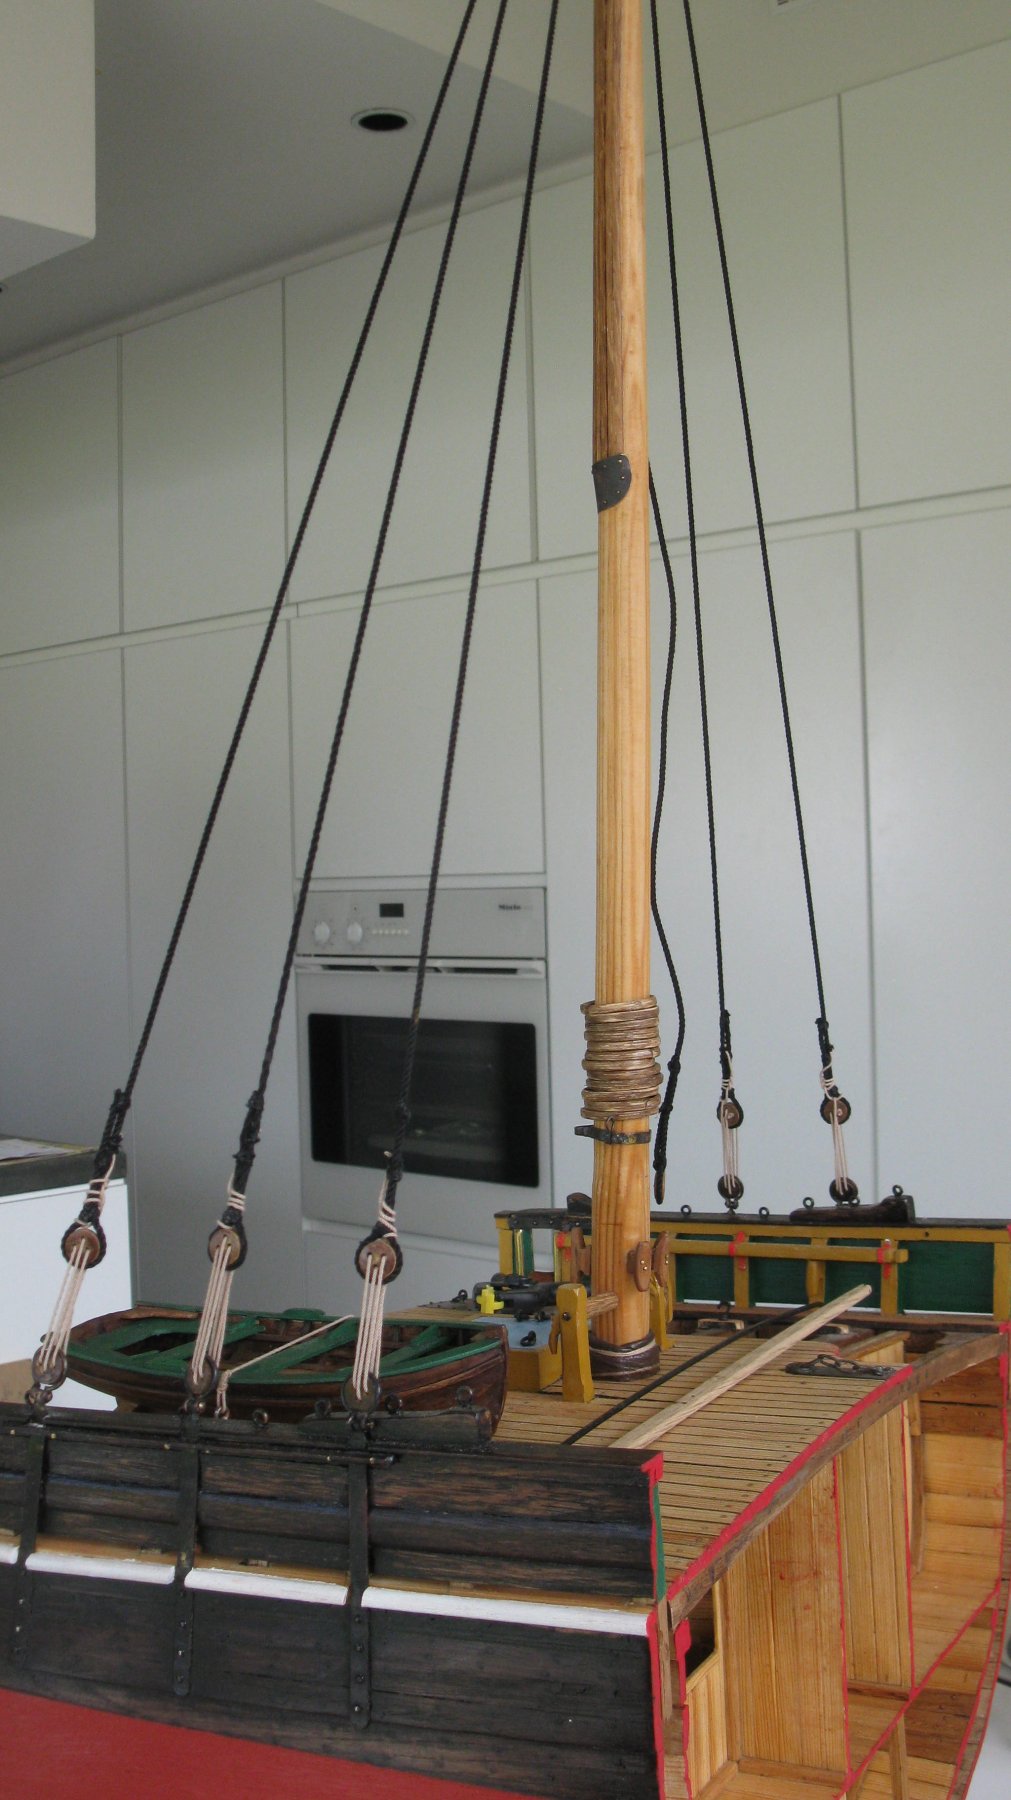
Then it is the turn of the next starboard shroud which is a twin shroud.

The very last one is the twin port shroud.
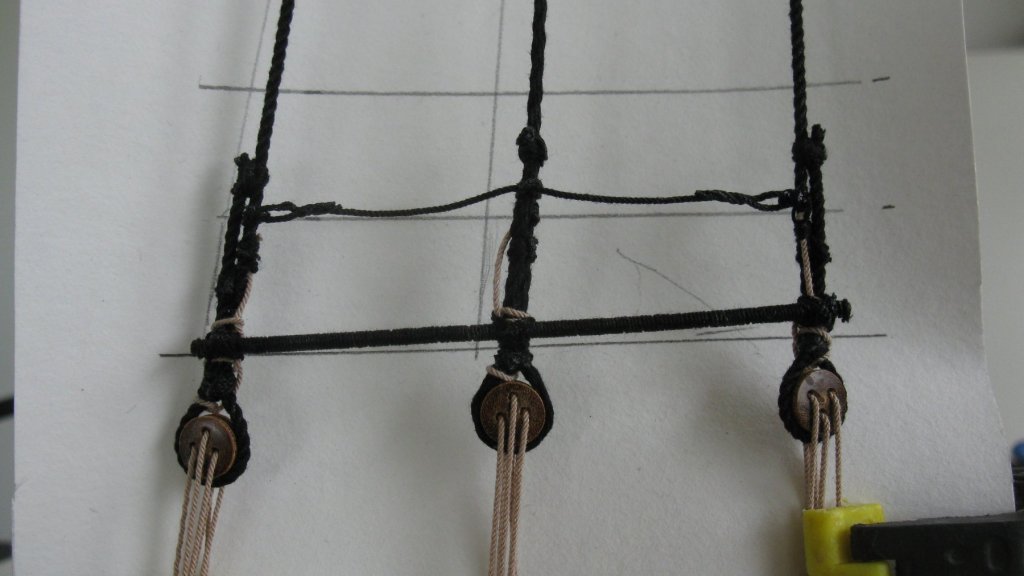
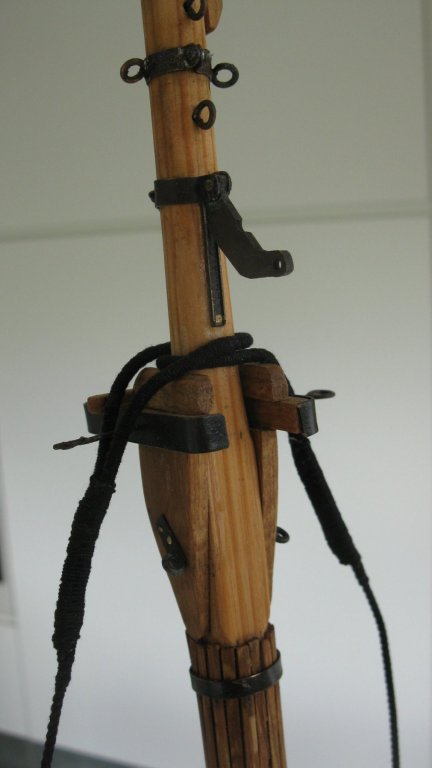
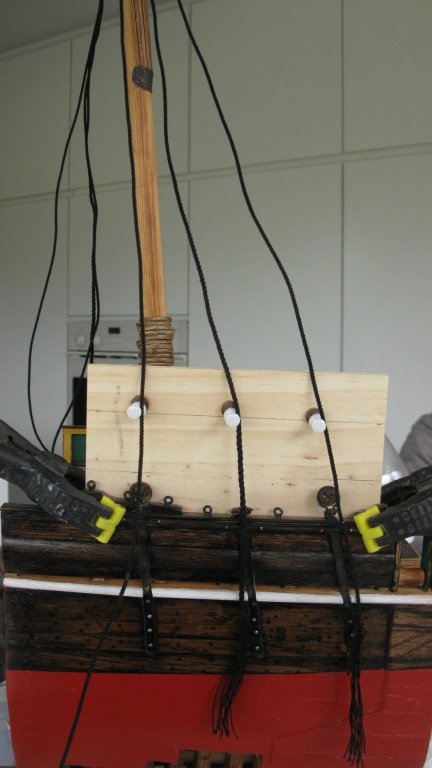
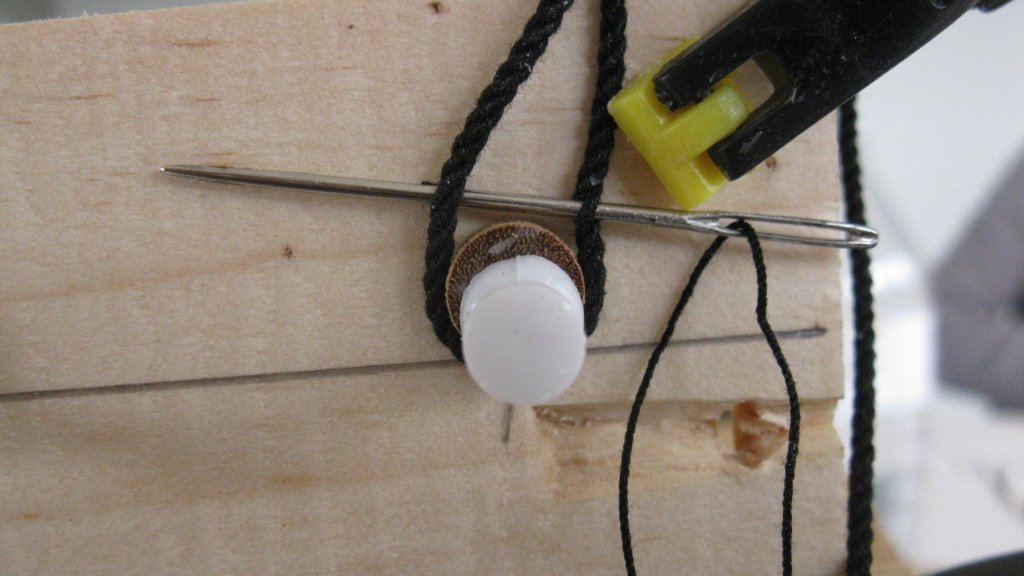
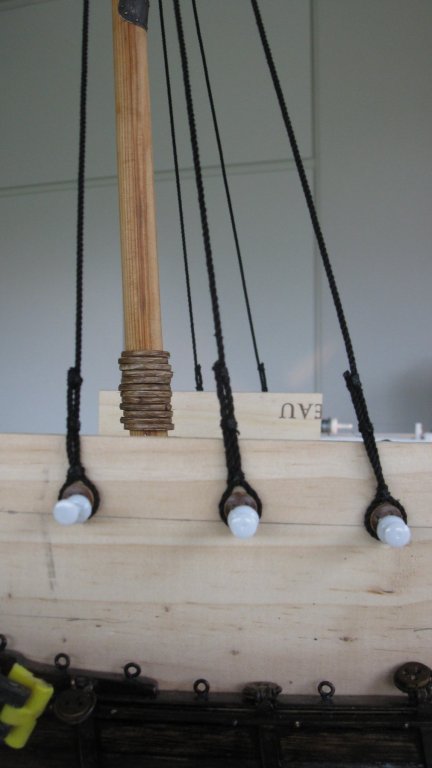
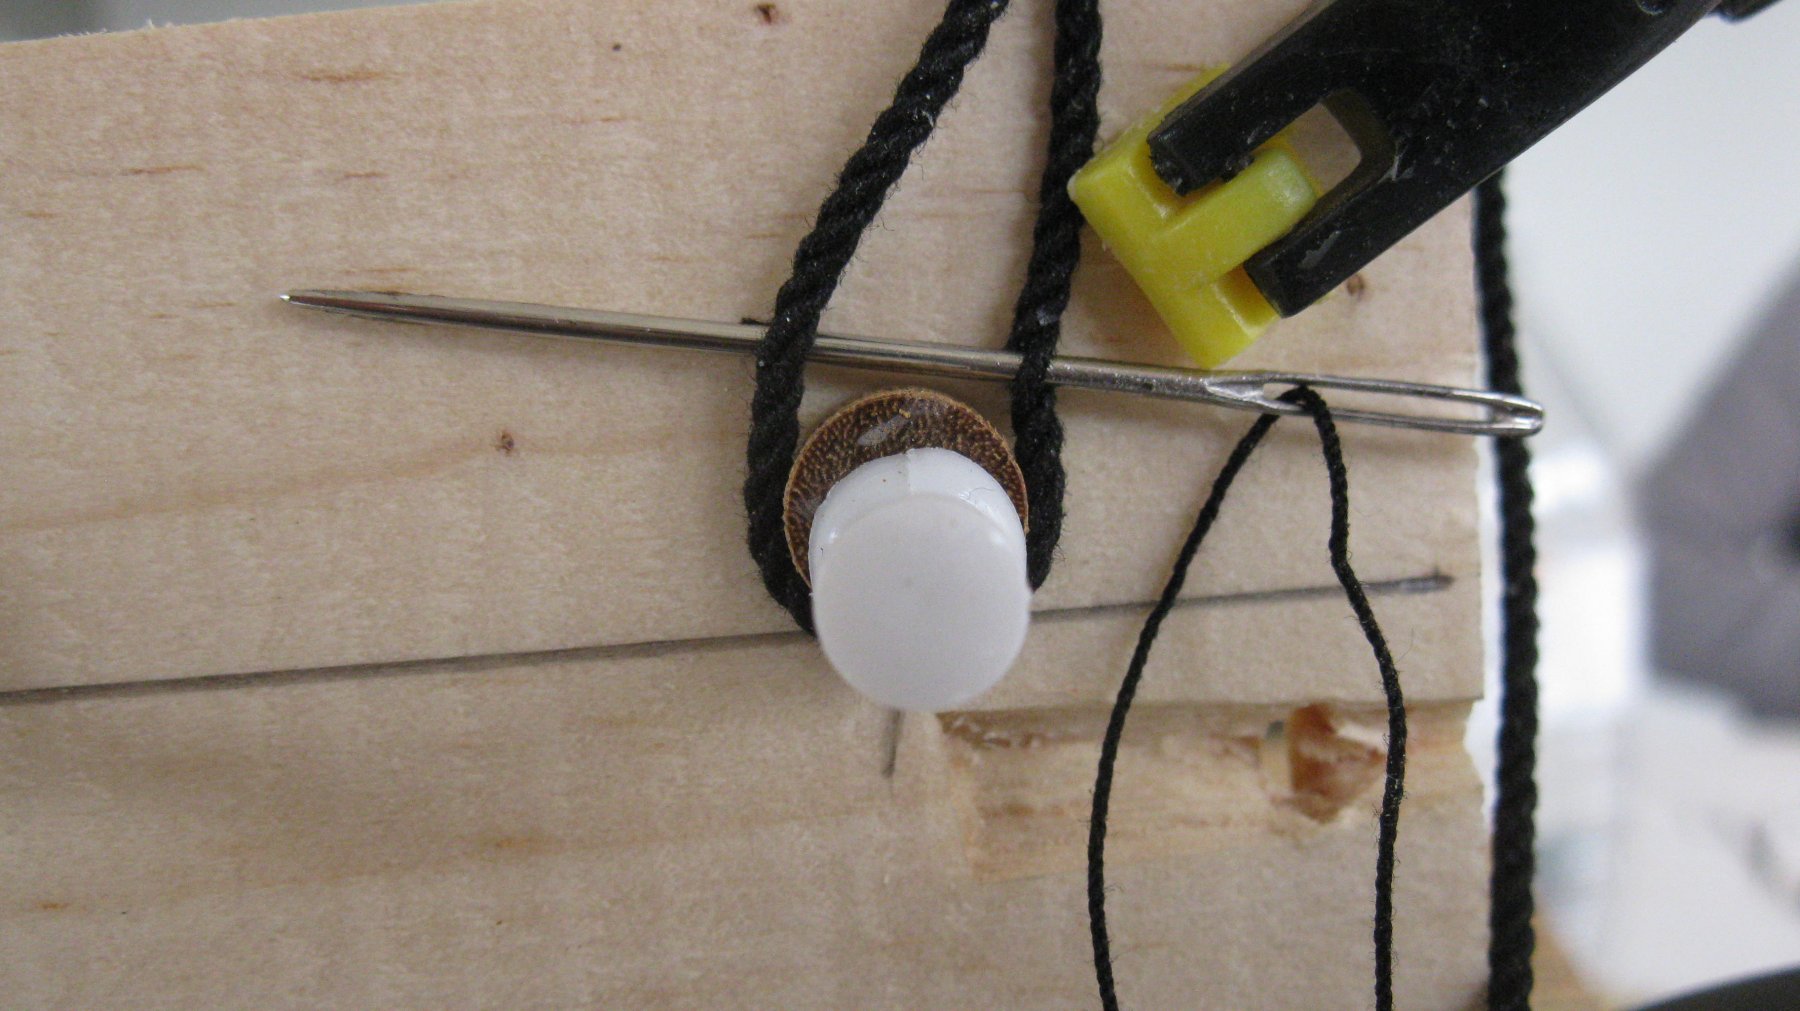
I will now attach the dead eyes to the shrouds. To place them at a parallel line with the lower dead eyes I pin the top dead eyes on a wooden board on which the level is marked.
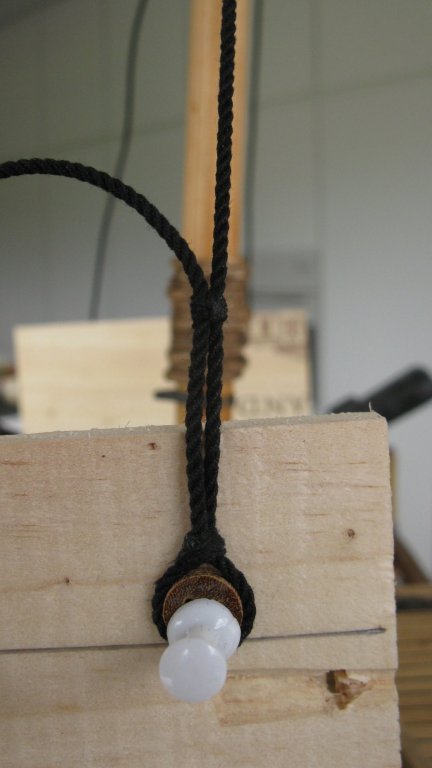
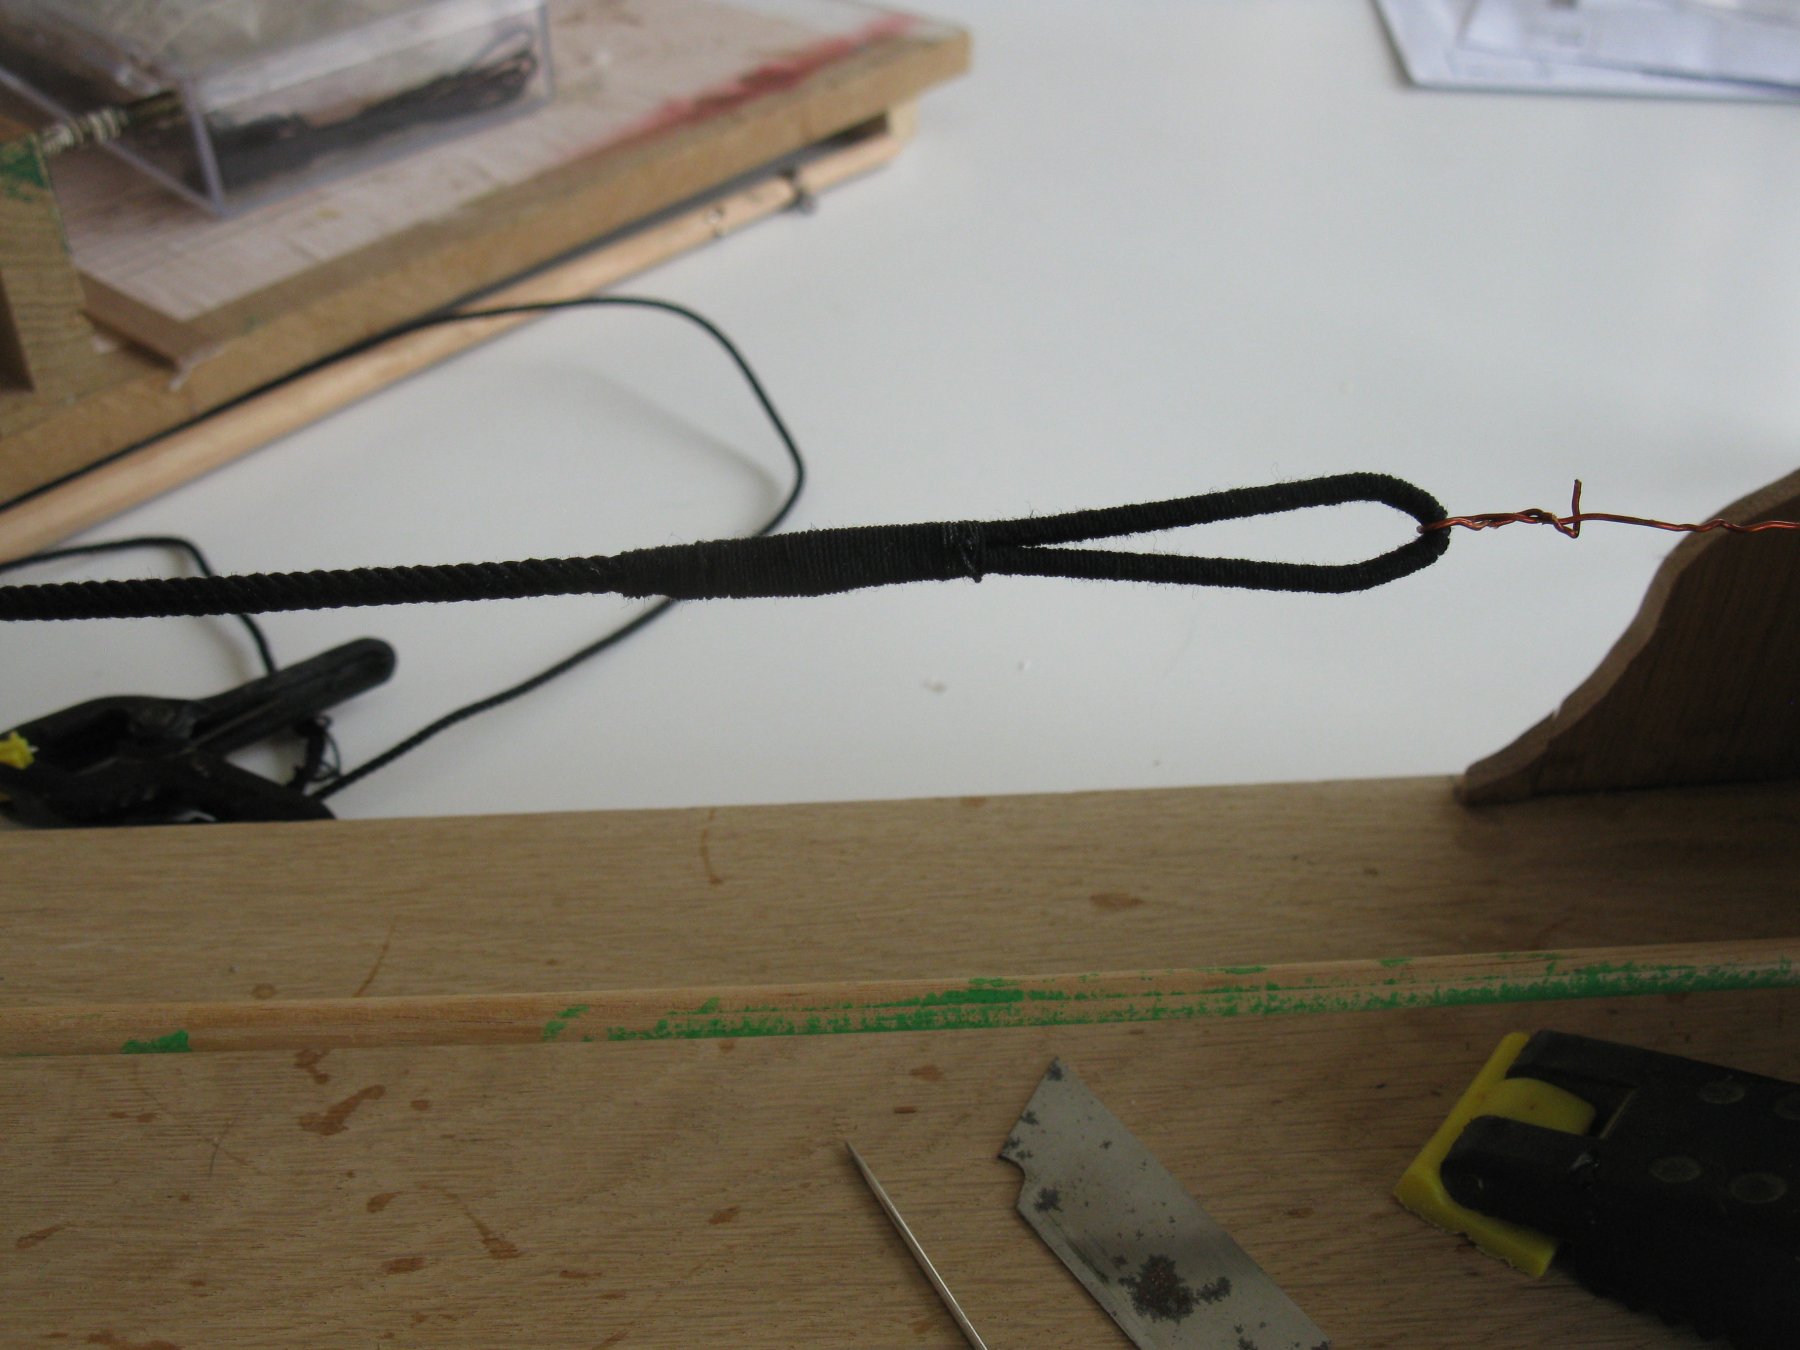
Making the eye seizing.
Then the end seizing.
And finally the middle seizing and cutting the surplus of the rope.
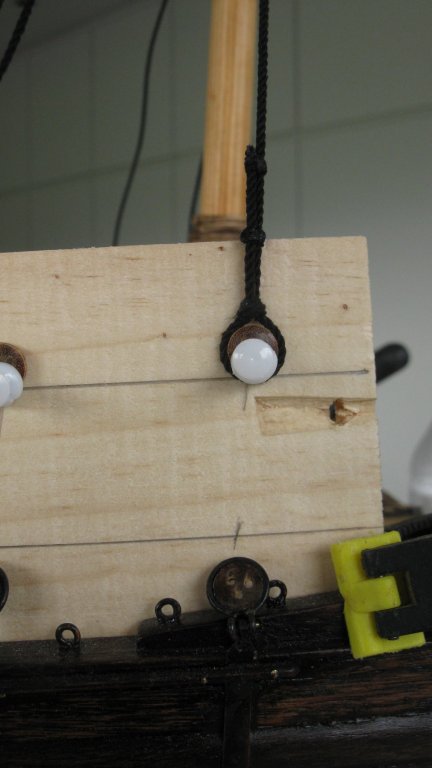
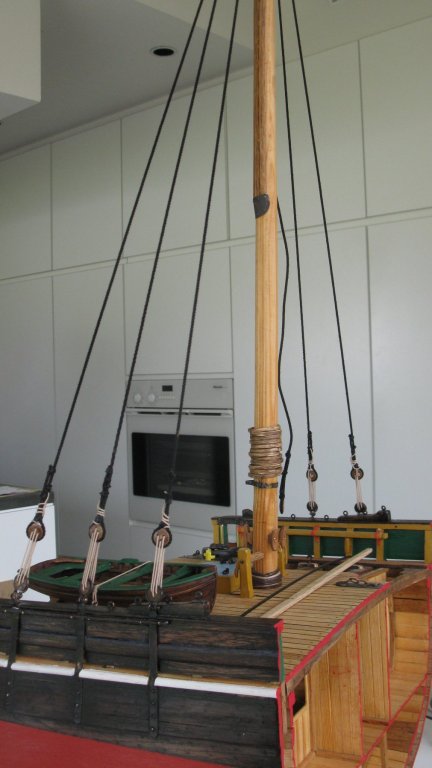
The three starboard dead eyes are rigged. The loose end of the shrouds are at the aft side of the shrouds.
After some time the three port dead eyes are also rigged. Here the loose ends are at the forward side.
- mtaylor, FriedClams, Tigersteve and 11 others
-
14
-
-
-
-
12 hours ago, Backer said:
Thanks GL
Mostly the cannons on armed merchantman (and probably also on some warships) came from different sources. They used what was available.
That is why most cannonbarrels below deck are different.
And these 4 are certainly different. At the time, the barrels were forged one by one and then placed on large costum made heavy beams.Let us say that 3 pieces were already painted when they came on board. The 4th was not painted, and the budget was too low to buy extra paint
")
That's what I call eye for historic detail.
-
I have no words to describe my admiration.
- druxey and CaptainSteve
-
2
-
-
-
-


Fishing Smack c. 1920 by G.L. - FINISHED - Scale 1/20 - POF - cross-section
in - Build logs for subjects built 1901 - Present Day
Posted
19.14. The spars. The topgallant and the spreader
A lot of smacks had two topgallants, a long one for use in summer (approx 10.30m long) and a shorter one for the winter (approx 8m long). I will place a summer topgallant on the mast. To make the topgallant I move from the kitchen back to the workshop. The making process is almost identical of that of the mast. First I saw and plane a pine stick in a squared shape.
I scrape it to an octagonal shape.
And finally I sand it round.
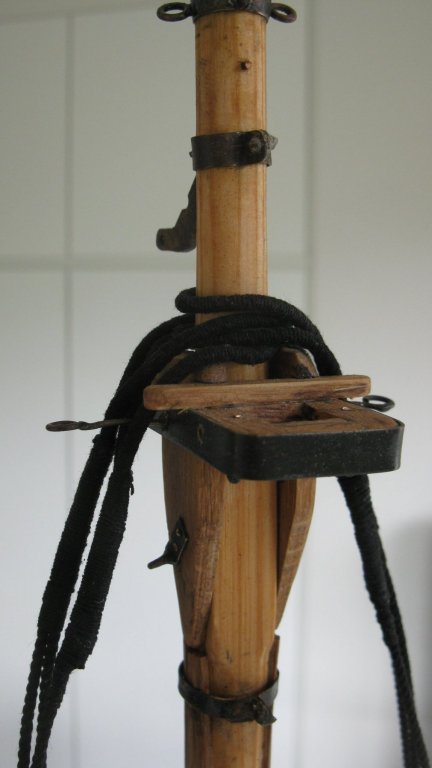
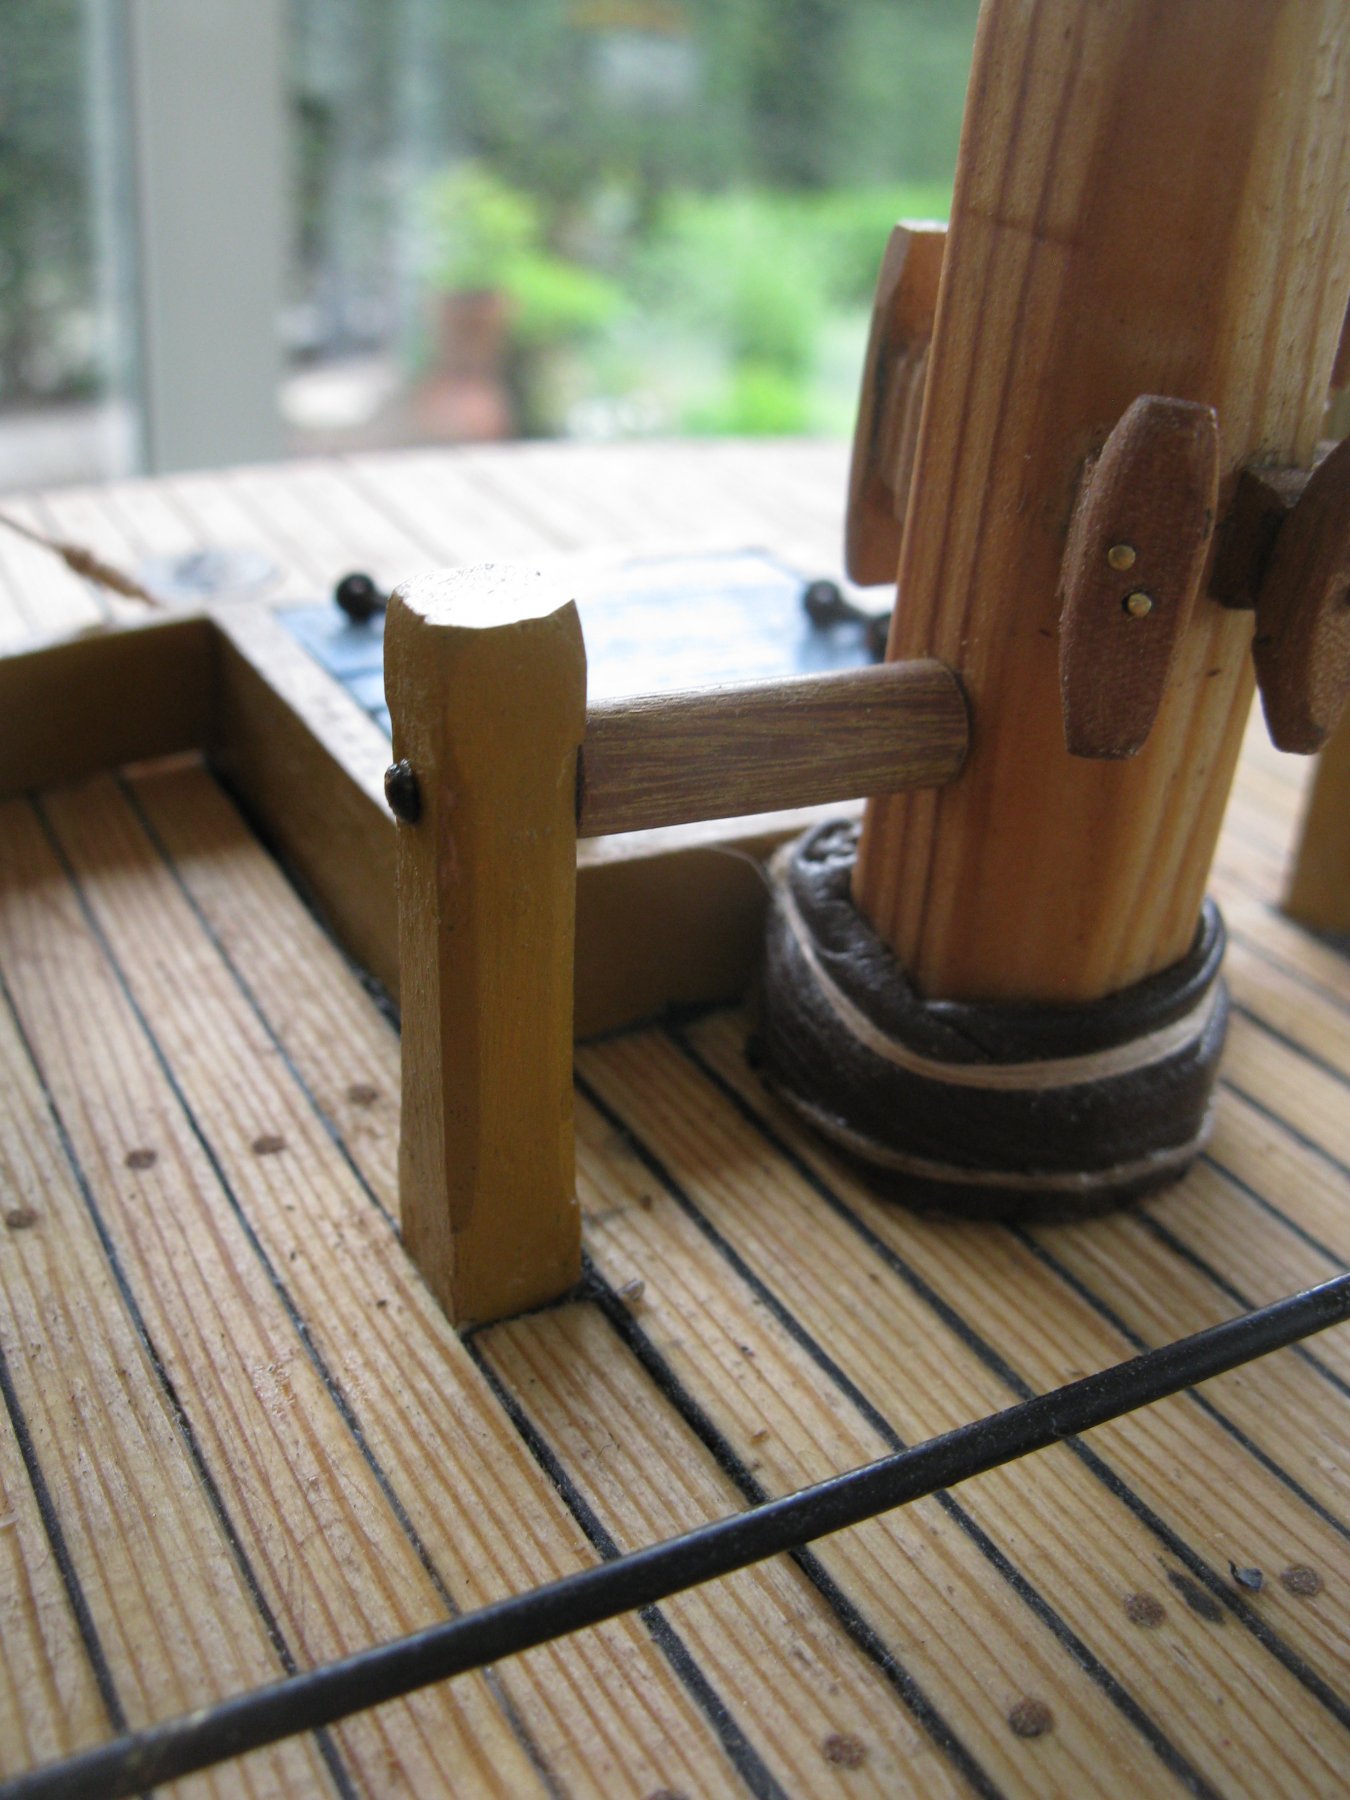
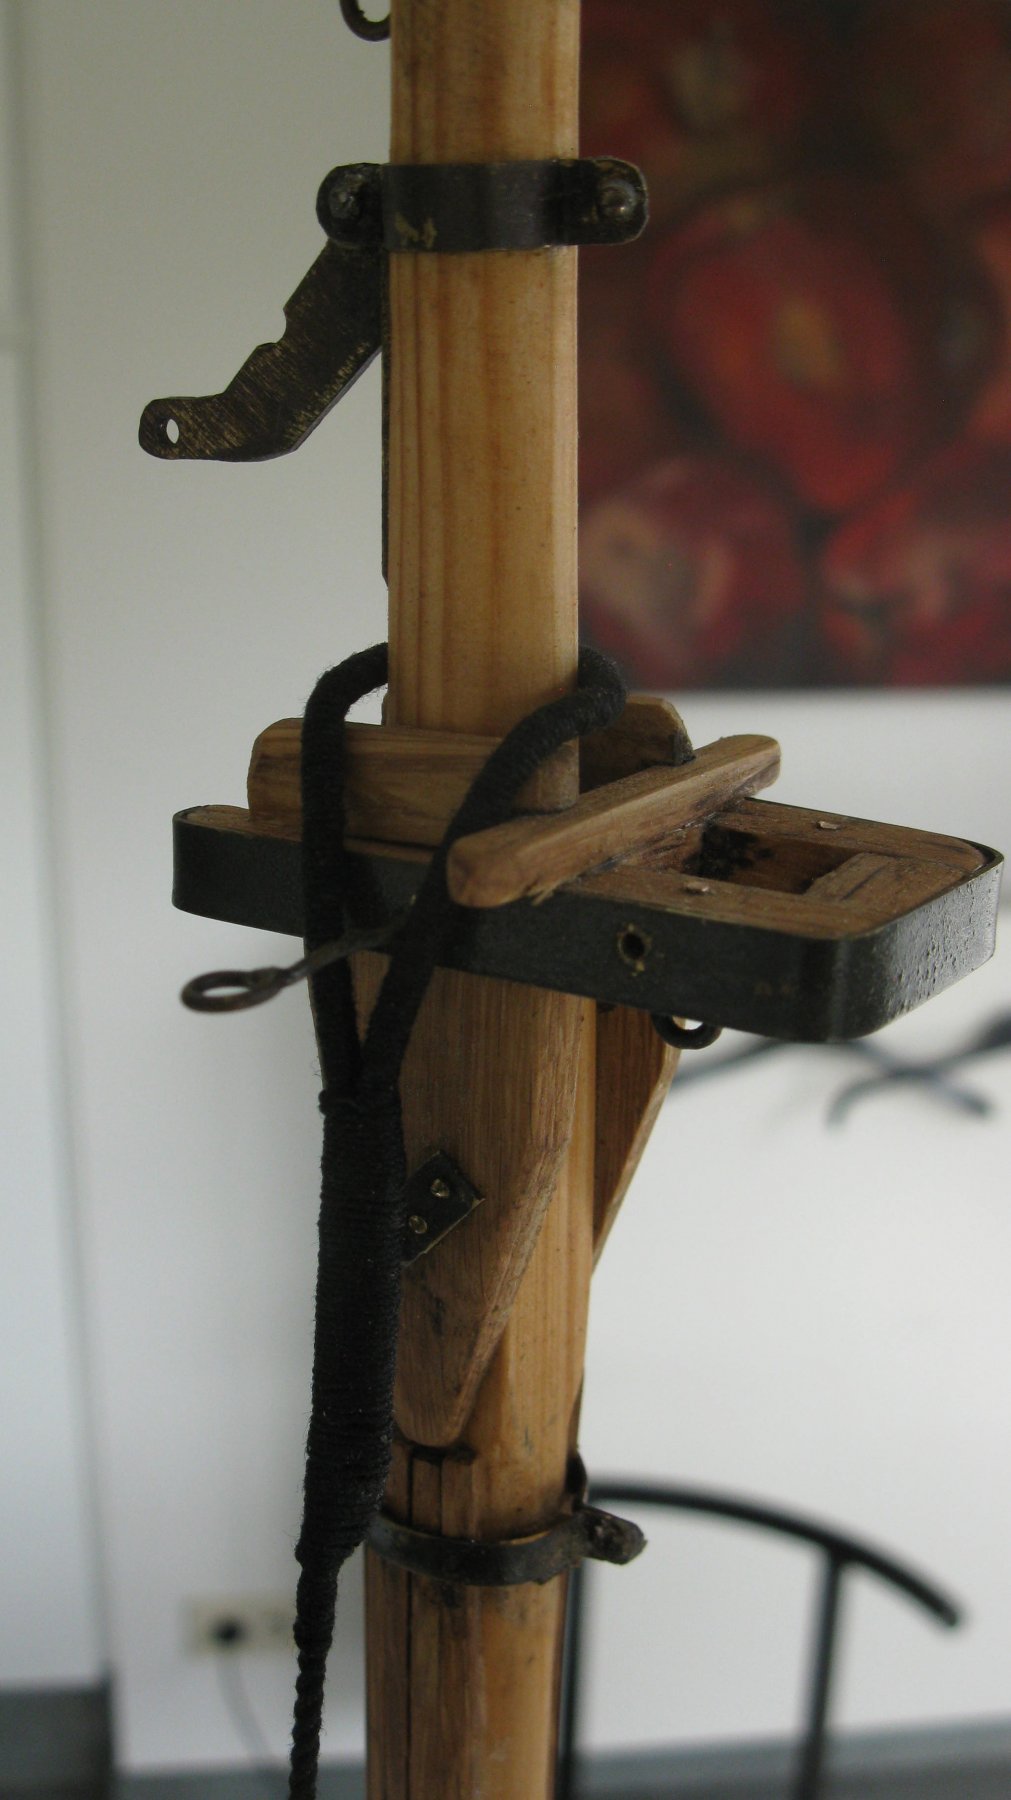
At the frontside of the mast, the spreader is attached on top of the trestletrees. I make the spreader of apiece of oak.
The backside of the spreader narrows towards the outsides.
The two holes of the mounting bolts in the middle are reinforced with a square brass plate and in the two ends there is a groove for the backstay.
The two mounting bolts fit into the holes in the trestletree.
gluing the spreader into place.
The mast with spreader and topgallant. The total height of my cross section is now 135cm (4ft 5in) and there is still a wind vane to be added.
The wind vane is made of brass. The parts:
Everything soldered together:
The vane itself is made of a piece of cotton. I color it with red ink and afterwards I rub it in with textile glue so that it doesn't start to fray.
Then I cut out the vane and attach it to the arrow.
The wind vane on the mast. Another 2.5cm added to the model height.