HOLIDAY DONATION DRIVE - SUPPORT MSW - DO YOUR PART TO KEEP THIS GREAT FORUM GOING! (Only 72 donations so far out of 49,000 members - Can we at least get 100? C'mon guys!)
×


Chuck
-
Posts
9,672 -
Joined
-
Last visited
Content Type
Profiles
Forums
Gallery
Events
Everything posted by Chuck
-
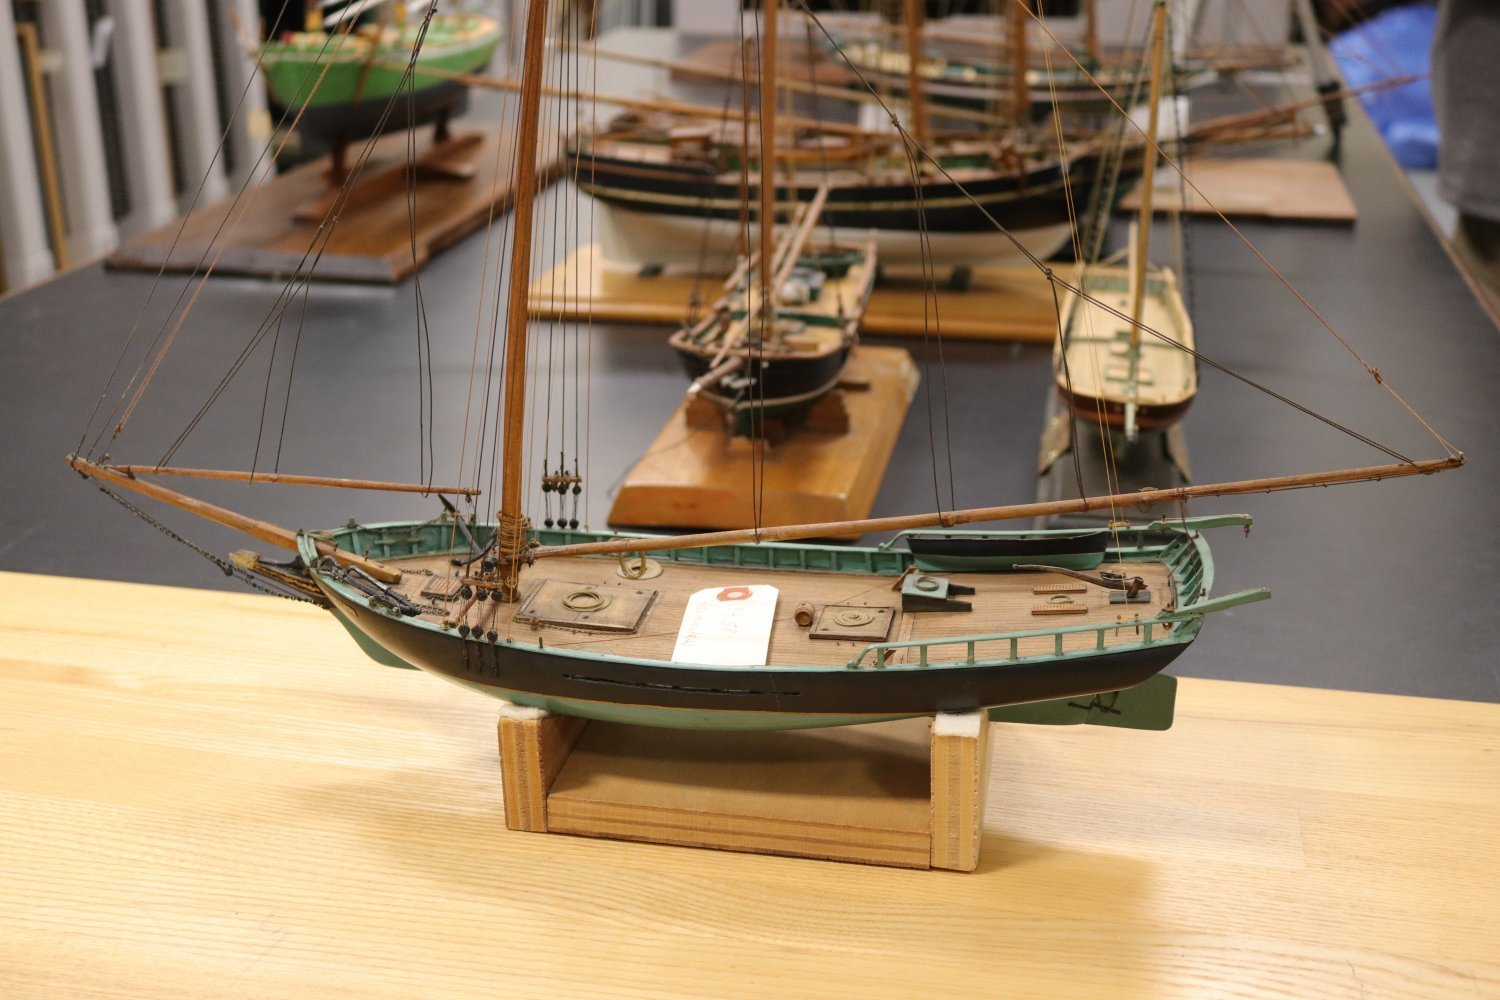
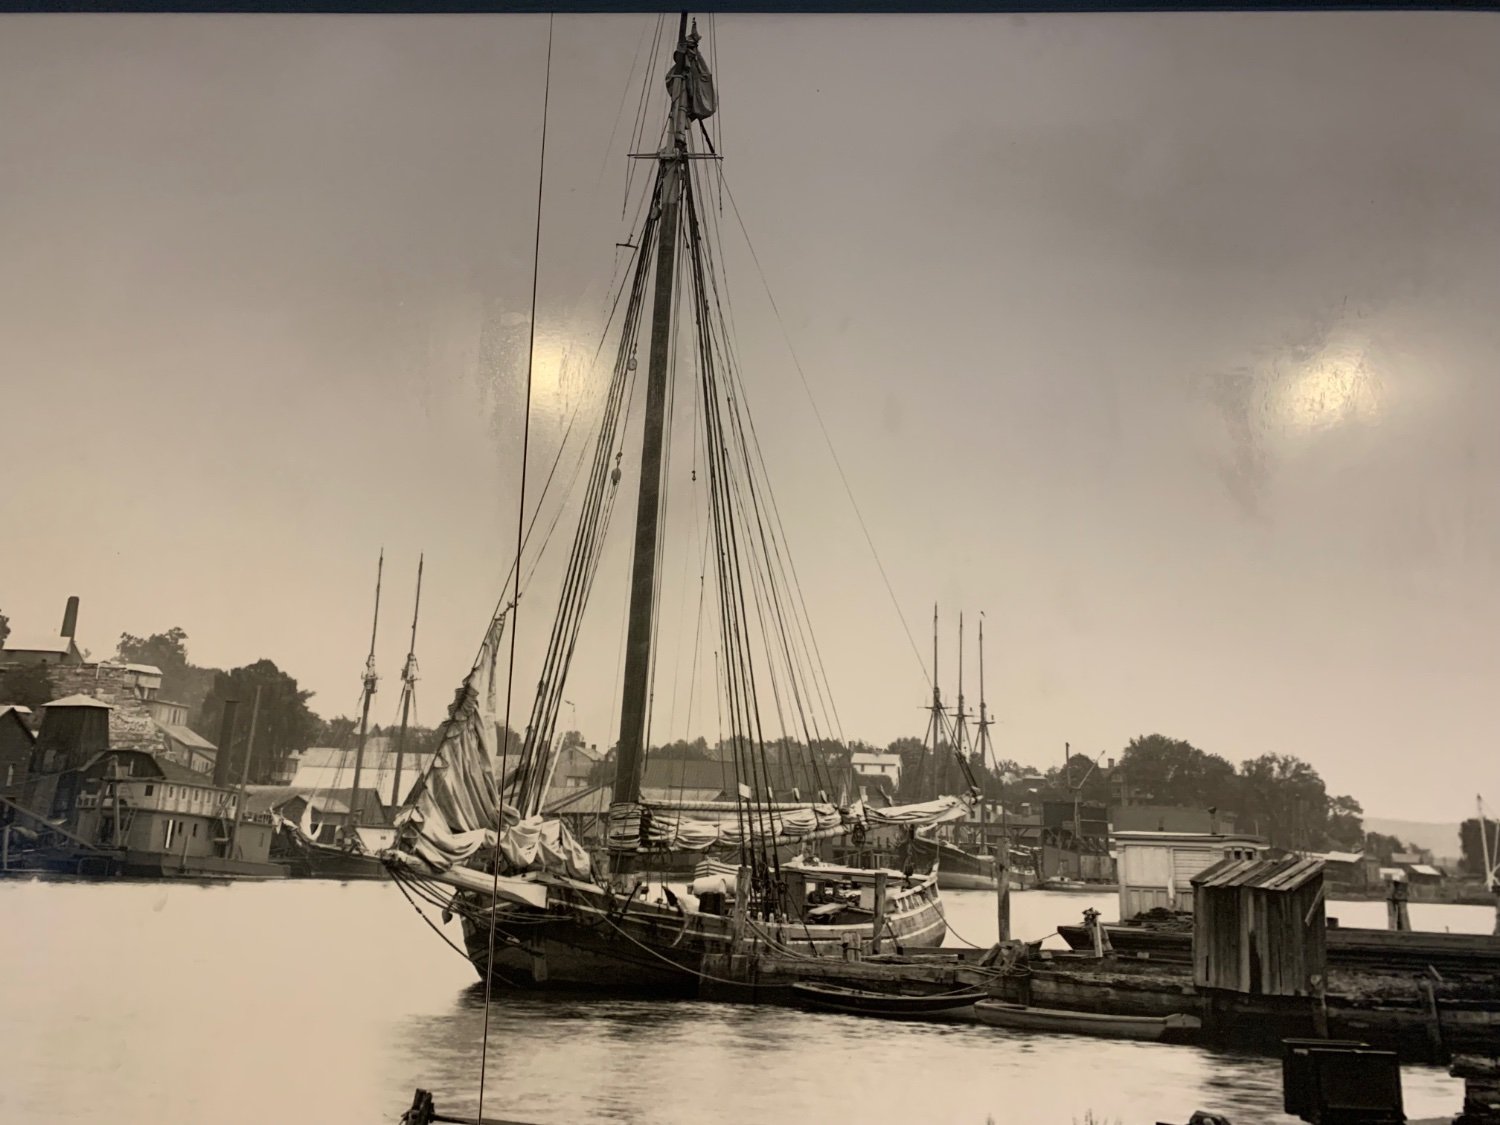
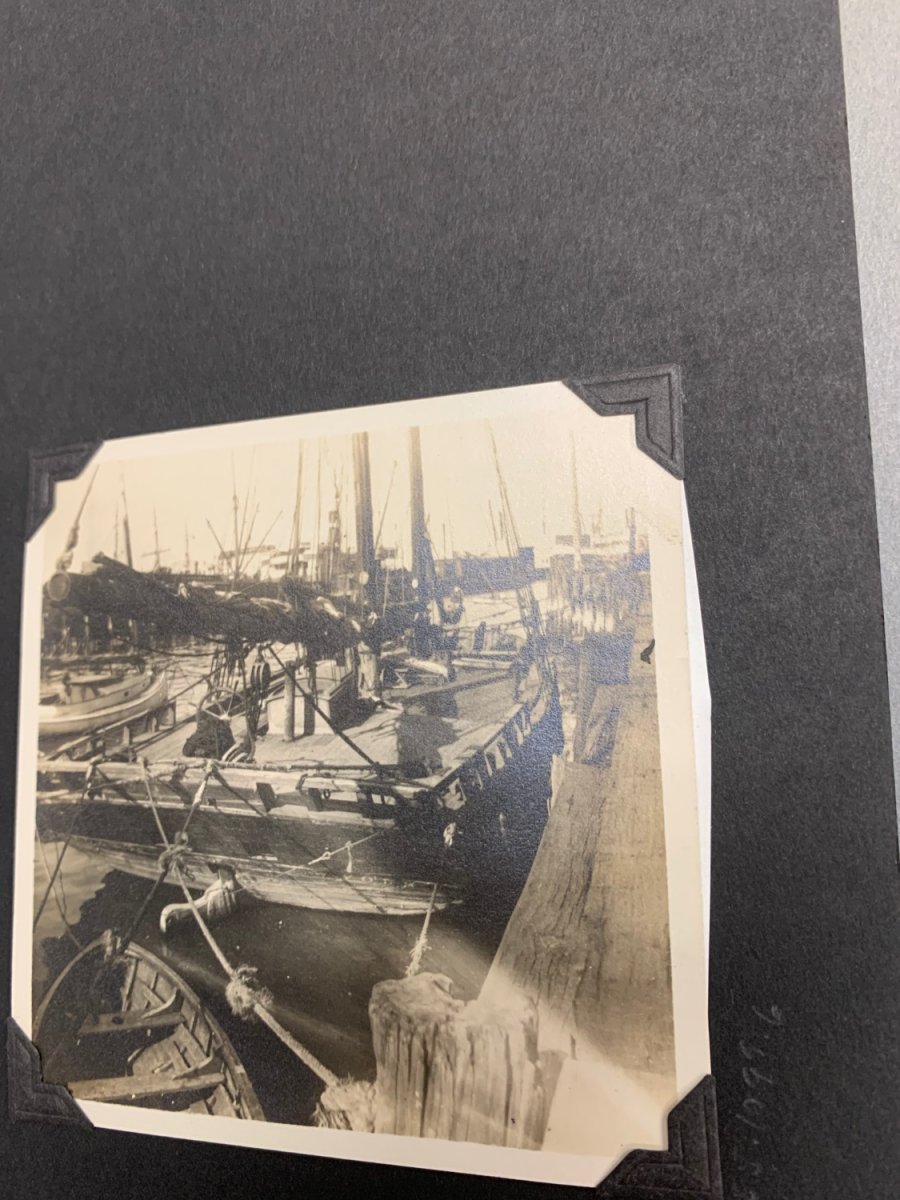
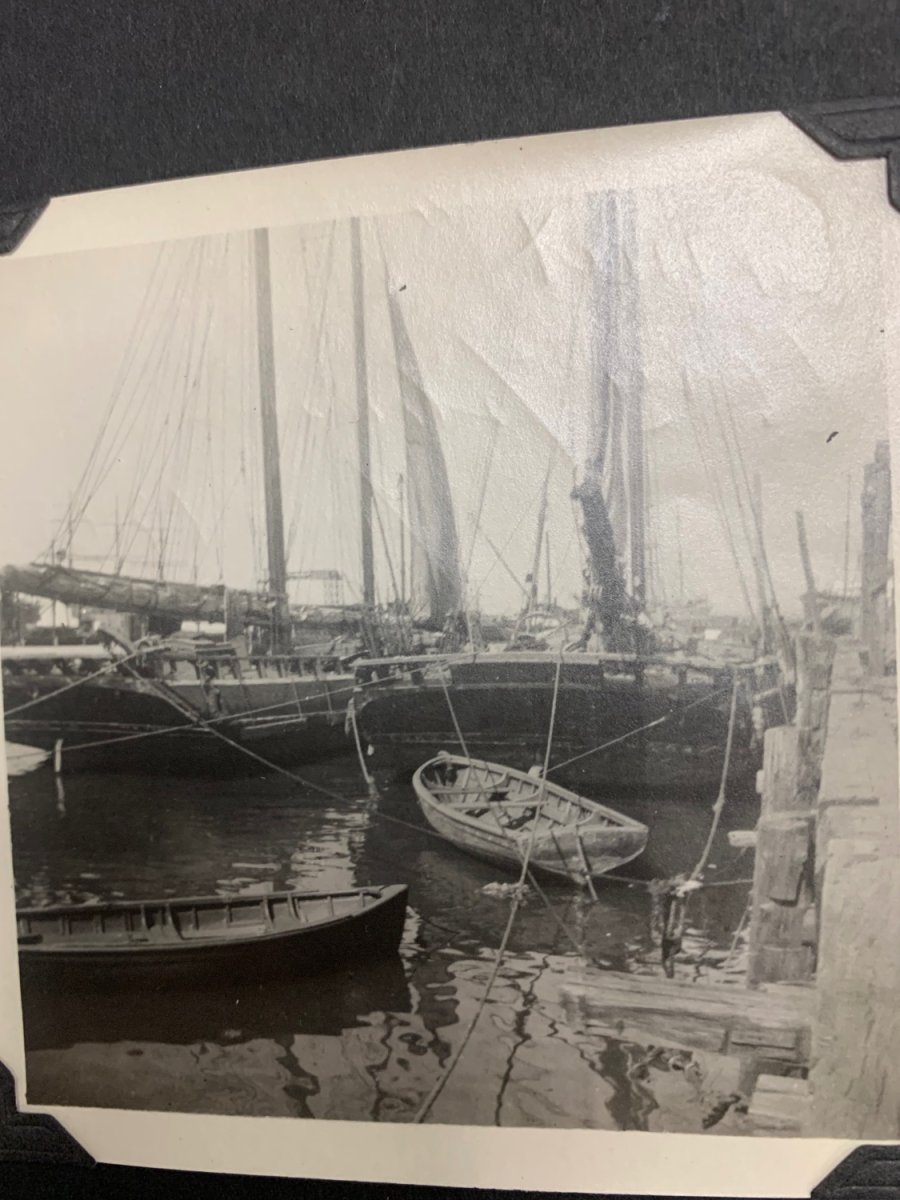
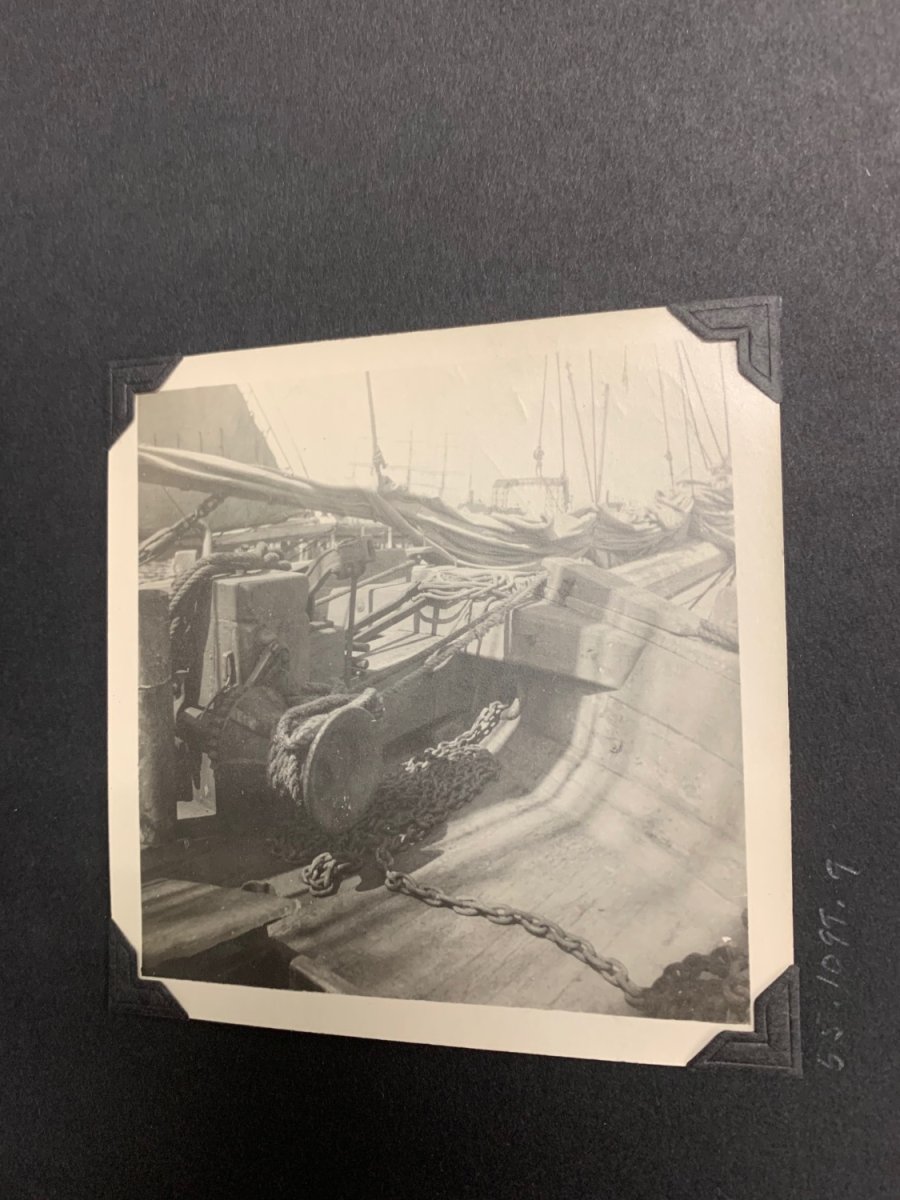
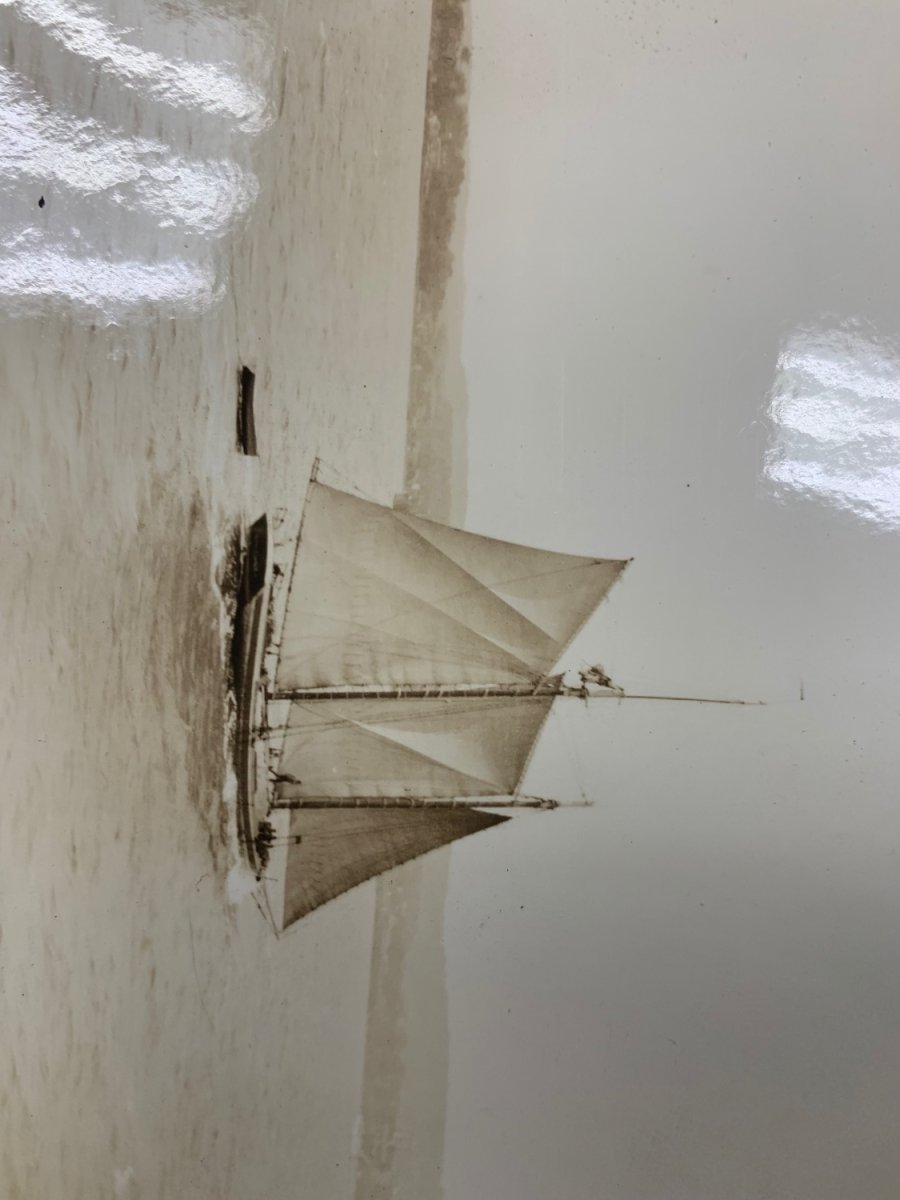
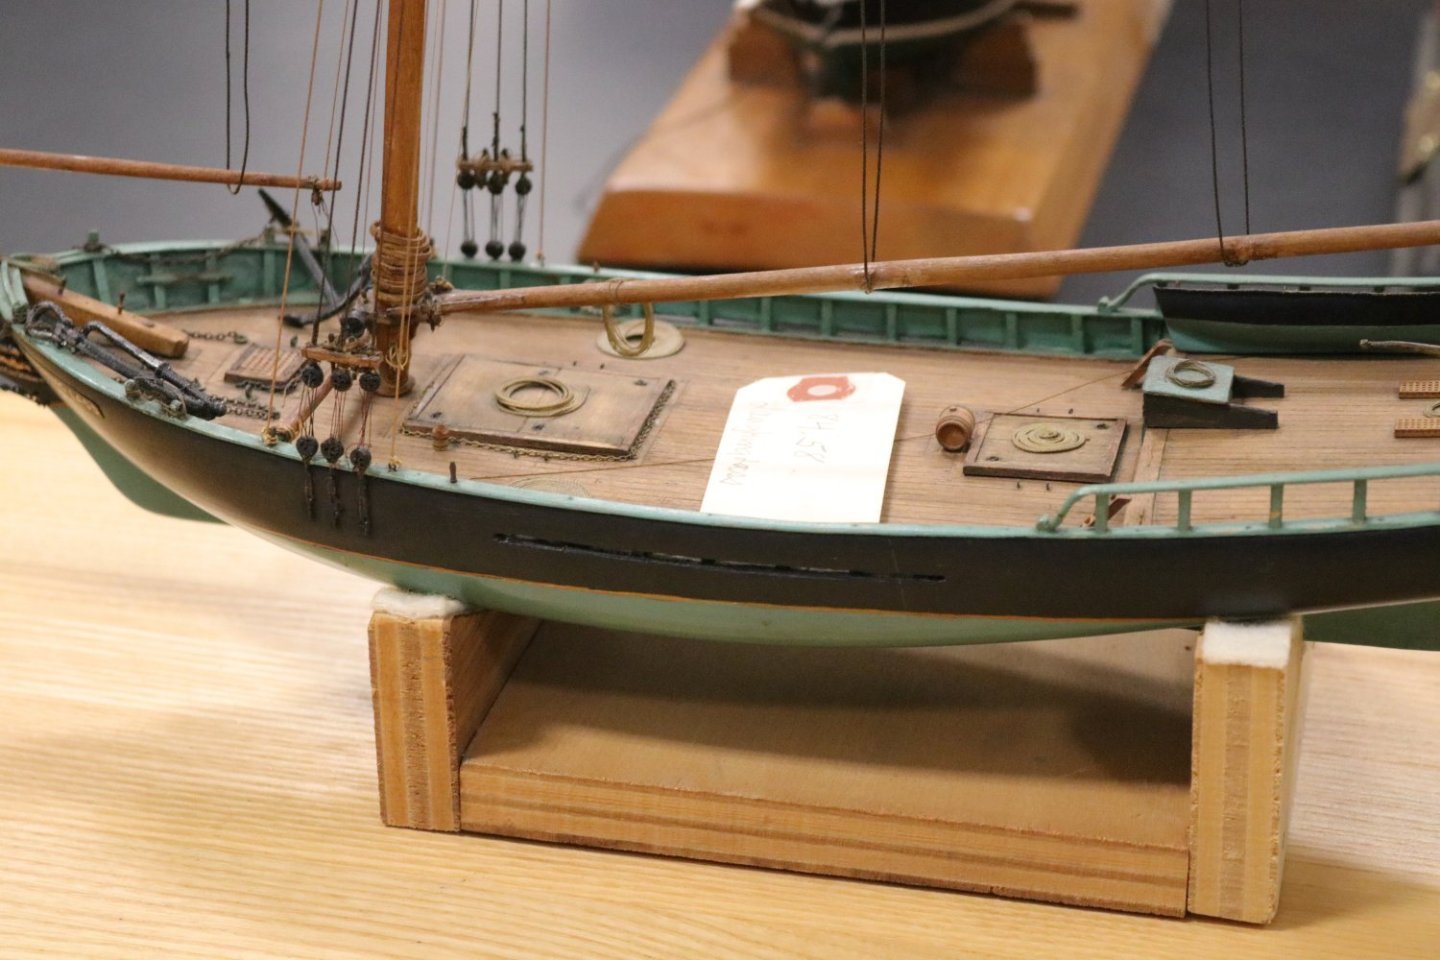
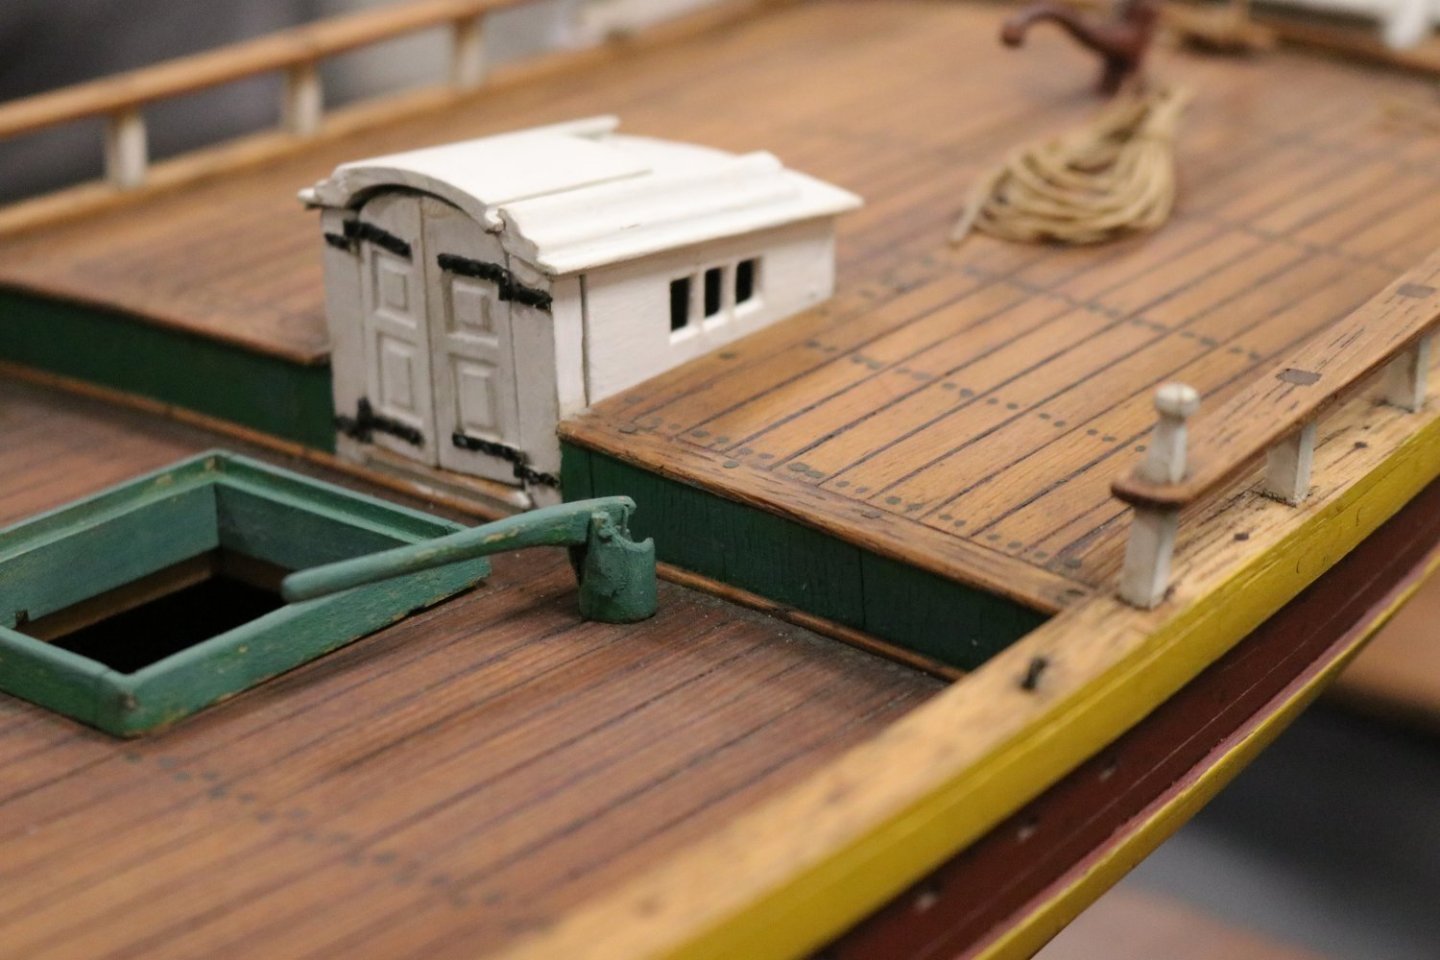
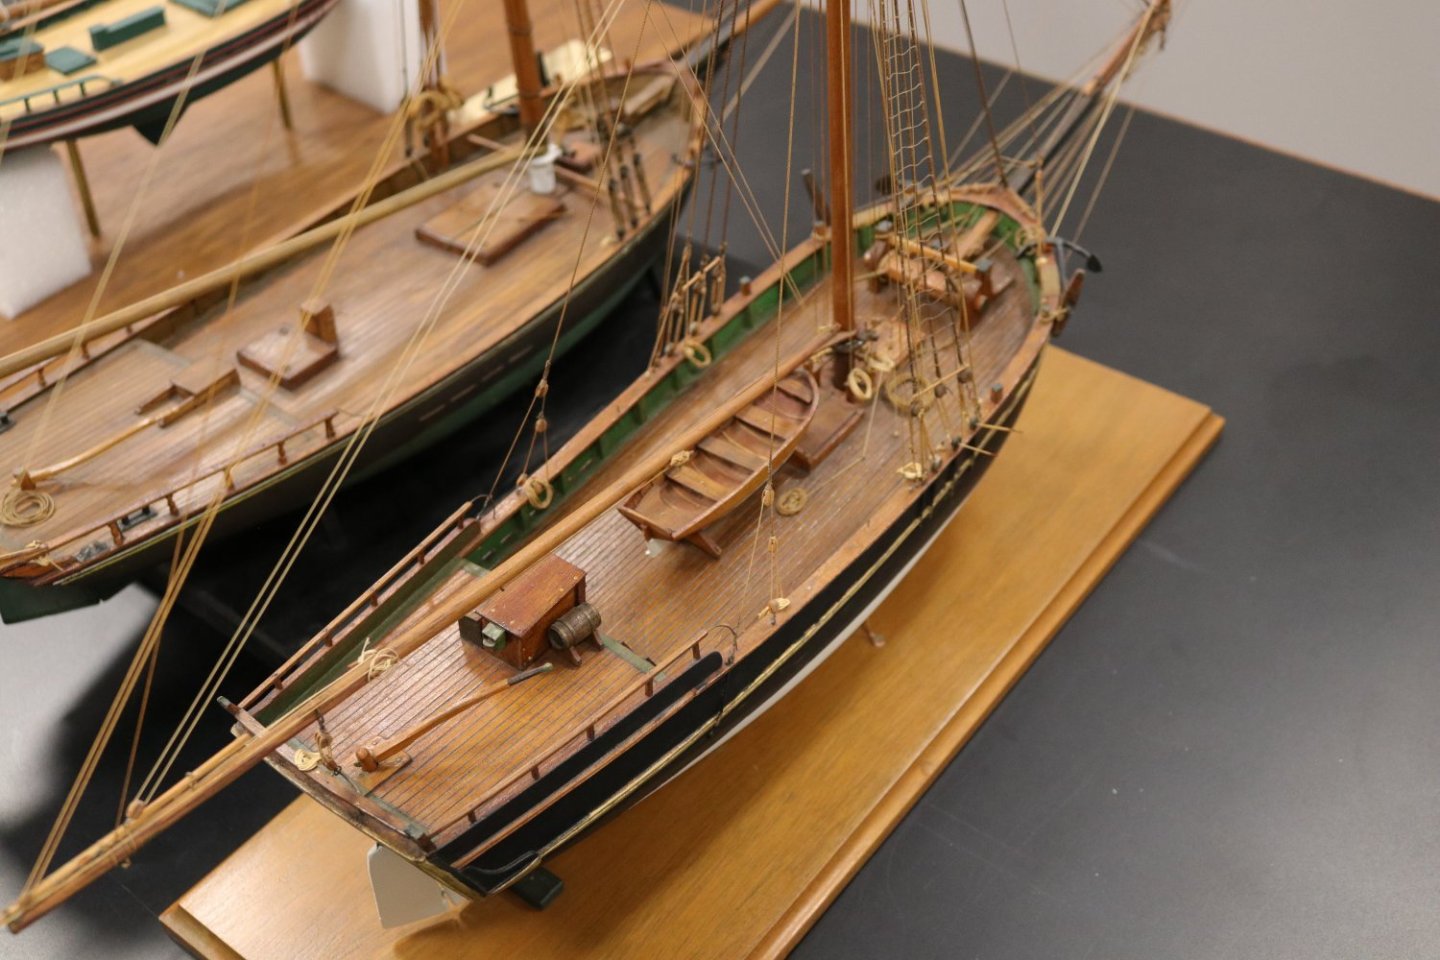
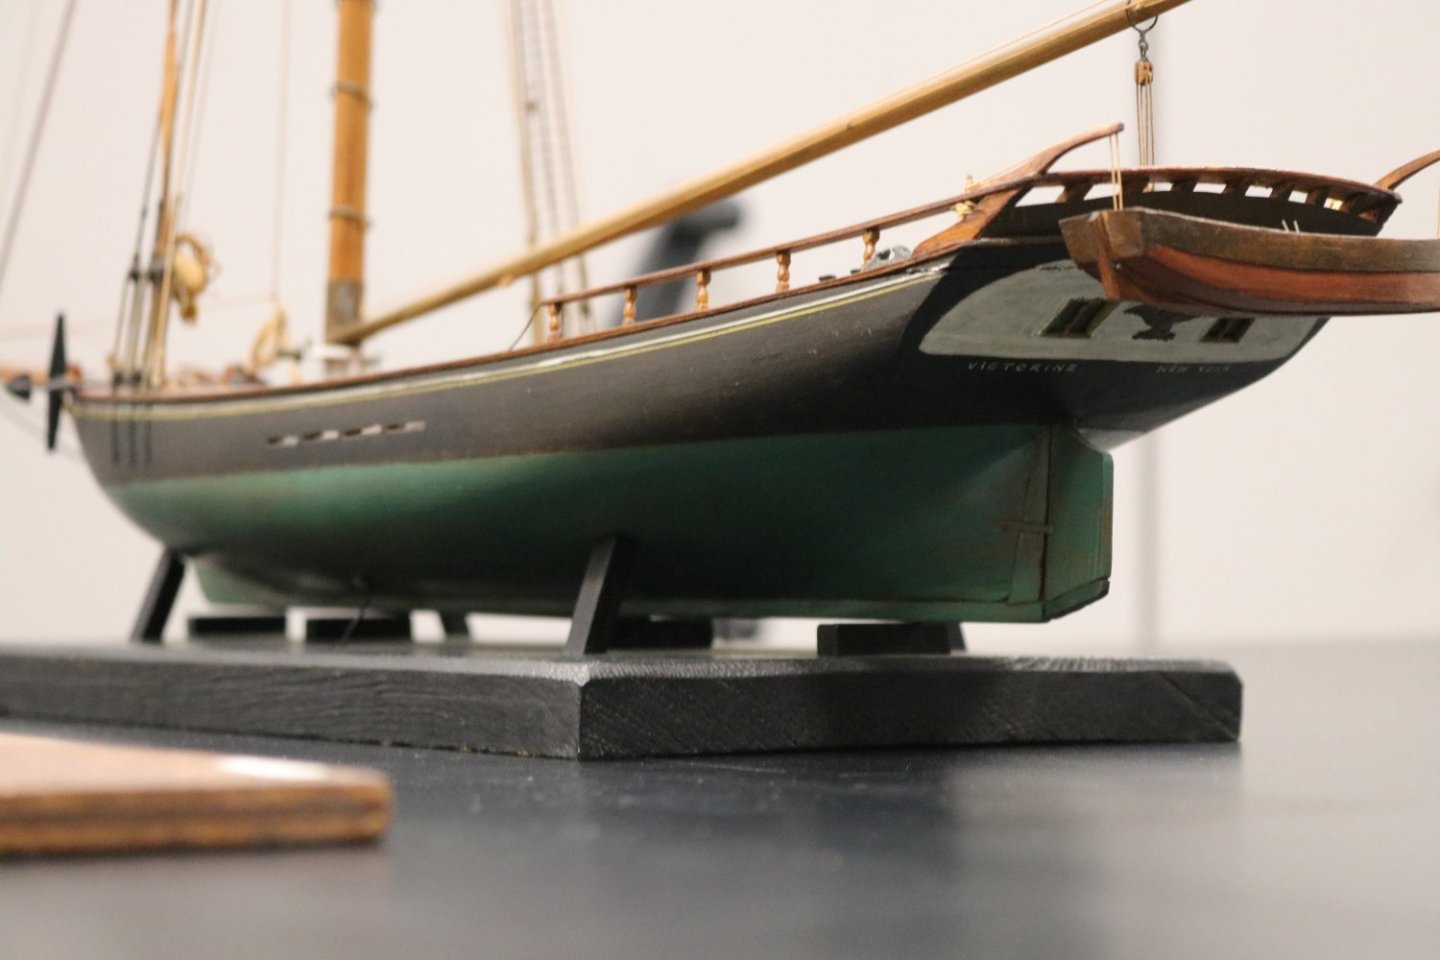
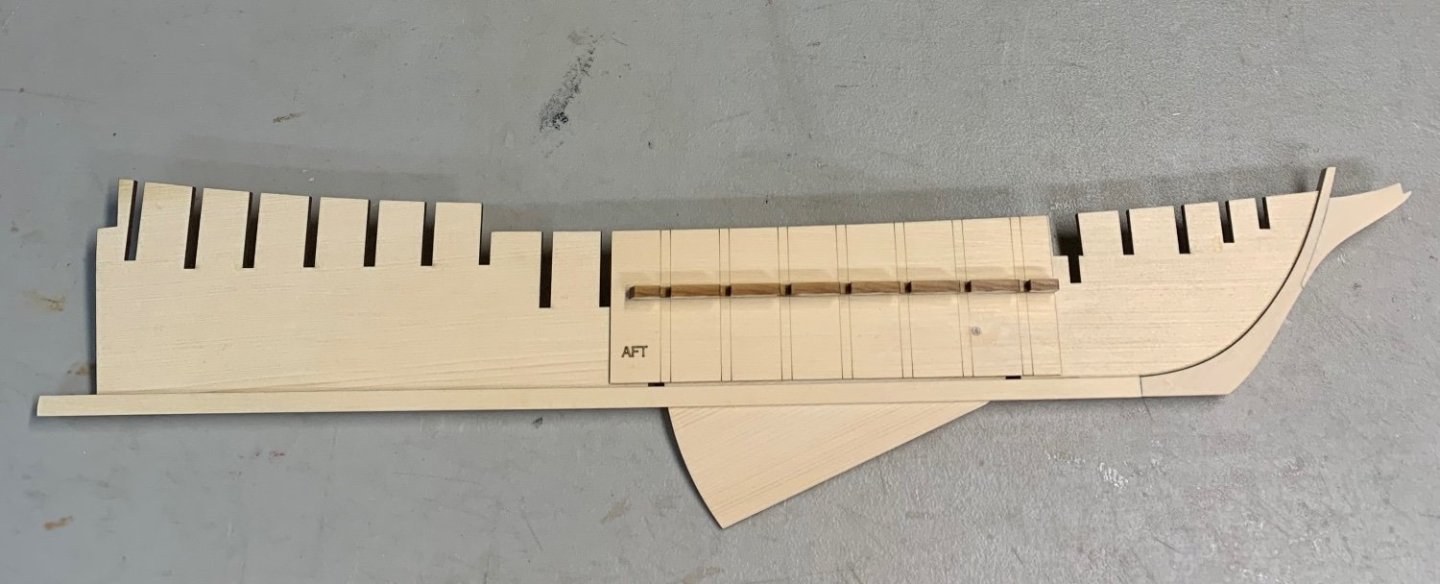
 Hudson River Sloop I am working on plans for a model of the HRS Amelia.... I have several projects going at the moment. Models from the Mystic Museum of various HR sloops for research and design purposes. The last photo is Portias Victorine.
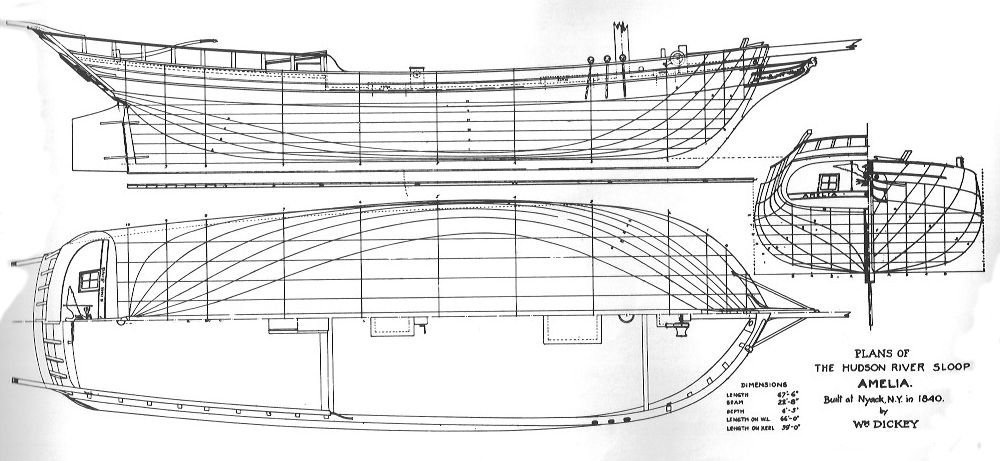

-
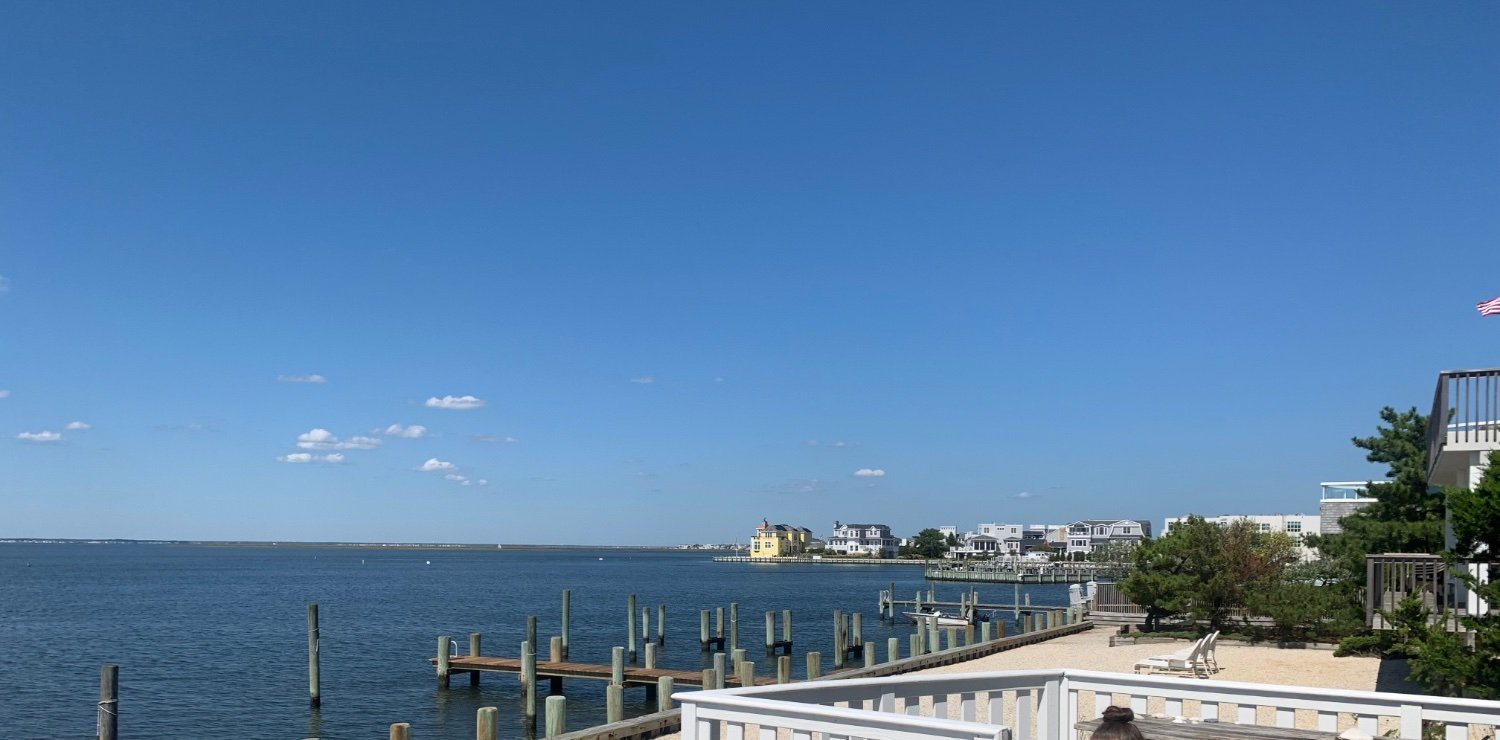
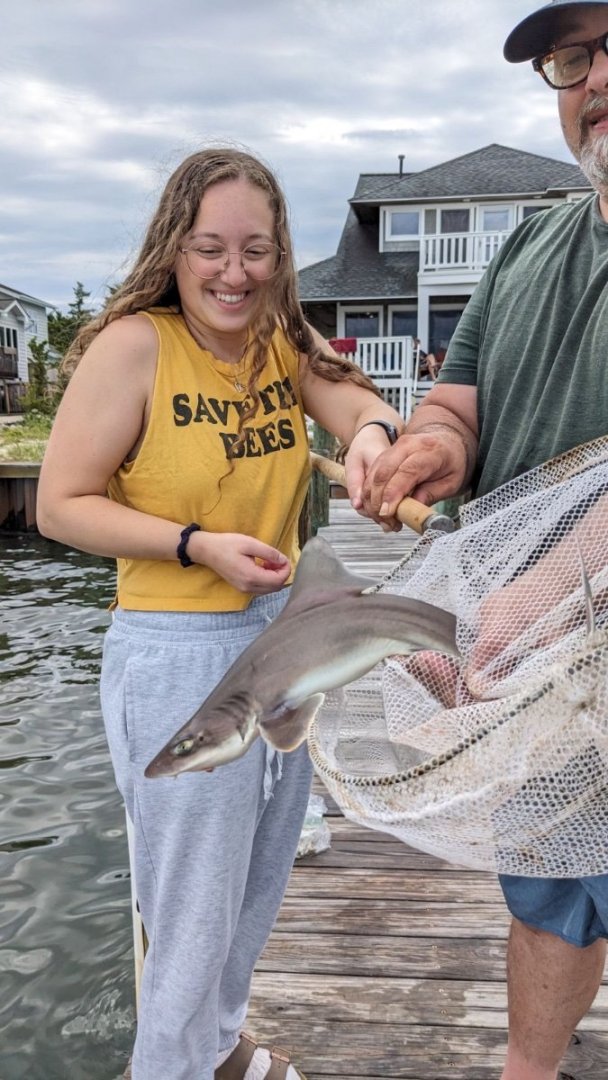
Fishing is good right off the pier. Bluefish, blowfish, and the occasional sand shark. Playing cards but no sailing sadly. Lots of reading and research.


-
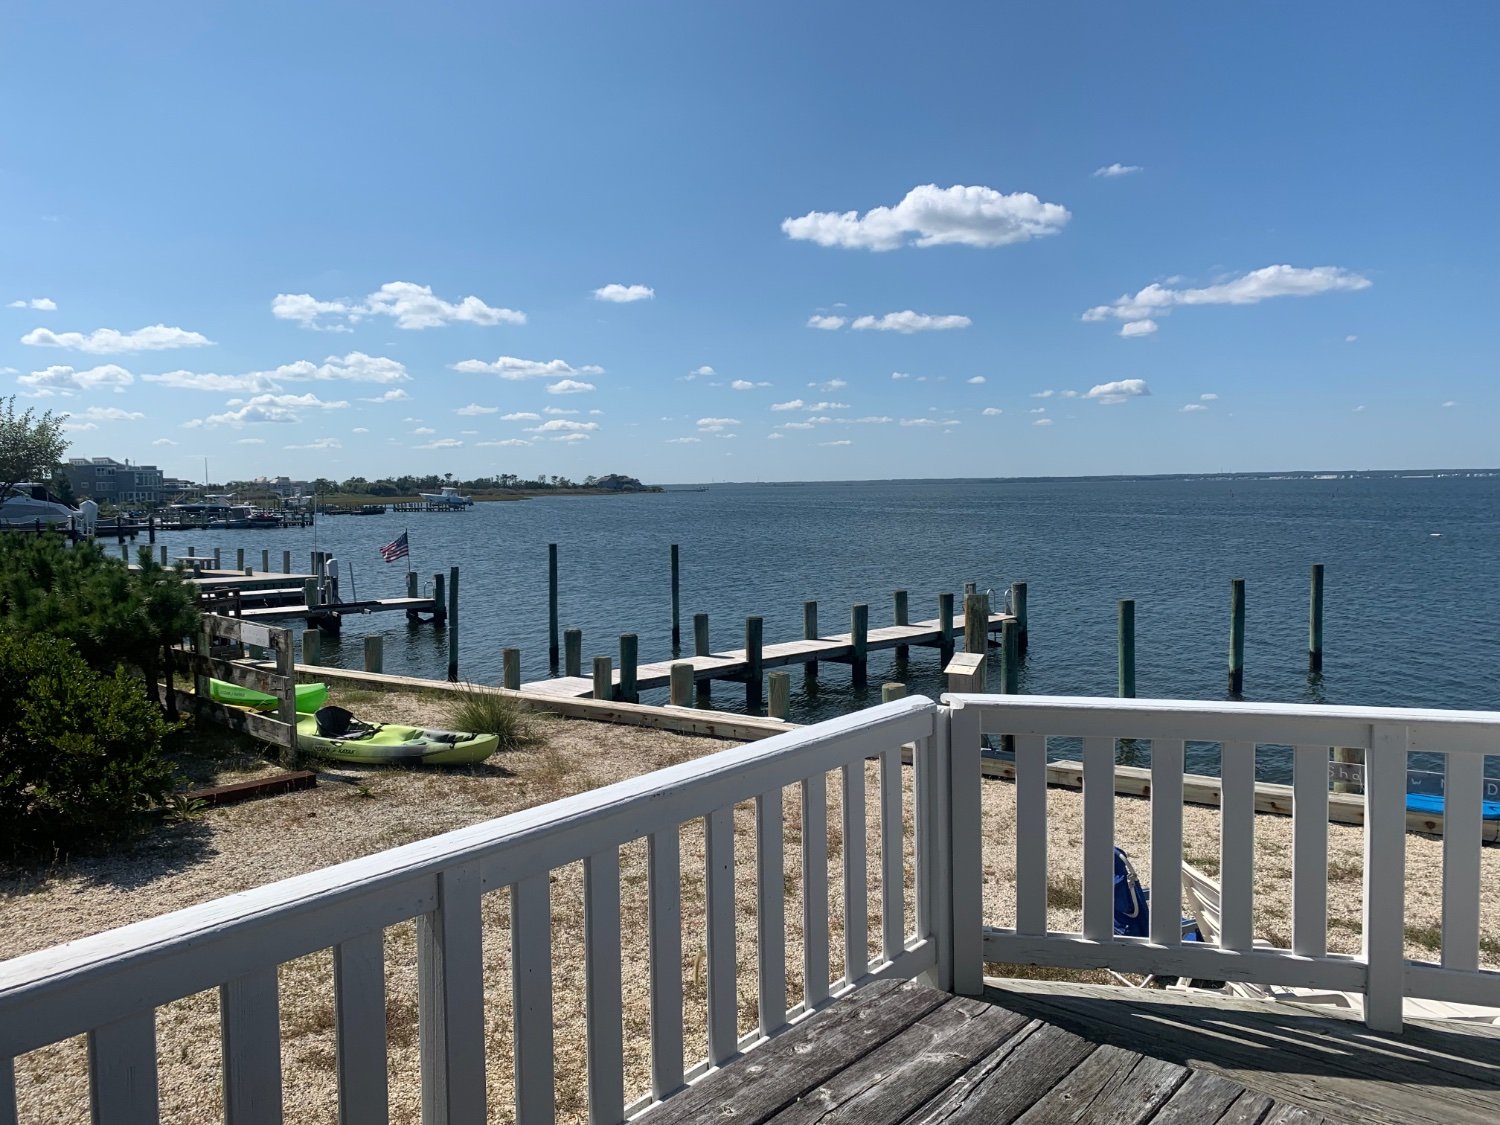
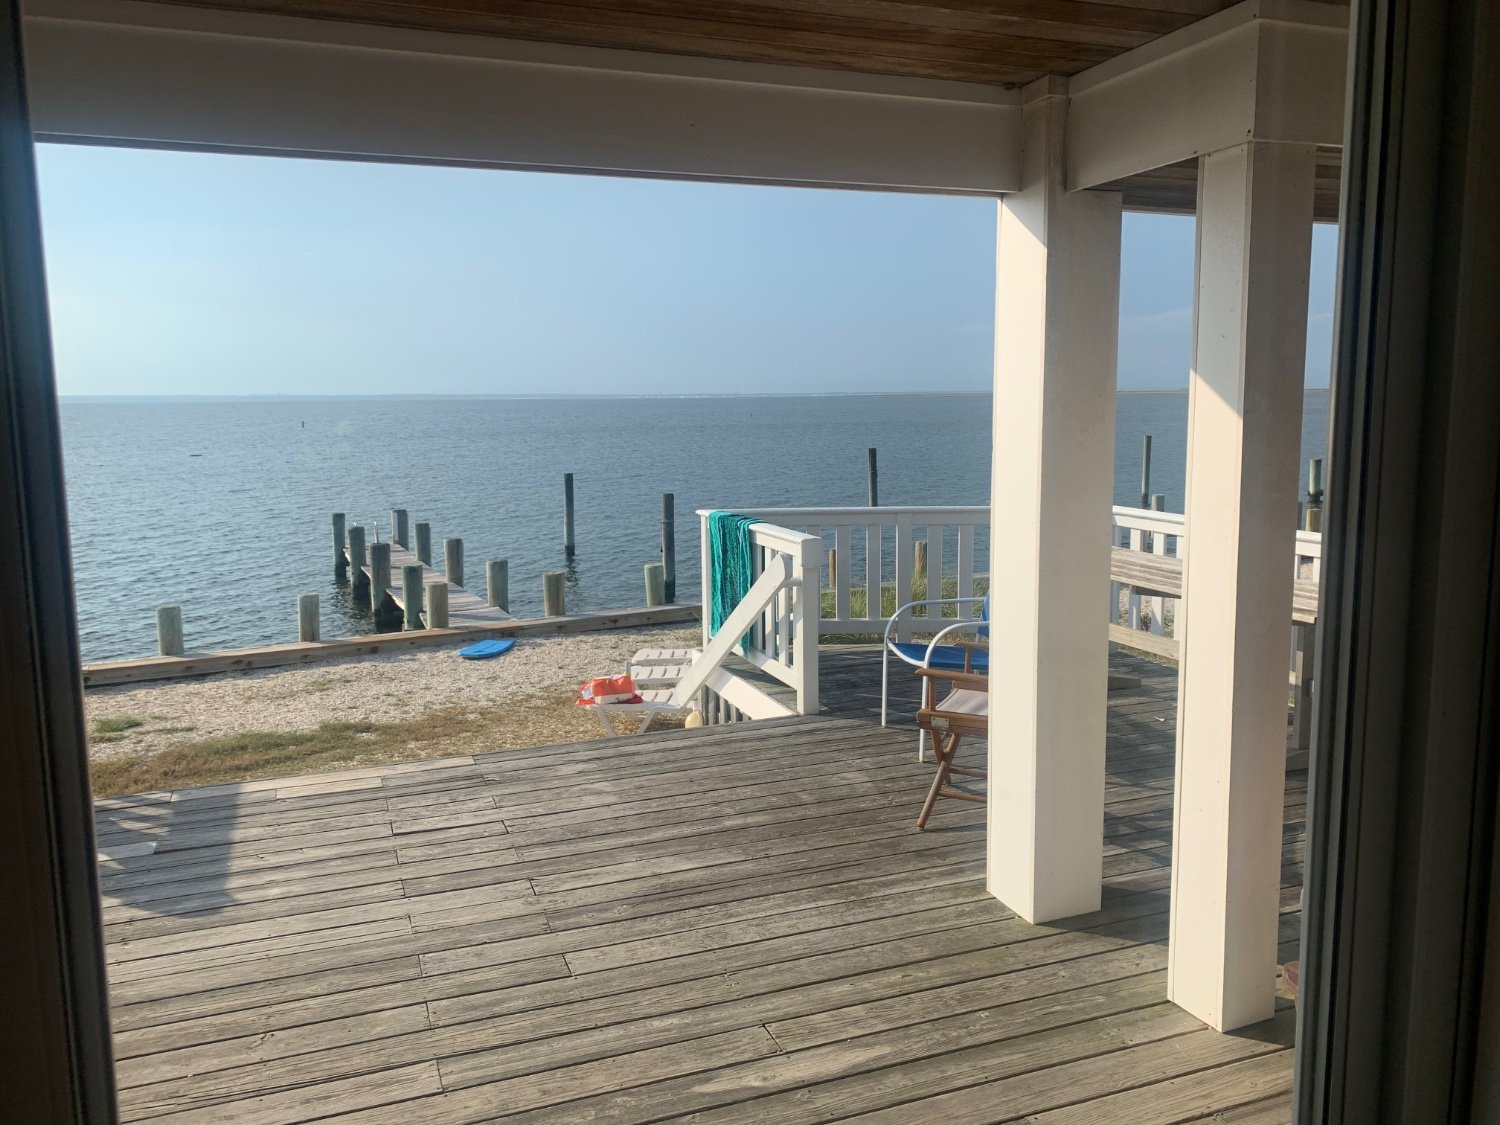
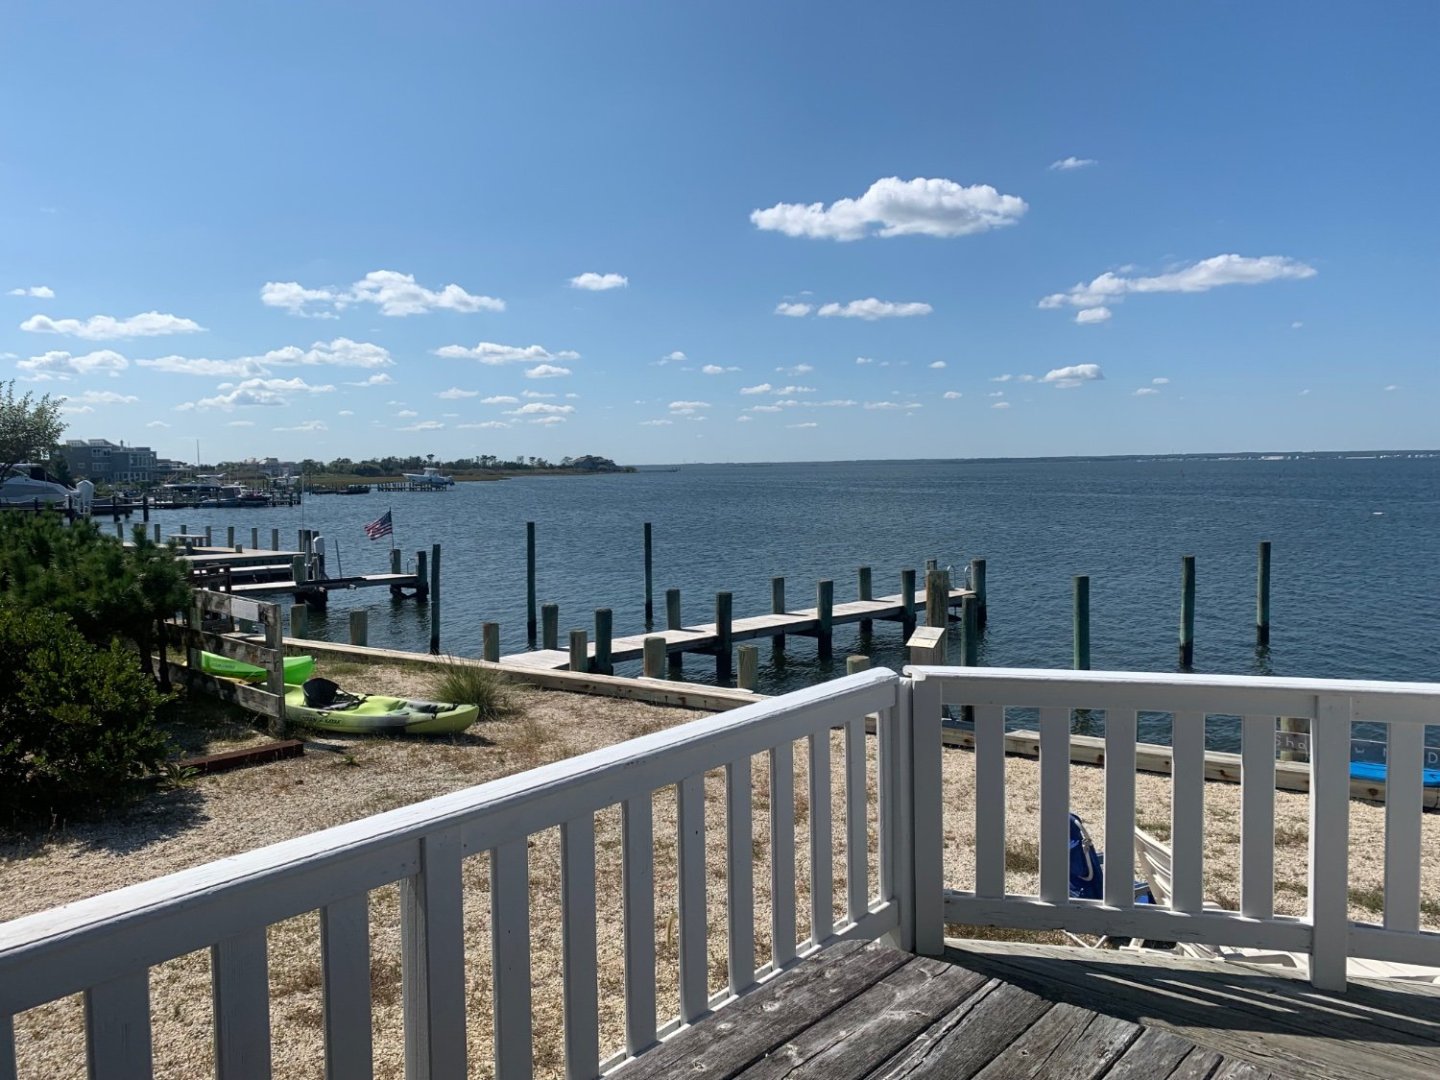
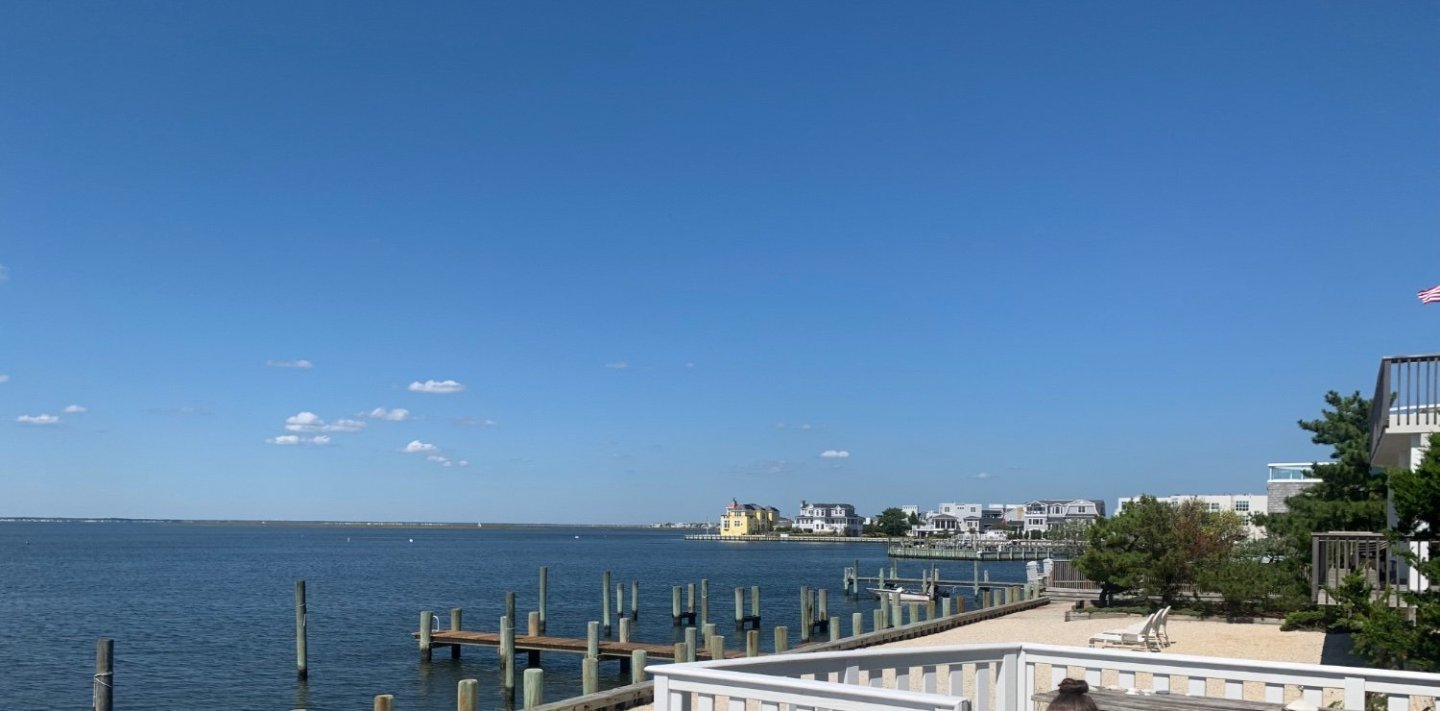
I am still at the beach!!! But the store is now reopened. All orders will be shipped on Monday. and from this deck with such a lovely view…been working on one of the new designs. There is only so much UNO you can play with the family in one week!! So a little design work on that Hudson River Sloop project seemed interesting while checking the crab traps every so often. A little Jimmy Buffet and some libations.

-
It looks good...its a little high but you should be OK. If you wanted to sand it down just a bit that would work...maybe 1/64" or 1/32" The other thing you could do is raise the transom height by just 1/64" as well. That would work too. But you should be good either way. Chuck
-
Yes indeed there will be.
-
I am so close to having blocks...the best available in stock on my website once again. I hope you will agree that the wait was well worth it. It shouldnt be long... I am going on vacation in a week or so but hopefully once I get back I can slowly start listing them as available. A much needed break down to the beach with my extended family. About 16 of us crammed into a house on the beach. Thanks for your patience in waiting for these...a small batch of each size initially but then more will follow pretty quickly I hope. Some sample photos.
-
Nicely done.
-
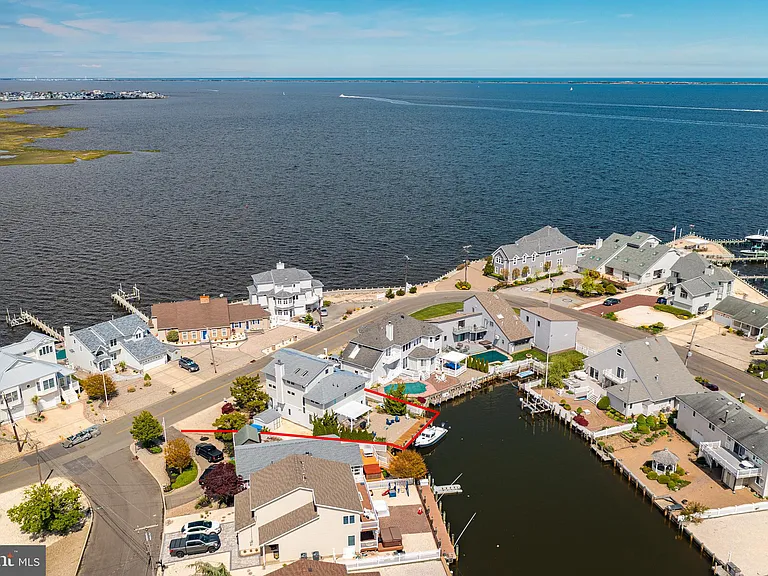
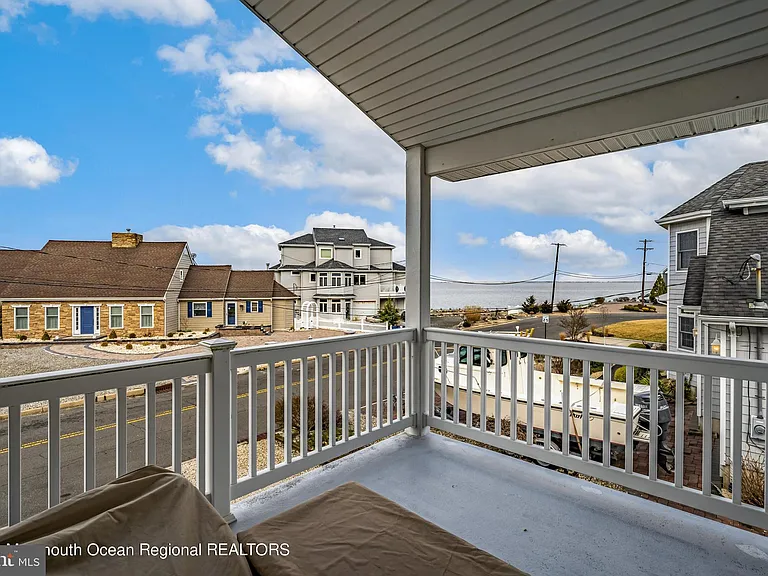
Gotta stay where the kids and family are… So the beach or near Long Beach Island New Jersey. But on the Bay side…Cant afford the ocean side for folks who know the area. Its very pretty and stress free…unless a hurricane hits, LOL. Just one of the areas we are looking…but essentially wherever the admiral decides…as long as I have a workshop I am happy. They liked this one but they change their minds a lot each time we look. I just go wherever they tell me drive..LOL
-
Thats where we will eventually be. The Admiral has me down there on weekends looking at potential new houses. With a little luck we will find a place where I can drop a few lines in the water in the early morning….and haul up some fresh crabs for lunch. its the Beach or bay in my future.
-
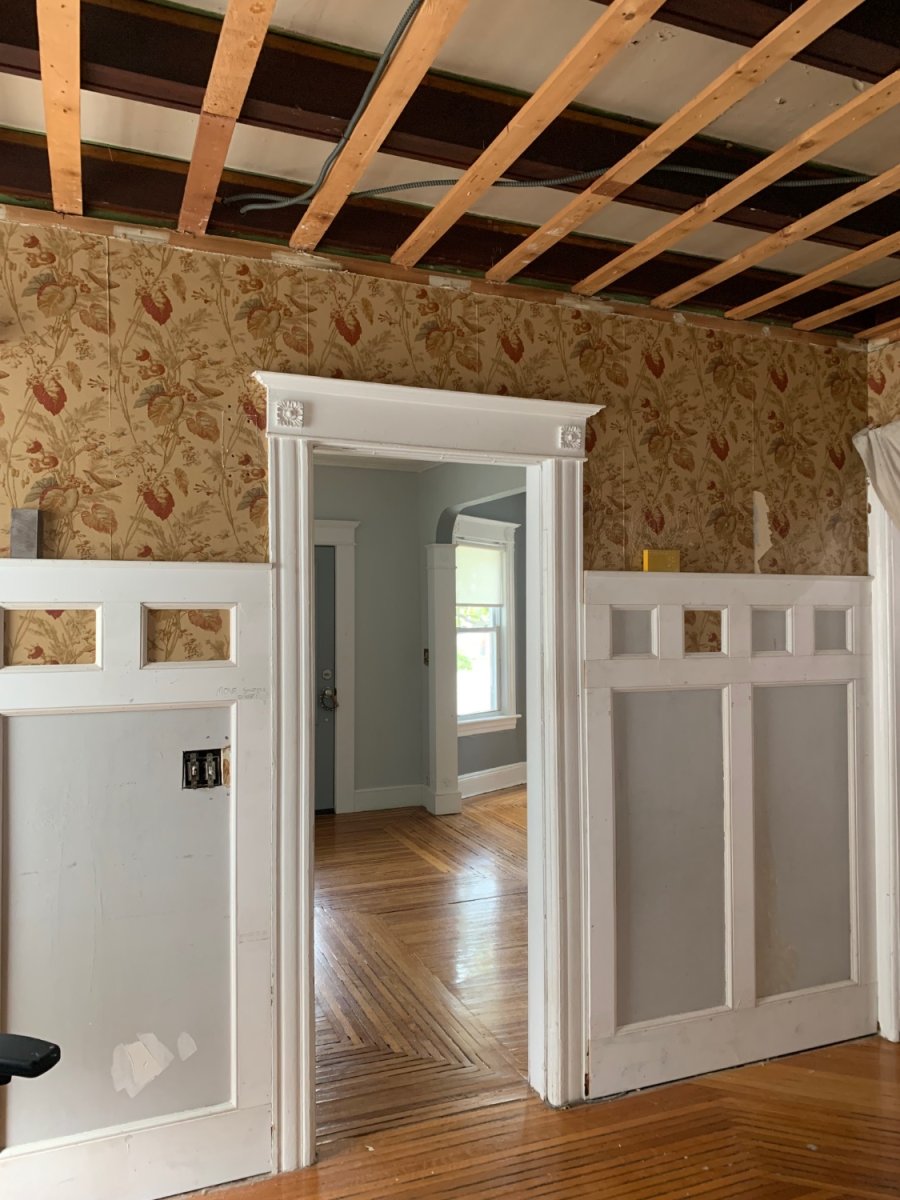
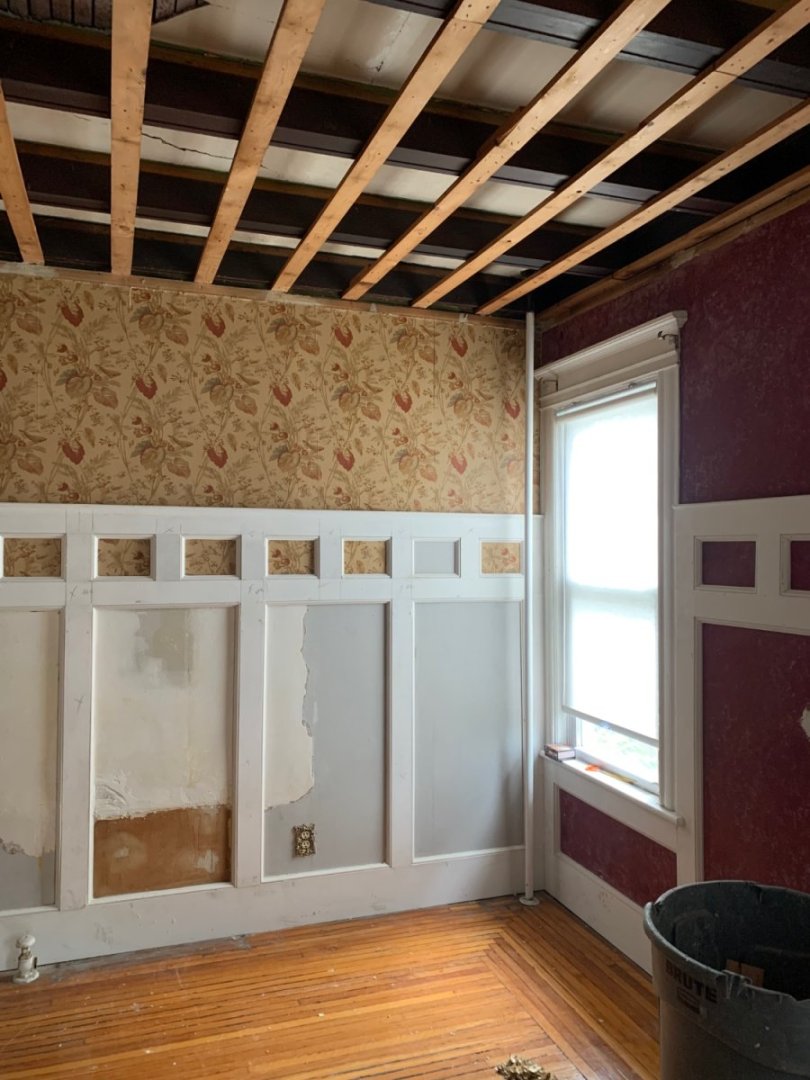
A mess….trying to restore as much as possible. We have the coffered ceiling too but sadly that may have to go. It has been pretty sucky this week but I see the light at the end of the tunnel. All just to sell it in the spring!!! No more old houses for me. Too old for this stuff. Plaster walls are a real mess. Again sorry for the delays restocking stuff.

-
Hey guys … Just a heads up. I am currently in the last phase of major renovations at my home and shop. One of the last things to be done is to update and replace all of the electric in my almost 150 year mess of a house. I must remove the knob and tube wiring. So without any electric for a few days I have to shut down the online store and shop. I wont be able to process orders. They say two and maybe 3 days max. ,LOL. Sorry for the inconvenience. Its a shame because I am now in the process of removing basically intact vintage wallpaper in my dining room. New wood floors going in today as well. So the shop hasnt been too busy. I cant easily work in there to replace stuff thats out of stock. The place is an absolute mess at the moment. See you guys when I come out the other end of this mess.
-
Wonderful…one of the best winnie models for sure.
-
No reason…if it works and looks good…go for it.
- 217 replies
-
- 1
-

-
- medway longboat
- Syren Ship Model Company
- (and 1 more)
-
Wow! She looks beautiful. You did an outstanding job. Beat of luck with move as well. Cheers Chuck
- 99 replies
-
- 2
-
-
- winchelsea
- Syren Ship Model Company
- (and 1 more)
-
Really nice!!!
-
Absolutely BEAUTIFUL!!! You should be so happy with those results.
-
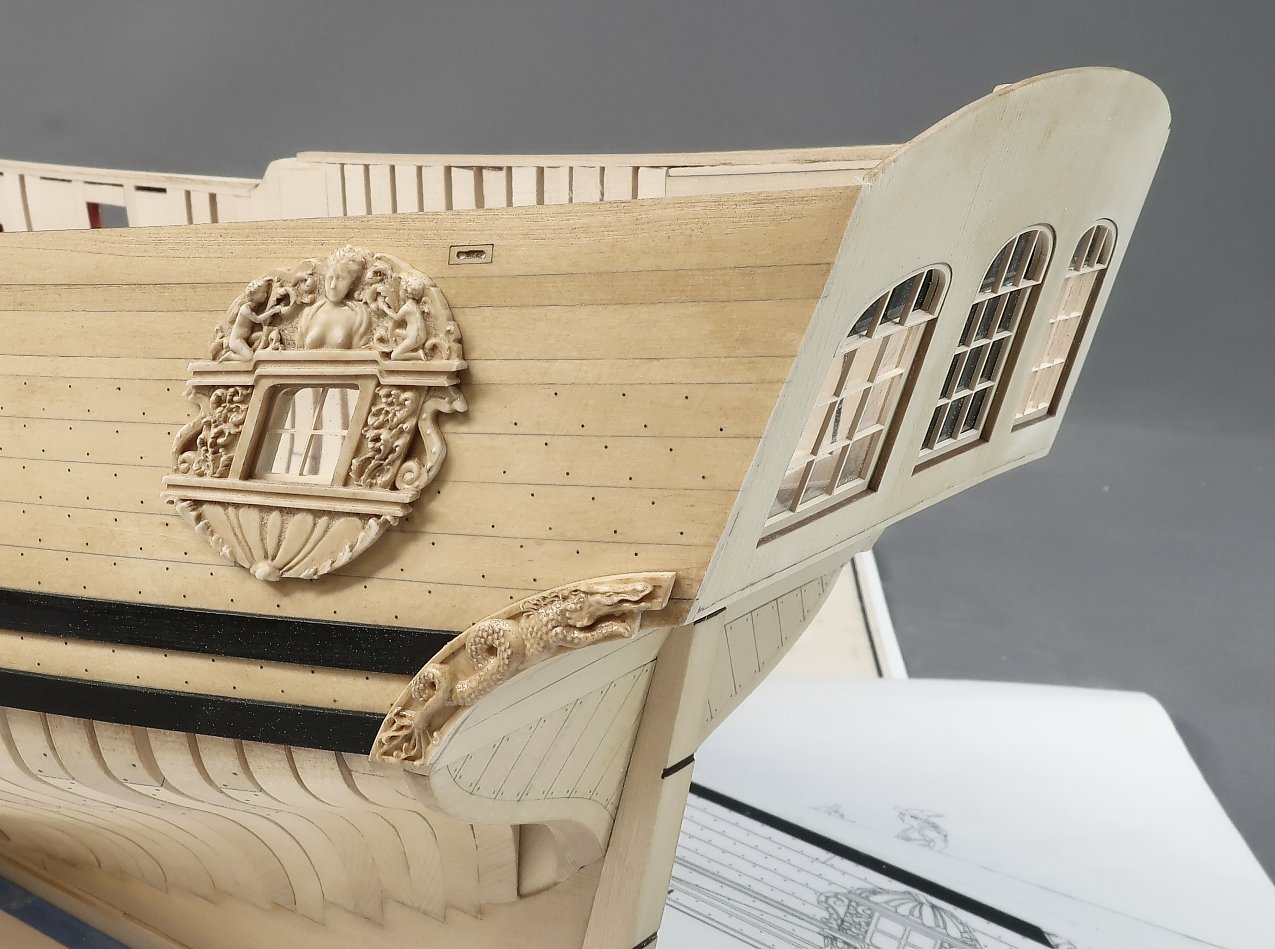
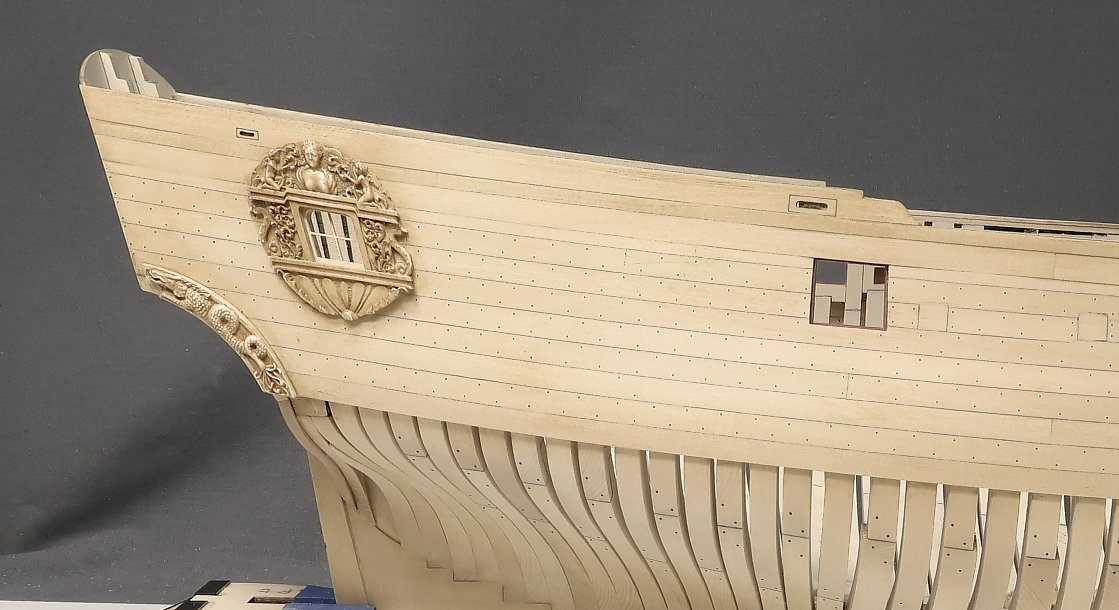
Thank you....Today I glued the qbadges on permanently. It needed to be done now so I can add the fancy molding on the hull and then the friezes etc. I working my way up to the sheer and cap rail. For the qbadge, some acetate was placed in the window opening first from the outboard side. Then the window itself which is laser cut on plastic as you have seen earlier. Lastly I added the qbadge so the roof molding on the badge lined up with the 3/32" wide planking strip. This will line up the badge properly with the molding I am going to add. This also shows the port side which I have been working on today. With the badge in position I added the 3/32" x 1/32" molding. I scraped the profile into these boxwood strips in the usual way. I created a scraper by filing the profile into an old razor blade. I will repeat this on the other side and then add the friezes to the side of the hull next.
-
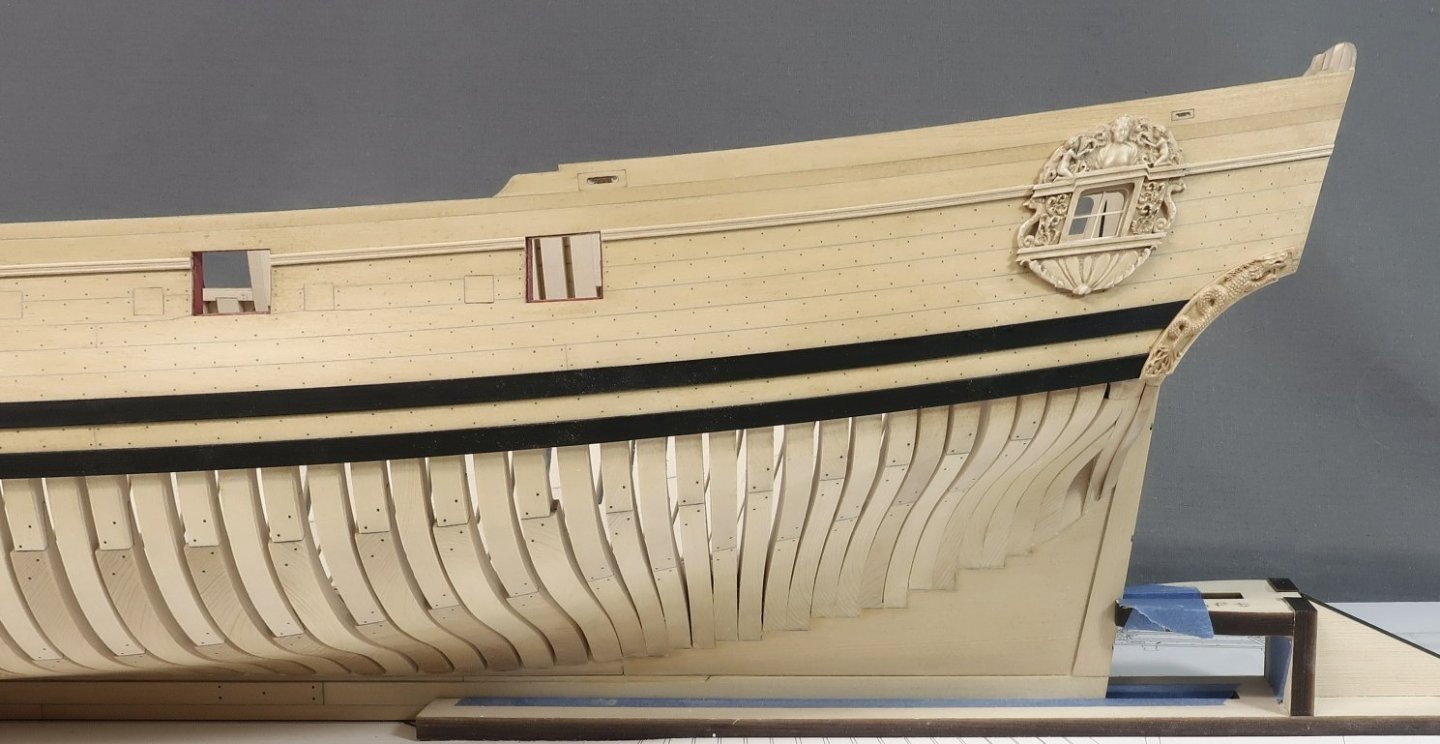
Thank you guys for saying... In preparation to install the second layer for the wales, the carved fashion piece was added first. This is a resin casting prepared in the usual way with gel stain. Like I did for the Winnie carvings. It is easier and cleaner to add the carved fashion piece first rather than have to cut and shape the back side to fit over the wales. I will add the fashion piece first and then just butt the wales up against the forward side next. The resin carving will bend to conform to the hull shape. No worries there. I glued the lower end in first and waited for it to dry using CA. This locked in pretty good so I could then push the top end of the fashion piece to bend it and secure it with CA as well. I filled any gaps with filler but there shouldnt be many. It should fit pretty tightly. Note that the QBadge is still just temporarily tacked in position. Its not permanent yet. Then I added the second layer of the upper and lower wales. I used 1/32" strips of Yellow cedar. You could use 3/64" thick strips as well but I am personally partial to thinner wales. I did knock-off the top and bottom edges of the wales to just soften them up. No hard edges for me. I also painted the top and bottom edges black before gluing them on the model. This keeps it nice and neat so I dont have to try and paint that edge on the model. It makes a big difference and its finally starting to look like a ship model!!! In addition to softening the upper and lower edges of each wale strip before gluing them on, I also tapered the forward end thinner. It should diminish in thickness to a thin almost knife sharp edge going into the stem. The taper started about 3/4” from the forward edge. I sanded it to a thin pointy forward edge so it appears to enter the rabbet as it should based on contemporary practice. It should appear to be the same thickness as the other planks entering the stem rabbet or nearly so. Then I proceeded to carefully paint the top layer for both wales strakes completely black. I use Utrecht Brand Acrylic...Mars Black this time around. Take your time with this and do it neatly because its a huge part of the overall look and feel of your model. I also finally added the finish to the model using wipe on poly and some "Old Masters" fruitwood gel stain. Up until this point there was no finish applied. This gives the wood a nice natural brushed appearance with some deeper color that I like. The cedar looks great after this application in my opinion. Wipe on poly was added first...then some gel stain. The gel stain was wiped off immediately after applying it so it wouldn't get too dark. By "re-wetting" again with some wipe on poly, and buffing it off you can achieve a nice "brushed appearance". It doesnt look too sterile or yellow in case you want a different look. I wanted to try something different this time around. Just compare the planking and frames in these photos with those in my previous post to see how different they appear. It is subtle, but you can see the difference. Next up some fancy molding....and odds and ends.


-
Mike...Looking great. Cant wait to see you start making progress. I have seen some of Mike Shanks progress on the development of this project...happy you started a build log here. Allan...this is just a small group of model builders that got together and made a few kits for their little group. It is not a commercial kit. There are about a half dozen participants, maybe a few more. I think Pat...Banyan is also building one but I am not sure. Hopefully he will start a log as well. Chuck
- 47 replies
-
- 3
-
-
- Fubbs
- Weasel Works
- (and 1 more)
-
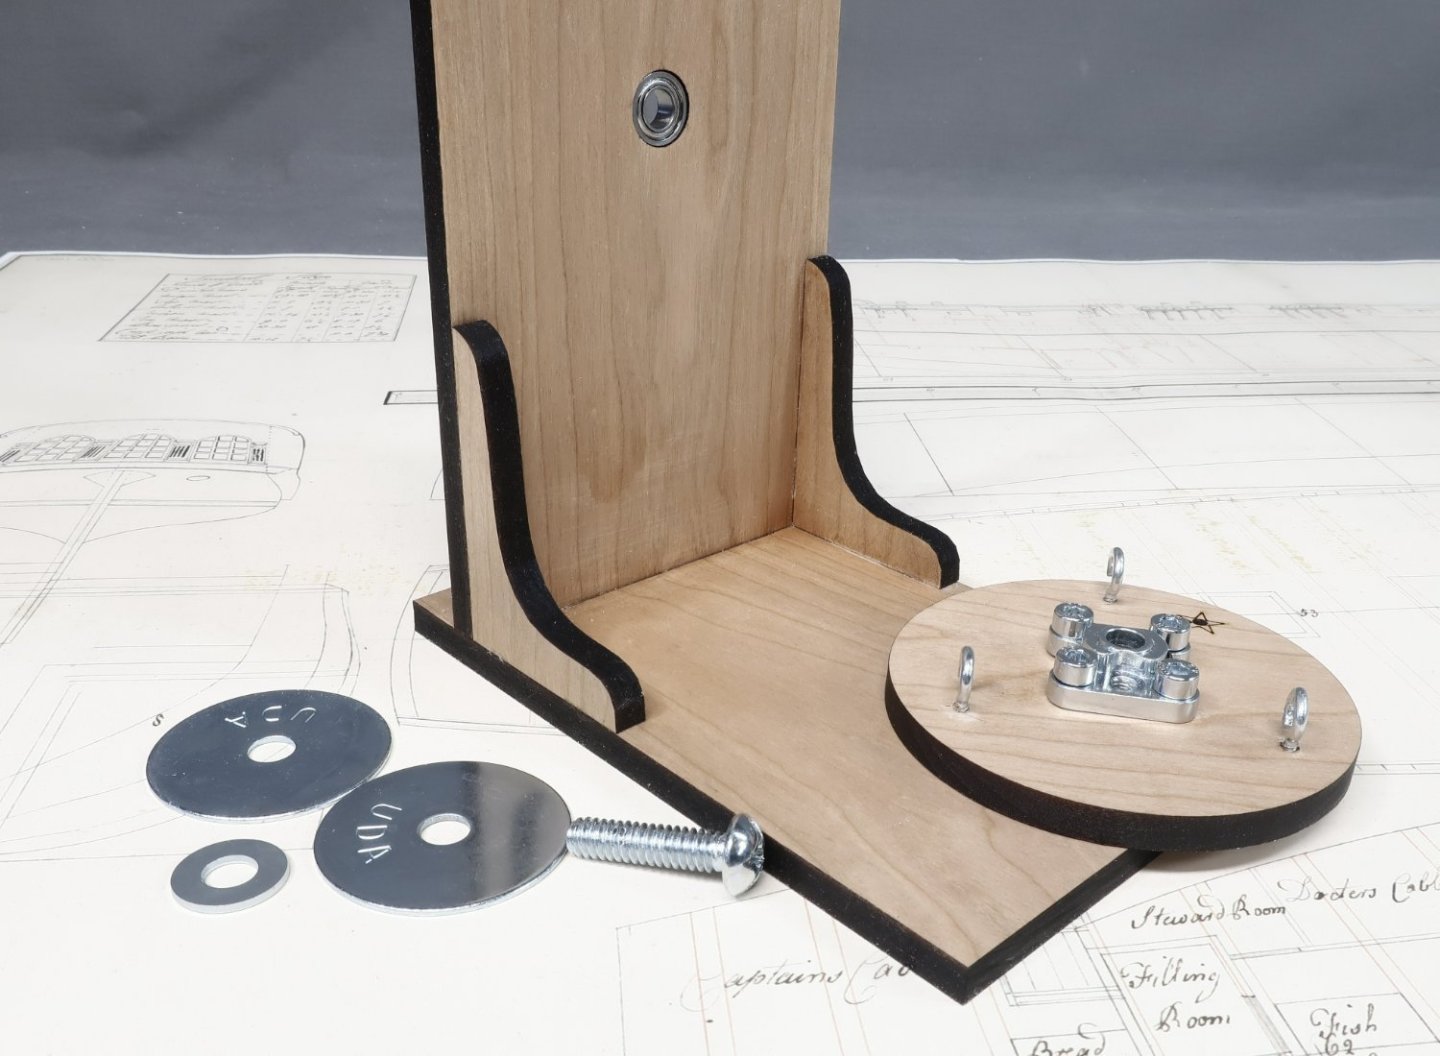
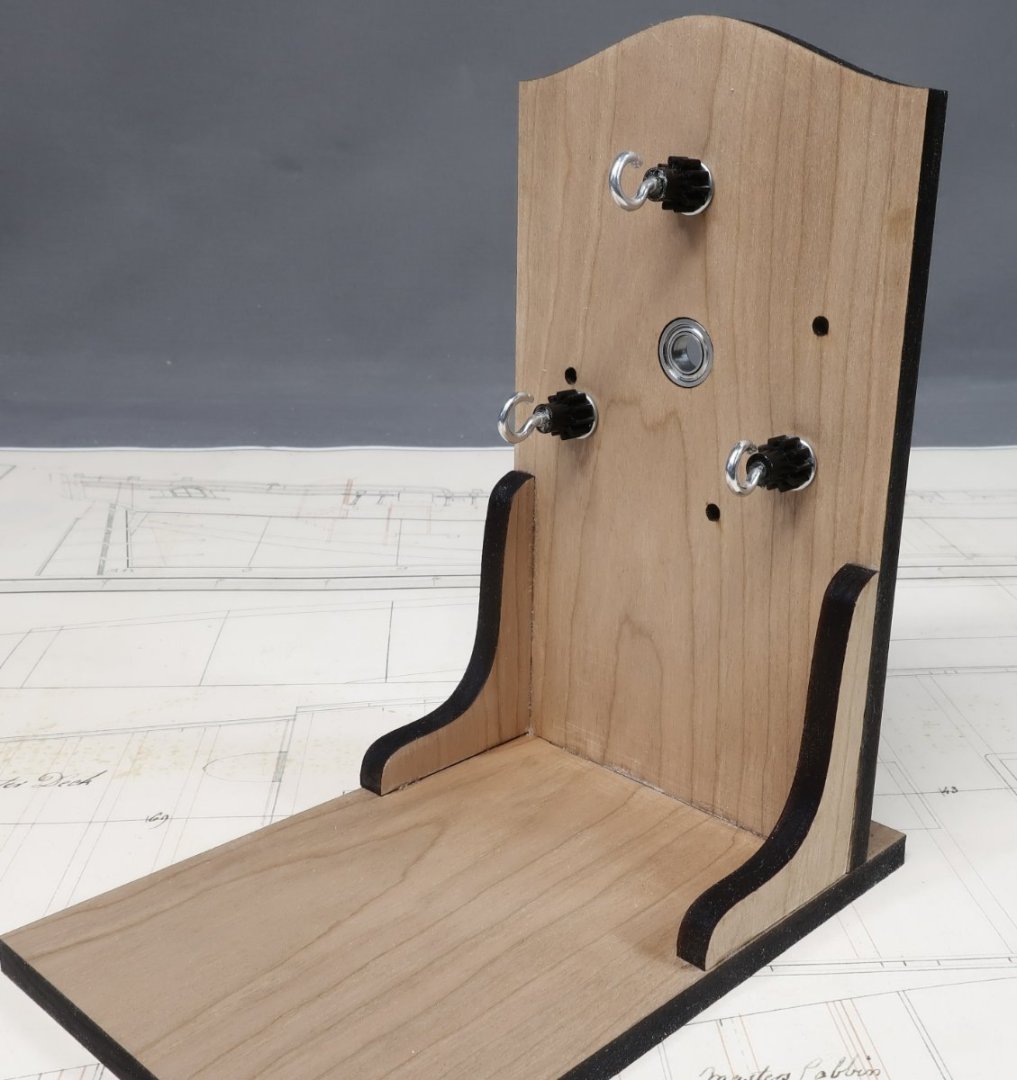
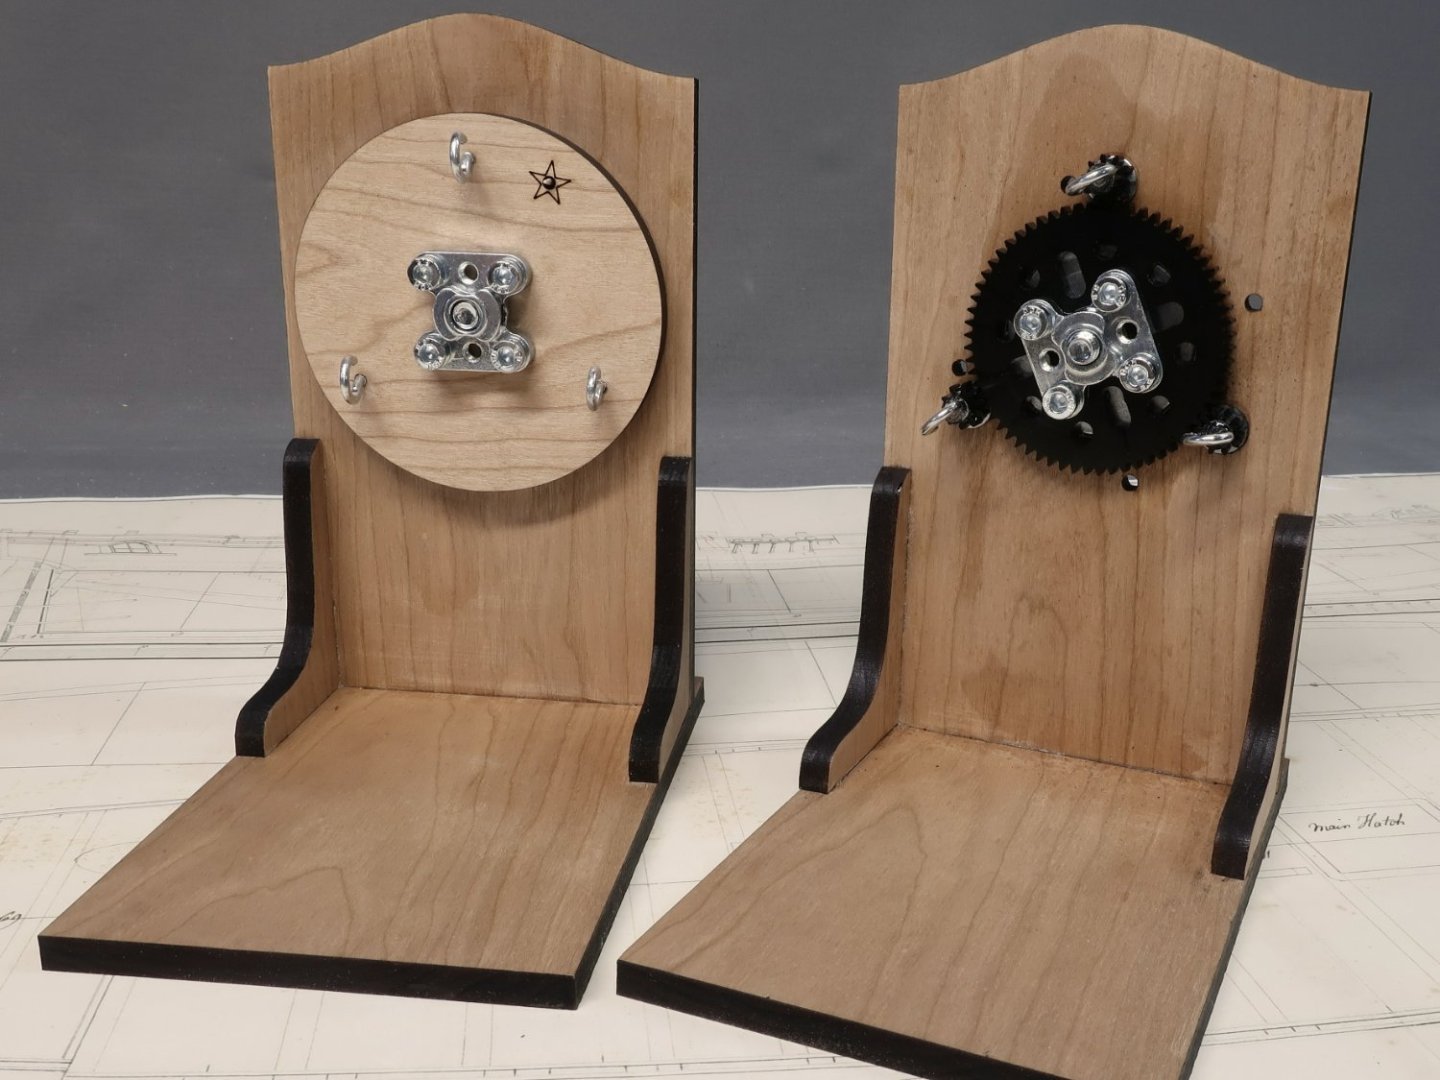
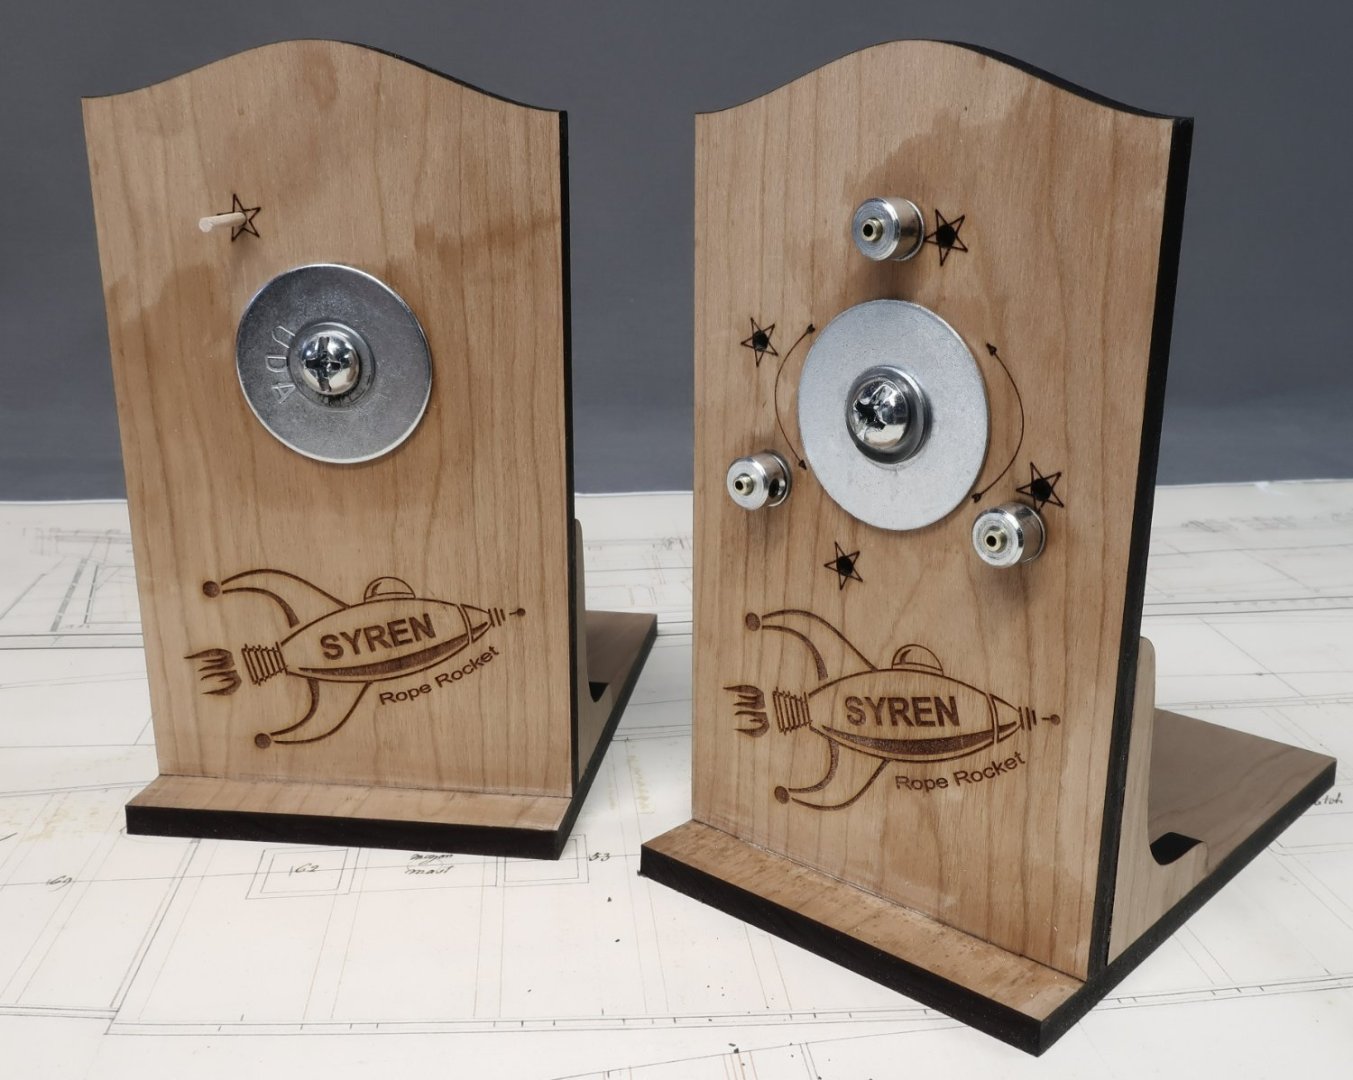
Some of you guys may have noticed the announcement on my website about the ropewalk availability. Its been a while. Long story short, yet another supplier who discontinued making all the gears and all of the hubs and hardware I used to make the ropewalks. No warning...they just discontinued them. But fear not....I have sourced new gears and hubs and hardware. Of course they are a different pitch diameter and with a different hole configuration etc. Basically I had to redesign the entire ropewalk. It is essentially the same machine as the size of all the parts just changed. But new drawings and files were needed. I did make the Rope Rocket a bit taller in this new version 2.0. I also added some bearings. This makes for a quieter machine and imagine it will also extend its life. Although nobody makes as much rope as I do on these things. In fact I am still using my 8 year old version 1.0 machine and its still kicking after hundreds of miles of rope. I am putting the new version 2.0 Rope Rocket through its paces right now. Its all going rather well. Like I said its the same basic machine. The gears are about 2mm larger in diameter this time. Here is a pic of a freshly made machine. I must write new instructions. You can still swap to a 4 strand rope as well just like the original. These two pics show the bearings in position which makes for a smoother ride. So if you were waiting for the new V2 Rope Rocket, it wont be long now. I just have to write the new assembly instructions and make a bunch of them. Same great taste!!! You really wouldnt notice any change if you dont have both versions. Makes pretty fantastic looking rope....same operating instructions. slightly different assembly instructions. The downside....its $8 more expensive than the original version 1.0....Of course it is, LOL That just couldn't be avoided in this day and age. Supply chains is a real tough nut these days. And yes I kept the fun imagery of the Rocket on the back side of this version. I didnt bother adding a finish to this v 2.0 test but its the same beautiful solid cherry. Maybe I will give it a coat of wipe on poly....but mine will get bloody filthy in a few weeks anyways. So it doesnt matter.
-
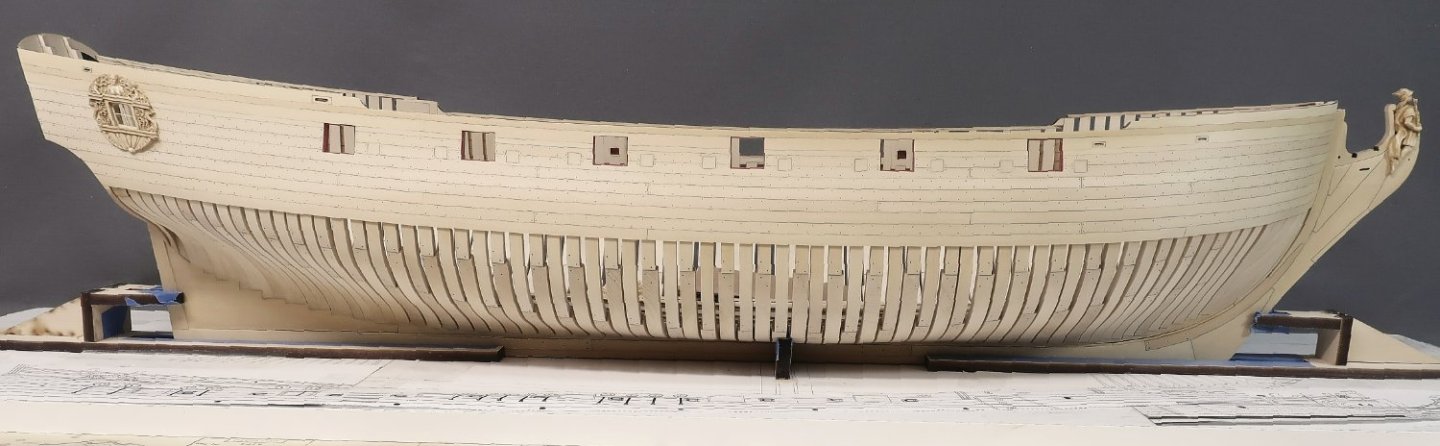
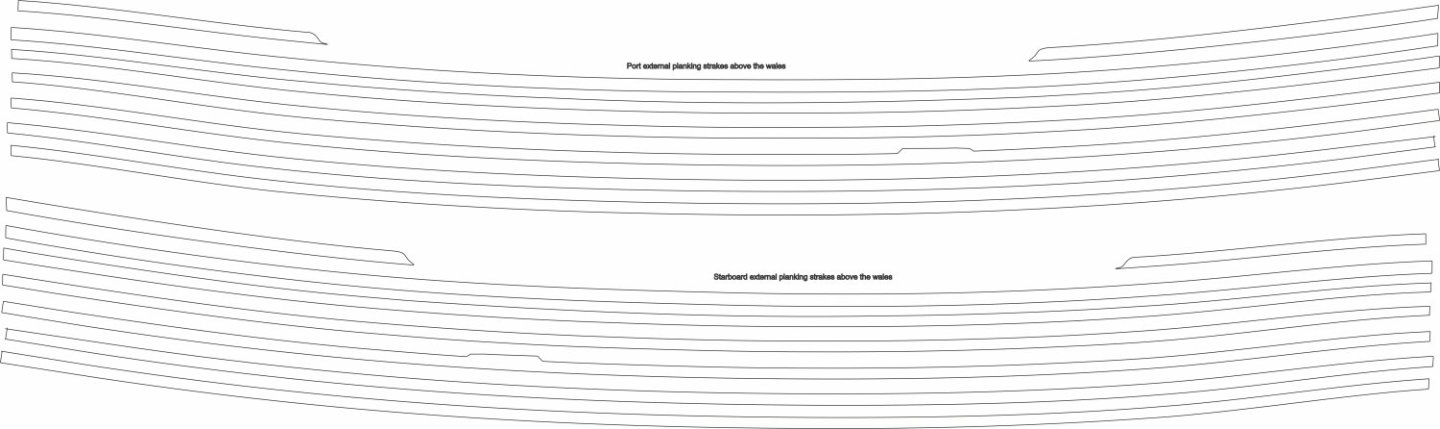
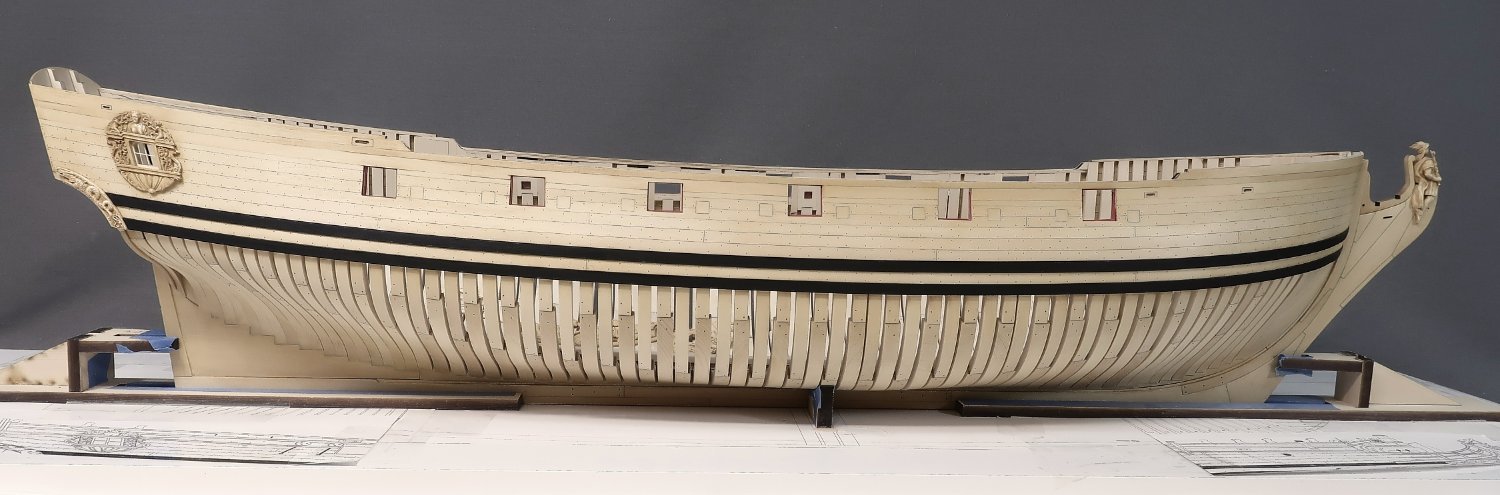
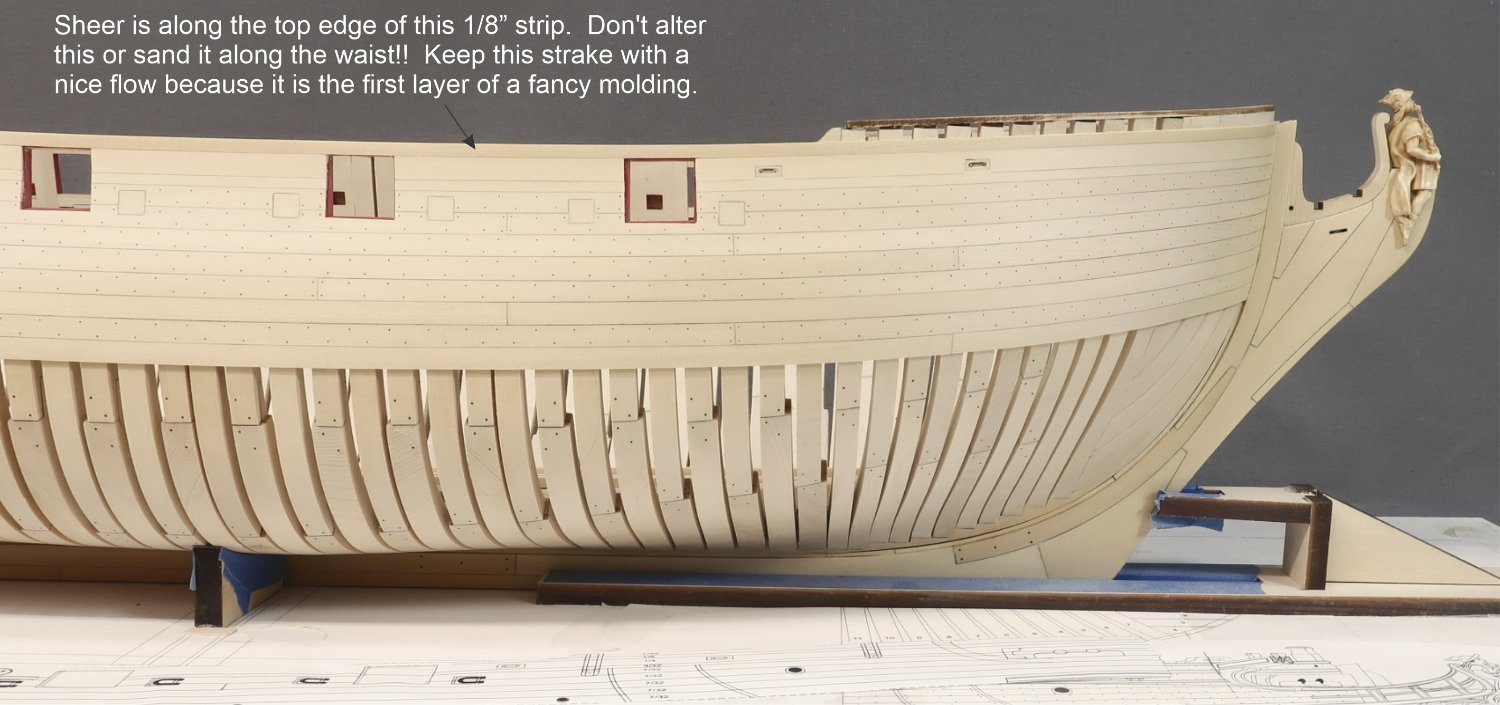
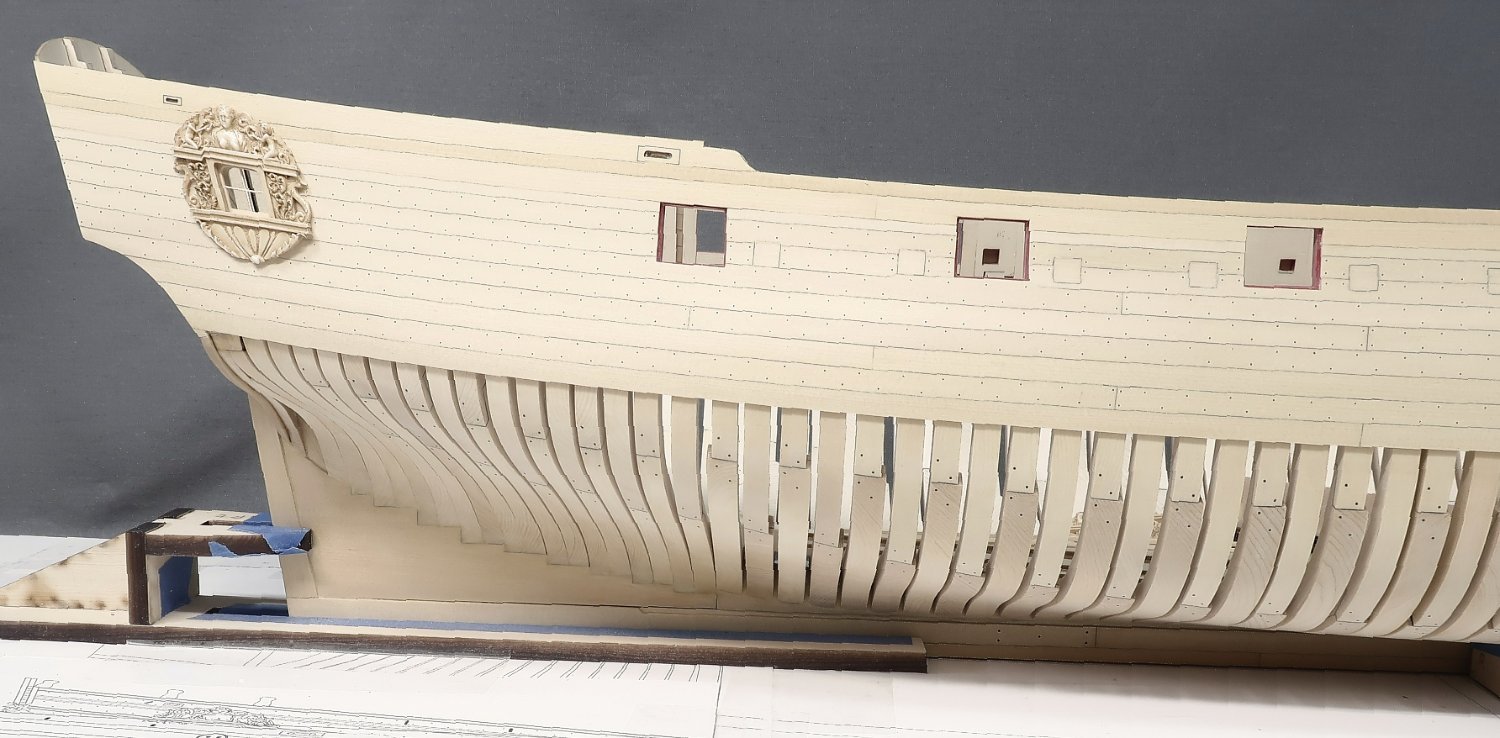
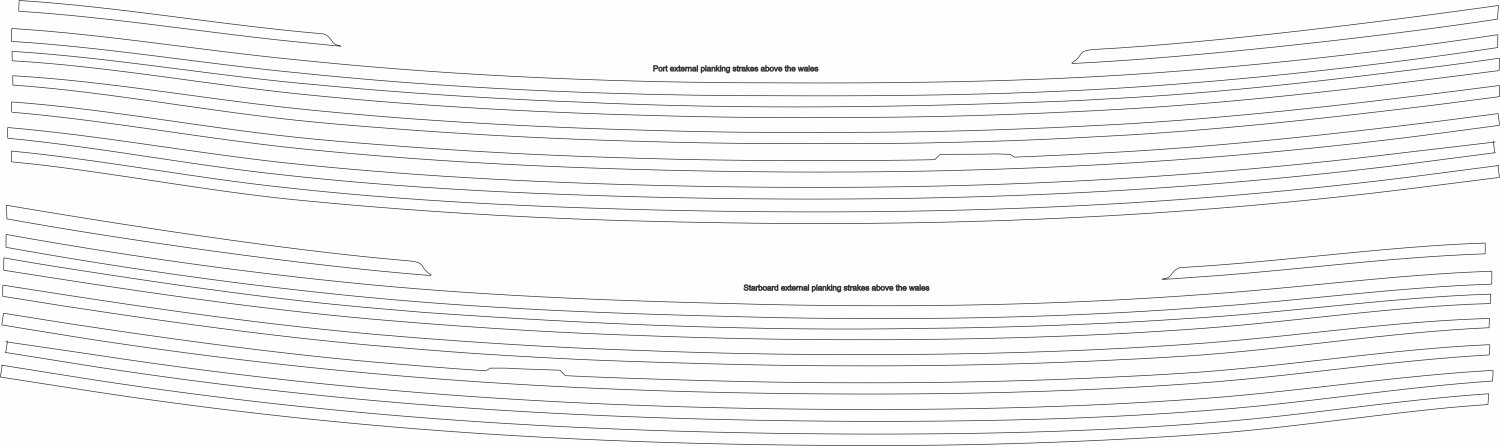
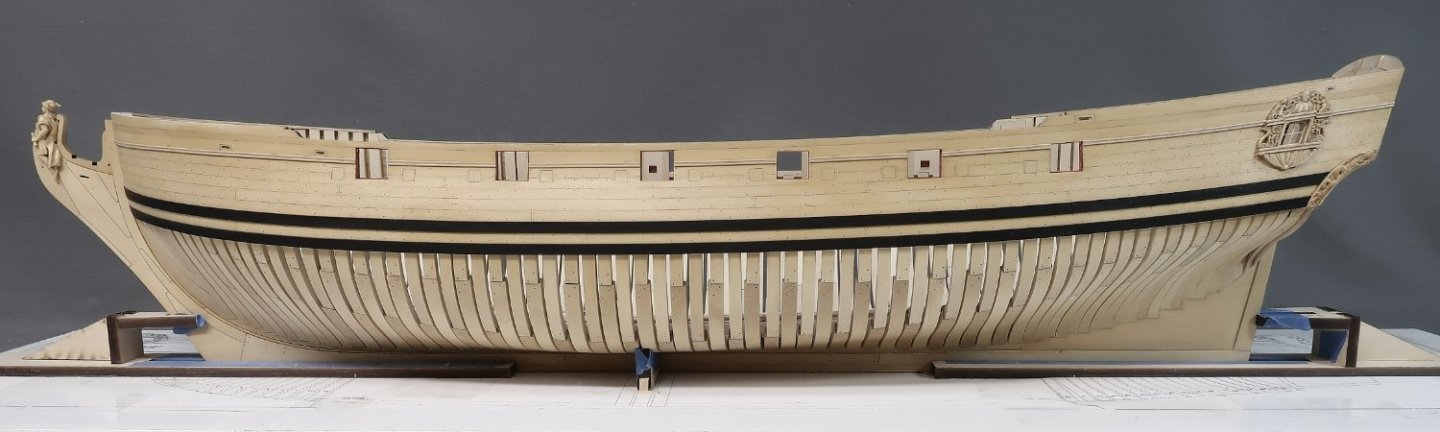
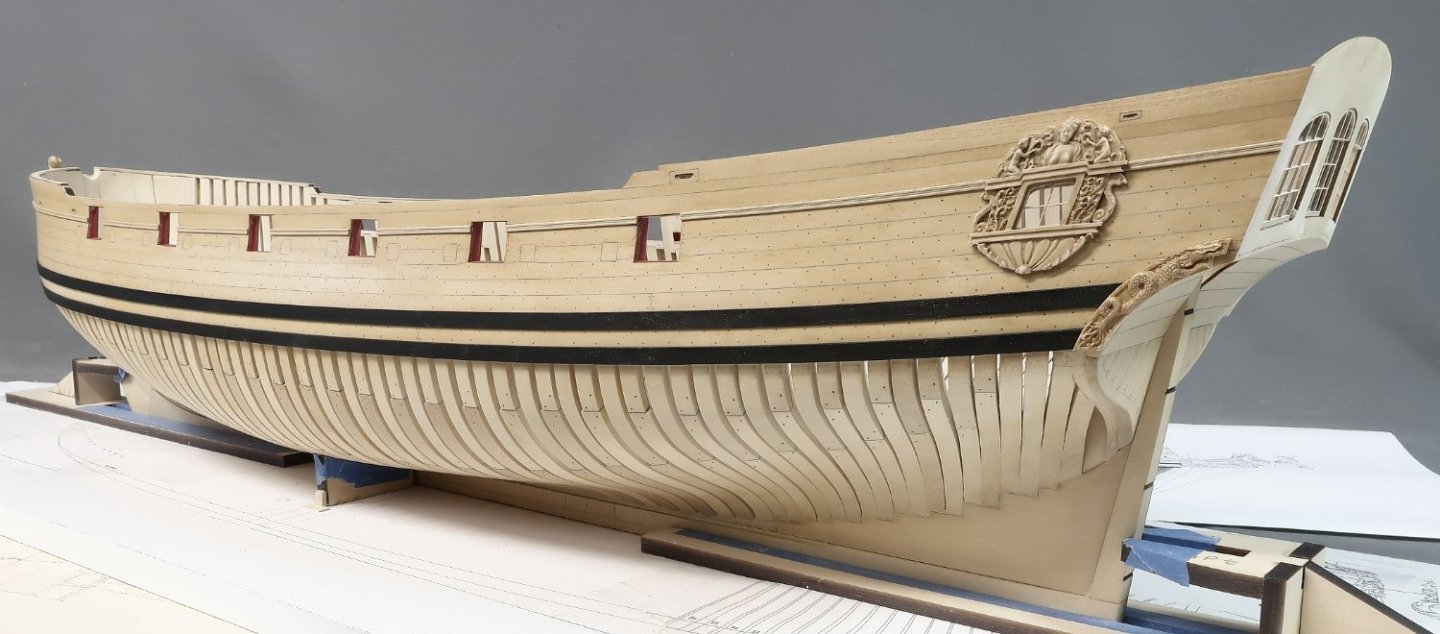
After finishing the treenails...finally, I continued to plank up to the sheer. This meant one more 1/4" wide strake to cut around all those ports. It wasnt too bad to do. Then another stake of 1/8" wide planking which is the first layer for a fancy molding strip. We will add that soon. The top of this 1/8" strake and molding is the sheer. The top of this along the waist should NOT be altered or sanded down. You want to maintain that ice continuous and graceful flow for that molding strip and sheer. If for whatever reason your planking in the waist ends up slightly higher or lower that is OK. This is tough to plan out exactly. The top edge for me along the waste was about 1/64" higher than the sheer I sanded into the framing and fairing cap. Thats is perfectly fine and it is best not to sand the strake down to match. Best to keep a nice flow and even width to what will become a molding piece. Hope that makes sense. Then I planked along the drifts fore and aft to complete the external planking on the starboard side. I will repeat this on the port side next. The Qbadge and window for it are just lightly tacked in place for the photo. That wont be glued permanently yet. Note where you would see the scrolls along the waist. On Speedwell they are different than on a frigate like the Winnie. Therefore a different approach is needed with them. So you will notice how the planking drifts along the waist are stepped. This shape will allow for the addition of the scrollwork later where it will make perfect sense. Once I complete this on the other side I will begin adding the second layer of the wales painted black and the fashion pieces. Then the fancy molding will be added outboard. All of the planking should be relatively easy. Aside from the detailed expansion templates (below), I also created an expansion of every single planking strake above the wales individually. They have the tapers needed on each of them. This can be used to literally cut the exact shape of every strake from a 3/64" thick sheet of Yellow Cedar if you chose to. Even the drifts are included. You will still have to cut them around each gunport and break them into individual lengths depending on where your planking step pattern is. You can use the plans to find those. There was no need to create an expansion drawing for the 3/32" and 1/8" wide strakes that represent the fancy molding. I just ripped those on my table saw as they are not tapered and easy to plank with being so narrow.