-
Posts
9,726 -
Joined
-
Last visited
Content Type
Profiles
Forums
Gallery
Events
Everything posted by Chuck
-
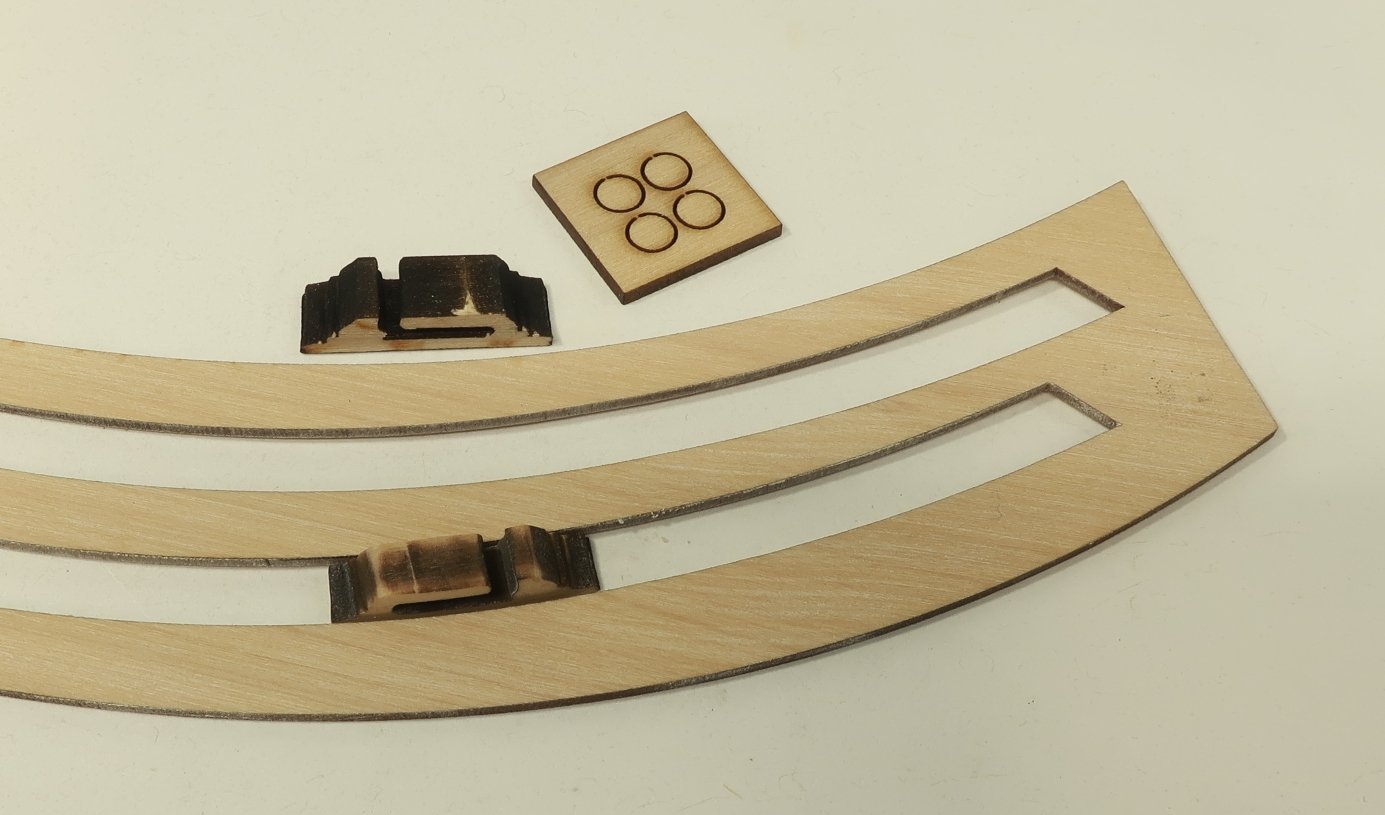
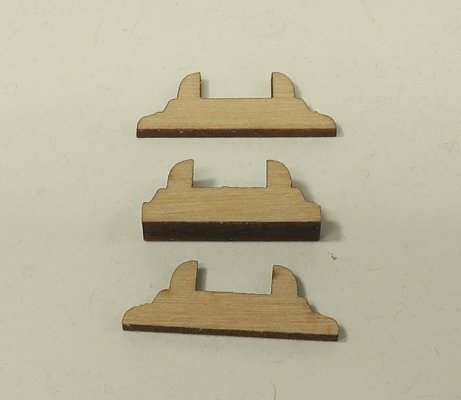
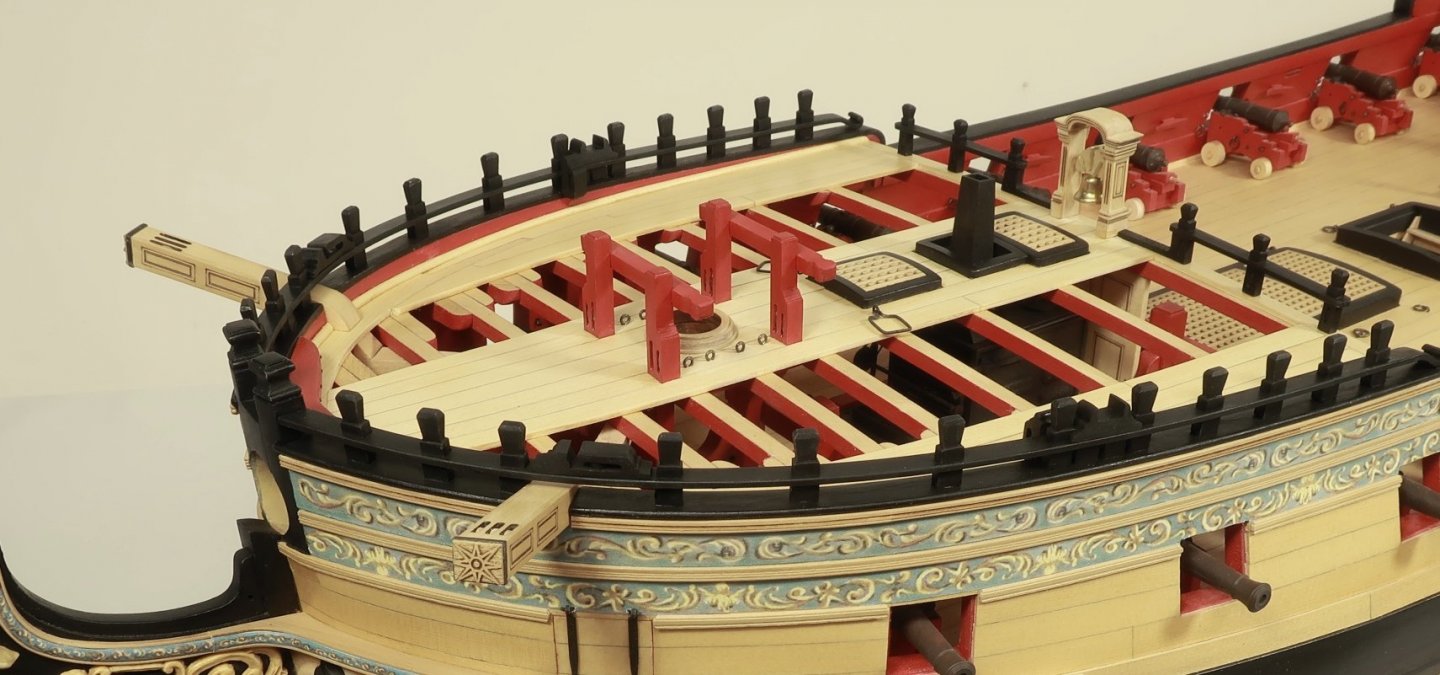
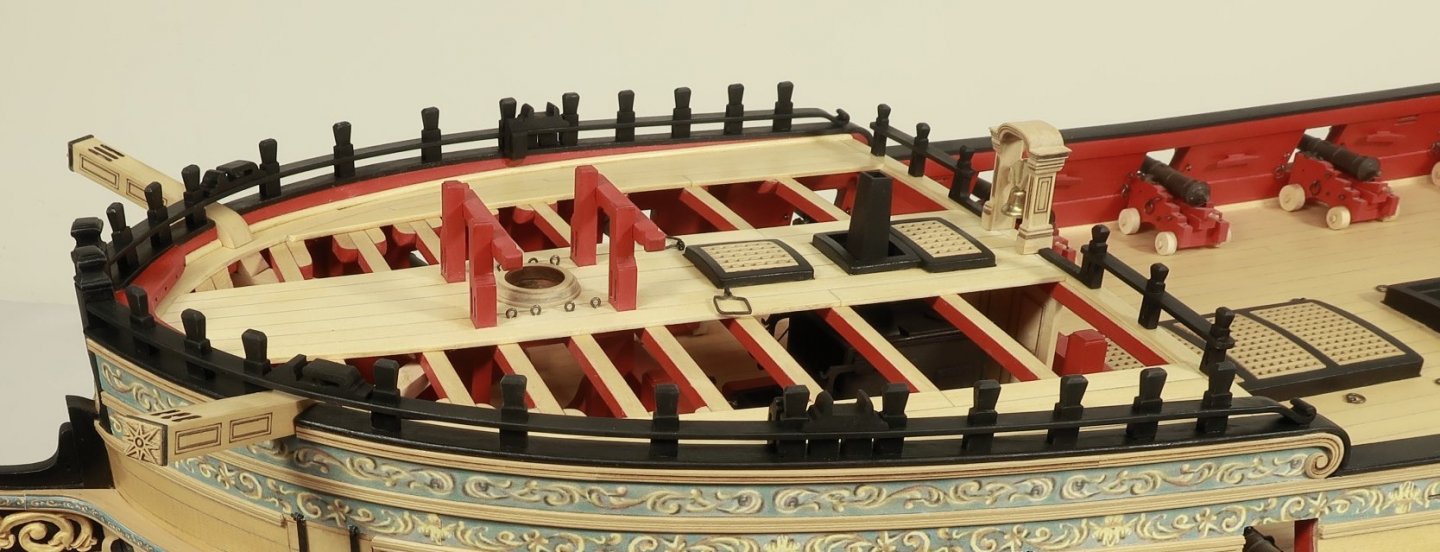
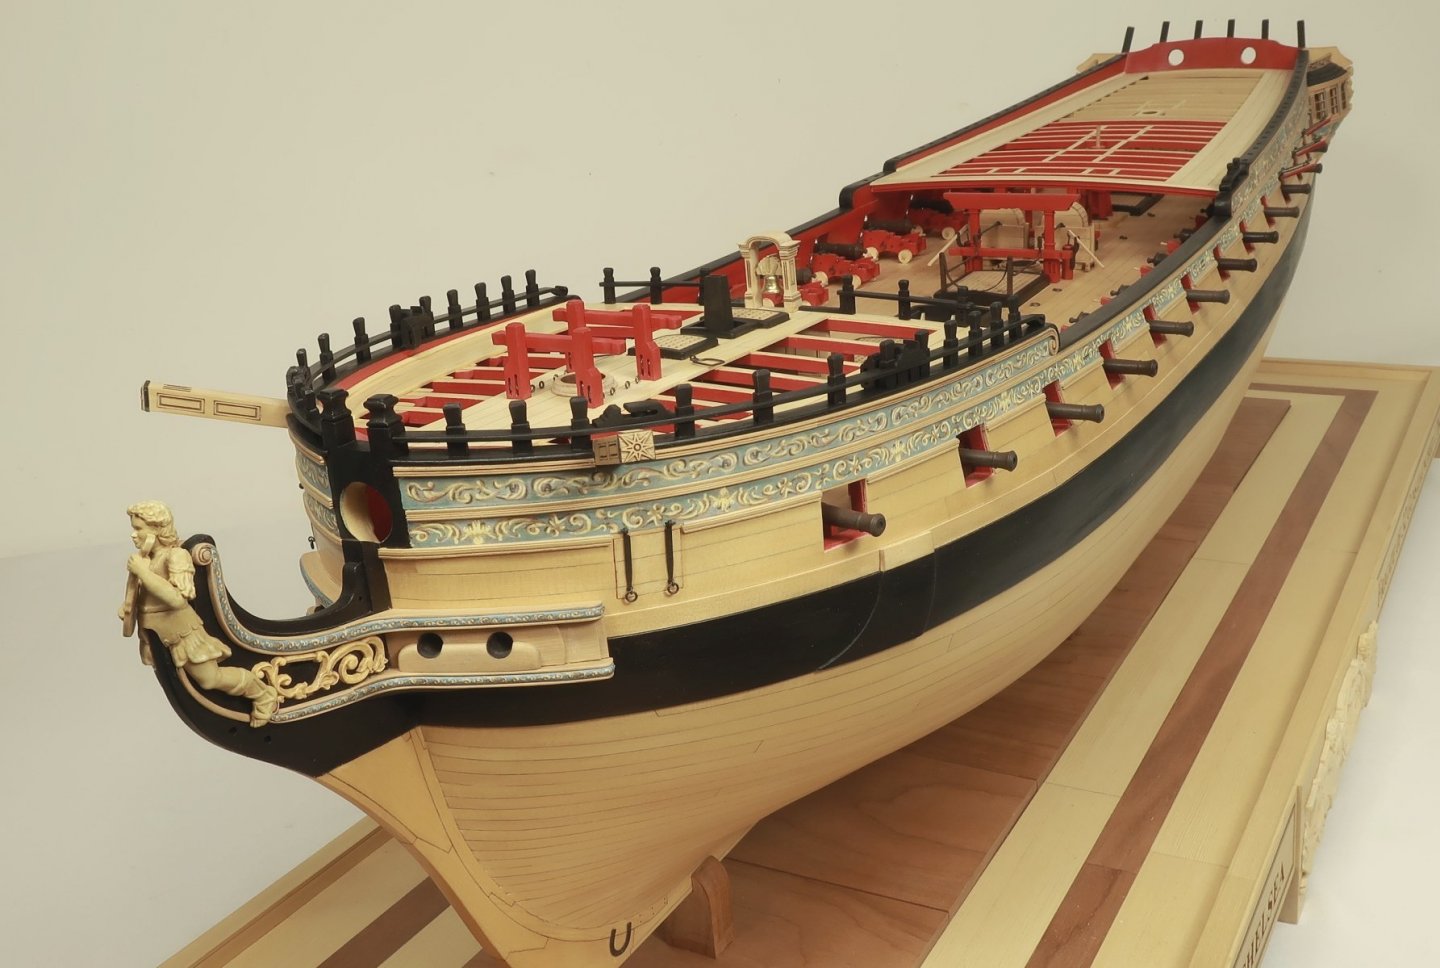
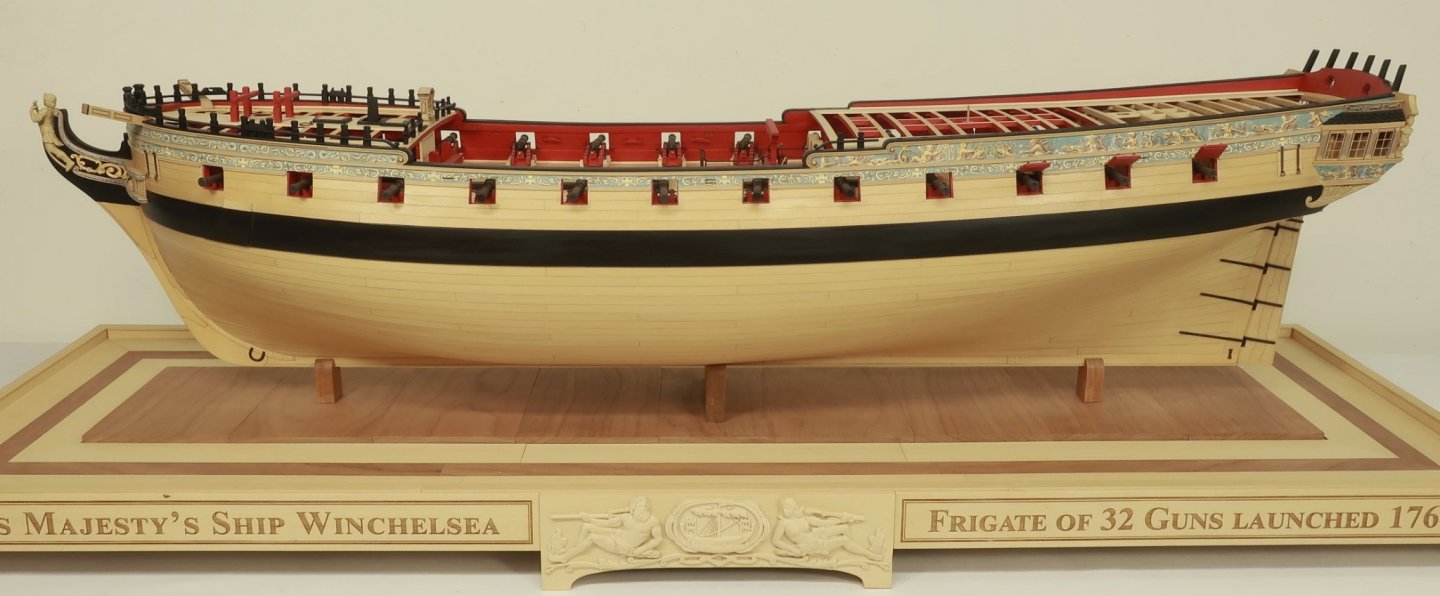
I finished up the fcastle rail on the starboard side. That left only a few fittings to make which are all added to the fcastle rail. These include the spanshackle cleat. This is made in three laser cut layers. It will be painted black and positioned on the rail following the plans. Under this cleat are two posts to help support the rail. There is also the "cat block" . This is laser cut and is 1/4" wide. But you will need to sand a curve into it that matches the curve of the rail. If you saved the laser cut sheet for the rail this is perfect for tracing the shape. Then sand it carefully to match. Insert the small sheave and paint it black. The last remaining fitting is another sheave as part of cleat....I am having a brain fart and recall its name currently. It is positioned along the bulwarks on the inboard side of the spanshackle cleat. This has been laser cut also and all you need to do is add the small sheave disc. Then paint it black...but below the caprail it should be painted red. You can see it in the photos below. In addition I have added all the eyebolts and the spanshackles. The spanshackles are made from 22 gauge SQUARE wire. If you cant find any square wire you can use regular 22 gauge wire. Use the plans to find the locations for the eyebolts and the size for the spanshackle. This pretty much finishes the fcastle details and chapter 9. The only thing I have yet to do is the cover boards for the stack opening. Those should be made out of any scrap 3/64" thick strips or sheet. This wont be laser cut because everyones stack will be positioned slightly different. Some overall pictures of the hull up to this point. Next I will start chapter 10 which is finishing up the qdeck details and rail.
- 1,784 replies
-
- winchelsea
- Syren Ship Model Company
-
(and 1 more)
Tagged with:
-

2021 NRG CONFERENCE
Chuck replied to kurtvd19's topic in NAUTICAL RESEARCH GUILD - News & Information
Yes, it was announced….. just a few posts back in This topic actually. -

2021 NRG CONFERENCE
Chuck replied to kurtvd19's topic in NAUTICAL RESEARCH GUILD - News & Information
The 2021 conference was cancelled. Nobody will be attending this year. Looking forward to 2022 however. -
If you can find the black fishing line. Its cheap enough. Get a range of weights. I think 15lb might be a bit small for keel bolts. Probably 20 or even 25lb is more appropriate. I have a large stock of the stuff from 10lb all the way up to 60lb. The brand is Sunset Amnesia. https://www.ebay.com/itm/154155421343?epid=1412250970&hash=item23e4610e9f:g:zHkAAOSw5Z1fkaGO
-
Its not anything I can recommend. I use medium CA and that works for me. But it will be different for everyone. You should try all three and then pick the method that works best for you. Chuck
- 1,784 replies
-
- winchelsea
- Syren Ship Model Company
-
(and 1 more)
Tagged with:
-
Jim is correct in that those cross sections are made by Unicorn which is one of the largest pirate mfg’s in China. They have stolen designs from many others such as Amati, Panart, Mantua, Corel etc. And yes the Druid kits you mention are copies and knock-offs of Harold Hahn’s Druid plans although reduced. They are 1 to 1 copies actually. Their kits are not allowed on MSW. Purchasing them means giving monetary support to them. And yes they are cheap, as is typical of Chinese products.
-
Its coming along. A little tip...Its much easier to sand both faces of the parts BEFORE you remove them from the laser cut sheet. Its stays nice and flat and you can just run some 320 grit on both sides of the parts to clean them up perfectly. Especially if you wont be removing the char from the cut edges. You can even use a sanding block without worrying that you will round off the edges.
- 840 replies
-
- winchelsea
- Syren Ship Model Company
-
(and 1 more)
Tagged with:
-
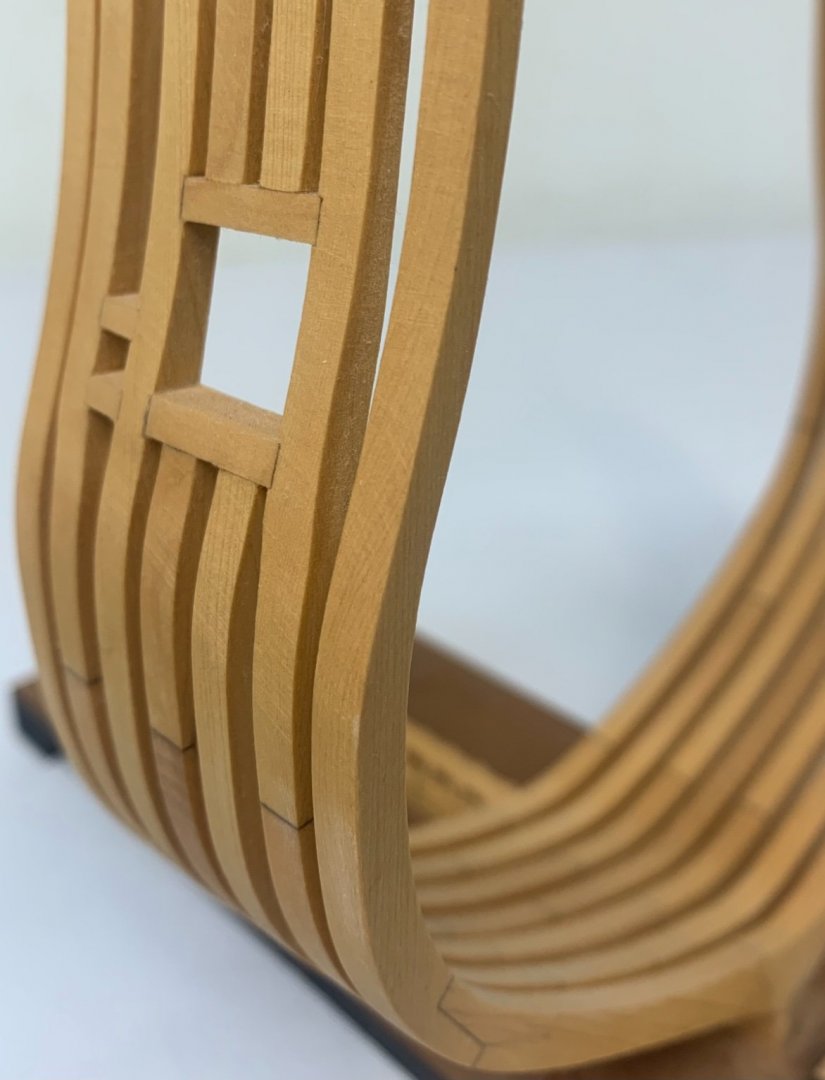
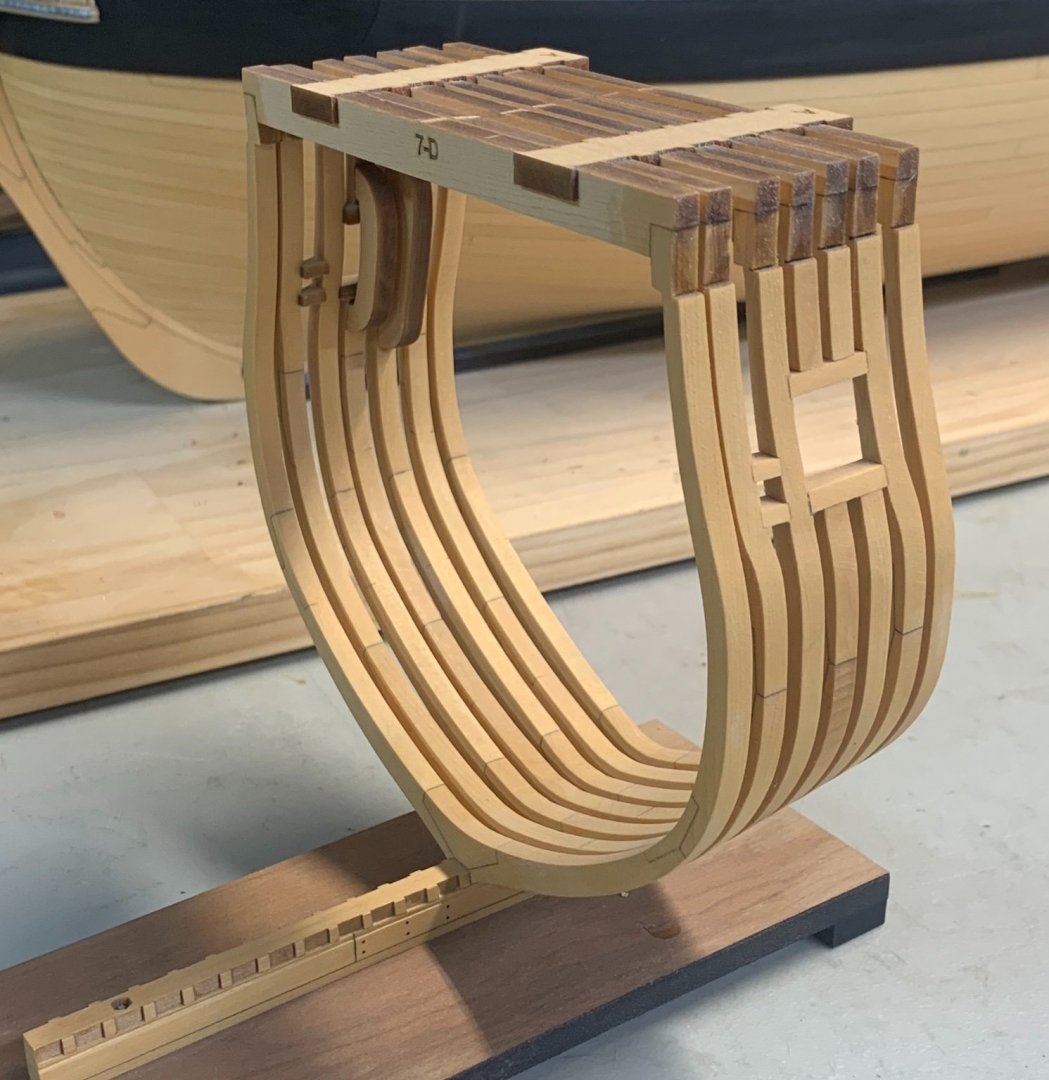
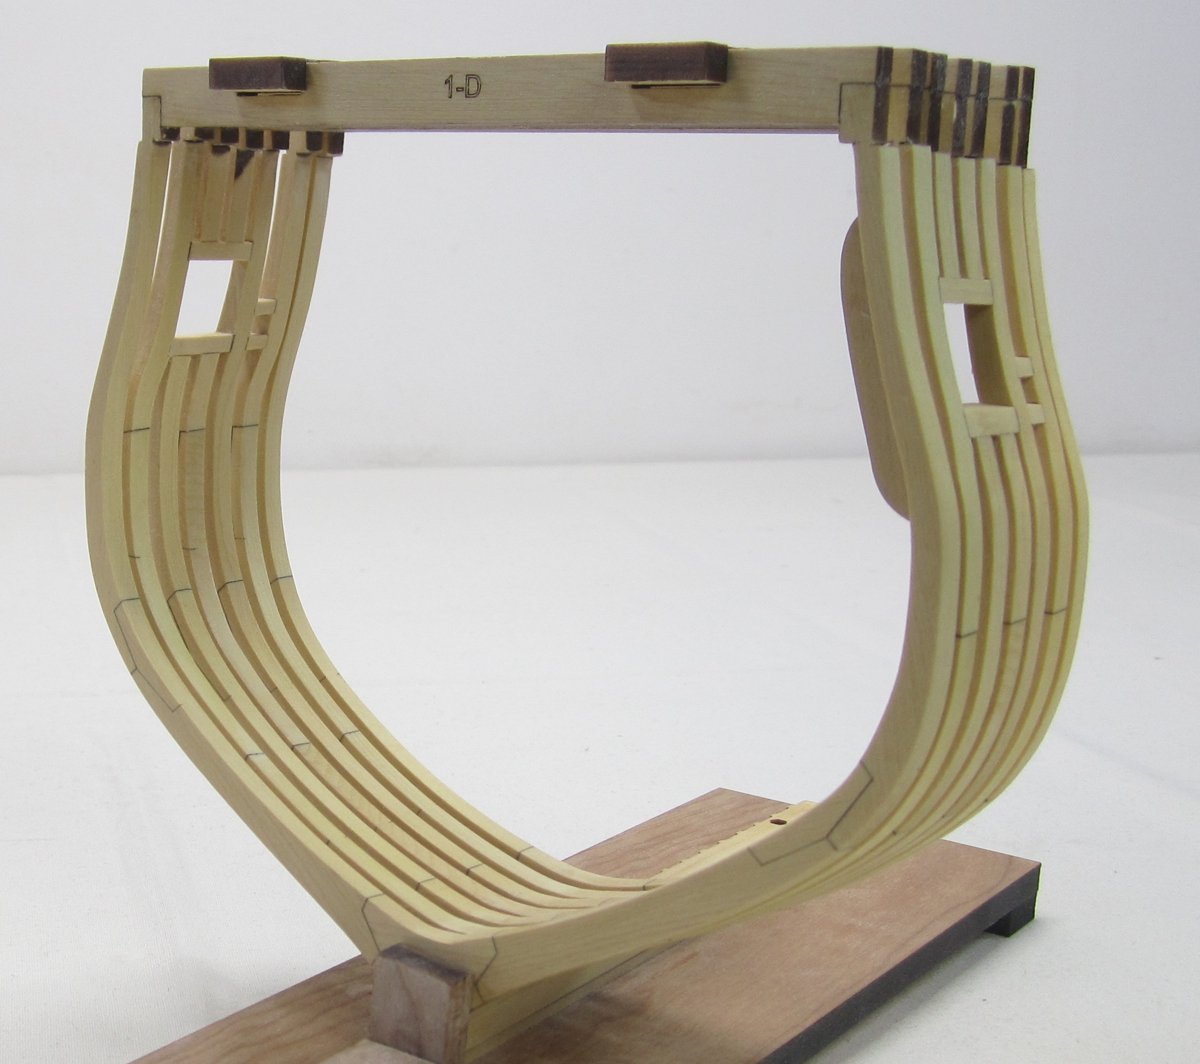
Just a quick photo of work that has been sitting in a dark corner for many years. this is Alaskan yellow cedar on my cross section after mellowing and finding its aged color and tone. It has been sitting on dark shelf for almost four years. No dents….just dusty but it has taken on a warm amber color after using only wipe on poly. Thought I would post as I was pleasantly surprised. compare to the color and tone when I was building it four years ago.
-
You will absolutely regret using birch ply when you get to the point of fairing the hull. Its tough stuff. Lite-ply usually made of poplar is the way to go with the bulkheads if it isnt to late for you to switch. Thats why you are killing so many blades. Just think about trying to sand that stuff. Glad you started work on her.
About us
Modelshipworld - Advancing Ship Modeling through Research
SSL Secured
Your security is important for us so this Website is SSL-Secured
NRG Mailing Address
Nautical Research Guild
237 South Lincoln Street
Westmont IL, 60559-1917
Model Ship World ® and the MSW logo are Registered Trademarks, and belong to the Nautical Research Guild (United States Patent and Trademark Office: No. 6,929,264 & No. 6,929,274, registered Dec. 20, 2022)
Helpful Links
About the NRG
If you enjoy building ship models that are historically accurate as well as beautiful, then The Nautical Research Guild (NRG) is just right for you.
The Guild is a non-profit educational organization whose mission is to “Advance Ship Modeling Through Research”. We provide support to our members in their efforts to raise the quality of their model ships.
The Nautical Research Guild has published our world-renowned quarterly magazine, The Nautical Research Journal, since 1955. The pages of the Journal are full of articles by accomplished ship modelers who show you how they create those exquisite details on their models, and by maritime historians who show you the correct details to build. The Journal is available in both print and digital editions. Go to the NRG web site (www.thenrg.org) to download a complimentary digital copy of the Journal. The NRG also publishes plan sets, books and compilations of back issues of the Journal and the former Ships in Scale and Model Ship Builder magazines.


