Chuck
-
Posts
9,700 -
Joined
-
Last visited
Content Type
Profiles
Forums
Gallery
Events
Everything posted by Chuck
-
 That is looking really good Ron. All ply is different. The thicknesses vary quite a bit. Those slot widths were made for the ply that I am using. Thats why they may be just a hair off. But either way it looking really good. Chuck
 -
Thats looking real good. A fine job. You are almost to the fun bits!!!!
- 778 replies
-
- 3
-

-
- cheerful
- Syren Ship Model Company
- (and 1 more)
-
It looks good. Its hard to say with your planking. The planking wont align with the top of the ports and thats ok. Check the run of where your molding will be to check that you plank runs are ok. Better yet copy the plan and place it against the hull to check your planking run and port placement.
-
I use a small toaster oven. Mostly because every time I want to cook some rope, somebody is using the oven. No smell unless you burn/melt it. What a running oozing mess. So dont over do it. Chuck
-
No resin this time around. So far so good. I am just laser cutting them out of boxwood. Should have some pics shortly. Chuck
- 1,784 replies
-
- 10
-
-
- winchelsea
- Syren Ship Model Company
- (and 1 more)
-
Thanks Greg. I have noticed that other MFGs are trying to replicate that already. But they are having a hard time. Their attempts are falling rather flat. My guess is they will do the same and try to copy this concept next. I have already made some great progress on the cheeks. The main headrail is next. If I can get over that hurdle then I will be home free. Chuck
- 1,784 replies
-
- 4
-
-
- winchelsea
- Syren Ship Model Company
- (and 1 more)
-
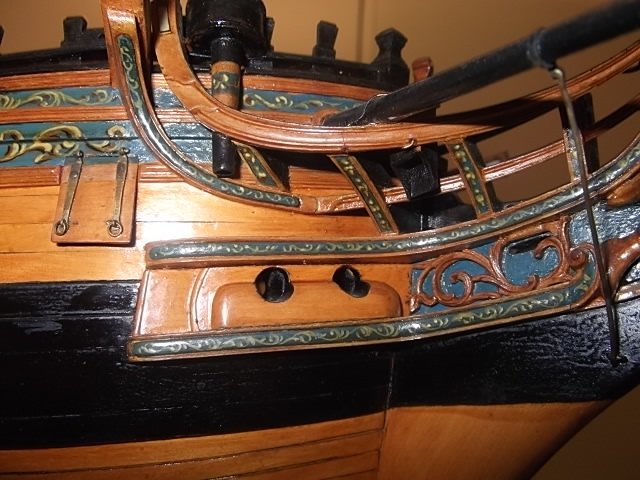
Thank you guys. I will be working on the cheeks next so I can add the hawse holes. I have been contemplating a new concept for making these for quite some time. The one thing that is always disappointing me with even the latest and most innovative kits are the head rails. They just look awful. Even with these so-called Chinese kits that everyone is raving about. Once you get beyond the framing on those its basically the same old stuff. So I am spending lots of time trying to engineer something that will finally make these less difficult to make while not looking kit-like or awful. Hopefully have an update soon. If I stare at these photos enough I am sure I will come up with something!! 😉 Chuck
- 1,784 replies
-
- 20
-
-
- winchelsea
- Syren Ship Model Company
- (and 1 more)
-
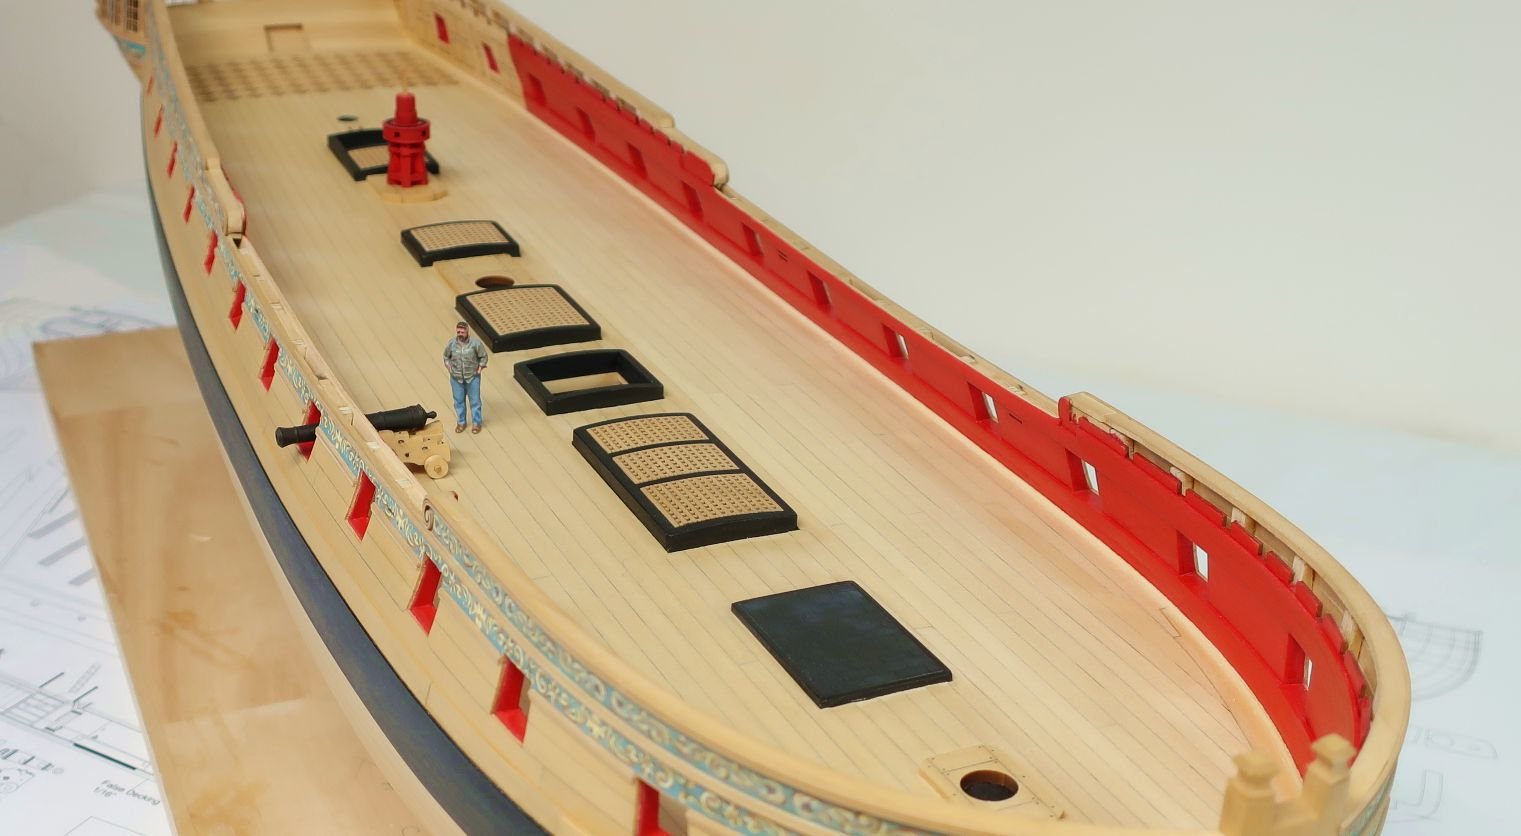
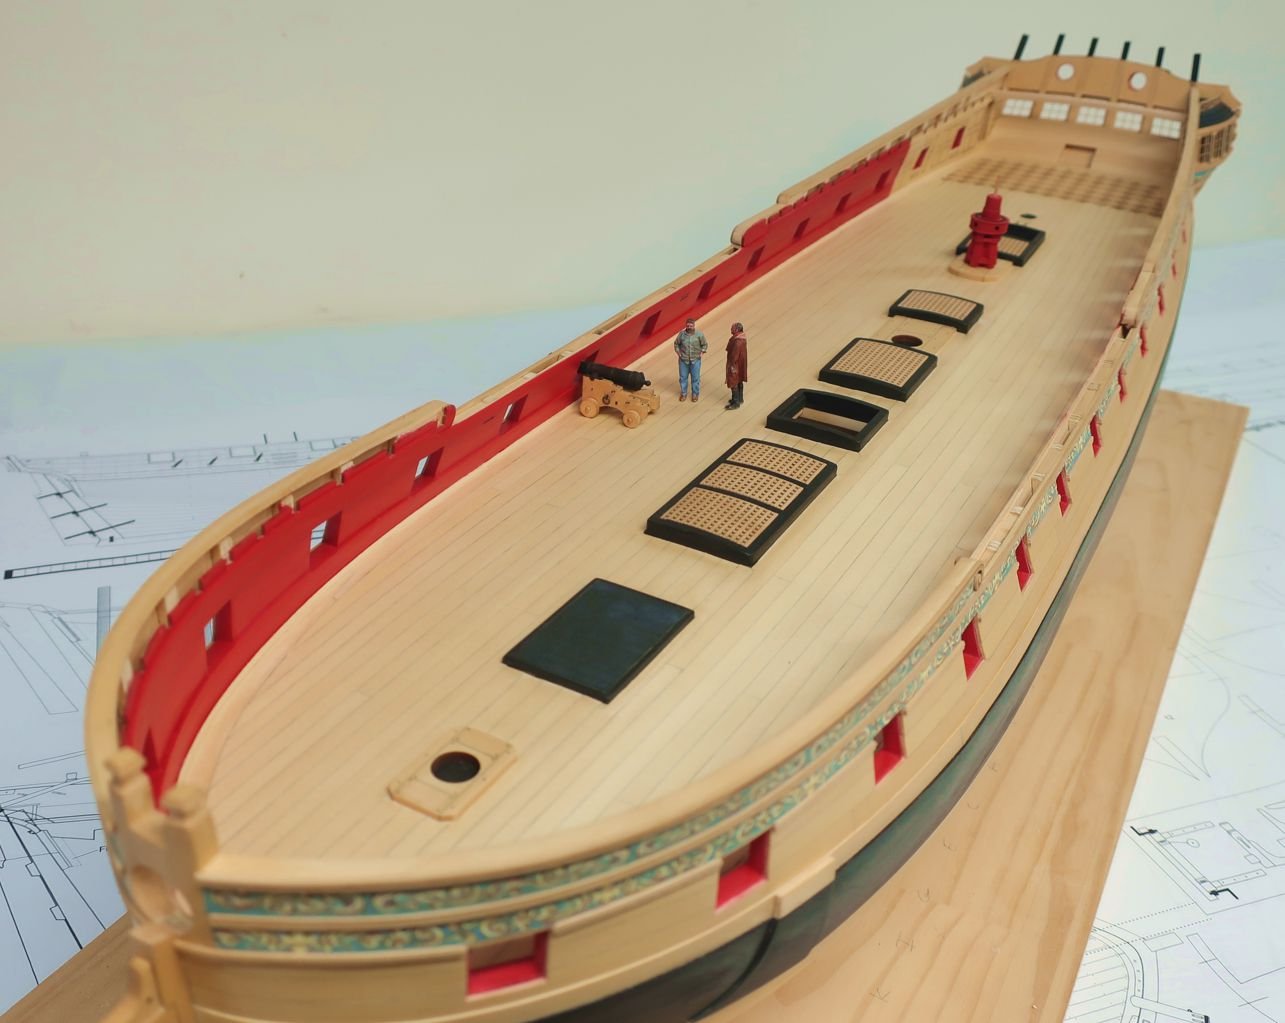
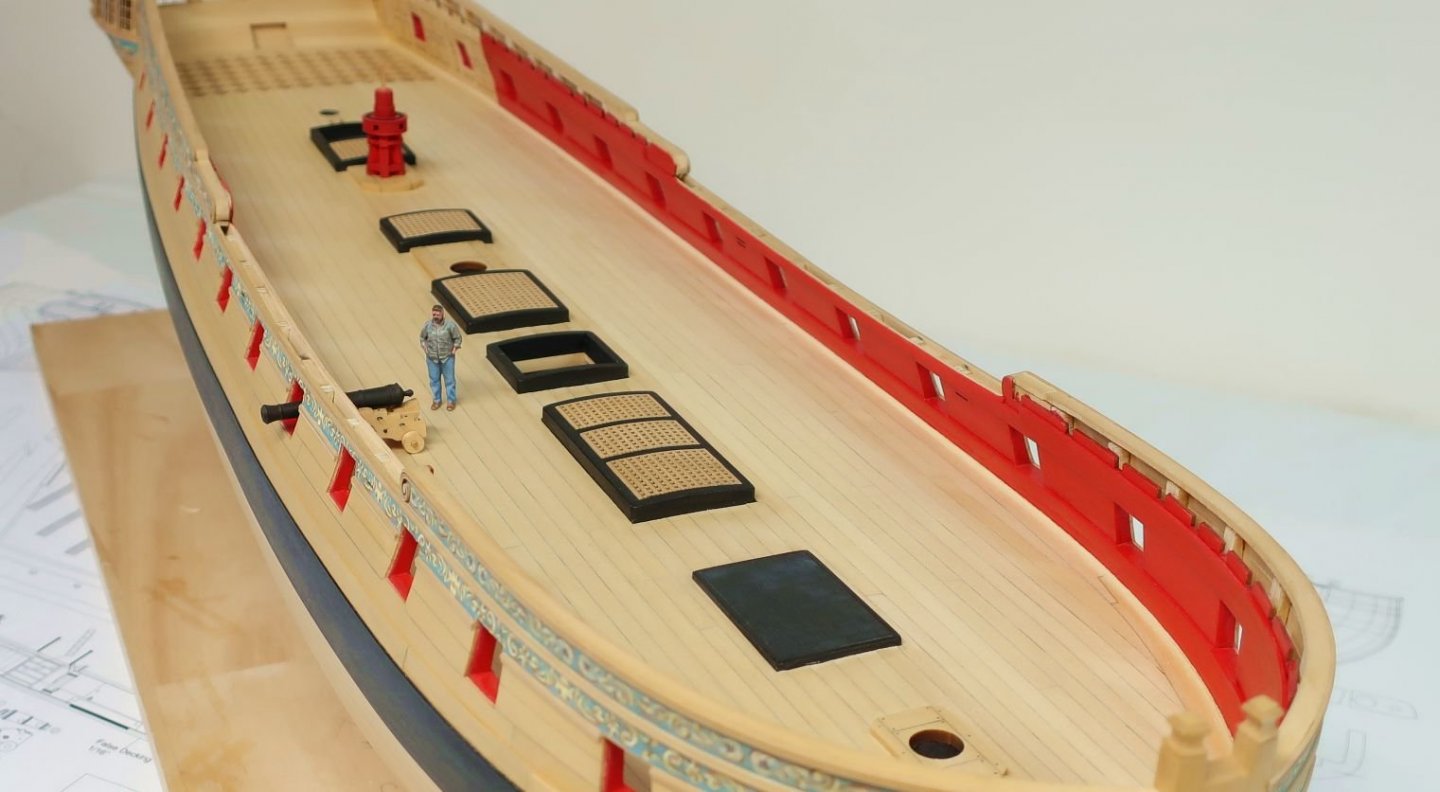
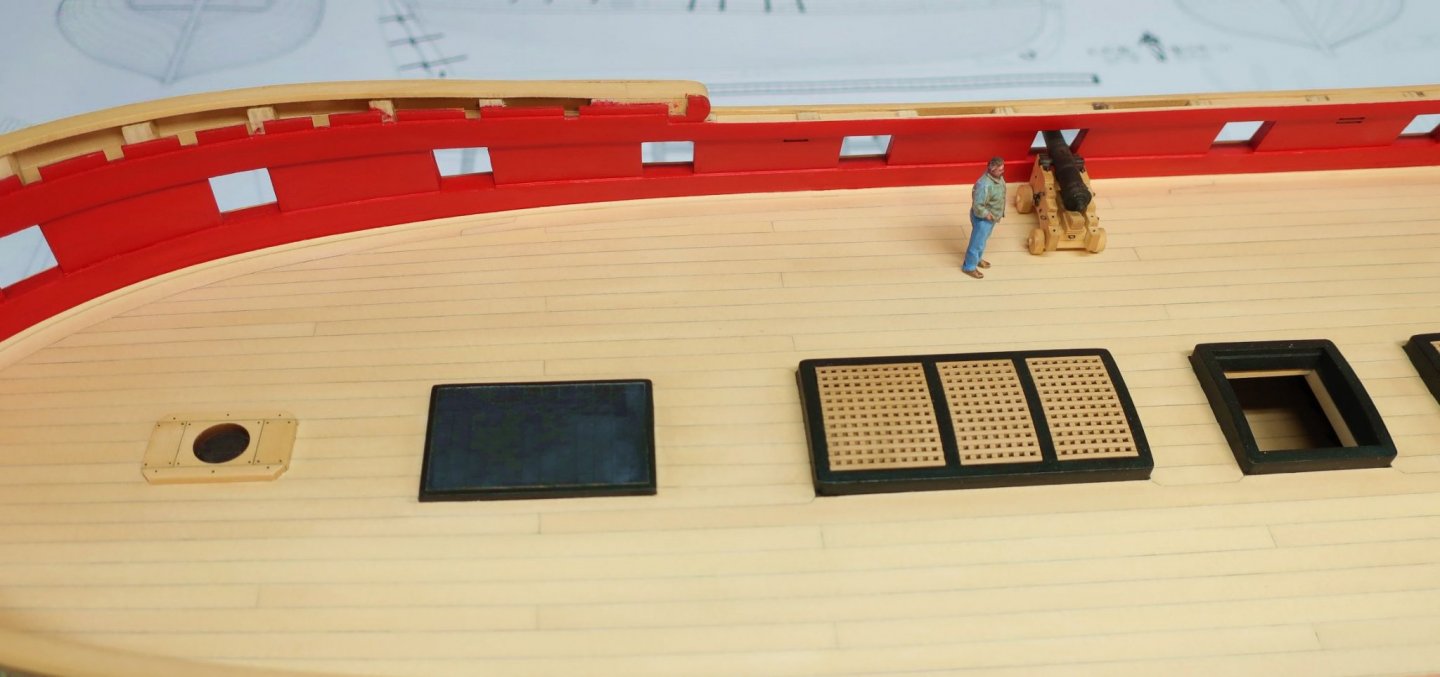
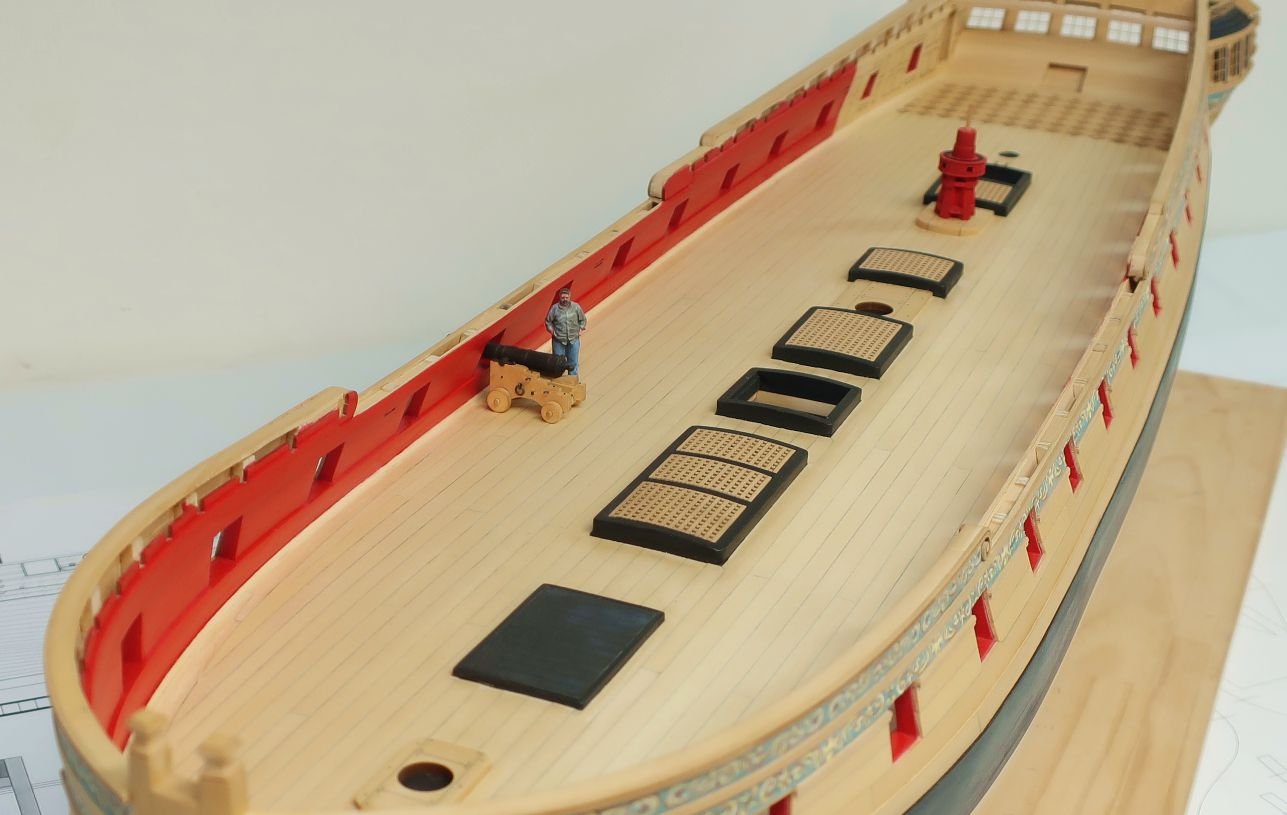
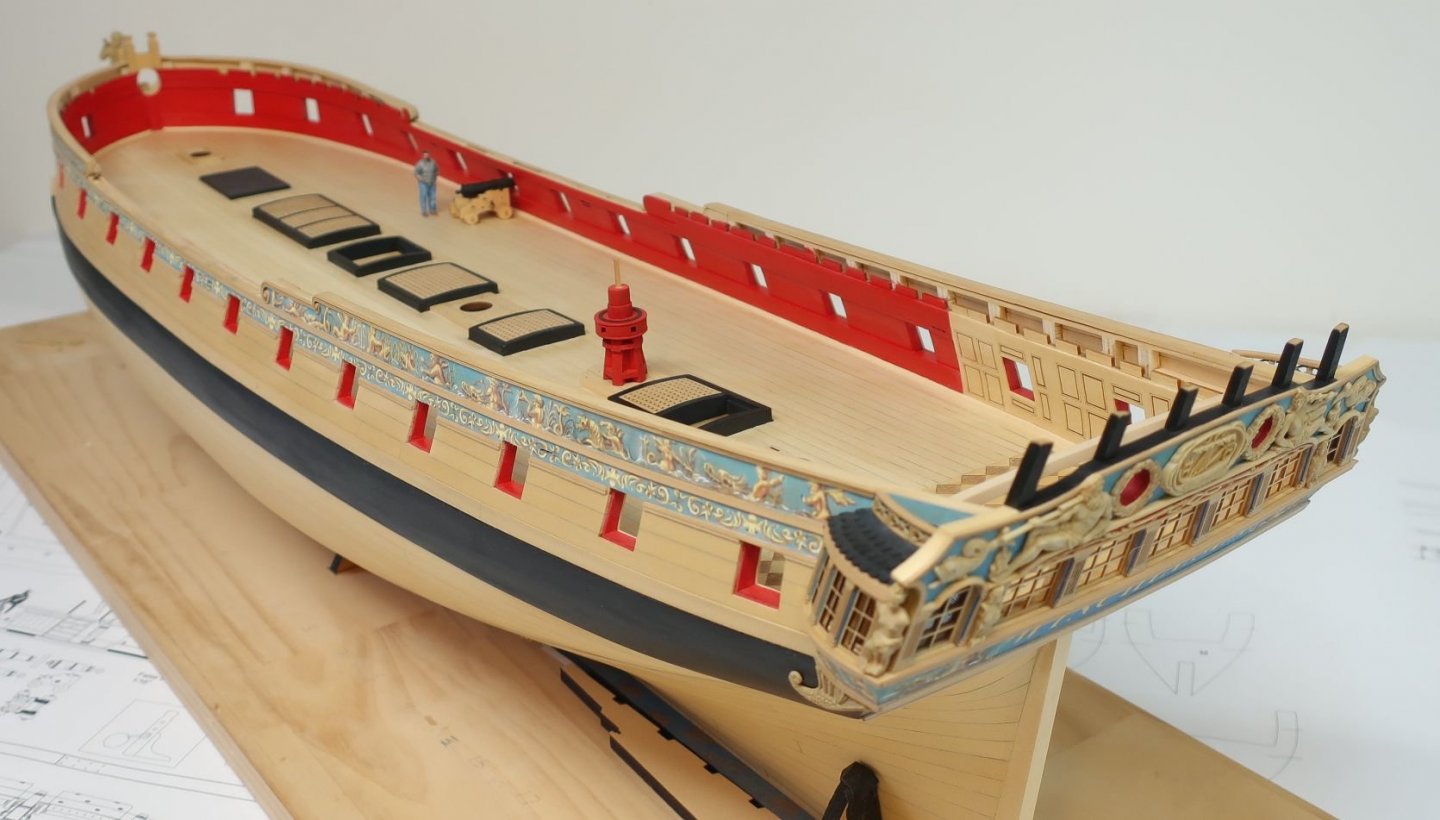
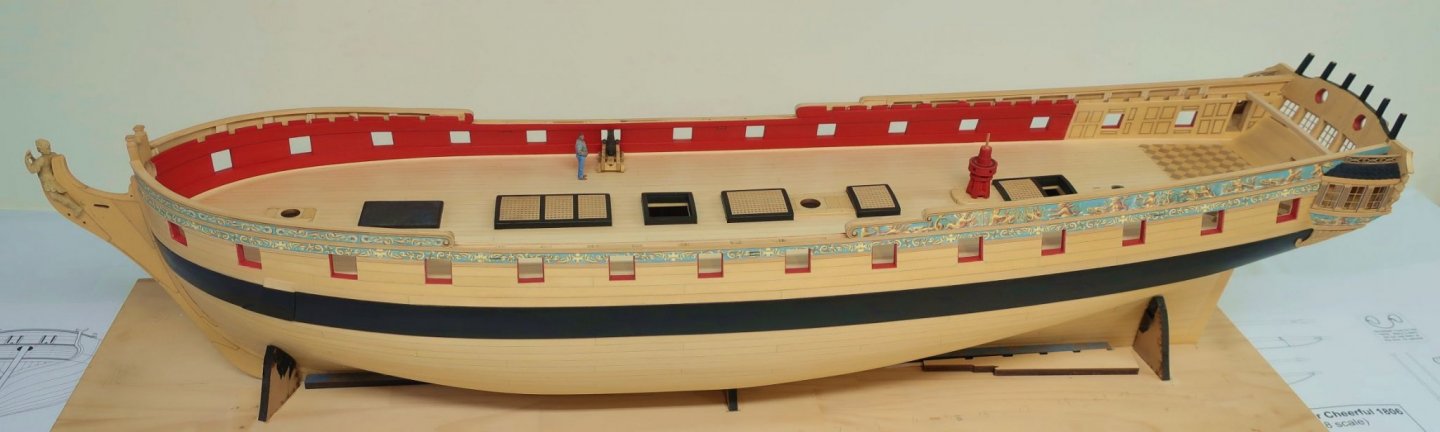
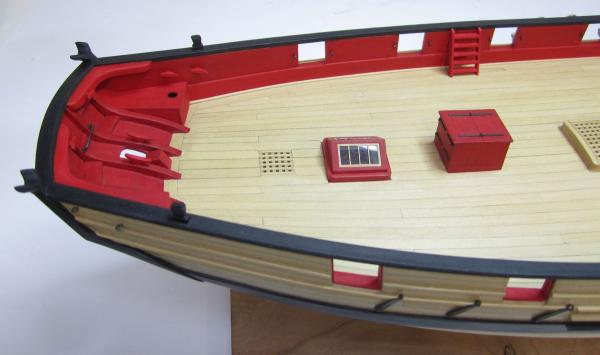
Finally finished chapter four in its entirety. The deck is finally planked. There shouldnt be much much planking for a while. Pretty straight forward from my last update. Just follow your lining out of the deck planks and take your time. Match the tapering and curve of each plank just like you did when planking the outboard hull. I will begin chapter chapter five by getting back to some outboard details. First the cheeks and hawse holes...then the rudder. Afterwards it will be back inboard to add the details to the bulwarks and the guns. Feel free to ask me any questions. Some photos...
- 1,784 replies
-
- 34
-
-

-
- winchelsea
- Syren Ship Model Company
- (and 1 more)
-
Its just any scrap wood. Not included in the kit. Figured if you are building this you either have it or can cut the small lengths of scrap from the many sheets of scrap you will have after building the frames. Any thickness will work.
-
Well enjoy the project but remember this is a much more complex build than Phantom. Try and slow down alot. There are so many things to consider carefully that could have a serious negative effect if you rush through it because of impatience. Measure twice.....and then measure again.
-
That looks fantastic. Hope you are enjoying the model. You are doing really well with it. Beautiful work.
- 99 replies
-
- 3
-
-
- winchelsea
- Syren Ship Model Company
- (and 1 more)
-
Its really not enough to just make tick marks. If you take the next step and use thin tape or thread along your tick marks, you can see if what you measured out is correct. Trust me as there will always be a ton of mistakes until you do this step which most omit for whatever reason. With your tape in place from bow to stern you can adjust them until it looks right when viewed from many angles. Then remark those tick marks along your tape which is probably now better positioned than your initial tick marks alone. This step should not be skipped and its probably one of the most important. Hope that helps. You wont get any dips in the the run of your planks this way. Its like a quick test before you cut a single planks from wood. Chuck
-
That sounds like a plan....that will work. Just mark the sides for 3/64" to be removed and use a file or sanding stick.
-
Really nice model. Well done. Looking forward to your Ontario. Chuck
- 37 replies
-
- 1
-
-
- Finished
- model shipways
- (and 1 more)
-
2021 NRG/MSW Calendar
Chuck replied to tlevine's topic in NAUTICAL RESEARCH GUILD - News & Information
Very Nice Job folks!!! -
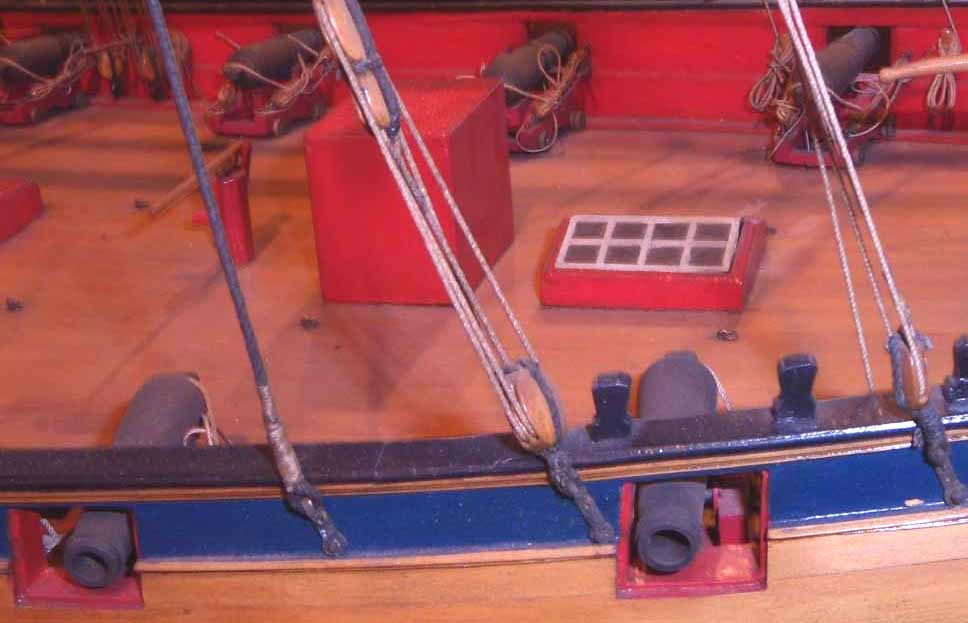
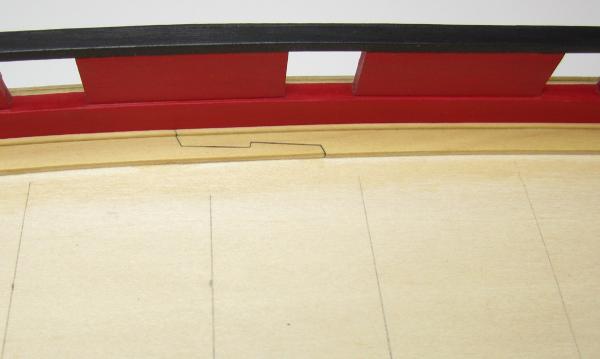
If you look at the contemporary models of cutters in the gallery you will see some fine examples. The spirketing is thicker and the top edge runs flush with the bottom of the gunports. This can be easily faked and look just like actual practice. For whatever reason this detail is always omitted on kits. Even those so called newer and innovative kits. Its easy to add this detail. Whether in one layer or two. I prefer two layers so I can adjust the run with the second layer of spirketing. Then I follow that with a rounded or concave waterway.

-
Thats good that you removed them. It would have caused issues later.
-
I will ship it on Monday but this time it will be more than a few days. Its been tough and sometimes it takes about 2 weeks with the PO these days. So please be patient. Thanks
-
Dont forget that you will need to get 3 packages of grating strips (with camber) along with the jig. It is available in Yellow Cedar, Cherry or Boxwood. You will probably need more cedar planking sheets to mill strips for the bulwarks as well. Check out the materials list below. Materials List for Winnie fourth.pdf
-
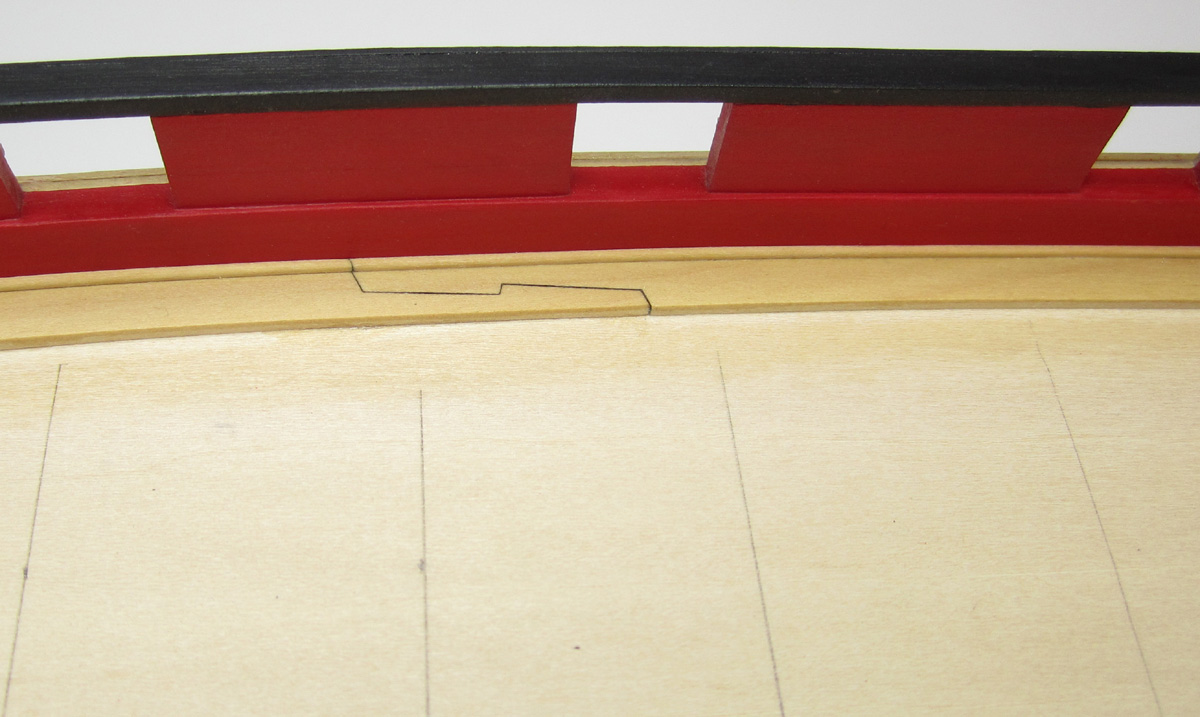
Its a very subtle "s" curve. Everyone usually slopes the plank run up at the bow and that ends up causing problems. The last 5" or so the planks curves downward. When it meets the stem and you look head on with the battens on both sides they should run almost flat into the stem rabbet.
-
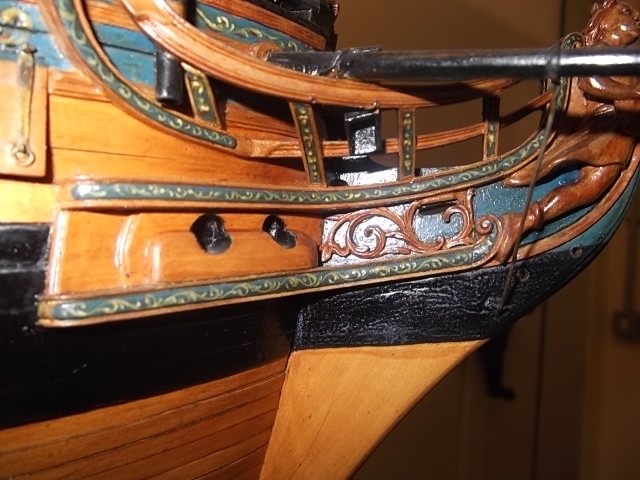
Bob The center carving is upside down....you might want to flip that the other way.
-
Absolutely Beautiful Bob.... Wonderful work on those sails. Time for you to start the Winnie next...LOL!!! Chuck
- 87 replies
-
- 2
-
-
- medway longboat
- Syren Ship Model Company
- (and 1 more)
-
The monograph chapter is already available. I just have to finalize the 12 chapter 4 packages I have already laser cut. I am trying!!!! Aside from this I woke up this morning with 26 items out of stock!!! I am having a record breaking month of sales once again during this pandemic and its rather impossible to catch up. I am trying my best and shooting for the weekend. Have to create the part in my online store so you guys can place an order. Chuck