HOLIDAY DONATION DRIVE - SUPPORT MSW - DO YOUR PART TO KEEP THIS GREAT FORUM GOING! (Only 20 donations so far - C'mon guys!)
×

dgbot
-
Posts
3,993 -
Joined
-
Last visited
Content Type
Profiles
Forums
Gallery
Events
Everything posted by dgbot
-
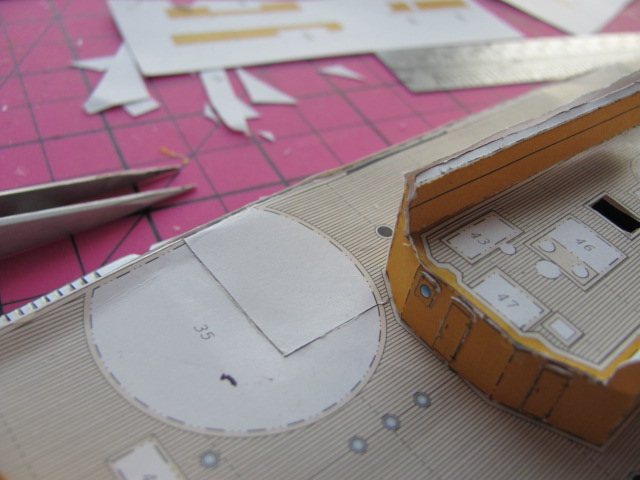
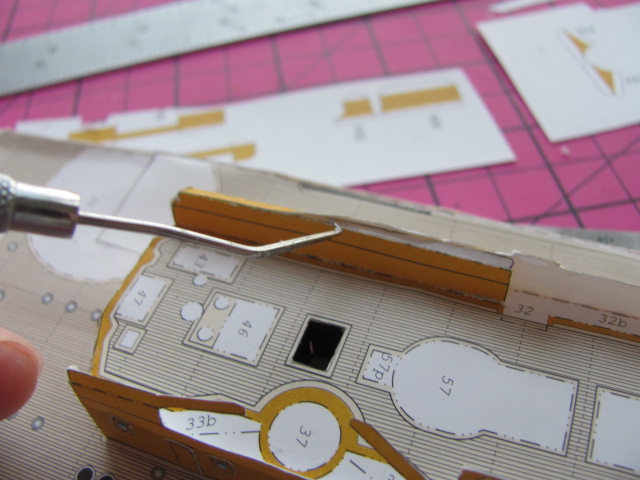
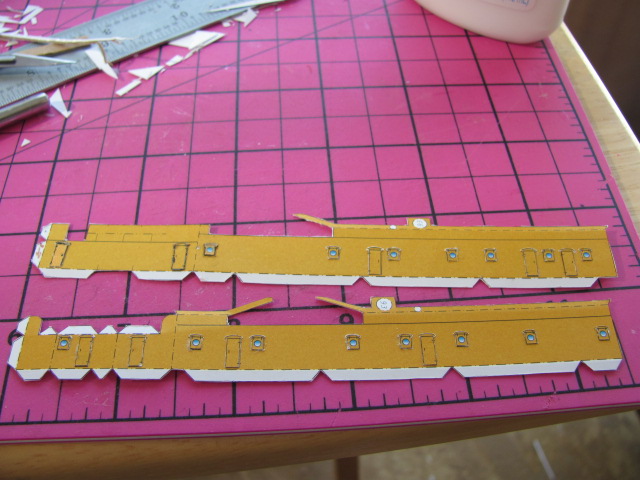
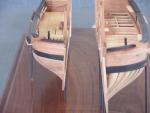
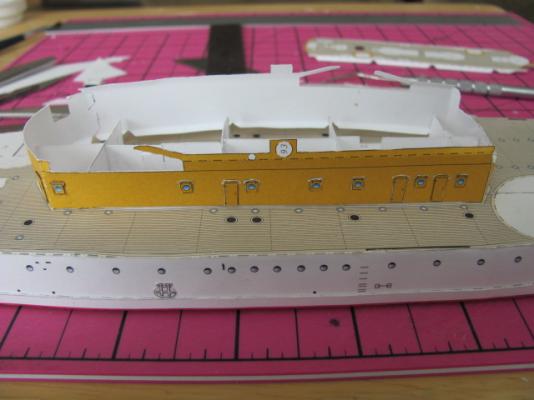
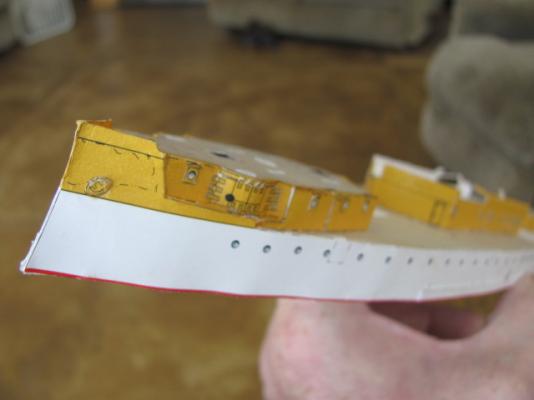
 I then started working on the interior part of the side. Bending and folding as needed. I had to double check everything to make sure I was getting it right. The first part was done first This was where alcohol came in to realign the piece. Then the rest of the portion was glued in. David B


-
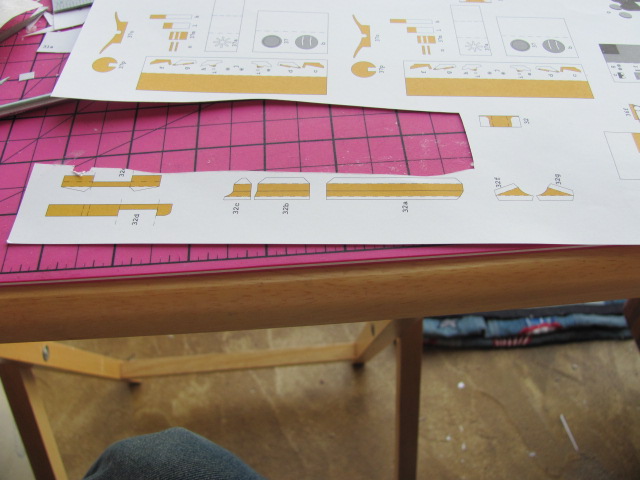
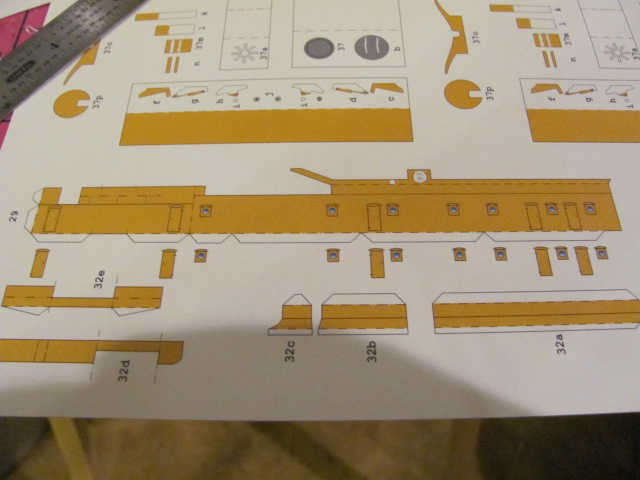
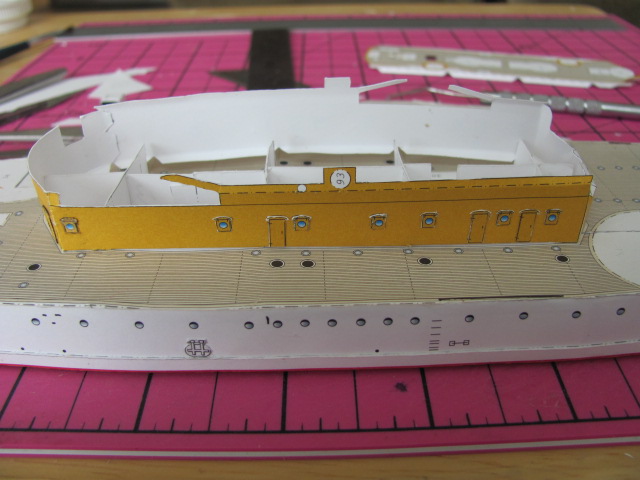
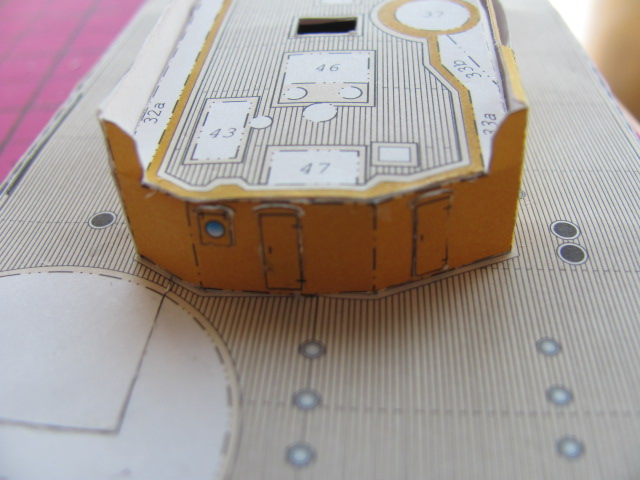
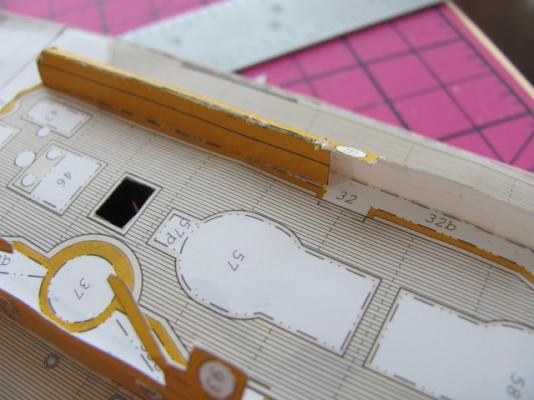
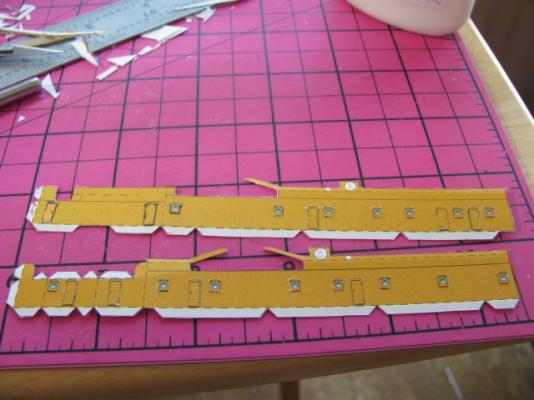
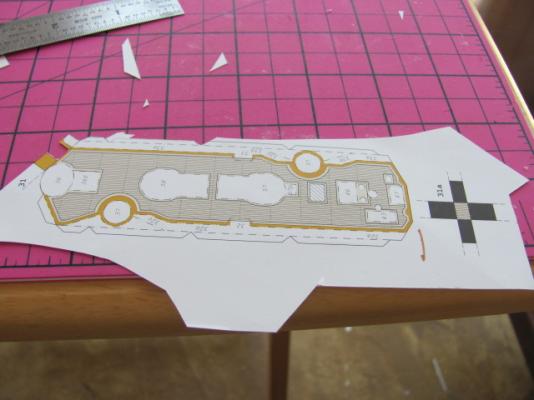
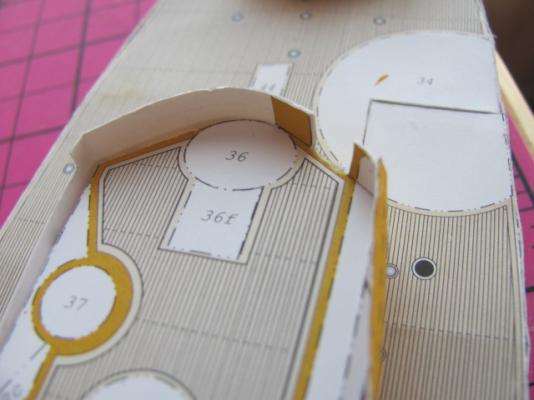
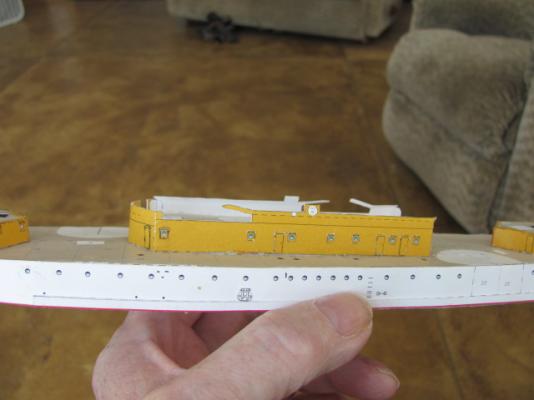
Time for another update. I started working on the center house. Once more I cut out the panels and applied the extra panels. I also cut out the deck and started to fit them into place. So far so good David B


-
Looking good amigo. David B
-
Good work Dan. David B
-
Many years ago I new a guy who went to Greenwich and looked up the plans. He was asked which ones did he want. David B
-
Have you looked in the area for doll houses etc? David B
-
Marc, I miss being at Kurt's when you decide to bring it in. I have the same problem here at my sisters. I can go out to the workshop in the garage but She would strangle me in the condition I am in. Ed likes to work in wood he has made a canoe as well as many other things. But his toys are bigger than mine. David B
- 305 replies
-
- 2
-

-
- utrecht
- statenjacht
- (and 1 more)
-
THE BLACKEN-IT TRIALS
dgbot replied to Erebus and Terror's topic in Metal Work, Soldering and Metal Fittings
The solution might be to strong and is acting to fast. Try cutting it in half with some distilled water and try it. This will slow down the reaction time and give it a little time to work. Also try soaking the part in some vinegar for about 15 minutes. This will put a little bite on the part and may aid in the blackening. David B -
Great idea of using bamboo. I rarely see it used at this scale. Did you stain it? David B
-
Marc, I always advize caution when gluing up frames. When they are not the right dimension they can really screw you up down the line. As Toni remarked take care of the problem now because later it will be too late and all the labor you are putting in will be for not. David B
- 305 replies
-
- 4
-
-
- utrecht
- statenjacht
- (and 1 more)
-
Lasercut would do as well. But so far not to much and what I was able to find is a little out of my price range right now. Thanks for replying everyone. David B
-
I take the planking was already precut? David B
-
I have also been a fan of W&N I have a couple of their oils and am using their watercolors on my card models. David B
-
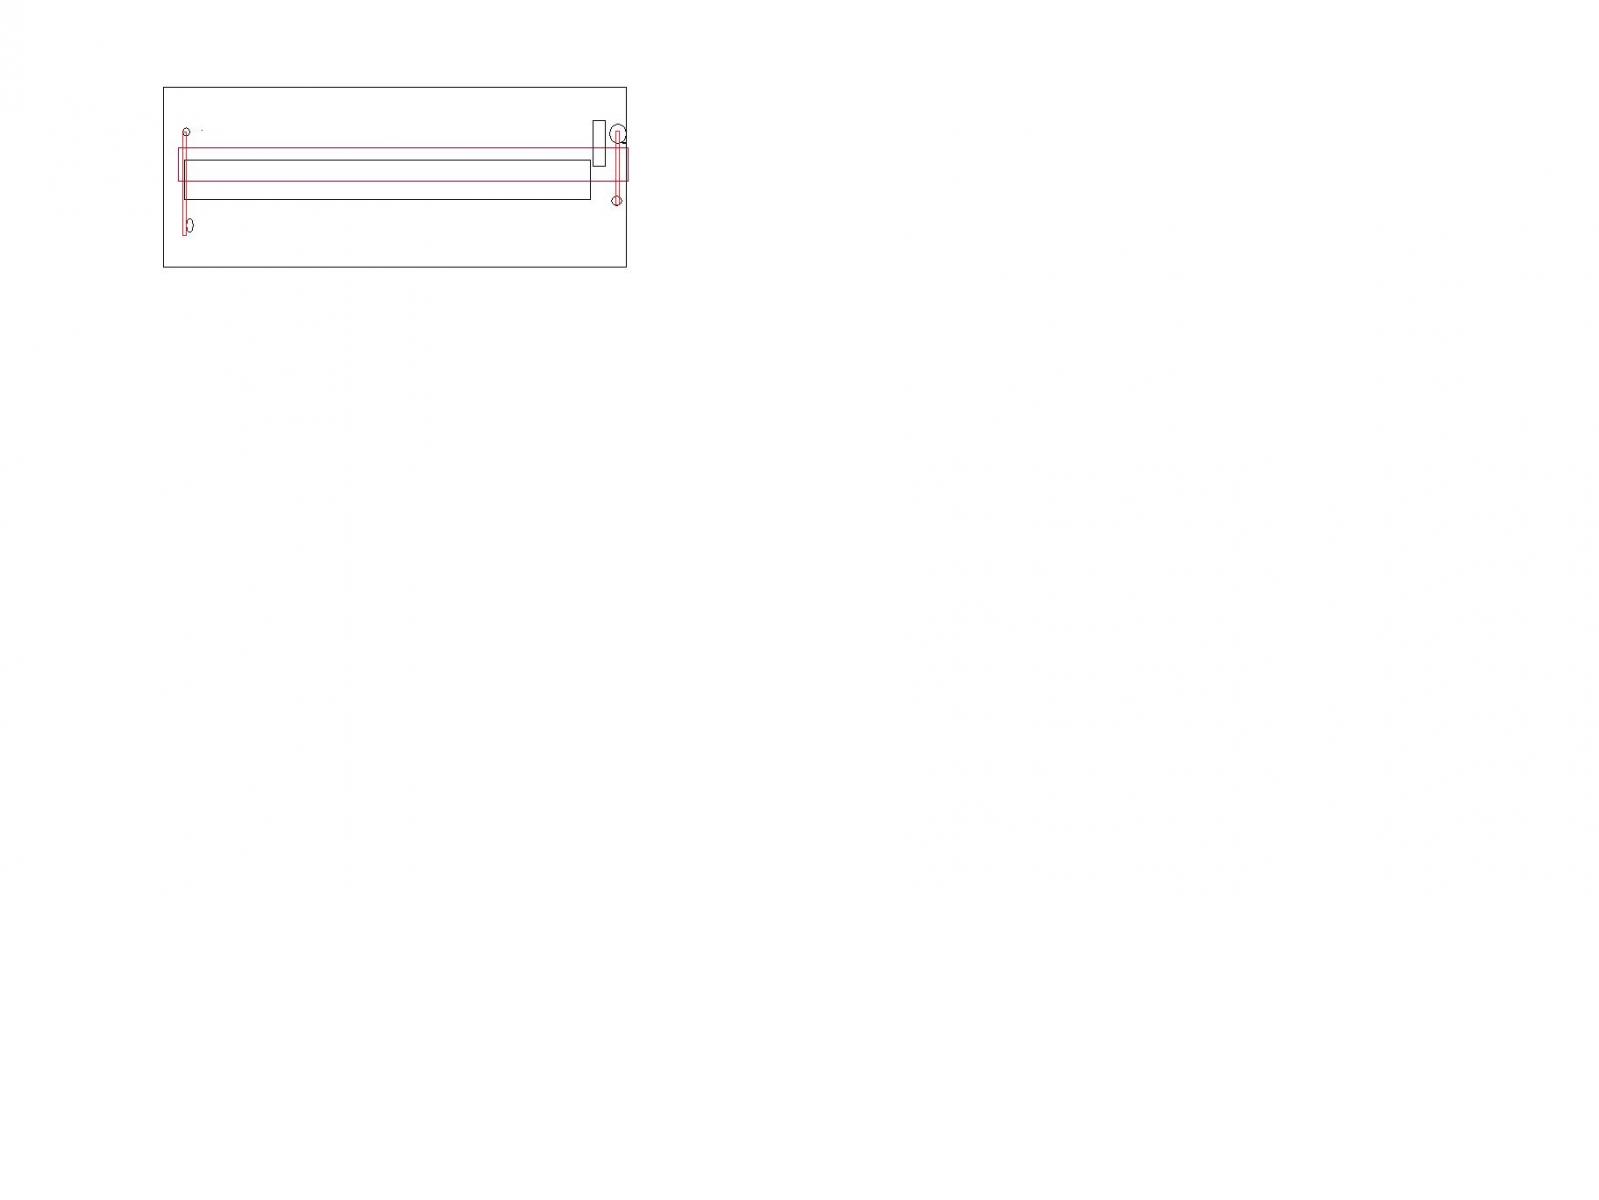
Since I am not in my workshop I cannot give you a picture. Basically I took a flat piece of die board from work and put a ledge on it with a stop on one end. The ledge is just a shade thicker than the plank. I would put the plank agianst the ledge and the stop. I would then put a straight edge over that and clamp it down. The straight edge was clamped down using wing nuts. The drawing above gives you an idea of how I did it. Kind of a pain but it did a lot of work at one time. I do not even remember if I still have it. David B
-
Fantastic work. What kind of paint did you use? David B
-
If you have a small table saw this would be fairly easy. I own both a Preac and a Byrnes. If not what I used to do to keep my fingers from getting cut was to make a fixture using the back of a hacksaw blade or you can use a straight edge. The plank would be clamped under the blade. I would then take an xacto knife or a fine toothed razor saw and trim the edge off. David B
-
I have seen quite a few Robert E Lees"s over the years and I think you are doing a superb job. You have the patience needed to much of the tedious work. David B
- 94 replies
-
- 1
-
-
- robert e lee
- amati
- (and 1 more)
-
Great looking model and nice photography. Makes me want to chuck my SX120 for a Rebel. But calmer heads always come into play. Your talent in both are a major plus. David B
-
Nice job for a first try. And since you are going to paint if the hull is smooth no one will notice. And you will remember the experience and apply what you have learned on your next one. David B
-
The accentuation of the planking and the bolts is subtle but defined. Your hawse holes look crisp and neat. David B
-
Harriet McGregor by Boccherini
dgbot replied to Boccherini's topic in - Build logs for subjects built 1851 - 1900
Nice work Grant. David B -
18' Cutter by Maury S - Scale 1:48 - SMALL
dgbot replied to Maury S's topic in - Build logs for subjects built 1751 - 1800
Lokkks like an intersting build. I think I will pull up a chair as well. Boats like this can be both fun and challenging. Everything has to fit just right or else it does not look good. Are you going to stay natural or will you paint? David B -
If you plan on painting. Use a primer first and this will also highlight any errors. Sand everything smooth. Then paint the color you want. David B
-
Modern or steel navy. David B
-
Start aft and work forward. Do all the shrouds first this will help keep the masts aligined. Do not glue them in the once rigged they are not going anywhere, plus if an accident happens you made things easier to fix. I repaired a model years ago where the guy glued them. I had to drill it out without damaging anything else not fun. Once all the shoruds.are done put on the stays. Now that the masts are secured properly do the ratlines. As for the yards there is a school of thought that you do as much rigging off the model as possible. I agree with this idea. David B
- 607 replies
-
- 1
-
-
- scottish maid
- artesania latina
- (and 1 more)