AntonyUK
-
Posts
1,190 -
Joined
-
Last visited
Content Type
Profiles
Forums
Gallery
Events
Everything posted by AntonyUK
-
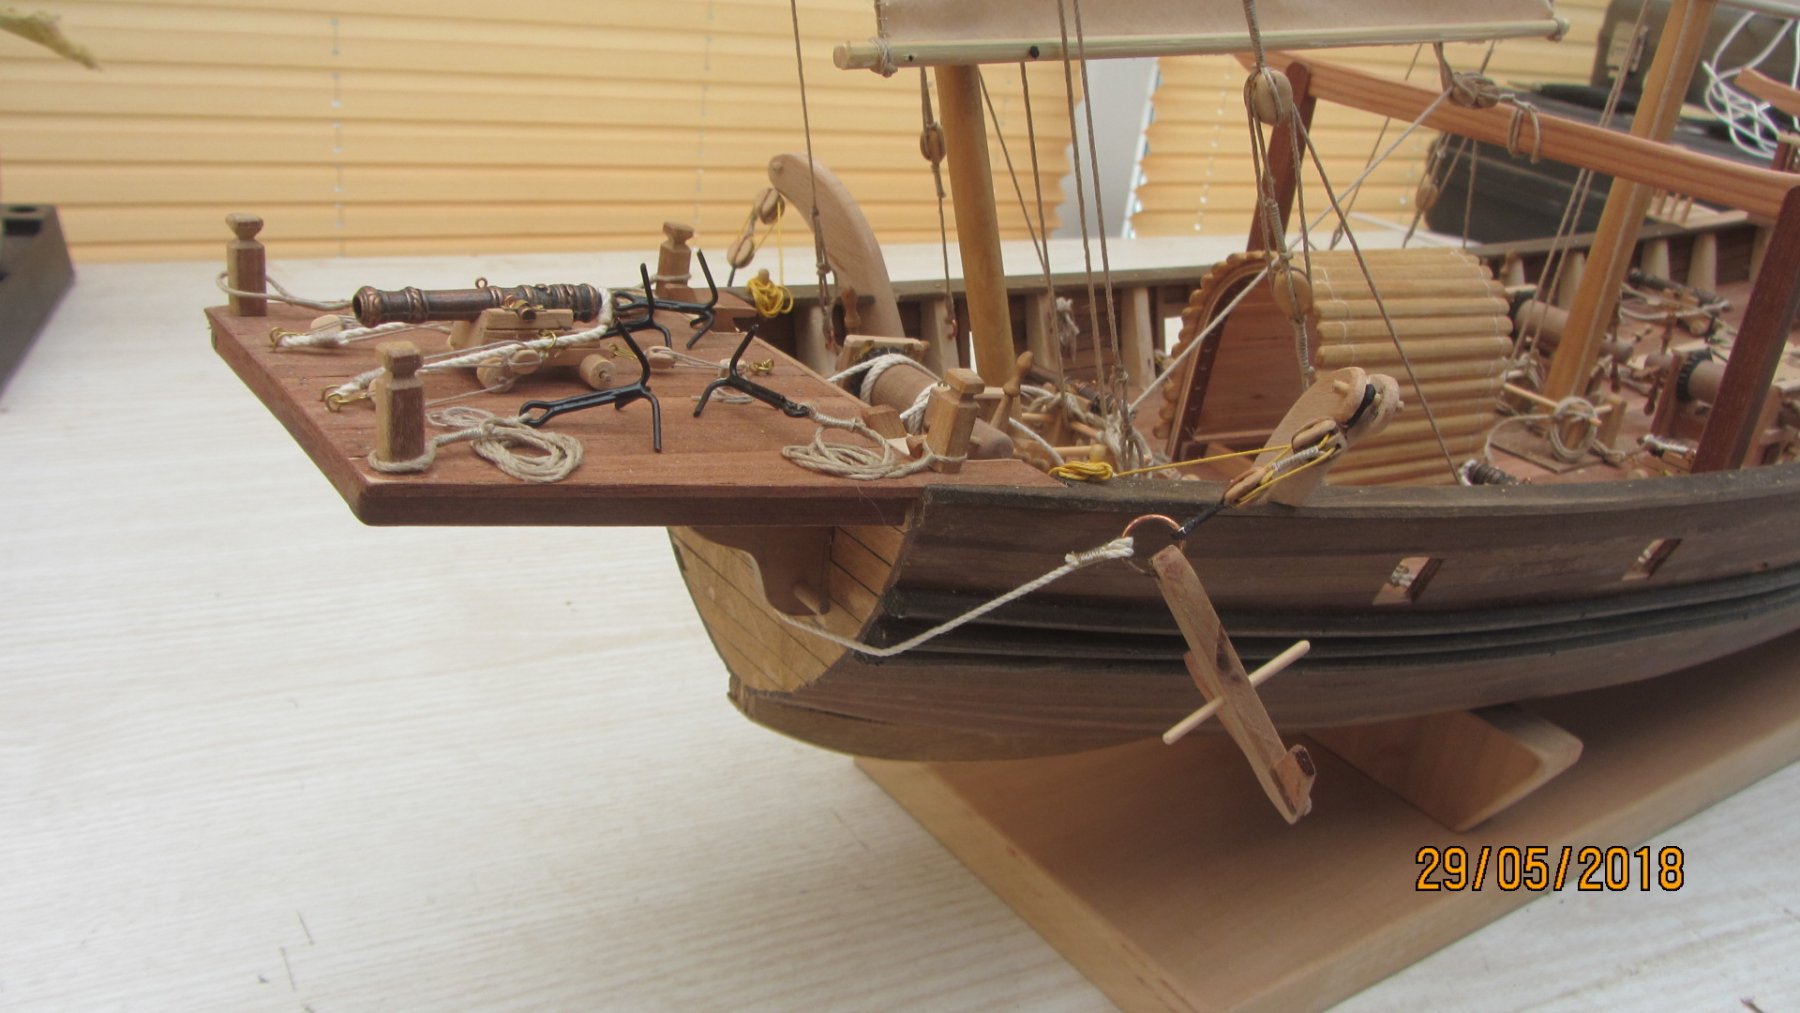
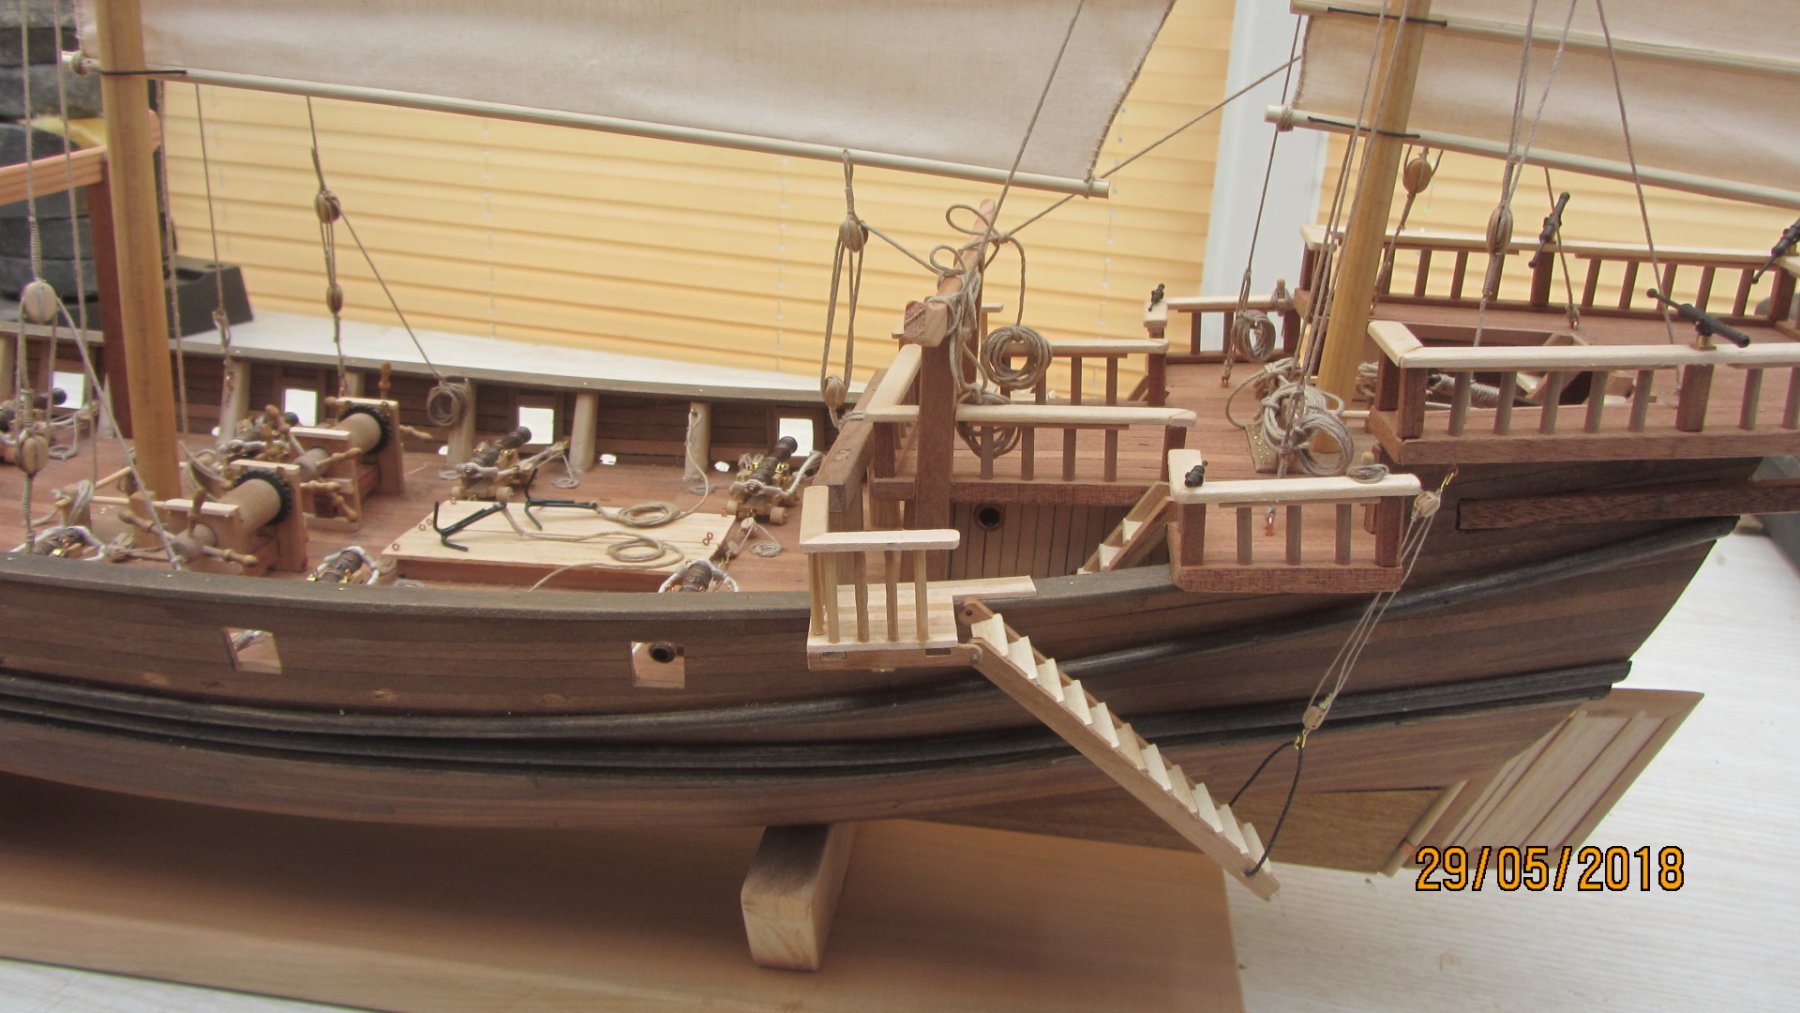
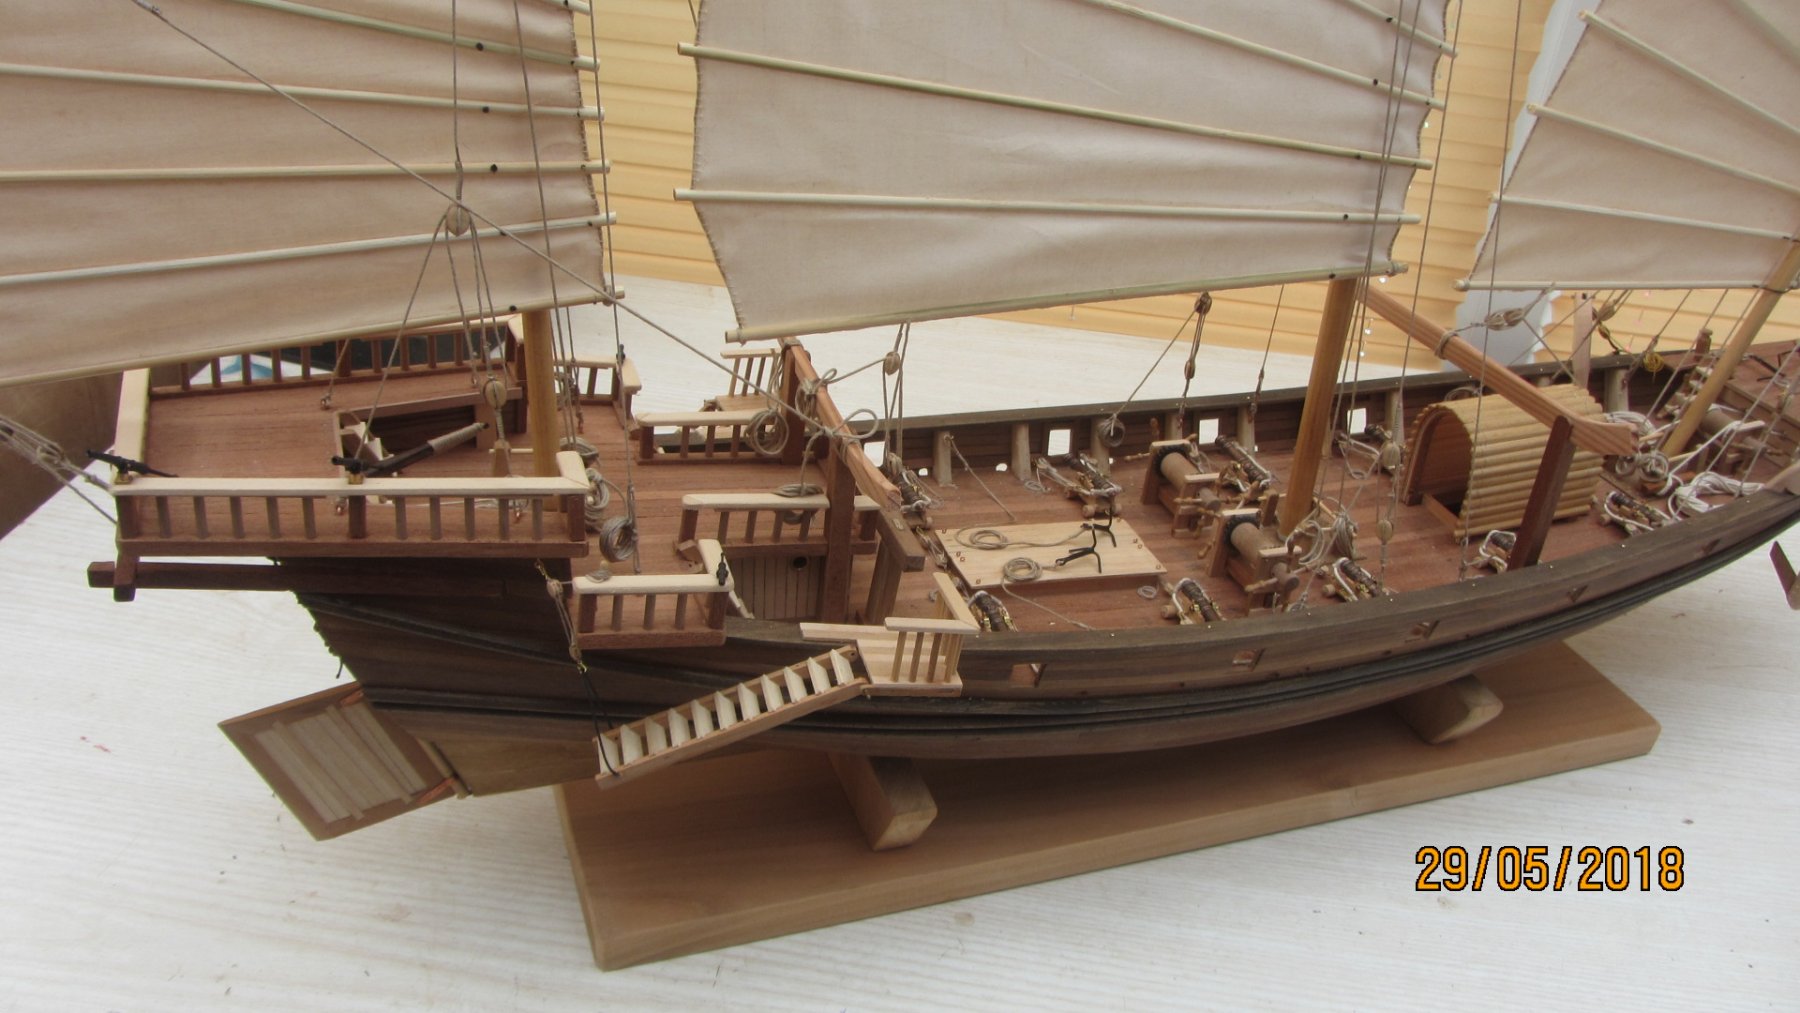
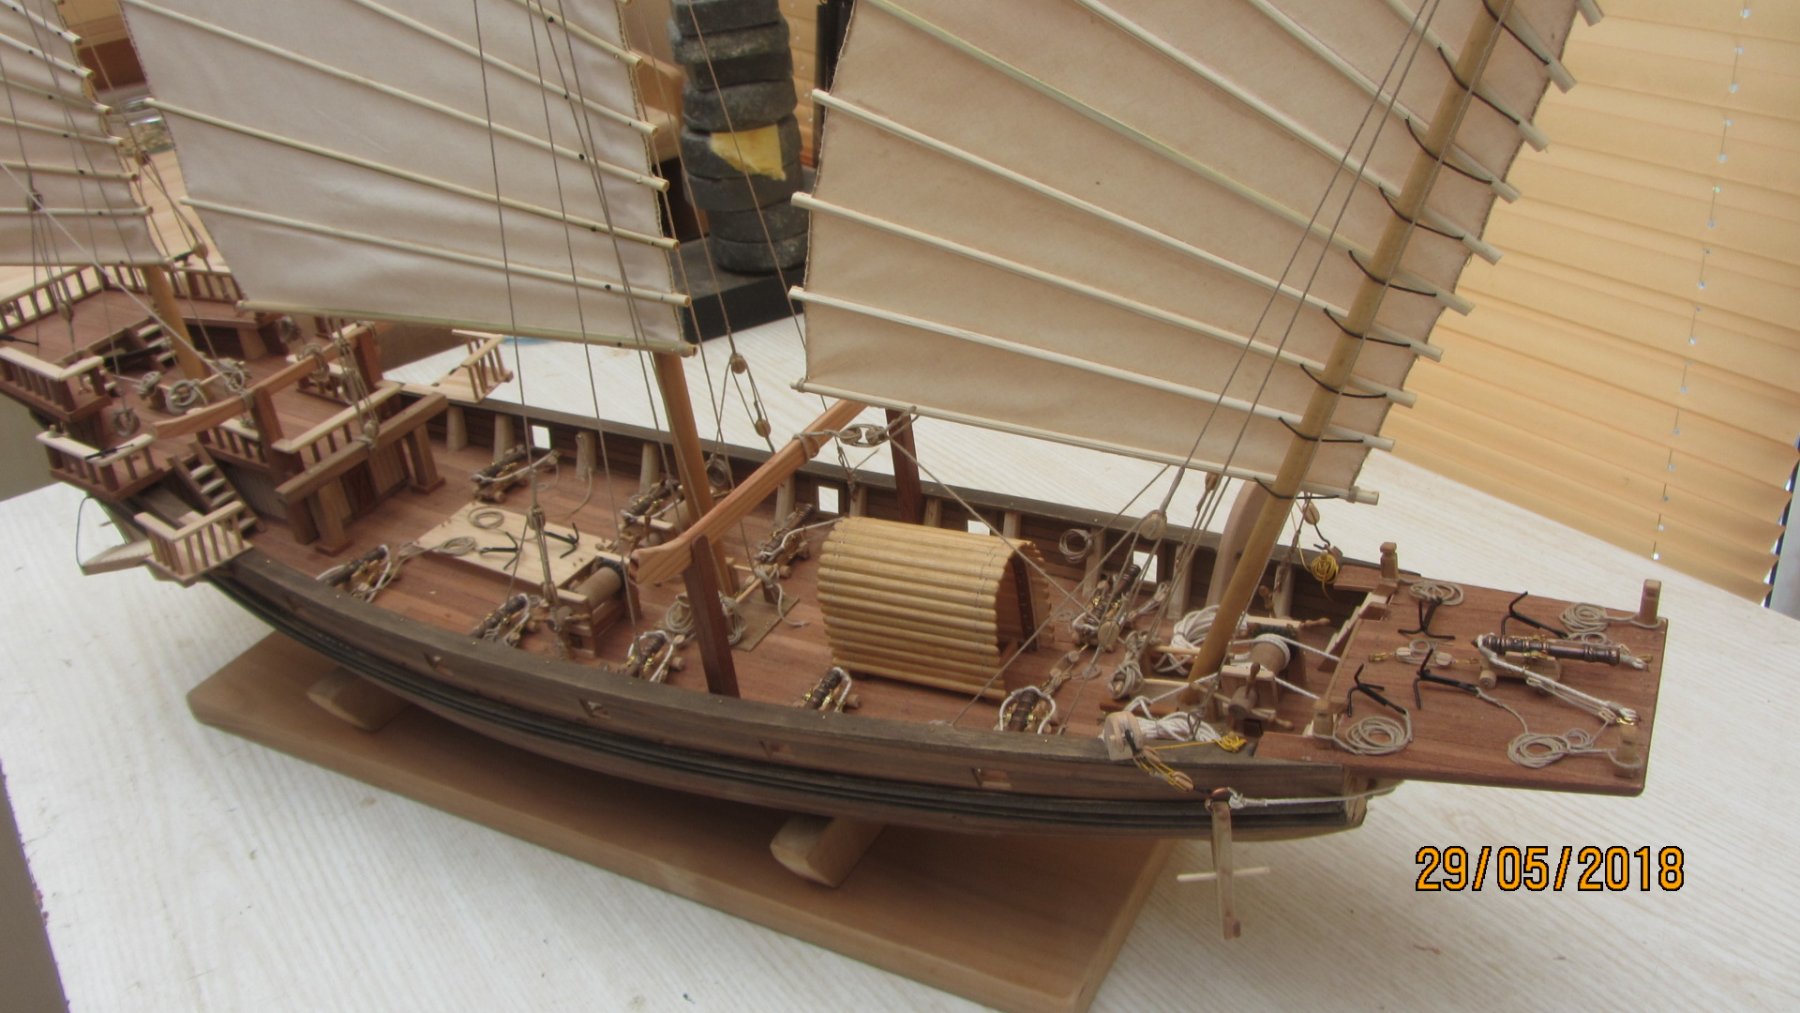
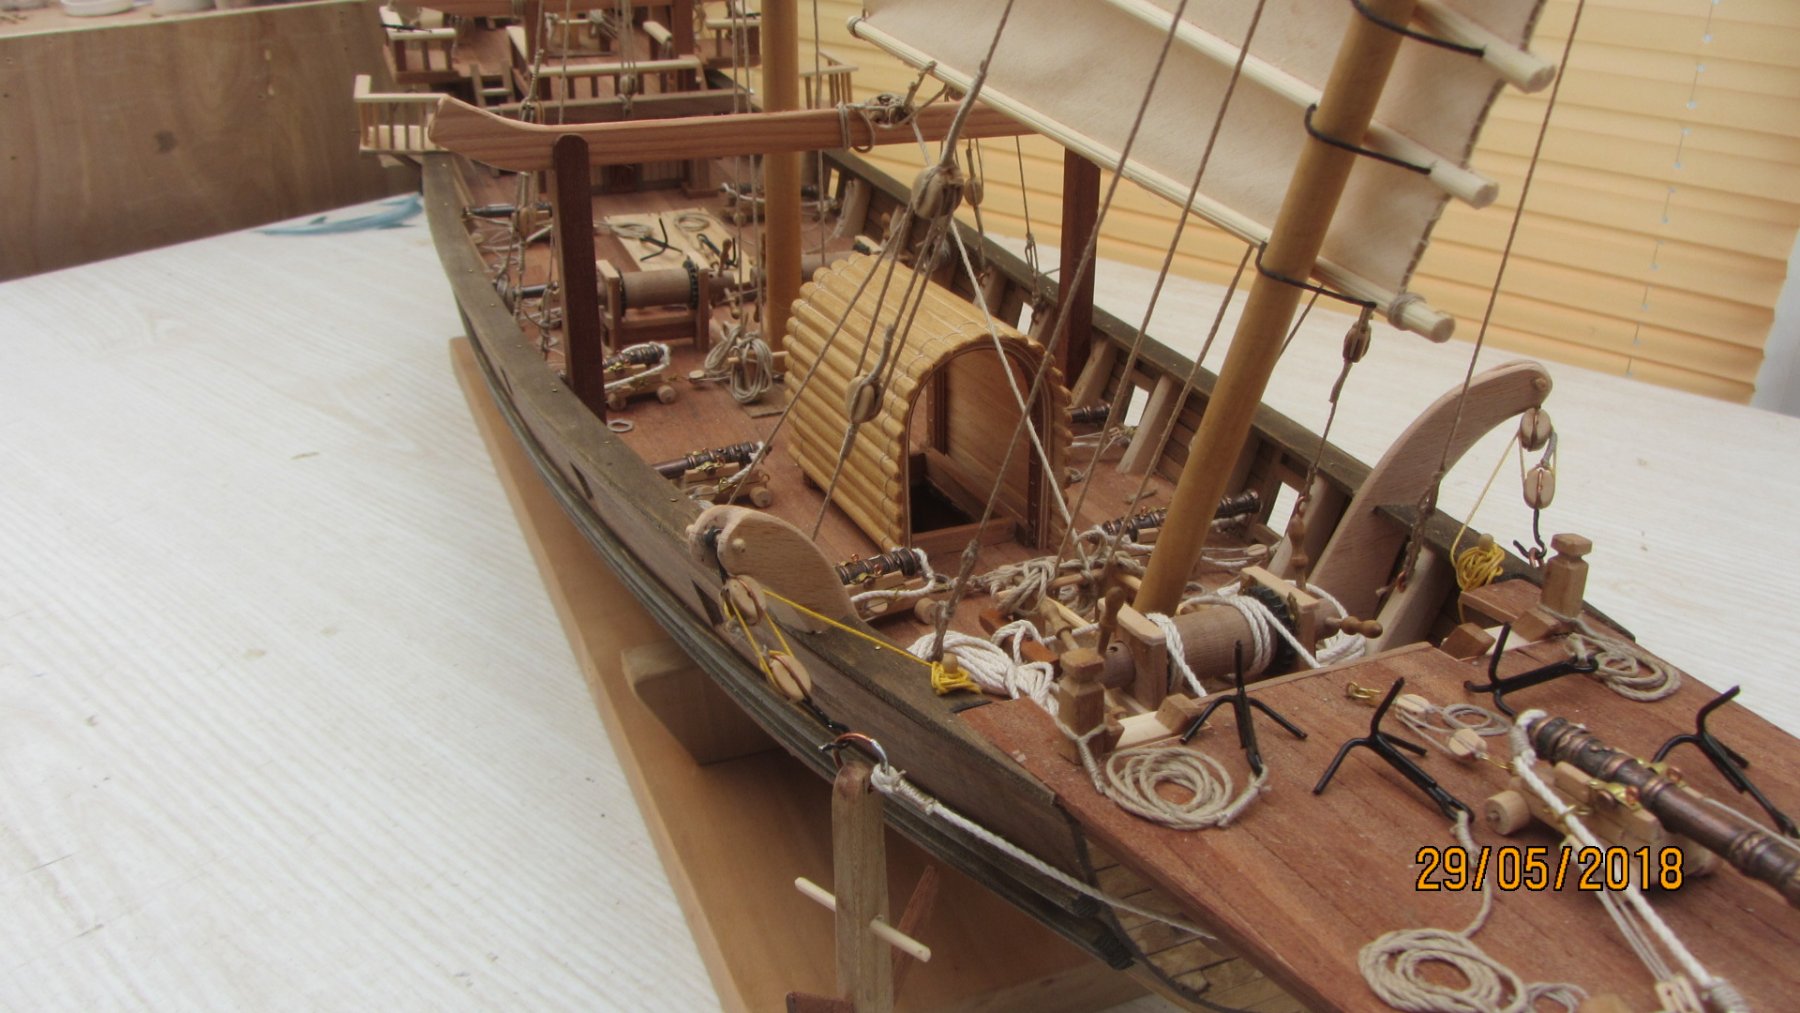
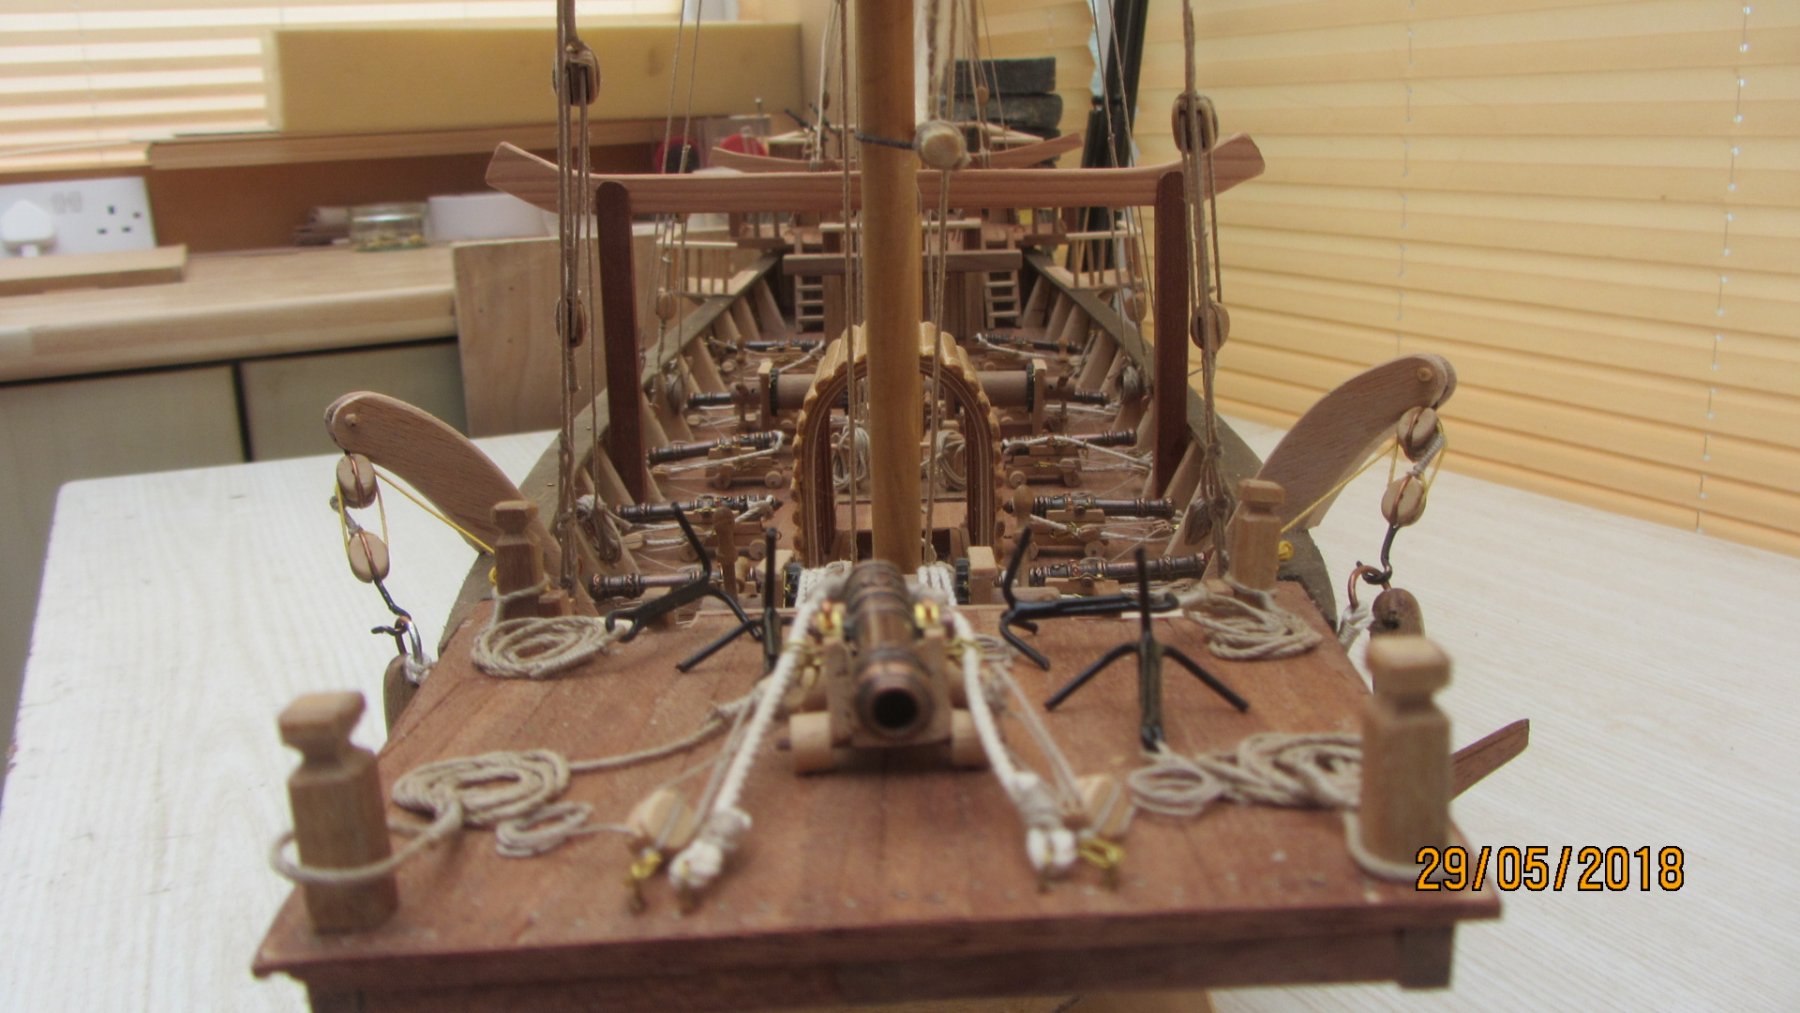
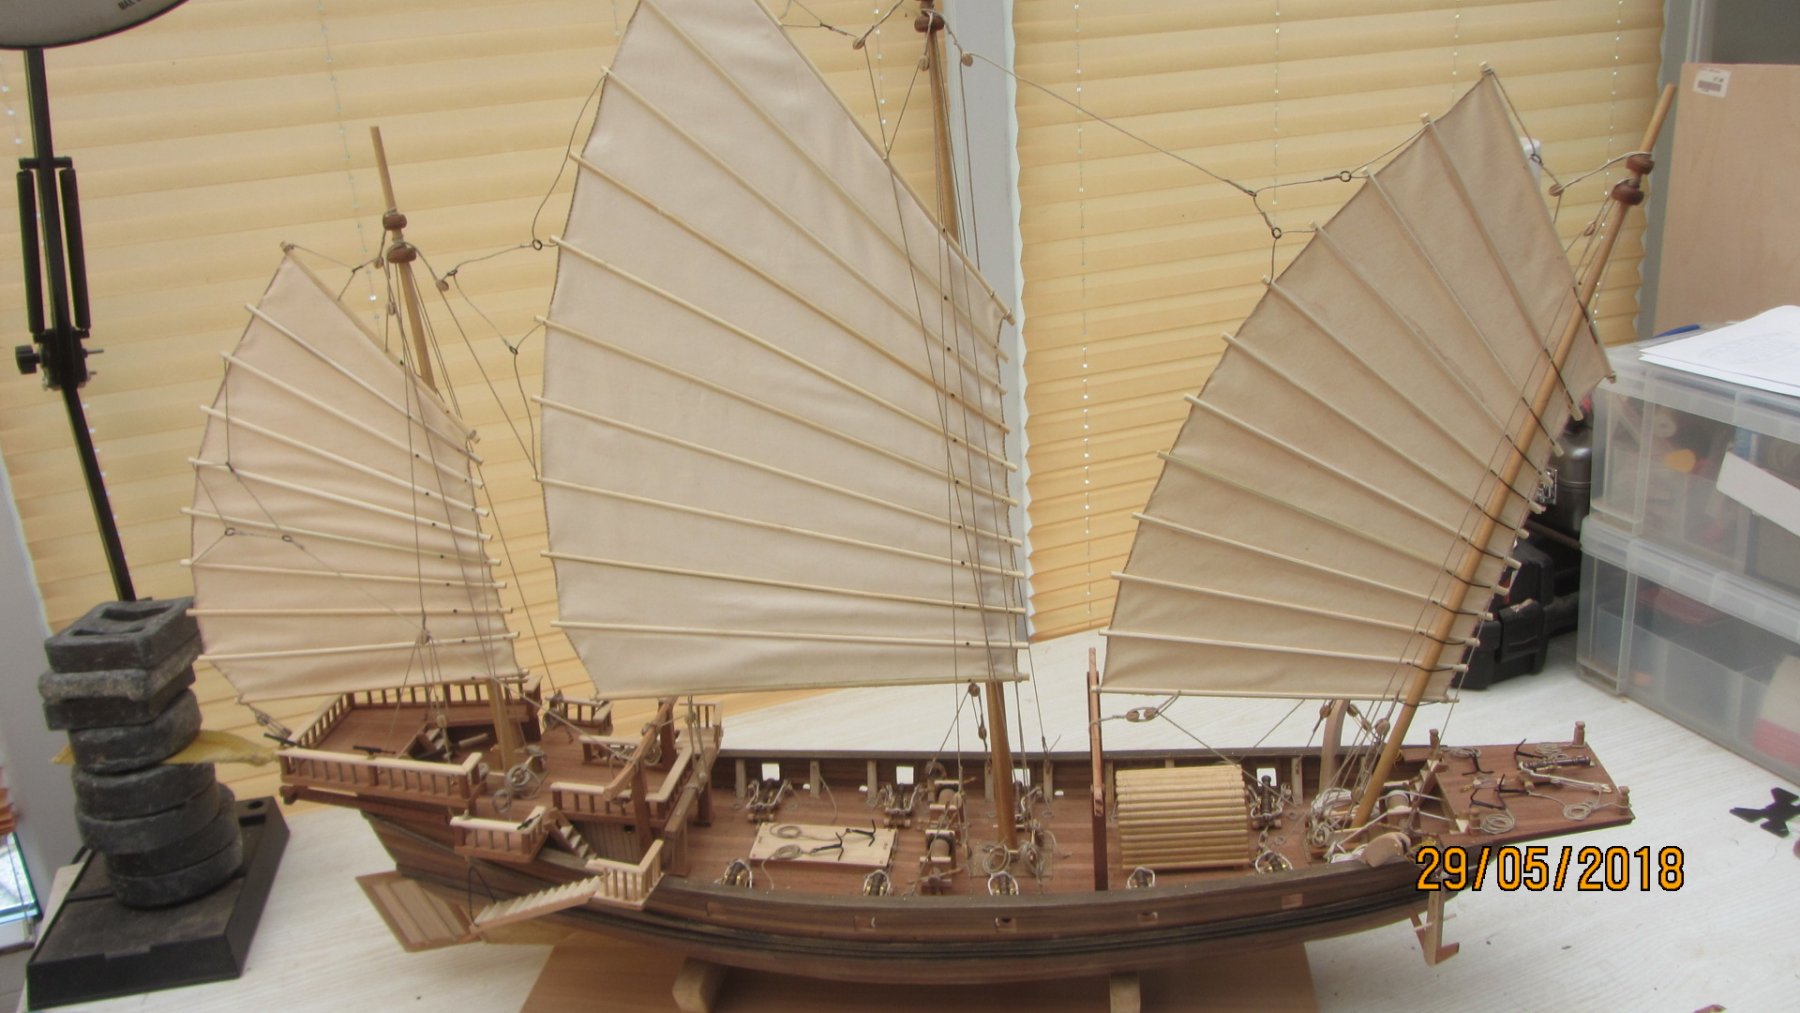
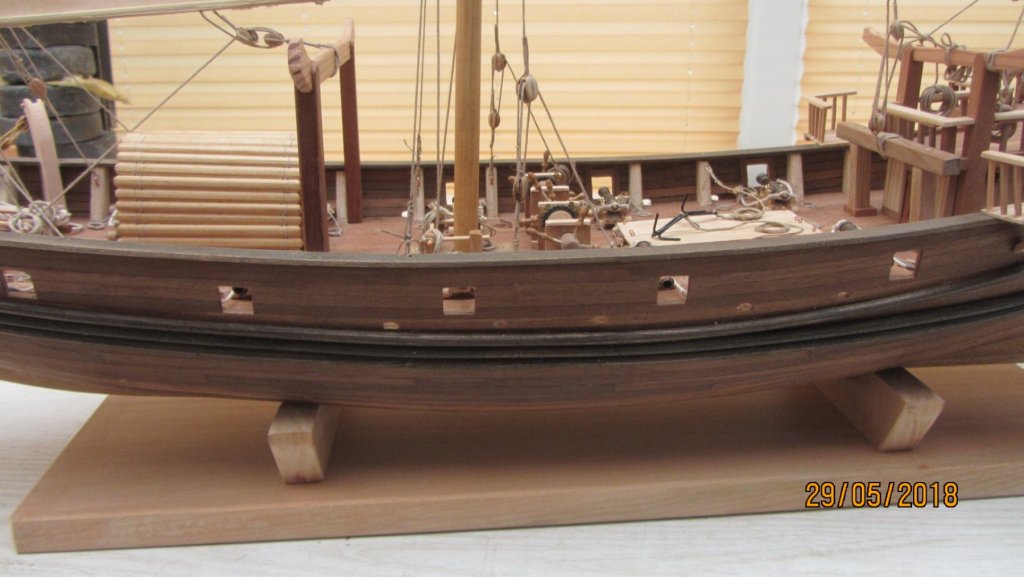
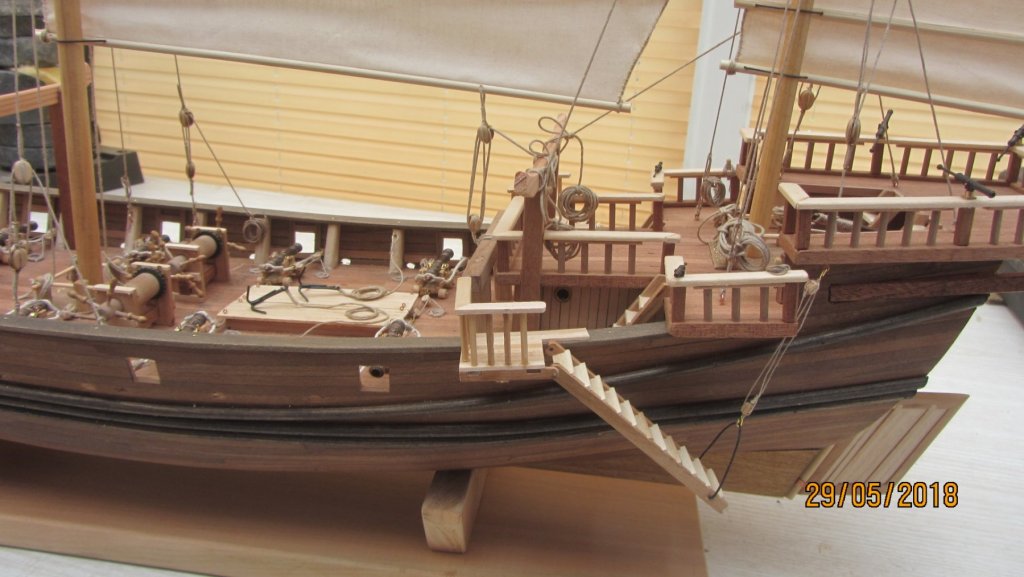
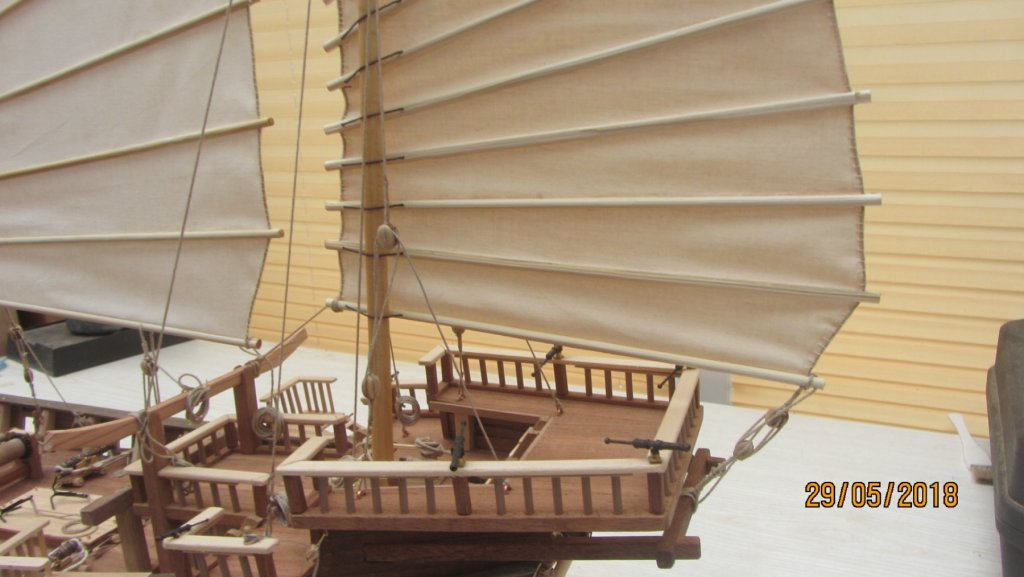
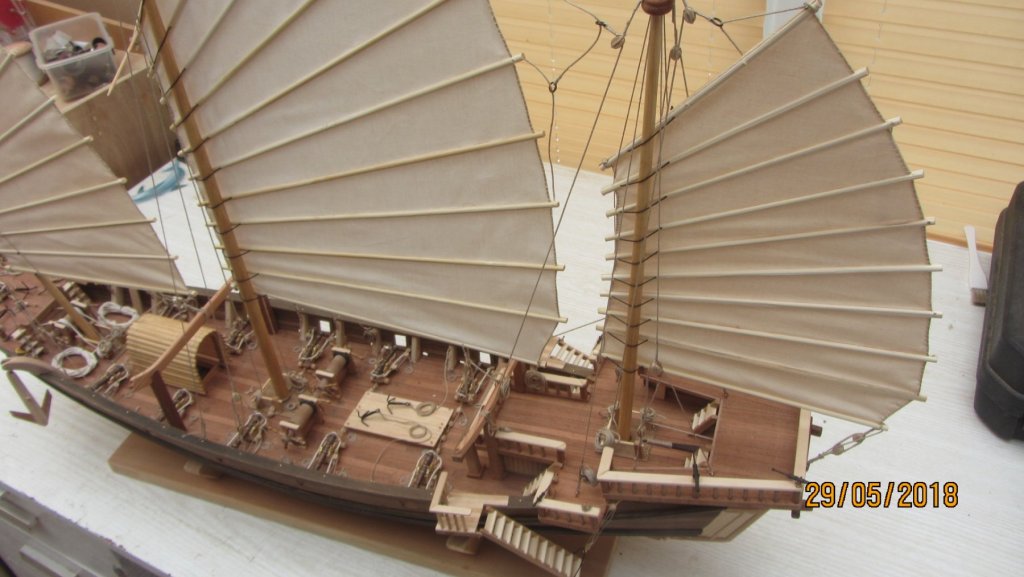
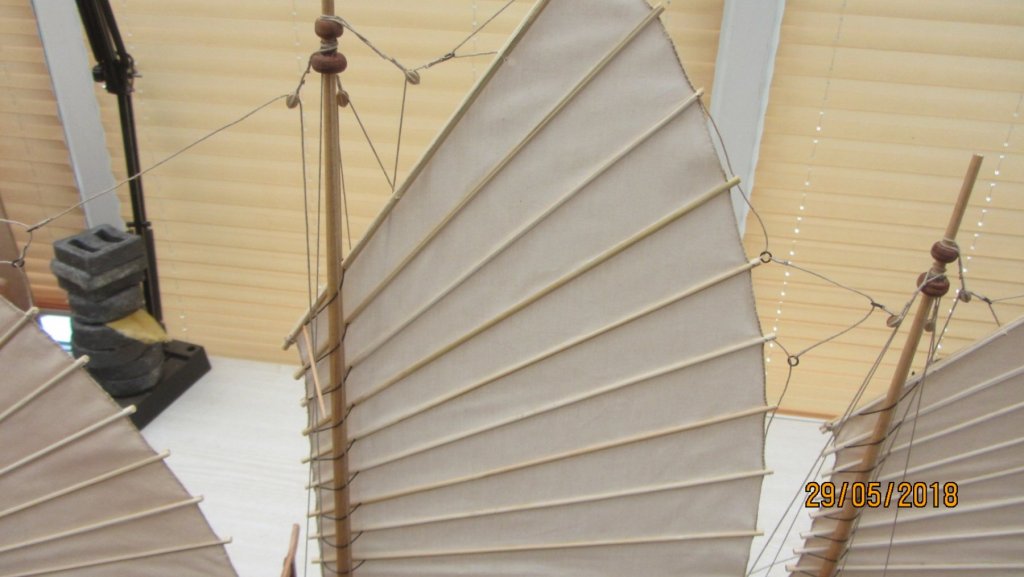
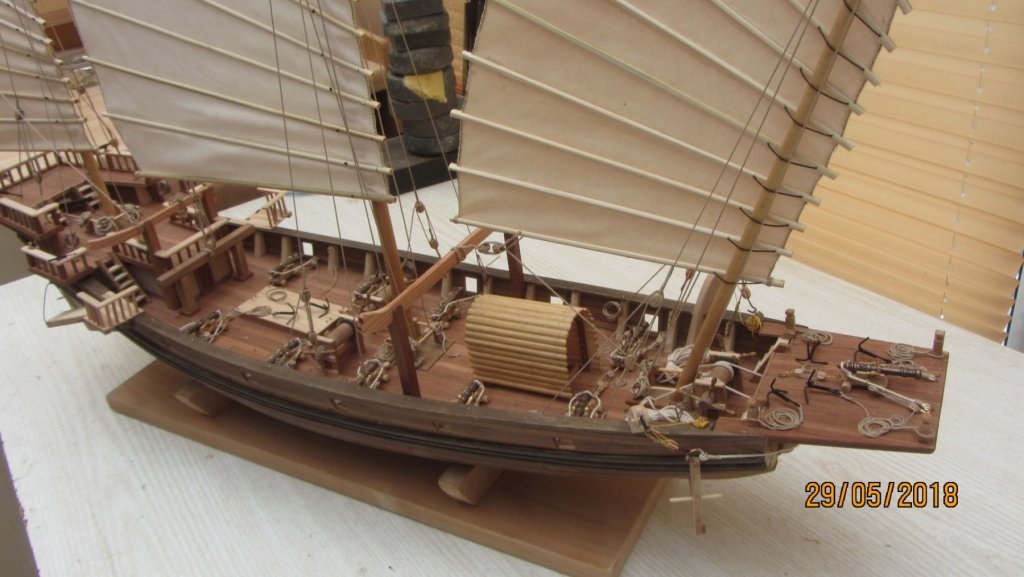
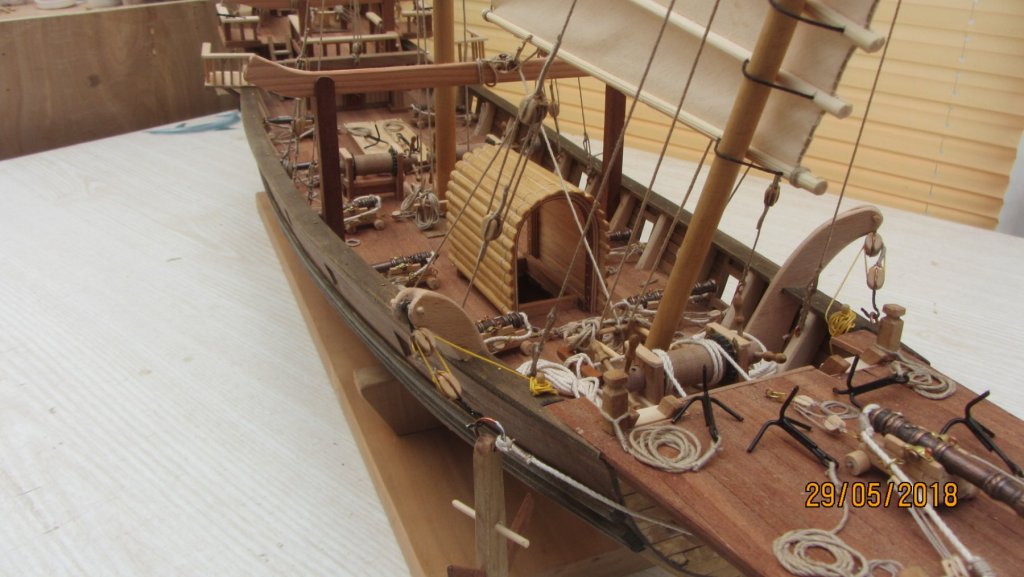
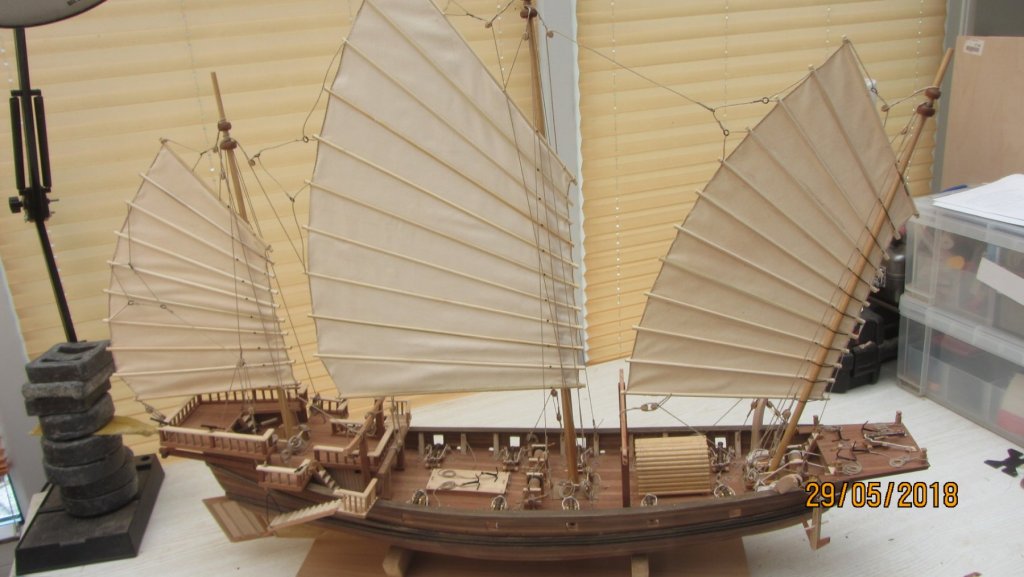
 Hi. A long overdue update. As you can see it complete. So I will just load up the pictures. If there are any questions then please ask. Thanks for looking in. Regards Antony.


- 20 replies
-
- 20
-

-
Hi Greenstone. Most in the Avos kit. Who will be distributing it in Europe?. Kind regards Antony.
- 216 replies
-
- 4
-
-
- masterkorabel
- ships
- (and 3 more)
-
Hi Jeff. Nice job again on the fixes. The lighting looks real good. Will make a nice visual detail in the evenings. On the point of the full size replica Backer is correct. I have walked and been around the ship... it's a mock up. Large sheet panels on the sides. Looks like they interlock quite well. All the best. Antony.
-
Hi. I cannot find any reference to 3D printing Rigging blocks. Having no idea on where to start. I downloaded Tinkercad and went through the tutorials one by one. Not sure on tinkercad .. maybe I need to try another CAD package like sketchup. At this stage I am open to any advice. Once I get the design I can easily get them 3D printed. Regards Antony.
-
Hi Nils. Have followed this master piece from the start and it's been a real eye opener on methods and skills. I have learnt so much from this wonderful build. Regards Antony.
- 692 replies
-
- 5
-
-
- eagle of algier
- chebec
- (and 2 more)
-
Wow super build. Excellent workmanship throughout. Regards Antony.
-
Hi MD. Making a real nice progress. Love the natural wood colour scheme. You could always put a mirror at the closed end. Will add loads more depth to the display. Bathroom mirror is quite thin and none breakable. Regards Antony.
-
Hi Nils. Fantastic work on the sails. You are a dab hand at the sewing machine. You were lucky that there were not any more damage than what happened. I put it down to a sturdy building. Wishing you well. Regards Antony.
- 692 replies
-
- 6
-
-
- eagle of algier
- chebec
- (and 2 more)
-
Hi Fernando. Grats on becoming a grandad. It's wonderful is it not. Very nice progress on the Lucia. Will you be painting your hull.?? If you are going to paint the hull then the second planking is not required. Just spend more time on the smoothing on the lines. Or just plank down to the deck level. And fill and smooth the rest. Will be starting on a much enlarged version of this ship when the Junk is finished. Wishing you well grandad. Regards Antony.
-
Hi Fernando. Yea I got my front seat booked and it's smack in the middle. Wishing you a smooth build. Congratulations on your newest family members. Yes im'e a grandad ant it feels great. Regards Antony.
-
Hi Phil. This is nice to see . A model being constructed with a step by step for beginners to follow along.😁 A good choice of kit for the reasons you have stated. Looking forward to you starting your build. Regards Antony.
-
Hello JW. Welcome to MSW. There are a lot of ladies here who make very splendid model ships and boats. That is a nice looking model you have there. There are several modelers here that have built Korean ships. Wishing you well Regards Antony.
-
Hi Chuck. This kit has got to be one of your best sellers. Someone needs to compare a quality cross section like this with one of those from the East. I know of someone who bought a expensive one from EBay and it turned out to be rubbish and the quality of the wood was very poor. Most things did not fit as expected. So I will be waiting on Chuck to release the kit. I love my cross sections. You are a real artist when it comes to model ship design. Regards Antony.
-
Hi Popeye. Looks like a lot of fun. Nice building jig. Looking for more on your M&M build. Regards Antony.
-
Hi. Yes I gotta agree with. The treenails look very nice. A lot of work but the results mean you will not be hiding the deck under coils of rope and other bits scattered around the deck. Regards Antony.
-
Hi. Making a nice job of the hull. As Thunder said it' "Not a easy Bow to plank." Gonna follow along on your build as it's a nice ship model. No you got that bit wrong. Should be" I corrected my learning errors" Regards Antony.
- 108 replies
-
- 3
-
-
- endeavour
- caldercraft
- (and 1 more)
-
Hi E&T. There is no way they have been able to resurch like you have... Shame on Occre. I don't what else to say. Gutted. Regards Antony.
- 346 replies
-
- 7
-
-
- terror
- polar exploration
- (and 2 more)
-
spare cordage to do the Victory rigging
AntonyUK replied to spider999's topic in Masting, rigging and sails
Hi Spider. Like Gjdale and Jim said Forget the string and the square bits of wood called blocks from the kit and replace them with chucks real rigging rope and blocks. You will find it a Look much better to work with and the finished ship will look like a real scale model. Yes it will add cost to the project but after all the time and love you put into building the Victory It's gotta be worth it. Regards Antony. -
Hi Nils. Making exelent progress with the Chebec. I like the method of rigging the masts on this ship. The huge pulley block looks superb for the main lateen yard. Your sailor cannot find any deck to stand on😭. Regards Antony.
- 692 replies
-
- 5
-
-
- eagle of algier
- chebec
- (and 2 more)
-
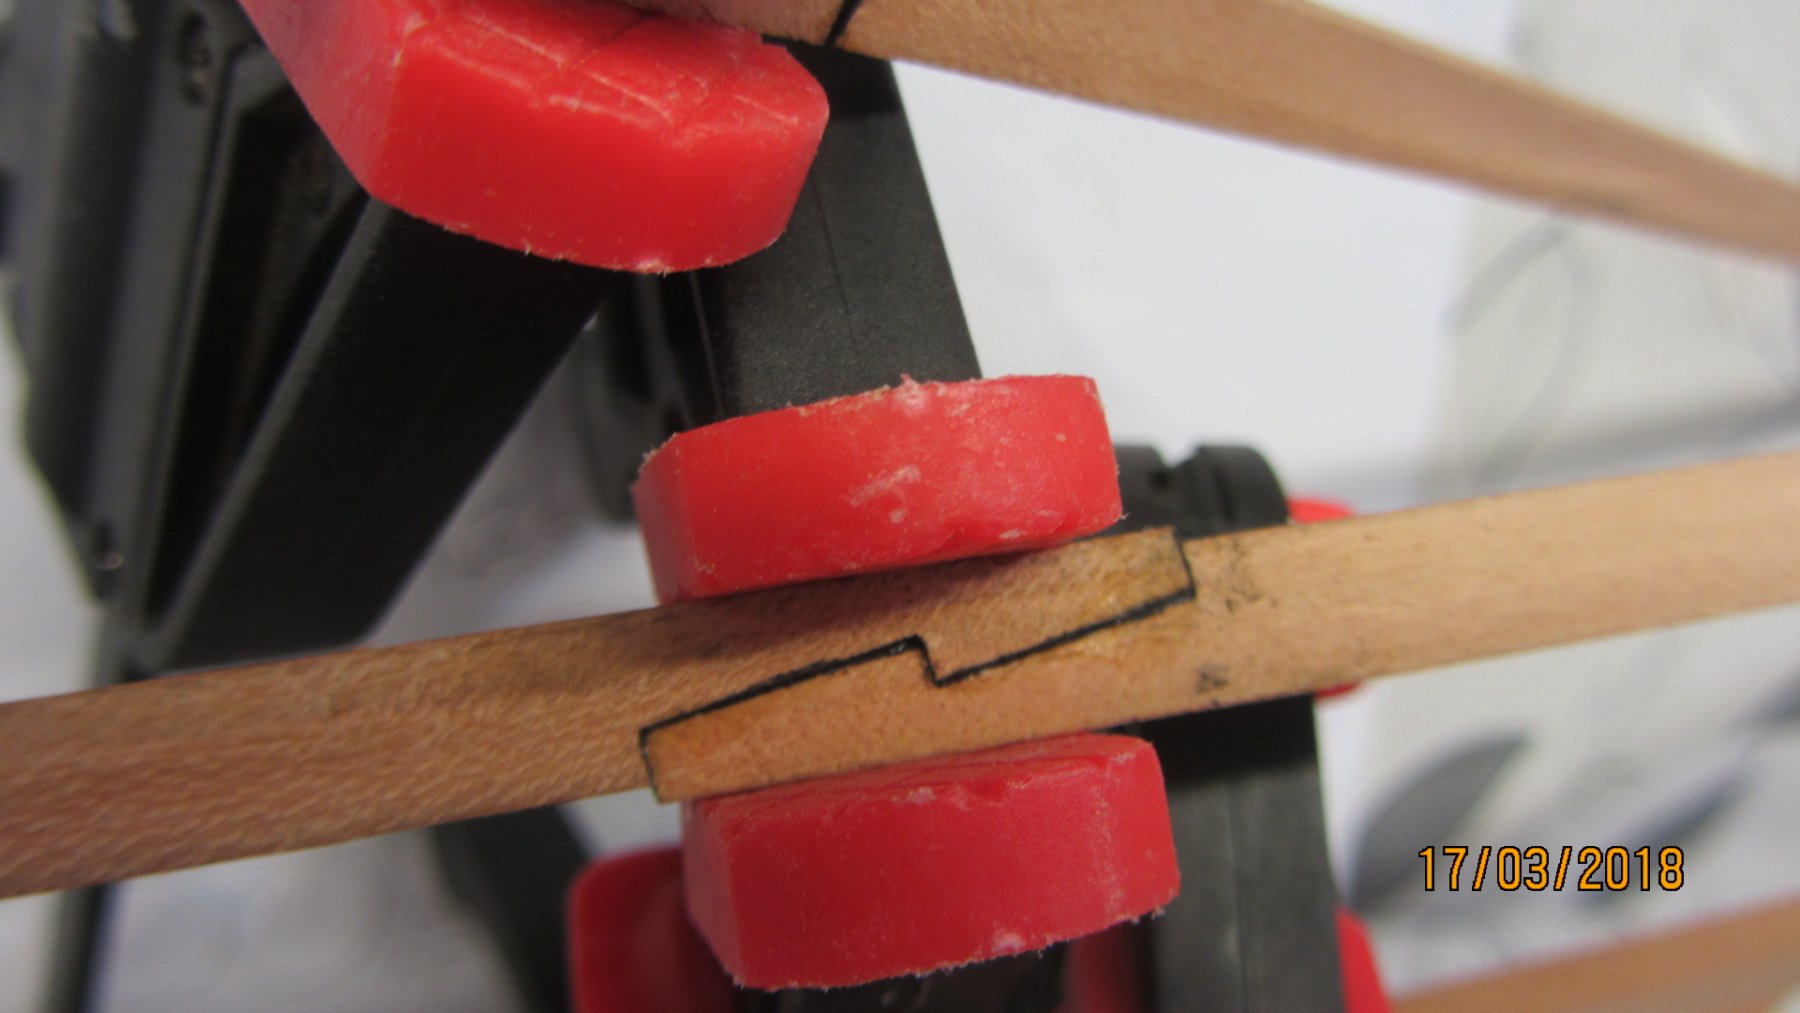
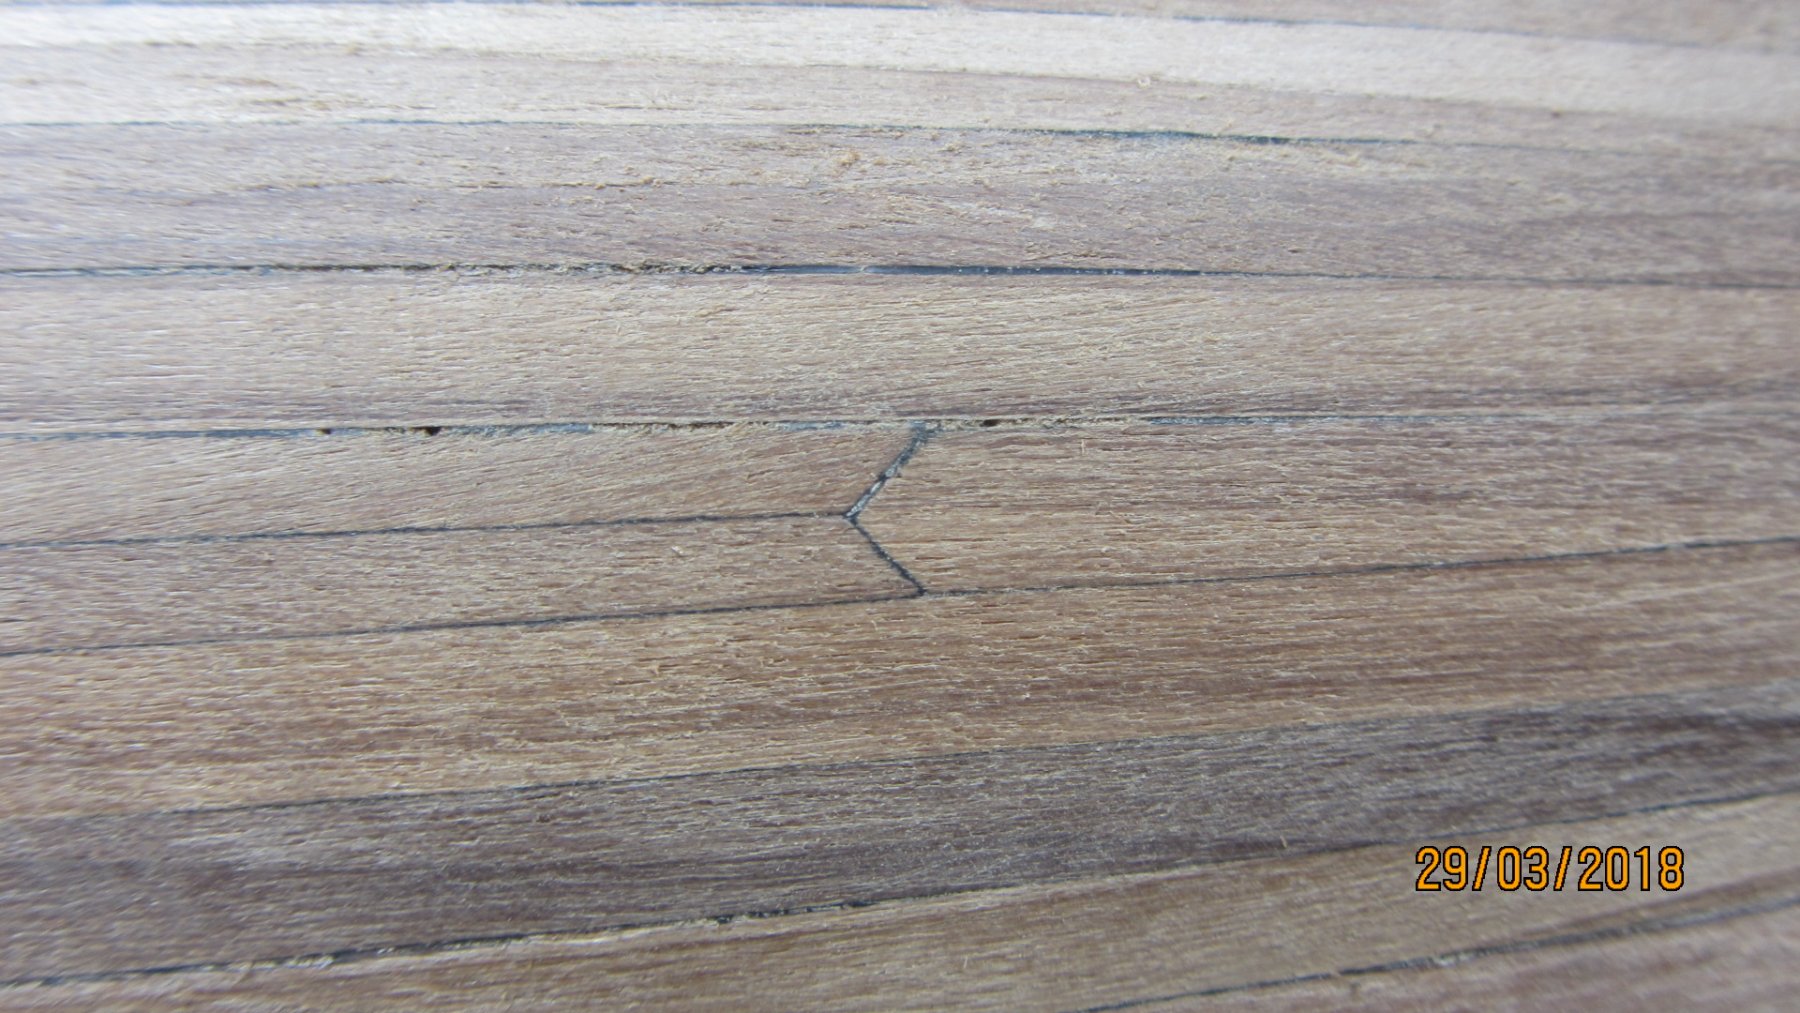
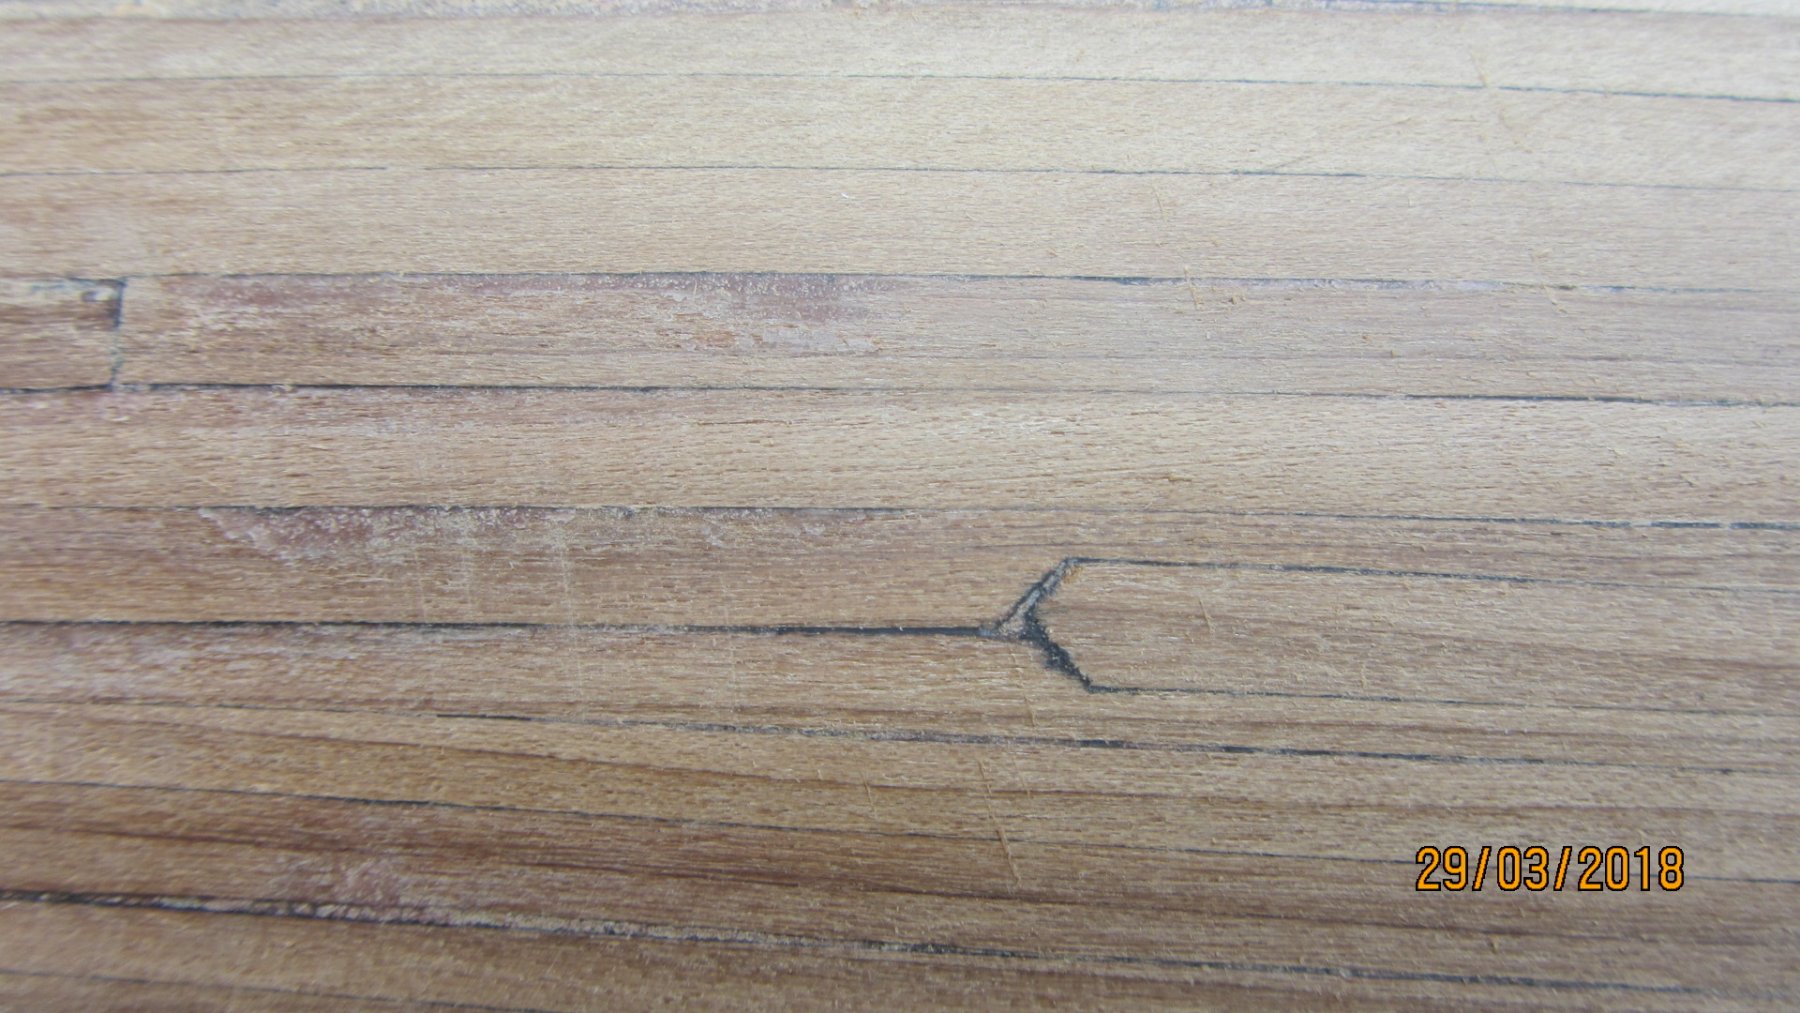
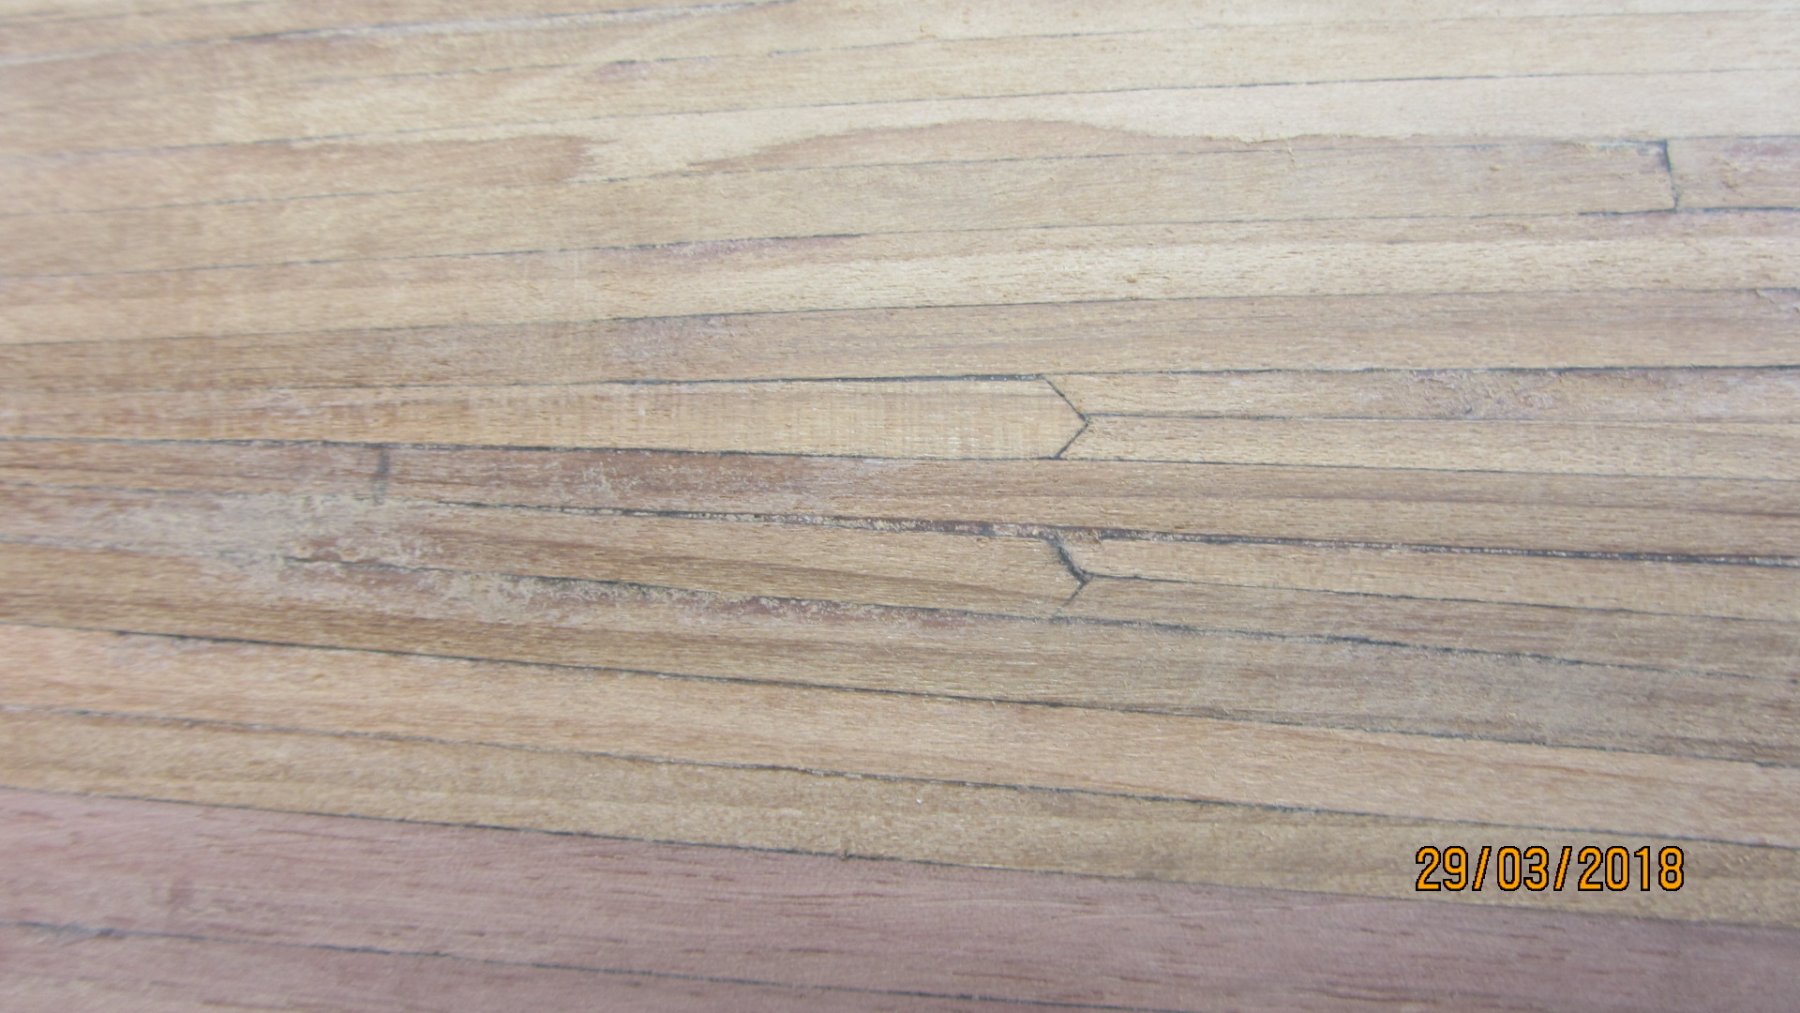
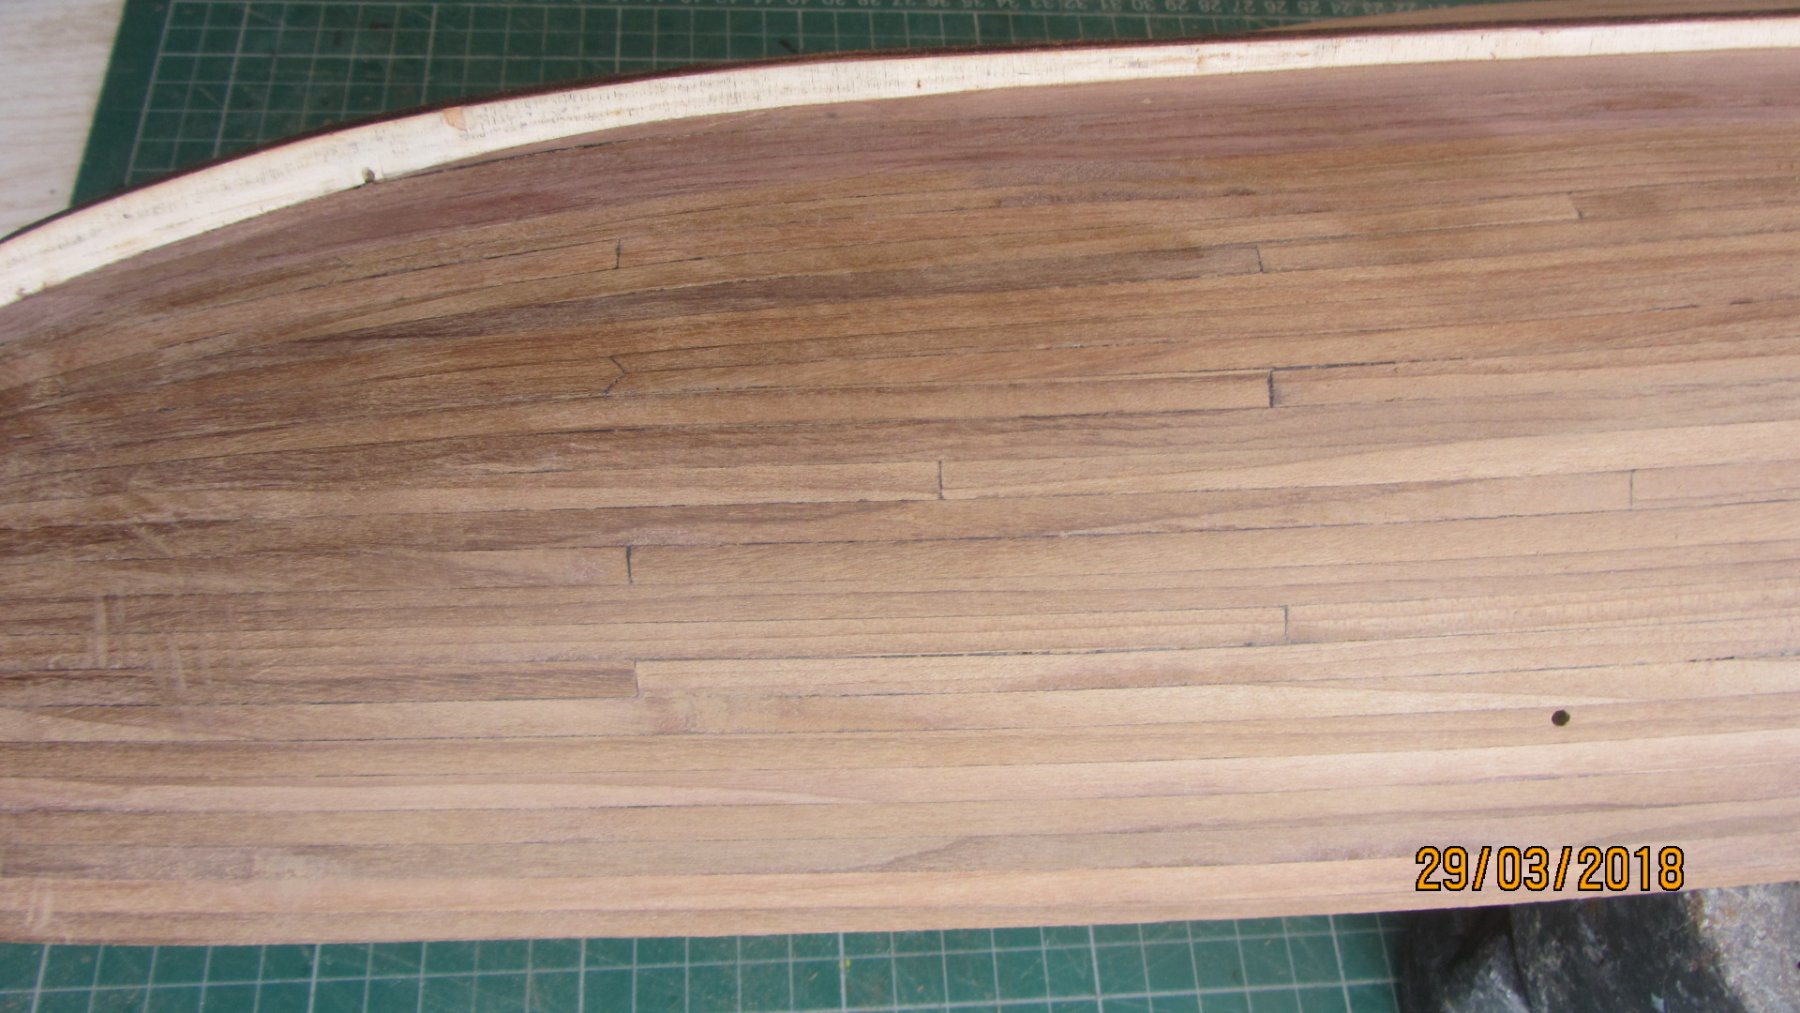
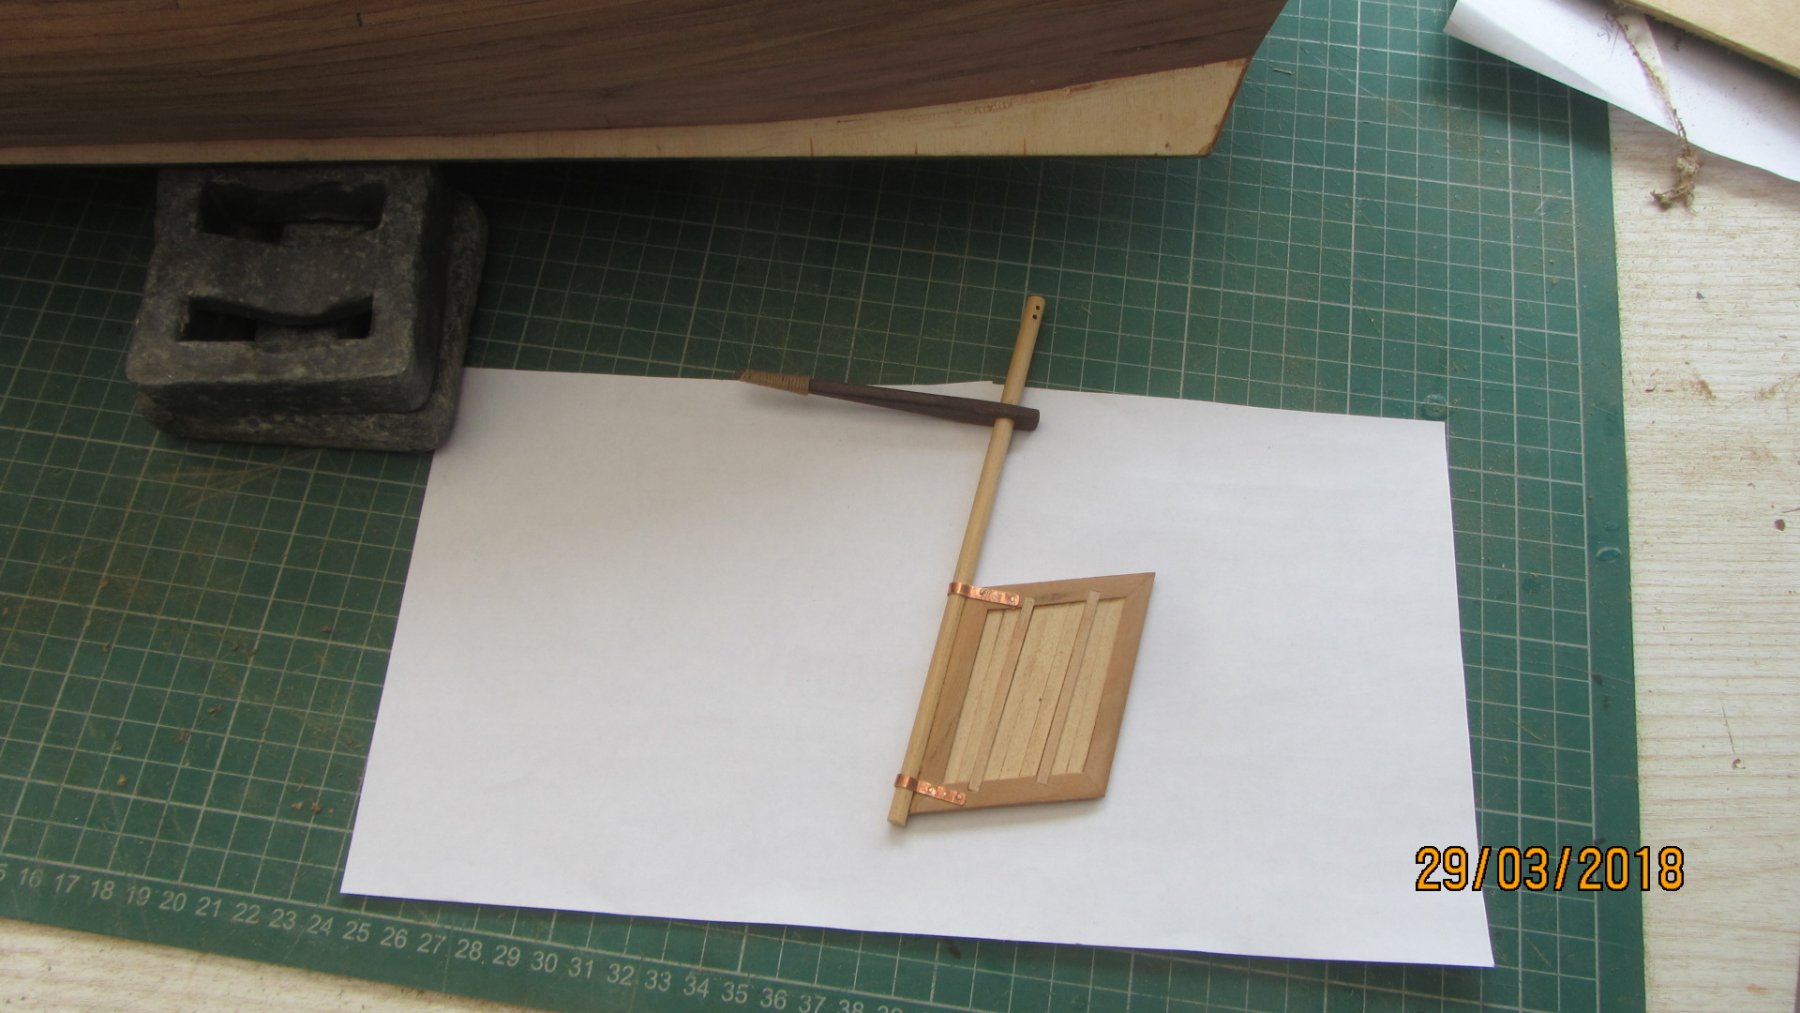
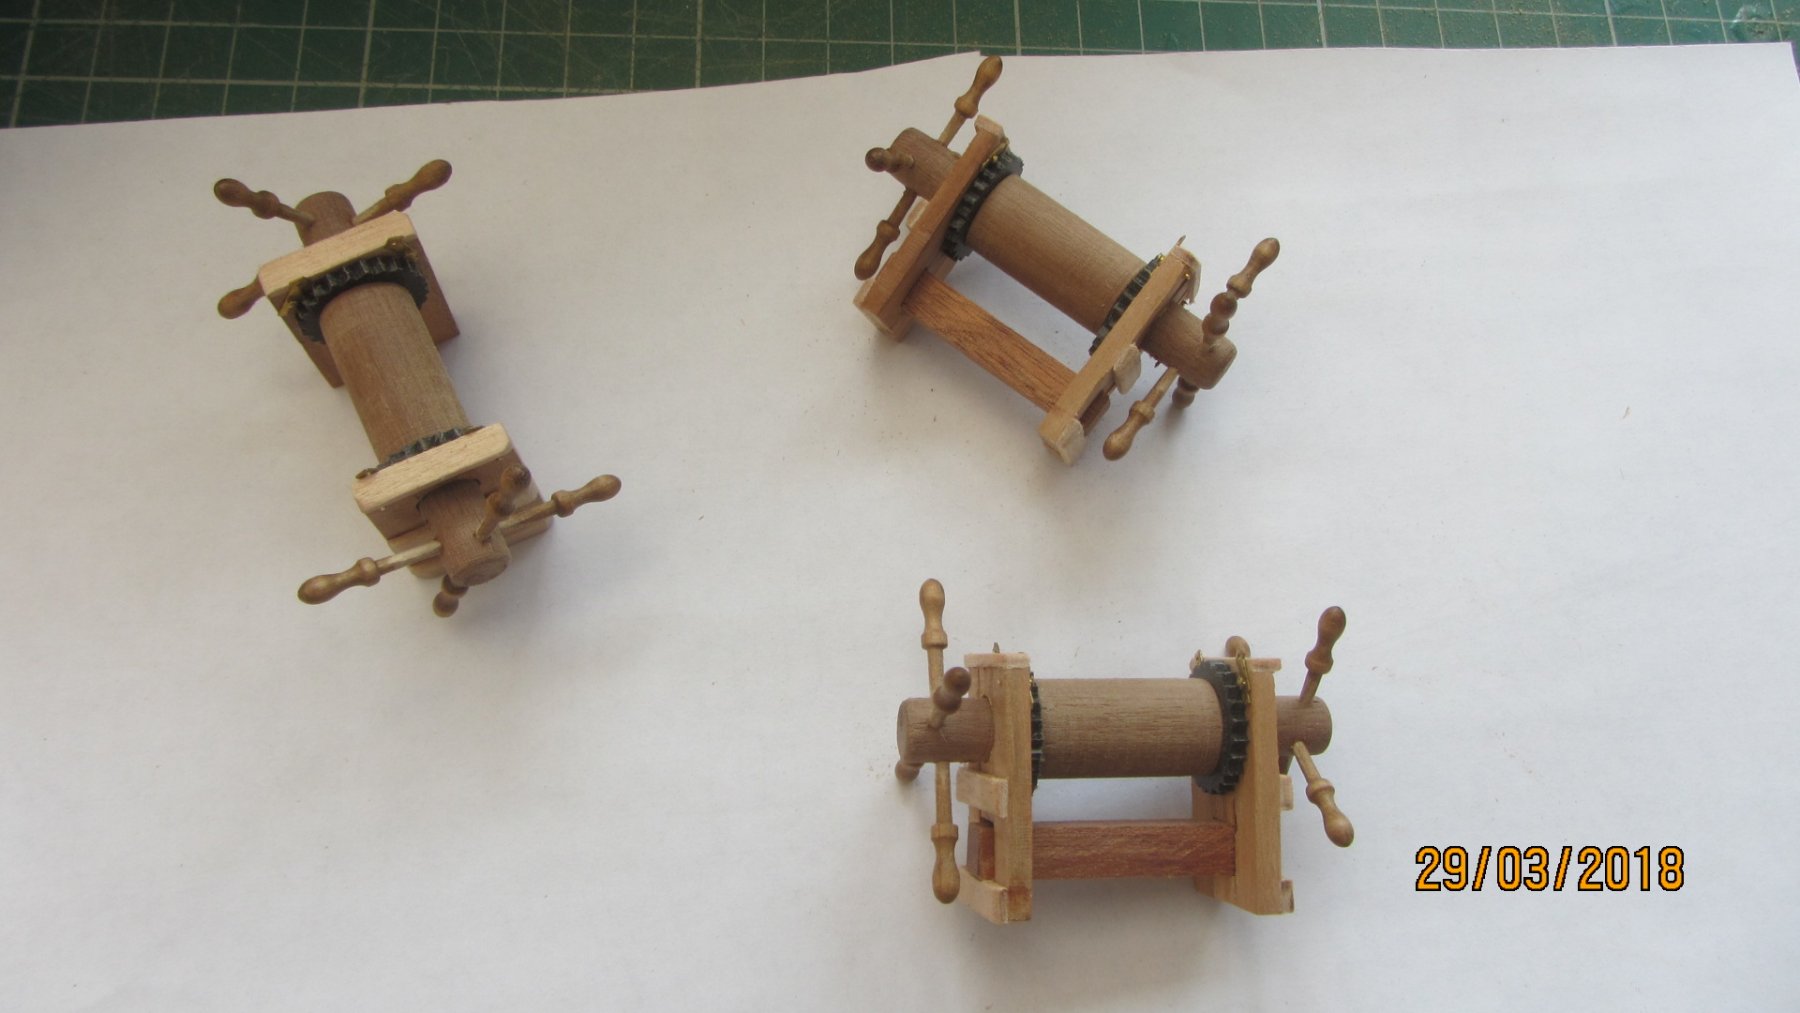
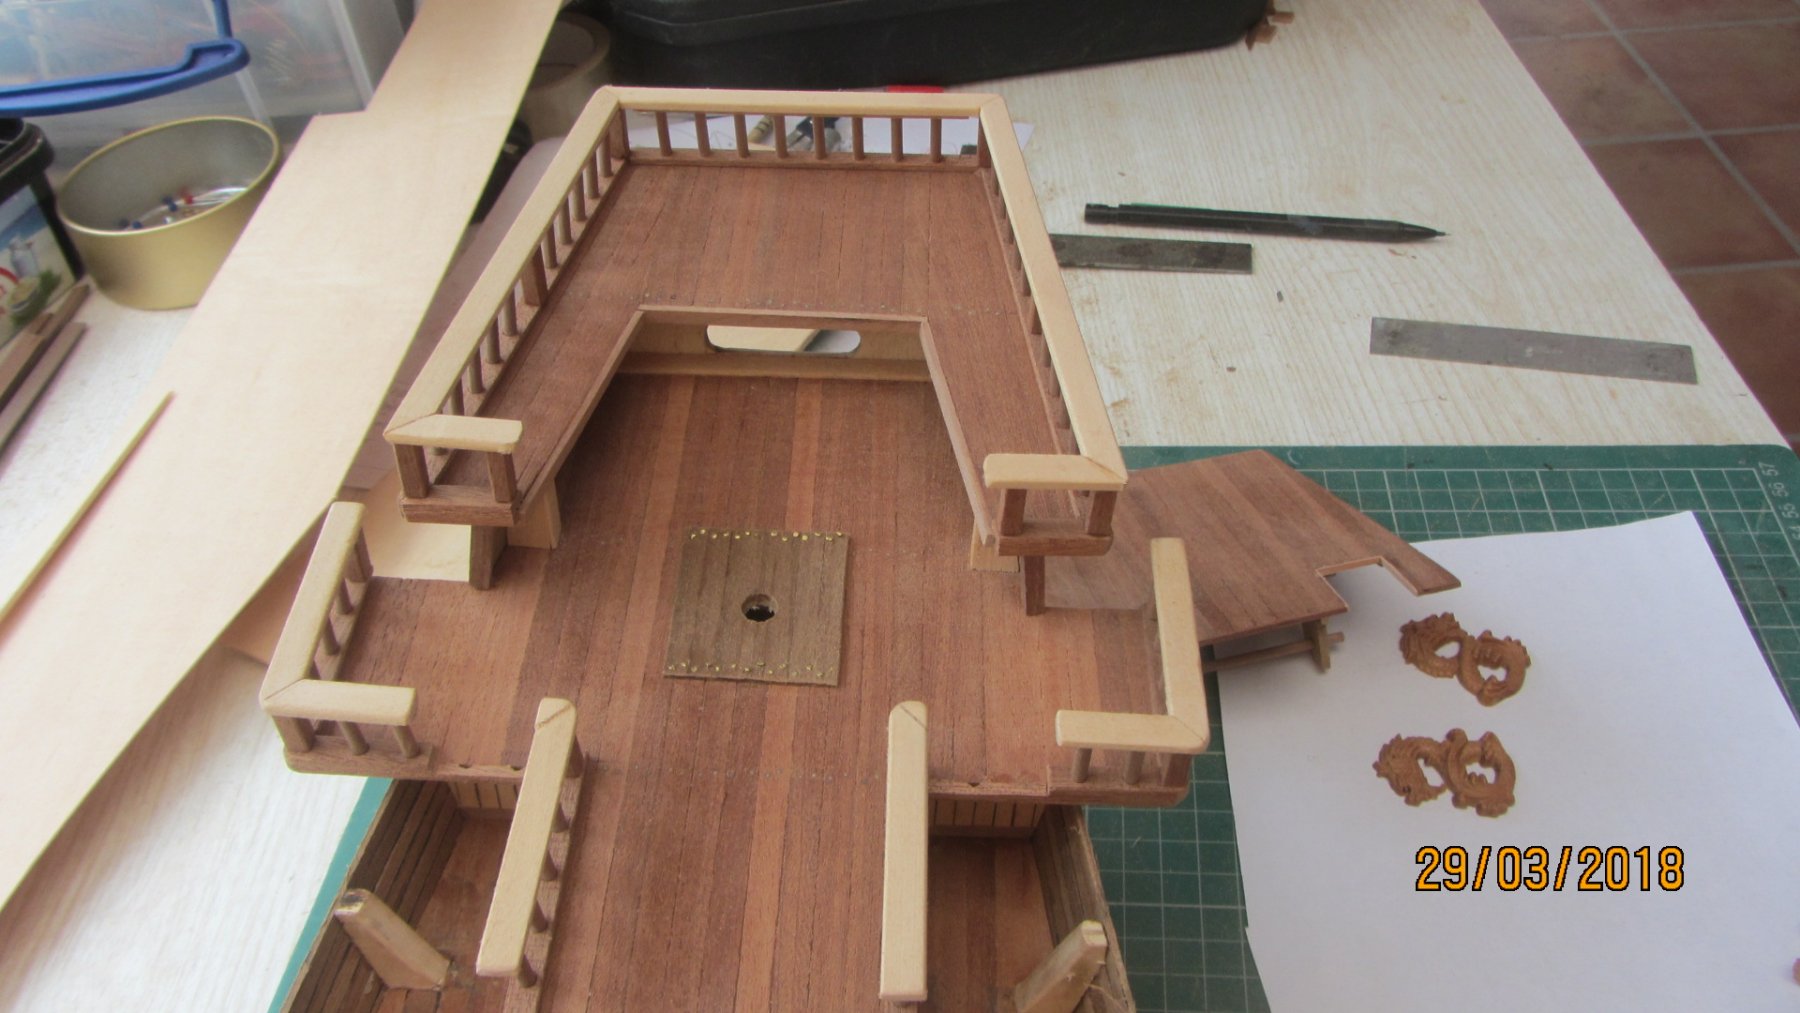
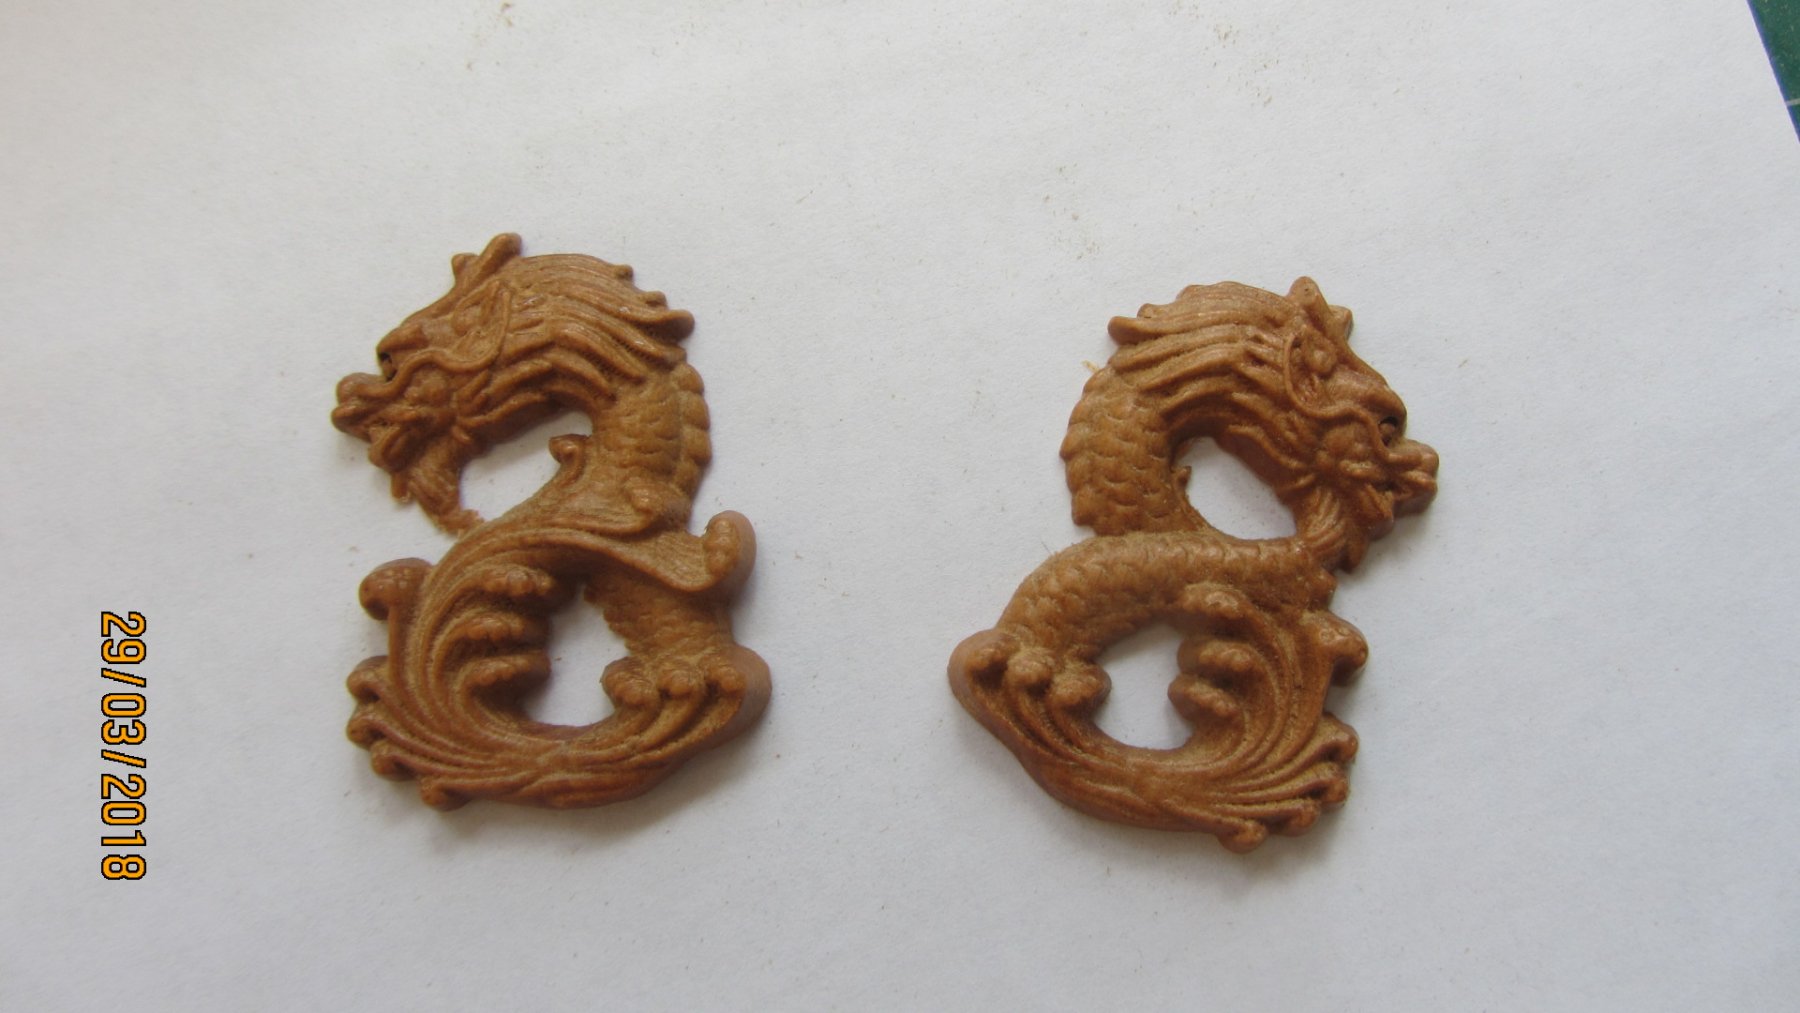
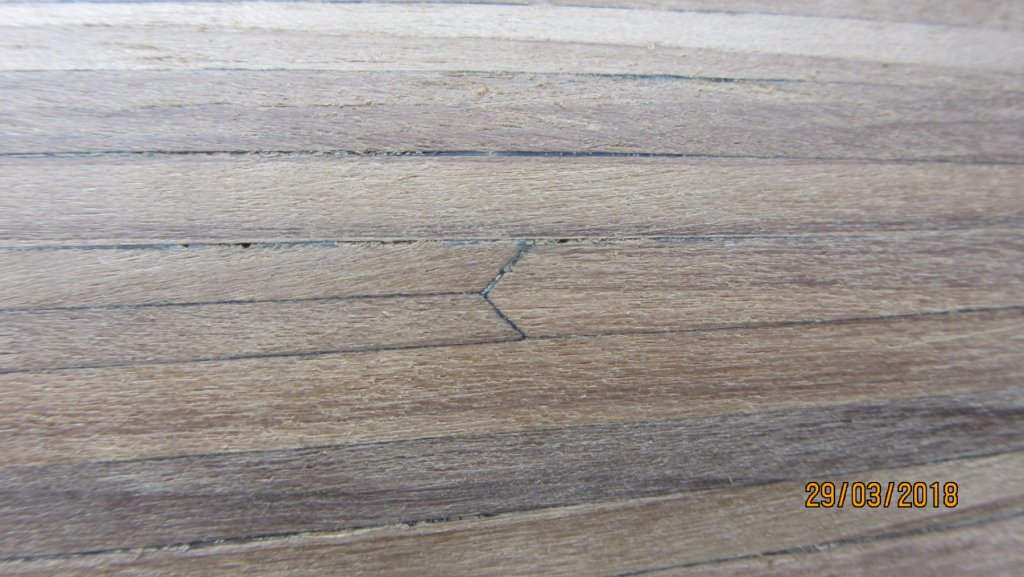
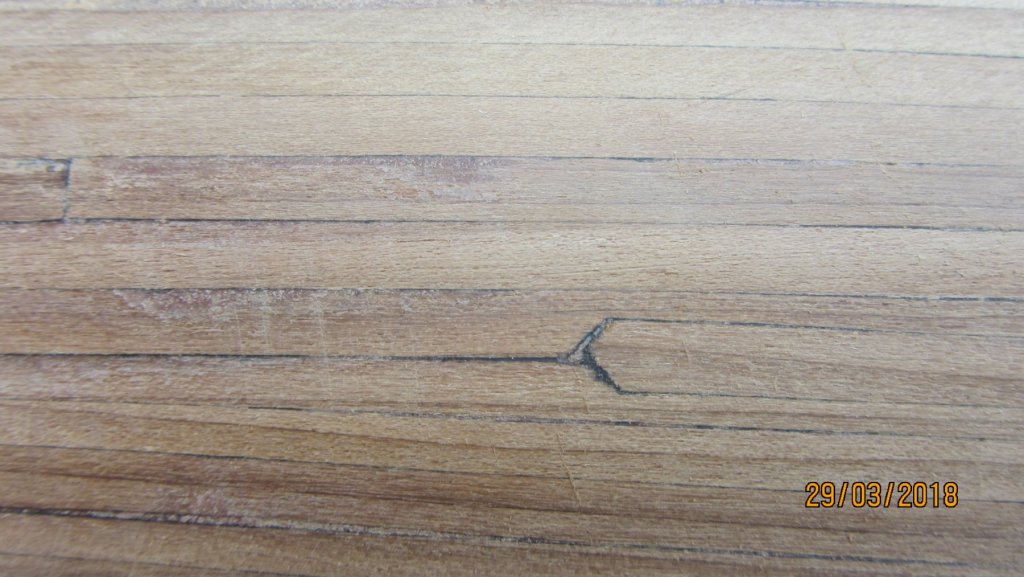
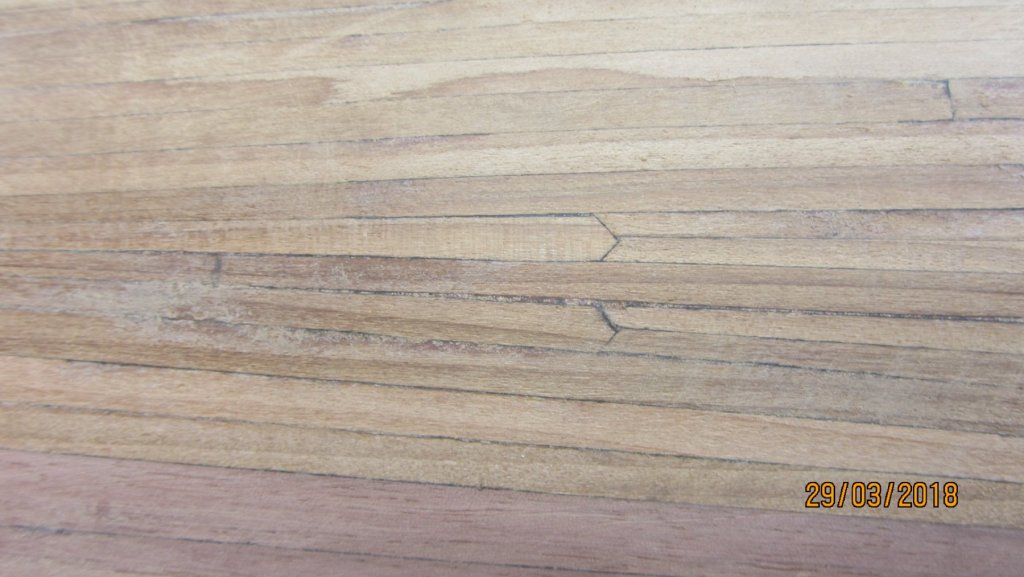
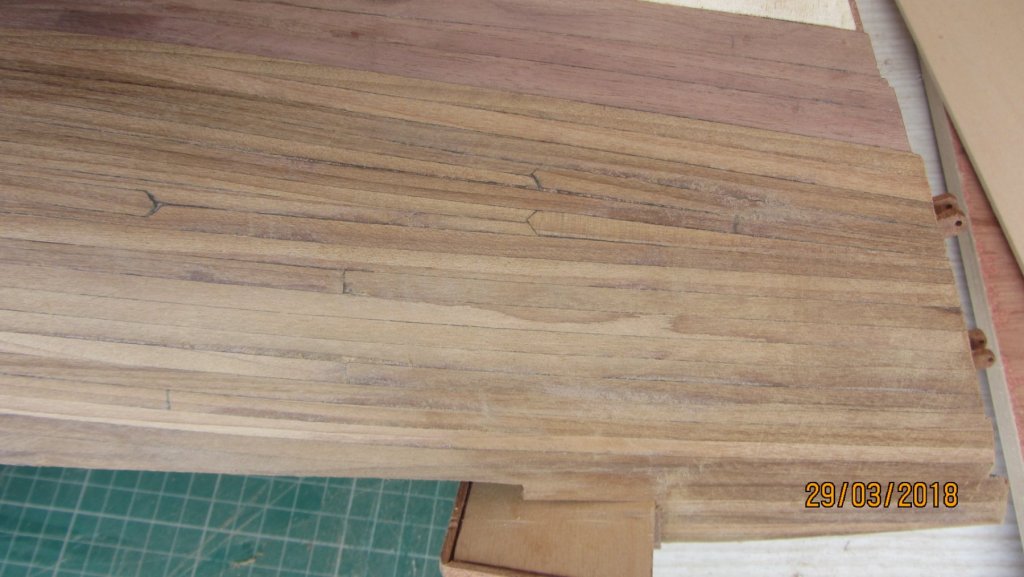
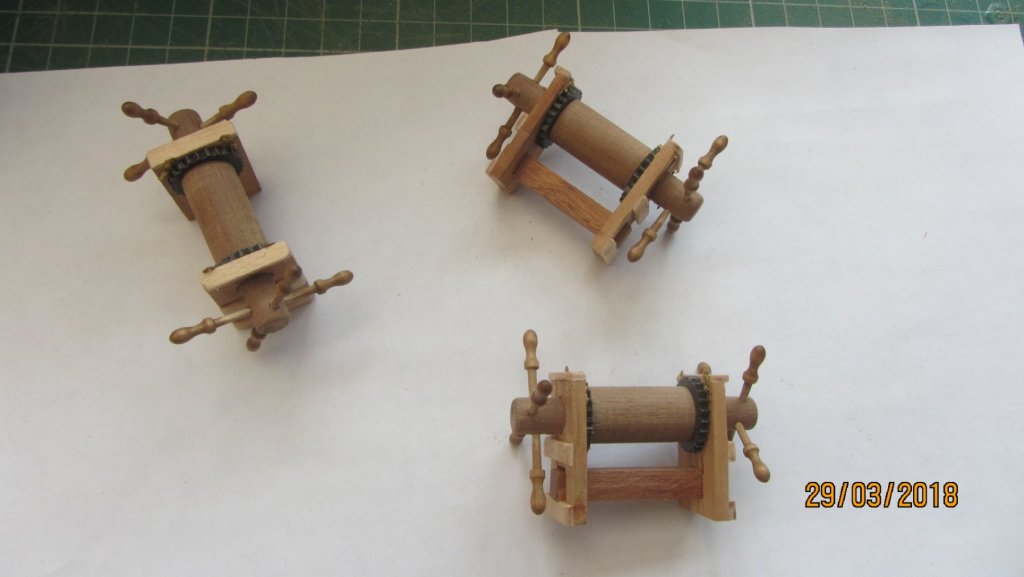
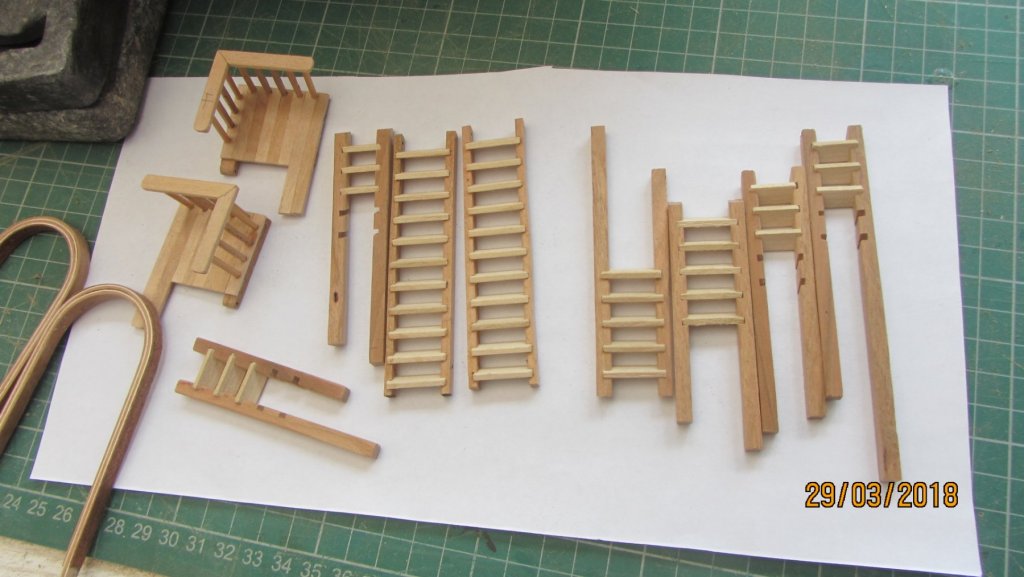
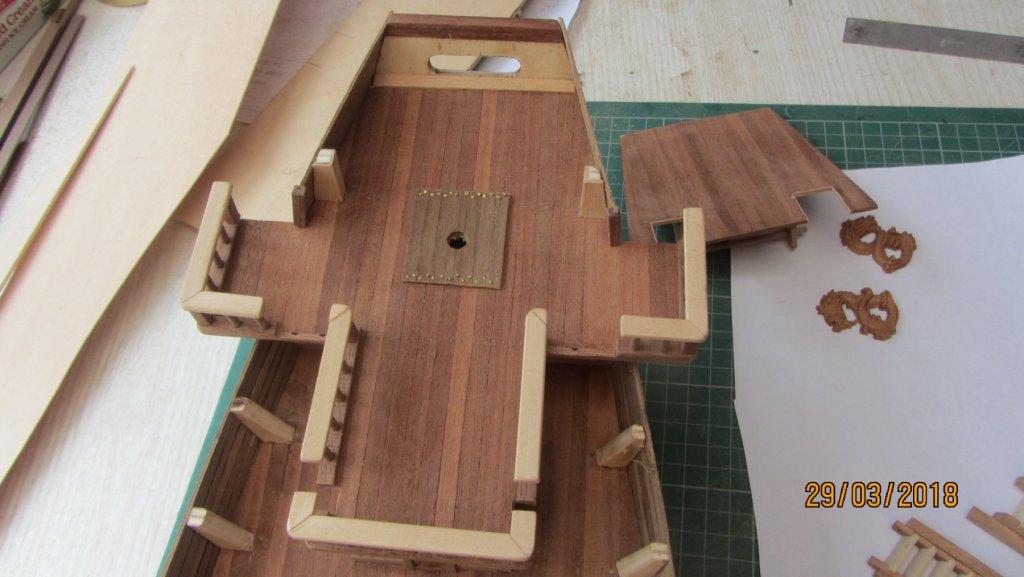
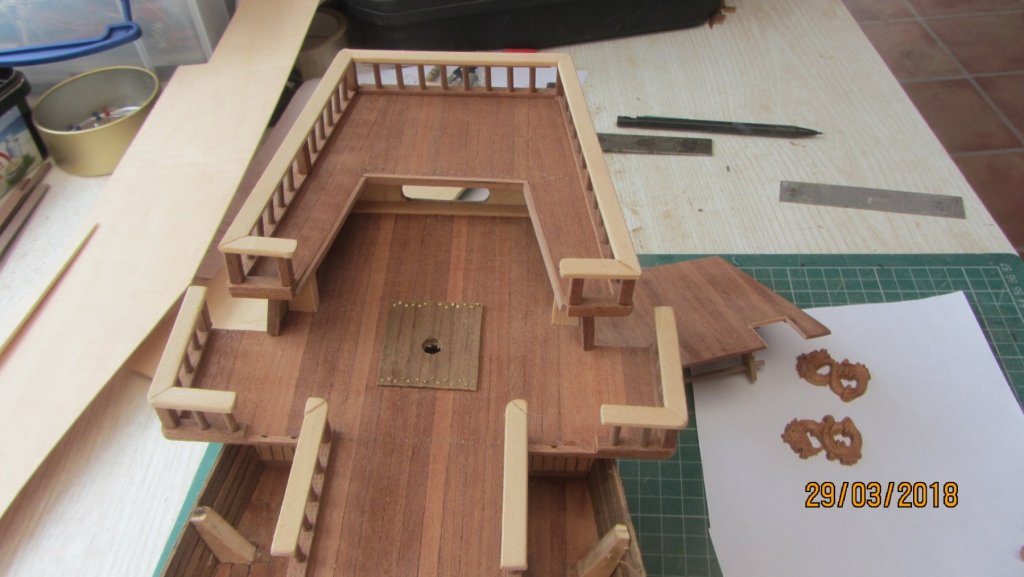
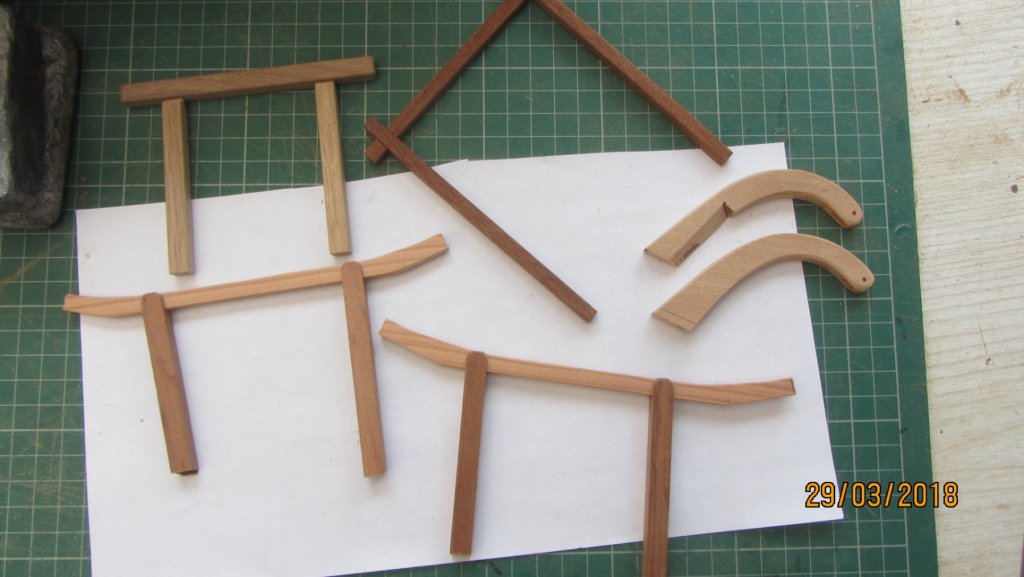
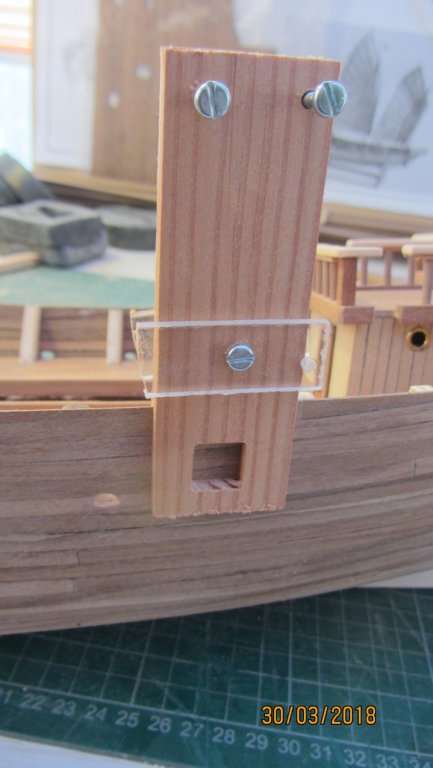
Hi All. Its time for a update... Been working on making the bits of furniture for the decks. Finishing the hull planking(Which I am pleased with.) First some strakes that were joined. Milled on on my Proxon milling machine. Picture of the completed planking on the Hull. Some of the dropped planks and stealers. Hull is sanded and not finished at this point. Will add a few coats of Danish oil after finishing it with scraping. The rudder finished awaiting the Danish oil. The 3 winches... Yes I used belaying pins for the handles. Just some of the ladders for the decks access. Carvings for the Bow area. No I did NOT carve them. My hands are not capable of carving... Pendant from E-Bay. Cut in half with fine saw. Rear deck. Upper rear Deck. Mast supports. 3 in all. Holes not yet to final size. Jib/boom support racks. and anchor davits. Jig for cutting gun port's. Inside clamp is also correct size hole for the gun ports and rests on the deck to give constant height of the gun ports. Scuppers also cut. All I did then was to chain drill with a 1mm drill around the square hole. Then cut with a knife. File to final size then onto the next port. No splintering of the wood as it is clamped both sides. Started making the gun carriages and various other deck furniture. will post photos of them when adding them to model. Well that's it for now. Regards Antony.


- 20 replies
-
- 10
-
-
Hi Auger. The model has travelled well and kept safe in the move. That's a really nice build you got going there. Awaiting your next progress log. Regards Antony.
-
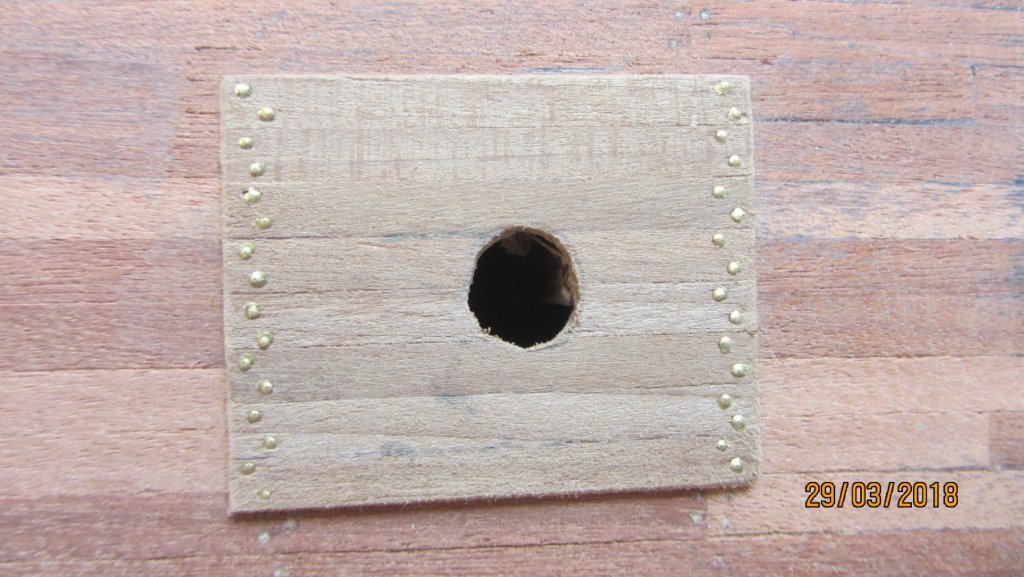
Hi Michael. Wow the viewing hole looks brillint and will give a real inteesting difference to the model. Never seen pencil lead being used as tree nails before 🤔. Regards Antony.
-
Hi Vinnie. Nice build. I like your planking..style. Puppy are really usefully in the dockyard... chewing every piece of dropped timber. Looking good. Will follow along with your build. Seat booked. Regards Antony.
-
Hi Michael. Very nice mods to the kit. Another build here on MSW. It's the victory but it has some real good ideas and looks nice. https://modelshipworld.com/index.php?/topic/18020-hms-victory-cross-section-by-ferarr-198/ Note .. The Lumber boards had slots or holes in to facatate removal to clean the Lumber passage. And yes I like the brass pins as well. Gives it a bit of character. This is turning out to be a masterpiece of the Santisima Trinidad. Well done for adding such fine details. Gonna make sure I follow along with this build. Regards Antony.
-
Hi. I agree with Vivian above. A most excellent build. It's nice to see all that beautiful timber. Regards Antony.