Baker
-
Posts
4,286 -
Joined
-
Last visited
Content Type
Profiles
Forums
Gallery
Events
Everything posted by Baker
-

Roter Löwe 1597 by Ondras71
Baker replied to Ondras71's topic in - Build logs for subjects built 1501 - 1750
Thank you for sharing this information 👍 -
Beautifully made Kortes I can help you with the names in Dutch It is : Friesch boeierjacht Sperwer "Friesch" comes from "Friesland", a province in the northern part of the Netherlands "Boeier" is the type of ship that you make. "Sperwer" is the name of the ship (a bird, sparrow)
-
Indeed. The detailing of this model is very good very pleasant build to follow.
-
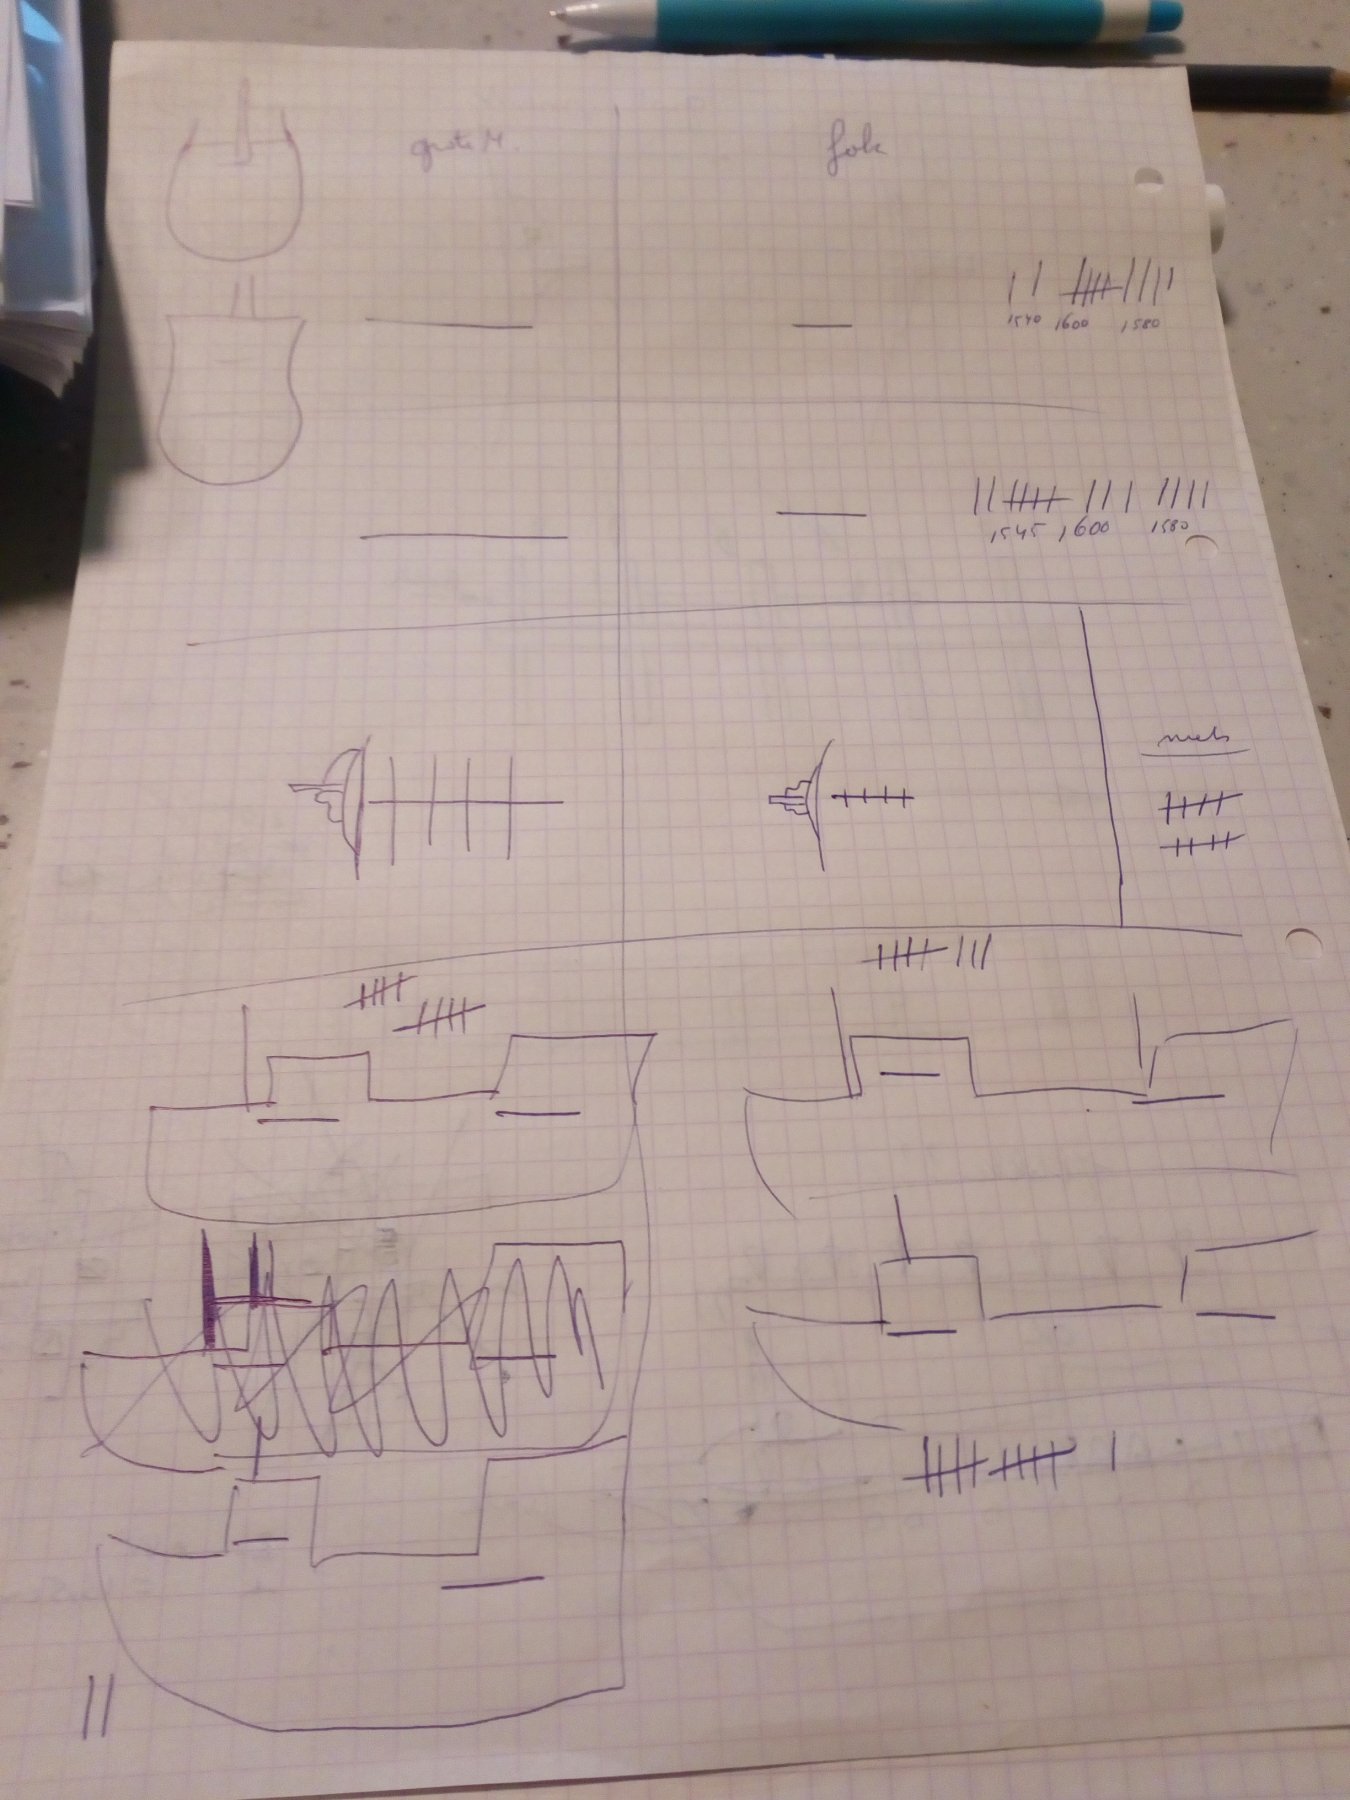
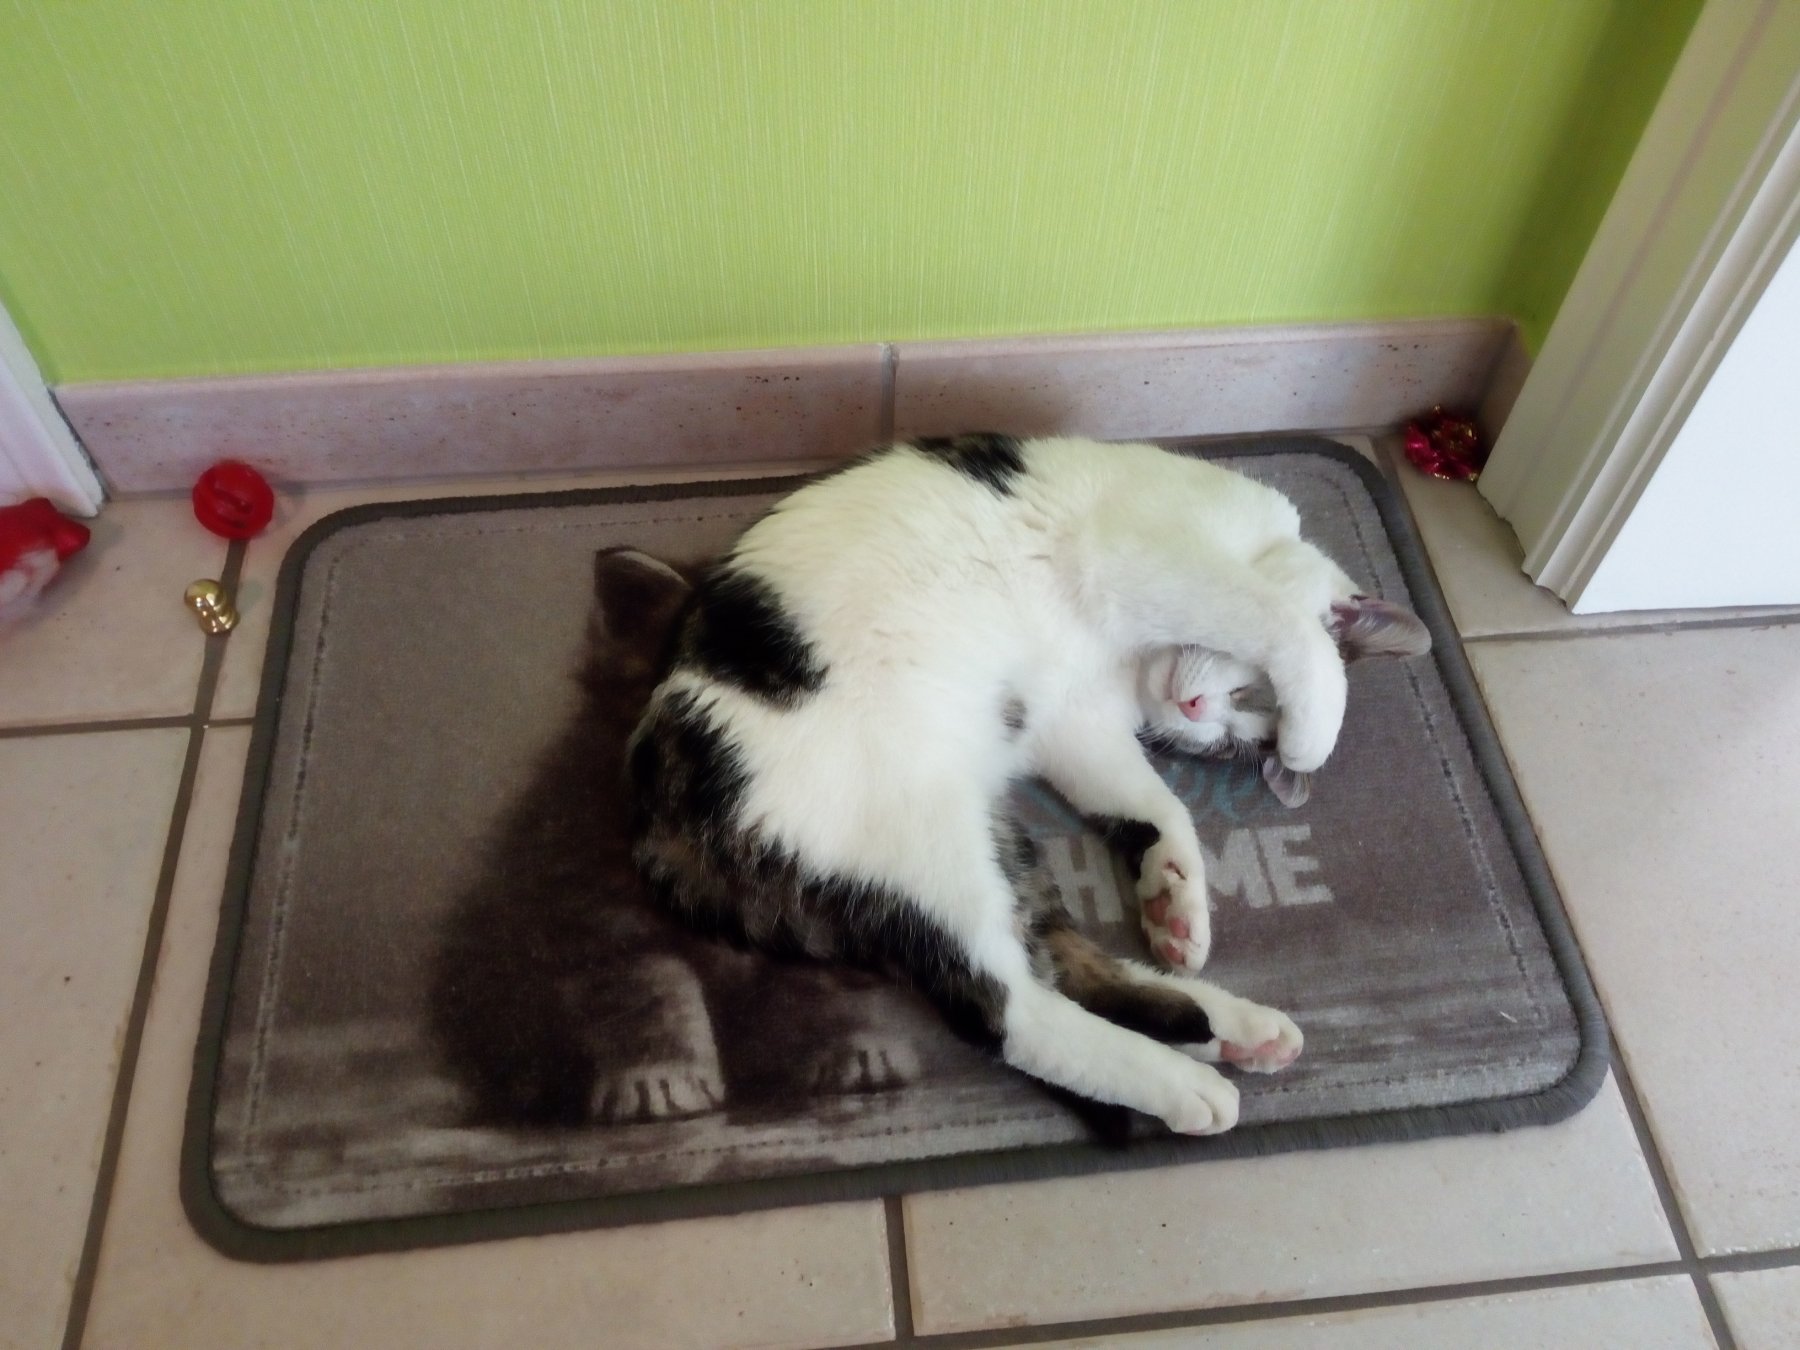
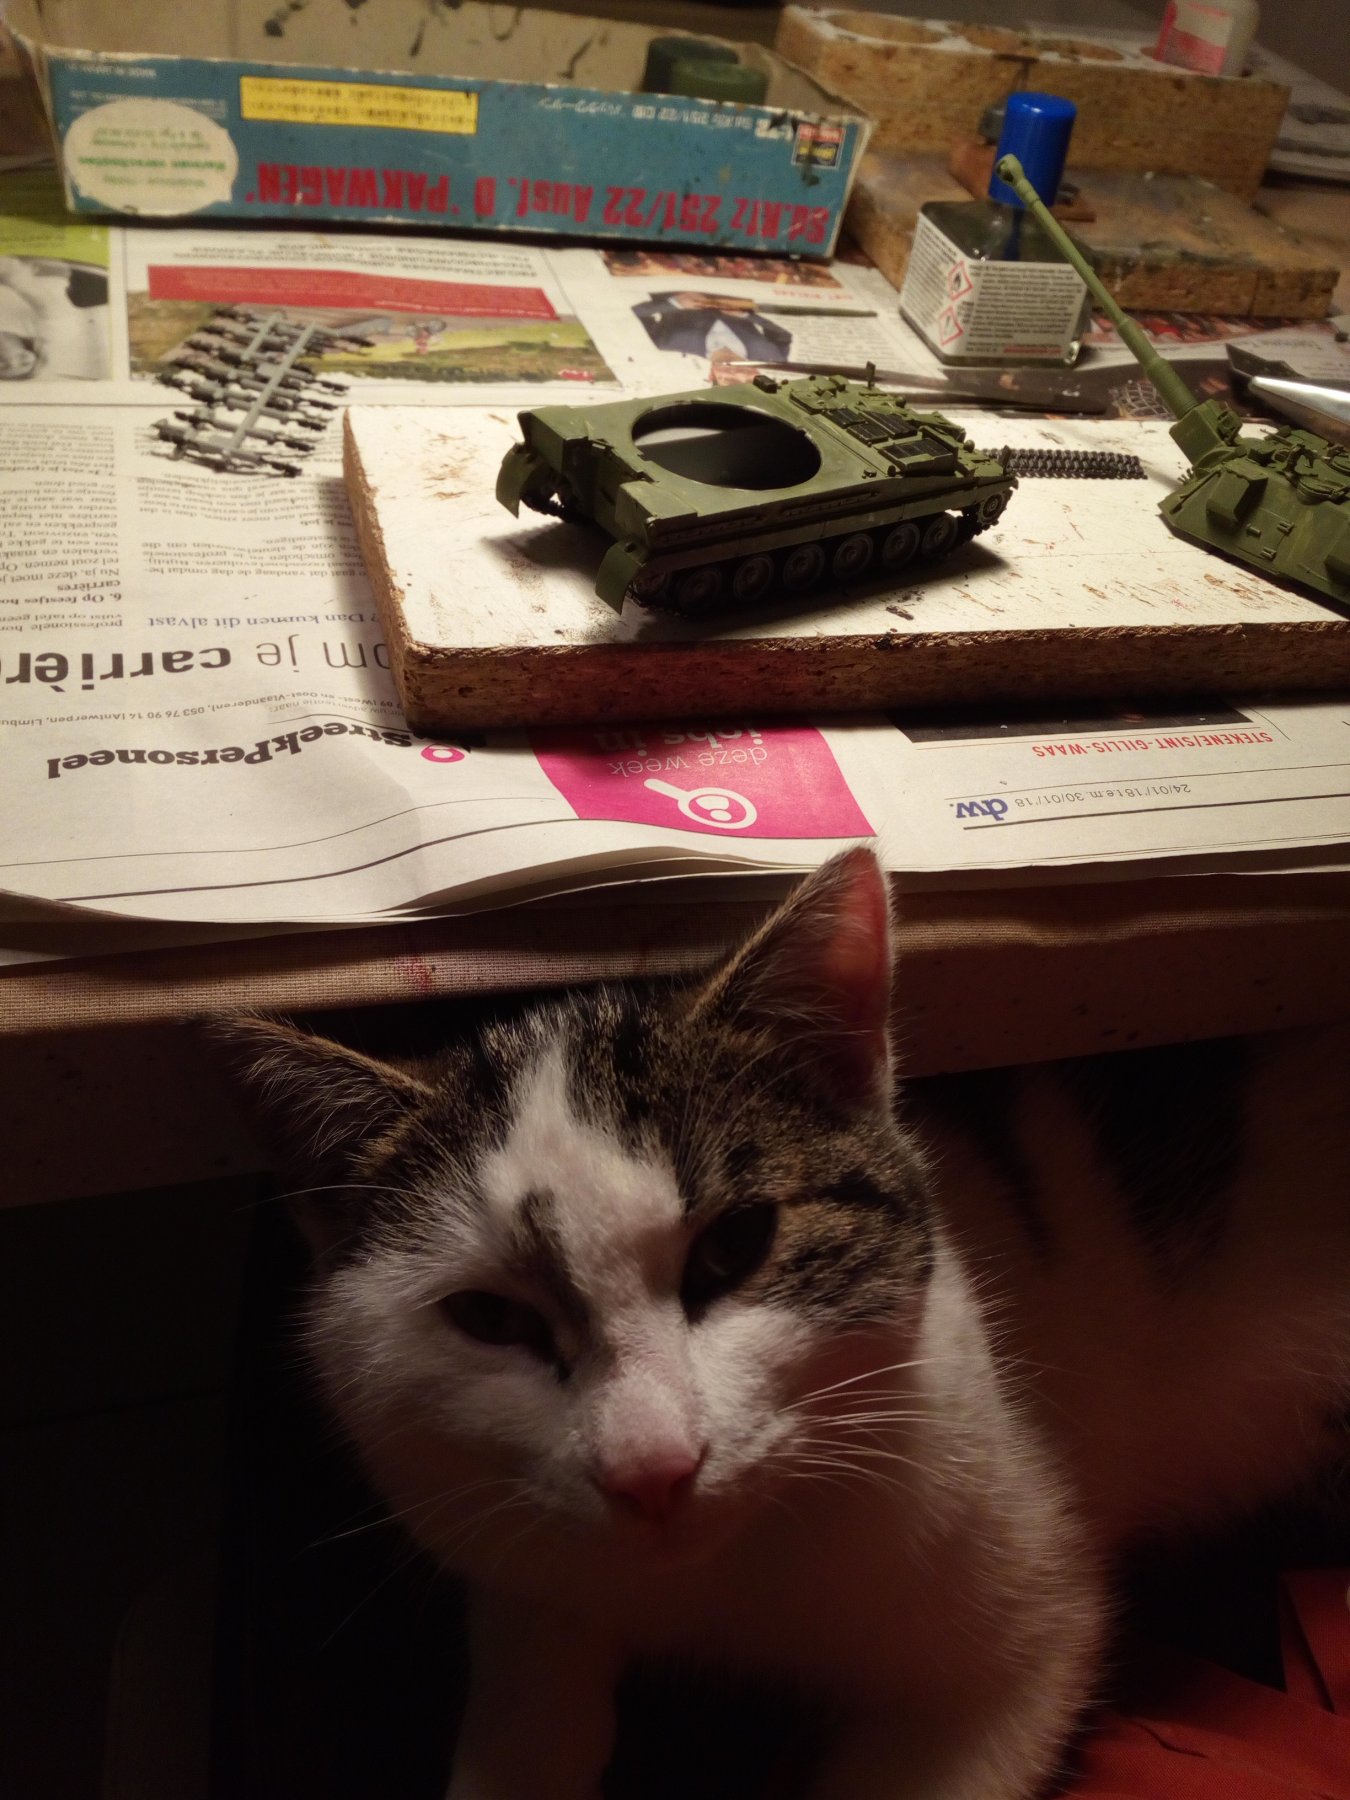
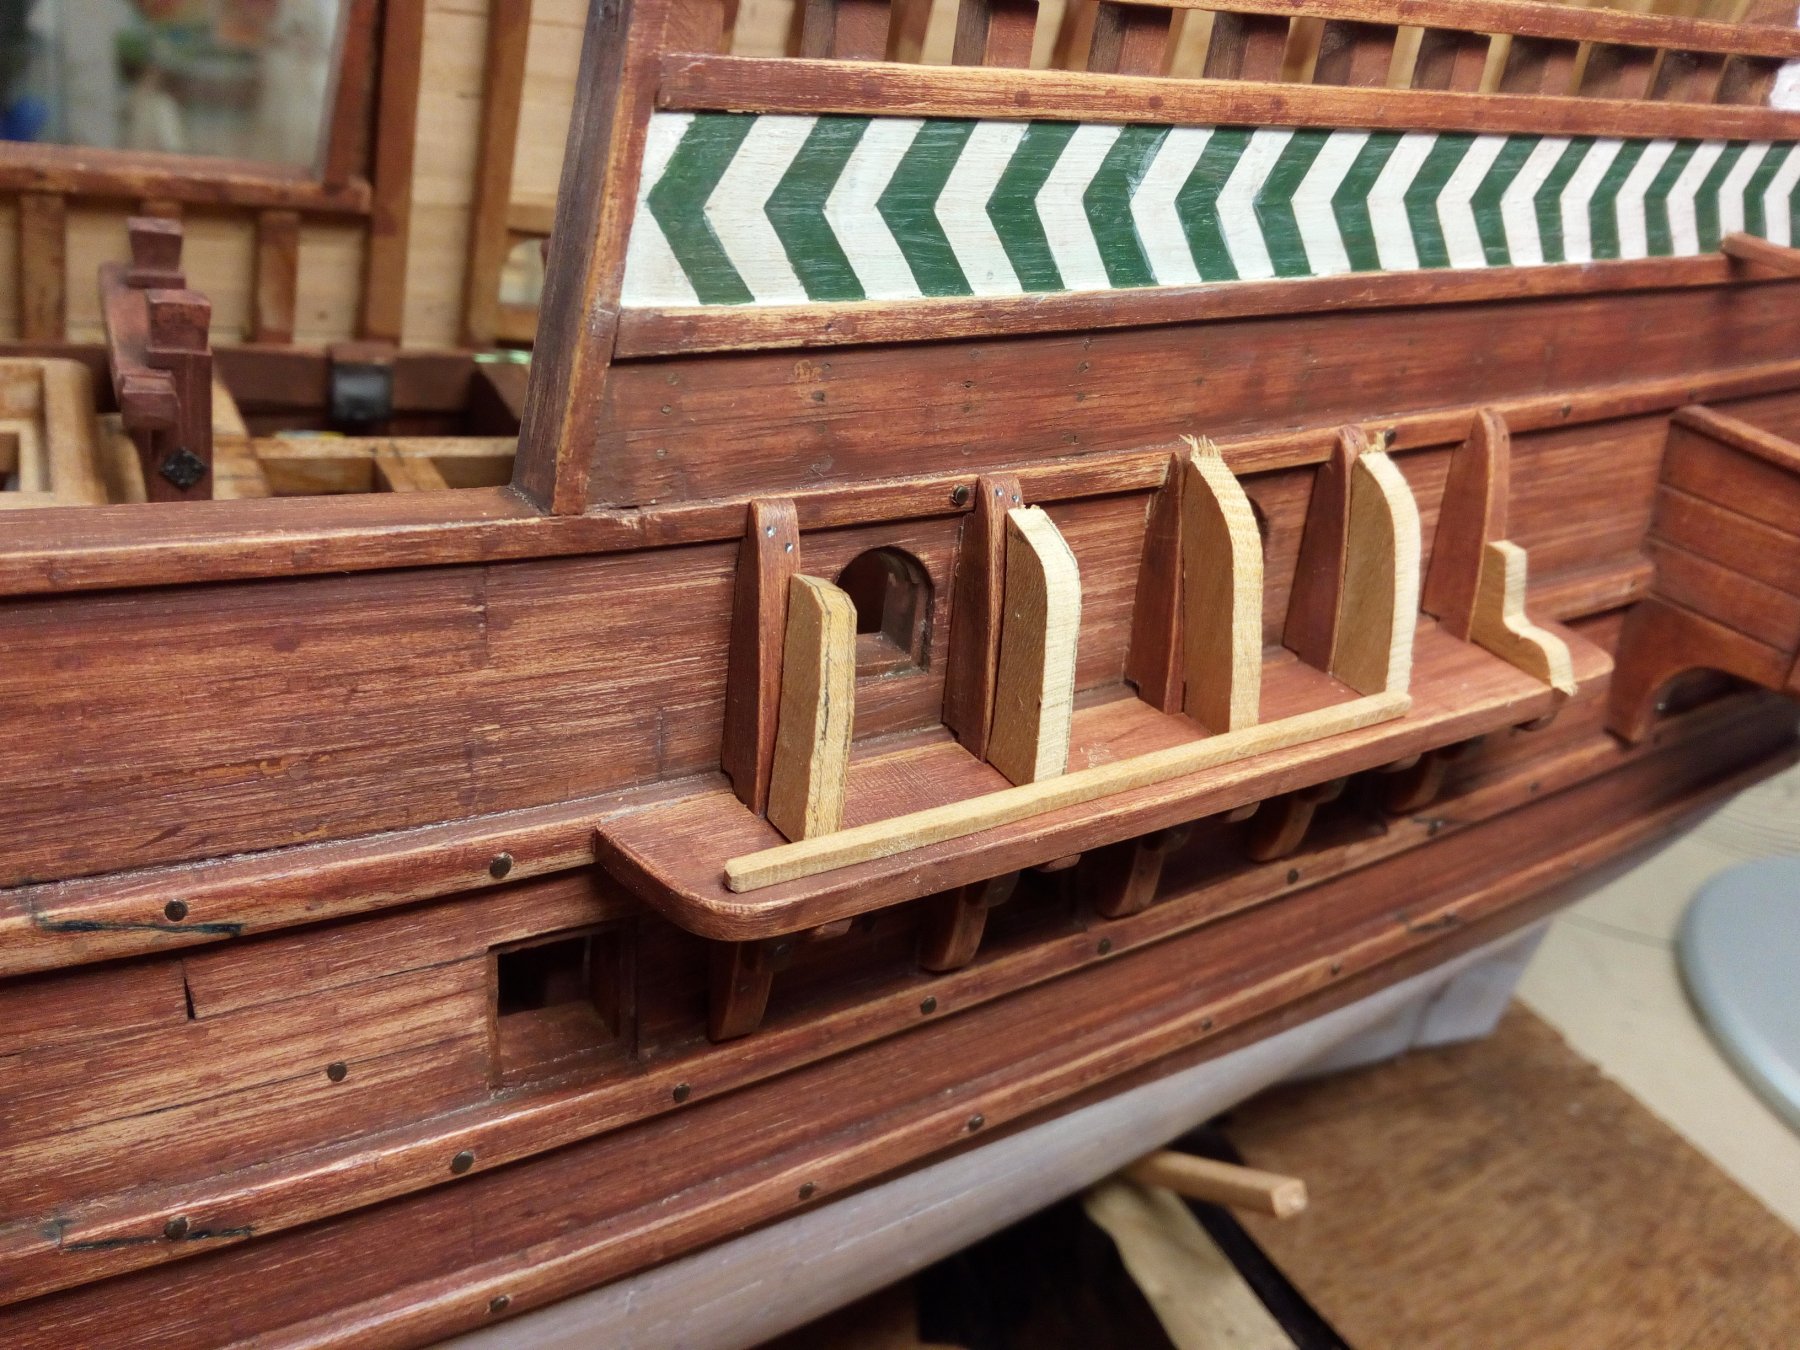
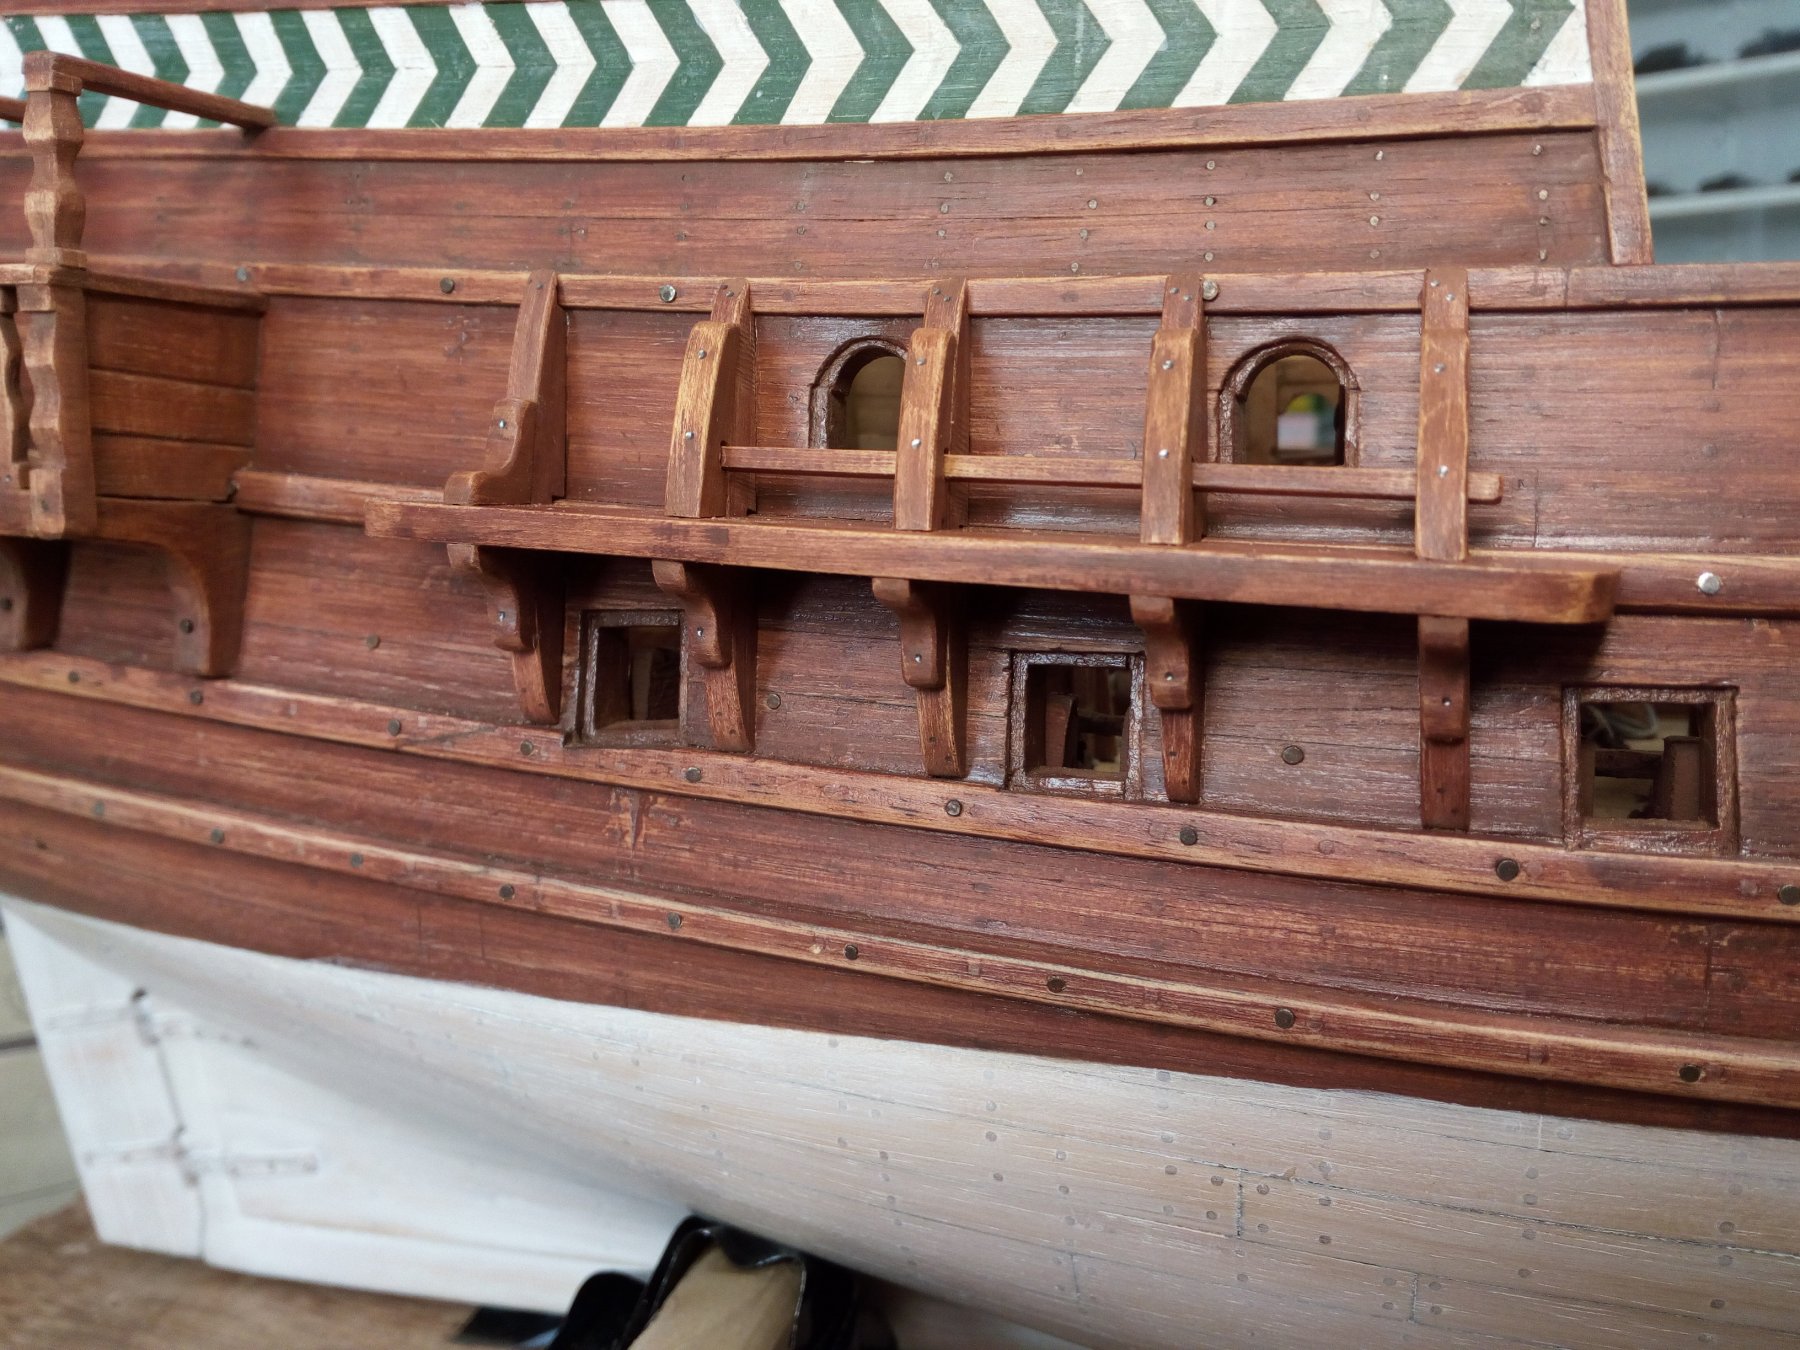
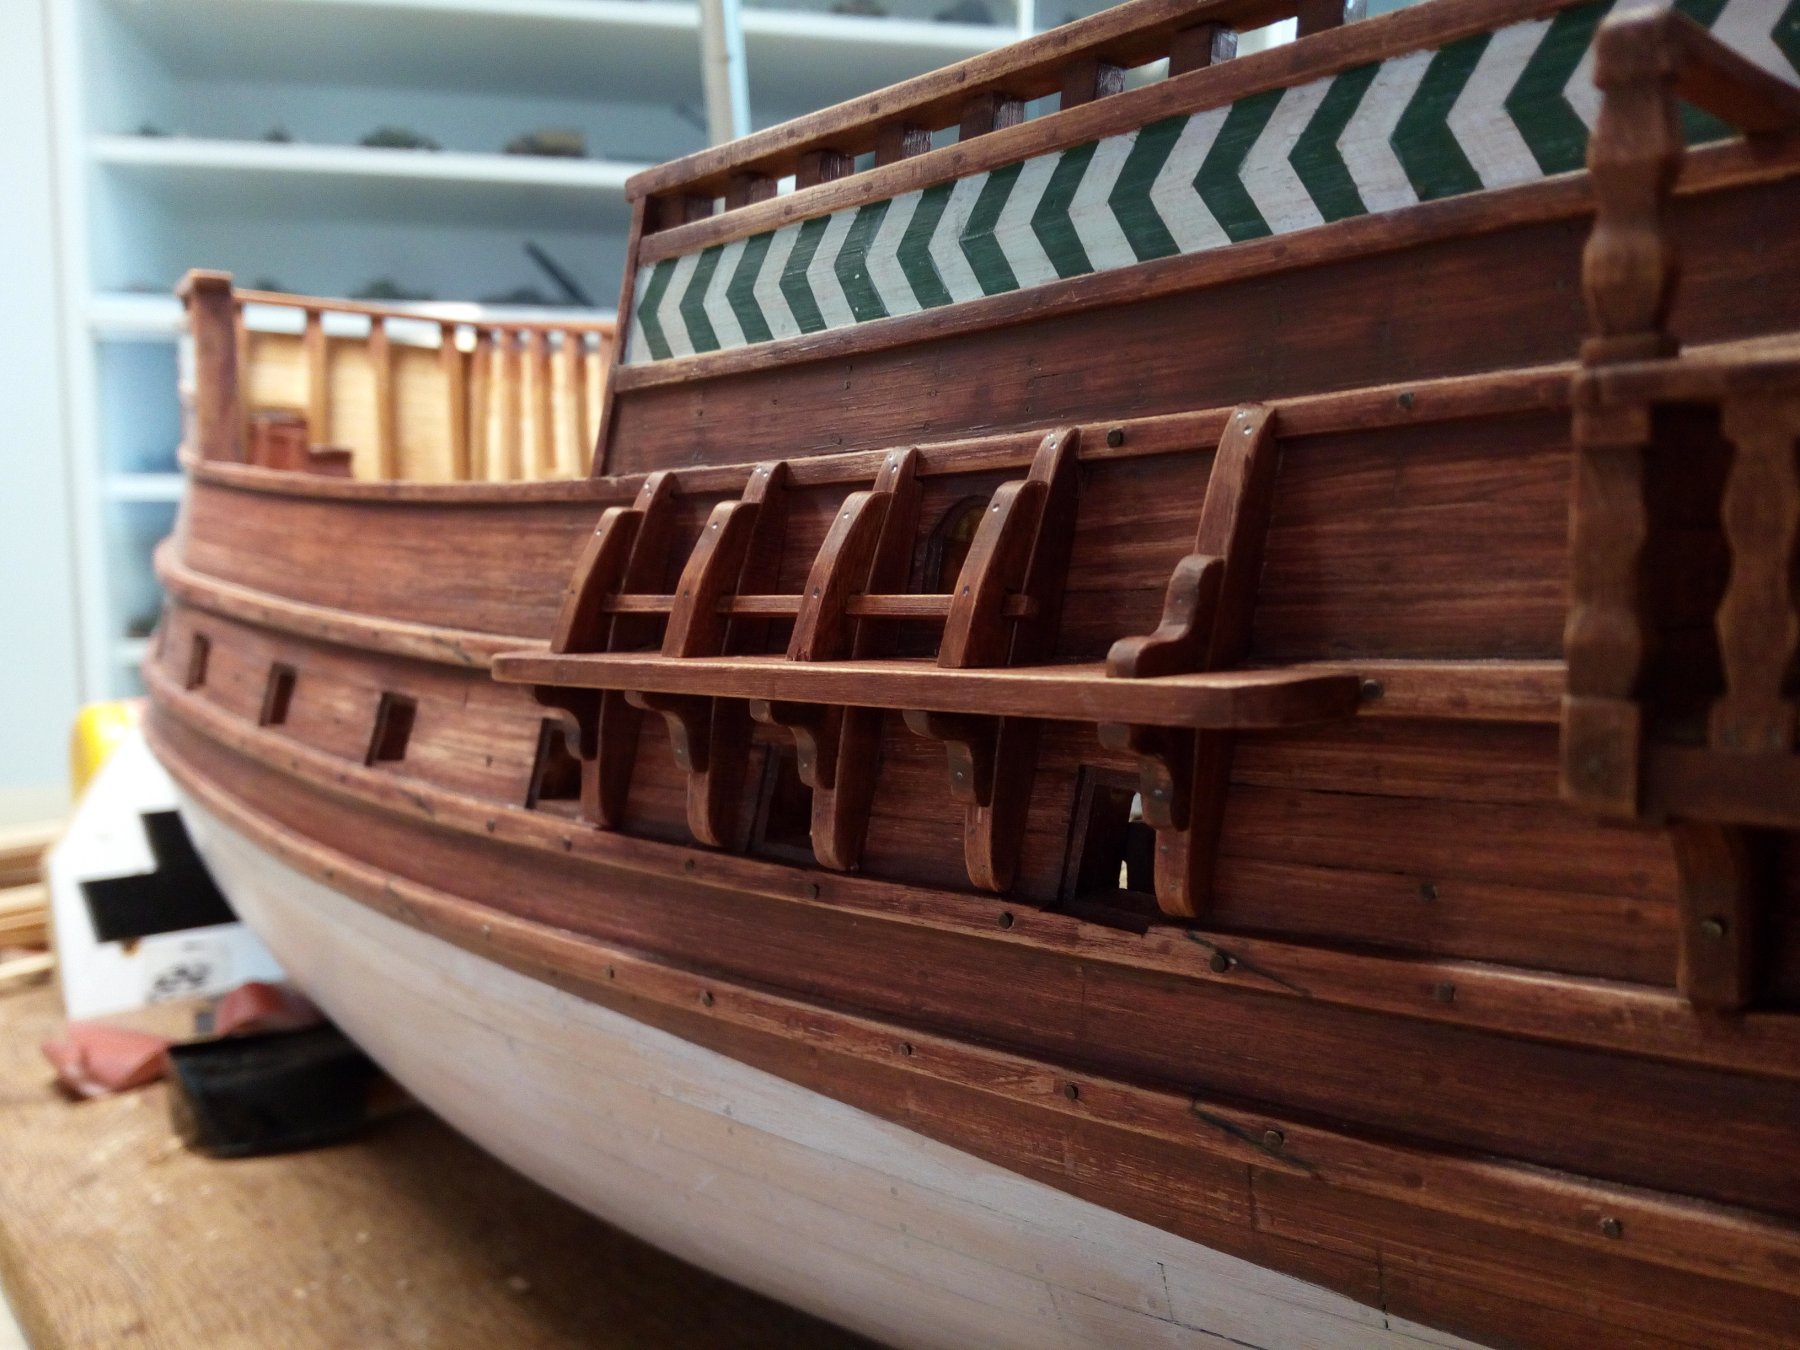
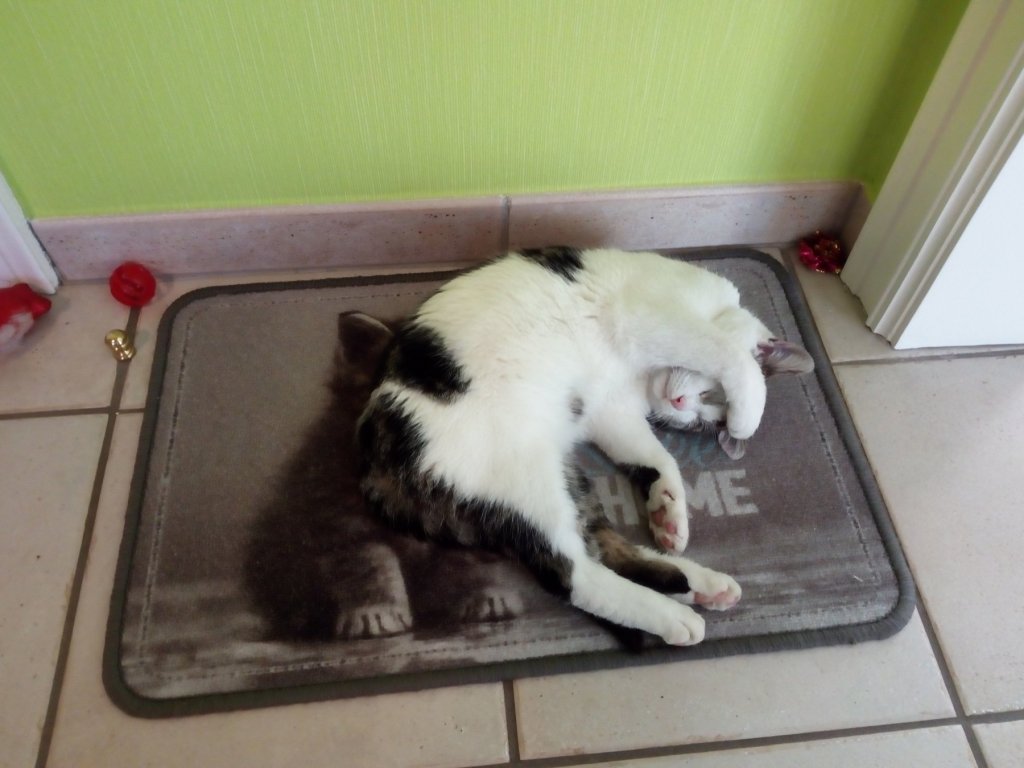
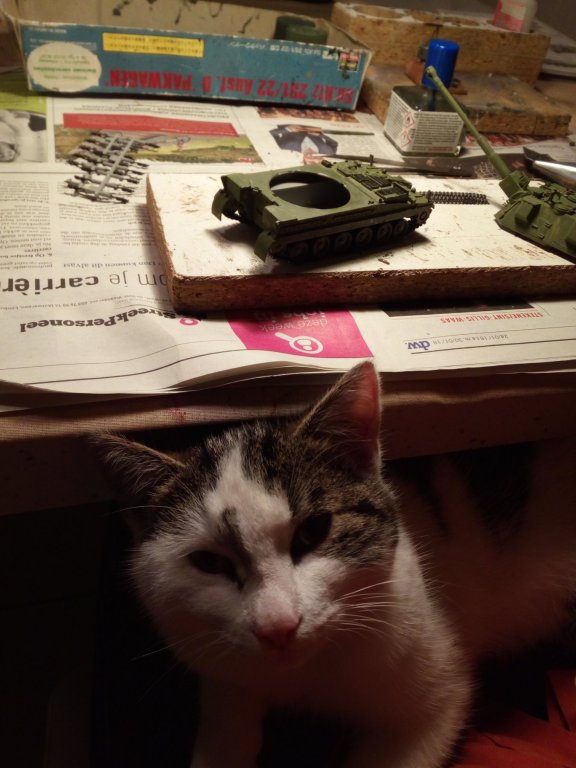
Hello, After some searching and testing i restarted building again. During this period, the channels can be at different heights on the hull. Probably they were placed where they fit best and there were no specific rules in the 16th century. The channels of the front mast are under construction. In the meantime I received "assistance". Felix the cat, he is now part of the family for two months and is eight months old. He prefers to help build tanks in our heated kitchen. For the moment, he does not like the "cold" shipyard in the attic Tired of helping in the tank factory. Turn off the light please, i need sleep... Thanks for following

- 756 replies
-
- 13
-

-
- galleon
- golden hind
- (and 2 more)
-
Nice work Steven, An idea from me Use wooden clothespins for plastic models and plastic clothespins for wooden models. if you use clothespins of the same material as your model, then they can sometimes gleu together. learns my experience
-
New member from the cornfields of Illinois
Baker replied to Steve63's topic in New member Introductions
Greetings from Belgium -
-
HMS ROYAL KATHERINE 1664 by Doris - 1/55 - CARD
Baker replied to DORIS's topic in - Build logs for subjects built 1501 - 1750
Very beautiful work Doris Really worth following- 1,035 replies
-
- 4
-
-
- royal katherine
- ship of the line
- (and 1 more)
-
Great work!
-
Groeten van de zuiderburen.
-
Greetings from Belgium
-
And greetings from Belgium
-
Beautiful work Somewhere I have read that in warm waters mostly iron nails were used. Because the wooden treenails were eaten too quickly by woodworm. found it. Source : Joao Baptista Lavanha, who died in 1620
- 263 replies
-
- 4
-
-
- nave tonda
- round ship
- (and 2 more)
-
Beautifully done Steven Where I work, Iso propyl alcohol "IPA" is stored in a tank of about 90000 liters....
-
When I look at the finish of the model under the waterline (nicely made planks with nails or treenails). Then it is paint, but that is my opinion. The only person who could give a correct answer to the question is the builder of the model. (the real ship could of course have had copper plating)
-
I know that. It is only to let you know that there is a possibility that the color under the waterline may also be brown paint. And is not always white paint or copper plate
-
probably paint
-
Interesting build. Looks like a stug. 3f
-
Great work Michael, The ropes and blocks on the cannon ports are much better now. Your build is very inspiring to watch and follow.
-
Something new on this forum. A shipyard in a ship
-
Greetings Patrick
-
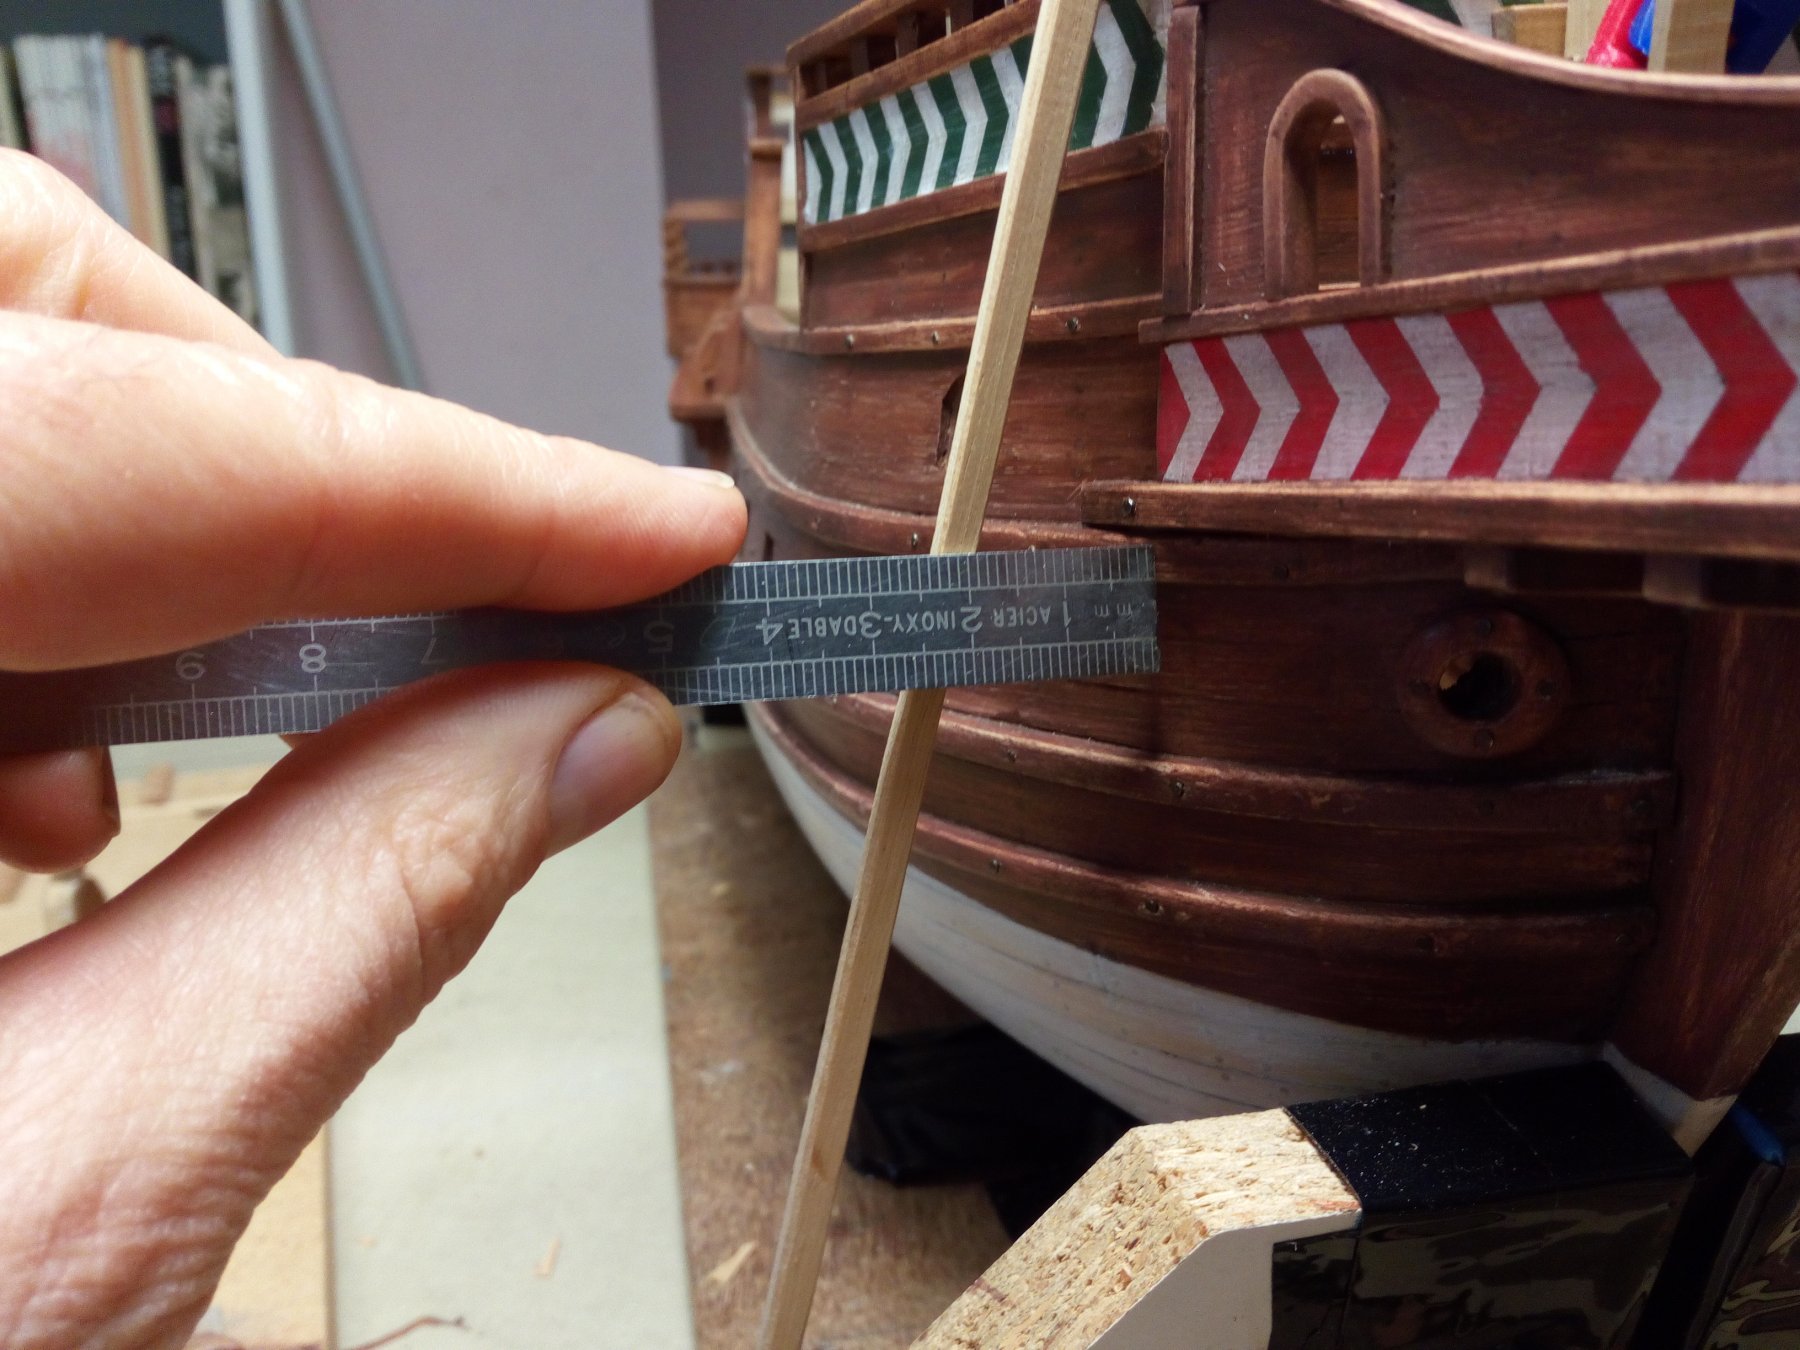
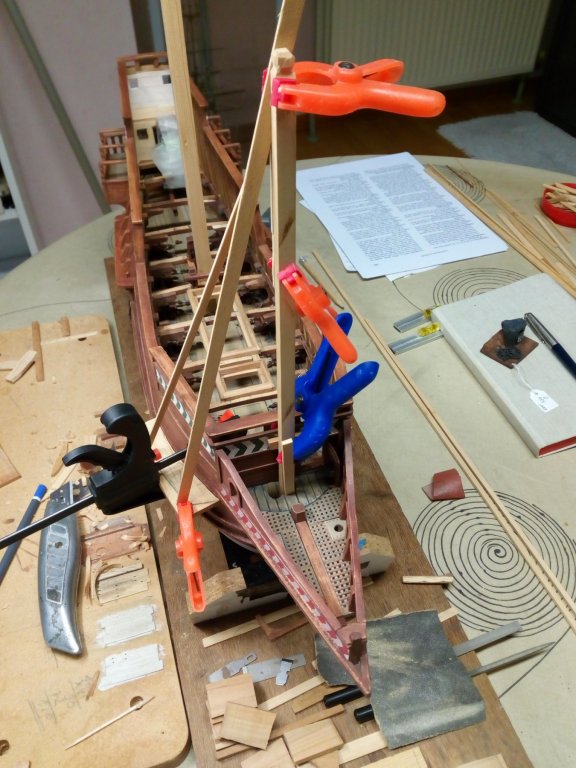
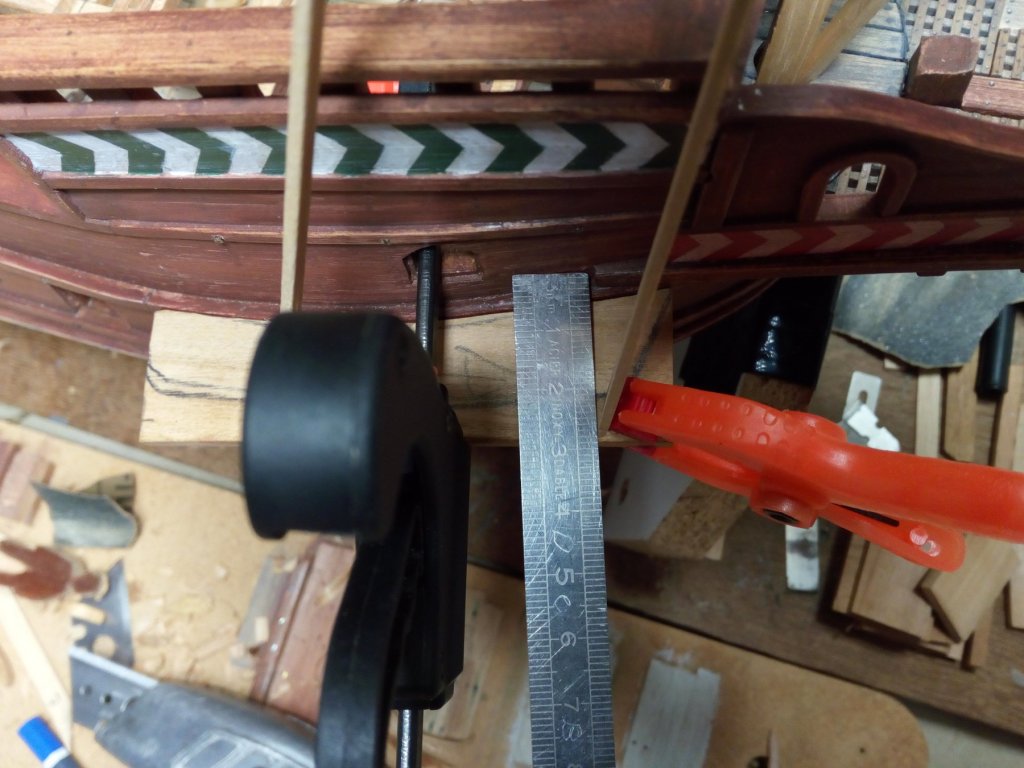
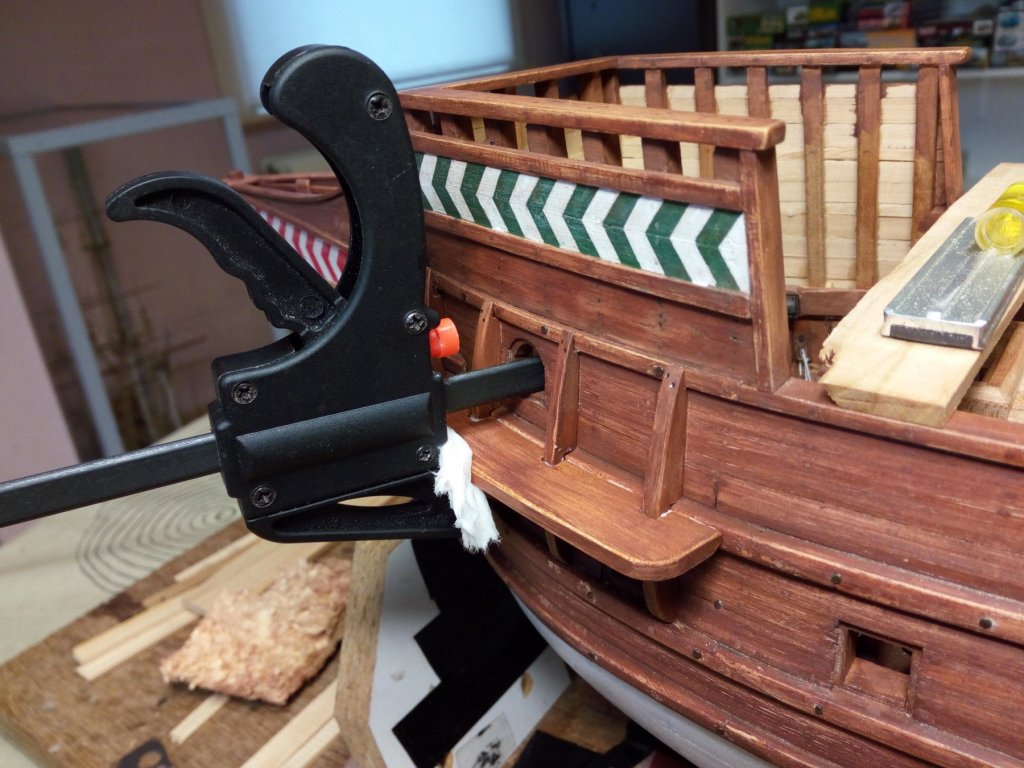
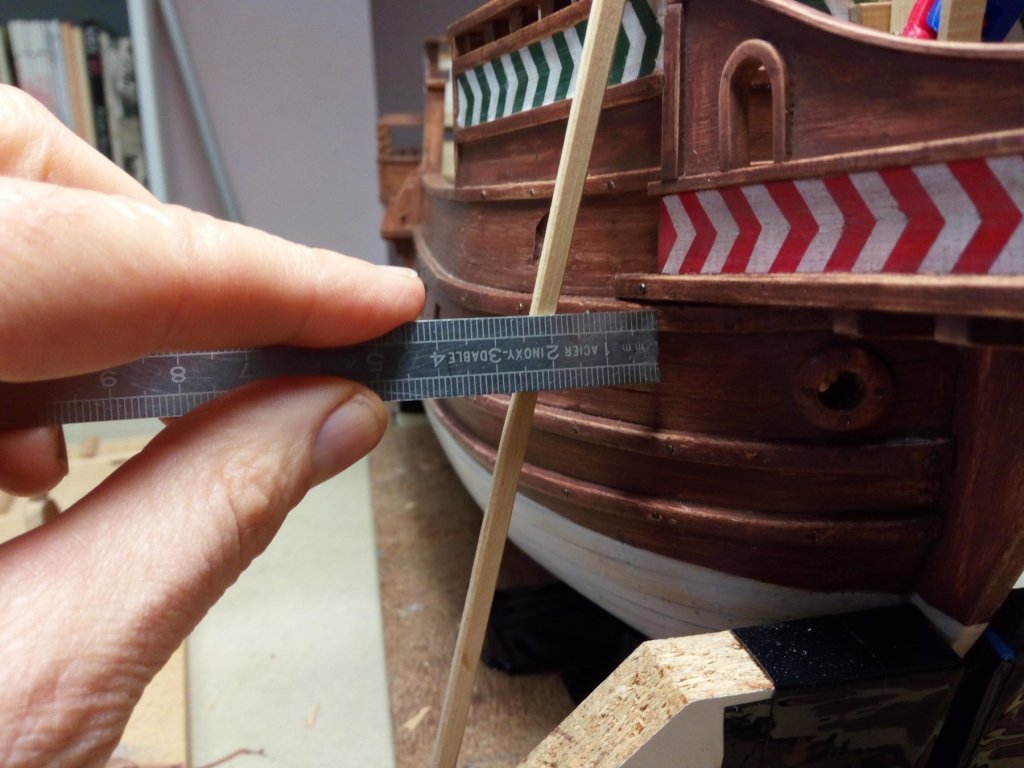
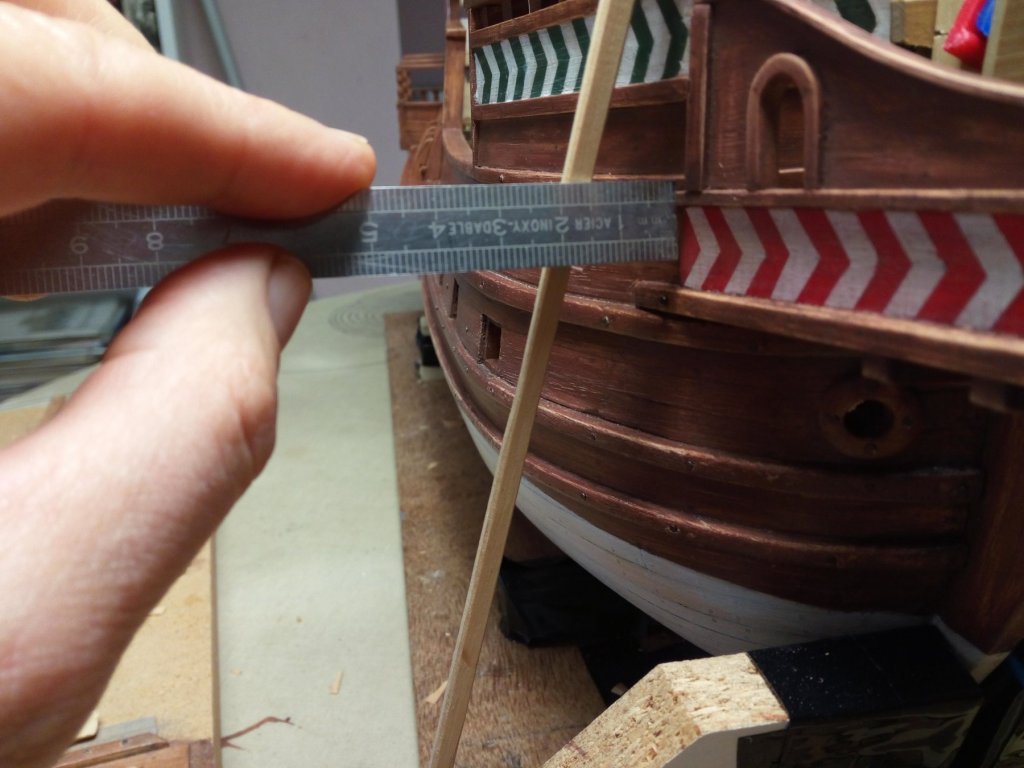
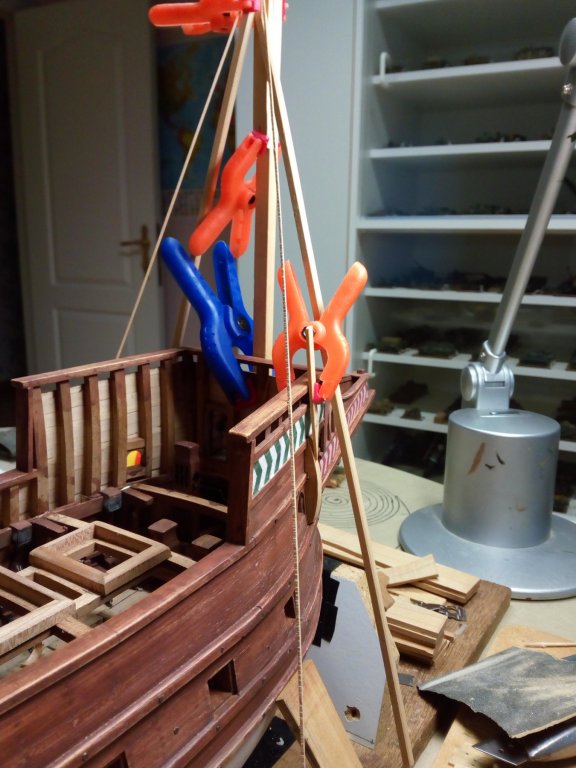
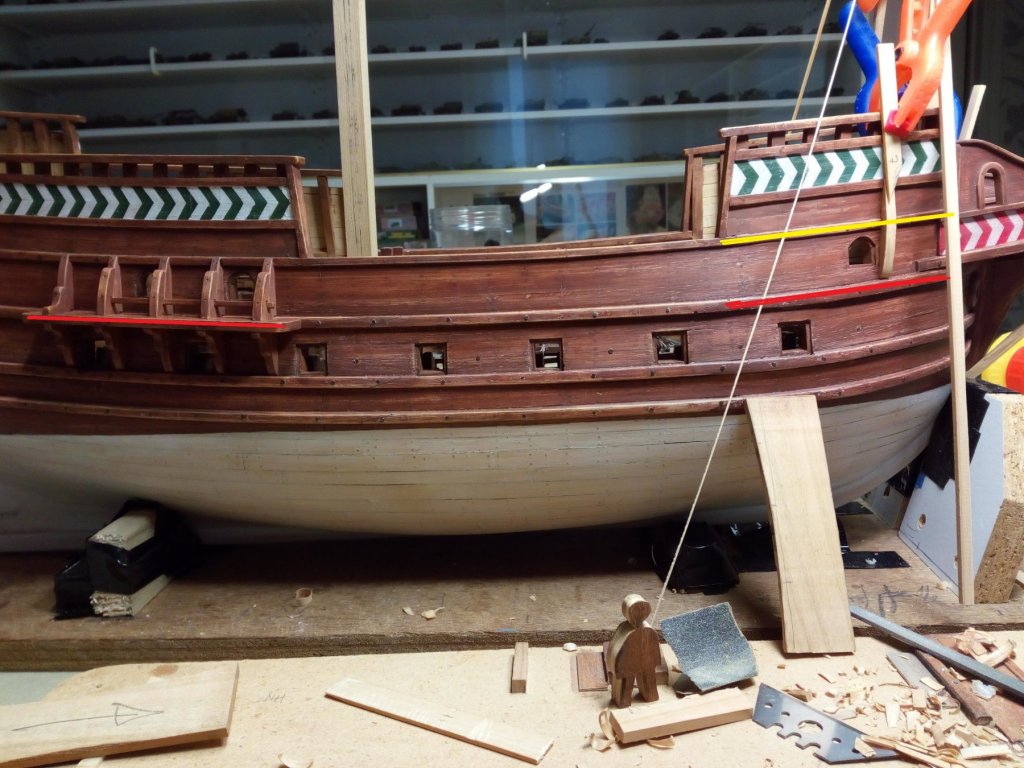
Hello everyone, Thanks Michael and Zappto for the comments and everyone for reacting. Short update. The channels of the main mast are ready. Now, i continue with the channels of the fore mast. This will not be a simple task at first sight. If I place them at the same height as on the main mast (red line), then they are is too wide at the front. If I place them higher (yellow line), Then the width of the channel is ok, but the upper part of my vertical pieces are too short So there is first some thinking and testing to do before i can build further. "Advice or tricks" are always welcome . For me the challenge is getting them at the same heigt (red line) Thanks for following


- 756 replies
-
- 13
-
-
- galleon
- golden hind
- (and 2 more)
-
Congratulations. Beautiful planking. Which brand of beer do you drink inbetween
-
Indeed, the answer to my comment is on page 8. I started following your build a little too late.
- 2,699 replies
-
- 3
-
-
- heller
- soleil royal
- (and 9 more)
-
Just found your build. Beautiful model, well done. Greetings patrick