


reklein
-
Posts
1,285 -
Joined
-
Last visited
Content Type
Profiles
Forums
Gallery
Events
Posts posted by reklein
-
-
I made a close clearance throat plate for my Dremel from a piece of the correct gauge aluminum and raised the blade through it. Works great. Made a fence from some maple, A little fiddly but once set up it works good. I make custom miter gauges of wood for what ever angle I need. With small wood I usually do cutoff work with a NWSL chopper. Bill PS i have throat plates made of plywood for my 10 in Rigid table saw.
-
ARRRR!! Isabella, Yer ship is lookin mighty fine. Yer little pirate laddy is lookin mighty regretful for all his misdeeds, Maybe you could grant him mercy and press him into service on her majesty's ship. Bill in Idaho
-
-
-
Looks like a pretty well made model and may be worth the conservation time. I like the q-tip/saliva idea and you might start in a place where its not too obvious and observe the results.Maybe even try different methods, I would NOT spray it with a cleaner though. Just do small areas at a time. You might even Google conservancy methods. Once its clean better get a case made or a glassed in alcove in your house.
BILL
- Canute, Jack12477, thibaultron and 2 others
-
 5
5
-
Nils if you are going to resin cast you little lifeboats, don't be tempted to use the high speed setting kind. There are problems with the material setting too fast to allow air bubbles to escape. Use a slower setting resin. I discovered this while trying to make landing craft for a 1/192 Victory ship. The resin is a little expensive but when you need to make a quantity of things it works out pretty nice. Also you might want to check Shapeways for already printed 3D boats. Bill in IdahoBeautiful work By The Way
-
-
Mike ,if you're interested in more paddle wheels,you may want to check out Interaction Hobbies, C.R. Lamb. Its a Canadian firm which may facilitate taxes and shipping etc. Their model is in 1/87 scale which makes for a nice little model to display. The prototype was use on Lake Okanogan. Its is laser cut from wood and "laser board" which is an epoxy impregnated wood. Not an easy kit to build but very satisfying.
Bill in Idaho
- WackoWolf, Jack12477, Mike Dowling and 2 others
-
5
-
-
-
-
I got to meet the Interaction guy a a train meet in Salmon Arm BC last week hes got some new stuff coming out too. A nifty little boatworks in N-scale soon to be in 1/87th.
The hotel the convention was in had a lot of historical fotos from the area including a sternwheeler working with logs. Ya sure wouldn't wanna get the wheel tangled up in the logs. Bill in Idaho
-
 well, heres what I found at the local ACE and HD. They ARE made foe electrical use but the price is right and you can solder stuff to these. You can even make third hand units by soldering them to each end of a heavy piece of copper wire and put it in your little bench vise. Bill in Idaho
 -
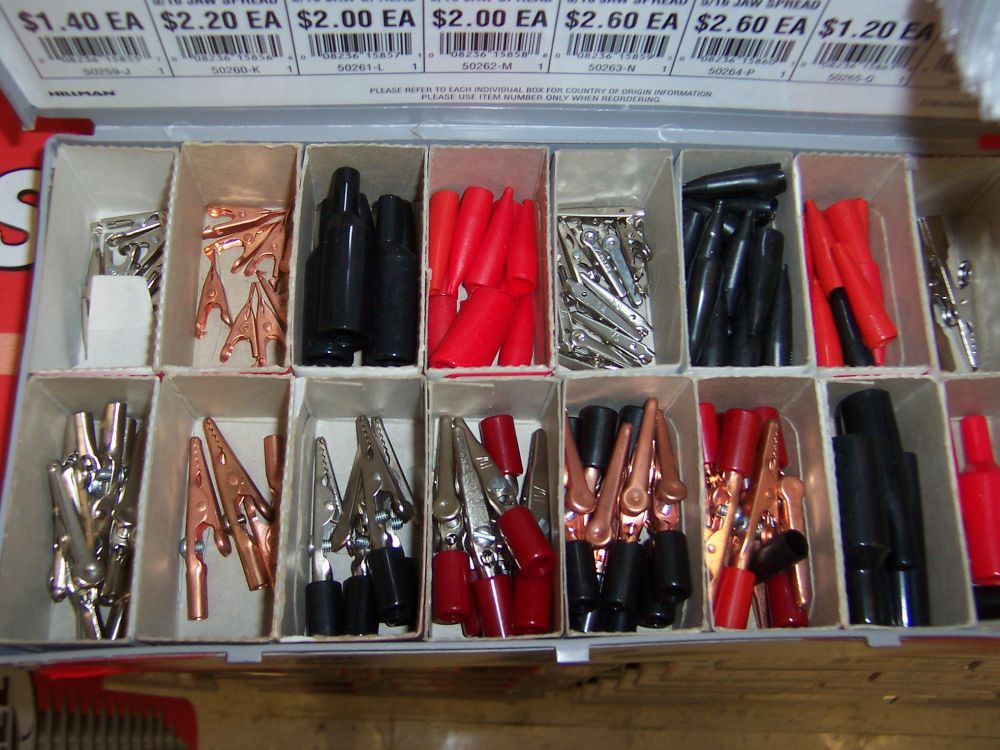
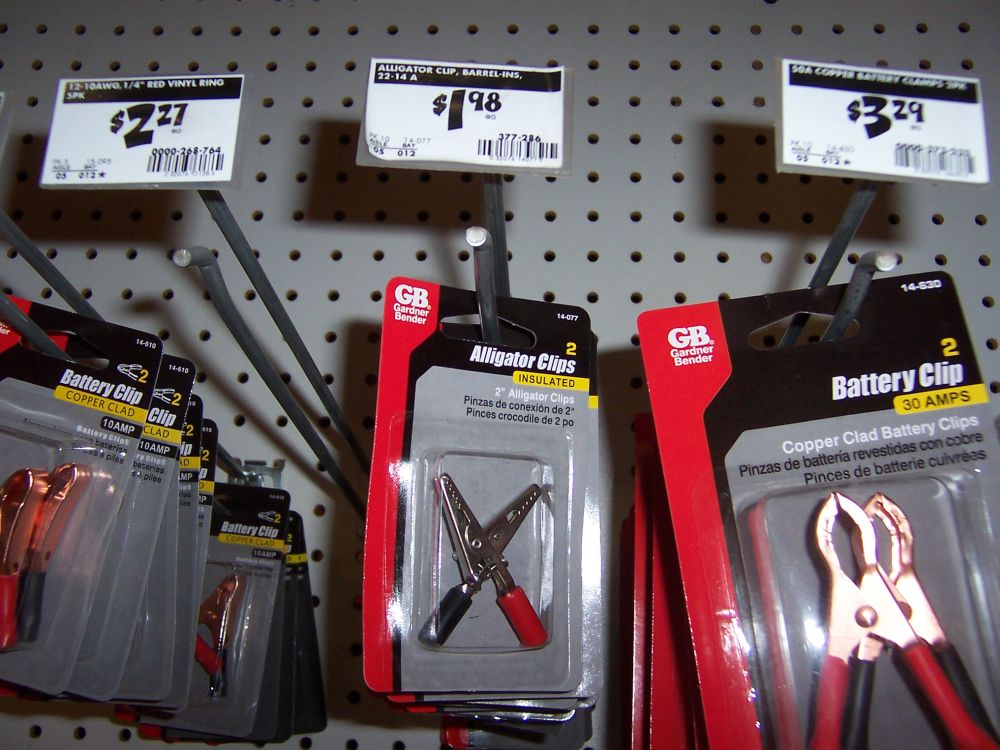
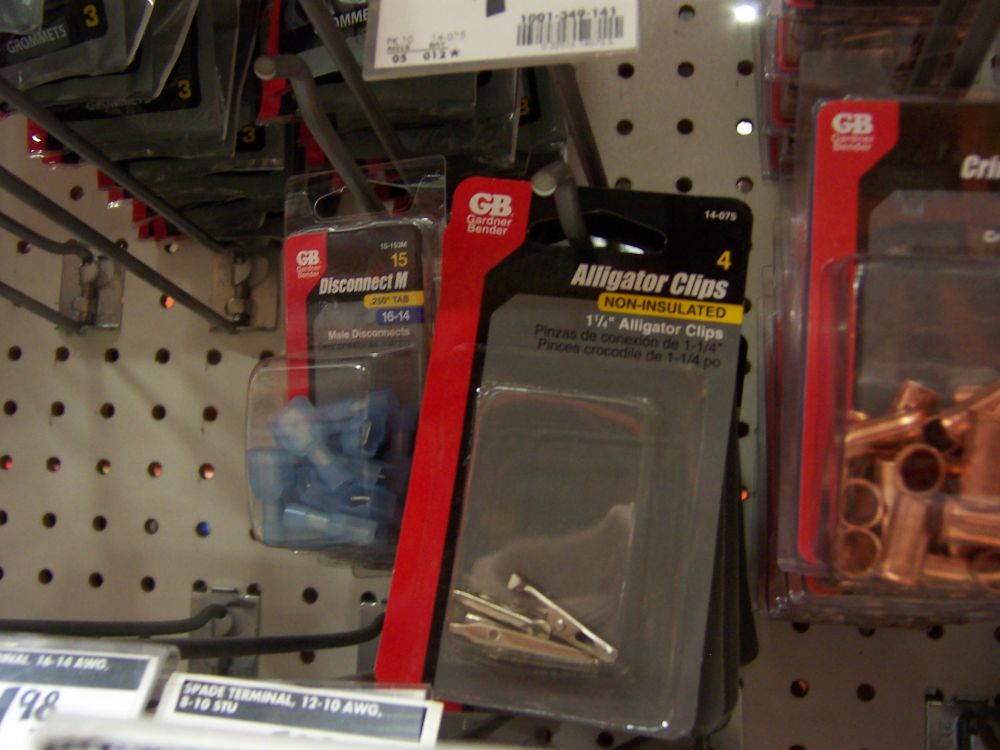
Kinda spendy at MicroMark considering its usually about $9 to ship plus the cost of the clips. Alligator clips should be found in any hardware store even Home Despot in the electrical section. Just checked online and they're $2.19 for a six pac or somethin like that. Bill
-
-
I like the rivet detail. It "reads really well. However I wonder if the railing brackets would benefit from flattening before wrapping around the rail. It might be they look fine with normal eyesight but they look too large in the photos. Beautiful work Nils. Bill rivet counting in Idaho
-
I don't believe I'd seal the first planking. My concern is that it will prevent the glue on the finish planking from penetrating . Painted surfaces tend not to glue well because the paint keeps the glue from penetrating and you end up just relying on the paint or sealer in this case to hold your parts together. I WOULD recommend sealing before painting to offer a smoother surface and to keep adjacent colors from flowing into each other as in the case of hull color and waterline. Bill
-
Wow! Just simply Wow!. I had a look at the rigging plans. They will surely save wear and tear on the ole head scratching in trying to figure out that scheme. Bill
- WackoWolf, EJ_L, Salty Sea Dog and 2 others
-
5
-
be careful with modeling paste or Gesso. If has marble dust in it . It will be very hard and almost impossible to sand. If you need to fill in hollows from poor fairing I'd use a water base spackle first dampening the wood with water to help it adhere well to the wood. Then once you've achieved your filling and fairing you could scribe in plank seams and wood grain to get the character back. A pallete knife works well for spreading filler or if you're covering a large area a body shop plastic spreader works well. Bill
-
-
-
-
I understand that the white coating was white lead paint mixed with horsehair in some fashion and applied very thick. Bill
- GrantGoodale and mtaylor
-
2
-
SD-14 Cargo ship by Kevin - SD-14 Model Company - 1/70 - CARD - middle section
in - Kit build logs for subjects built from 1901 - Present Day
Posted
OOOHHHHH! I wanted this ship 15 yrs ago and passed it up as too expensive and time consuming. Now you have brought it to light again and I covet it dearly. Please say something terrible about this build so I can once again put it out of my head. Bill longing in Idaho