


RGL
-
Posts
5,388 -
Joined
-
Last visited
Content Type
Profiles
Forums
Gallery
Events
Posts posted by RGL
-
-
7 hours ago, Canute said:
Yeah, it's a bird farm. Way cool.
The only Langley models I know of are in resin.
Allegedly Trumpeter are going to make one as it’s in their upcoming projects in their catalog it they have a habit of falling through. I’ve seen the resin one and it’s a tad expensive.
- mtaylor, Canute and Old Collingwood
-
 3
3
-
7 hours ago, CDW said:
Do I win a prize for the correct guess? 😎
Looking forward to your interpretation of Graf Zeppelin.
I bought the Very Fire update set for my Graf Zeppelin, but it's all packed away at the moment. A very interesting ship.
I don’t even know Very Fire made one? I’d love to see some photos.
- mtaylor, Old Collingwood and Canute
-
3
-
-
-
And off to the digital graveyard
- GrandpaPhil, Dubz, yvesvidal and 12 others
-
15
-
-
-
-
Nope. One obsession is enough.
-
I’m really crap at little planes
- mtaylor, popeye the sailor, lmagna and 3 others
-
6
-
-
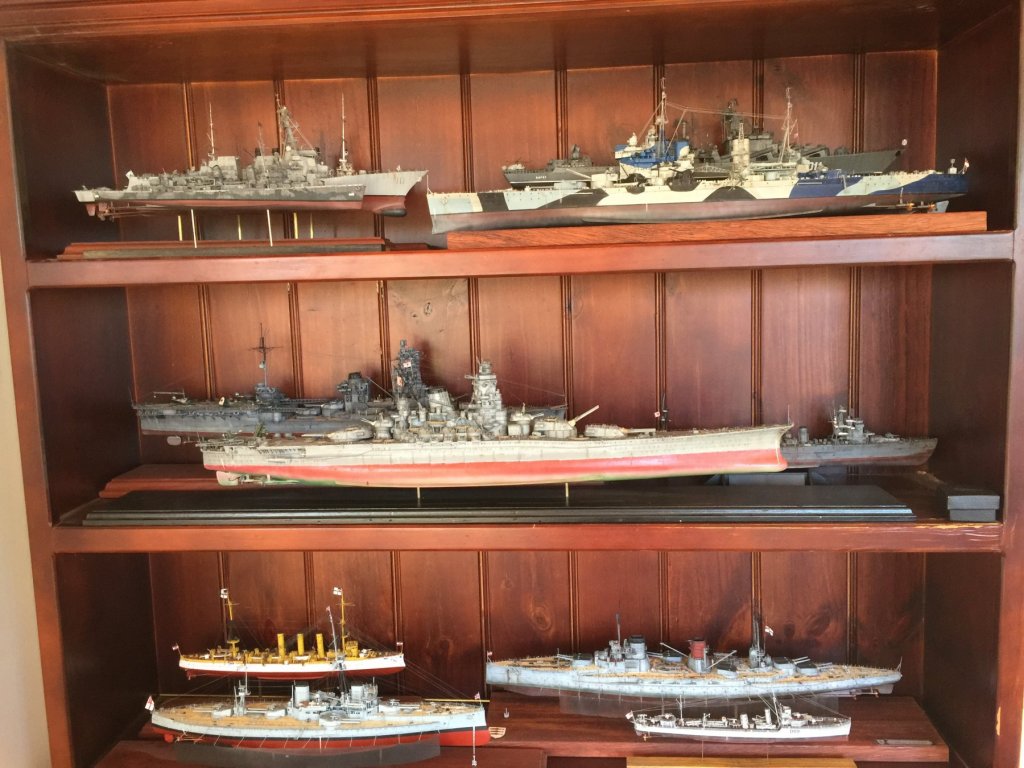
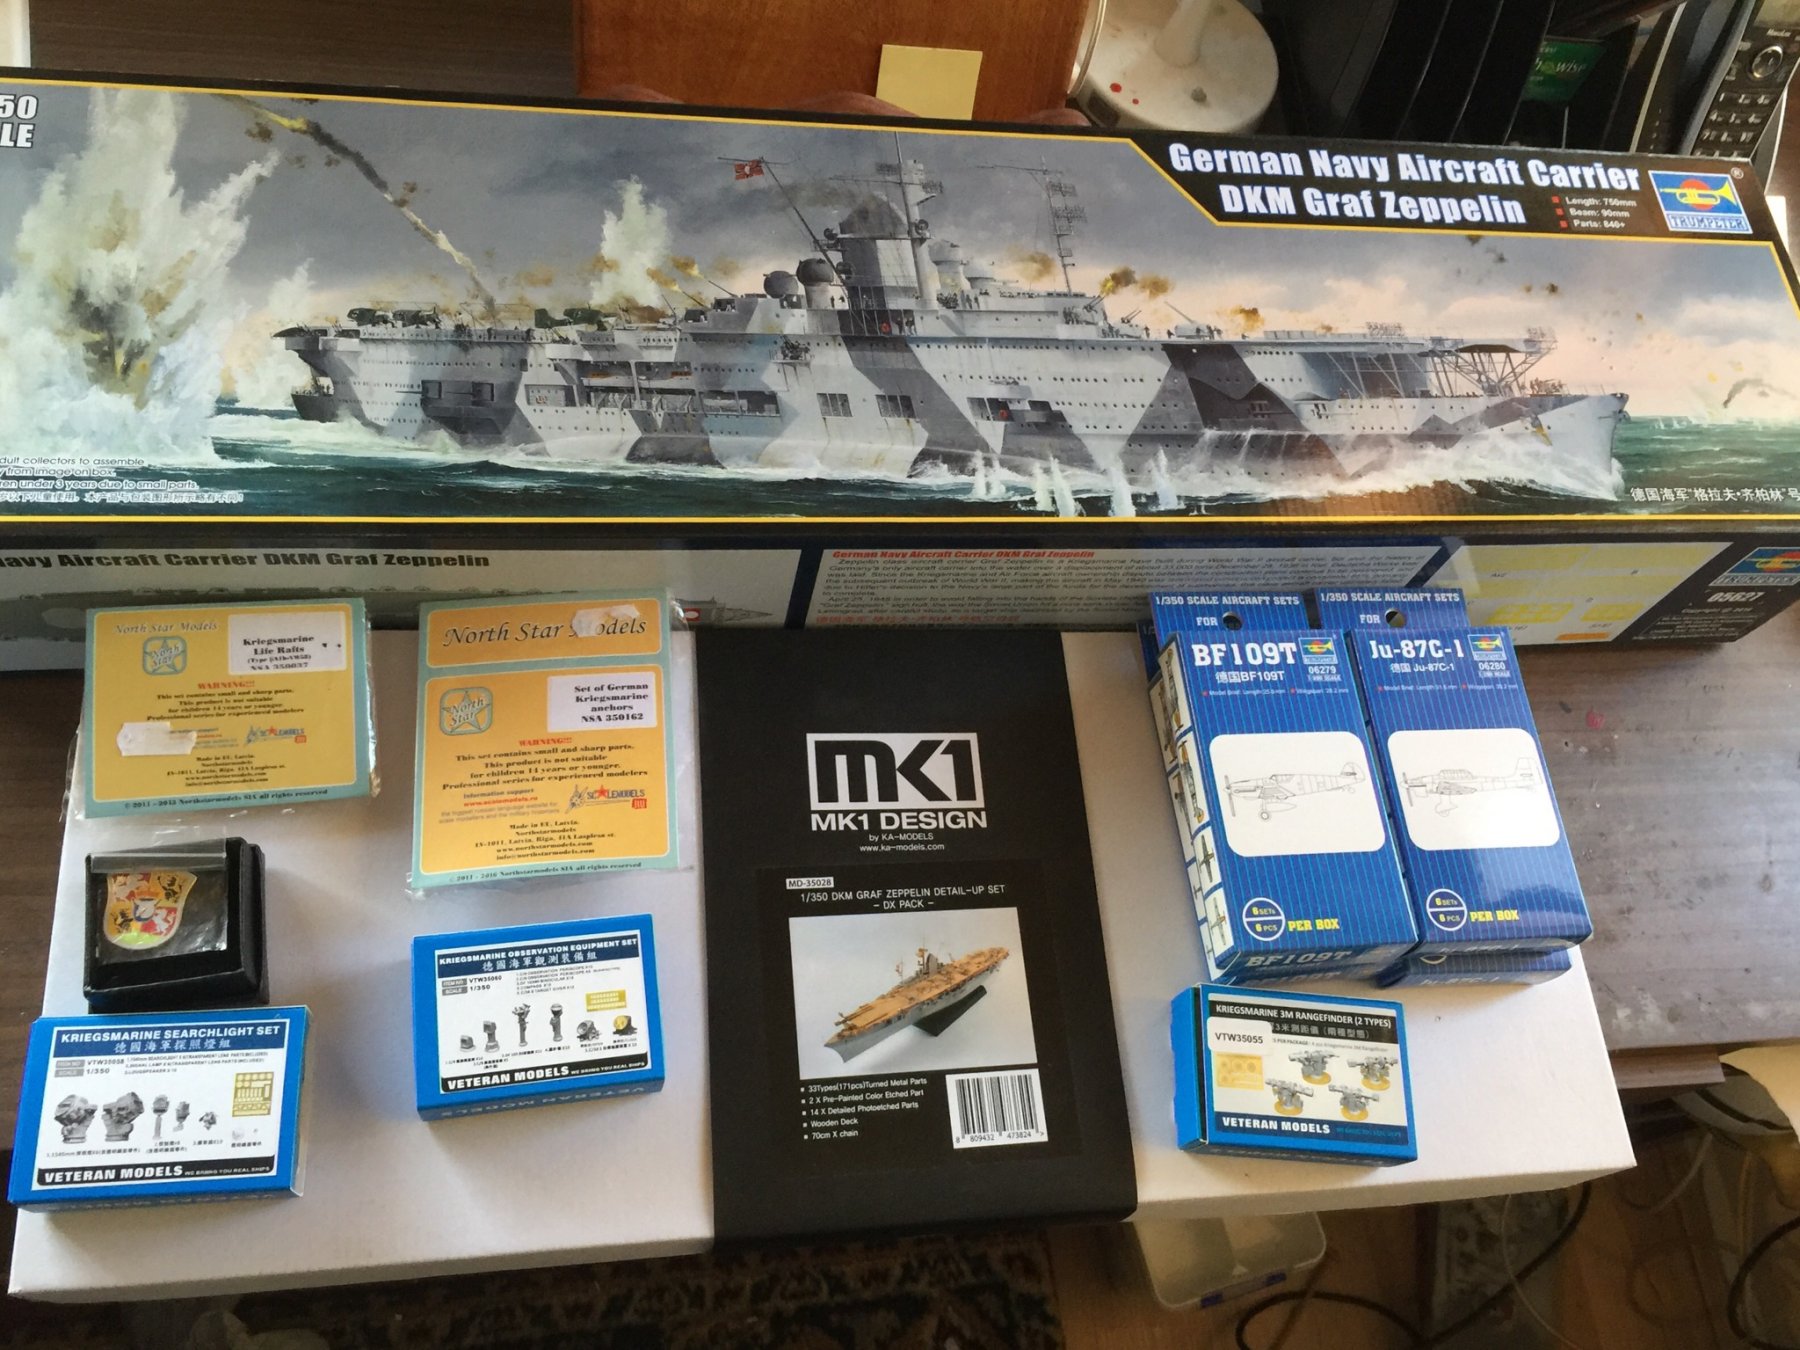
You’ll all be happy to know I have purchased the next kit, plus aftermarket and done the research. I like to do only three of each nation; so far
Russia
Varyag 1Varyag 2GermanySMS EmdenSMS SeydlitzBritainHMS/HMAS VendettaHMS King George vJapanIJN IseIJN IsuzuIJN YamatoUSAUSS SpruanceUSS Fletcherso, that leaves a choice of Germany, USA or UK.- lmagna, popeye the sailor, cog and 4 others
-
7
-
-
-
-
-
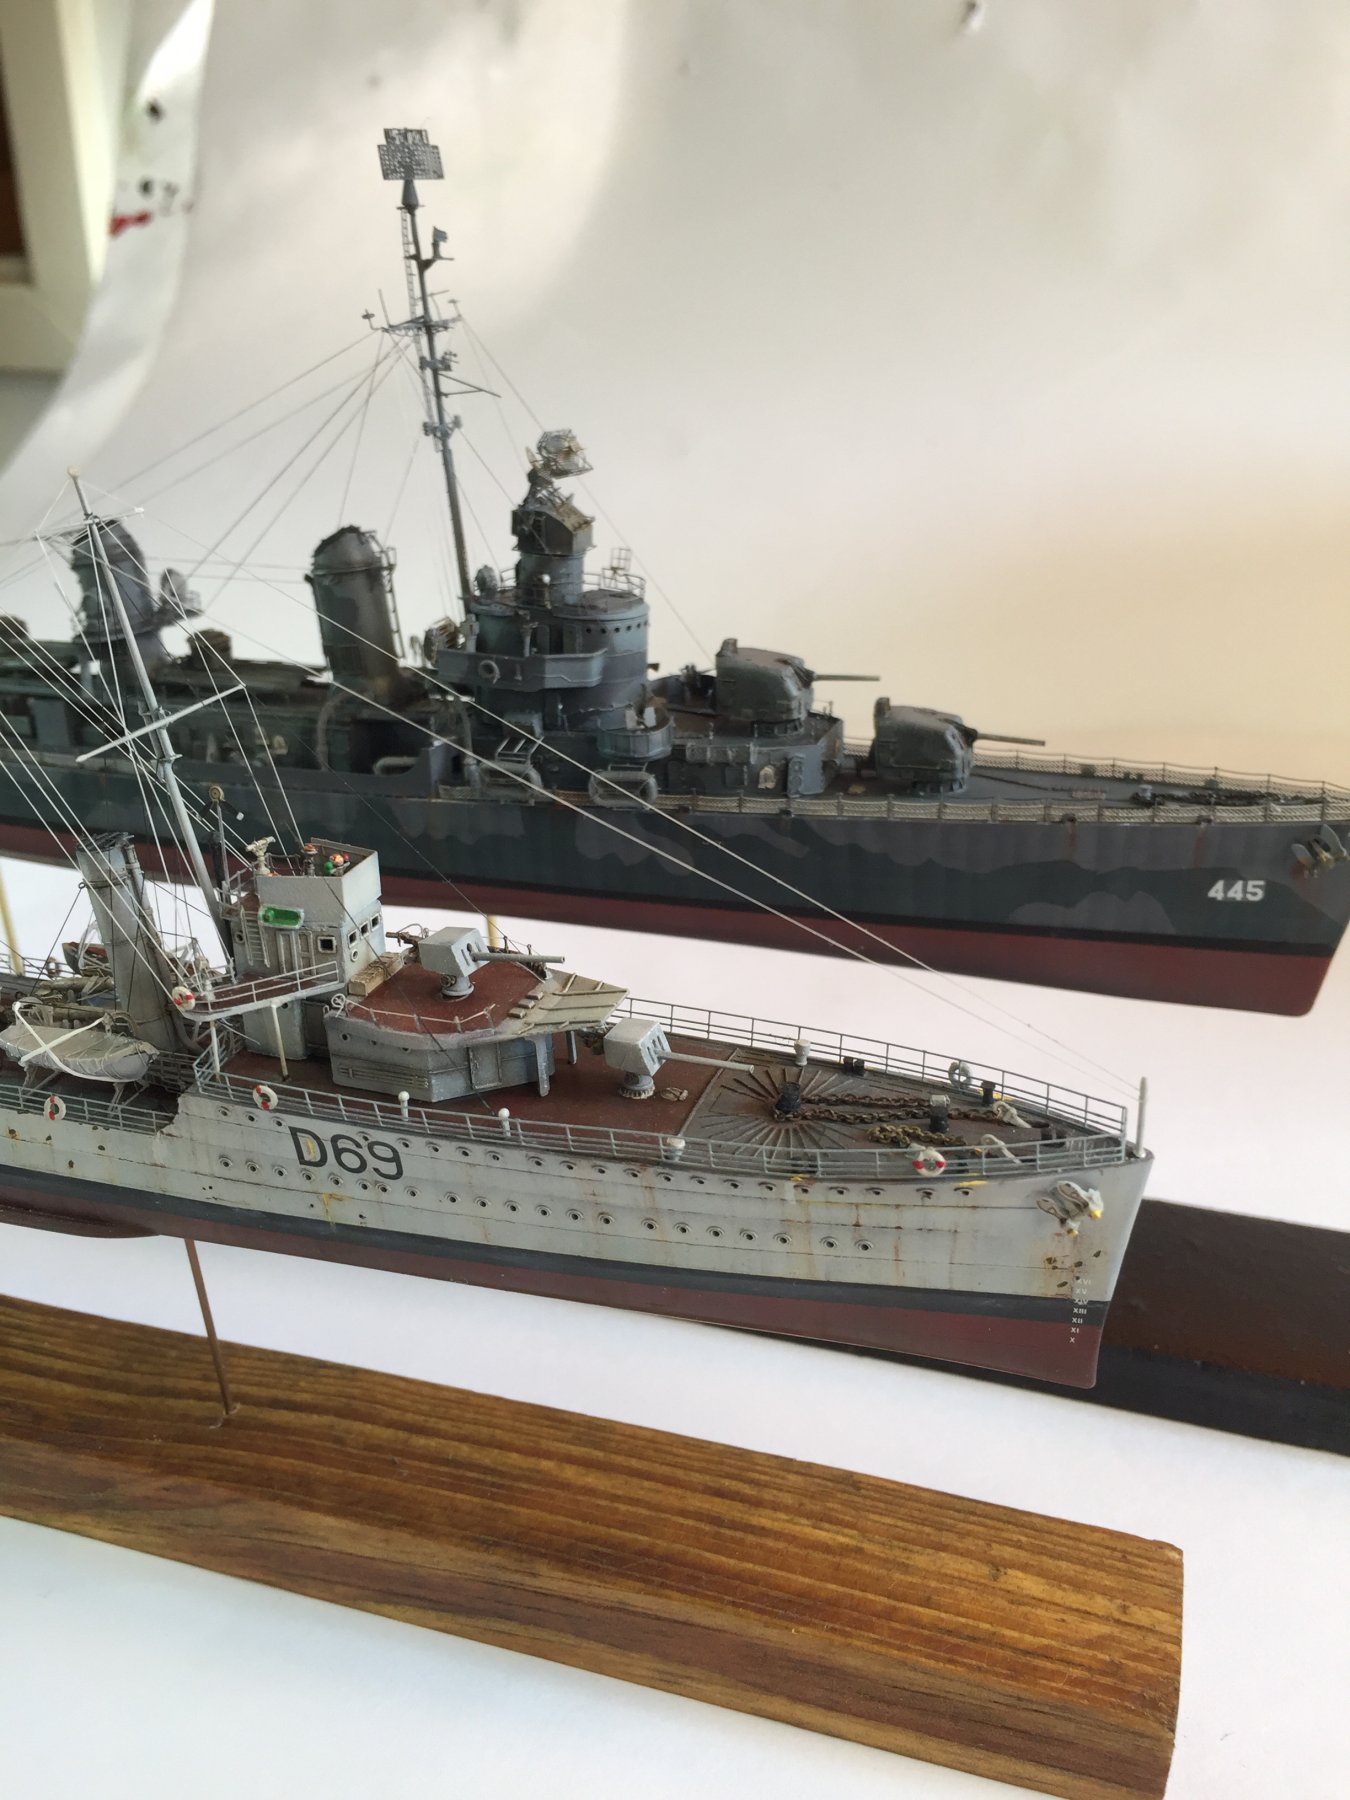
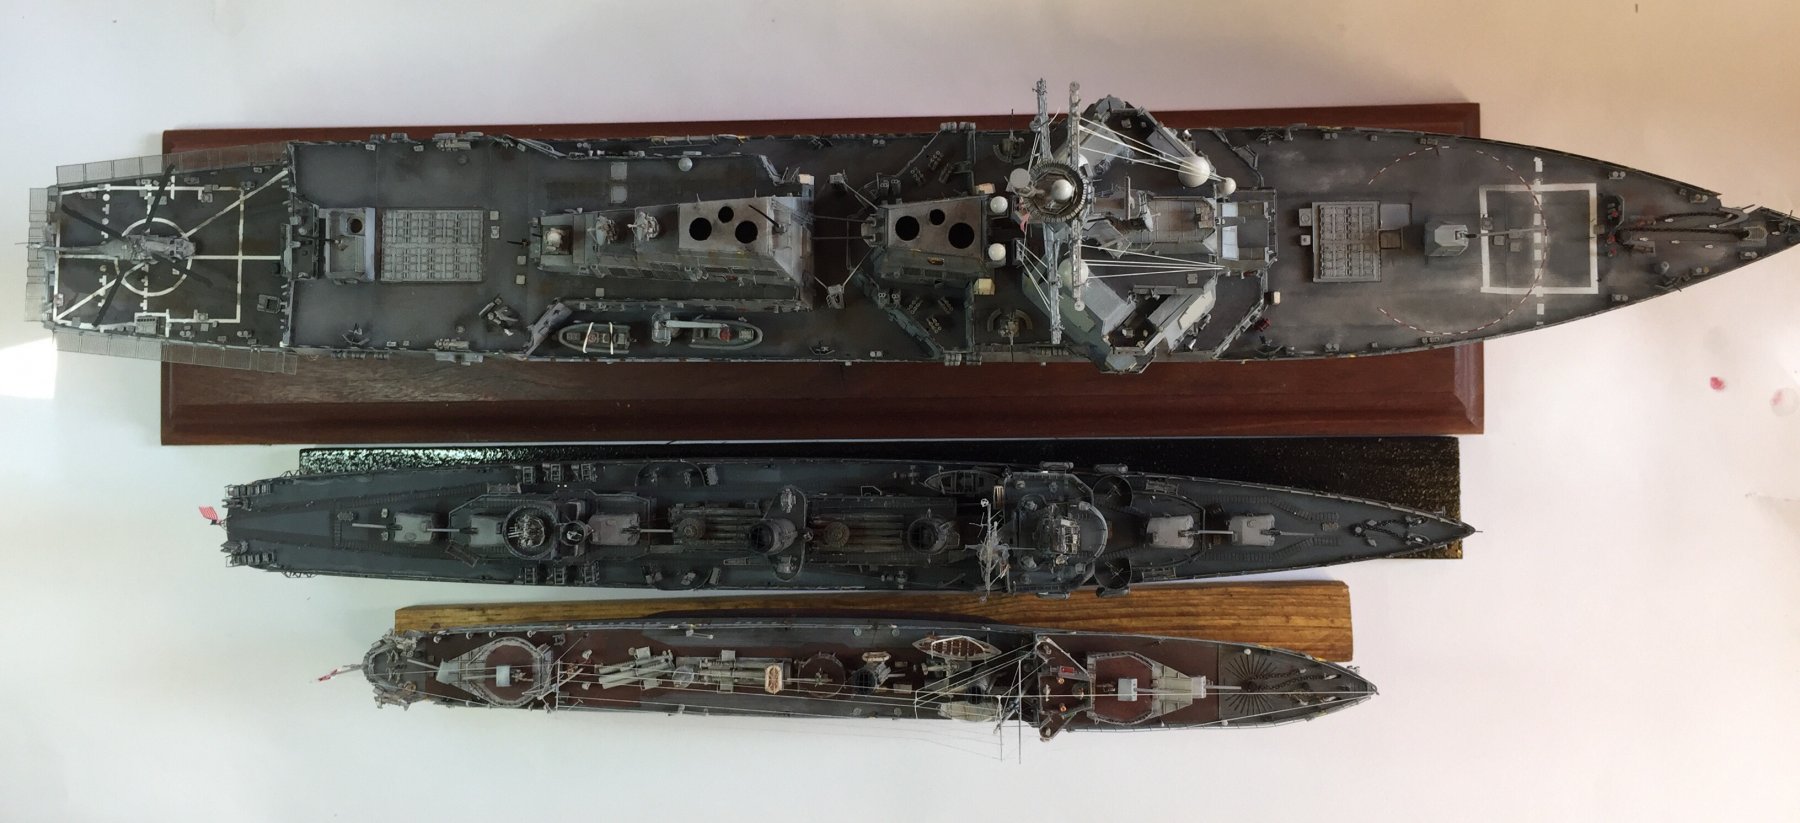
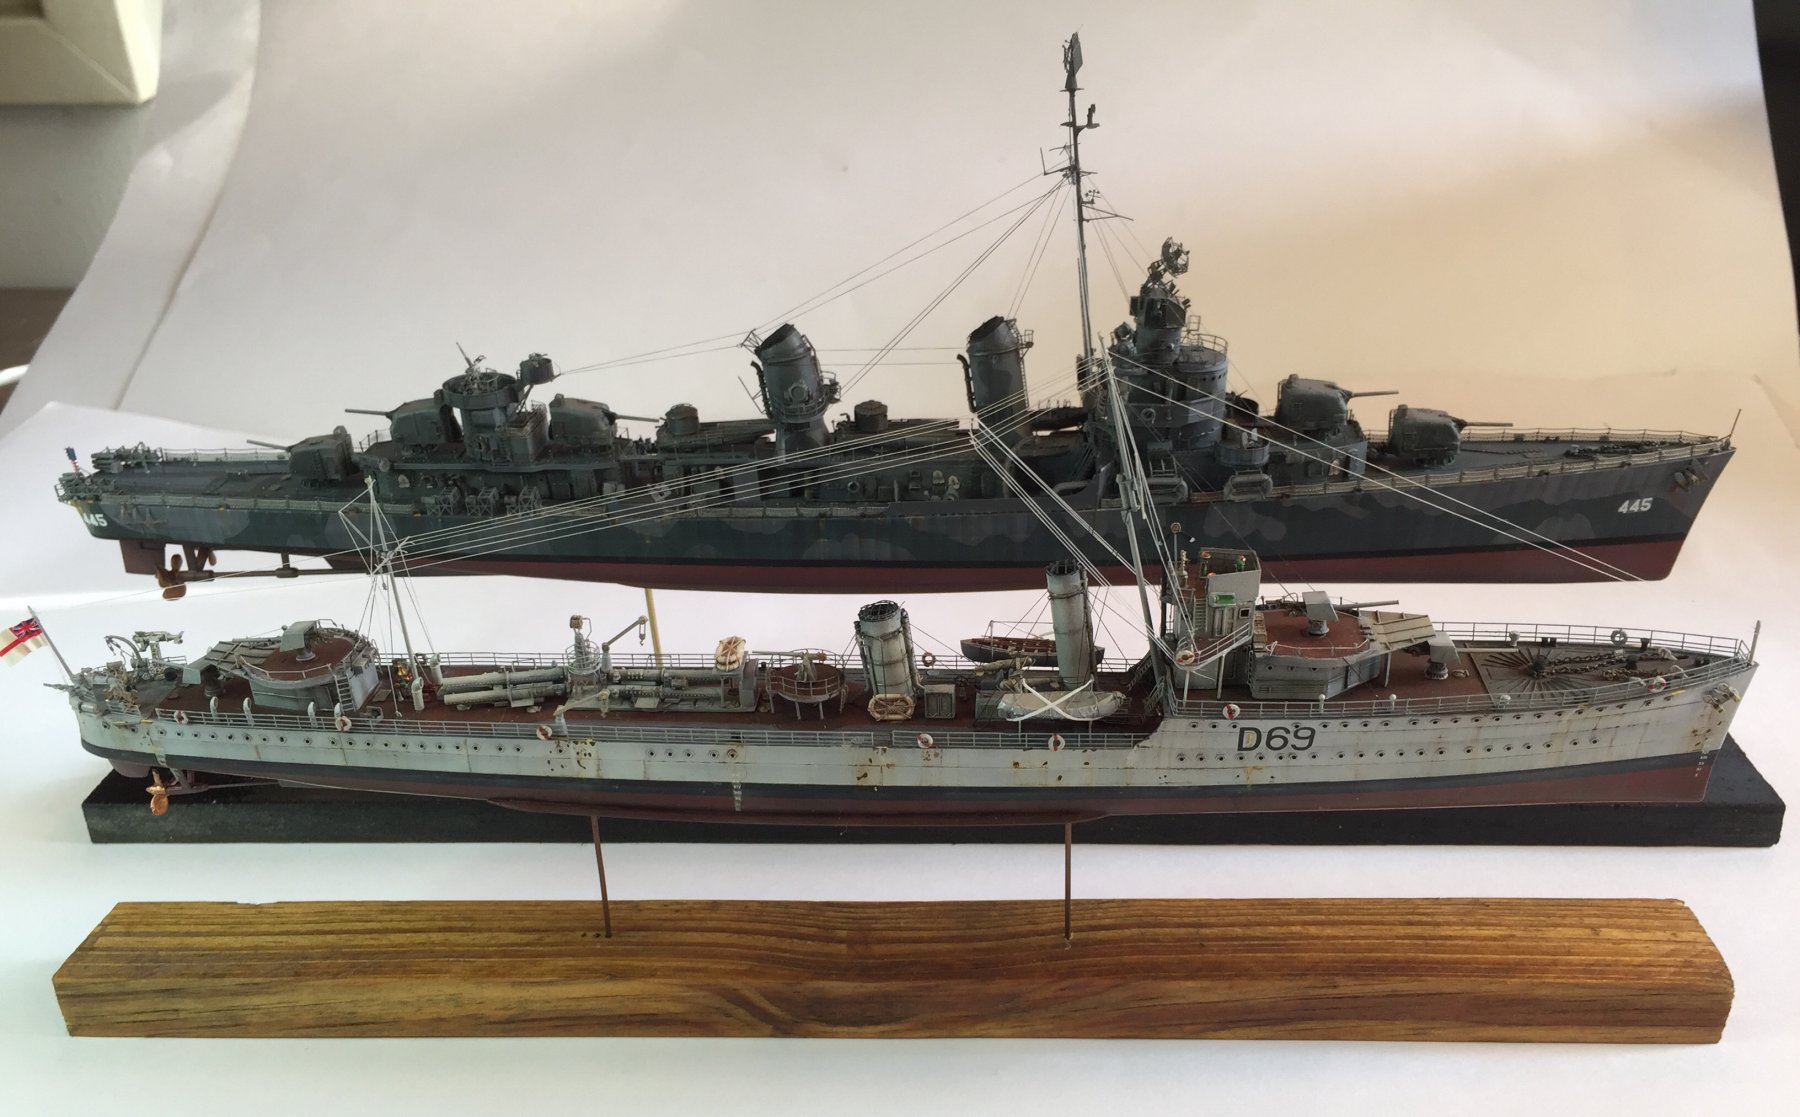
Railings and rigging done.


- JohnB40, Old Collingwood, oneslim and 17 others
-
20
-
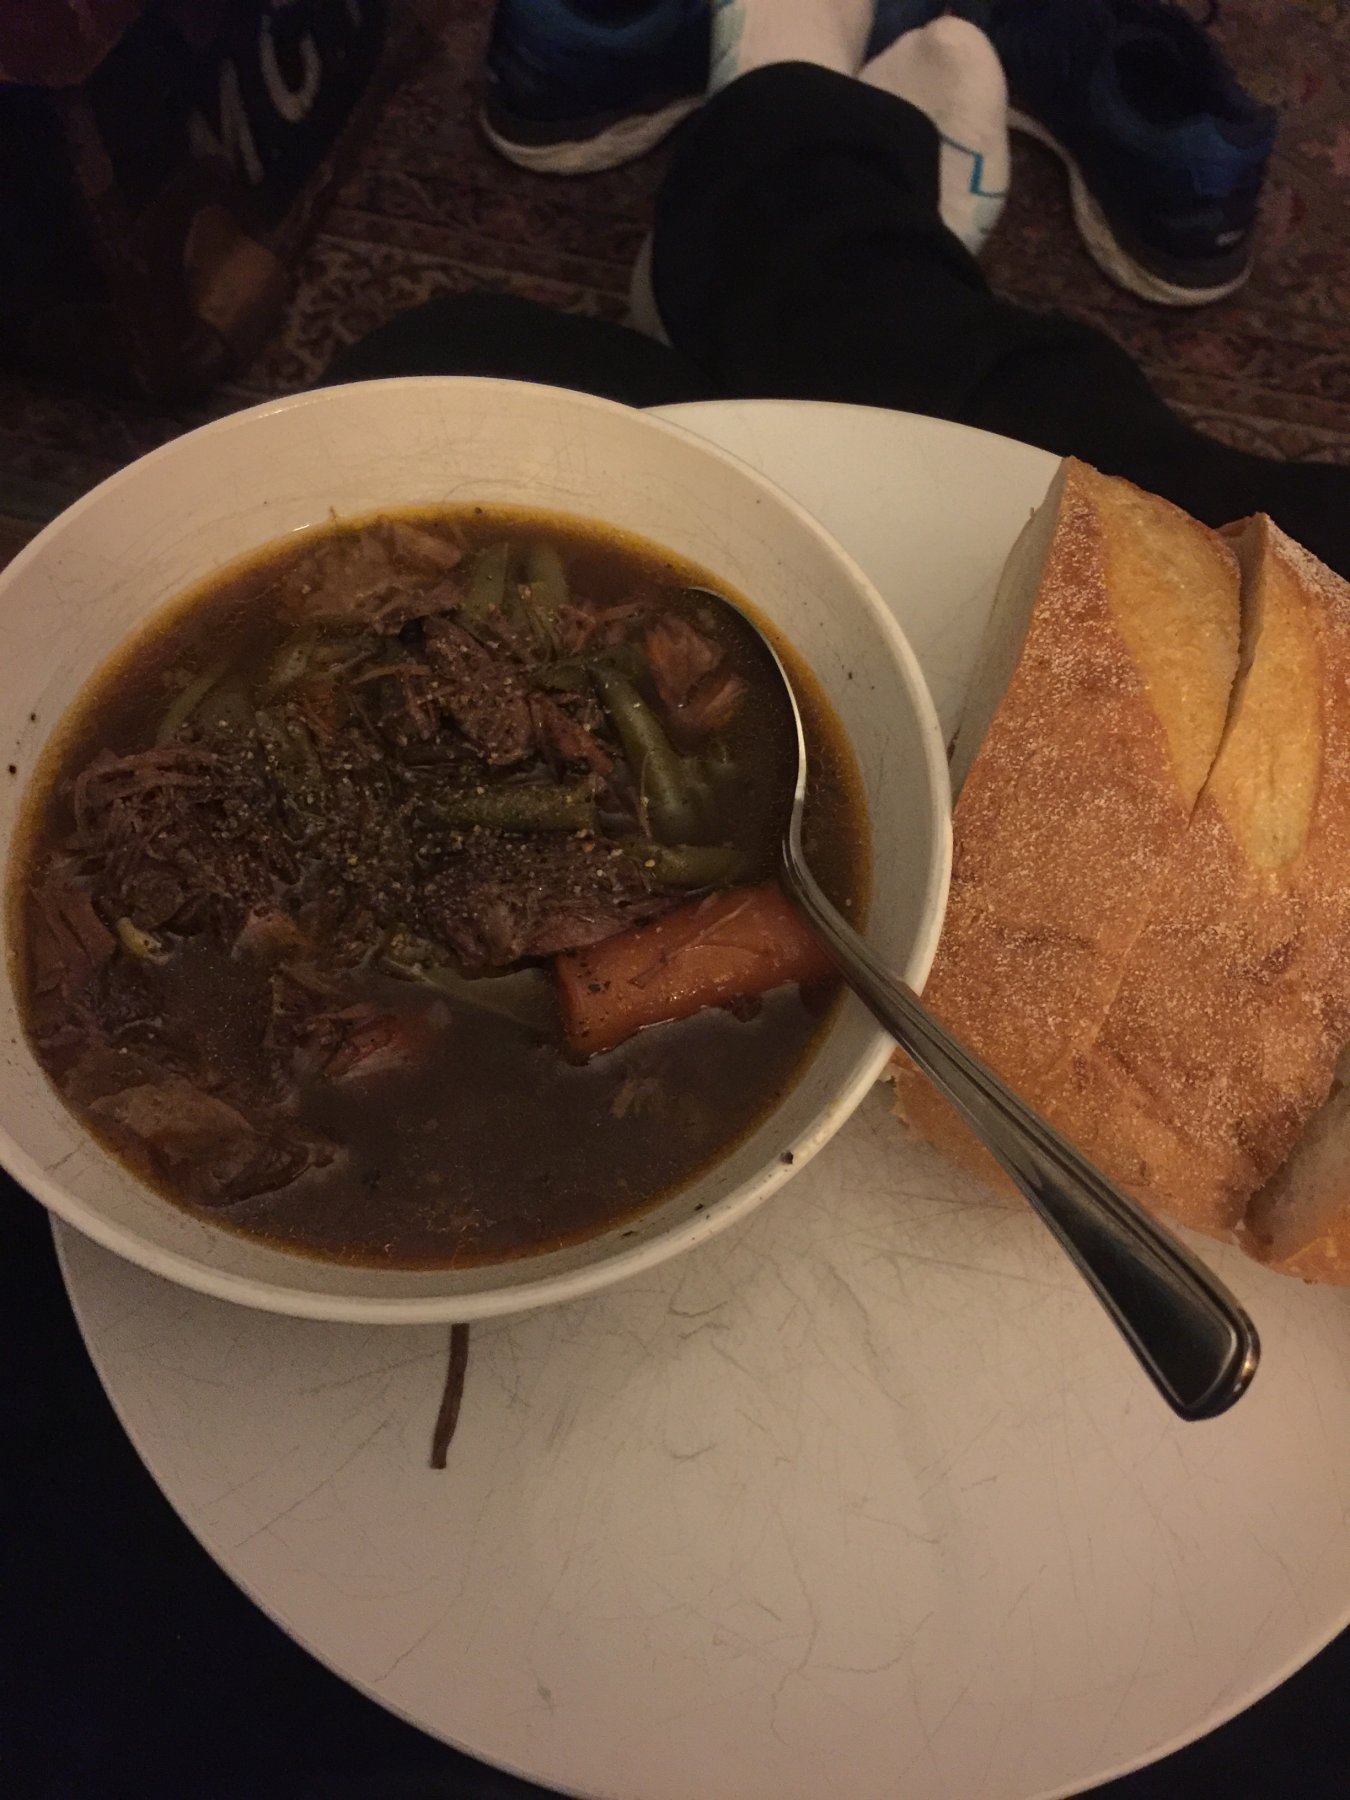
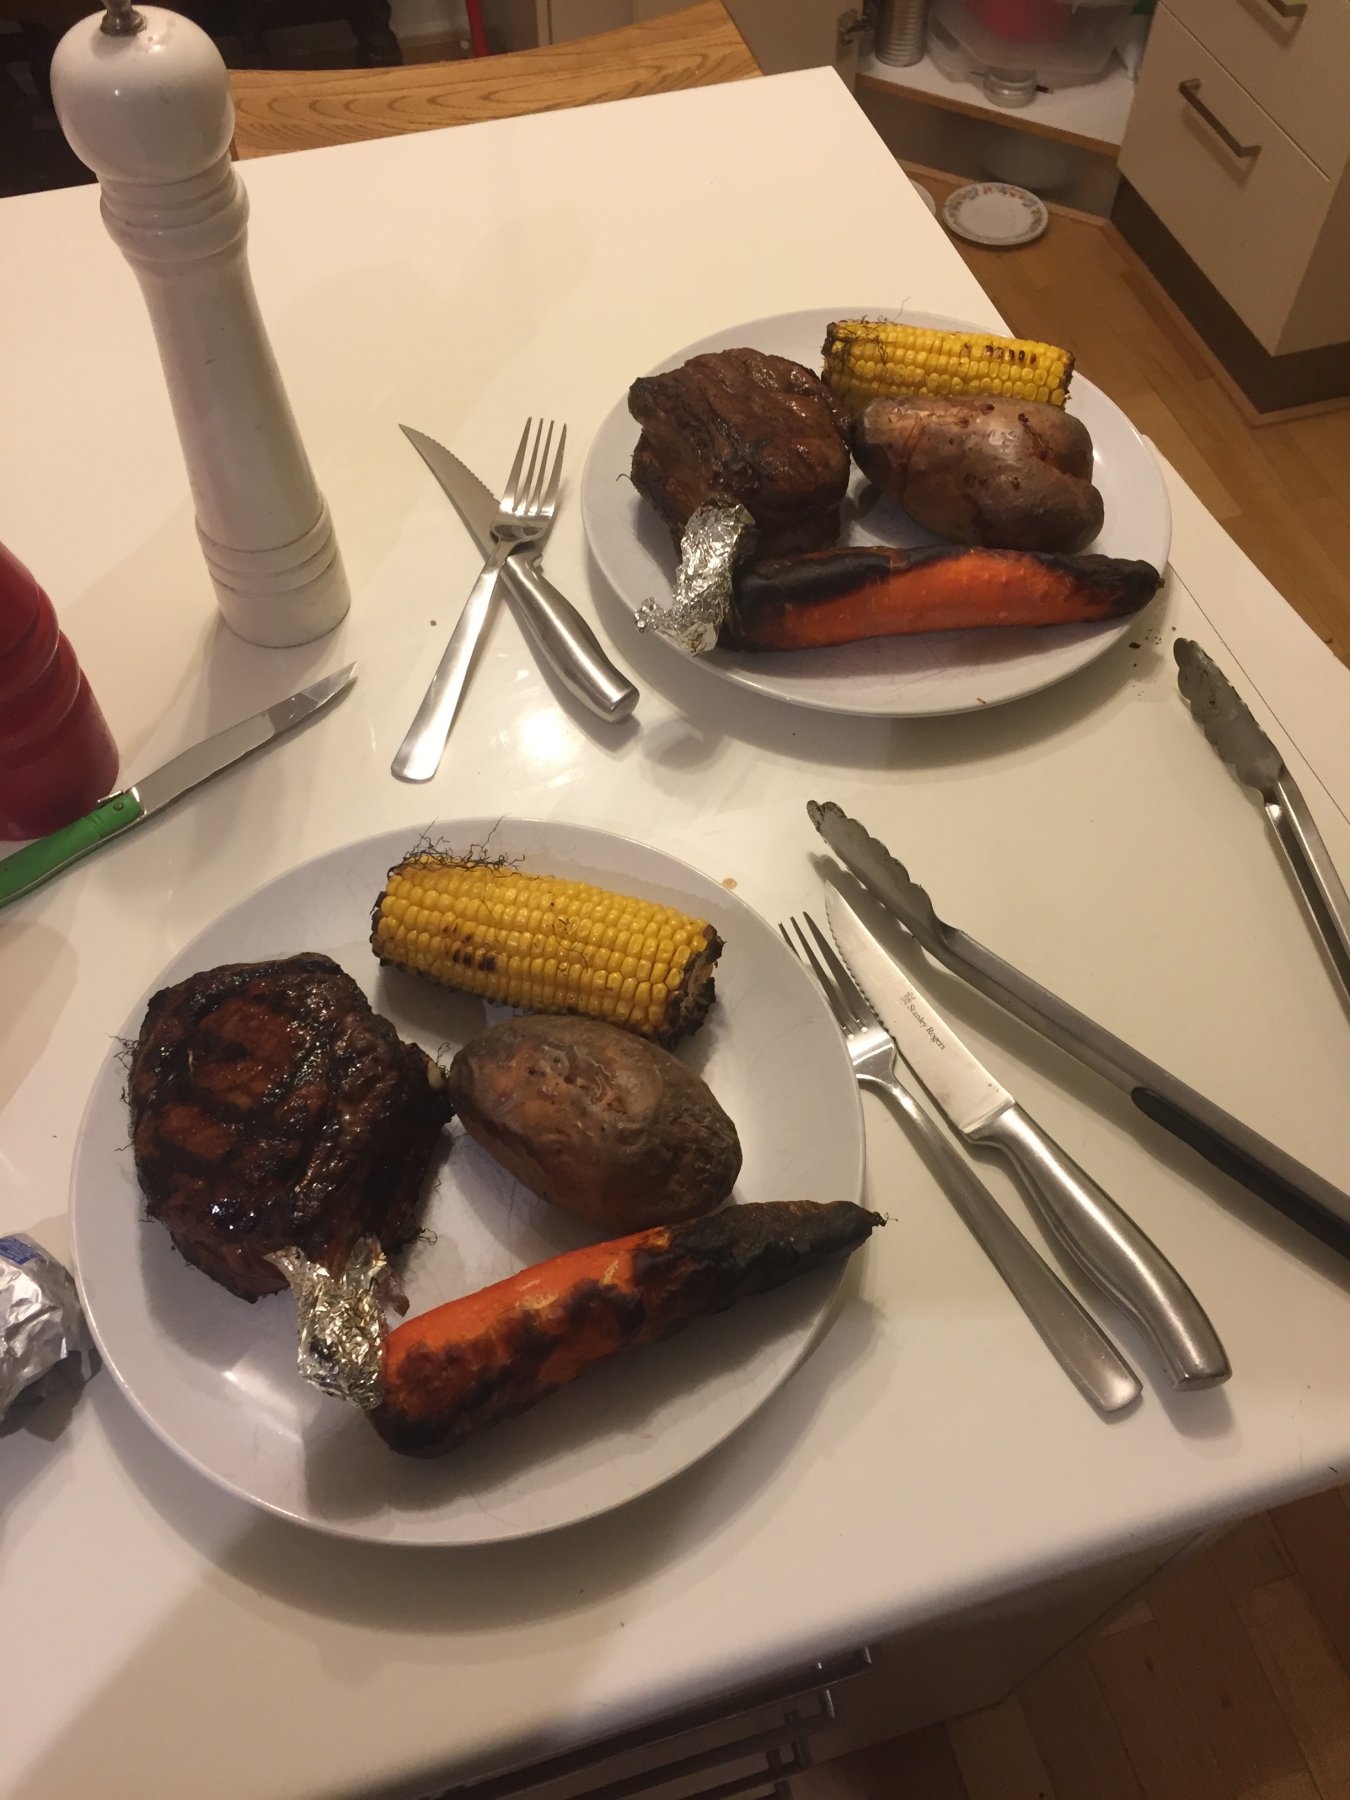
Cattleman’s cutlet, roast potatoes and carrots. Delicious
- popeye the sailor, BANYAN, Canute and 4 others
-
7
-
-
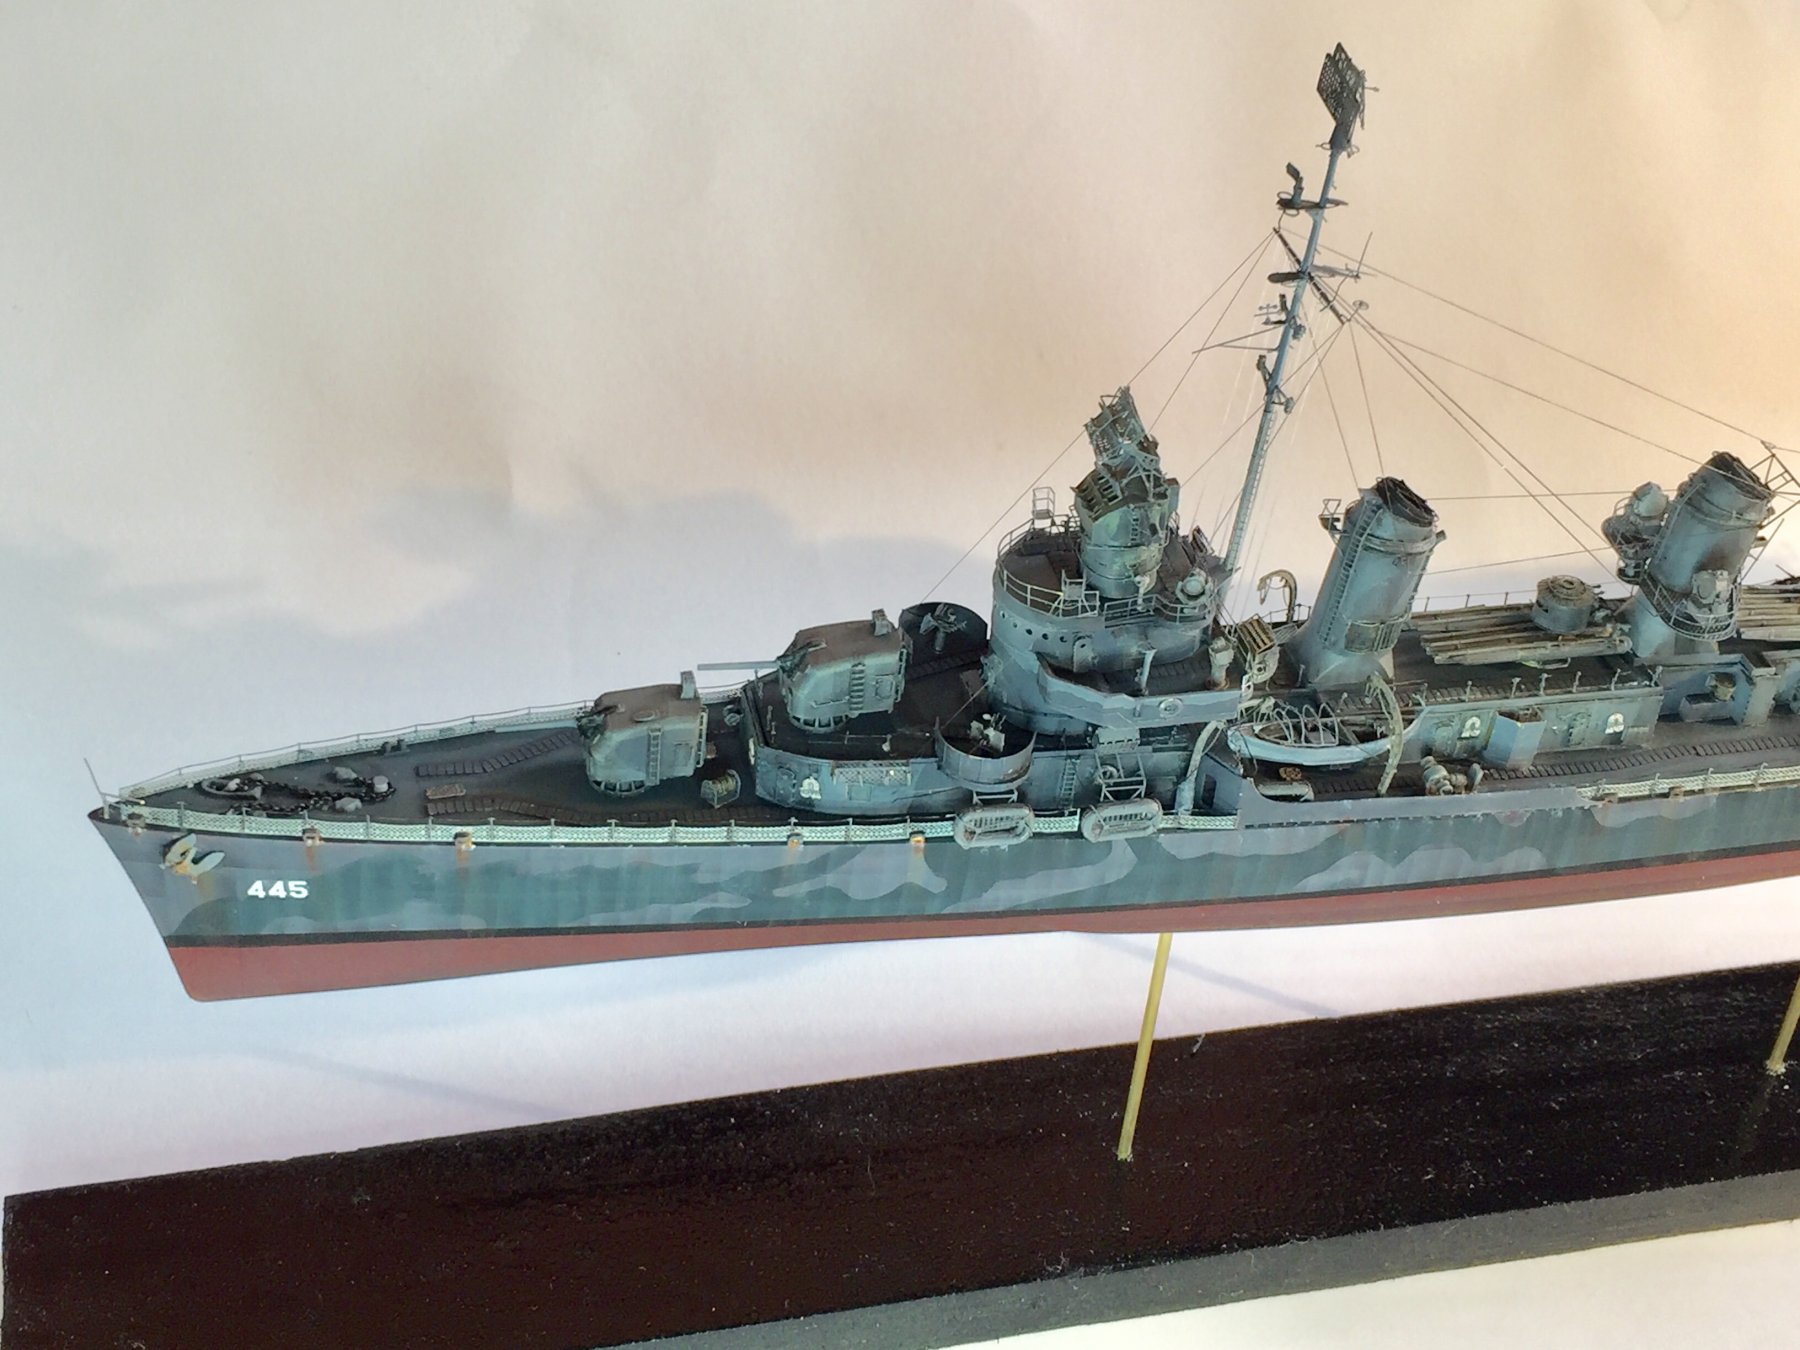
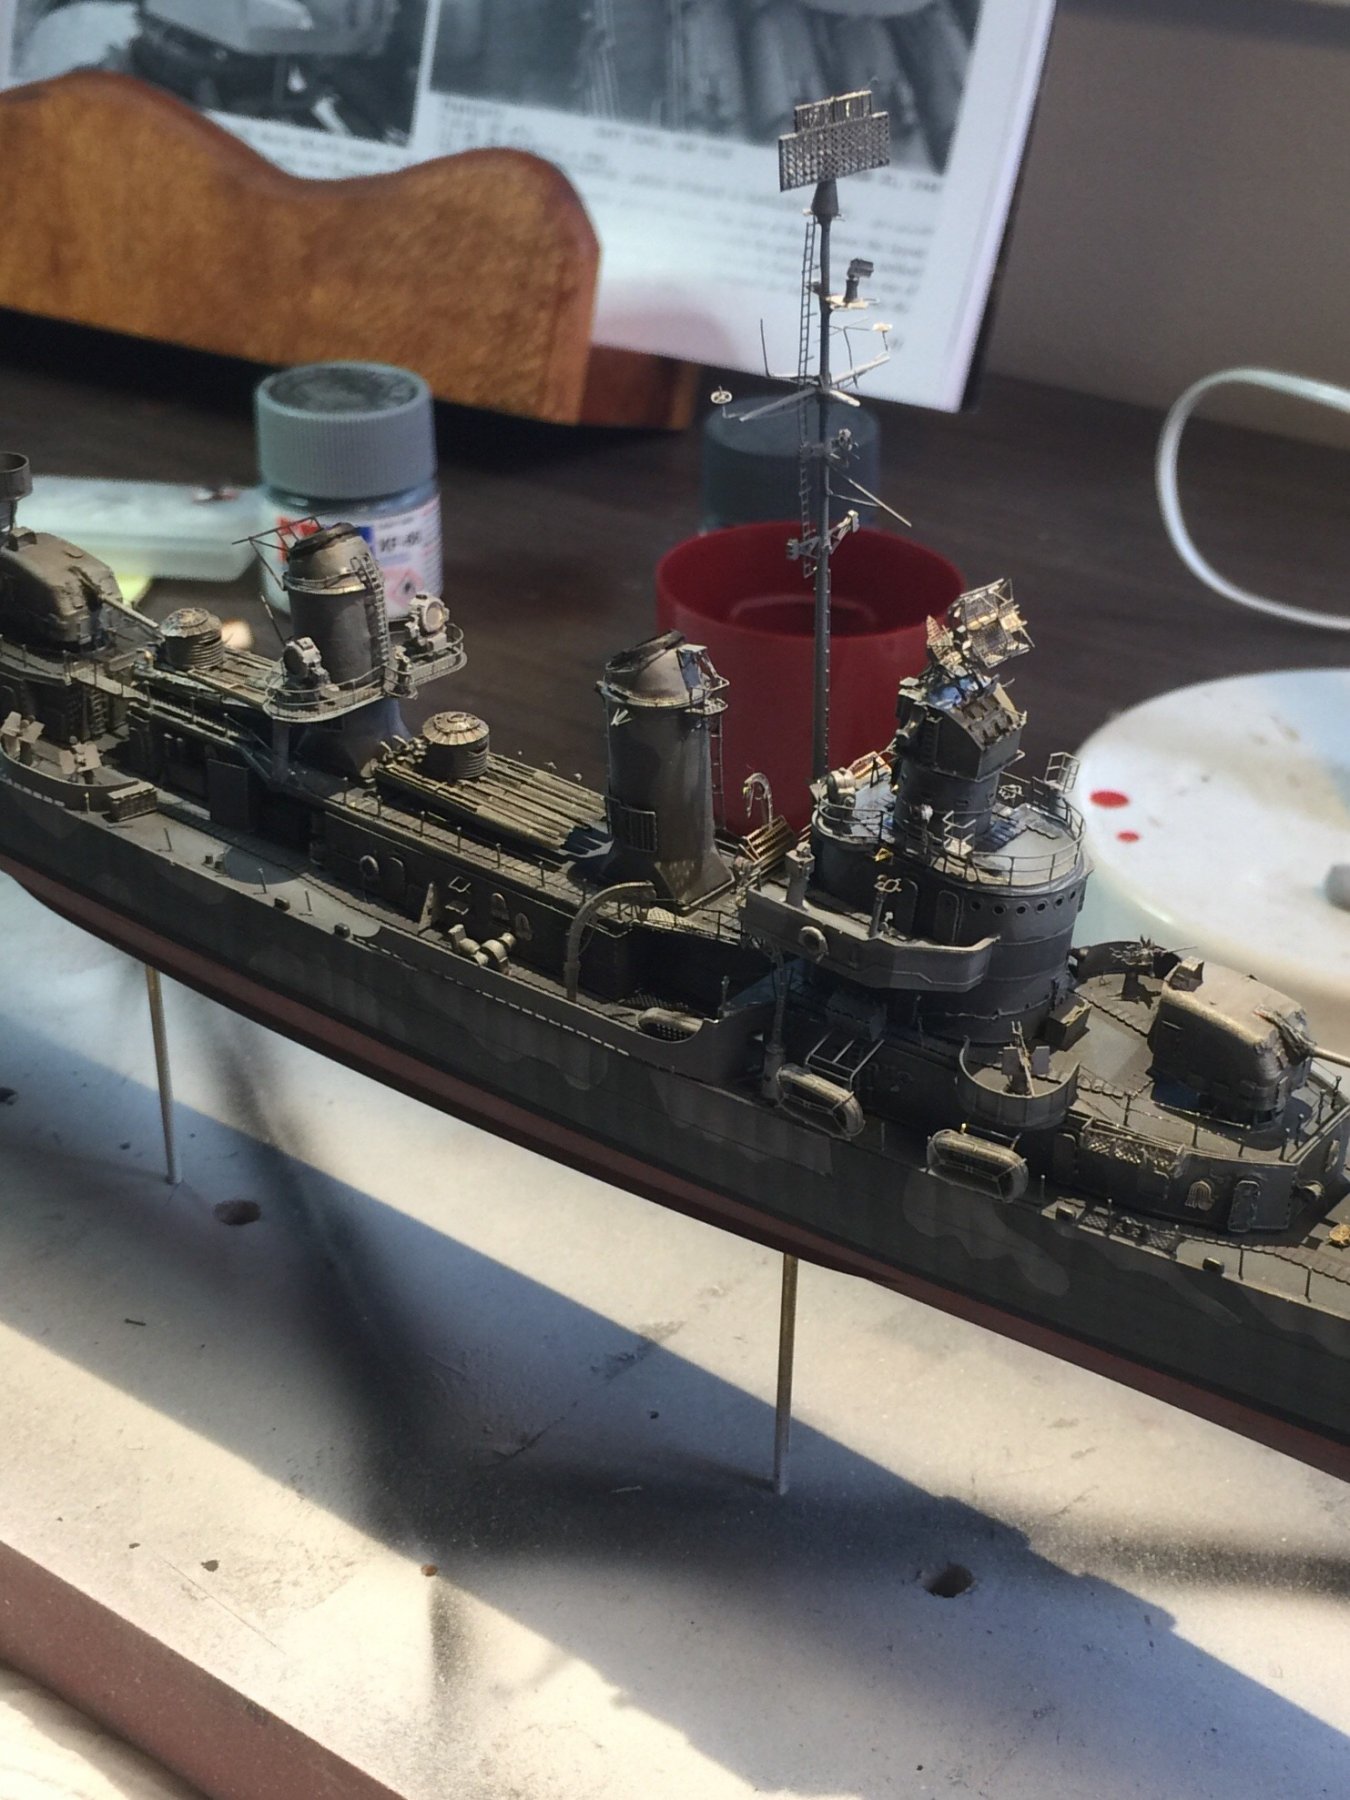
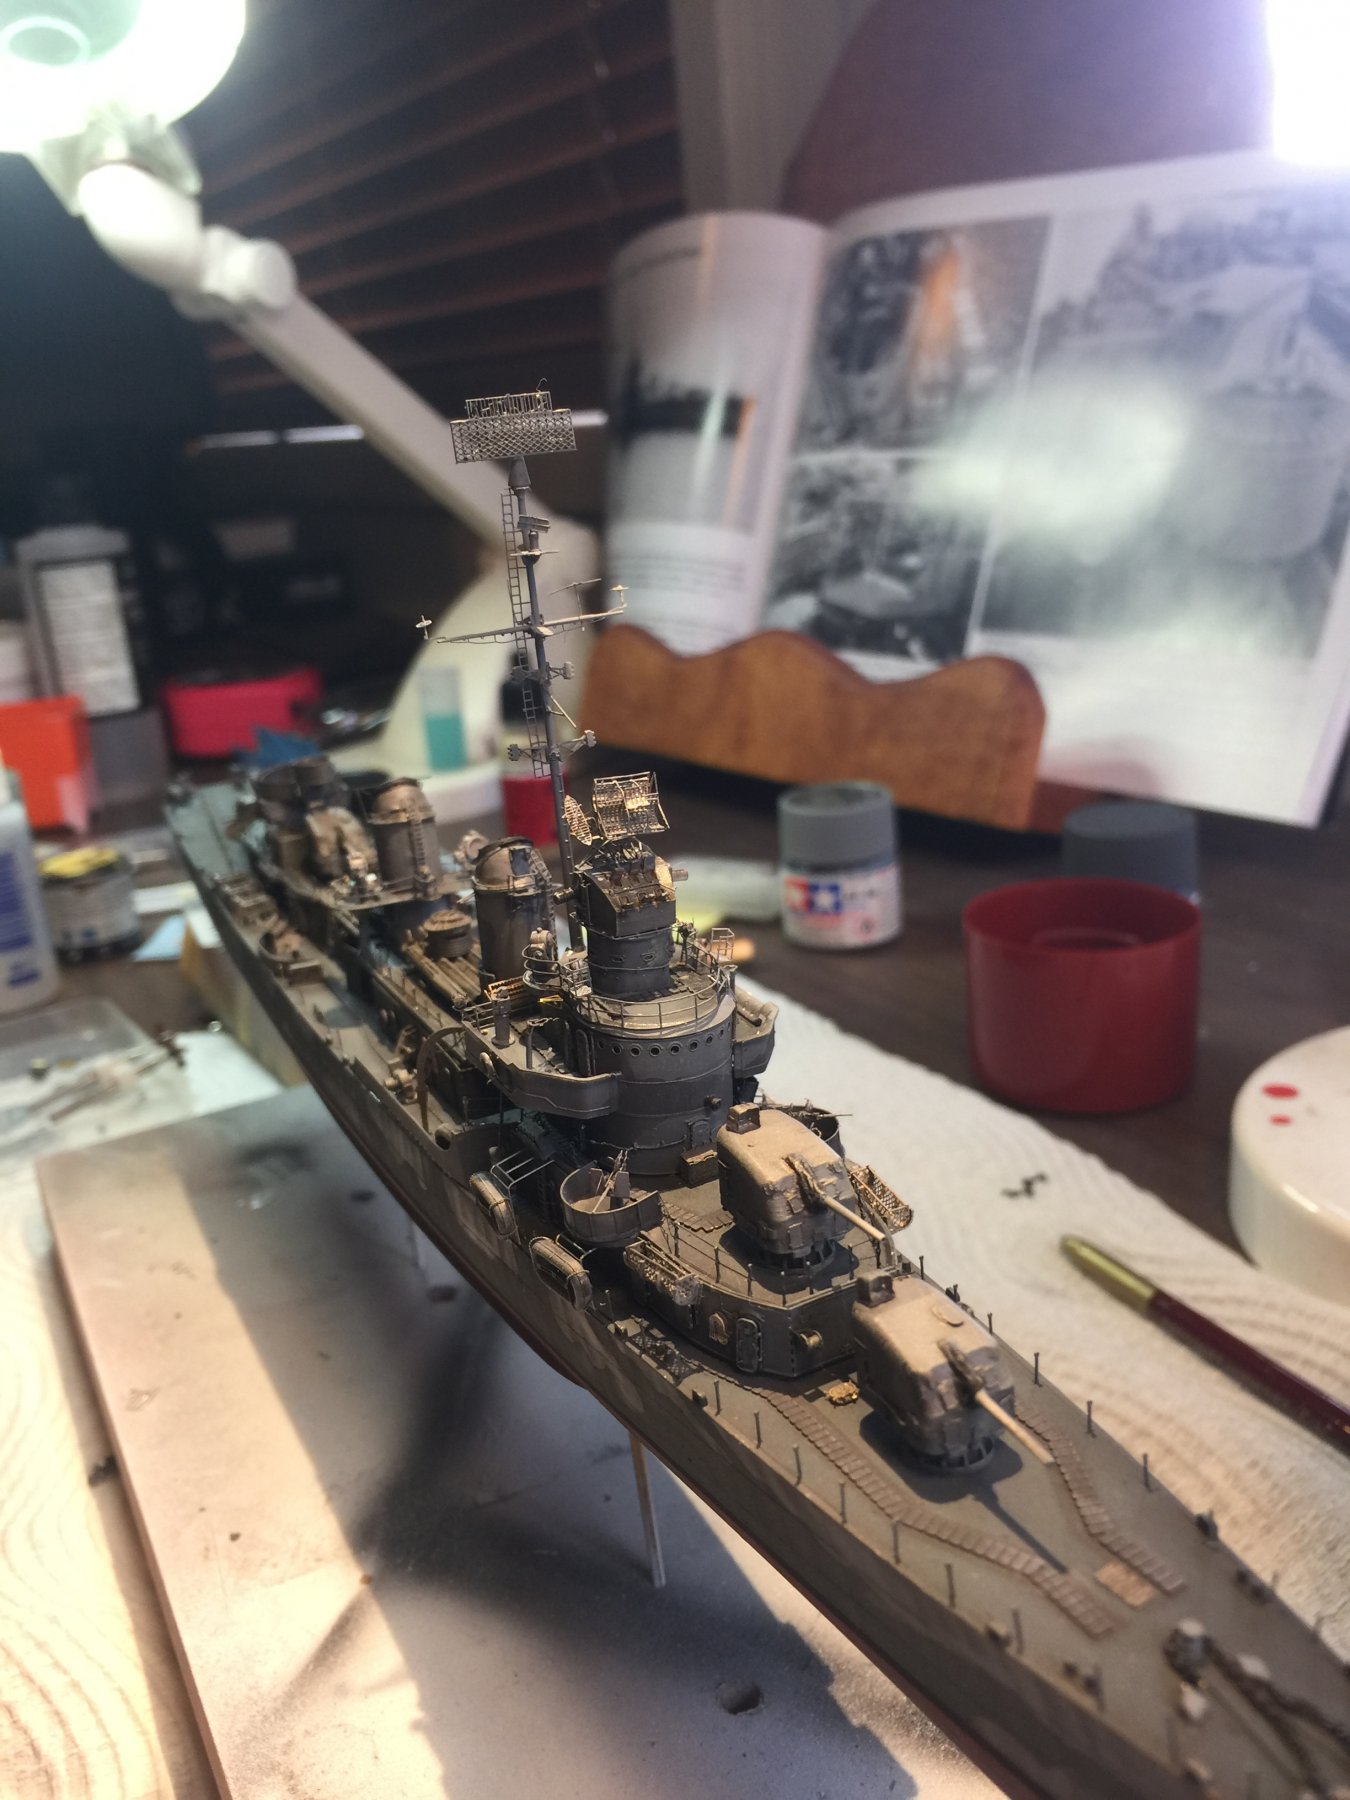
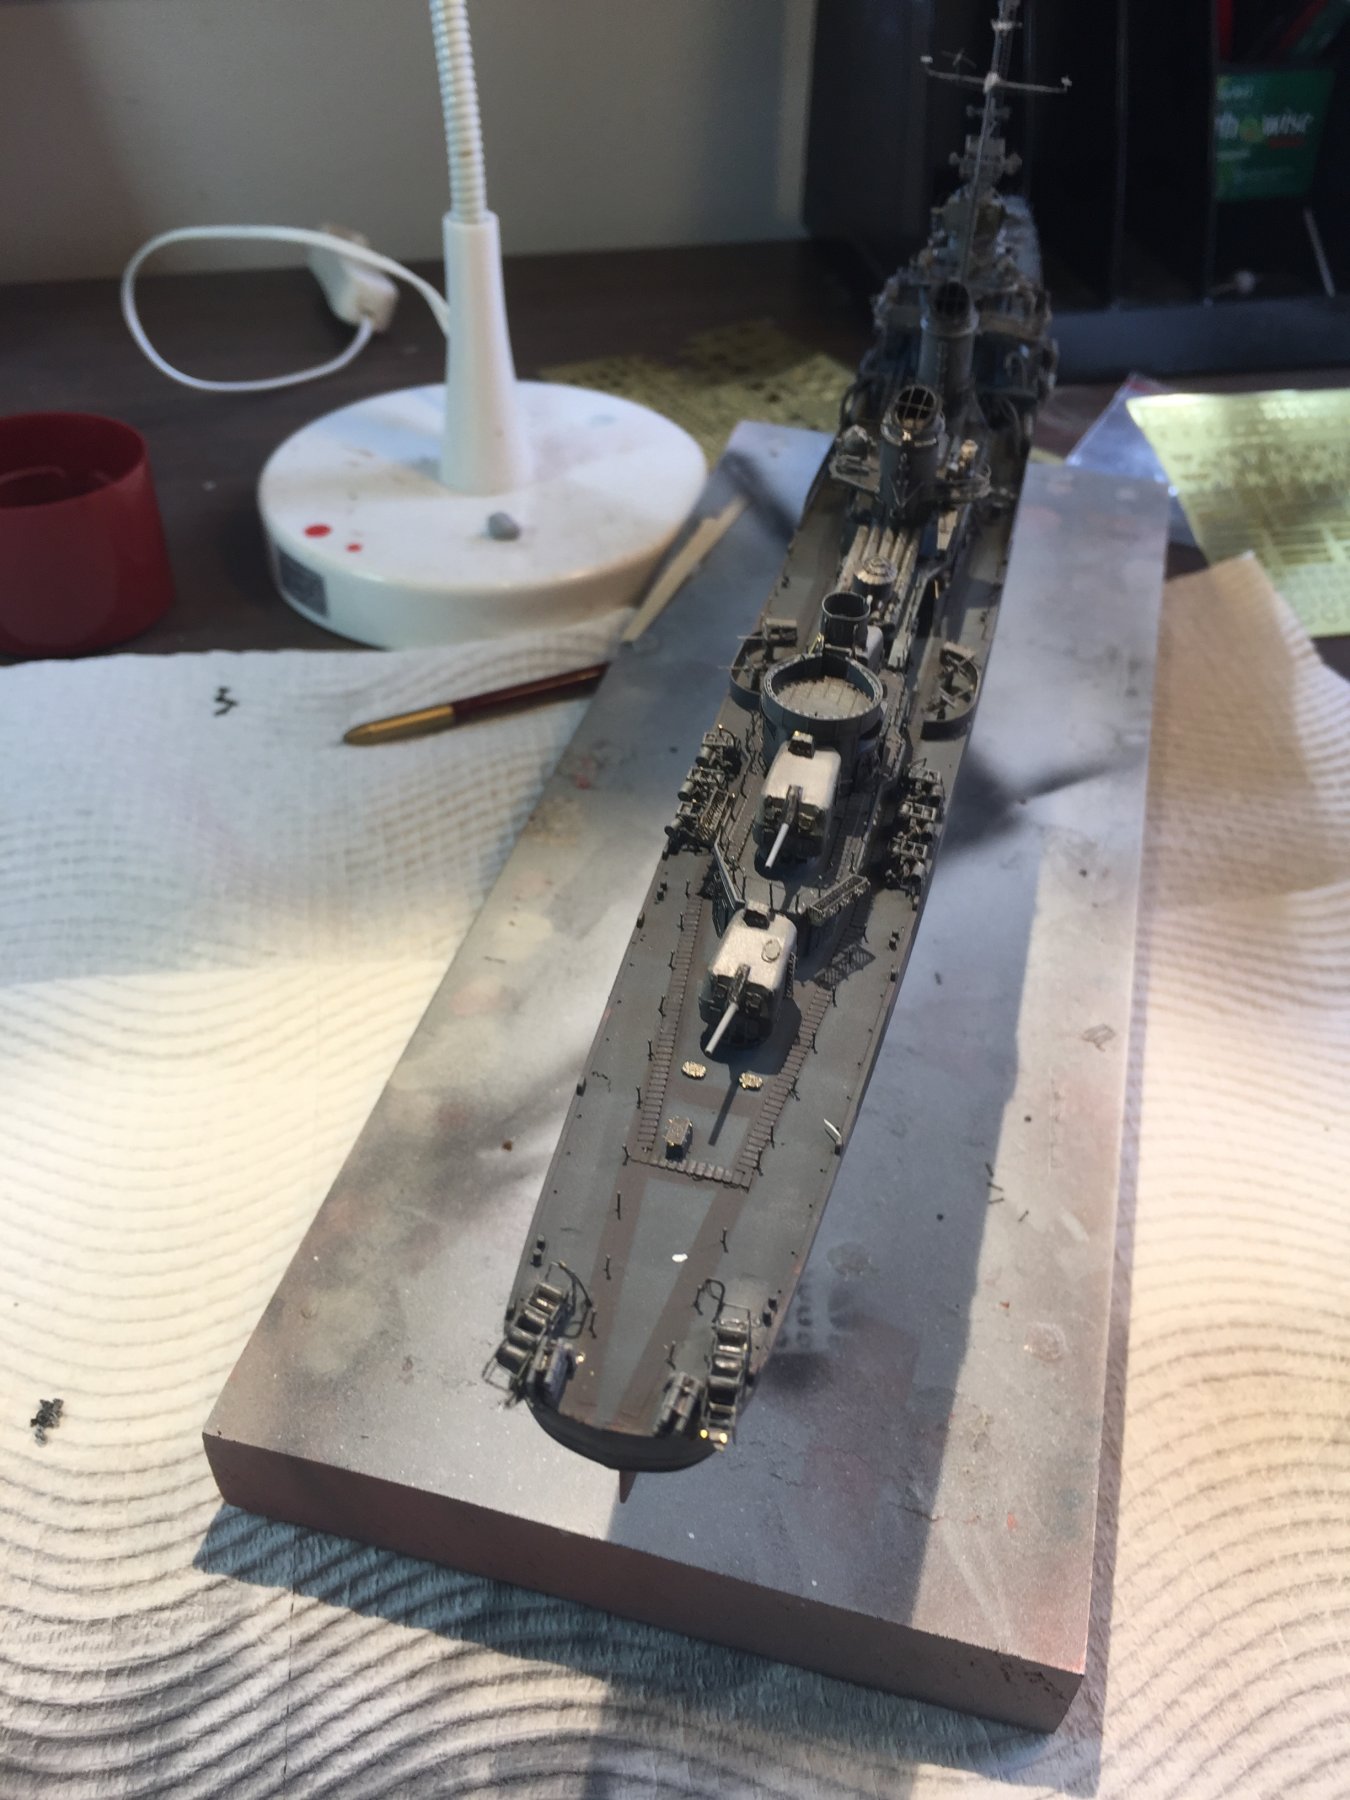
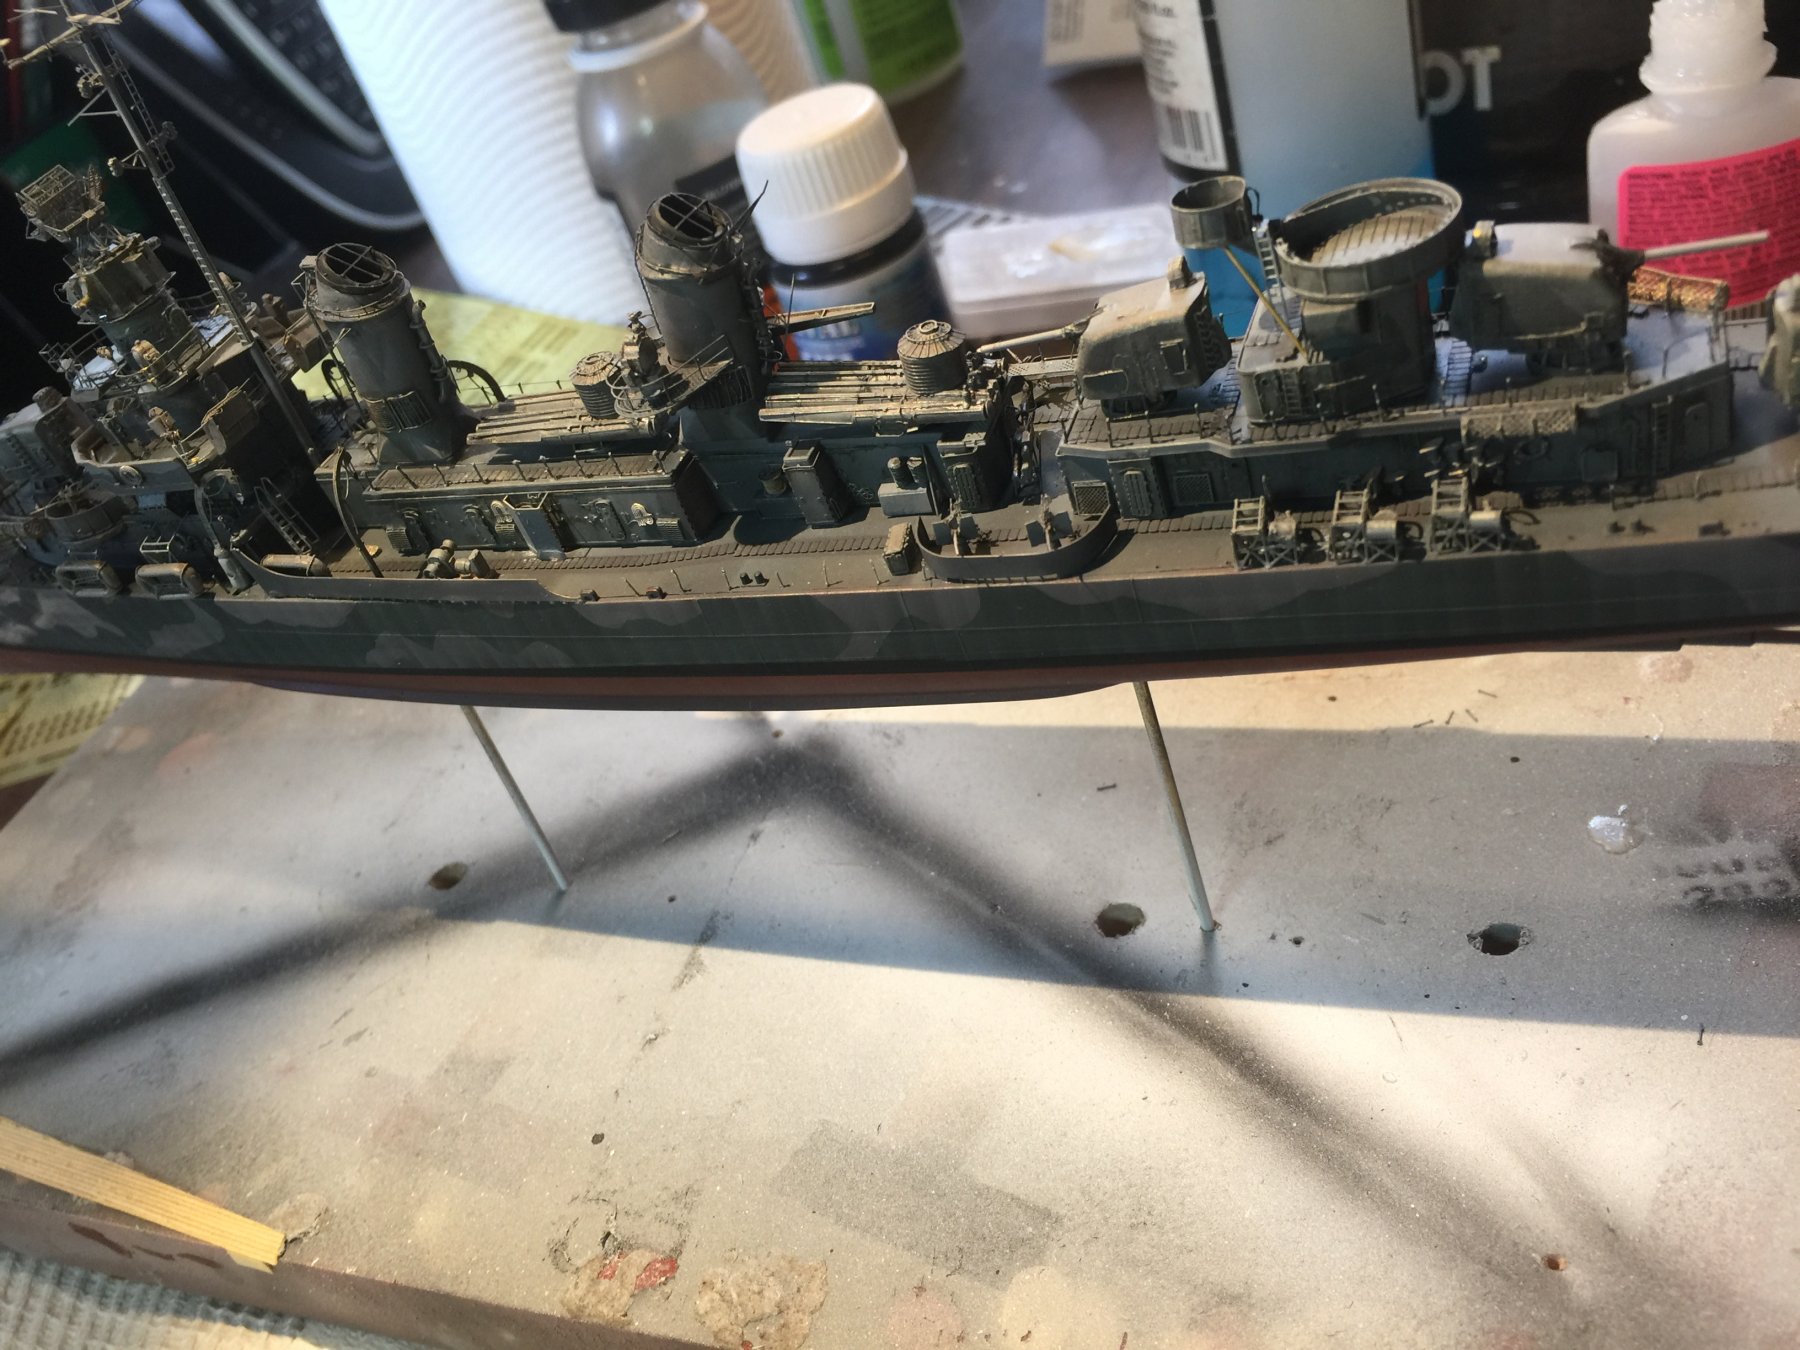
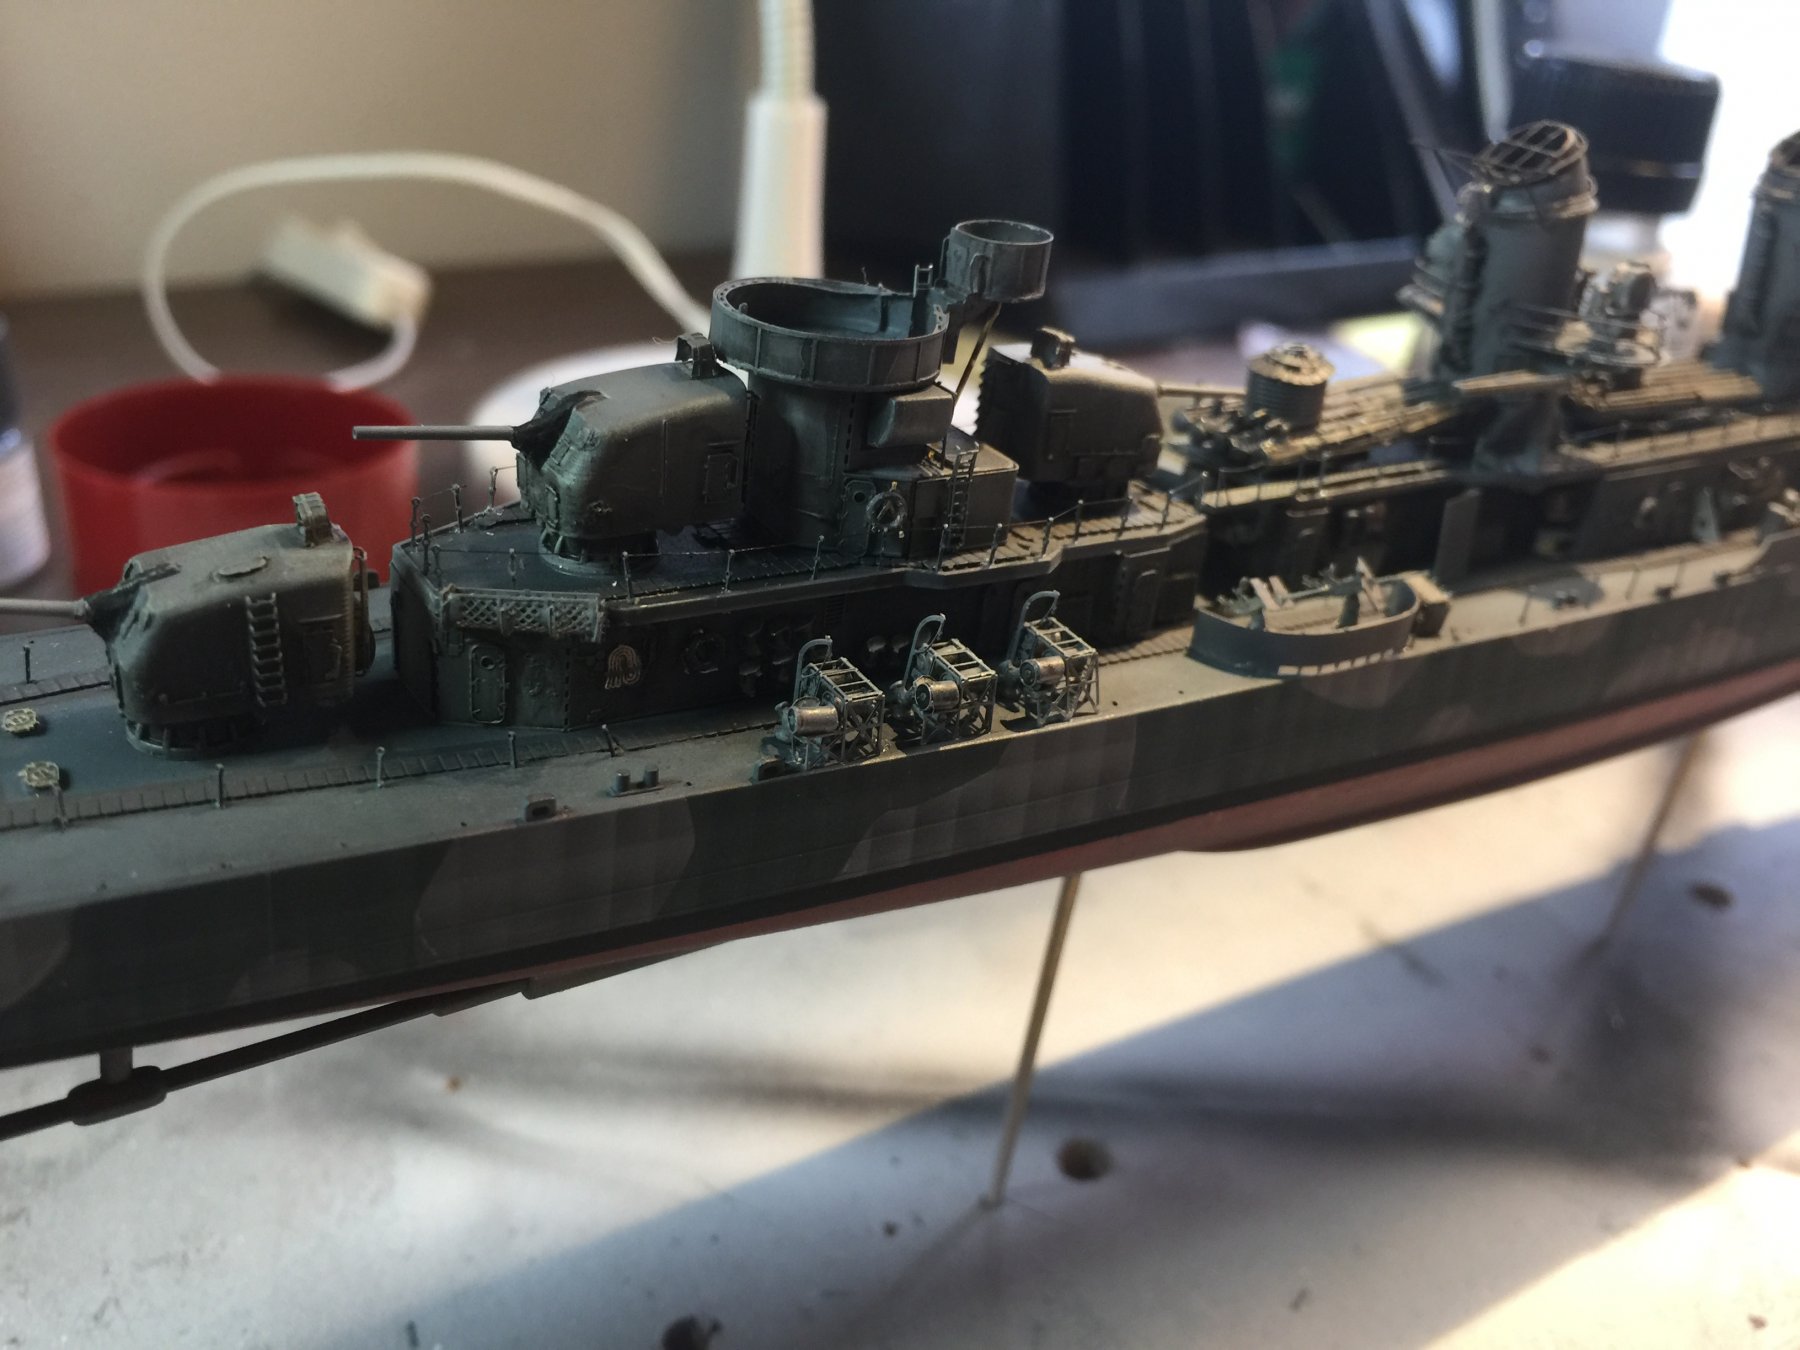
I think it’s lighting OC, this is such a dull paint job, I’ll do a better job on the final shots I promise. I kinda lost interest in this one about half way through as it’s a lot of plod. I’ll enjoy this build a lot more when I get to a bit of weathering.
- popeye the sailor, Canute, mtaylor and 5 others
-
8
-
-
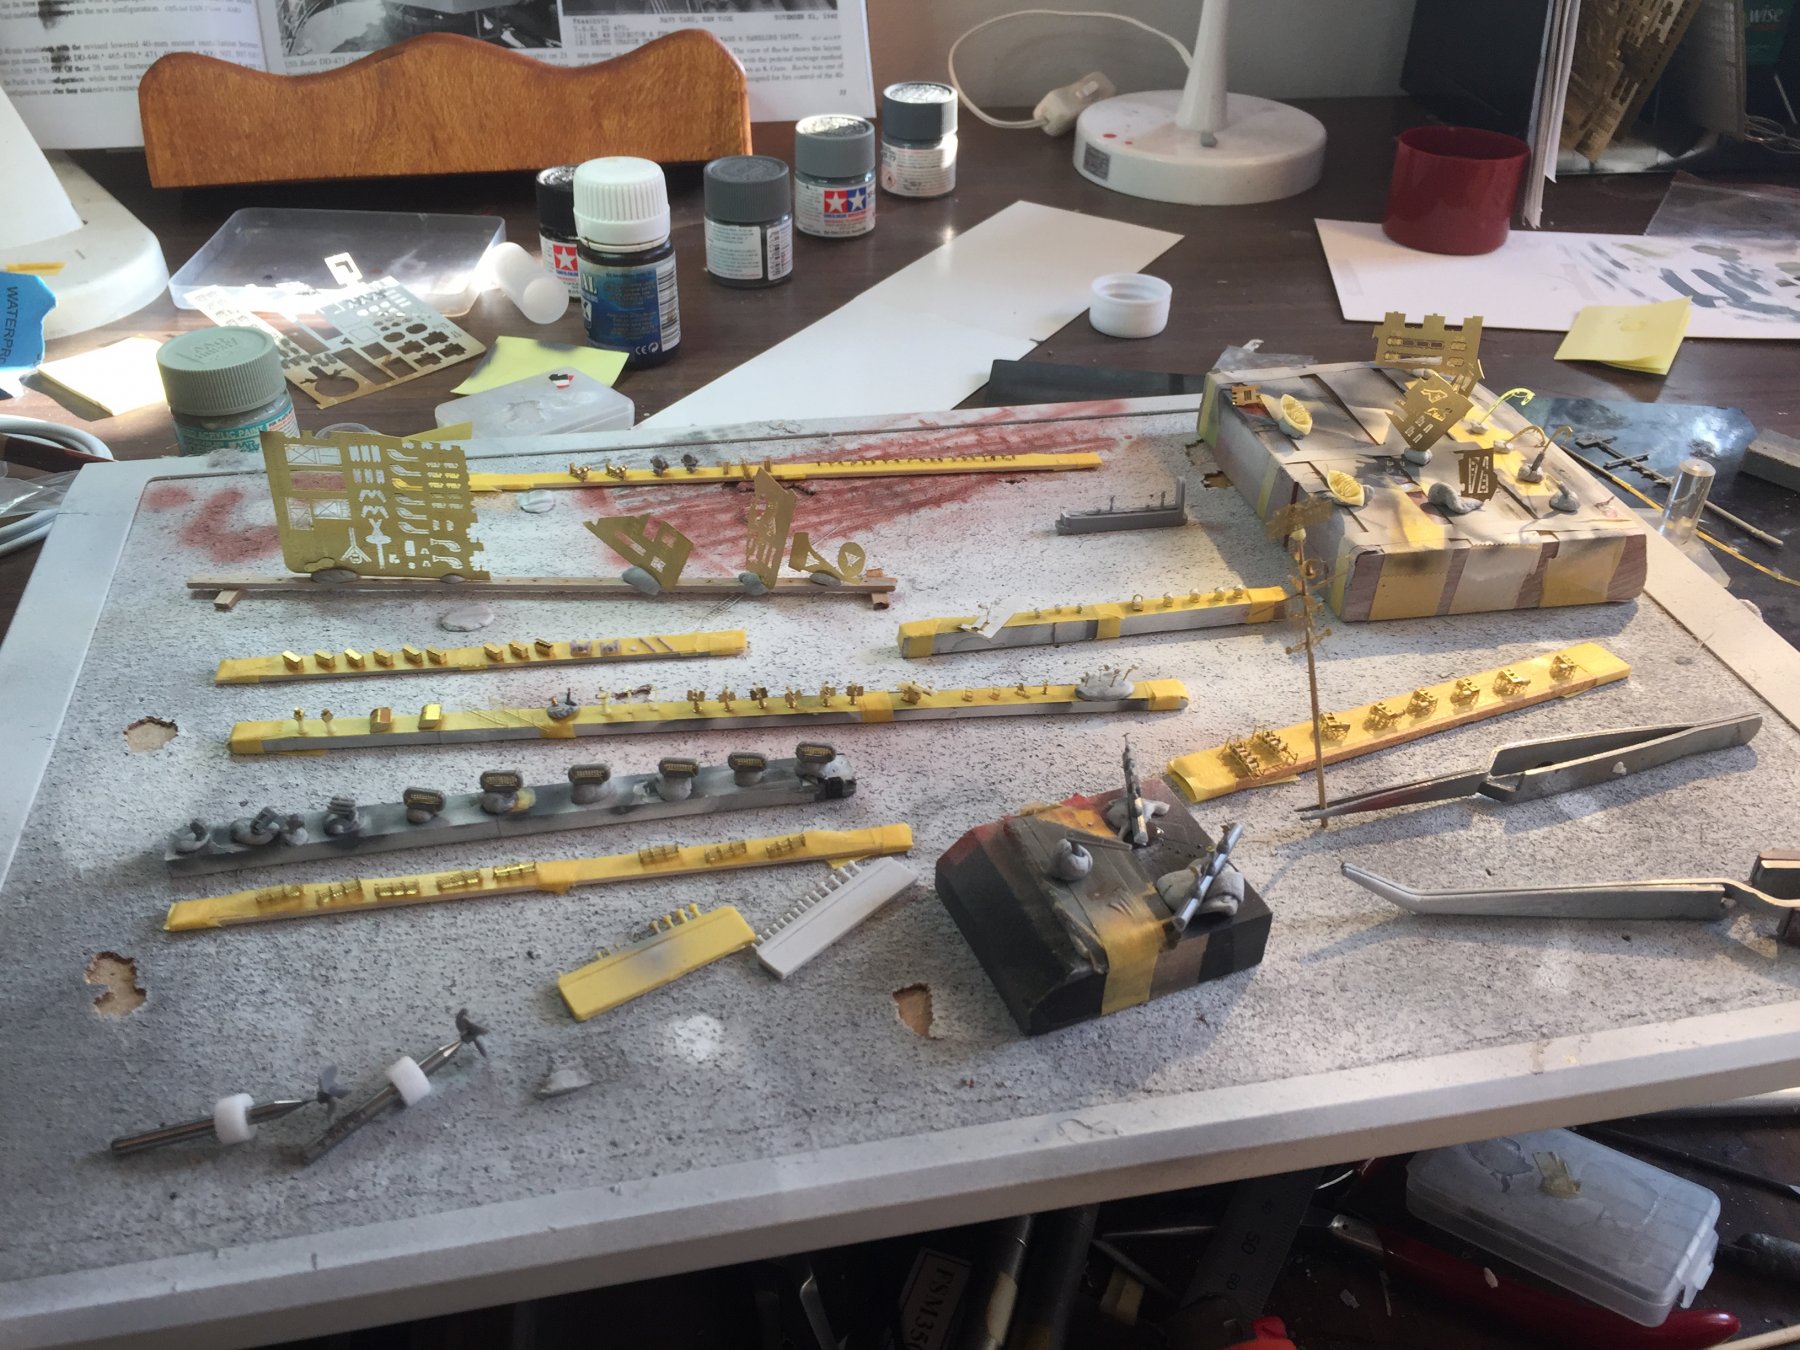
Decals are tomorrows job, I’ll just give them a matte coat prior to weathering. I’ve been quiet as all these tiny pieces have just taken forever to collate, plus work, dayshift and dropping #1 son off at rowing at 0545 every other morning. Wife, #2 son and dog off to the beach for the end of Autumn and Easter so I’m at home alone to finish this off.
-
So, about 5 days of throwing everything left to go onto the ship together, primer coat
 then a grey coat.
 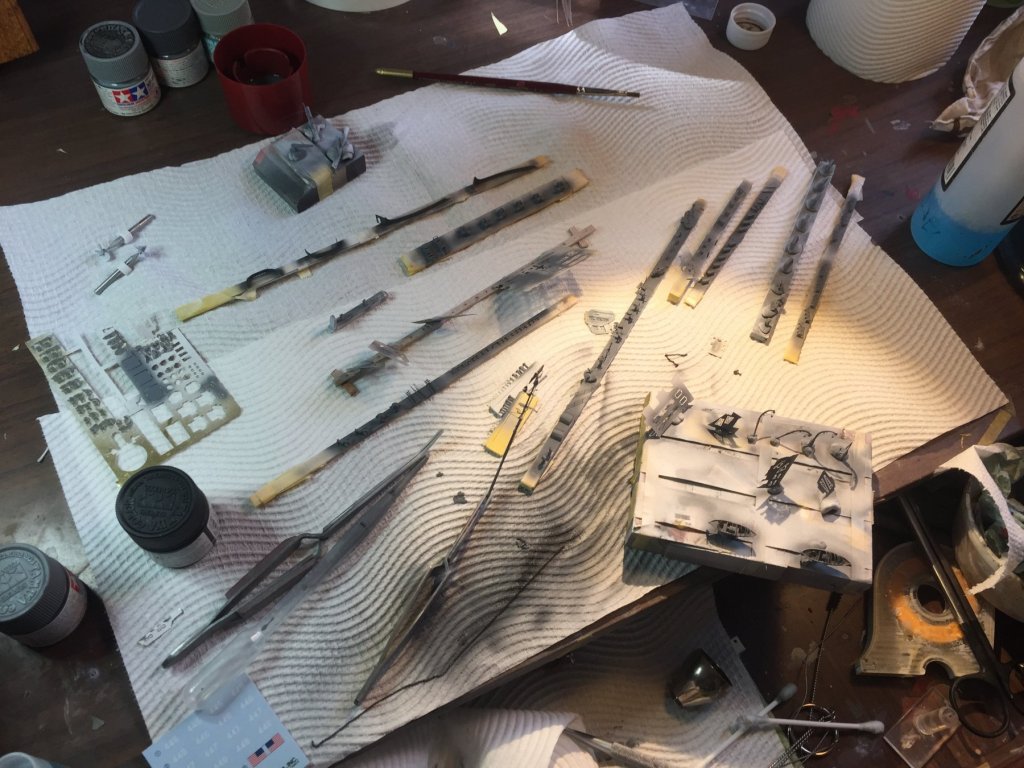 Tomorrow I’ll place the 445 decals on, then commence throwing everything on board.
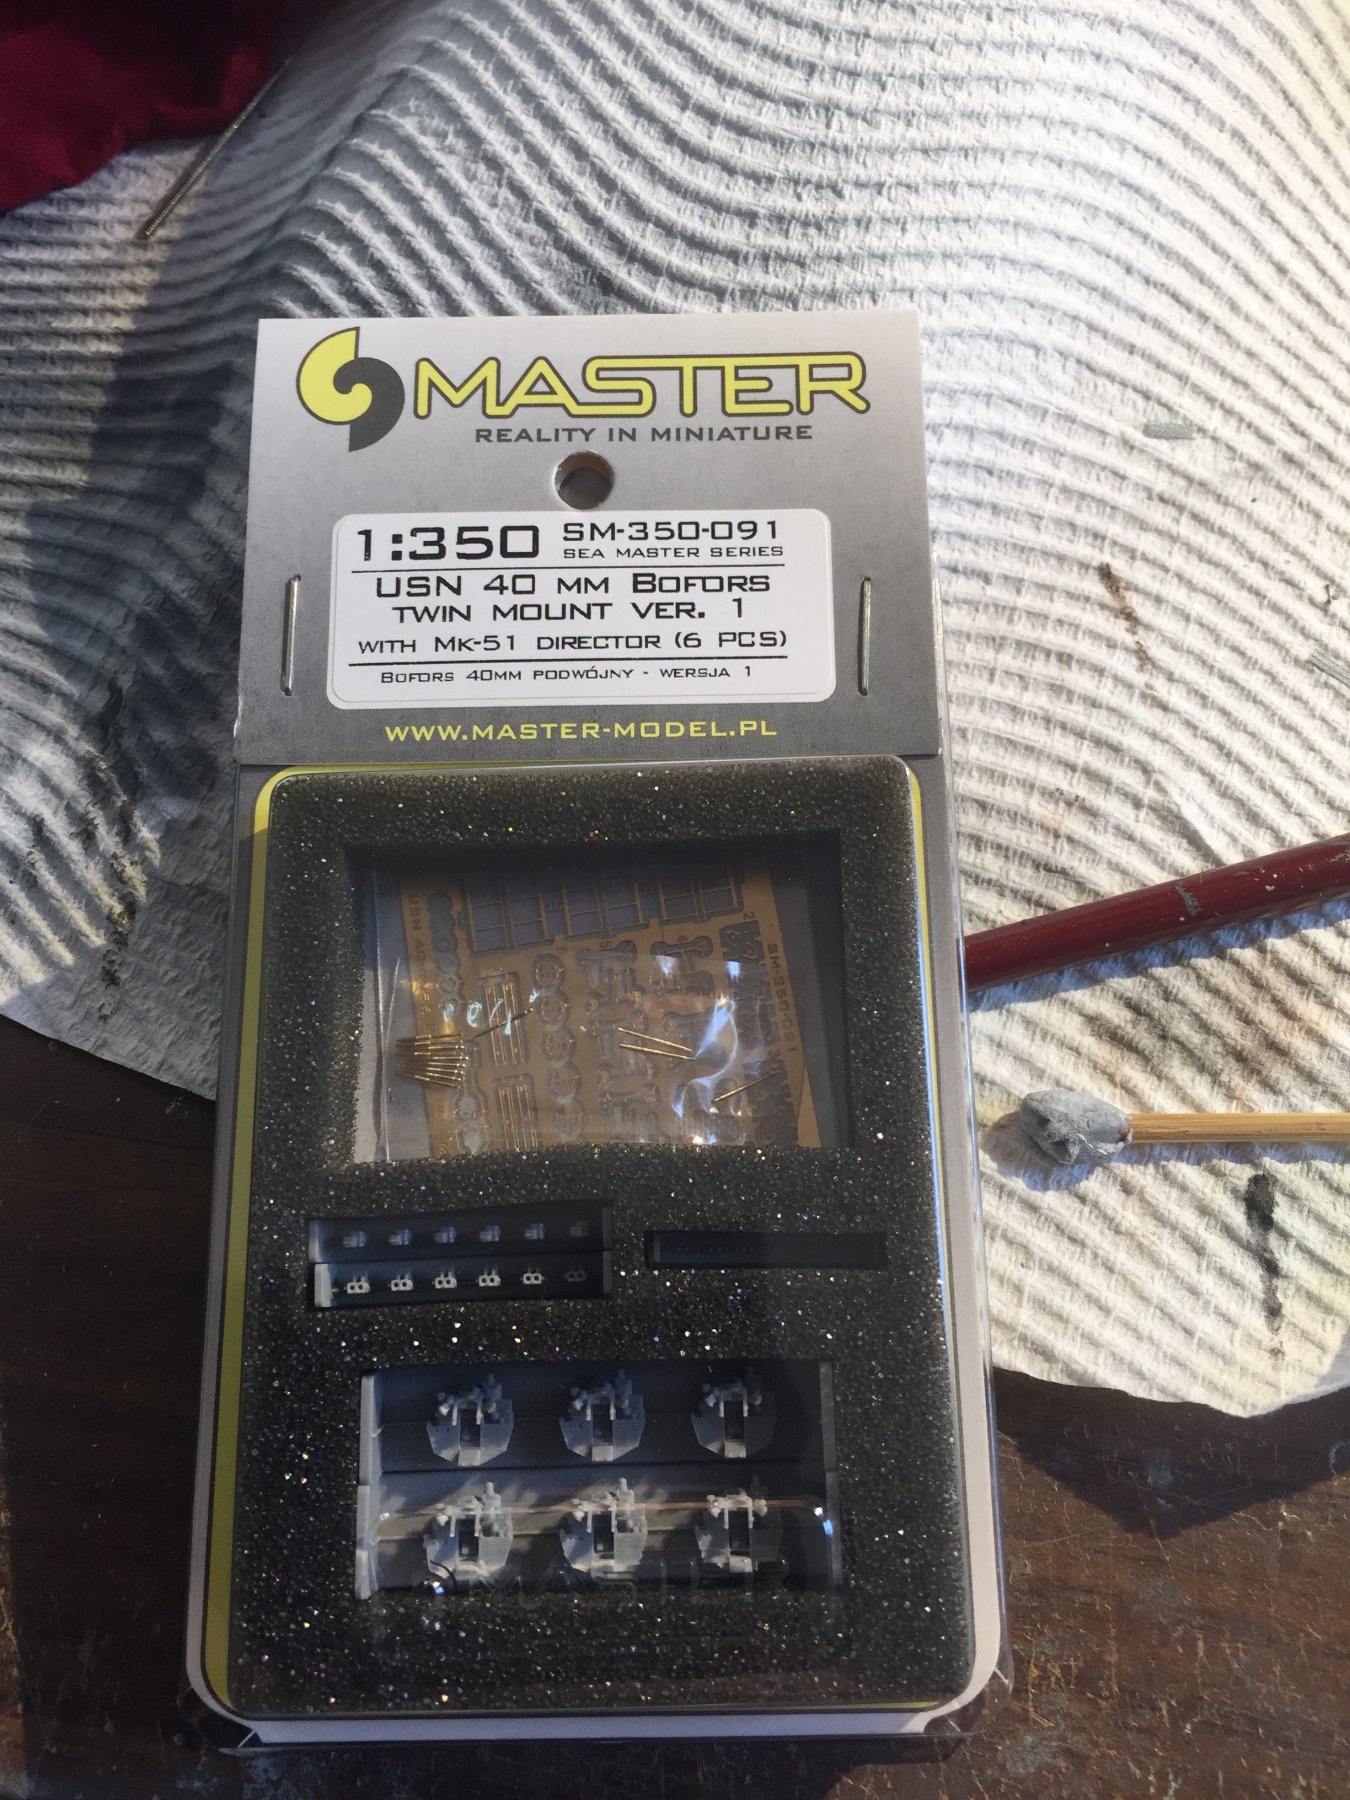
 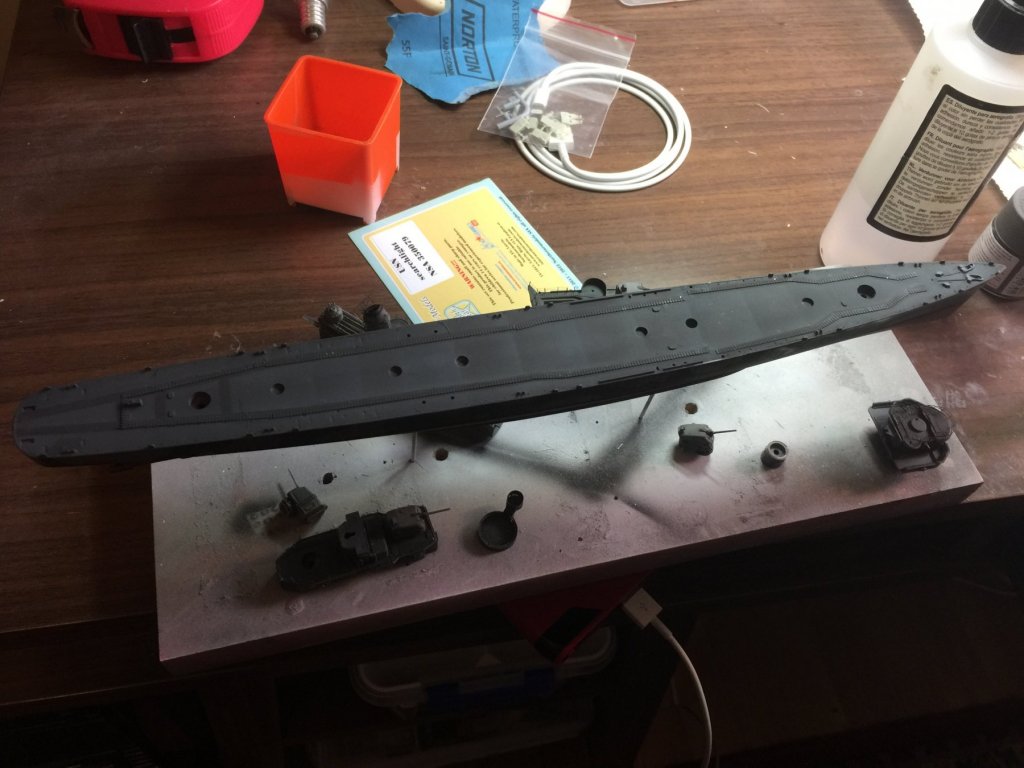 Should come together quickly now I expect. I completely stuffed the borfors and had to order another one.
-
Or we’re too stubborn to stop....
- popeye the sailor, mtaylor, hexnut and 3 others
-
6


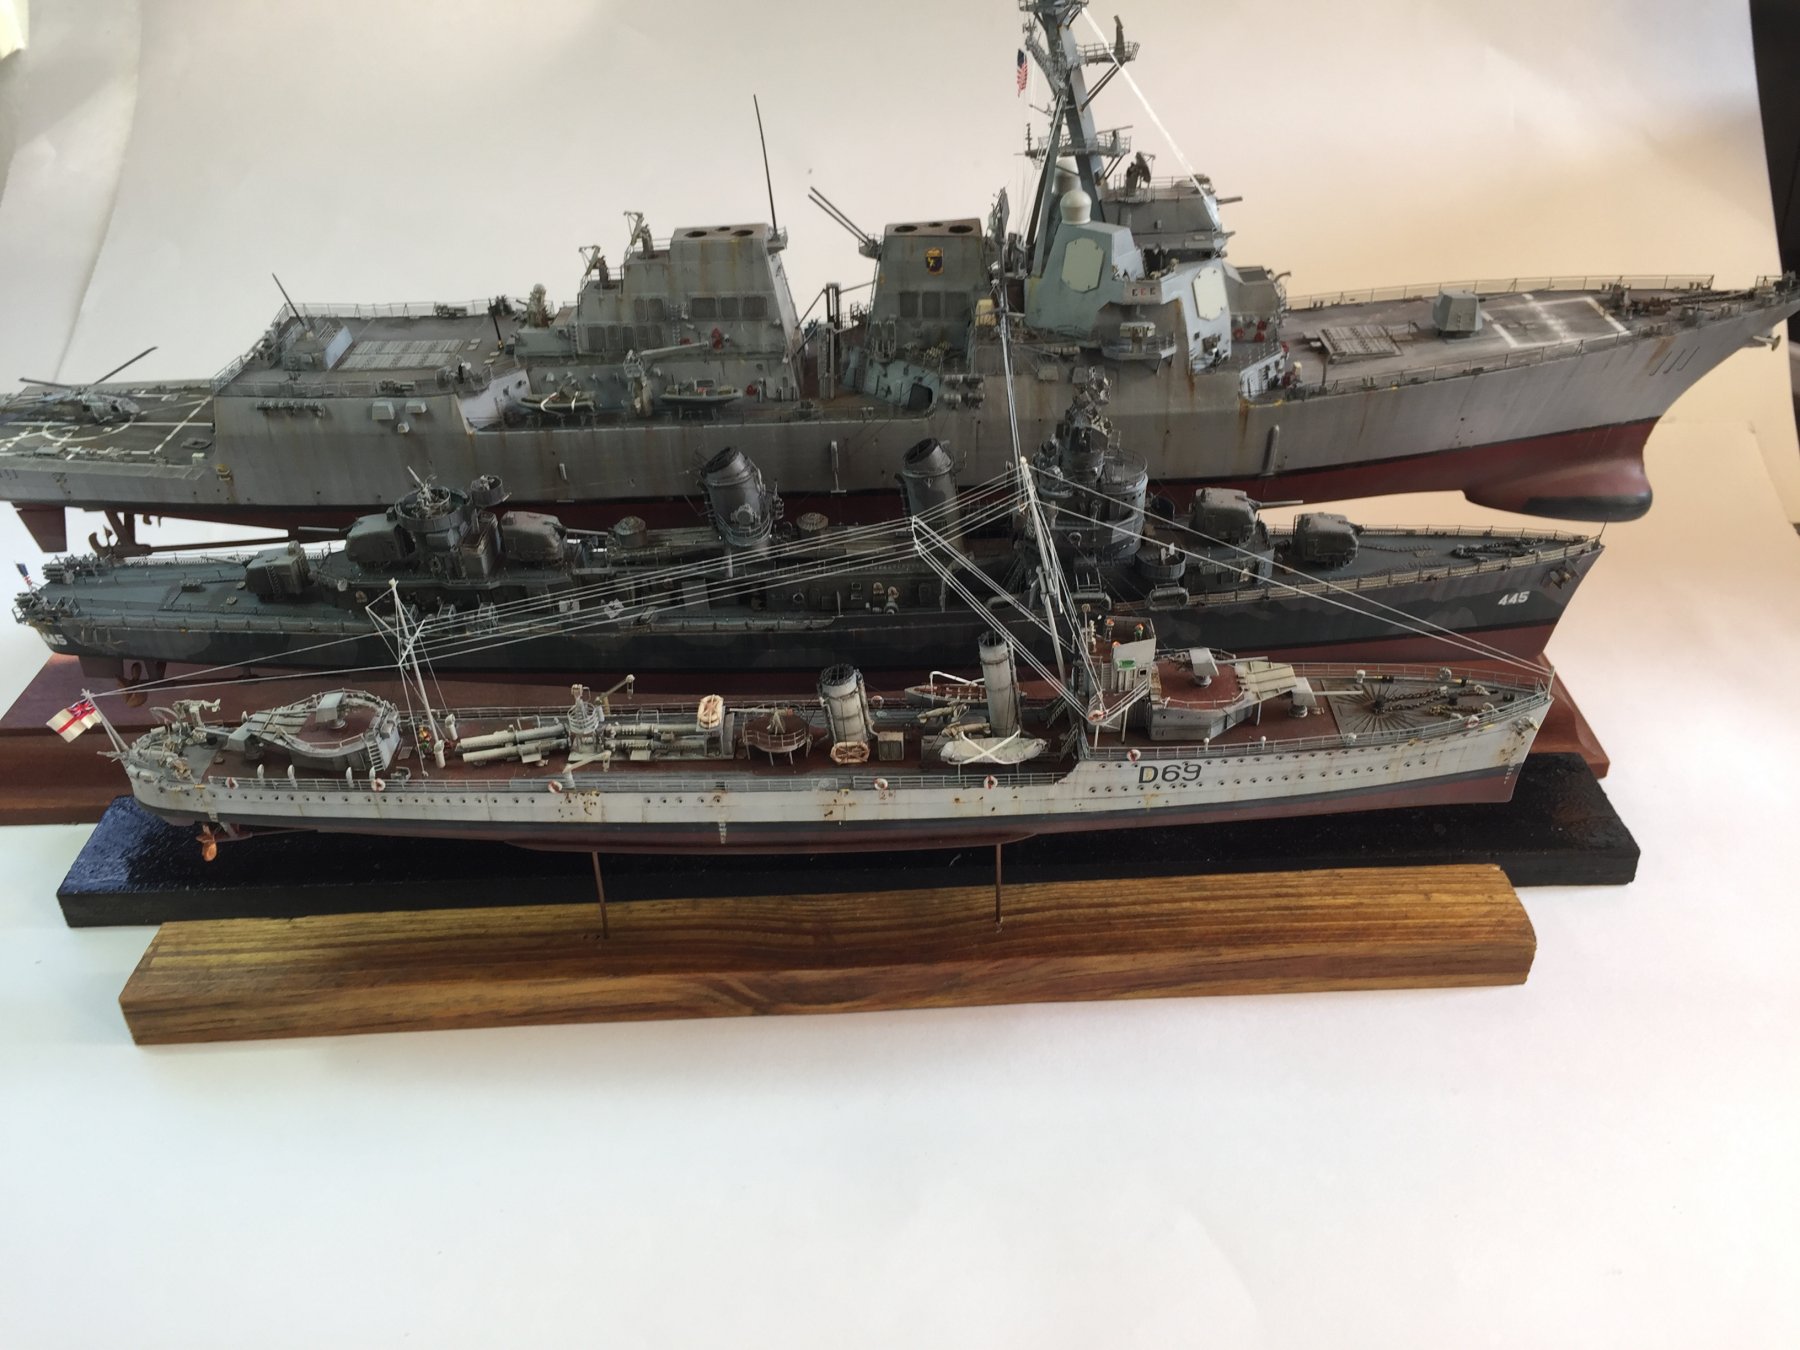
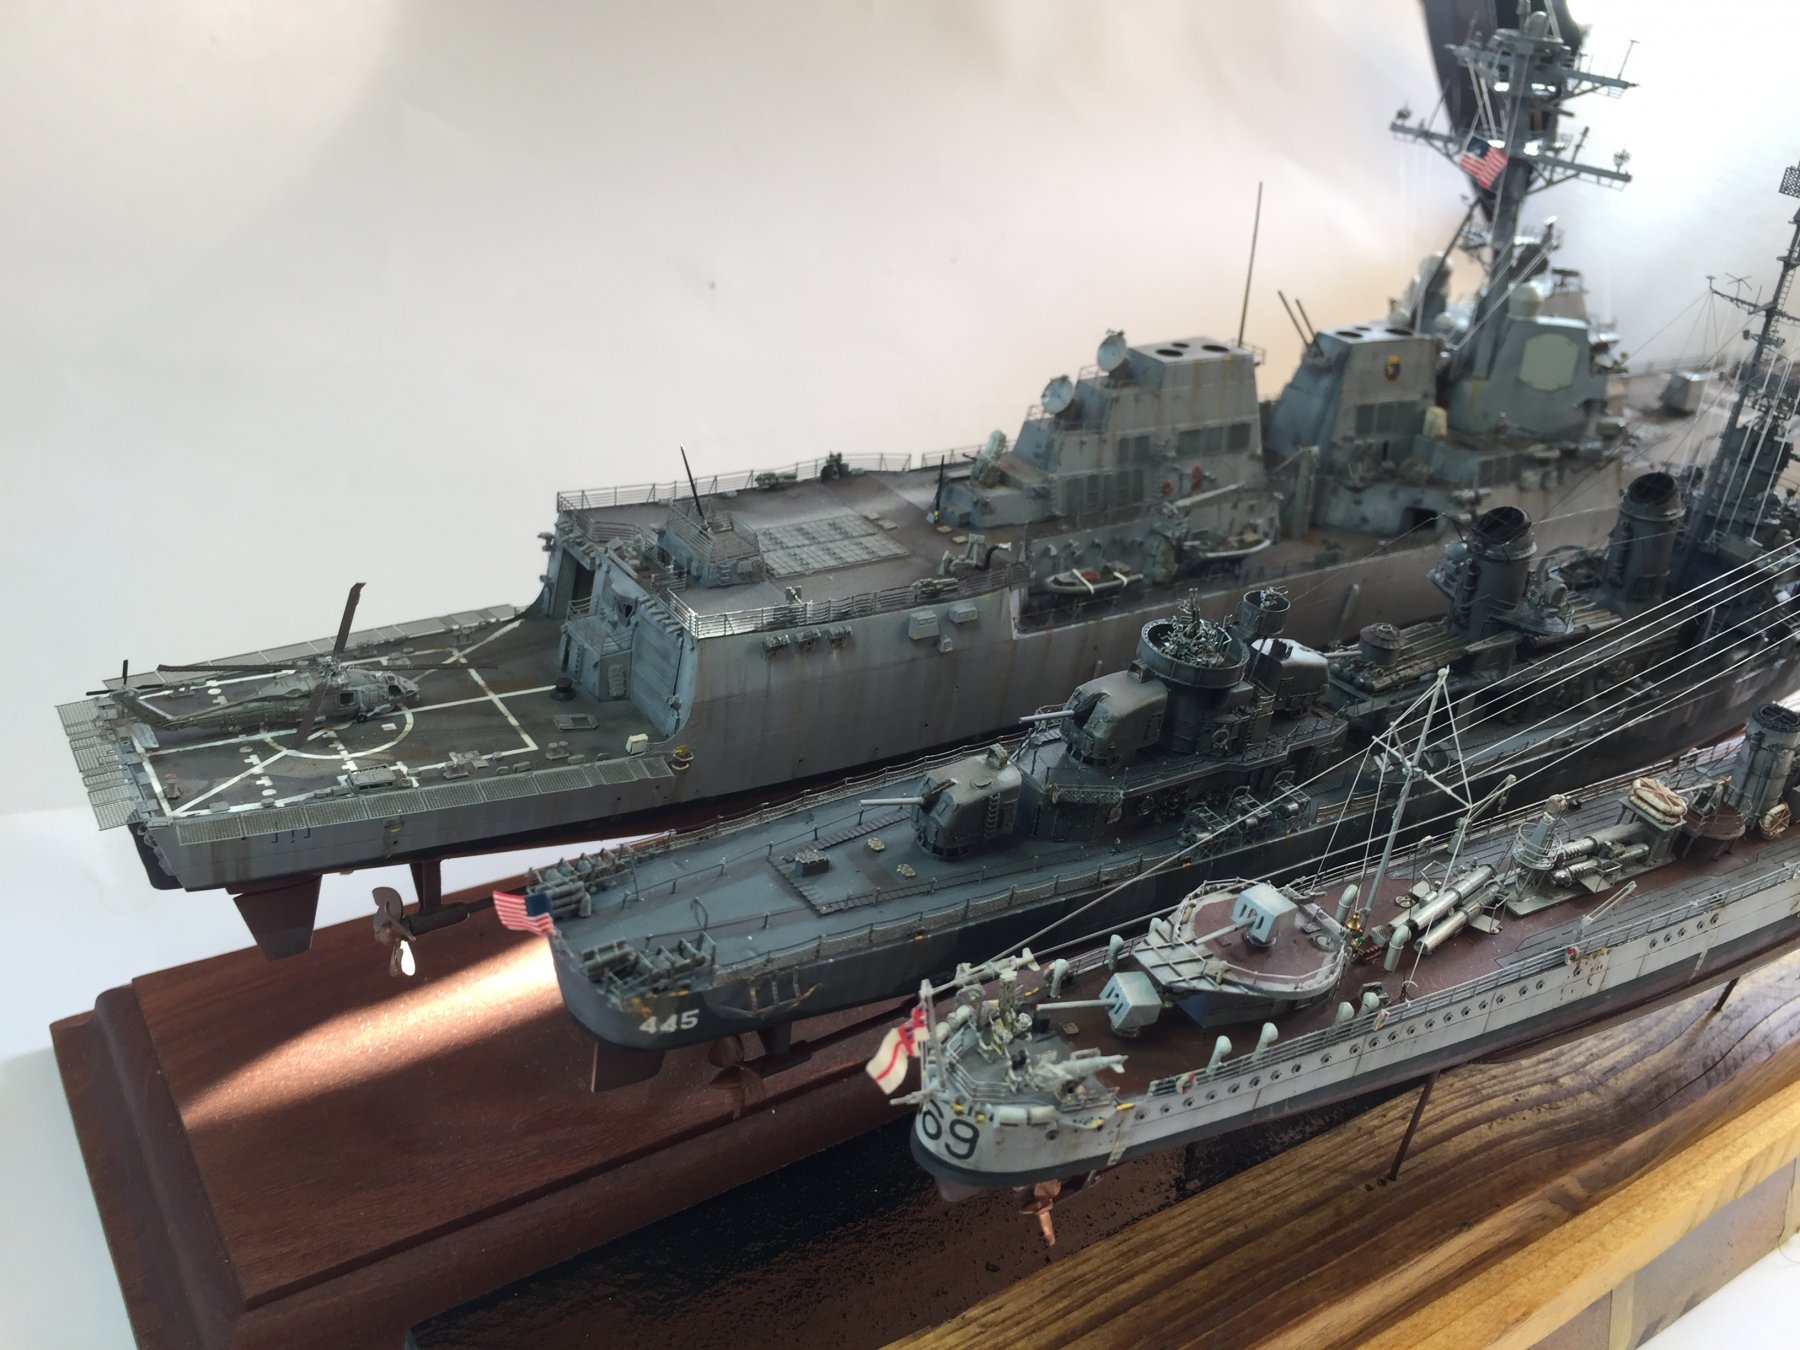
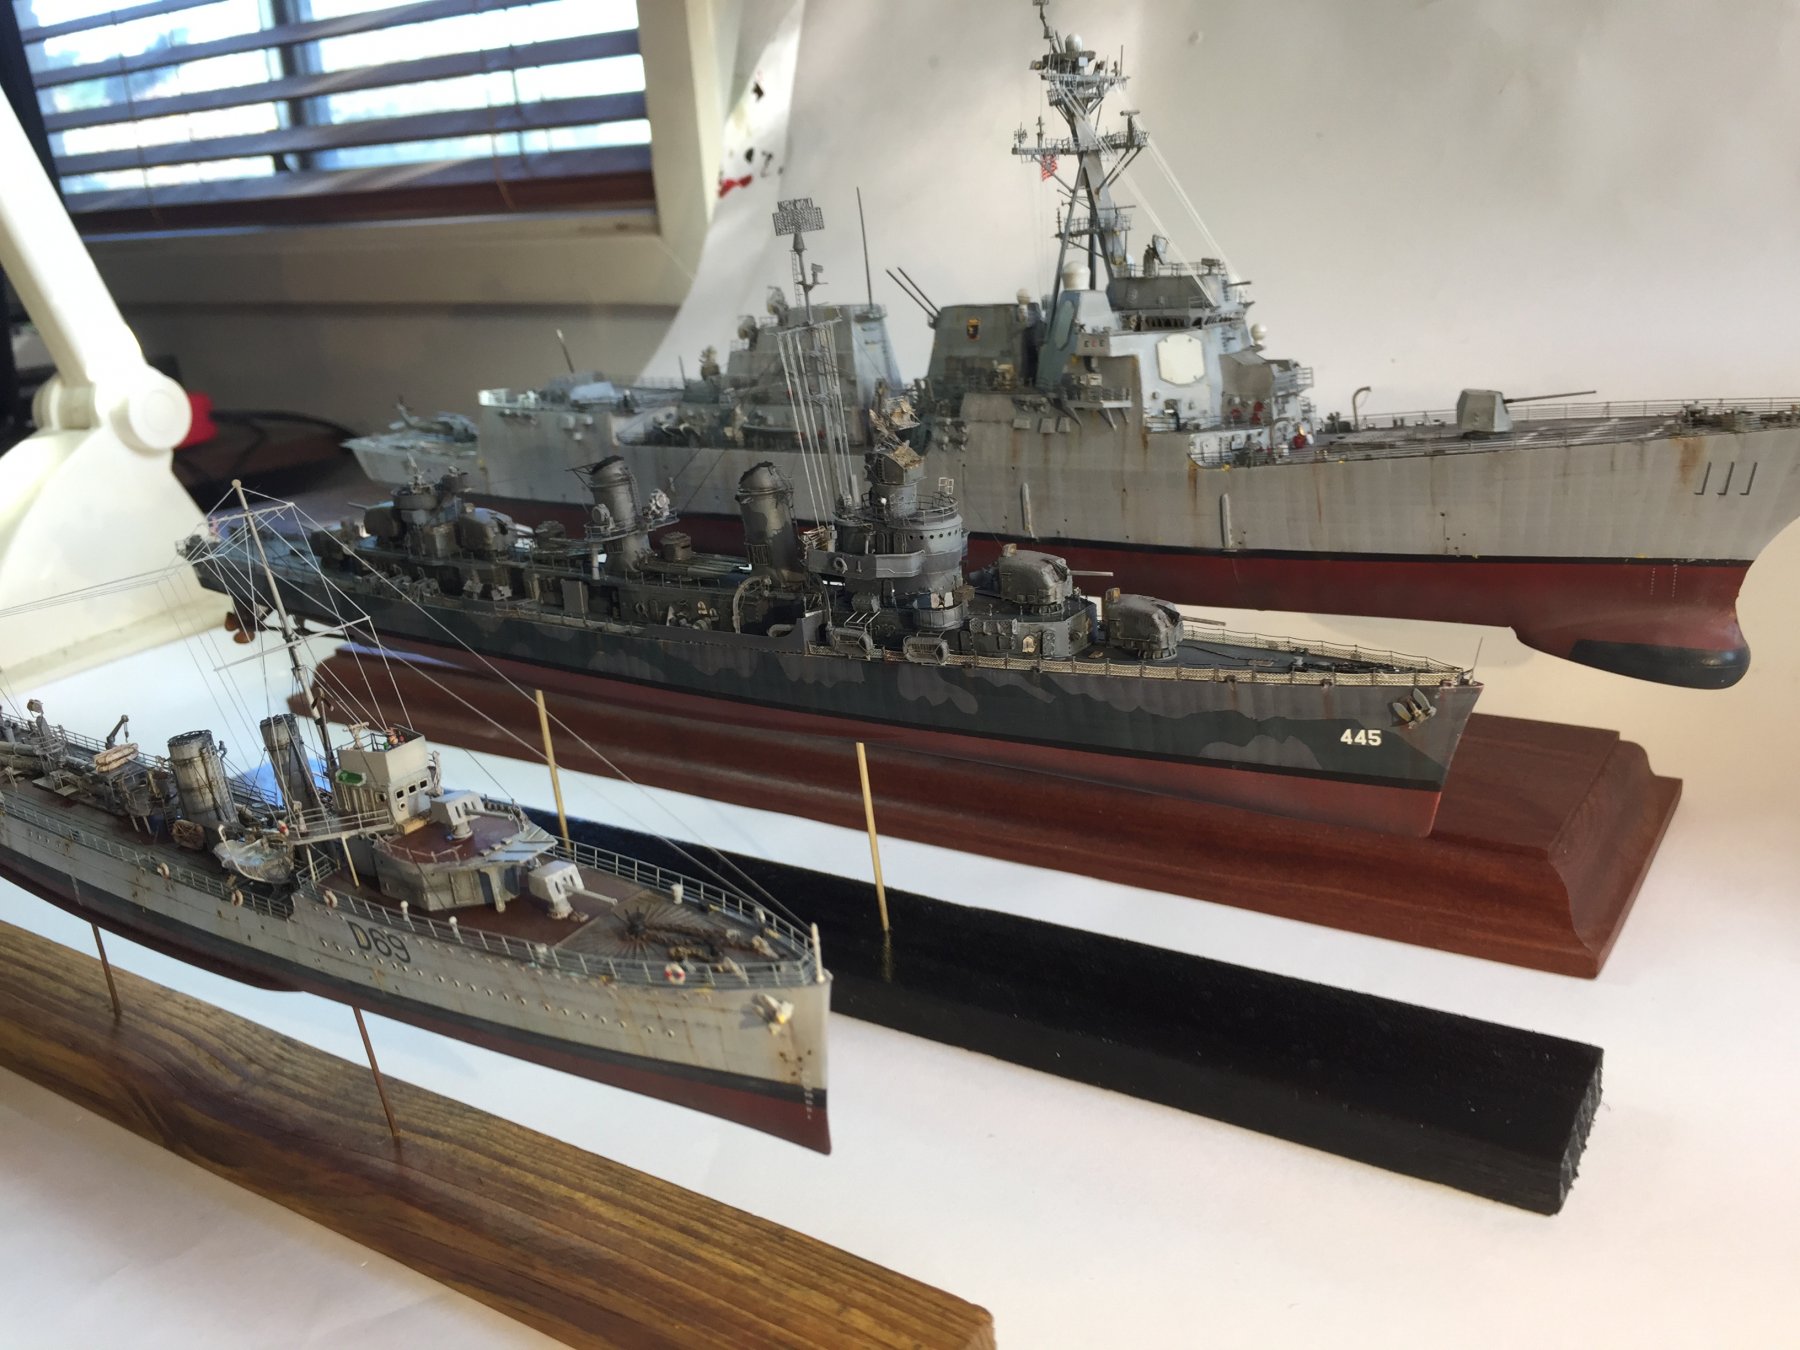
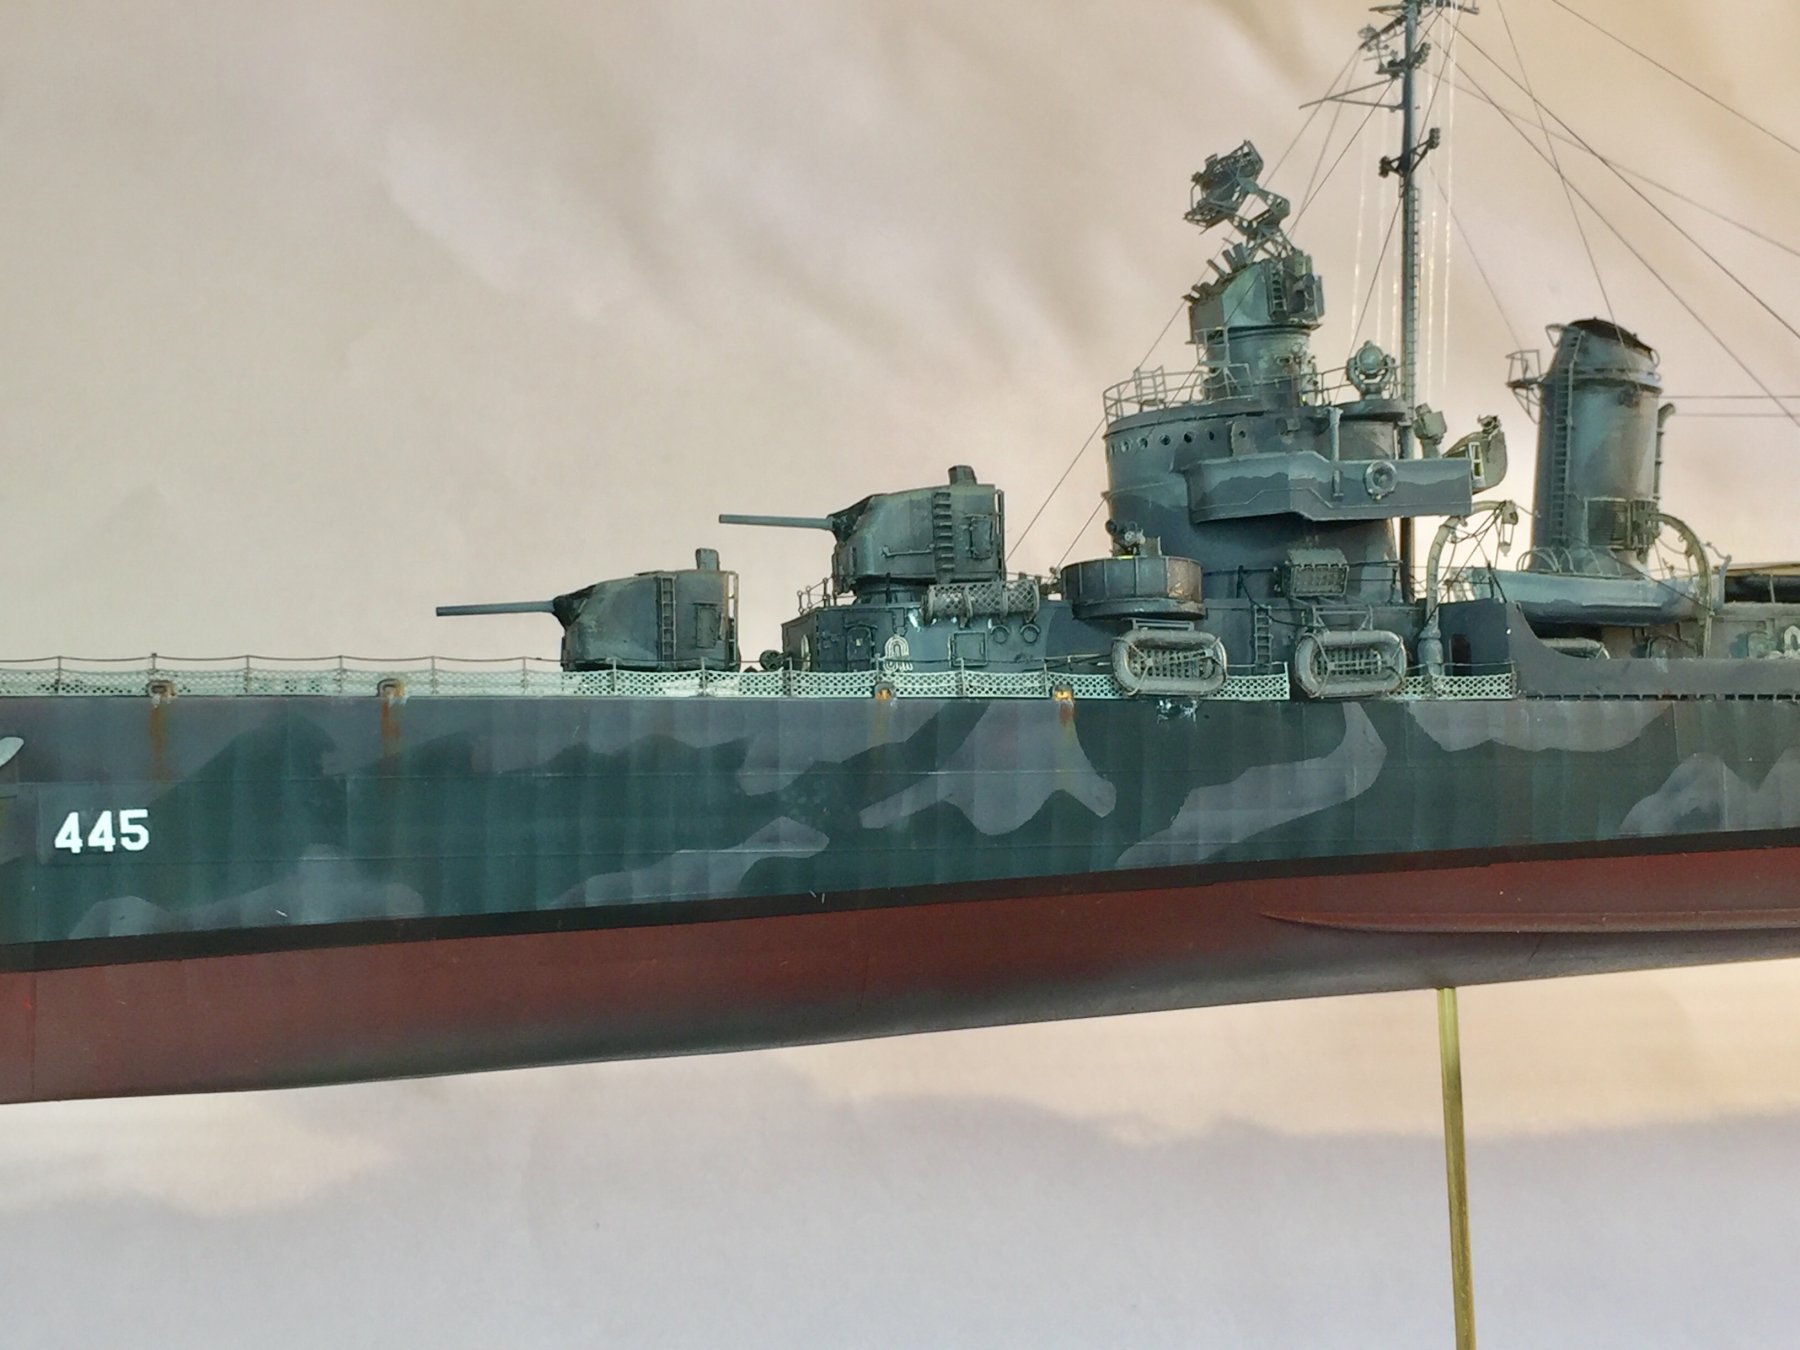
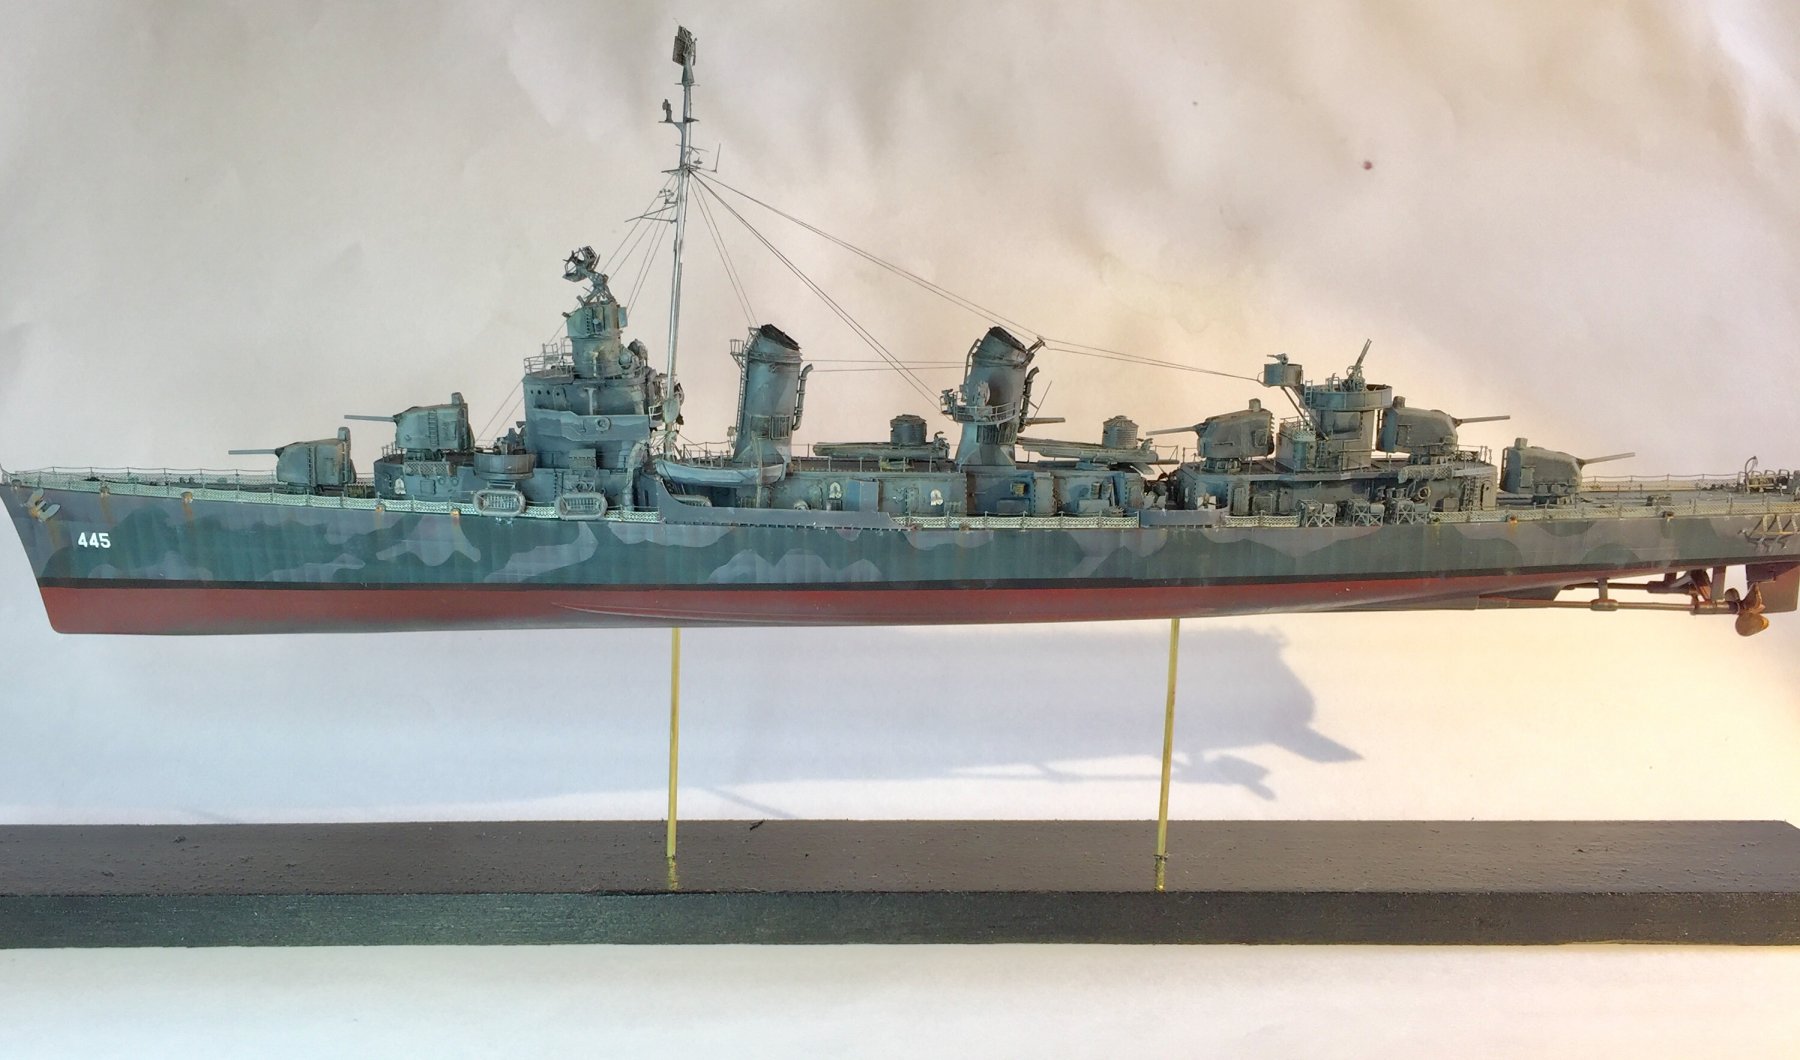
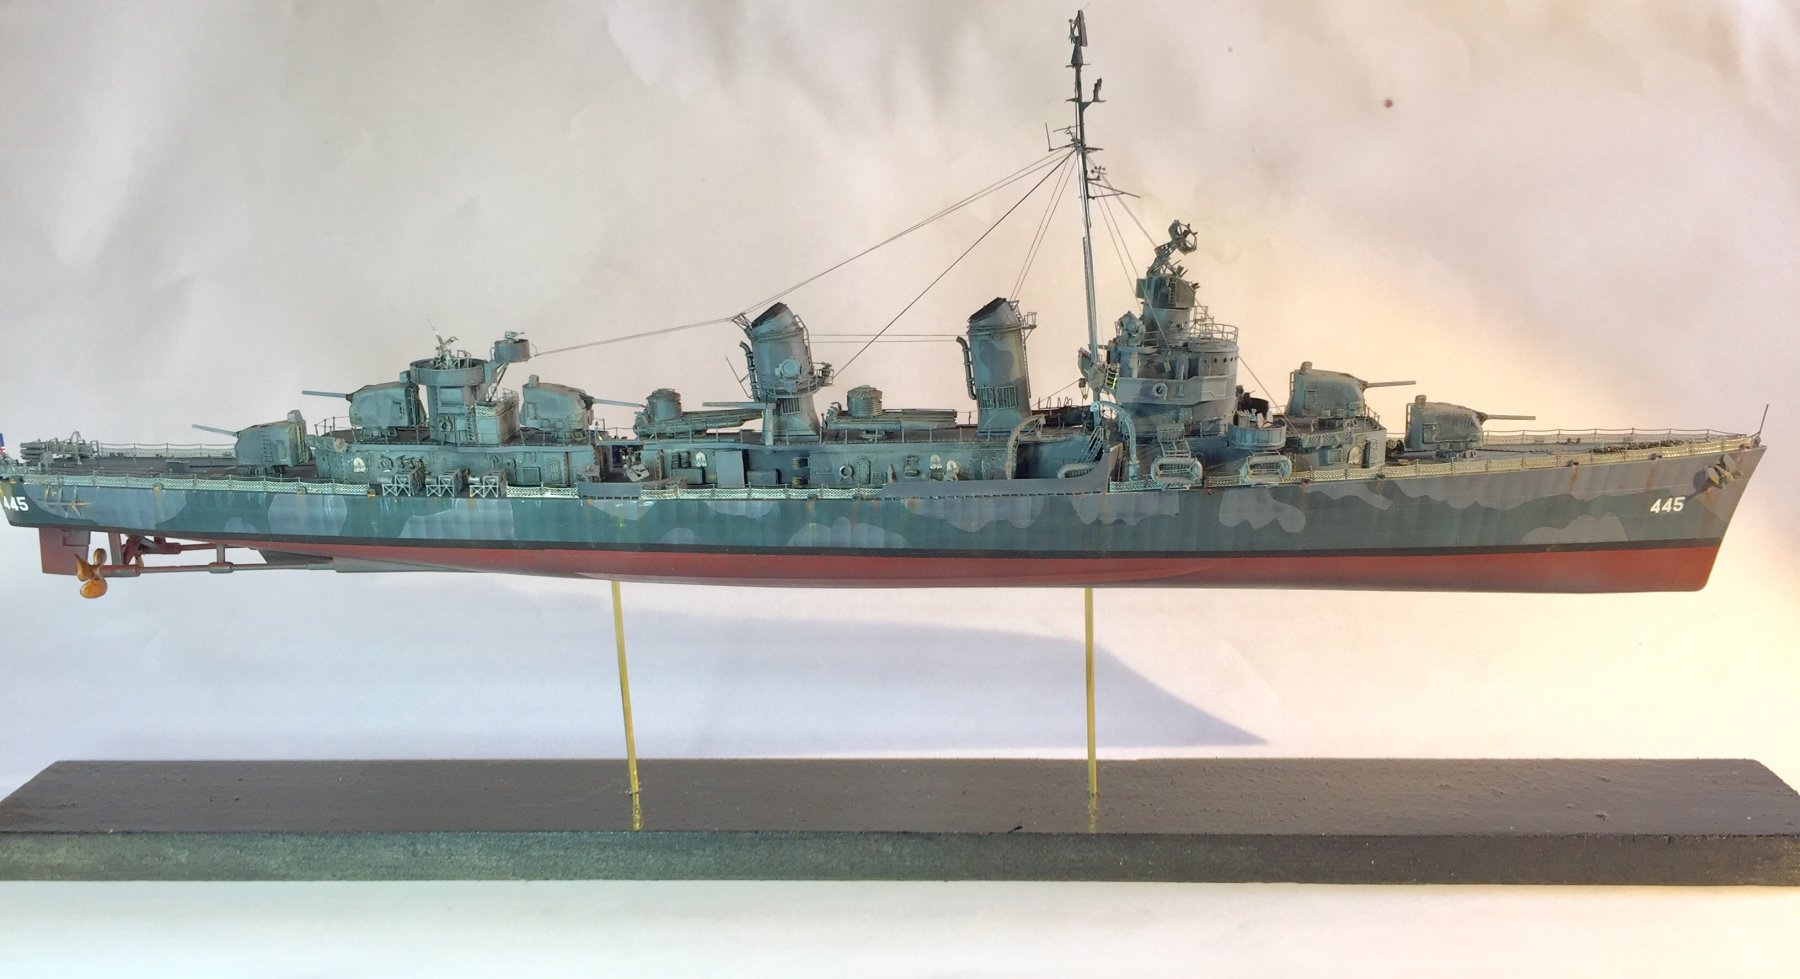
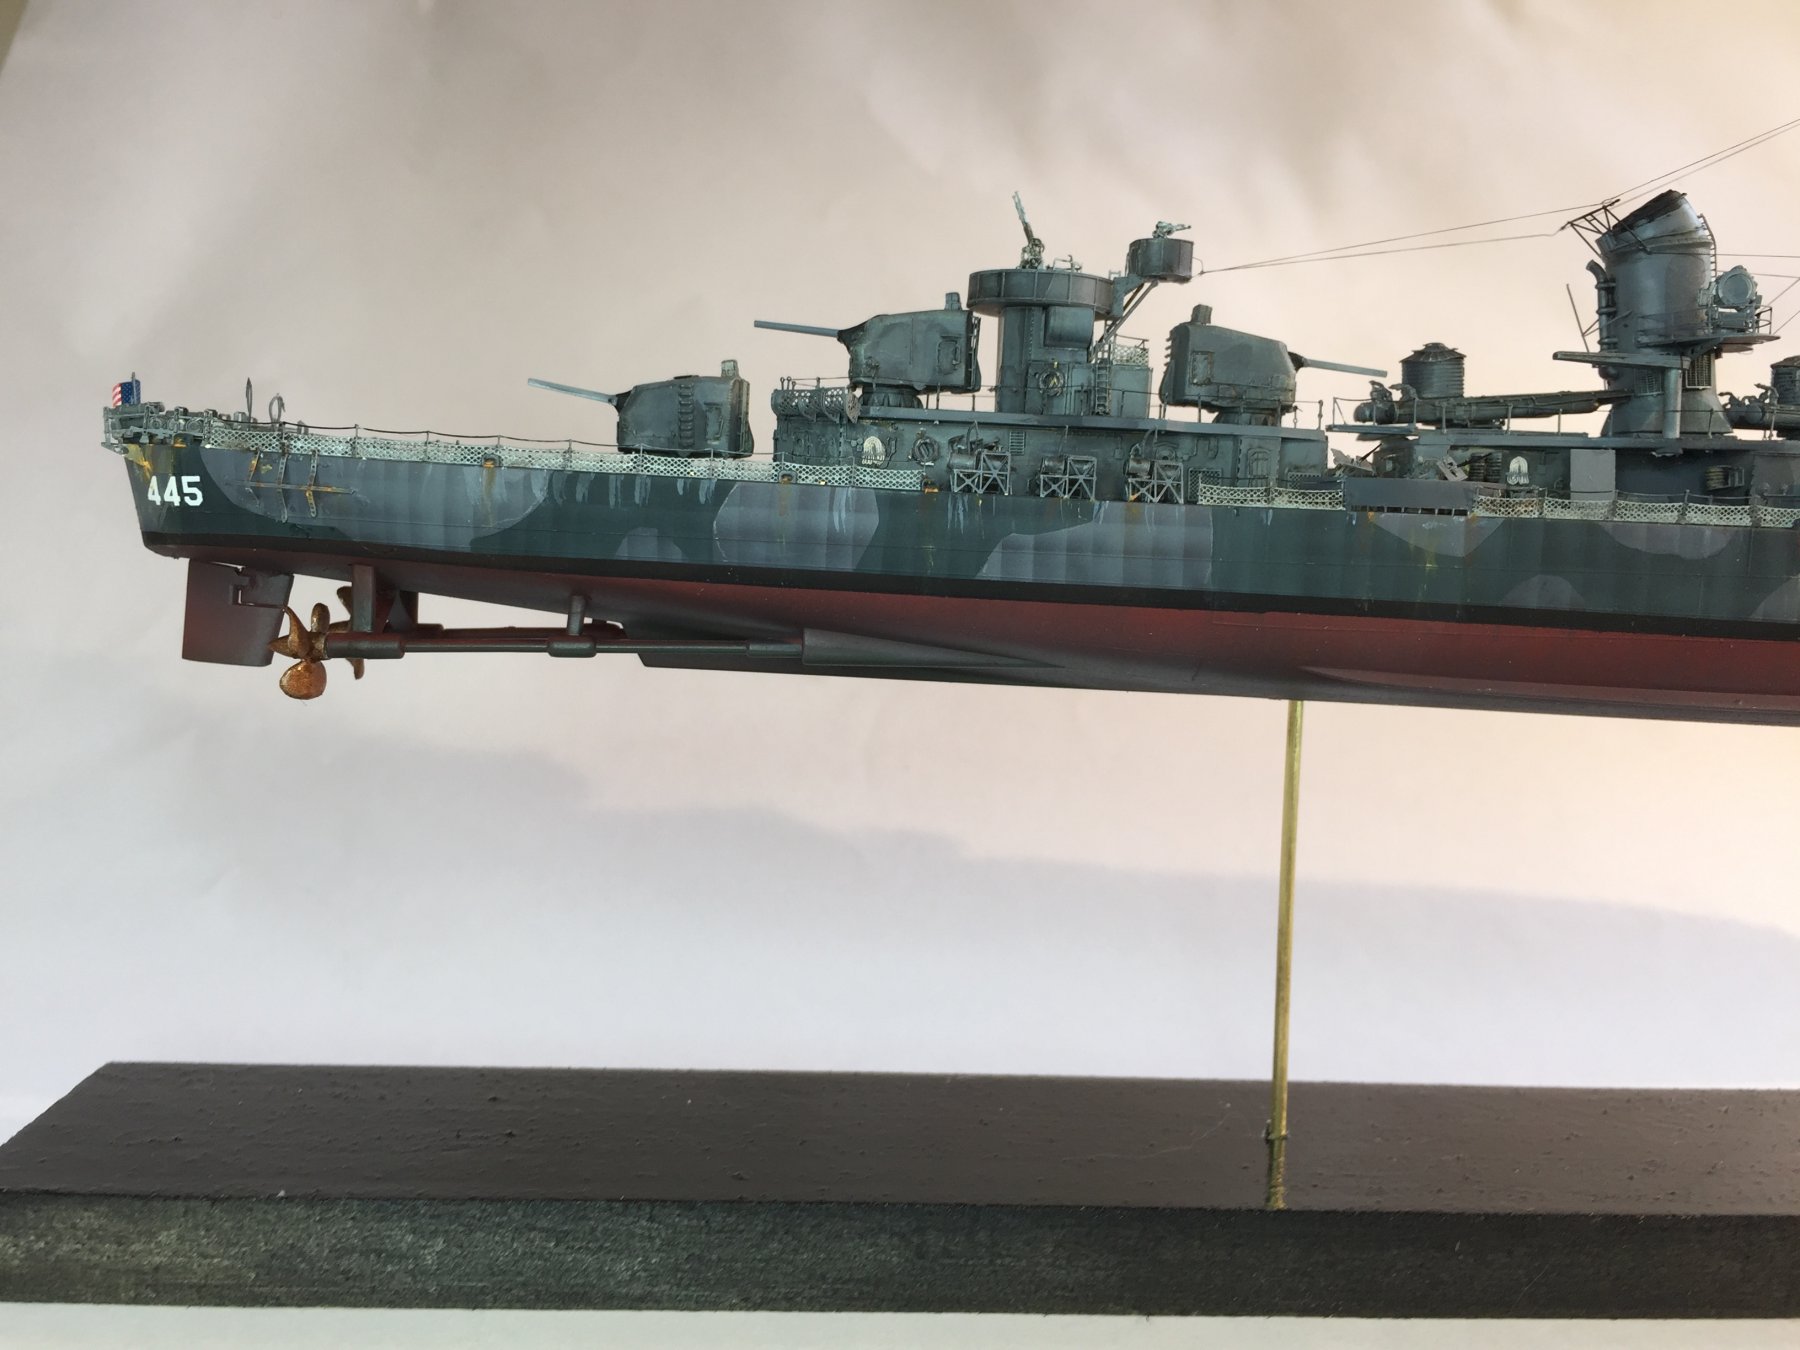
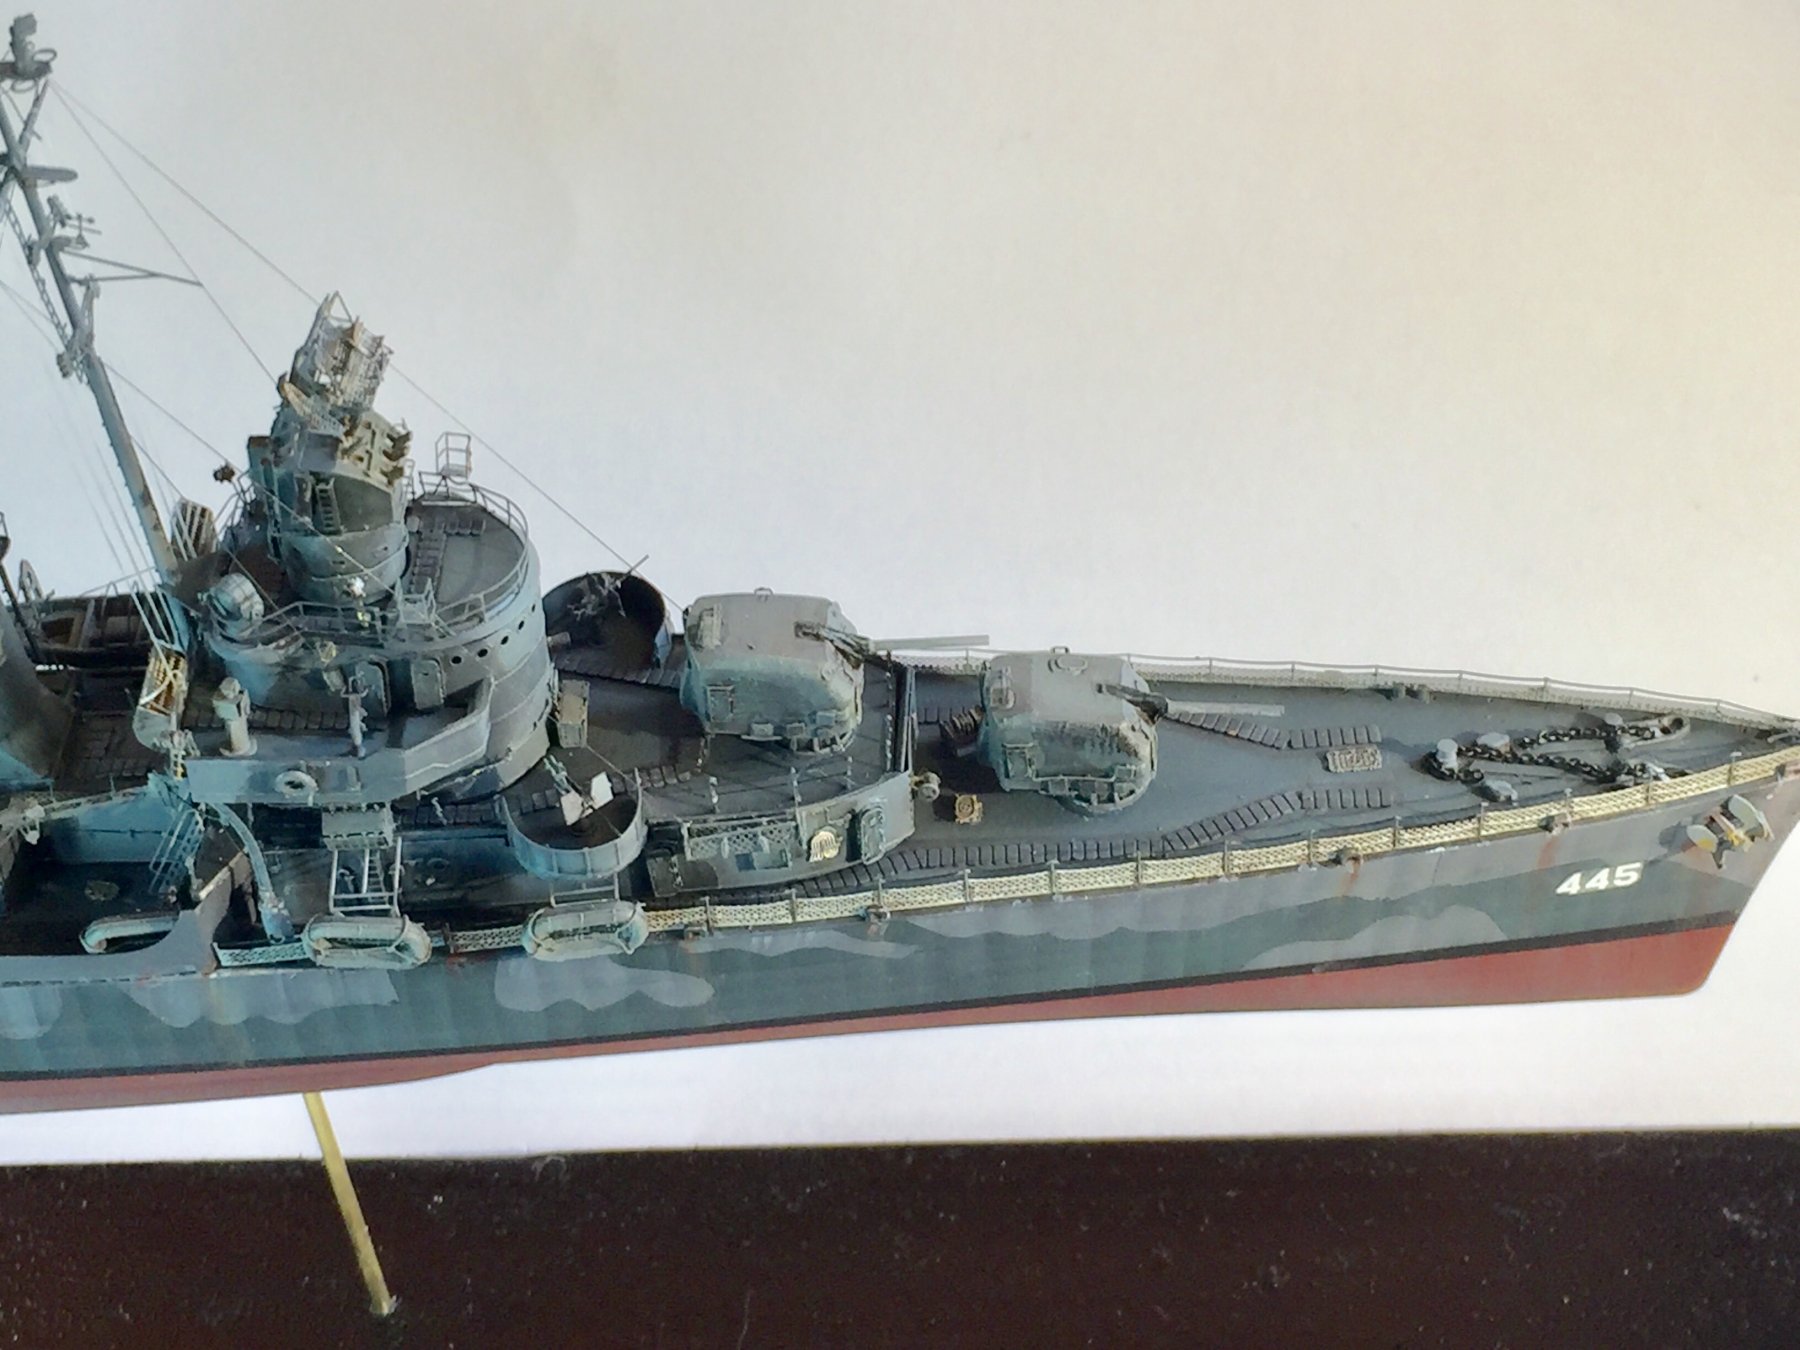
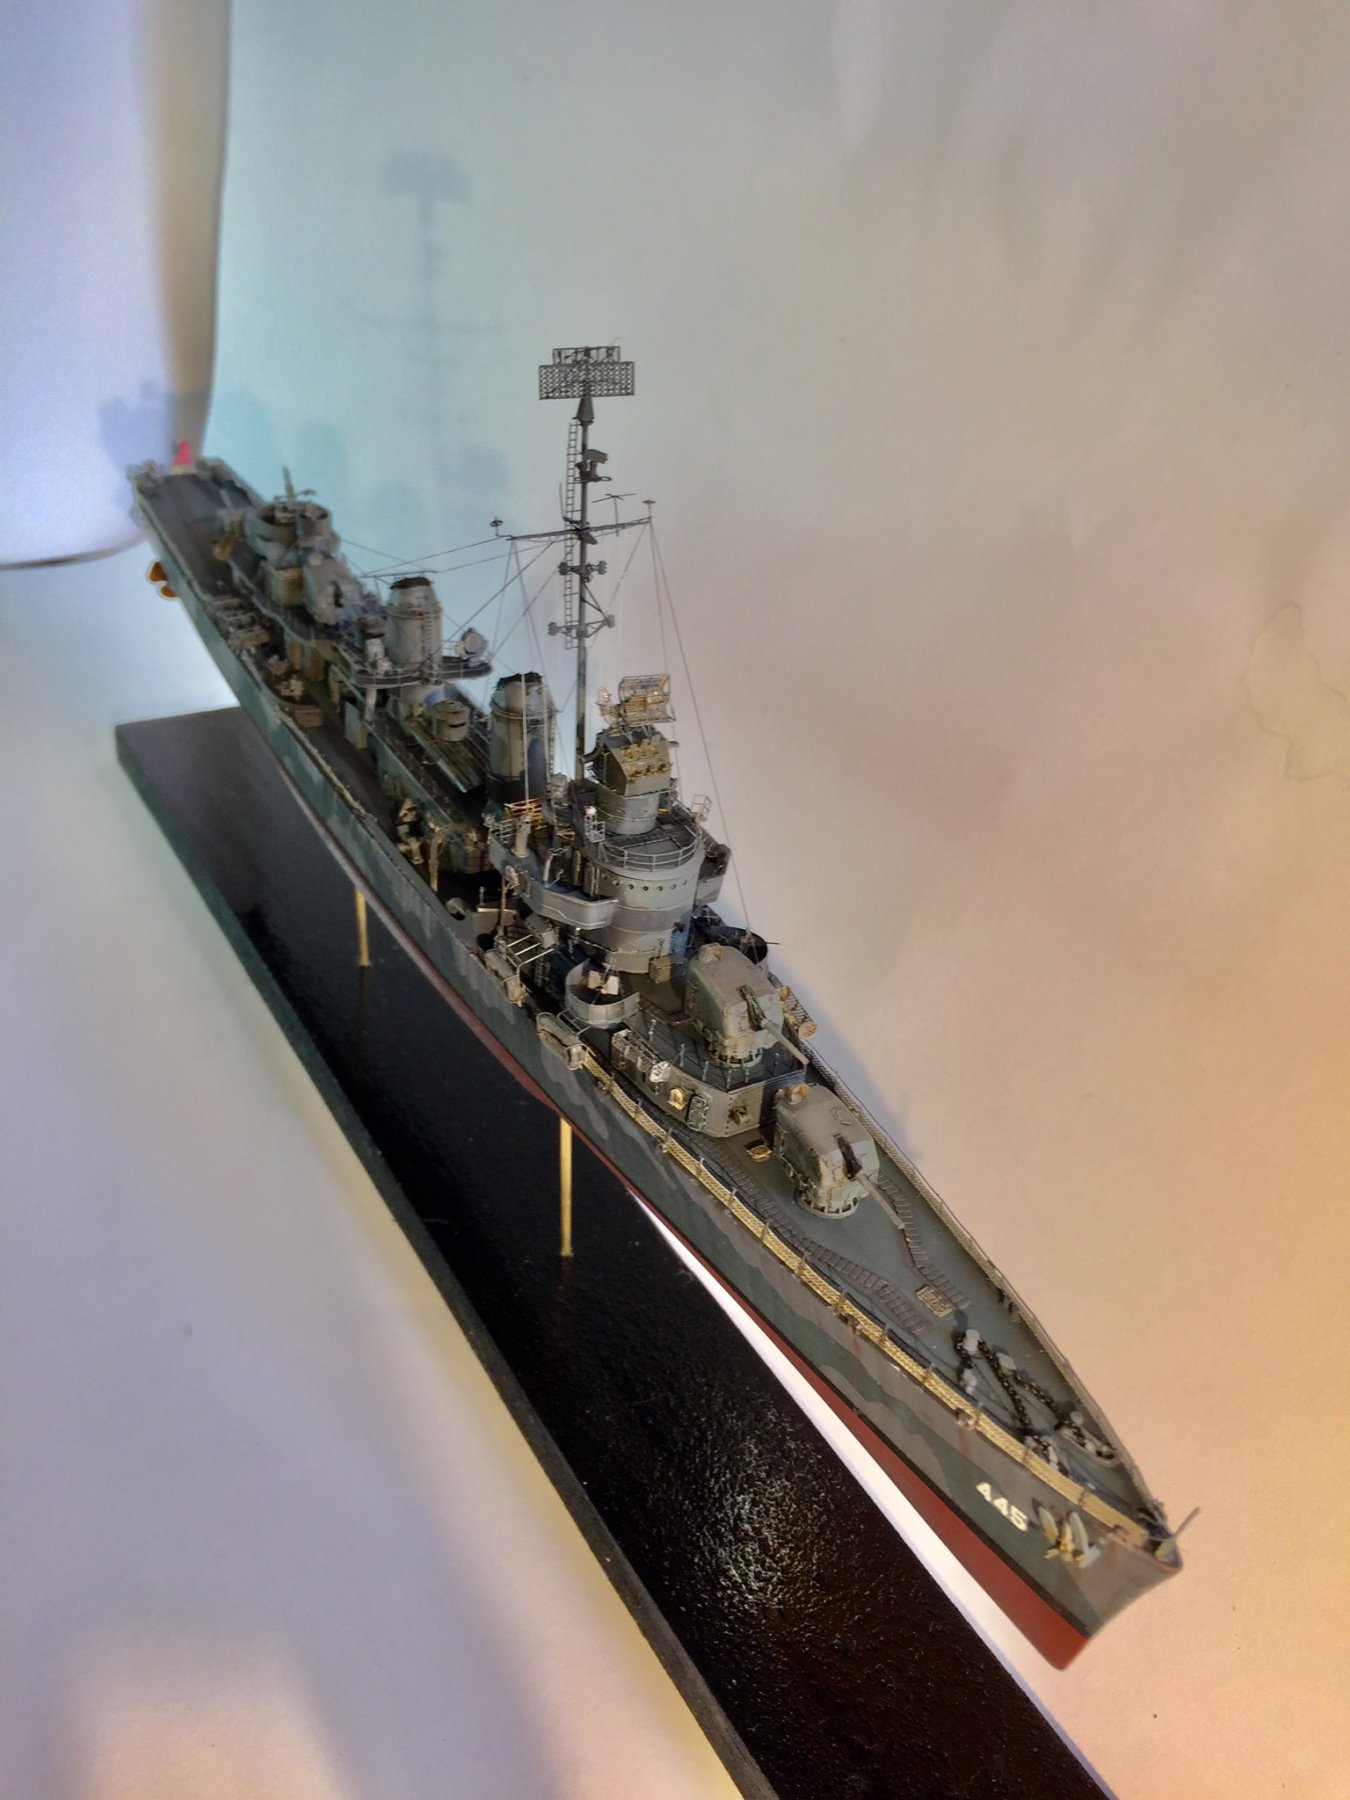

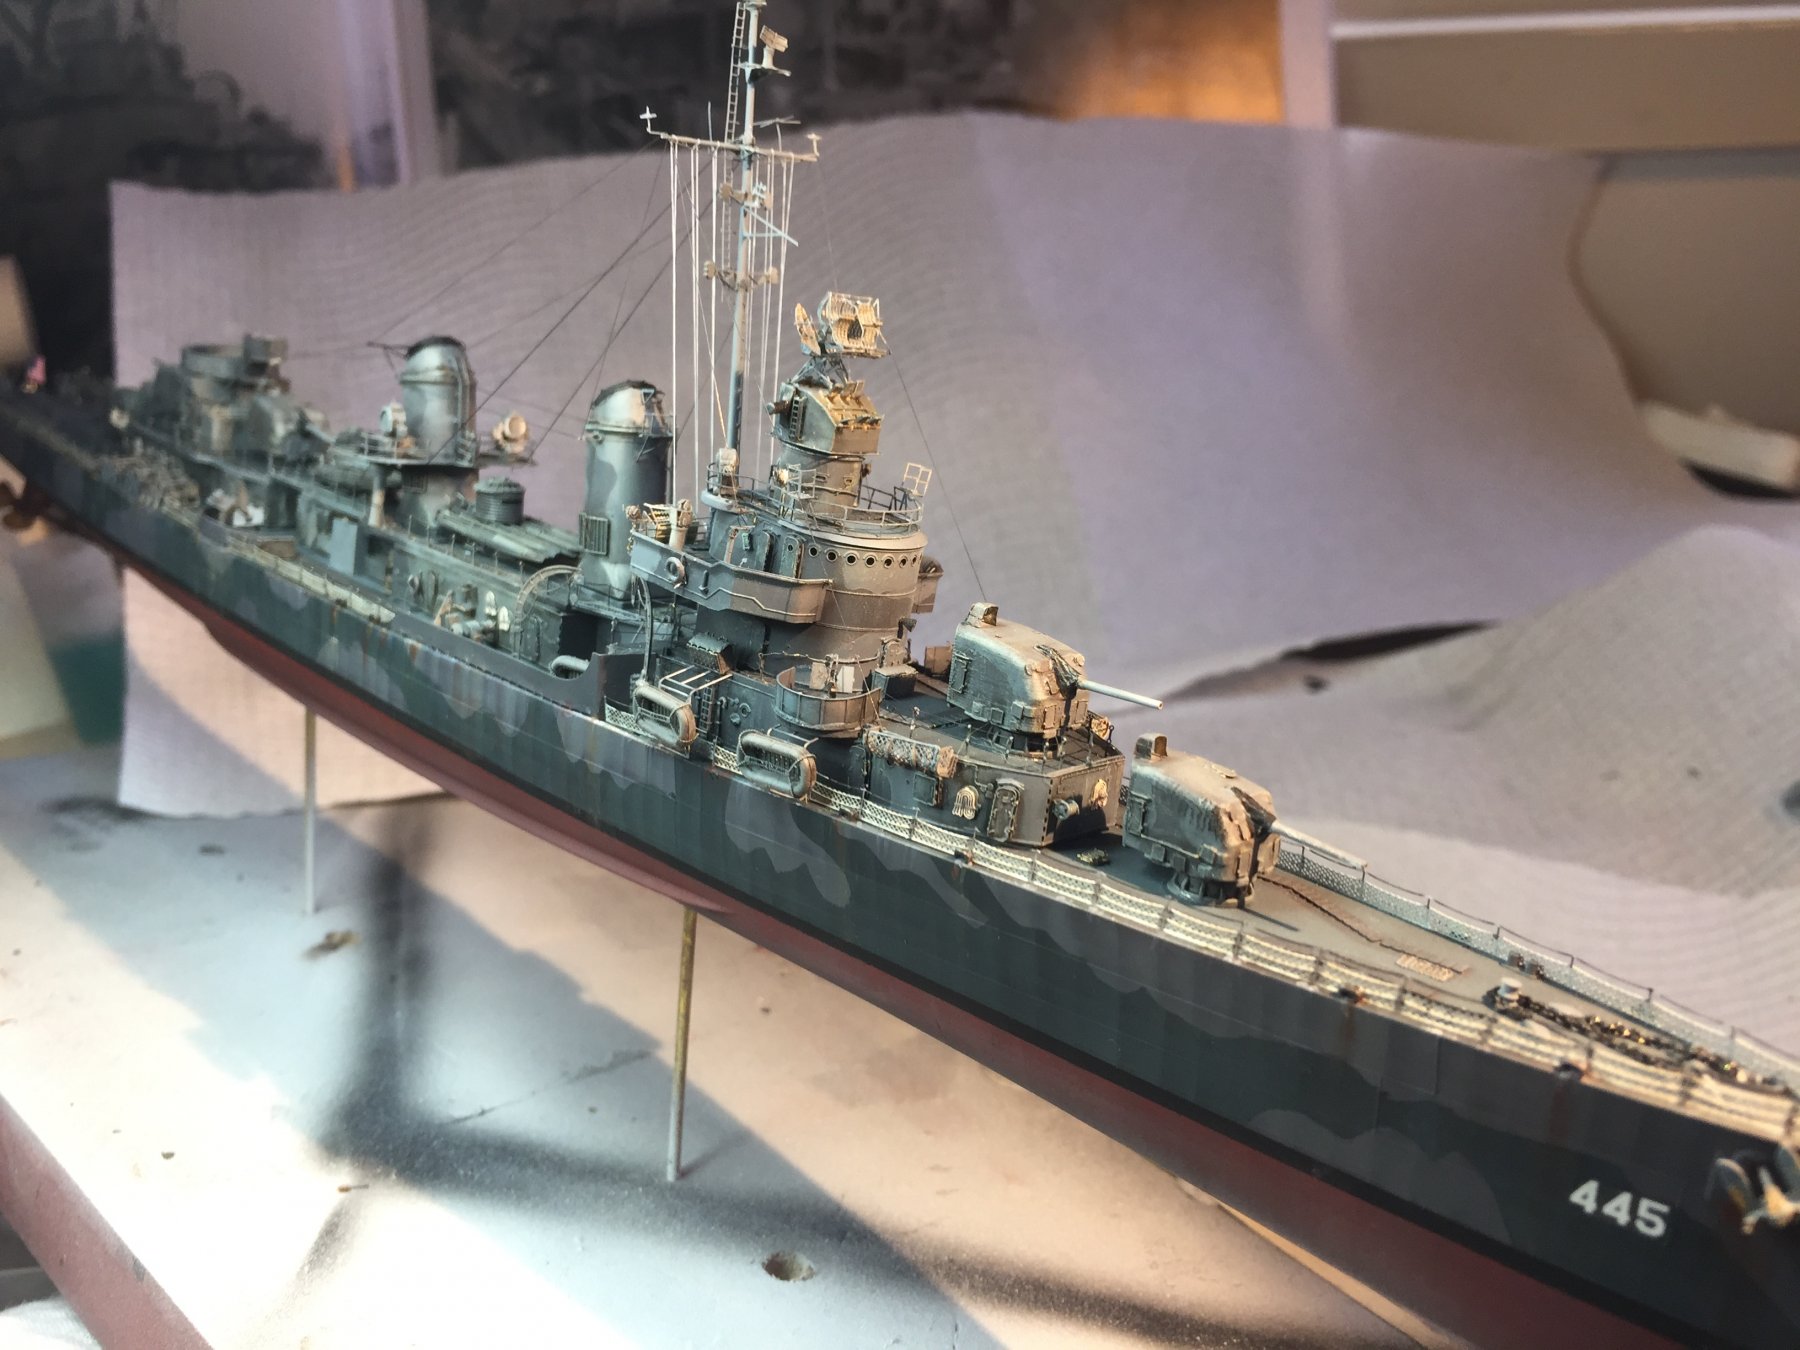
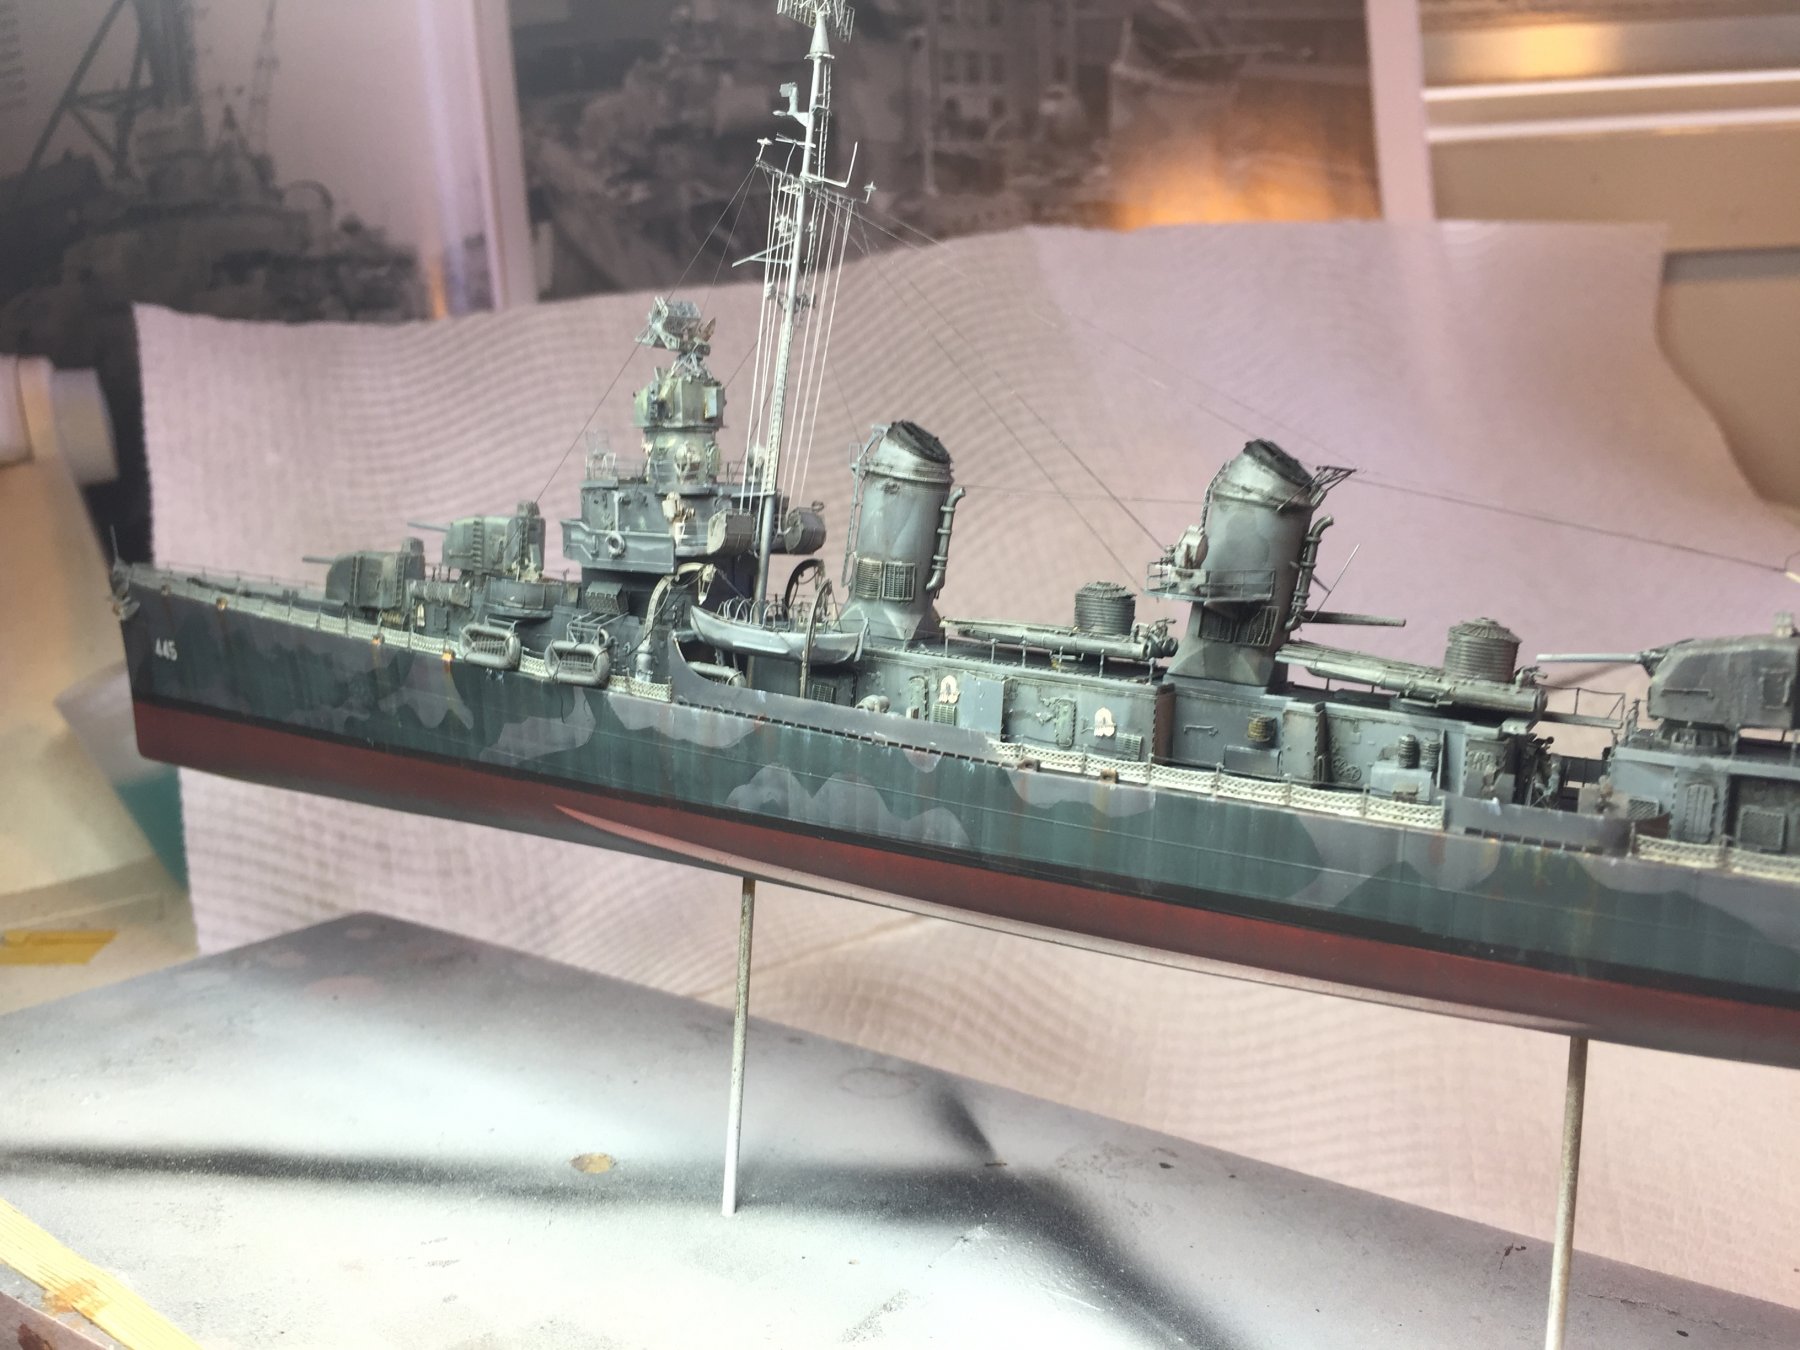

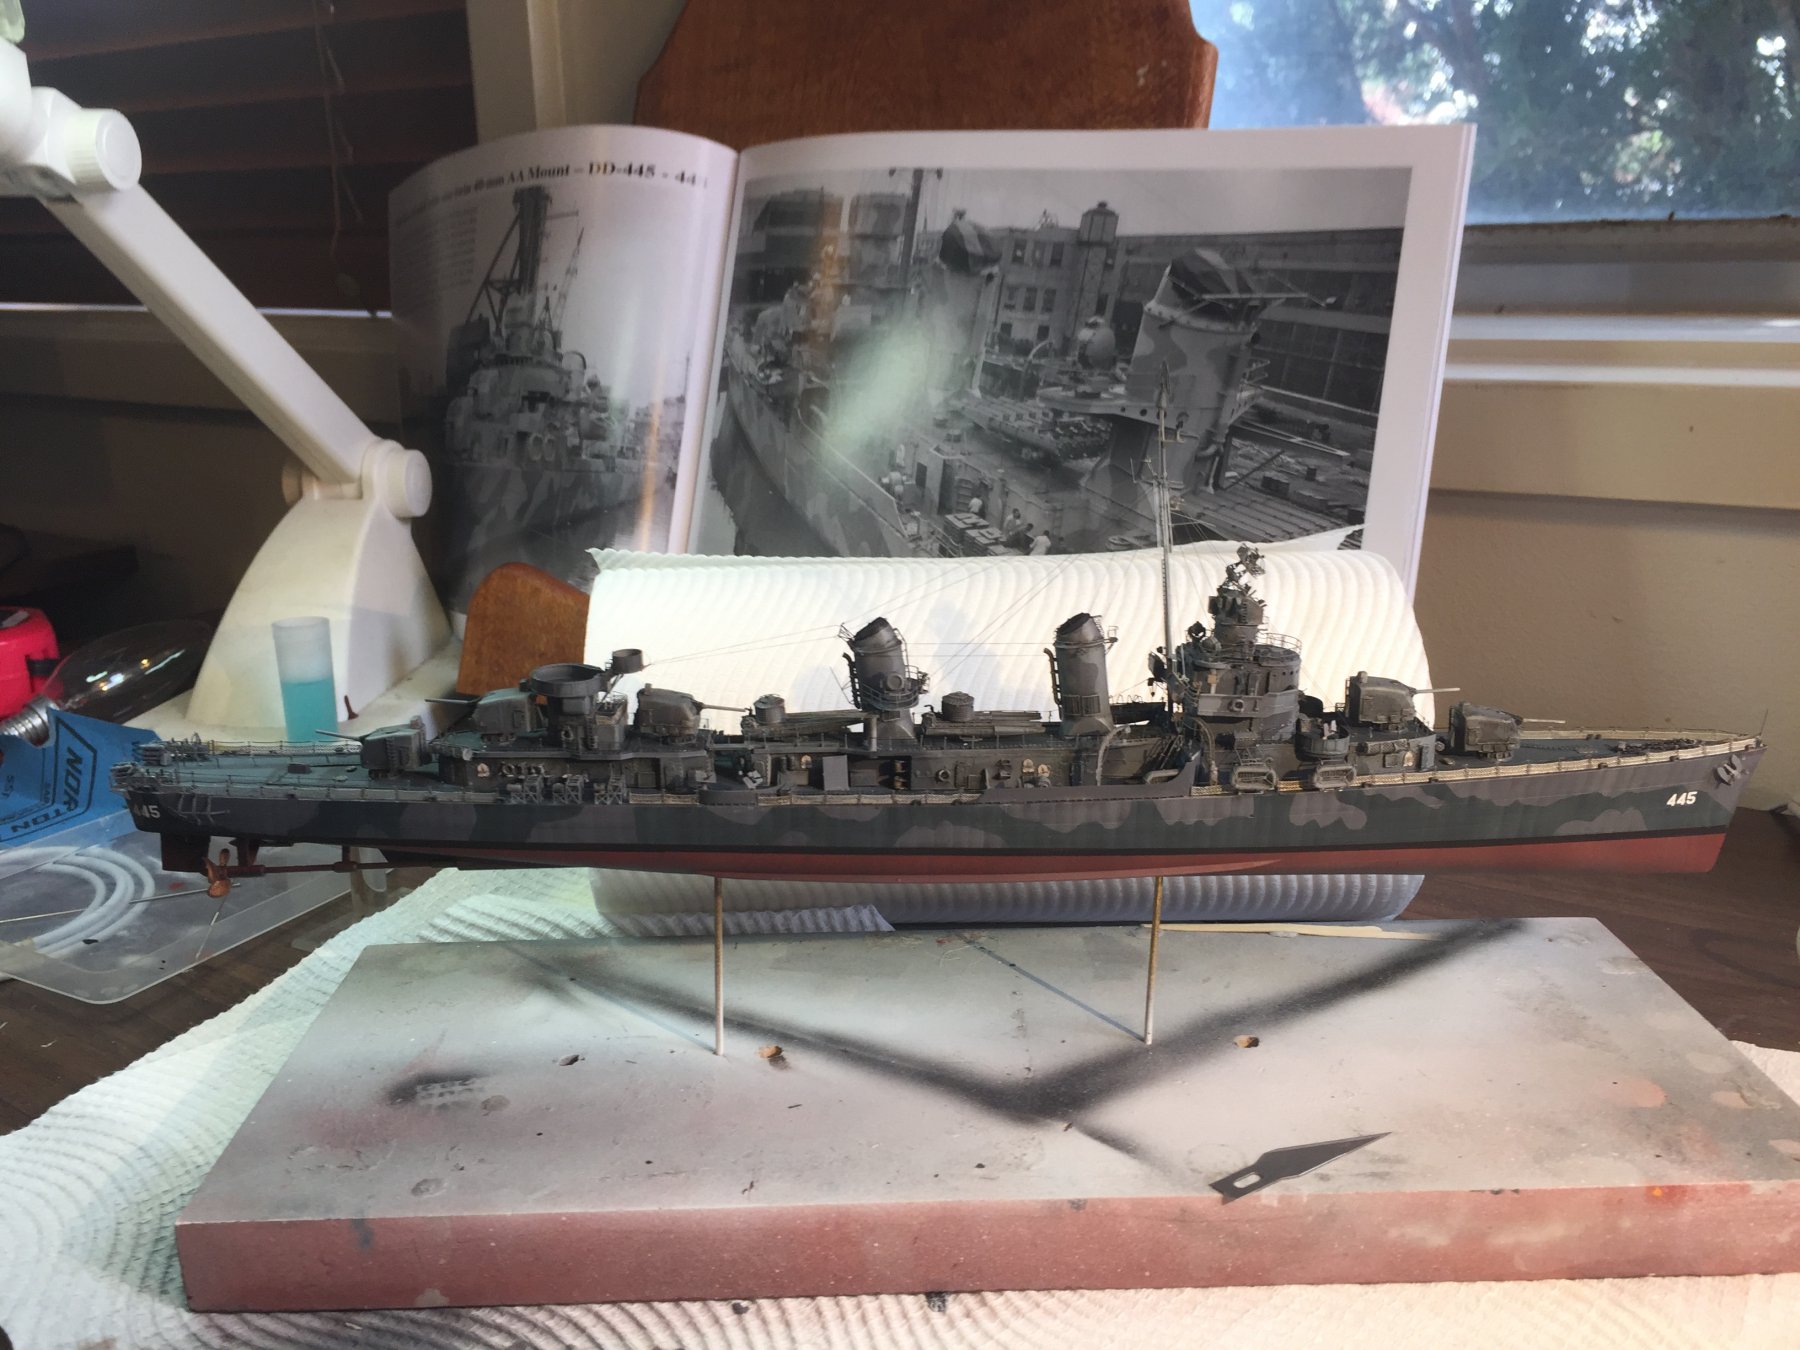
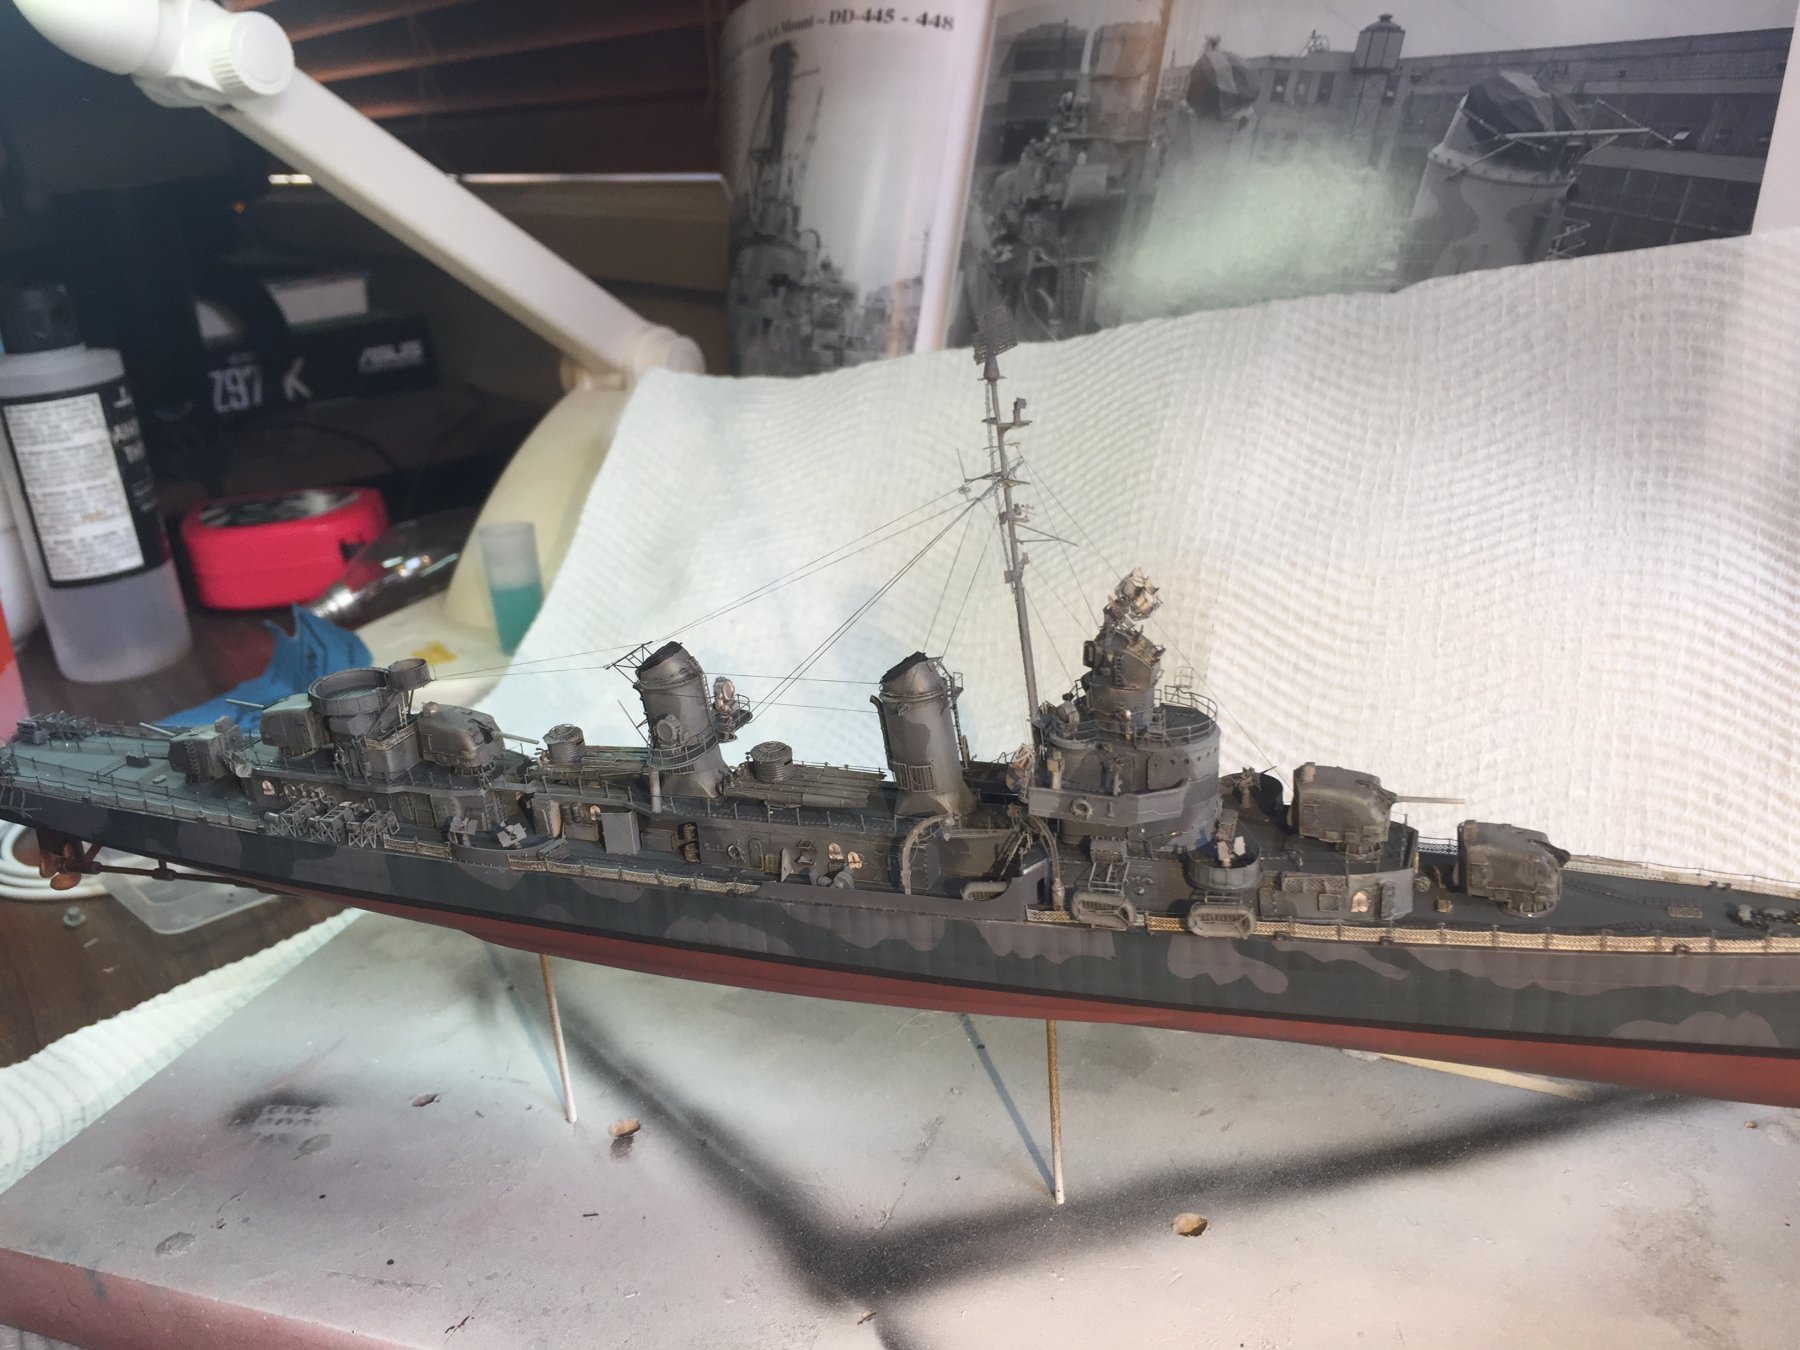


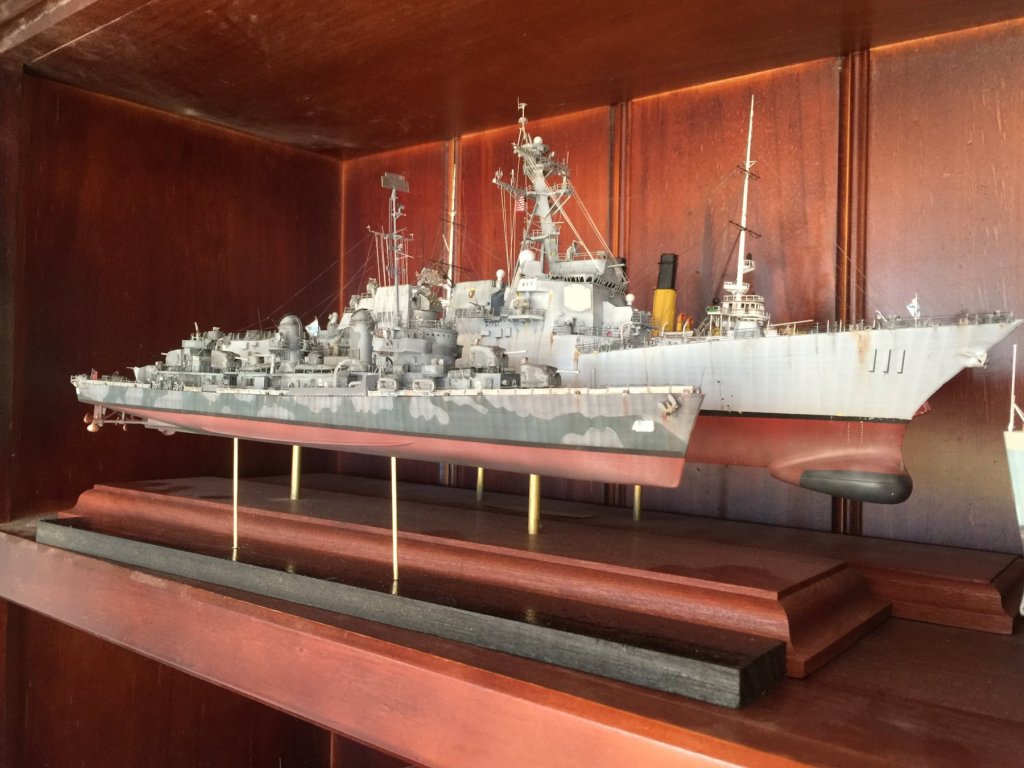
USS Fletcher by RGL - FINISHED - Tamiya - 1/350 - PLASTIC
in - Kit build logs for subjects built from 1901 - Present Day
Posted
This is the only 1-350