


RGL
-
Posts
5,531 -
Joined
-
Last visited
Content Type
Profiles
Forums
Gallery
Events
Posts posted by RGL
-
-
Big gaps alright, use some plastic strips to fill most of the gaps.
-
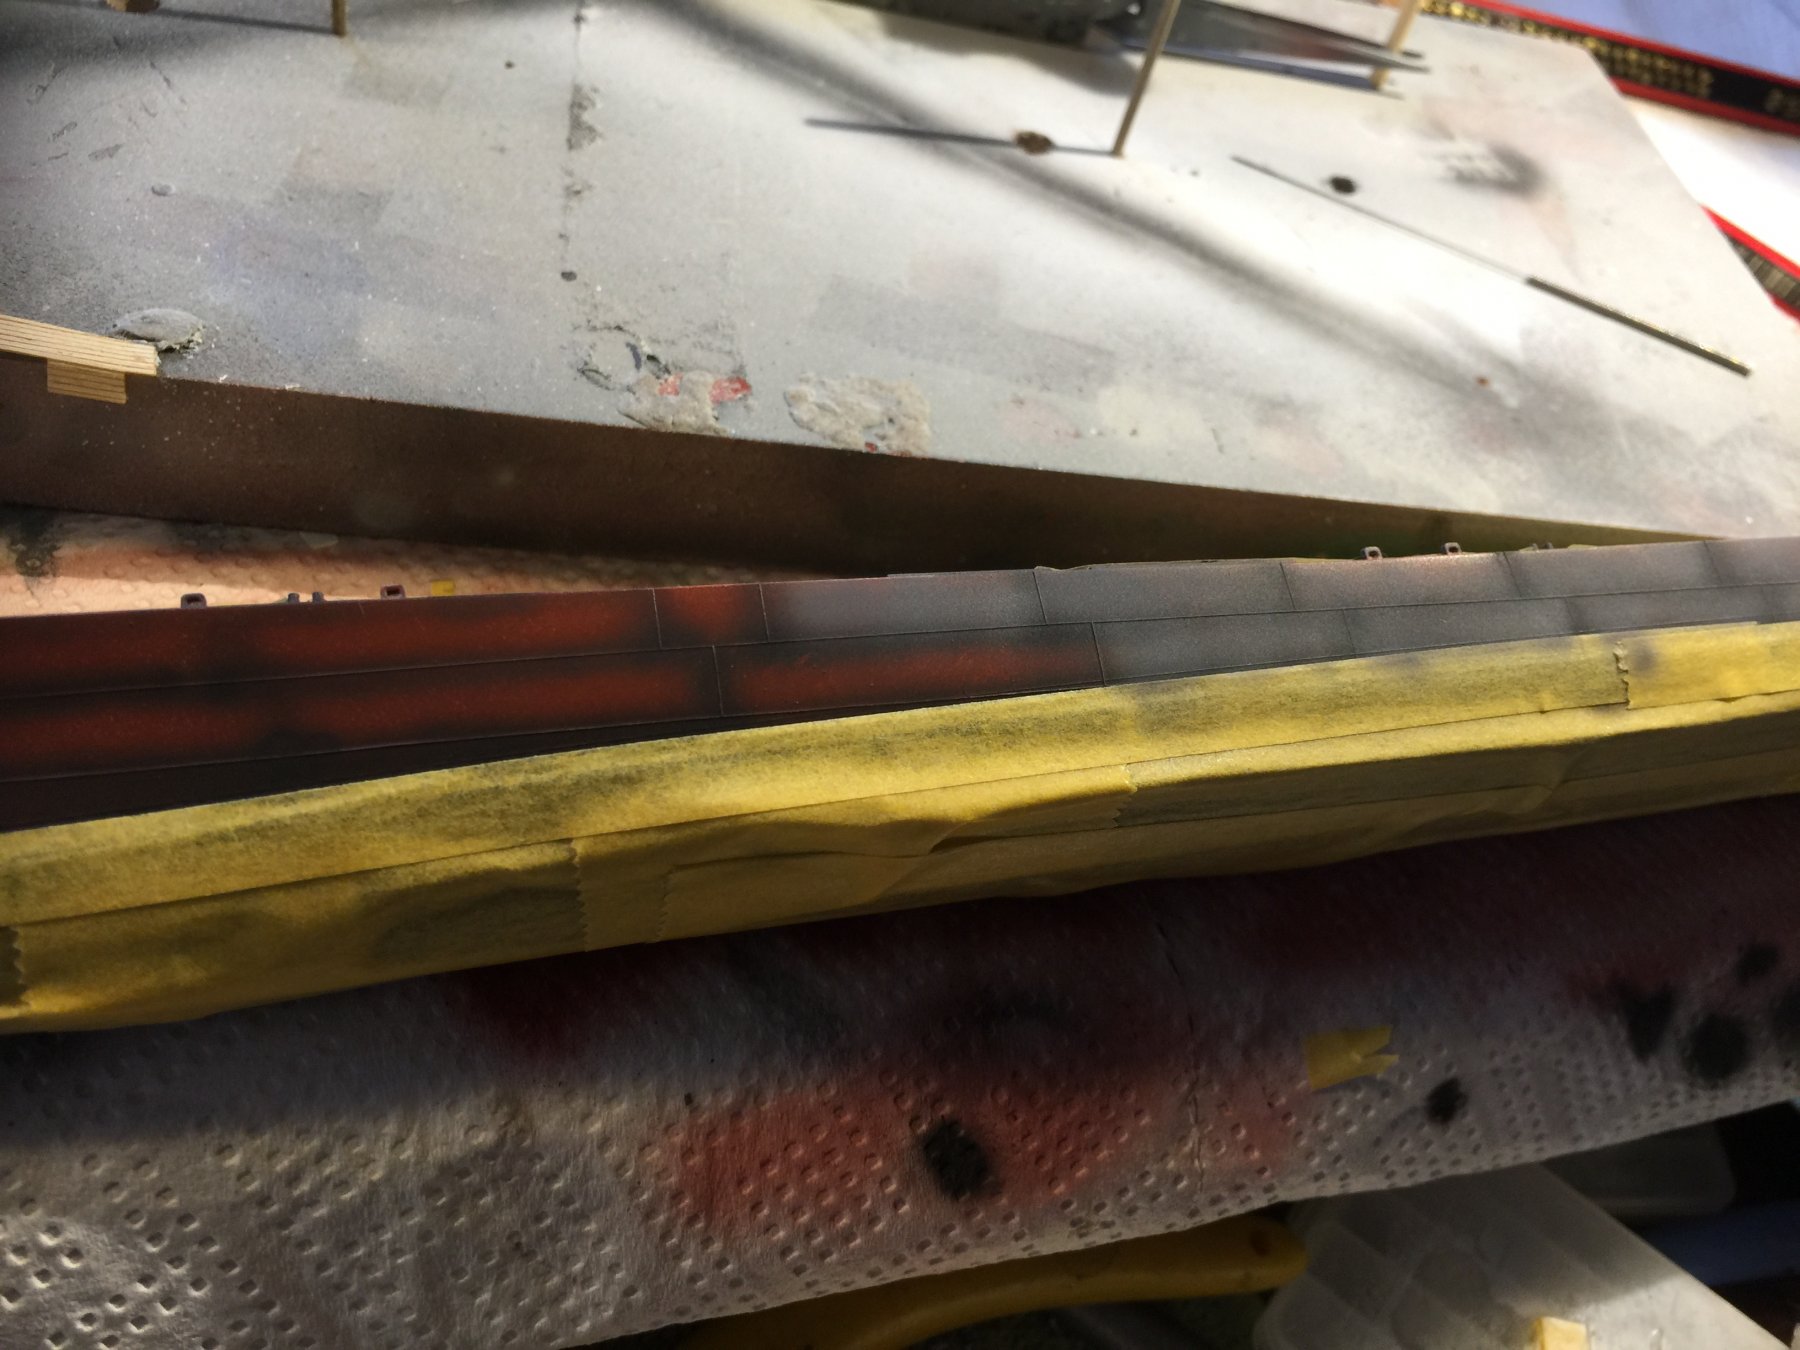
It’s not finished yet but I always try to have the line forward of the bow and above the gunnels. I use post it notes, as they come in lots of sizes and are thick enough that the paint won’t soak through but still soft.
When an very five opeque overspray 20% colour/ 80% thinner it will give it more depth. That’s tomorrow’s job, as there was rugby watch this afternoon plus beer to be had.
-
-
-
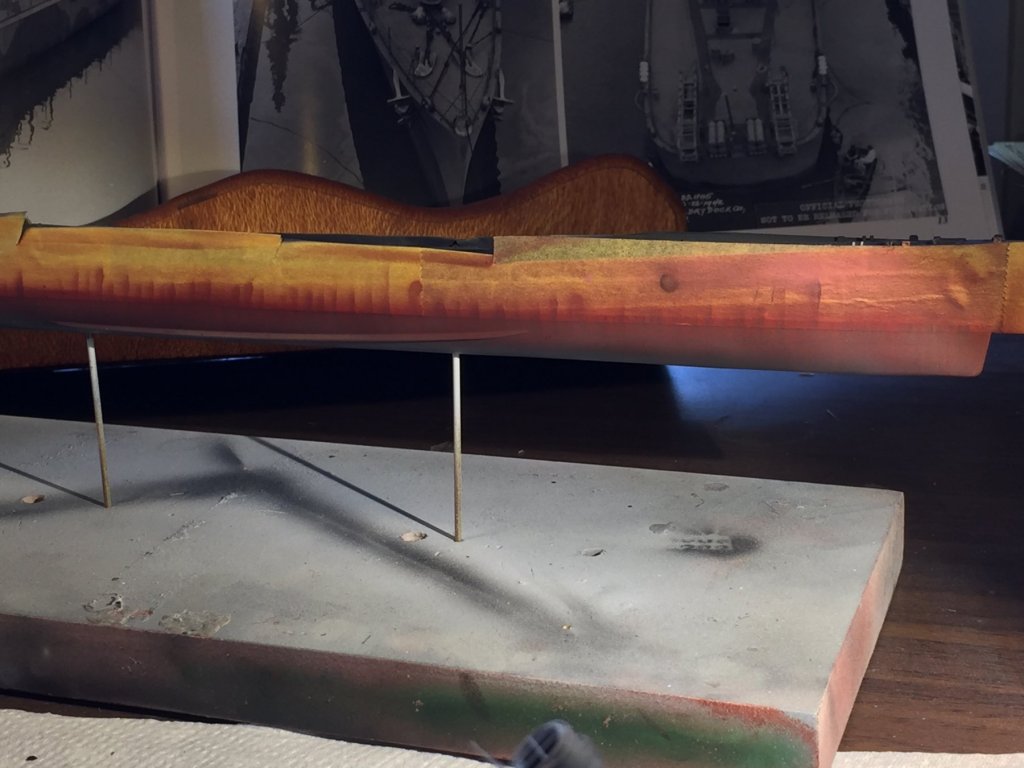
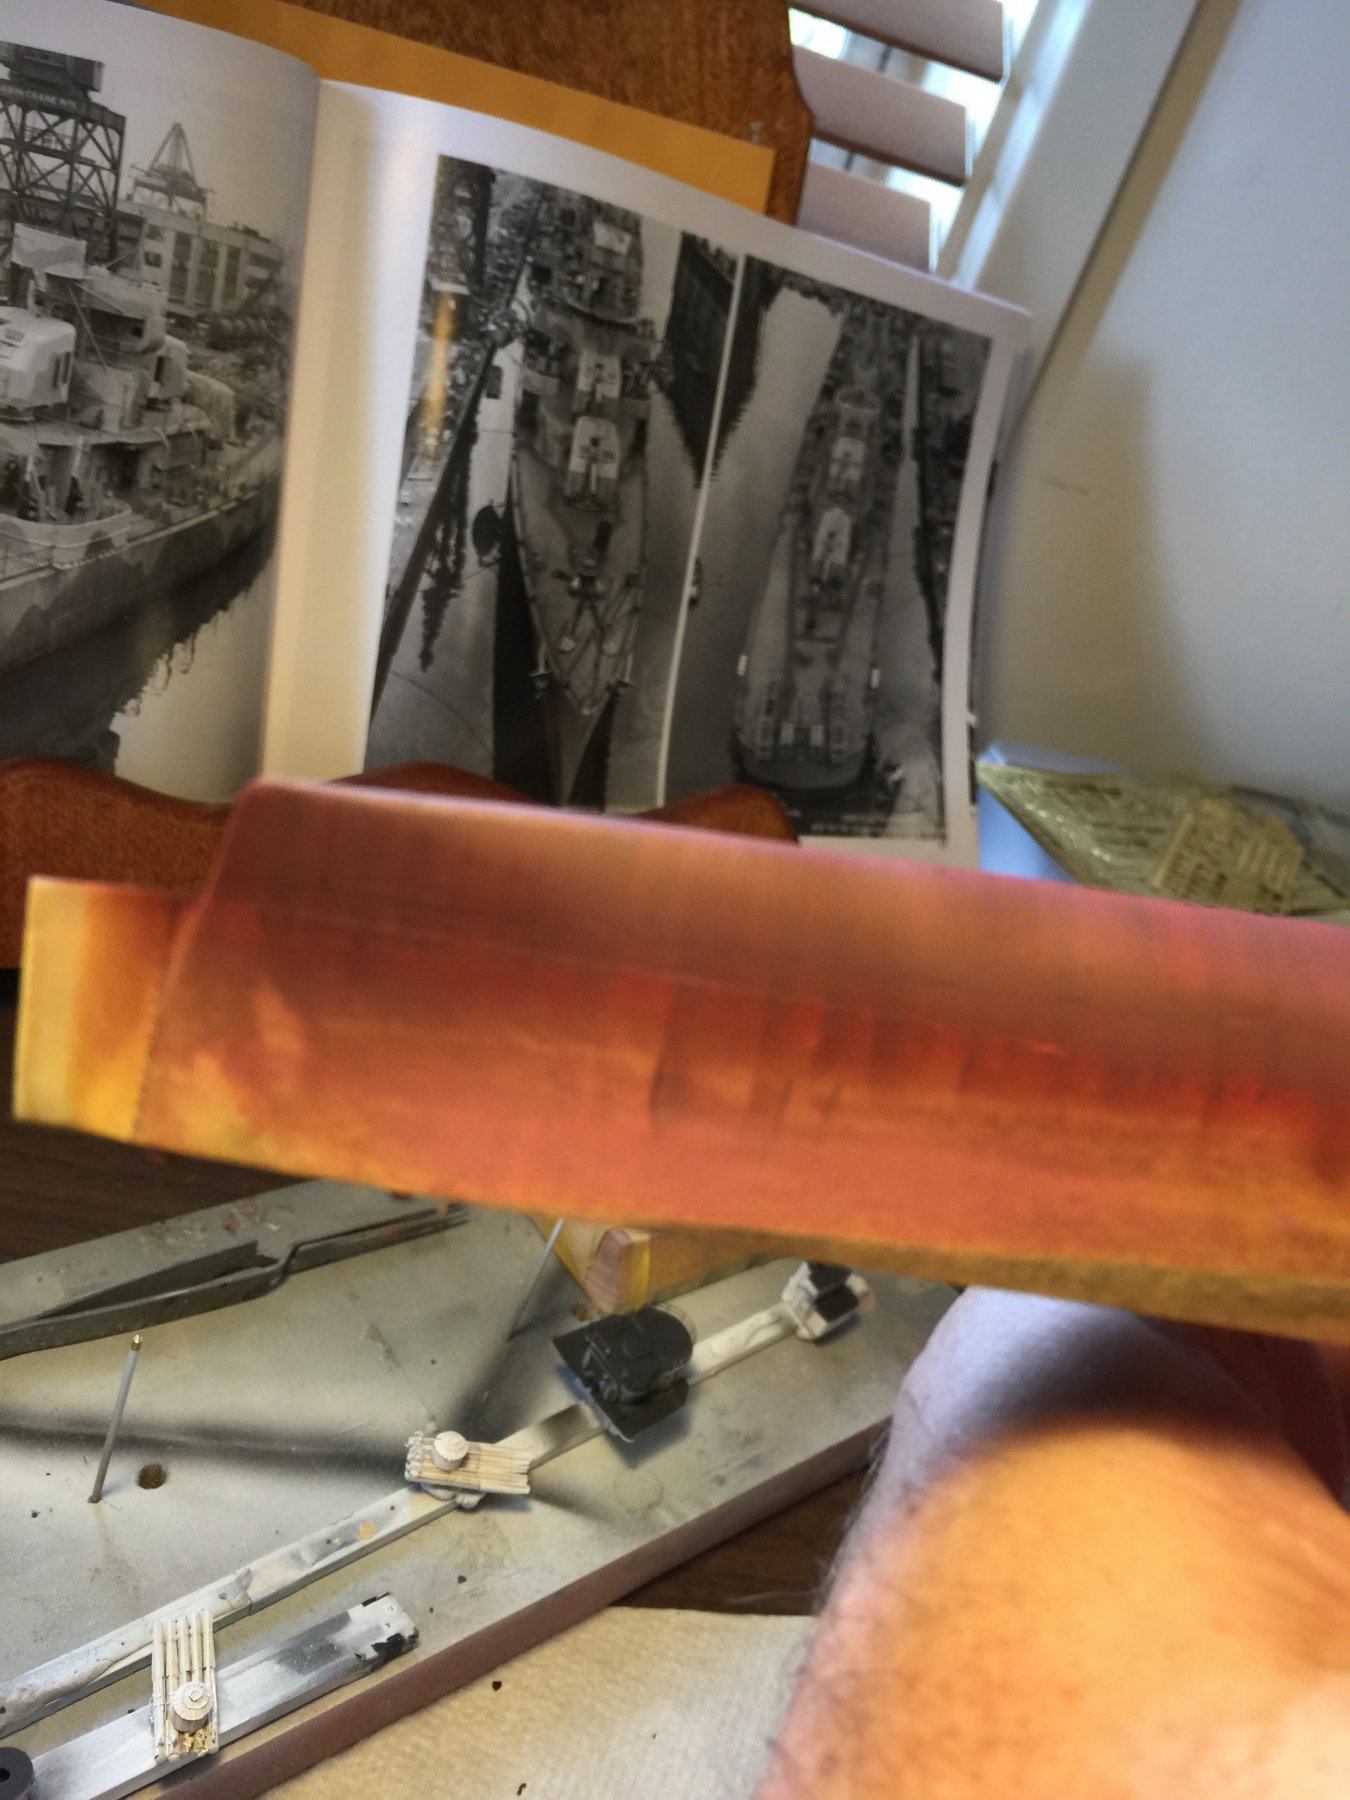
It’s near impossible to find any contemporary photos, there is a website dedicated to the restoration of a Fletcher class destroyer where the hull is covered in barnacles and almost rusted through but it would be sitting fallow for years and years. The oilcanning would (I expect) get worse as the years and pounding into big waves over and over.
- Piet, Canute, Old Collingwood and 1 other
-
 4
4
-
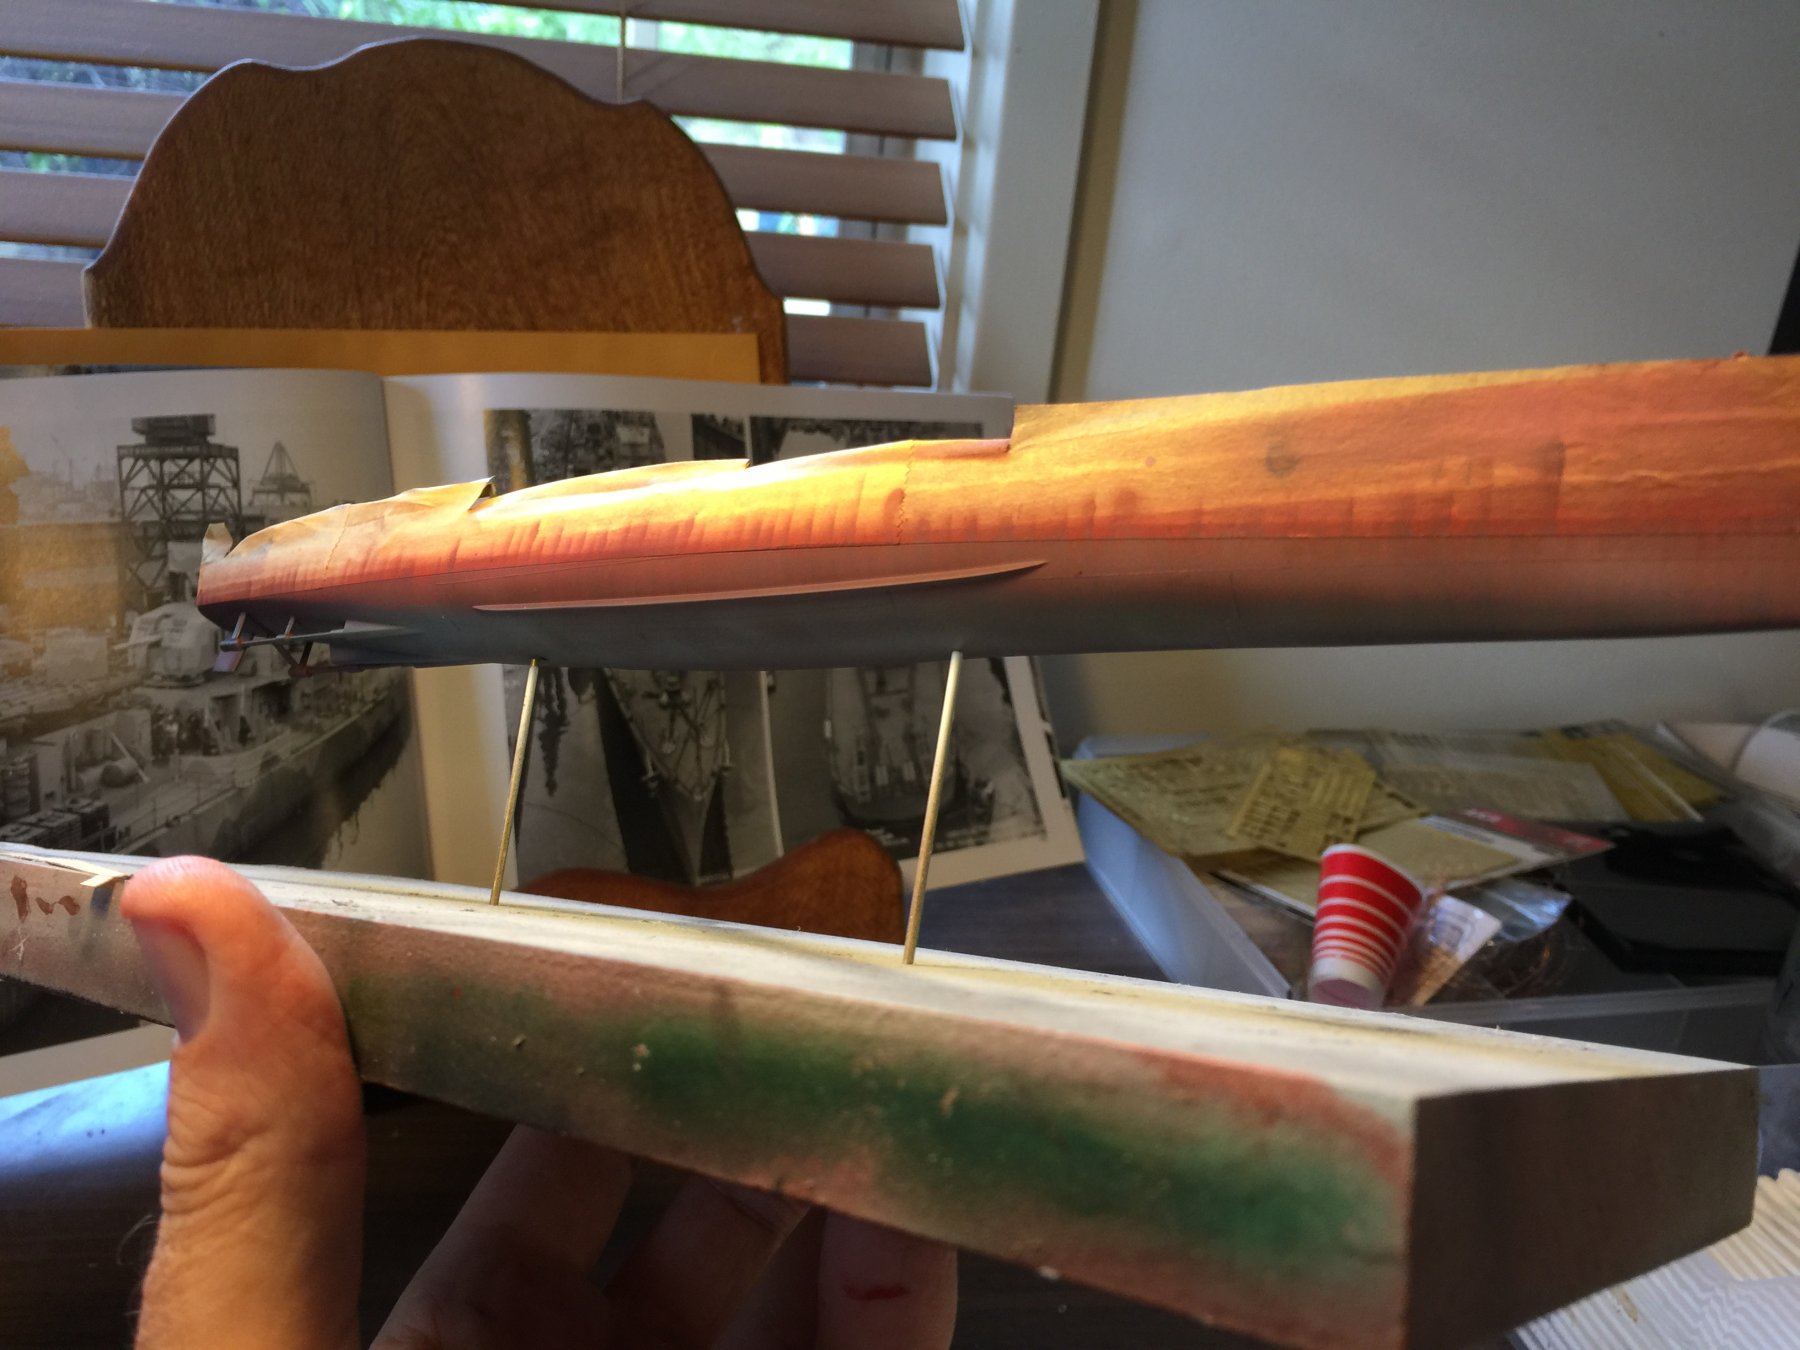
Grunge and green. That’ll do I think, now onto the decks.

-
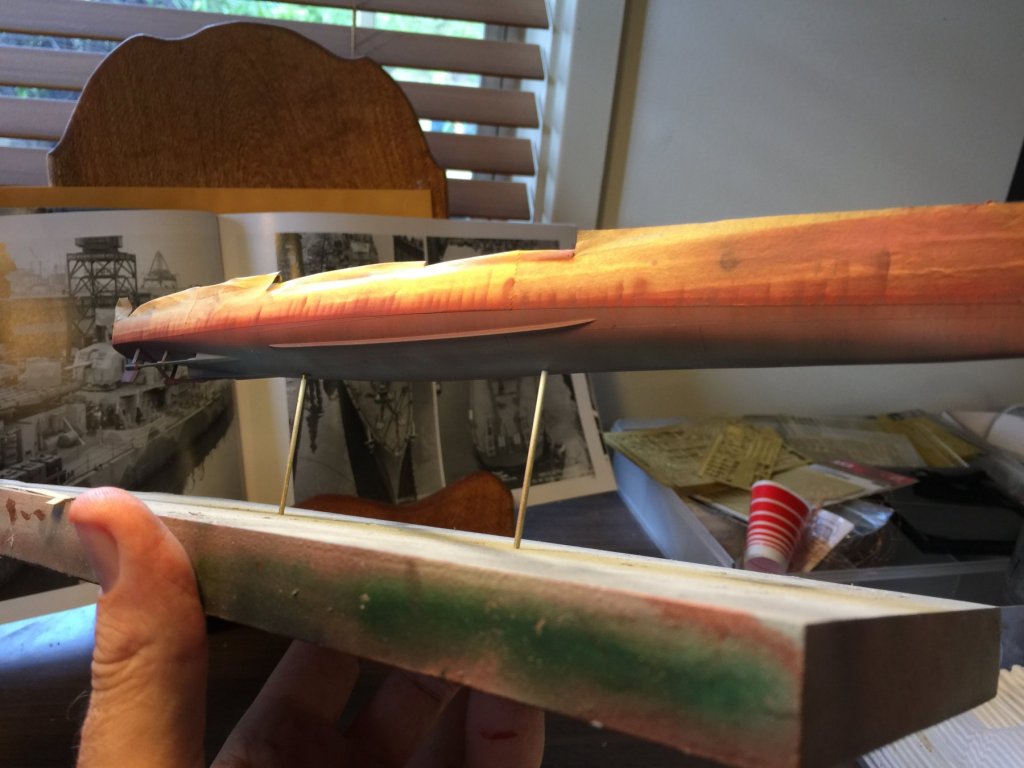
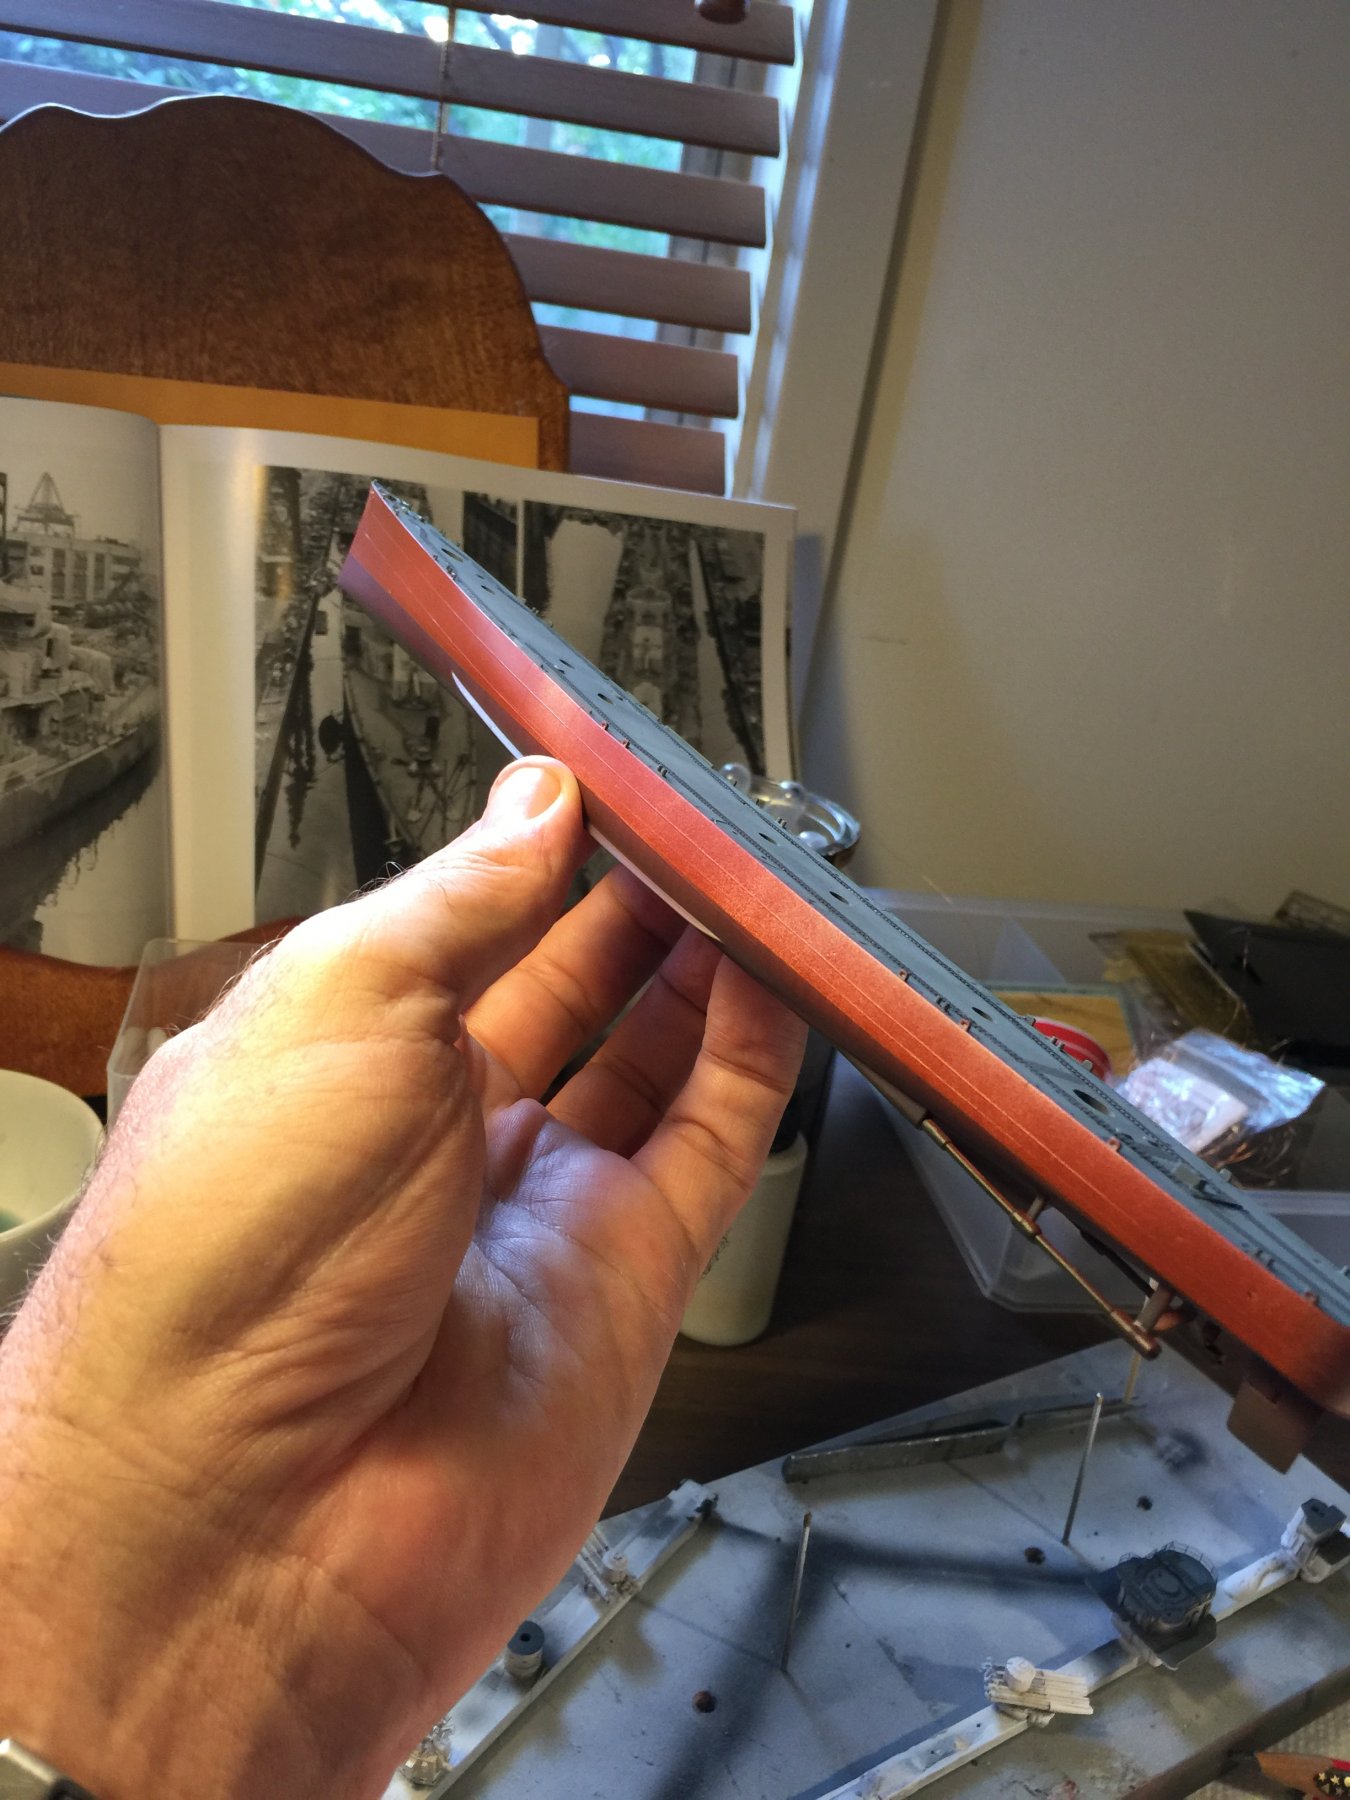
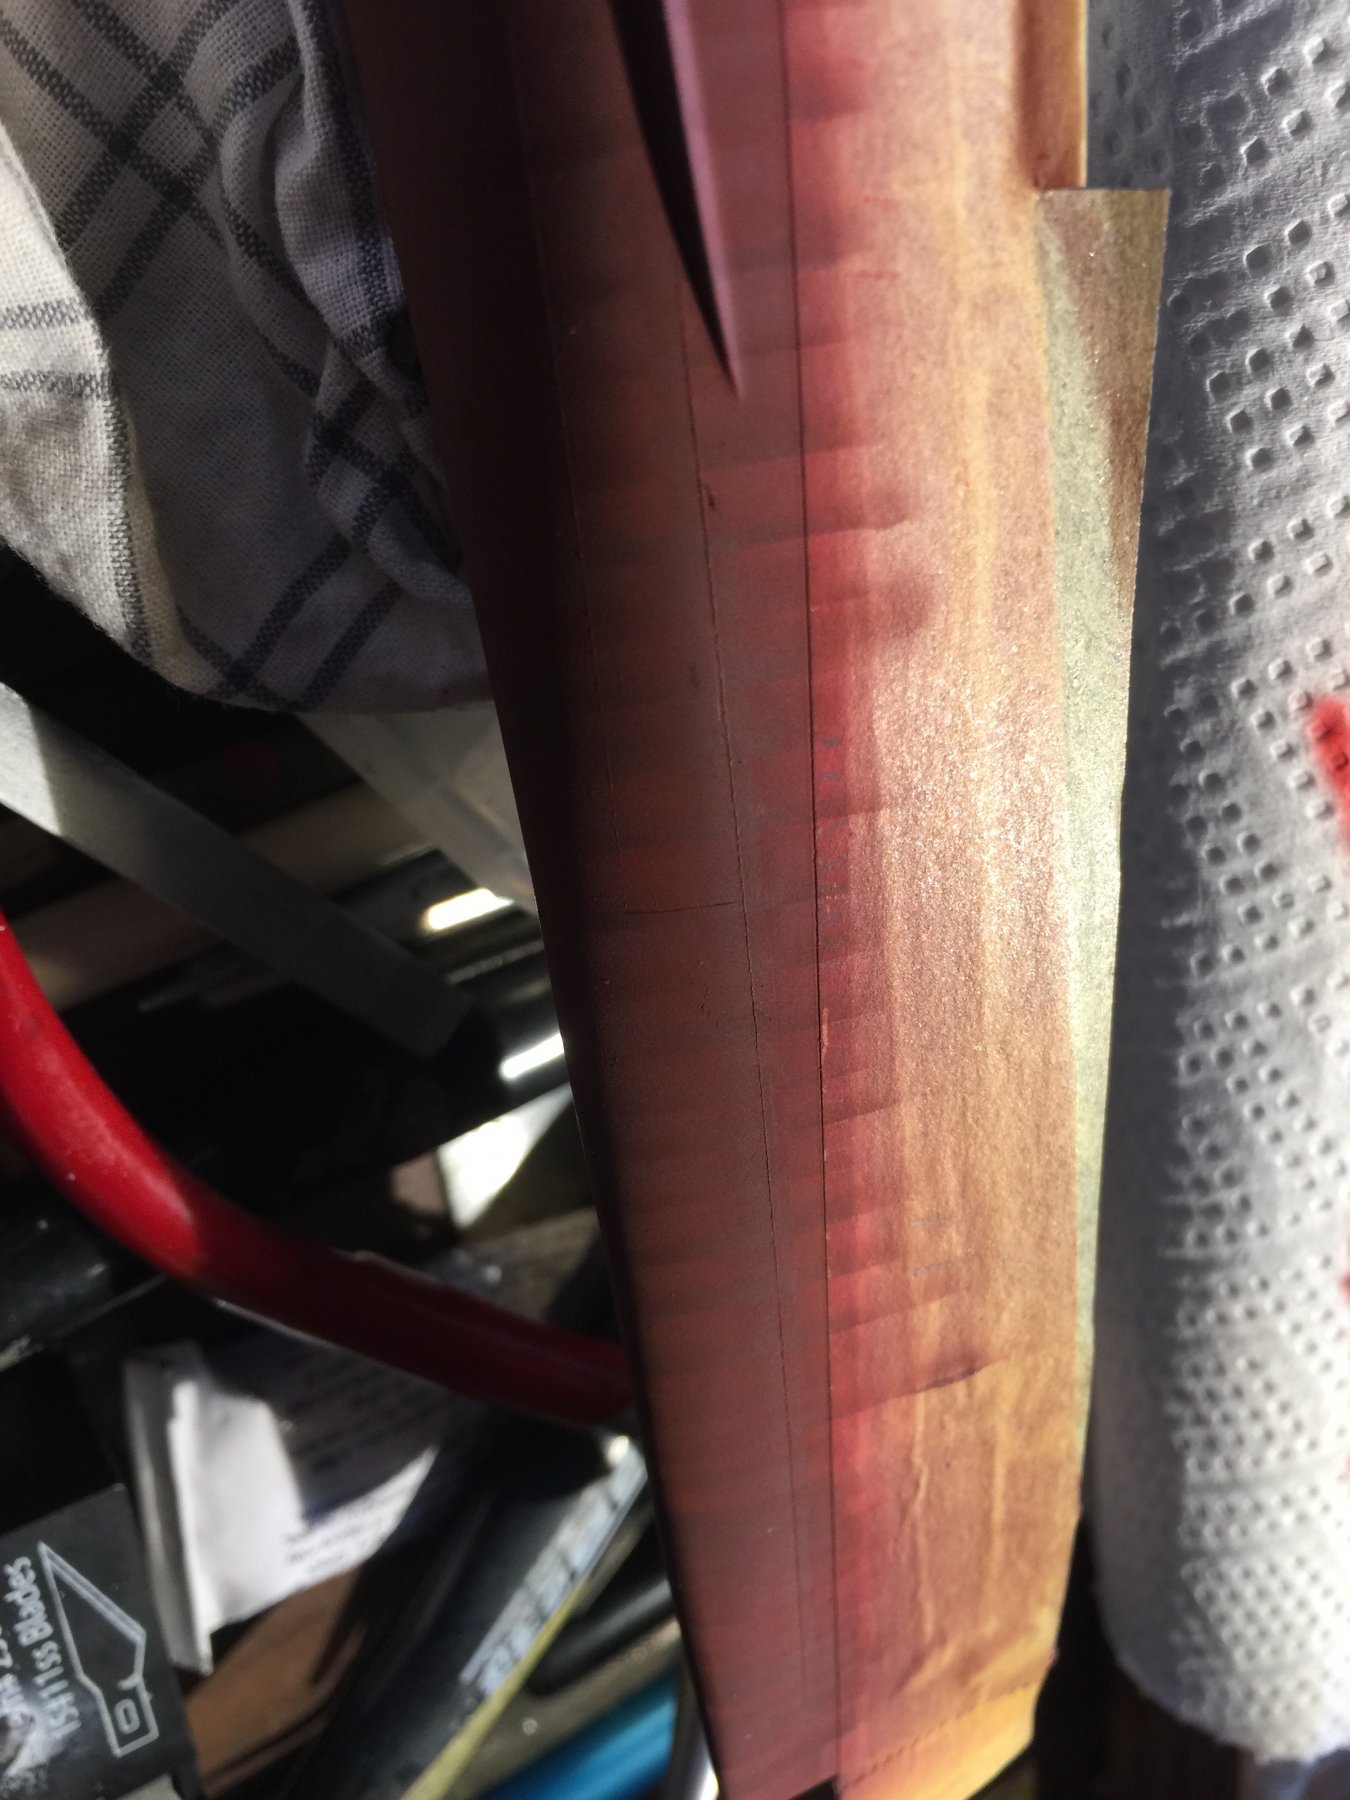
Lower hull, using a piece of card, overspray of red to highlight the ribs, then diluted coco brown to dull it down, the very dilute burnt occre to highlight. Next will be grunge which will make most of this go away, but as this is 1942, the damage and grunge would not be so bad.


-
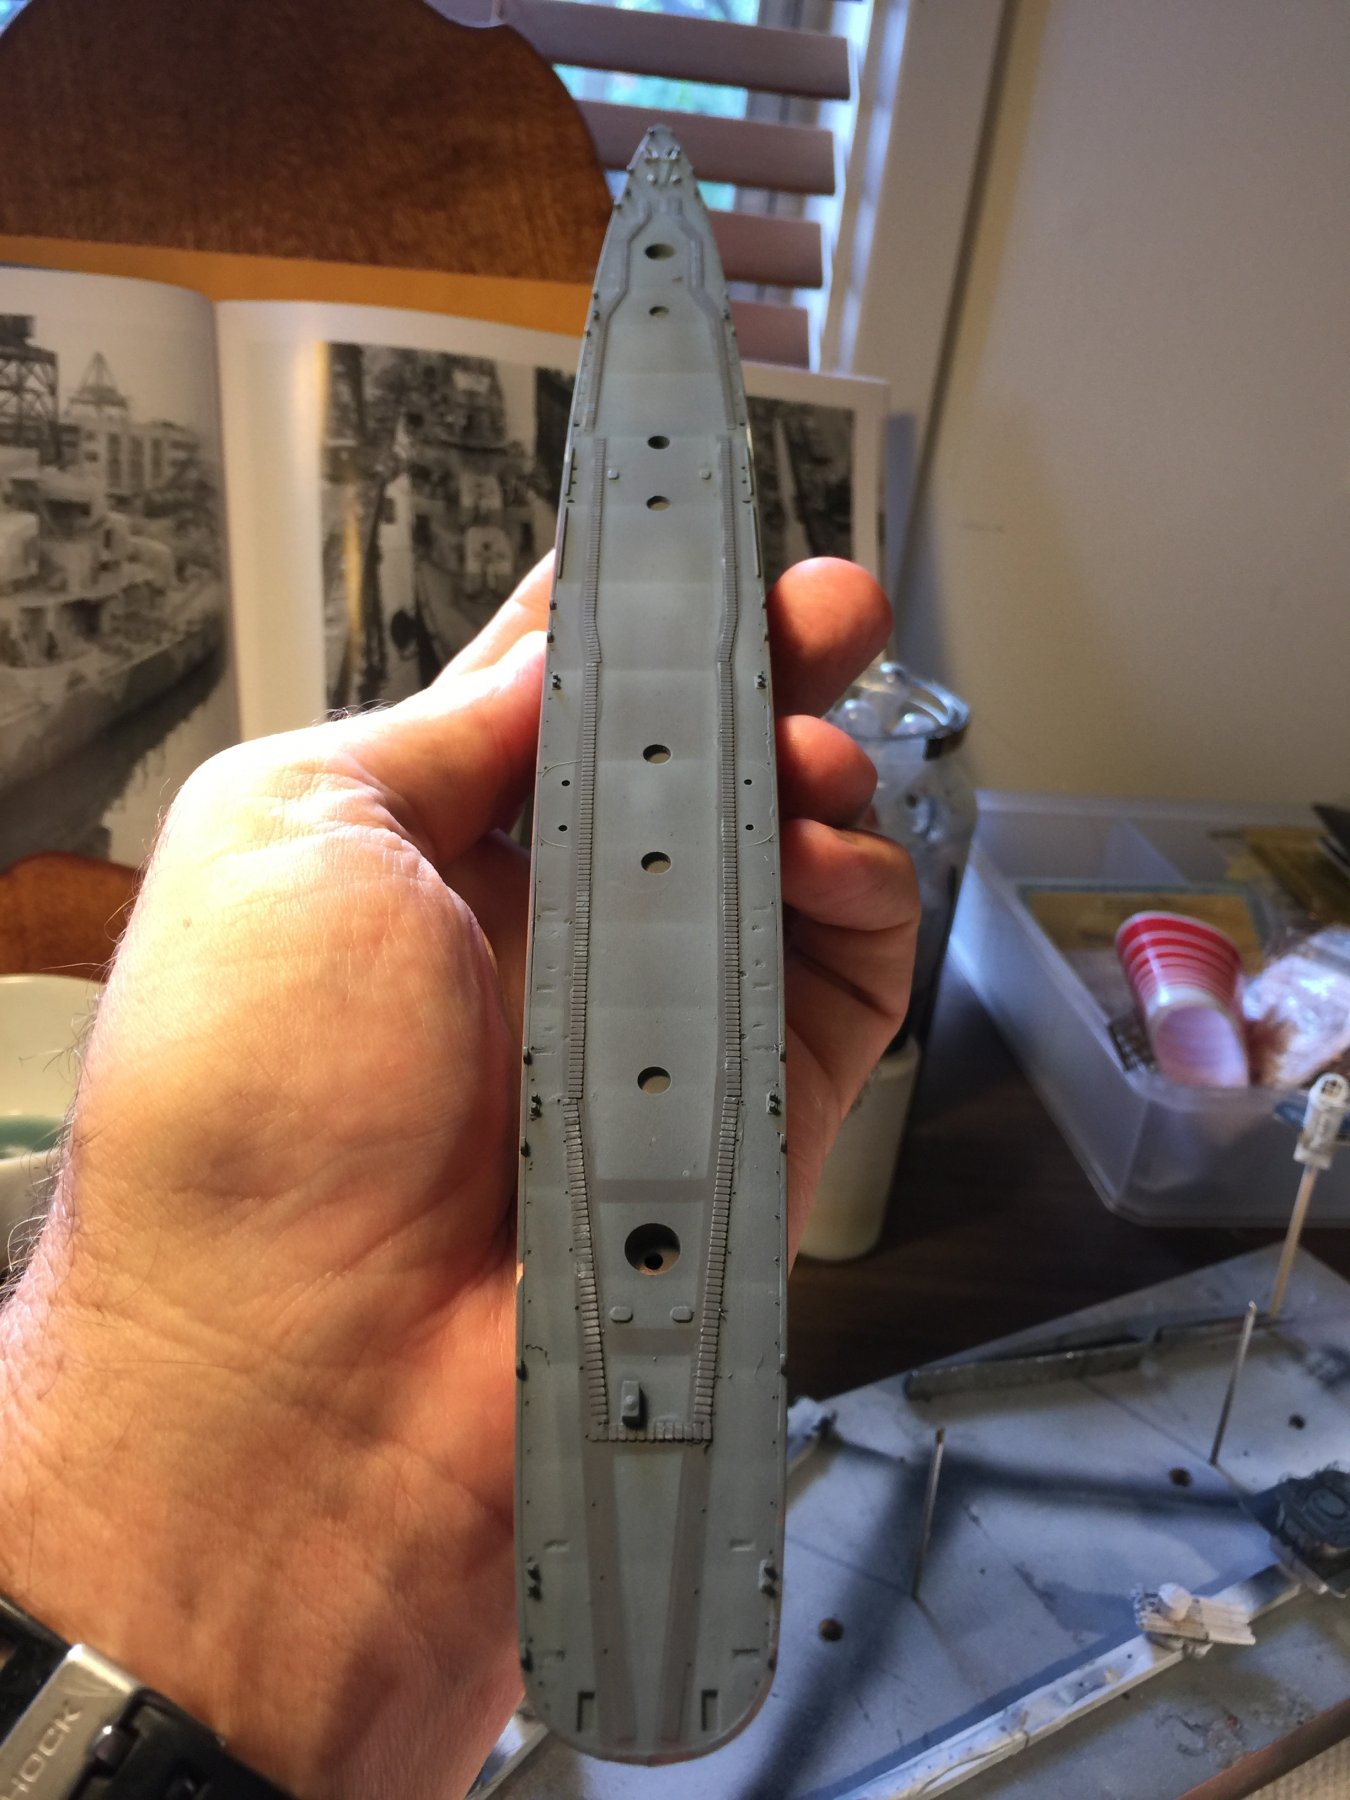
Pat, XF9 (hull red) and XF50 (blue) at a 1/2 ratio (That’s the Tamiya instructions) I need to lighten and highlight yet as there are non slip walkways.
Cog, I’ve done oilcanning on a lot of my builds, in particular the USS Spruance but I’ll break it down when I do it next.
-
-
Don’t own one, but would love to get one but geez they’re expensive
-
I’ve got 2 Anatomy Of the Ship books on subs, my brain would just explode given the amounts of pipes inside of them and having to replicate it
-
-
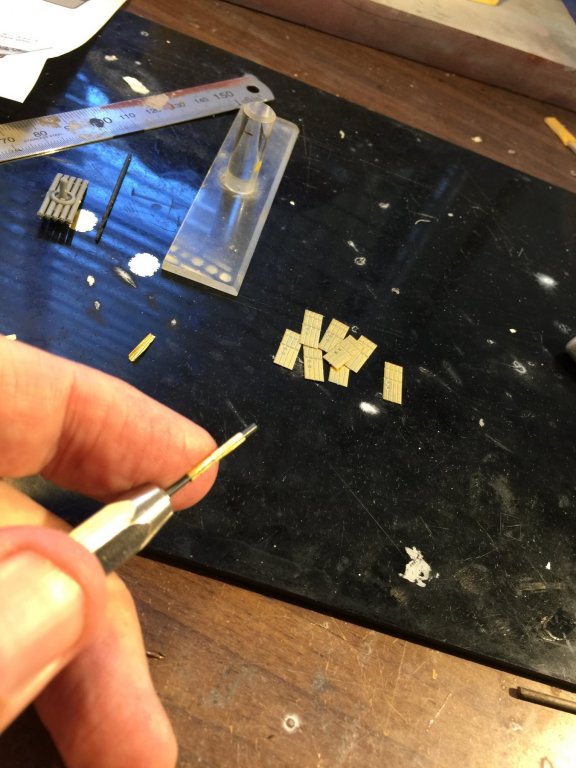
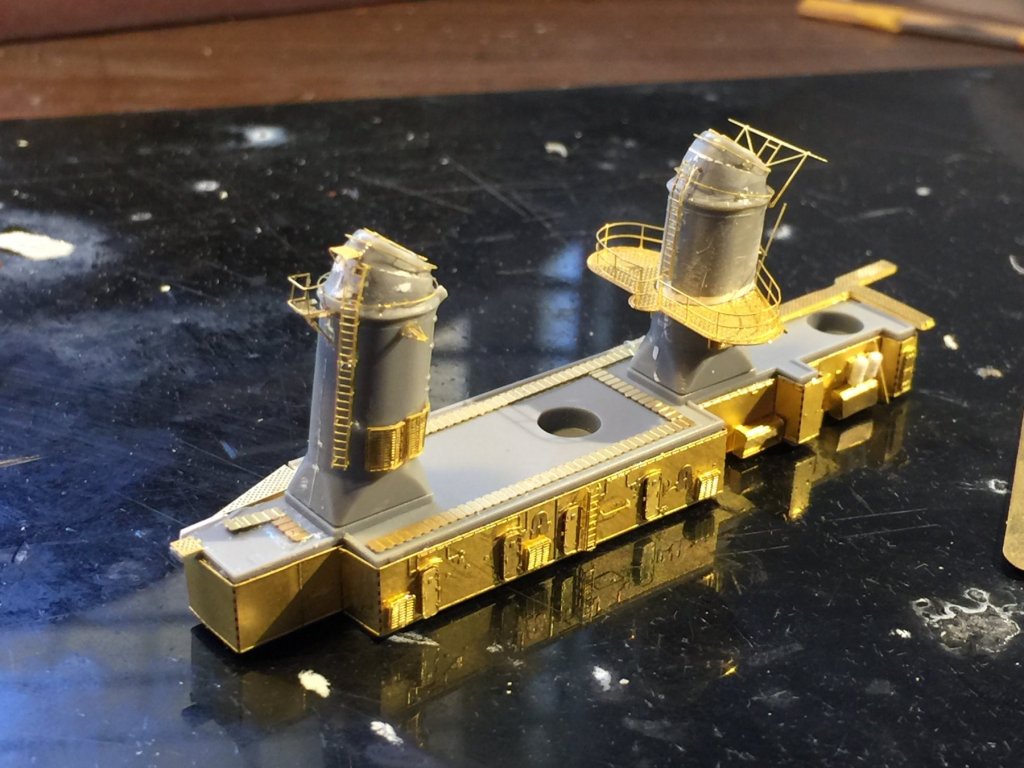
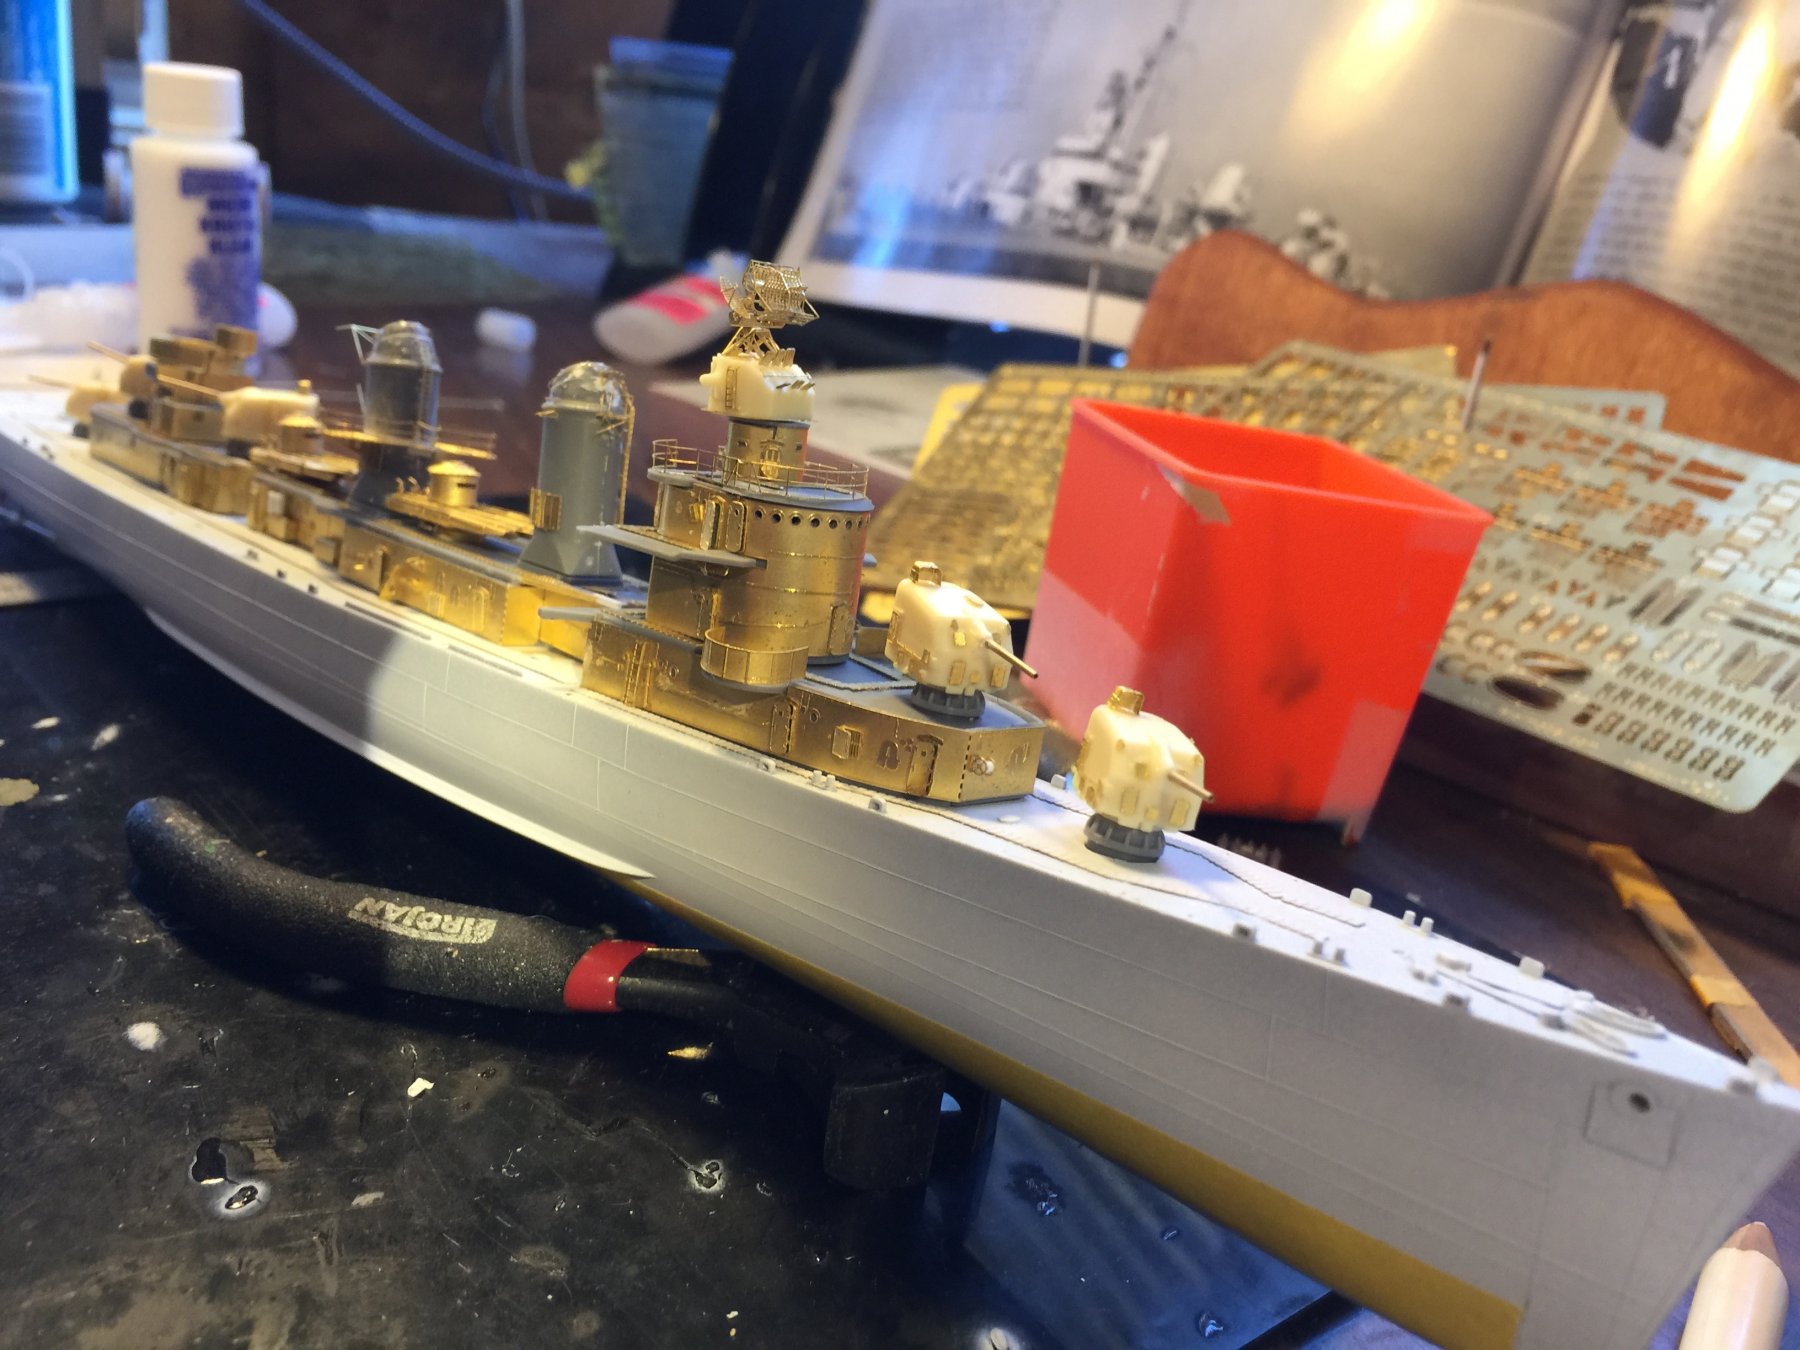
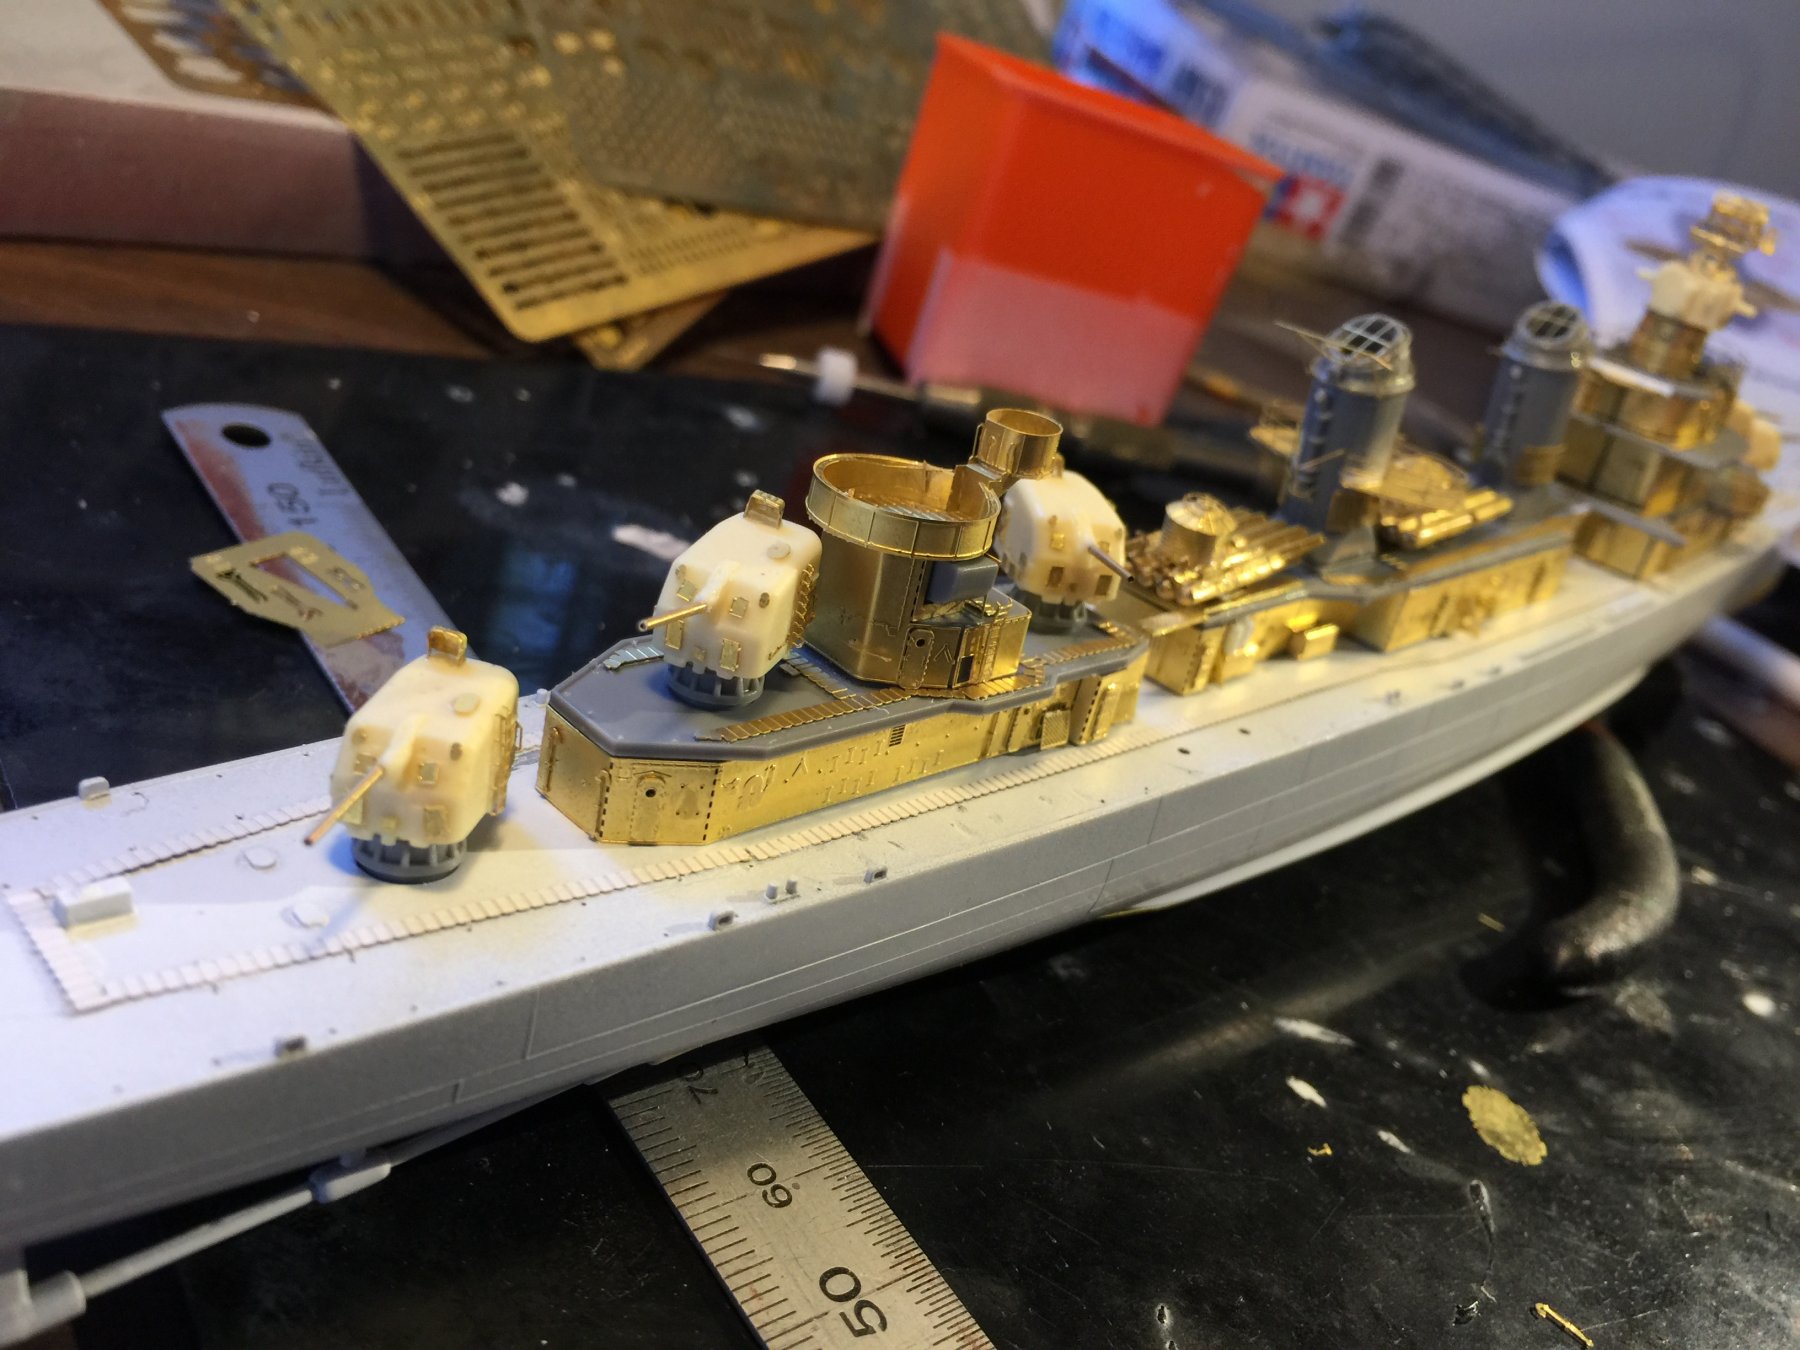
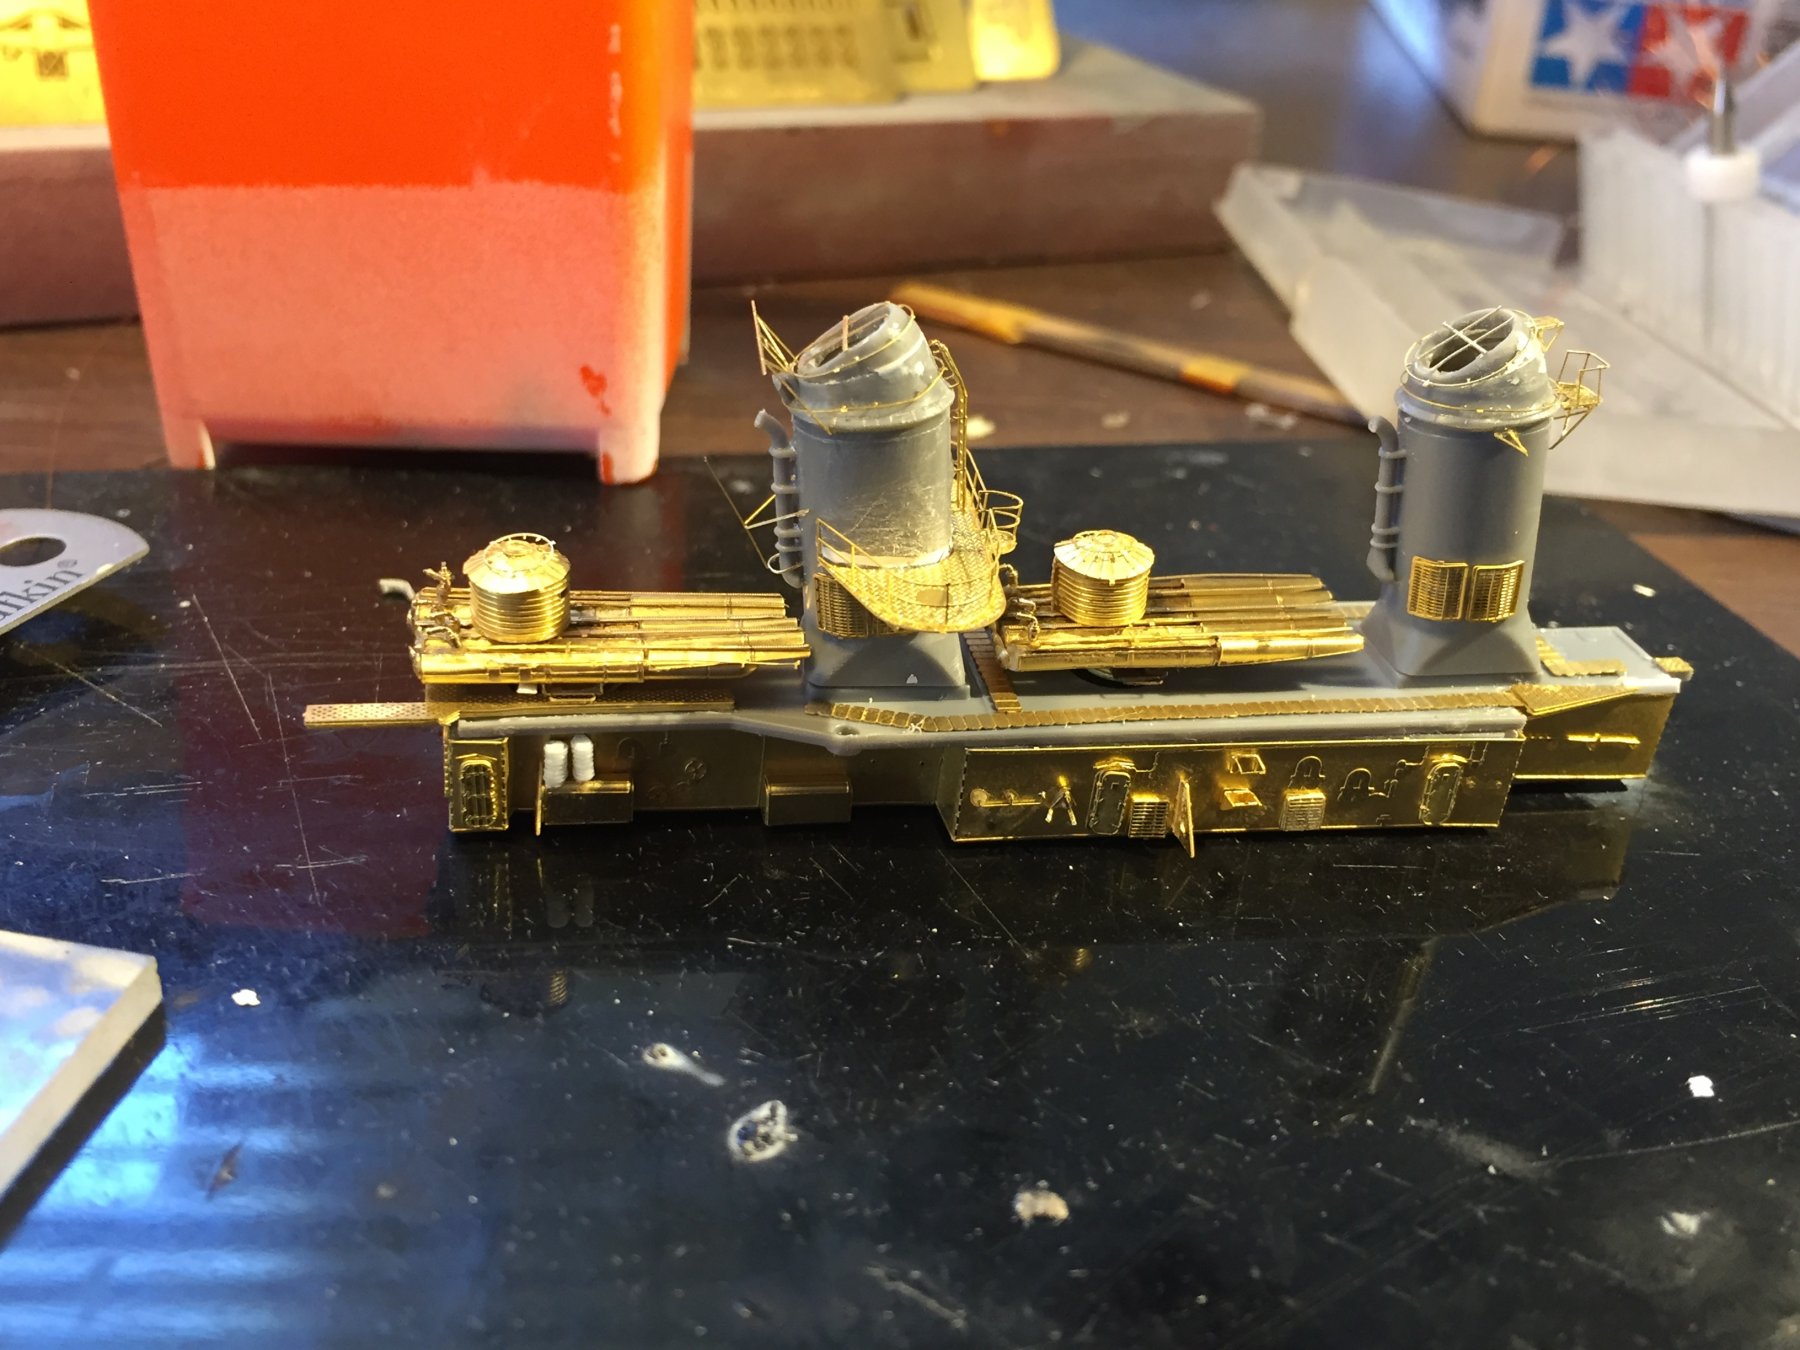
There are some tiny bits off brass which I’m leaving off too as it’s not visible with the naked eye.
-
-
-
-
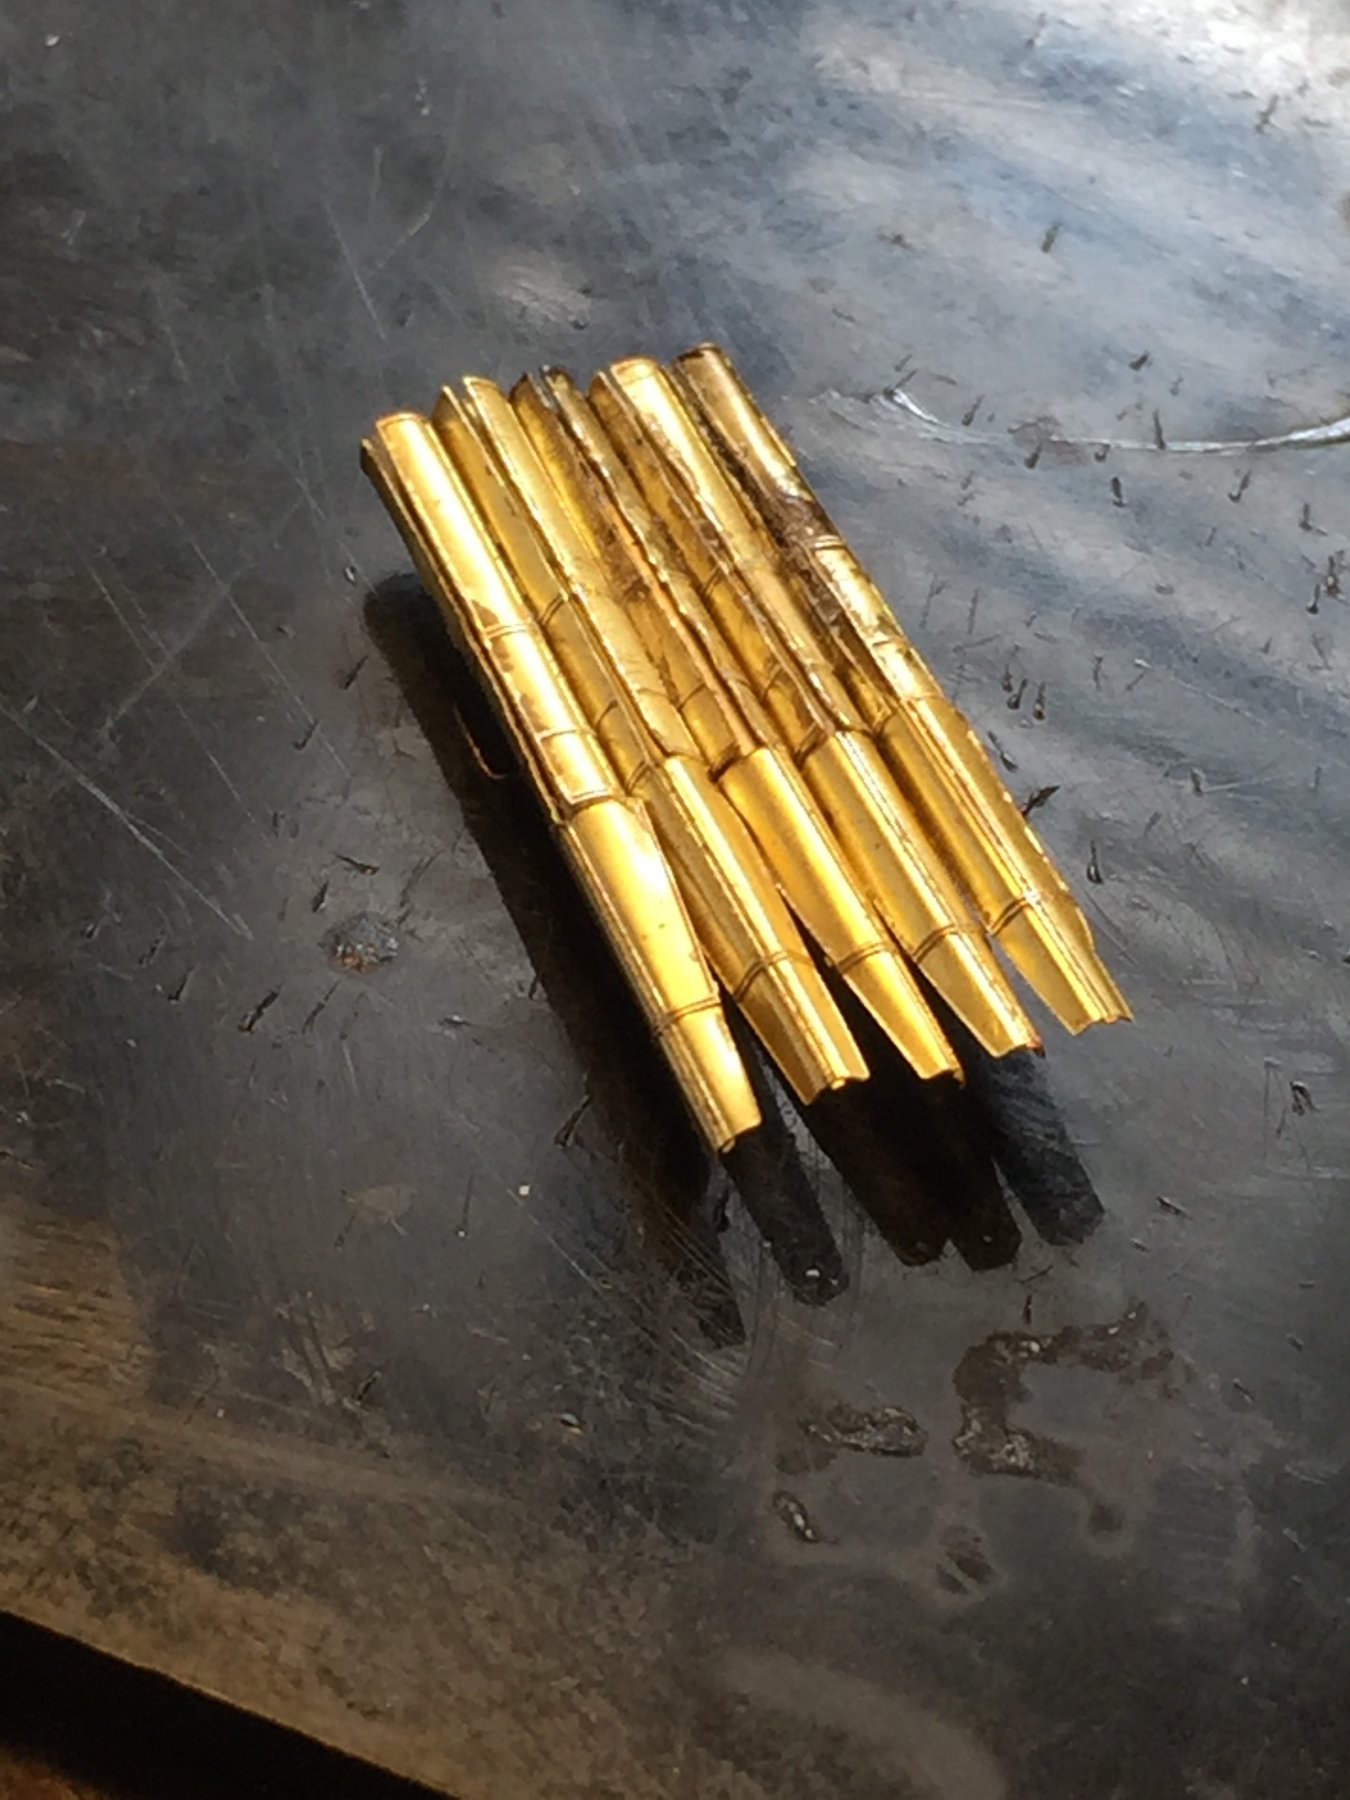
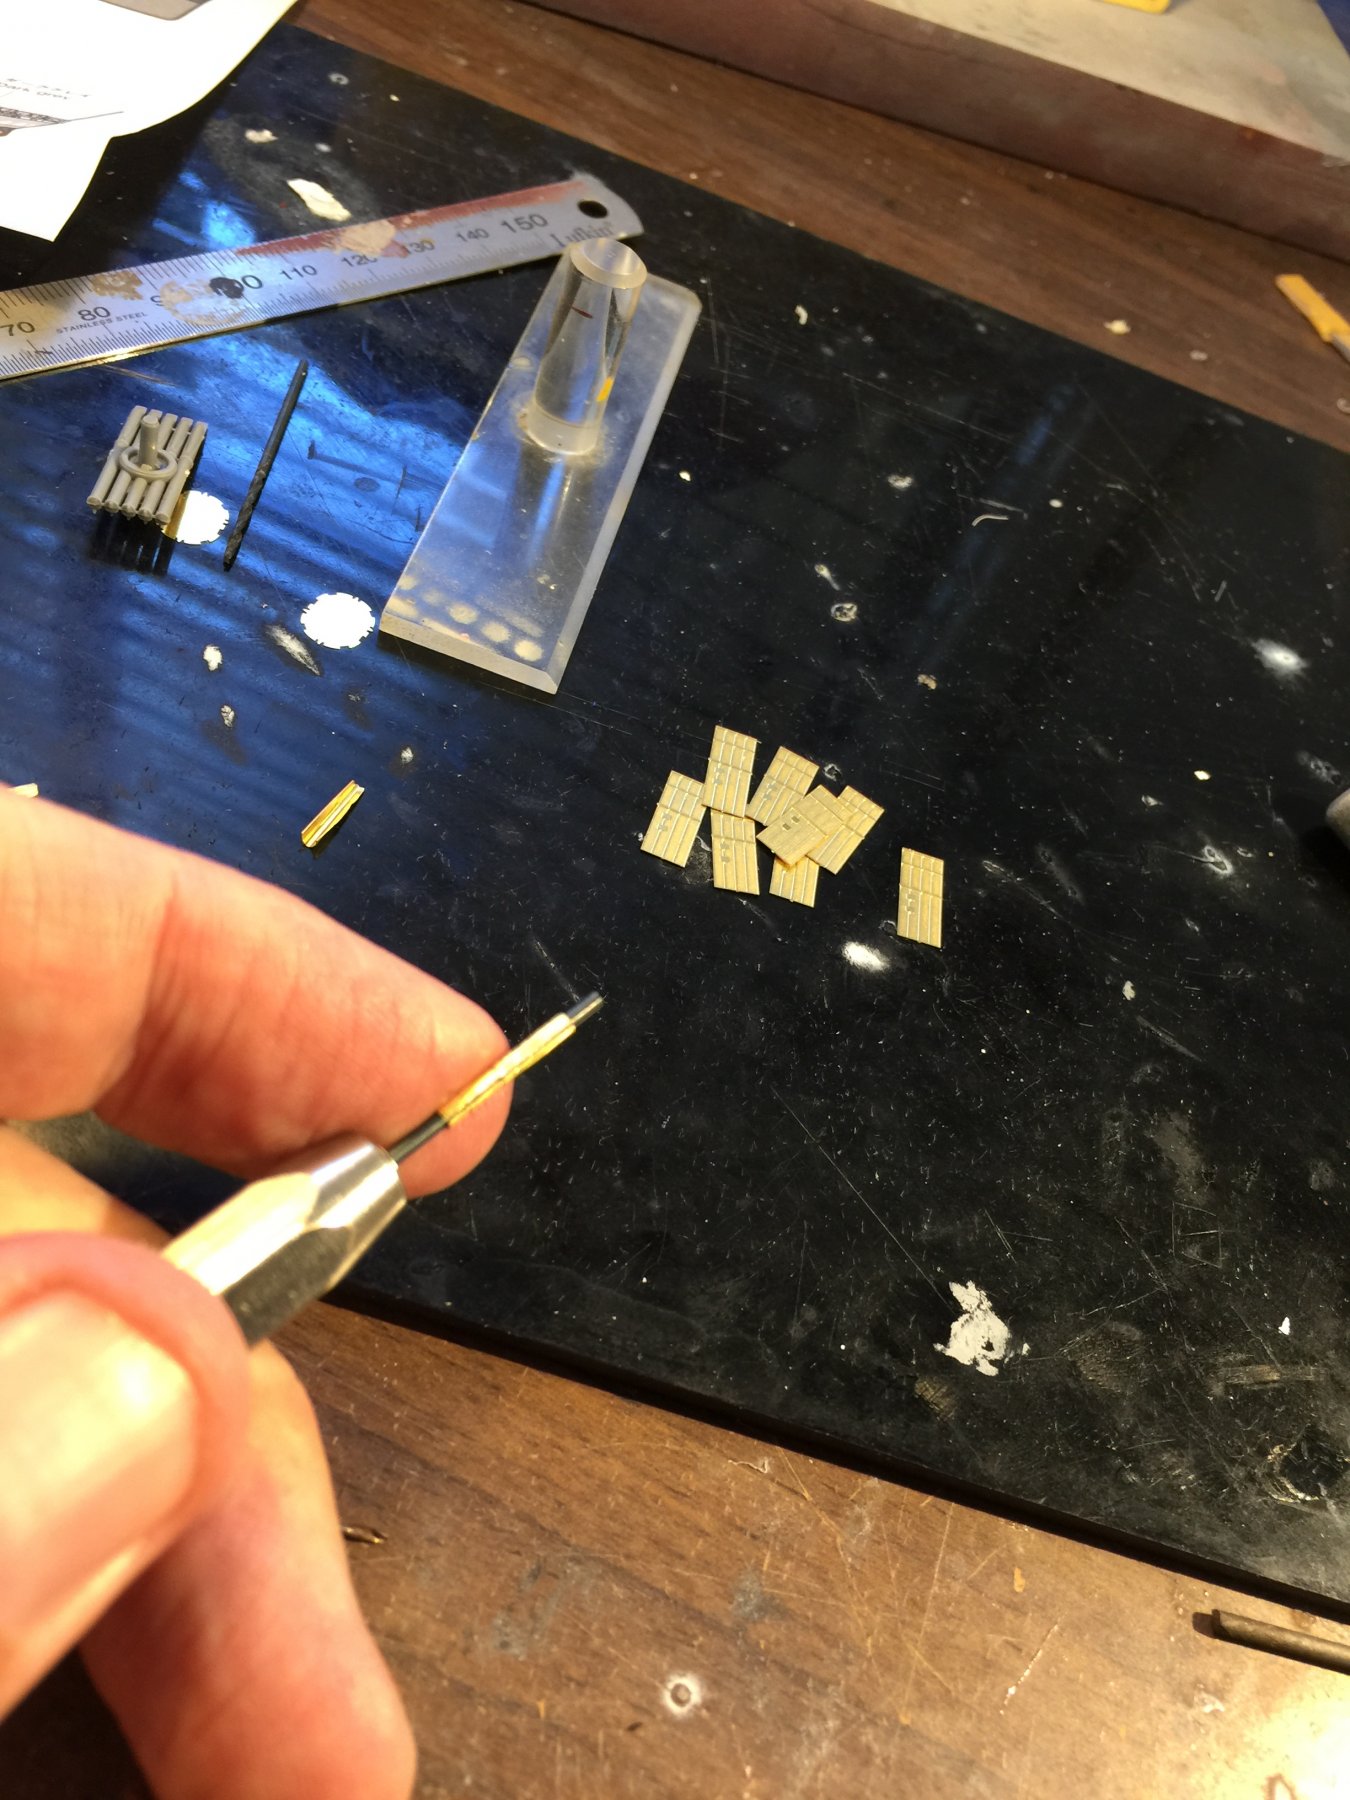
Um, don’t know what that is, I just bent them around a drill bitt. They are about the size of a thumbnail so any further details added just would get lost in glue.
-
-
1 hour ago, Canute said:
Whatever it takes to get the part shaped and glued.
Greg, what is the flat round doohickey laying on the surface plate in post #54? Looks like a scraper/shaper tool?
The little brass circle? It’s just an off cut
- Canute, popeye the sailor, Piet and 2 others
-
5
-
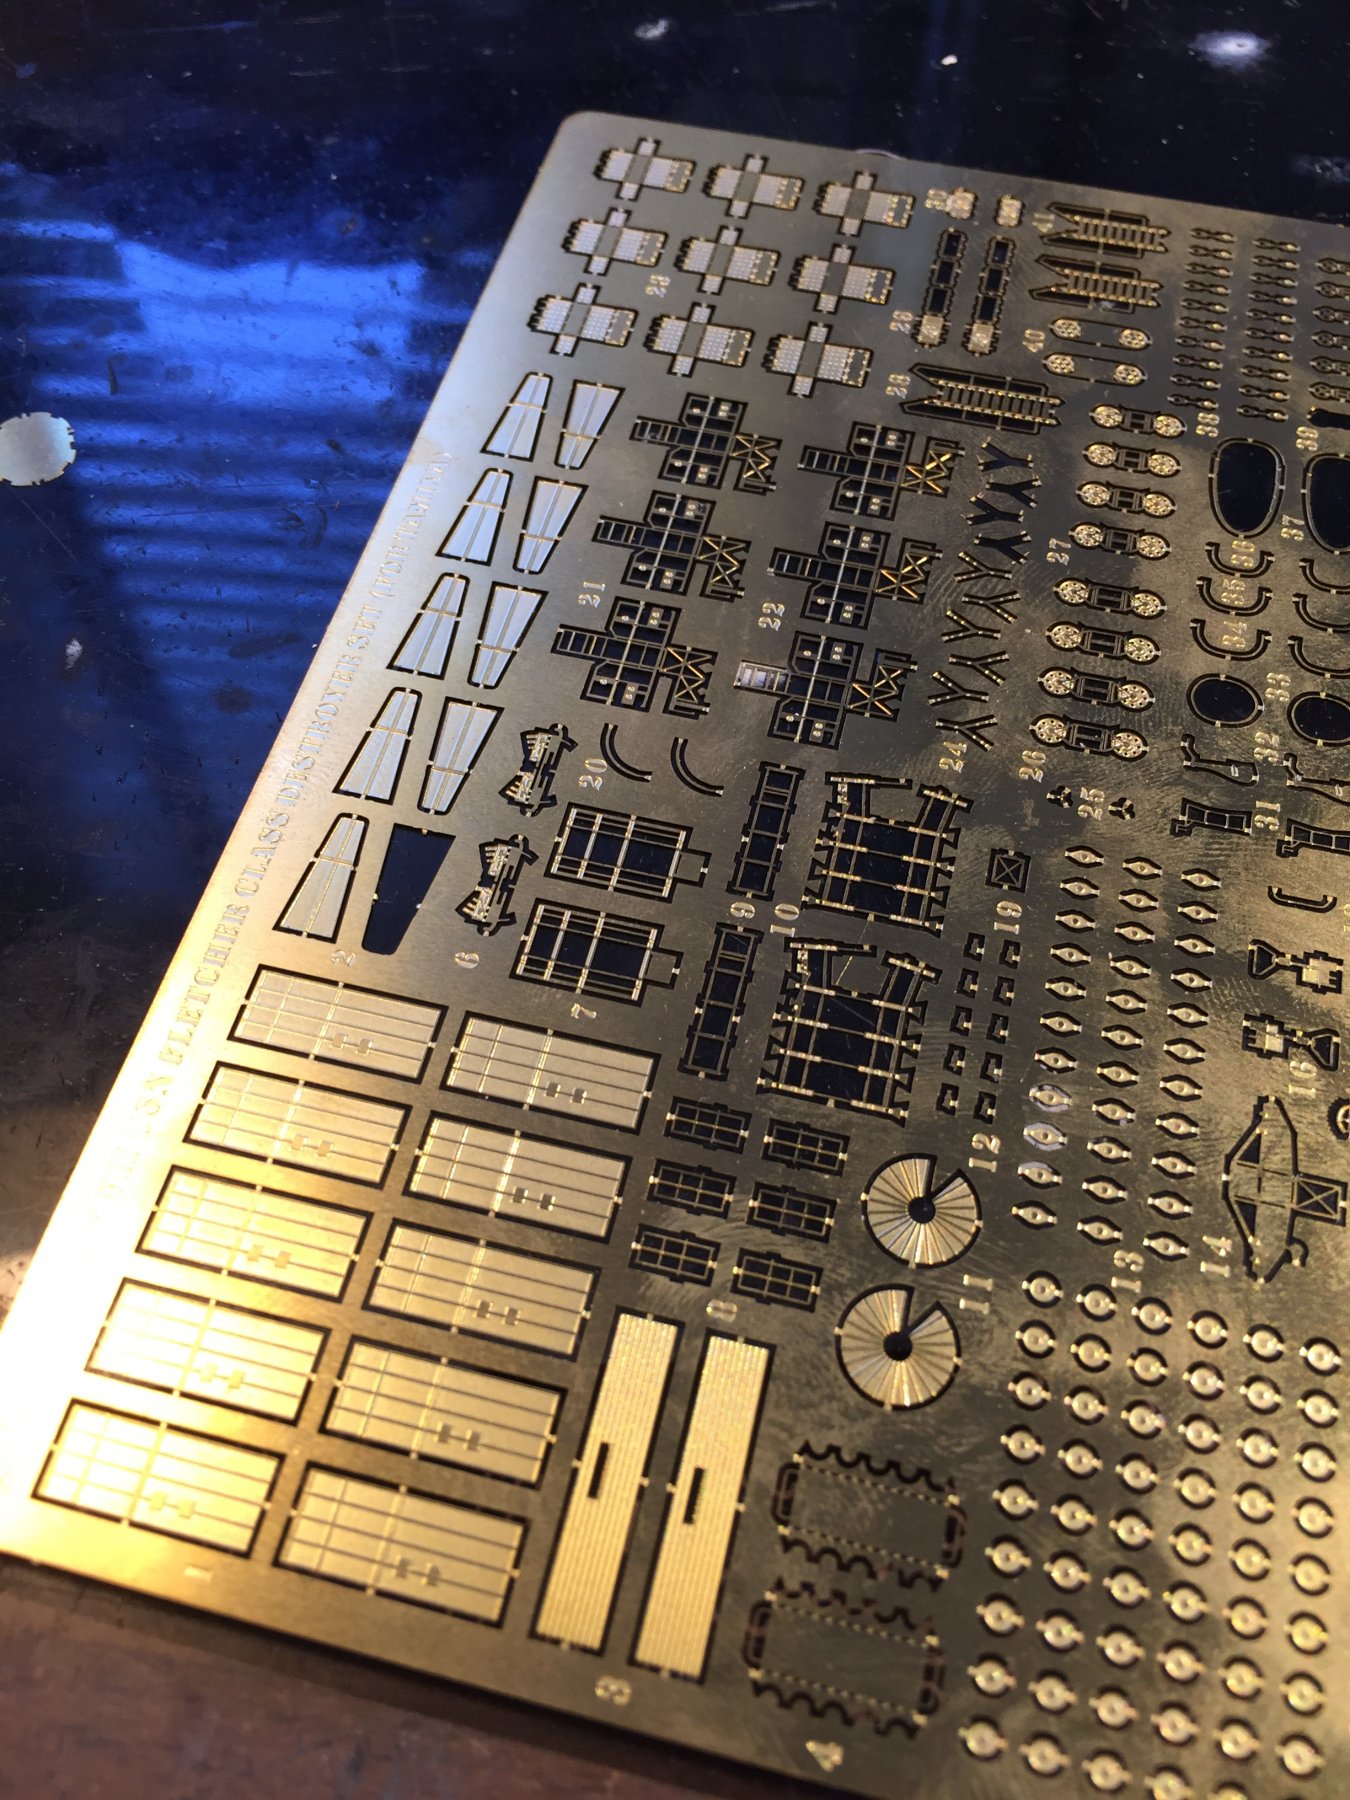
That bit is provided too!
- Canute, Piet, Old Collingwood and 3 others
-
6
-
Ah ha! Cog’s back!
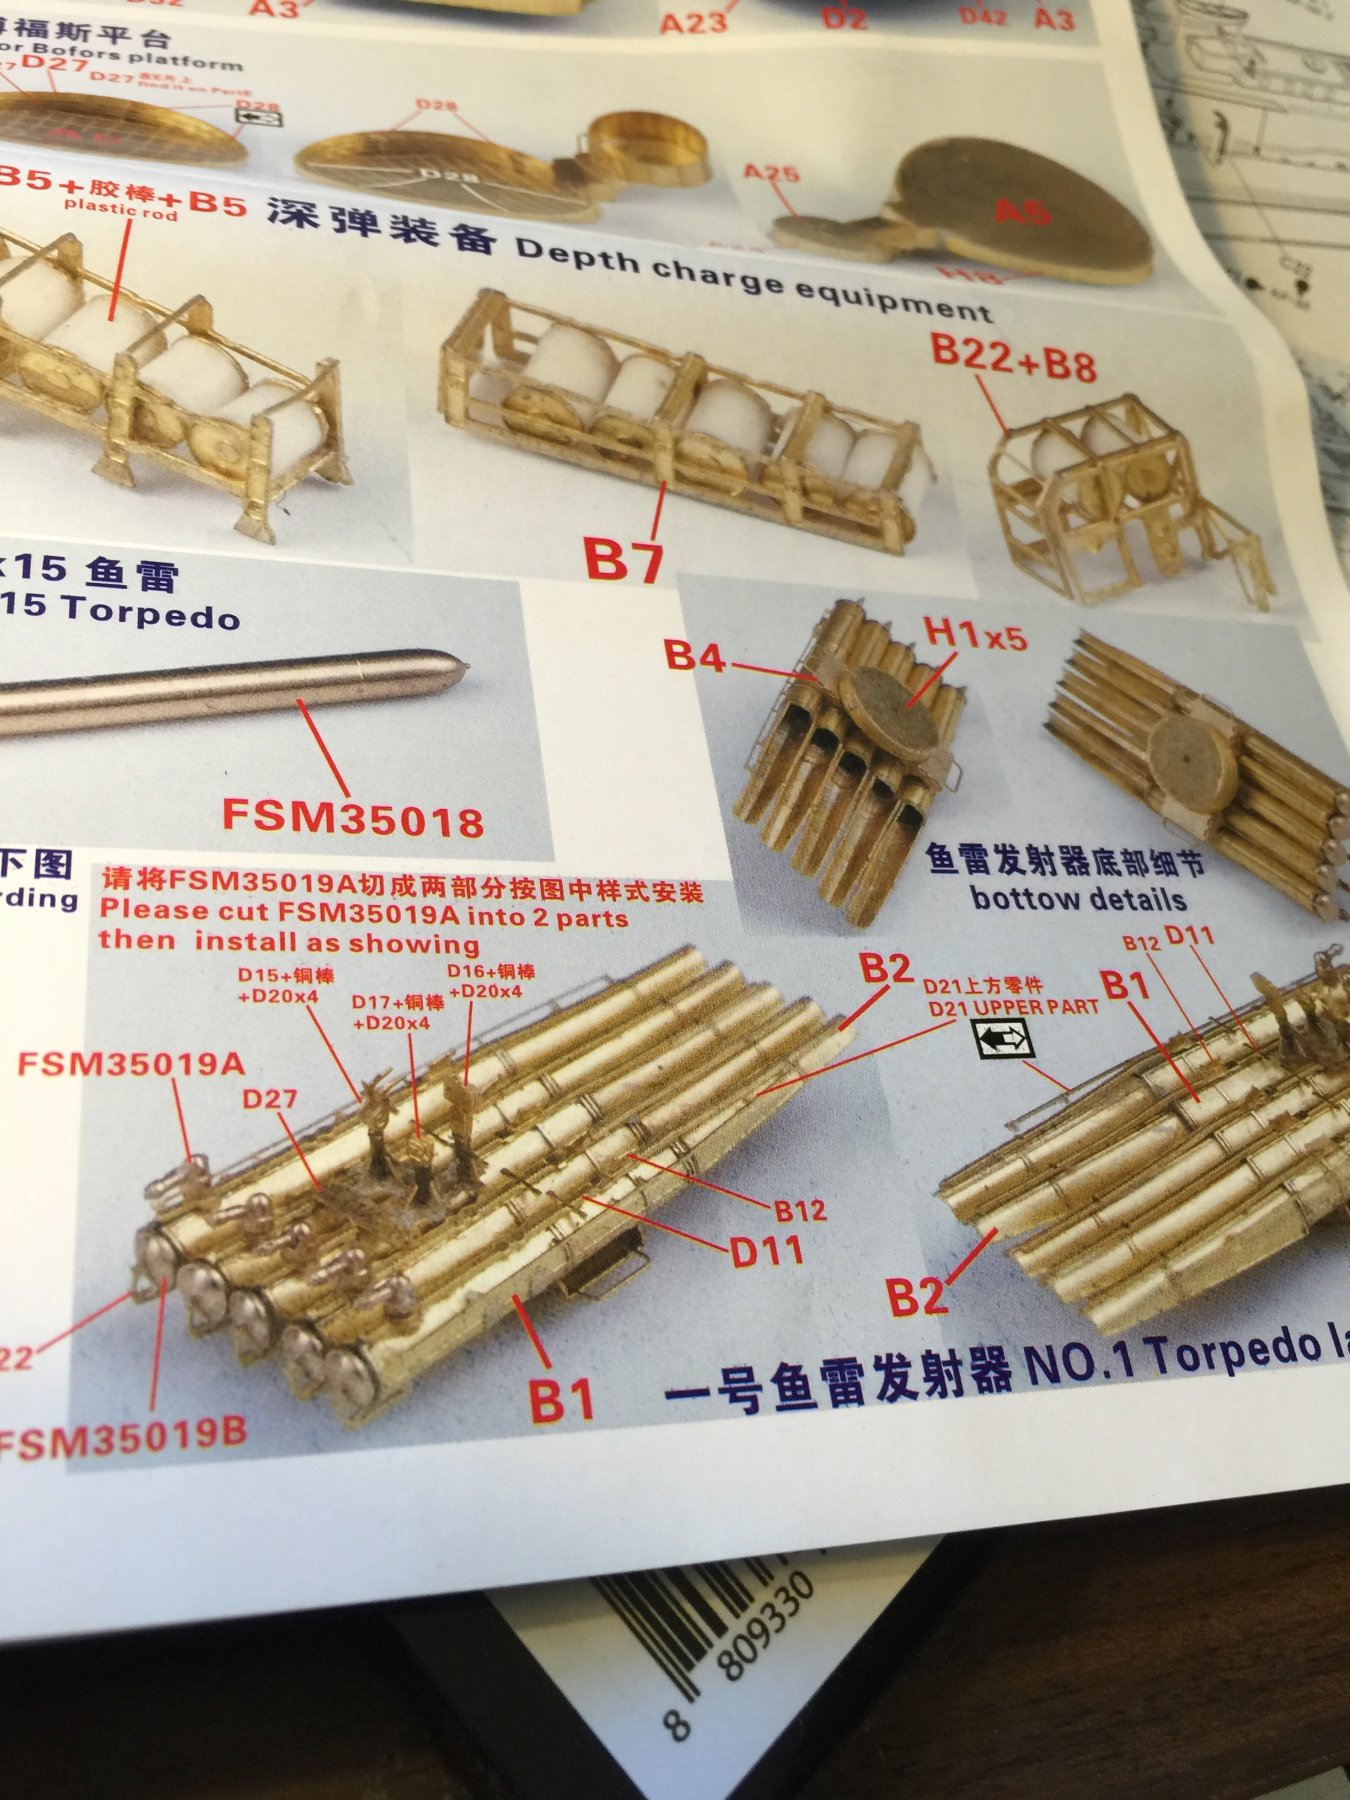
Nearly every PE instructions I have seen have some type of beni g instructions not the finished product that just mentions the part numbers.
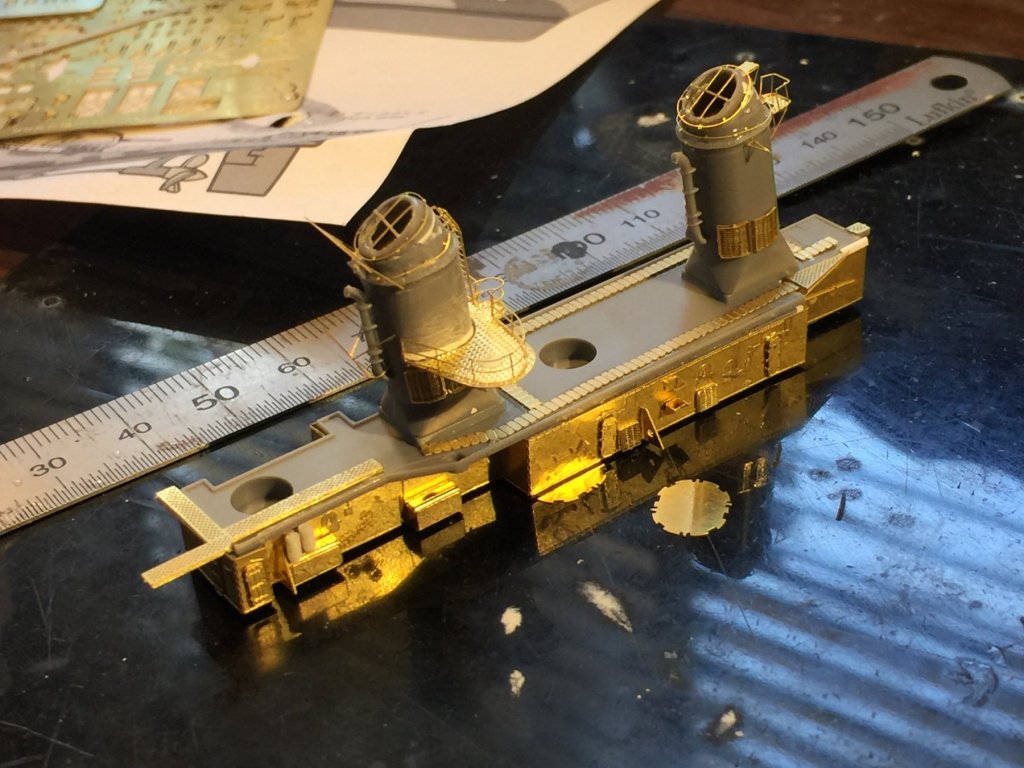
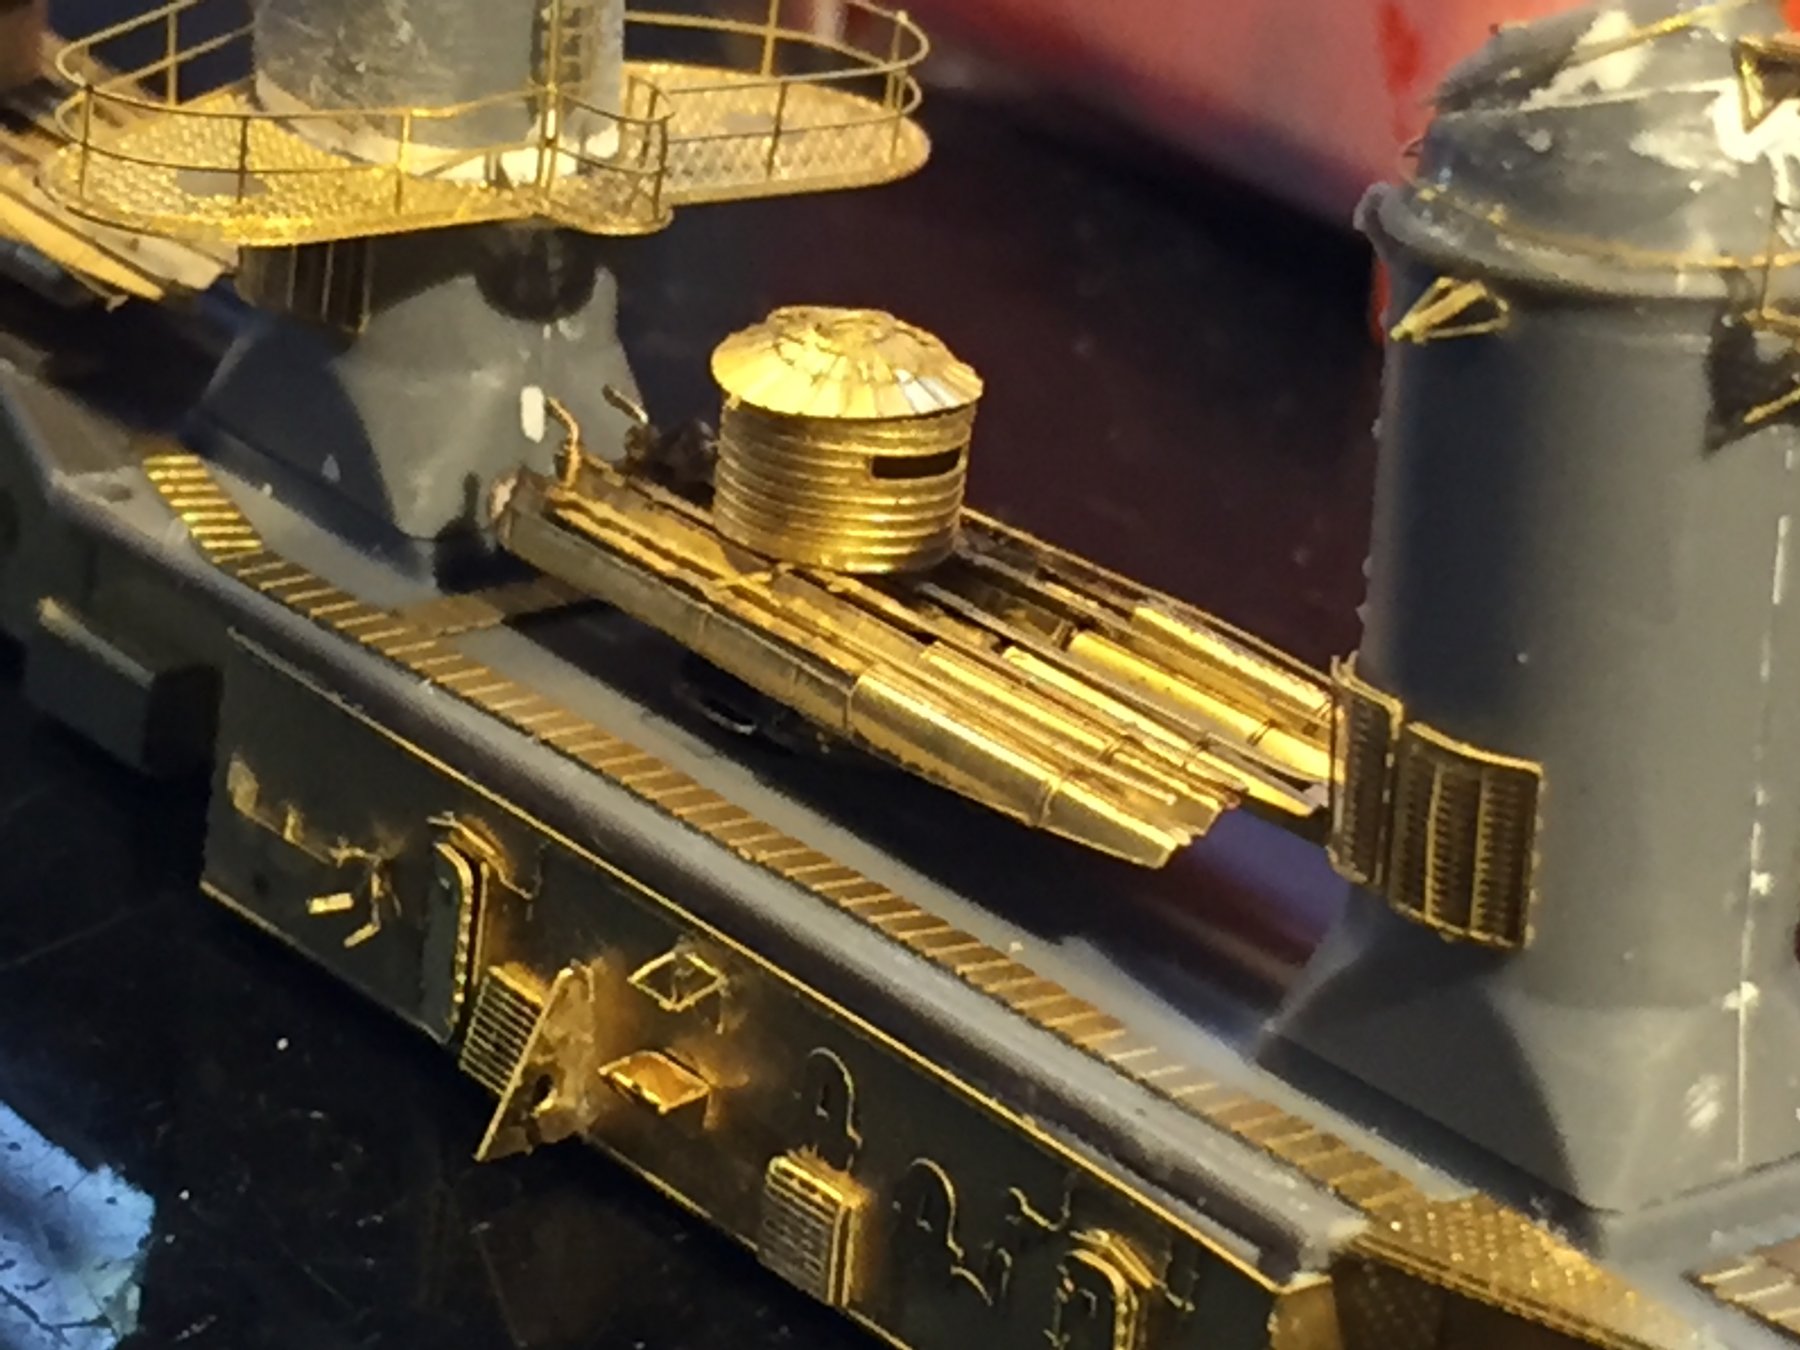
For instance, the rear end of the torpedo types require rolling then wrapping around a drill bit to even come close to being right, and I’m yet to see any instructions for that.
-
I’d hate to think what would happen if this was someone’s first PE set! It’s quite hard.
- lmagna, mtaylor, Old Collingwood and 3 others
-
6
-
-
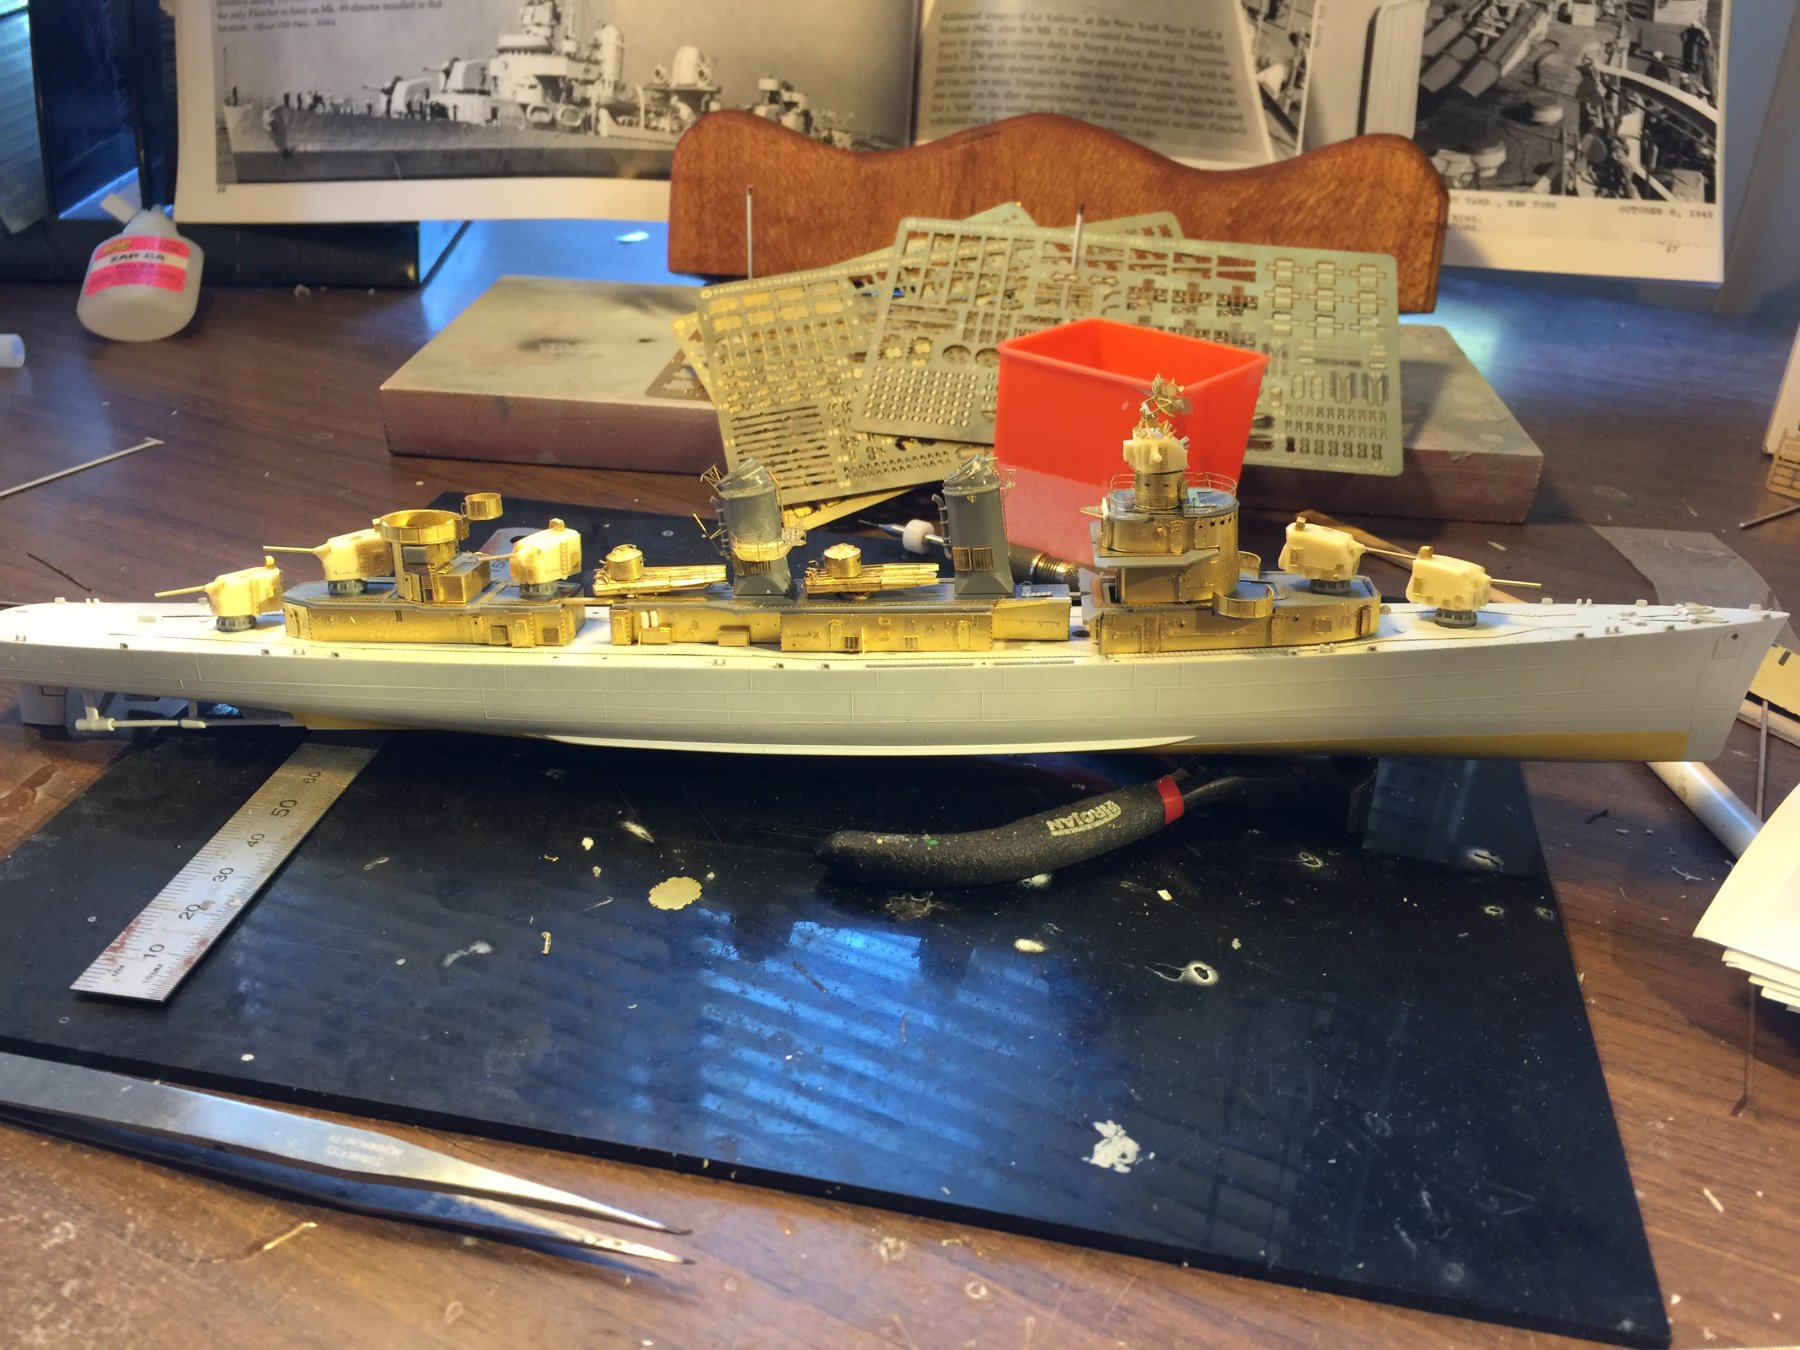
Fletcher amidships, there are two lots of torpedo tubes to go yet.


USS Fletcher by RGL - FINISHED - Tamiya - 1/350 - PLASTIC
in - Kit build logs for subjects built from 1901 - Present Day
Posted
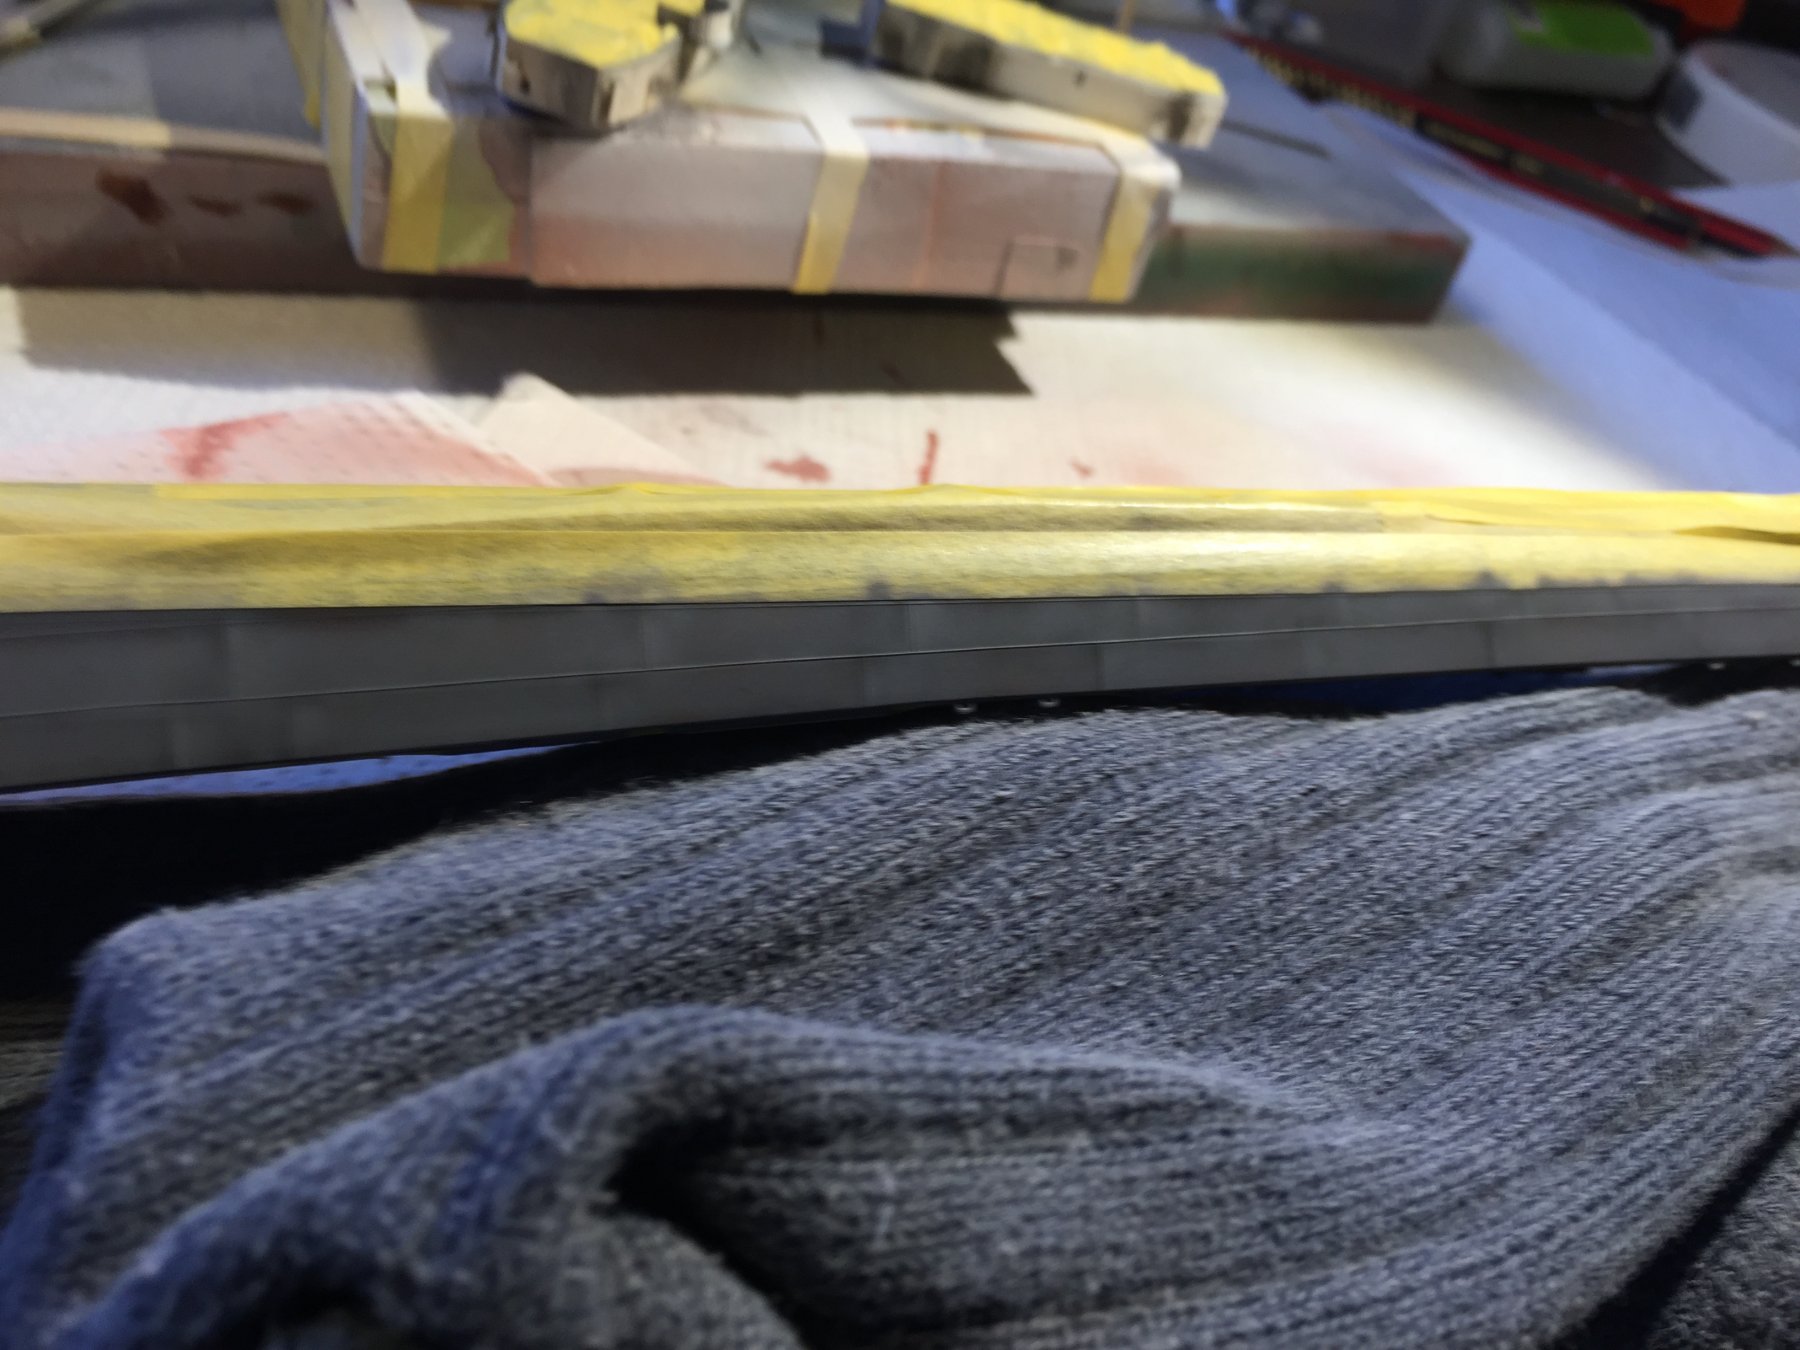
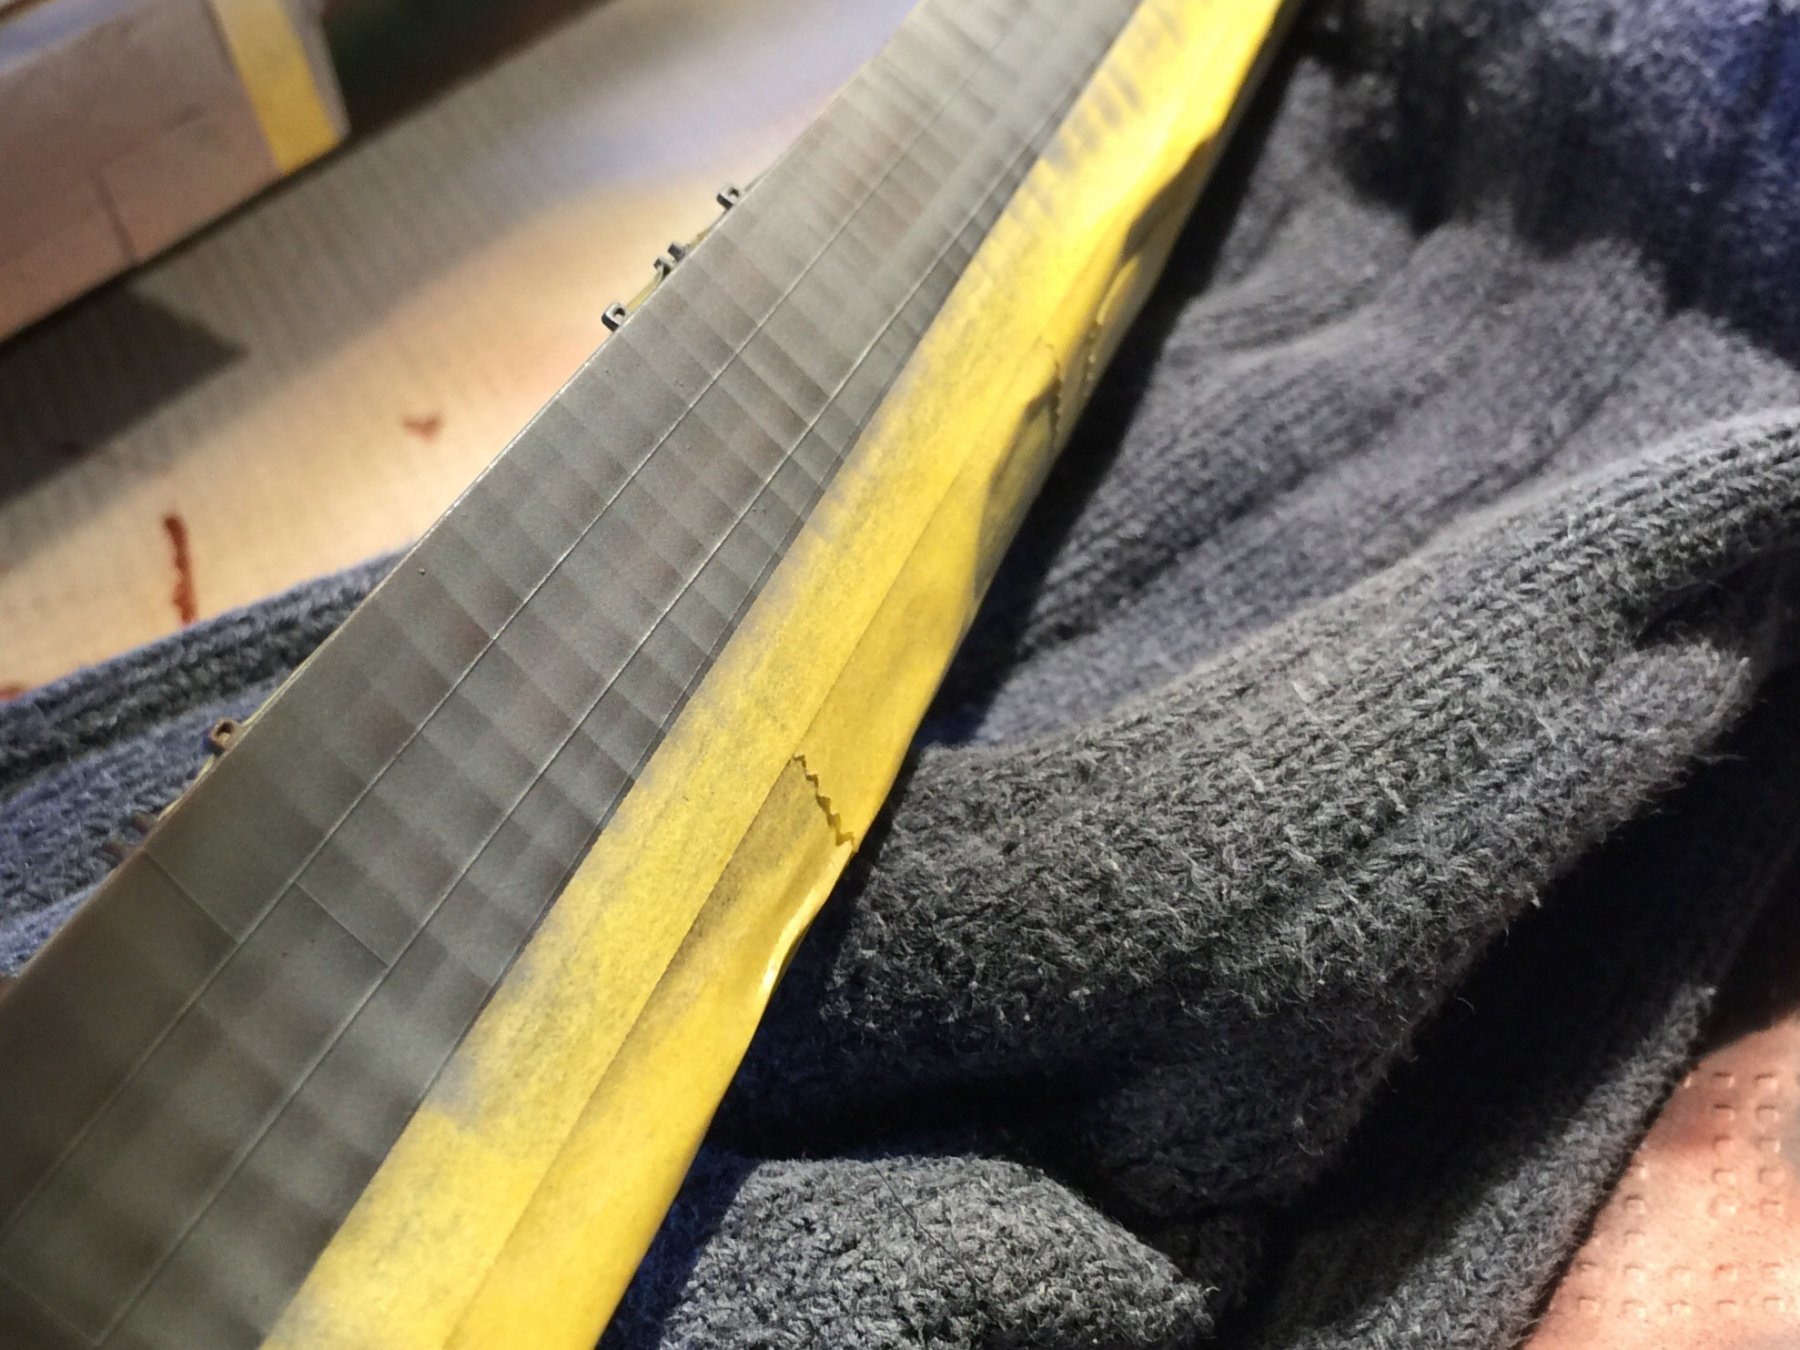
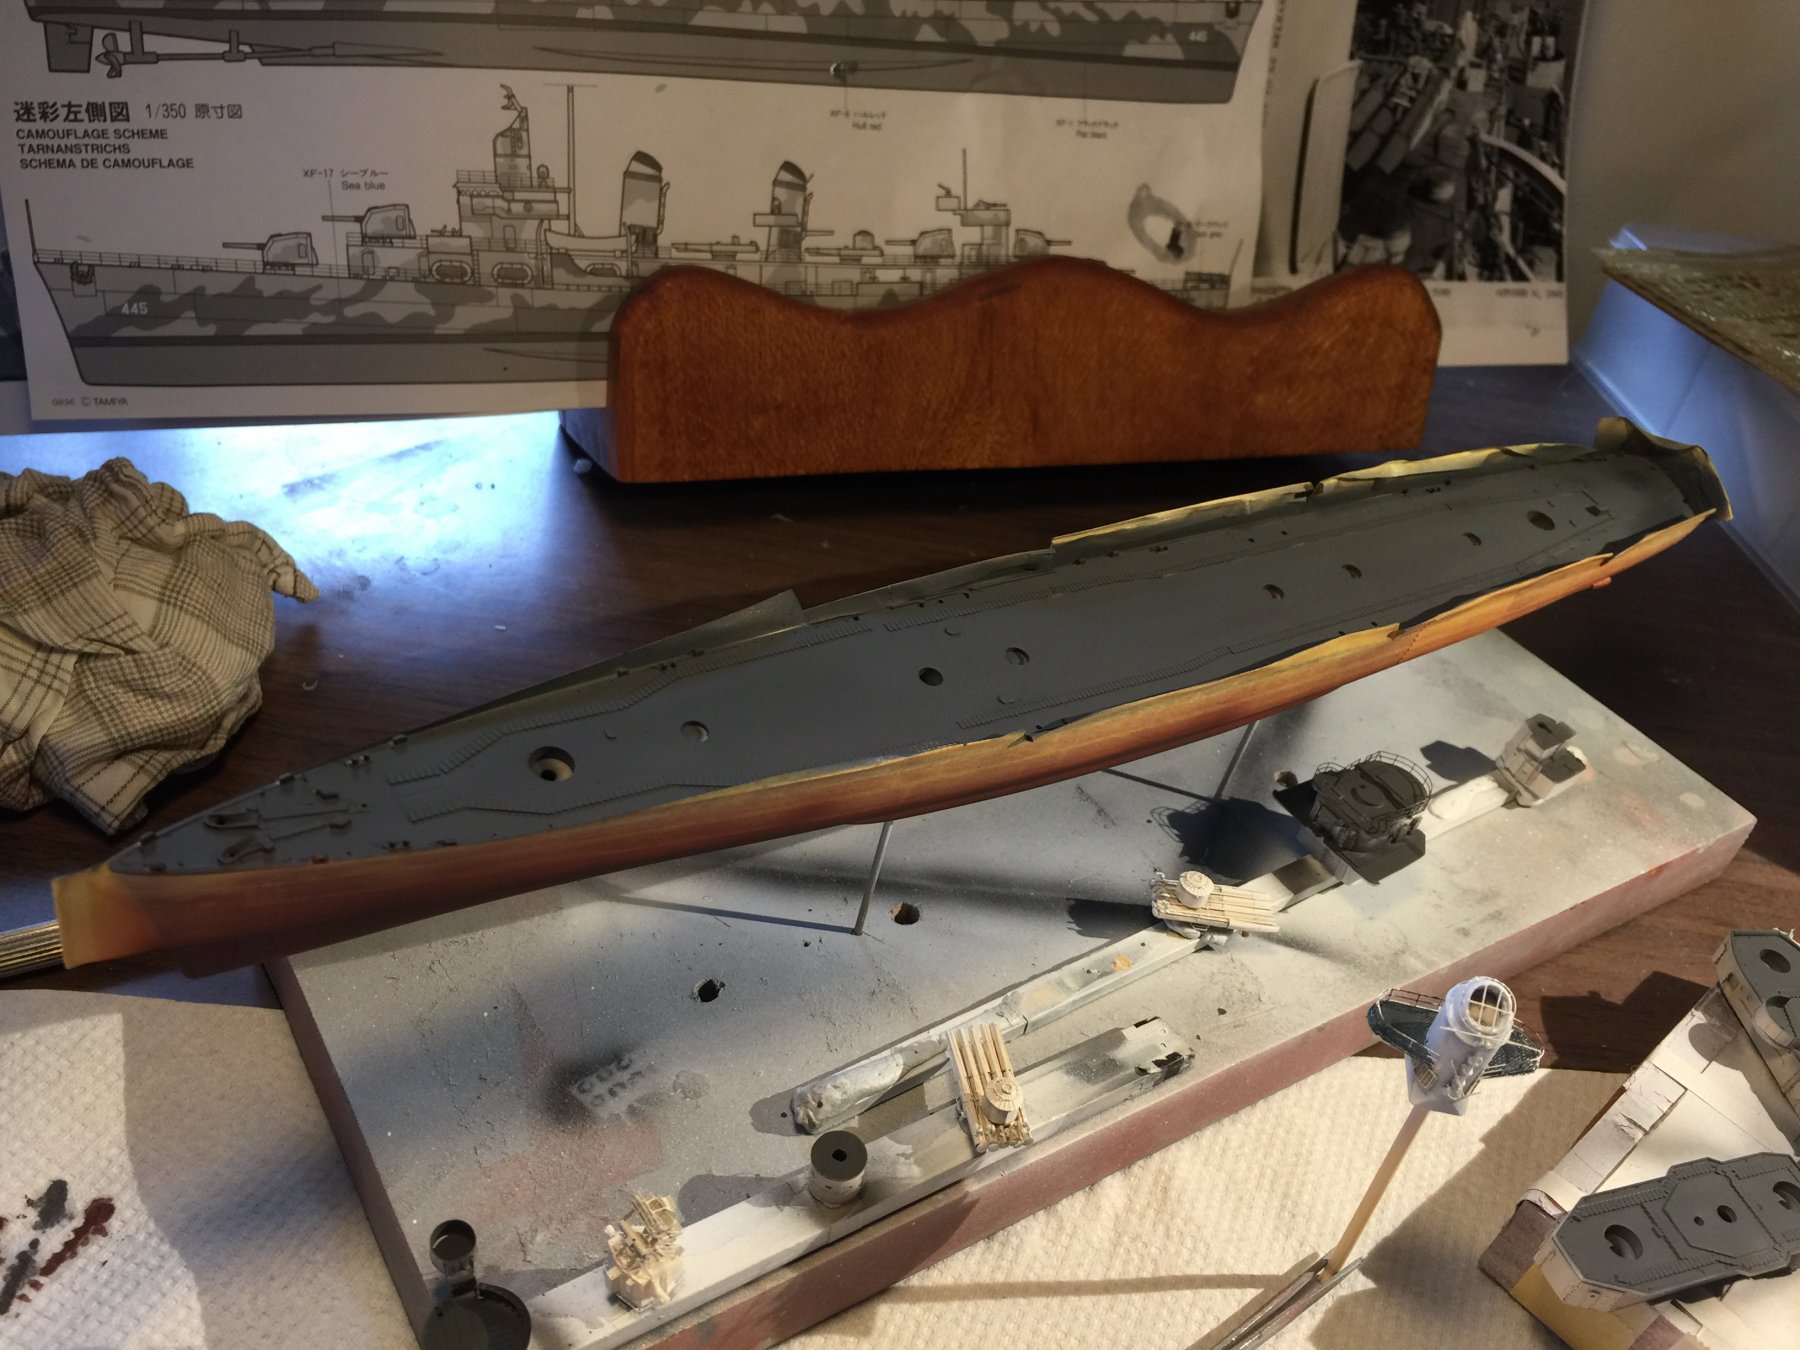
About 3 hours of masking,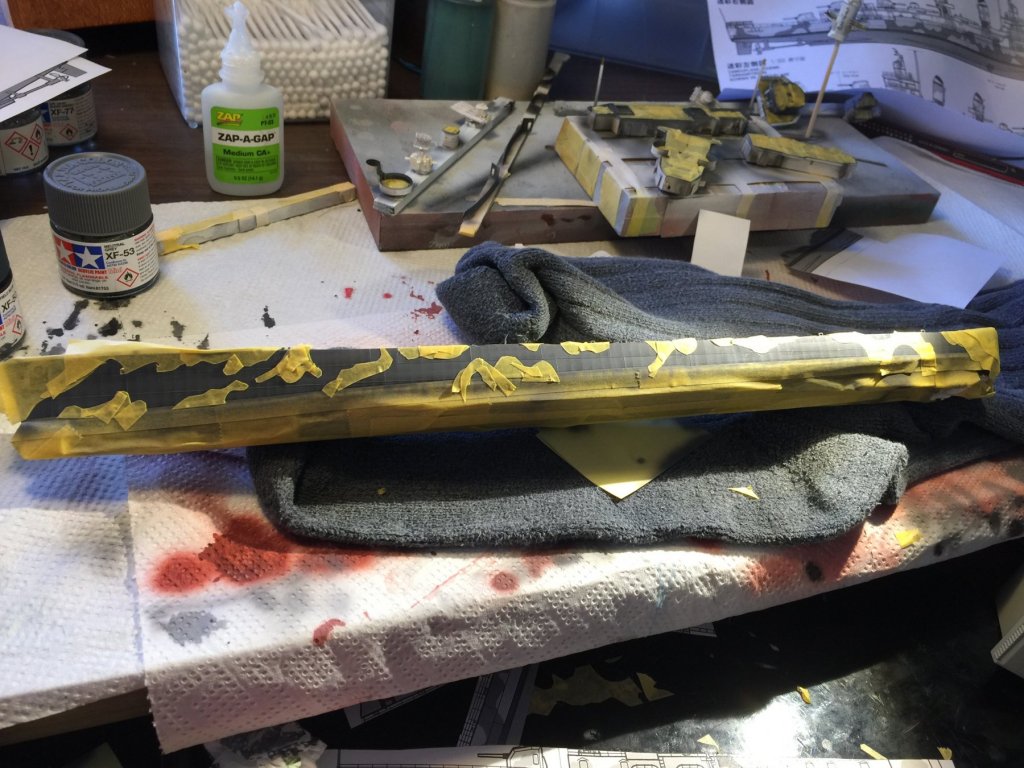 using a pencil on the masking to ensure the oilcanning lines up, sea blue,
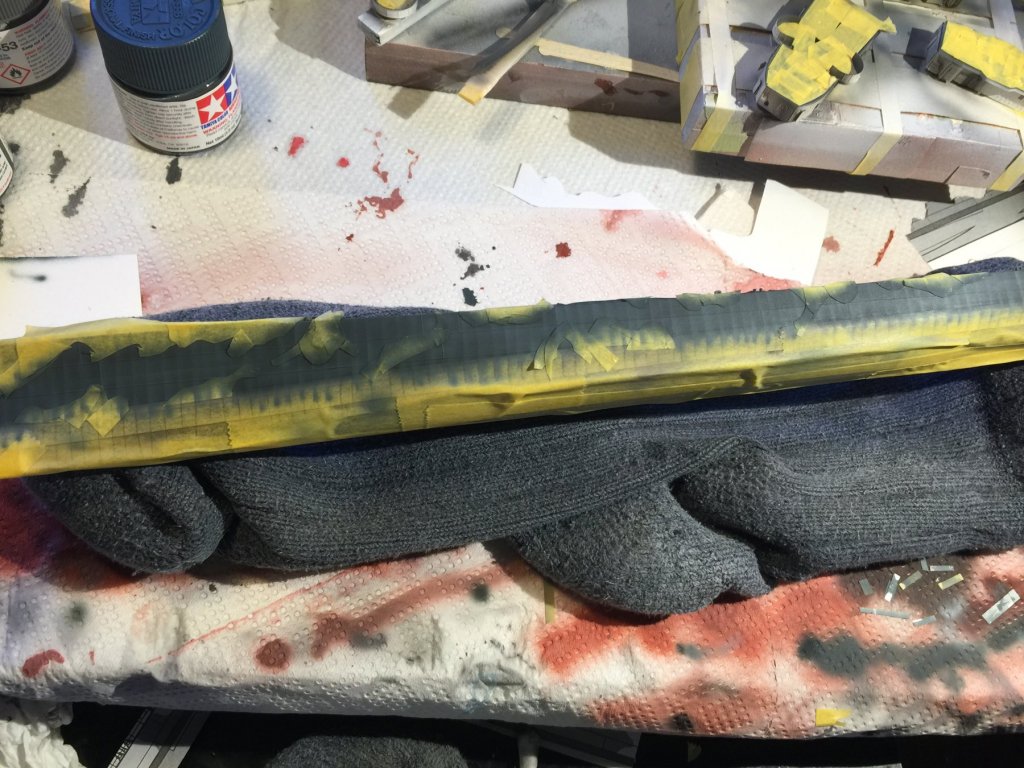 and the same process as with grey, I’m pretty happy with the outcome so far.