

tlevine
-
Posts
1,956 -
Joined
-
Last visited
Content Type
Profiles
Forums
Gallery
Events
Posts posted by tlevine
-
-
-

The History of Navigation written by Dag Pike traces the history of navigation from pre-history to the present. Mr. Pike is a lifelong mariner, having first gone to sea at age 16, has written many books and is a contributor to various marine magazines. Instead of dividing his chapters by historical time frames, he divides them by technique, starting with line of sight navigation and moving on through direction, speed, position, etc. He finishes with a discussion of the human element in navigation.
Although there is no new information presented, this is a well-written, easy-to-read summary of naval navigation throughout the ages. There are many charts and photographs reproduced throughout the book but sources are only cited for a few of them. In the same way, none of the information is referenced, making it difficult for the reader to obtain further information without additional research.
The book was published in 2018 by Pen & Sword Maritime. It is available in both hardbound and digital editions at www.pen-and-sword.co.uk.
-
Bob is correct in his comments. Yes, there are many of us who insist on individual copper plates treenails everywhere, etc. Are we goofy? To a certain extent we are. Remember that you are building a 3/16 scale ship. These things would be barely evident. What would look really jazzy, in my opinion, would be to make the copper paint look like the real thing by subtly weathering it rather than having it all the same color.
-
What made it worse was that the builder removed the evidence (the rags) but forgot to cut out the subflooring they burned through. Oops!
- Canute, thibaultron and mtaylor
-
 3
3
-
When my house was under construction 30-ish years ago, the painters used tung oil as the finish on my windows. The rags were left in a pile and spontaneously combusted, burning a large hole in my bedroom floor. I was lucky the whole place didn't go up in smoke.
- Canute, thibaultron, mtaylor and 1 other
-
4
-
May I recommend either of the links below. The first link is to purchase CD's and flash drives of the Nautical Research Journal going back all the way to the beginning. The second link provides access to purchasing individual articles from the Journal for the last 10 years. Prior to that the Journal was not digitized, making purchase of individual articles difficult to provide. Roger Coles' articles predate this.
- mtaylor and greenstone
-
2
-
-
At this scale (3/16) the seams between the planks would naturally be almost invisible. It is the rare builder who is entirely happy with their first true planking attempt. Although uneducated observers (aka friends and family) will probably barely notice the problem, it will stare at you like a black eye forever. I would recommend getting a perfect finish on that hull with the use of filler and sanding sealer and then paint the hull, either with an airbrush or conventionally. You will end up happier in the long run and observers will be impressed by the painted hull, probably even more so than if you simply left it natural.
- Chuck Seiler, mtaylor and GrandpaPhil
-
3
-
-
Not true Chuck. I am no machinist but my understanding is that it will fit any #0 Morse taper spindle.
- Chuck Seiler, Canute and mtaylor
-
3
-
Pam from Sherline had a great mast and spar turning demonstration. Take a peek at the photos above and you will see a soon-to-be-available accessory for the lathe: an internal live center. Put a bevel on the wood blank, insert that end into the live center, secure it to the headstock by whatever means is appropriate (she is showing the use of a lathe dog for a tapered cut in the photo) and away you go. Very nice. Thank you, Pam.
-
-
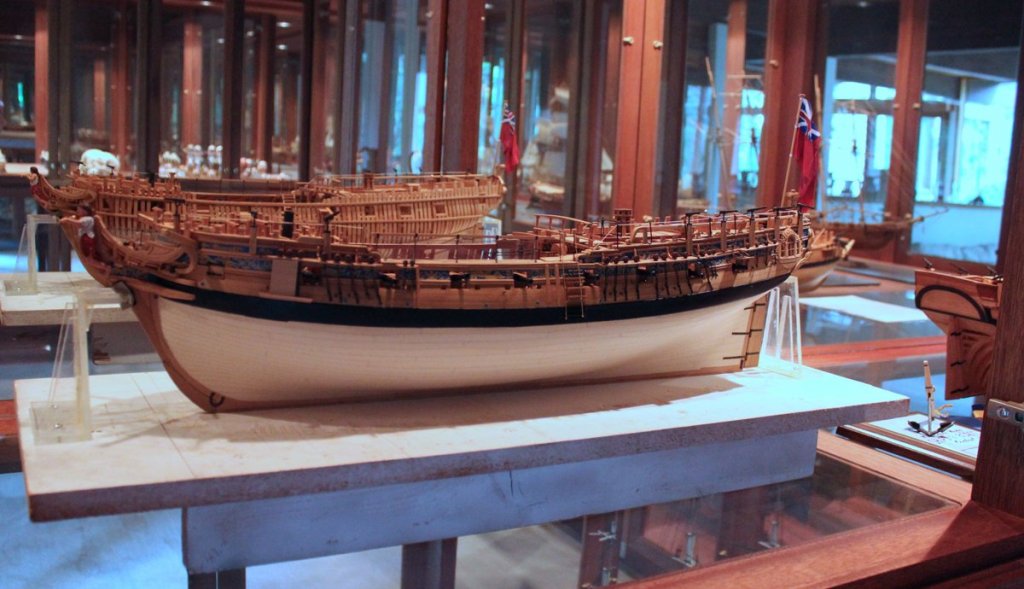
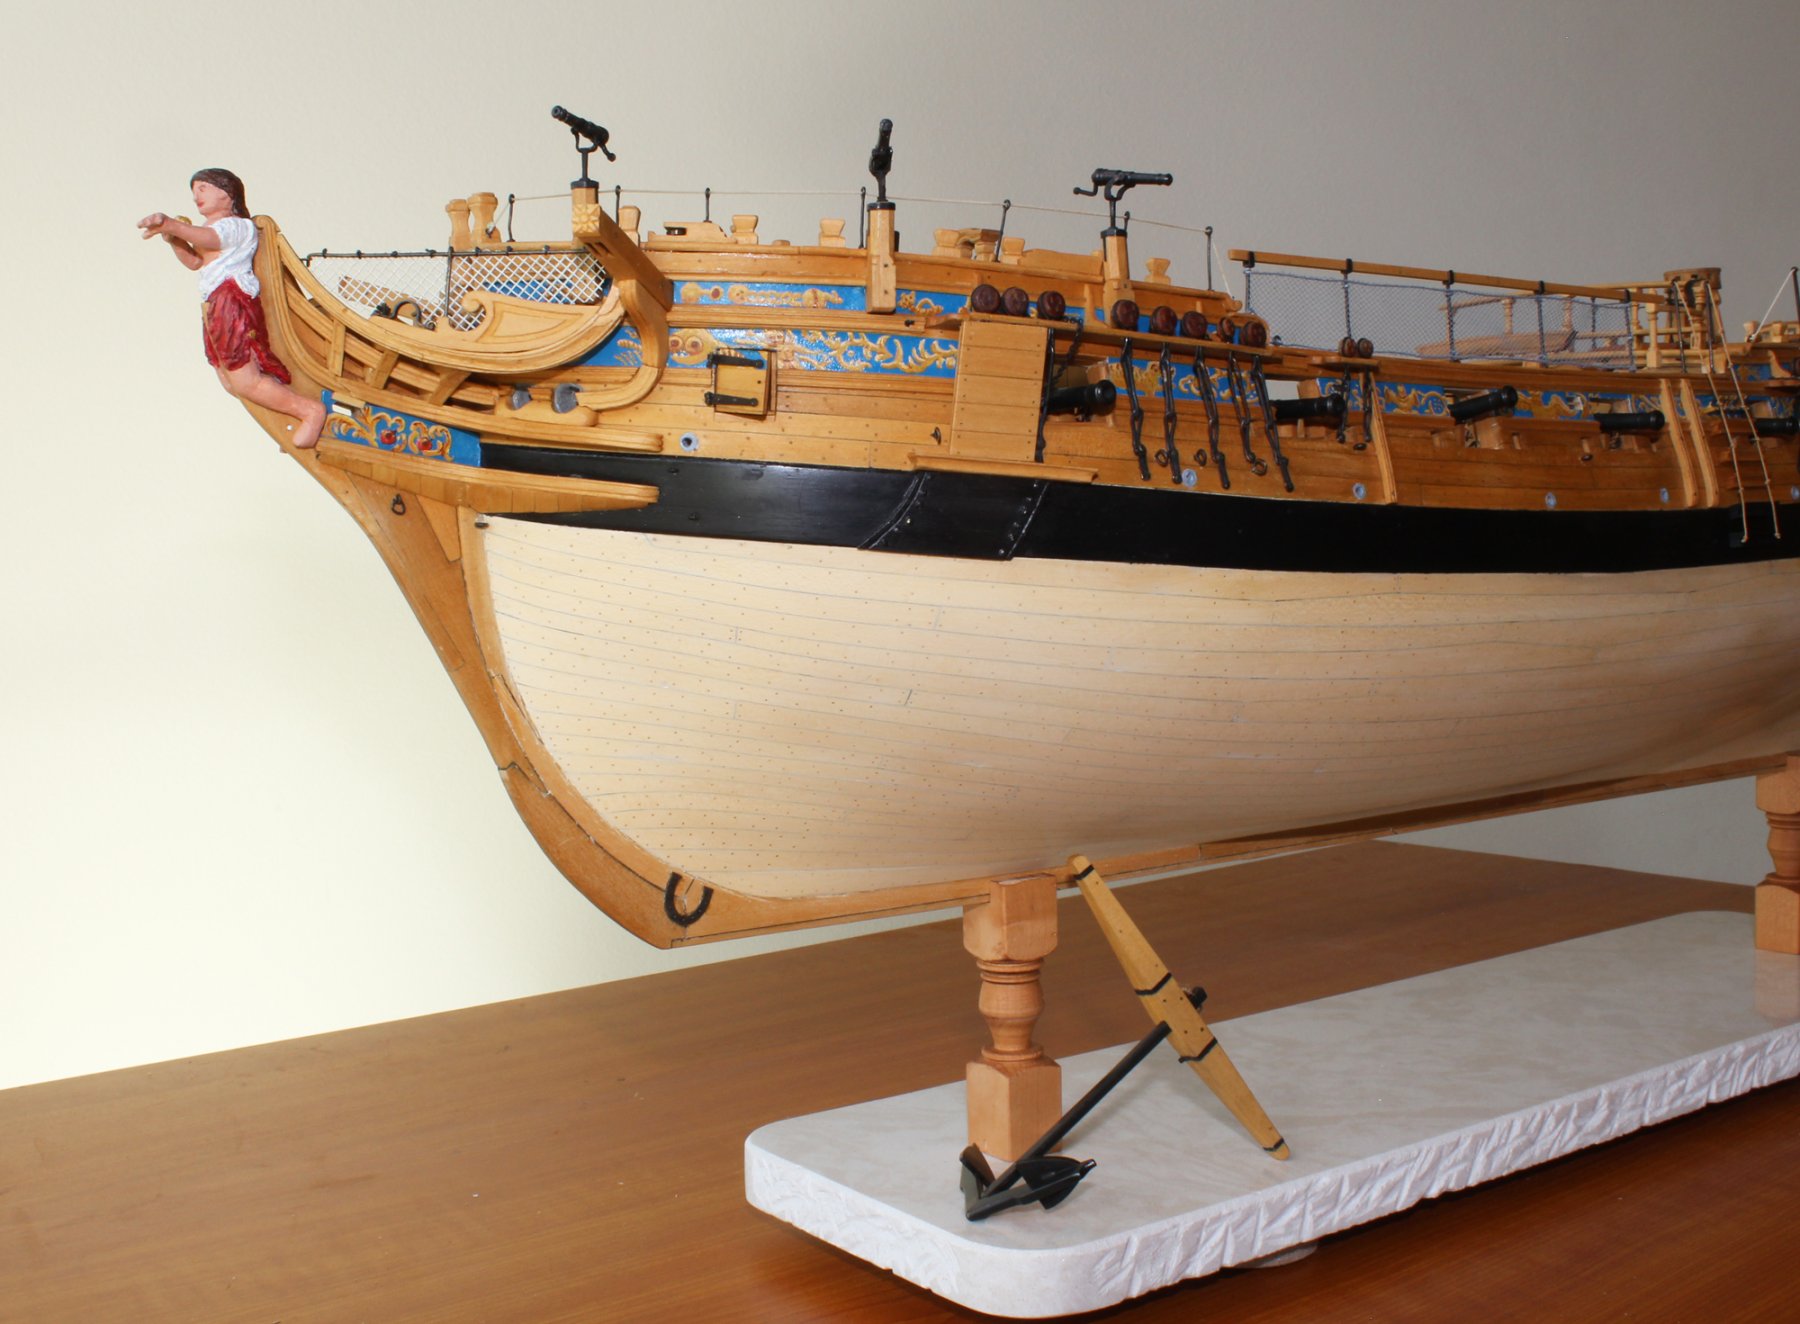
I am bringing her to Las Vegas, Chuck, although the thought of having her on the back seat all the way from Chicago and back is giving me chest pain. There will be no sudden stops!
- herask, Martin W, Chuck Seiler and 4 others
-
7
-
-
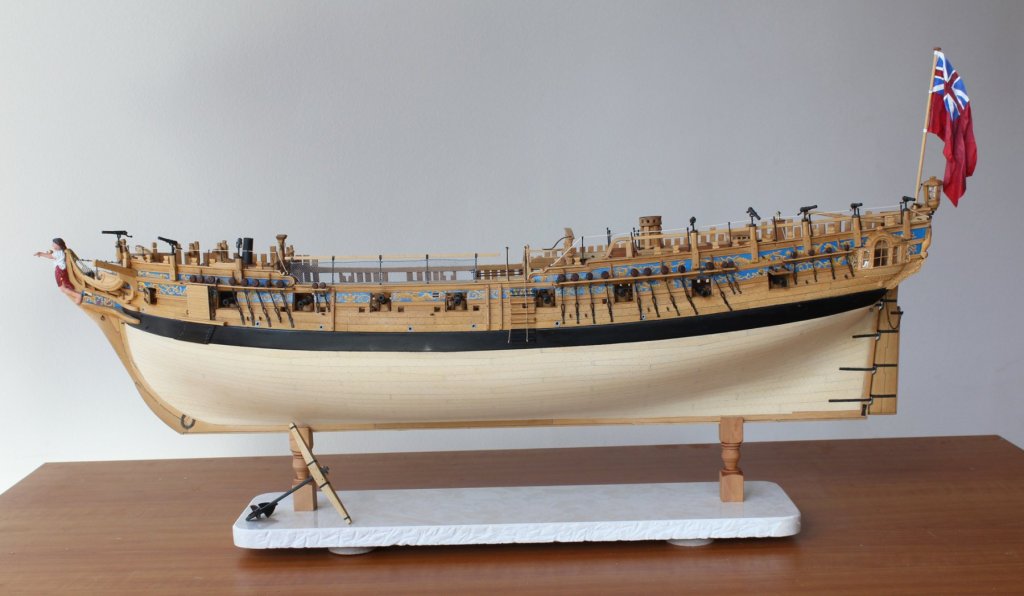
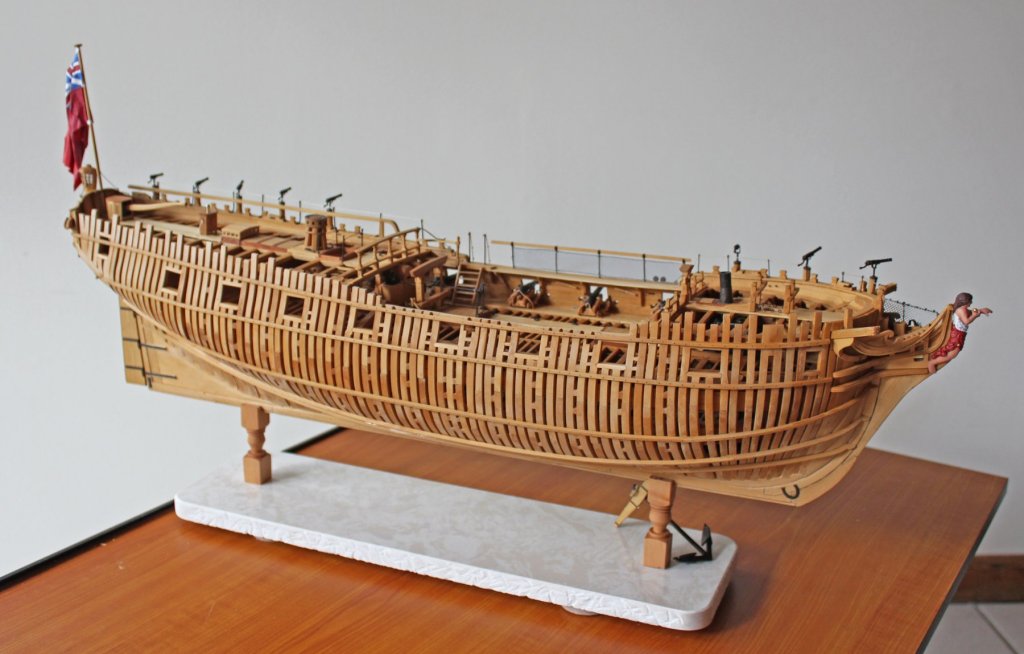
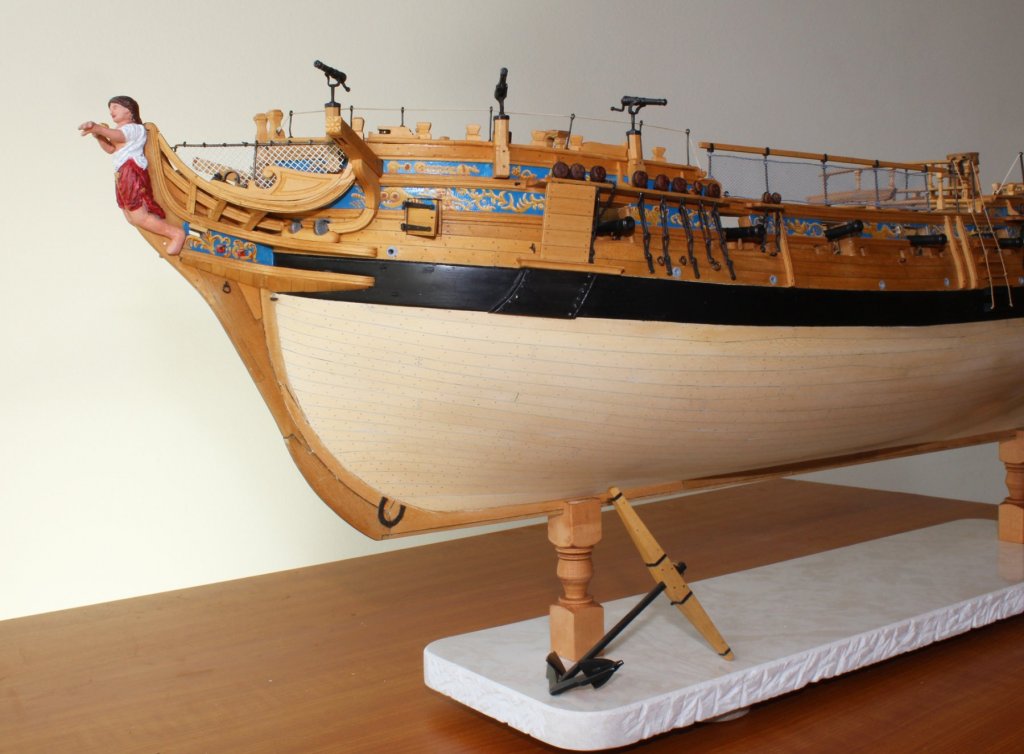
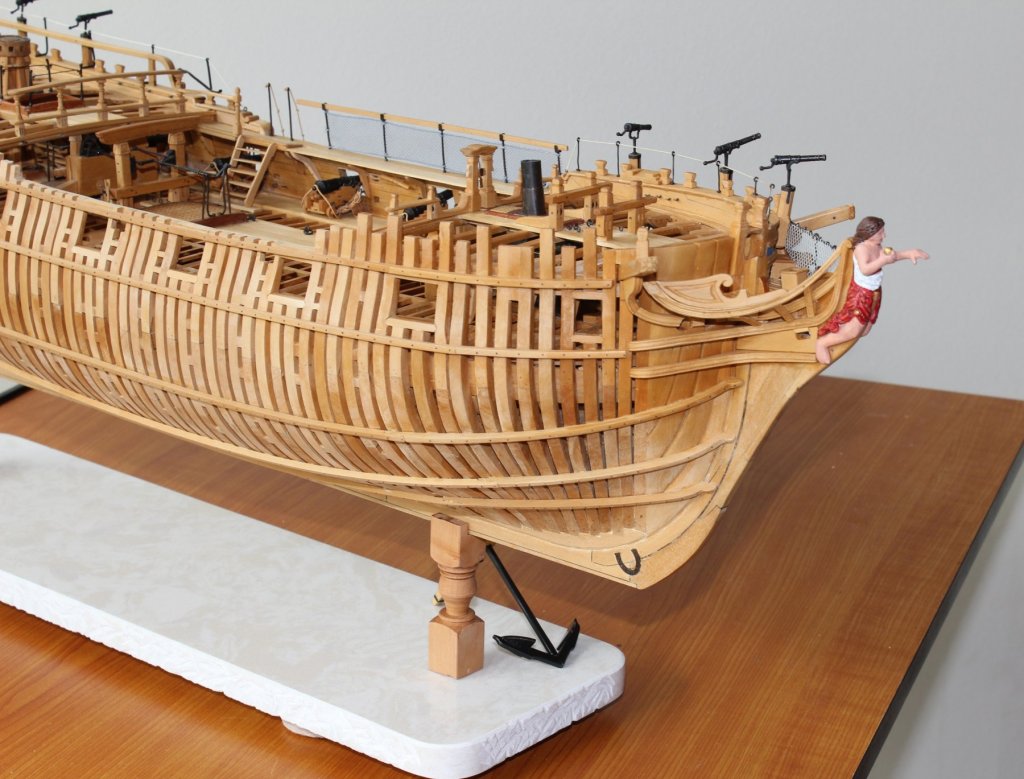
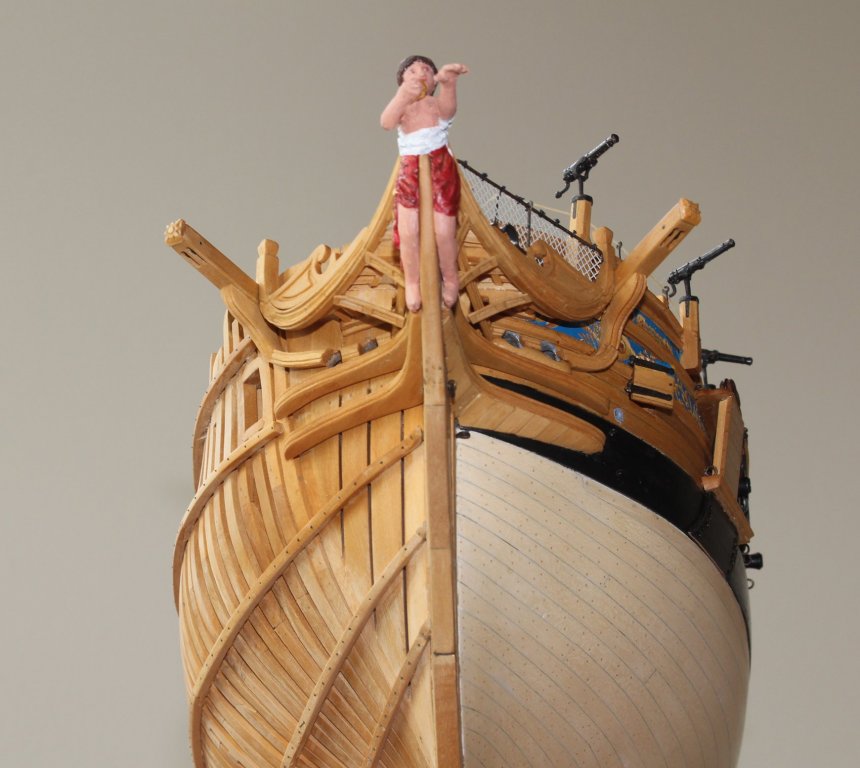
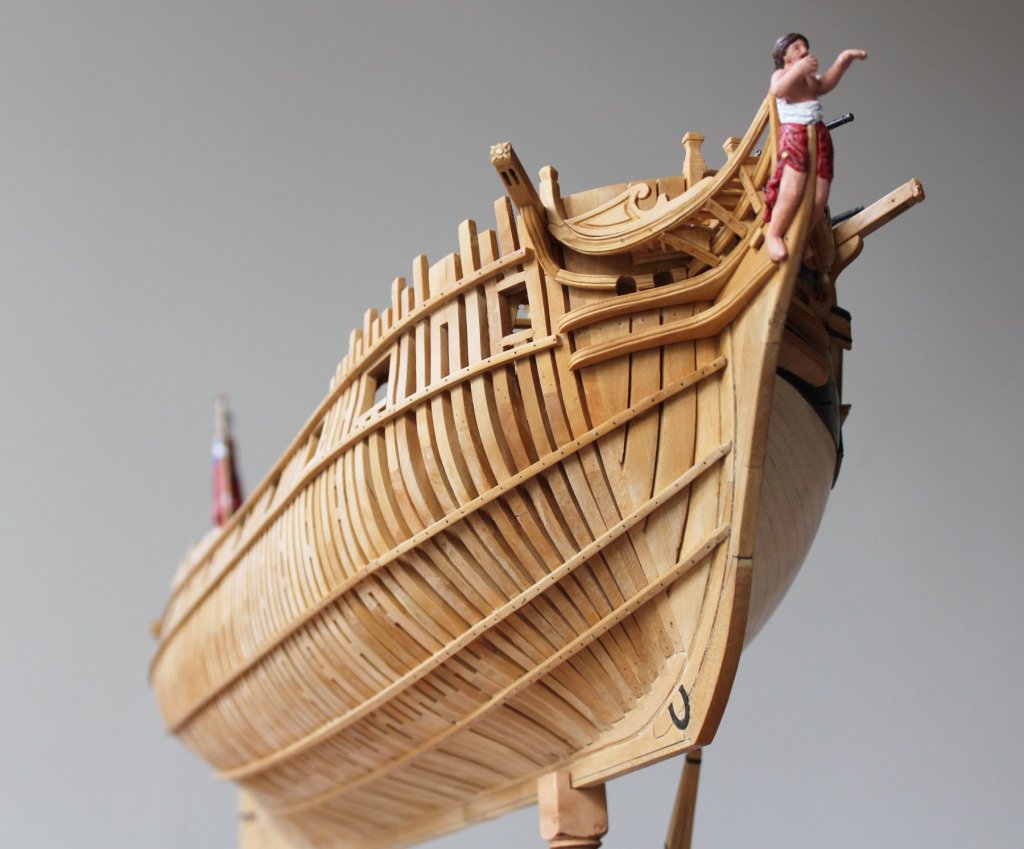
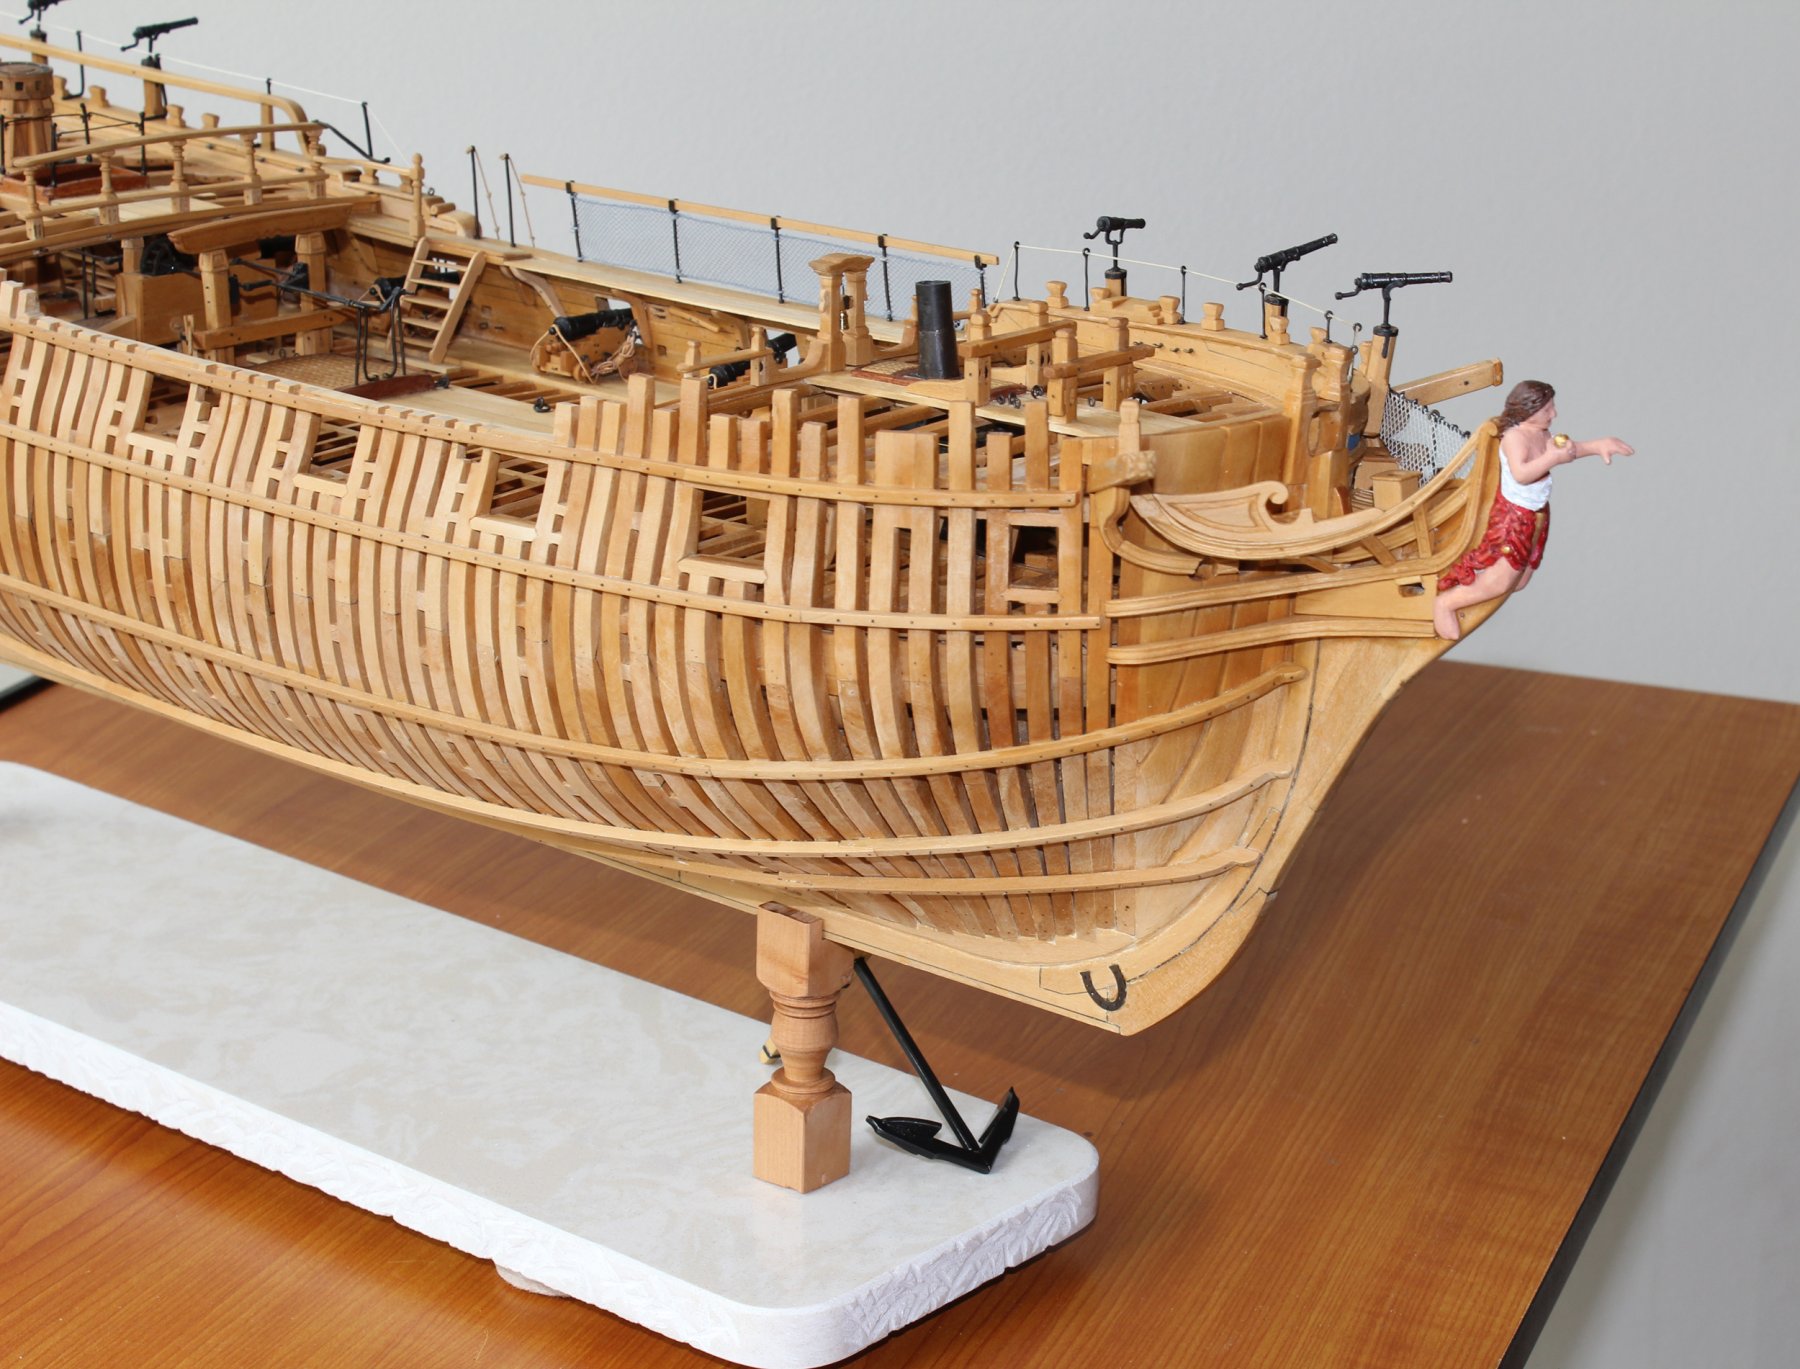
I have finished the base. I am not totally satisfied with it but it will do for the time being. The base is marble and the edges were roughened up. The pedestals are turned from pear and drilled to accept a threaded rod which screws into a captive nut in the keelson. Thanks everyone for following this five year epic journey.

-
For a wood model such as Bluenose, get a small bottle of yellow carpenter's glue. That small bottle will last for several kits. One of it's advantages is that it is dissolved with isopropyl alcohol. There are a lot of builders who swear by CA but I rarely use it. For those times that you need to bond dissimilar materials, two part epoxy is your best option.
-
My best advise is to buy the best tools you can. Don't waste money on cheap equipment. For this build I would suggest using sanding blocks and sticks instead of a plane. Glue the sandpaper to various shapes and lengths of wood to give yourself a variety of configurations. I have never used the fine tooth saw blade. Pop for a few good jeweler's files. Start with a medium flat, triangular and round. At this stage you probably don't need chisels. #11 Xacto blades will substitute for them. Add a Dremel to your list. I prefer a battery tool but it is heavier than electric. Consider getting a self-healing mat to prevent marring your workbench. And don't forget good lighting!
-
I would never consider using a scalpel for heavy duty work. The blades are designed to incise flesh, not wood or plastic. They also cannot be resharpened the way an Xacto can. For myself, I find the #7 handle superior to the more typical #3 handle. I have a small hand and this handle allows me to grip the handle with my fingers almost completely extended, allowing me to look over my fingers to the workpiece more easily.
-
-
-
For those of you trying to decide whether to become a full member of the NRG but did not want the hassle of a print Journal, the Board has an exciting announcement. The Journal is now available in a digital version in addition to the print version. Check it out by going to the NRG Home Page and follow the link.
-
Maury, I have a couple of things to keep me busy. Atalanta still needs some final cleaning and touch-ups. I also plan on doing a little more on the Echo x-section. Finally, it is time to learn a little CAD so that I can loft my own plans. Who knows what else I will come up with.
- Martin W, billocrates and mtaylor
-
3
-
Thanks gentlemen. Druxey, a base is in the works. I hope to have the materials in a few weeks. As for a case...
-
Dowmer, I tried stub masts a while back and decided that I did not like how they looked. But thanks for your suggestion.
- mtaylor and hollowneck
-
2


Availability of DMC Cabella Cotton for Rope Making
in Masting, rigging and sails
Posted
I use DMC crochet cotton to make up my rope. I just tried to reorder it and discovered that it is no longer being sold by the company except in the large diameters (10-30). All my usual sources either have stopped carrying it or mark it as out of stock. I was able to find the sizes needed on Ebay and bought enough to last a few years.
So if you use this product to make your rope, stock up while there is still some available.