Keith Black
-
Posts
6,681 -
Joined
-
Last visited
Content Type
Profiles
Forums
Gallery
Events
Everything posted by Keith Black
-
 Brian, I find it amusing that I can look at a photo hundreds of (if not more) times and then look at it again and see something I'd not noticed previously. Evidently I focus on the one thing I'm looking for in particular and miss seeing other details. It's easy for my imagination to run away with itself when studying a photo for a long period of time. Those times when I think I've found something but it's murky and a bit sketchy I take a break, look at the model, make a drawing of what I think I saw, and let it rest for a day. I then go back to the photo and what I think I saw before is either there in a sharpened sense of actuality or like gossamer in a gale, it has blow and faded away.
 -
DHS, welcome to MSW. Your first two models look great, you should do well with the Glad Tidings.
-
Baron, welcome to MSW. I look forward to seeing your work on the Swift.
-
I have adopted another orphaned kit
Keith Black replied to mtdoramike's topic in RC Kits & Scratch building
Mike, she came out nice for an abandoned child. Really well done. -
Thank you, Lynn. I've been meaning to say how indispensable this tool has become. I don't know how one would do off ship rigging without one or something similar. It comes in so handy for other uses as well.
-
Lynn, make your own sanding stick or buy some if you don't want to take the time to make some. To make them just super glue sandpaper to the end of a flat piece of wood and voila. https://www.amazon.com/stores/page/4AA5018D-AE8E-457B-A3D5-3A85FE05976F/?_encoding=UTF8&store_ref=SB_A01859563PL9E9QMPZ1S8&pd_rd_plhdr=t&aaxitk=93a7393d31f130d7eb02a6bbdb6ae696&hsa_cr_id=1109728570401&lp_asins=B08YFKSRJT%2CB08Y78TB3X%2CB08YFMG6Z9&lp_query=Sanding Stick&lp_slot=auto-sparkle-hsa-tetris&ref_=sbx_be_s_sparkle_lsi4d_ls&pd_rd_w=8UM8T&pf_rd_p=488a18be-6d86-4de0-8607-bd4ea4b560f3&pd_rd_wg=apBcr&pf_rd_r=J734HS92Y9J42N49QB2Z&pd_rd_r=ea6d1bd1-bdda-4cae-adb3-2d95006e72fc
-
Mark, I know it's hard to spend the $100.00 but you know you're not going to be happy unless you do. This is one of the cases where money CAN buy happiness.
- 505 replies
-
- 5
-

-
- vanguard models
- Sphinx
- (and 1 more)
-
Mark, it's nice to see you're enjoying your build. I think she looks great.
- 505 replies
-
- 4
-
-
- vanguard models
- Sphinx
- (and 1 more)
-
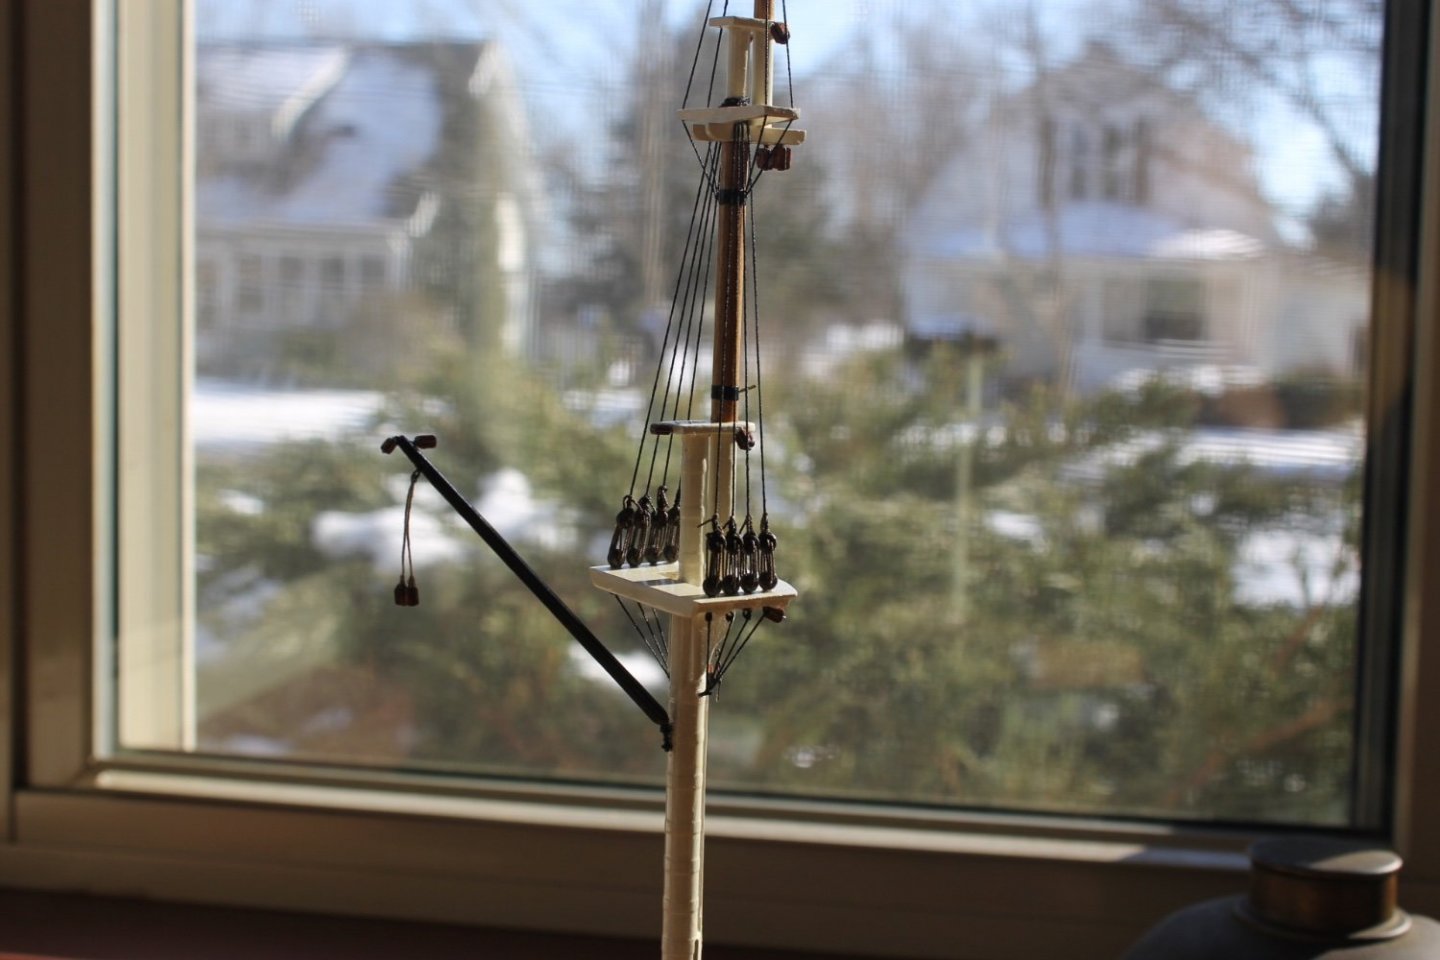
Eberhard, 12 inches would put the ratline spacing a tenth of an inch apart. I think the ratline knots are going to look disproportionally large in comparison to the spacing. Also, at a tenth of an inch, the ratlines are going to appear to be a wall of thread. I've yet to make it upstairs to start the first ratline attempts, hopefully I'll have something in the next couple of days.
-
Siggi, I know adjustment was done with the fore and back stays but I'd never considered how the mast wedges might come into play during rake adjustment.
-
If a mast is wedged on more than one deck, how would adjusting mast rake be accomplished?
-
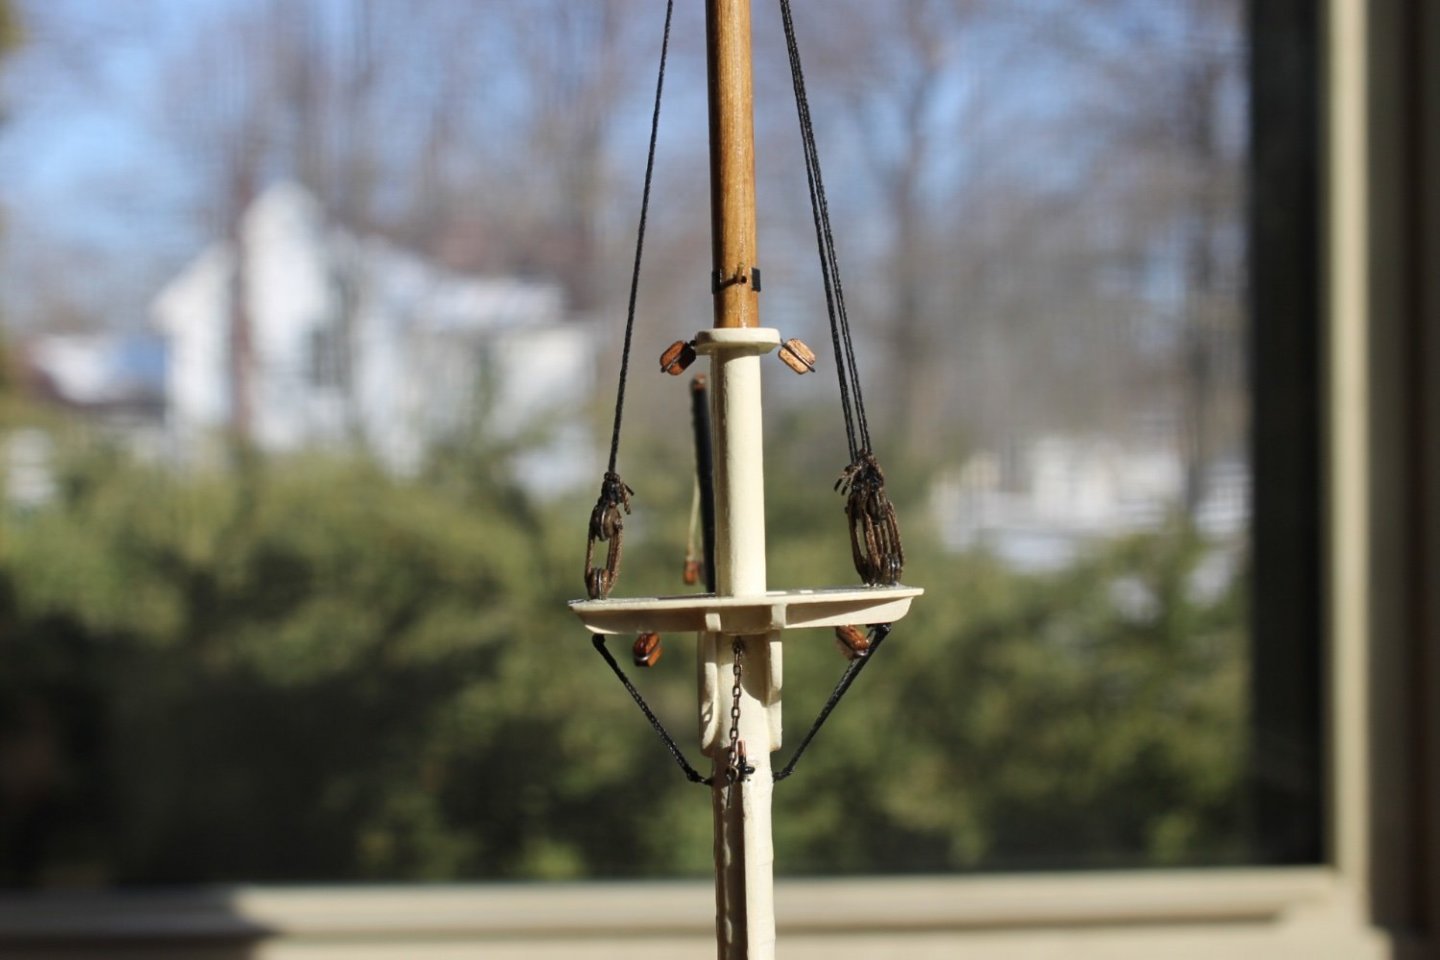
Brian, thank you. I'm sure I would enjoy all aspects of rigging if I felt more confident in my knowledge and my abilities. In what little I've done so far I've learned there are subtleties when performing each rigging task. Each task has a set of correct sequential steps that make working in tight spaces possible, knowing those steps only comes with experience. Hopefully by the time I reach the foremast I'll be able to go with the flow and enjoy each task as they present themselves. It was a good day to work on the ship but then everyday is a good day. Even though there's snow on the ground it's melting rather nicely. We've had a Robin hanging about for the better part of a week. Spring will get here, none too soon.
-
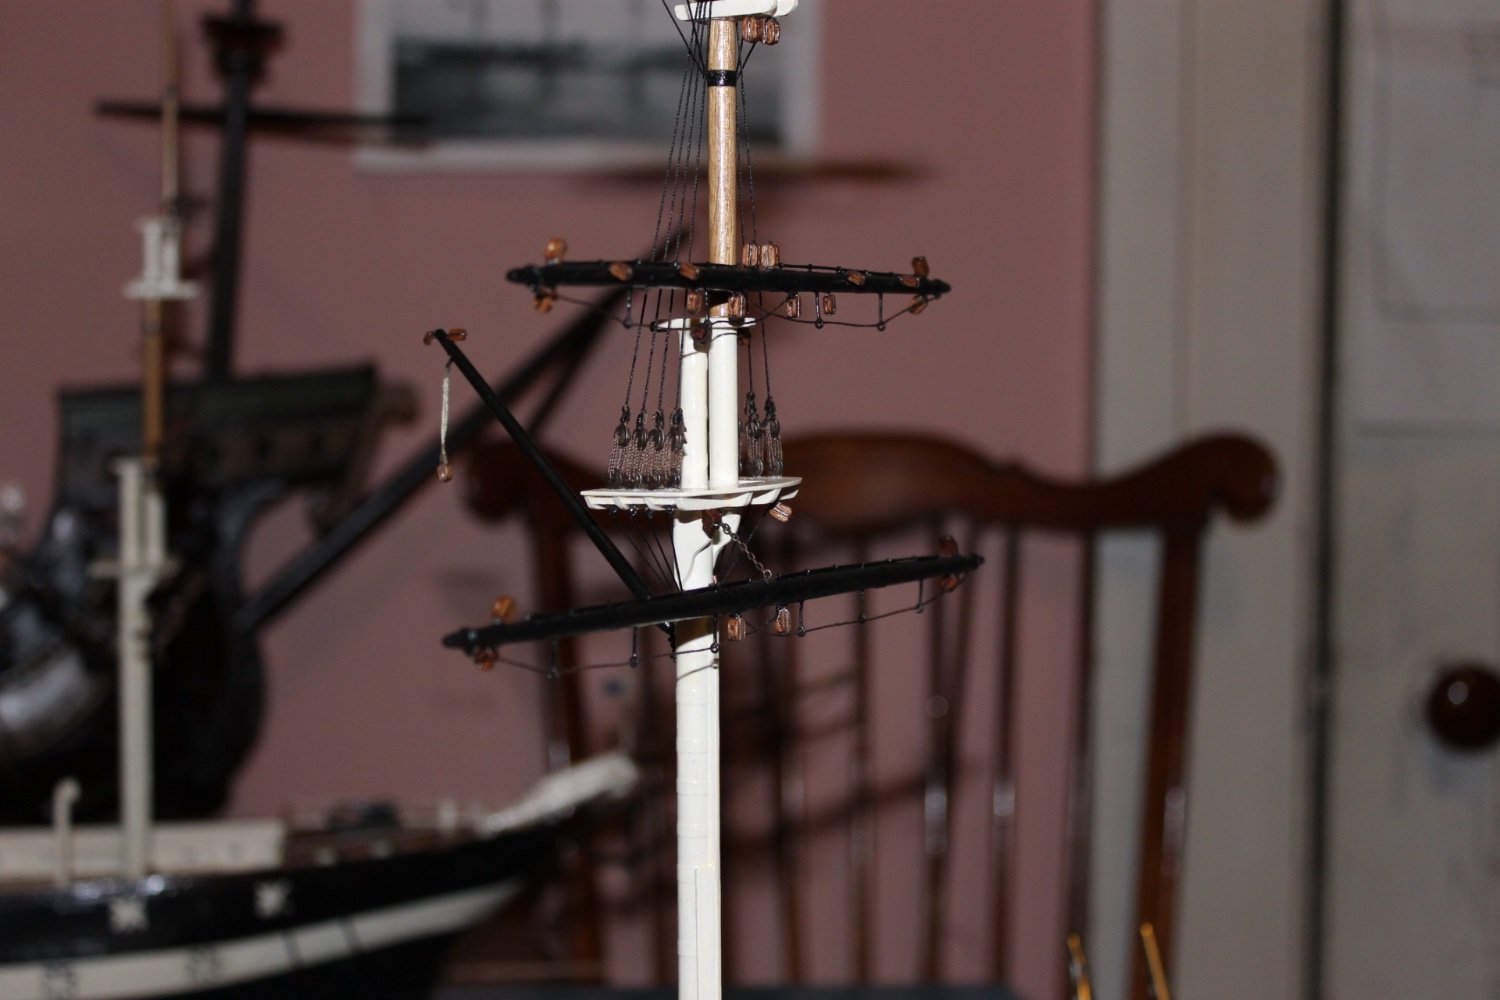
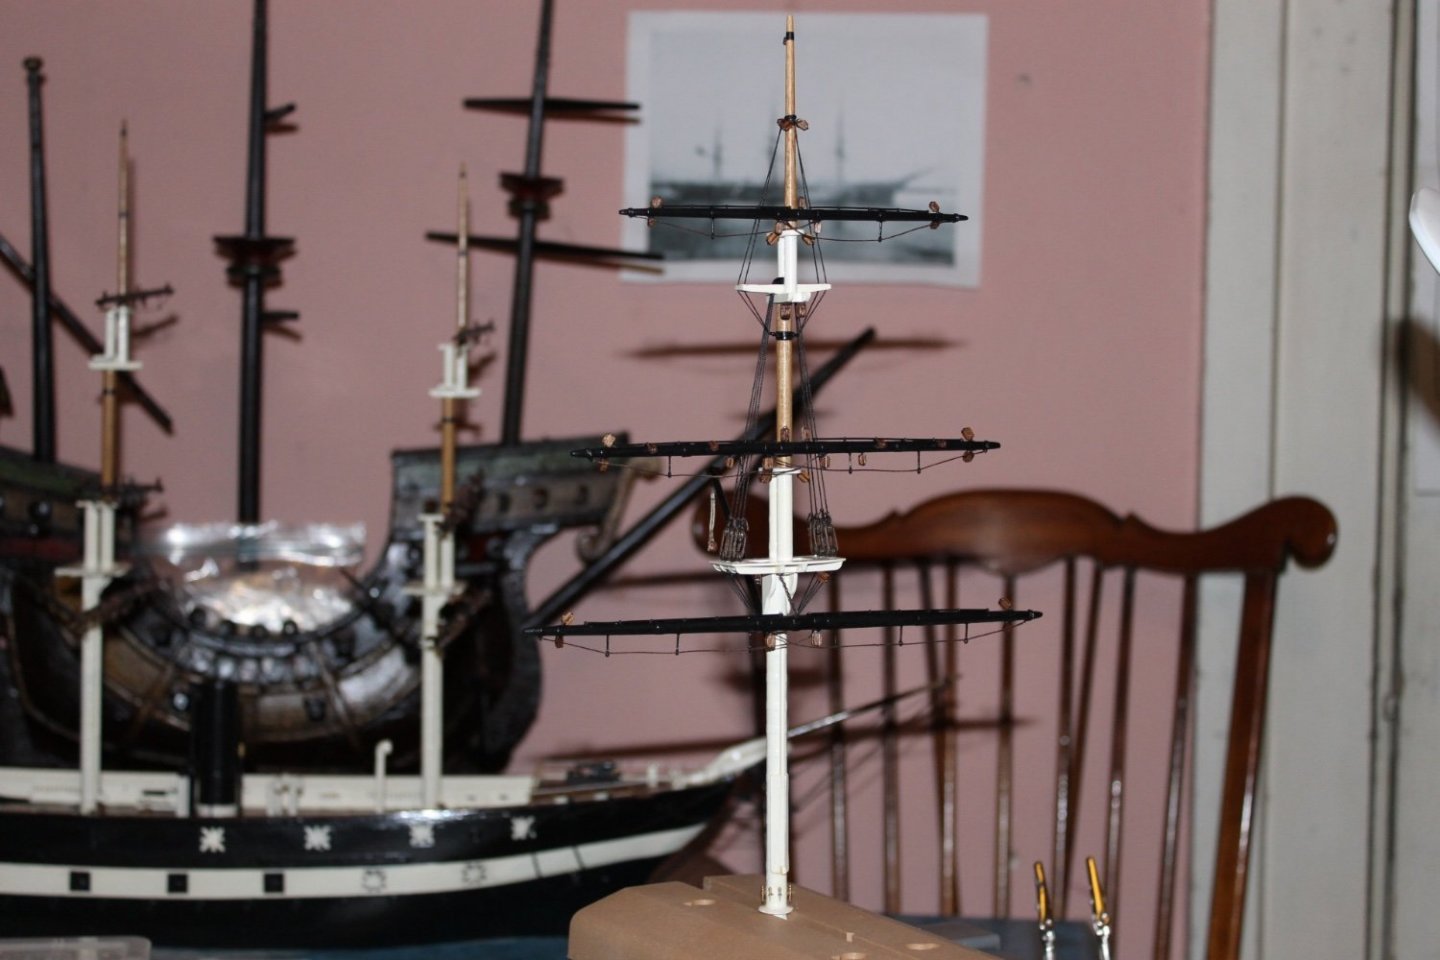
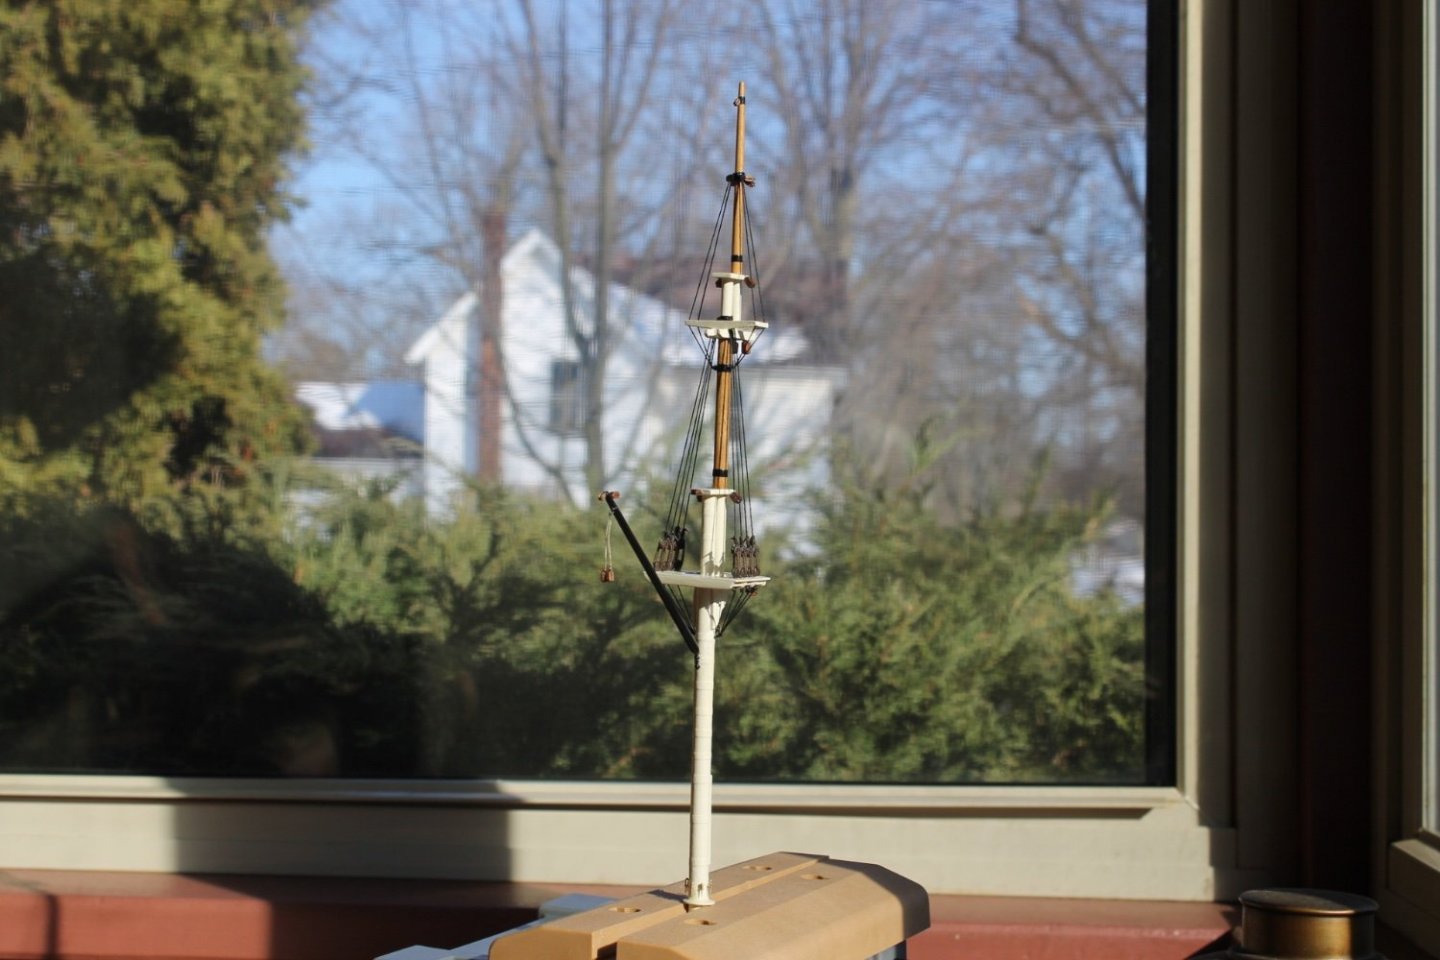
Thank you, Pat Brian, 12 inches is too short and 24 inches to long, 15 to 18 inches? Maybe someone who knows will jump in and educate the both of us. That would make the spacing for the model .14/.15 inches thereabouts. I may have to increase the spacing to .20 inches out of necessity even though that would be wrong to scale. It's going to be another exercise in making my fingers do things they don't want to do. I couldn't resist putting the yards on to see how everything looks. Thank you everyone for the likes.

-
Kirby, will you be posting a photo of the bed in your son's room?
-
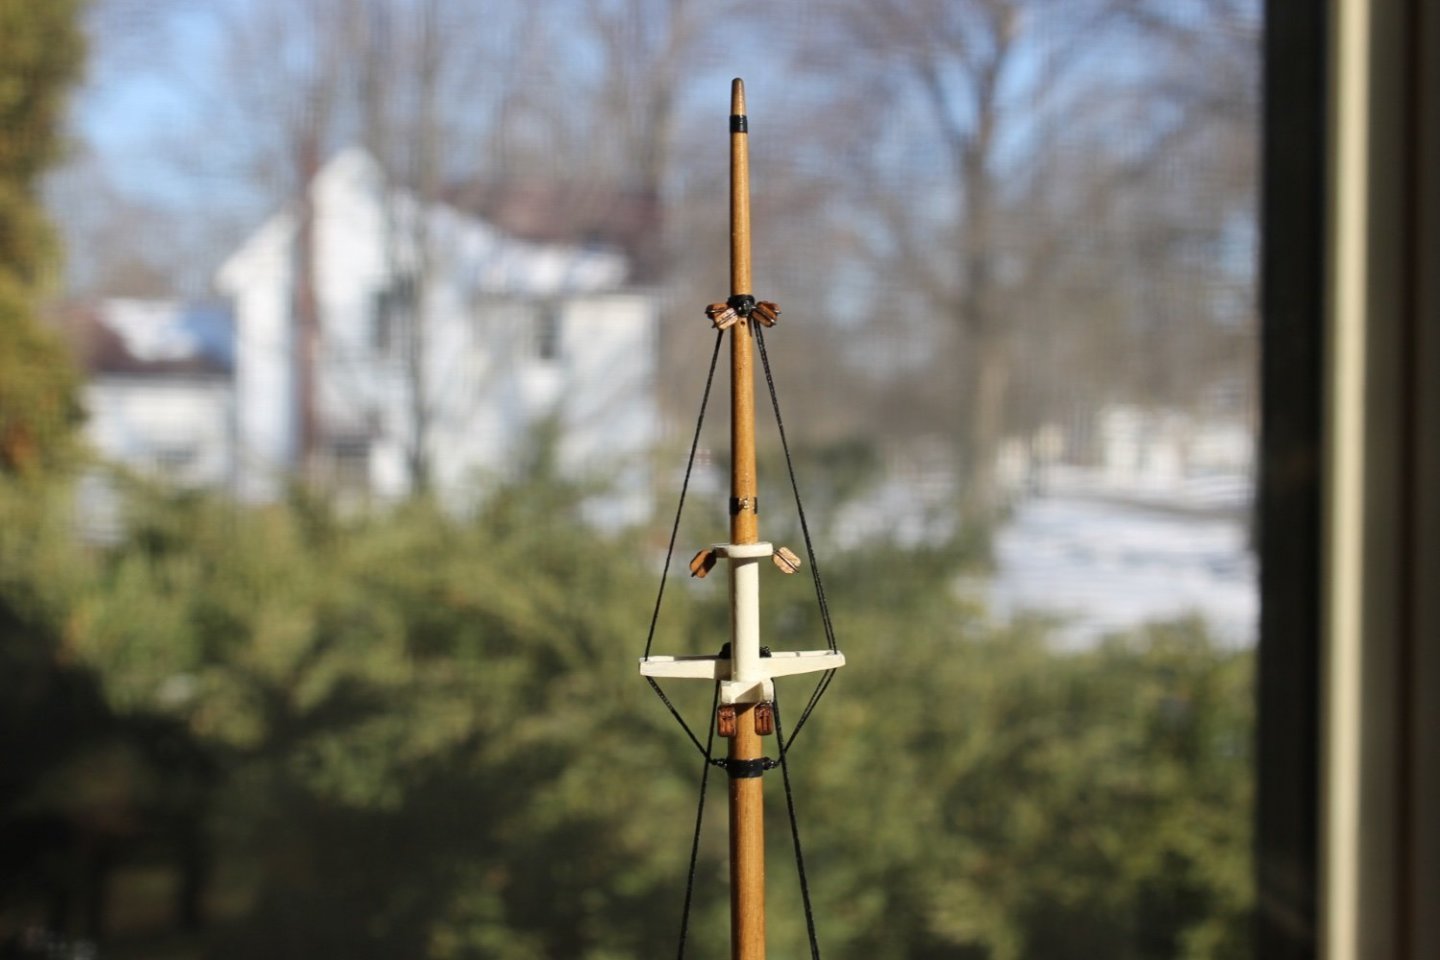
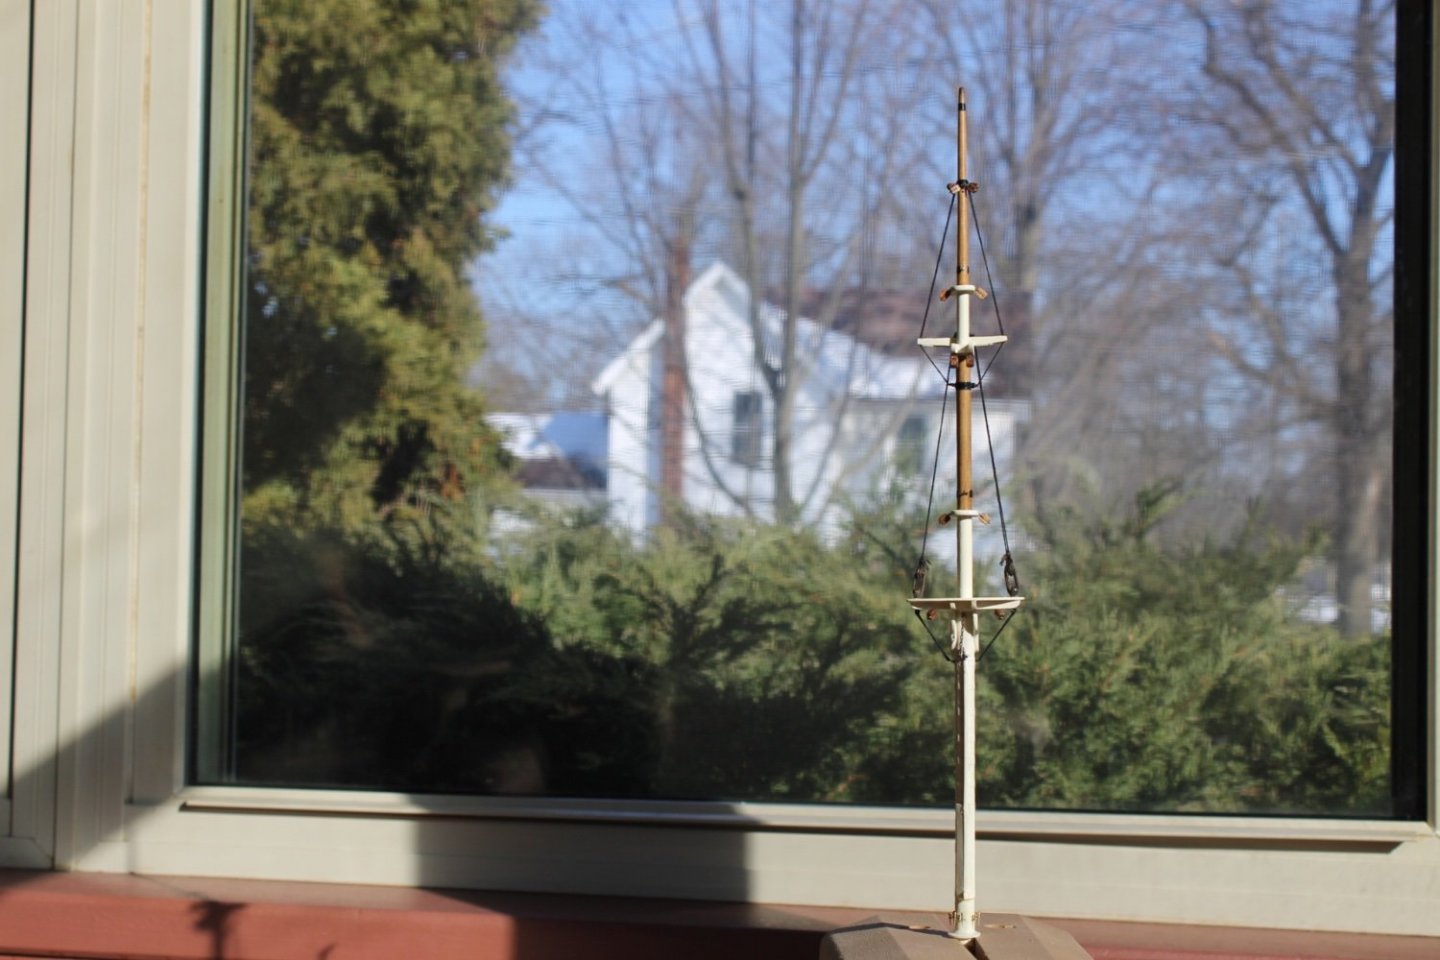
BrianK, Lynn, Eberhard, Gary, and Keith, thank you for the nice comments and that you to all for the likes. The mizzen mast is almost ready for the yards to be added and rigged. The last remaining task is the ratlines, oh, what fresh hell will this turn into. I don't find ratlines to be aesthetically pleasing. I know they're a necessary evil but I think they disrupt the harmony created by the vertical shroud lines. Having said that, I'm not adding ratlines to the topgallant shrouds. Peterson's book depicts the topgallant shrouds without ratlines. I've seen several models without them and they don't appear in the H and H photos of the Tennessee. I'm going with 'less is more' and leaving them off the topgallant shrouds. Of course, I will be adding ratlines to the topsail shrouds so it's more teaching old fingers new tricks. Once again, thank you to all for following along. Your support is greatly appreciated.
-
Roger, I think he's going to be taking it to college with him.
-
Trond, I've never bought clamps (actually, I'm rather clamp poor) but I would suppose you can buy clamps at most hobby supply houses. I have a few clamps but I use clothes pins a lot. For what you're doing I'd think clothes pins would be ideal.
-
Grey, welcome to MSW. Stow your gear below and enjoy your stay.
-
GB, welcome to MSW.
-
Casey, welcome to MSW. Glad to have you aboard.
-
Lynn, very very nice. Well done, buddy.