

Jim Rogers
-
Posts
1,379 -
Joined
-
Last visited
Content Type
Profiles
Forums
Gallery
Events
Posts posted by Jim Rogers
-
-
Now that Chapter nine parts are available is Chapter Nine PDF release coming soon?
-
What Allan said perfectly.
- Keith Black, mtaylor and allanyed
-
 3
3
-
I would remove it all. The shrouds are not rigged correctly, they should be in pairs and and stacked port and starboard. The foot ropes appear to be just glued in place are not clove hitched. You can get proper size line from Syren Ship Company. You’ll learn more doing it correctly. My 2cents
- mtaylor, Keith Black and allanyed
-
3
-
-
I use Realistic Water from Woodland Scenics. They have a slew of water products.
- Keith Black, mtaylor and Canute
-
3
-
43 minutes ago, dvm27 said:
Rigged Speedwell dimensions: length (tip of ensign staff to end of jib boom) - 34". Height - 25 1/2", width - 12" at the main yard. The unrigged hull is 22" in length.
Chuck will have many challenges in making her into a kit but it starts with the carvings. That's what attracted me to her initially. If he can have carvings produced of similar quality to Winchelsea then I have no doubt this will be the finest ship model kit ever produced.
By the way, for those first time plank on framers, the photo of Pegasus shown above to compare with Speedwell is my first failed attempt. That's several months work which is basically firewood but that I could not throw away. I believe the system Chuck is designing will prevent failures like this. Now all of you Winchelsea-ites get back to work so Chuck can proceed to the next project!
-
Eric I just purchased a Sawstop 54 PCS just because of everything you stated.
-
I use needle nose pliers.
-
Let me check my stash. PM me.
-
That sounds like a great idea.
-
Chuck are you going to make them a little long so we can adjust to our model. And can you supply two for the inevitable breakage.
- FrankWouts and Gregory
-
2
-
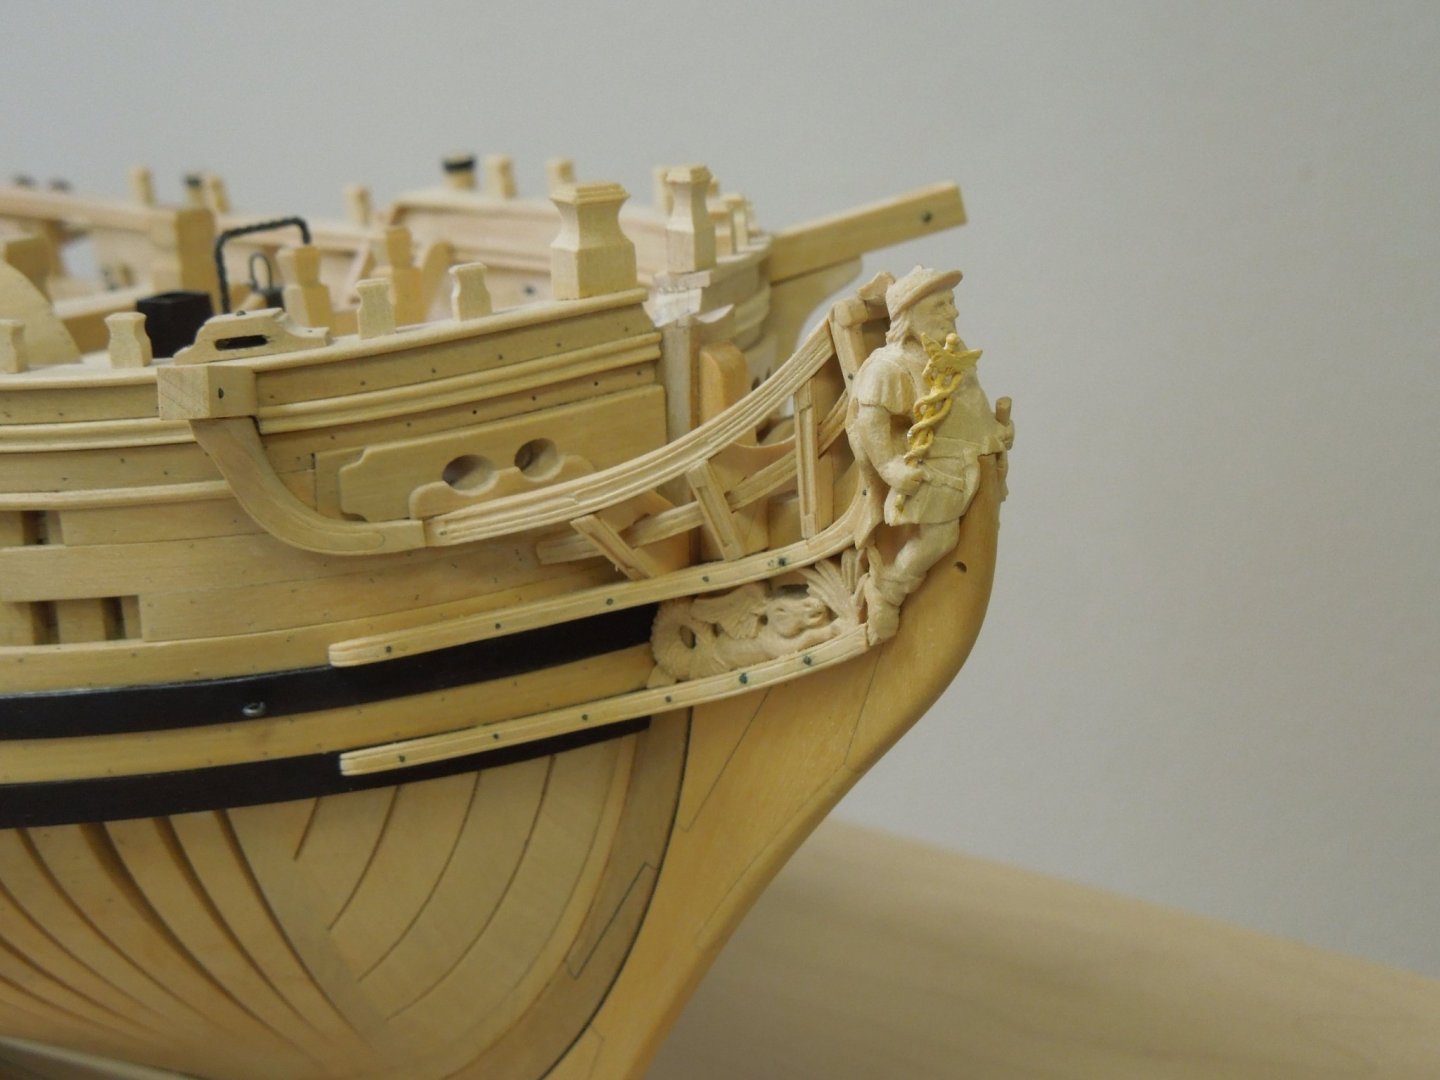
Love the painted figure head.
-
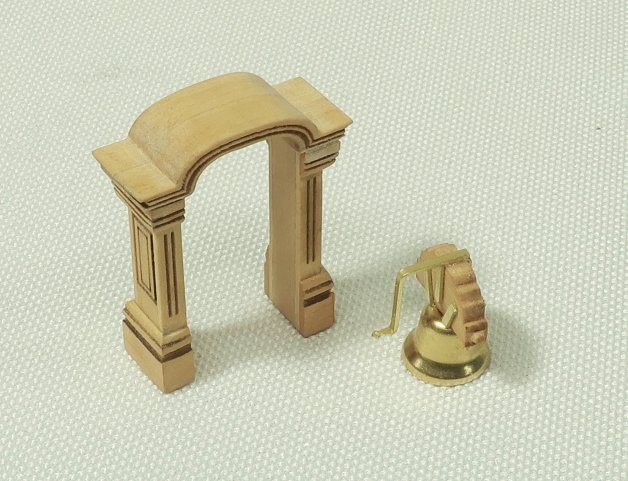
4 hours ago, Chuck said:
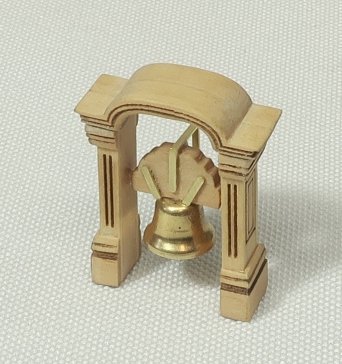
OK the belfry ….all the parts are laser cut and etched in boxwood.
As I explain how its built refer to this photo for details.

The belfry roof...
The roof is laser cut in two pieces. Nothing terribly difficult about it. You could just glue the two haves together and sand it to remove the char. BUT....the goal here is to make the seam between the two halves as invisible as you can possibly make it. So before gluing it together, thoroughly clean the edges that will be glued together. Keep them flat so there will be no gaps. You may even want to scrape the char from the top surface where the seam will be. Use Tite-bond or similar glue. Dont use CA. You want to be able to position all the parts for the belfry carefully so they are lined up. With CA once it cures instantly if the two halves are not aligned....it will look awful.
Then clean the char off the top and bottom of the roof. I started by using a sharp number 11 blade and scraped the bulk of it free before using sandpaper. Ten I used various grits to finish it up. But the corners where the round top meets the sides was problematic. So again I turned to my #11 blade. A new one that was very sharp. I literally shaved the corner. I sliced an microscopic layer of the charred wood in that are away to really clean it up. This alone took a full 45 minutes to one hour.
I rounded off the outside edges slightly and cleaned the char from the sides. Note how clean you can get these pieces with some time and care.
The uprights...
Step one...For these you have a laser cut and etched center with a simulated raised panel. This piece needs to be cleaned. There is a another thin strip with two etched flutes that will be glued to the side of these pieces. So you need to clean the char from the sides of the center piece. This is so the seam will again be nearly invisible. Keep the sides flat to avoid any gaps. The two thin pieces are wider than needed so use the tite-bond to glue them on before you remove the char from the edges. They will over hang the edge of the center column on both sides so you can sand it smooth and remove the char from the edges at the same time. Just remember to try and center them so the flutes are in the center of the finished piece.
Use a very fine sandpaper.....say 320 grit to finish all four sides. See above. There is one finished upright. You can also see the unbuilt parts.
Step two...The top and bottom of the uprights will have a molding placed on the three sides. The inside of the belfry is flat and doesnt get a molding. This is the important part....the molding should have the corners mitered. If you dont miter the two corners, the end grain will show much darker and the profile of the fancy molding wont carry around the entire piece. So take your time here. The molding is laser cut for you. You must clean the char from the top edge of the molding before you start using it. This is the thin edge will show once glued on the upright. The molding along the bottom of the upright is wider than the molding on the top. You will more than enough to cover both uprights. Again the molding is only on three sides.
Step 3...The molding is flat. But it is now after you just finished gluing it on the three sides. So the fancy part of the molding needs to be carefully tapered thinner. I mean really tin towards the edge. It will give the proper angle to the finished uprights. I hope that makes sense. Look at the photos.
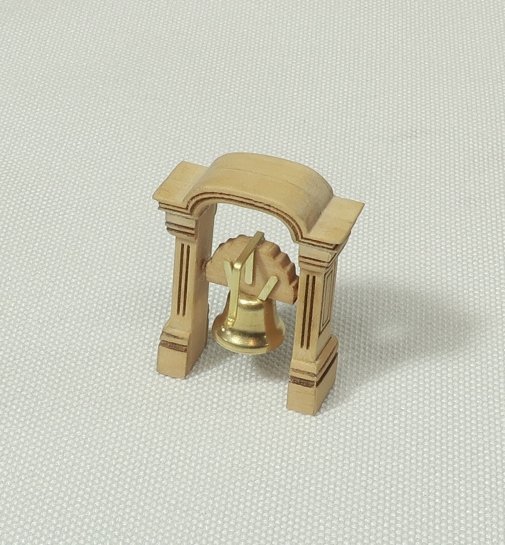
When you have the two columns done...
The bell...
Carefully sand and file all the char from the wooden piece that the bell will be glued to. Then use 1/64 x 1/32" brass strips to make the straps that are glued to it. Just cut tiny lengths like shown on the plans. The strips are not included so you will need to get some. There are 3 strips on both sides. Easy enough.
Then make the handle from the same brass strip size. Bend it as shown and glue it to the top of the wooden piece. Next, remove the cheap clapper from the small bell. You wont want to keep it. Then glue the bell to the bottom of the piece. Make sure to center it.
Note how the the little pegs on the side of the wooden bell stock were carefully rounded off. Drill corresponding holes on the flat sides of the belfry uprights to accept these. Dont drill all the way through. Just make little indents. Assemble the bell between the uprights and then glue the roof on top.
Thats it!!! I made a long-winded explanation but its pretty easy. The most important thing is to make this a clean fitting. Clean the char. Make the seams as invisible as possible. Take your time. Fill any gaps. You can build this in 20 minutes or you can take your time and spend a nice afternoon making a really impressive fitting that will be prominent on your model.
.

I need feedback....
The belfry doesnt have a lot of parts. Its not hard to build at all. At least I dont think so. But instead of taking 25 minutes to assemble it. Slow down and take a several hours to "craft" it. Or is this too much? Please do provide feedback. Do you you guys prefer a simpler approach? Maybe I am making this stuff too detailed and finicky? I start to second guess if I am taking the part design too far based on how folks gush over the simpler designs of other projects which I find lacking. But I havent been getting much feedback lately.
I ask only because some of the fittings we will be building soon....including the catheads and headrails....they will look fantastic but maybe it will be too much. Should I dial it back before I make these fittings too advanced? Are you guys finding this project too hard to build or too advanced... or not enjoyable to build because of it?
This is all a great teaching and learning experience for me. If I had to hand form and carve these fittings I would think it was going over board but you are providing us laser cut parts so it is much,much easier. I admit some are pretty dainty like the railings on top the Quarter Galleries which I broke months ago. Please don’t dial it back. You also think some of us are rushing, not true. You have only so many hours to devote to this project because you have a business to run and you are designing parts and test lazing. That takes a lot of time. I have hours to spend everyday just on this.The Winnie is all I got to do. Keep up the good work Chuck.
- FrankWouts, Chuck and KentM
-
3
-
Thanks Don, I’ll try rotating my iPad.
Oh and Don your Winnie looks great!
- Nunnehi (Don) and FrankWouts
-
2
-
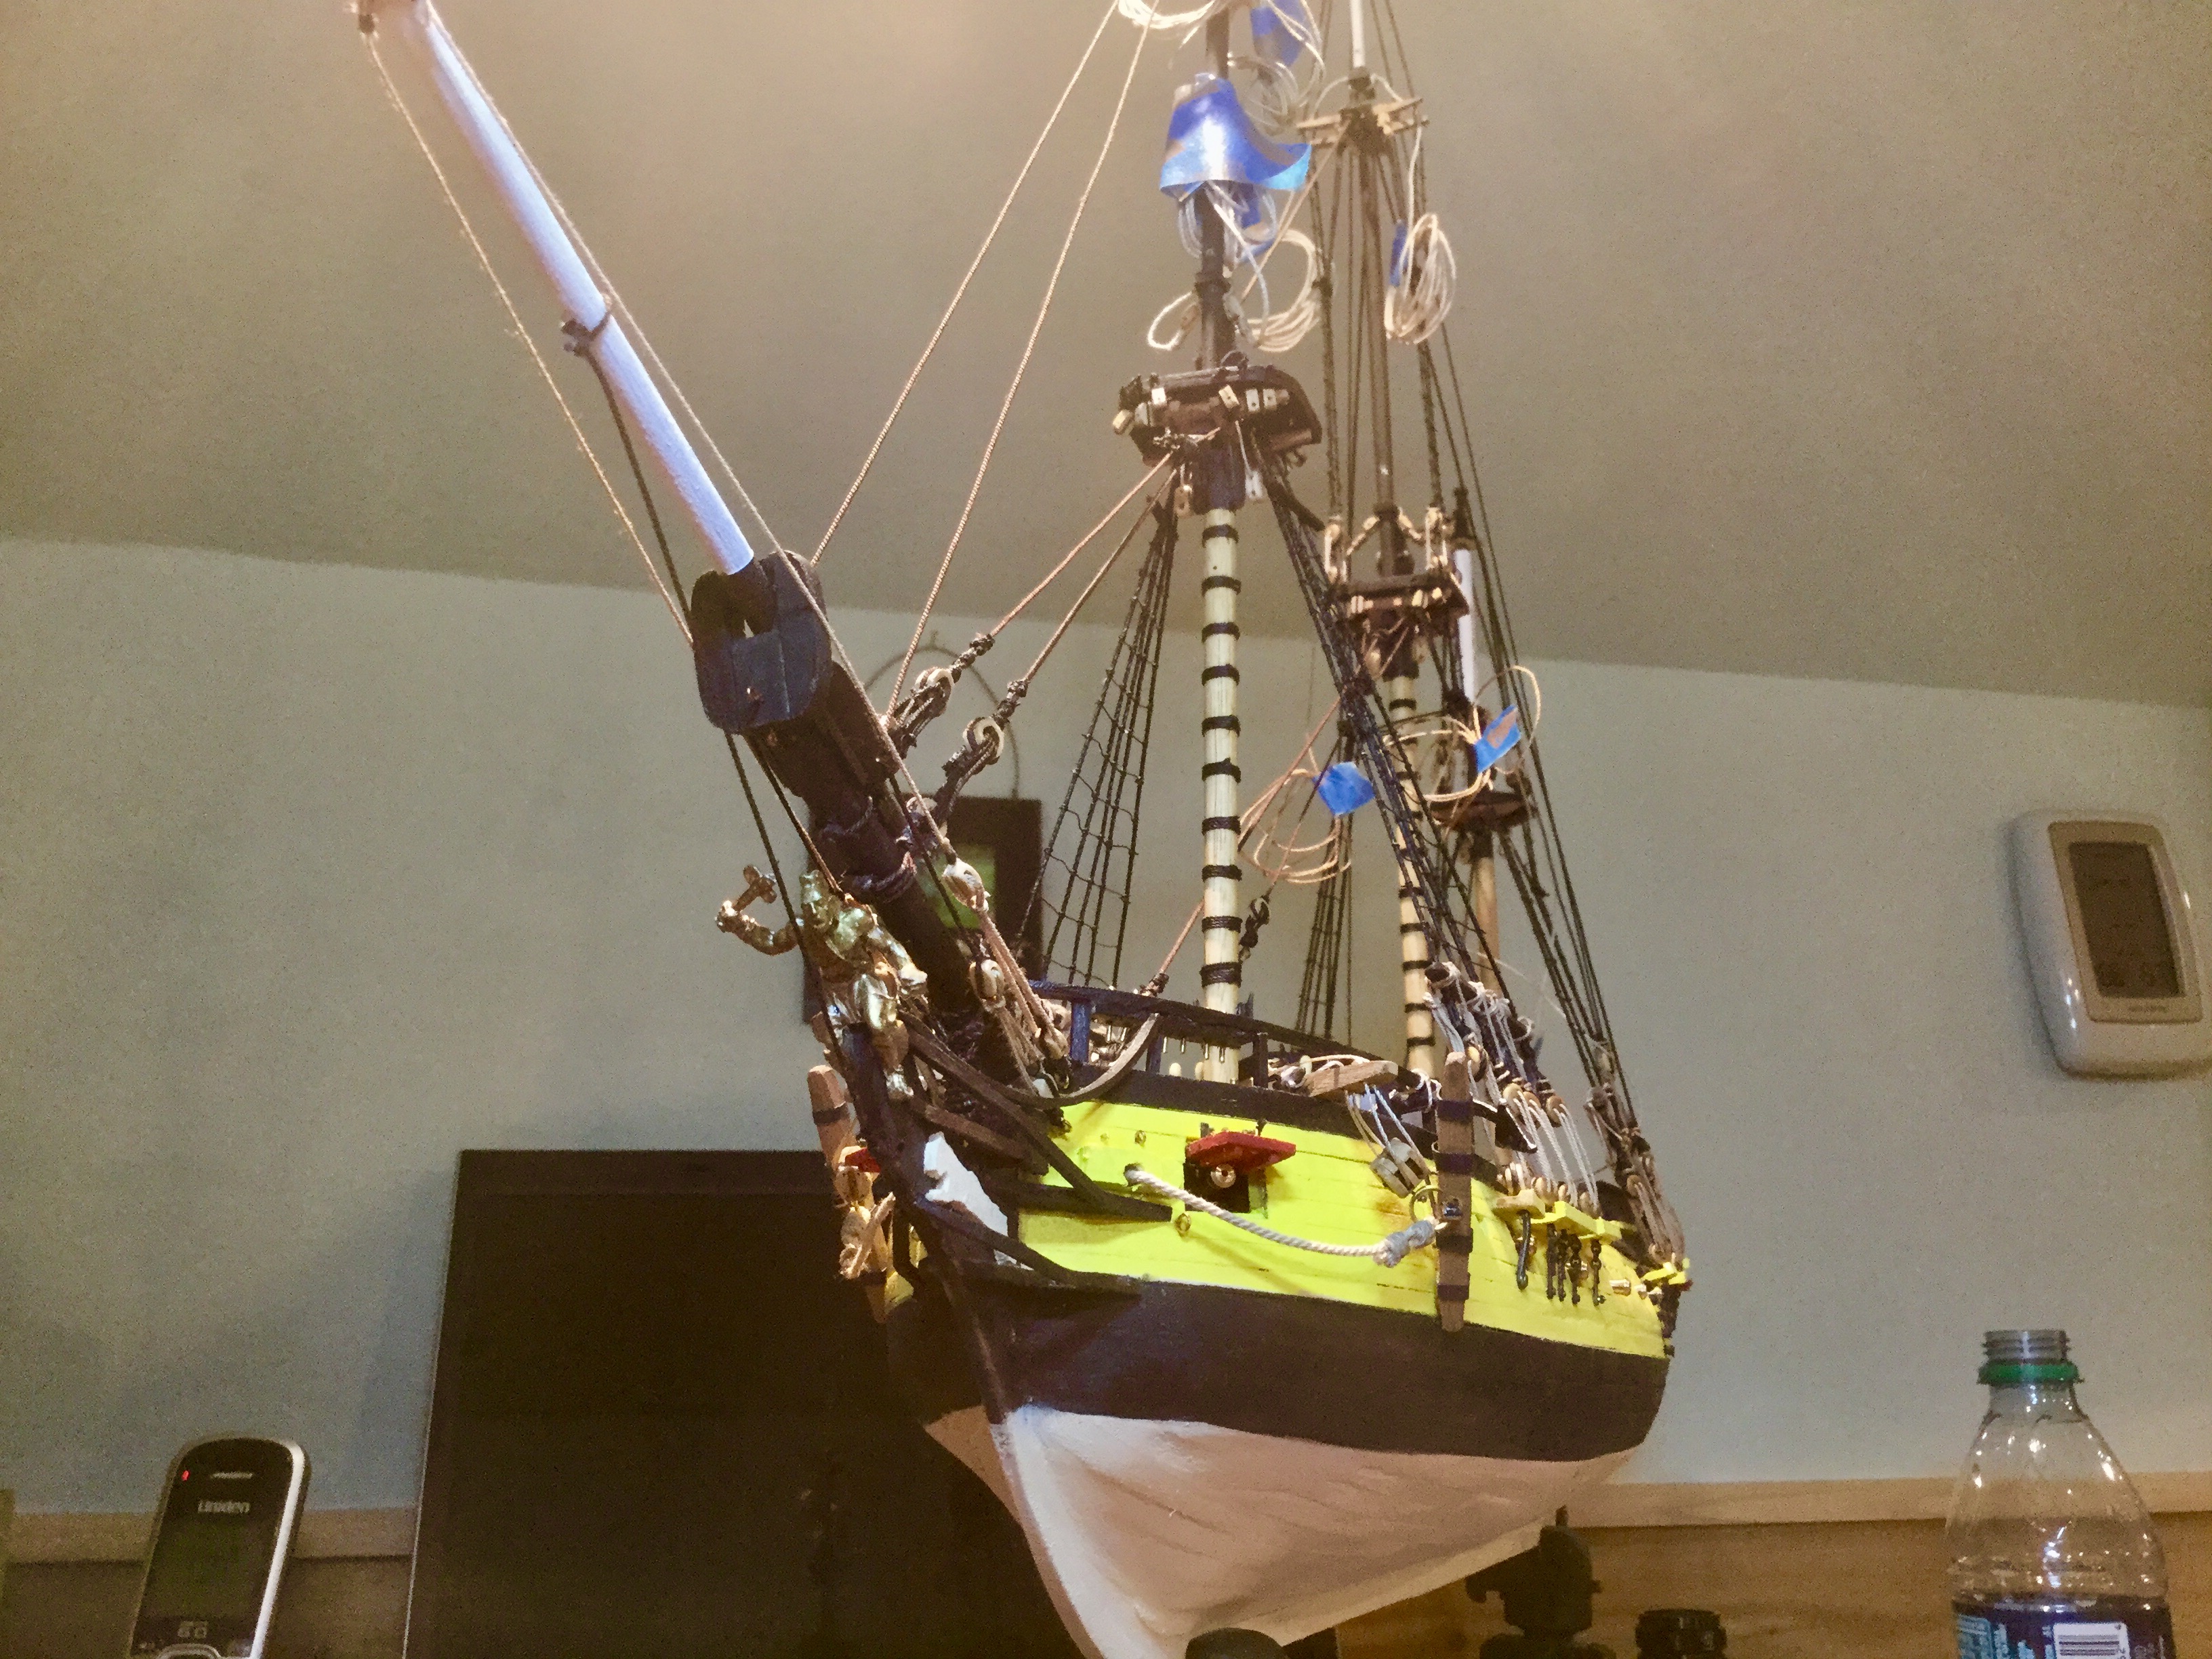
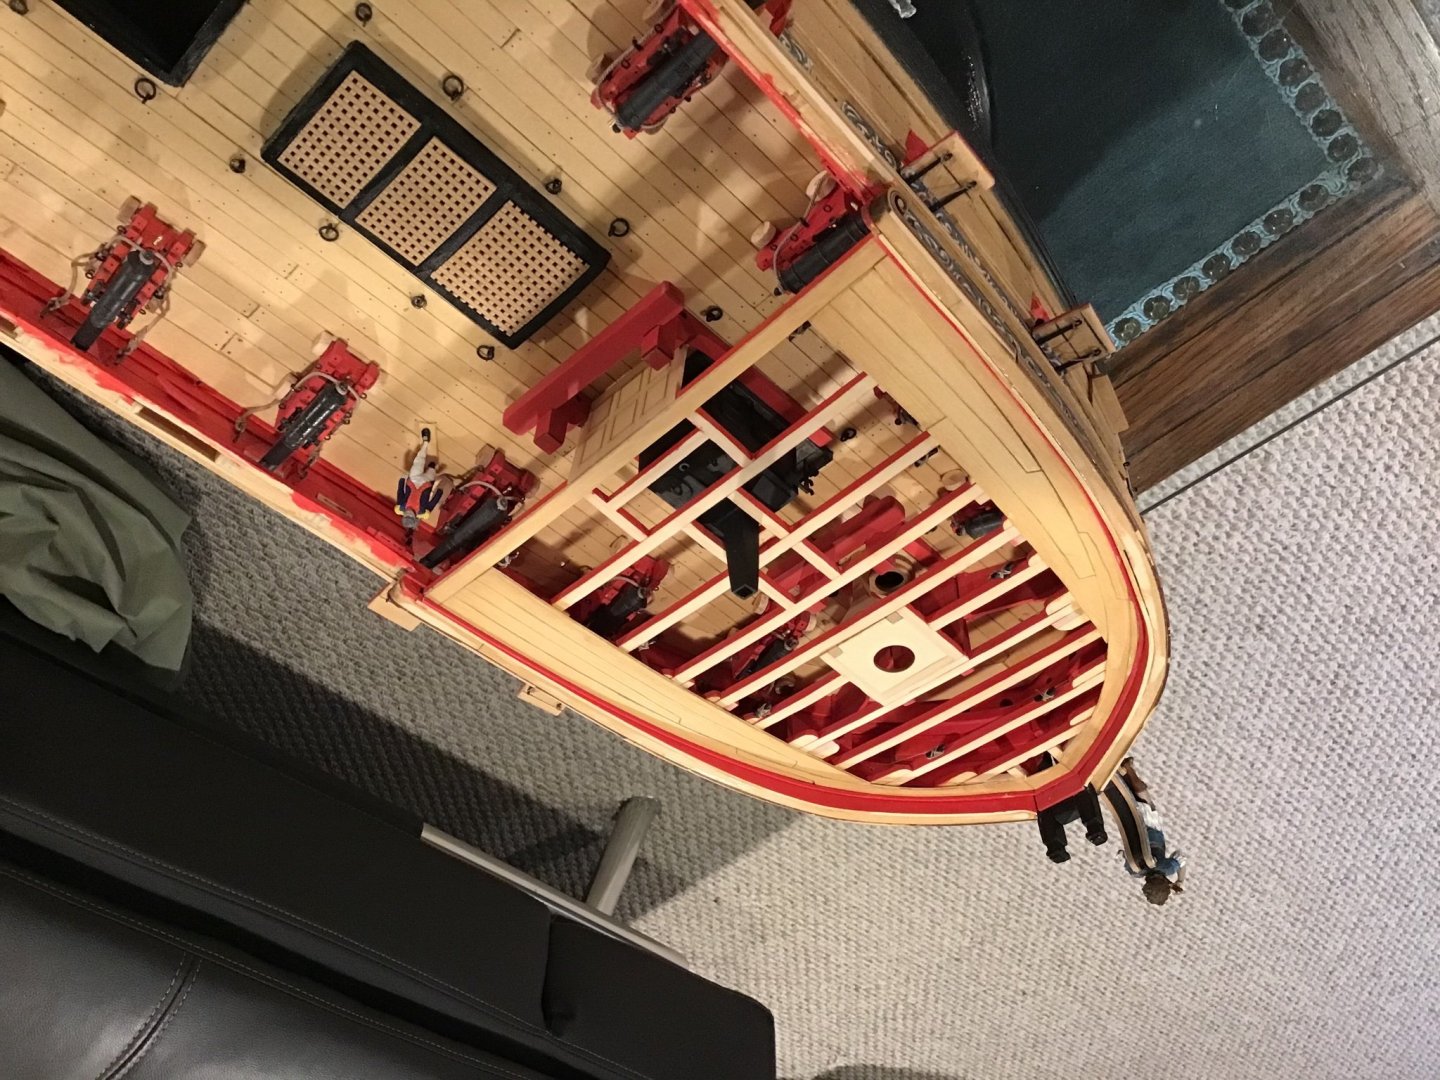
Test flipped photo upside down prior to posting. It loaded upside down. I am going to flip it back and try again. And ditto. Same thing.

-
Taking it on a iPAD. I am going to try flip one upside down and see what happens.
-
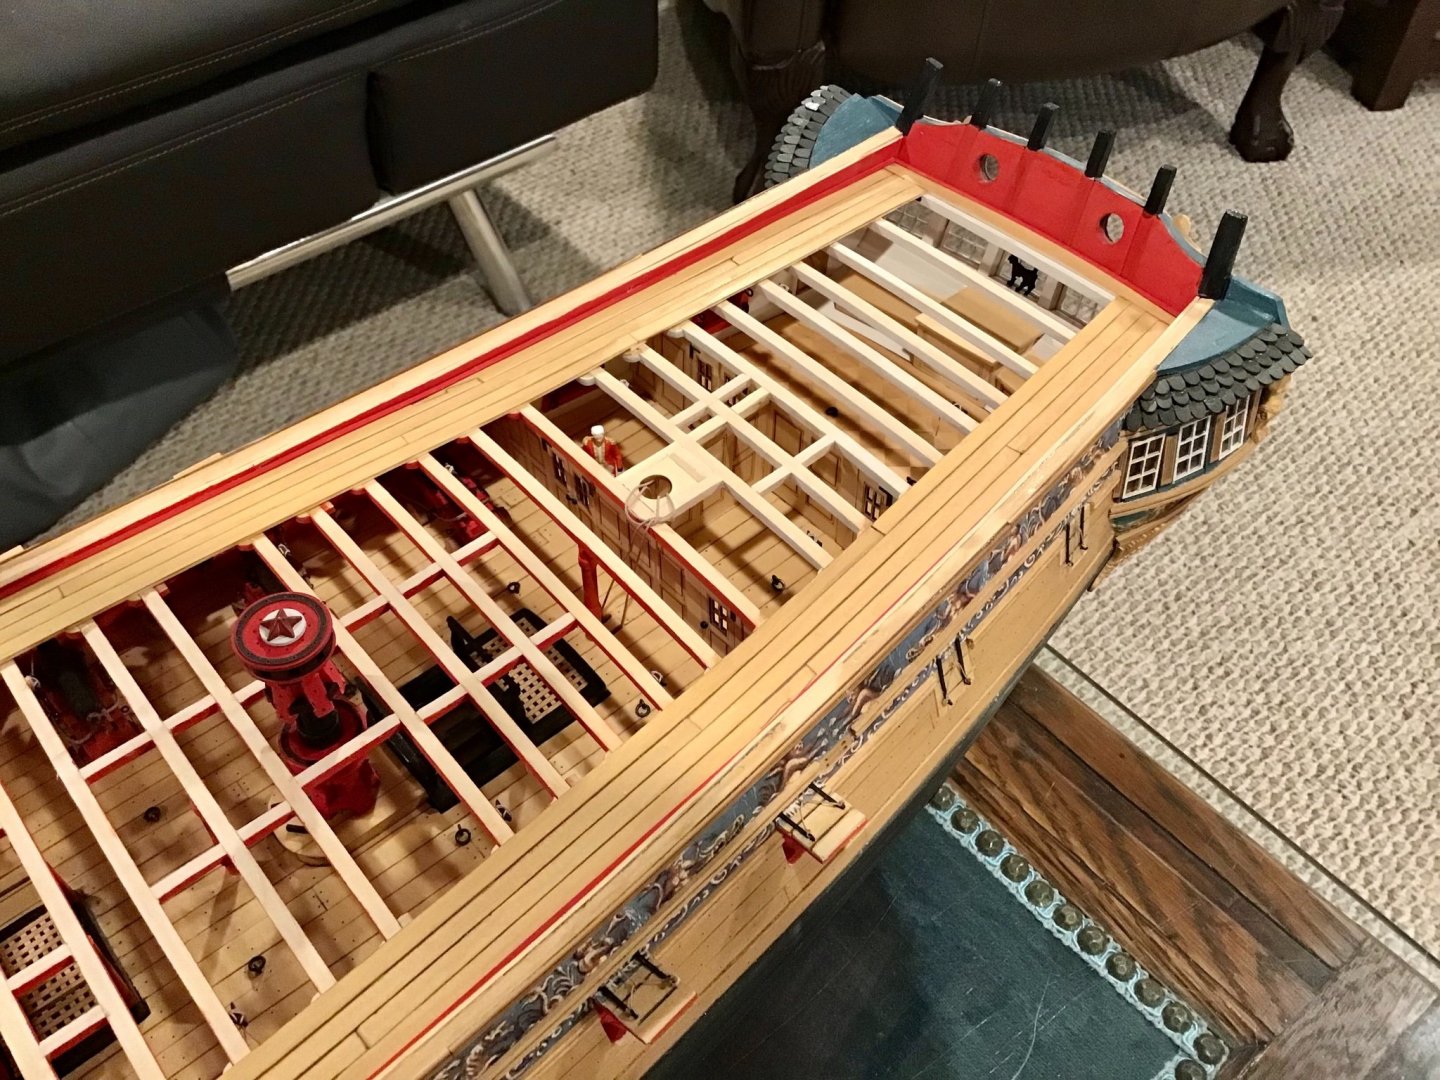
Winnie update. Got the outside planking done on the fore castle and weather deck. What is it going on with these upside down images. This is the only site on which this happens. They are basically the same size. Some post correctly others don’t. It is frustrating!


- JeffT, Rustyj, FrankWouts and 6 others
-
9
-
55 minutes ago, glbarlow said:
So we’re cutting the curved planks on the forecastle?
What I did was take a three inch wide piece of cedar laid it on top and used a compass to draw the curvature of my bow on the wood. I then cut out the template matched it up as close as it would go with the curvature I just drew and cut it all with number11 blade. Did the same for both port and stud sides. Glued it in place, a little sawdust filler and done. Came out great. I would post photos but get annoyed with them always being upside down. I am in hot standby for cap rails.
-
-
-
Where did you get your figures? Oh Yeah that moulding you made is exceptional. You are very talented.
-
Great job!
One of the things I do not understand is why they would configure their coal bins the way they did. The lids would always be in the way of shoveling coal. Makes zero sense to me
-
-
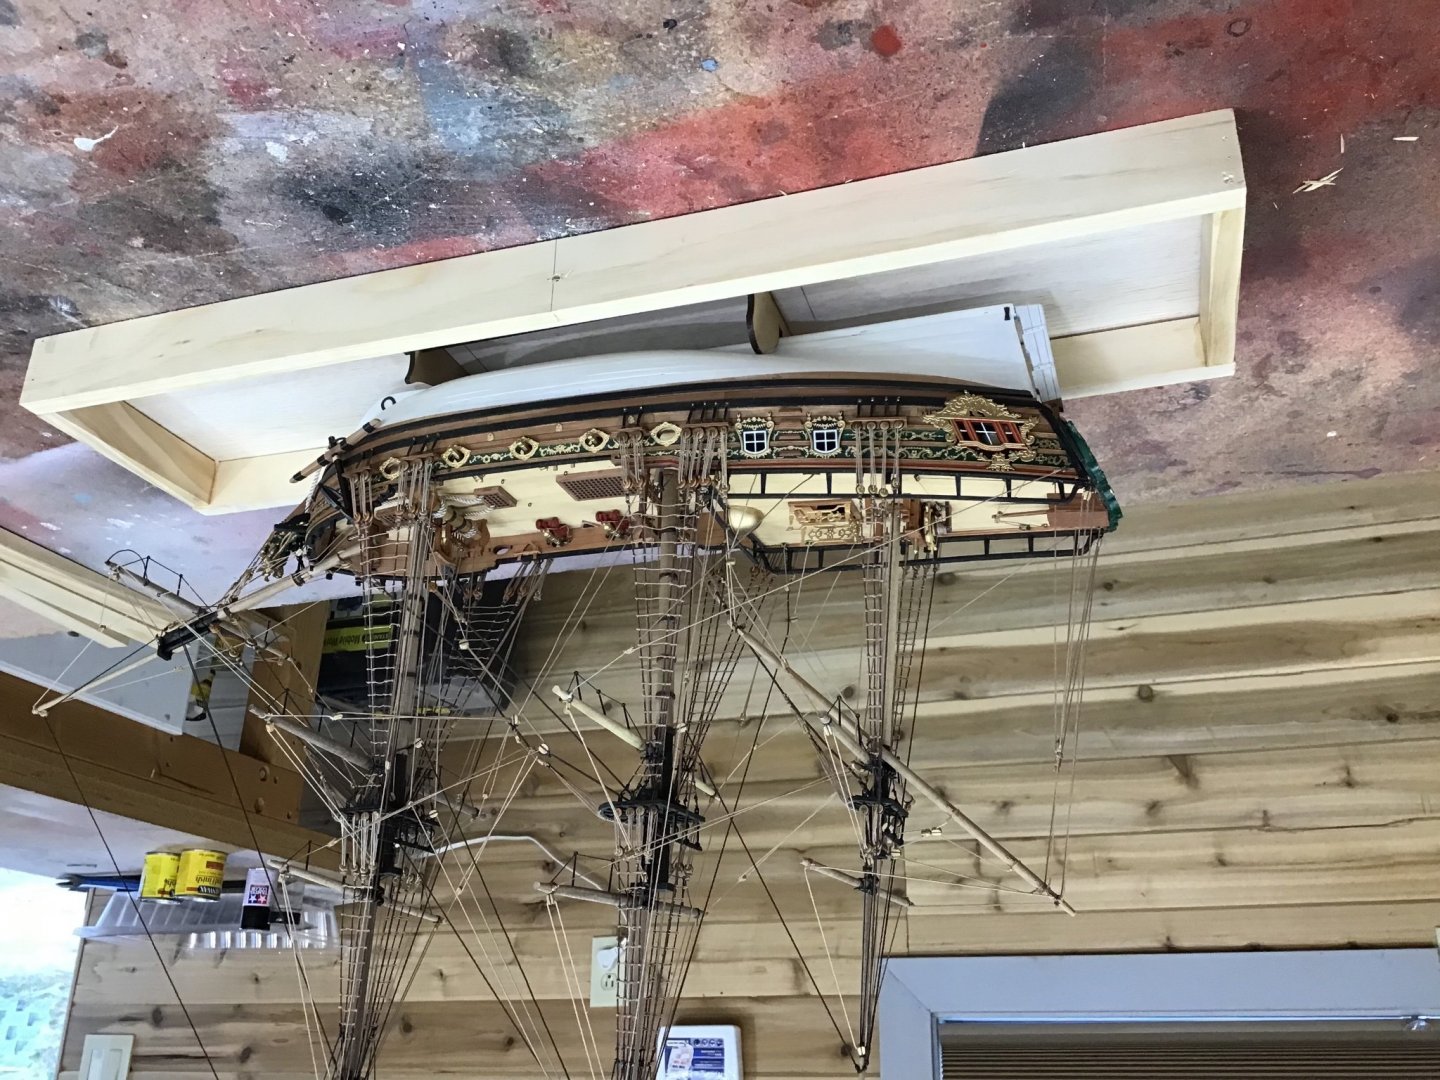
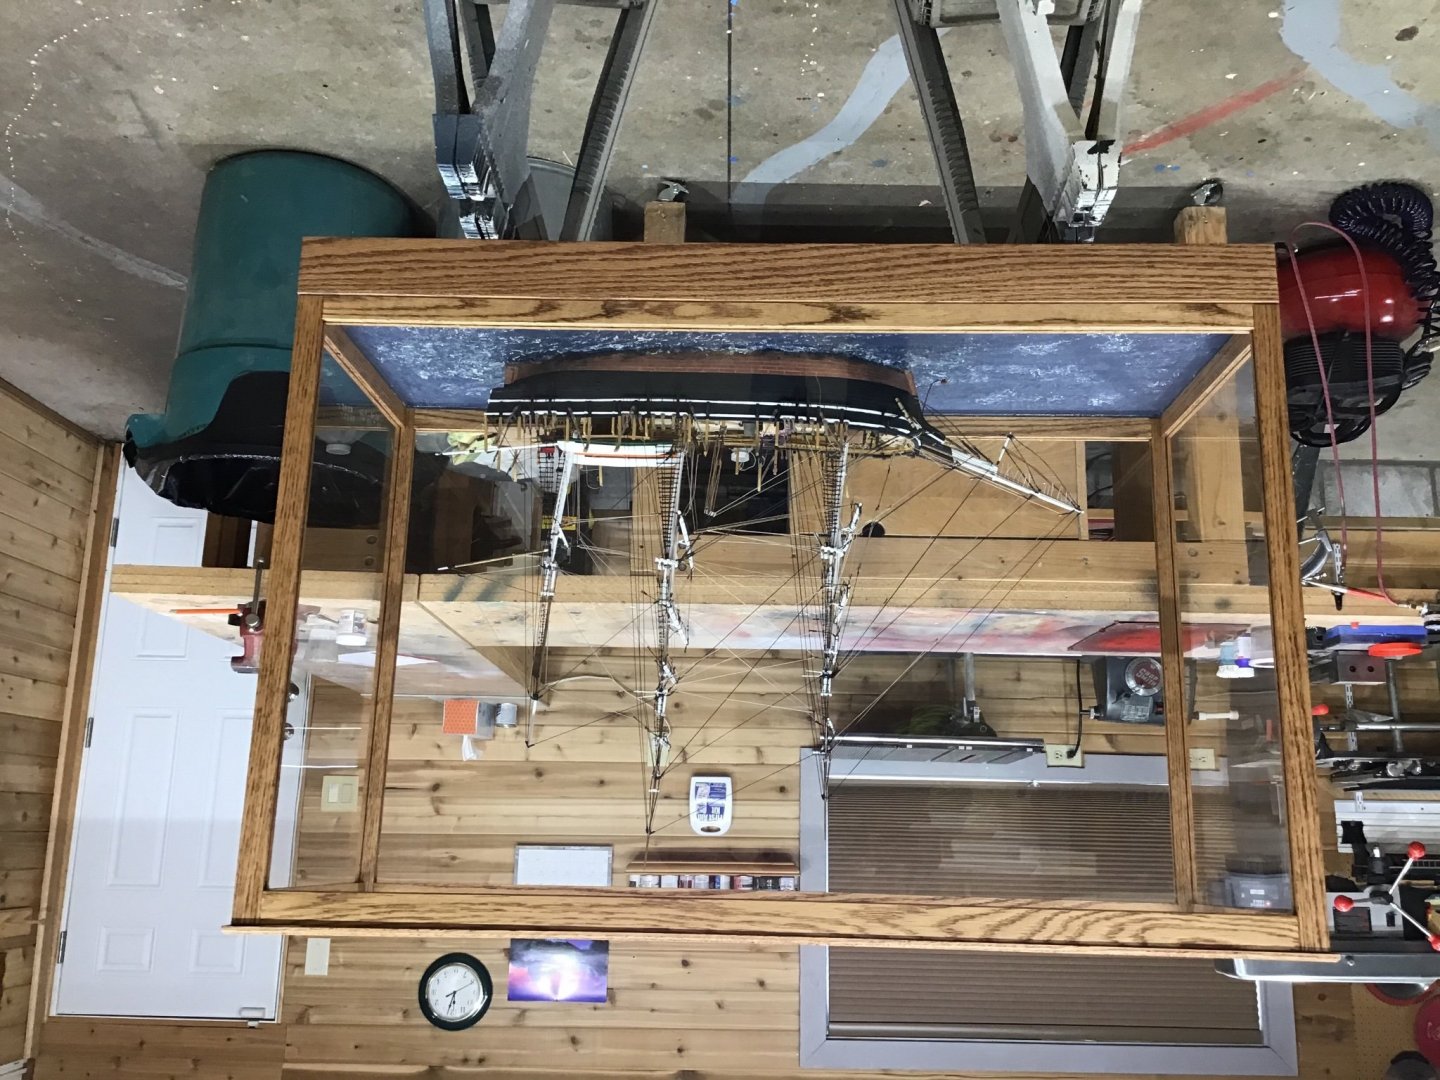
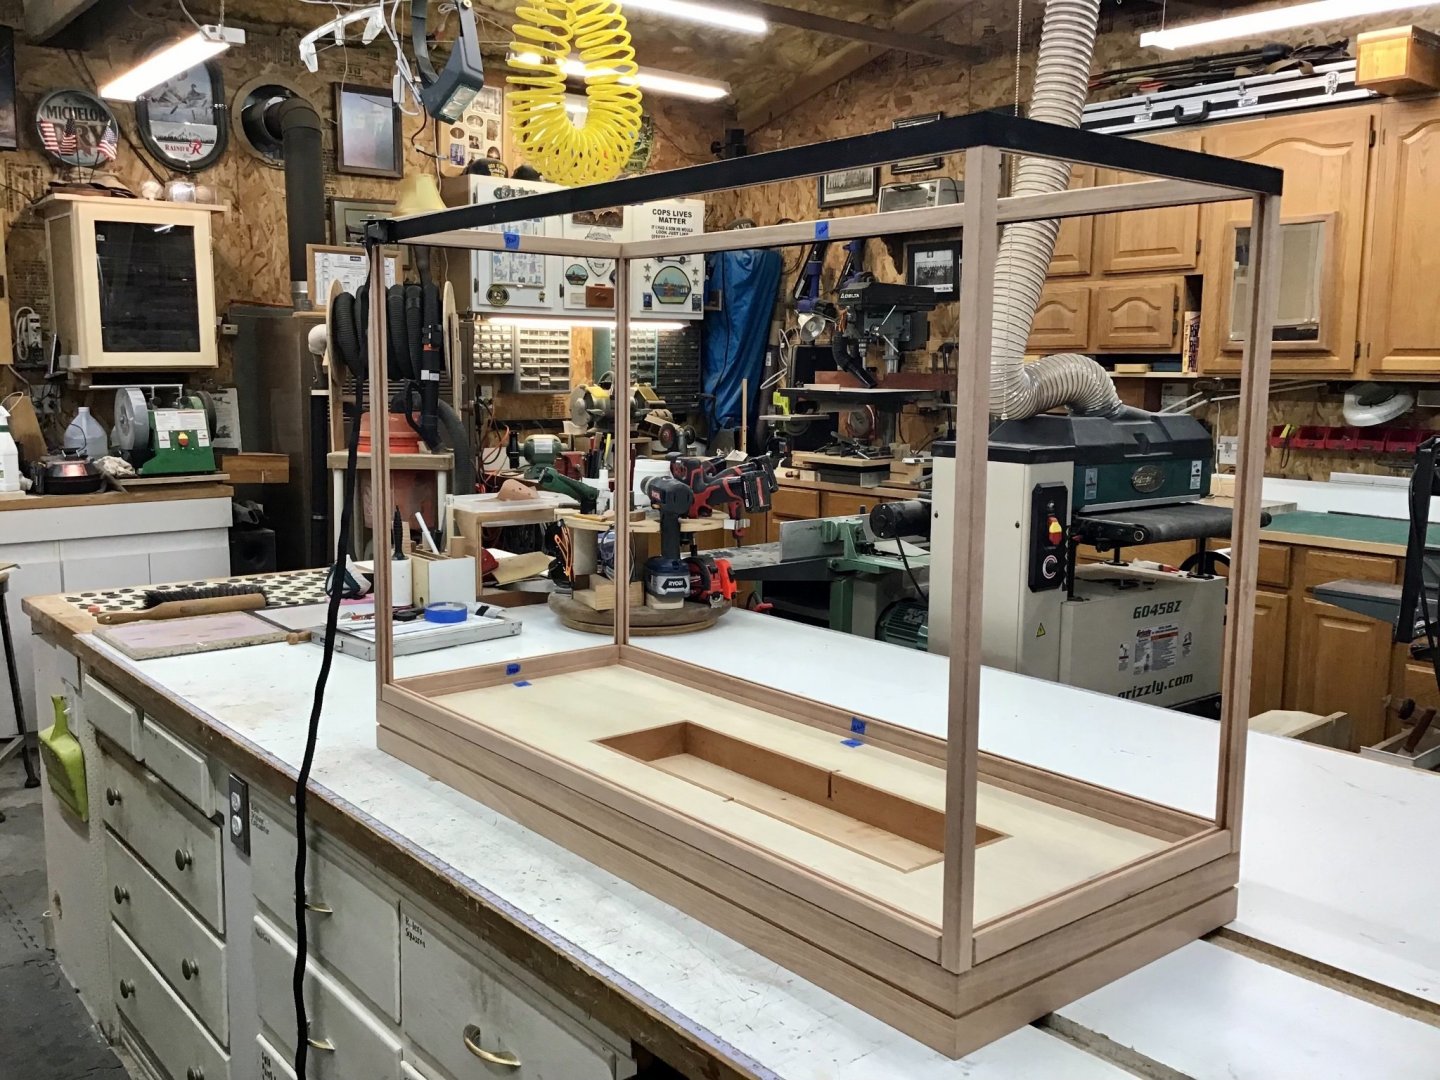
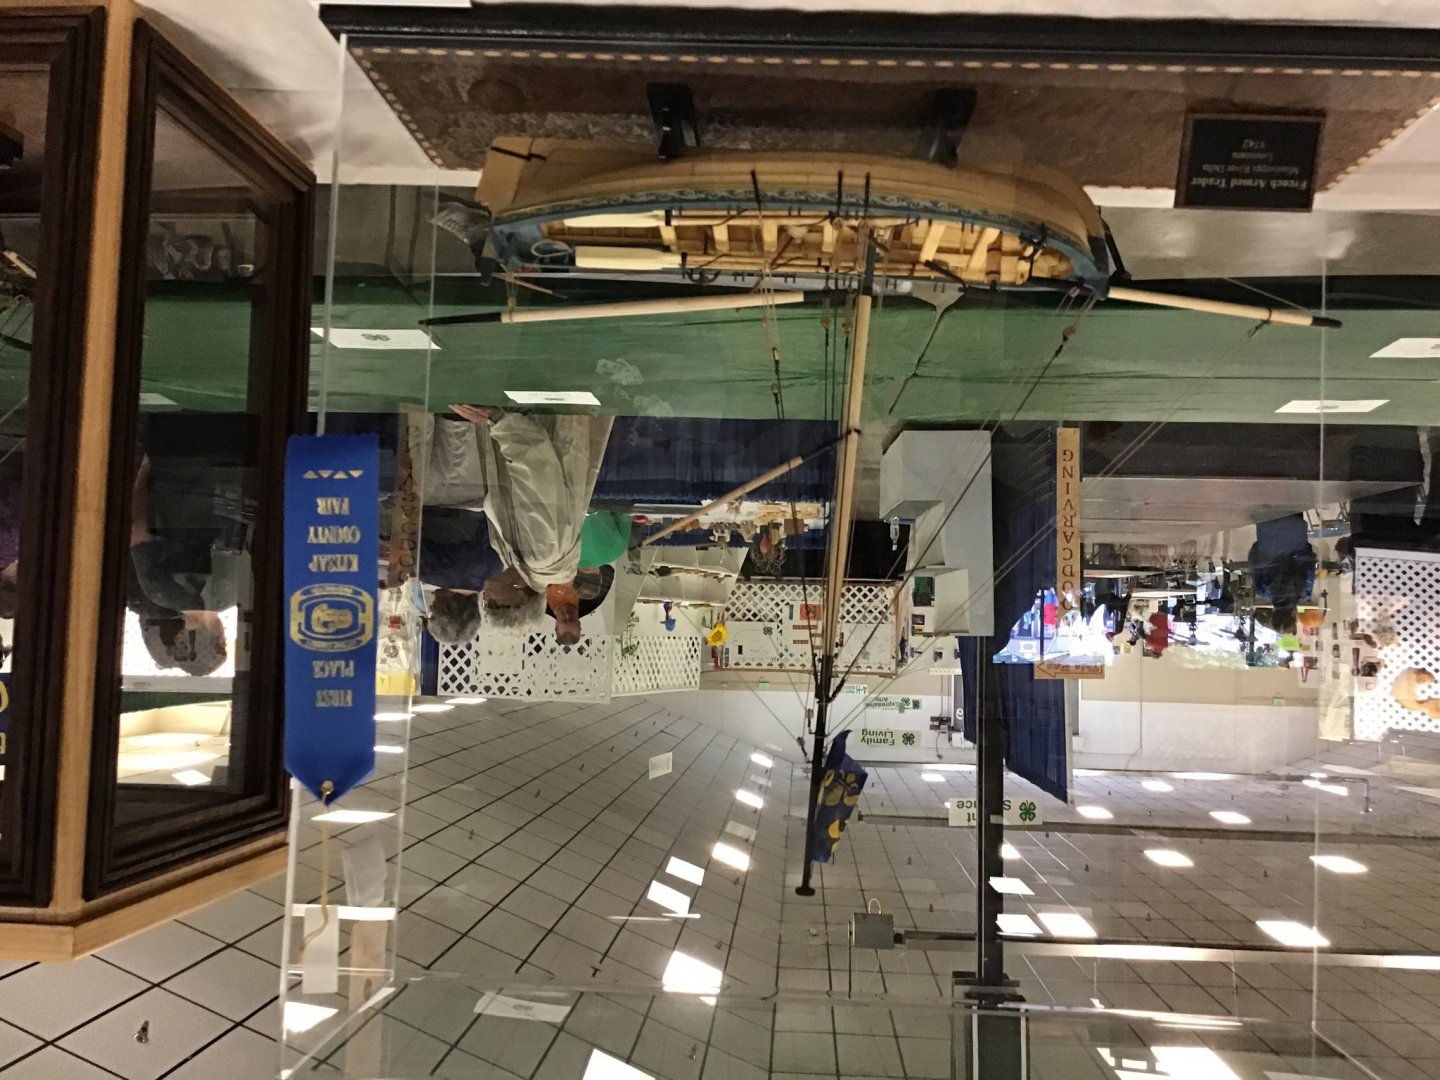
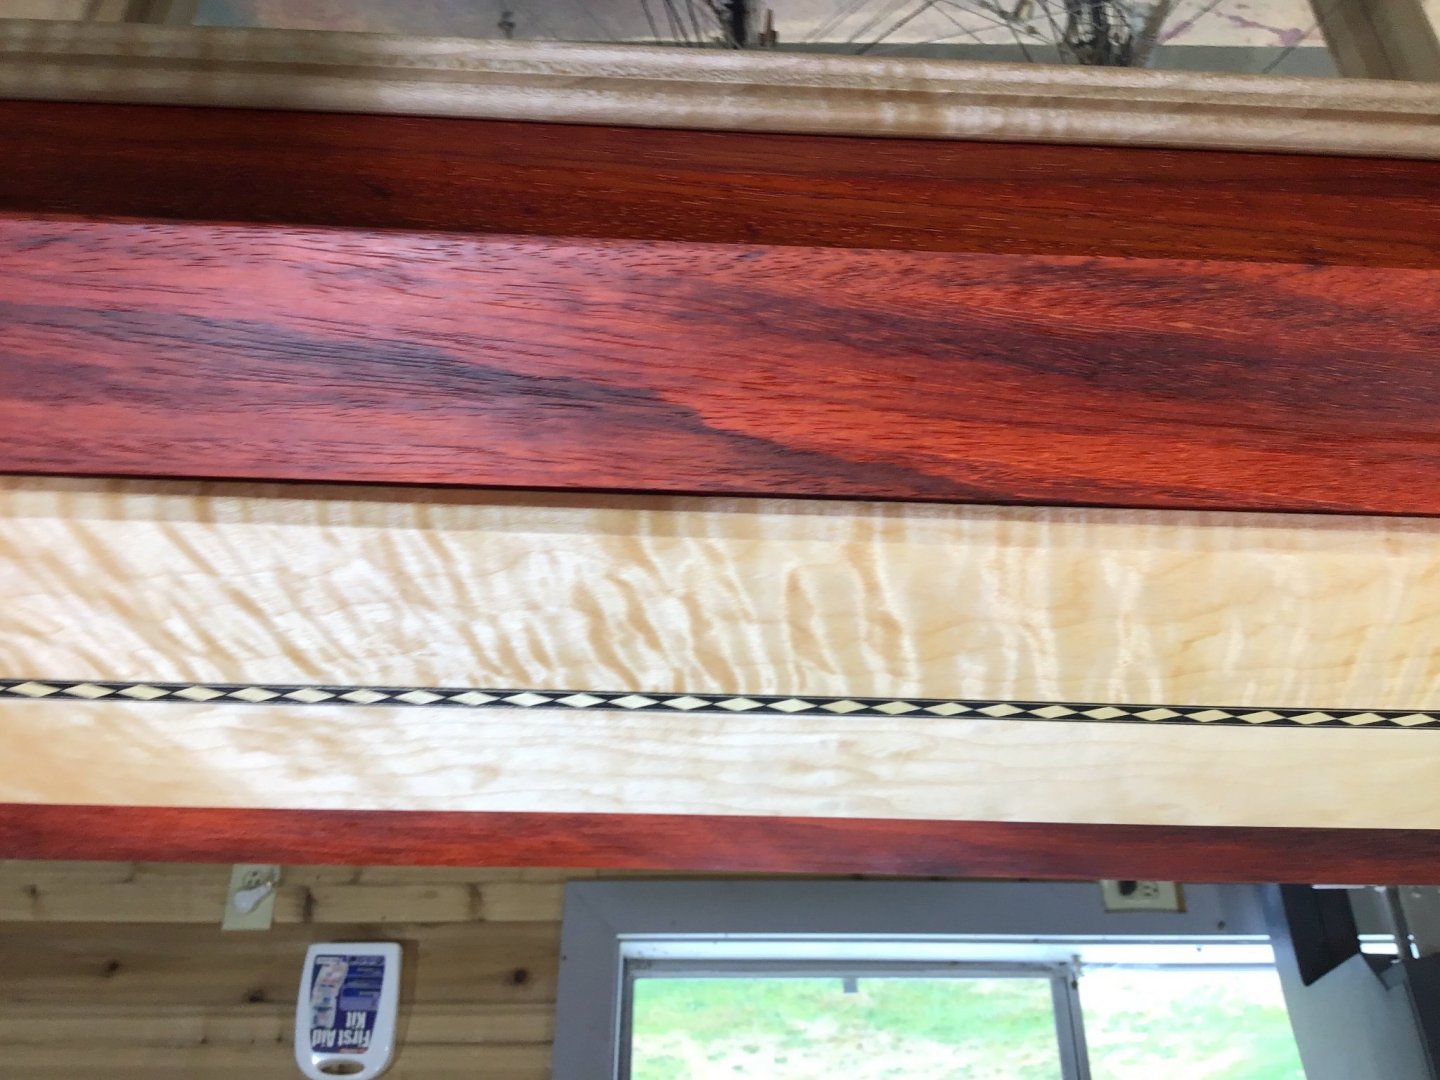
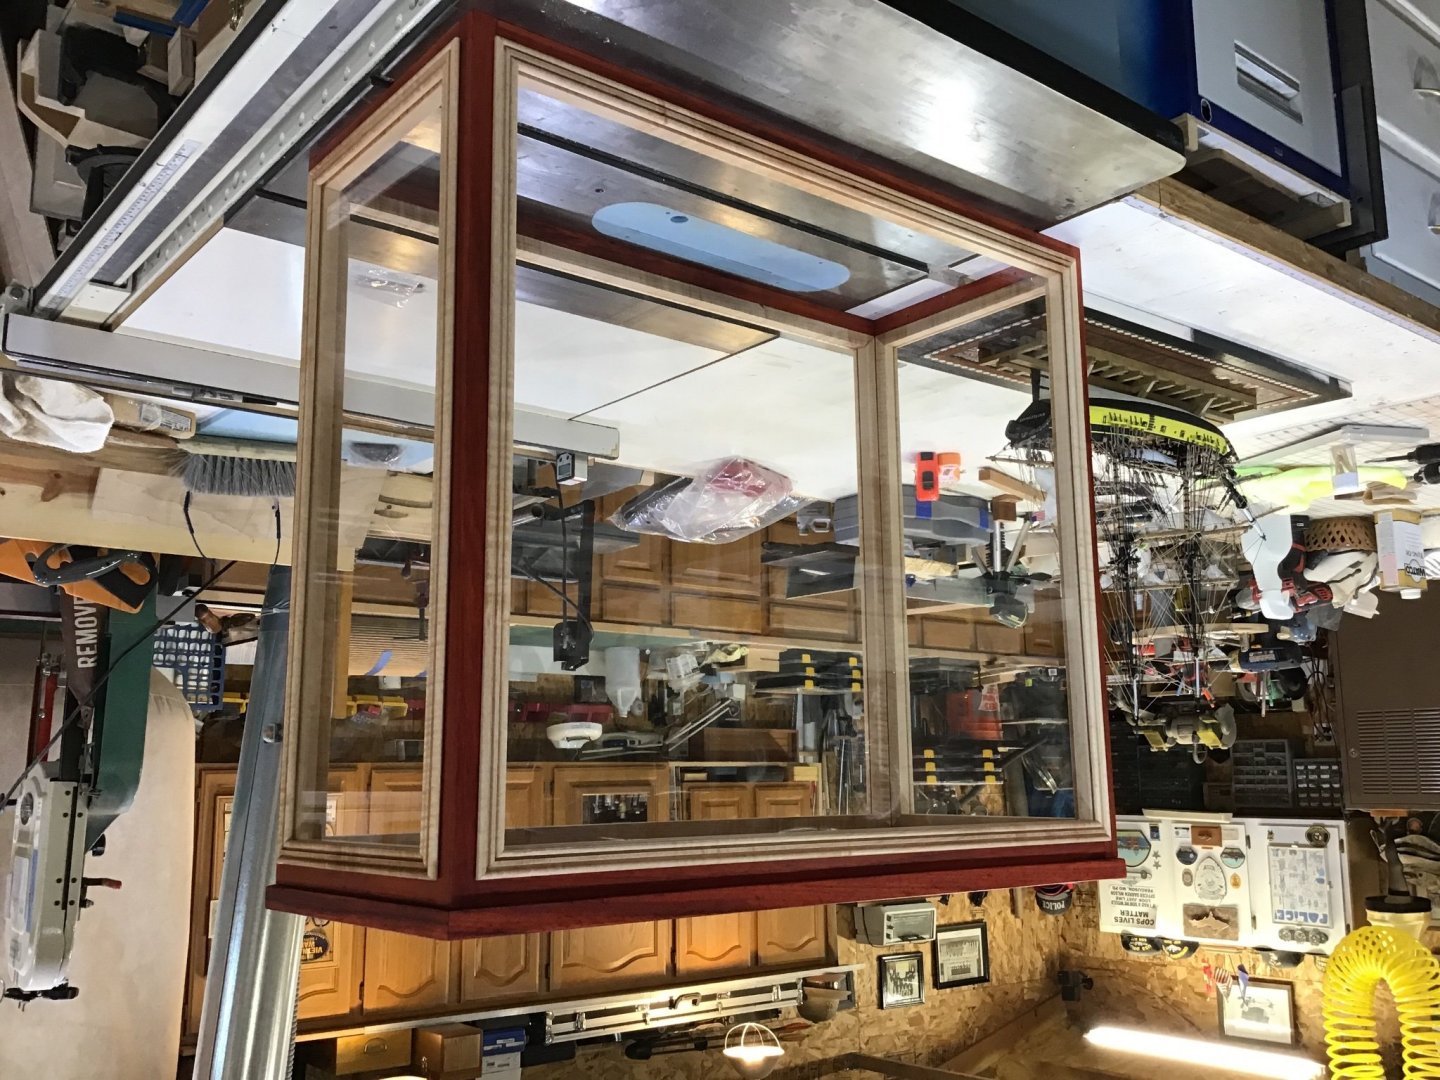
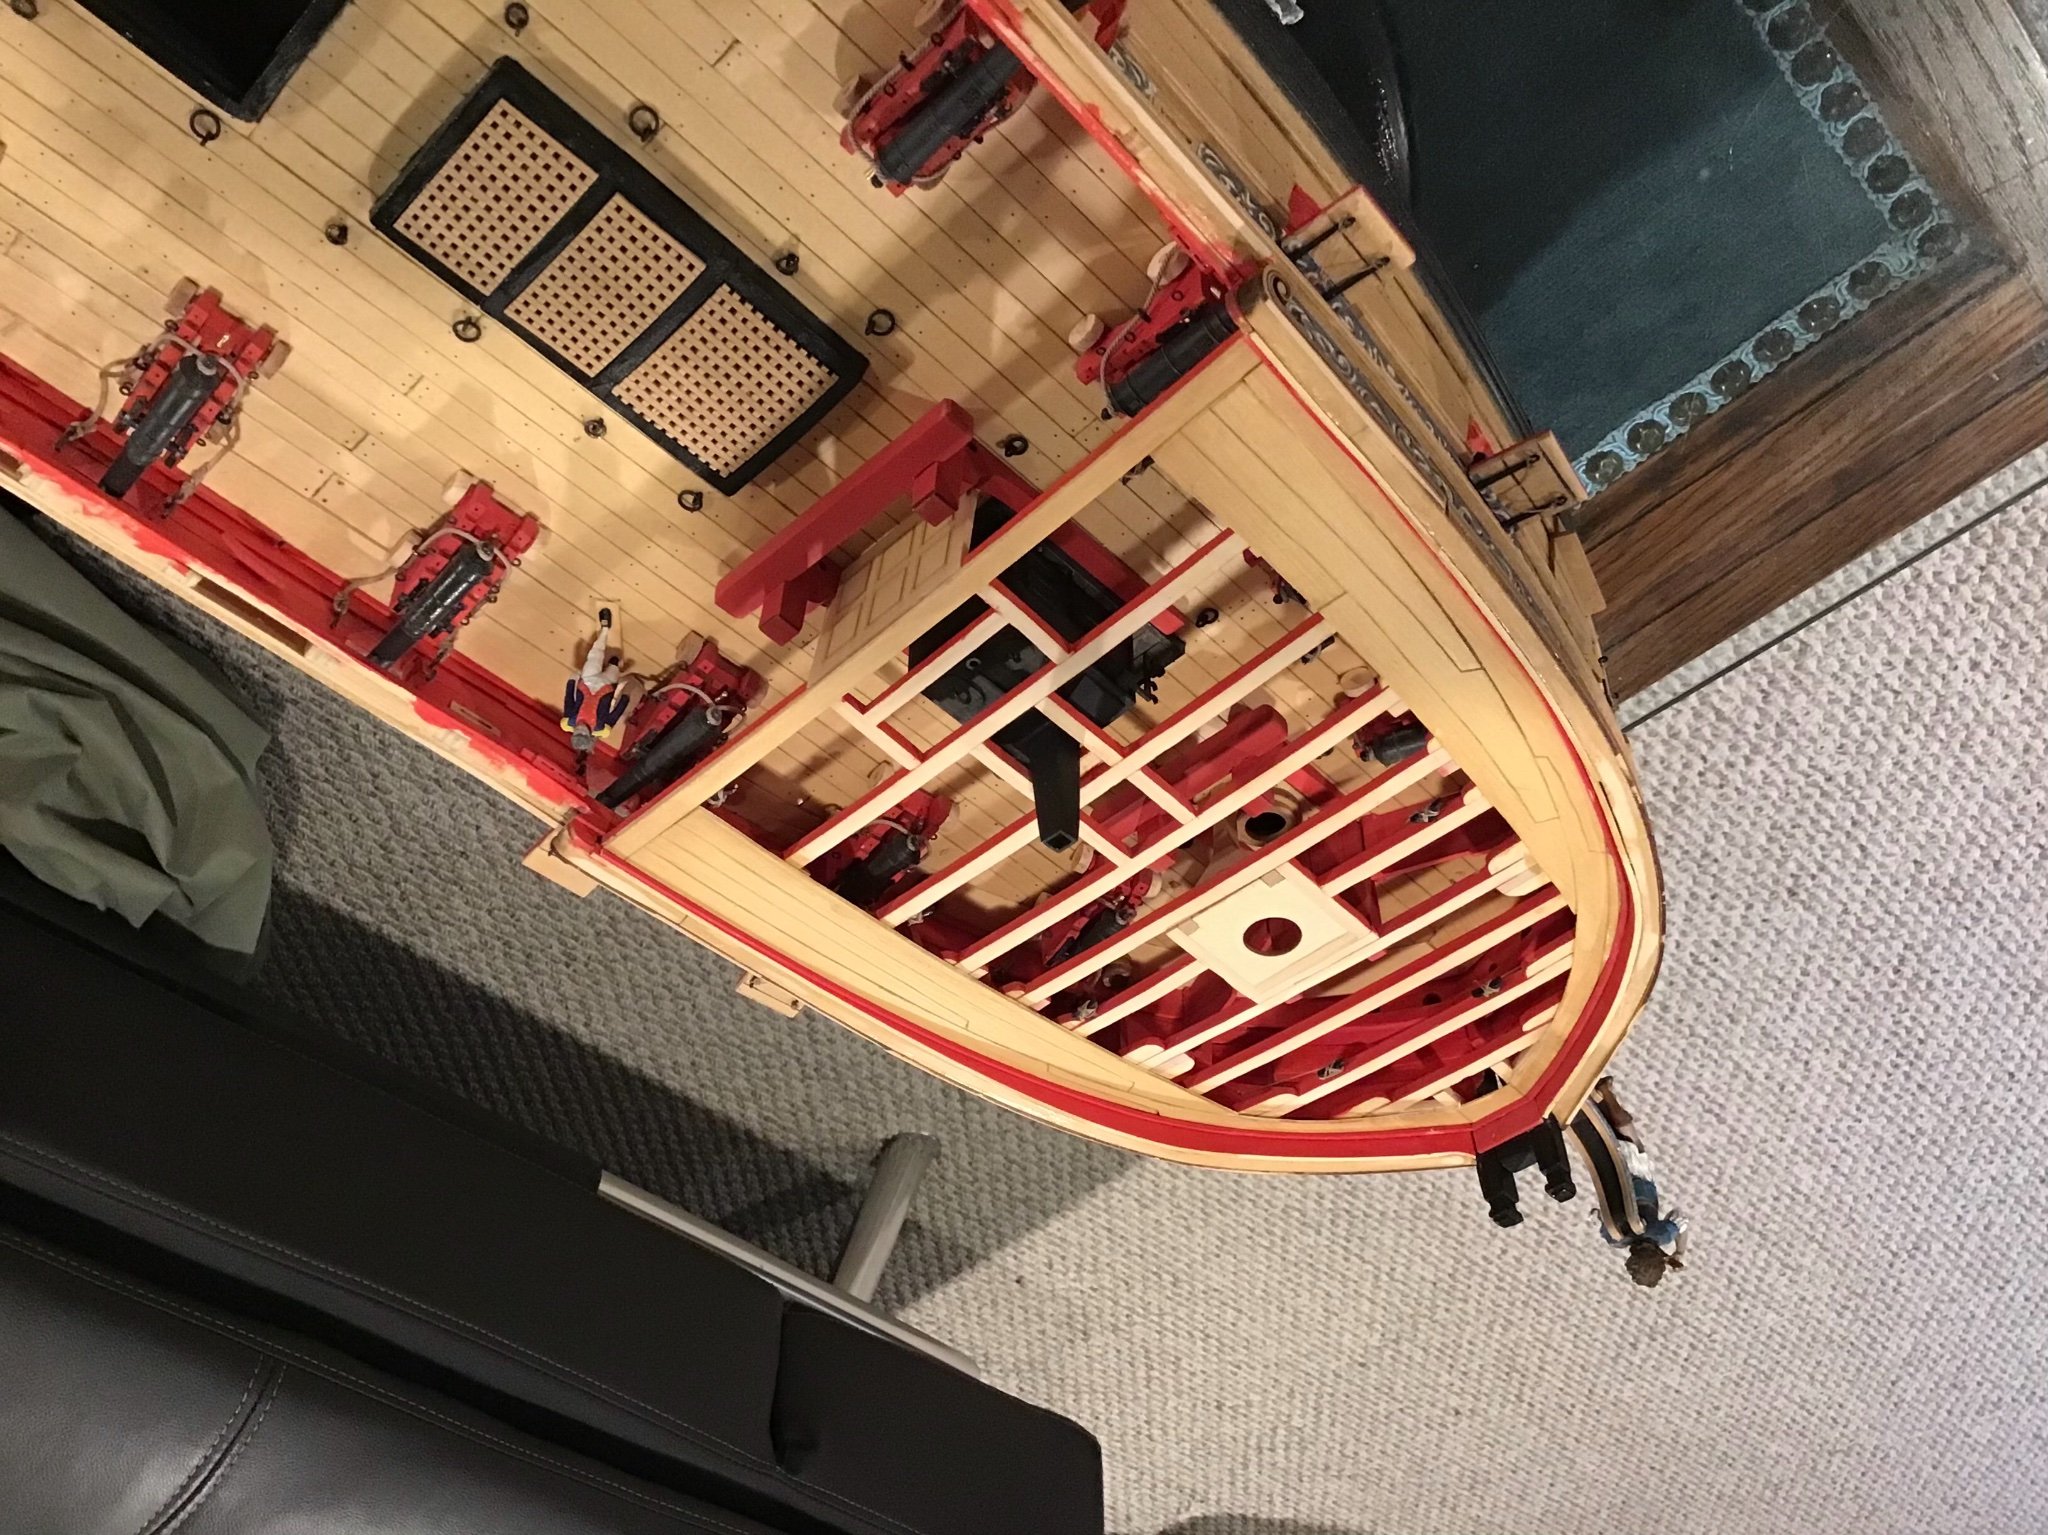
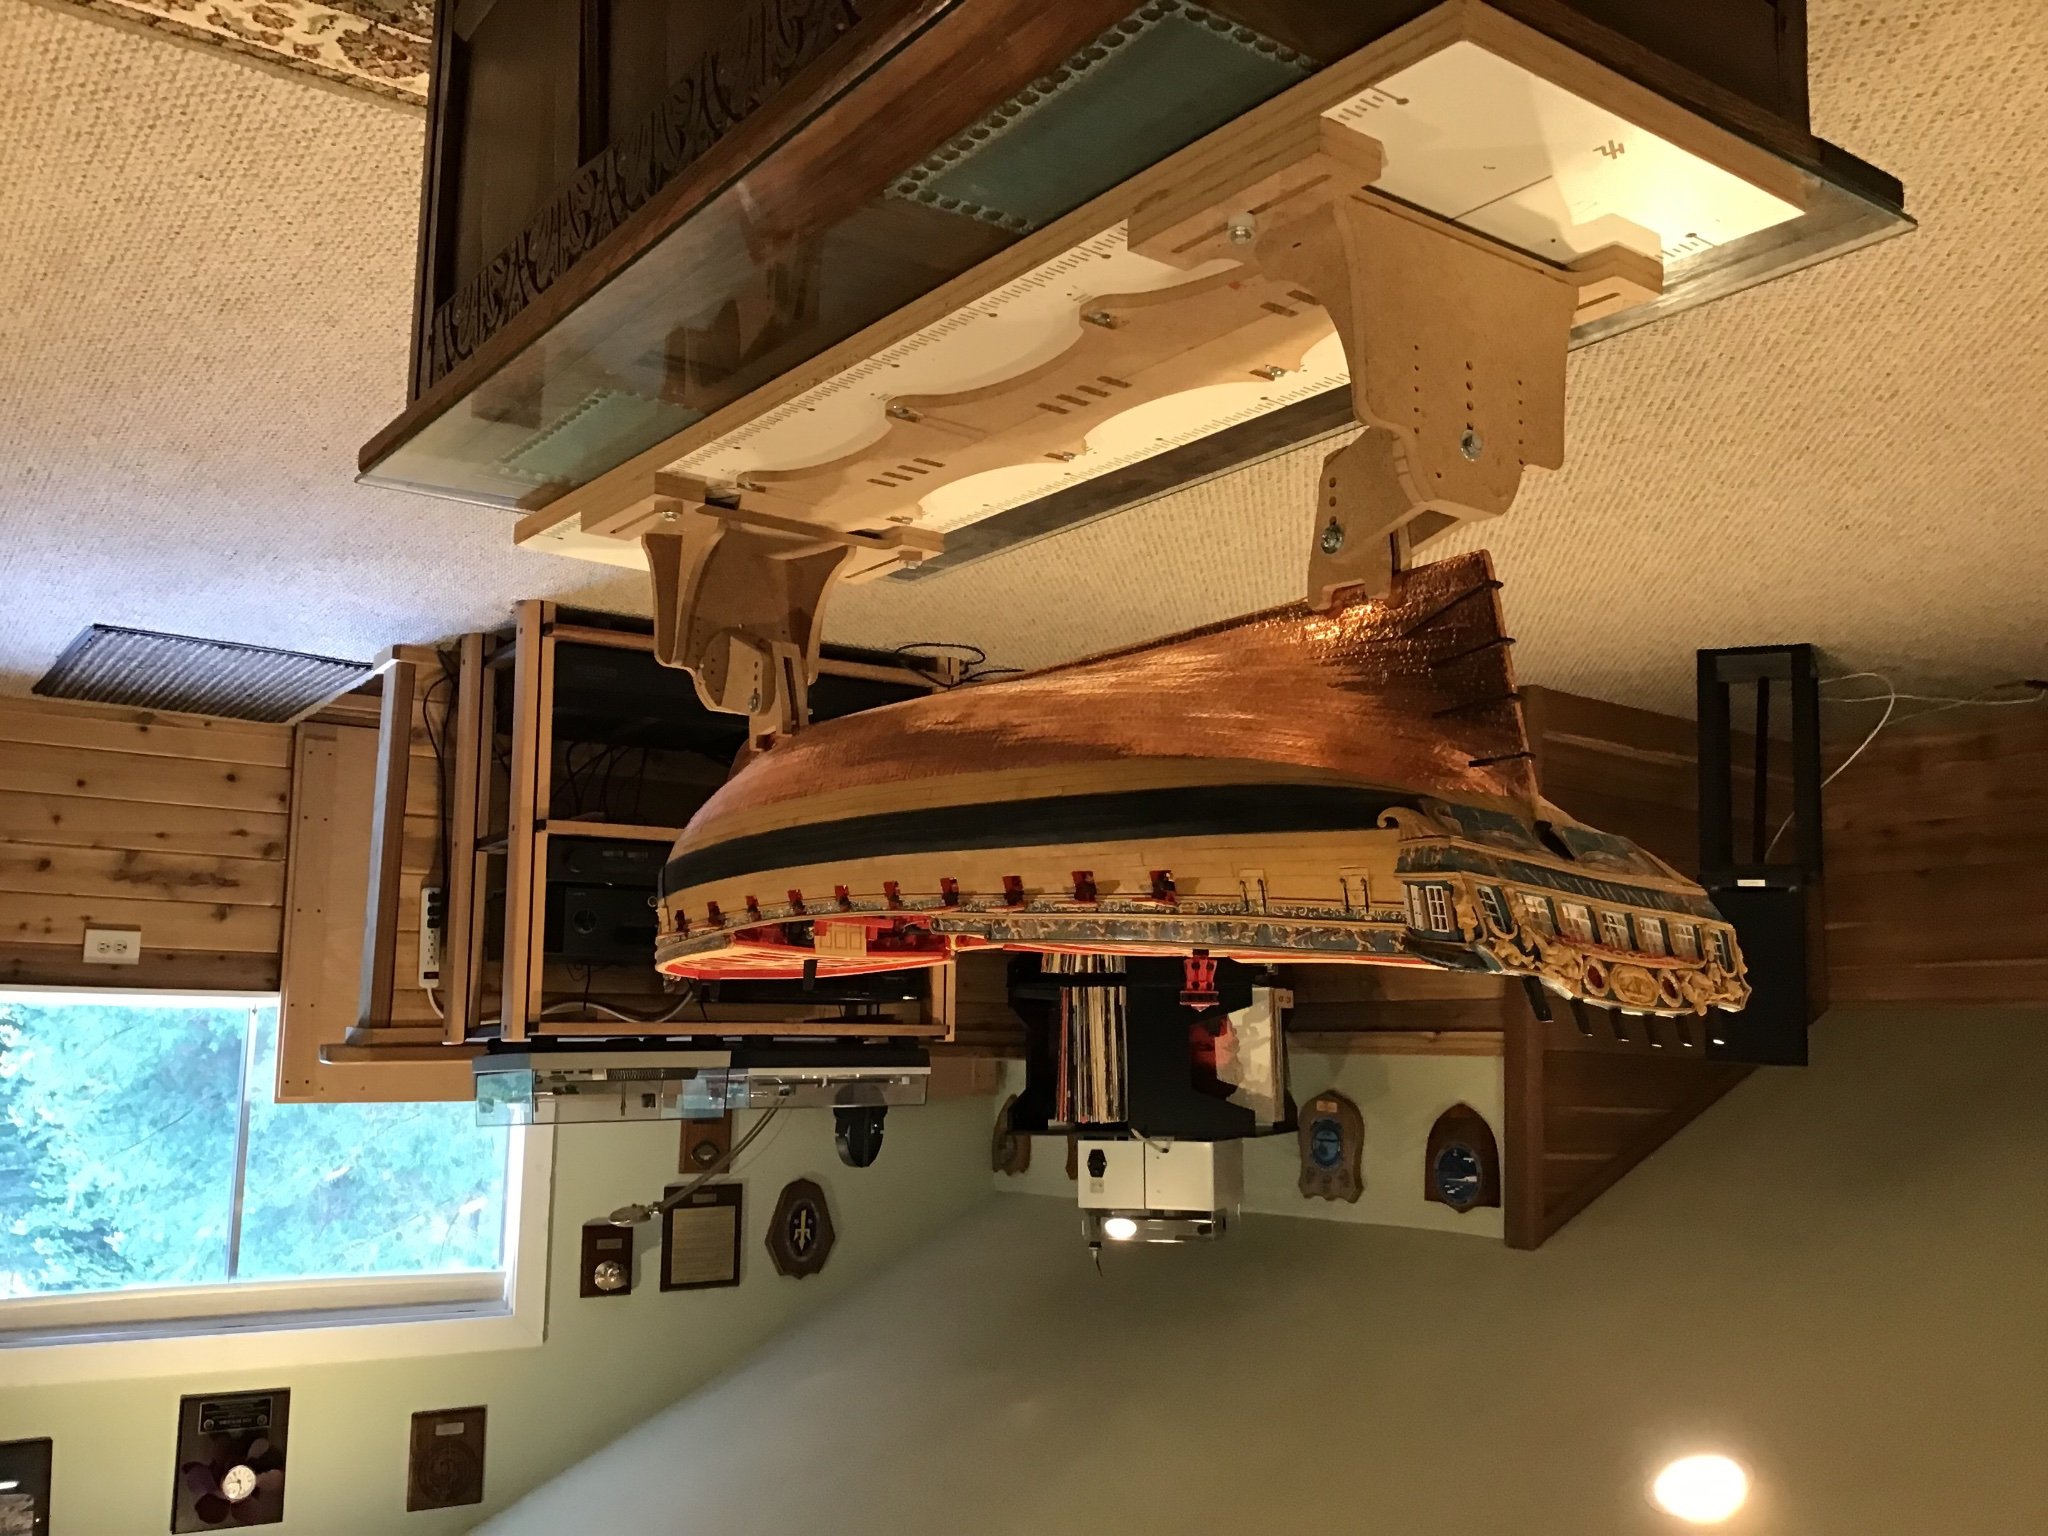
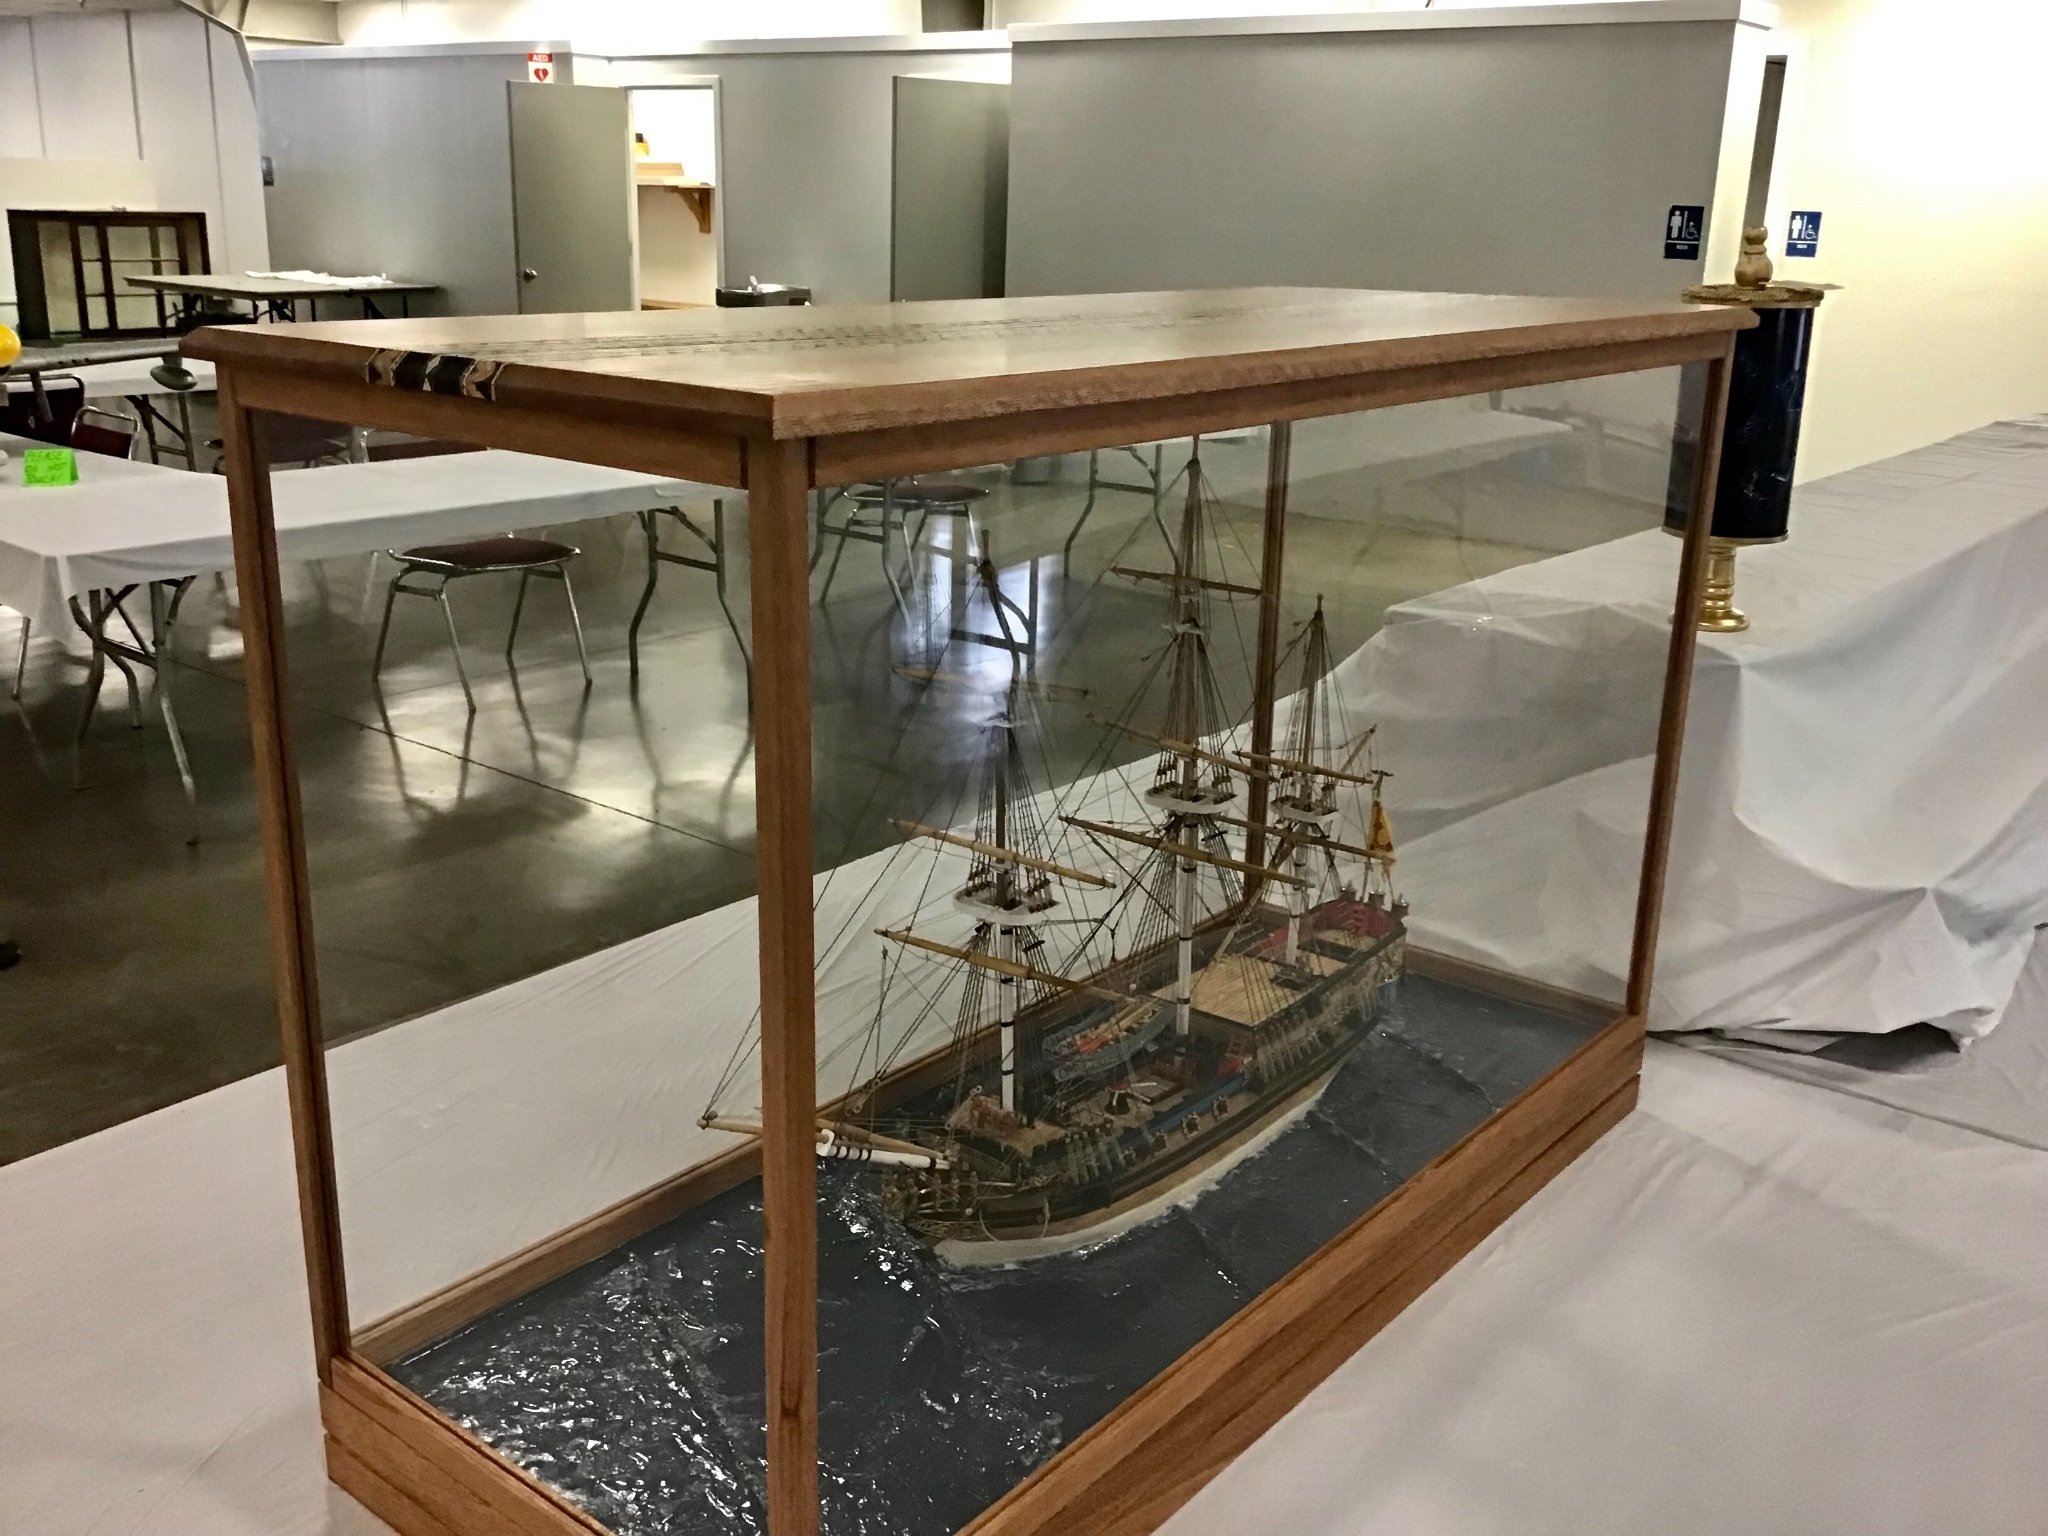
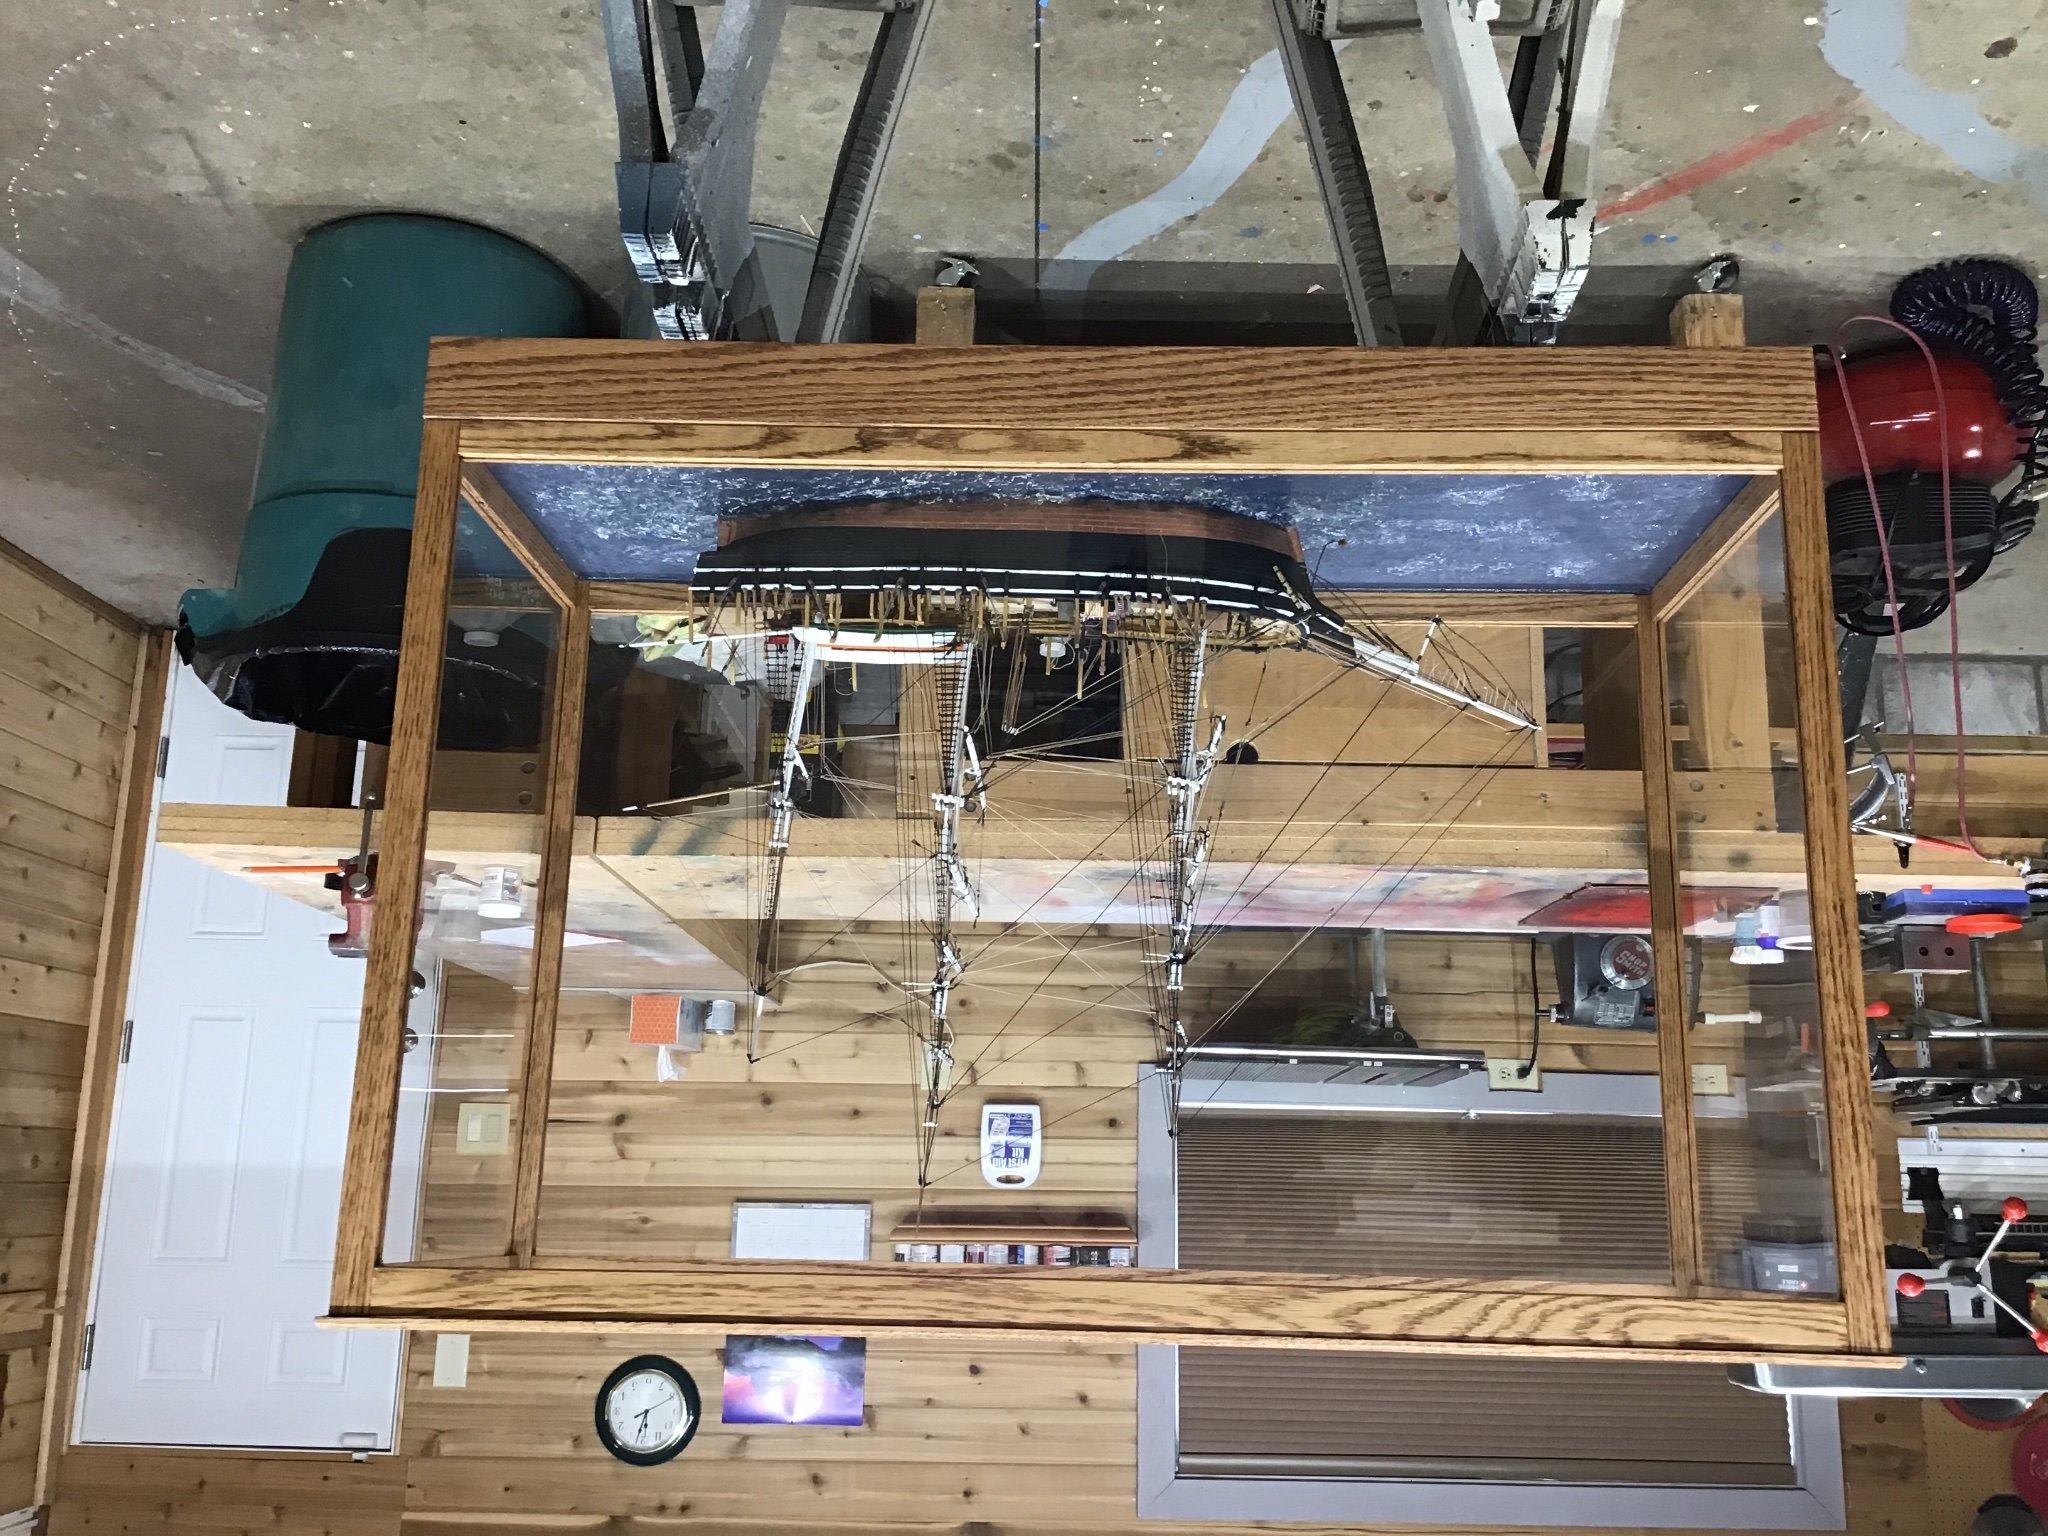
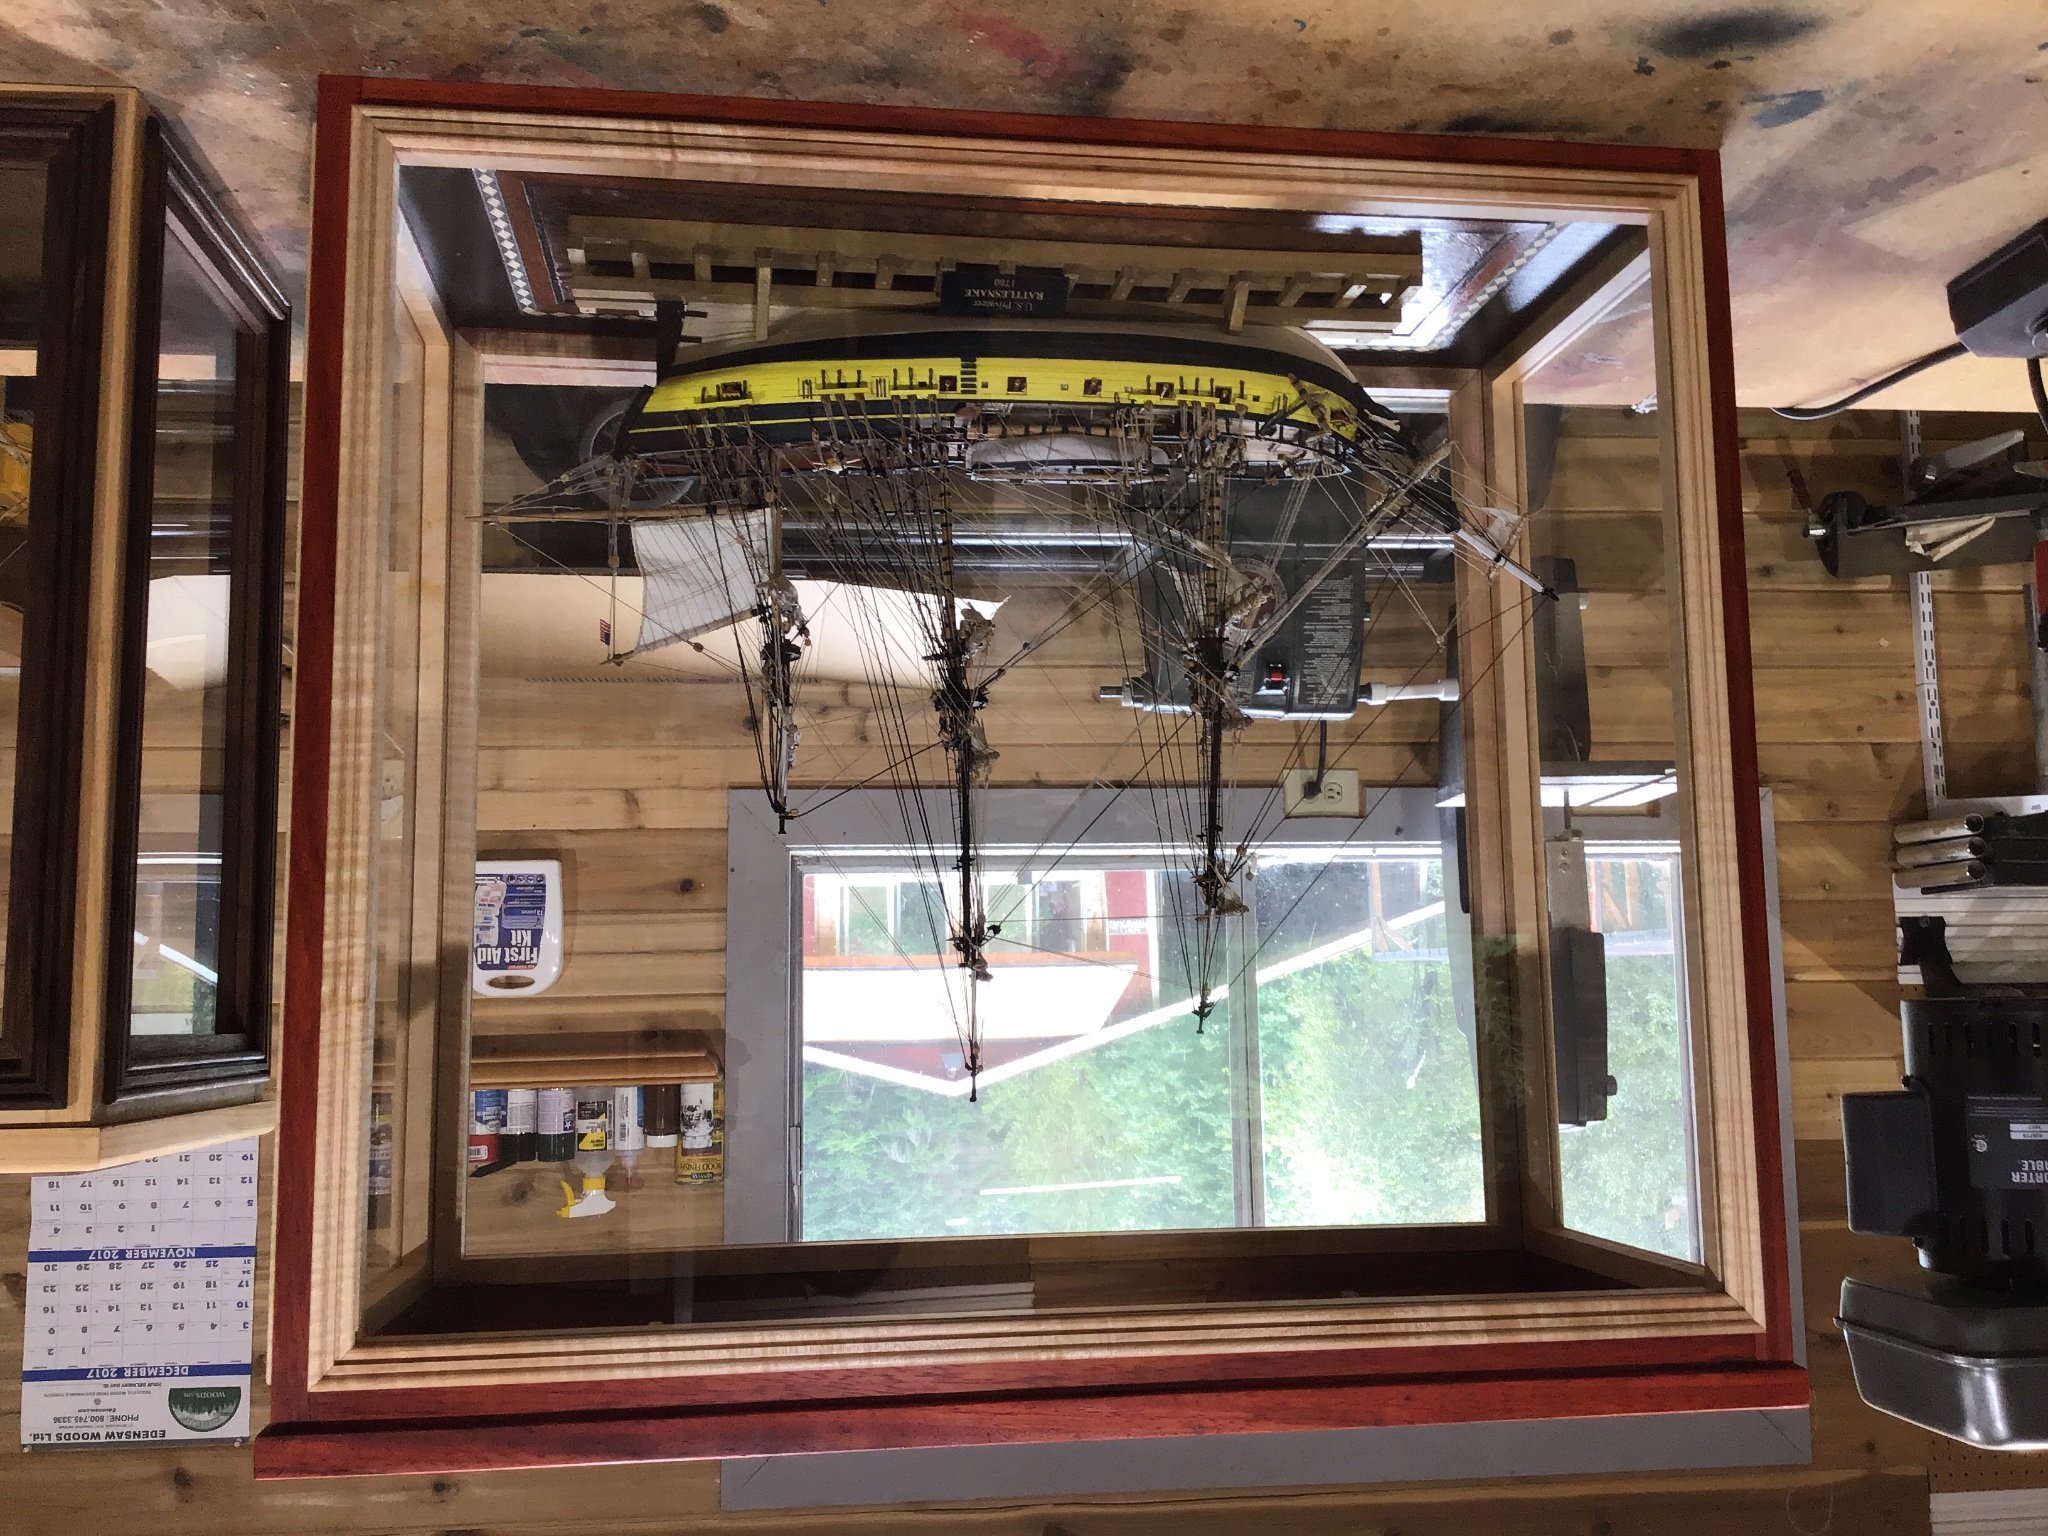
I build the majority of my own cases as I like the look of the wood frame surrounding the model. I have also started adding water features and I am working my way through those trials and tribulations. On occasions when I want a quality Acrylic only case I go to www.casesforcollectibles.com. Here are a few photos of my cases upside down of course. The one with the Longboat is a Casesforcollectibles case. I used their MDF base and veneered it. The ‘well’ you see is how I get the ship down to the water line then it is through bolted through the well and the keel. Not going anywhere so it is a travel and display case. One went from WA to the whaling museum on Maui with zero damage.


- mtaylor, Ryland Craze, JpR62 and 1 other
-
4


are these advanced models
in Discussion for a Ship's Deck Furniture, Guns, boats and other Fittings
Posted
IMHO the Medway Long boat is the better model and yes it is considered moderate to advanced.