GrandpaPhil
-
Posts
6,172 -
Joined
-
Last visited
Content Type
Profiles
Forums
Gallery
Events
Everything posted by GrandpaPhil
-
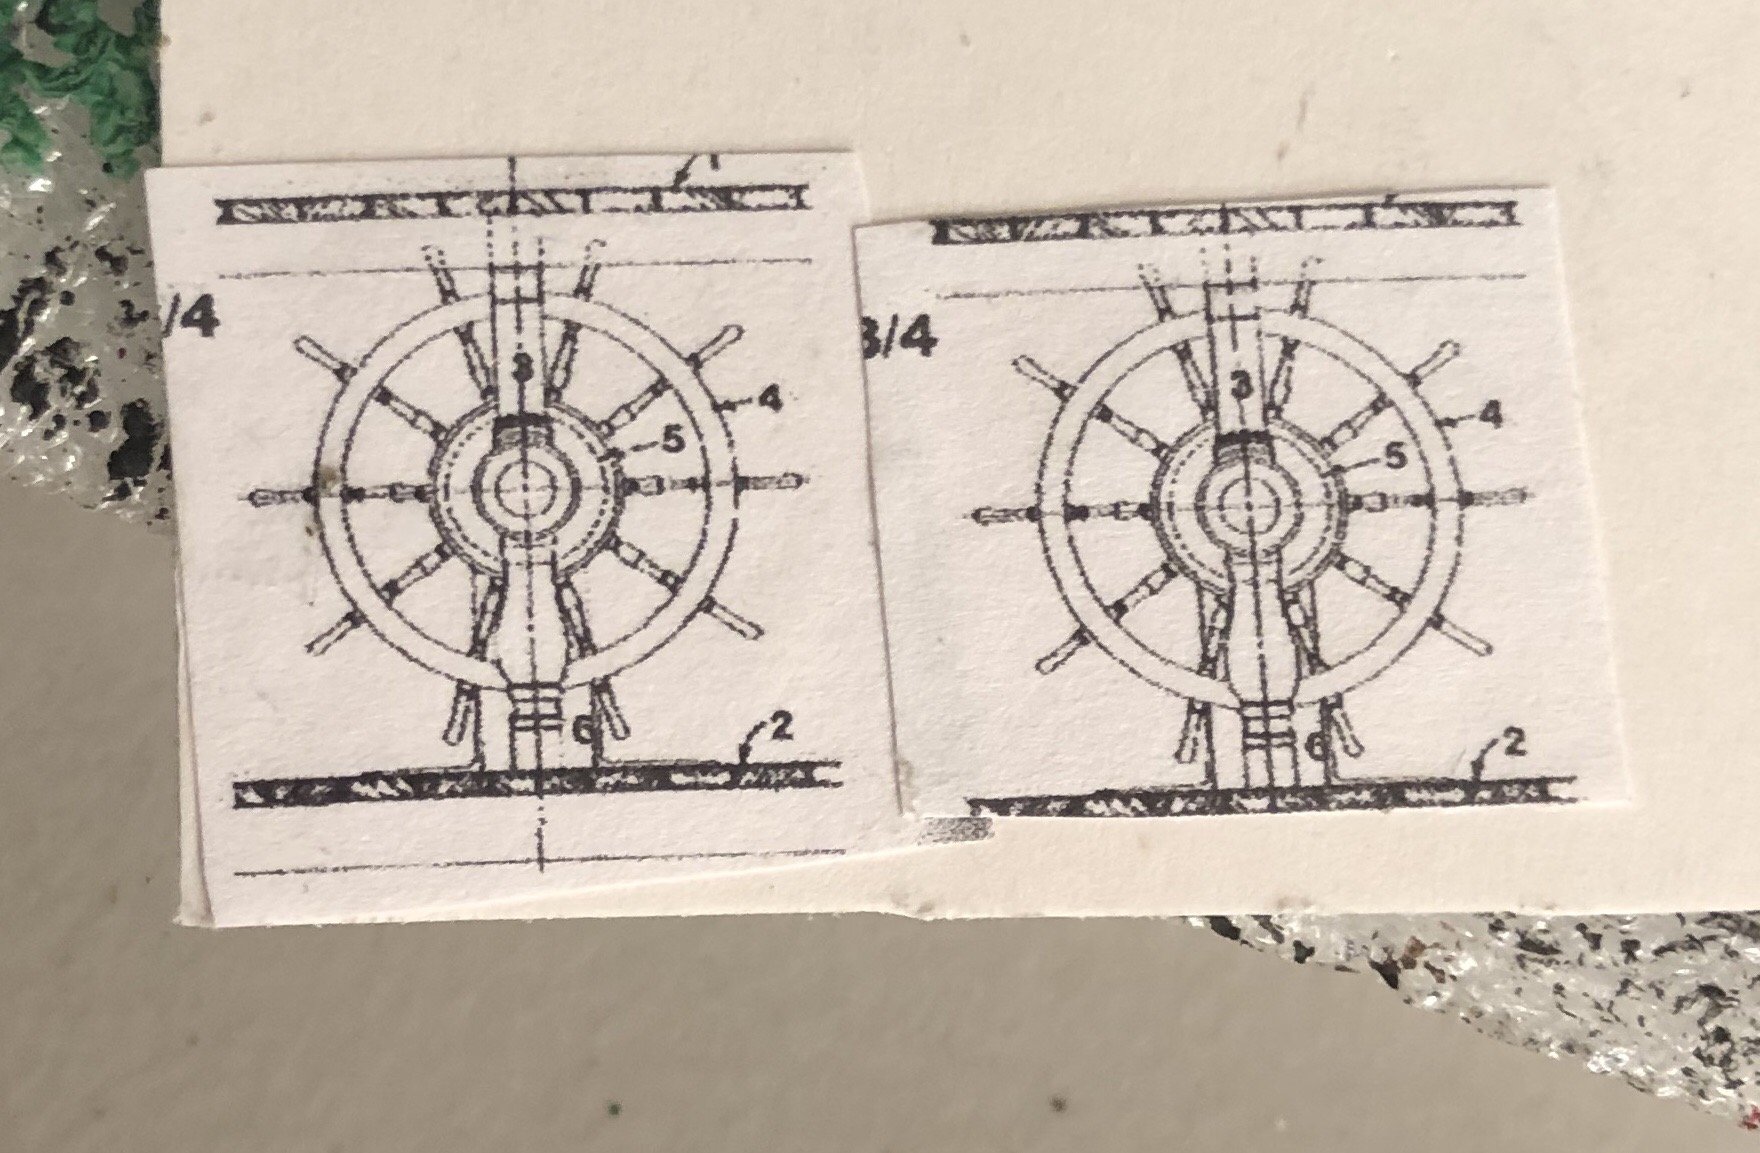
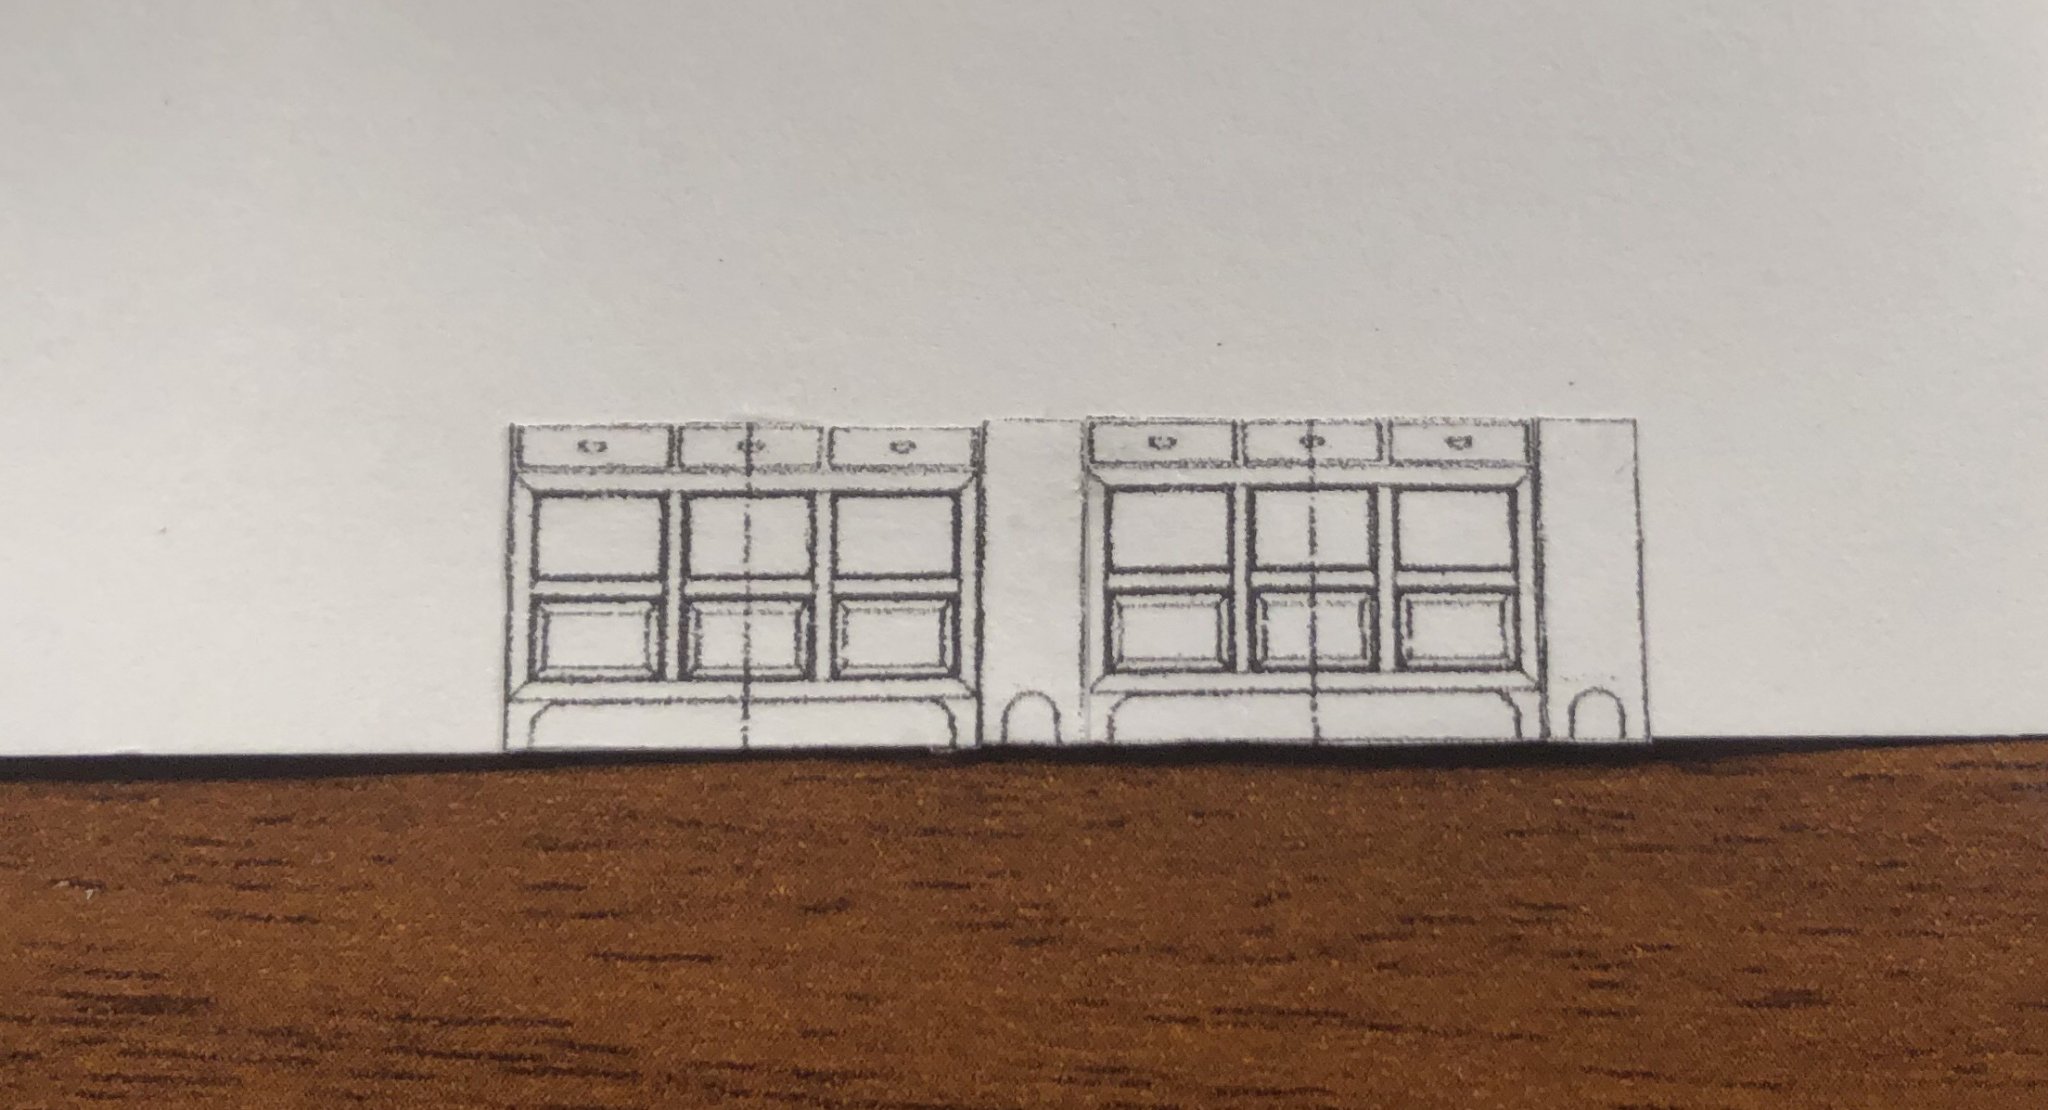
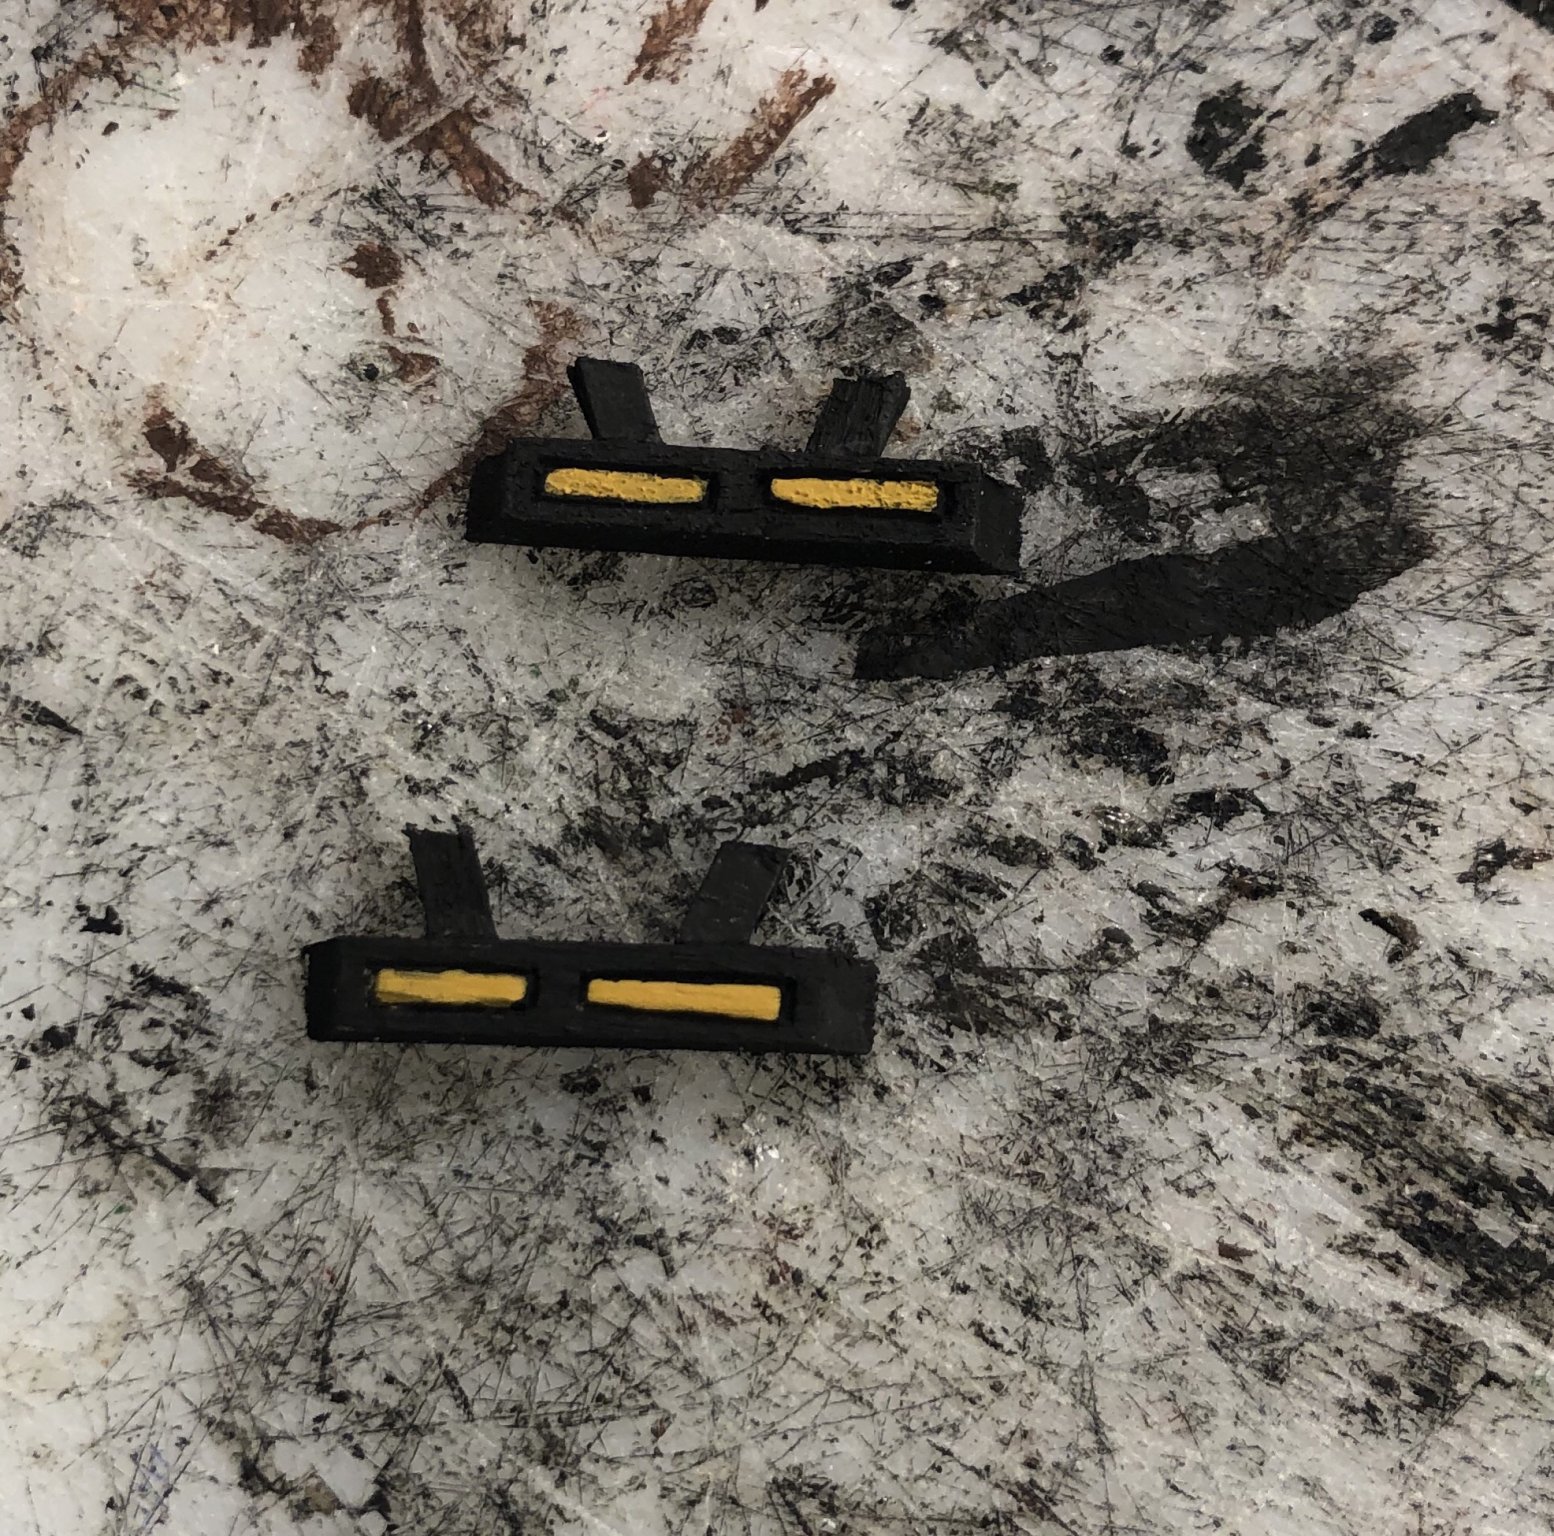
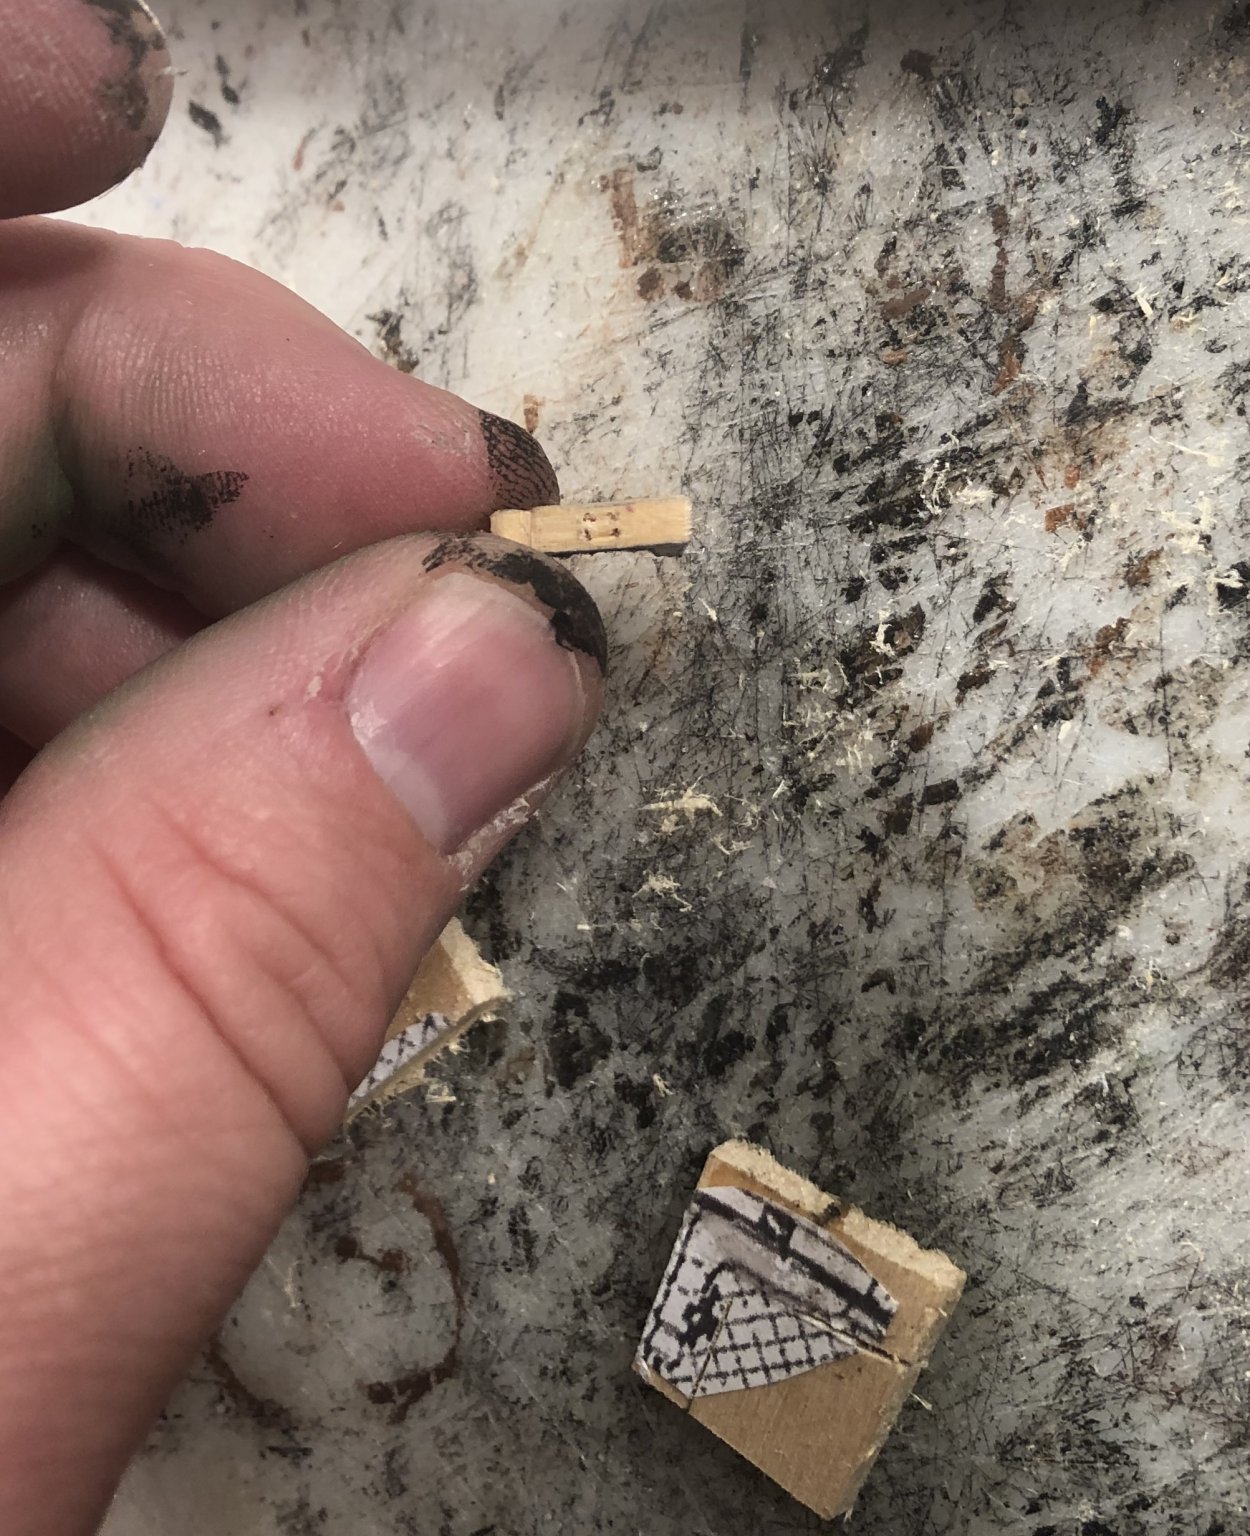
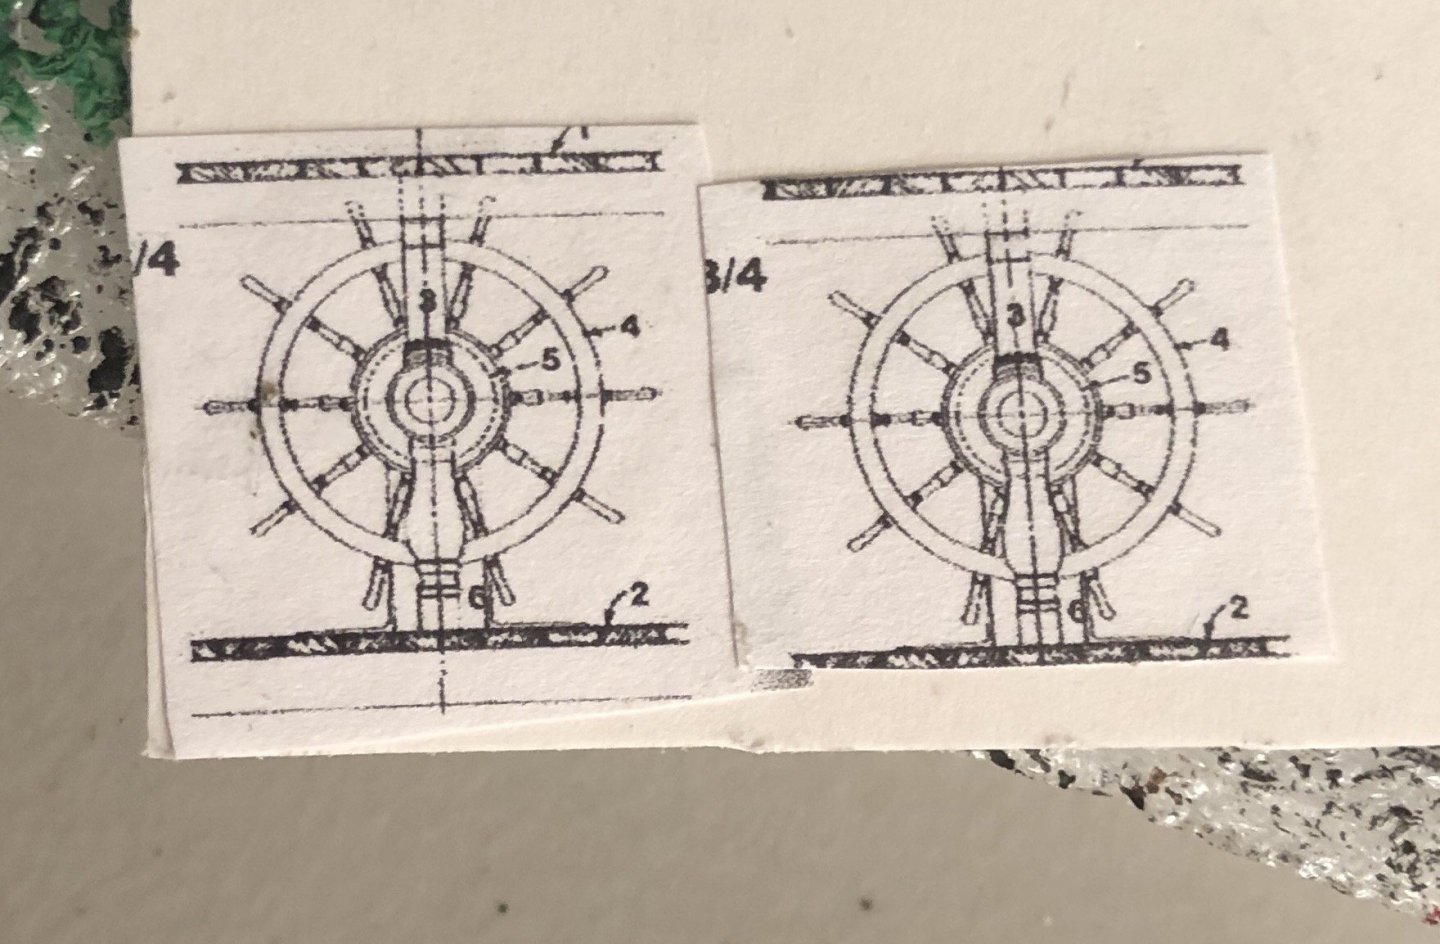
Thank you! The start of the ship’s wheel: Also starting on the Binnacle.

-
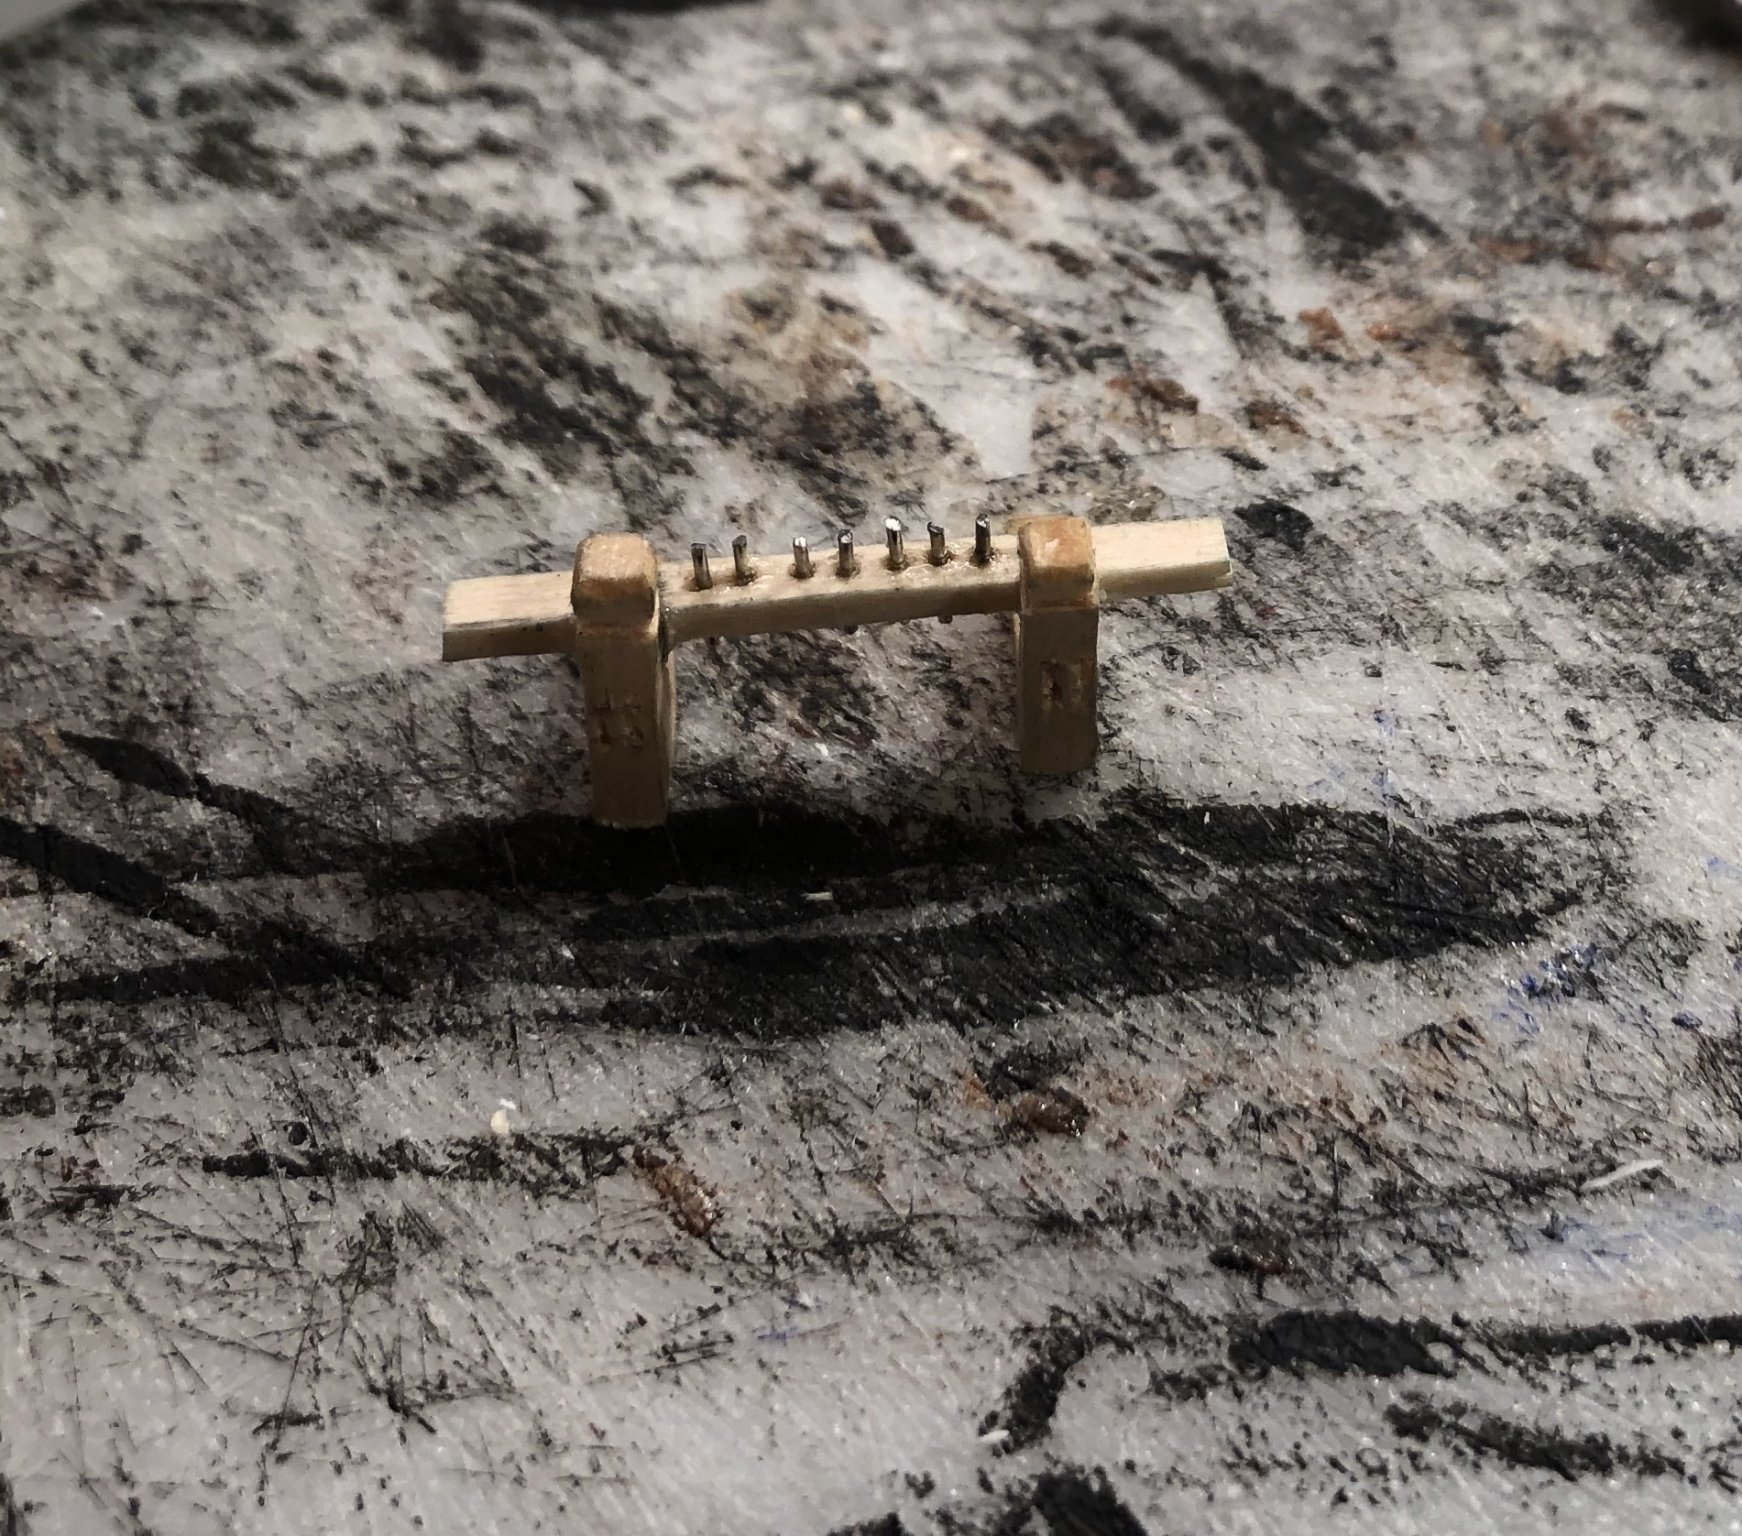
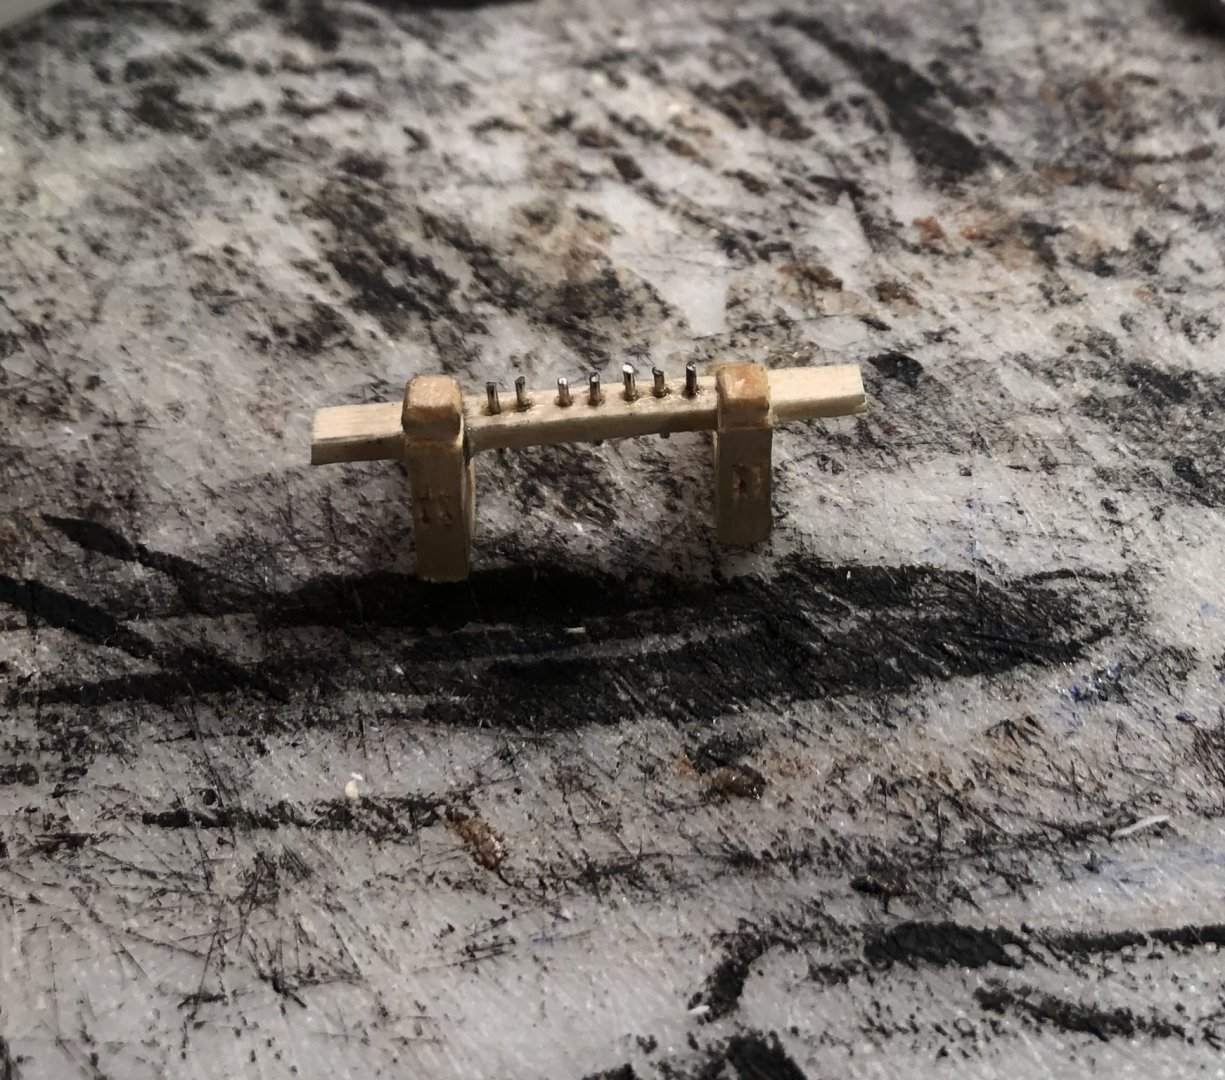
Made some belaying pins out of sewing pins:
-
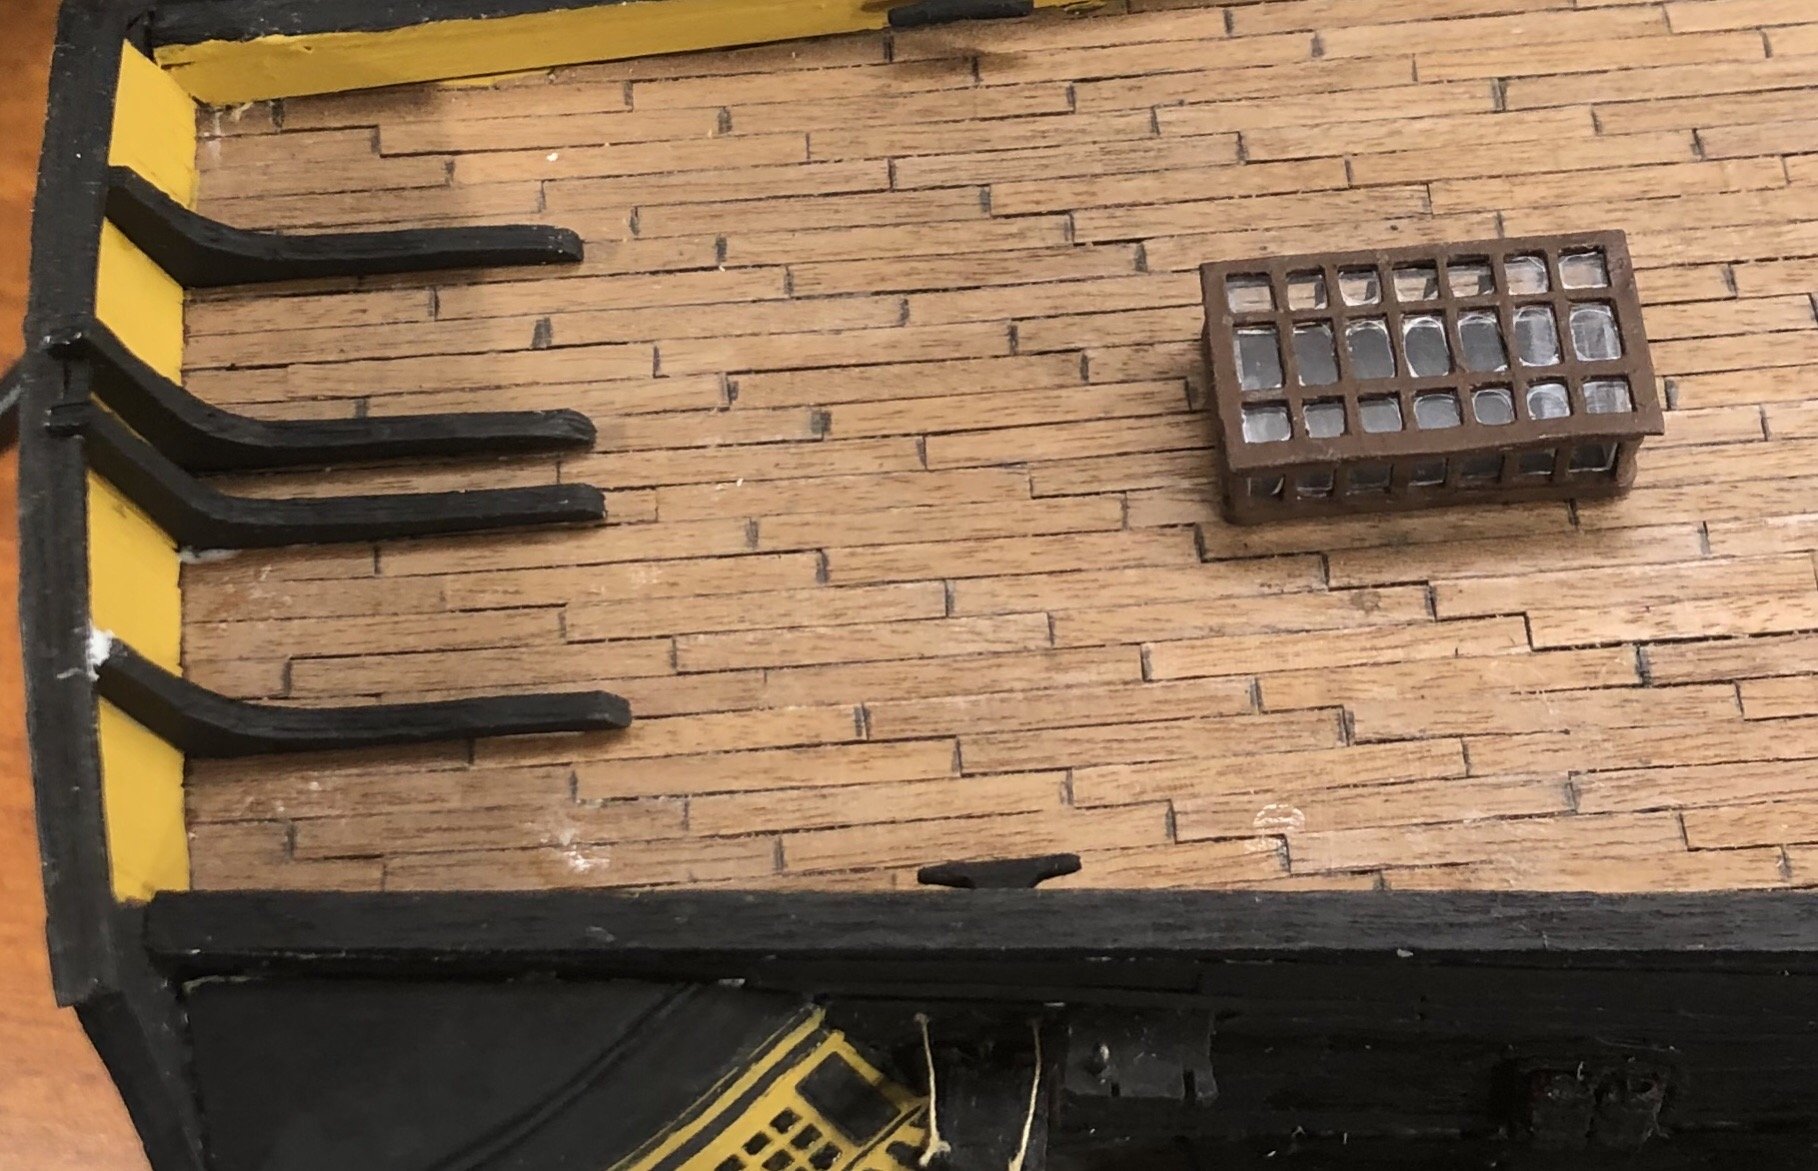
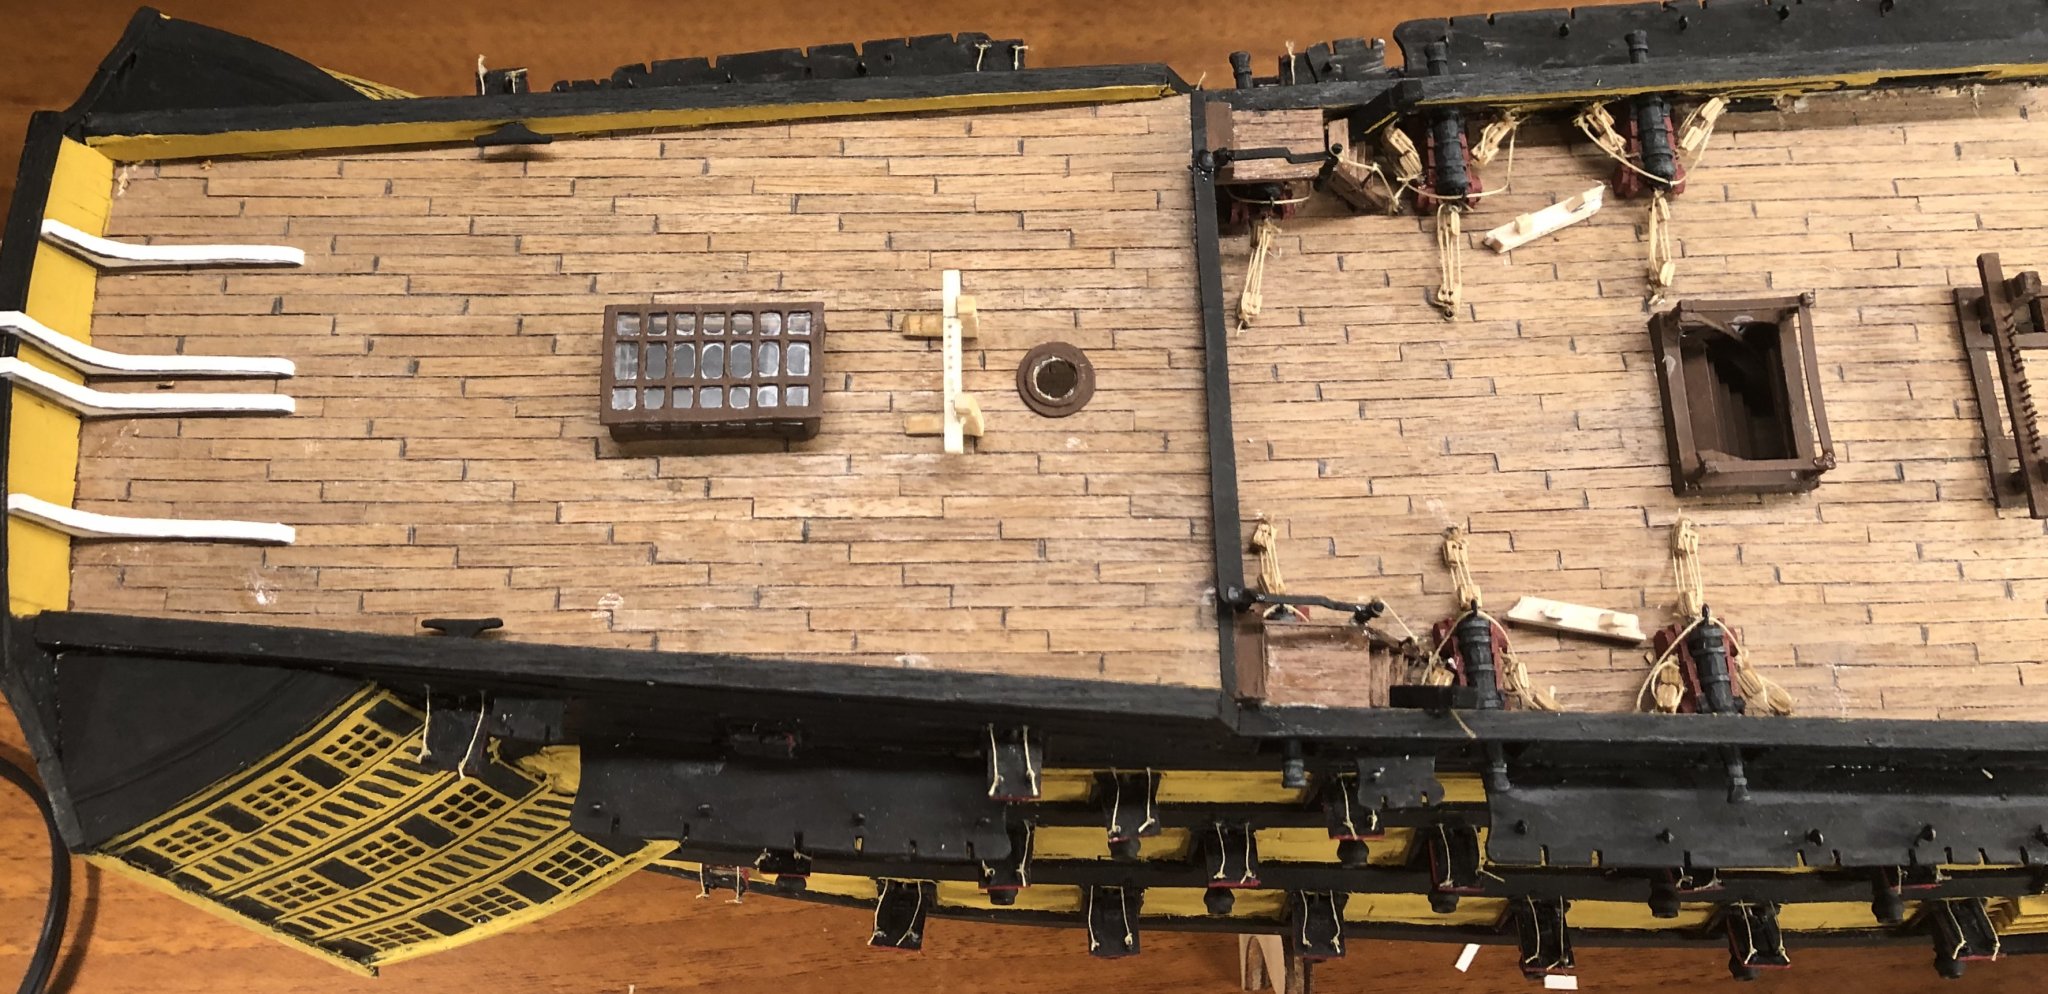
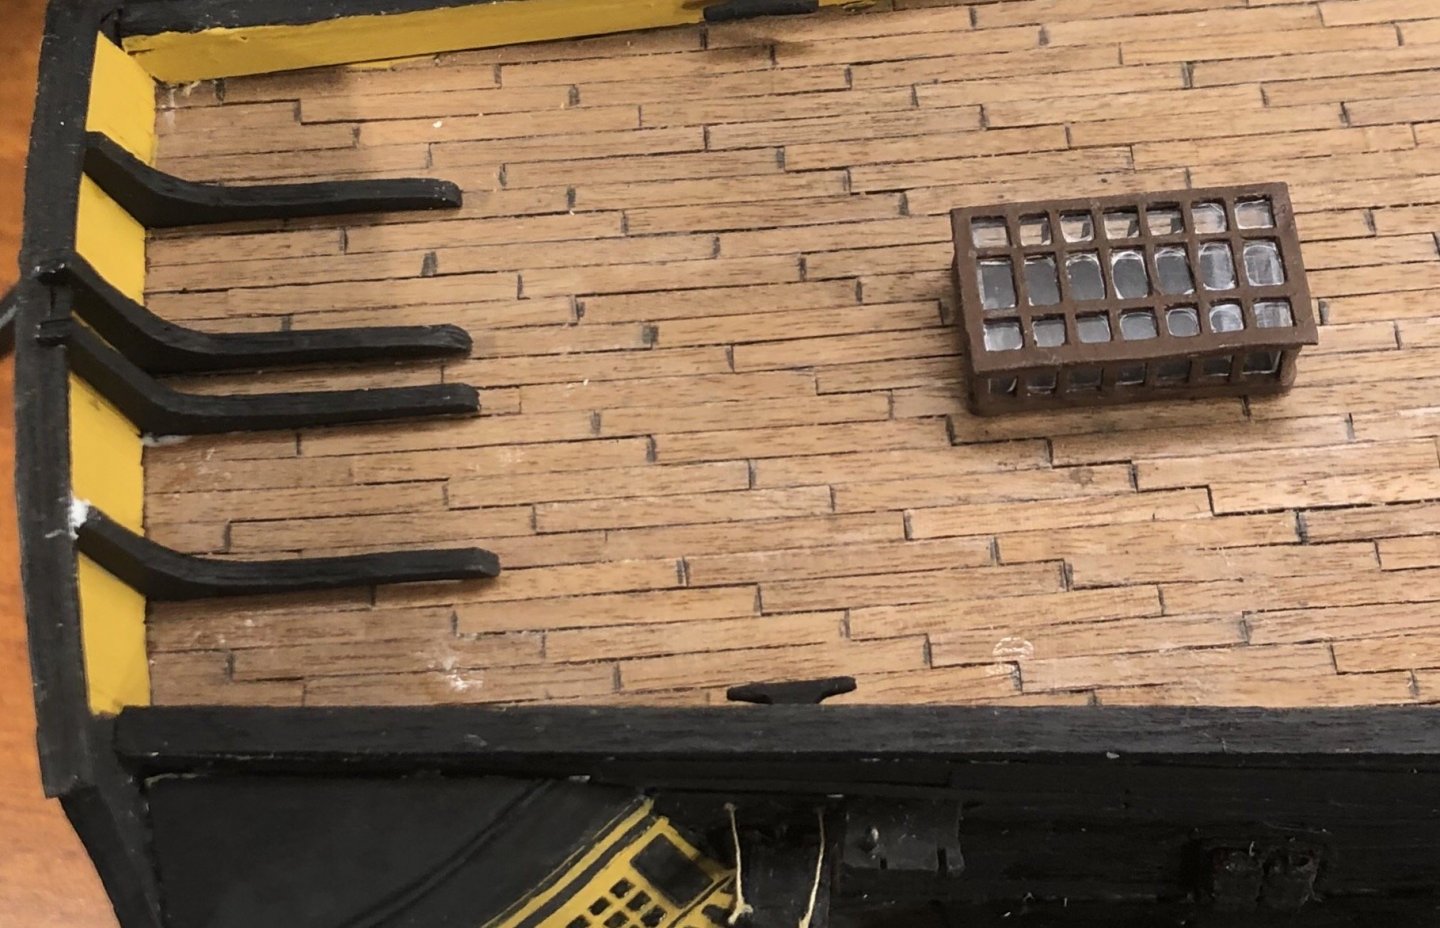
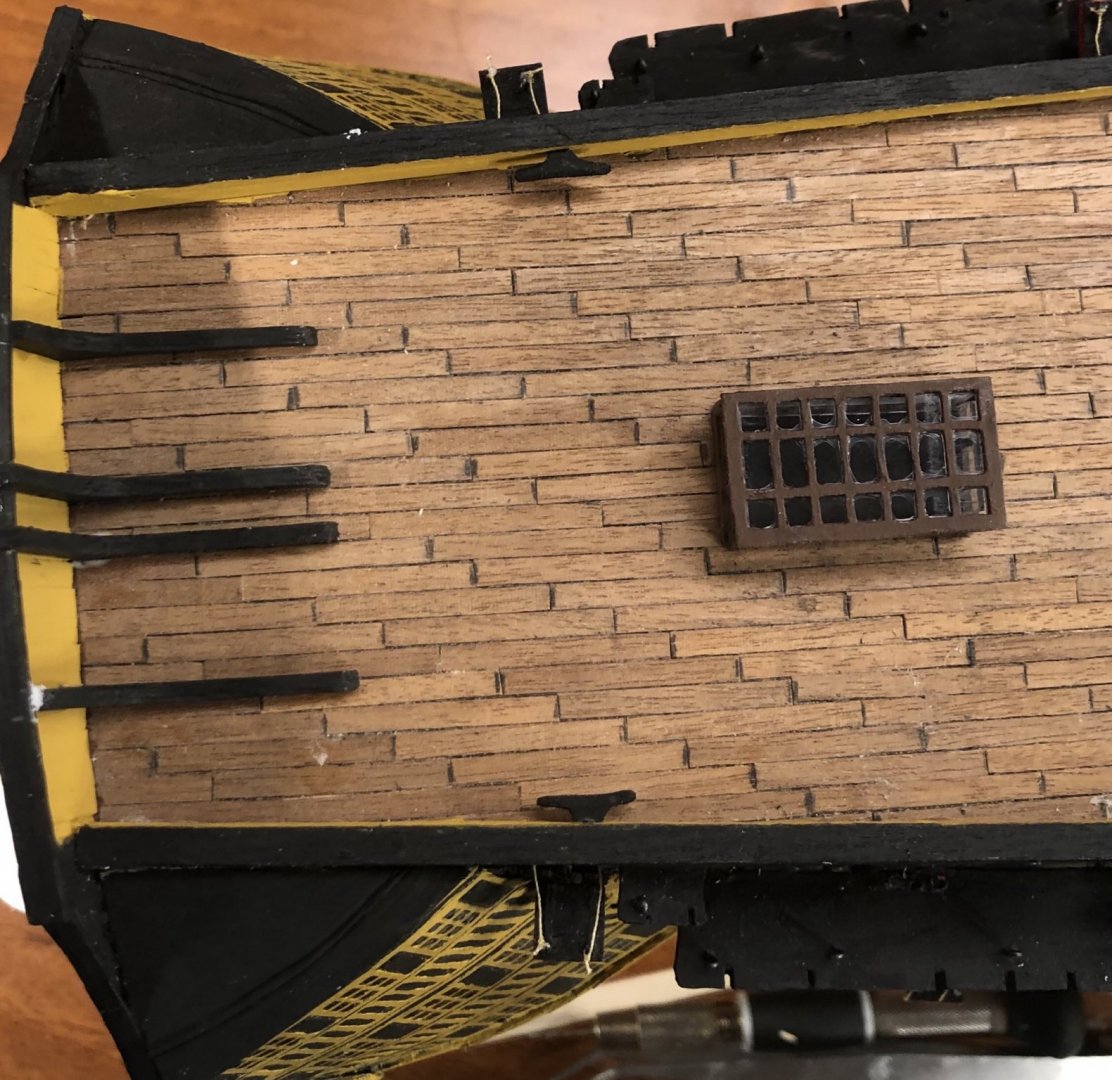
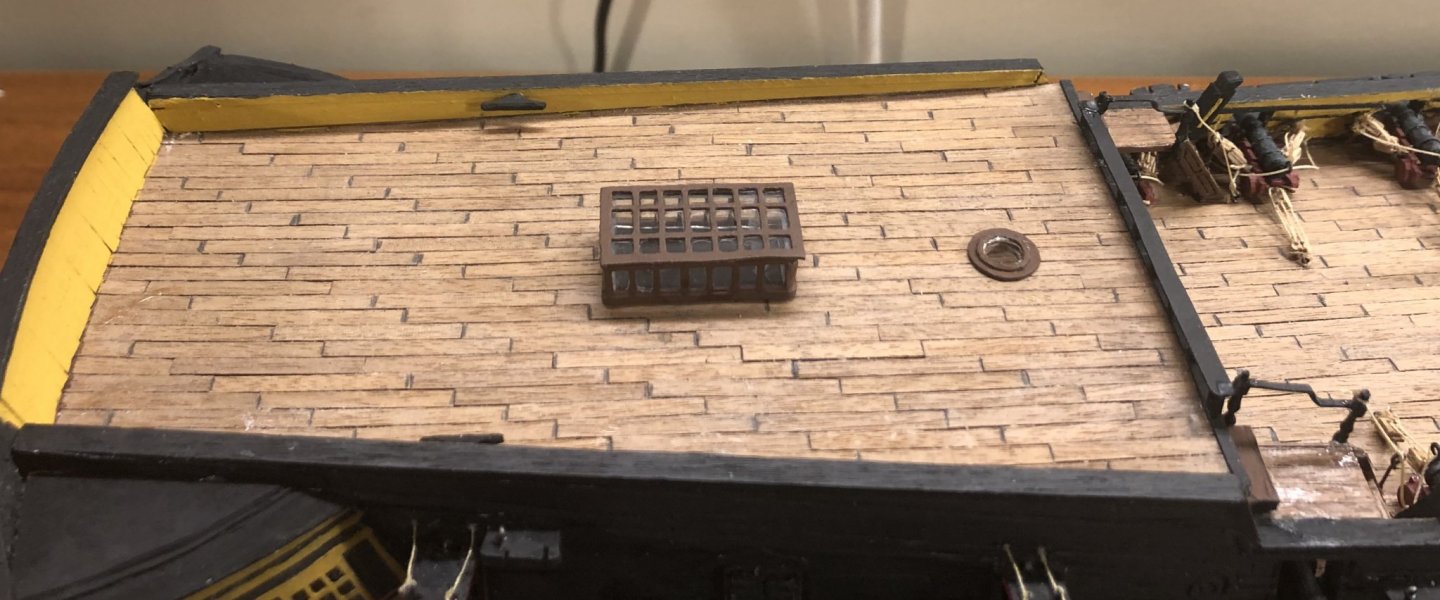
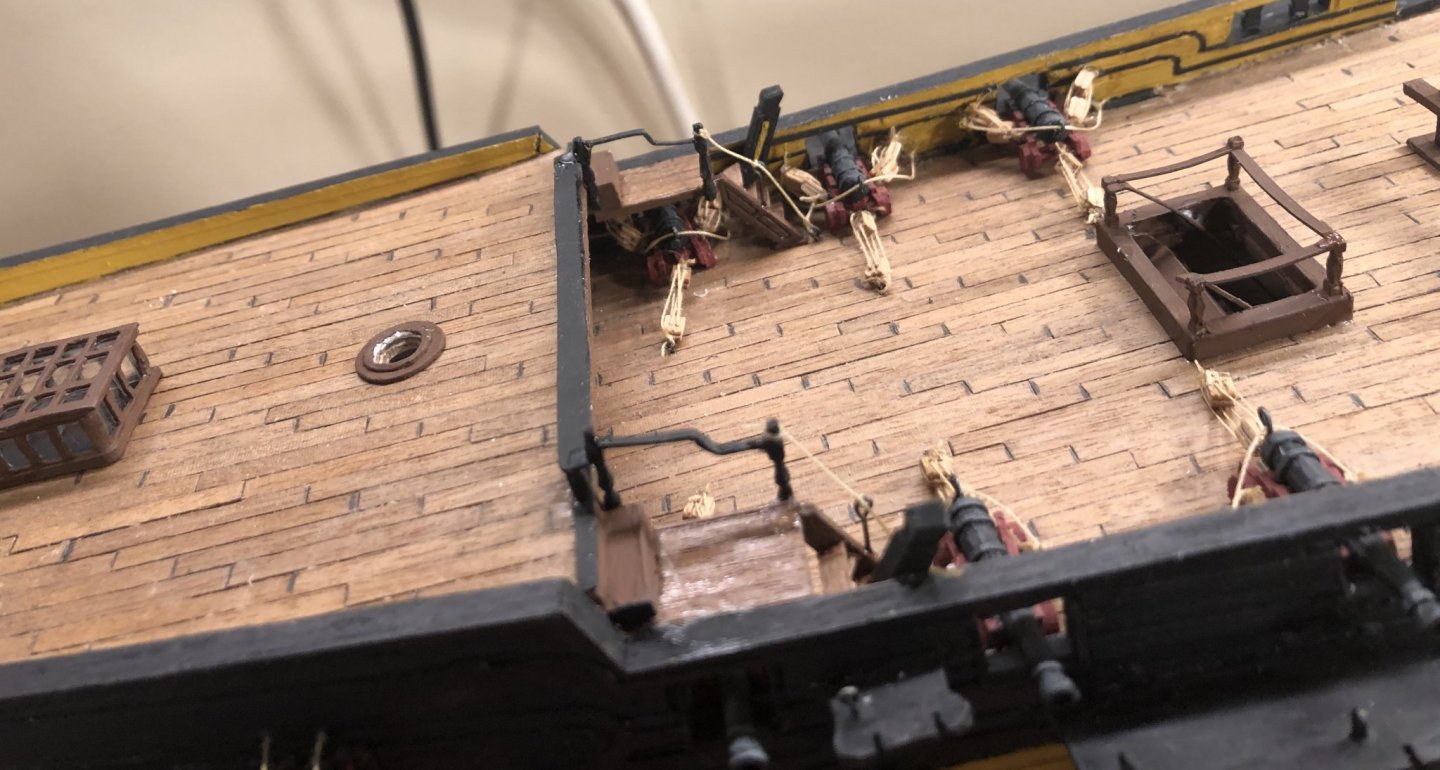
The poop deck knees are glued down: The quarterdeck staghorns are drying and will be ready to install shortly:

-
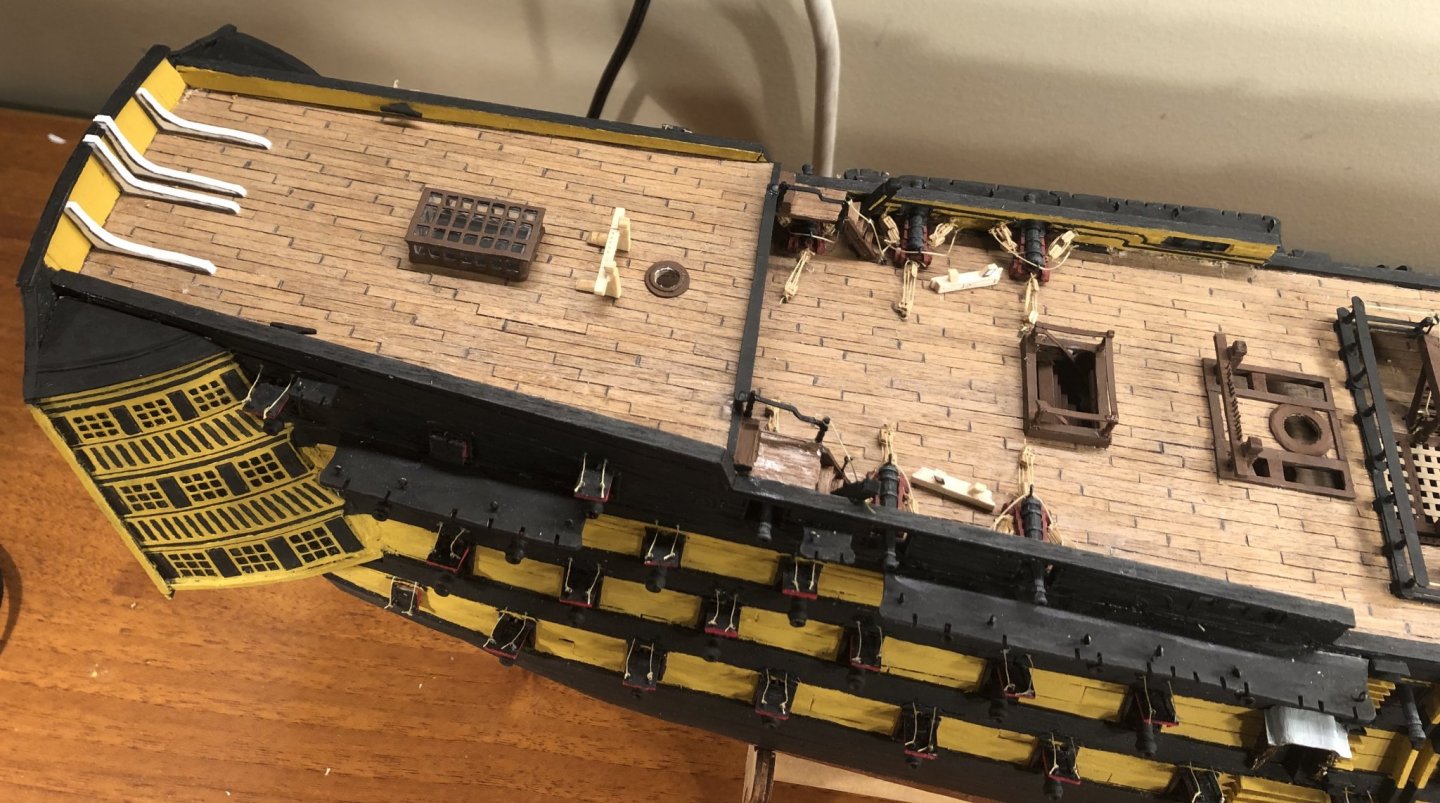
Test fit for more poop deck fittings:

-
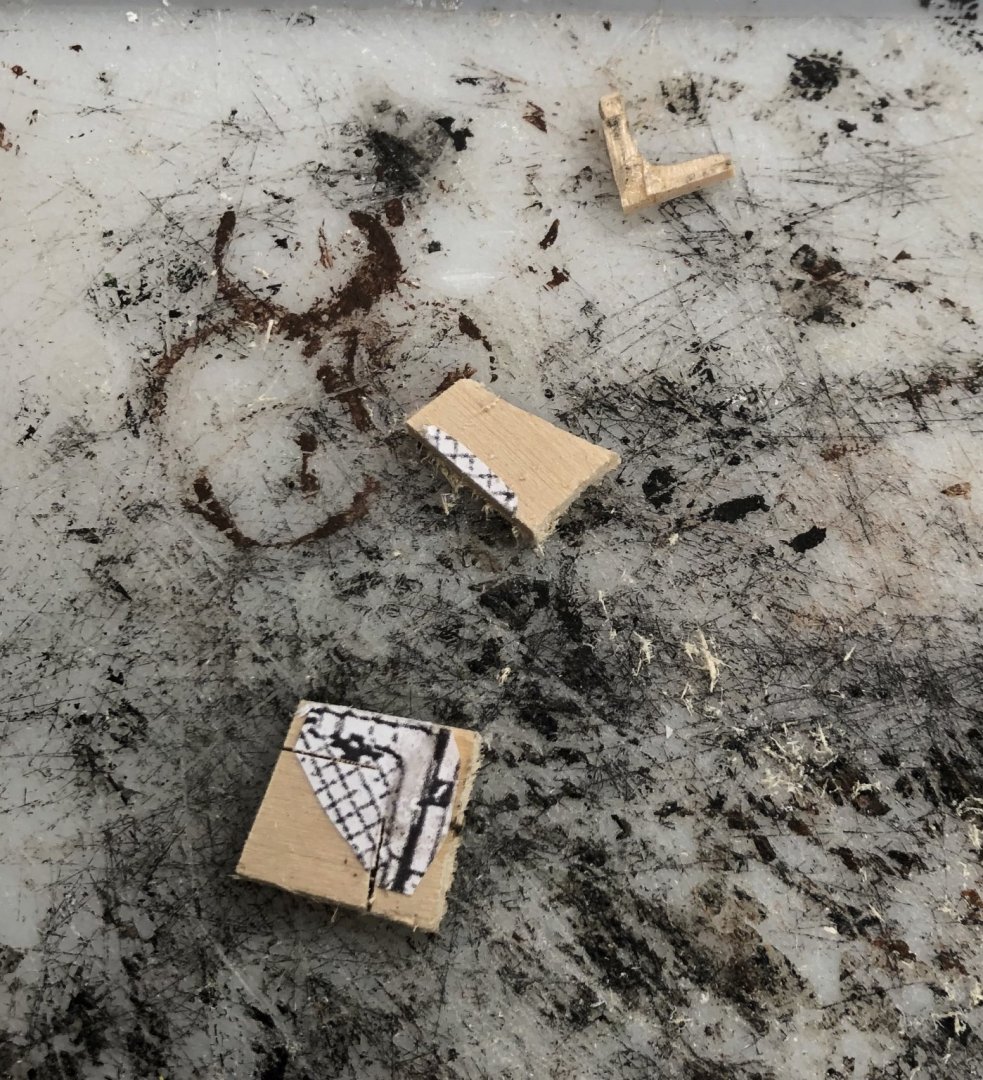
Thank you, Emmet! Thank you everyone for all the likes! Two staghorns are made and installed. The mizzen bitts are in the process of being made. They are currently drying, because they keep splitting out. The Victory has proven to be very frustrating at times because of the scale. Yet my skills are improving as I go, so it is paying off. I have put much more detail into a much more complicated model at a much smaller scale, compared to the Prince de Neufchatel. This will help immensely on my next project.

-
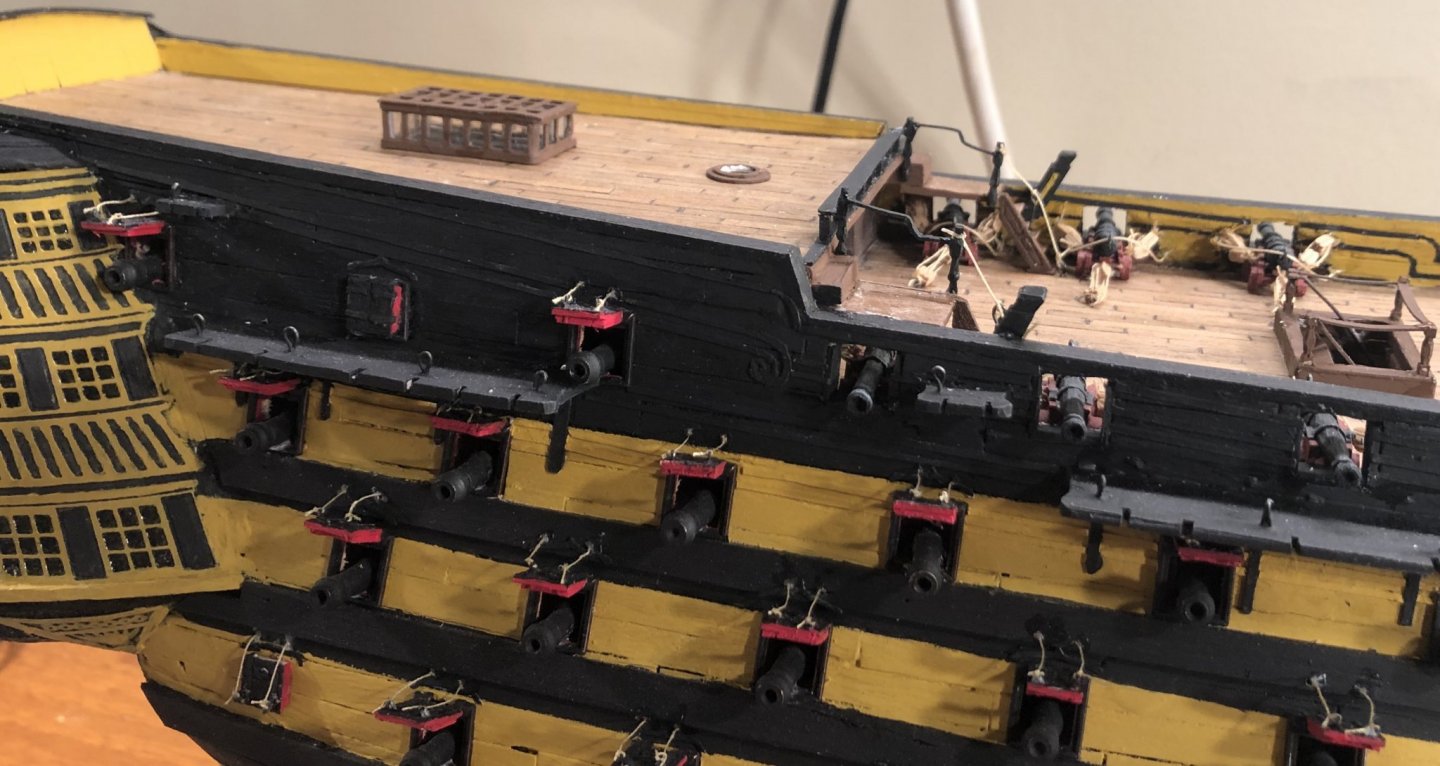
Thank you Mark and Richard! Thank you everyone for all the likes! The railings for the ladders from the poop deck to the quarterdeck are installed and mostly done. I ordered desert camouflage netting off EBay for the netting on the hammock cranes and the railings because it looks like the right color and mesh size for my scale netting. The Tulle that I had previously purchased was out of scale and black, which is the wrong color. In other news, I carved both poop deck staghorns.
-
Welcome!
-
Greetings from Southern California
GrandpaPhil replied to Allamagoosa's topic in New member Introductions
Welcome! Your model is coming along nicely! It is much better than my first wood one was! -
Welcome! Iron Shipwrights makes a resin kit of the Big Fitz in 1/700 and 1/350.
-
For Beginners -- A Cautionary Tale
GrandpaPhil replied to ccoyle's topic in New member Introductions
Irreparable with a wood kit is somewhat of a relative term. Filler and paint hides many mistakes. If all else fails, glue is dissolvable. You should see the early stages of some of my models (including my Victory). They looked horrible. -
Greetings from Washington, the State!
GrandpaPhil replied to ~JC~'s topic in New member Introductions
Welcome! -
Congratulations! Well done!
-
That’s up to you. I personally don’t worry about laser char on internal parts, but it’s a matter of personal choice.
-
Sails make a model look awesome. They can be a lot of work, but are absolutely worth it. I’m looking forward to seeing this!
-
Welcome!
-
Welcome!
-
Welcome!
-
Running the shrouds (particularly getting the spacing on the deadeyes) is the hardest part of rigging for me. Well done on yours.
- 15 replies
-
- 1
-

-
- supply
- artesania latina
- (and 1 more)
-
A Baltimore Clipper always makes for a fun build! Looking forward to seeing this build.
-
Welcome!
-
Welcome!
-
Welcome!
-
Why give up? Your Speedy looks good and you’ve already done the hard part. If you don’t like the copper, remove it. An alternate paint scheme is to paint the bottom a dingy white color (the old leaded paint that was used in the 17th and 18th centuries). Conversely, metallic copper paint also looks good on the bottom of a wood vessel, I’ve used it for a couple of models. I used copper tape for my Victory and my Prince de Neufchatel. It worked beautifully. Please feel free to check out my build logs on how I did it. The build log for the Prince de Neufchatel is probably more helpful, because I had figured it out by then.