cog
-
Posts
8,764 -
Joined
Content Type
Profiles
Forums
Gallery
Events
Everything posted by cog
-
 Tell me about it, I work at 1/350. I can relate to the feeling. I do, however, find a pair of magnifying glasses quite helpful against the splitting headache, besides diminishing the time working in succession on the model. Good lighting is another important factor
- 34 replies
-
- 5
-

-
- mikasa
- wave models
- (and 2 more)
-
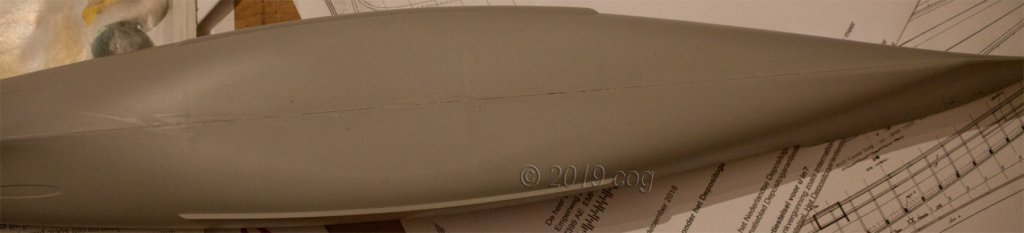
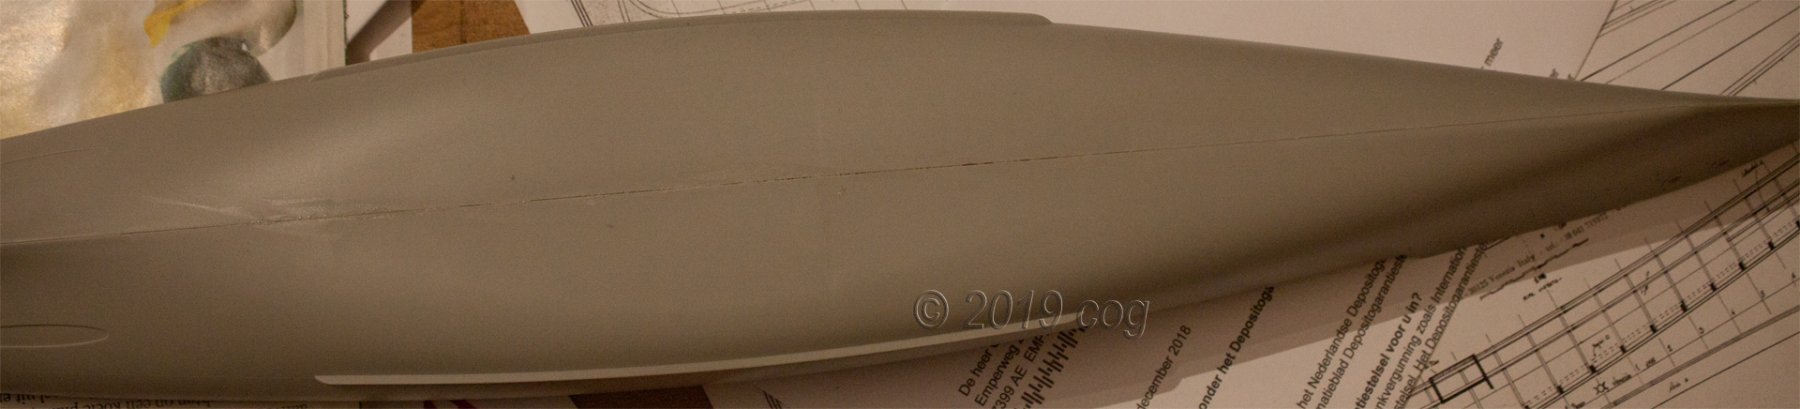
Didn't have much time this week. Put some Tamiya putty on the hull, sanded it the next day, and reapplied. Will have some more sanding to do, and hopefully get on to priming the hull this weekend. Received new filters for my spraybooth today, the old ones were completely clogged. Looking forward to your constructive comments Denis!
-
That's why you need to follow interesting builds like this one
- 446 replies
-
- 3
-
-
- zebulon b vance
- deans marine
- (and 3 more)
-
Please accept my appologies for my misunderstanding, and base my conslusion on that So Dick could be right ... (just to rub it in), but we shall never know. Just like his remark on the bread basket Then considering the other matter, you could have lowered the "horns" in which the masts, and yards are laid to rest for were those really that high ... or were they just high enough to help the masts drop on those supports ...
-
have you checked shapways.com (3d printing) I got quite a few bits and pieces for my WWII destroyers from them. There are some which will make parts to specs an example
-
Salty Dog, do you have your own buildlog of the Mikasa at MSW? I would like to see a bit more if possible
- 467 replies
-
- 5
-
-
- mikasa
- wave models
- (and 1 more)
-
You could have lowered it a couple of mm's ... (and the others as well) if we have to go by what Dick wrote: the spurs are to long
-
It seems the varnish brings out the structure of the wood. You could try a mat varnish to see what effect that will give. It will never be really flat, so give it a try
-
You don't have to say sorry to us, we are mere spectators. Your audience if you want. I am curious as to how this will develop ... first step taken.
-
Now you know what directions we get to put together some of the parts
- 467 replies
-
- 4
-
-
- mikasa
- wave models
- (and 1 more)
-
You can dilute lacquer too my friend. Acrylic paints can be applied rather thin. When I look at my plastic builds, I used rattle can lacquer, and those still show the details.
-
My reason for asking: I found the colours rather lifeless, flat, I might have added a satin finish, it would look more like the finish on HMS Victory, or L'Hermione's replica ... c'est tout
-
I don't suggest anything, as it is your build, and you should be happy with the way it looks. I'm not here to guide you into building "my" version. I just enjoy the ride, and ask silly questions out of curiosity Carl
-
Maybe I wasn't clear enough I did not mean the copper, Messis, but the paint above it. The blinking copper is much nicer when it ages over time
-
You'll be spraying the painted parts with gloss lacquer once youve finished coppering?
-
Thanks for the information Dick. That wouldn't be a slim piece of wood for a covering plank, but a sturdy one, which certainly wouldn't twist easily. Maybe hatch covers were a mere tarpaulin ... Nevertheless it remains speculation which ever way you choose. Fortunately we can exclude plastic, and sheet metal
- 263 replies
-
- 2
-
-
- nave tonda
- round ship
- (and 2 more)
-
Very nice "how to" in images. I tend to forget to take photgraphs, I end up with a half completed (if I even manage that) "how to"
- 54 replies
-
- 1
-
-
- robert e lee
- amati
- (and 1 more)
-
Especially for Sam (so he finally starts working on his own build) ... movement registered at the yard ... Couldn't get the halves nice and flush, so I'll be filling and sanding a bit