cog
-
Posts
8,764 -
Joined
Content Type
Profiles
Forums
Gallery
Events
Everything posted by cog
-
 Good to have you back downunder, feels a lot safer up here without a rampant roe Thanks, it took some whipping to get them going, still moving like a freight train moving backwards towing a block of concrete.
 -
What did you expect with an unfinished ship ... you might want to take a look at her German contemporaries/sisters and figure out what may have been used ... Some severe weathering. She's becoming quite a rust tub, RGL.
- 345 replies
-
- 6
-

-
- graf zeppelin
- trumpeter
- (and 2 more)
-
A very life like build. Impressive feat when you look at the weathering, and all the different details you have added to her. You have done her credit. I thoroughly enjoyed your build and learned a few things during it!
- 54 replies
-
- 1
-
-
- robert e lee
- amati
- (and 1 more)
-
Never would have thought you could make her so well. Hat off to you. I have enjoyed every step of the way
- 90 replies
-
- 4
-
-
- bomb ketch
- pyro
- (and 1 more)
-
You can start off light and make it more severe/heavier if you think it doesn't meet "your" eye. I build one destroyer very heavily rusted (first one) I wouldn't do that again, but it showed me possibilities. You could get yourself a cheap plastic hull and practice on it, or just a sheet of stirene for the same purpose ... when I tried my first airbrush I did the same. It also works rather well to try new paints, brands you hitherto haven't used, or check the results when you switch brands between layers. You can even sand or scrape the paint/rust off and start all over again. The only thing you need to keep in mind is that once used you can't re-use the fluids and powders Have some fun butts, go for it
-
We'll get used to it ... will we?
-
You can spend many an hour having fun with those. AK has some very nice products for weath'ring. They also have some good tutorials on the Tube
-
A bit late to join, I see you've nearly finished butts. Sorry to hear about your loss, my sincere condolensces. I had the same feeling before I did my first weathering. It was easier than I thought, you only need to grow a pair of the proverbial balls
-
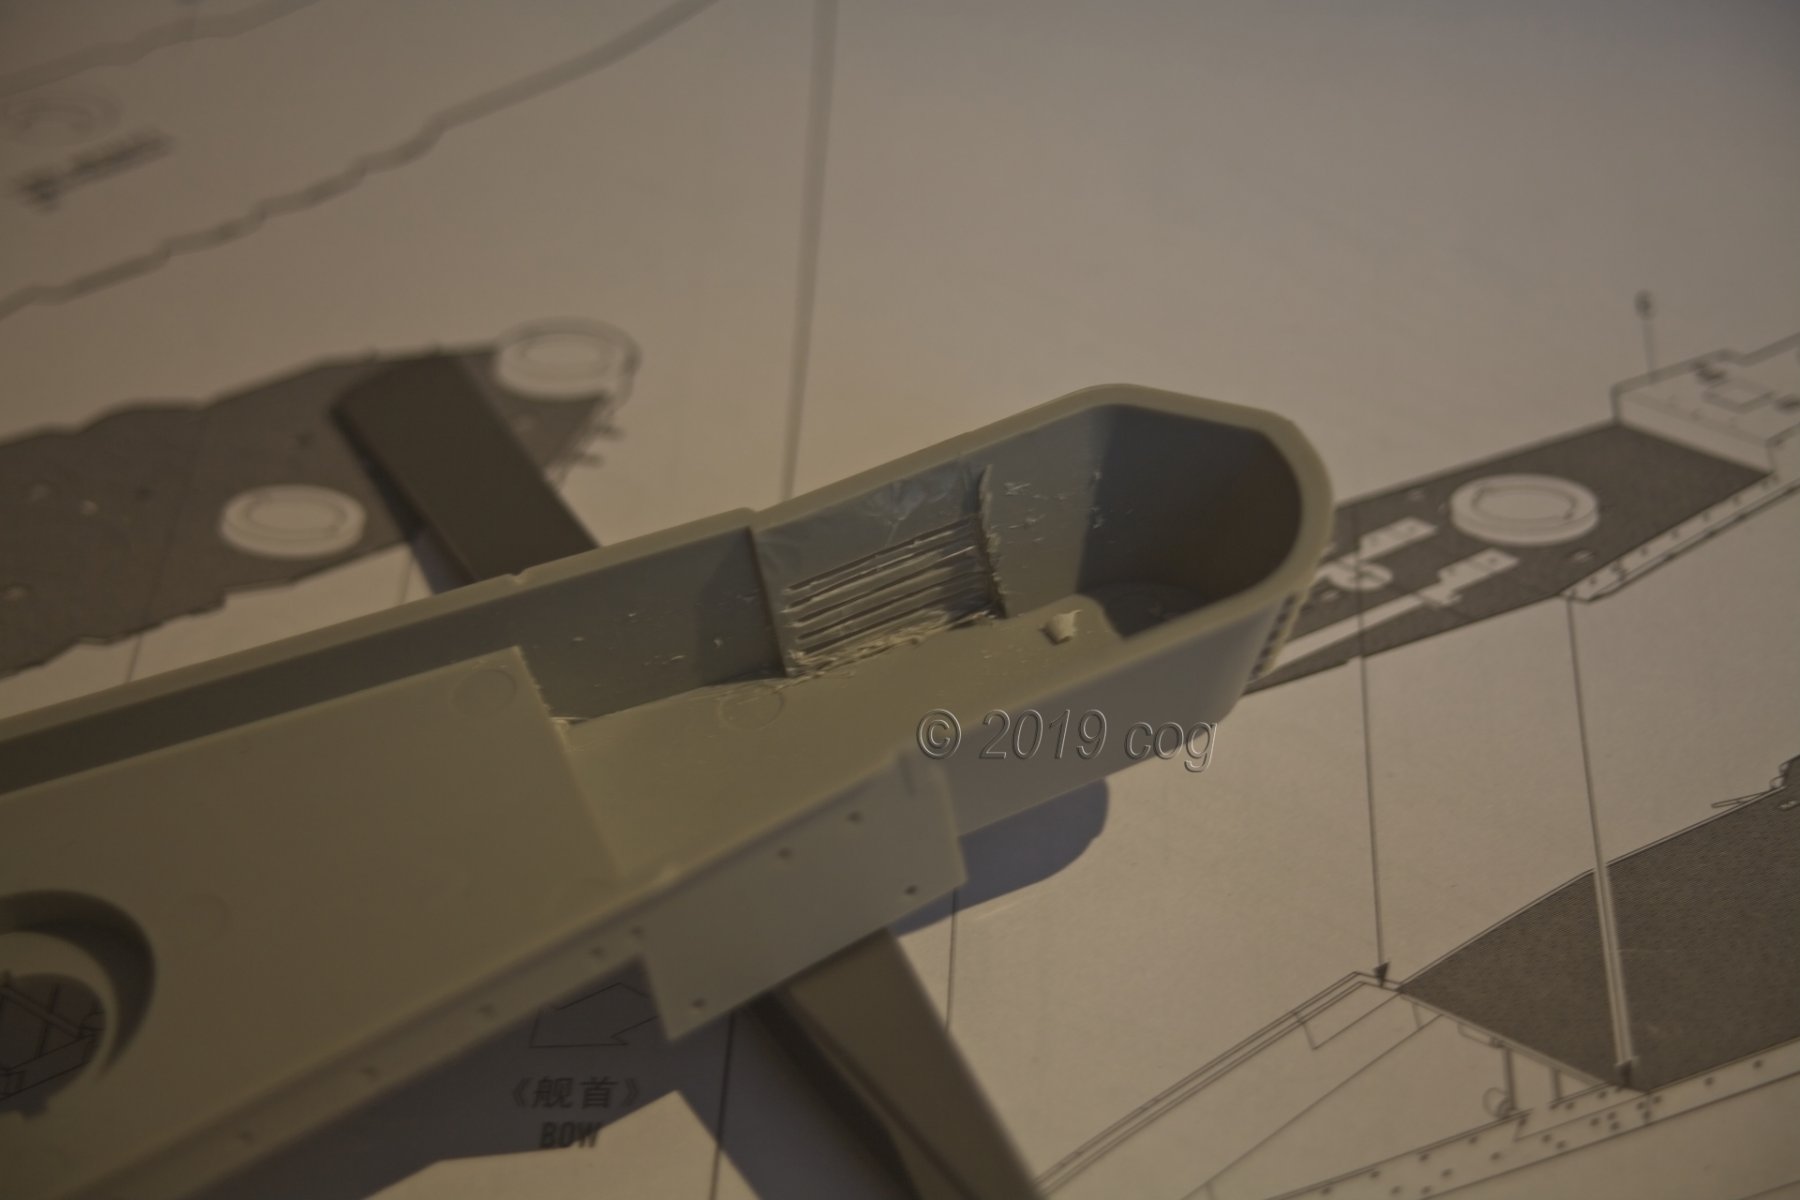
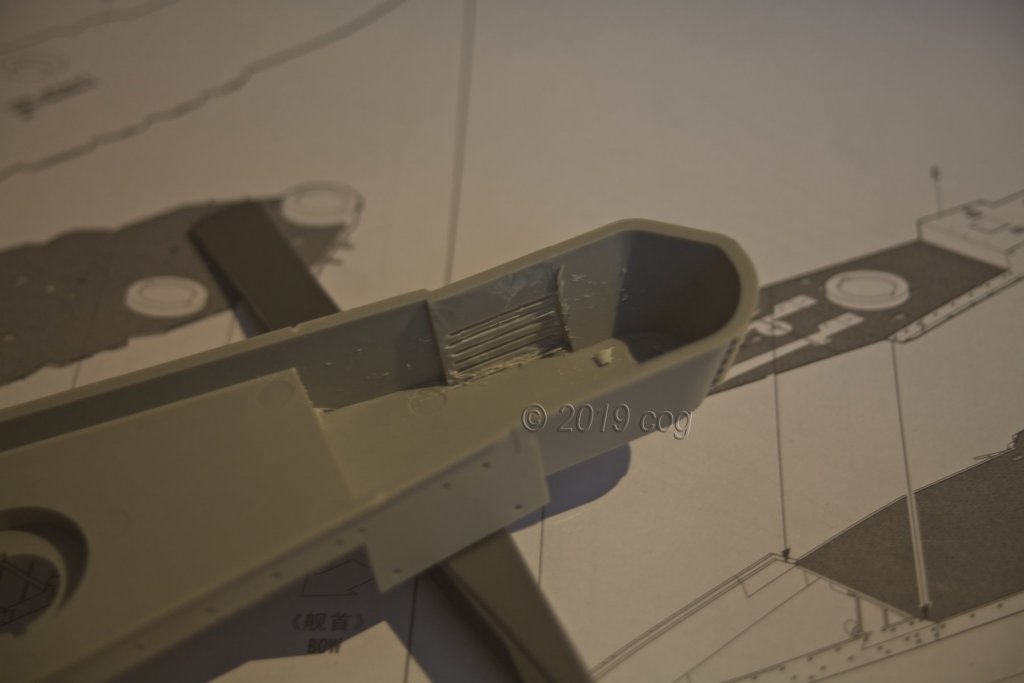
Thanks, mate. I can appreciate the time you needed to get this build going, most of it will be prepping as far as I can see. For there is little plastic when compared to e.g. Yamato. I plan to remove the louvres and replace them by thinner brass sheet. See if that will make a difference, at least it will keep me bussy a wee bit longer
-
Can i live without a BYRNES TABLE SAW
cog replied to shihawk's topic in Modeling tools and Workshop Equipment
Wecome to the Byrnes family Derek! It's when you have one, you can really appreciate it's worth -
I certainly would expect so too. How did viking ships do that ........?
- 263 replies
-
- 1
-
-
- nave tonda
- round ship
- (and 2 more)
-
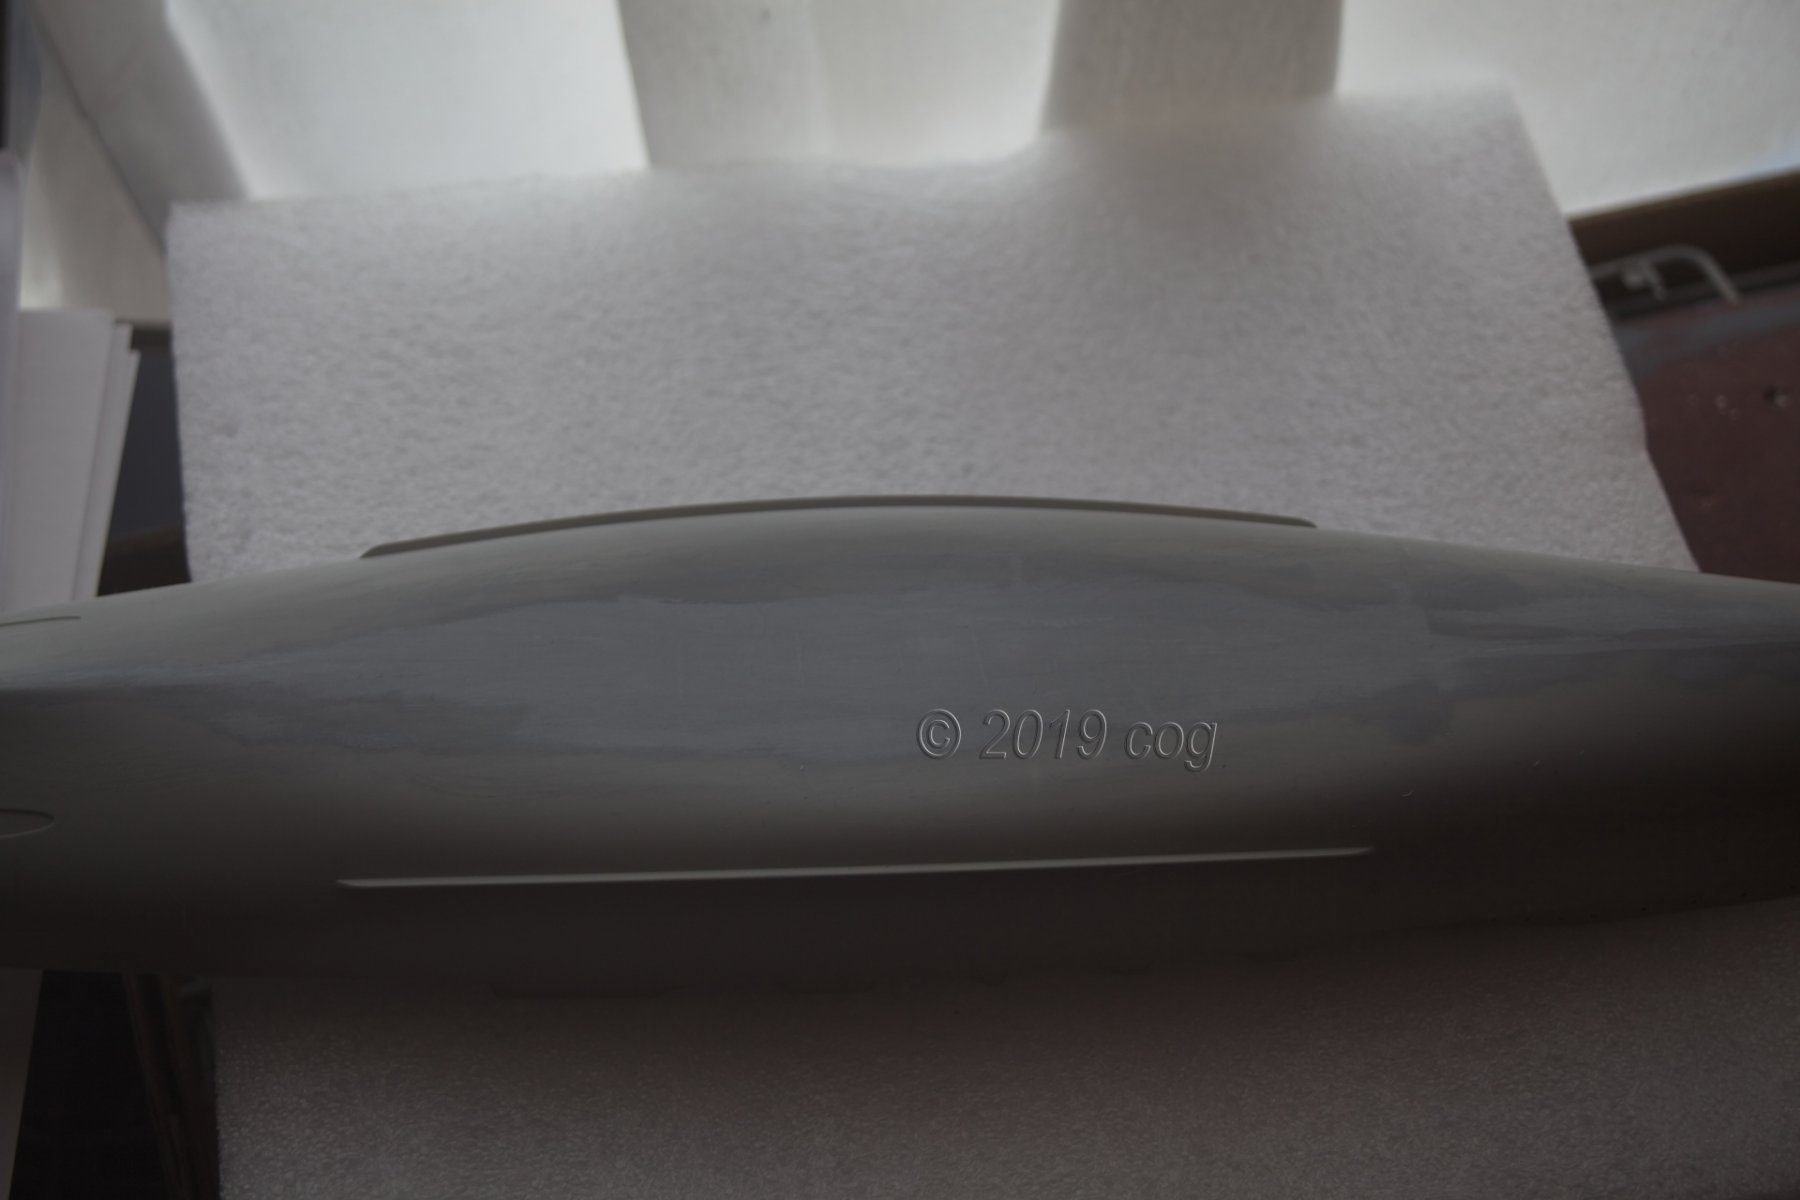
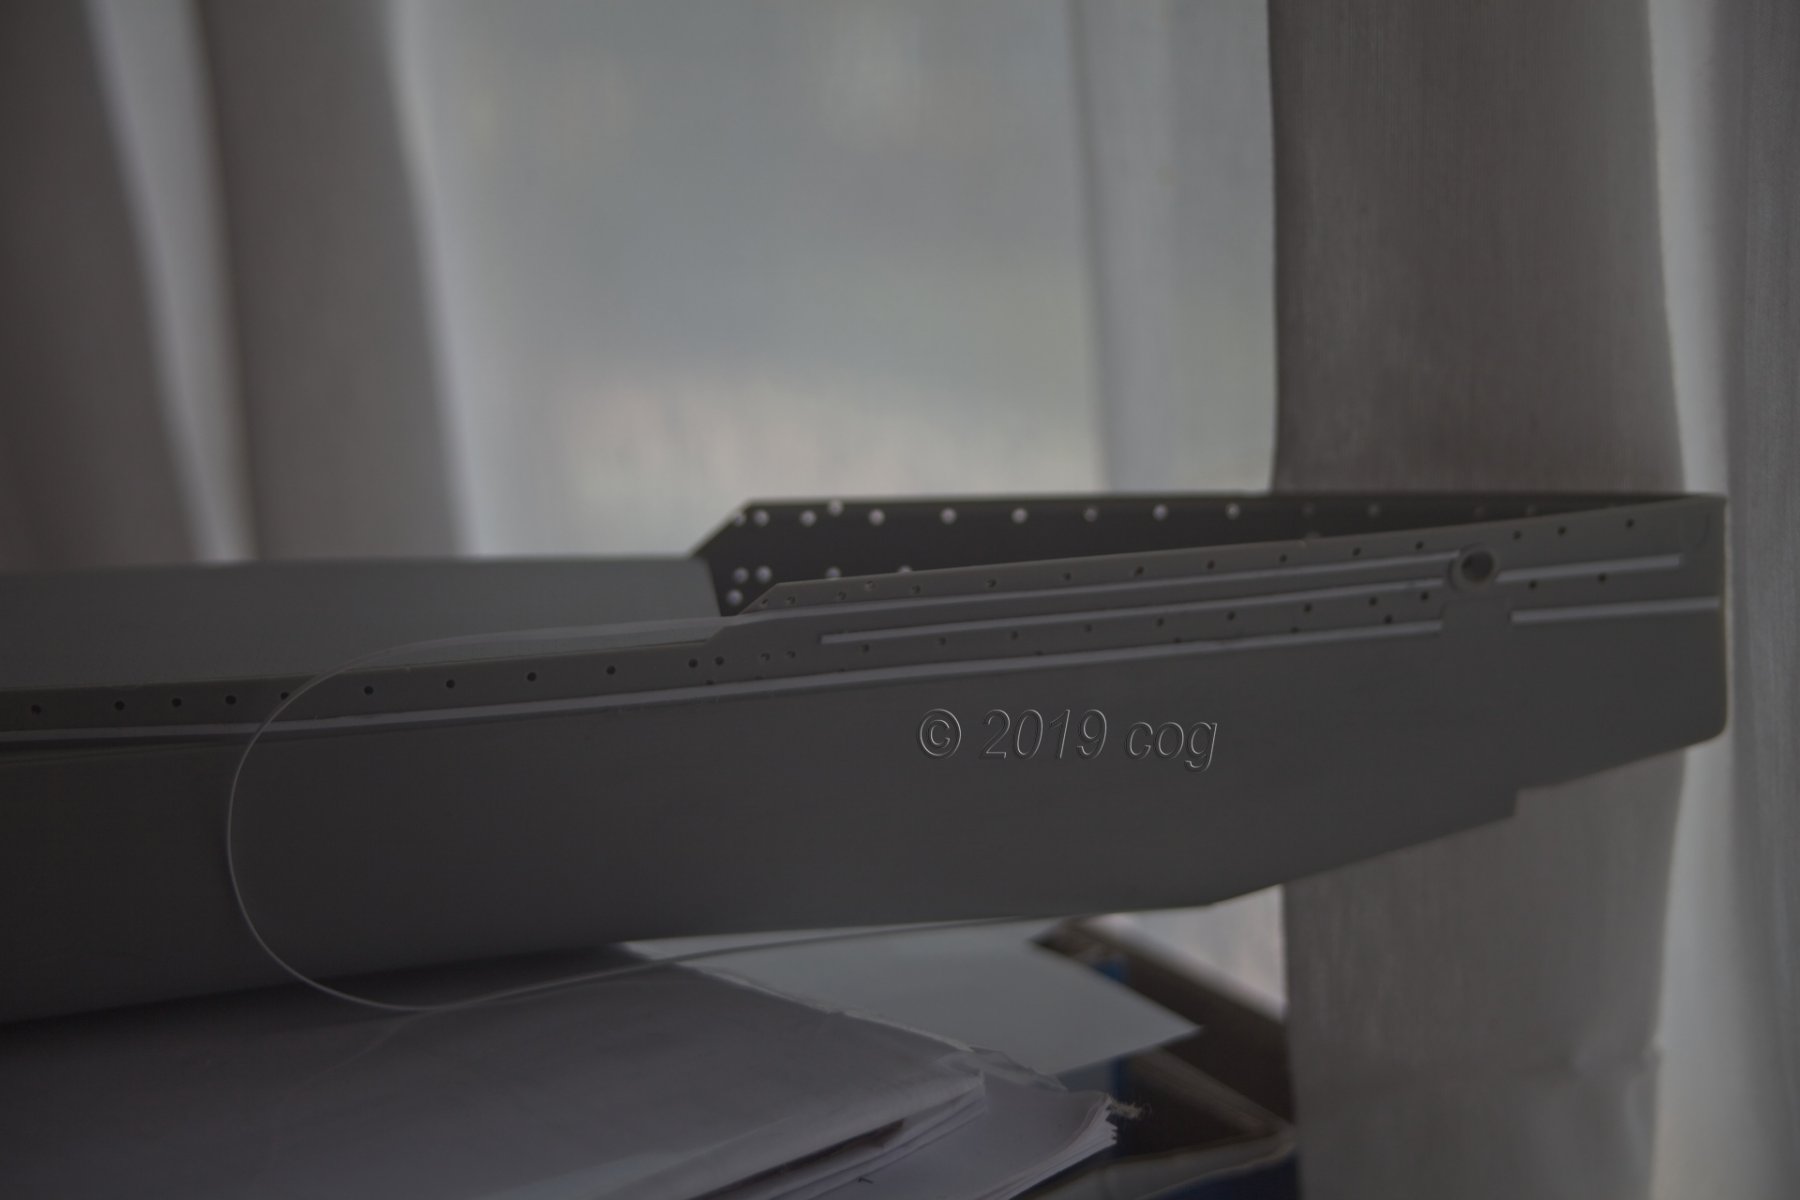
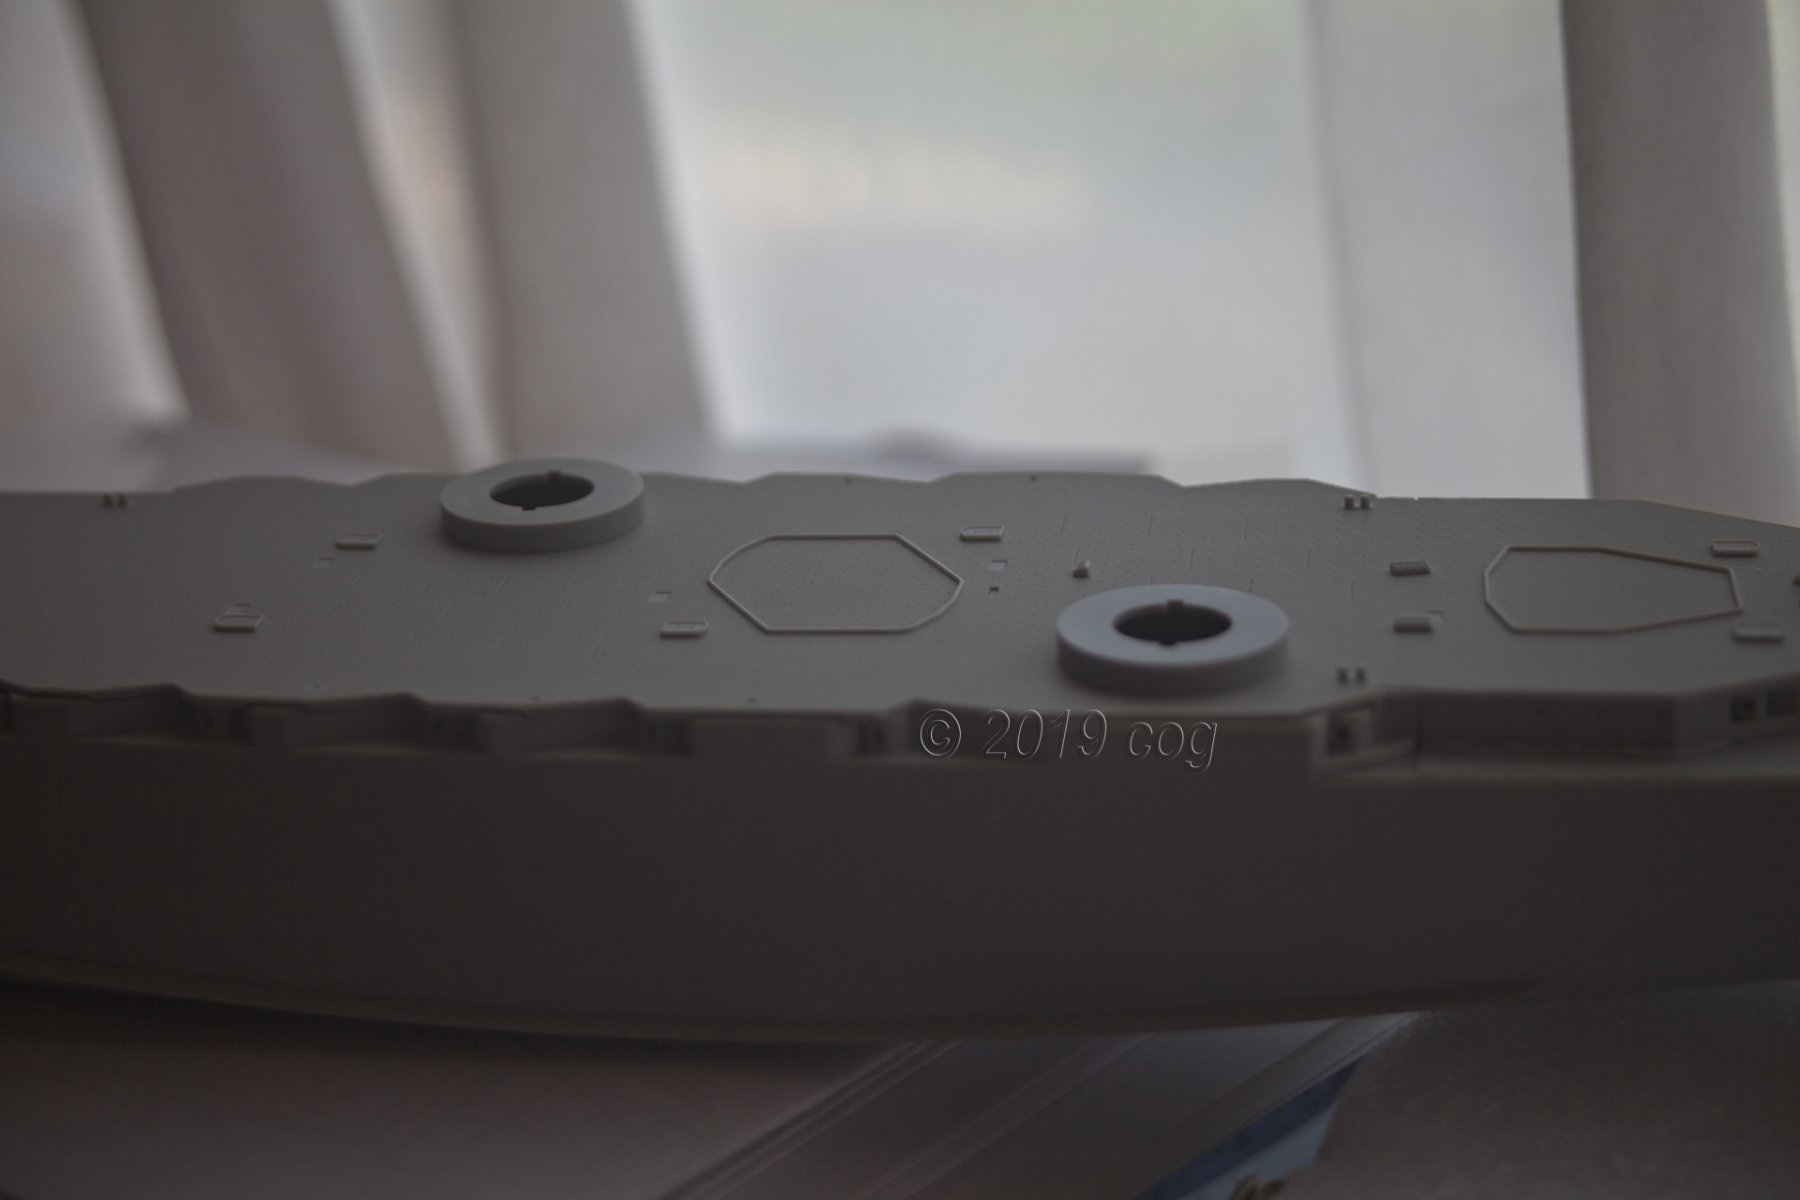
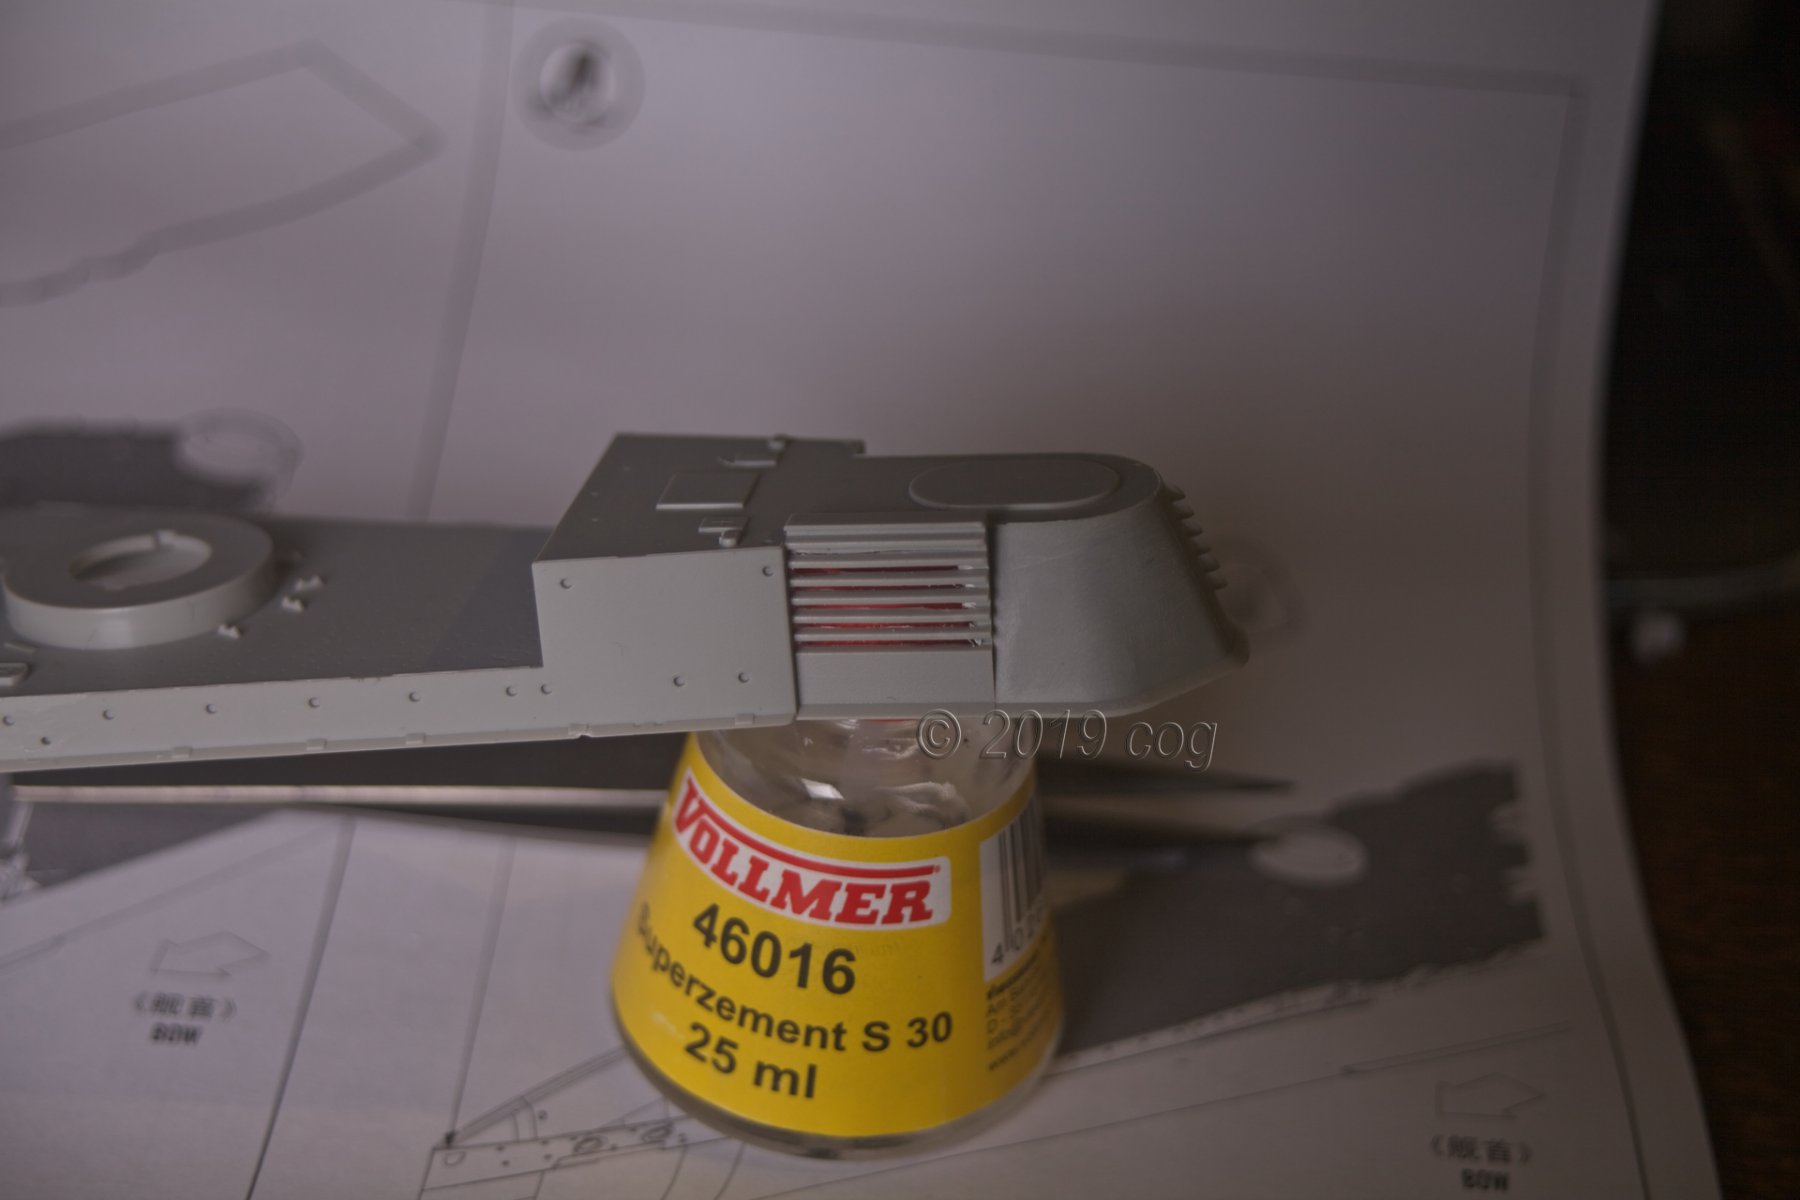
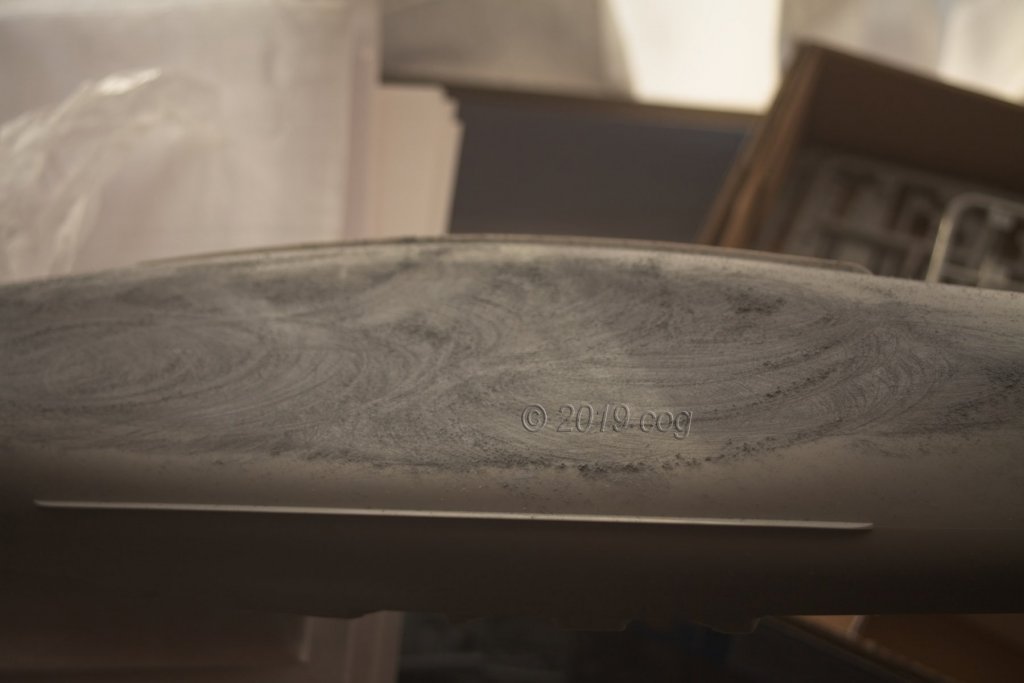
Working on the hull, so much to do.Used Tamiya Basic Type Putty for it as it dries reasonably fast. I had to add three layers ... oh what joy ... finally I could make some dust as all those wood builders are complaining about Added the trurrets for those 15cm gun turrets at it's flanks, and after that I could put on the first two deck pieces. The focsle has a superstructure on it, with a vent. Instead of following RGL's method of drilling it out, I cut layers from the inside until it opened the "louvres". If you look good you can see the red top from the glue bottle Lot's more to do before I can start priming the hull. I am not painting ribs like RGL, I have been over photographs for quite some time, and studied them thoroughly, but I cannot find a single one showing the lines so typical for the modern ships. I may have to take into account that the bottom hull plating at that time was far thicker than presently applied. The upper hull has been armoured and doesn't show any ribs or oilcanning effects either, which will make this build comparatively easy to paint. However I will be trying my hand at chipping and weathering. First things first though: Finishing the hull for priming ... off at a slow pace


- 540 replies
-
- 16
-
-
A most wonderful result on the ship's boats.
-
Thanks dude, I like to follow a.o. your grandfather's builds too, not just building. You can learn a lot from that too.
- 18 replies
-
- 1
-
-
- skiff
- BlueJacket Shipcrafters
- (and 1 more)
-
It should still harden/cure, which it doesn't seem to do. That has nothing to do with the varnish, it's the paint itself
-
Go for it legodude, you've a nice kit to try your hand on wood. I'll be watching Steve for you
- 18 replies
-
- 2
-
-
- skiff
- BlueJacket Shipcrafters
- (and 1 more)
-
What shade of white are you using? So far I have been enjoying your build tremendously
-
I wonder, would they have used knees in building at that time? The drawings I've seen from different Italian vessels do not show that "technique", but those probably aren't historical correct either
- 263 replies
-
- 1
-
-
- nave tonda
- round ship
- (and 2 more)
-
You are saying: steer clear of Cyprus?
-
Jo, Your planking looks good! I would start the varnish from the water line up to the protruding (wale) plank. The waterline is the black line painted on the hull , see the box. I like your choice of colours