HOLIDAY DONATION DRIVE - SUPPORT MSW - DO YOUR PART TO KEEP THIS GREAT FORUM GOING! (Only 13 donations so far - C'mon guys!)
×


cog
-
Posts
8,764 -
Joined
Content Type
Profiles
Forums
Gallery
Events
Everything posted by cog
-
 Can't wait to see some action mate Cheers
 -
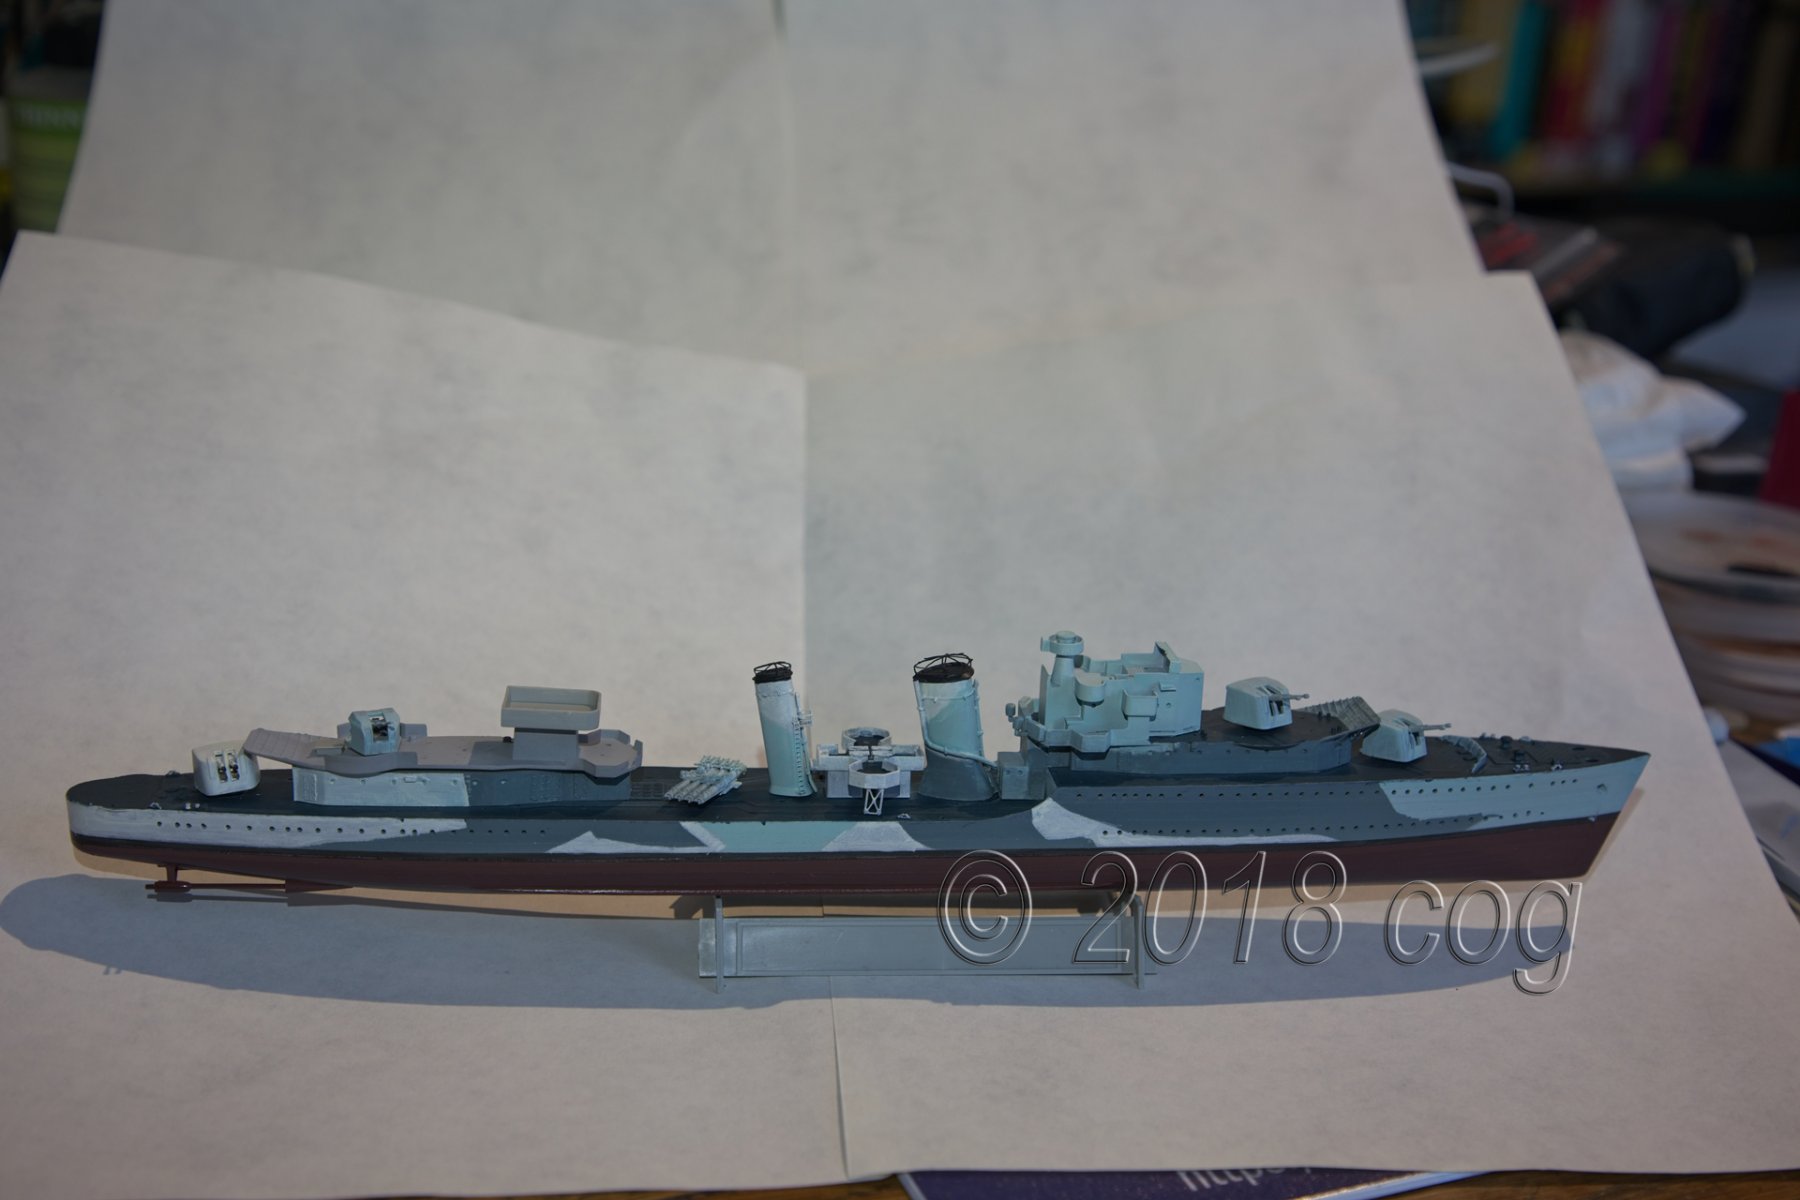
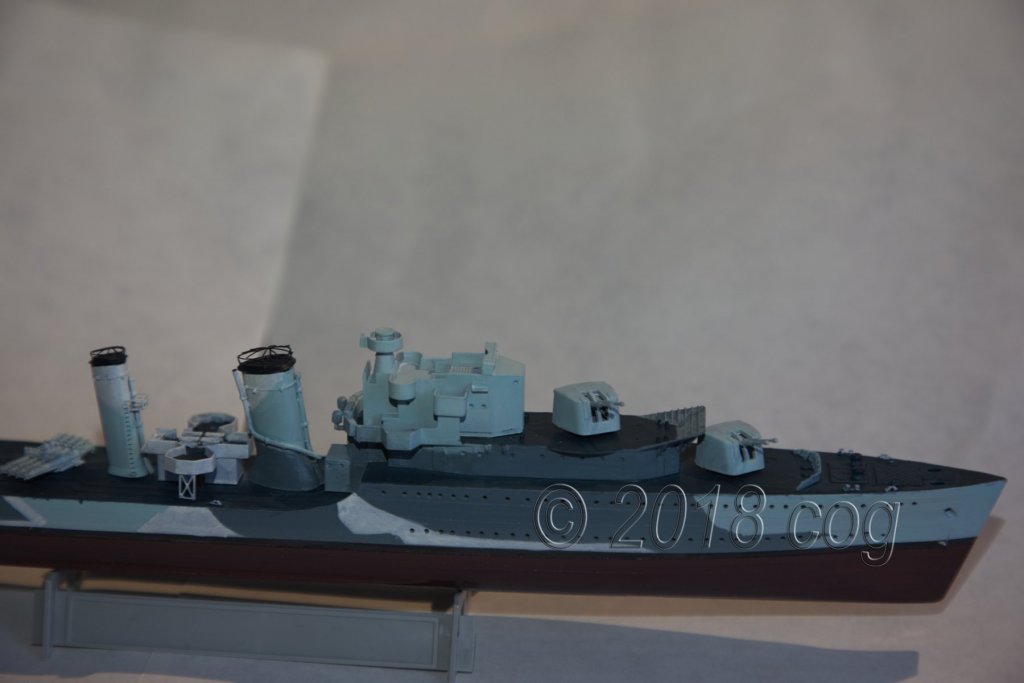
Thanks gents, for the likes and Denis & Greg for the posts I didn't expect these colours to start with, and to my astonishment, they don't make the ship look like a candy cane!!! Still some work to do before she can start convoy duty ... Next up: Rear superstructure and railing on the for'ard one ... might try the stanchions and line ones ...
-
Dry fitting, som touch ups to do. Close ups really bring the mistakes out ... need to remove 1mm from the bridge as it is to high, put the bridge's cover on , the wheel, lights, etc and then I can glue it on. I still have to figure out the conversion of the rear superstructure, as it deviates from that of the Huron. Still searching ... (any Canadian with ideas about where to find information on this?)

- 361 replies
-
- 13
-

-
Tidied those up nicely, Chris
-
I've got both WWII Eastern and Western Approaches RN kits. I do like the way you can brush it on ... very smooth, nearly as good as airbrush .. nearly
-
That's rather harsh ... A violent man ... wouldn't expect that when I look at your builds
-
Another plastic build hits the road. Interesting ship, Steve. Quite a change from a wooden sailer ... For the portholes you might have a look at "Glue 'n' Glaze" Cheers
- 446 replies
-
- 4
-
-
- zebulon b vance
- deans marine
- (and 3 more)
-
And what a wall it was ... Not a lot of PE on those ... rivets stand out good, better than at 1/350
-
74-gun ship by Gaetan Bordeleau - 1:24
cog replied to Gaetan Bordeleau's topic in - Build logs for subjects built 1751 - 1800
Thank you Gaetan. Another try out on the list At least the cake won't be squashed with thin blade, but I like thick slices ... -
You will get a problem with the capt'n, leaving those doors open ... Even tiny steps are steps mate
-
74-gun ship by Gaetan Bordeleau - 1:24
cog replied to Gaetan Bordeleau's topic in - Build logs for subjects built 1751 - 1800
Great result Geatan. I had a reasonable result at F32, but that depends on the lens and camera I tried that, but photoshop frooze on me, probably because the images were to large. What size (px) and file size did you have to do this. I run Photoshop CS5 (64bit) on win 7 Ultimate, AMD A10, 16Gb mem, and AMD Radeon HD7660D graphic adapter (the latter could be improved upon I presume) -
That's educational Johann. Thanks for sharing
-
No, but you can aspire to ... On the other hand ... when I look at what you establish with some plastic, brass, glue and paint ... a lot would think the same about you ...
- 405 replies
-
- 7
-
-
- tamiya
- king george v
- (and 2 more)
-
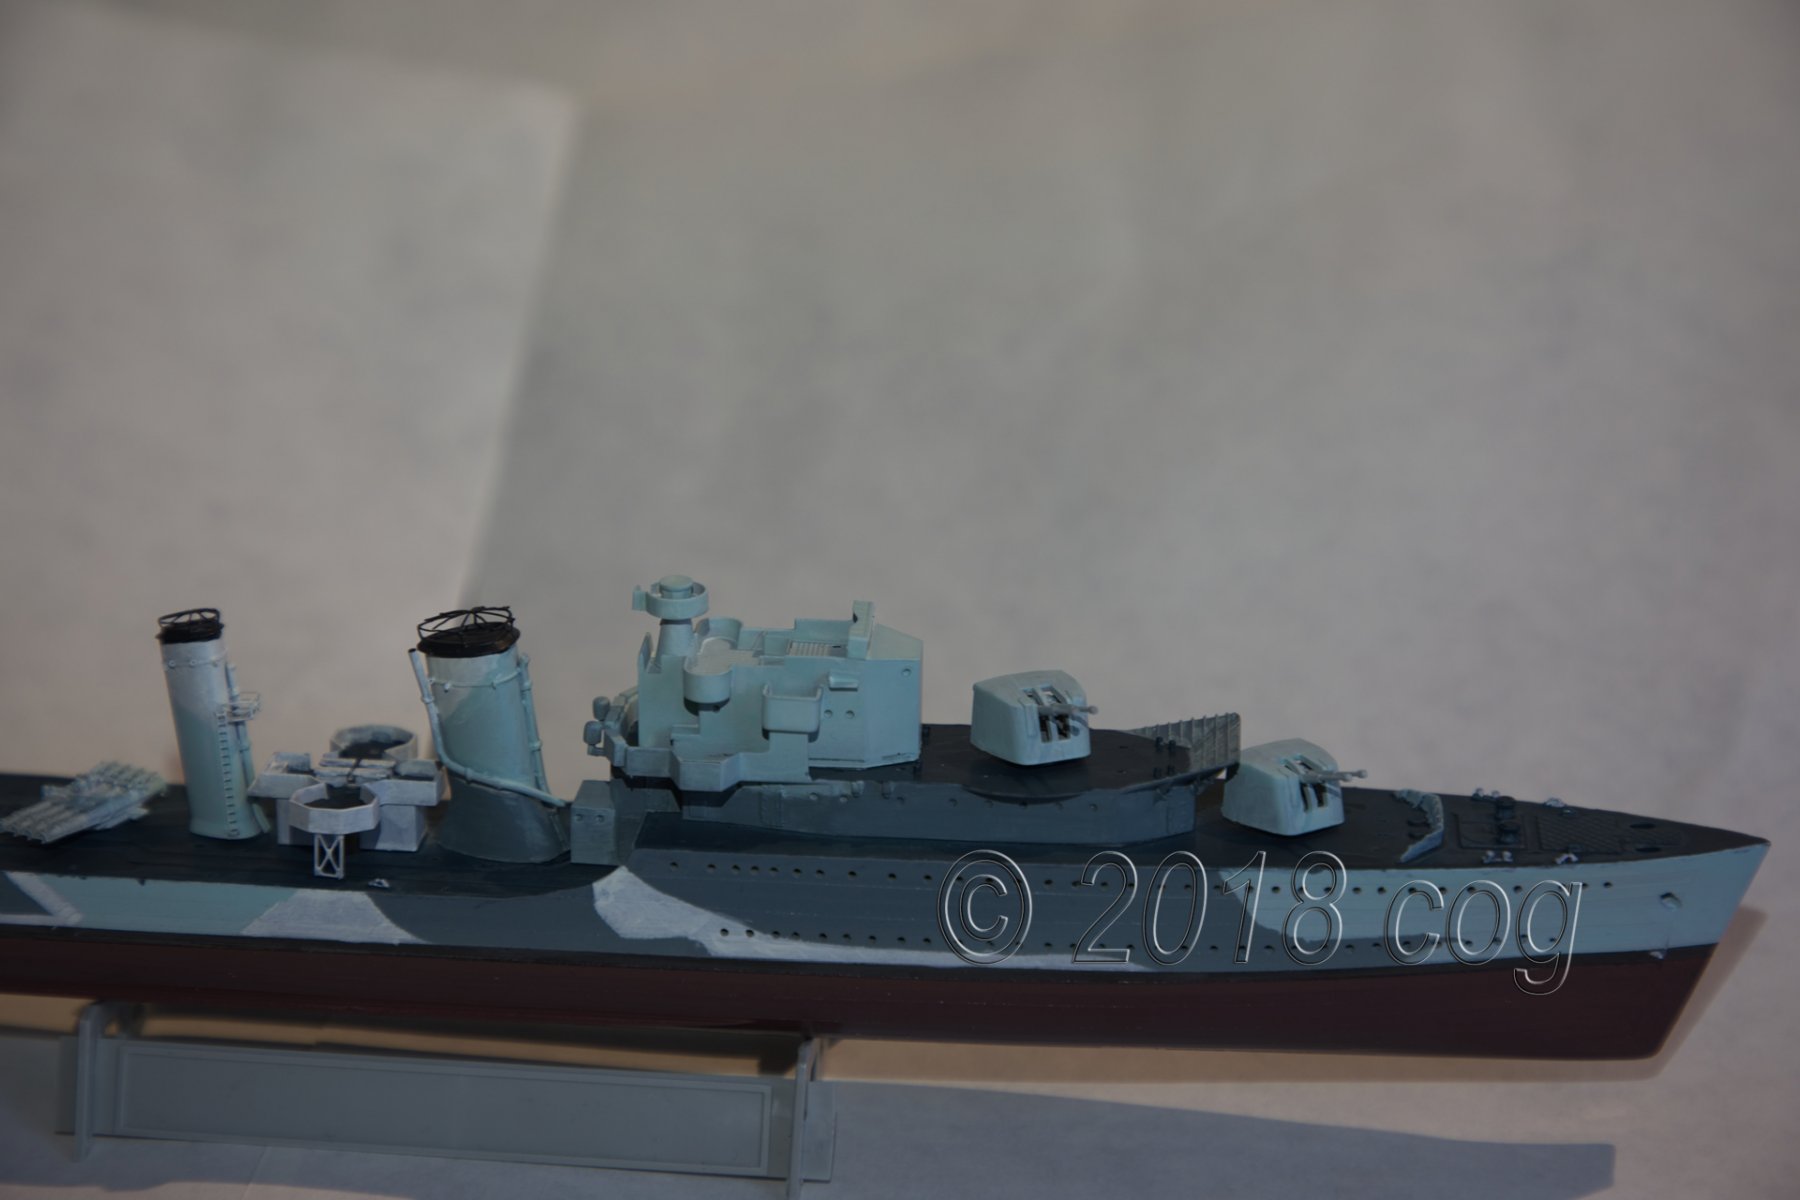
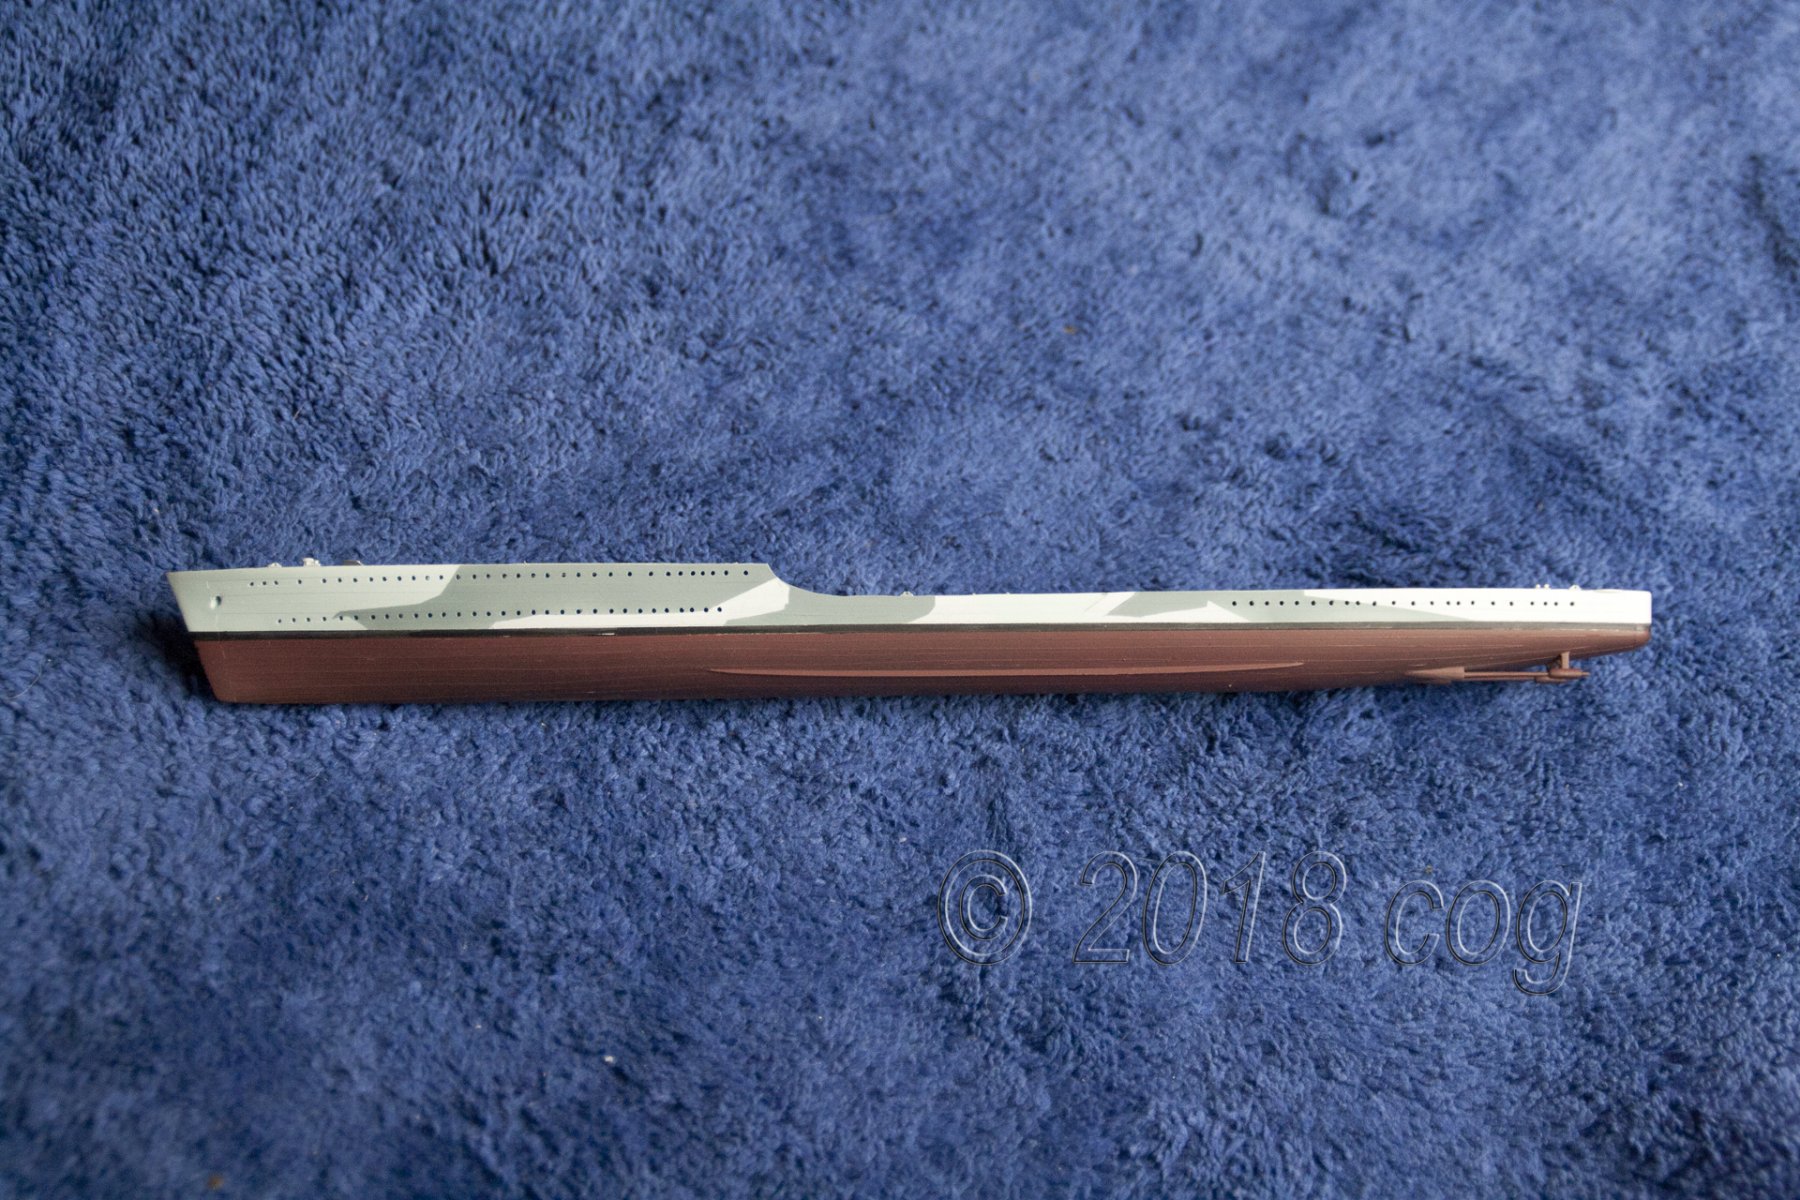
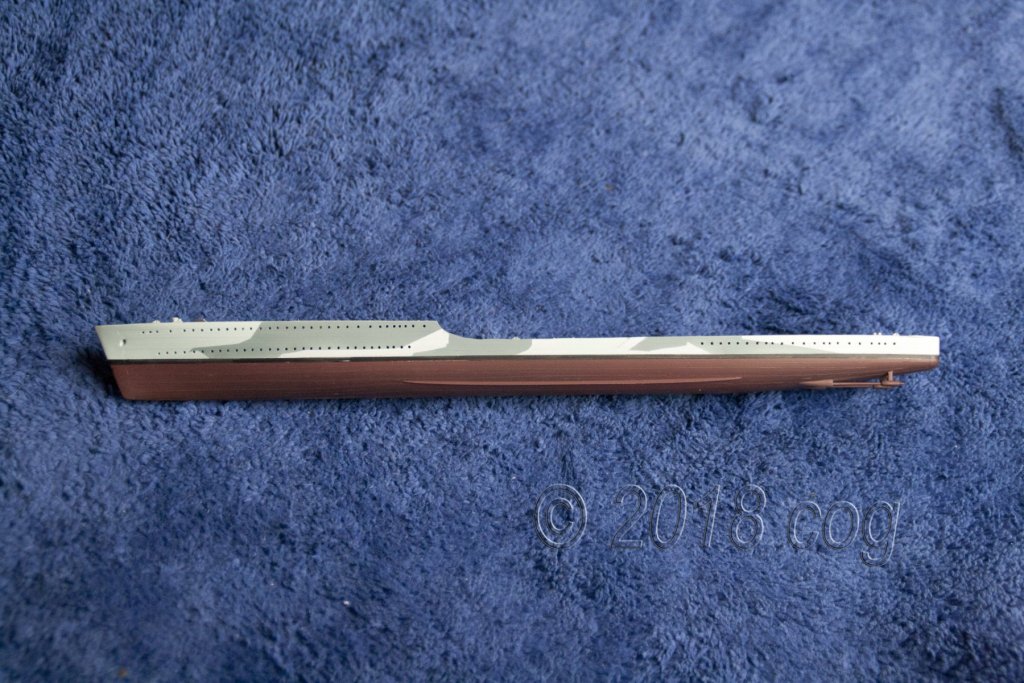
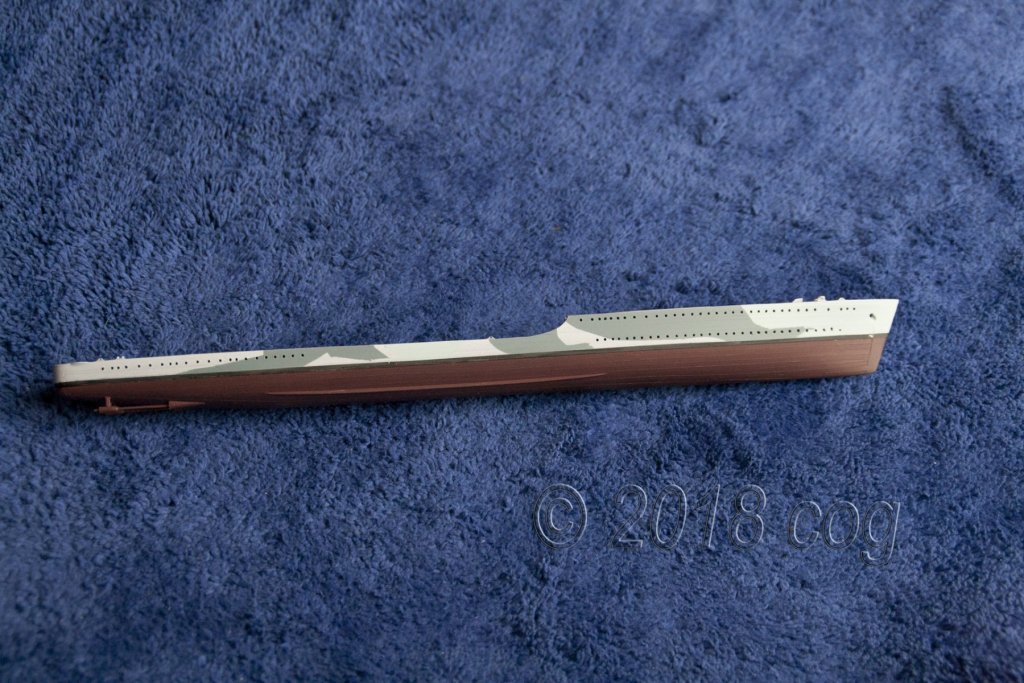
Didn't have a lot of time for modelling off late, but today and Yesterday, in between work sessions, I took some time to pull the airbrush trigger. Preperation is half the work ... it seems to me it's about 90% ... getting the shapes transfered to the masking tape, cutting them out, fitting to the hull, decide what will be the base colour and work up towards the last, each time adding more masks ... So for now a first attempt at hull camouflage ... There are three colours, white WA Blue and MS2 (a darkish grey) The white is an off white, the WA Blue a very pale green/white-ish. When you zoom in you can just see it, although in reality the distinction is quite visible Cheers P.s. Nearly forgot: I used Lifecolor paint this time. I didn't know the airbrush quality, but now I can say I'm not a fan for airbrush use, not even heavily diluted (80%)
- 361 replies
-
- 15
-
-
I can imagine ... What's with the English and French version (practise your foreign languages?)
- 405 replies
-
- 6
-
-
- tamiya
- king george v
- (and 2 more)
-
I like the camouflage giving the ship strange angles when you look at those frontal pictures, a busy deck and lots of things to see. So much more pleasant to look at than those boaring modern ships ... Vendetta is already relatively small compared to the G/Tribal class desroyer I built, so this doesn't surprise me, next to the Yamato class she would be even more like a ship's boat ... but so much more agile one shouldn't forget ... P.s. what's that French title about ...?
- 405 replies
-
- 4
-
-
- tamiya
- king george v
- (and 2 more)
-
Vaddoc, There are quite a few brands on the market, I like BSI insta-cure (fast) and insta-cure+, which is slightly thicker, they also have a gell. Most use Zap or Zap A Gap. Both brands can be get in the UK (I order mine in the UK as well) You'd probably are best off with either Zap-A-Gap or BSI insta-cure+ for what you need it for, though they dry somewhat slower than the other two, they fill in the irregularities. HTH Cheers
-
hope it does still keep some cohesion after sanding ... some of those "ribs" look more like a burnt pork chop from the barbie ... I would try to take off as little as possible in the centre to try and keep it as tight as possible... you may need some filling though (wood slivers?) if you have to sand it down considerably
-
Ain't no easy way, but for the "real" wooden decks you can buy for some ships. I used off cuts from Musashi's deck to use on the bridge of my previous destroyer build, might use such a piece again on the current, as simulating wood at this scale is rather hard to realise
-
Nice audience, they can get very excited, hopping from one foot on the other. Hpe hey steer clear of the brass tough ... Turns out rathe spiffy mate
-
Pime seating, I'll be in for the ride, Chris. Looks like a fun kit to build