


realworkingsailor
-
Posts
3,271 -
Joined
-
Last visited
Content Type
Profiles
Forums
Gallery
Events
Everything posted by realworkingsailor
-
 One thing I saw, if you have a copy of TFFM IV, in the back colour section, it shows an interesting way of mounting ship's boats. Basically using a clear acrylic rod drilled into the hull horizontally just below the water line. The ship's boat is then mounted to the rod. The boat now appears to be "floating" alongside, with a painter line extended to the ship. Just a thought.... Andy
- 1,319 replies
-
- 1
-

-
- caldercraft
- Victory
- (and 1 more)
-
How nice, that relatively close to home, you have a constant memorial in one way, to your father, that will allow you and succeeding members of your family, keep in touch directly with your history. Safely preserved, hopefully for many more generations to come. Andy
-
Don't know why you're obsessing... looks fine. I wouldn't worry too much about the inward angle of the deadeyes. Once you add the shrouds and lanyards, they'll tend to pull themselves a little into line anyway. You won't (shouldn't) notice it. Andy
-
Dullcote itself is a spray enamel, so you shouldn't have any trouble with the Humbrol. You can actually overcoat Dullcote fairly quickly (an hour or so), but there's no harm in waiting longer One thing though... since you've found a source... buy as many cans as you possibly can.... because you never know. One thing I've noticed, a once opened spray can has a shelf life of about 6 months at best. After that point you may find that the spray gives a sort of orange peel/fish eye effect. Andy
-
Lord of the Flies anyone? Or Yertle the Turtle (for those who remember Dr. Zeuss )
-
I had no trouble with a single rabbet for only the first planking. As for the bearding line, I thinned mine a little more than twice the thickness of the first planking. Only a little sanding was needed to allow the second planking to sit nicely against the keel. Andy
-
Thanks, Caroline I did look through your build as well, before the great crash, I must say, at the time I wasn't sure if I could have done all the renovations you've done to the interior (they look impressive BTW). Lucky for me, my next build comes with the cabin interiors (or at least, all the bulkheads), so the challenge might be simply super-detailing them. Andy
-
I think, because it is under the "Testors" brand, it should be safe... I hope....
-
Best case, if you want to seal it, use Testor's Dullcote. You shouldn't have any troubles with the Humbrol.
-
Hey Sjors... that one on the left looks like you drove it under a low bridge....
-
Most likely incompatible, it's possible the yellow did not adhere to the white and as the varnish started to dry it pulled it up
-
Ah hah... it's tomorrow Augie.. so we haven't missed it yet... But just to get on the rapidly forming bandwagon... Happy Birthday, Sjors! Andy
- 1,873 replies
-
- 2
-
-
- occre
- san ildefonso
- (and 1 more)
-
Not a bad thing, I found (and you can sort of see) a small kink at the last second frame from the end. Nothing that I couldn't sand out later on, but had I been a bit more energetic sanding down the bulkhead, I could have avoided it altogether. Andy
-
Well.... You did it.... Not as hard as you first thought... Right? Andy
-
That's it really, it's too late to go messing with it now. Question is, how much of that explosive is still volatile enough to amplify any "controlled" demolition into a catastrophe. And in case anyone has any doubts as to the nature of explosives left under water, you can dive on various wrecks of British battleships sunk during the Galipoli campaign, all over them are rods of cordite that are still reactive. You just need to strike off the encrustations and they light off with a match. Andy
-
Can't say you haven't been busy.. As for the repair... a little trim piece here or there and everything will look fine. Andy
- 1,279 replies
-
- 1
-
-
- agamemnon
- caldercraft
- (and 1 more)
-
There aren't too many Far Sides I haven't seen... and they're all great
-
Sawdust comes with the territory.... looking forward to your build... I'm of the "resist the temptation" mindset... believe me... it takes a lot of resolve... intestinal fortitude and all that..... I've been sitting on my Confed for almost a year now.... I'm hoping I can last a little longer.... but...... Andy
-
Getting closer to the end every day, she's looking really good. Andy
- 1,668 replies
-
- 1
-
-
- syren
- model shipways
- (and 1 more)
-
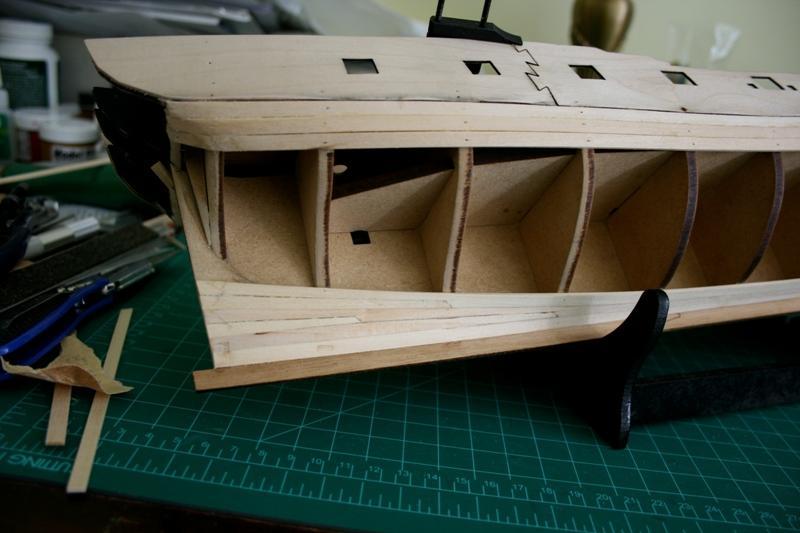
I don't know if this will help give you some idea or not: http://modelshipworld.com/uploads/monthly_02_2013/post-34-0-31278200-1360953768.jpg I have some other photos that may help as well, if you'd like Andy
-
Coming from you, Sherry, or Robbyn, it's not quite as weird... So I'm hoping this whole could of insanity will now drift off to settle over some other unfortunate victim Andy
