HOLIDAY DONATION DRIVE - SUPPORT MSW - DO YOUR PART TO KEEP THIS GREAT FORUM GOING! (Only 51 donations so far out of 49,000 members - C'mon guys!)
×


Mirabell61
-
Posts
7,407 -
Joined
-
Last visited
Content Type
Profiles
Forums
Gallery
Events
Everything posted by Mirabell61
-
 it looks super Antti, nice lapstrake planking Nils
 -
Good morning Pete, many thanks for your words, and your nice idea ref. to smoke and sound... much appreciated... I will save it up in my mind, just as for the oily cloth you once mentioned. My next activities will be to carry on with the decks planking, I`ve been postponing this for quite some time already, but need to "jump into the cold water now", before concentrating on rigging and sails Nils
-
Hi Pete, I have high respect for your wise decision to abbandon your "Bluenose project", after investing so much and enthusiastic input so far. Its a pitty at that scale that its probnaly too large for a full rigged stand-model instead. Do`nt be sad, you`ve gained a lot of experience down the way.... I would also be interested if there were a way (PC program or so) to determine in advance the max possible displacement (weight) for not exceeding the construction waterline. This would of course include an external ballast weight, to compensate the lateral point of the common sail area at tlting angle, for a RC sailing models. I saw a report of the rather large RC sailing pilot schooner model "Hesper" and all these thoughts came to mind..... Nils
-
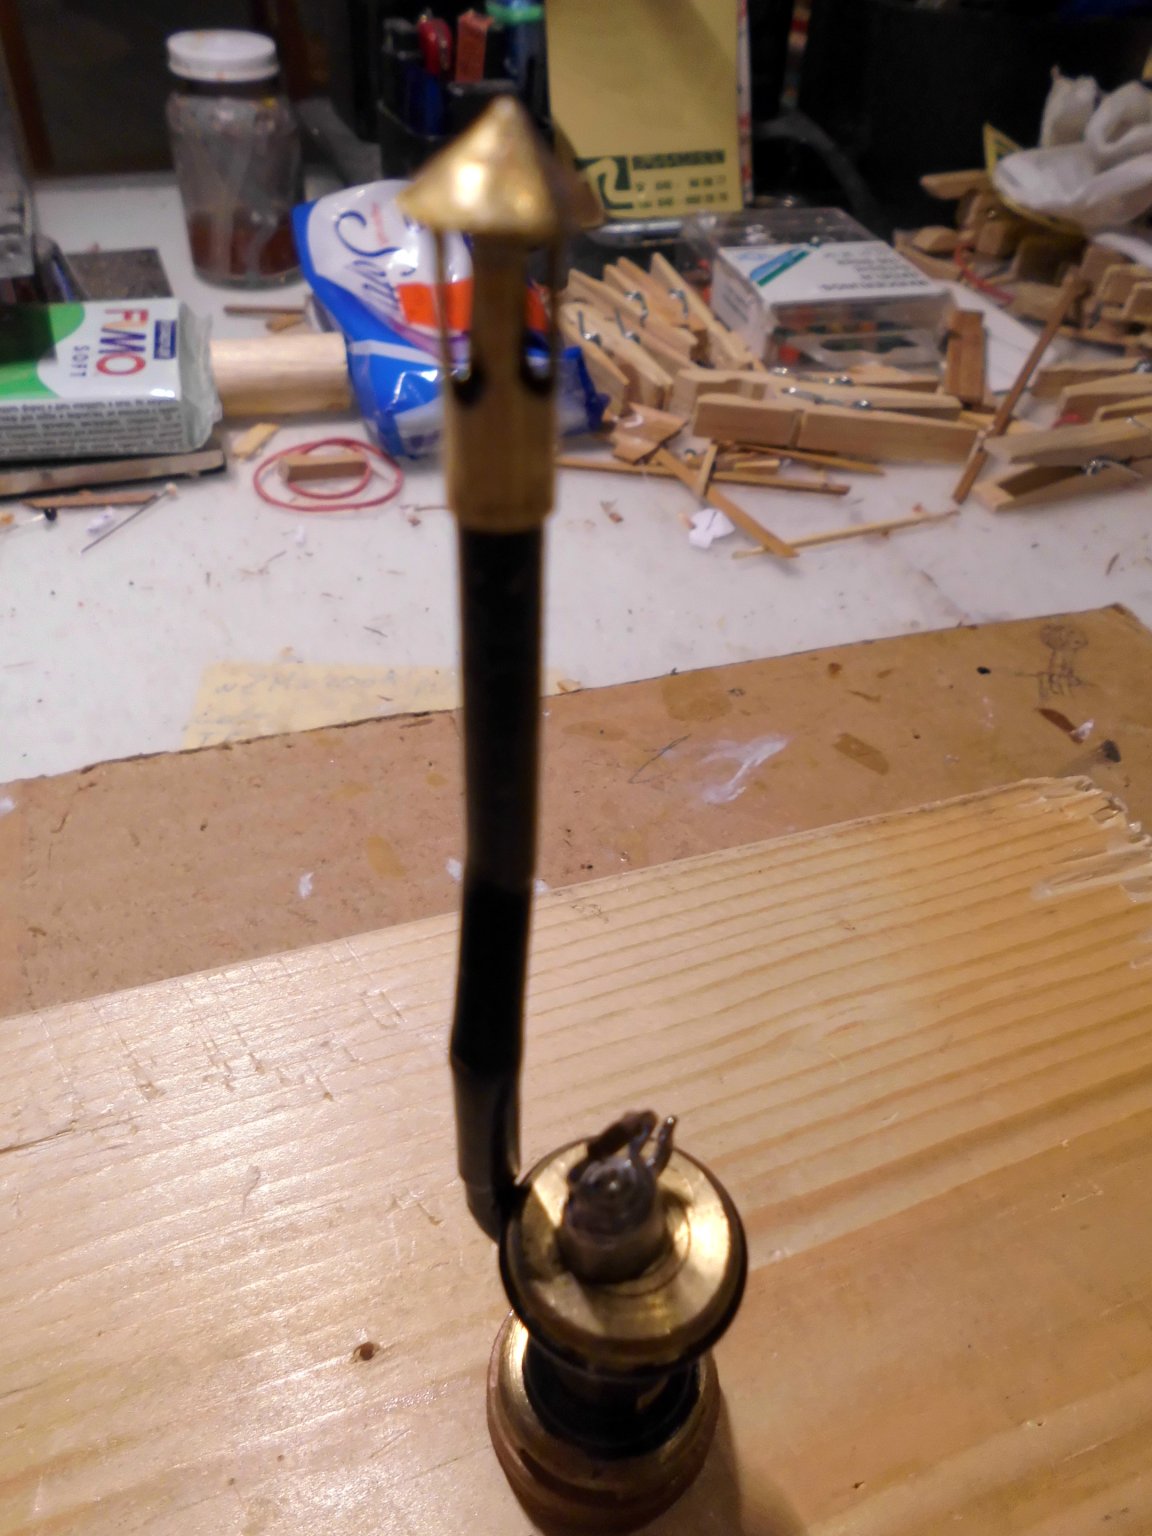
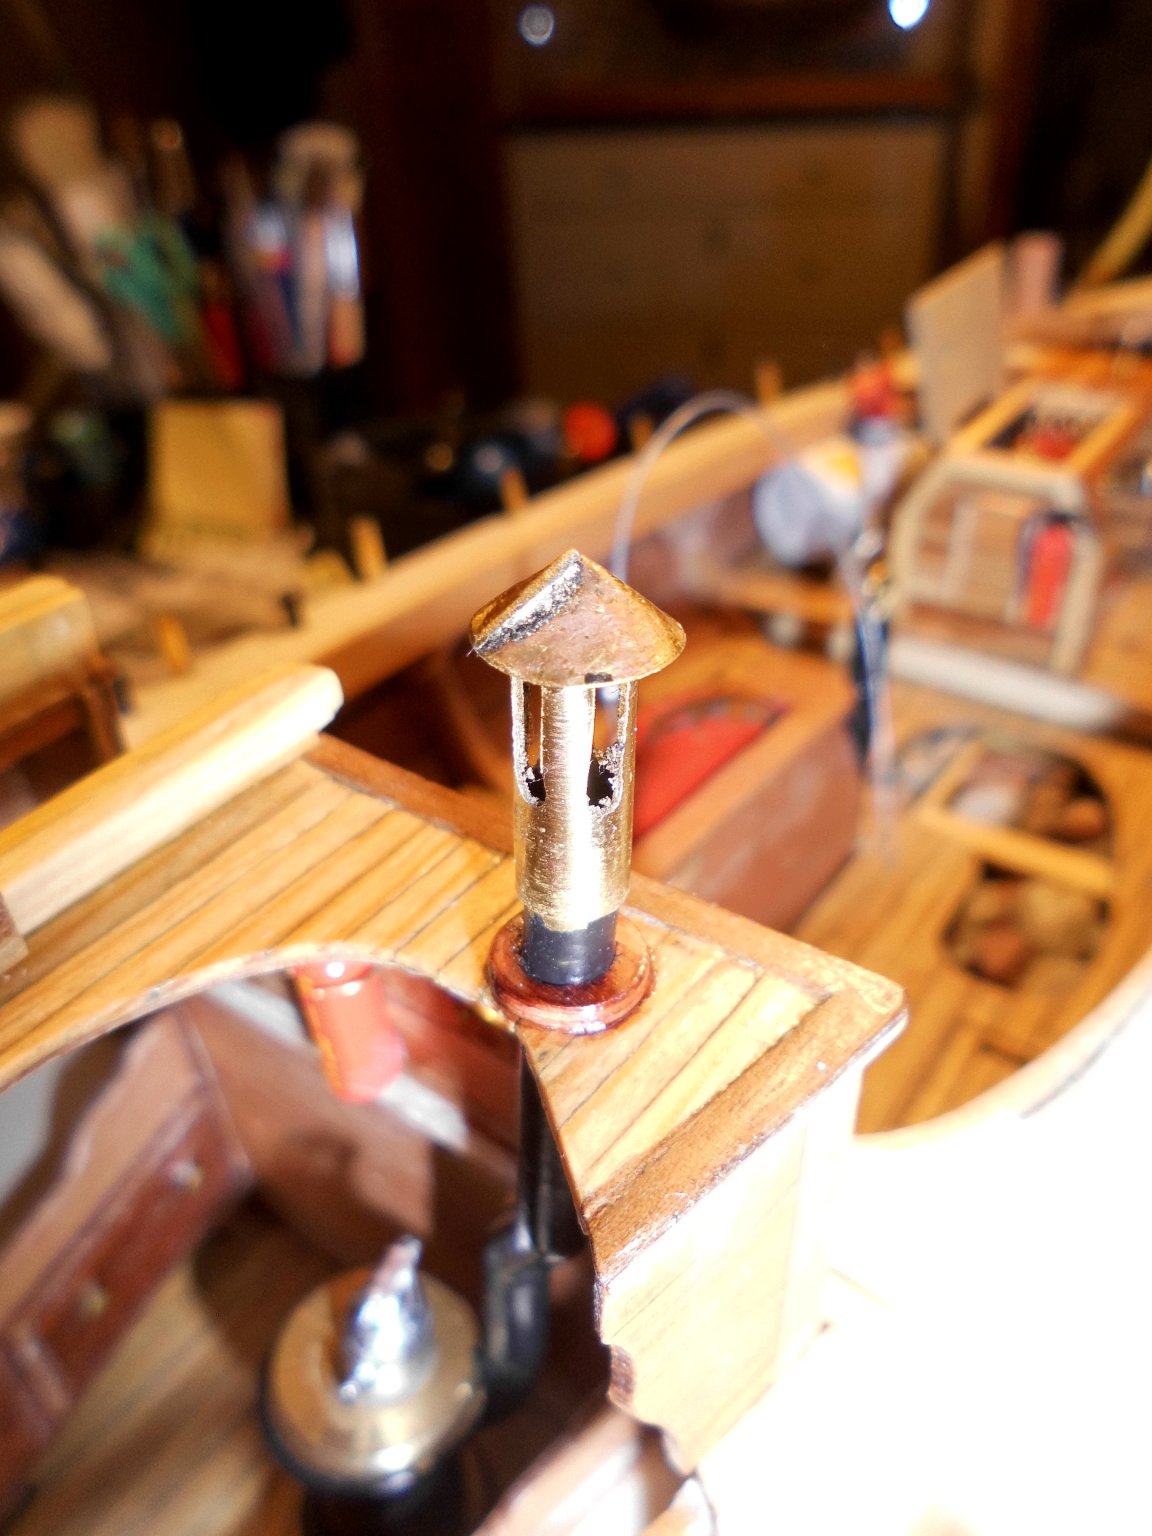
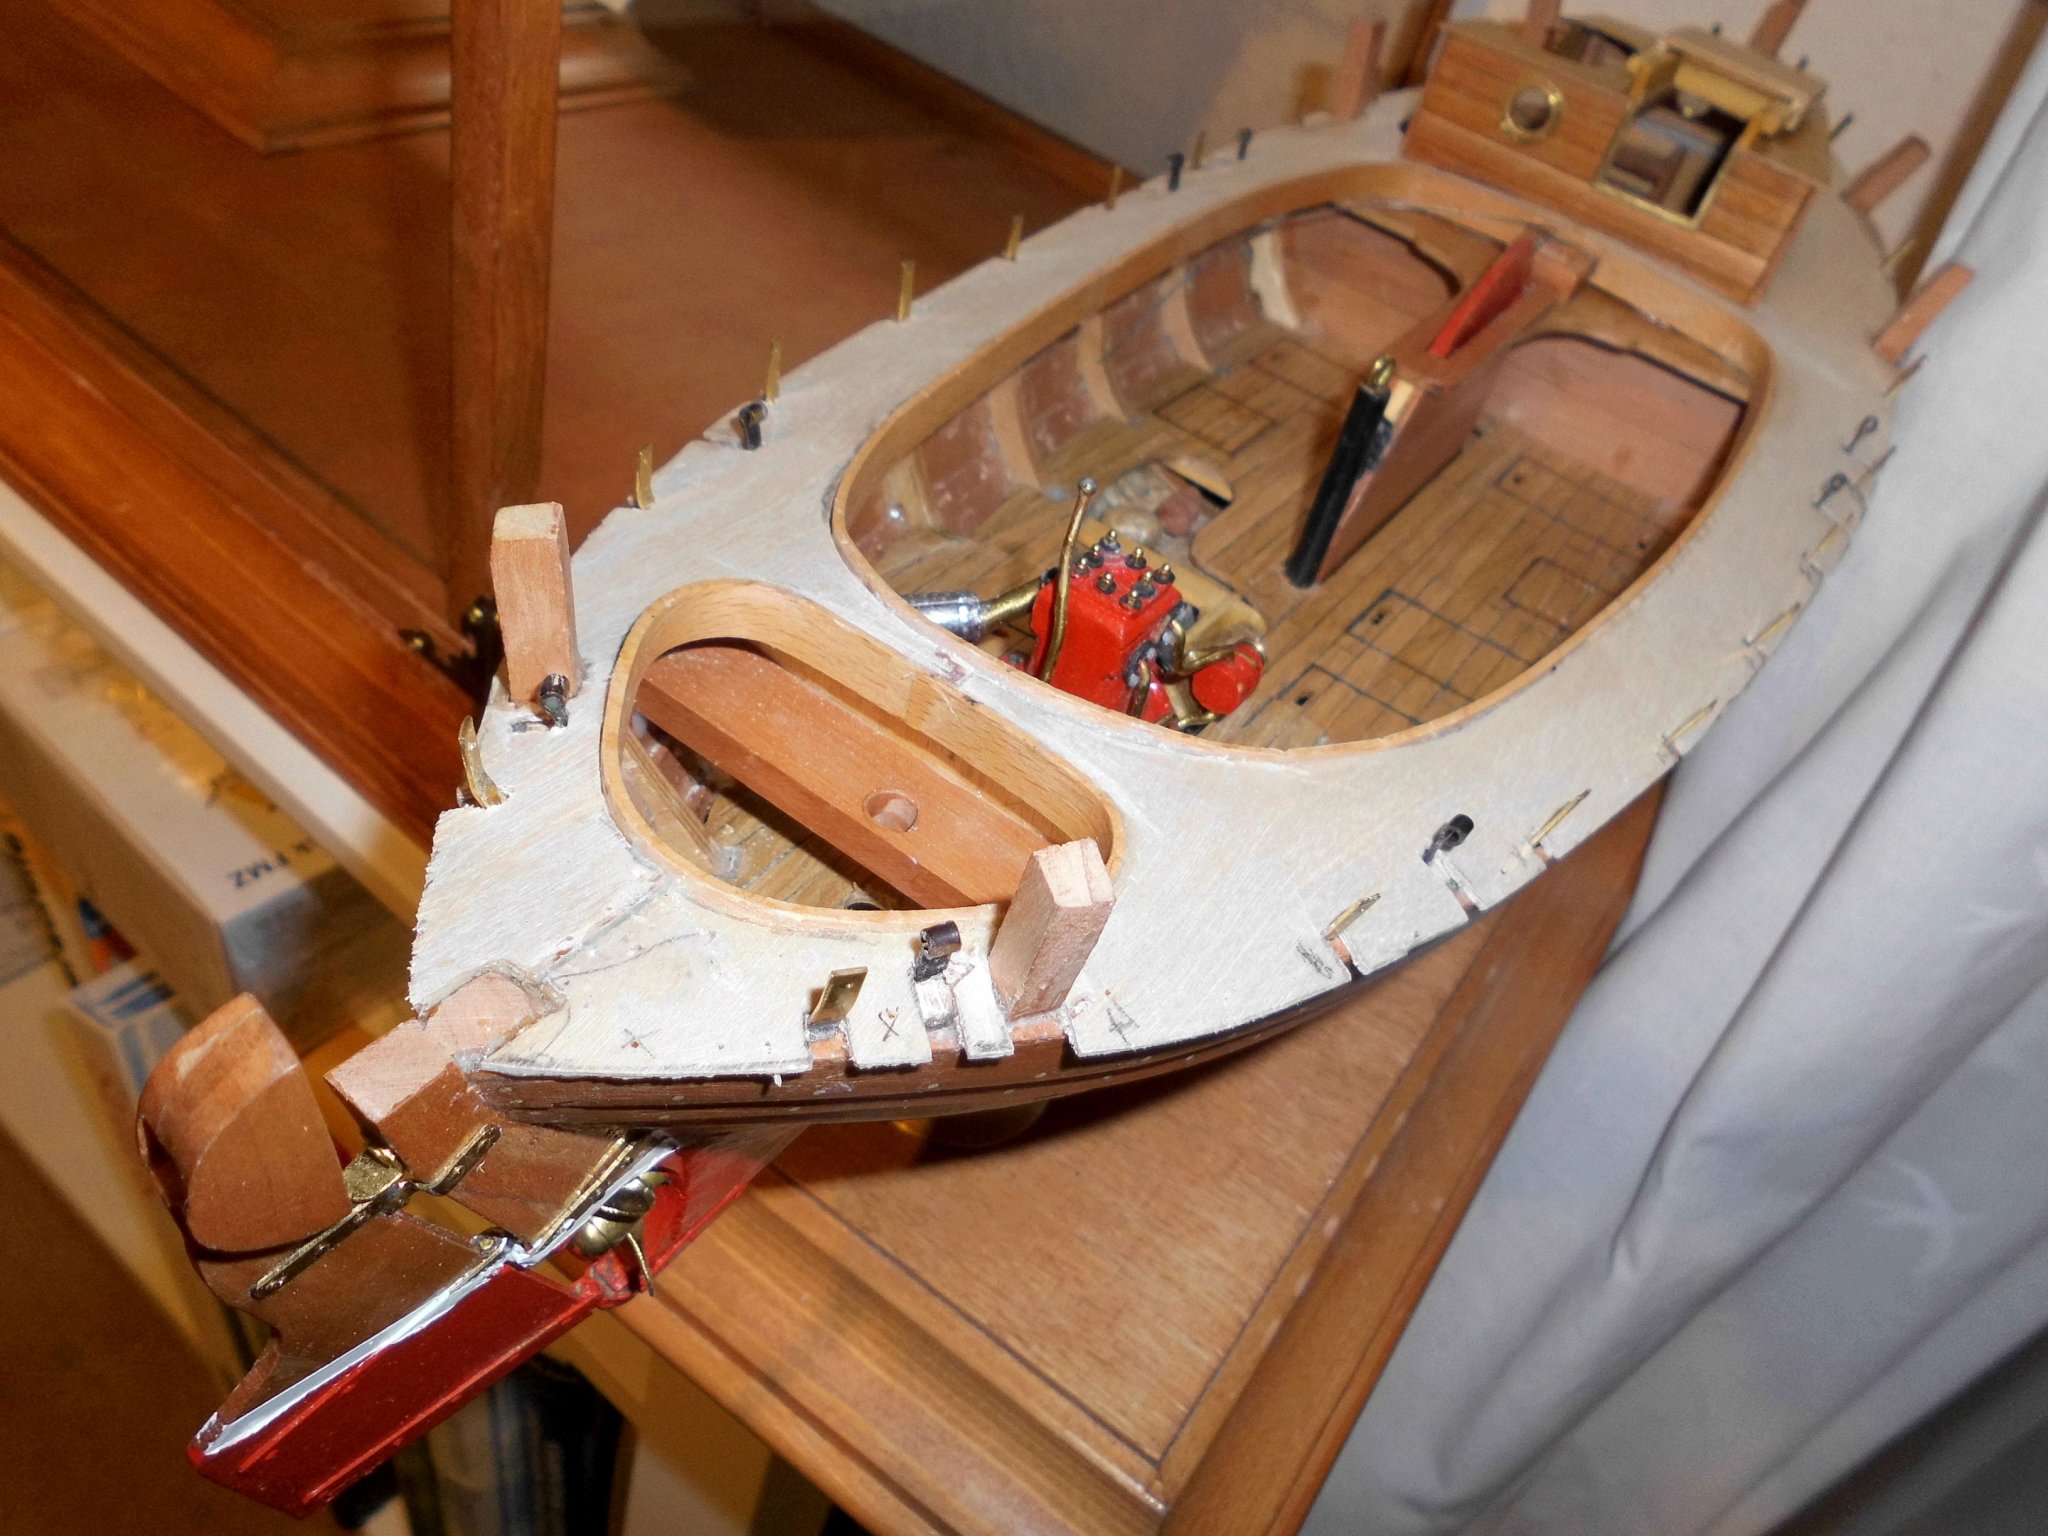
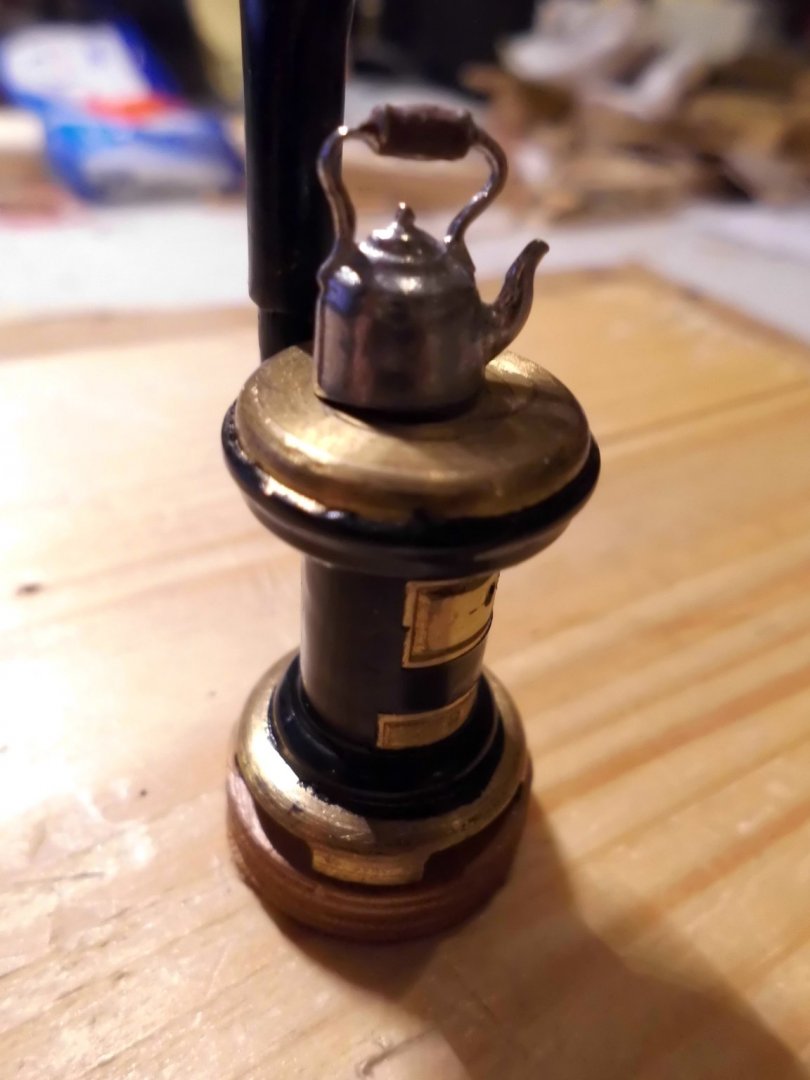
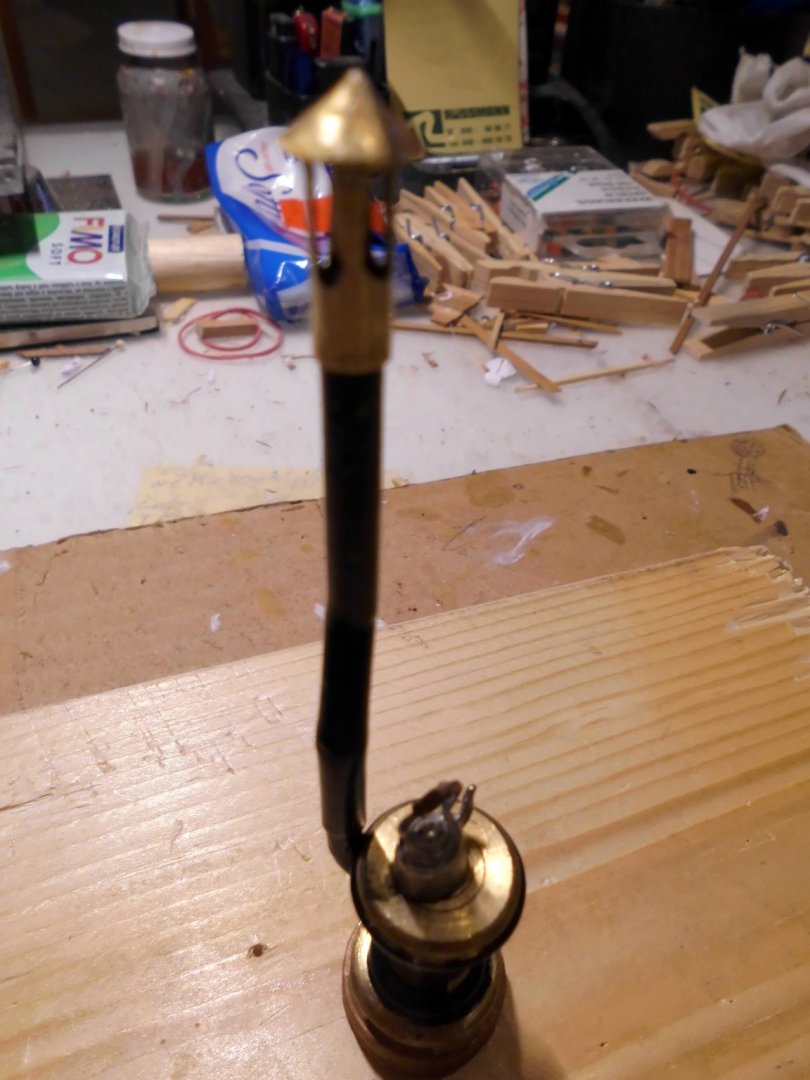
many thanks for catching up Pete, thanks for commenting the oven and other details...., and yes the etched fish will be used, I will try to pad them up a bit with Fimo clay and bake it over if it works, to get them a bit more flechy 3D looking. I also wanted to do some eels wiggling in the fish boxes. I have ordered some reddish (bordeau colored) cotton cloth for the sail making, but may also try a more brownish tinted color, perhaps even two colors on the 5 sails, like some of the actual Zeesboots have Nils waterkettle (scale 1:24) for tea or coffee making oven chimney tube revoveable chimney-tube rain cover

- 401 replies
-
- 20
-

-
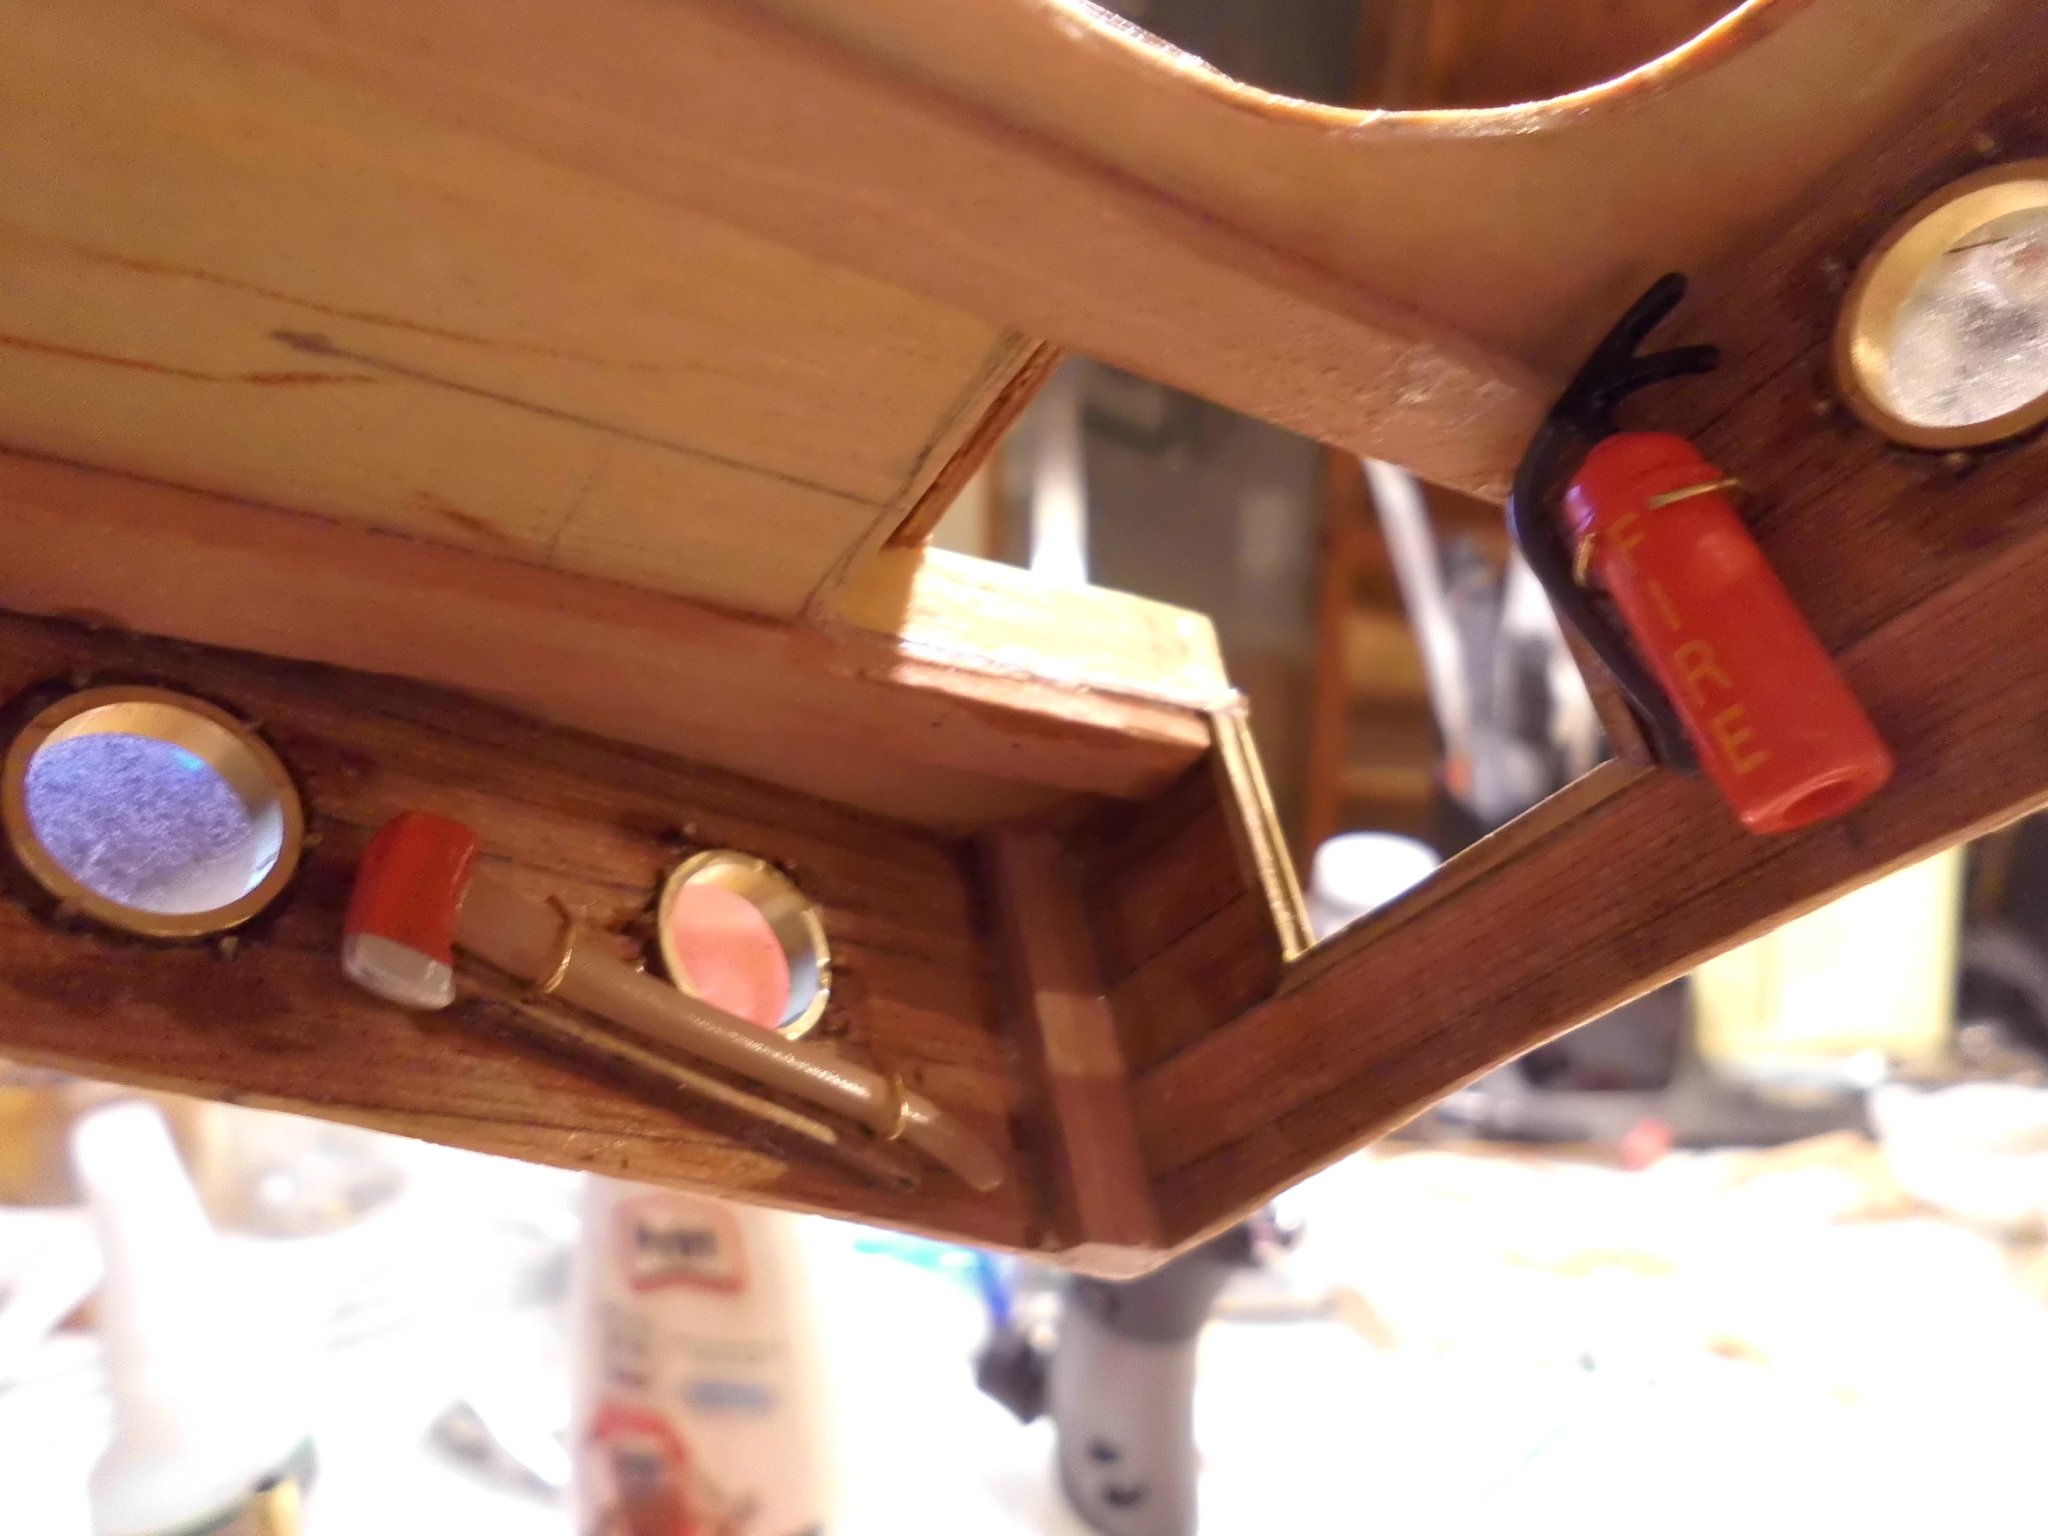
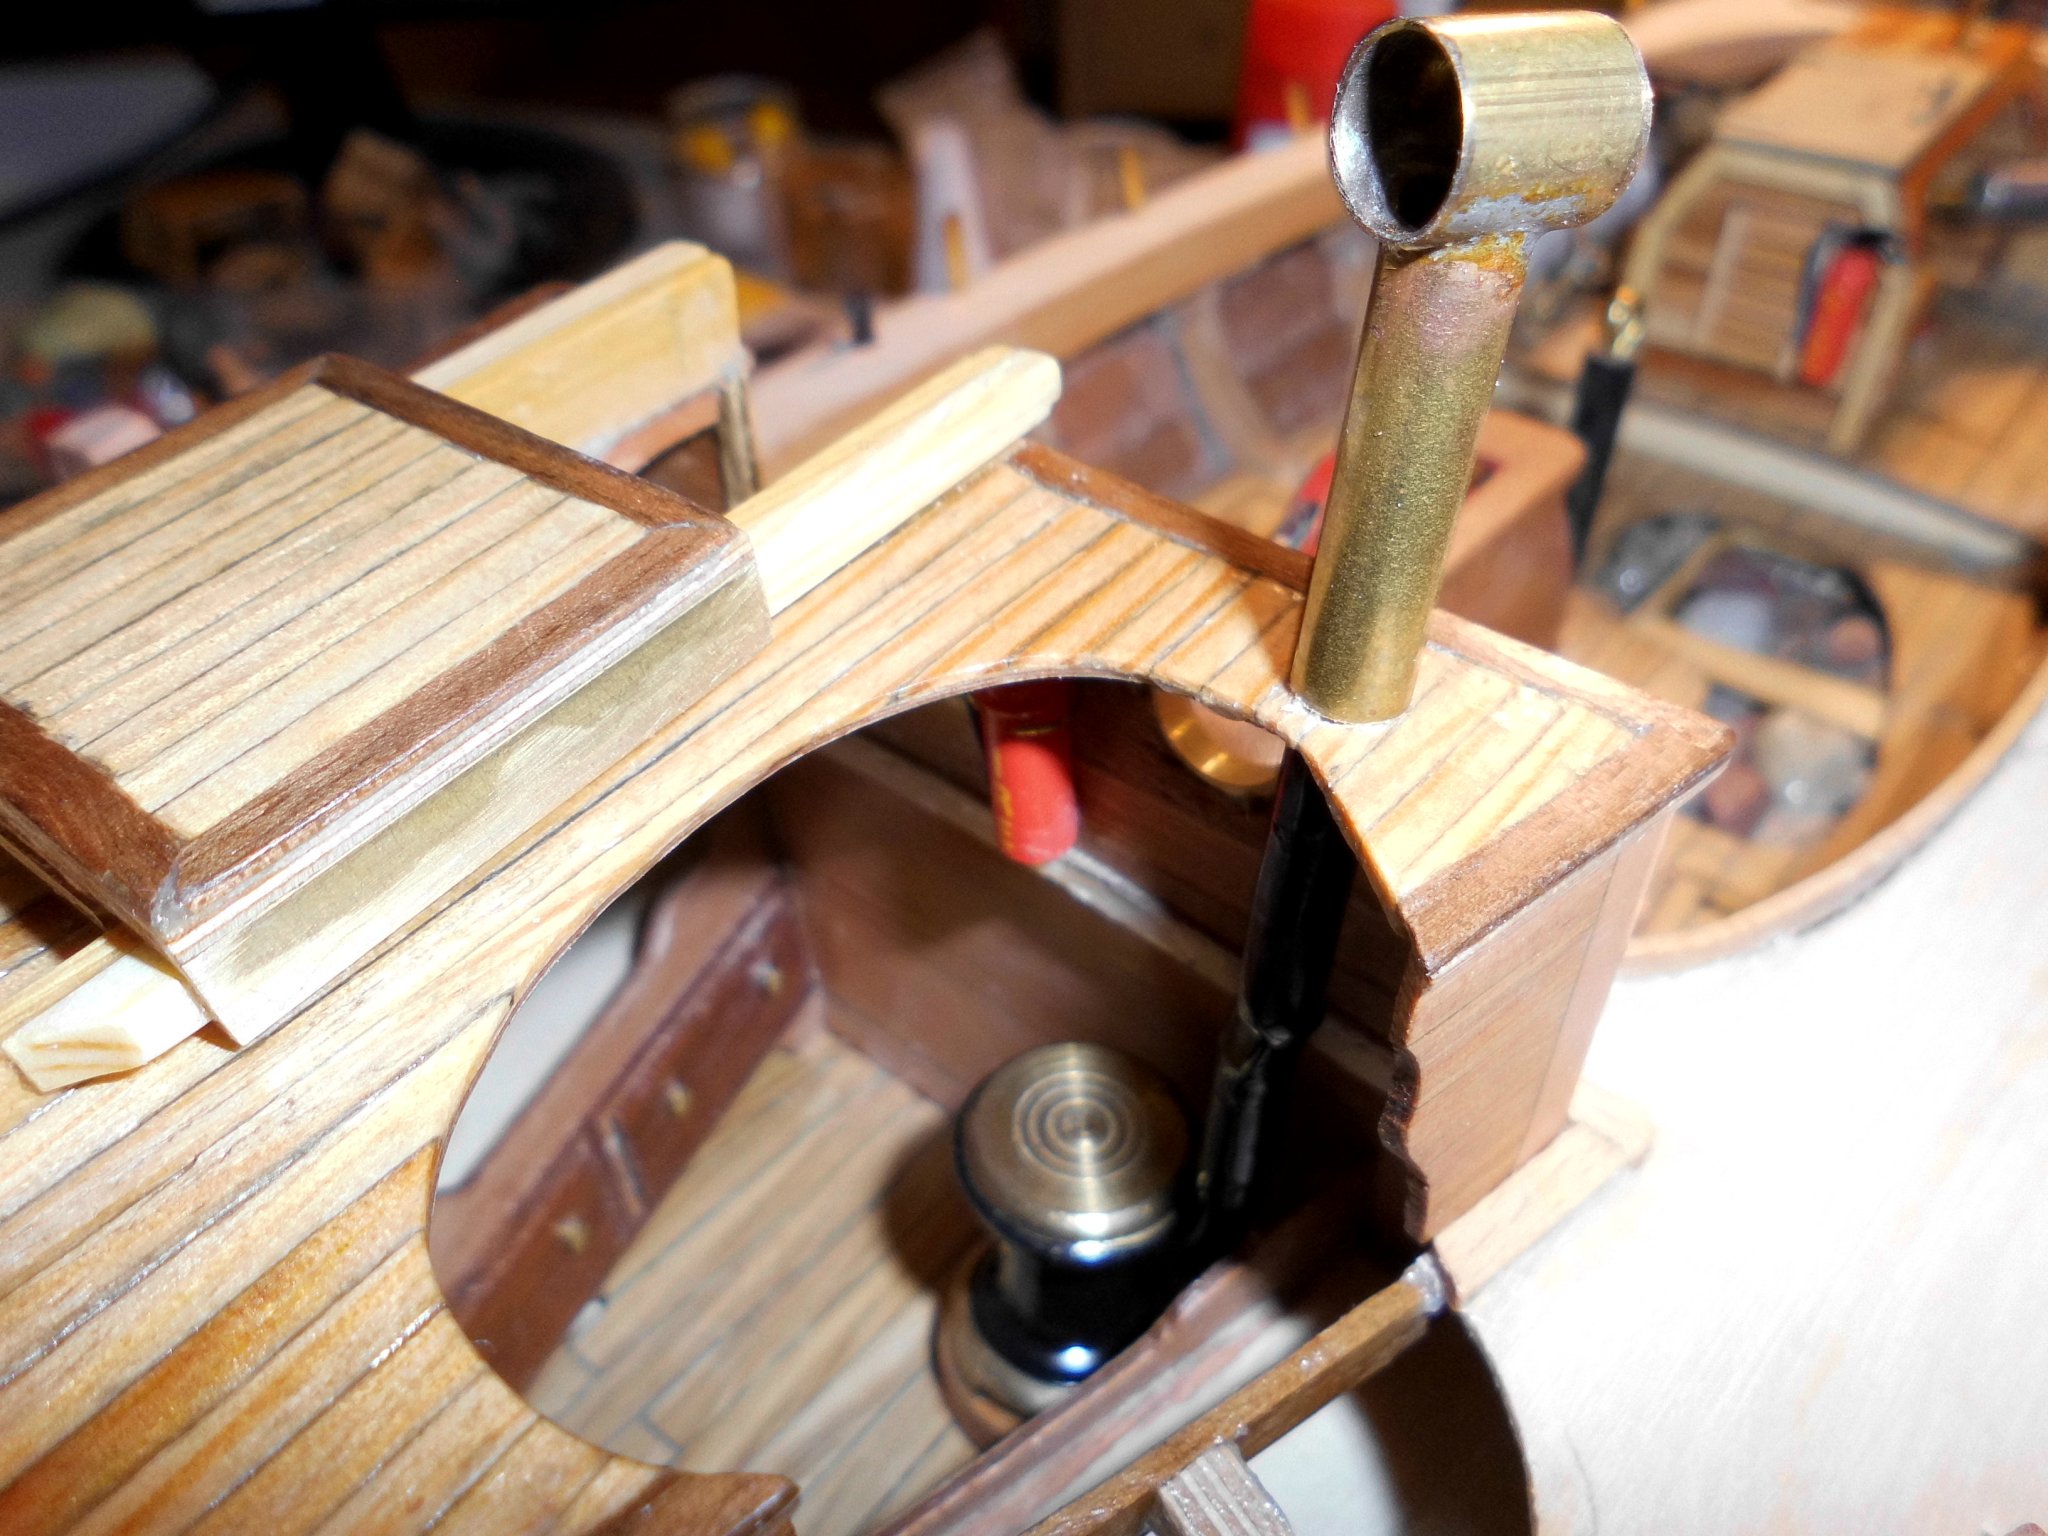
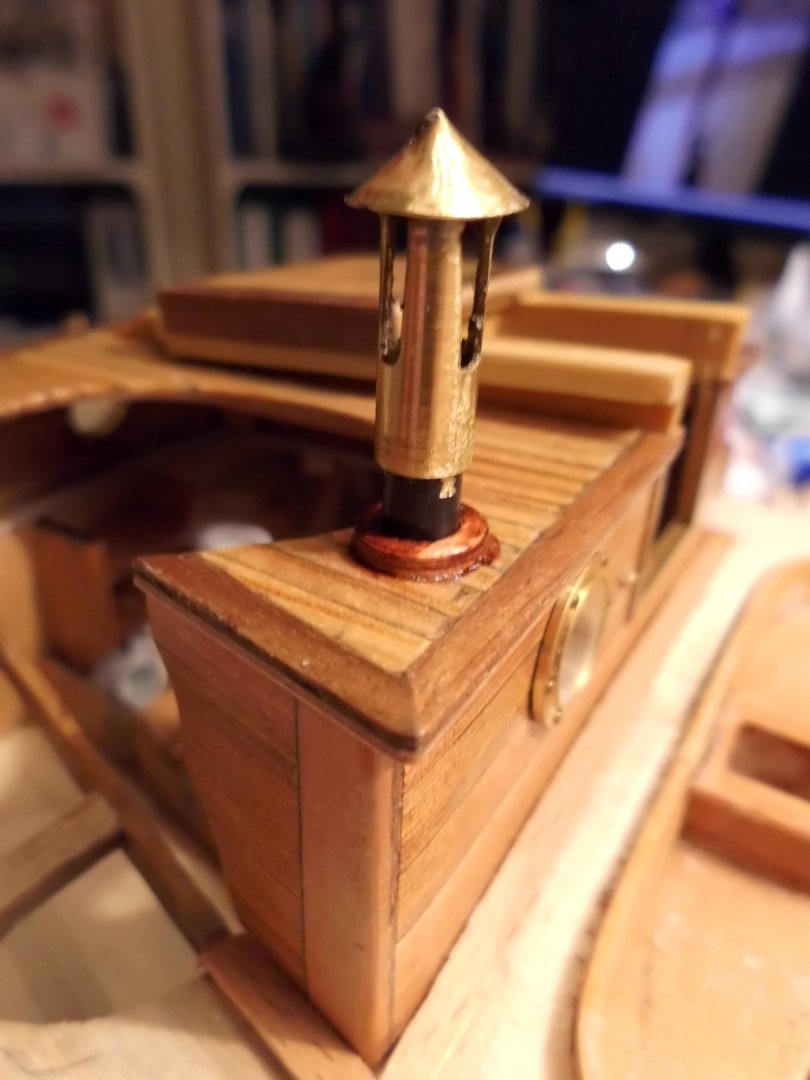
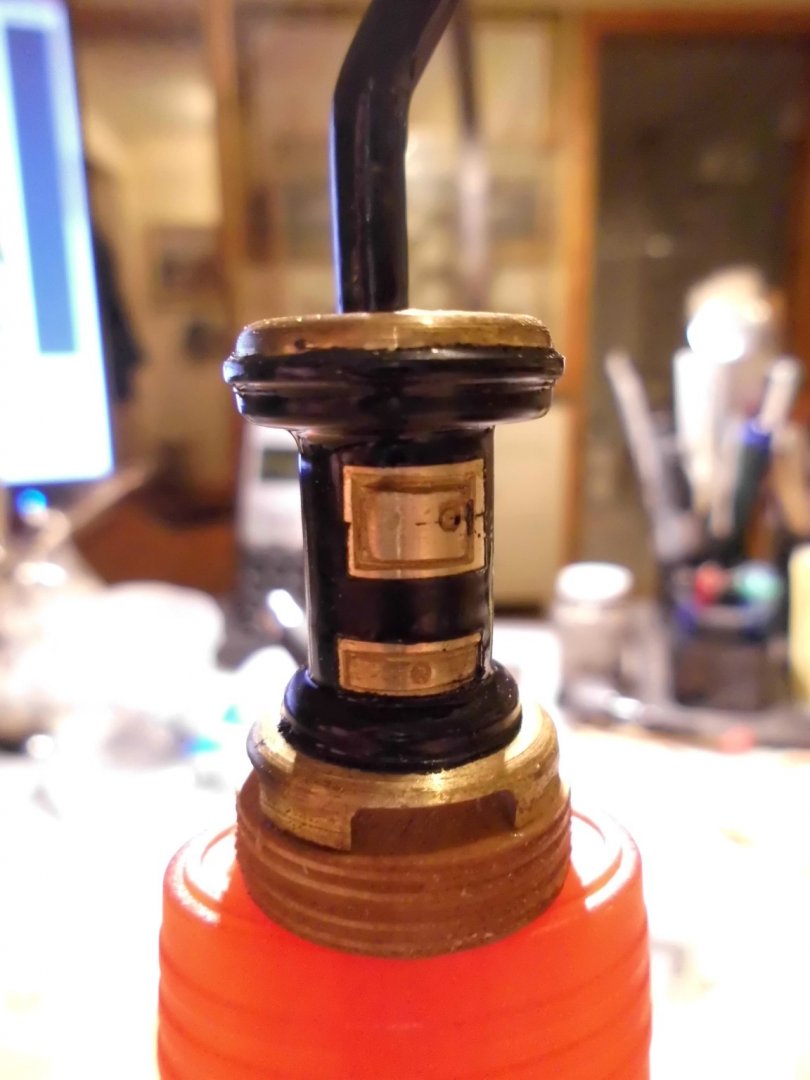
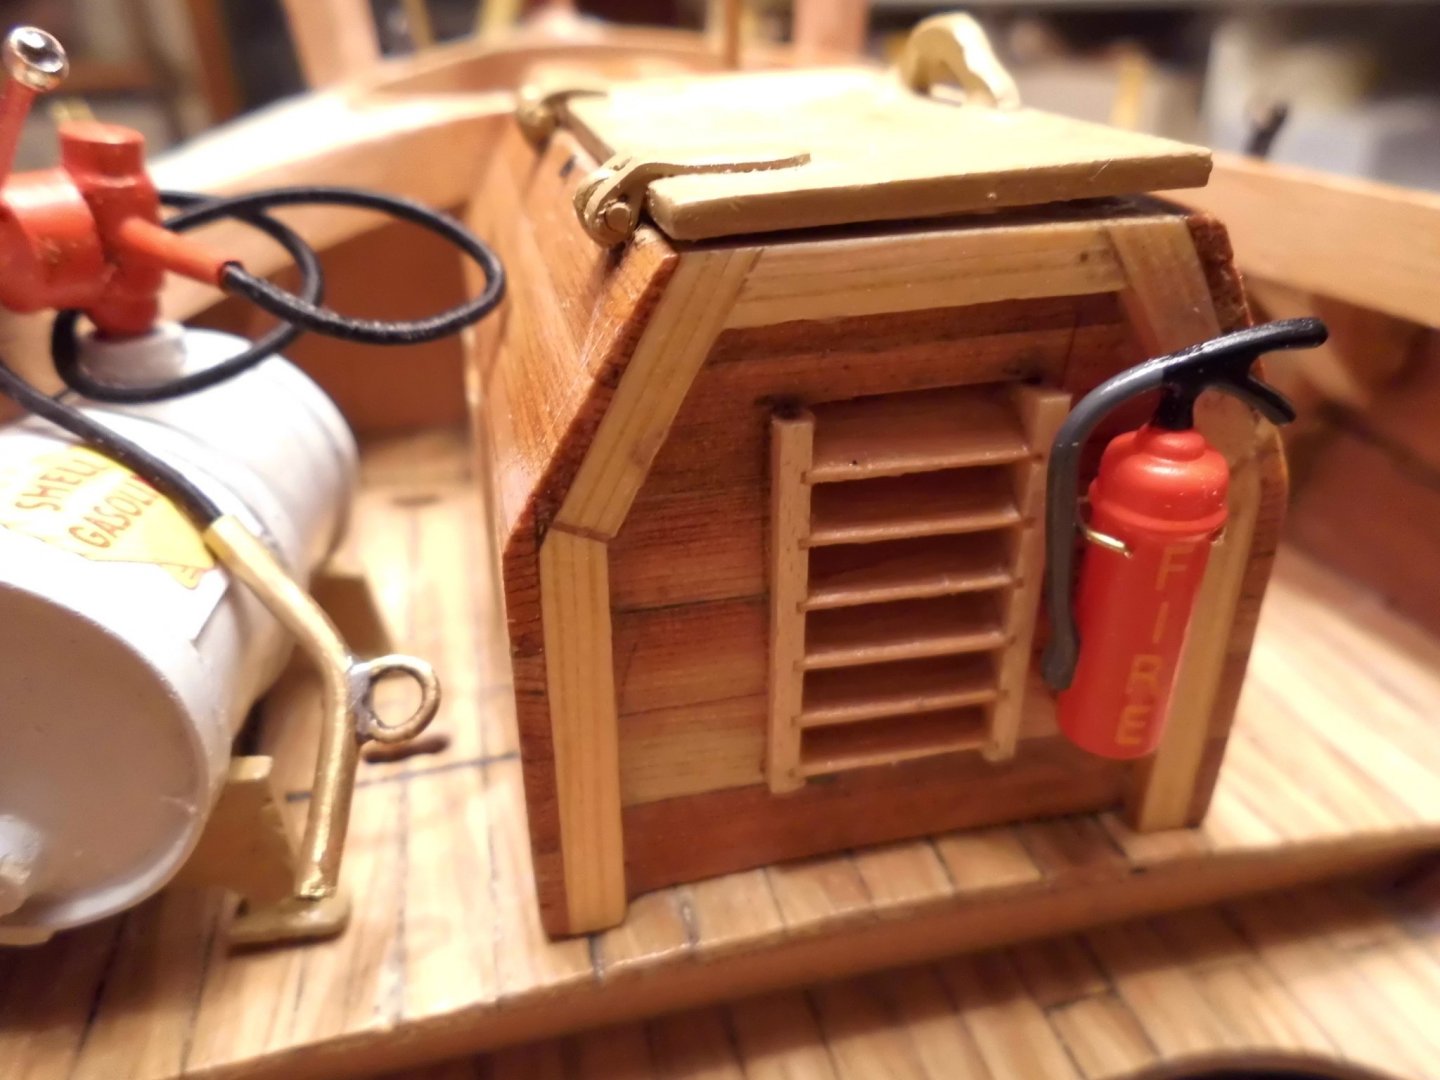
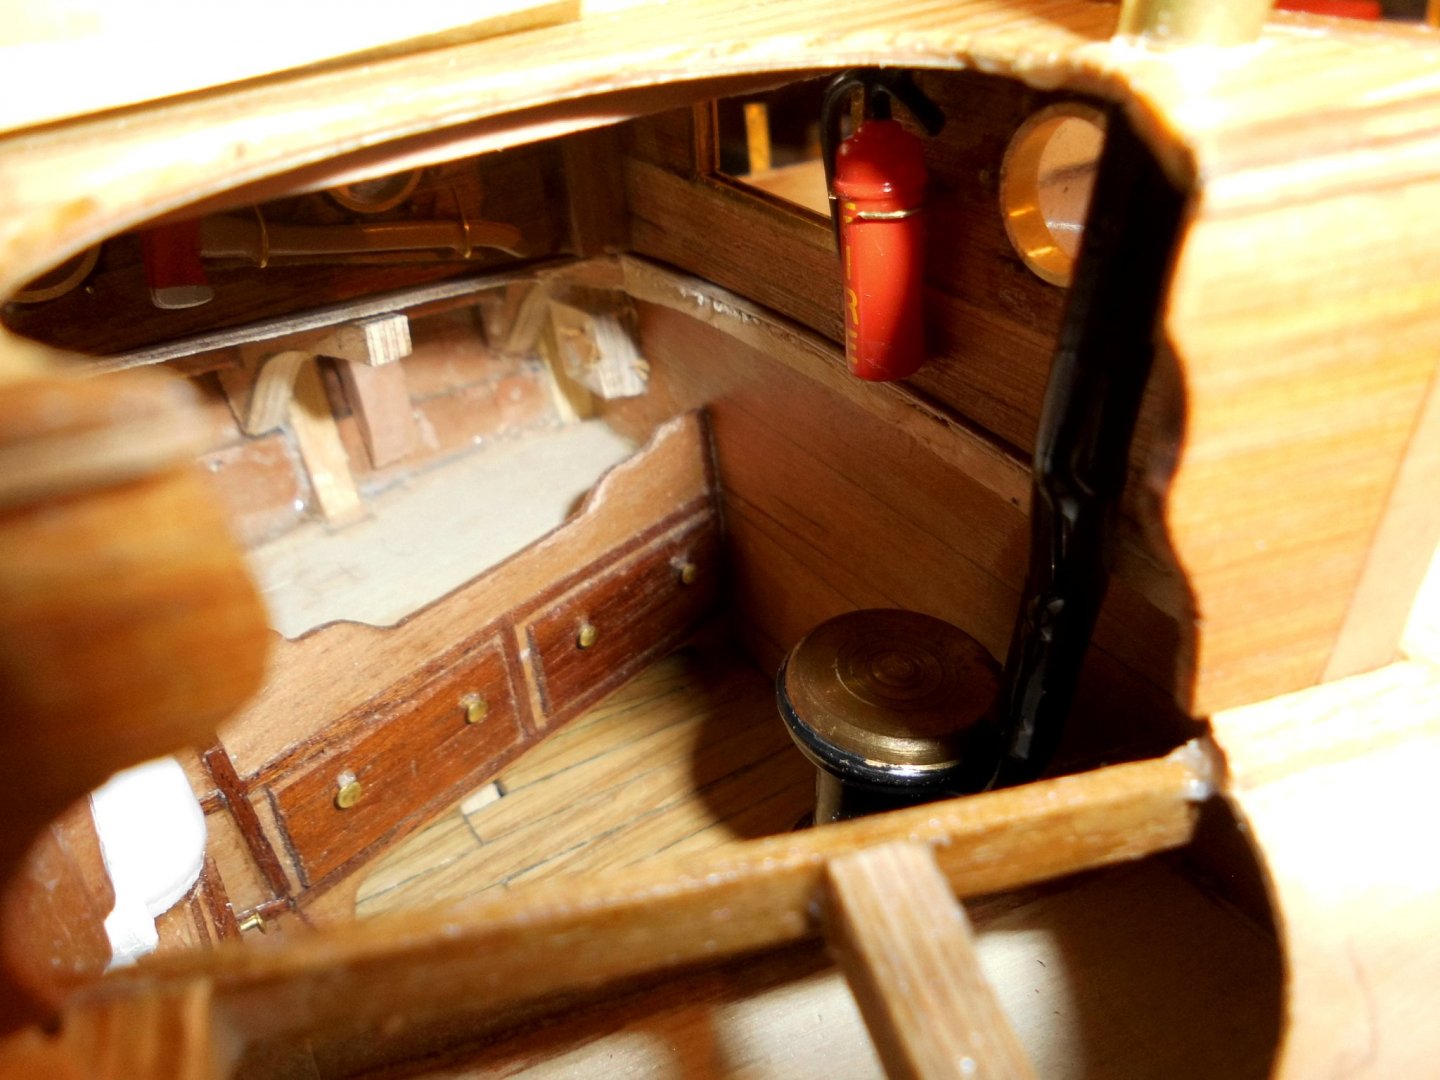
Hi Martin, thanks for your check-in, and for your nice comments... For further fitting out gadgets I was searching for an oven (Cabin heating and boiling up water for tea / coffee). I was looking for doll house furniture or so, etc... but these were all in wrong scale 1:12 Then by luck found one in brass at Ebay in scale 1:24, did a bit of modification, painting to it, built a setz off tube over the cabin roof leading chimney tube, and here we are... Even found a small waterkettel in scale 1:24.. the fire extinguishers and the ax are also in the correct scale. I`m also looking out for some red/brown polyester or dralon cloth (surplus rest bits from an actual sailmaker) for making the sails from. Also many thanks to all who clicked the "likes" Nils one fire extinguisher near to the engine and gasoline storage the chimney top will be modified this view into the cabin is from the outside, here without the ladder


- 401 replies
-
- 21
-
-
Hi Zbib, a beautiful place in nature you`re living in, and thanks for your demonstrator video, very nice and relaxing.... Nils
-
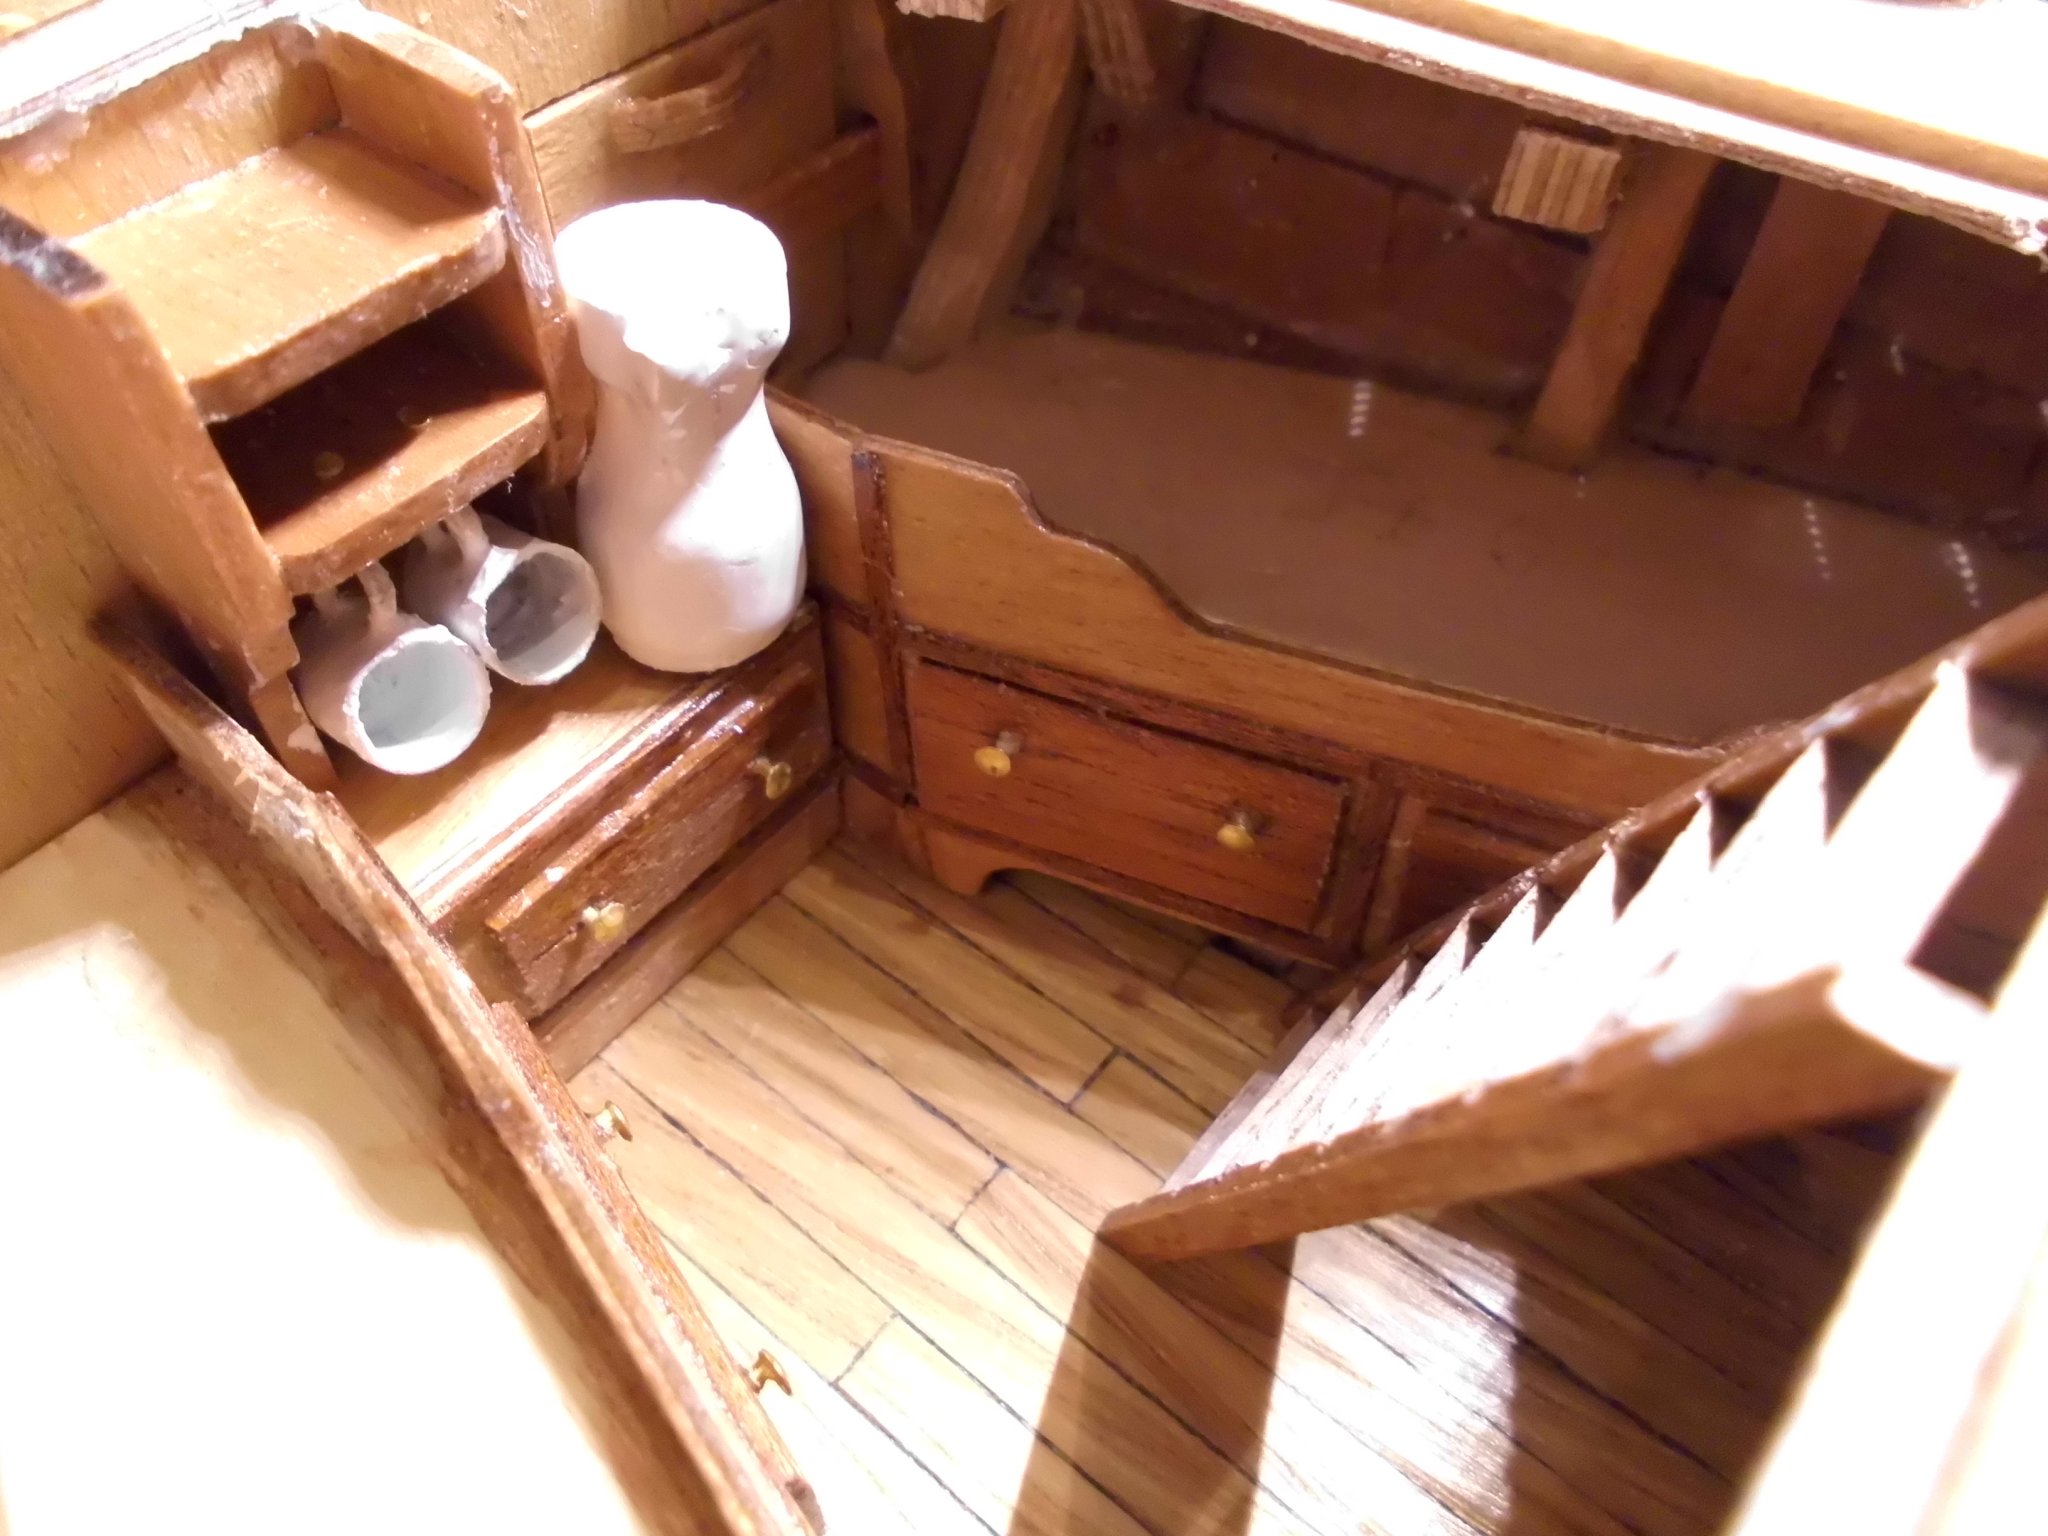
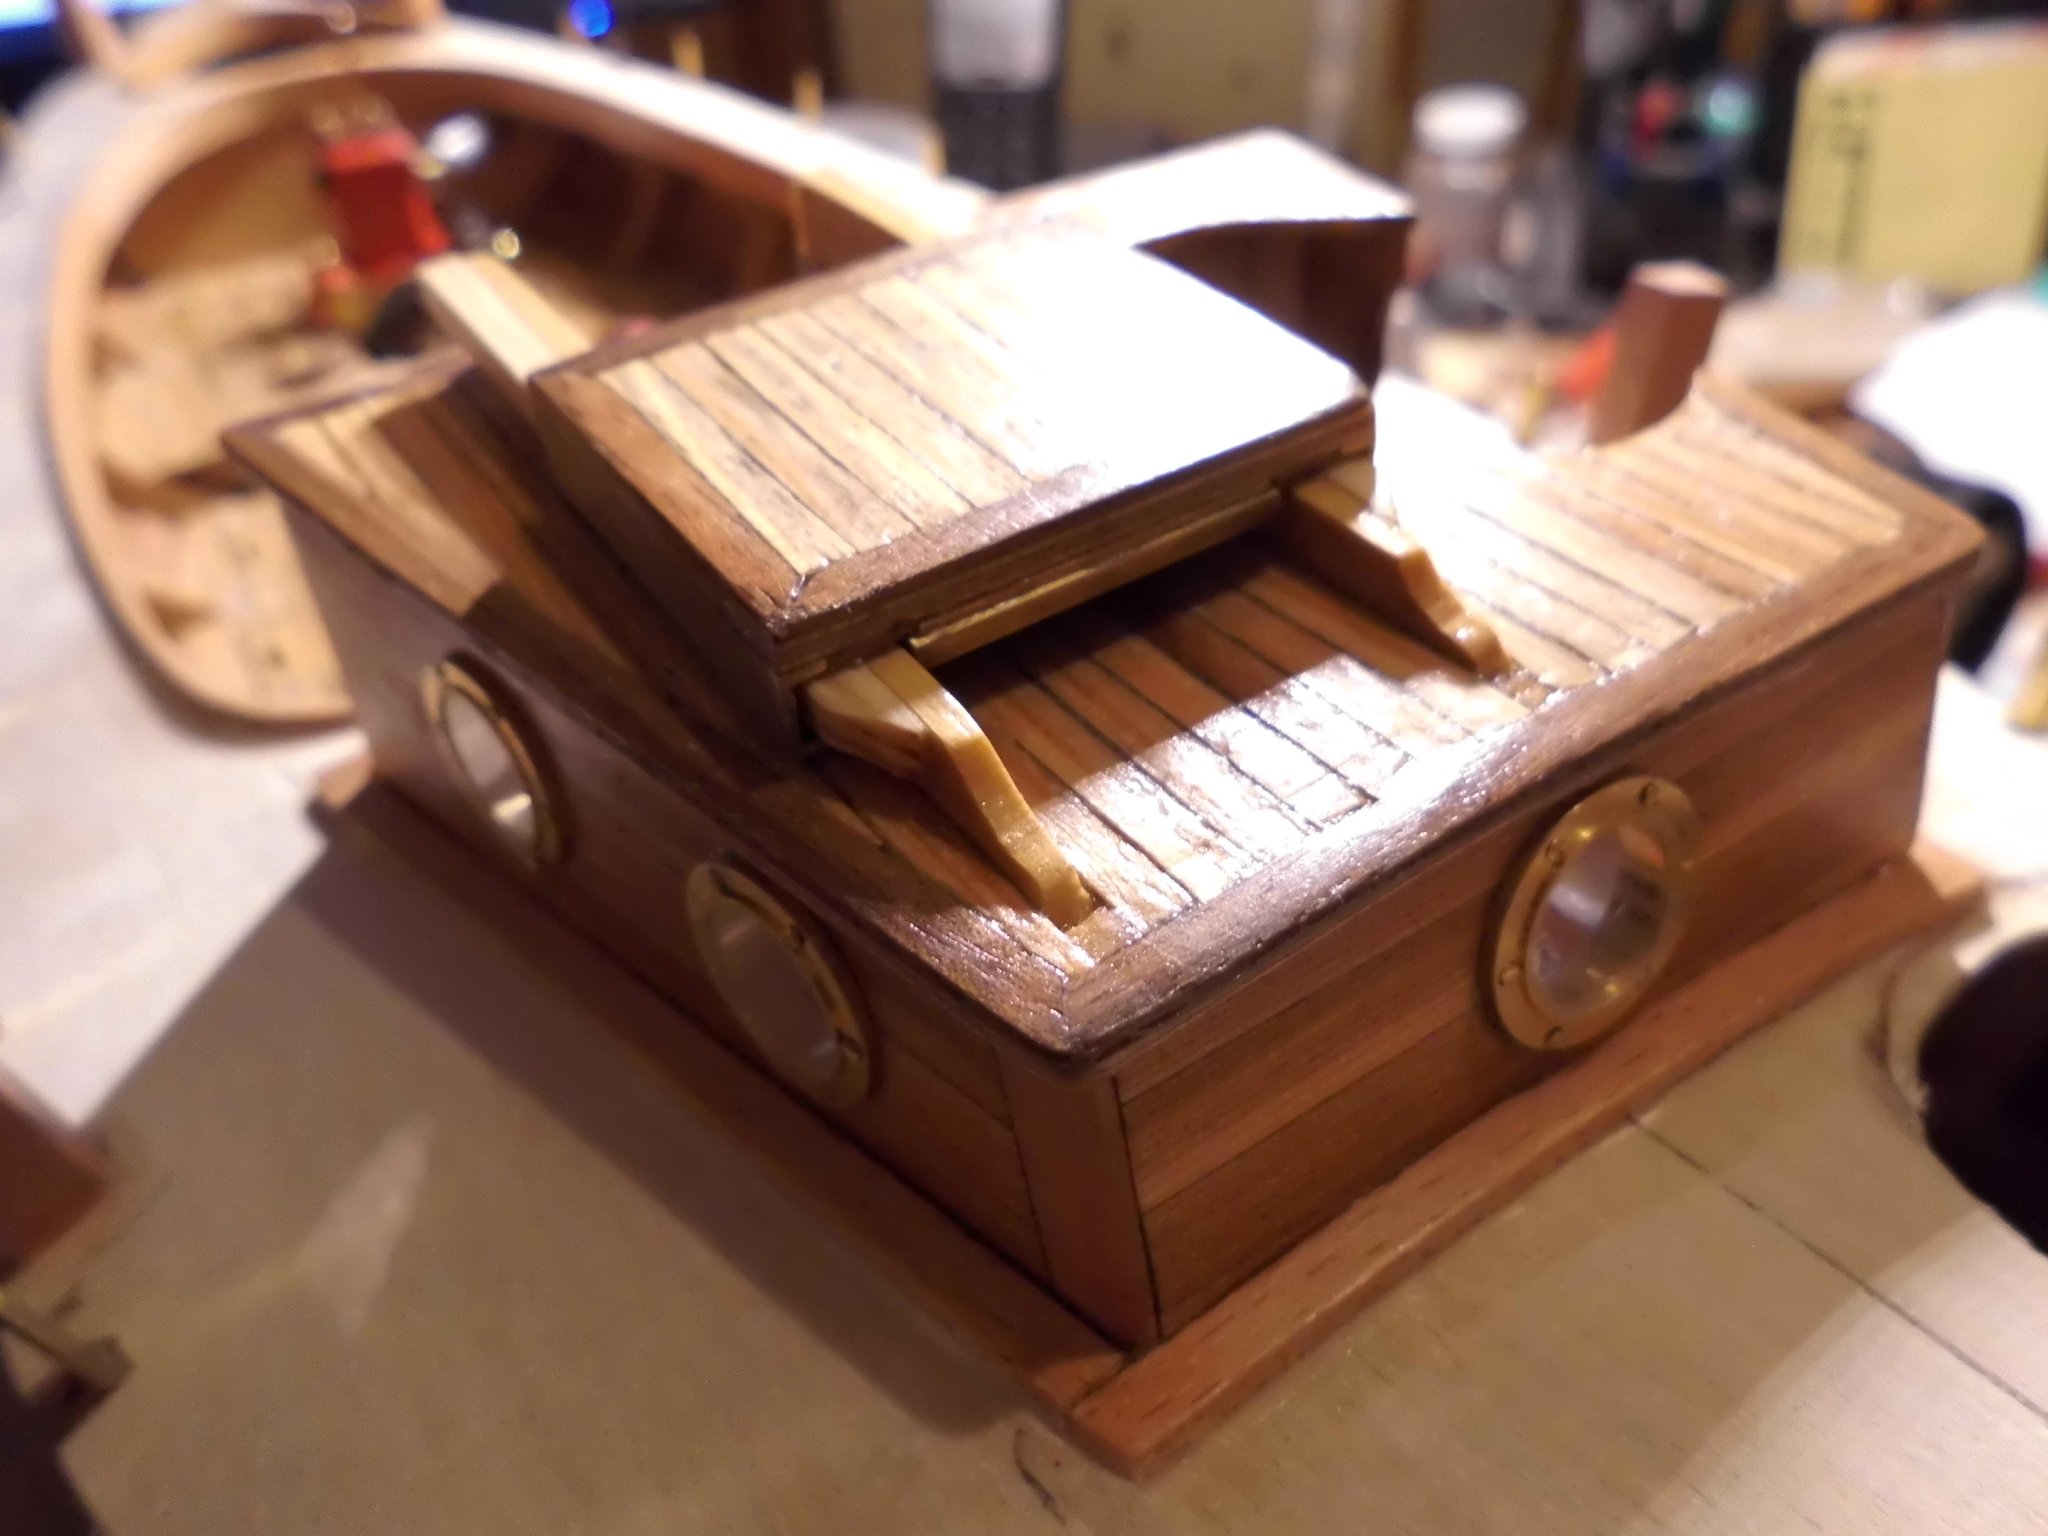
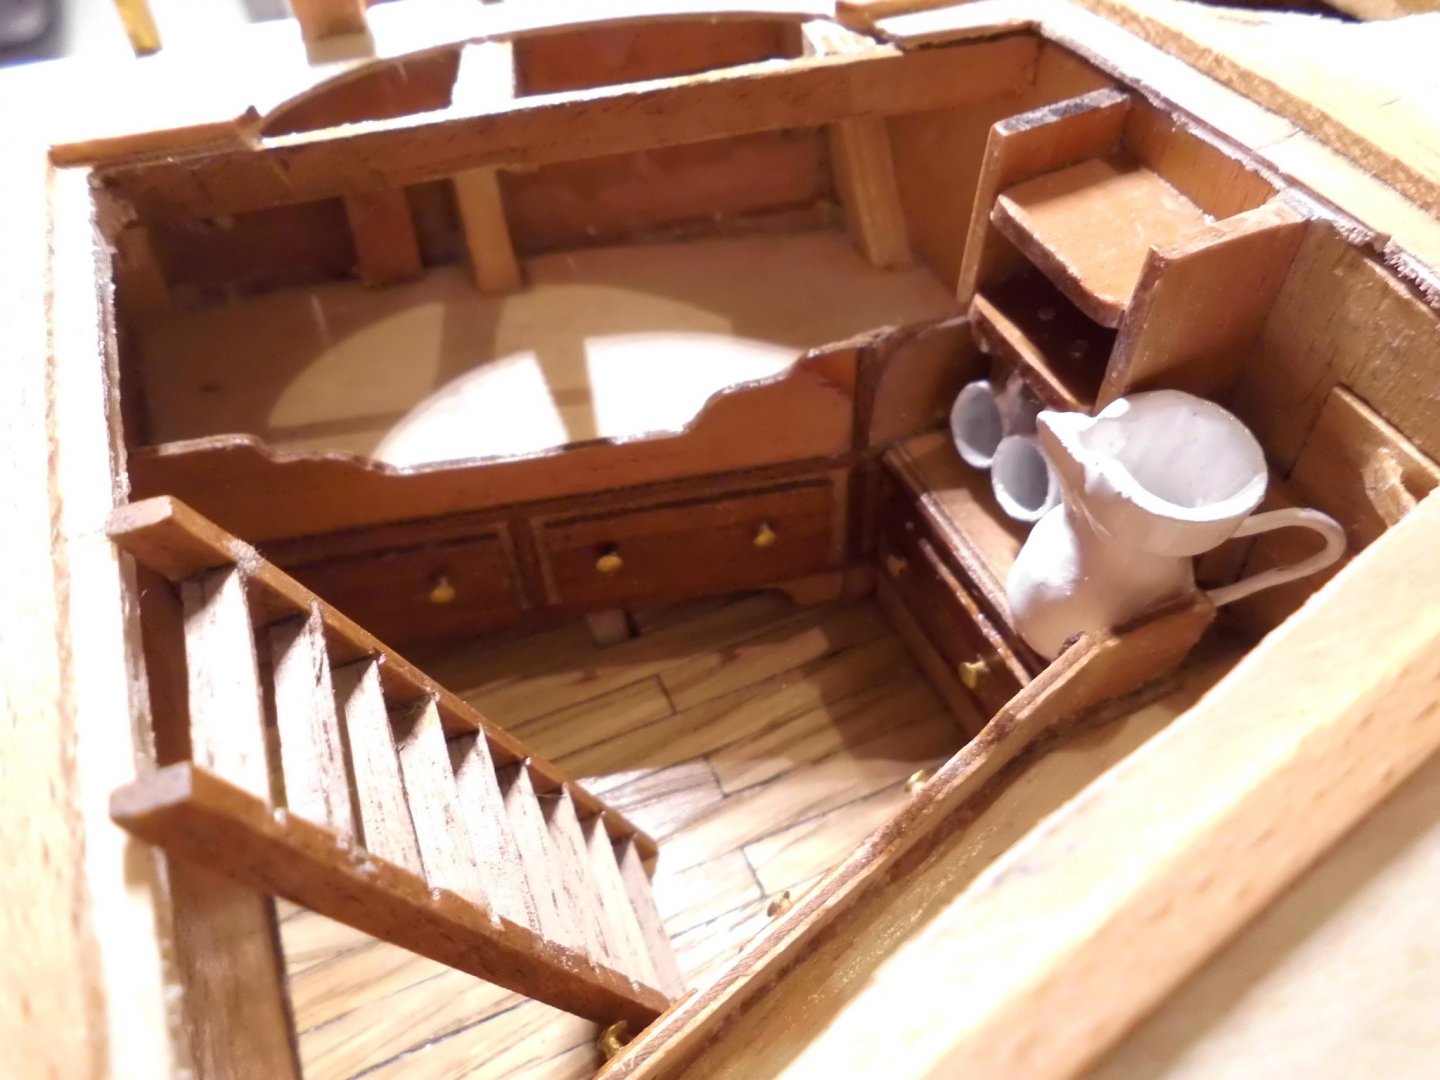
Status: cabin roof and slide hatch both planked and varnished. For the two crew members I made two mugs from brass tube and a big jug for fresh drinkwater (made from wood dowel) The porthole flanges are pinned to the cabin walls. I`m intending to fit an oven with a waterkettel on it, also inside the cabin, as well as a fire exstinguisher and a fire axt for safety reasons Have meanwhile also received the textile for making the berth pillows, unfotunately there was no old shirt I could sacrafice for that job... Nils


- 401 replies
-
- 18
-
-
Probably a sigh of relief from your side, for the masterly done clinker planking, unique for this cutter vessel, congrats at this stage already B.E. well done Nils
- 335 replies
-
- 1
-
-
- alert
- vanguard models
- (and 1 more)
-
A beautiful J-Class Ekis, very nicely built much attention to details, well done... Nils
-
beautiful work Cri-Cri, would like to see more pics of the stern and its quarter windows.... Nils
-
Hi, I meant this picture of the deck.... Nils
-
Am looking forward to your copper plating results Svein Erik, and wish you good success with it.... Nils
-
Lovely work Ferarr, Ilike the fishings on the deck, aft and stern Nils
-
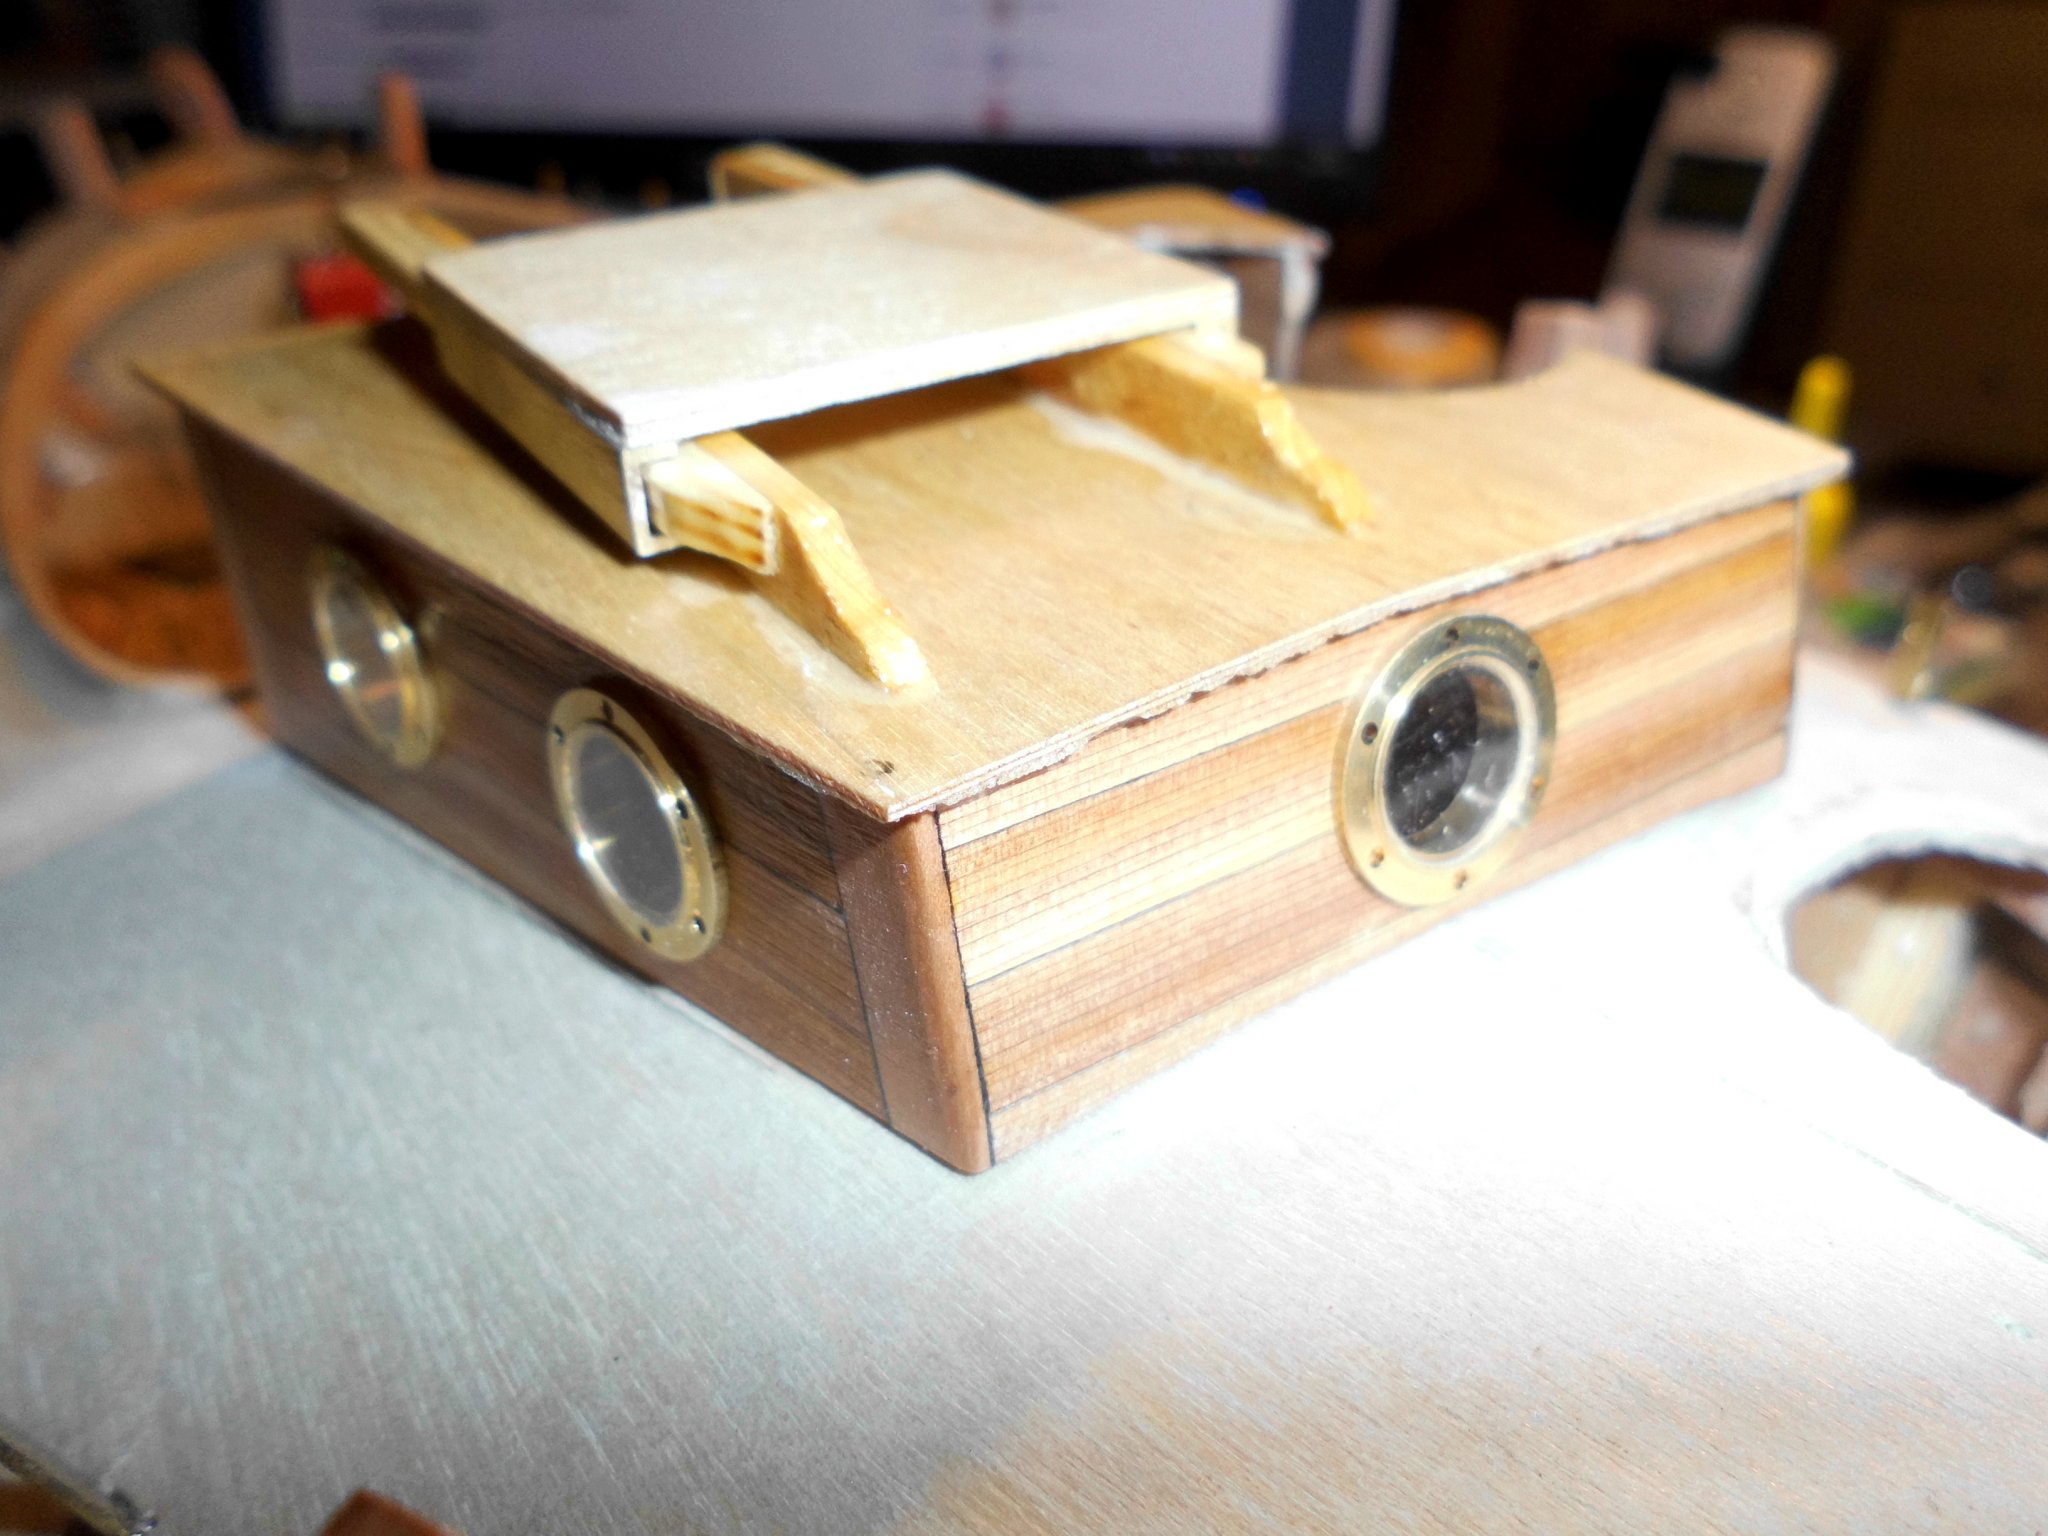
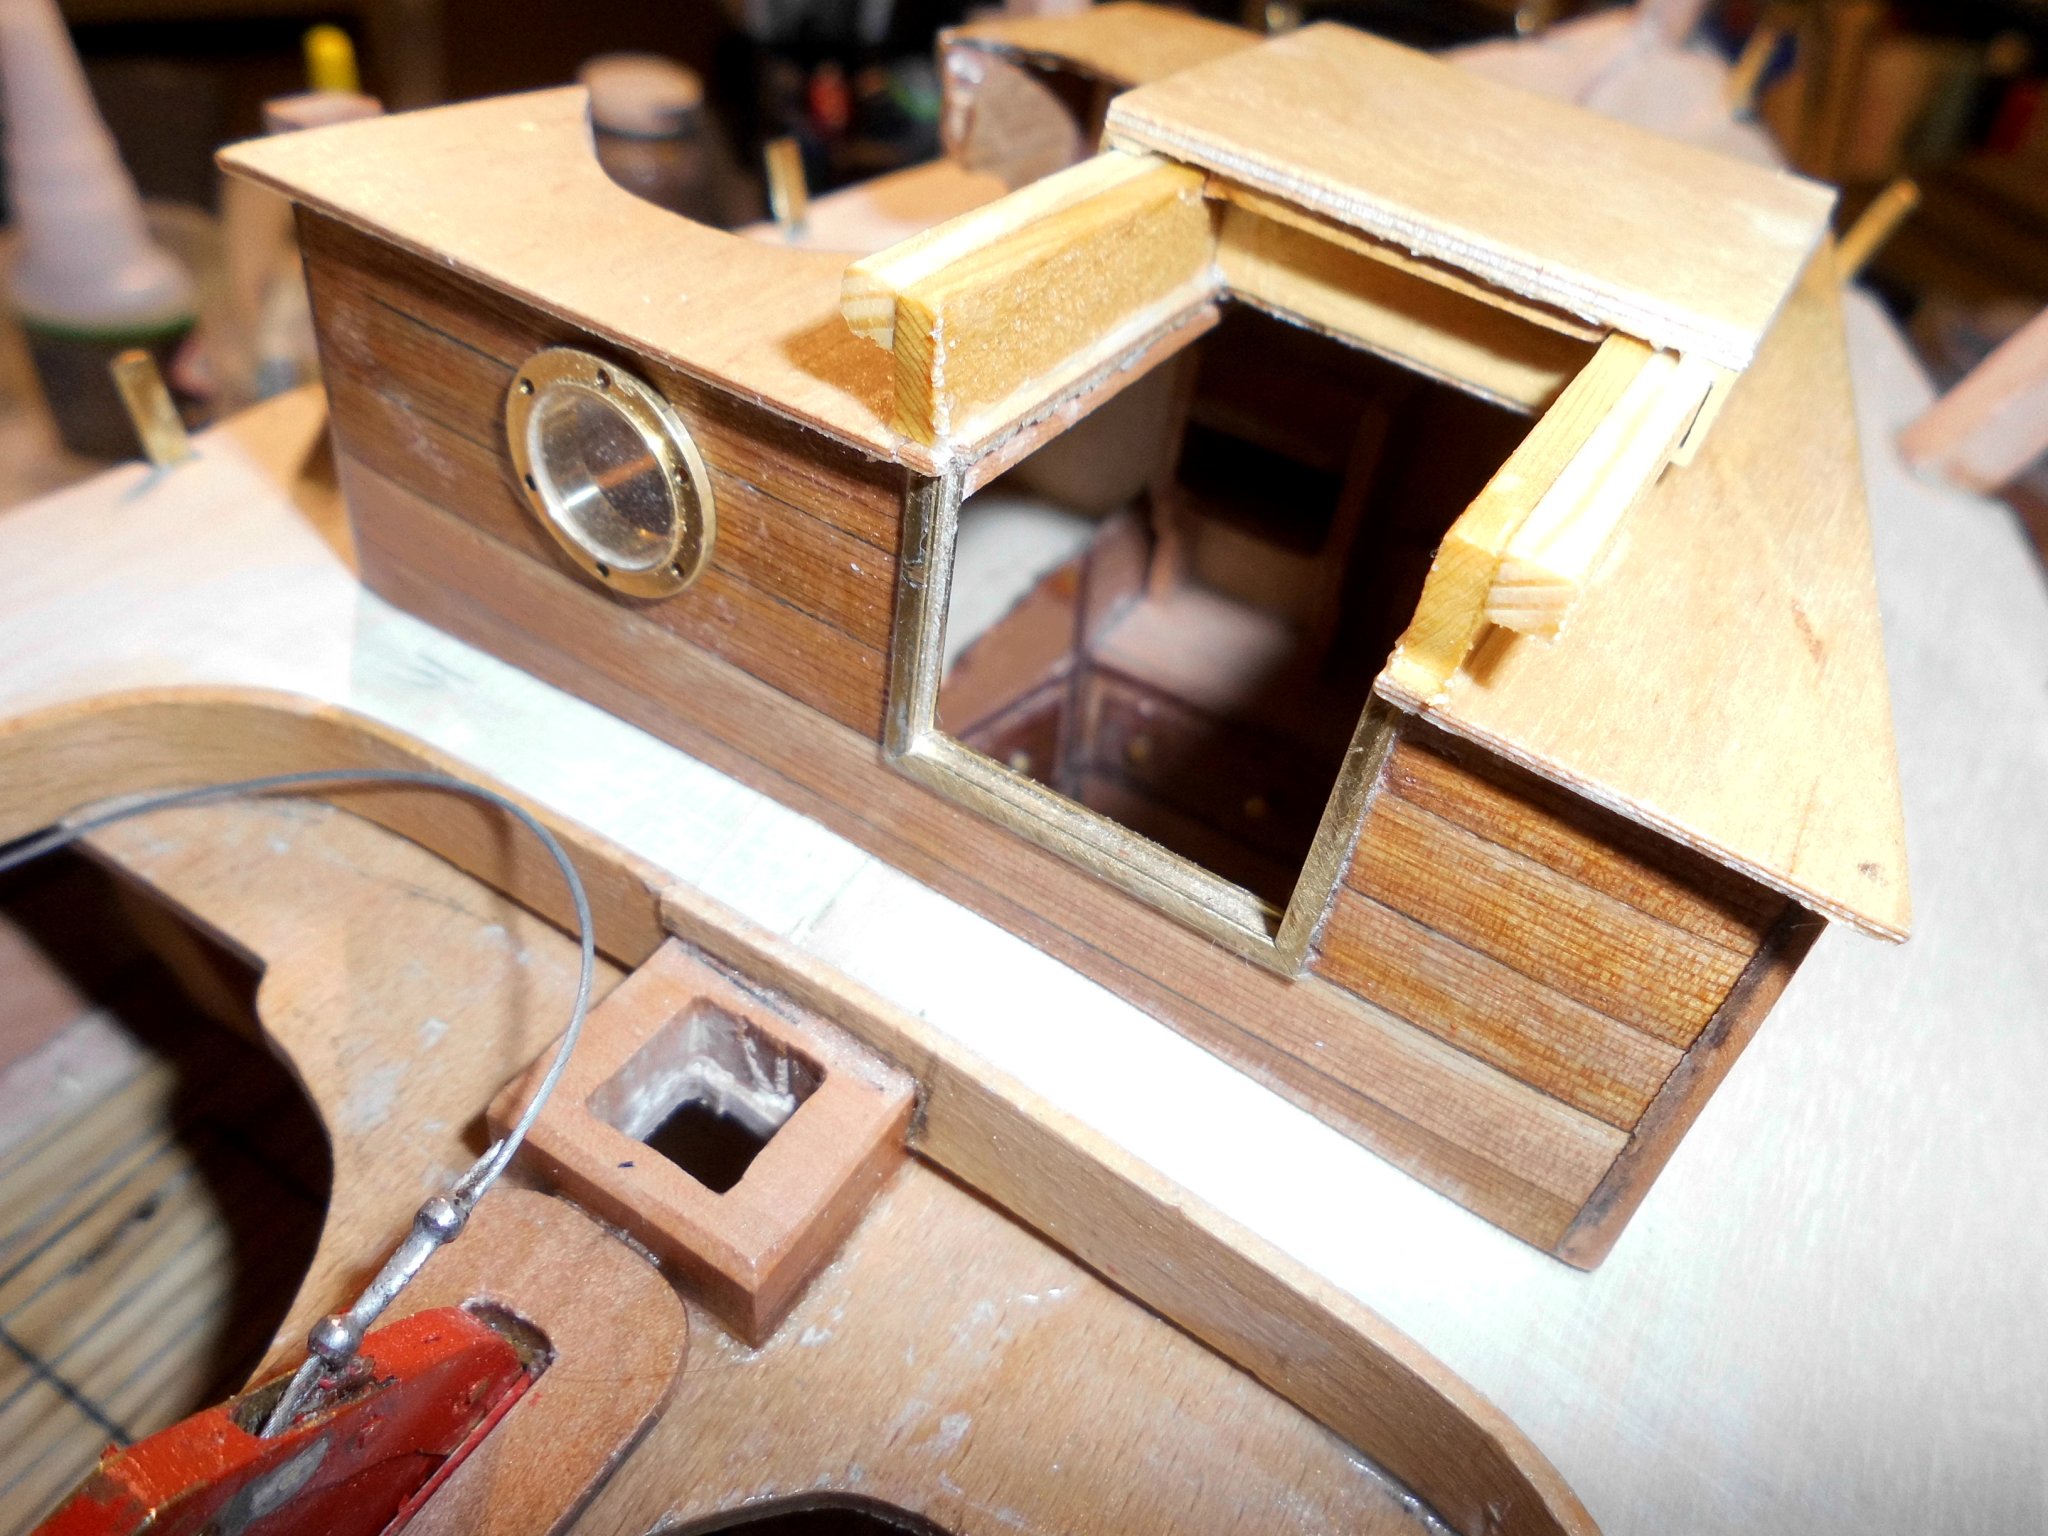
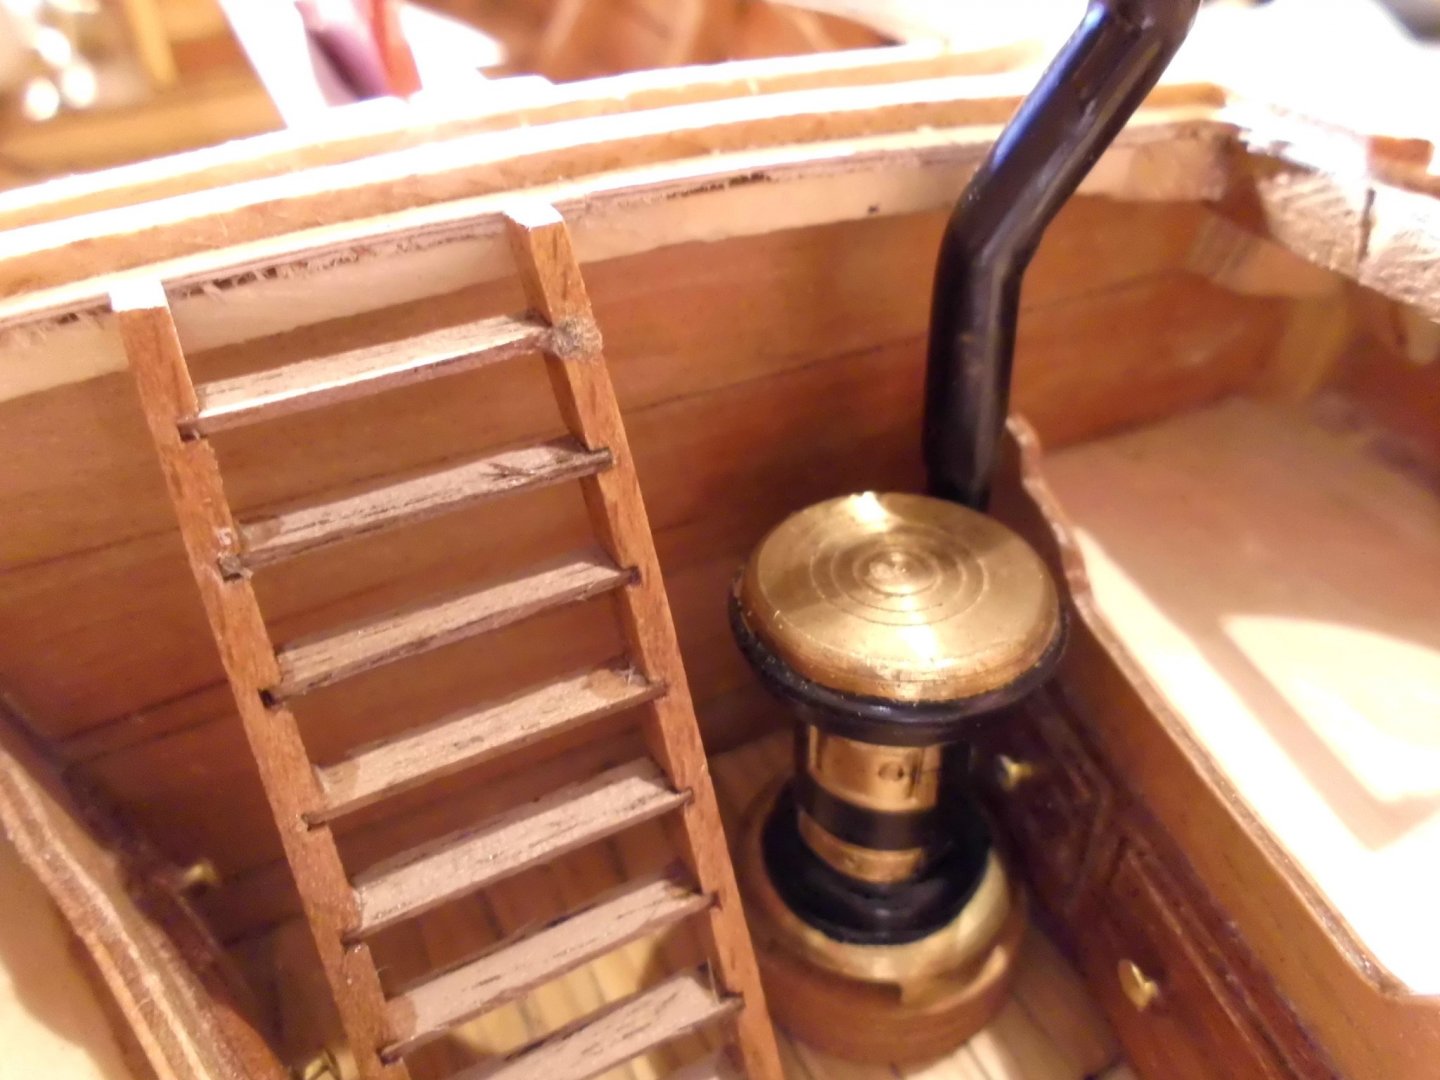
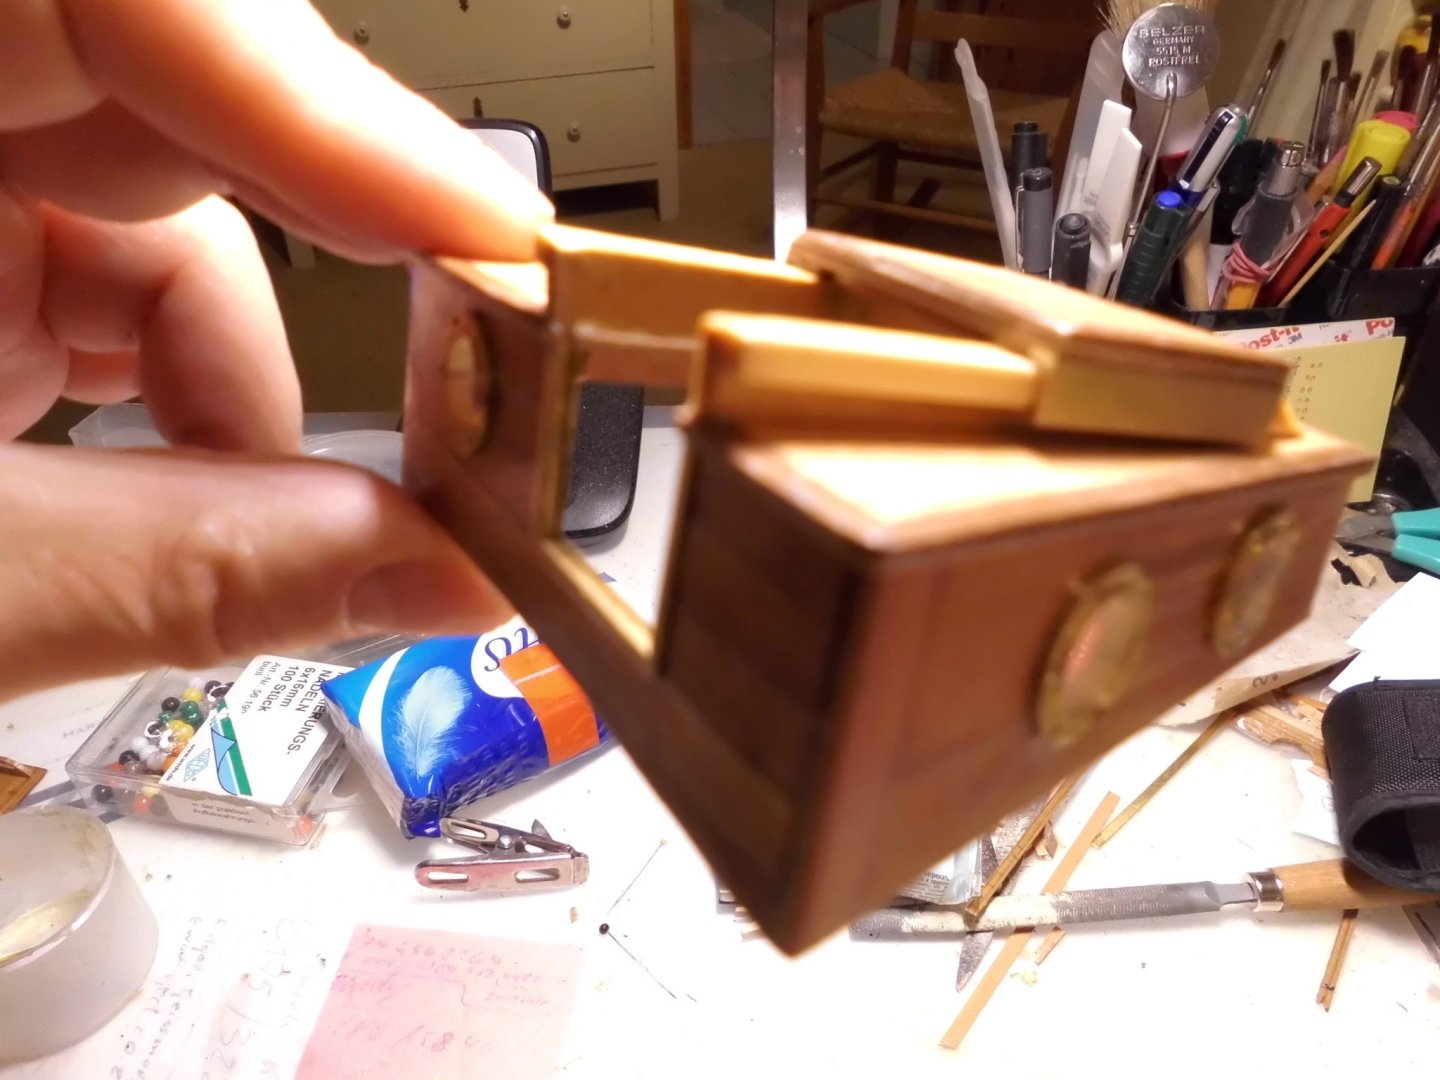
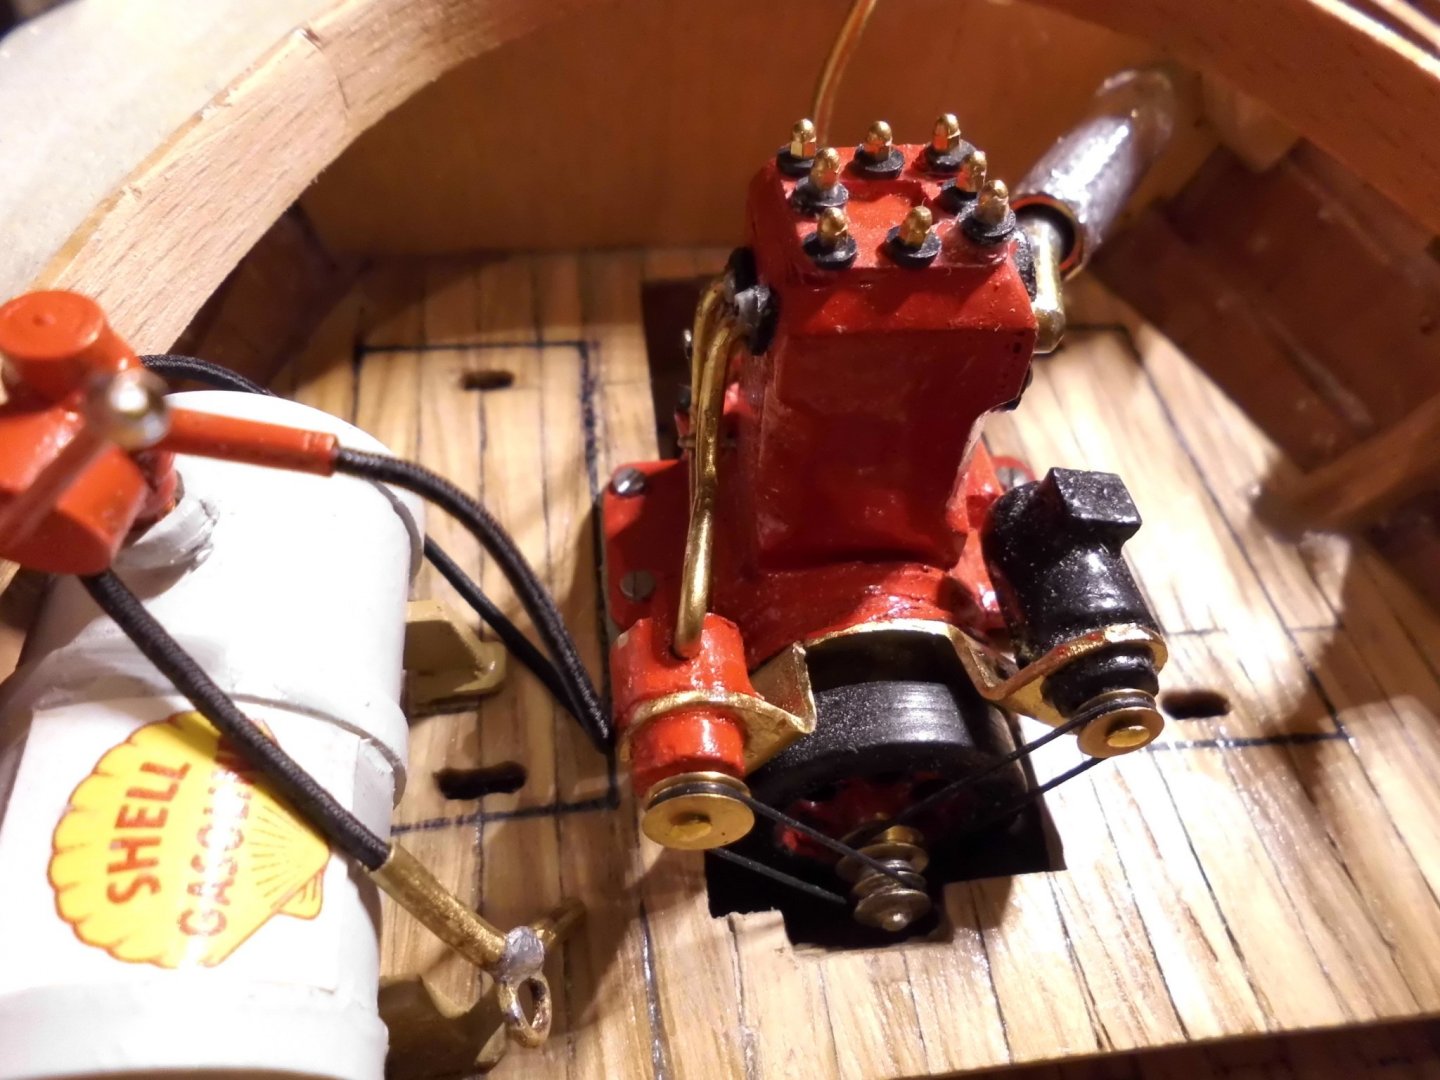
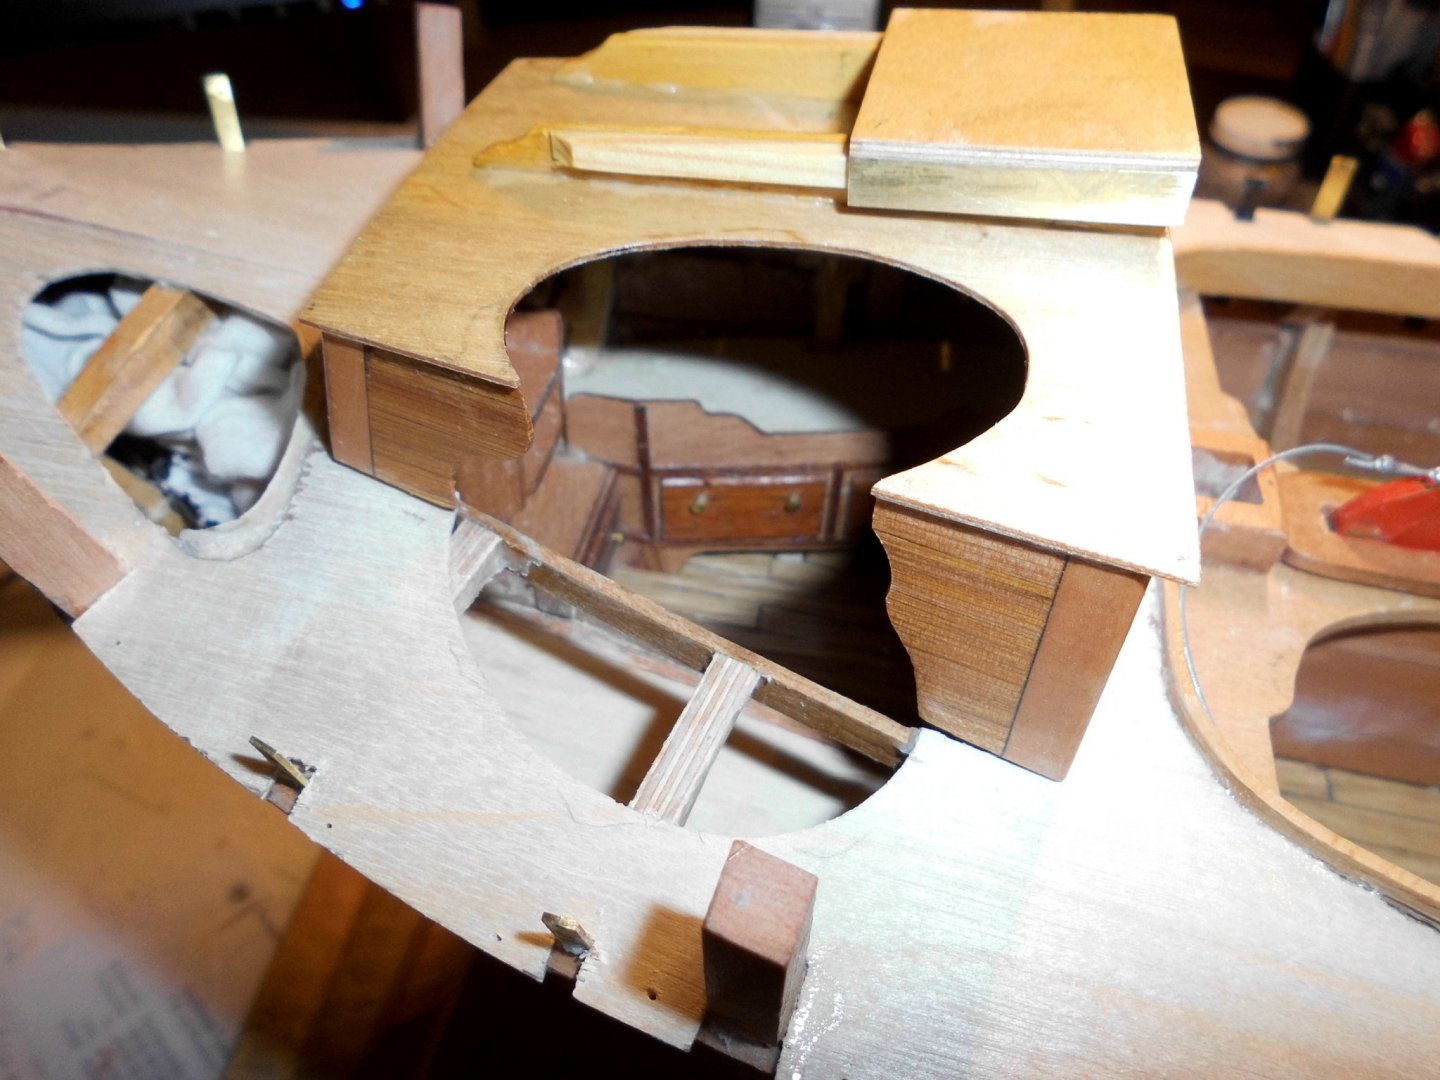
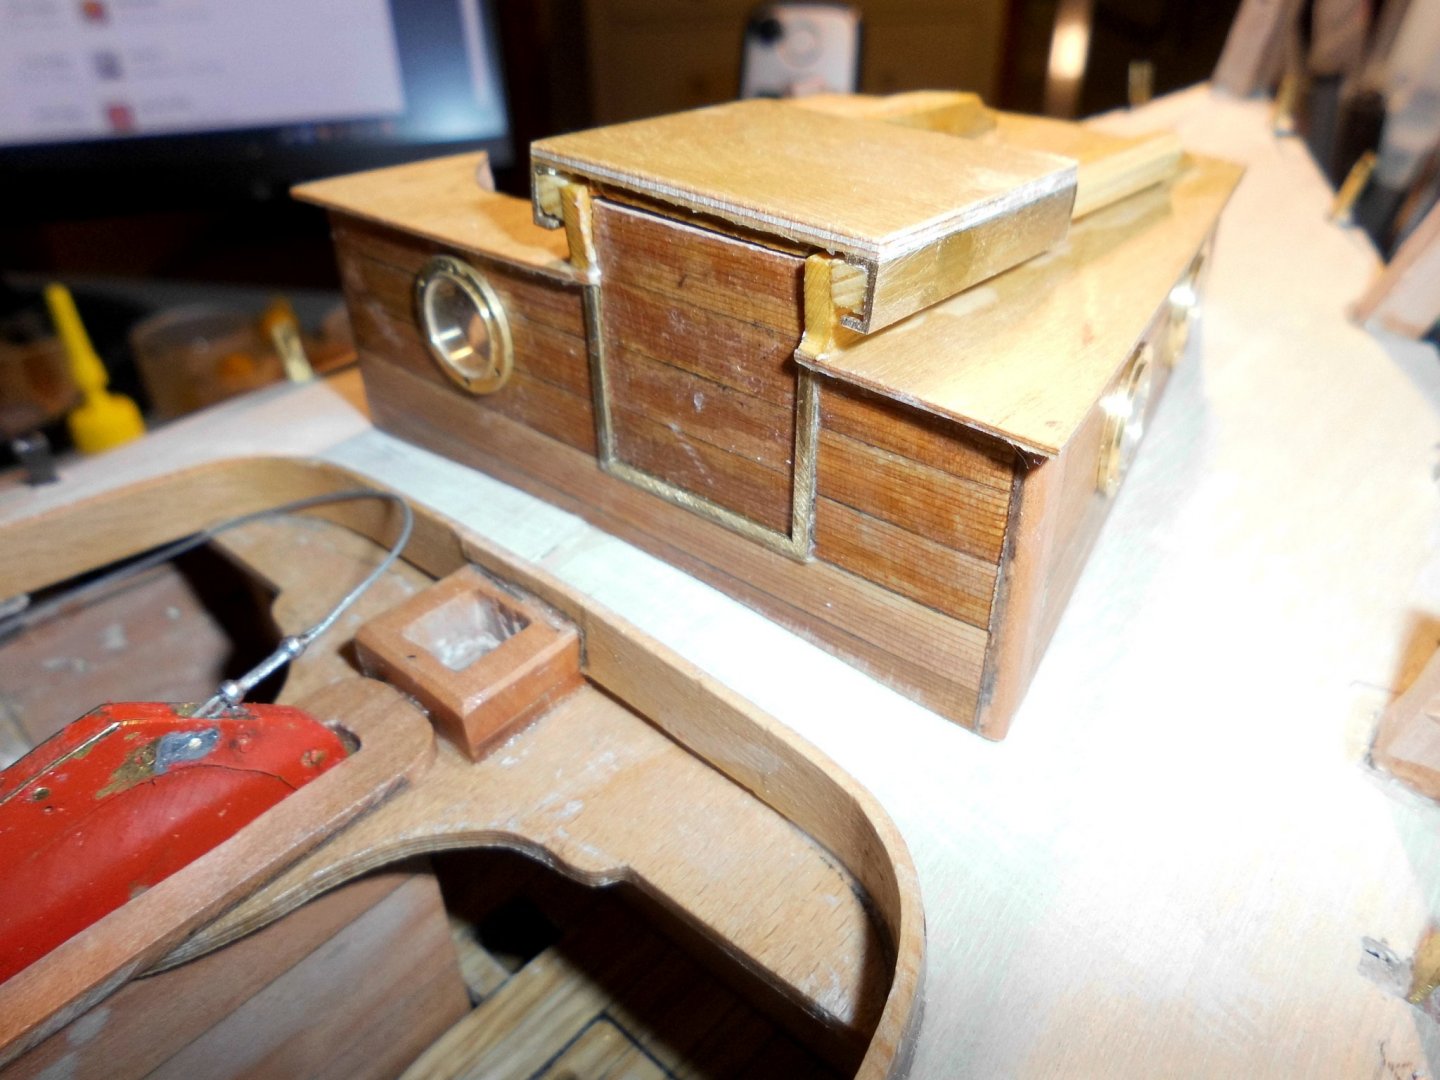
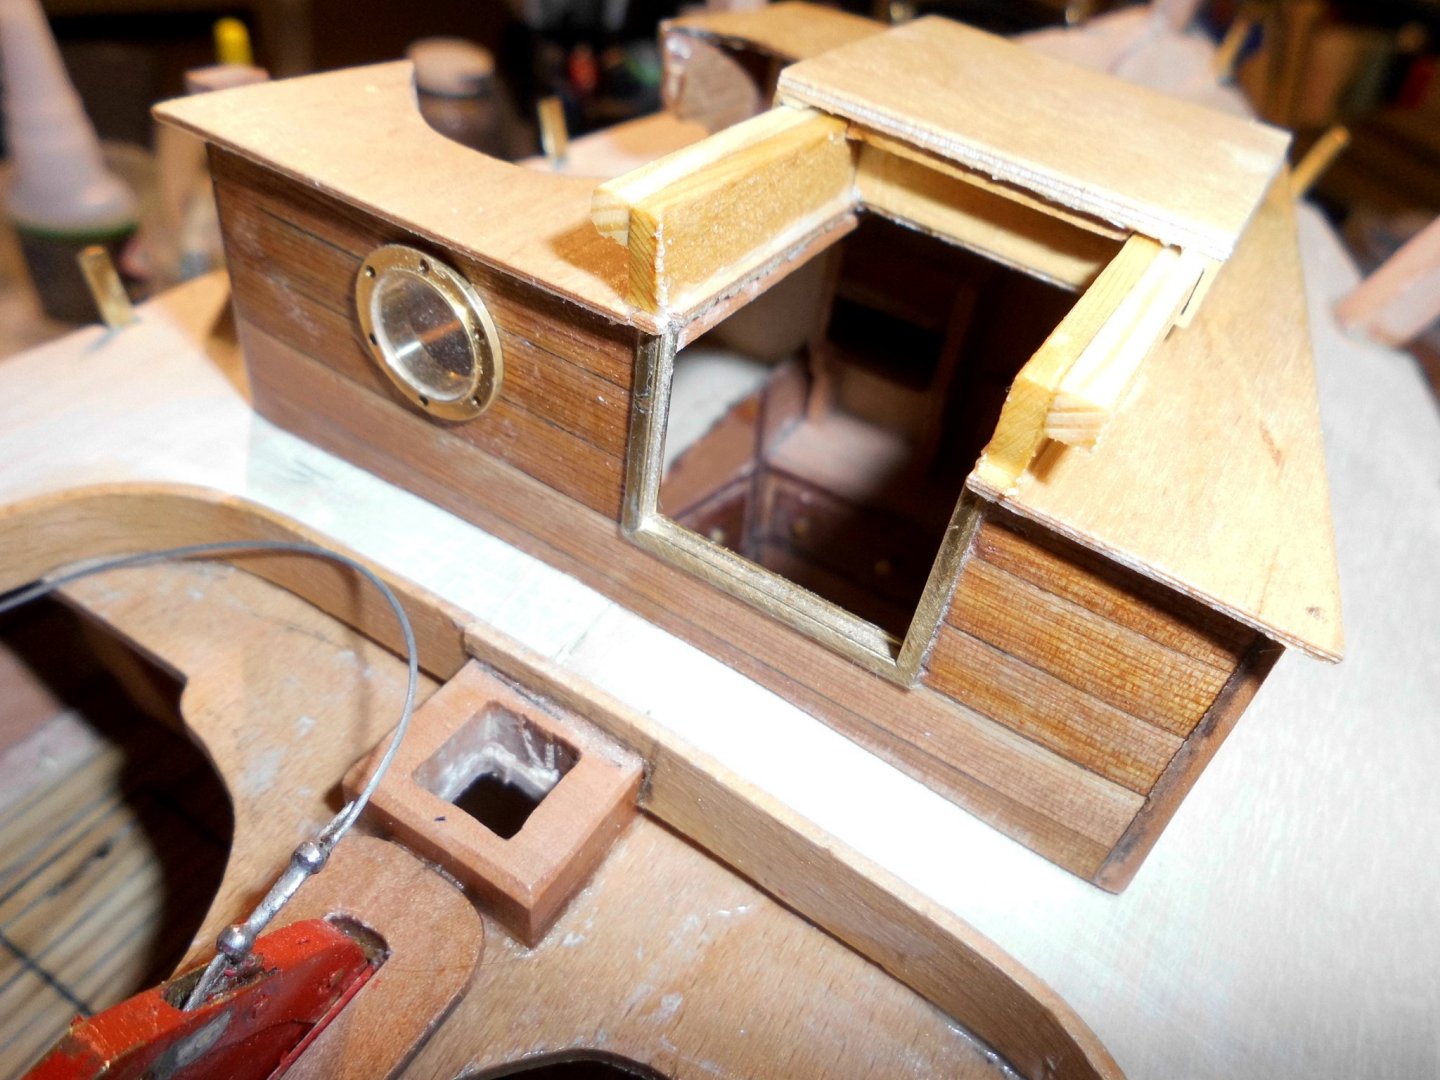
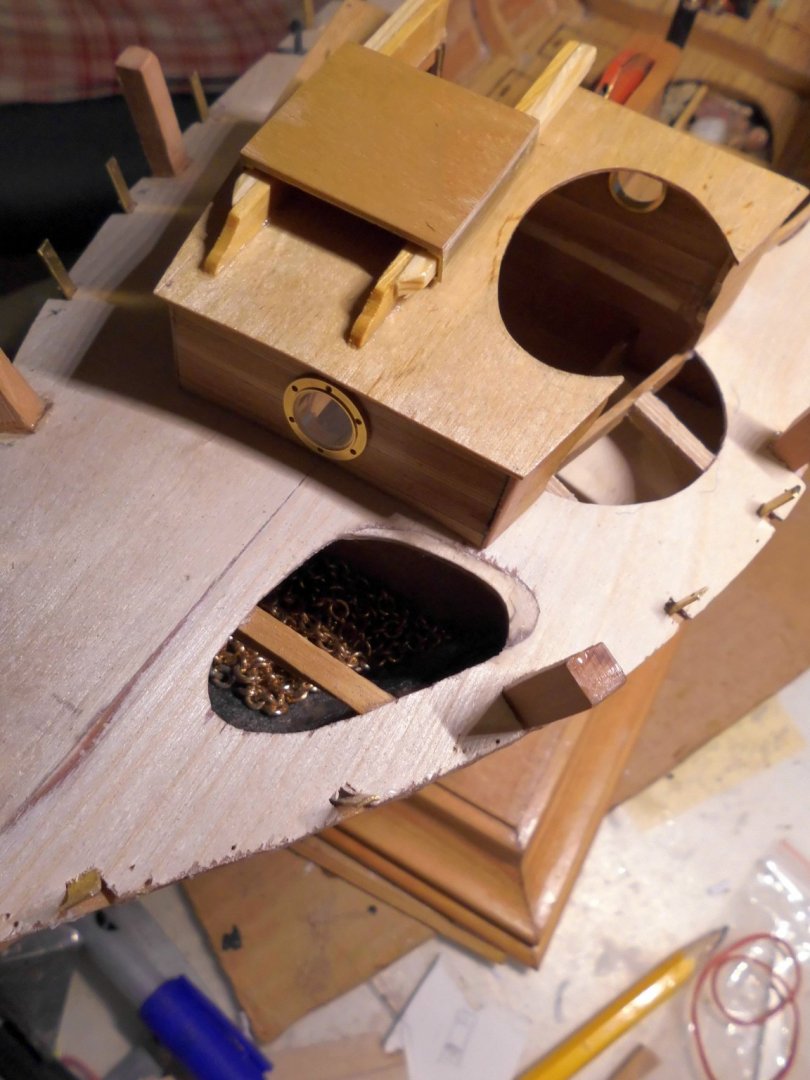
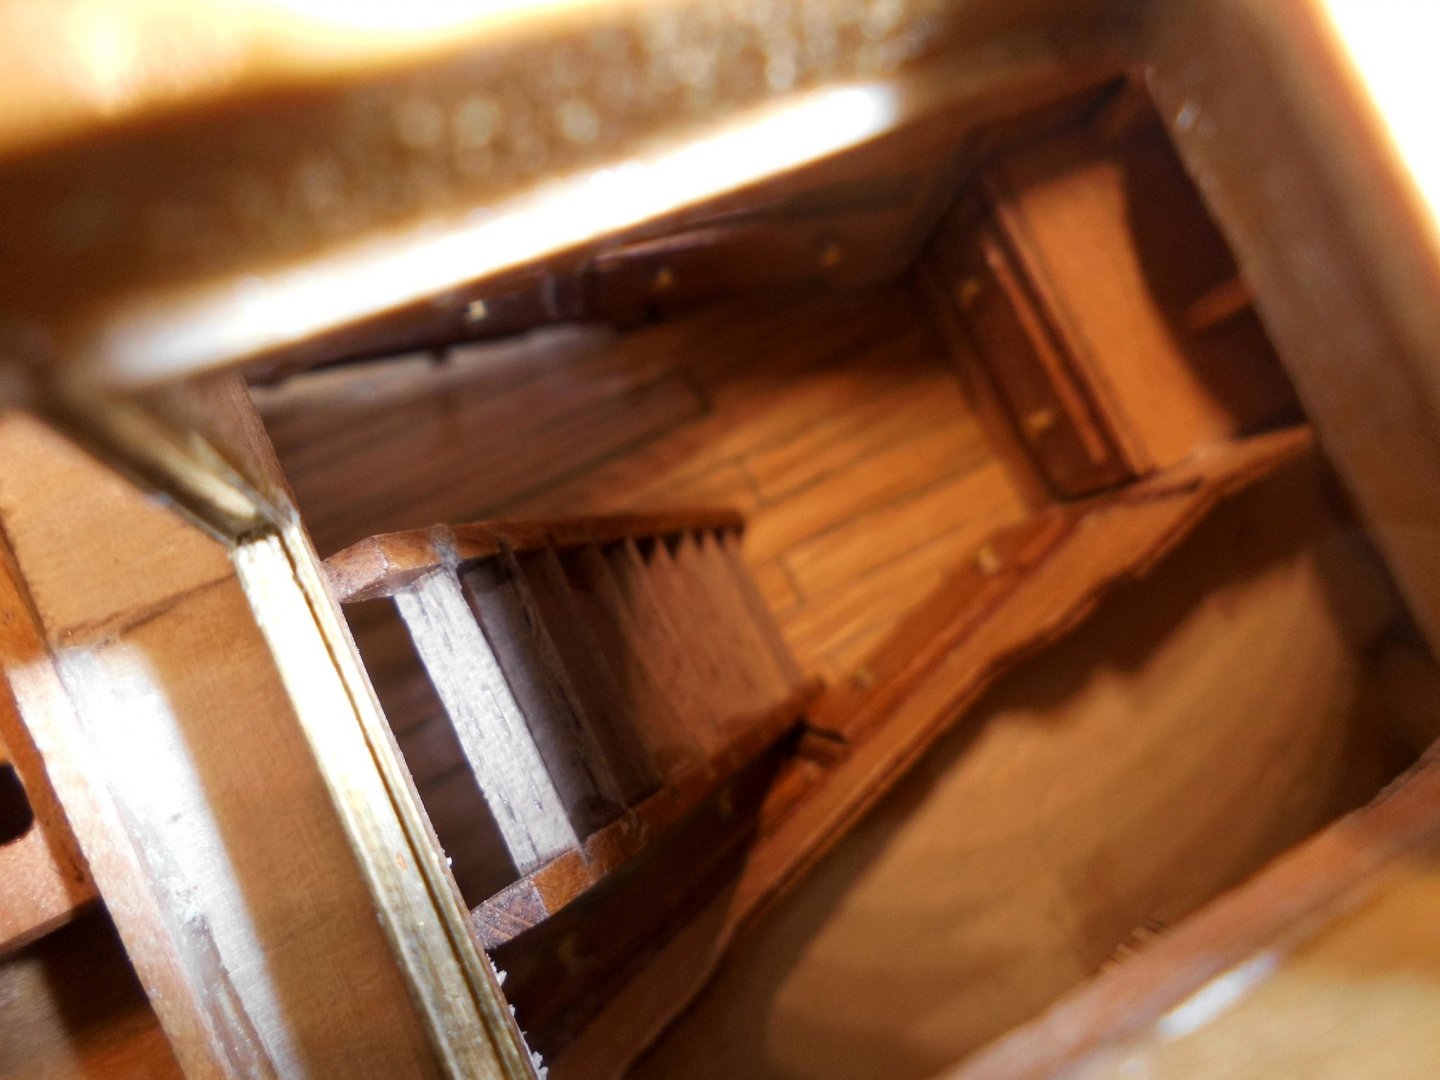
Status : Raw deck is on, new glassed portholes with rivet holes, openable cabin hatchway, outcuts for viewing cabin and chain pan, deck and cabin roof and will be planked sperately... The cabin will be mounted permanently when the deck is planked. A water can and two mugs will be stowed in the little locker between the berths. As soon as I find some waste-cloth with checkered blue white decore, the pillow cases will be made, and last not least the small iron oven will be set between ladder and portside berth, perhaps with a kettle on the top...., the oven exhaust will be led over the cabin roof.... Nils front view engine, flywheel, waterpump, generator and transmission V-belts view of working cockpit and rudderstand for helmsman, also access to mizzen mast and its sail lines outcut in cabin and deck for cabin inside view cabin hatch closed, with removeable slide pannel and slide hatch cover cabin hatch opened open hatch with access to the ladder on the innside. The main mast slides into the 8 mm square socket the ladder will be shifted a bit, in order for the drawers under the berth to be opened. if access is required there view to chain pan in front compartment. Access to the chain-and storage compartment is through the hatch in the openable front cabin bullwark under deck ladder down to cabin floor


- 401 replies
-
- 24
-
-
Brig Eagle 1814 by ChadB
Mirabell61 replied to ChadB's topic in - Build logs for subjects built 1801 - 1850
Beautiful work Chad, all looks very pleasant to the eye, I love to see more... Nils -
beautiful job on the framing method Geert, a nice light-weight hull, providing plenty of space for further fitting out to the inside of the shell...... Nils
-
A great model Gonzo, and very well built, also wonderful detail photos Nils
- 24 replies
-
- 3
-
-
- pontos
- king george v class
- (and 5 more)