


Dan Vadas
-
Posts
3,261 -
Joined
-
Last visited
Content Type
Profiles
Forums
Gallery
Events
Posts posted by Dan Vadas
-
-
8 hours ago, Canute said:
Building an articulated loco?
It's not articulated Ken. It's about as large as they could go with a single piece frame. The Union Pacific "Big Boy" in 4-8-8-4 configuration was longer again and articulated, maybe that's the one you are thinking of. Unfortunately no paper kit of one exists, although a guy in Thailand was working on designing a brilliant looking model of one before he dropped off the radar.
Danny
- lmagna, GrandpaPhil, thibaultron and 3 others
-
 6
6
-
7 hours ago, amateur said:
how many parts are there in the kit? (quite a few, I guess)
Welcome all
") . Yep, quite a few Jan. There are only 180 part numbers, but a LOT of these are multiples of up to 12 or 15 individual parts. From memory they quoted about 2,000 on the website. And don't forget the 5,000 or so rivets
. Yep, quite a few Jan. There are only 180 part numbers, but a LOT of these are multiples of up to 12 or 15 individual parts. From memory they quoted about 2,000 on the website. And don't forget the 5,000 or so rivets  . Also all the wire "plumbing" etc.
Thanks for that link to the German build log. The translation is terrible but understandable. Odd, considering that German to English isn't some obscure language swap. At least he's documented all the small problems he had with the laser-cut parts matching to the printed ones - perhaps some modification has been done by Modelik in the 4 years that he started building it. Jeez, he's slow
. At the rate I'm building I'll catch up with him in about 2 or 3 weeks, less if the laser-cut parts turn up in the next couple of days . I only made my first cut 5 days ago, and bear in mind that I've had to laminate all those parts needed so far.
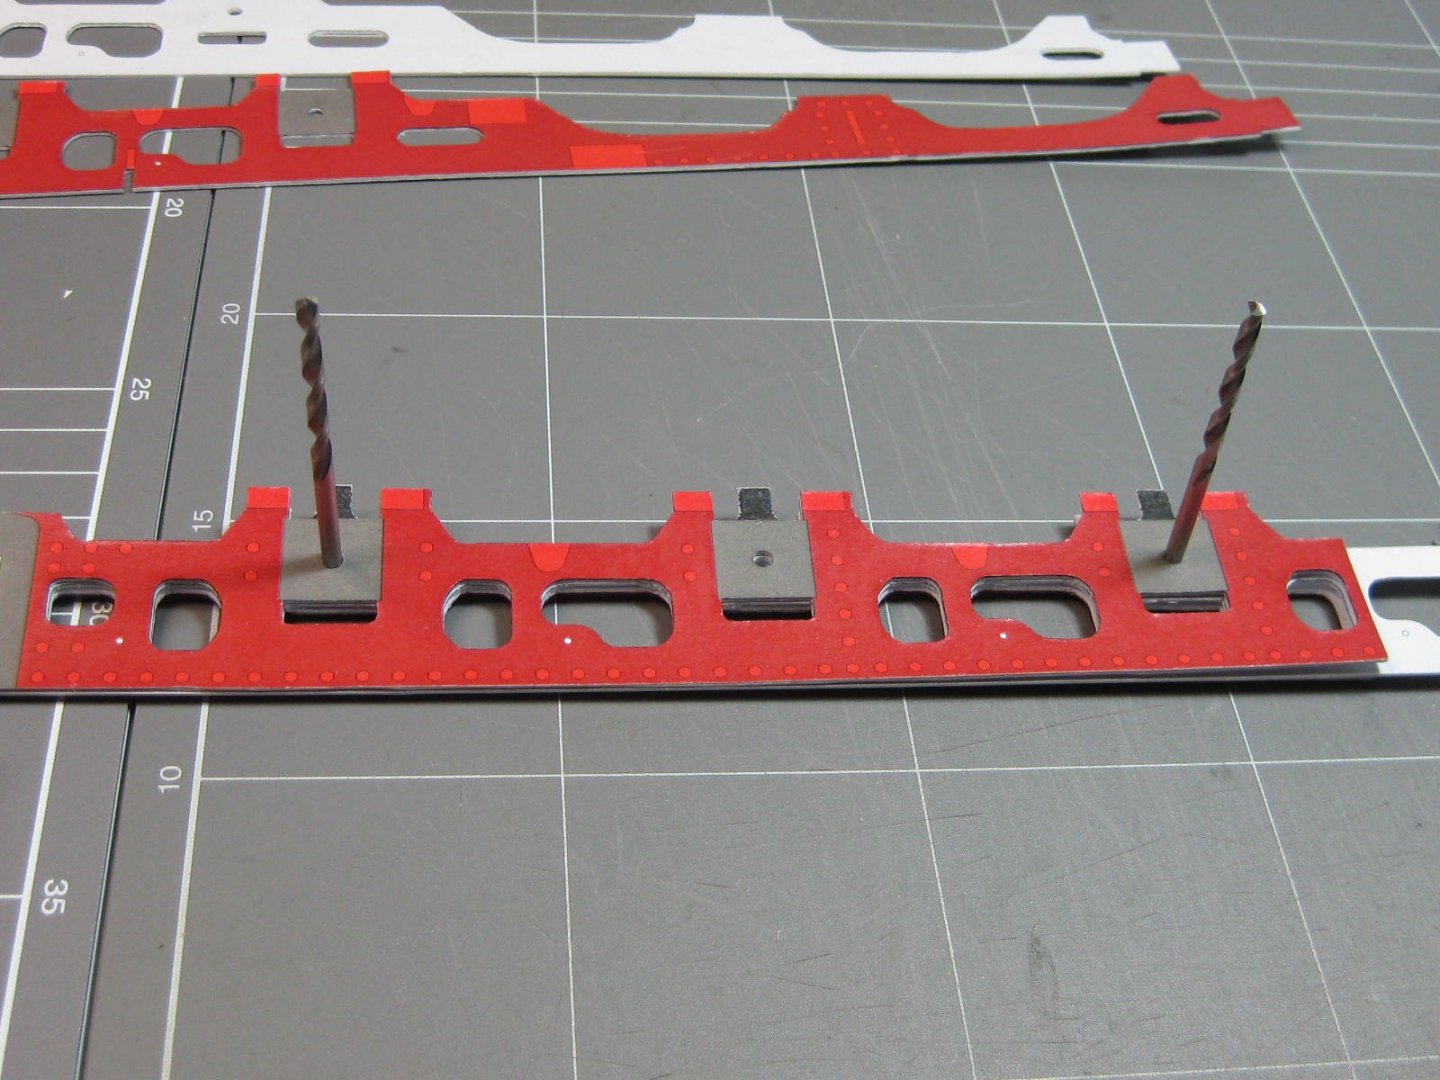
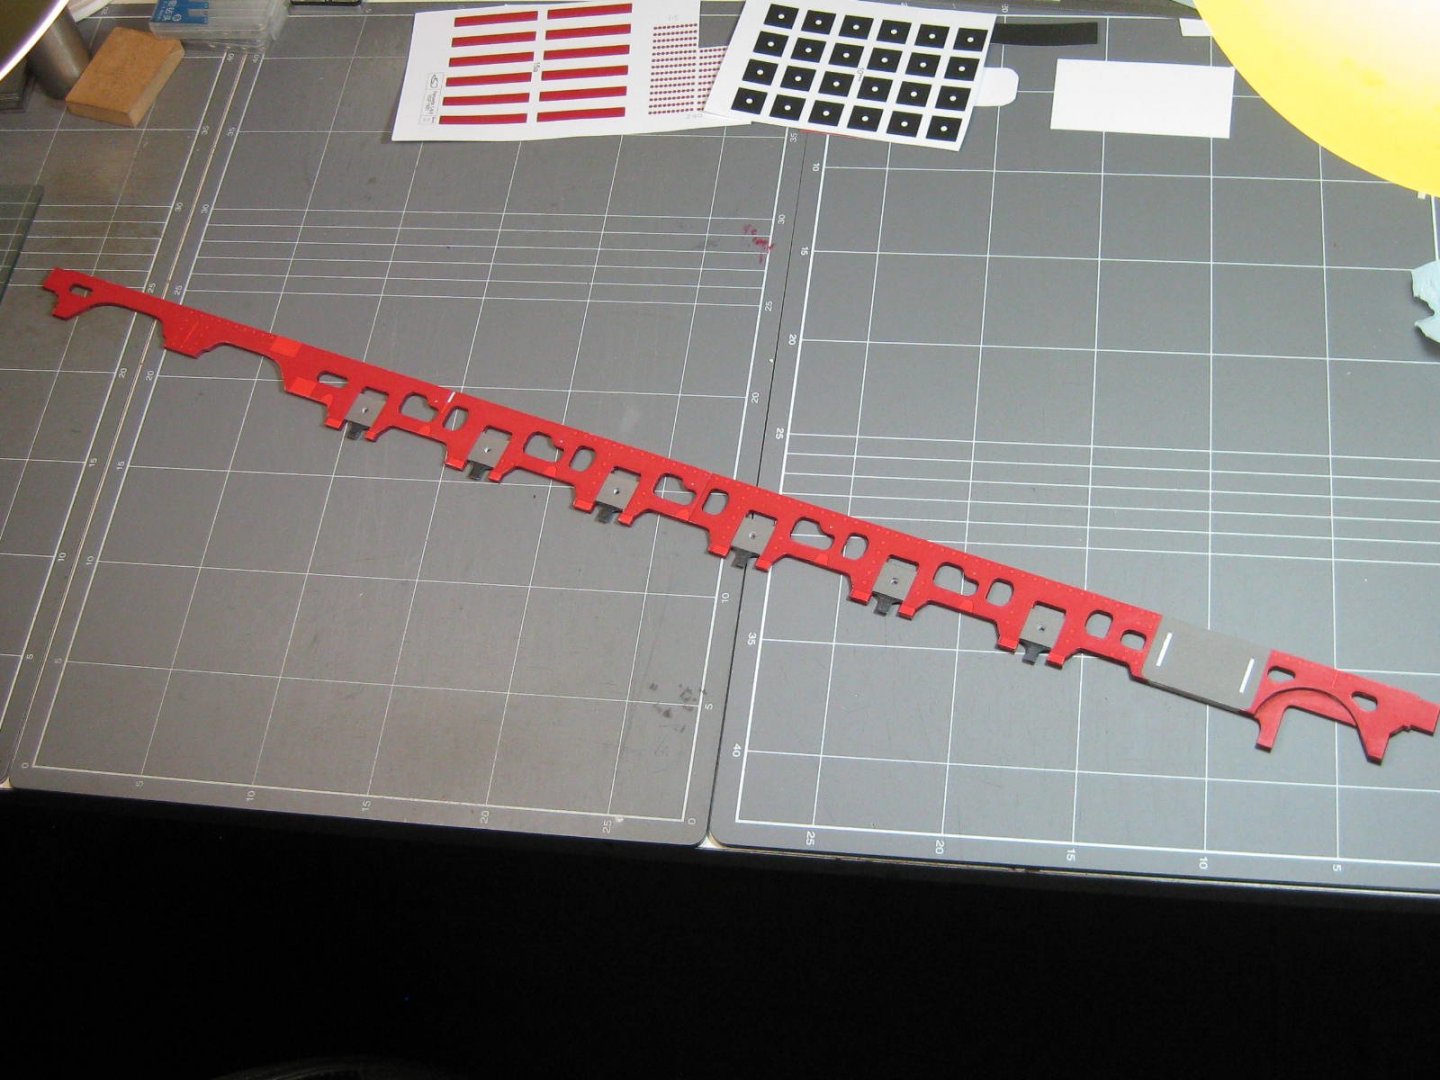
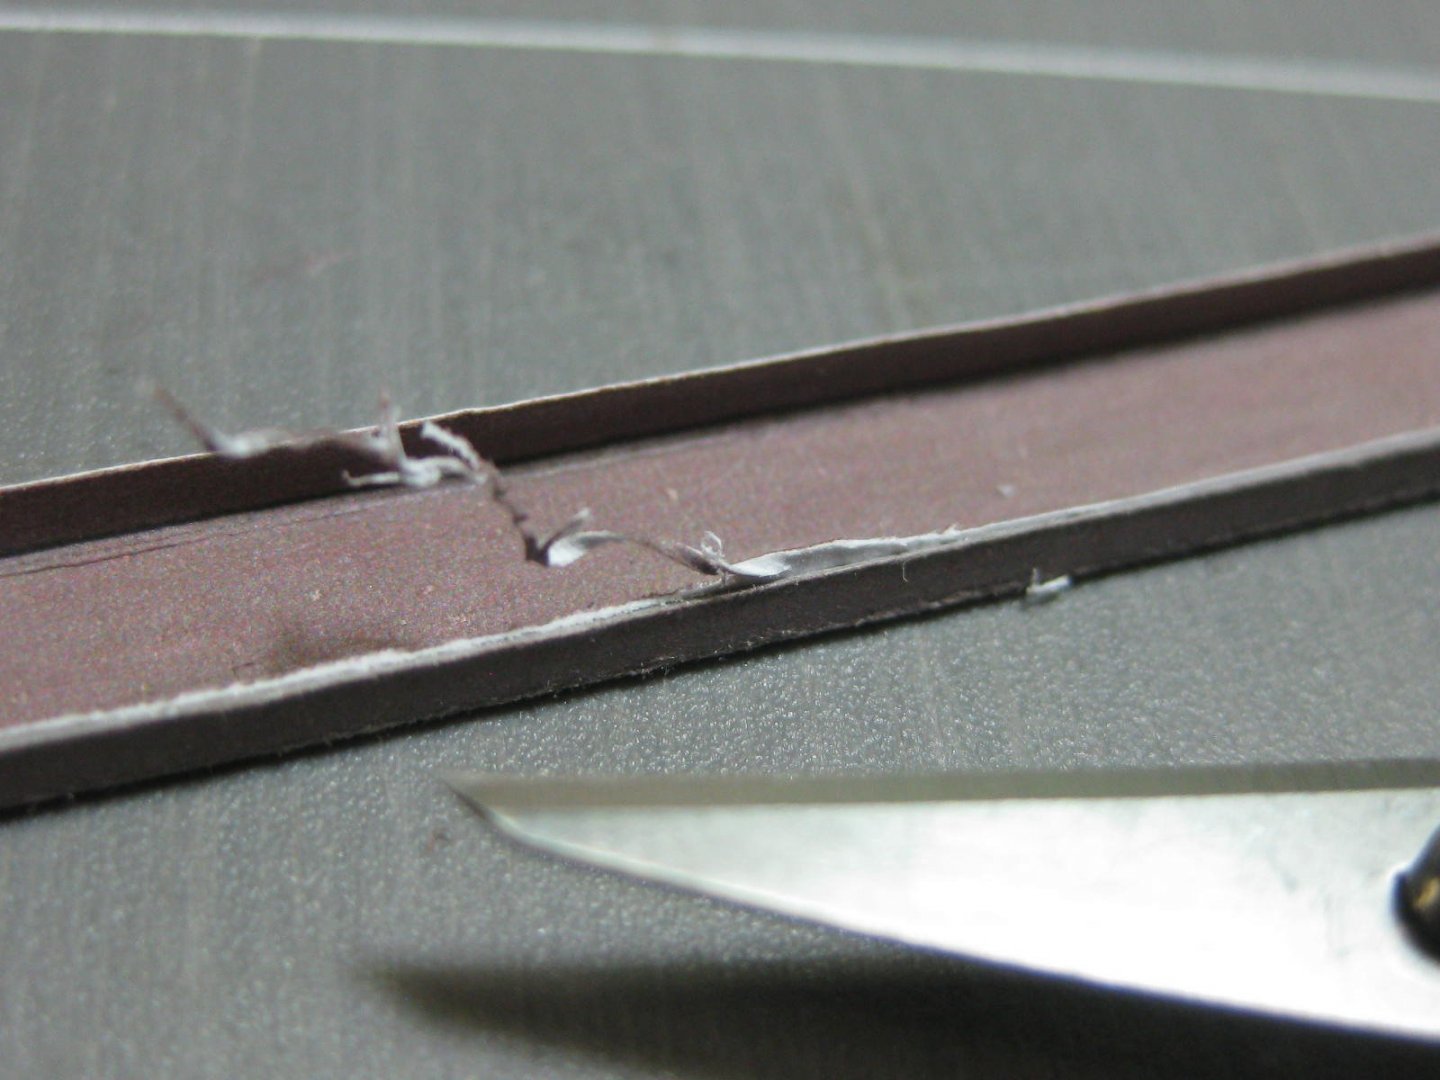
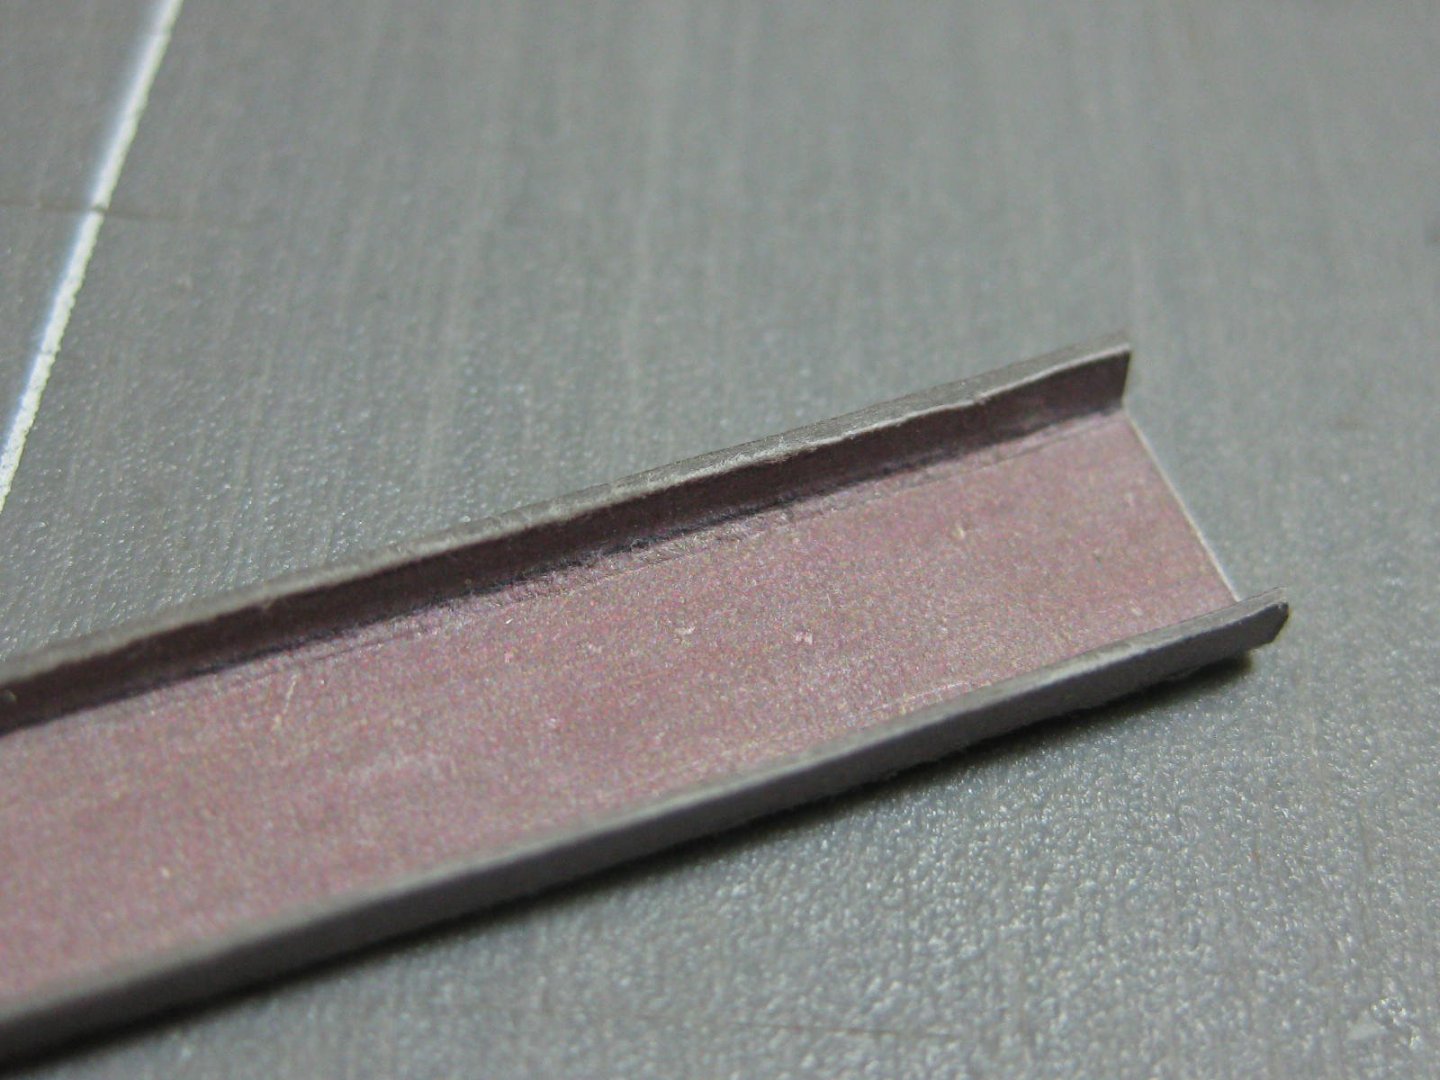
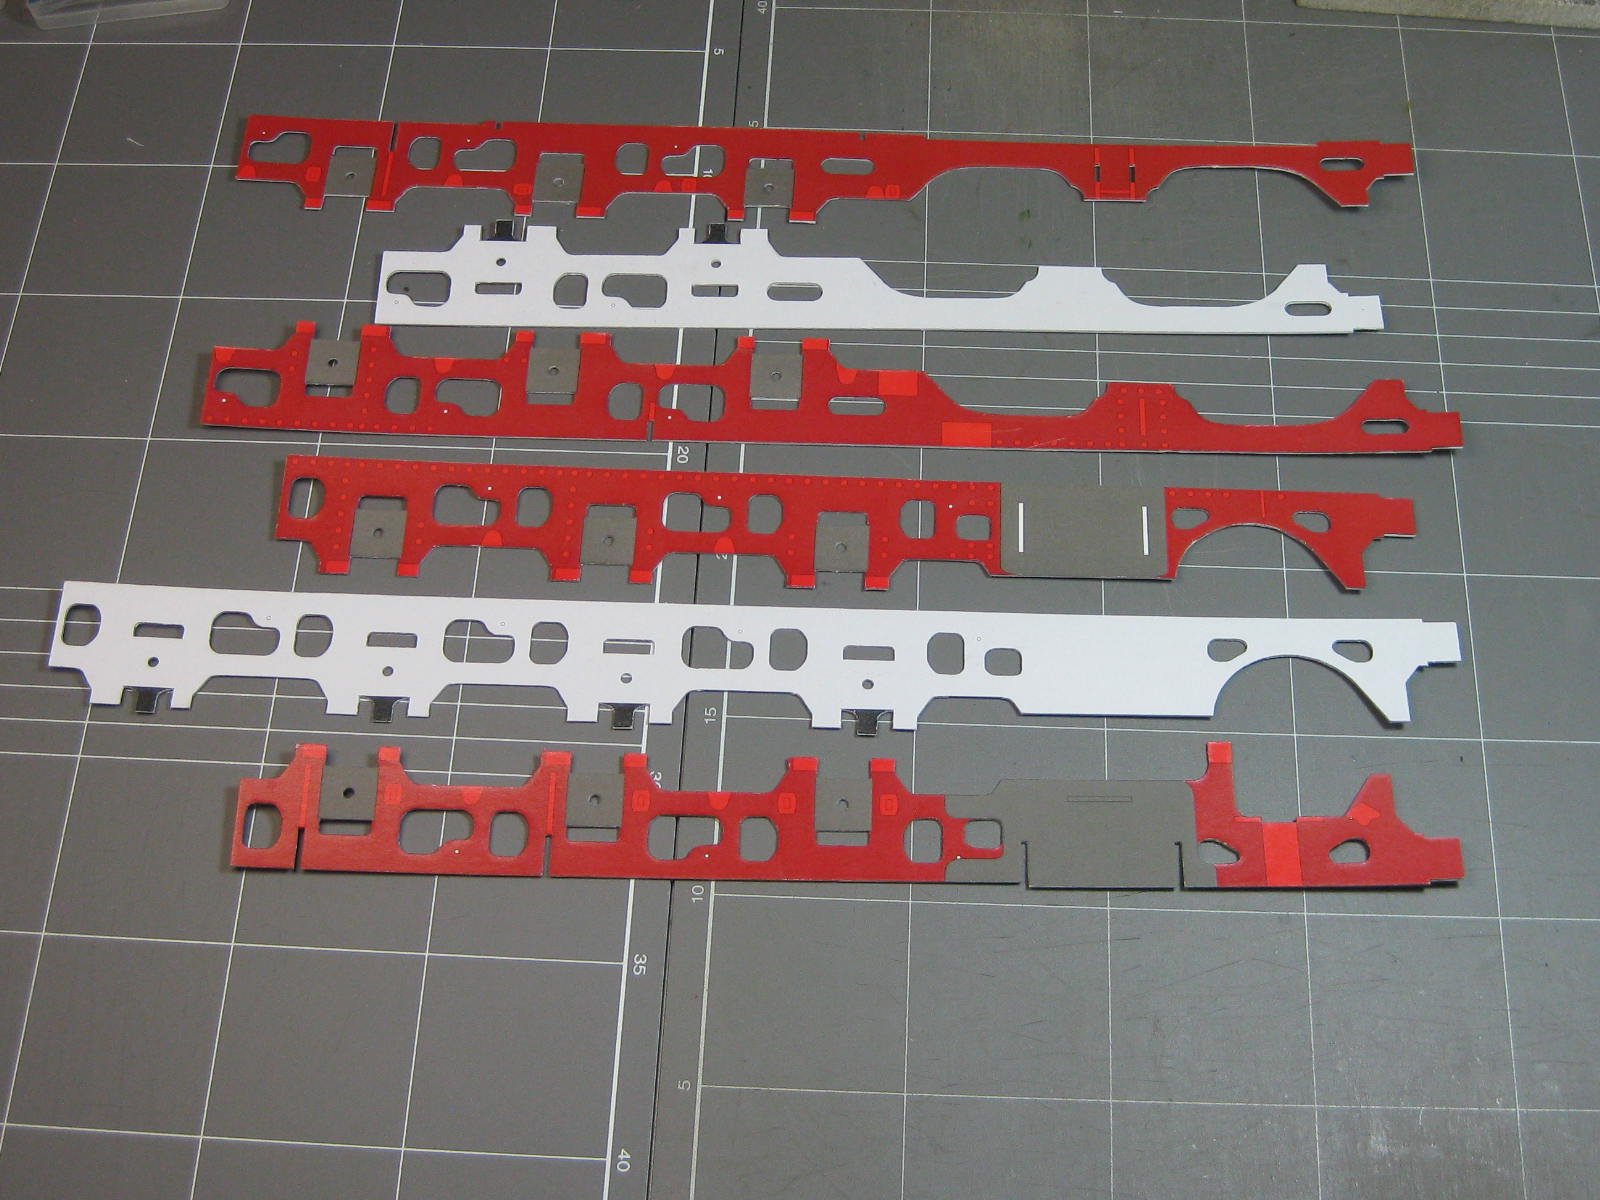
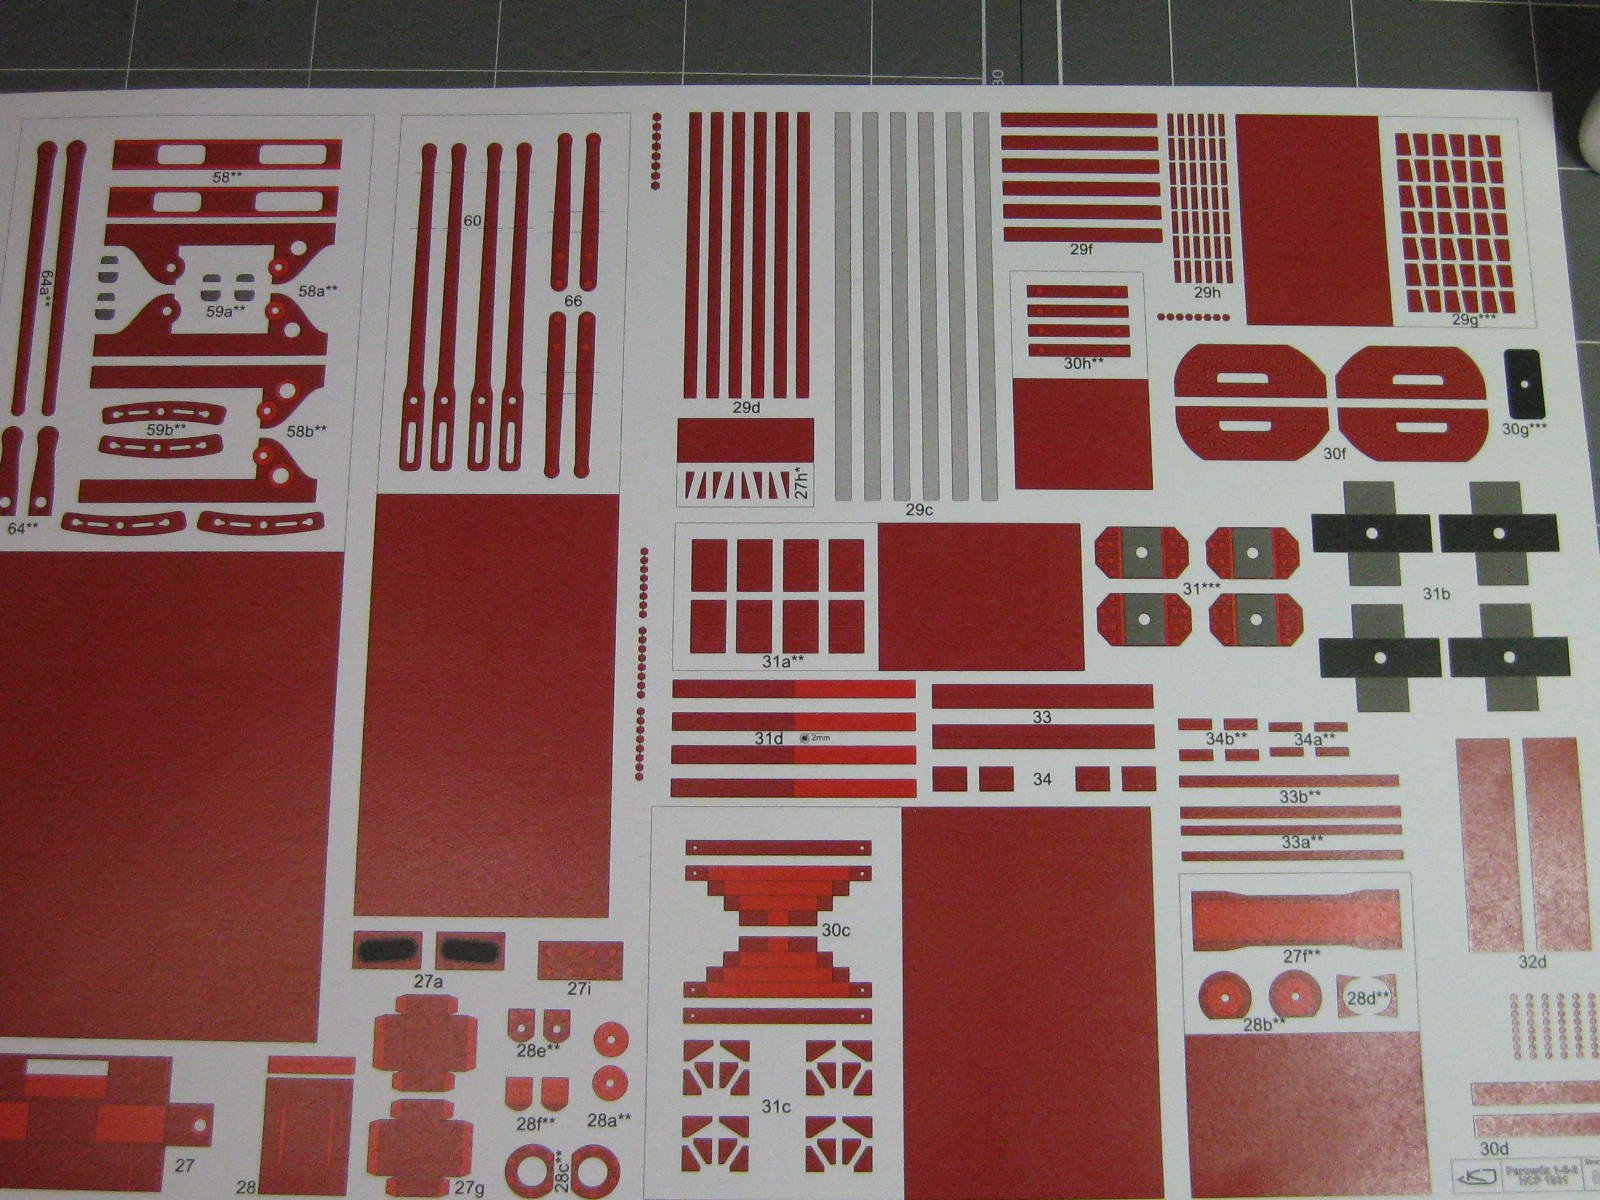
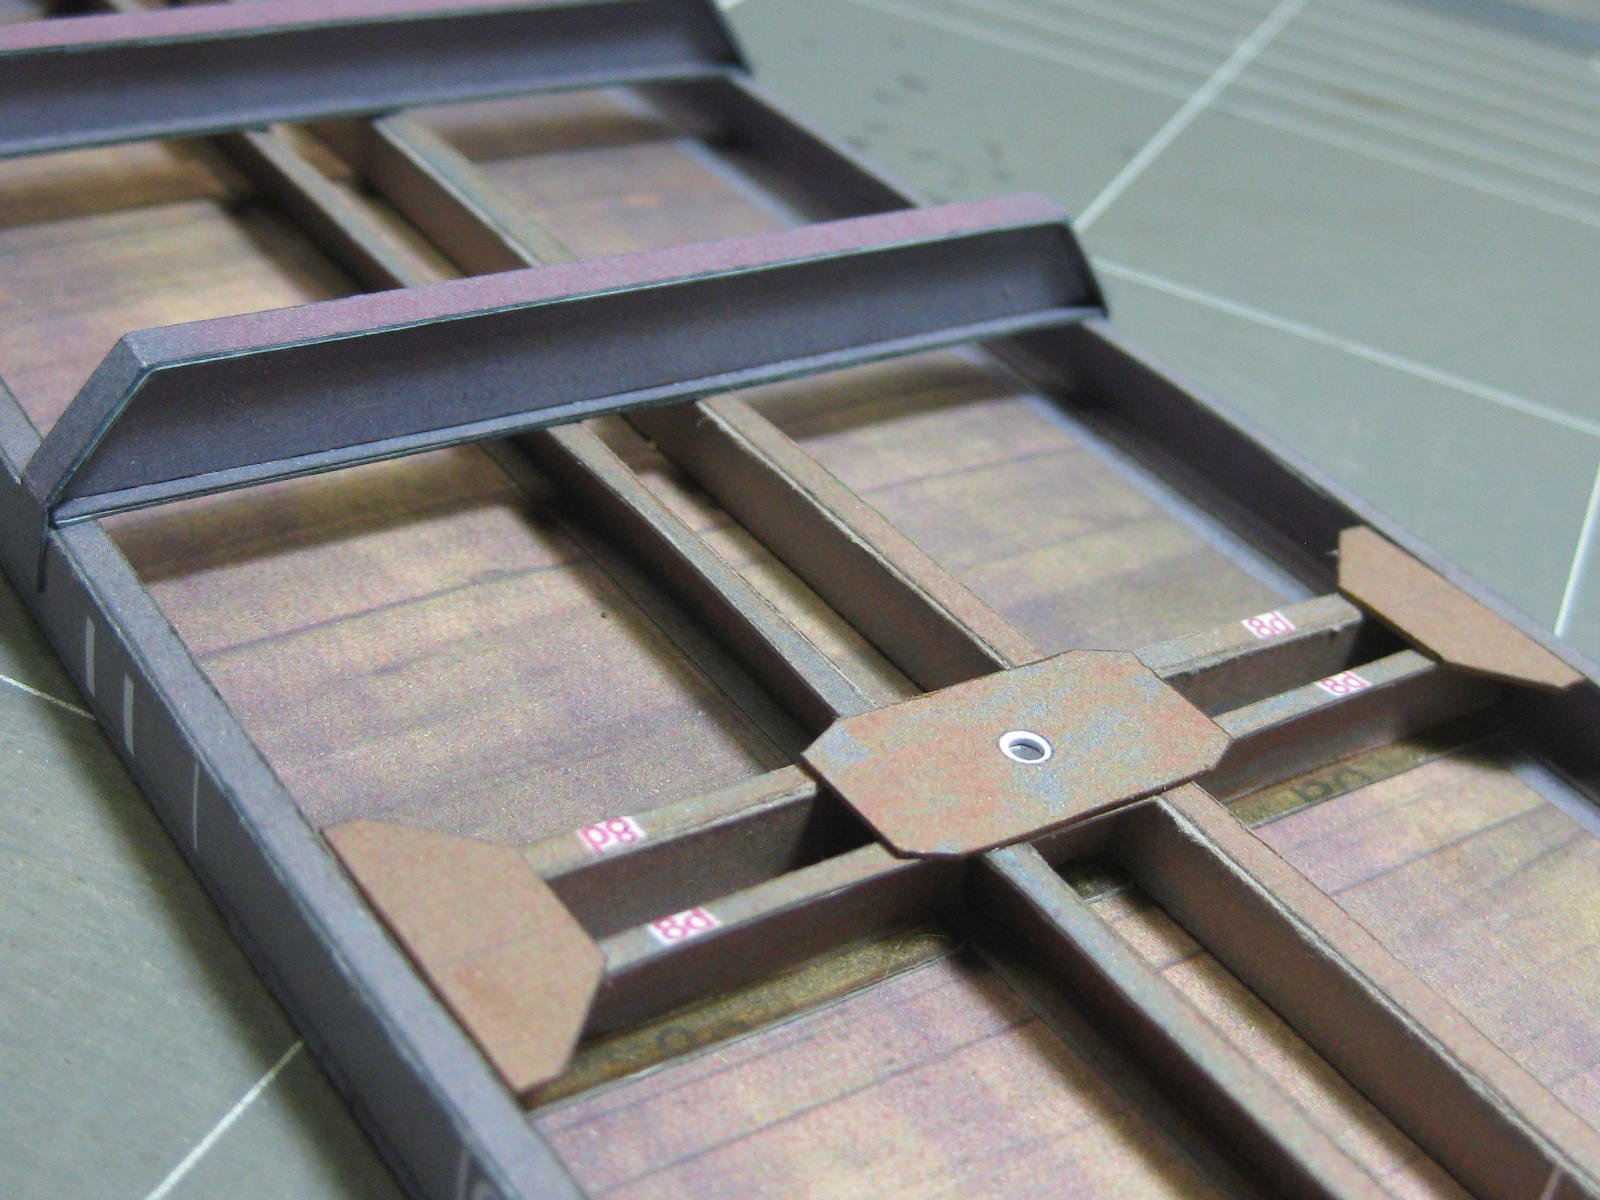
Here are the pics of the right side frame (I'm holding off on the other side for now). There are 6 assemblies to each frame - a red outer skin, a grey middle one and a red inner one. Each printed piece is laminated to 0.65mm card. The two sets of 3 are joined in roughly the middle, as even A3 size sheets are too short to make them in one length :

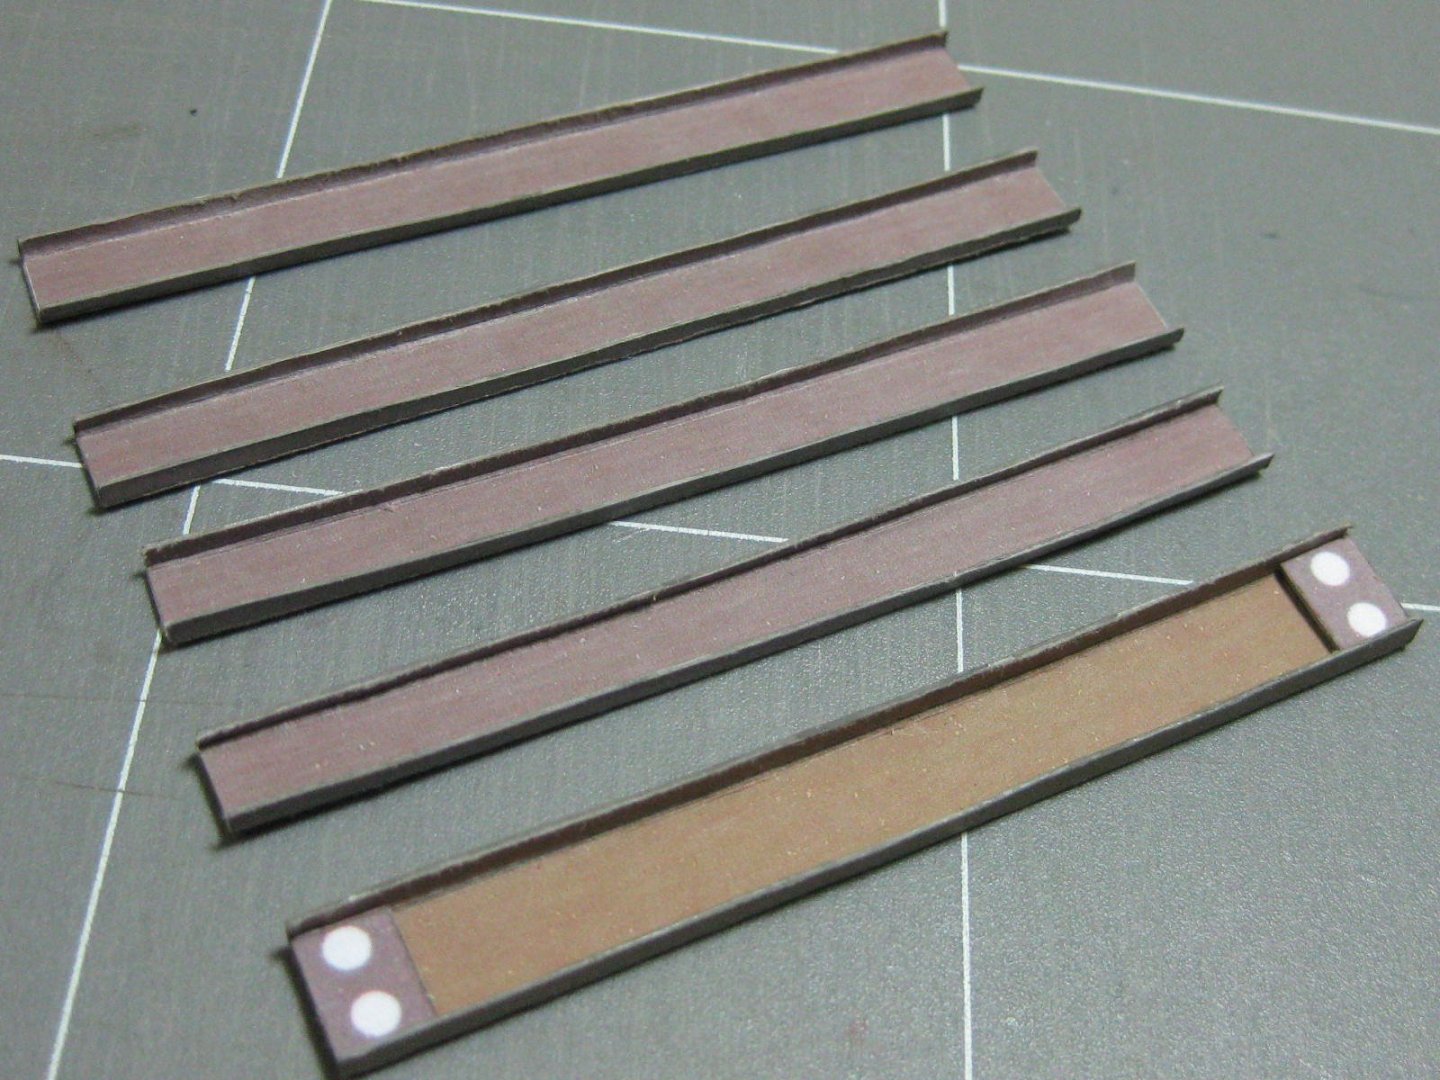
I used a pair of 3mm drills to align the axle holes and prevent slippage while gluing the three sections together :
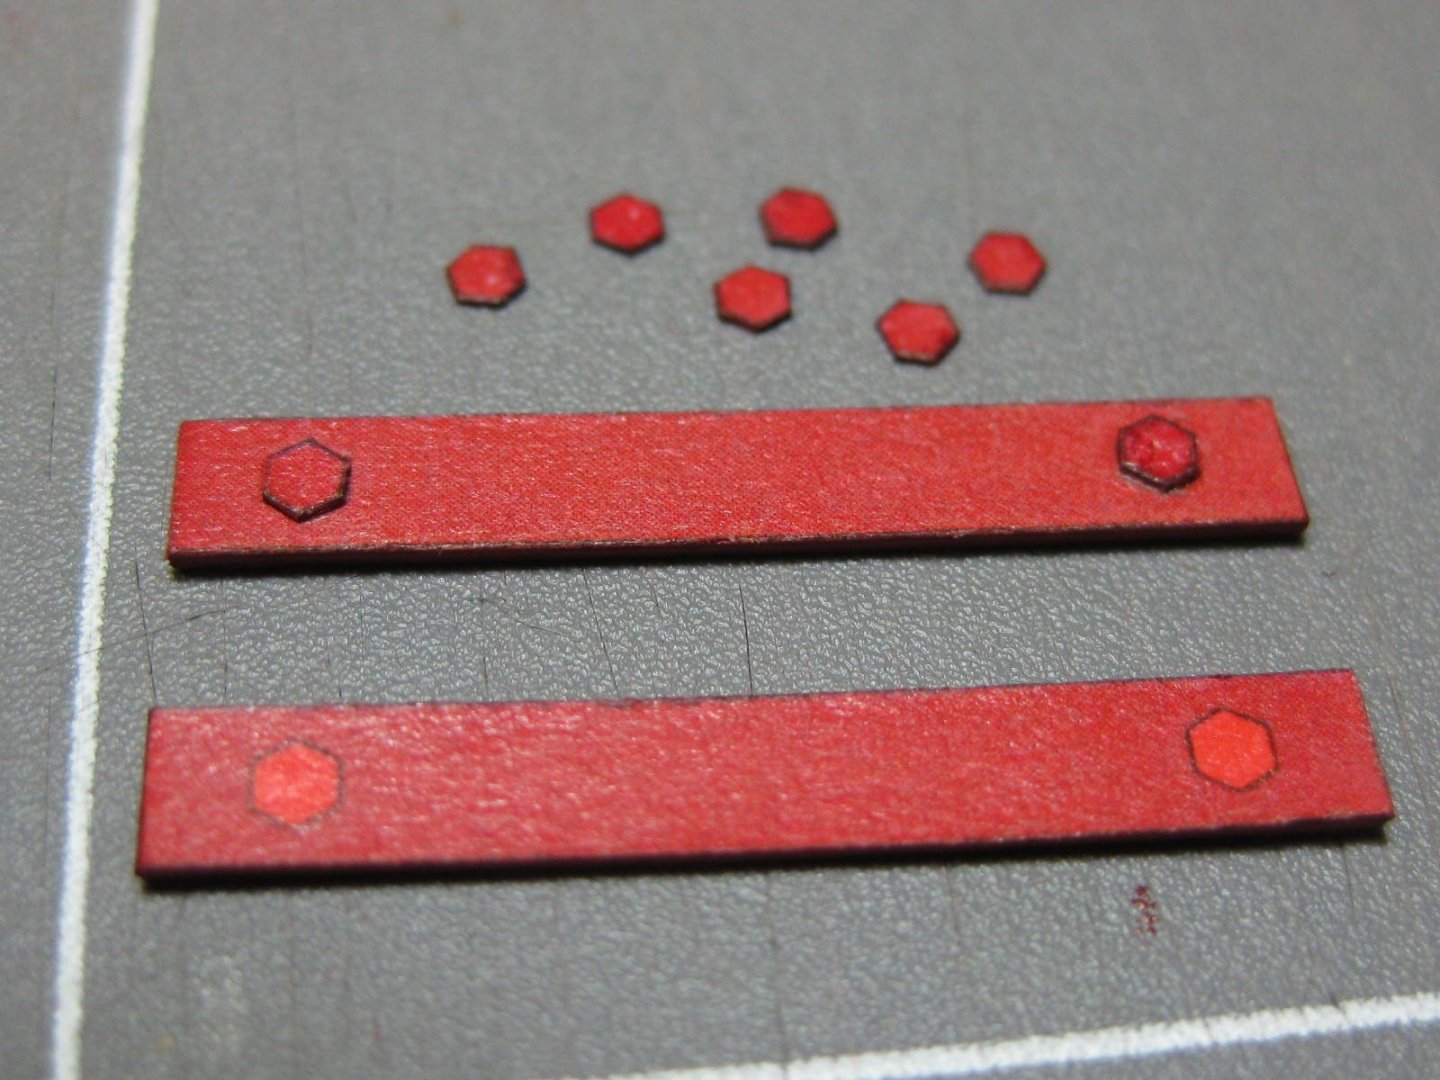
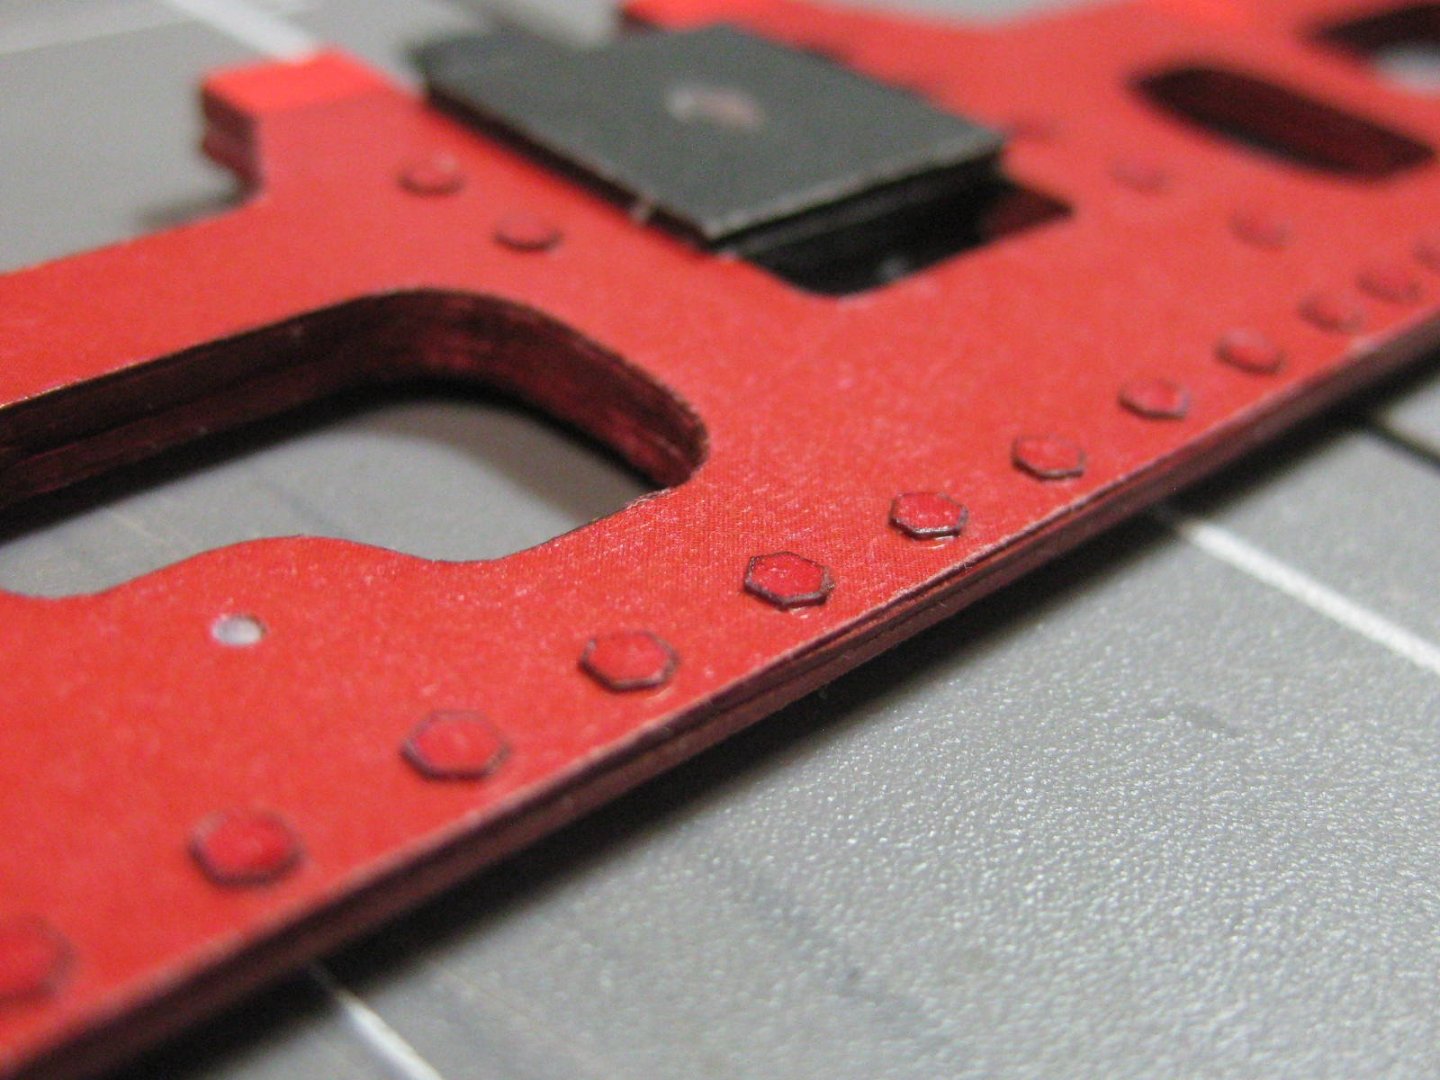
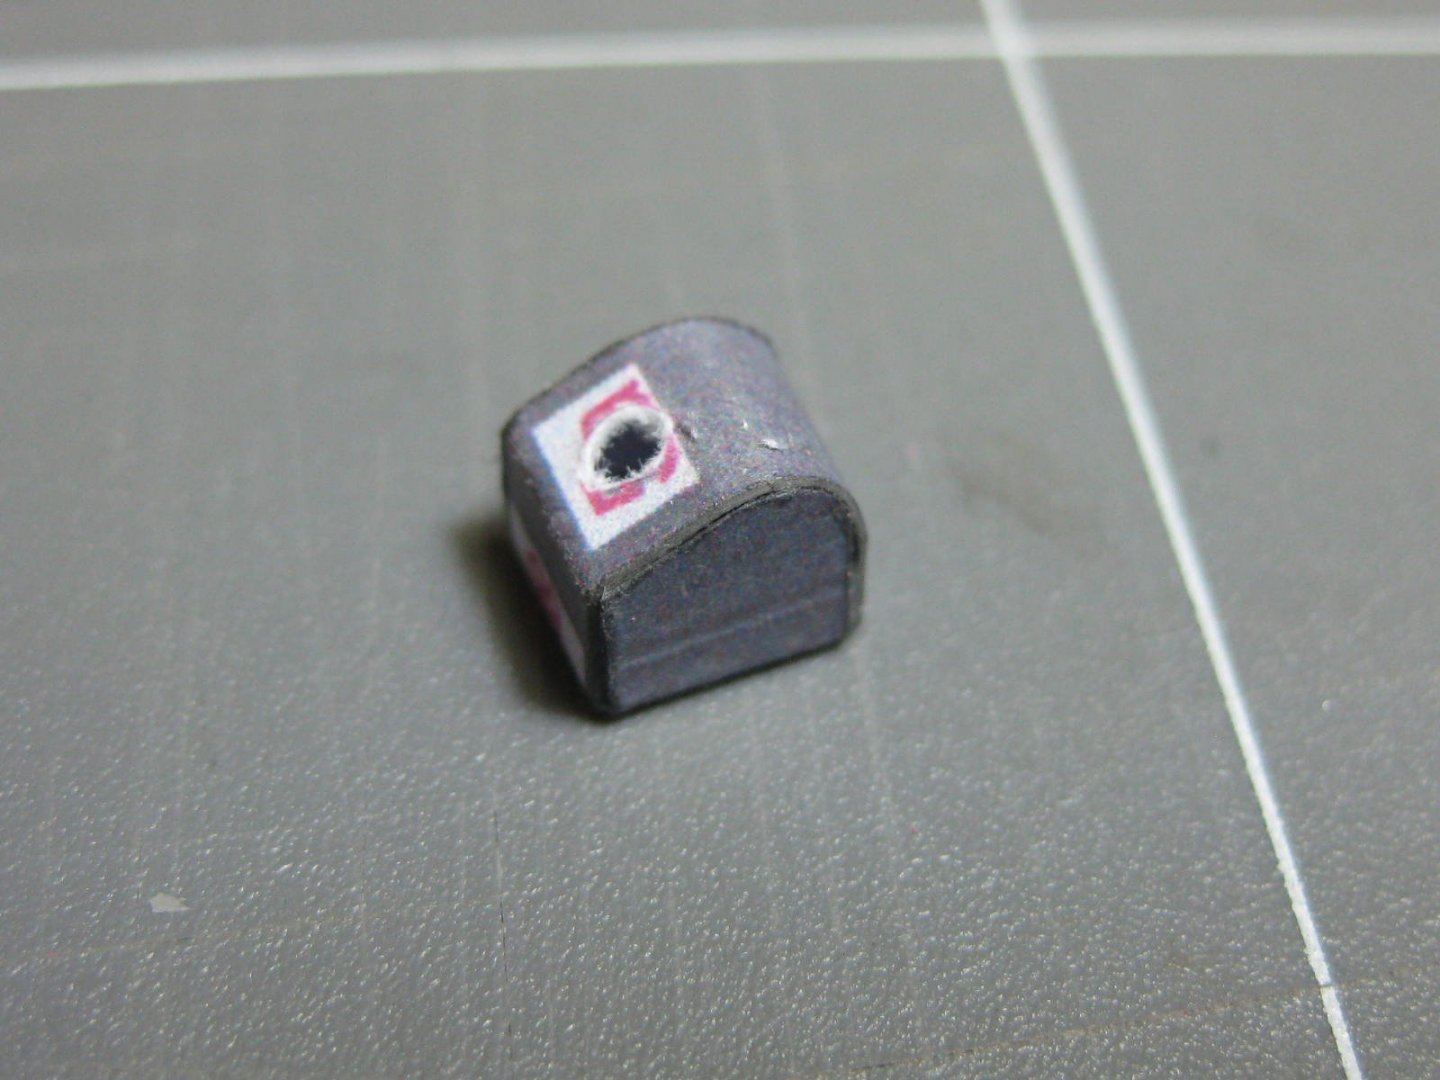
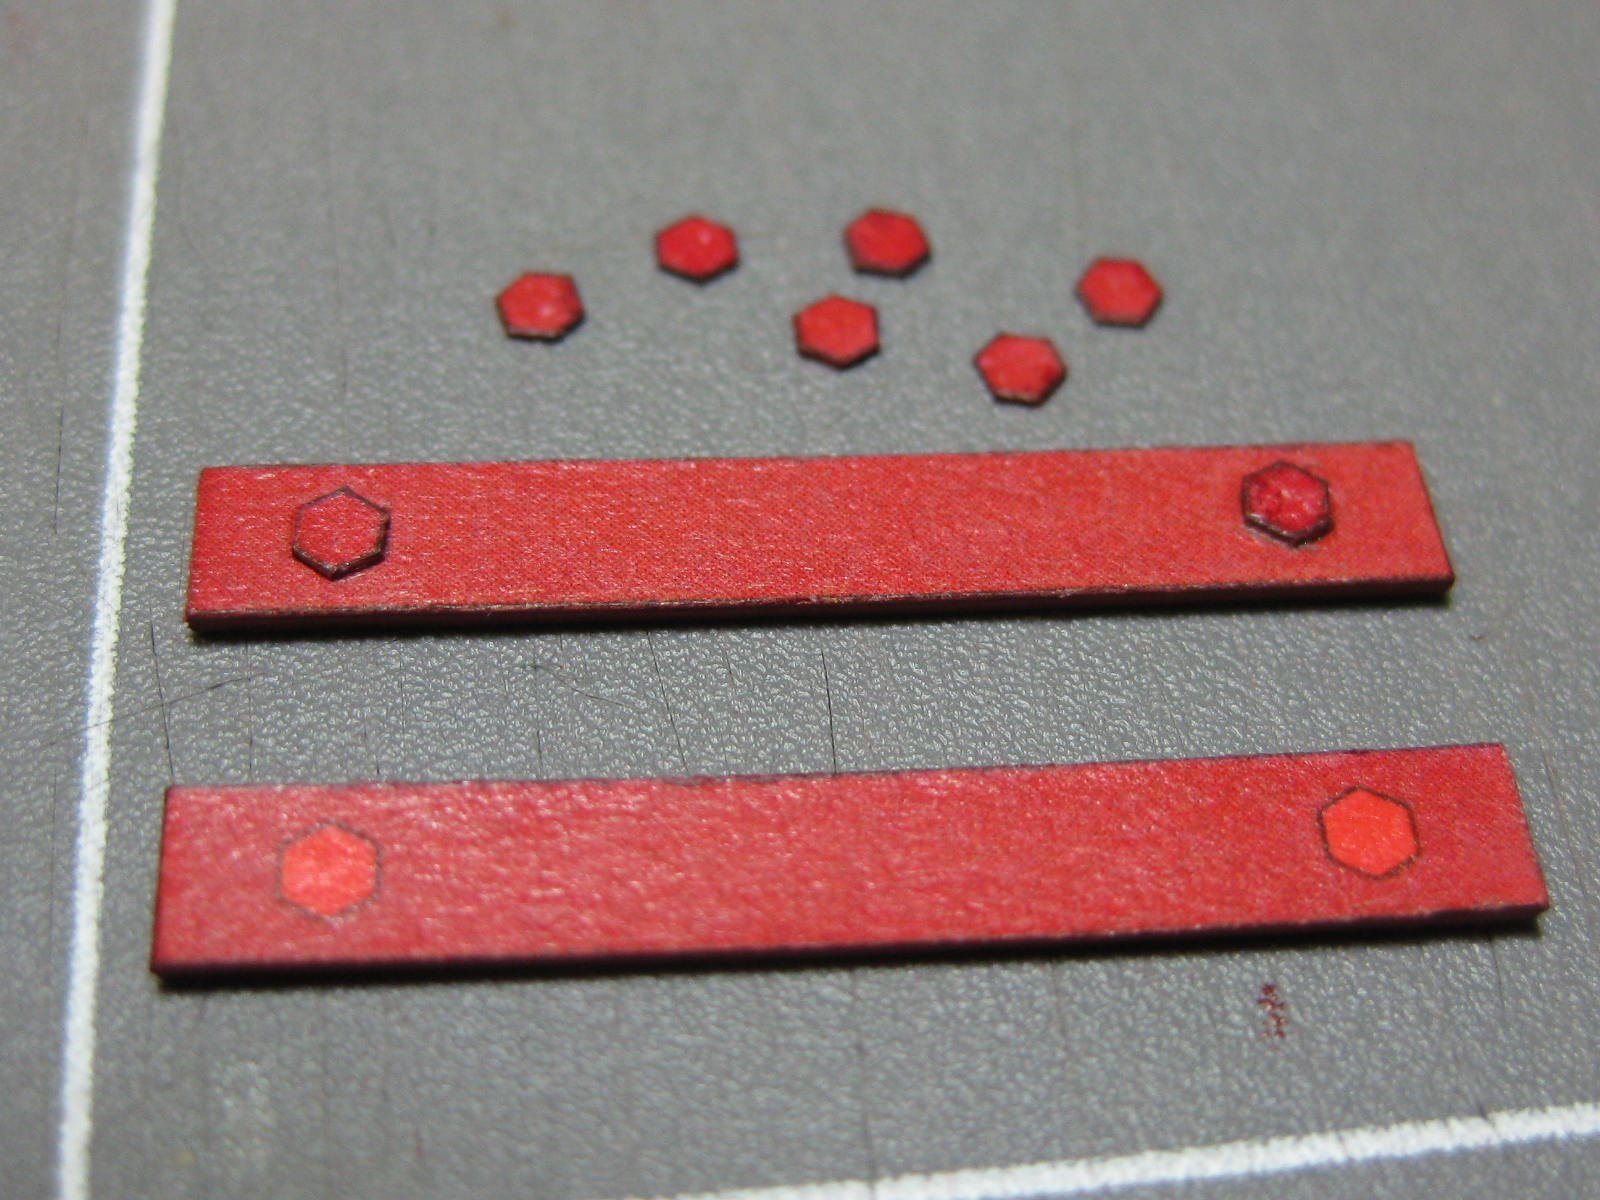
Now is a good time to add all the "bolt heads". I didn't use the laser-cut ones I'd bought for these, as a bit of experimentation showed it would take a lot of work to repaint the black laser-cut ones. The kit supplies all the 250 bolt heads needed (in red) so I cut them out and glued them on. This wasn't as difficult as it looks, once I worked out a fairly quick way of cutting them and colouring the edges :

Danny
-
Hi all,
After waiting a ridiculous 12 weeks my Card model locomotive has finally arrived
. Yayyyyyyy . No blame can be attached to the Publisher, as they sent the kit within 2 days of receipt of the order - either the ship carrying it needed more rowers, or (more likely) it's been sitting in Australian Customs for most of that time. The worst part was that I could only track the package as far as the Polish dockyard, then it disappeared until it showed up on my doorstep. Ah well, I had a few things to keep me occupied while I waited .
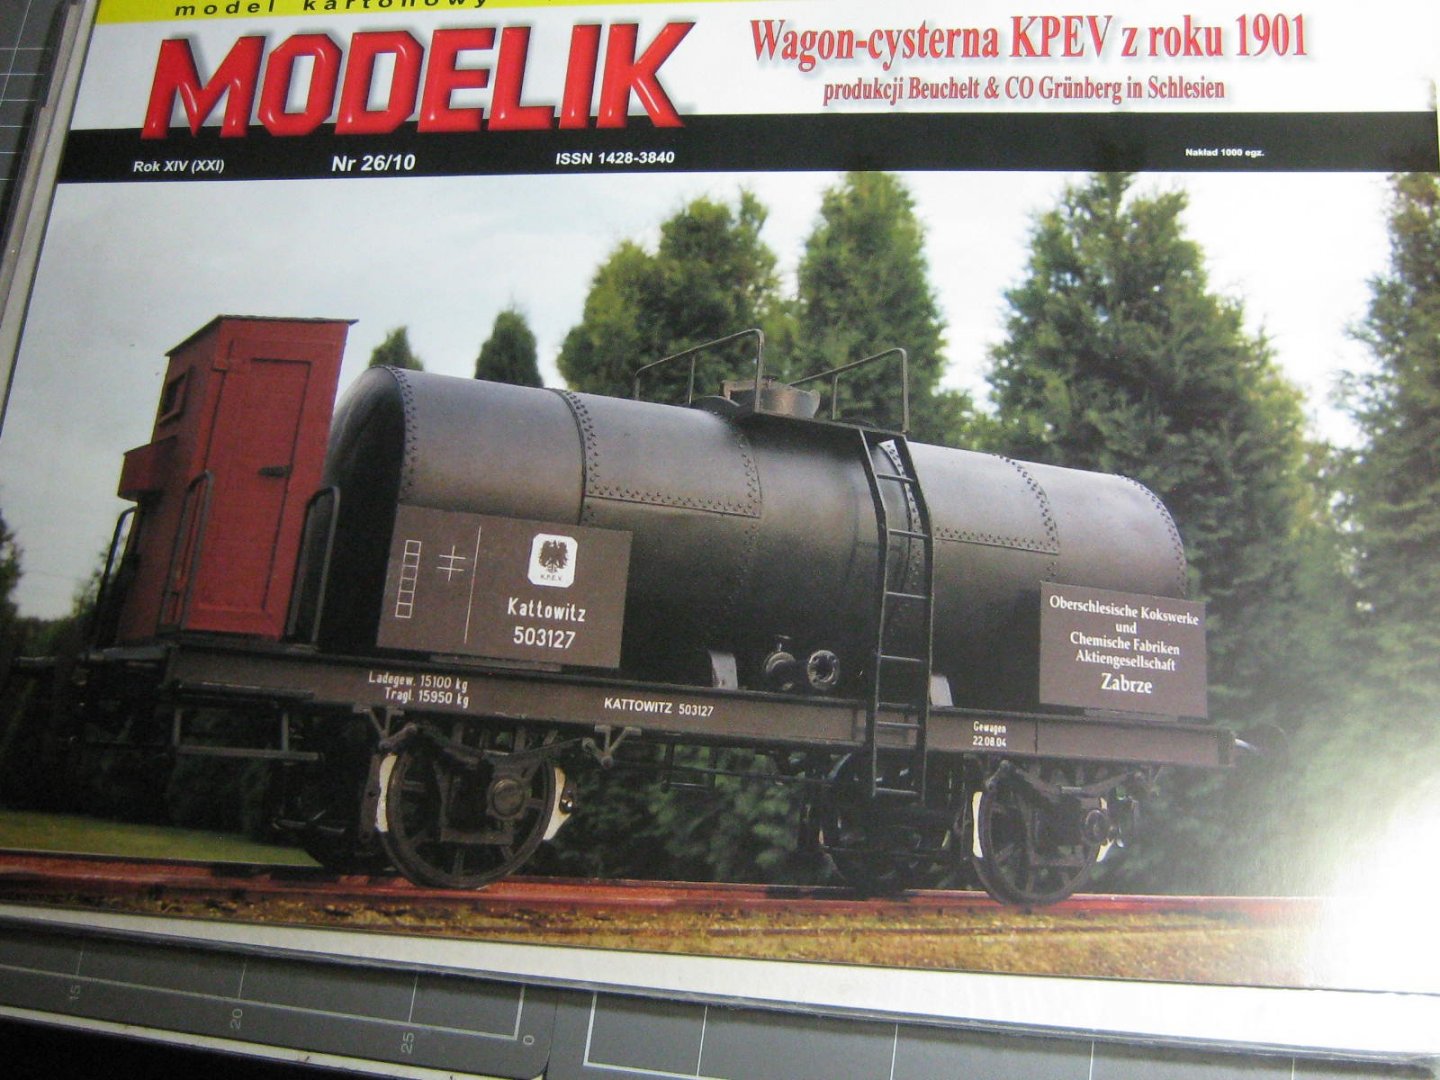
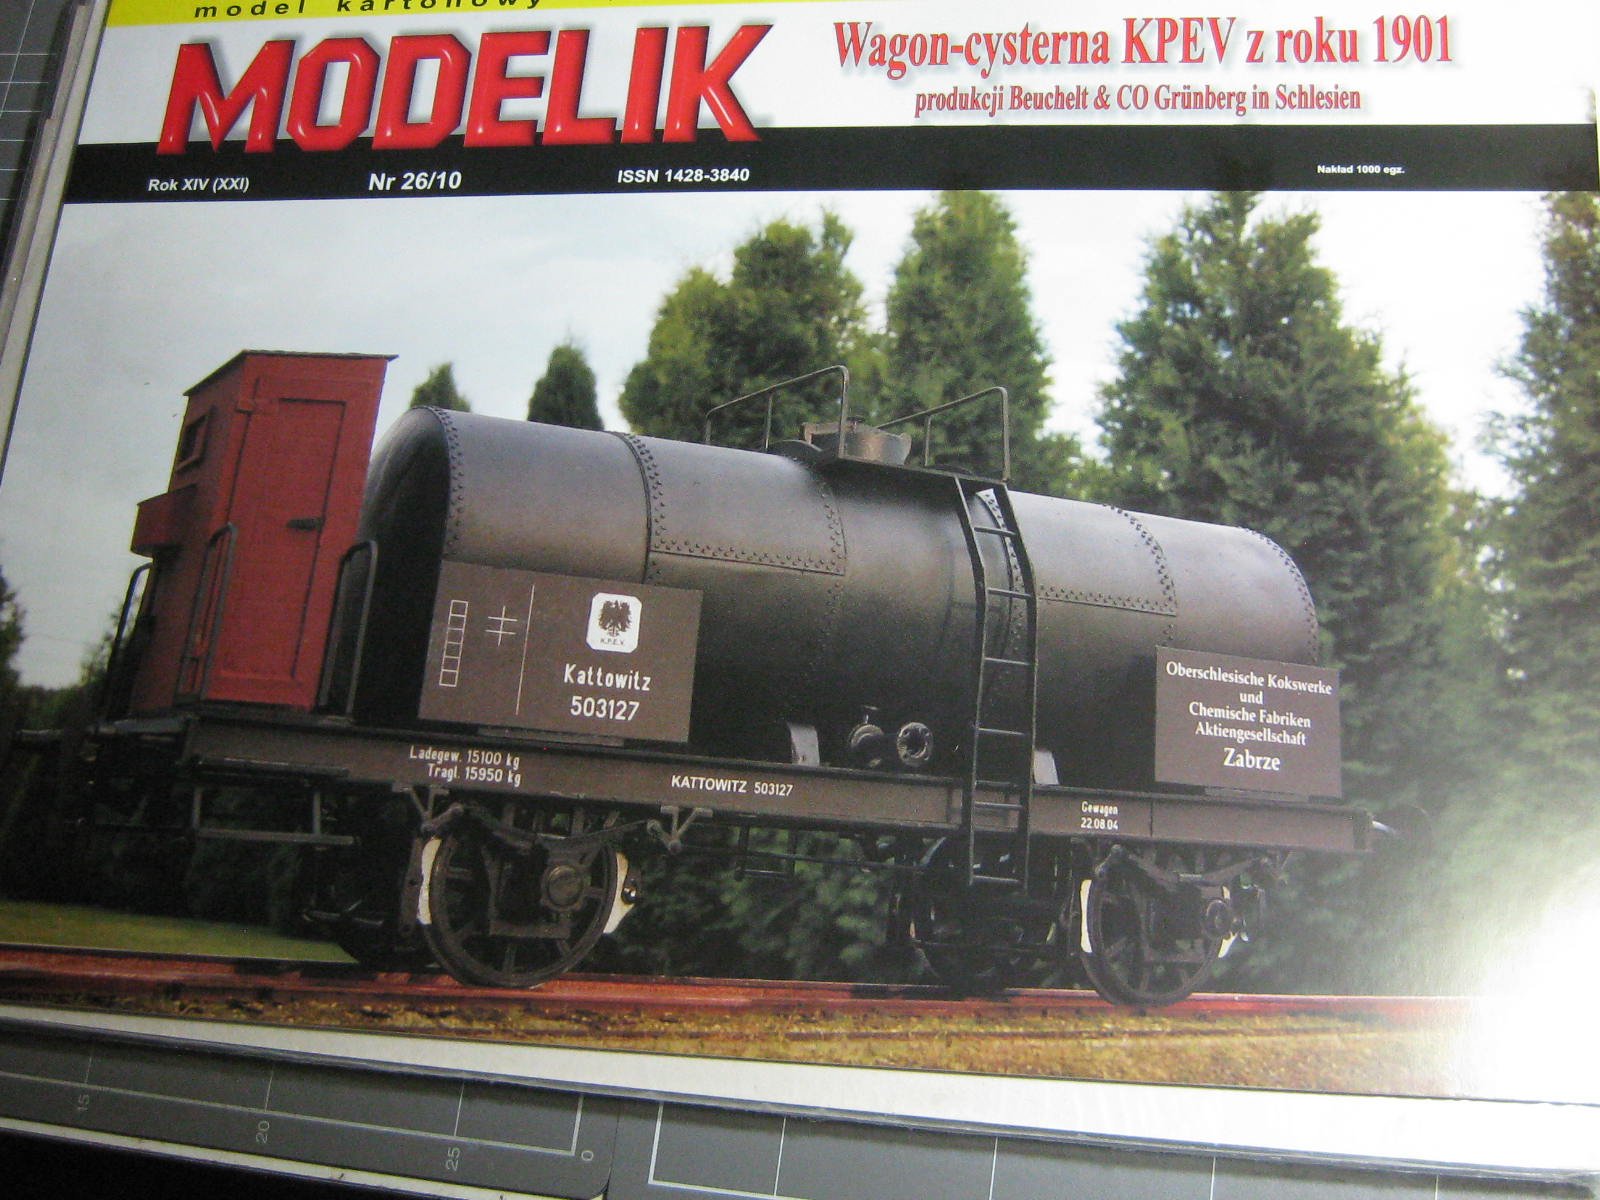
This kit is by Modelik from Poland. They publish a large range of (mostly) European rail kits in three scales - 1:25, 1:45 and a couple of 1:87 (I guess more of the latter may be coming soon) along with Aircraft, Ships, Armour, Vehicles and Buildings. Laser-cut parts are available for a lot of the kits. From my initial observations the kit is quite nicely detailed, although no "weathering" has been printed on. They suggest you do your own with pastels or paint if you wish, as well as super-detailing if that's your go. The cardstock it's printed on is good quality, and the instruction pictures are easy to understand and follow. Written instructions are only in Polish, so Google Translate gets a workout. Service, as previously mentioned was good although they need to use a faster ship
") . Postage from Poland (as always) is a bit of a killer - it came to more than the kits themselves. I also bought two carriages to accompany the one I got earlier from Fenten's in Brisbane :
. Postage from Poland (as always) is a bit of a killer - it came to more than the kits themselves. I also bought two carriages to accompany the one I got earlier from Fenten's in Brisbane :
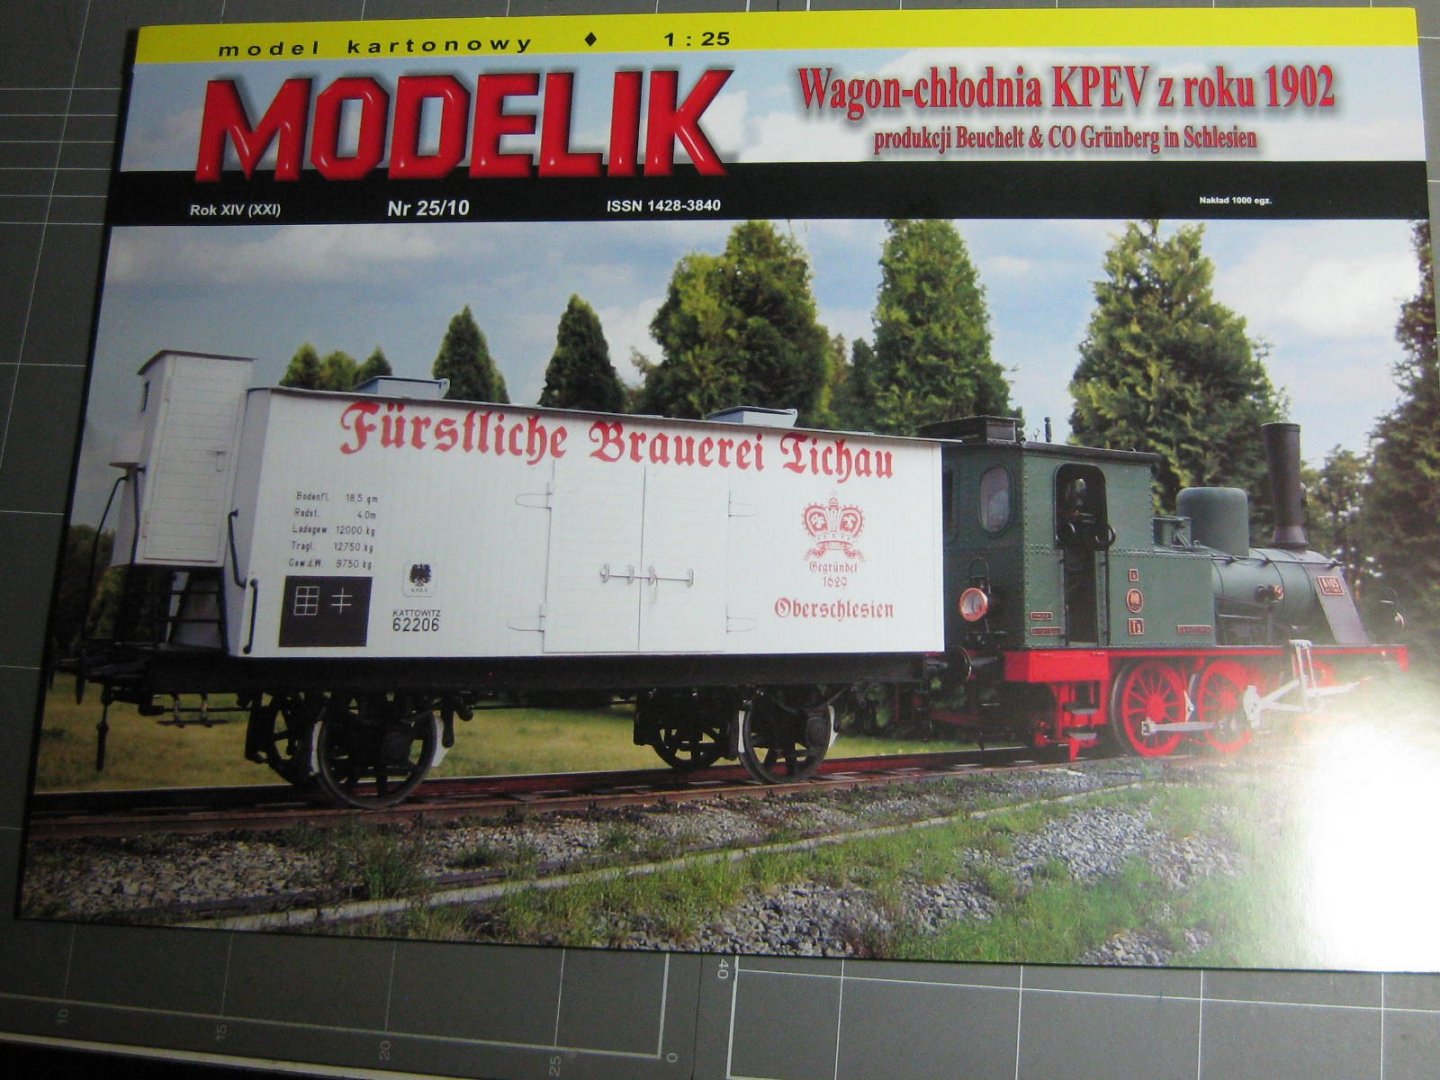
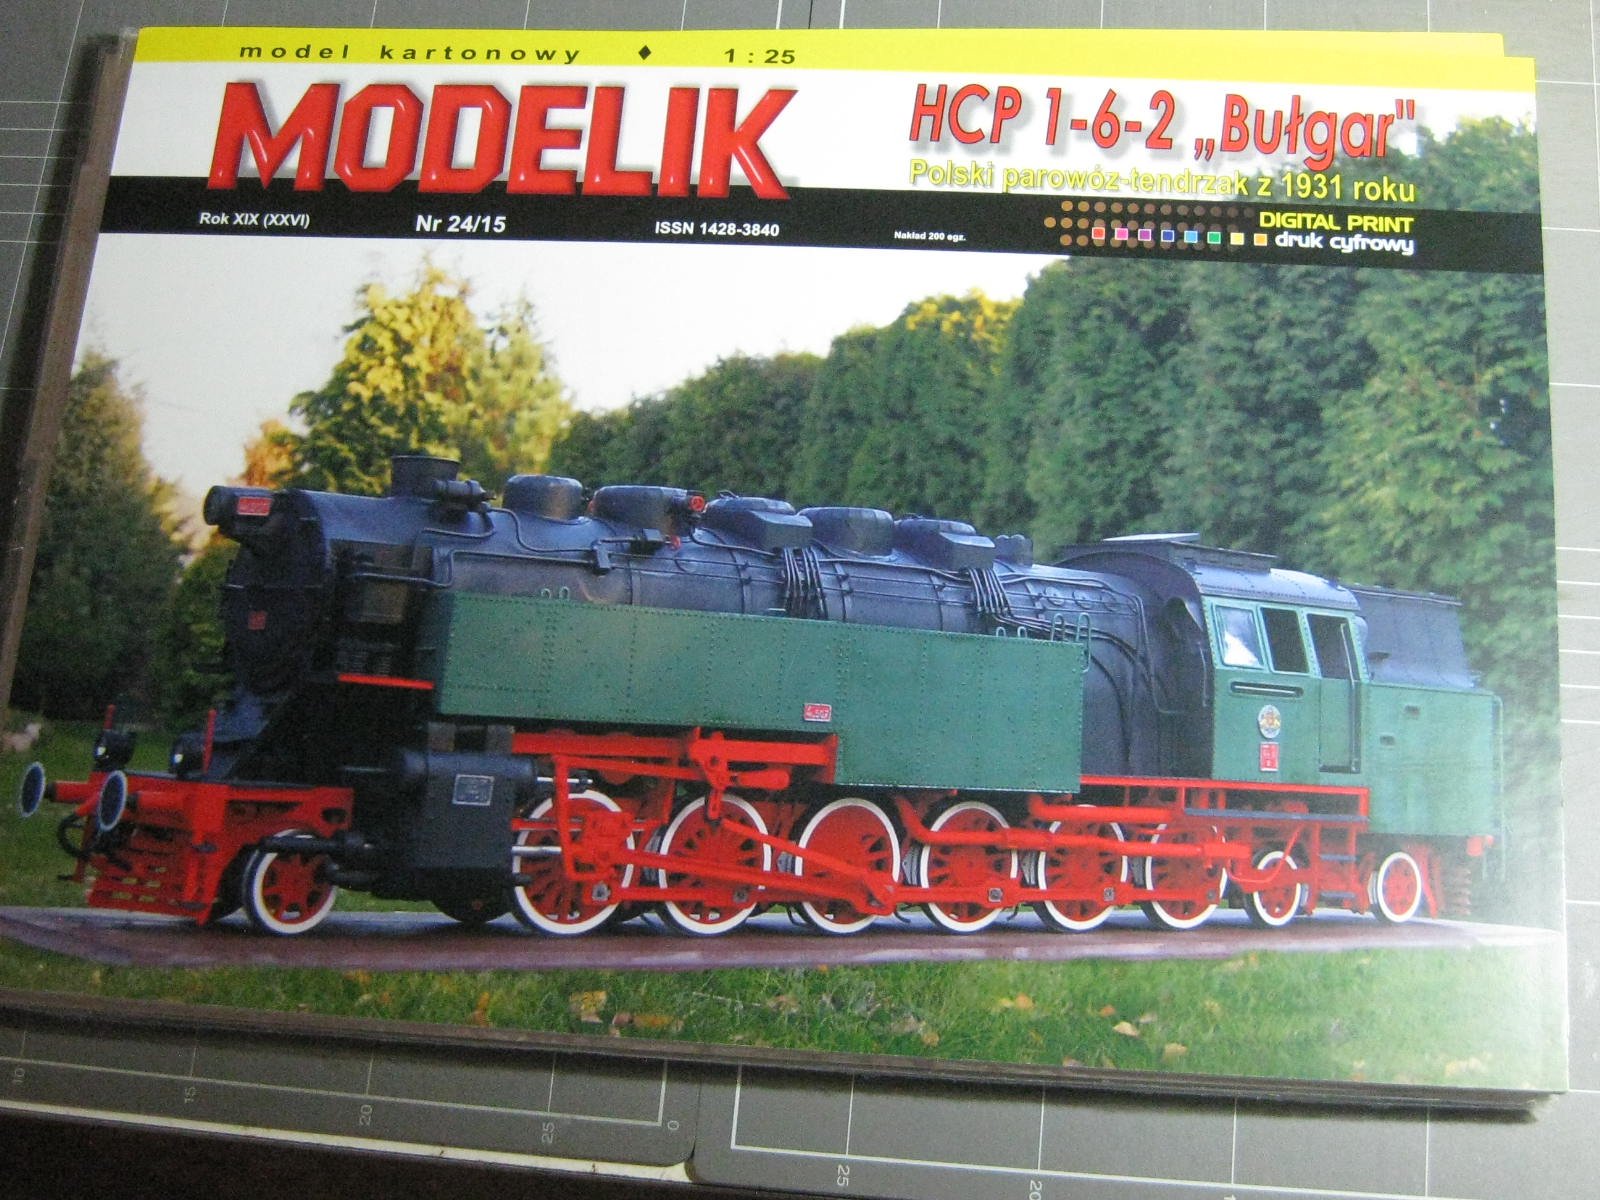
On to the model. This is a 2-6-6-4 configuration, meaning that there are 2 bogie wheels at the front followed by two sets of 6 driving wheels and a 4-wheel bogie at the rear - a total of 18 wheels. Information about the loco can be found HERE. The original was a bit over 18 metres long and 4.3 metres tall, making it the largest steam locomotive built in Europe. They were built between 1931 and 1943.
The model is a whopping 730mm long from buffer to buffer. Parts come in 24 A3 size sheets, with an additional 5 sheets of Templates. I'm not sure how many sheets of Laser-cut there are, as I forgot to order them with my original purchase (or perhaps they were unavailable at the time, I don't remember). This has caused a real headache, as it seems I bought the LAST kit that Modelik had available - it's no longer listed in their catalogue, and neither is the laser-cut kit. When I first opened the package there were quite a few laser-cut sheets, but it turns out that they were for the two extra carriages. I didn't actually realise my mistake until I'd laminated one complete side of the main frame (12 pieces in total) to 0.65mm card and cut the lot out. At the time I thought it very odd that these parts weren't in the laser-cut pack. Laminating the amount needed for this kit by hand would take forever, as the card I'm using is quite dense and isn't easy to cut.
What to do? I went back on the Interweb and found two other sites that listed the laser-cut kit as available - Yay! I'd almost finalised the order transaction - my finger was actually hovering over the "Confirm" button when a thought hit me. The price seemed way too low. So I double-checked my order and found I'd almost bought the 1:45 scale version! Damn!!
So I checked out the other site (JadarHobby), and sure enough they had a kit available - in 1:25 scale. Bewdy!! I immediately ordered it from them. They also send it via Air Freight and quote a delivery time of 2 - 5 days! We'll see.
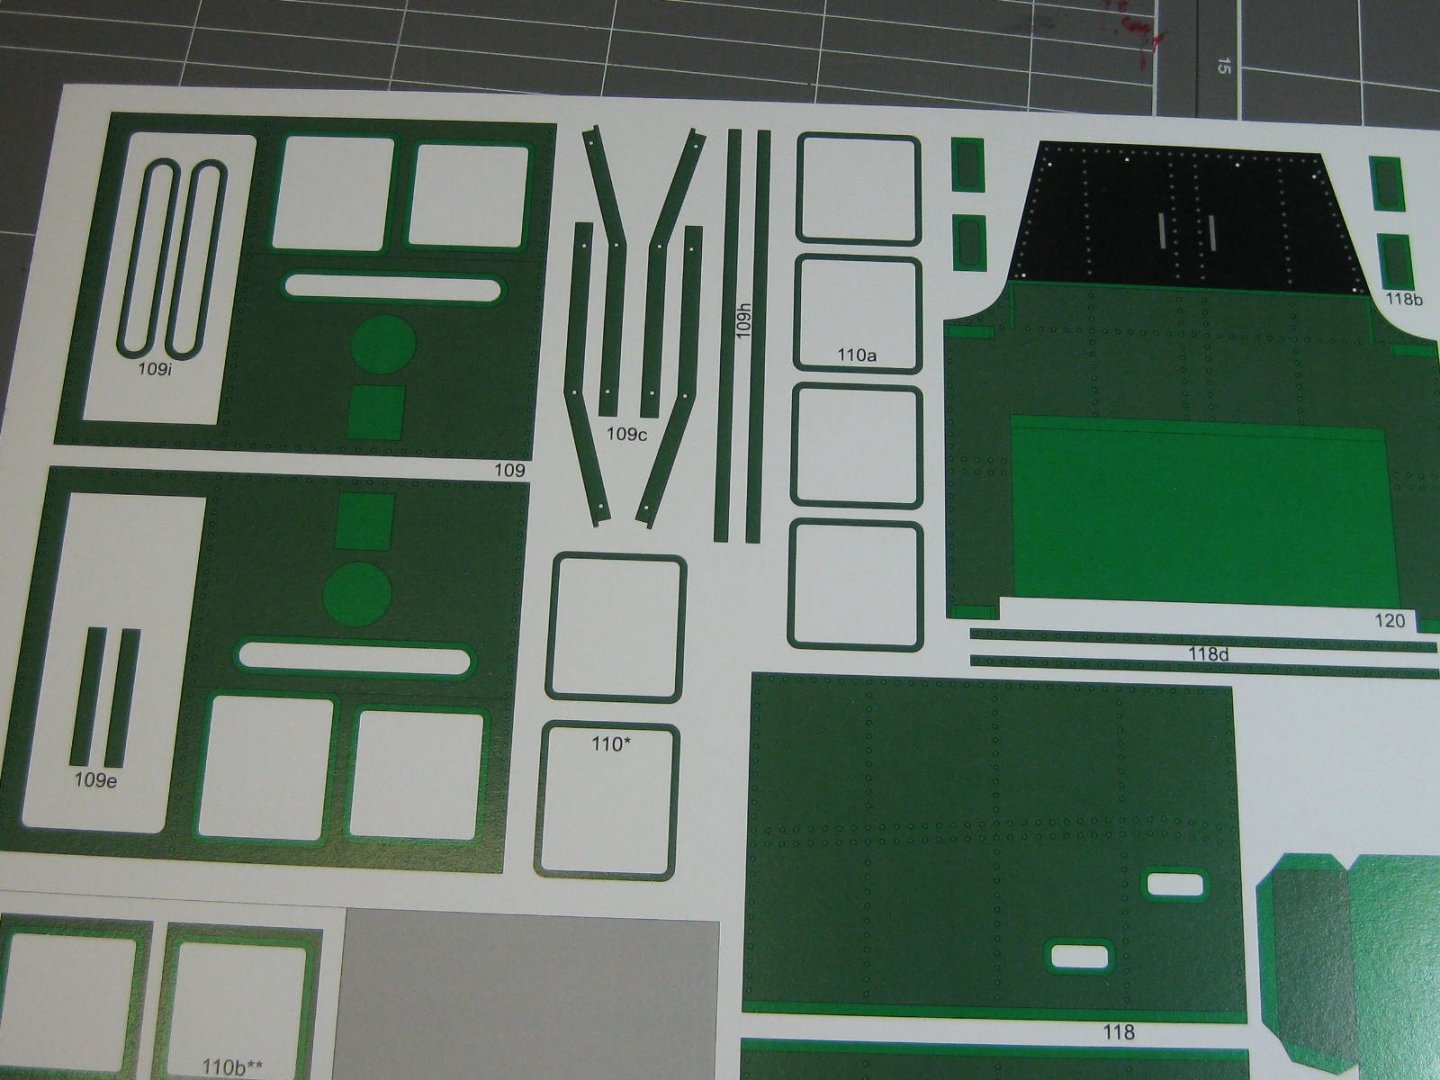
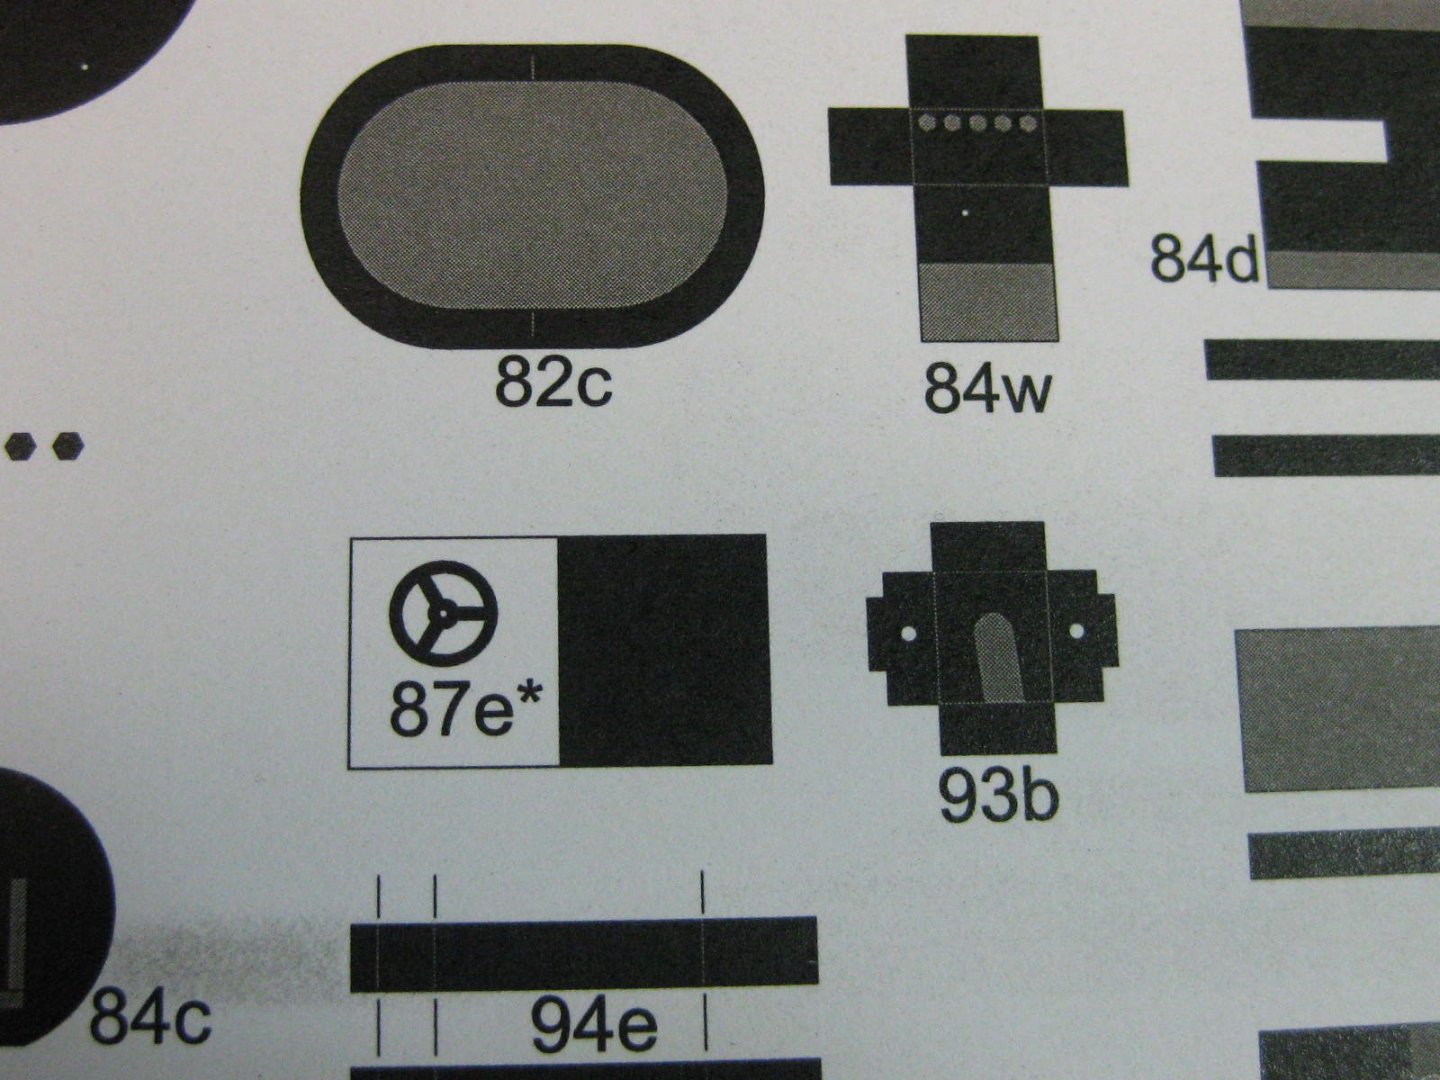
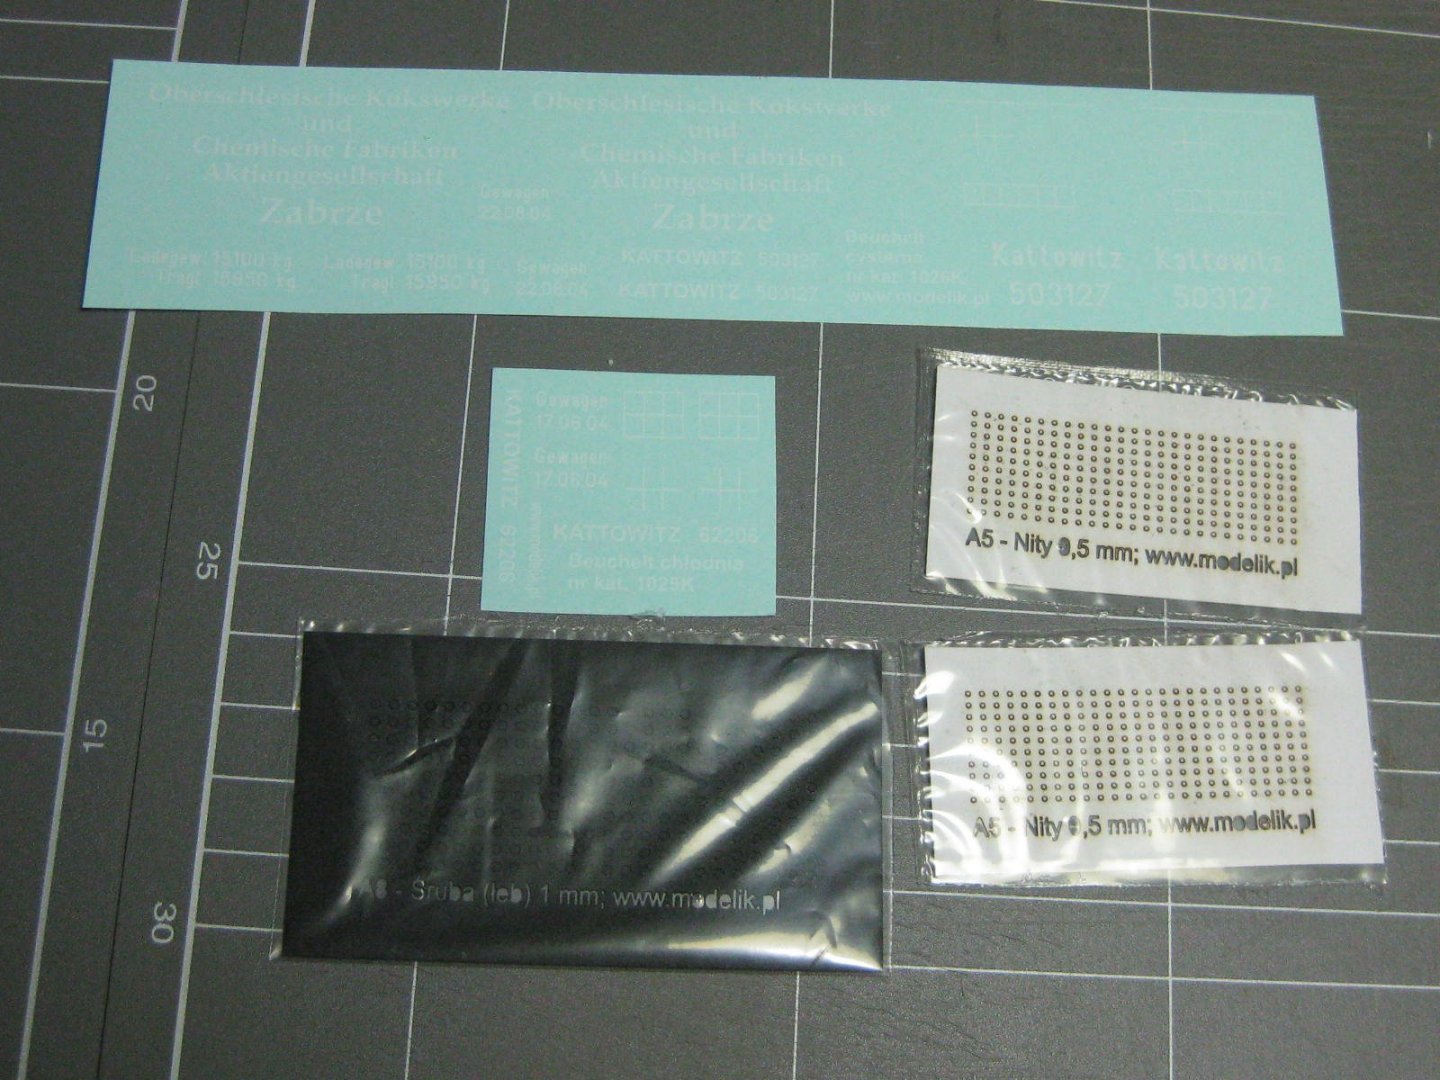
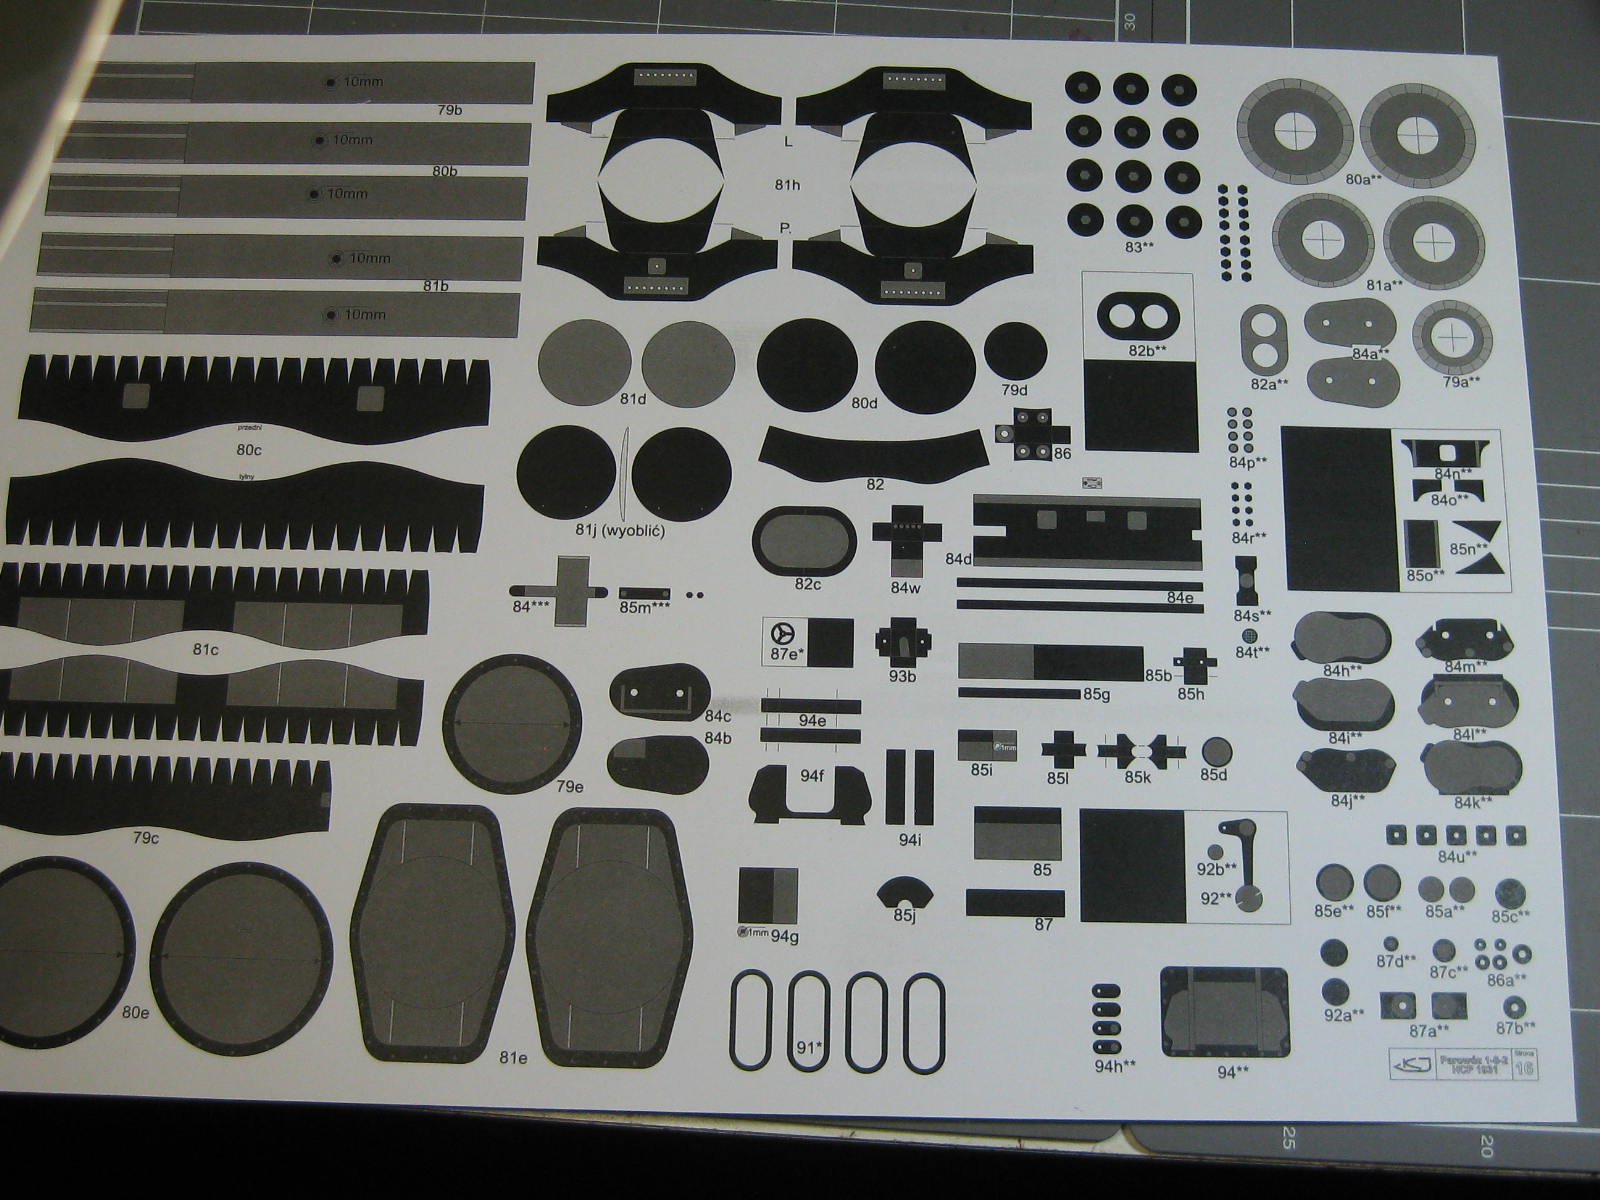
Here are some pics of the cover and some of the parts :


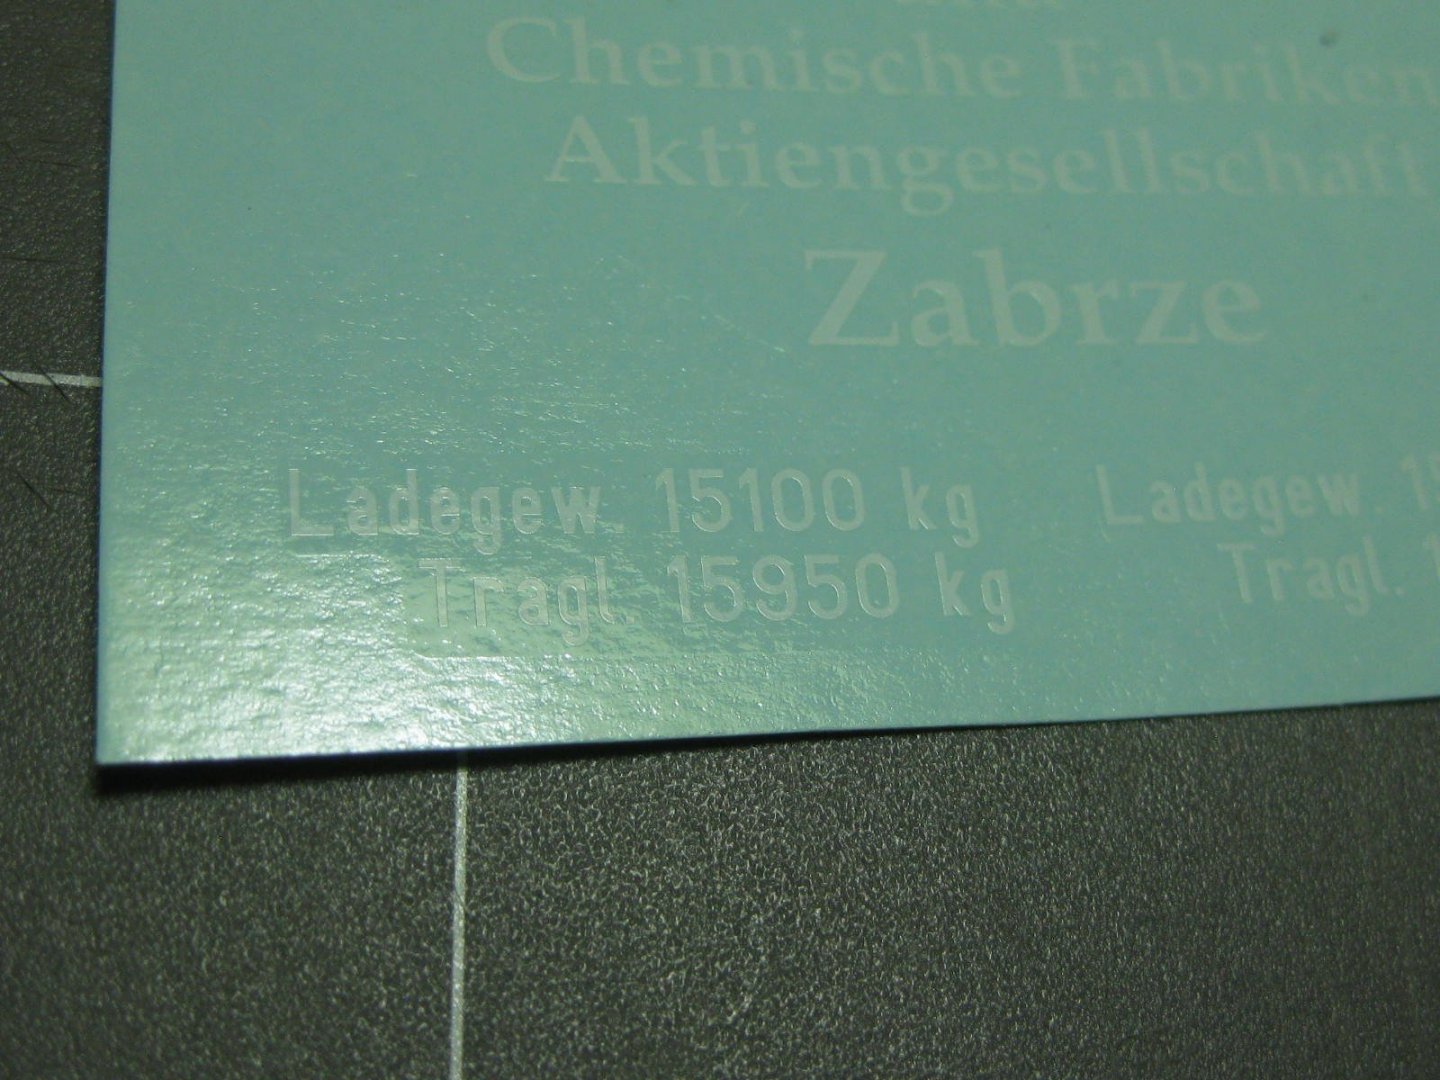
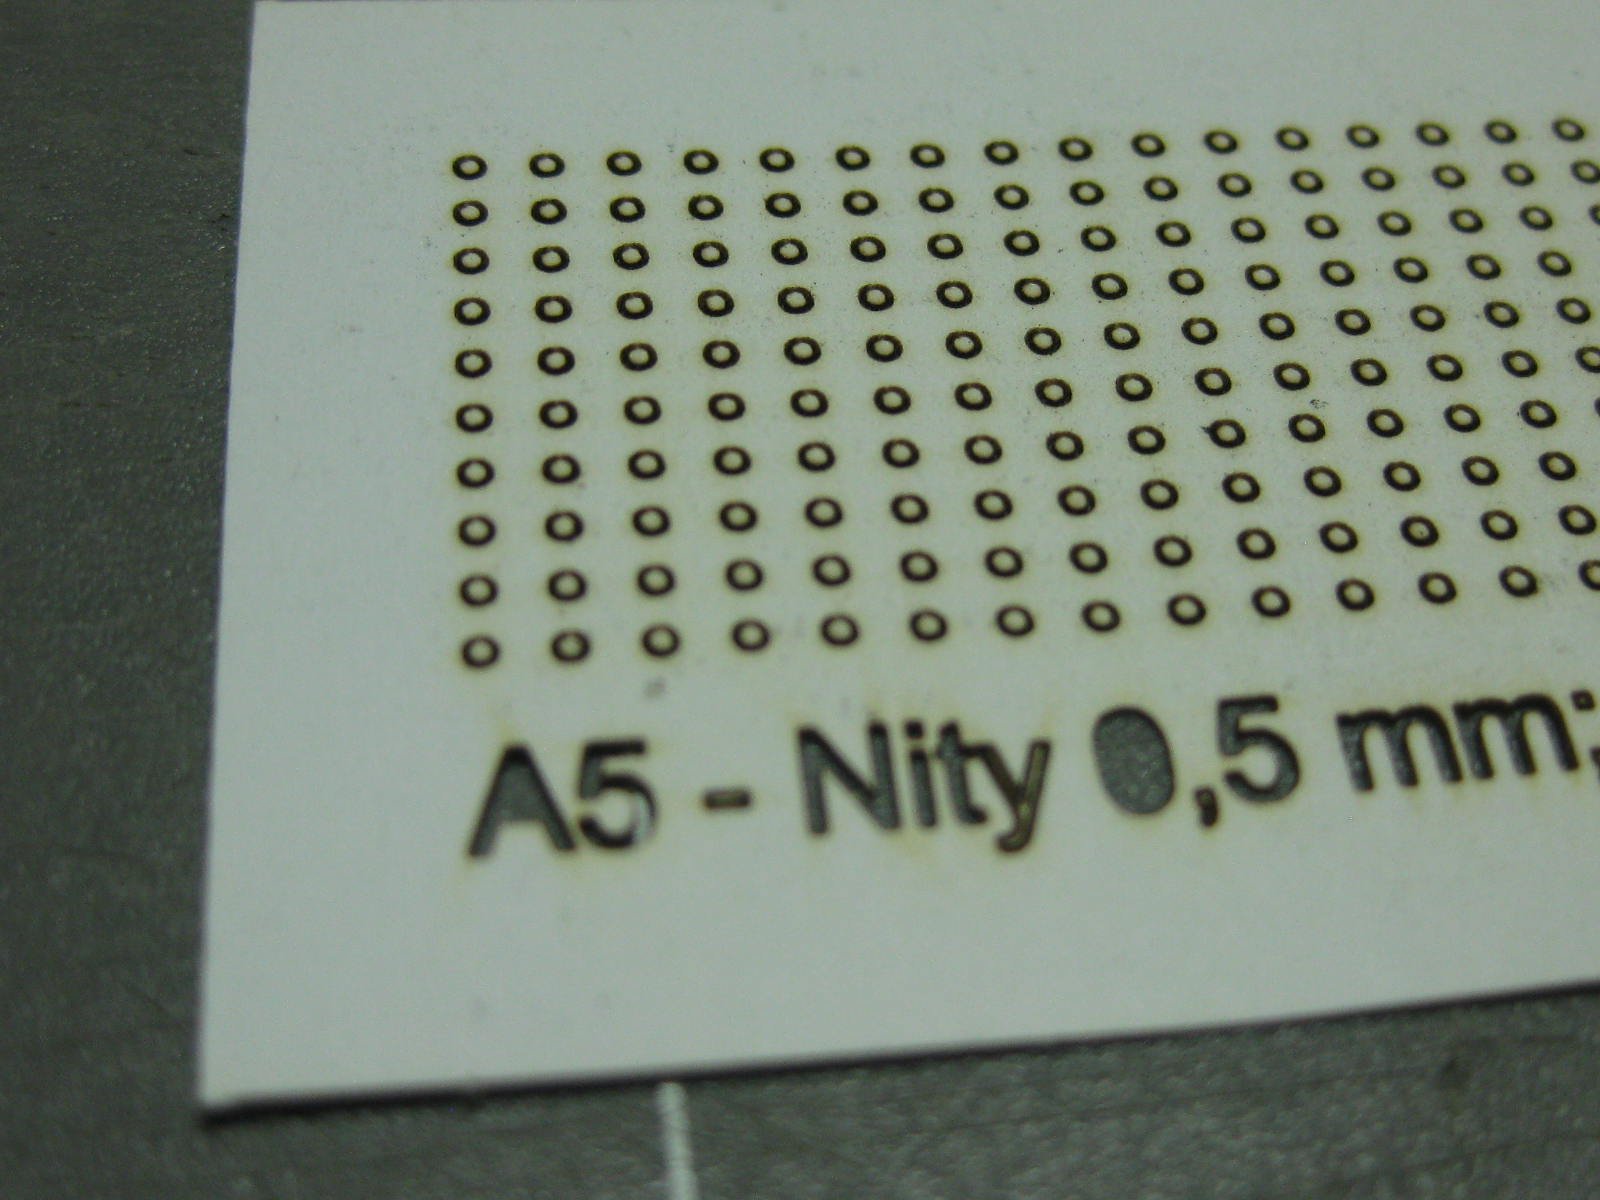
I also bought the Decal set and about 5,000 laser-cut rivets and bolt heads :

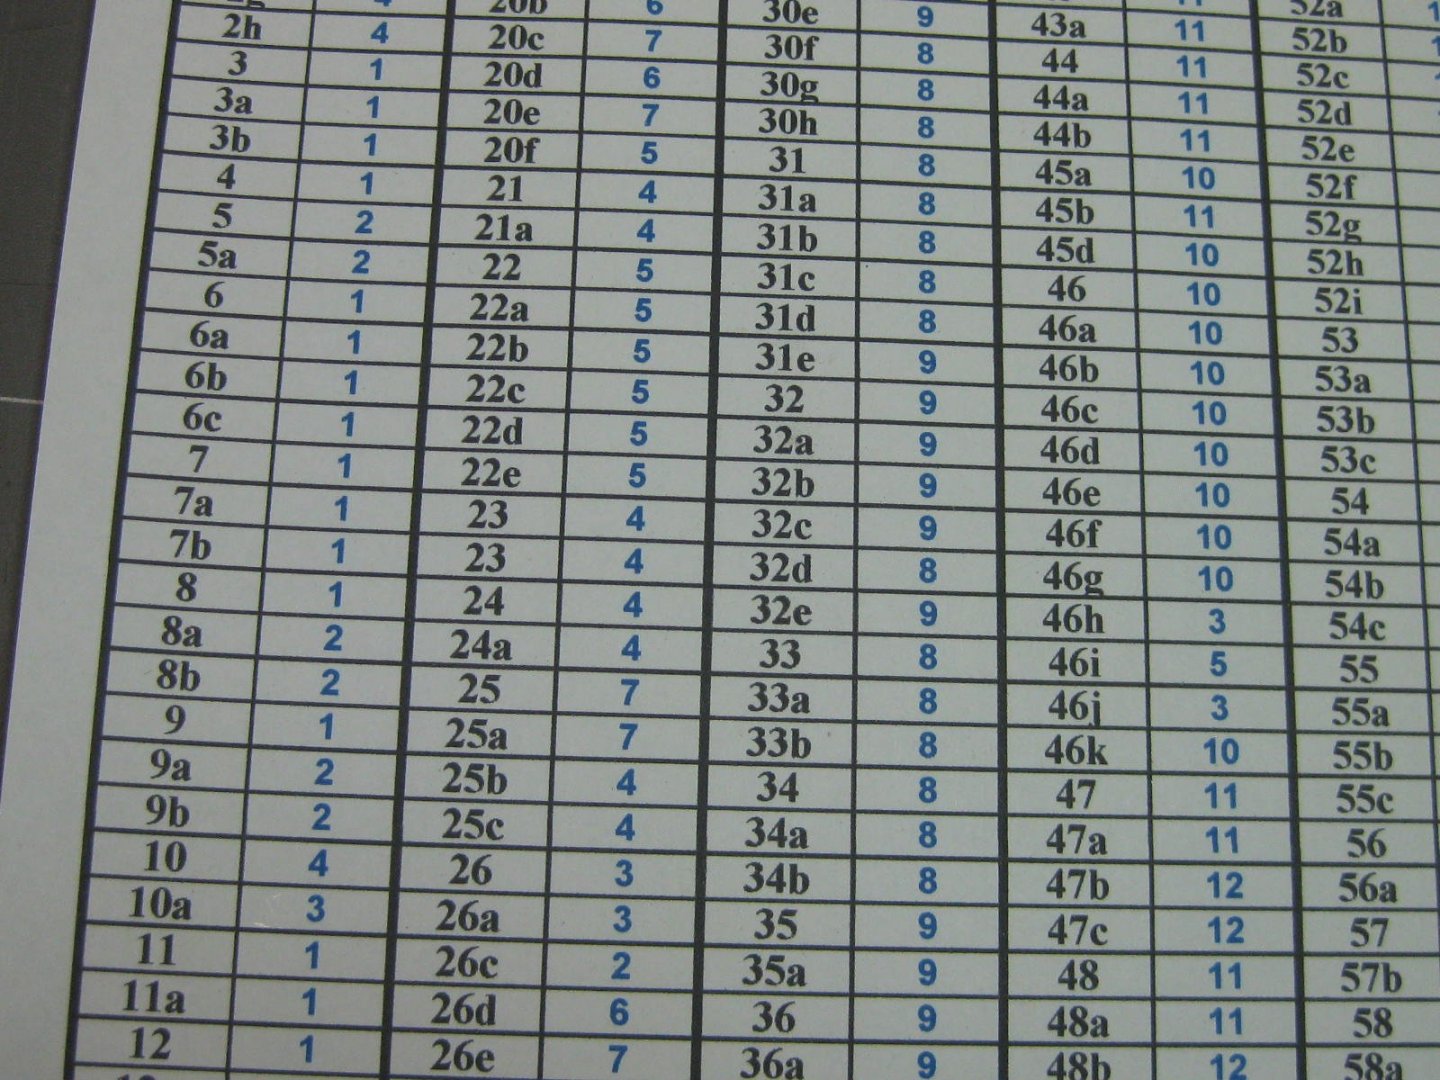
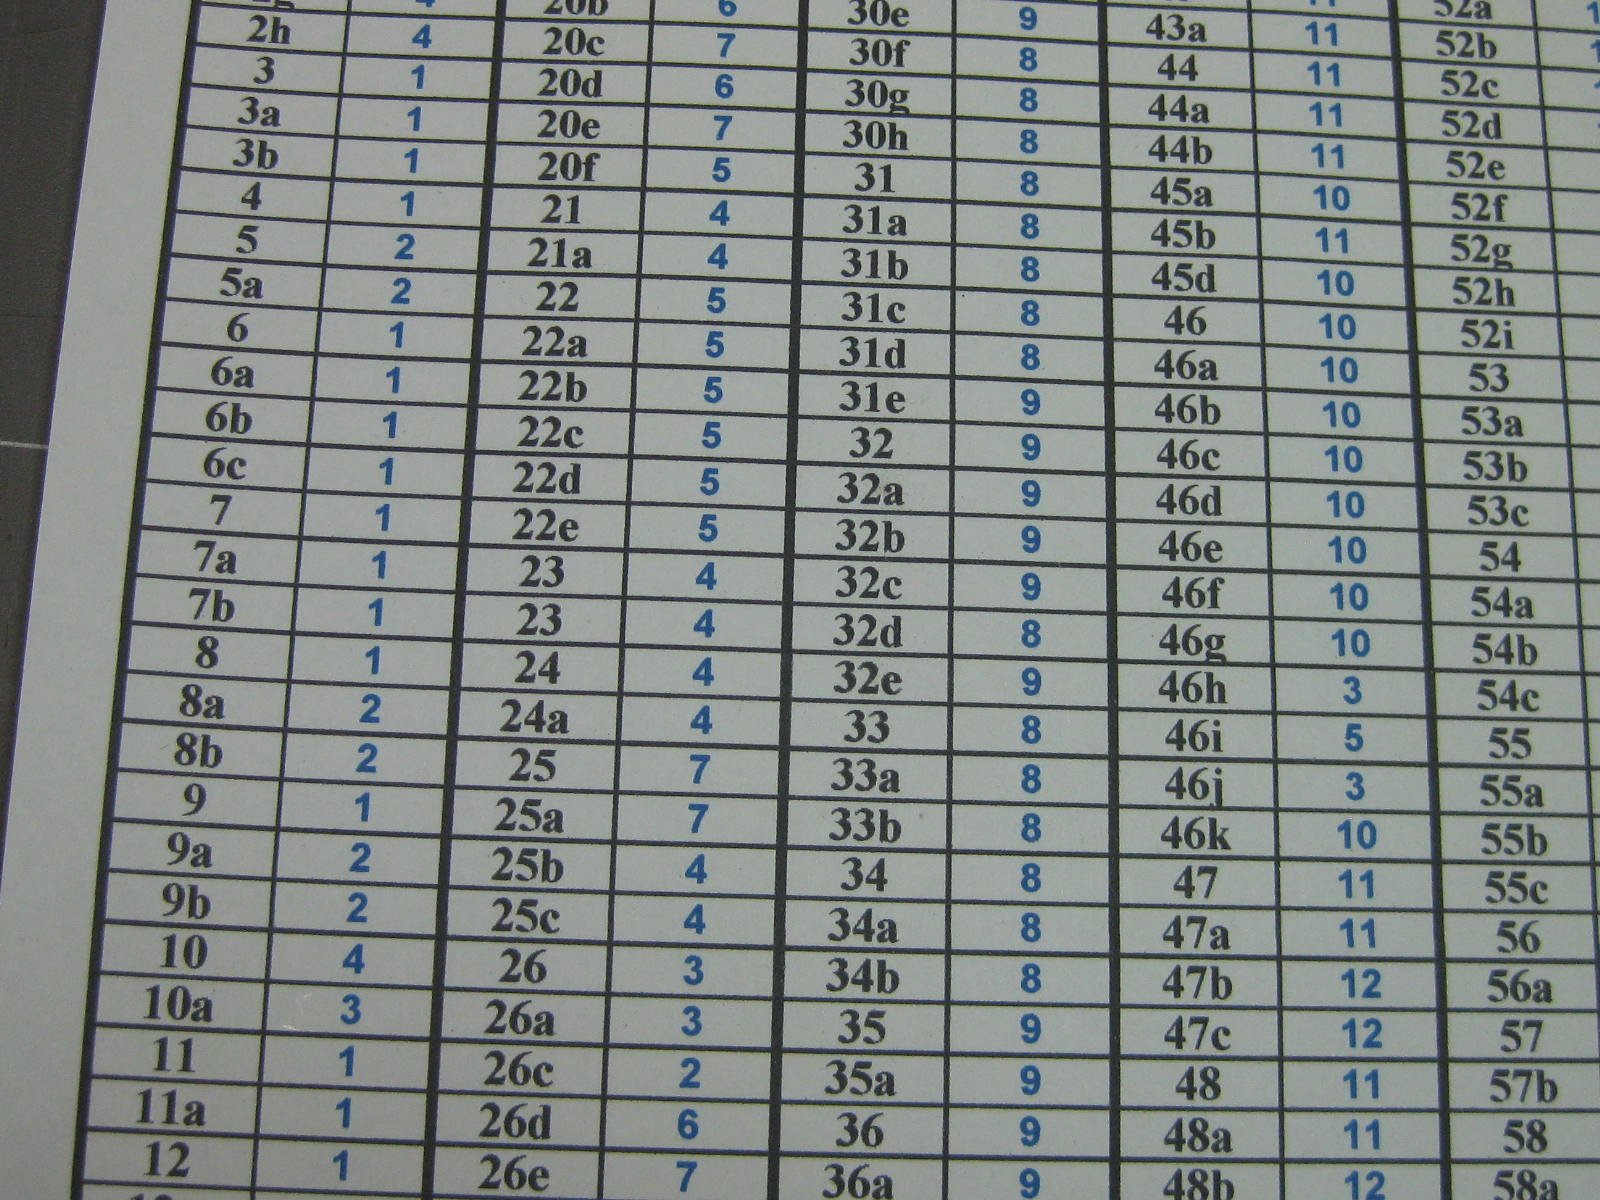
Last things I did was scan and save all the sheets to files and make my customary "Part Finder" Spreadsheet which helps find each part on the corresponding sheet MUCH easier. Well worth the couple of hours it took to make :
Danny
- Edwardkenway, egkb, yvesvidal and 18 others
-
21
-
17 hours ago, Captain Slog said:
Surprisingly they supply 2 of the trussed frame which is strange as the paper part 97 folded come to roughly the same thickness as the laser cut card
Good to see you back at it Slog, and all to your usual excellent standard
. Have fun with those ship's boats.
I found in some of my Halinski kits that they sometimes print two of the same parts which are very delicate and easy to ruin in case you do just that. Maybe the same thinking here?
Danny
- mtaylor, Canute and Captain Slog
-
3
-
Thank you Ken, my mind was on a different type of "Garden Railway" - the kind you can actually ride in
.
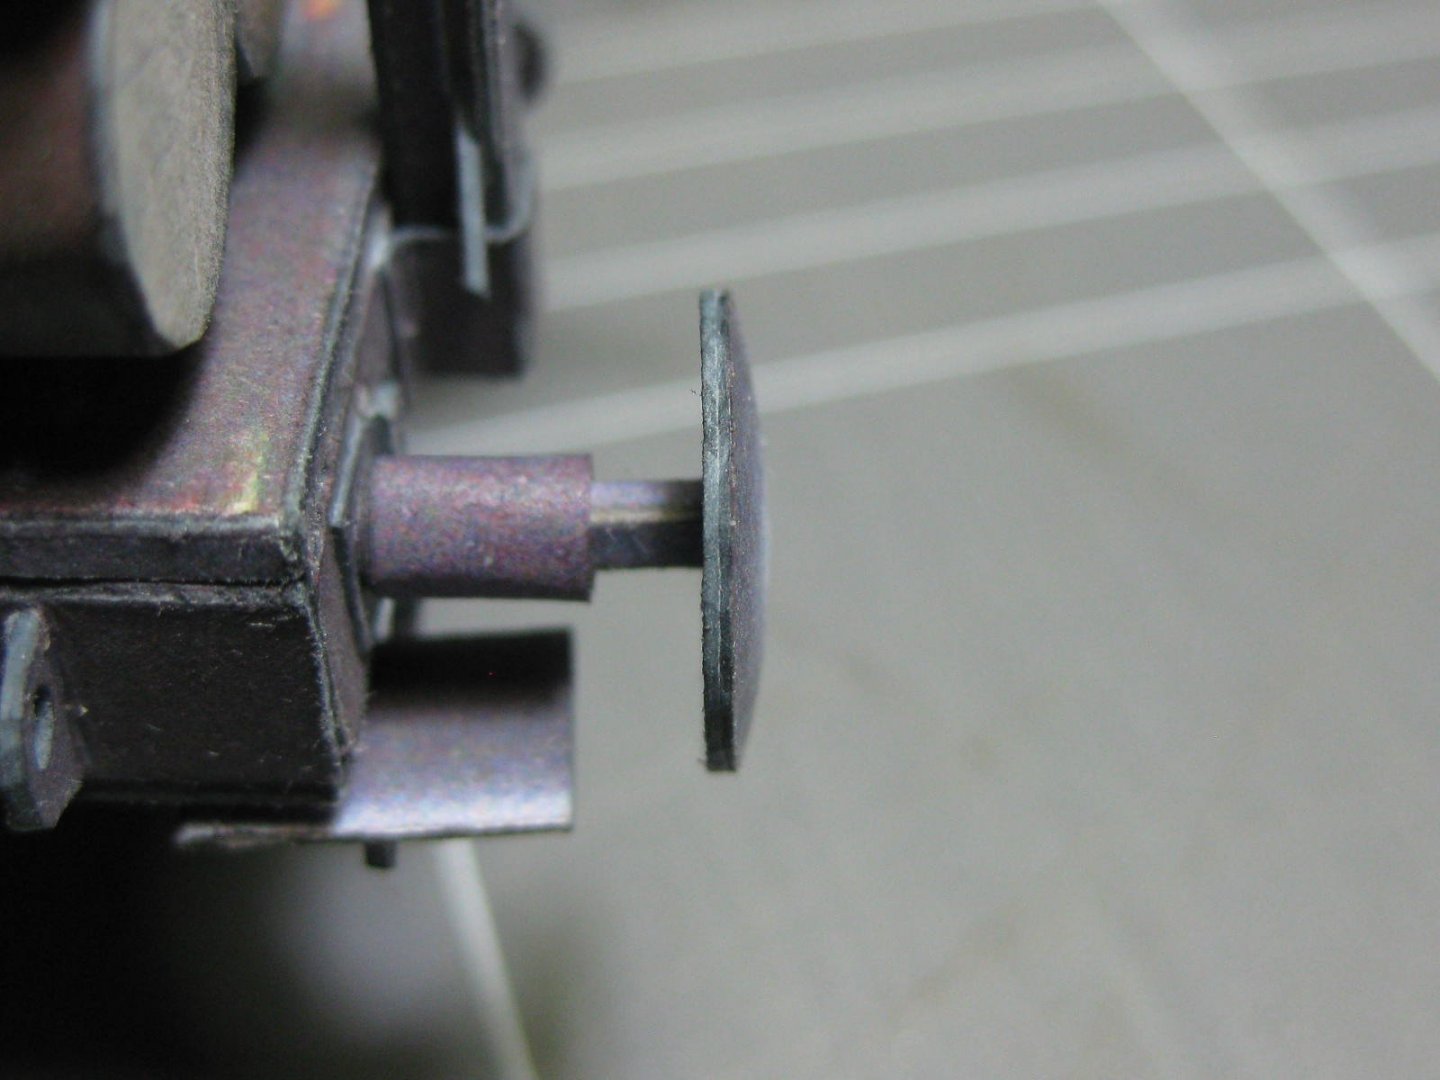
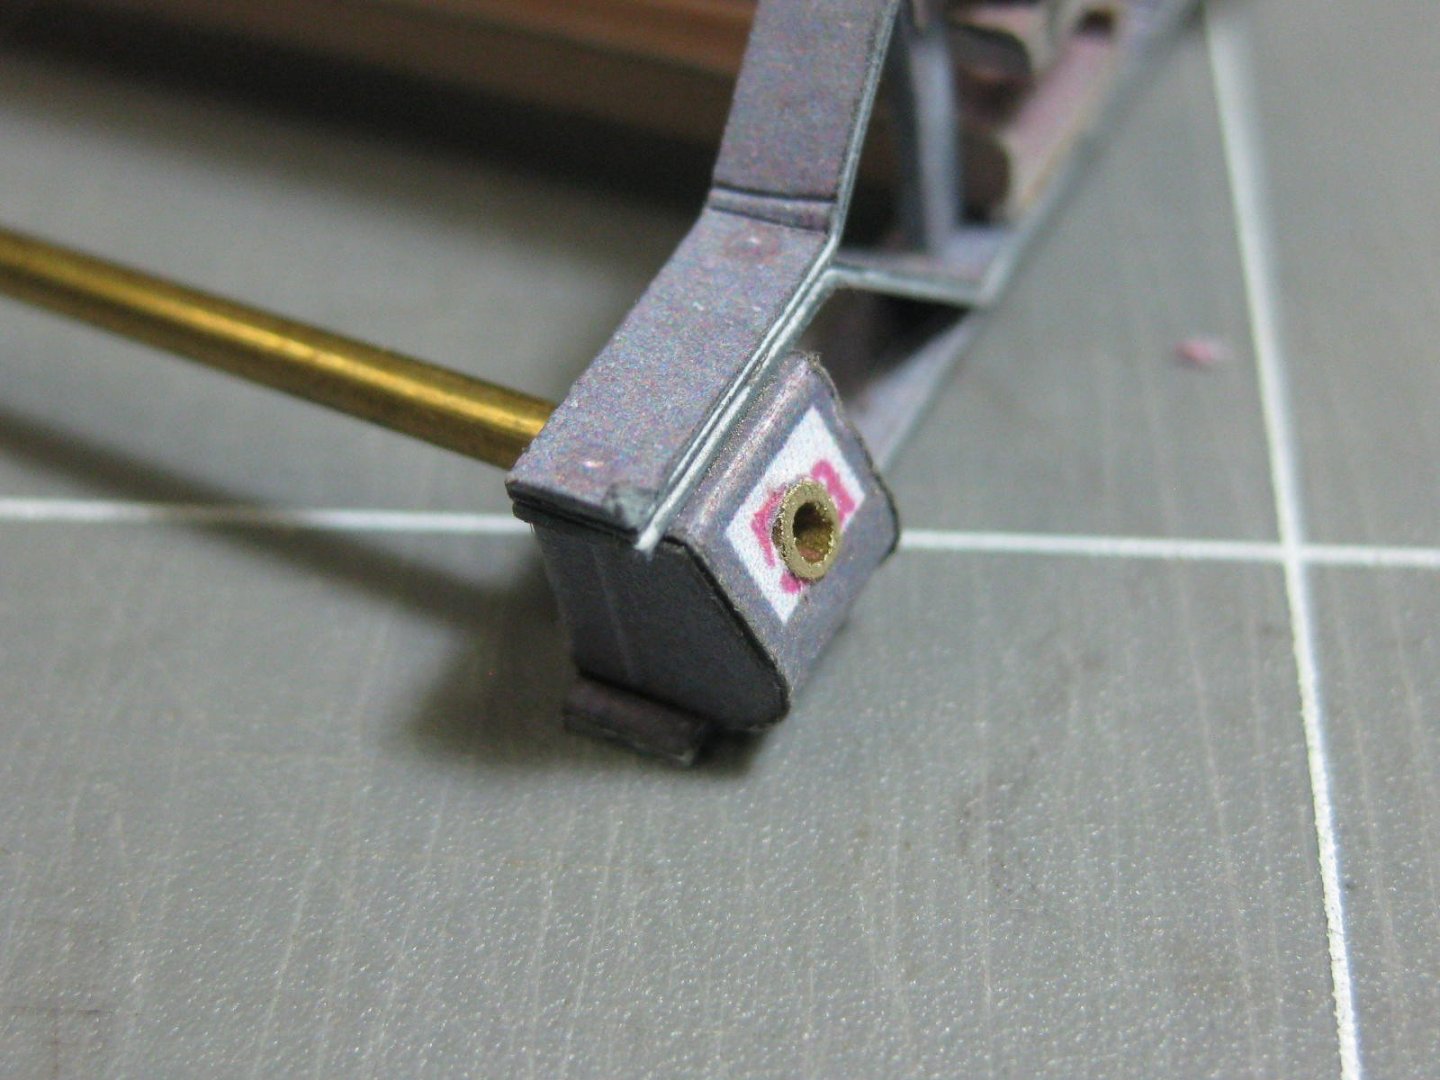
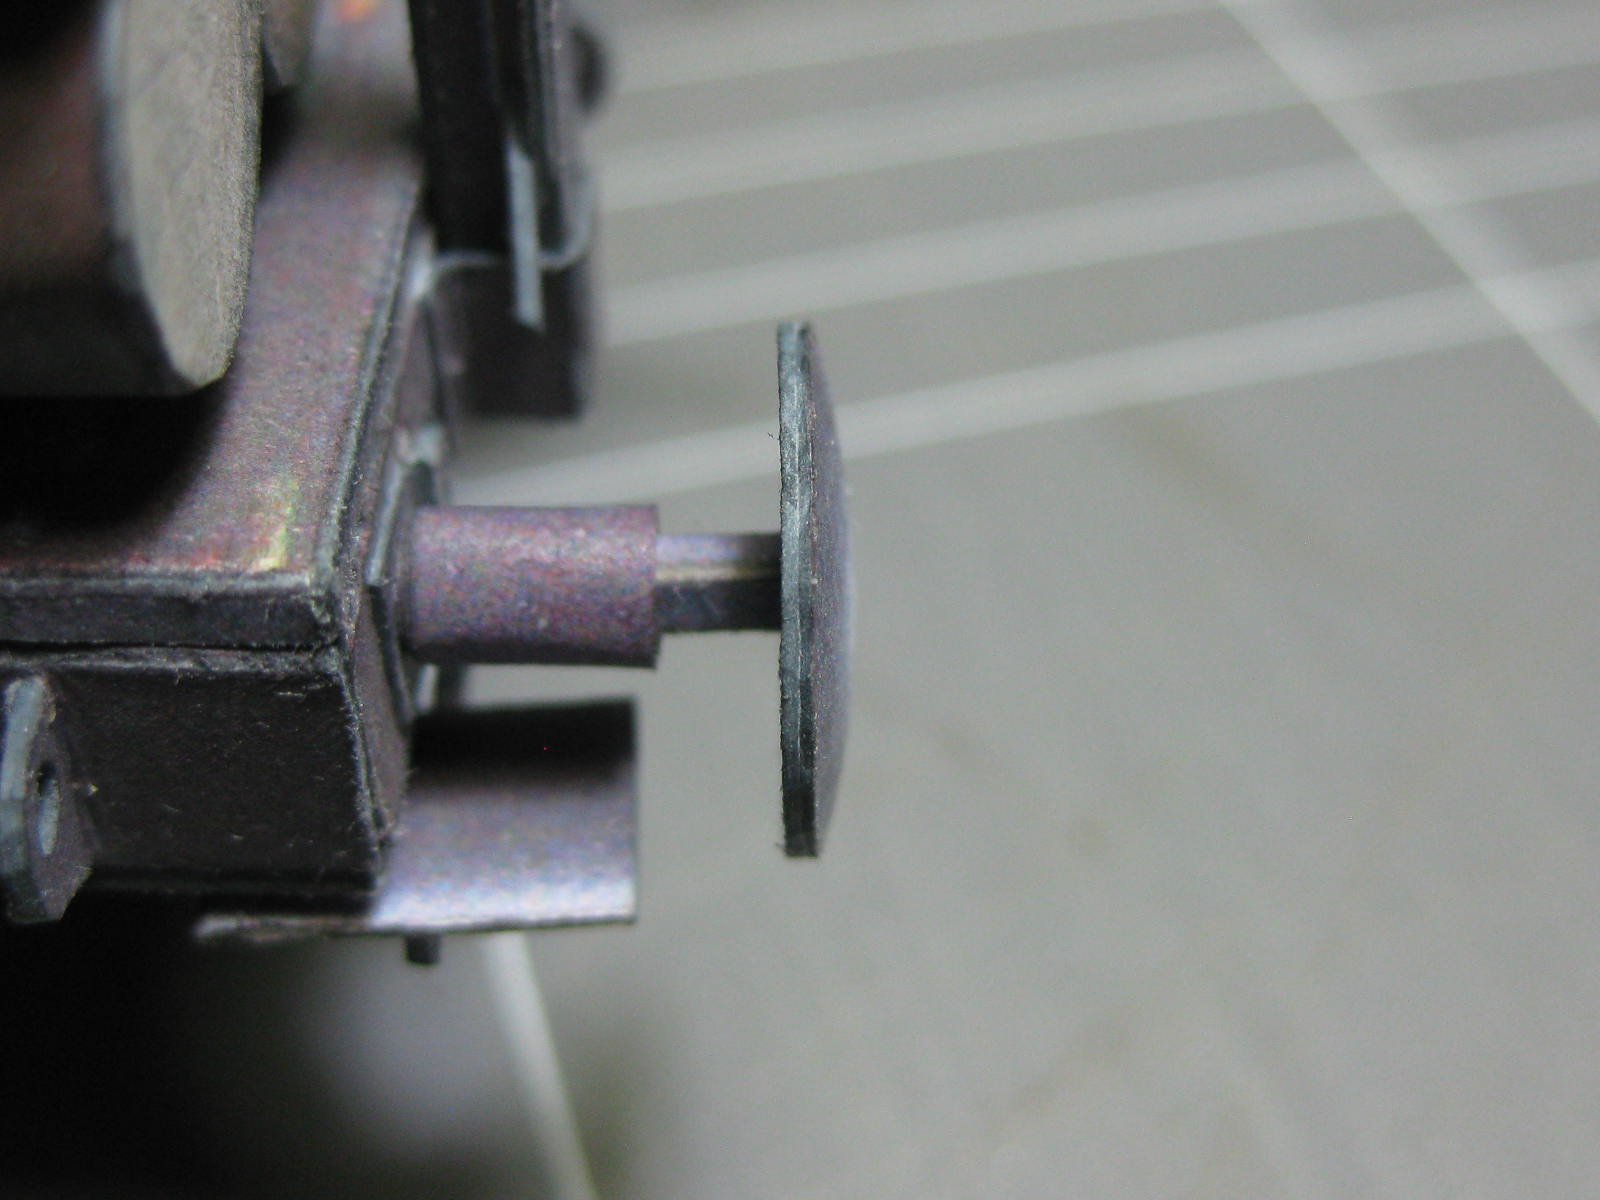
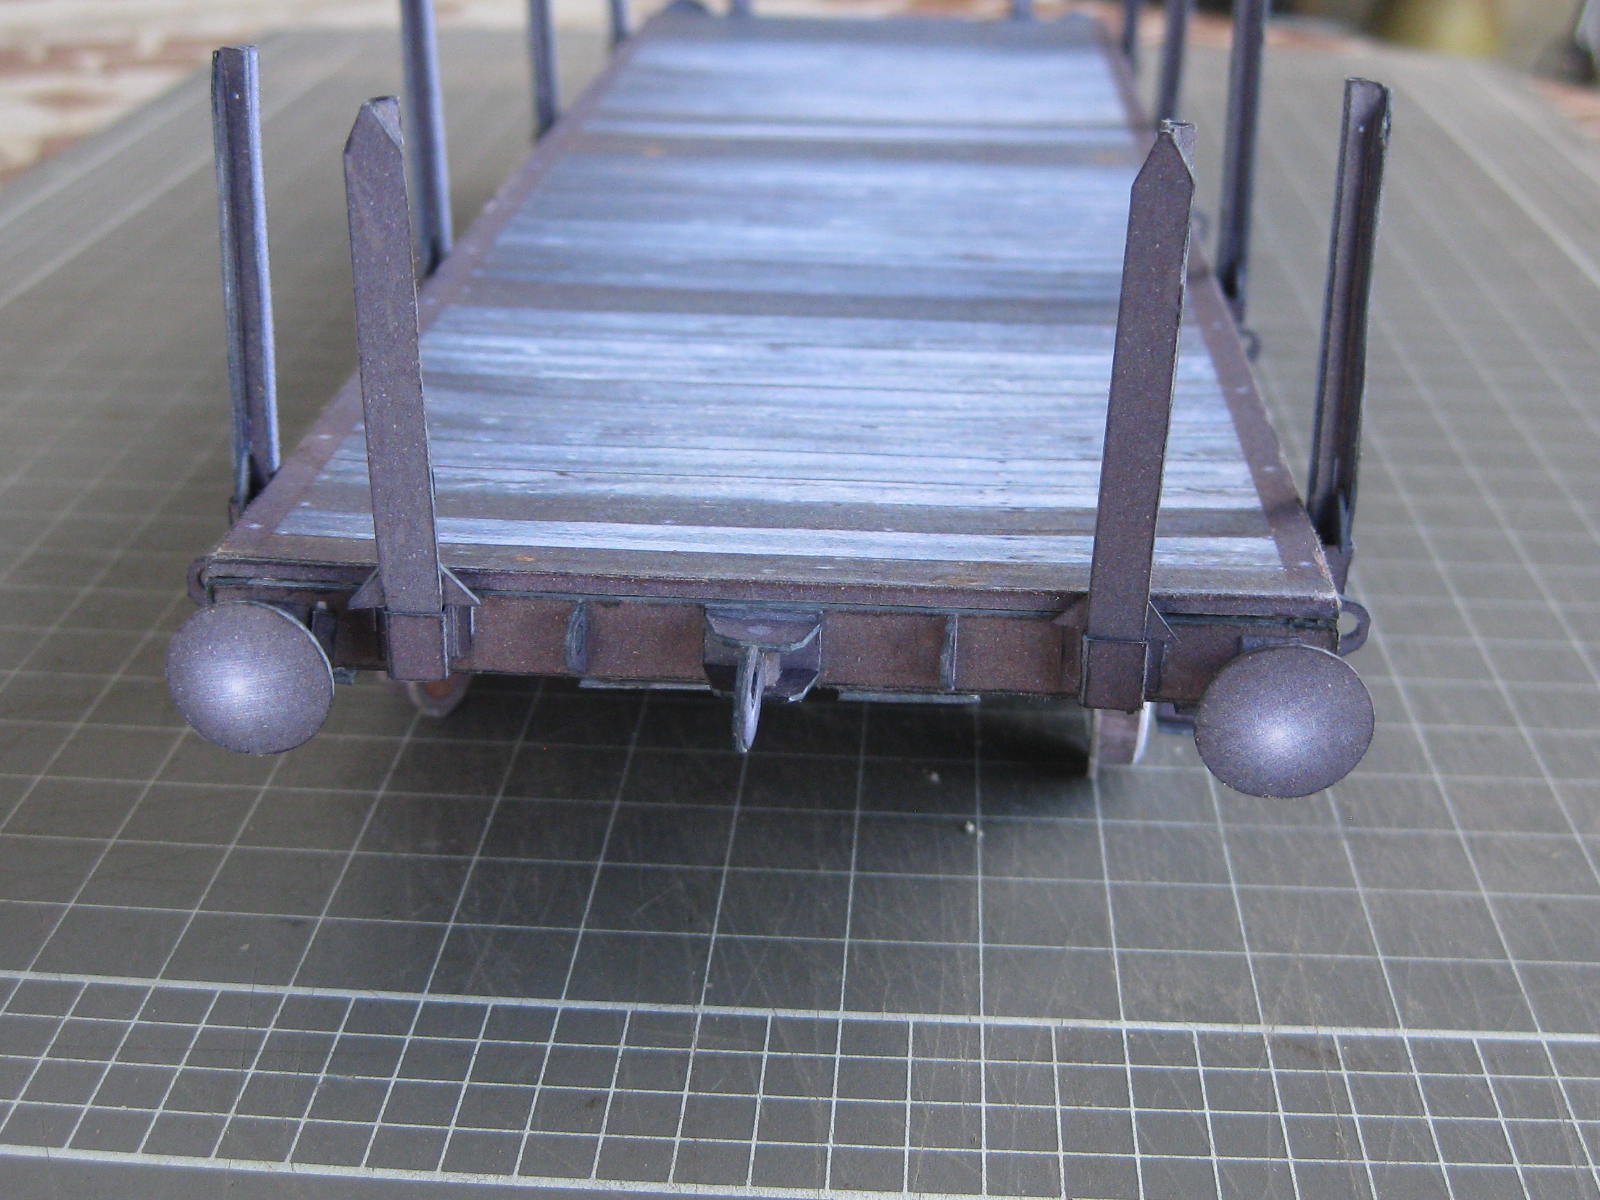
Pav - I'm aware of the different types of Buffers and I'll sleep just fine, as these ones are slightly convex (bowed) as per the original. Perhaps that didn't show up too well in my other pictures so here's another. Thanks for the links.
BTW - the buffers on the "next" wagon are NOT inverted (concave) but convex like these, or even just flat. It would be a VERY difficult task to sort out each wagon into "innies" and "outies" every time they were coupled. One could argue that the ones on the front were convex and the rear were concave, but the wagons do get turned around frequently. The convex buffers actually allow for a smaller turning radius, preventing "buffer lock", where one buffer can get caught behind the other and possibly cause a de-railment. I've never seen a concave buffer (or "innie")
.
You'll have to excuse me - my daughter just informed me that my Bulgar Loco has arrived at last - ordered on July 4th. I thought the ship had sunk
. Looks like I'm about to get busy . Yaaayyy.
Danny
-
38 minutes ago, Canute said:
Very credible garden railway scale logging car
Thanks Ken. "Garden Railway" ??? It's a bit smaller than that - 1:25, which I think is "1" Gauge or a bit bigger
.
Danny
- CDW, thibaultron, popeye the sailor and 1 other
-
4
-
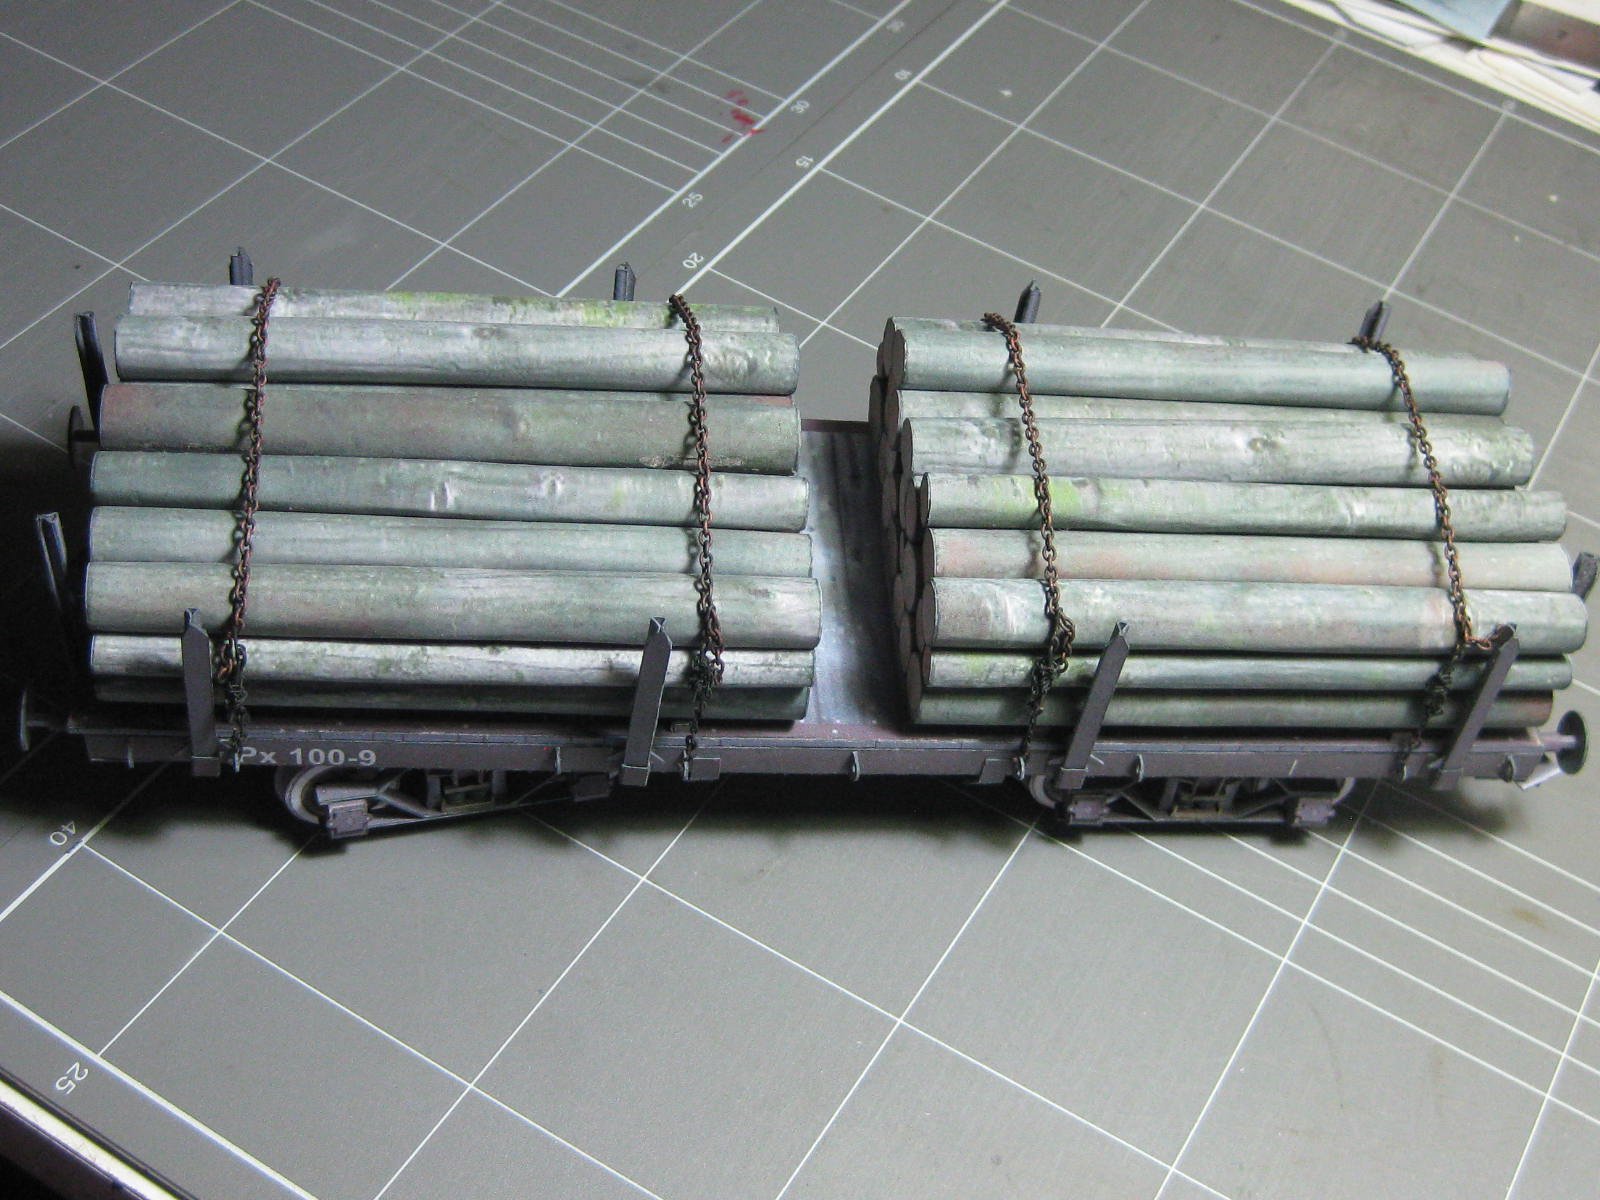
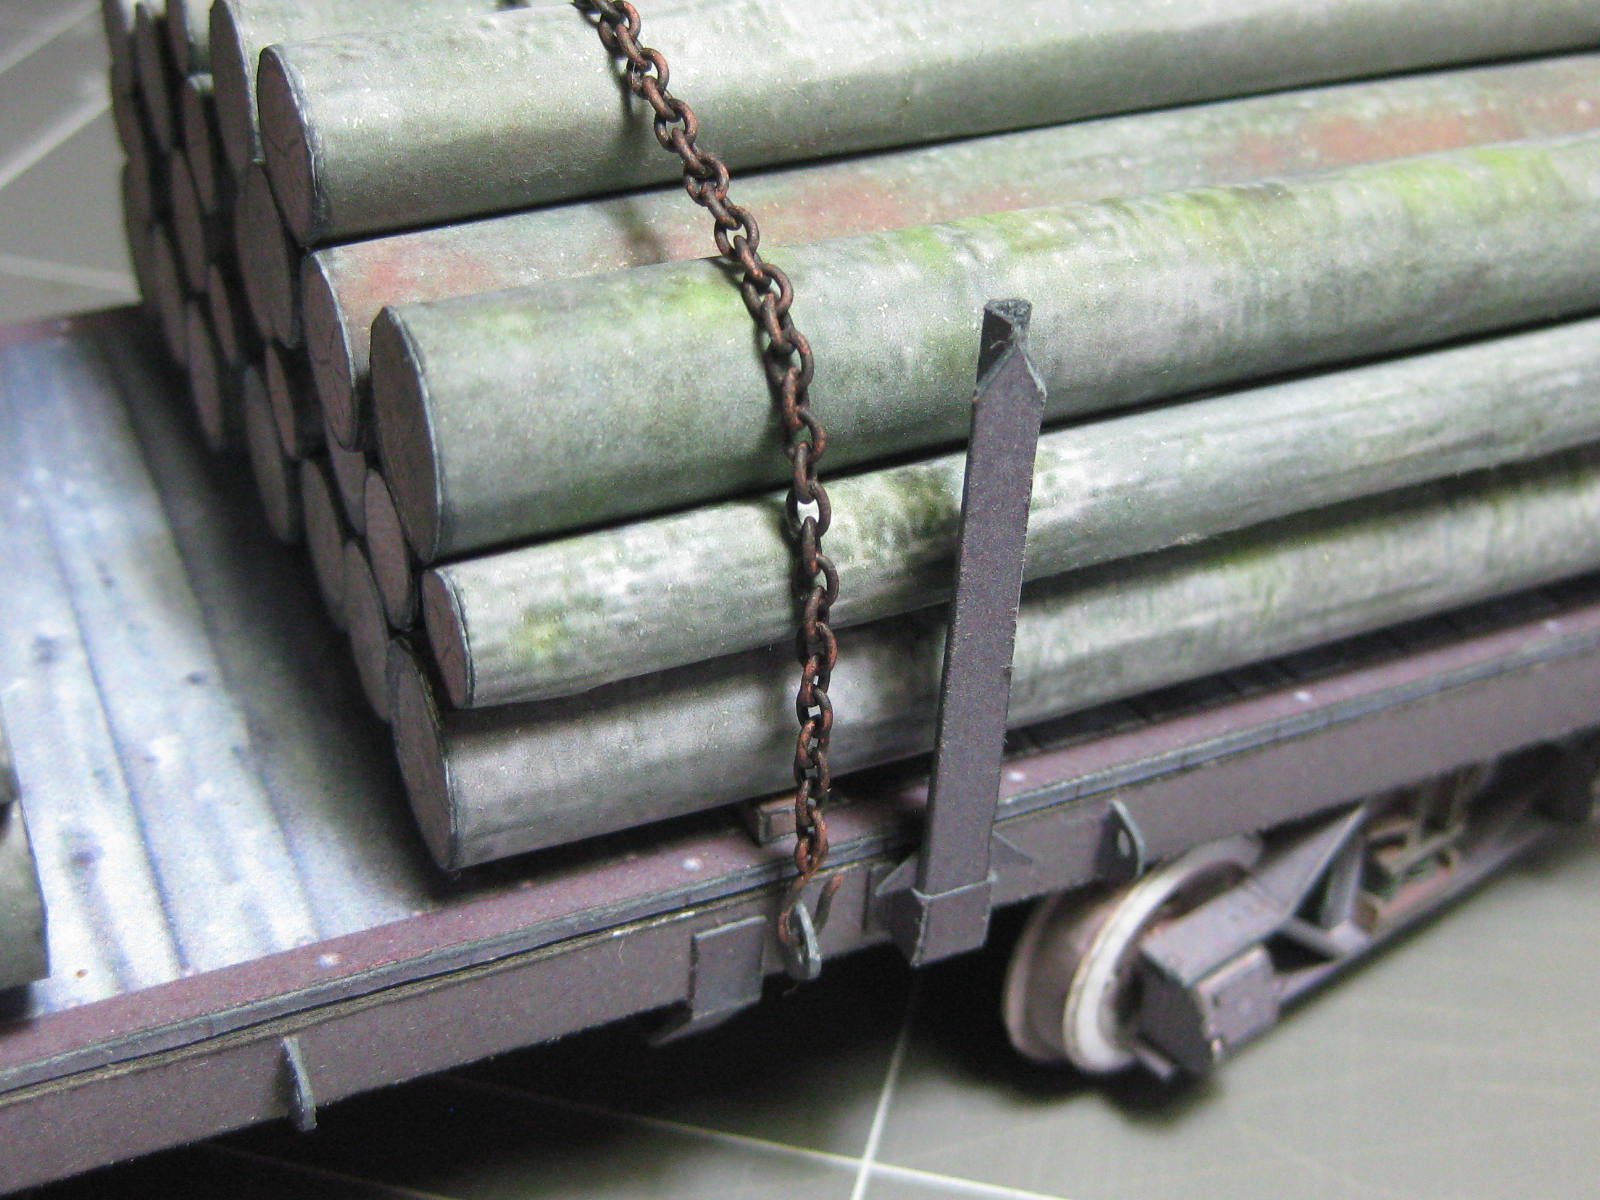
STILL WAITING for my Locomotive kit
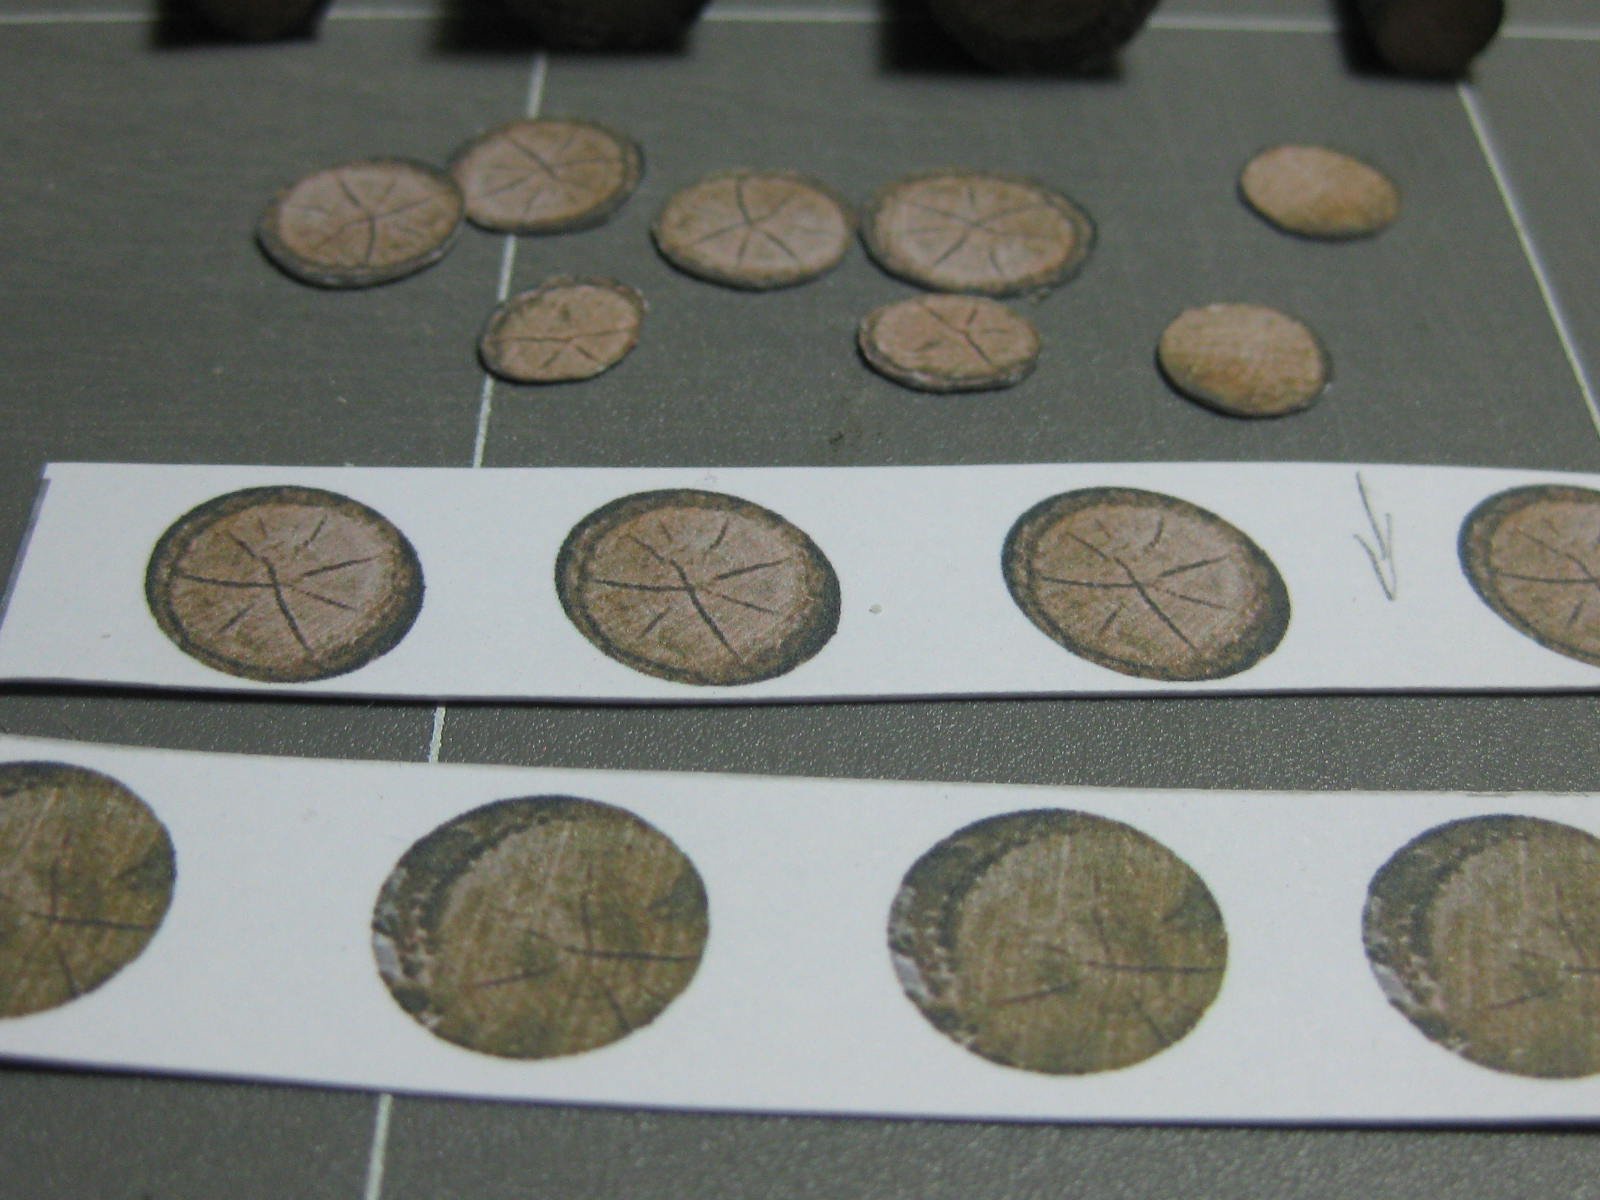
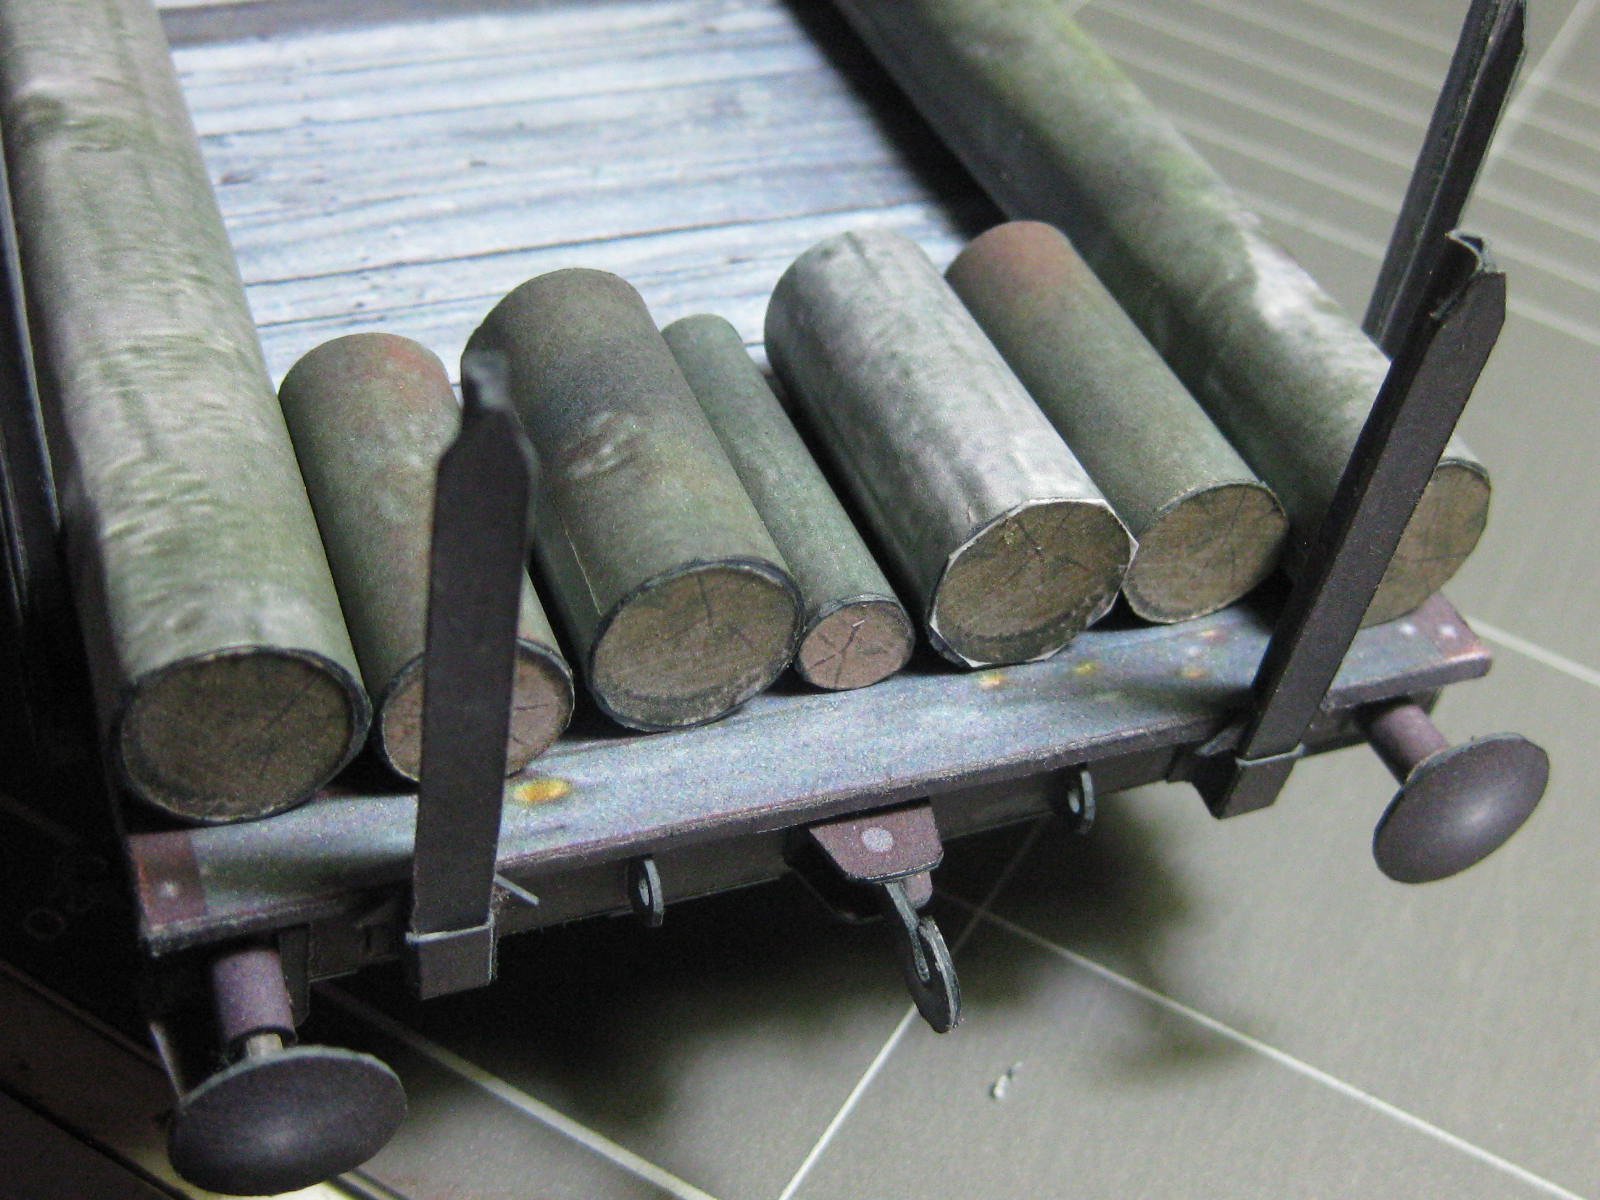
 , I decided to enhance the wagon with a load of logs. I downloaded some pictures of real logs and modified the sizes in Paint.net to suit the wagon. These took me quite a while to make, but it's filled in the time :
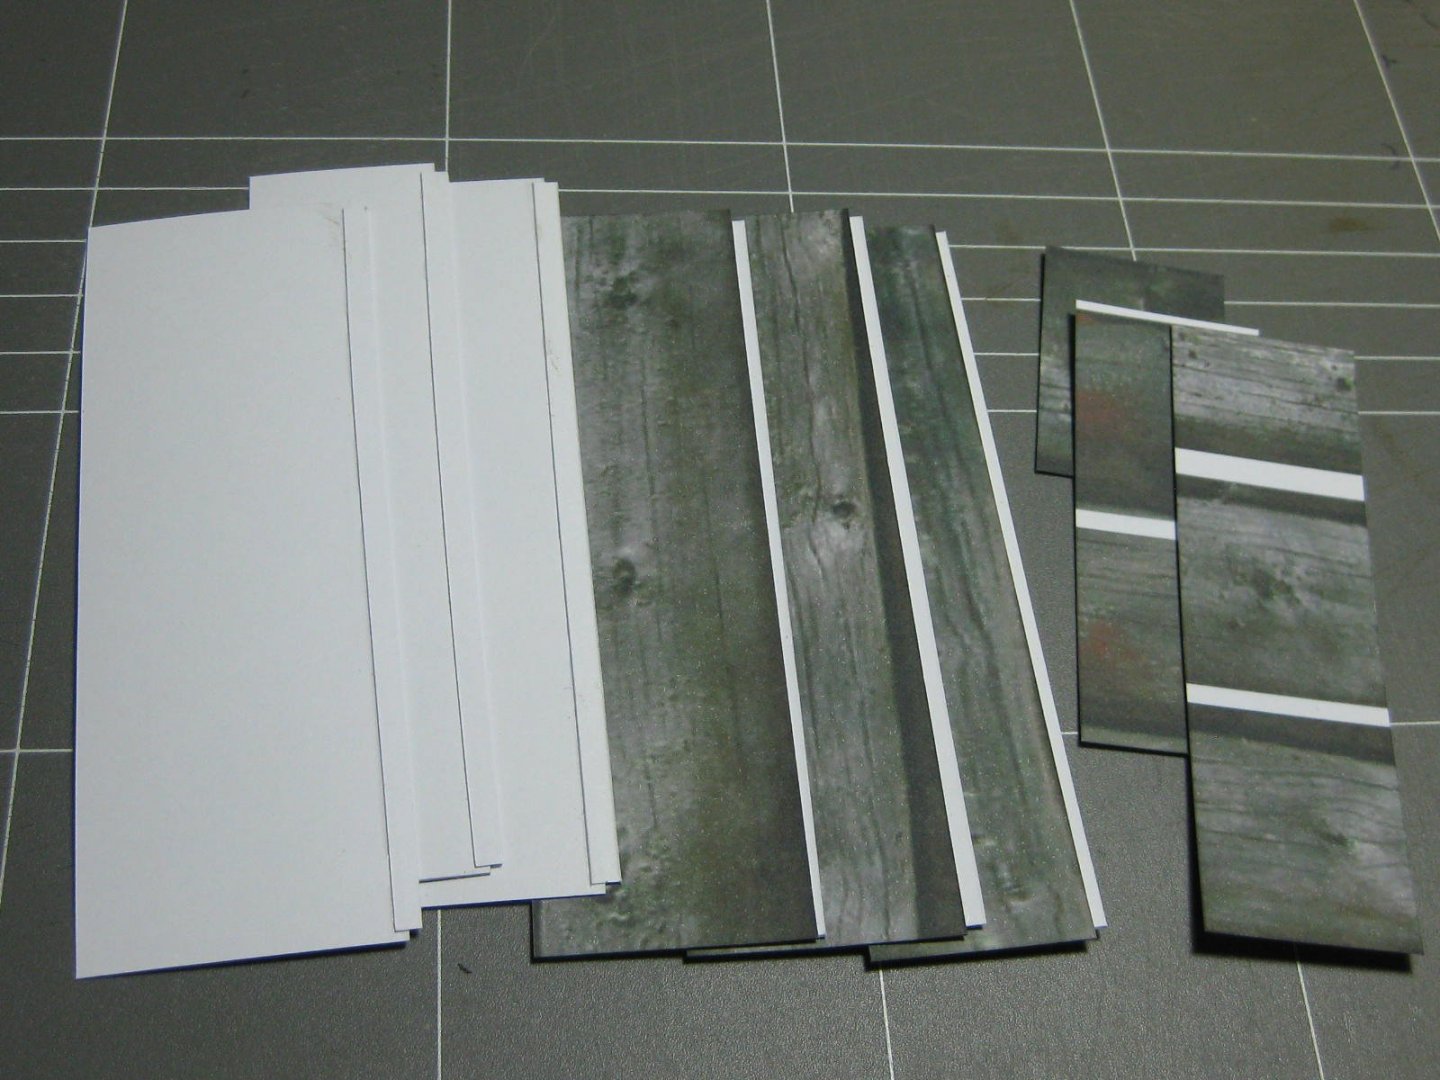

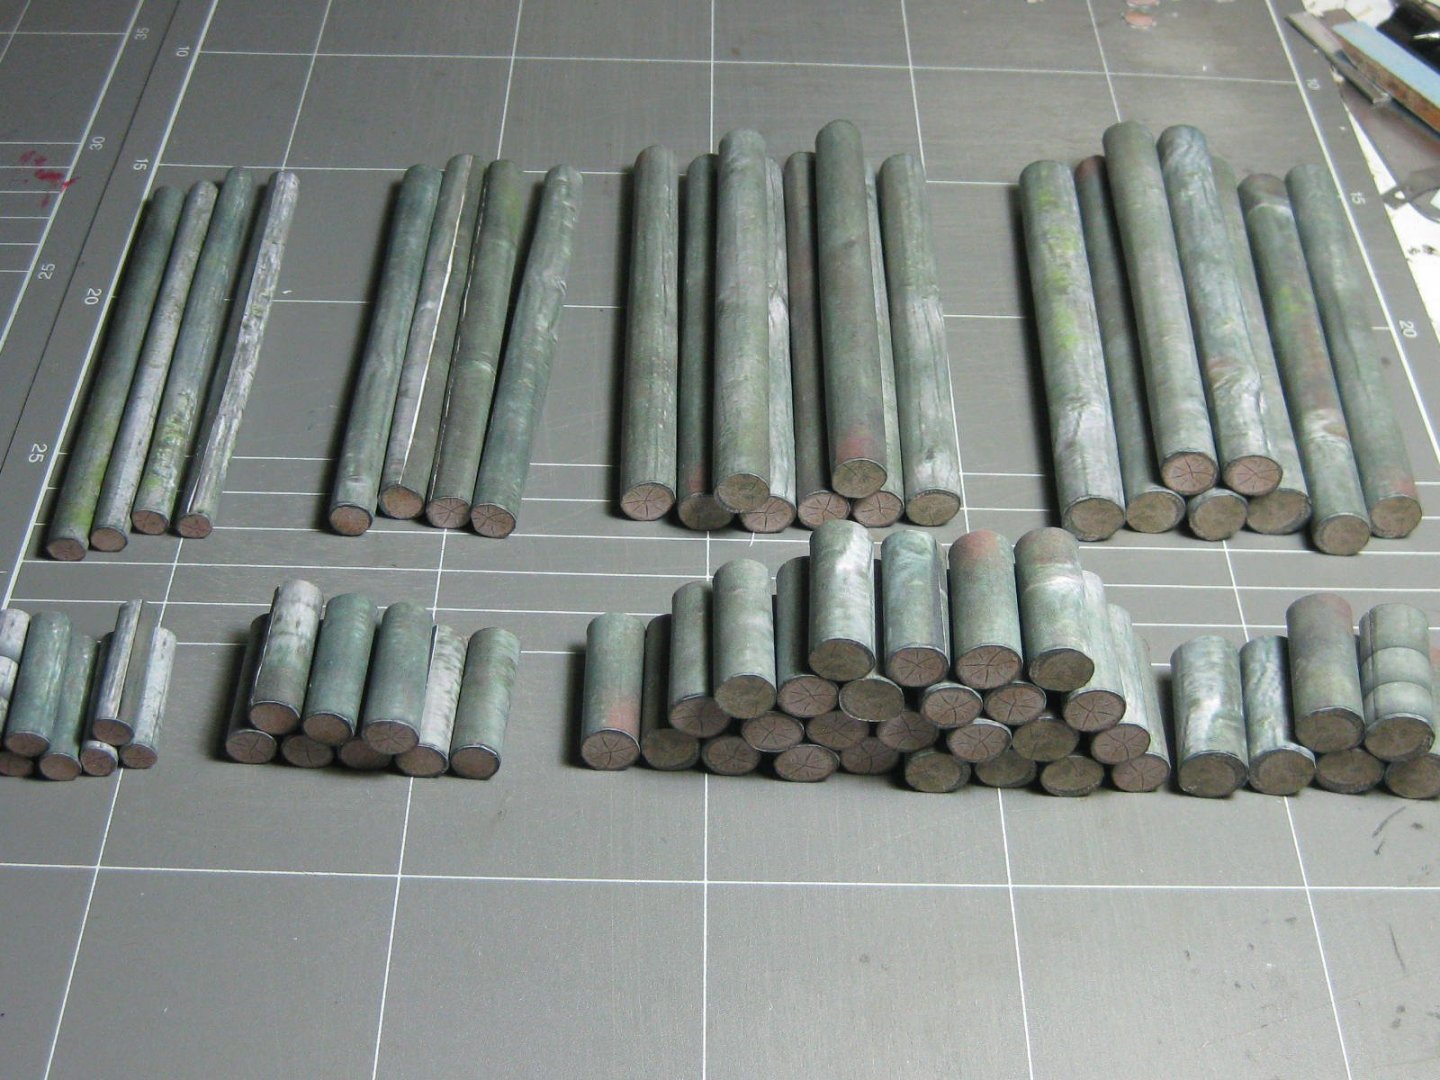
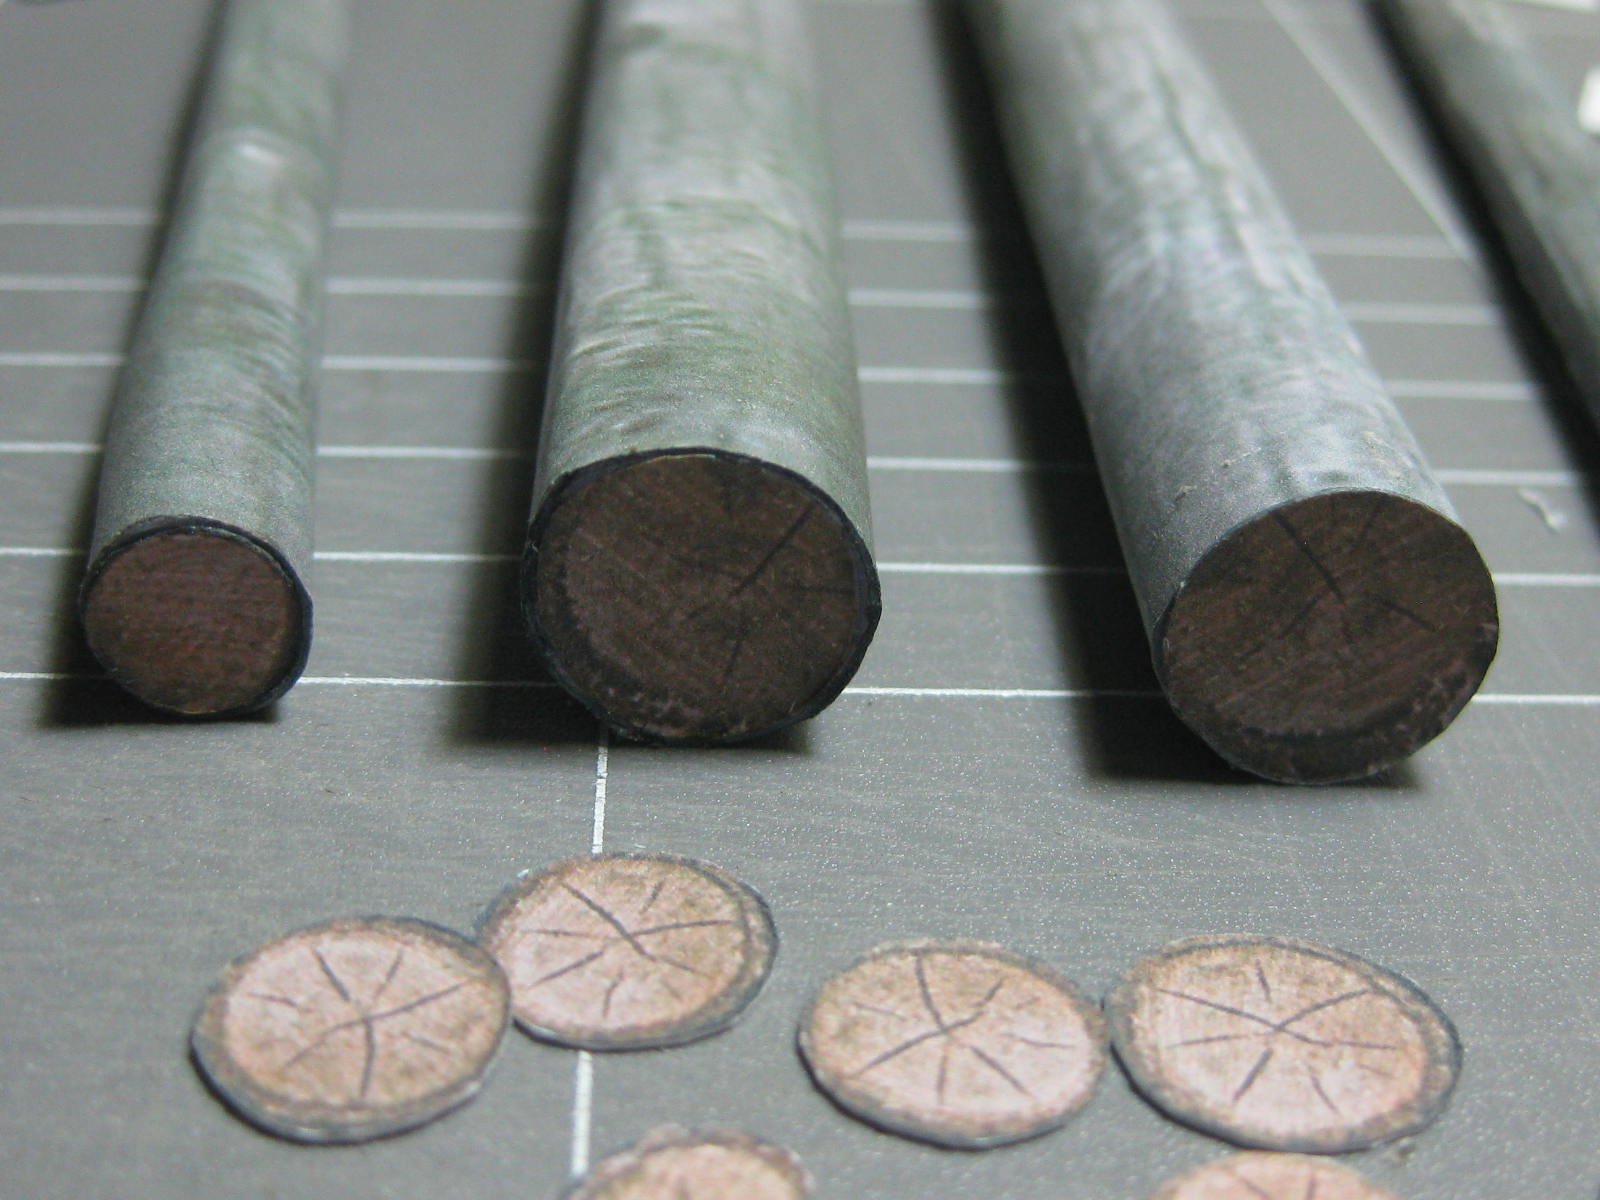
I made them in four size diameters :
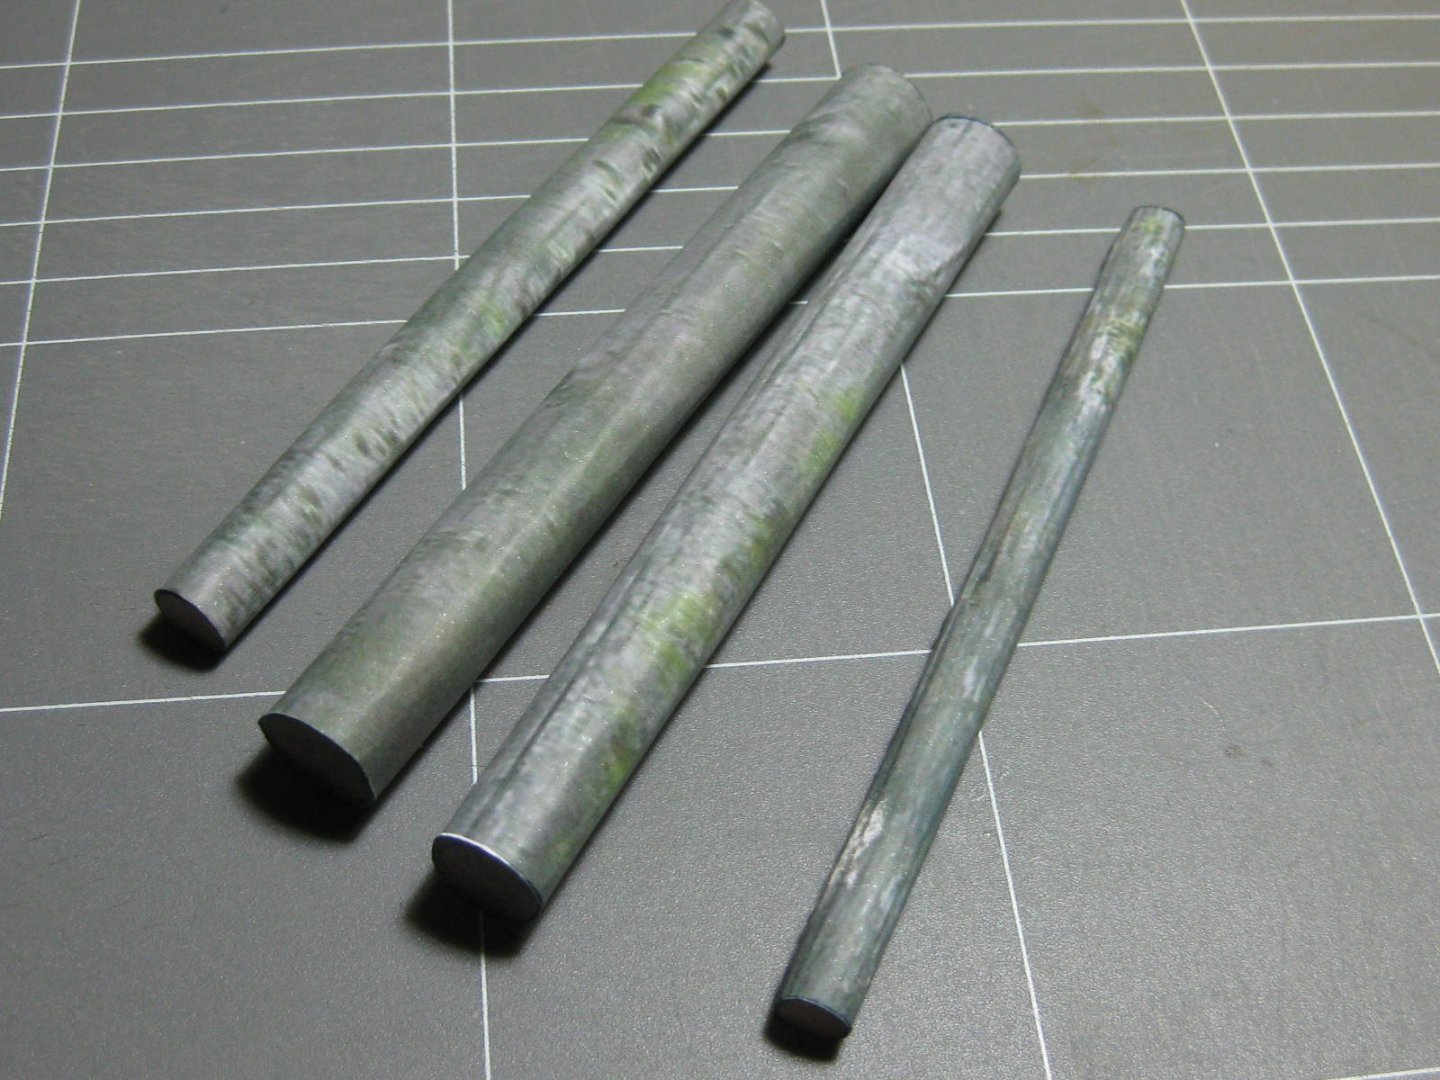
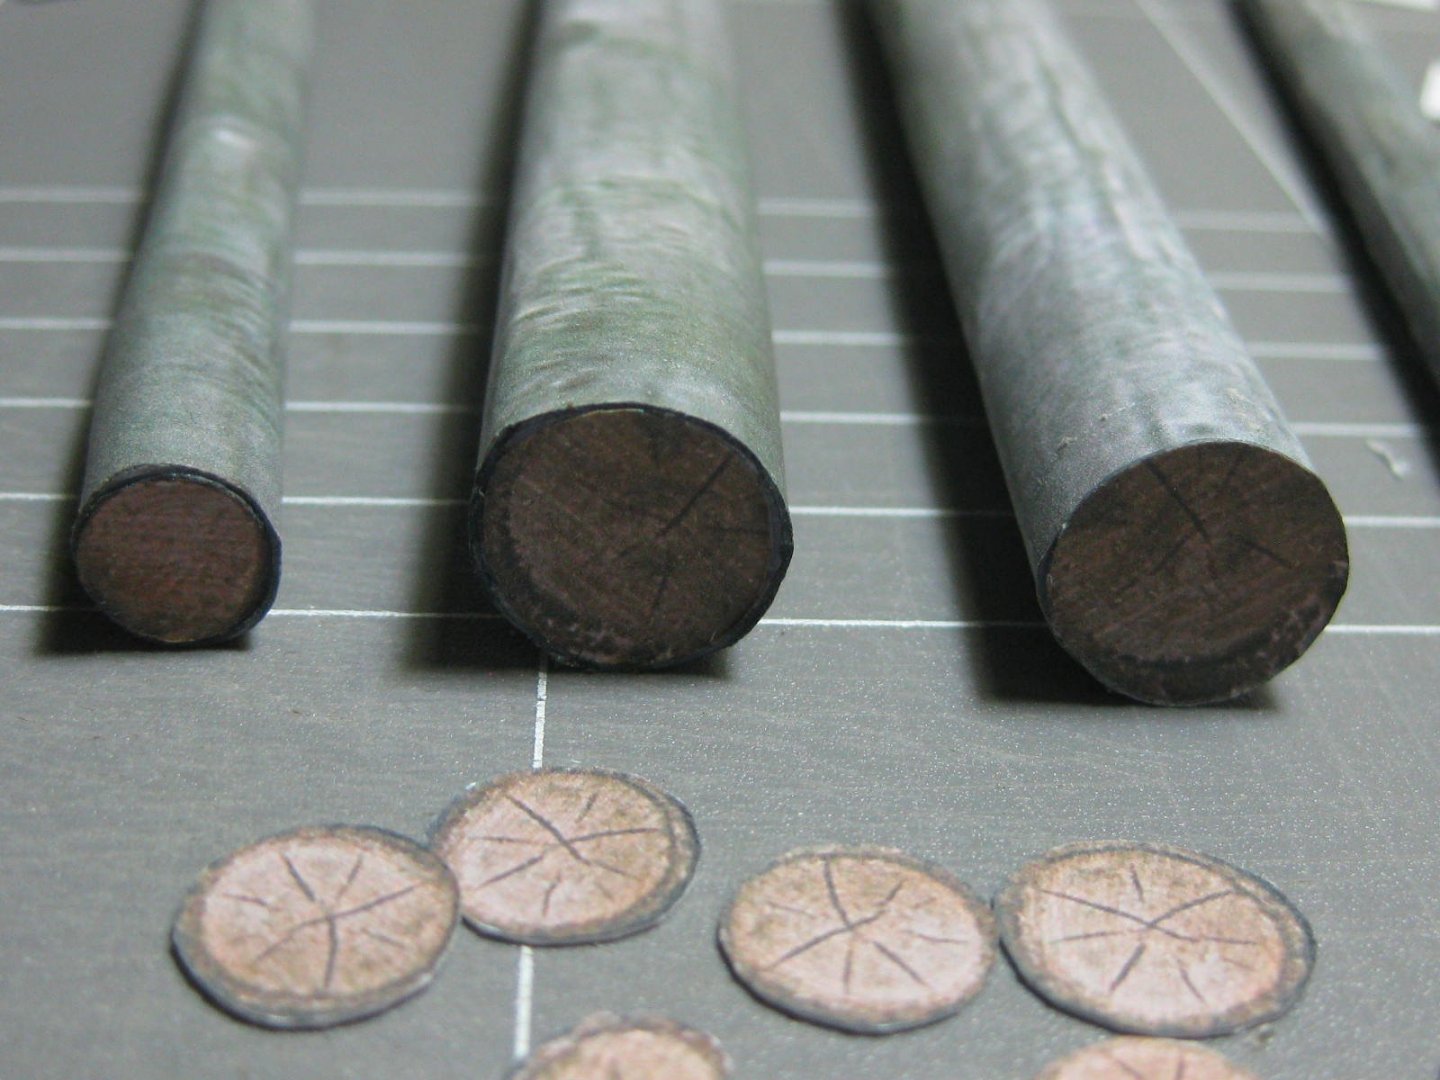
To save on paper and ink I only made the middle logs 20mm long :

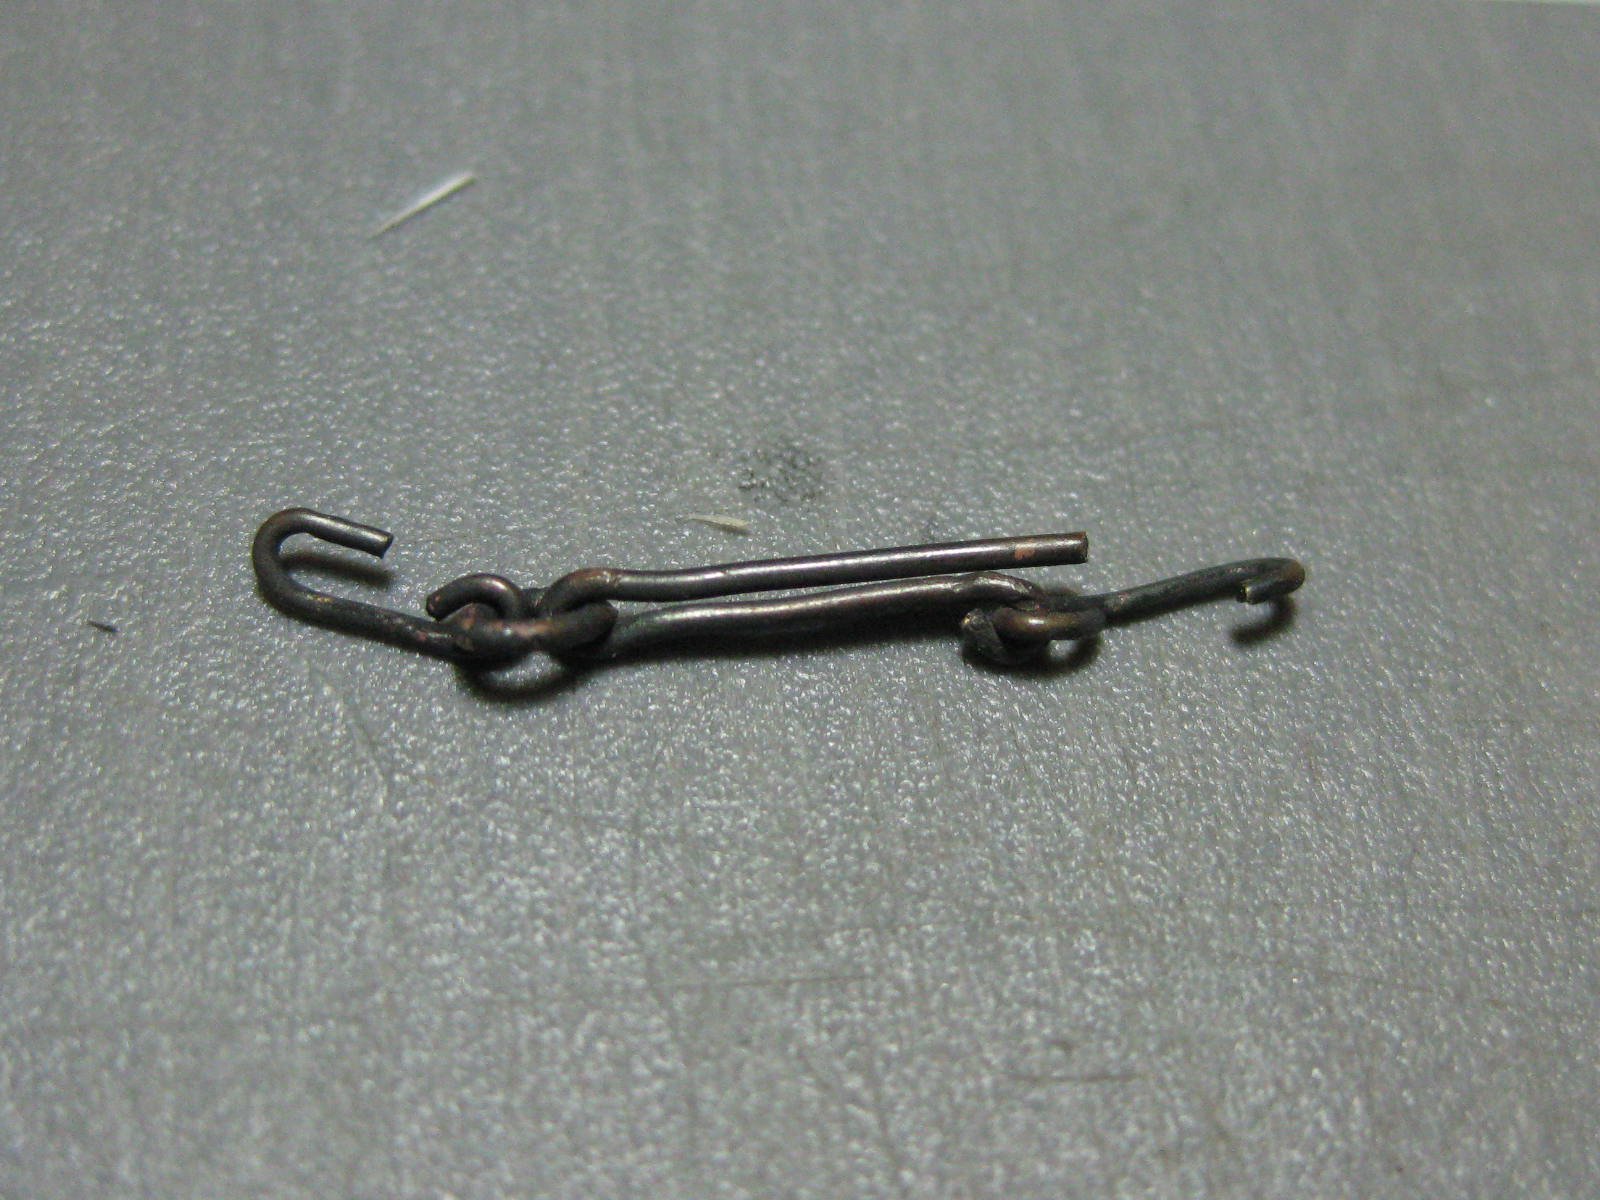
I also made up some lashing chains and tensioners :

Danny
-
10 hours ago, popeye the sailor said:
I see the trucks move as well. you did a super job with this one
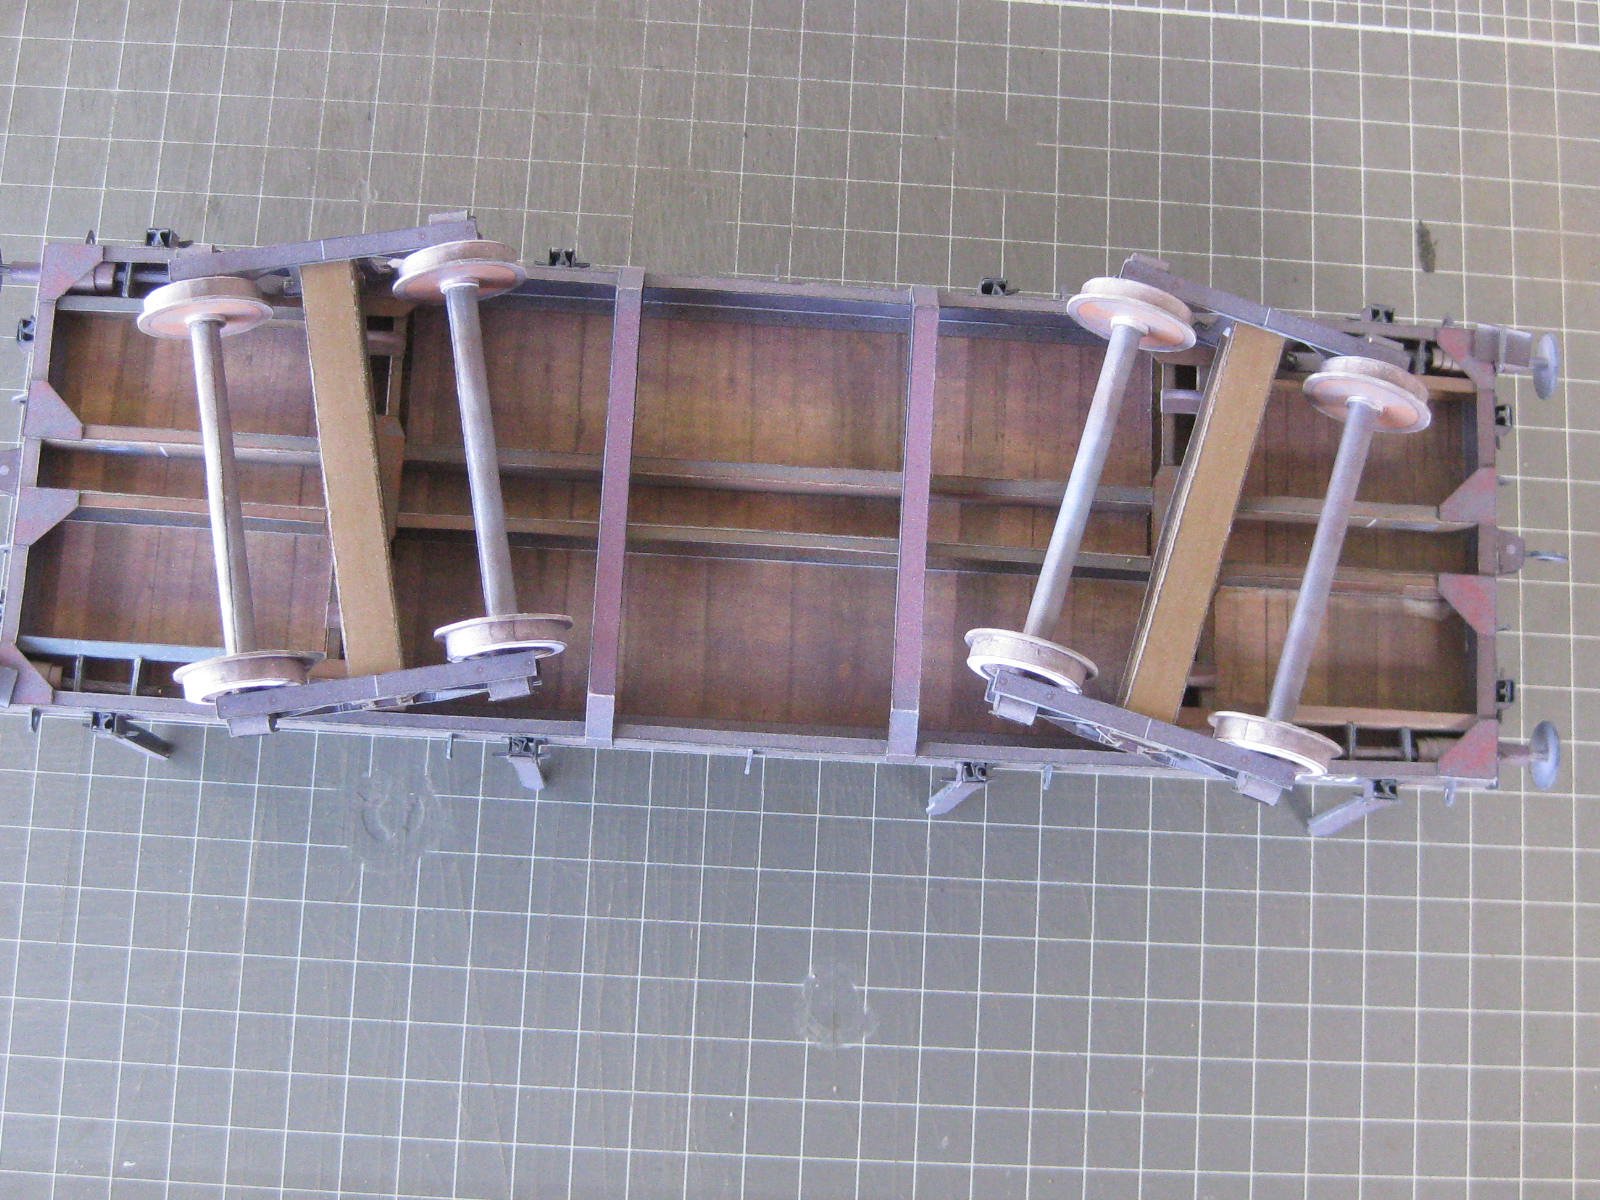
The wheels also turn
.
Danny
-
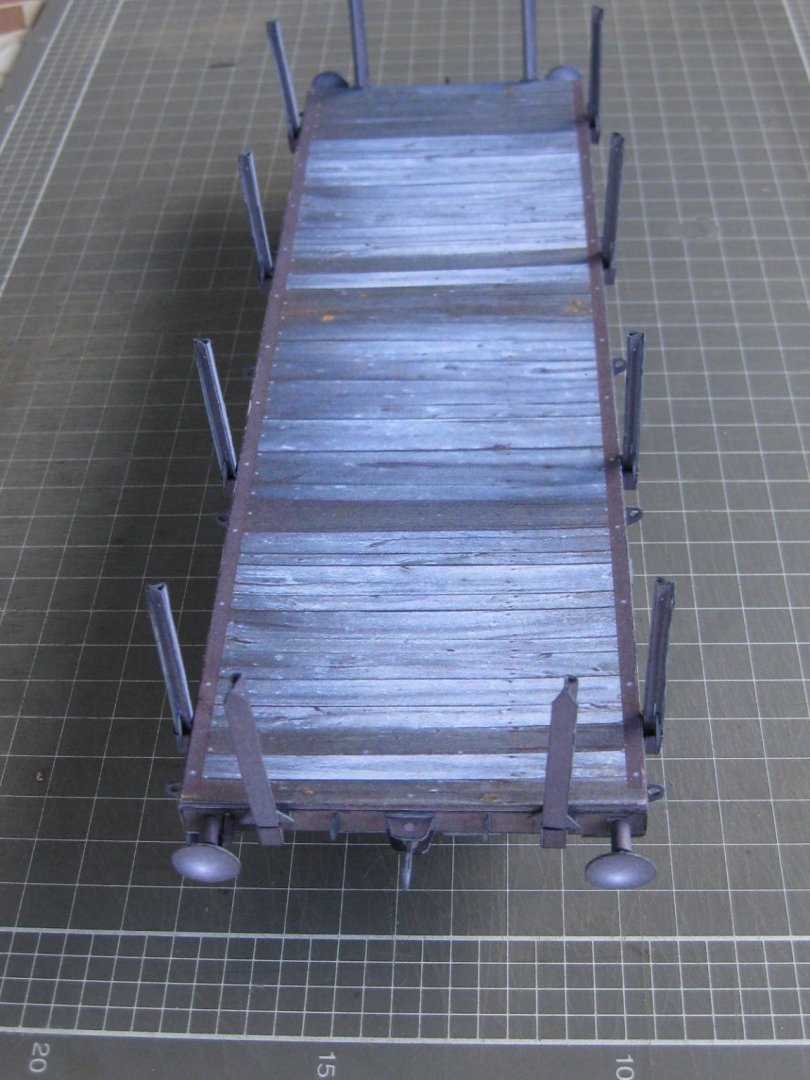
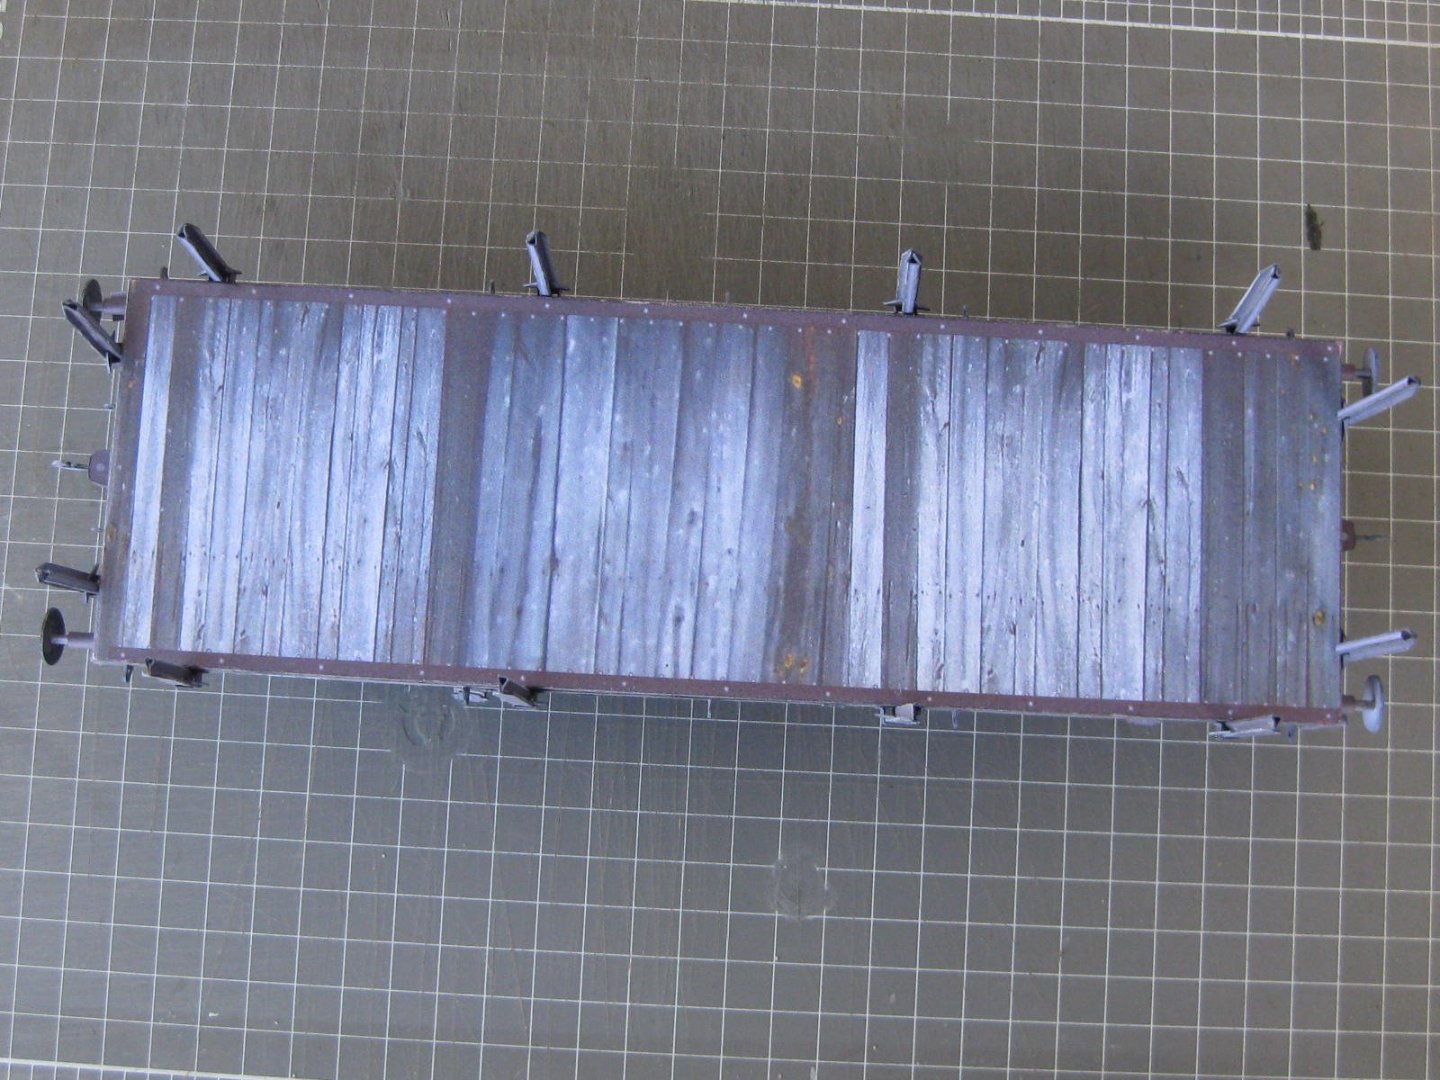
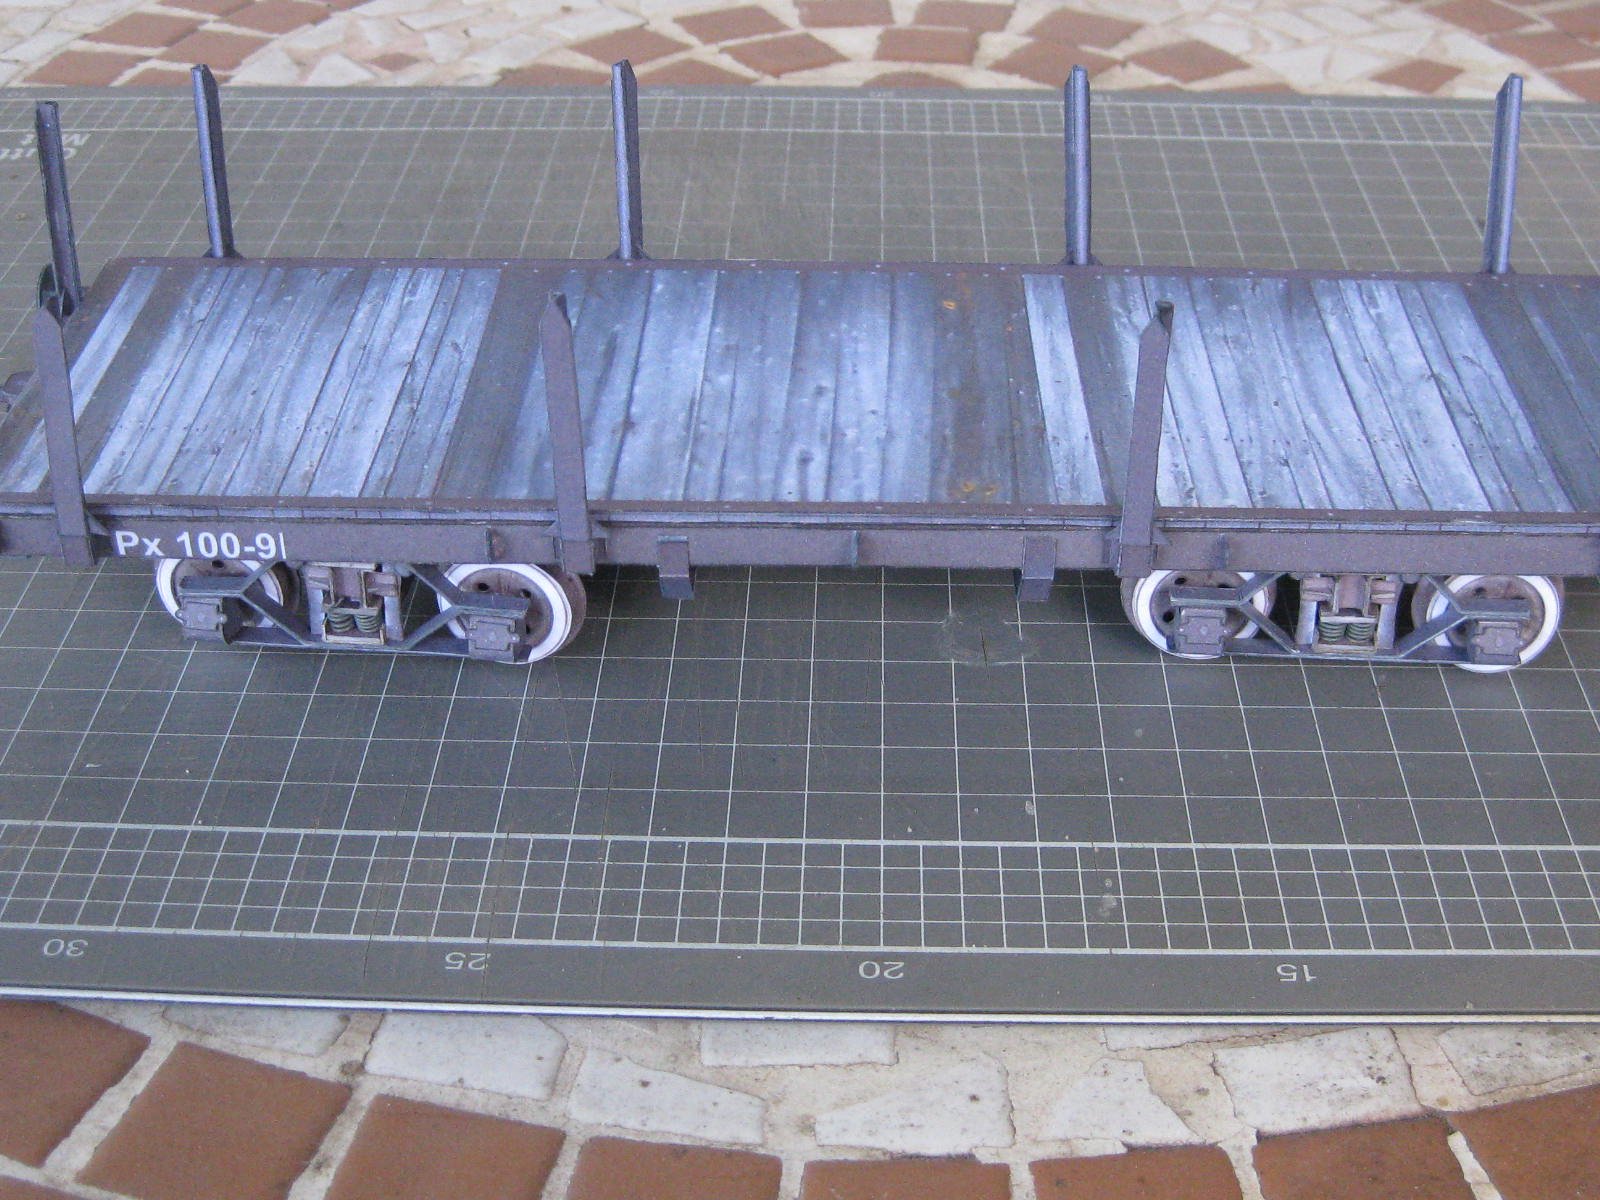
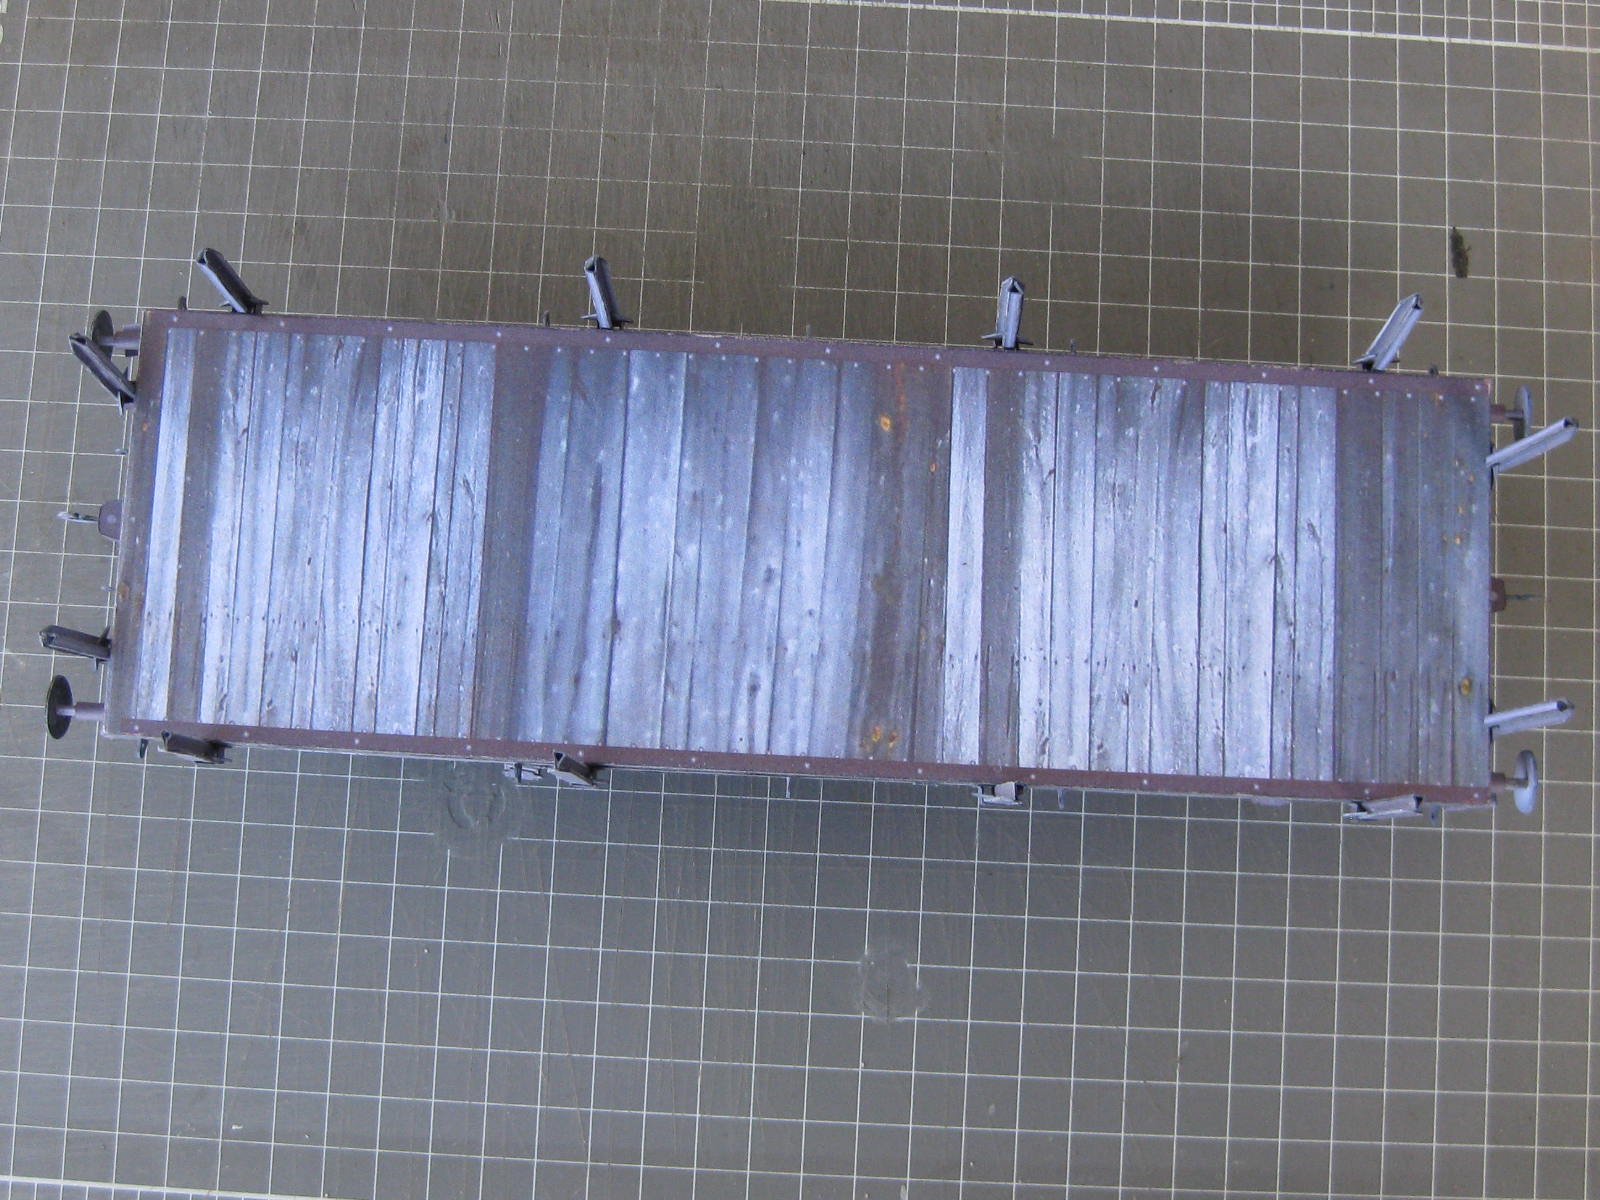
The wagon is finished. I've given it a couple of coats of semi-gloss clear.
I'll have to do a modification to the bogie mountings later, when I know how high to make the the buffers sit. I have to wait on the rest of the kits to establish that. The difference is that this wagon was a narrow-gauge one and the loco and other wagons are standard (European) gauge so they are different heights. This occurs in "real life" as well - when shifting a wagon from a narrow gauge track onto the main line standard gauge the bogies are replaced with specially modified ones, which usually takes less time than unloading and re-loading the cargo. This is common practice in Europe and several other places in the world. HERE is some information about the process.
Here are the final pics :


Danny
- druxey, thibaultron, hof00 and 10 others
-
13
-
8 hours ago, Candice said:
I also discovered that I have a nut allergy... to walnut... wood;P! If there wasn't a decent breeze blowing across where I was sanding, even the slightest amount of sawdust made my nose run!
I think 99% of the population has an "allergy" to walnut dust. I believe it's the particular oil in the timber that causes it. I know I don't like sanding it much myself
.
You've done a great job of your first attempt at planking - far, far better than my own first go. Well done !!!
8 hours ago, Candice said:Any advice on wood fillers?
The best filler you can use is the sawdust off the actual wood you are using. Save as much of it as you can when you begin your sanding. Run a thin bead of PVA glue into the gap and immediately rub a pinch of sawdust into it with your fingers. Let it dry thoroughly (a couple of hours will usually suffice) and then sand. You may have to repeat this a couple of times for larger gaps.
Good luck with the rest of the build. If you keep going the way you've started you will finish up with a great model. Not as good as your next one though - that pattern will continue for your modelling lifetime
. When people ask me which is my best model I answer "My next one".
Cheers, Danny
-
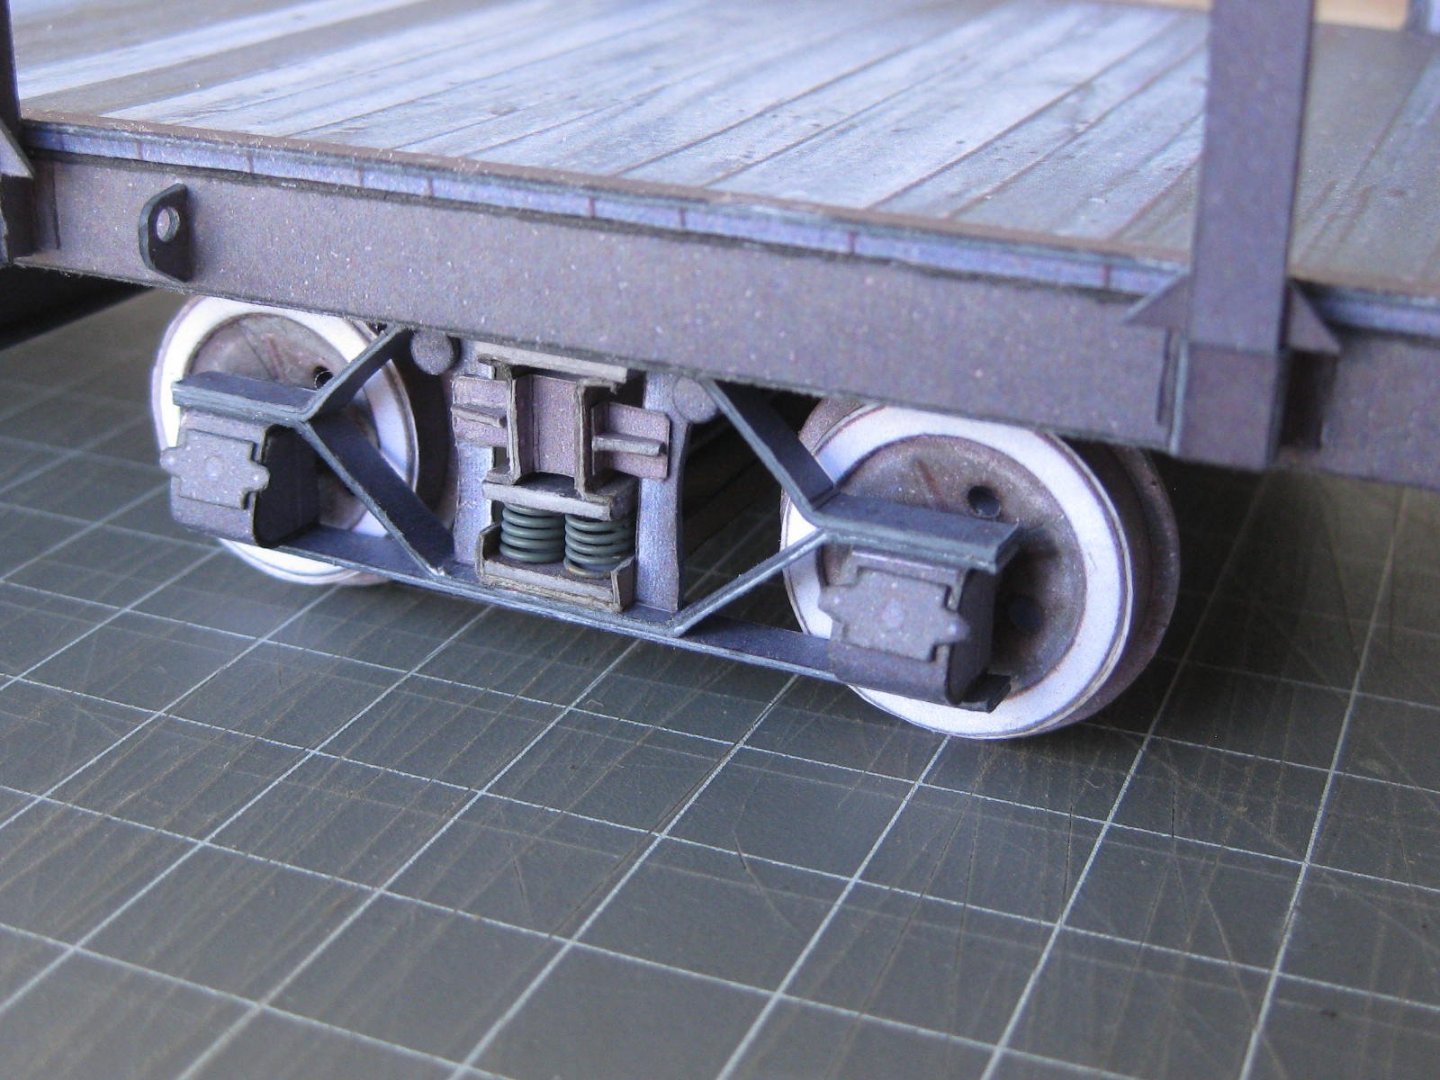
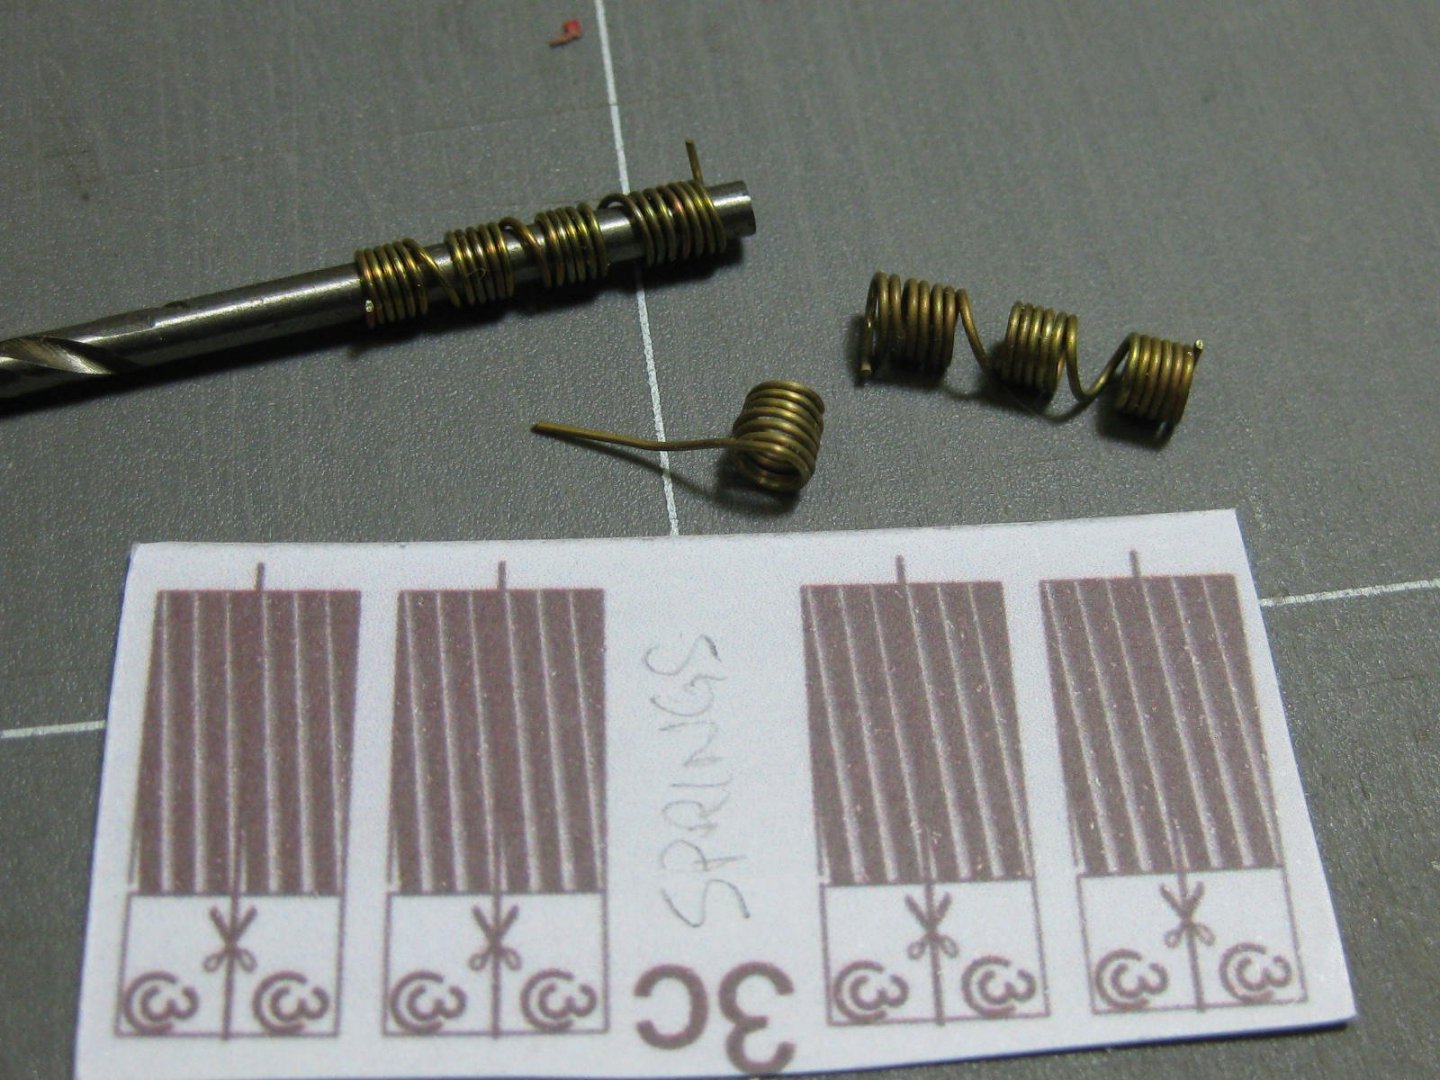
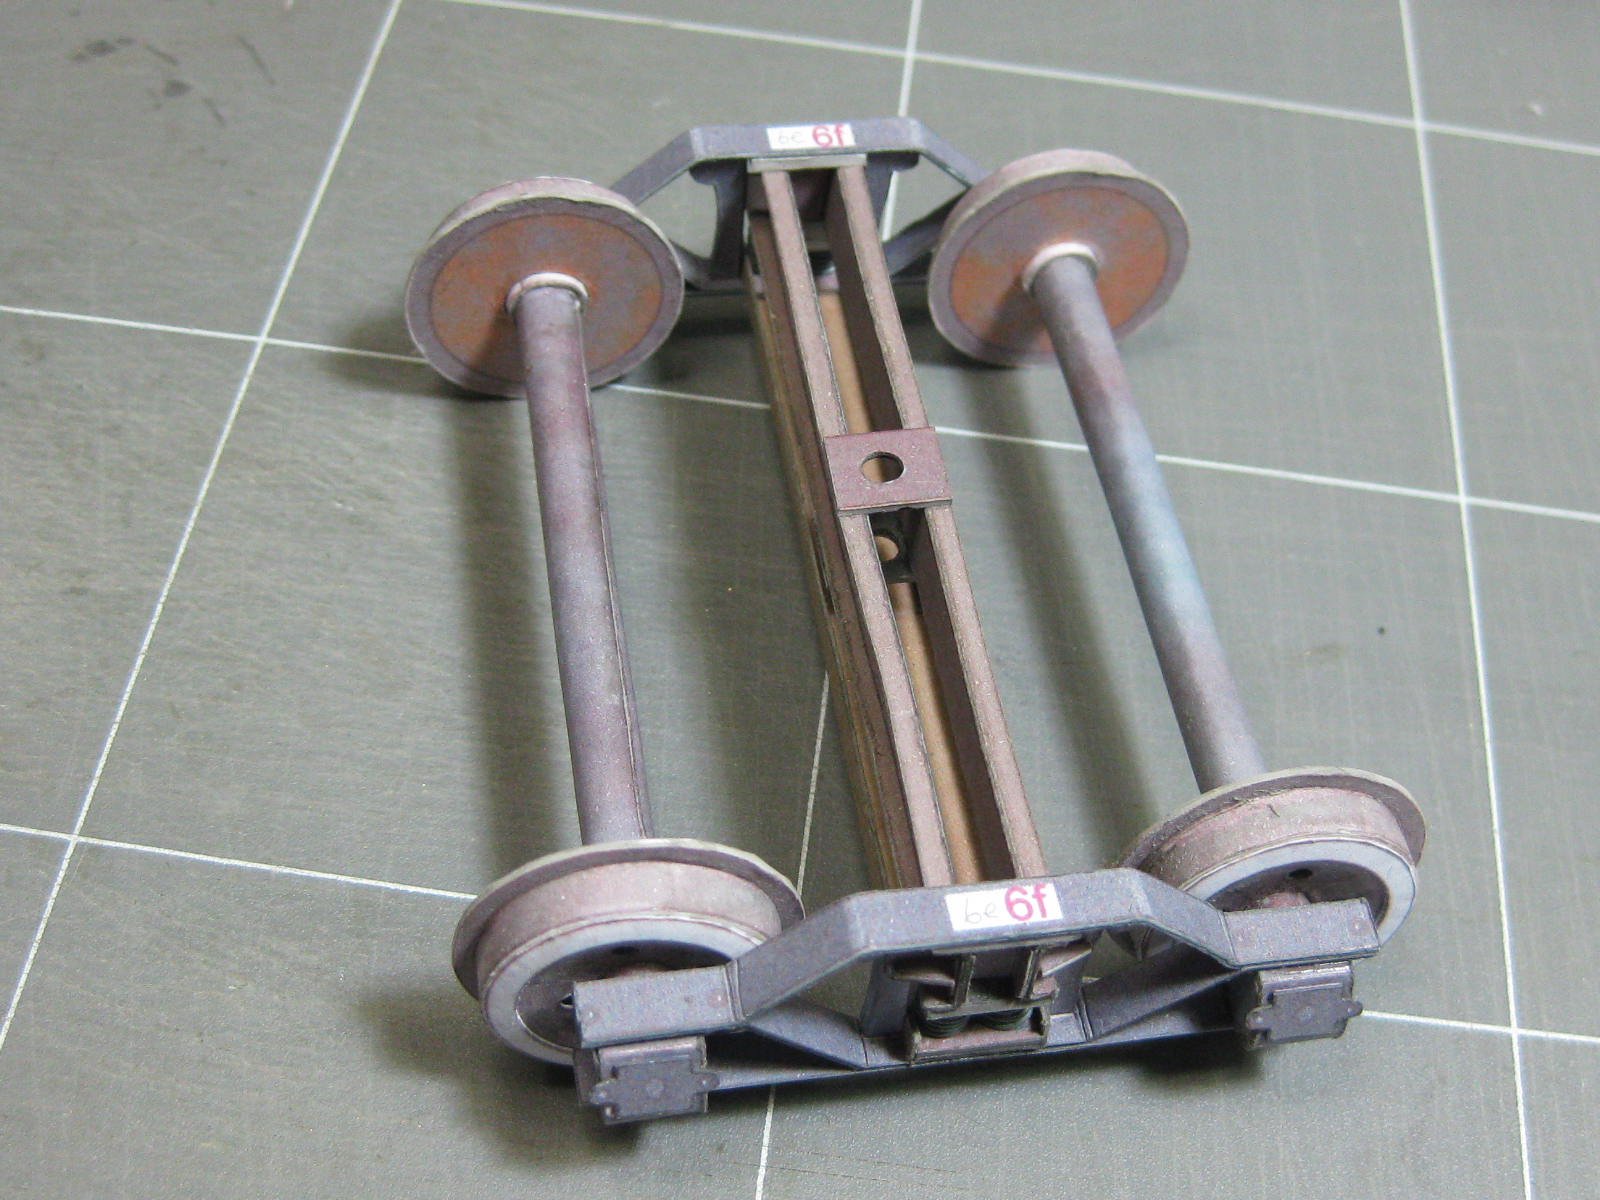
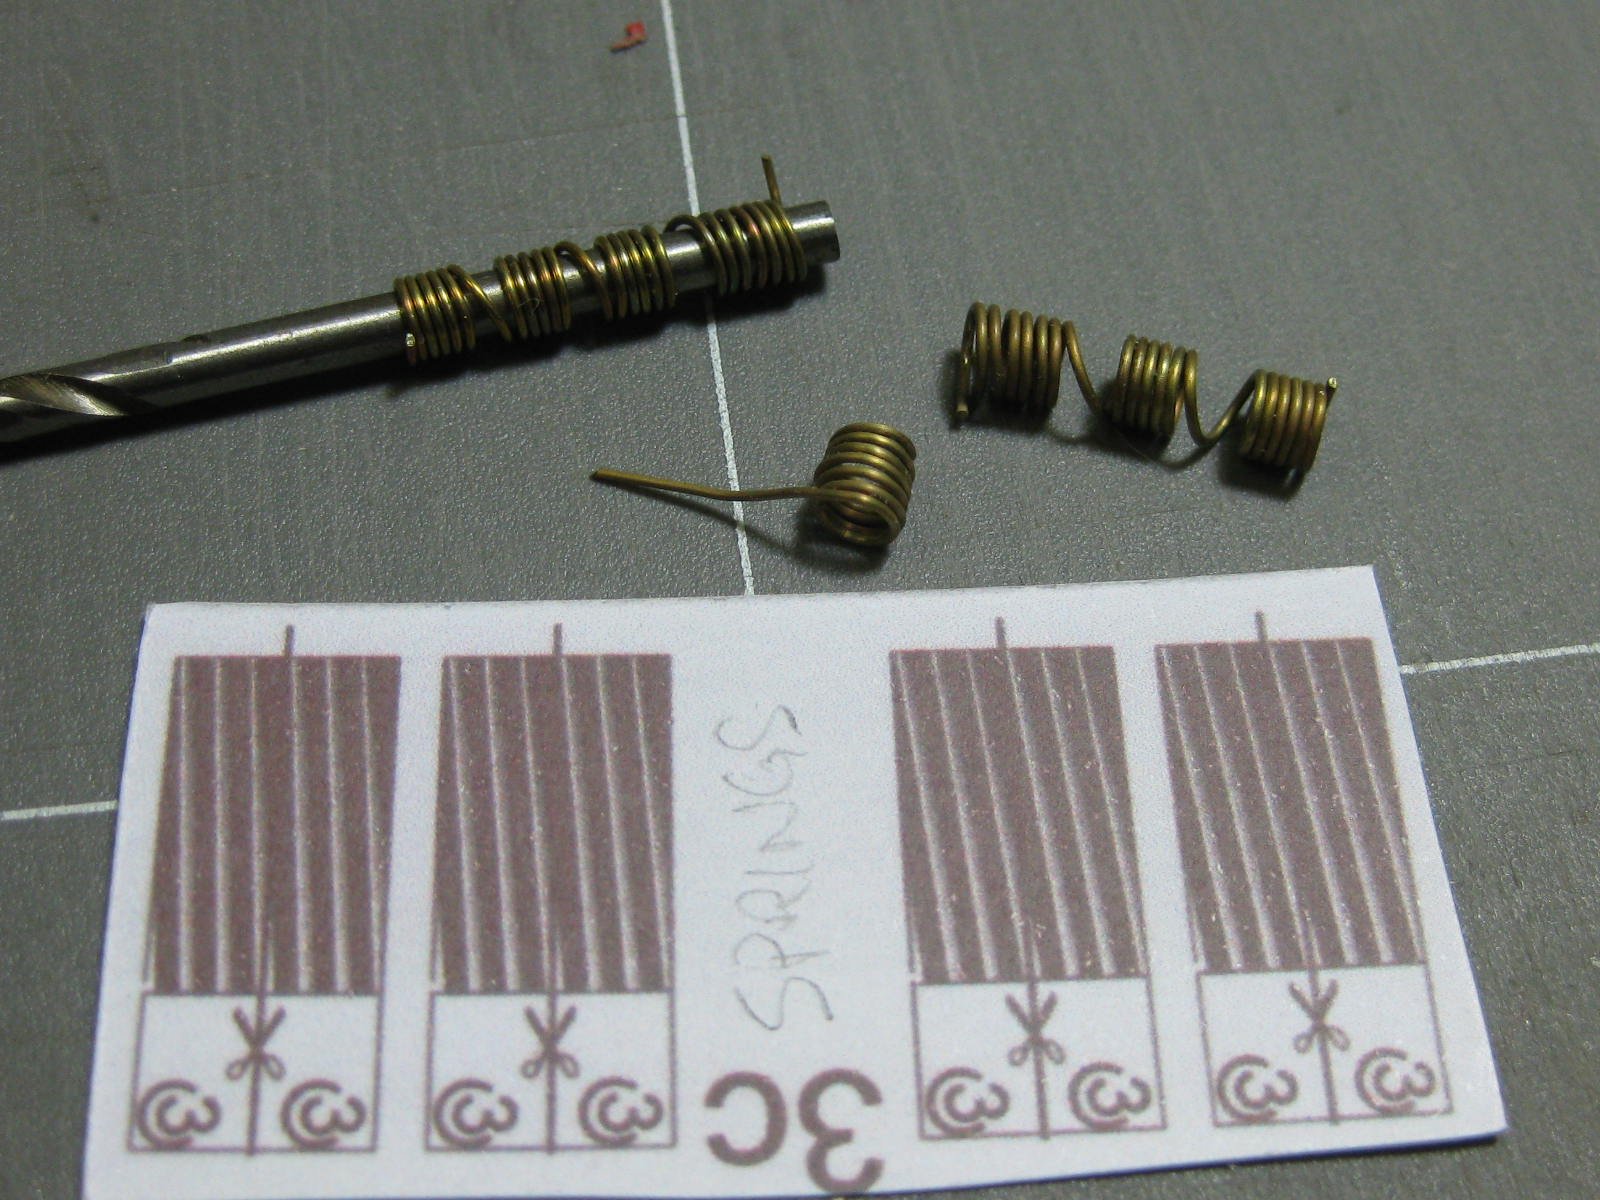
The suspension in stages of construction :
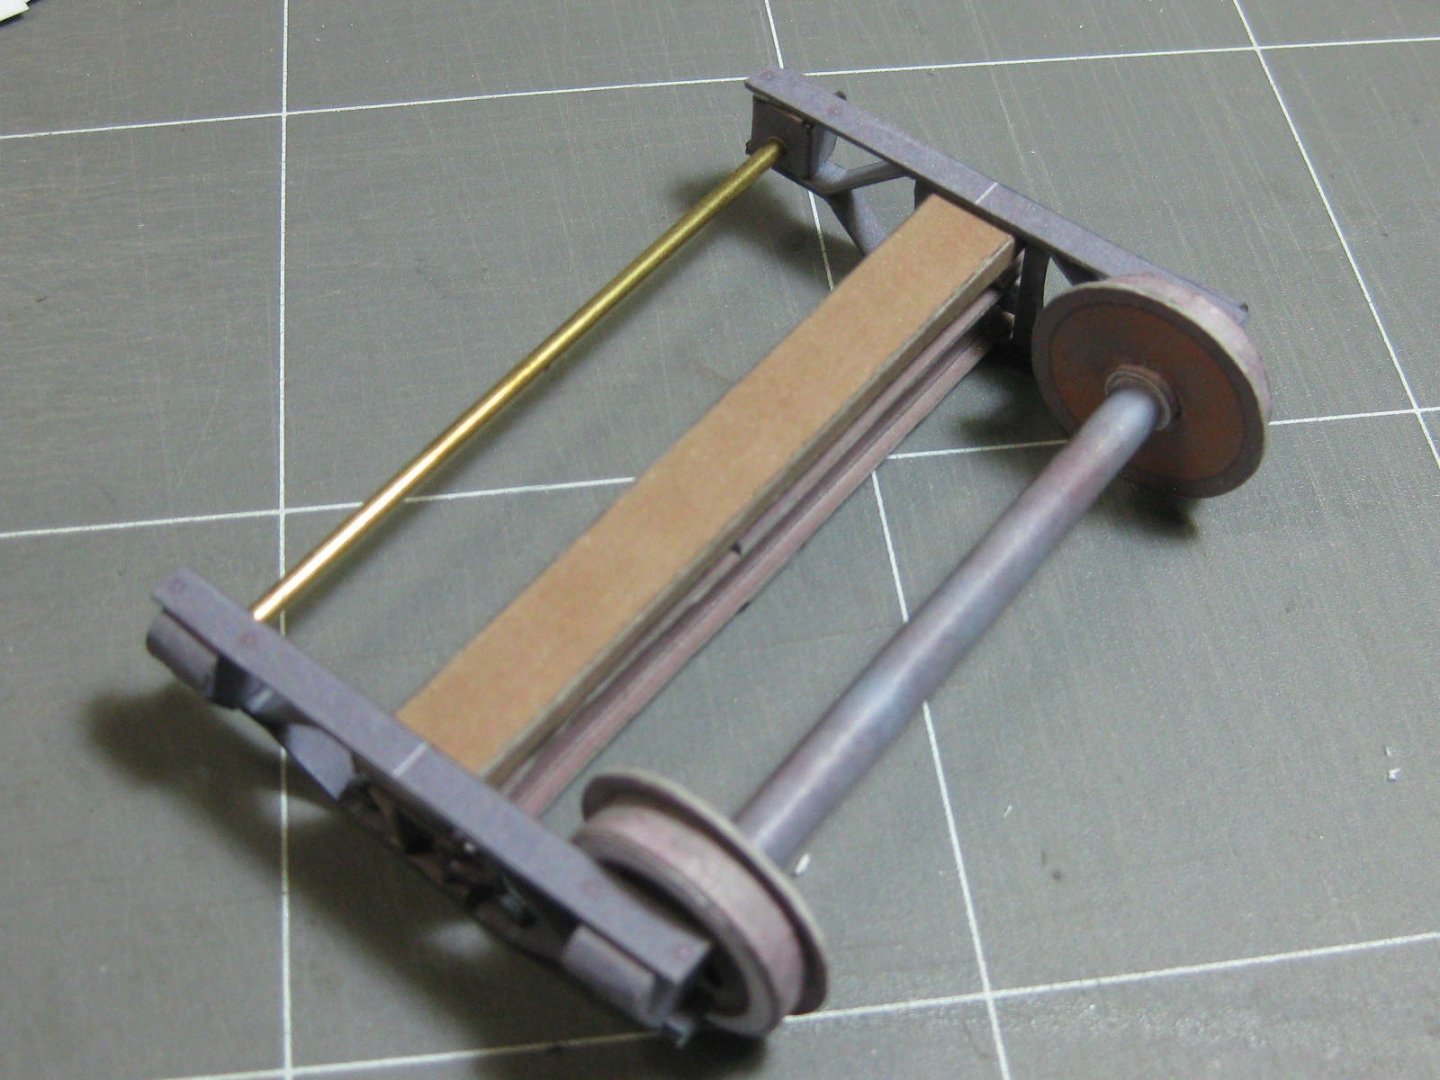


The paper parts in this pic are the springs. I made my own from softened 0.5mm brass wire :

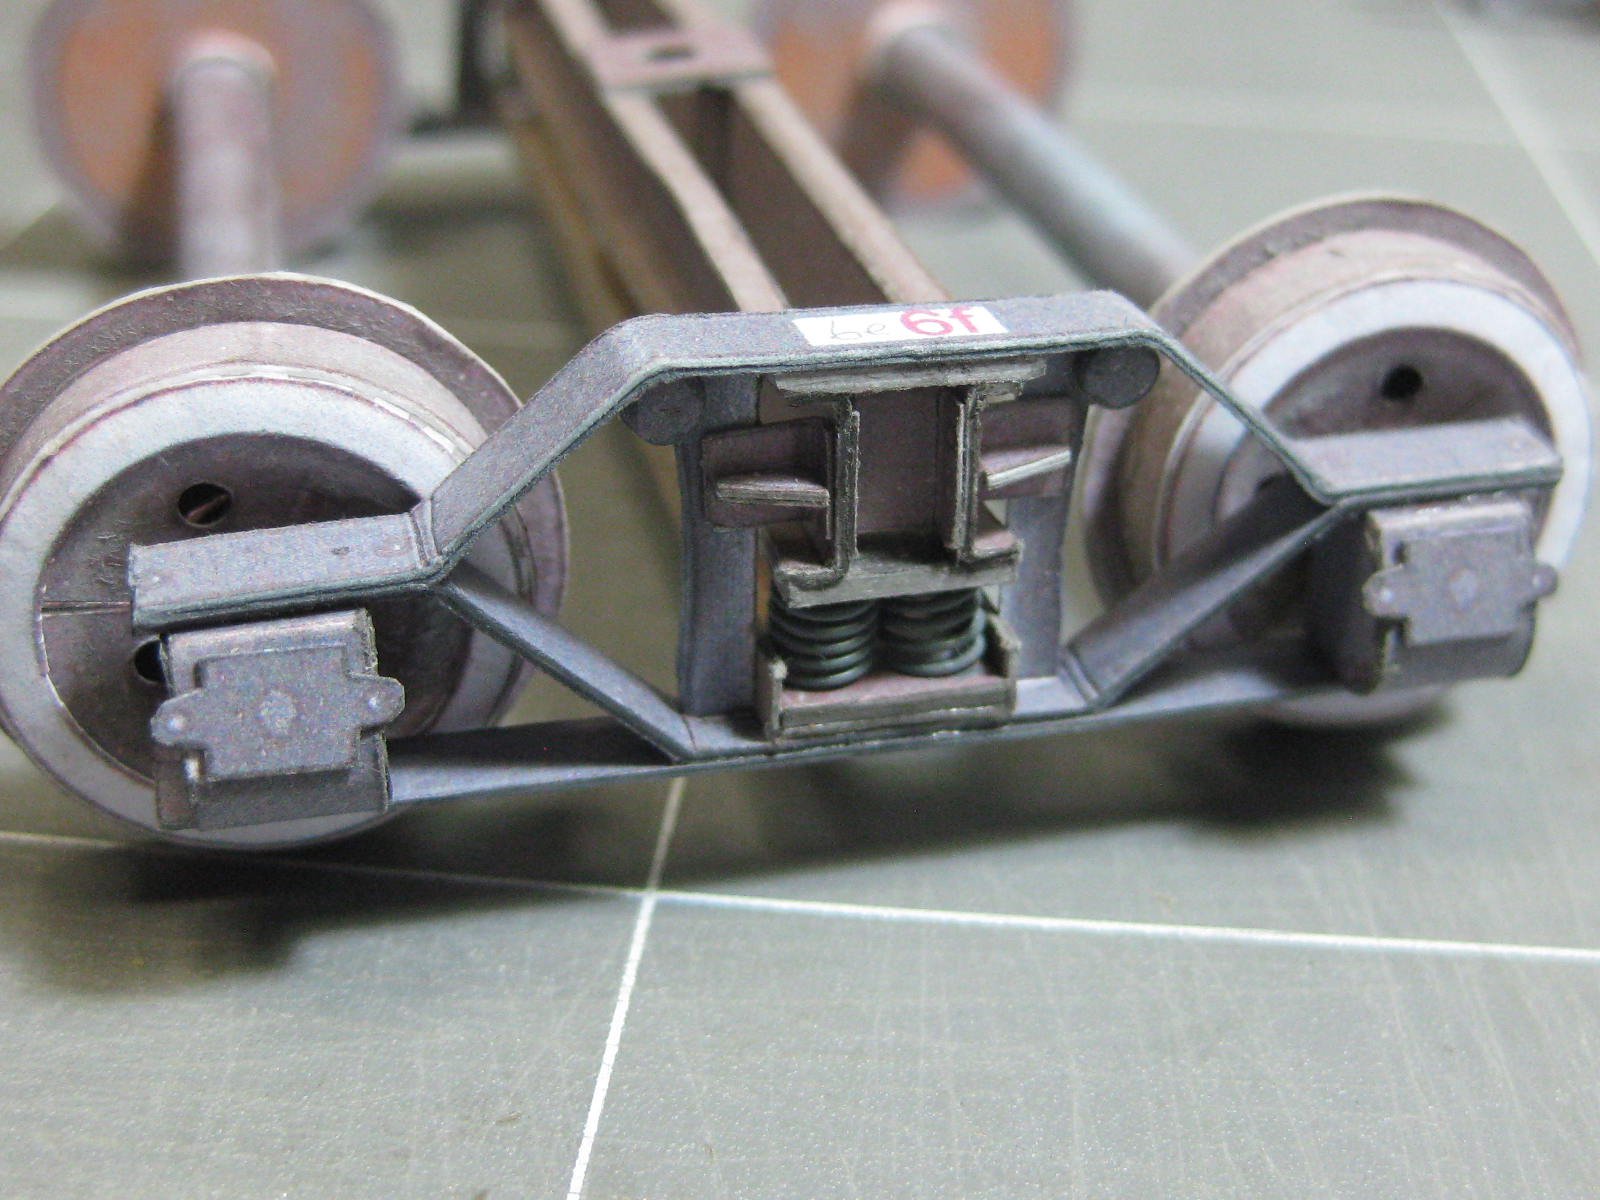
One of the finished suspensions :

Danny
-
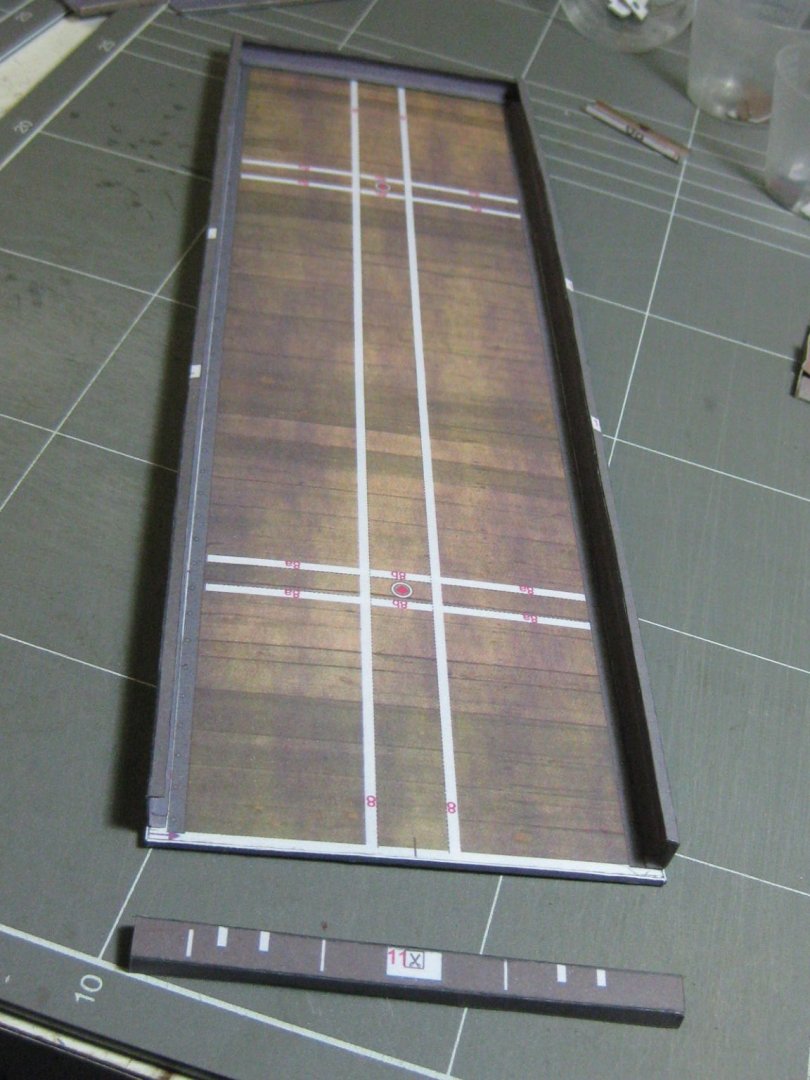
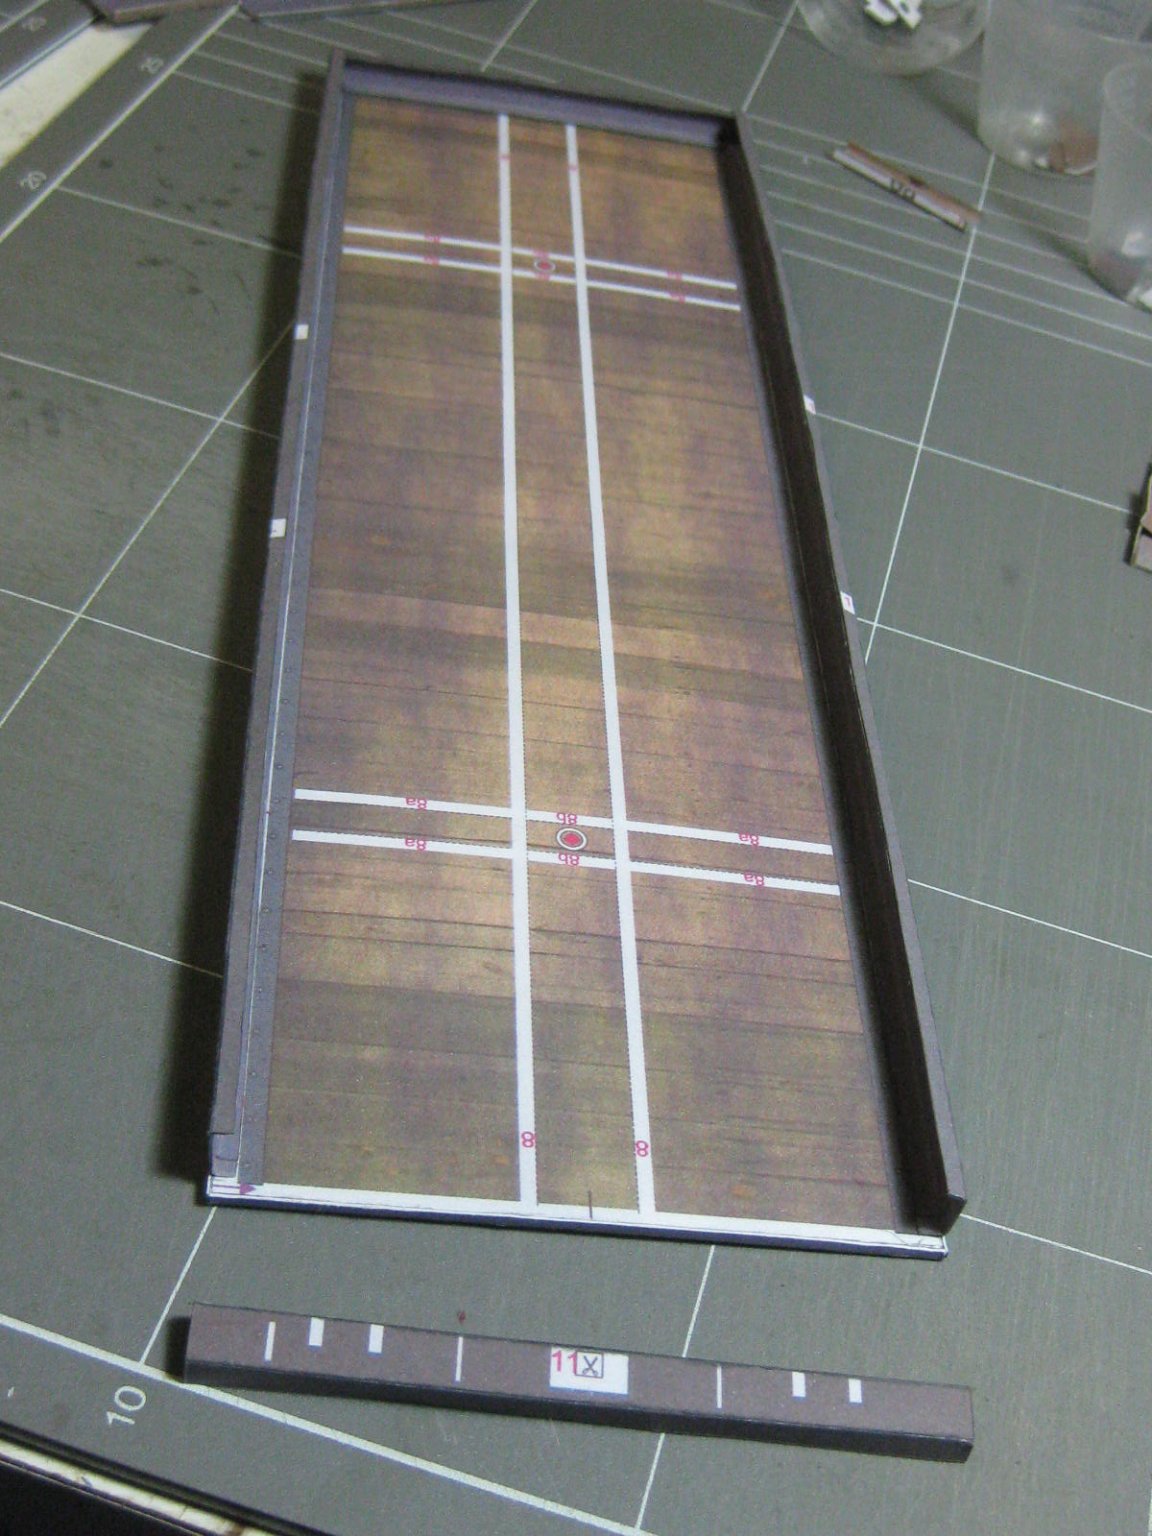
I haven't updated for a while but I've been busy building
. Here's the main bed :
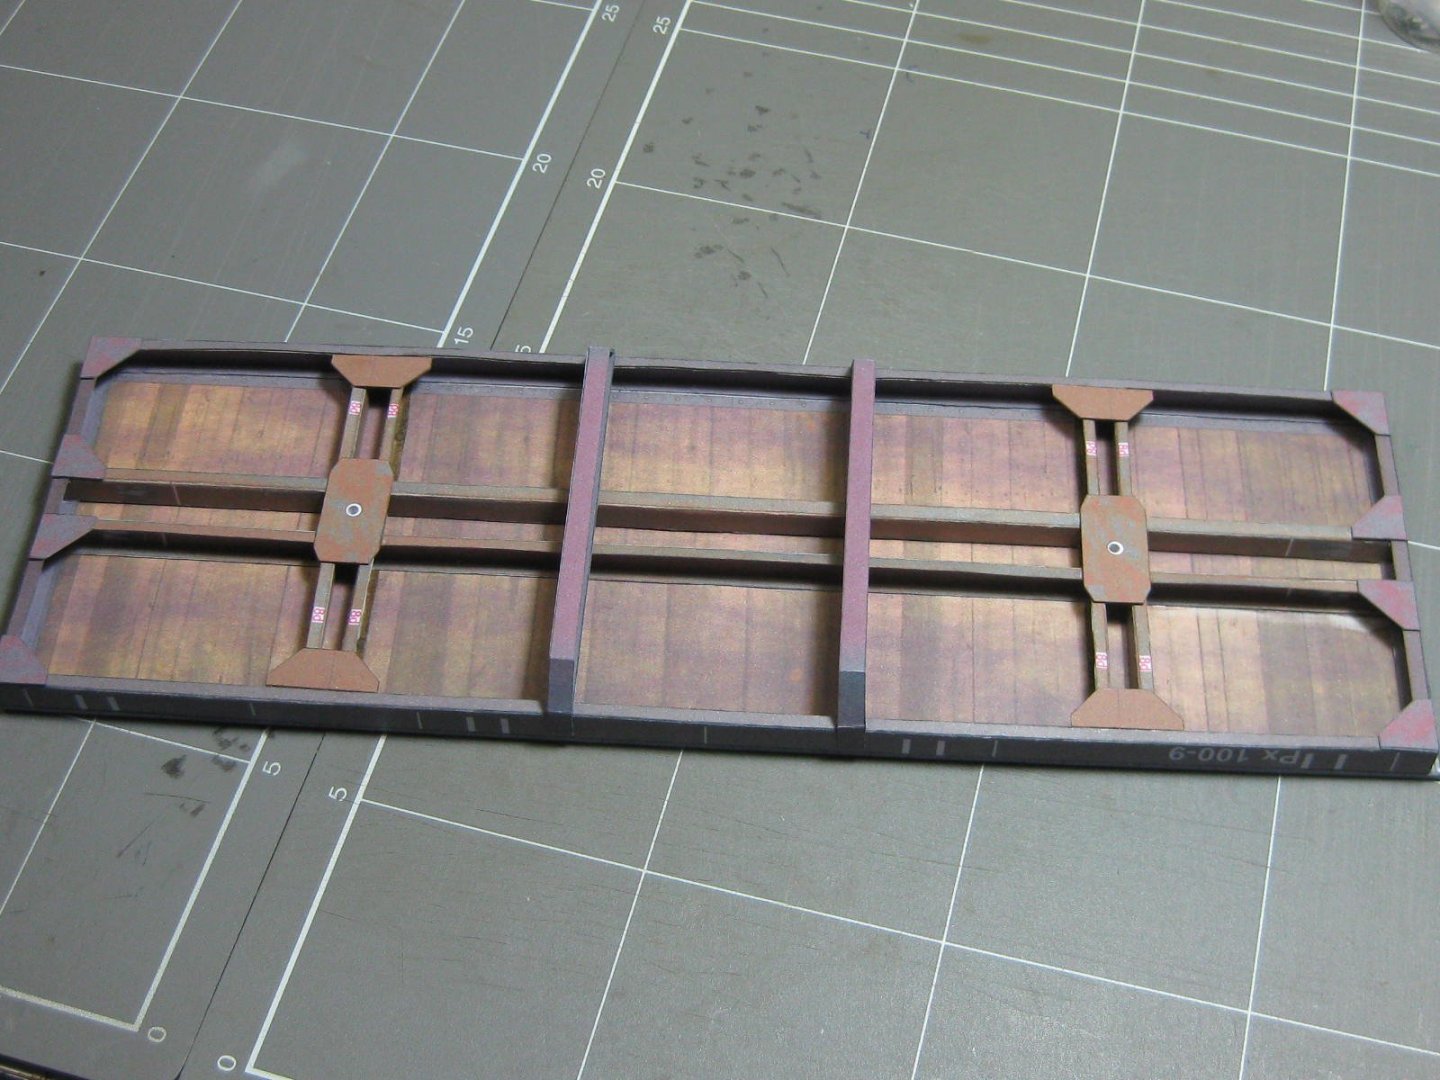

The start of the suspension. This was very tricky to work out as the instruction pics were rather vague. This is one of the 8 axle boxes :

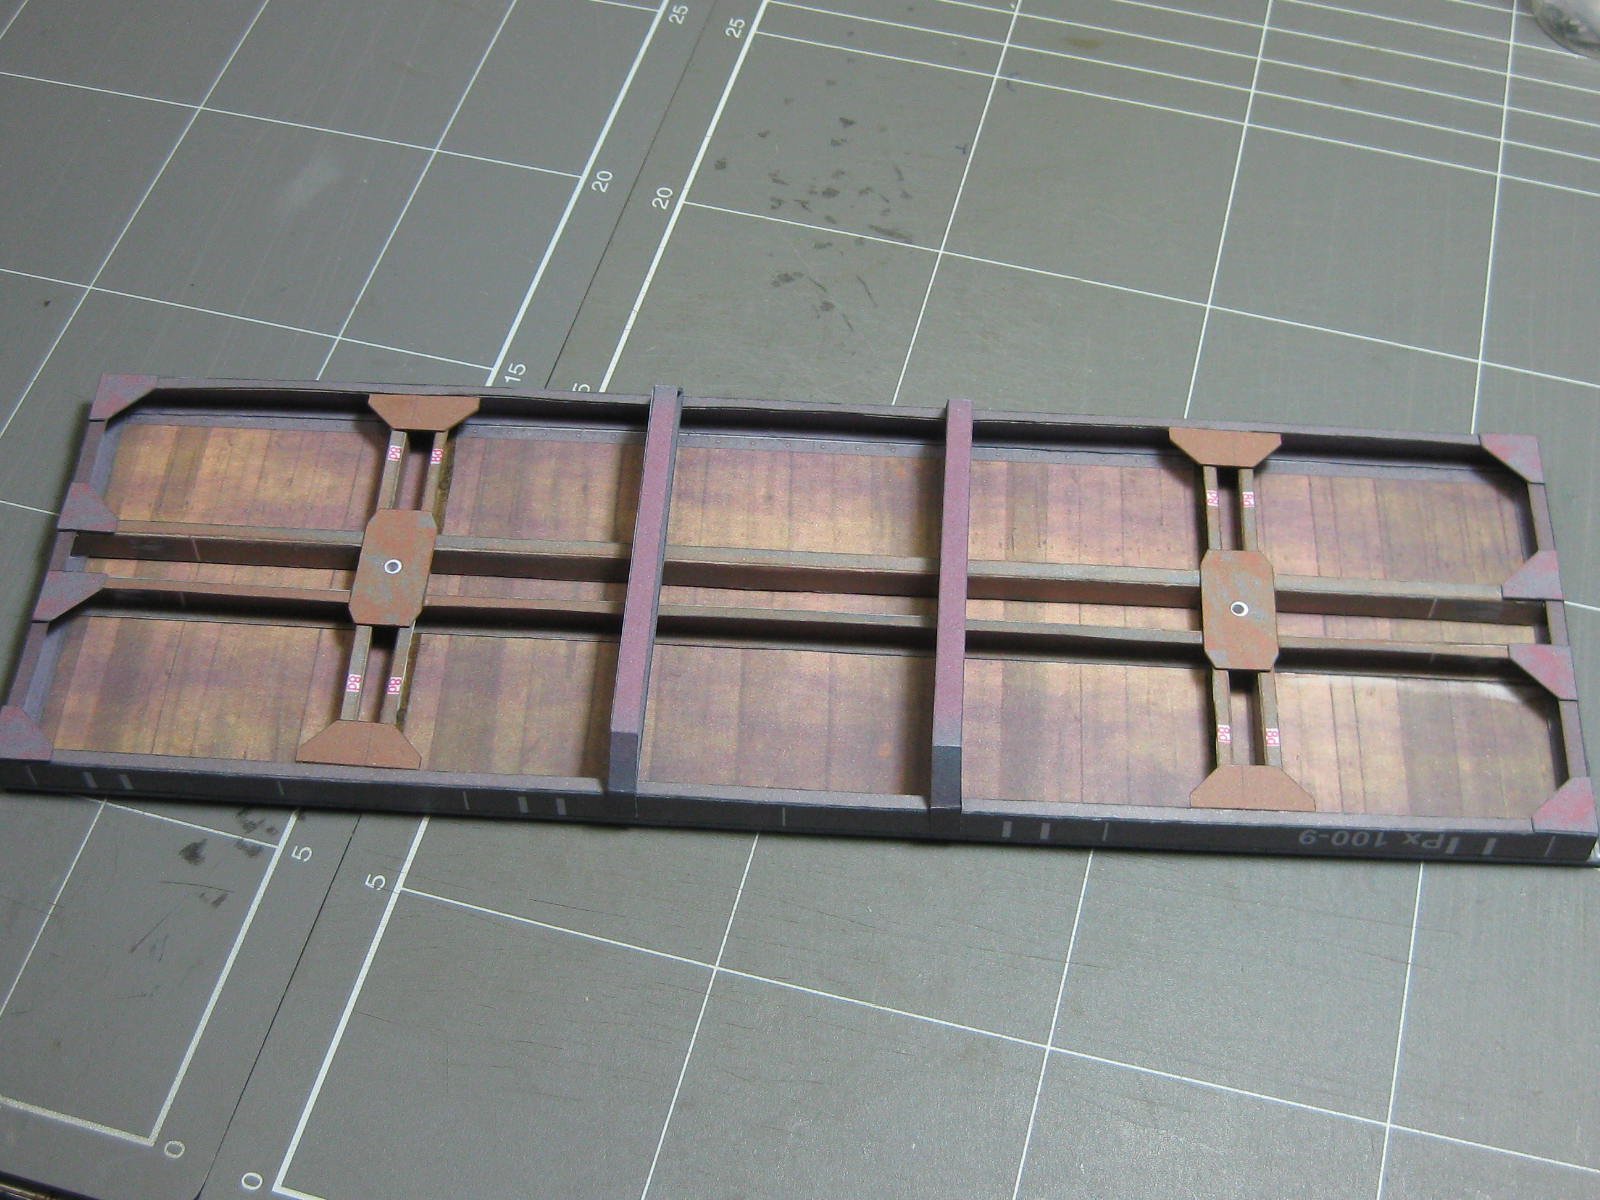
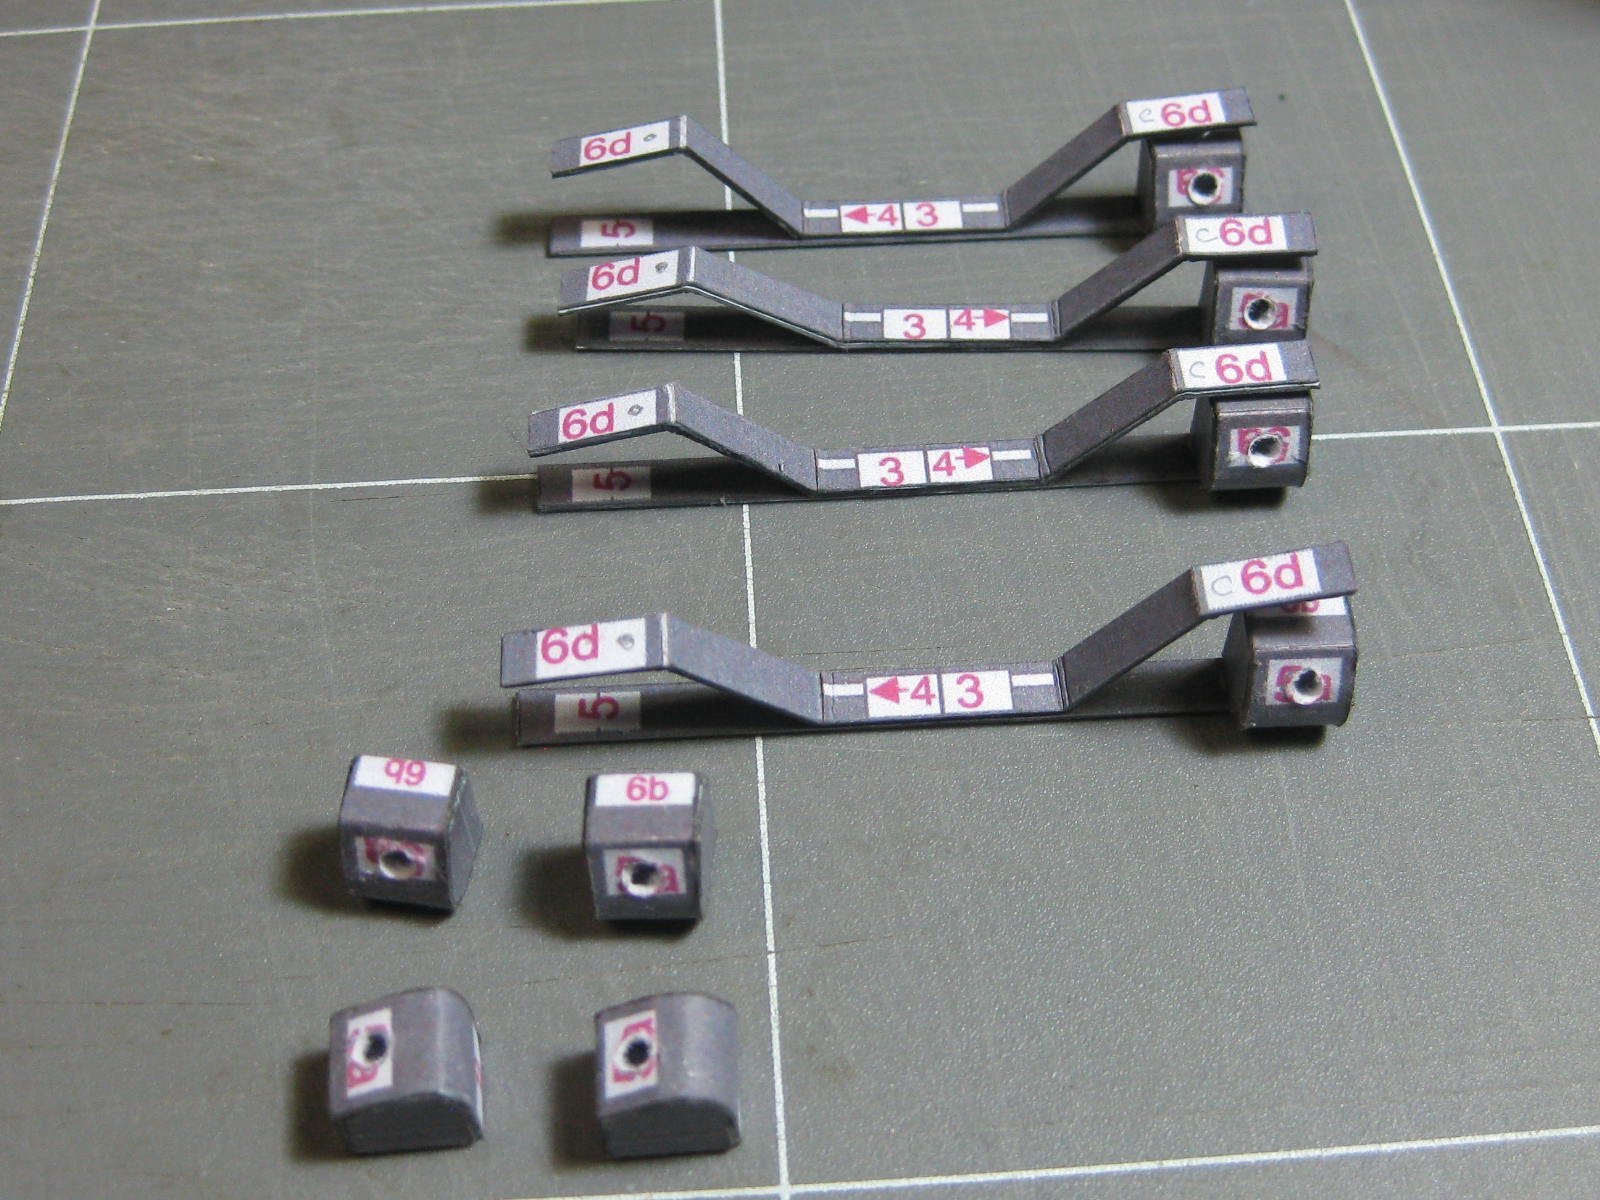
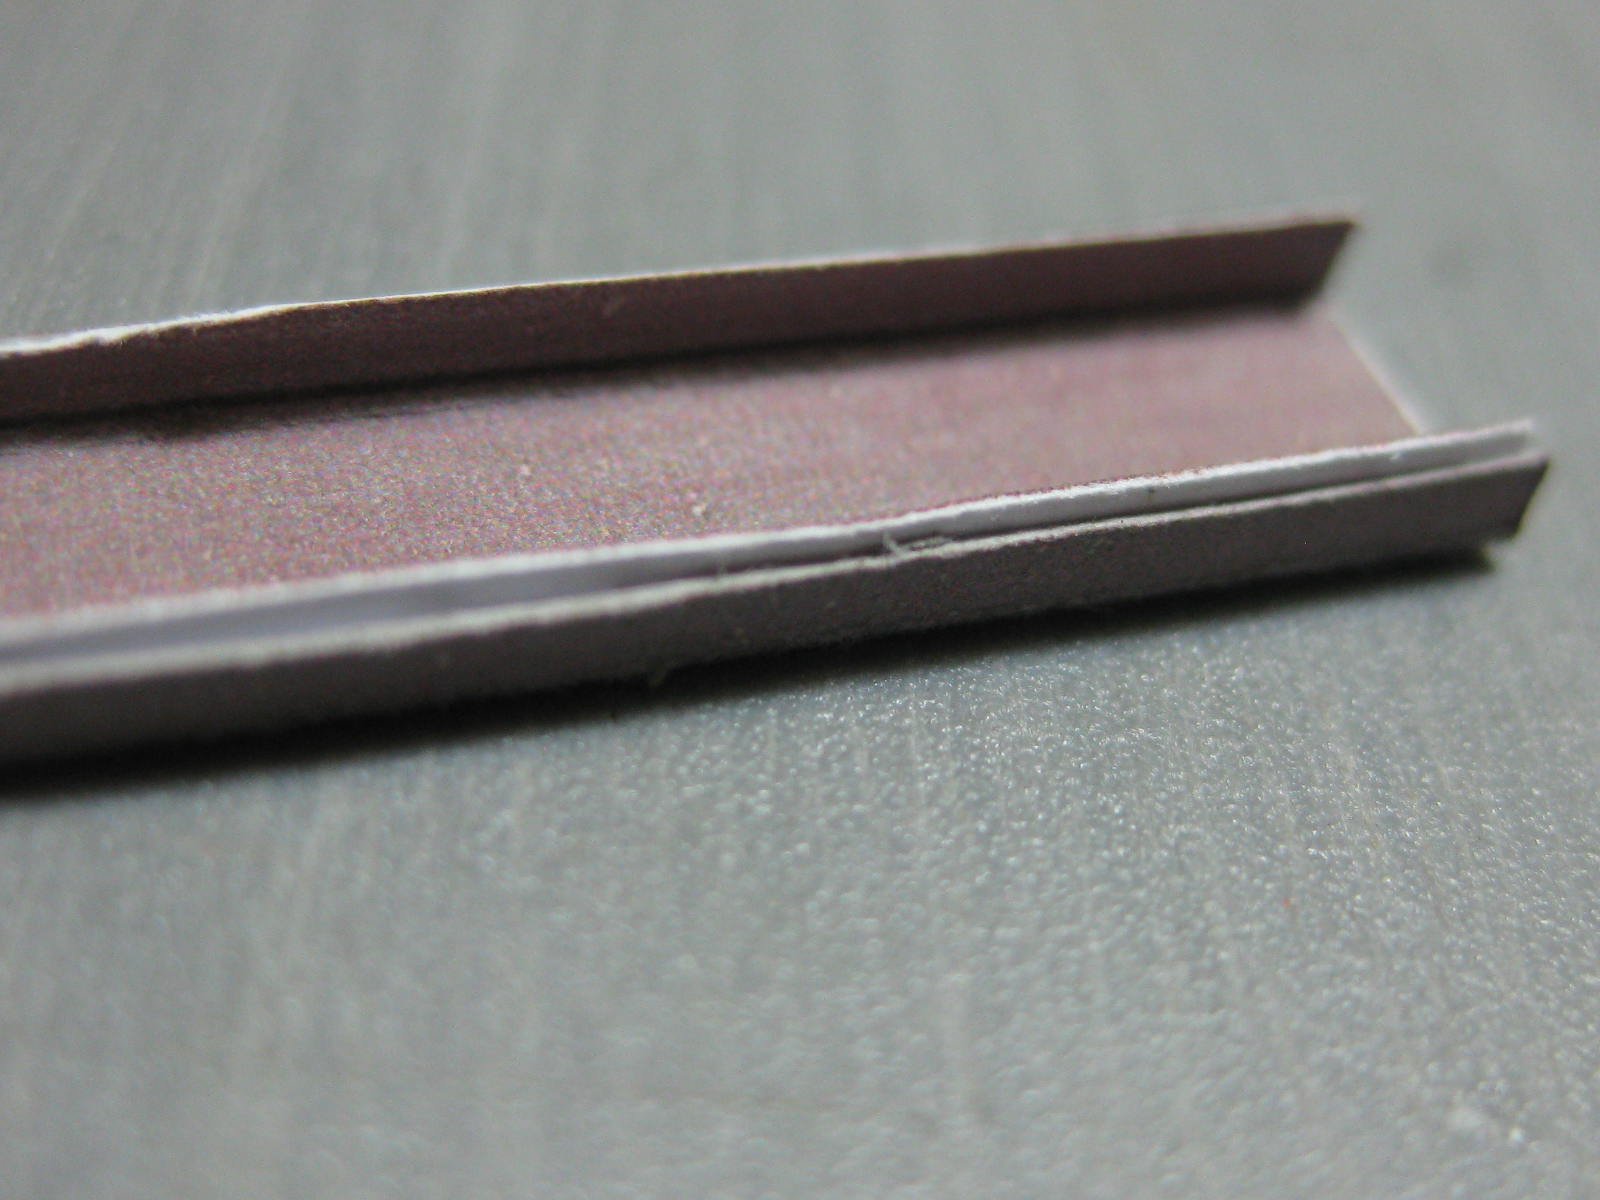
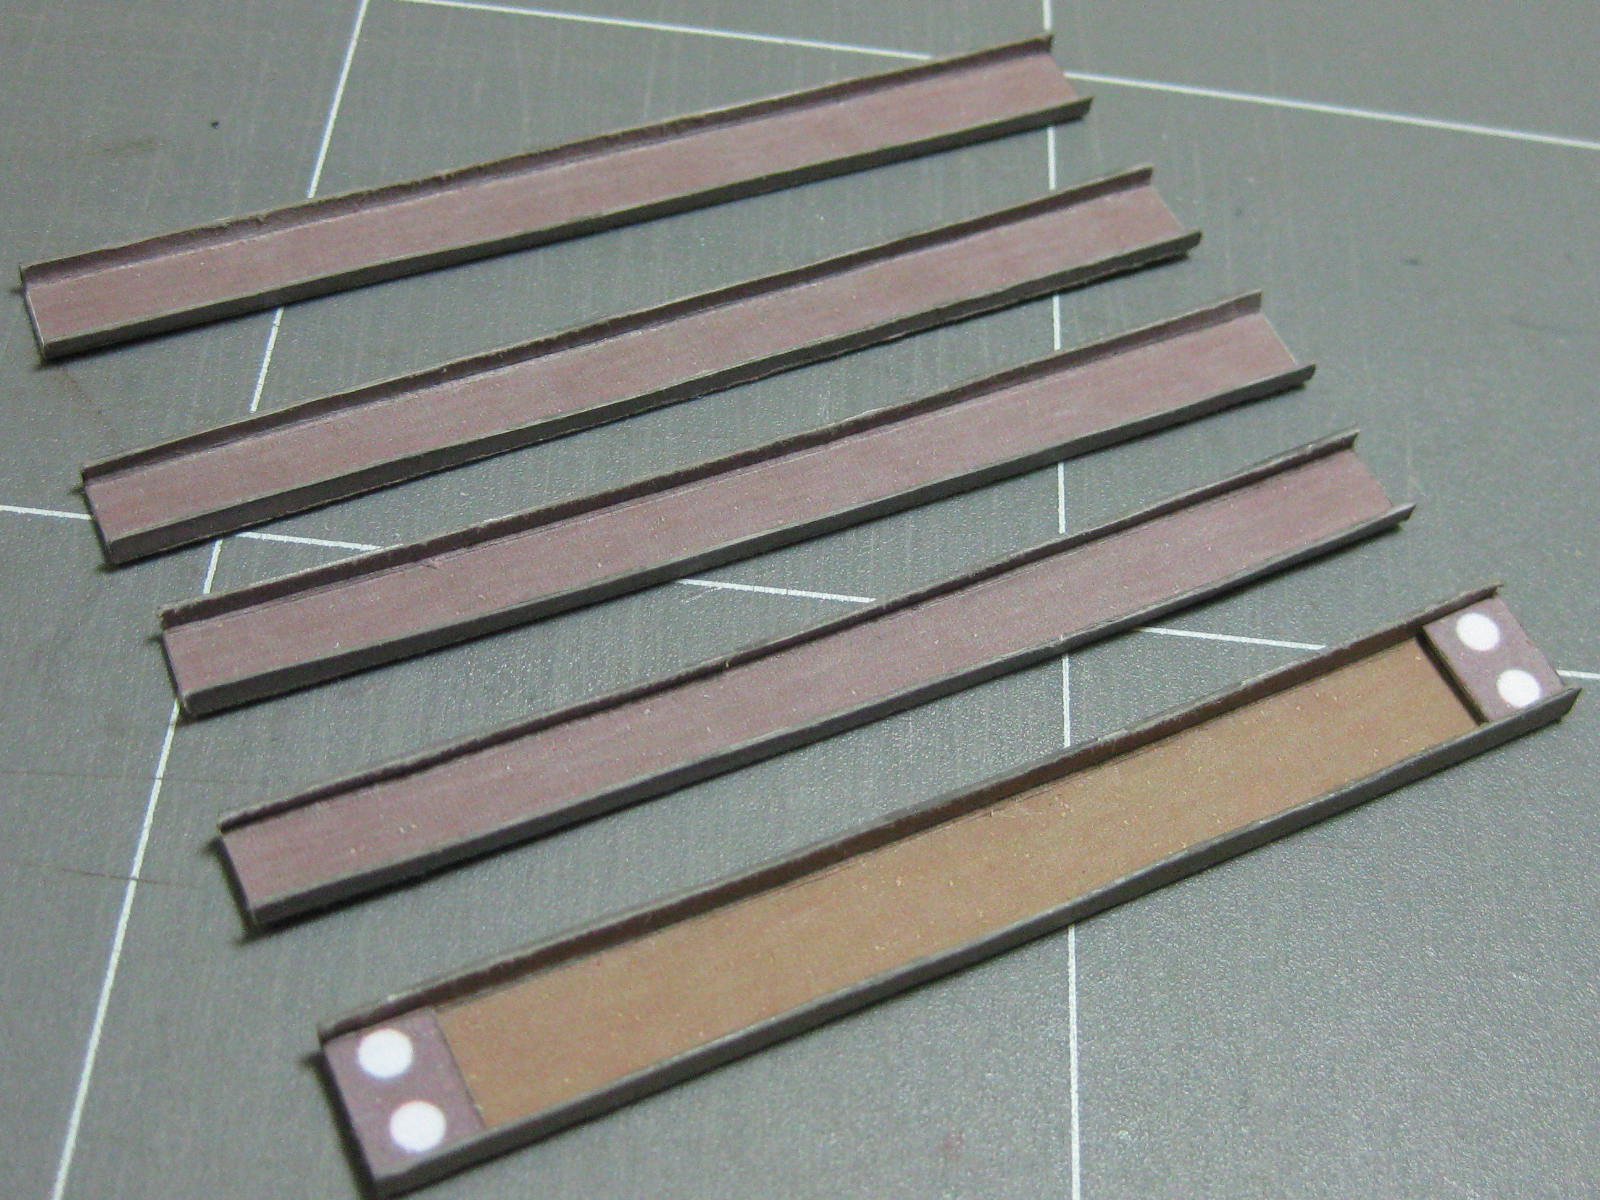
The brackets that connect the left and right suspensions. The instructions said to paint the back side of each piece, but I printed out some thin paper with a matching pattern that I drew up in Paint. This was glued to the back of each piece after I'd cut and folded it. The edges were deliberately left long and I trimmed them after the glue dried :

Danny
- thibaultron, pjofc4, GrandpaPhil and 5 others
-
8
-
On 9/3/2019 at 9:14 AM, popeye the sailor said:
sounds like a very interesting model.......do you have the others on order?
They are all coming together, when they EVENTUALLY get here. I ordered them 2 months ago - coming by Snail Mail
.
"When you receive the kit, can you give us some of the history? Fentens advertises it as a Polish machine, named Bulgar, sometimes it is referred to as a German machine"
Yep, I'll post that in the loco's build log. 20 of them were built in both Germany (8) and Poland (12) between 1931 and 1943. Some did indeed go to Bulgarian Railways.
BTW - nice picture. Thanks for that.
.
"I assume this all will be finished by xmas..."
Maybe a bit longer - there are 32 A3 size pages of parts, plus all the laser-cut ones.
Danny
-
On 9/2/2019 at 3:18 AM, amateur said:
Did you order the laserset that goes with the loco?
Saves you time, as it incluses the spoked wheel and the frames (as far as I understood in a card-forum). It is a serious locomotive: you'll need some shelve-space when finished
Jan
Sure did Jan. I usually always get any available laser-cut sets with every card model I buy. In addition to the wheels etc I also got laser-cut rivets and bolt heads - somewhere around 7,000 of them
.
It's big all right - around 750mm long. Add to that the three carriages that are behind it and the display will be nearly 2 metres long
.
Danny
-
3 hours ago, maaaslo said:
If i may suggest Danny, the top quality locos are considered to be Angraf. I have had a look through a few of them, nearly half a thickness of a Bible. And beautyfully drawn. Mostly without any problems from what i heard.
Thanks Pav. I'd never heard of Angraf - a bit late now, but I'll see if I can find their site.
EDIT - Found one : ANSWER MODELS. I looked at some of the models and agree with your assessment.
Danny
-
Hi all,
My next major model will be a German Steam Locomotive built between 1931 and 1943 designated "Bulgar". The model itself still hasn't arrived from MODELIK in Poland, so I bought a Modelik Flat Bed Wagon which will be displayed behind the loco along with two other wagons. I got this one from Fenten's Models in Brisbane to give me something to do while I'm waiting. It only took a few days to arrive, pity they didn't have the loco in stock
.
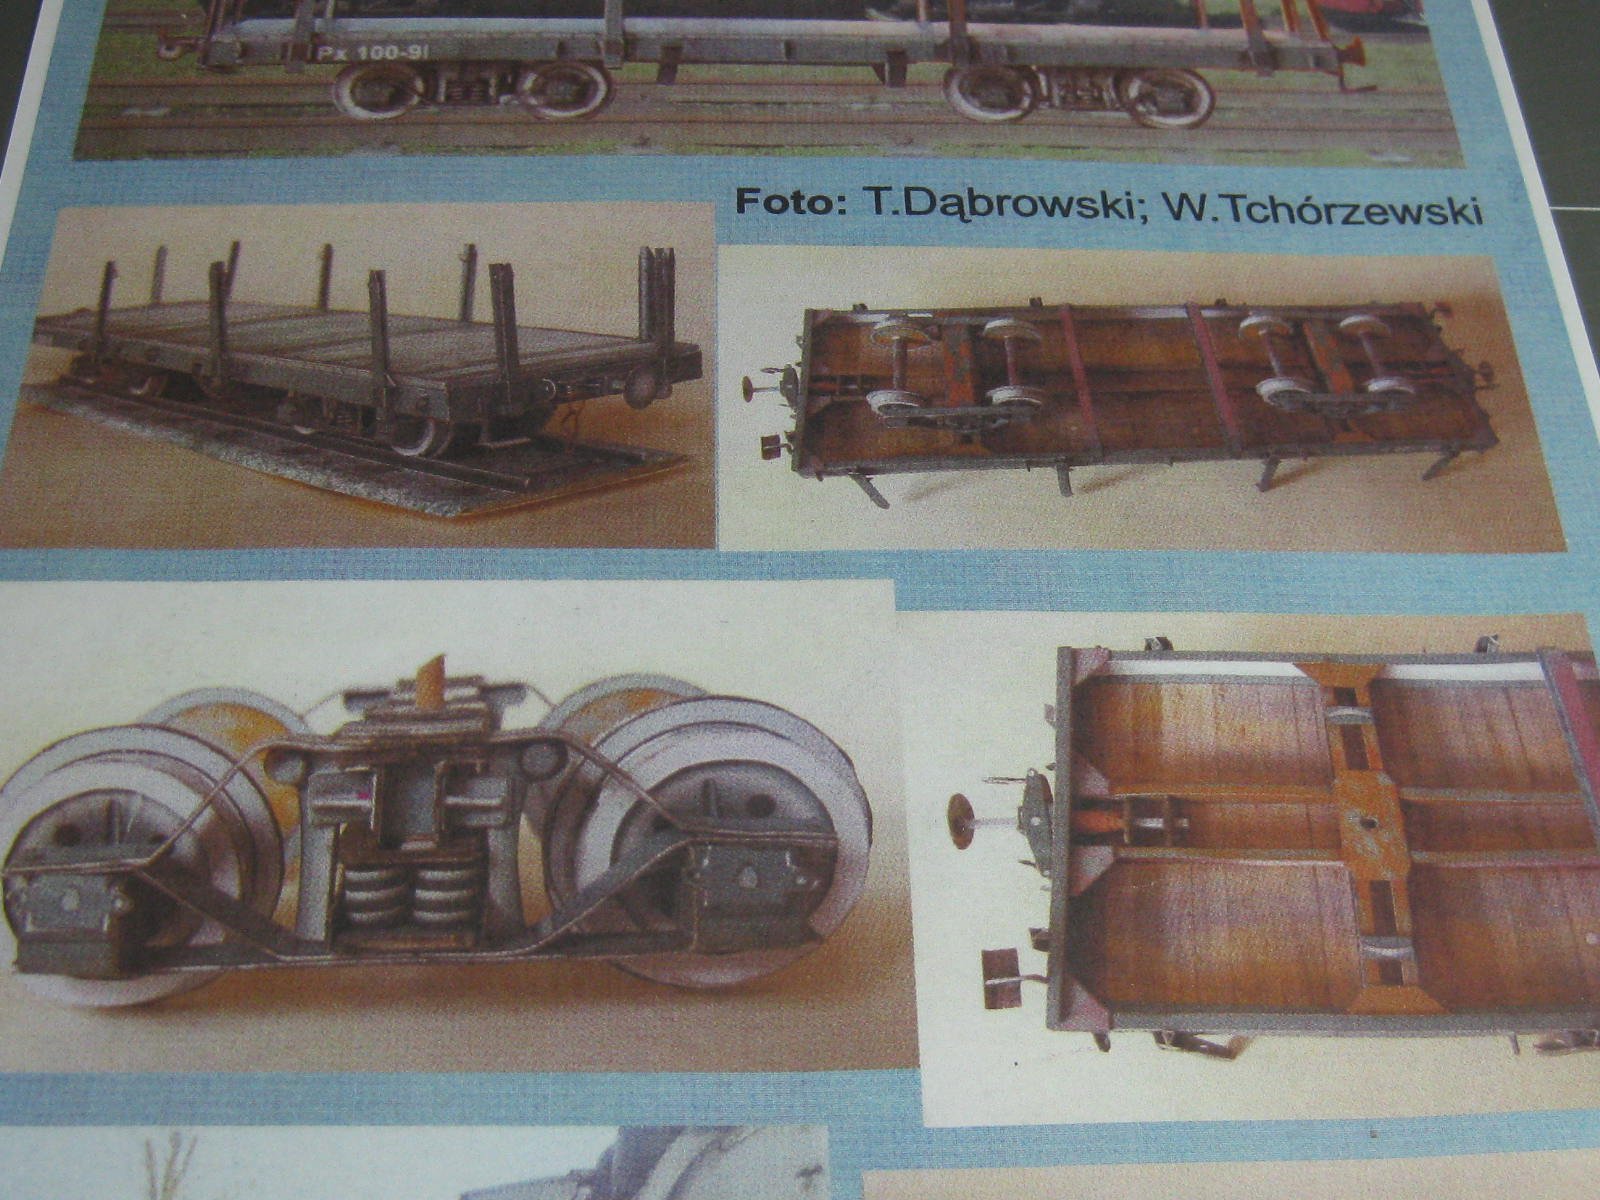
Here's a pic of the cover art and another of several views of the completed model :
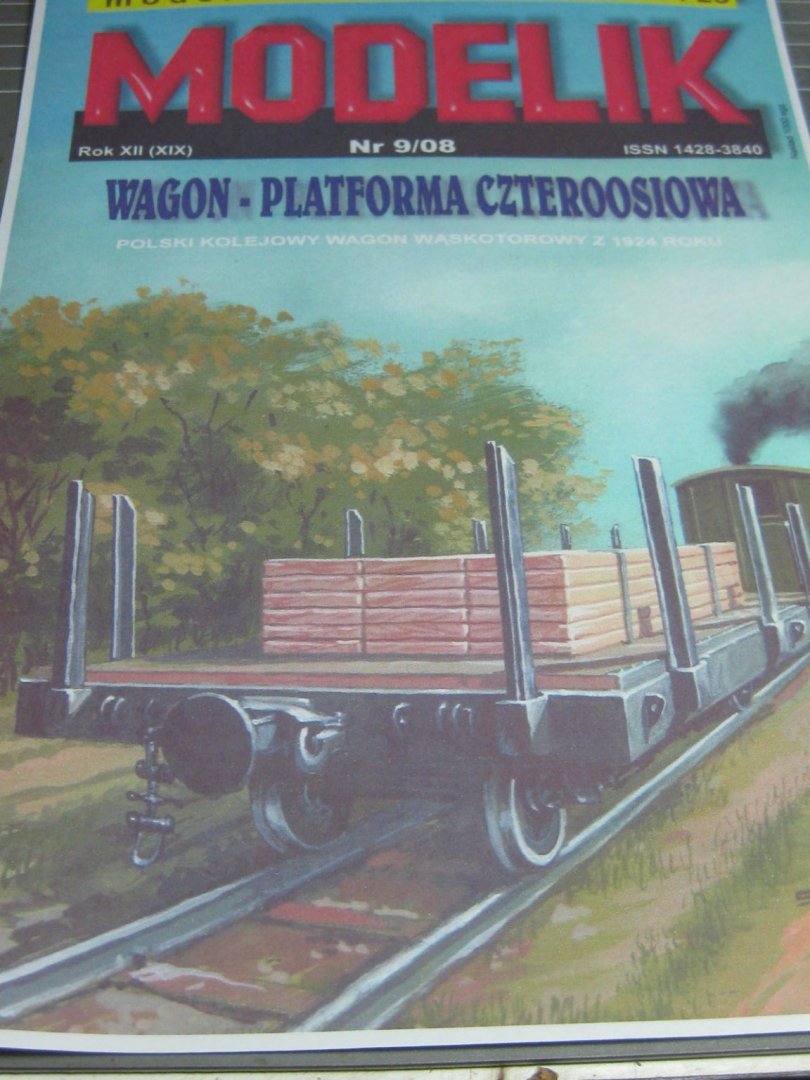

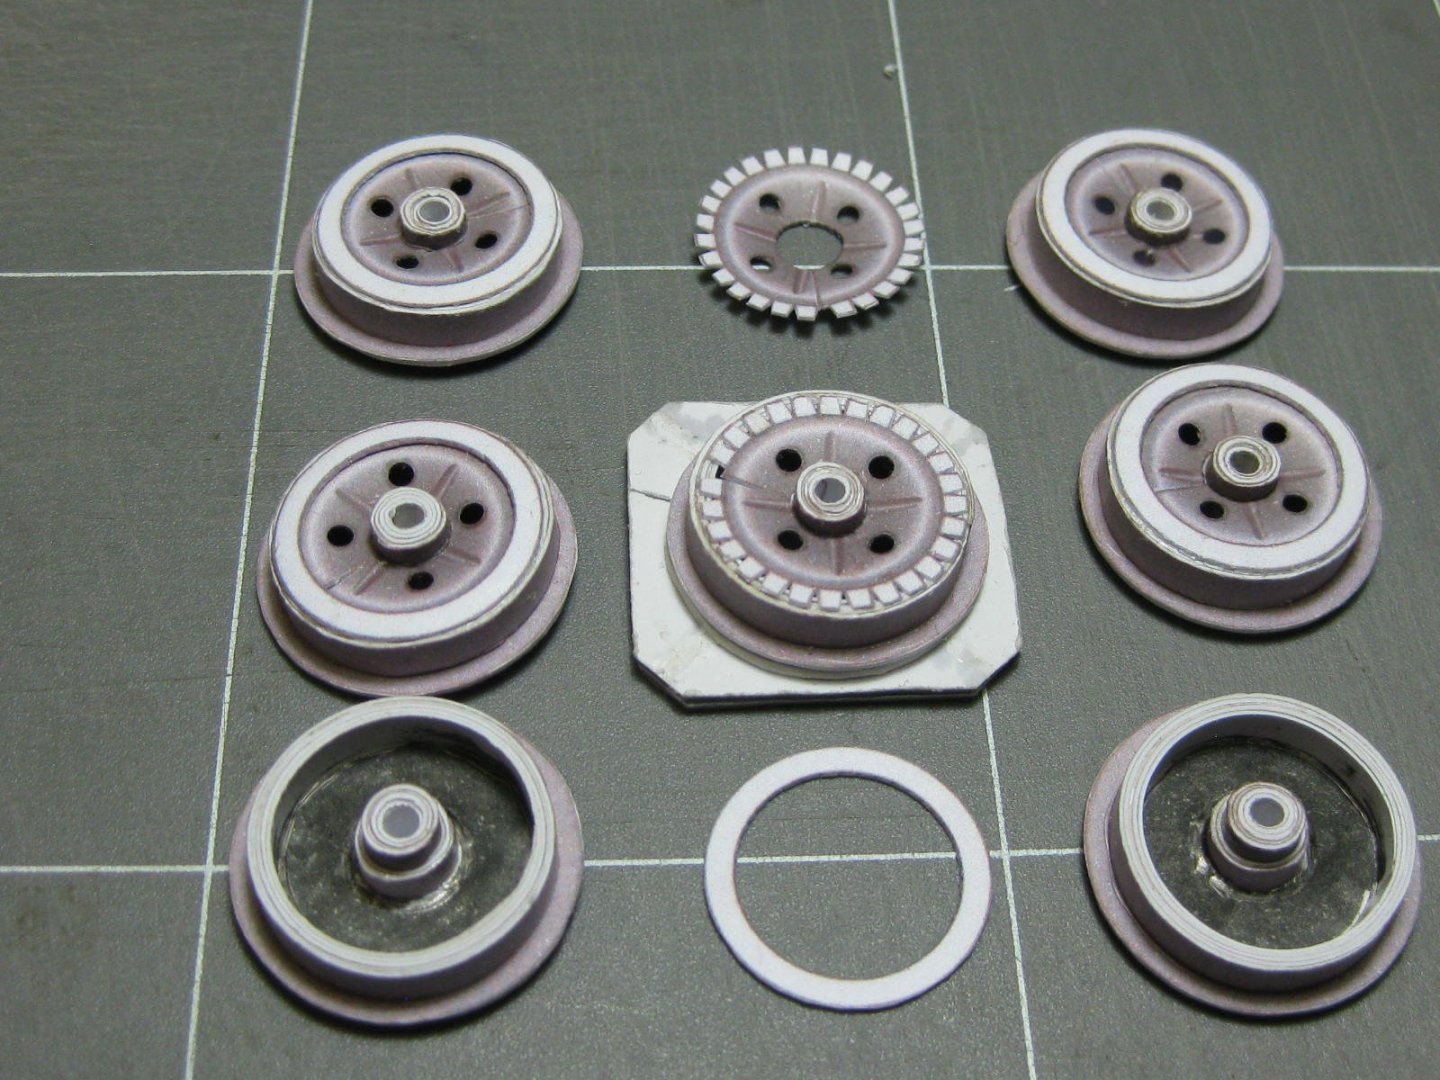
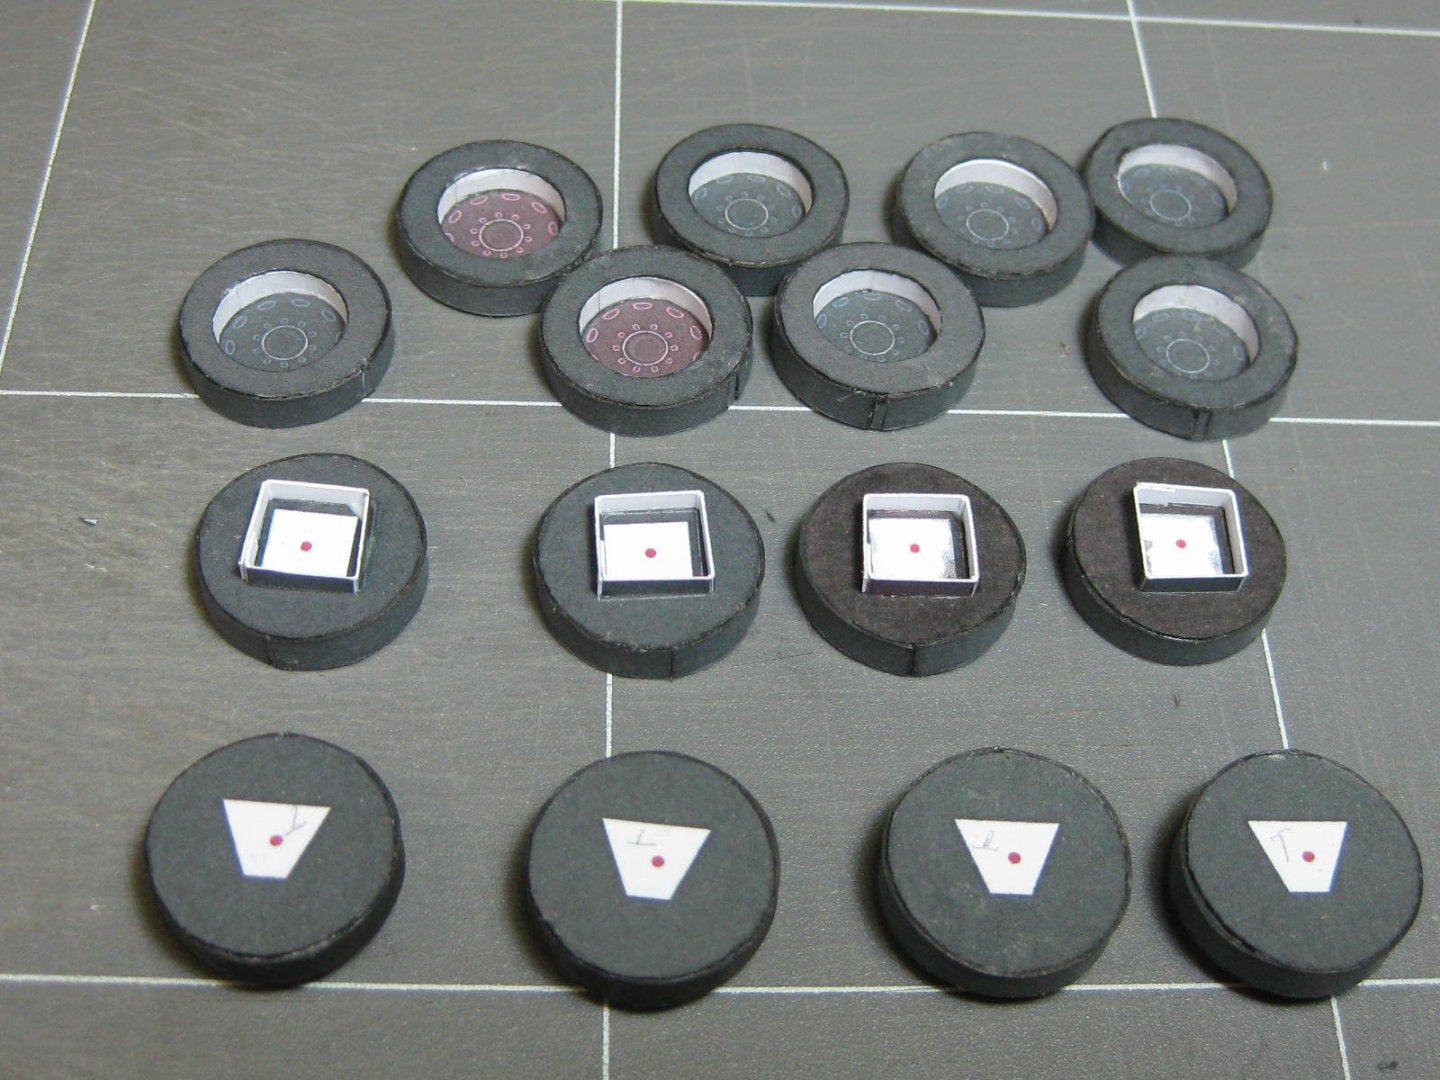
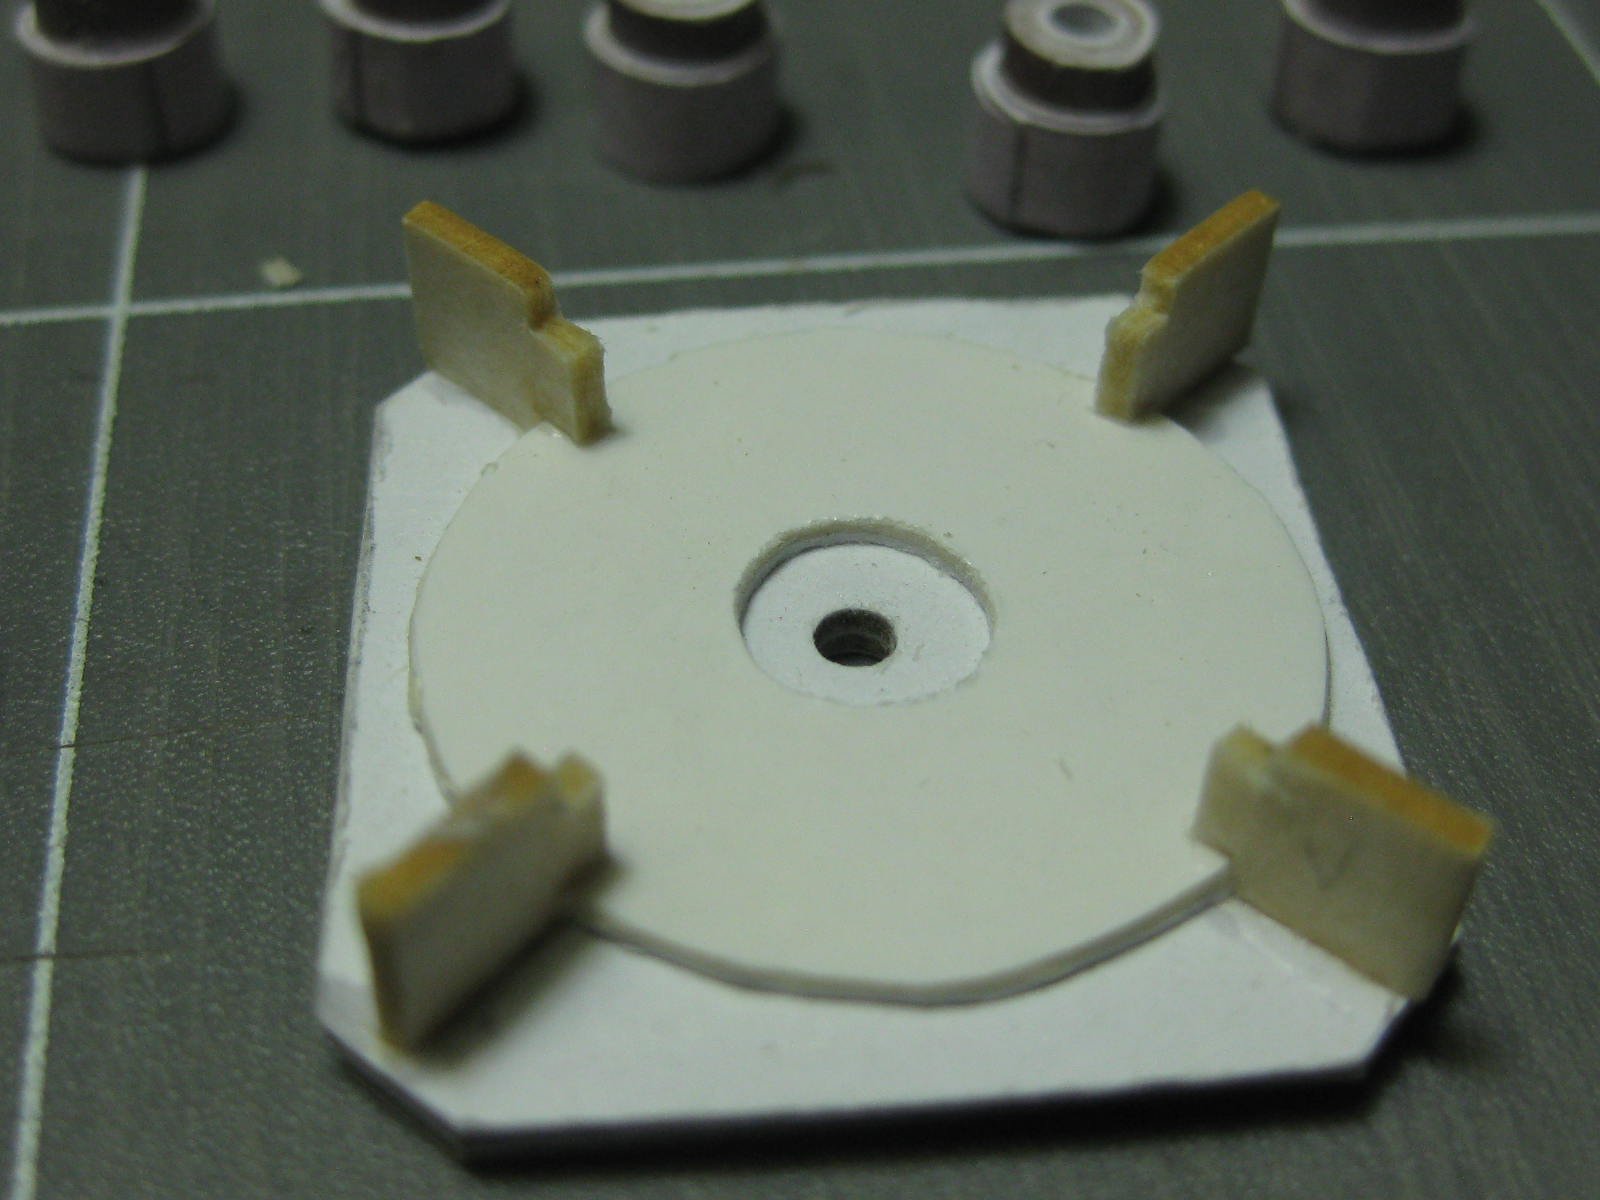
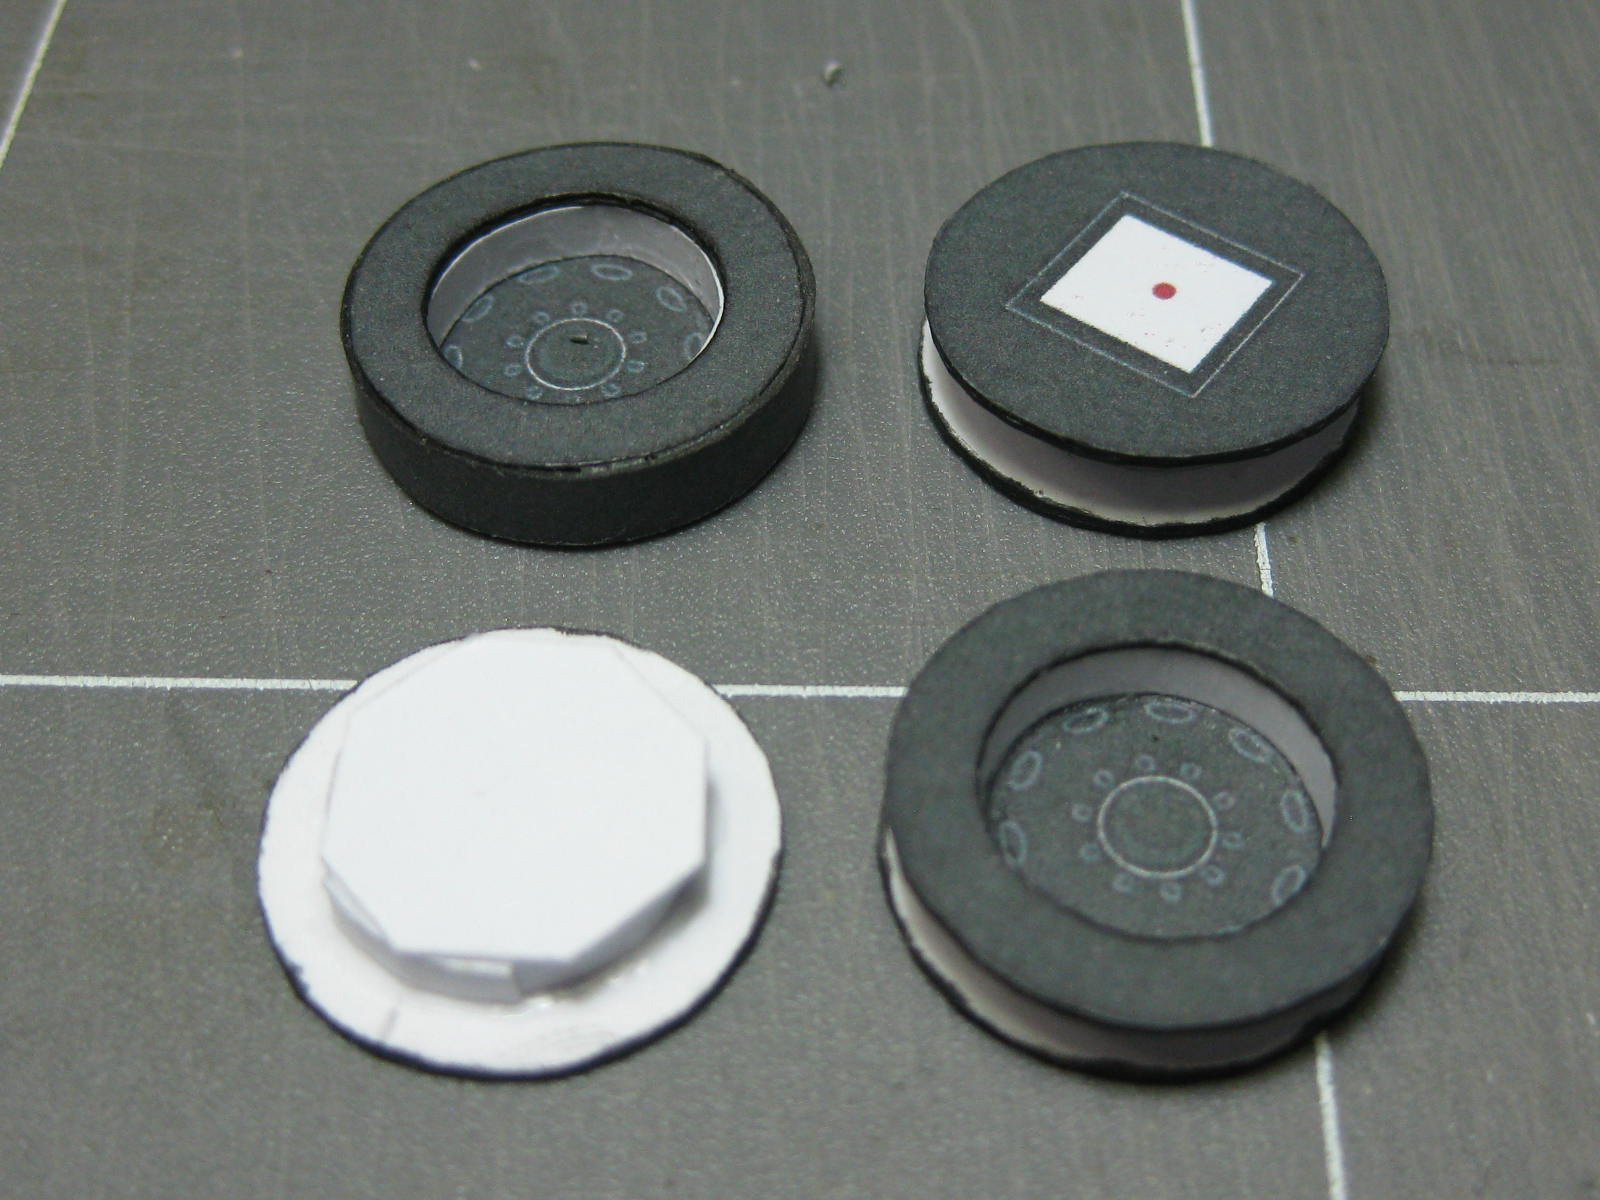
I started with the wheels. The construction of these is different to any other wheels I've made in the past. A good design, but some of the parts weren't a perfect fit (more about that below). Here are most of the parts for them, which I've already prepared :
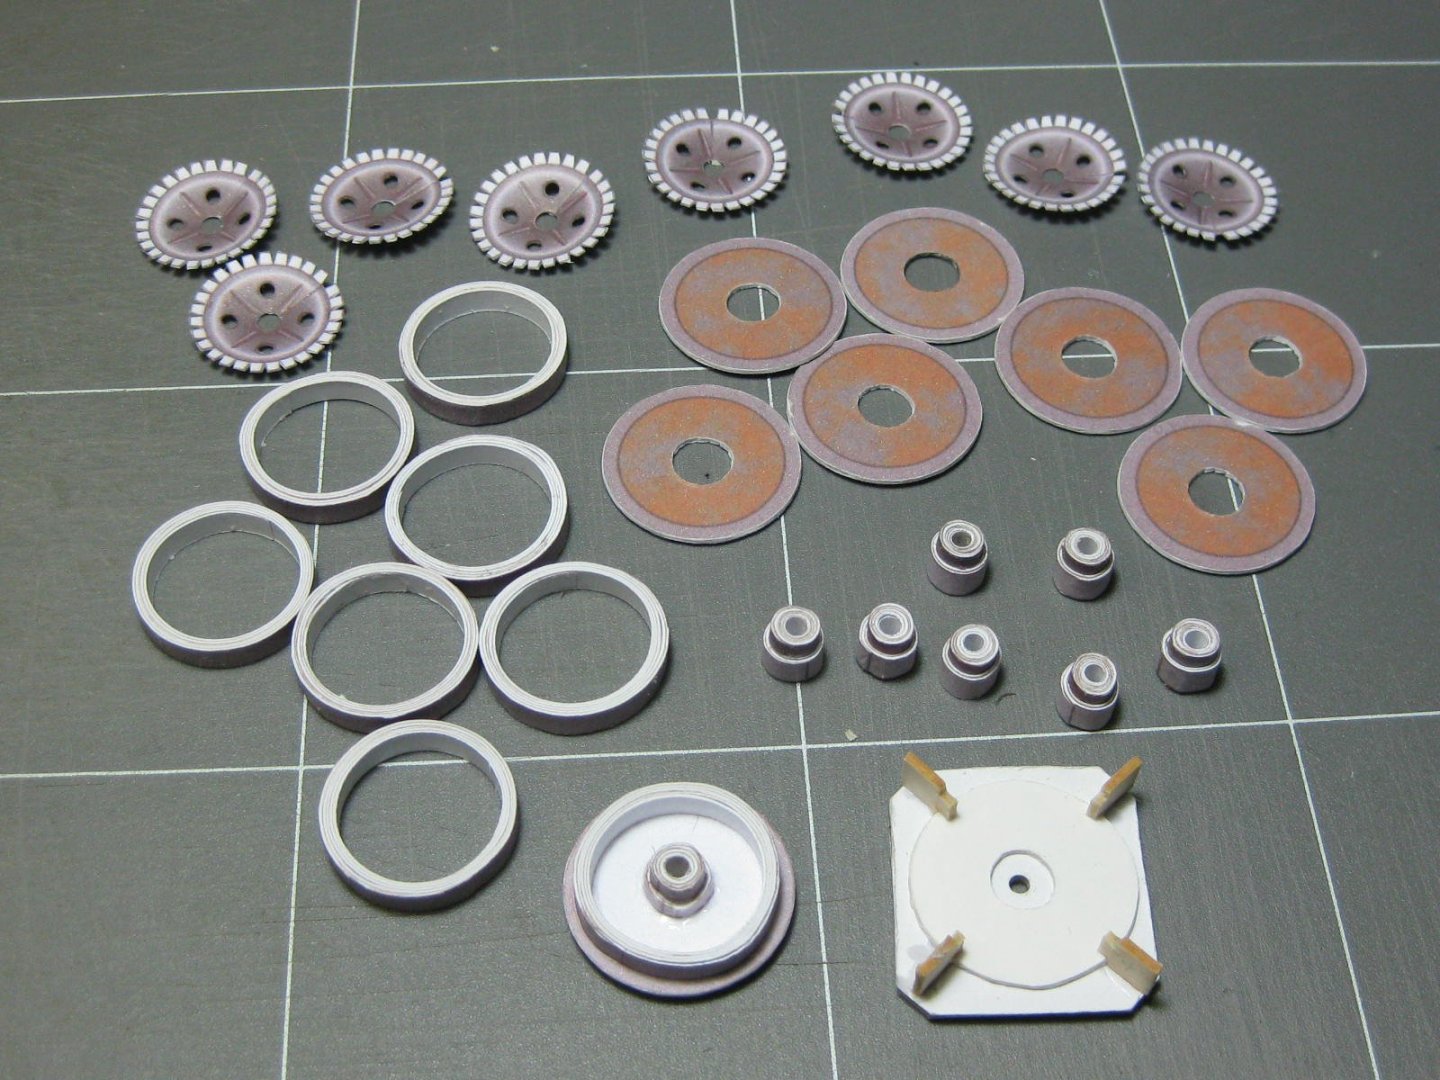
The kit suggested building a jig to assemble them, another good idea which I've adopted :

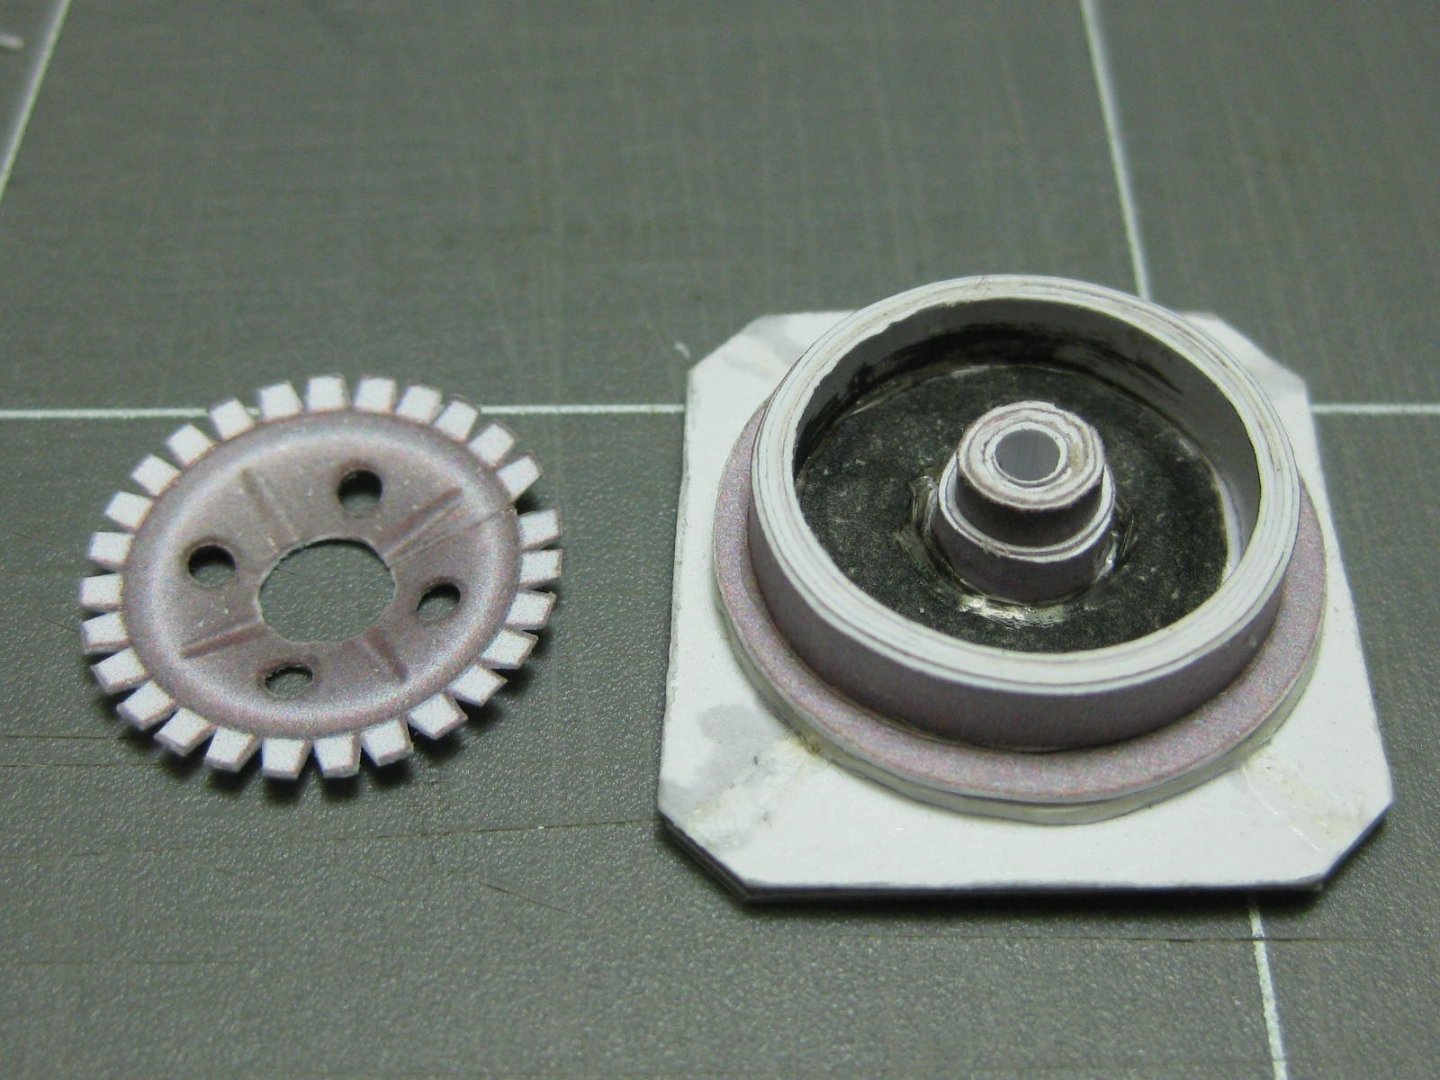
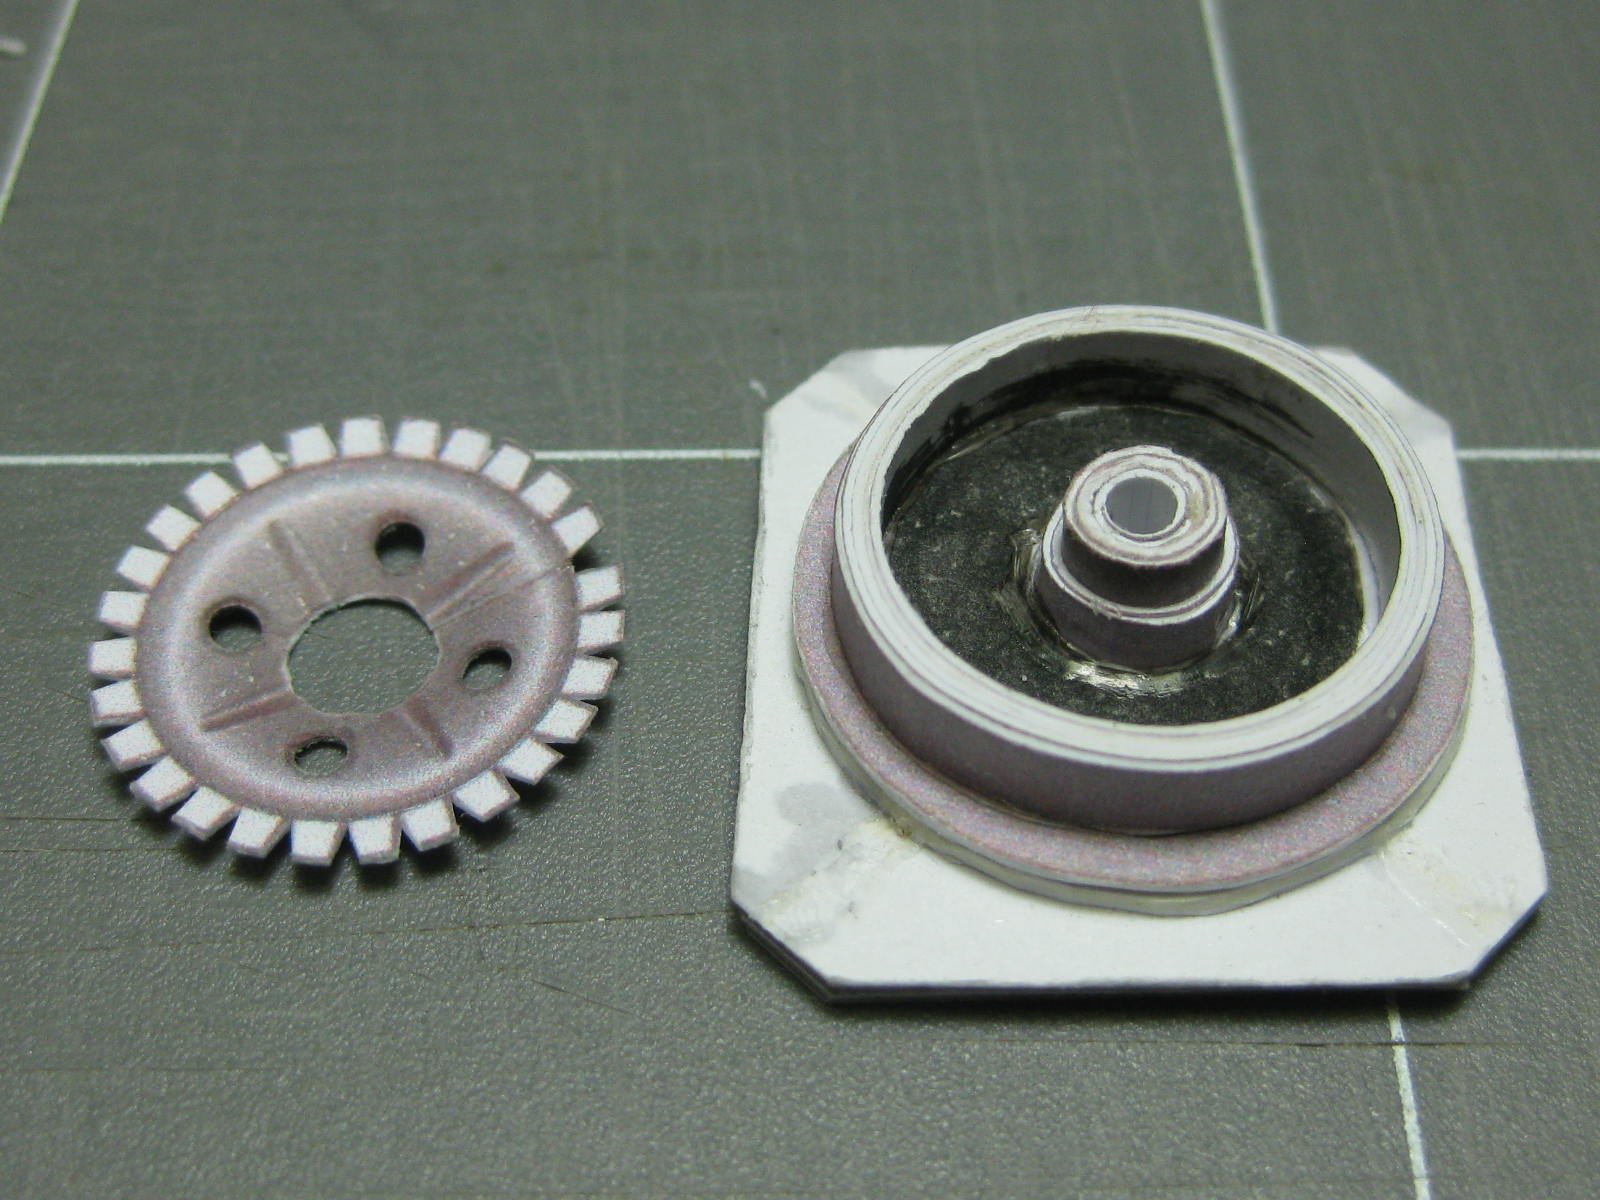
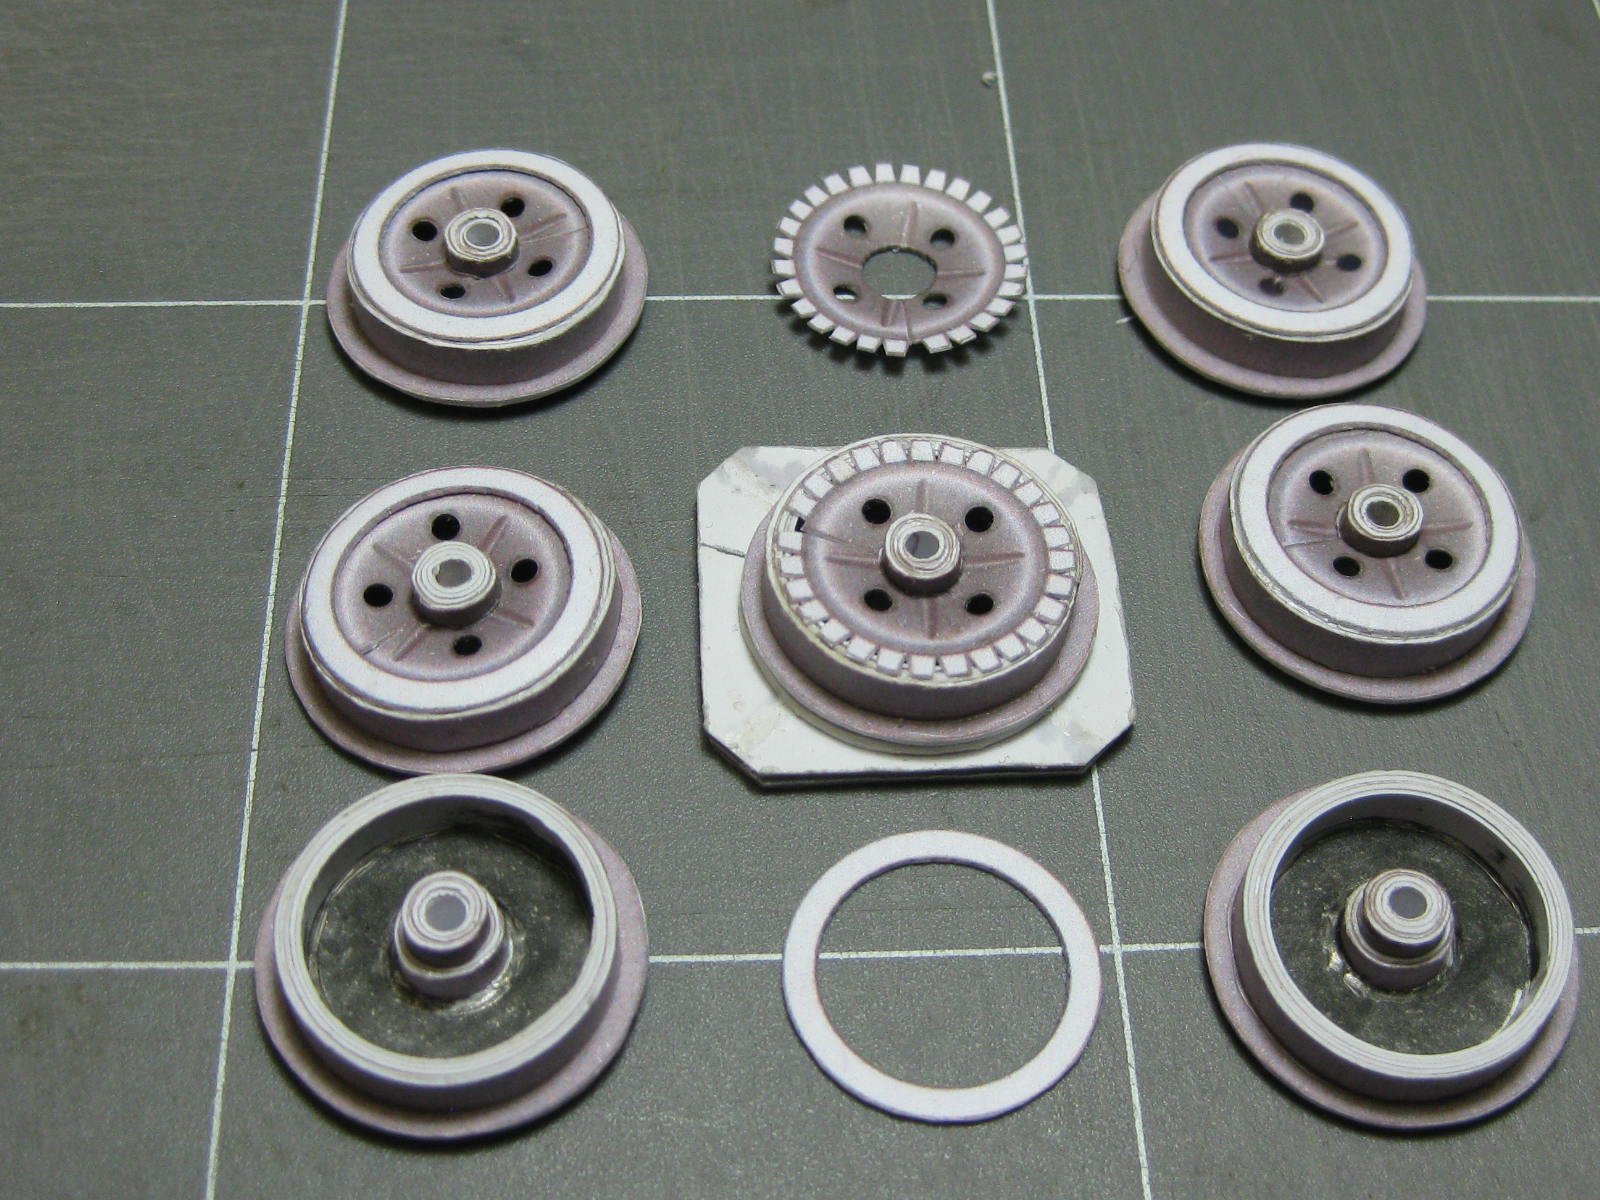
To roll the rim edge I used a socket of the appropriate size :
Nearly all done. The parts that were a bit narrow were the outer rims, missed by about 0.5mm
:
Danny
-
On 8/26/2019 at 8:38 PM, philo426 said:
If that is the model you are thinking of building next I strongly advise against it. That's a VERY complex kit - go with a few easier ones before trying something that difficult. I'd hate to see it abandoned part way into the build.
Here's a LINK to the first card kit I built. It's a free download that you can print out, or there is the option to buy the printed version. I went with the freebie. They have a few other free ones on that site, there are many other sites that offer free card kits.
Just my recommendation, Danny
-
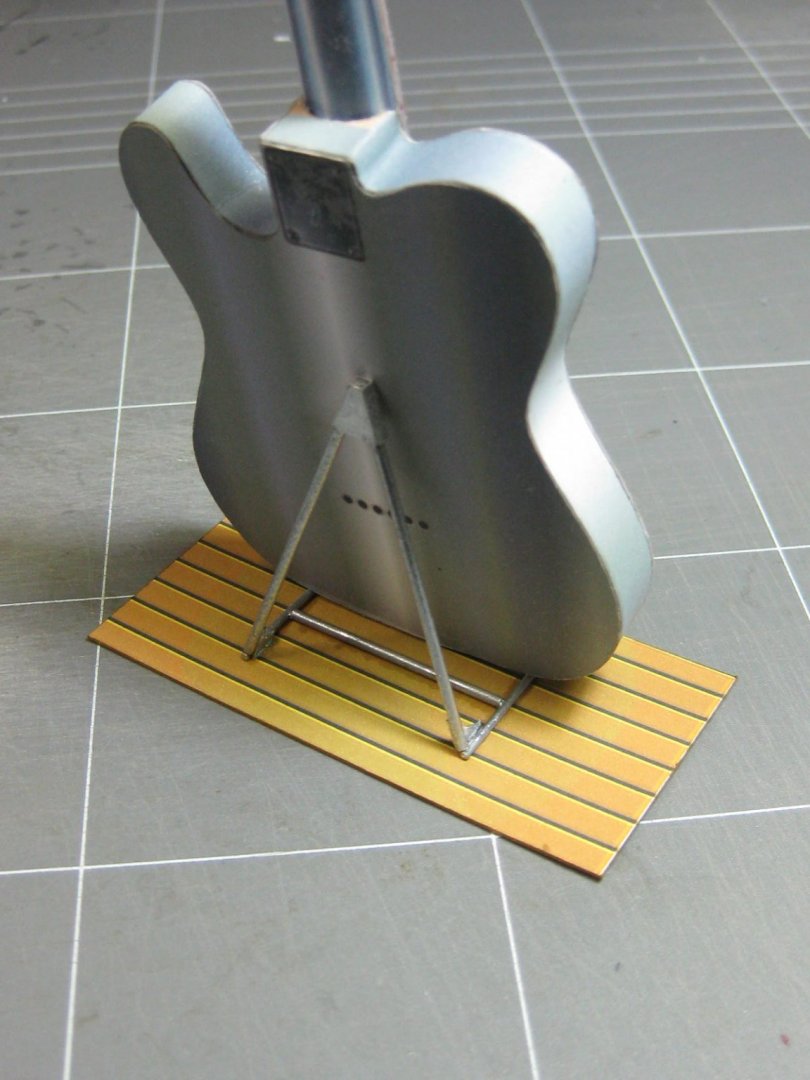
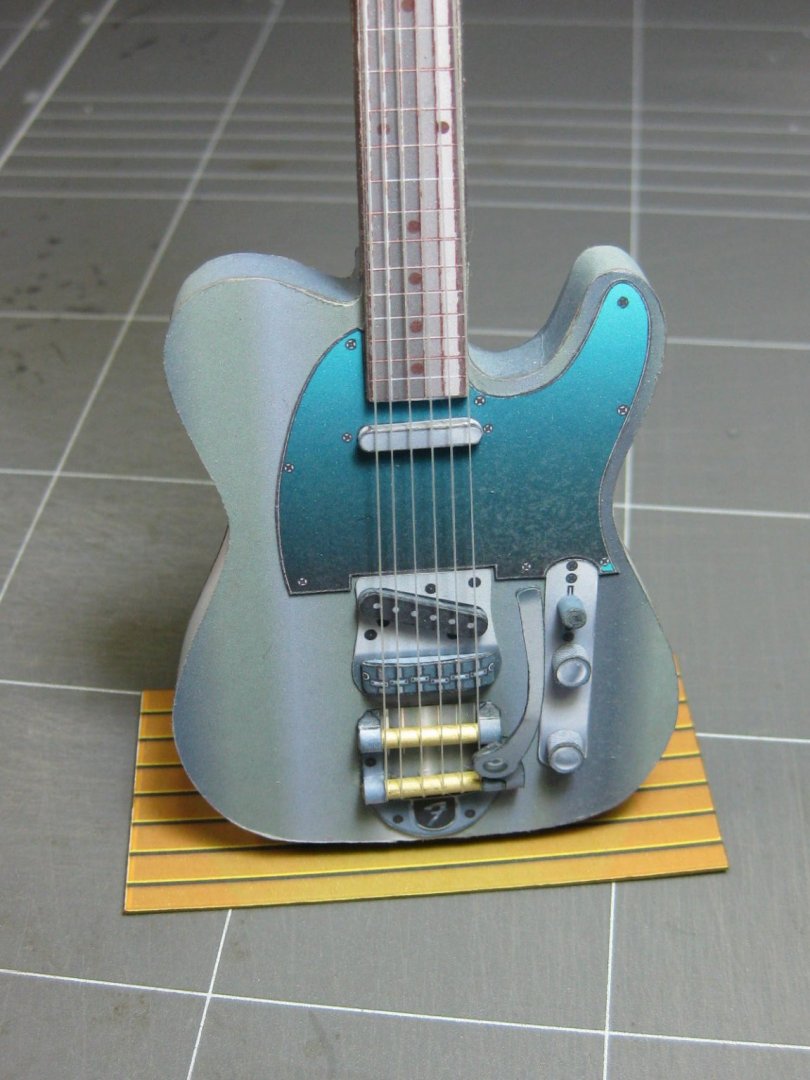
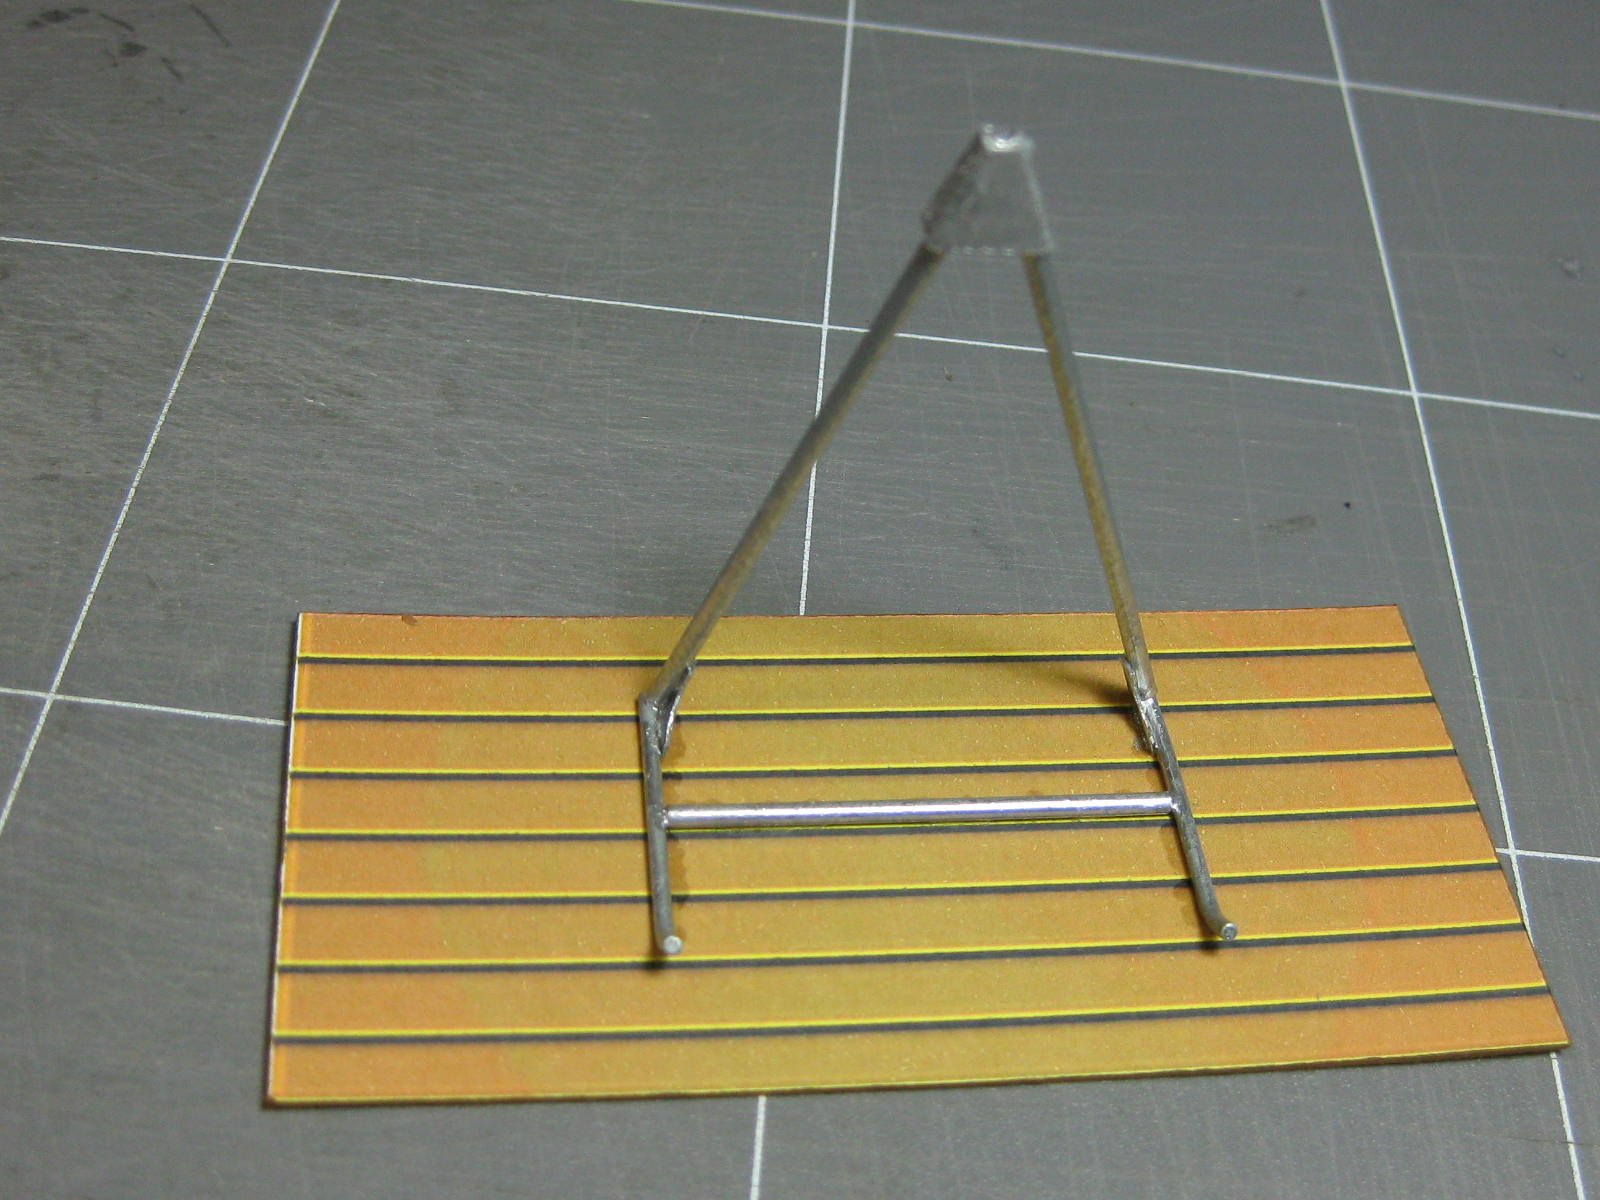
I made the stand for the guitar. The base is a simulation of the stage floor (sort of
) :

Danny
-
To explain "my" last post above - that was written by my Admiral on her computer which is set up to go to my own MSW Account. Poor girl's not very computer literate and doesn't have her own MSW account so she uses mine
.
Danny
- mtaylor, Canute, pontiachedmark and 1 other
-
4
-
-
The wheels took longer to make than anything else, 2 days worth. I used my own method for them - the kit's ones were a terrible design :

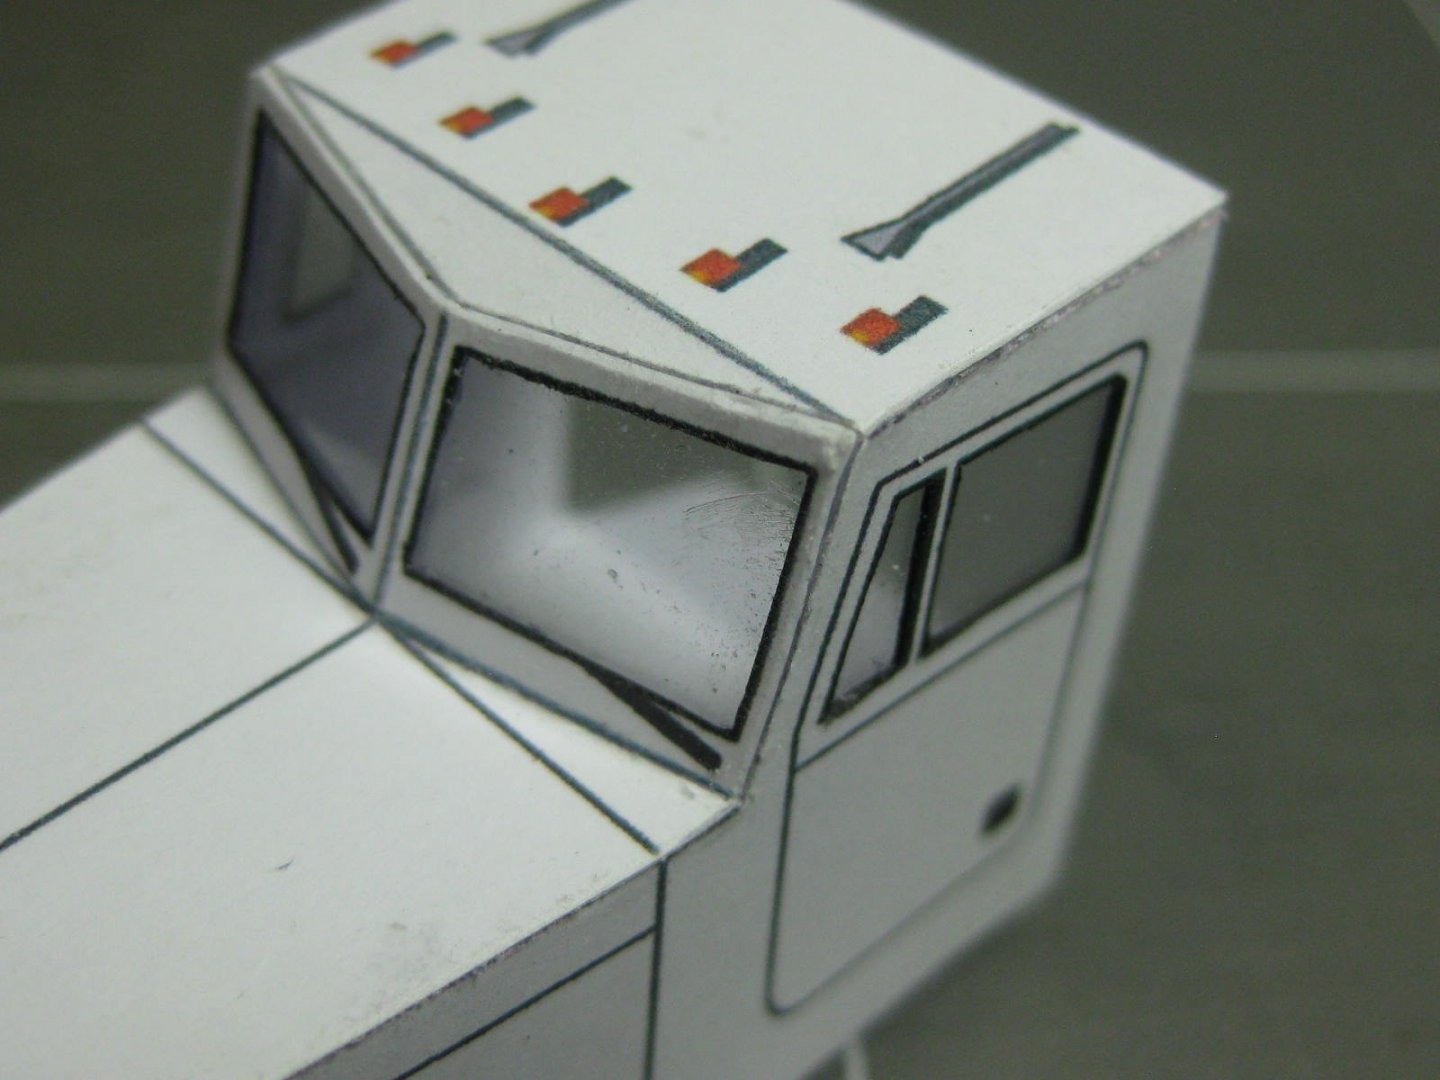
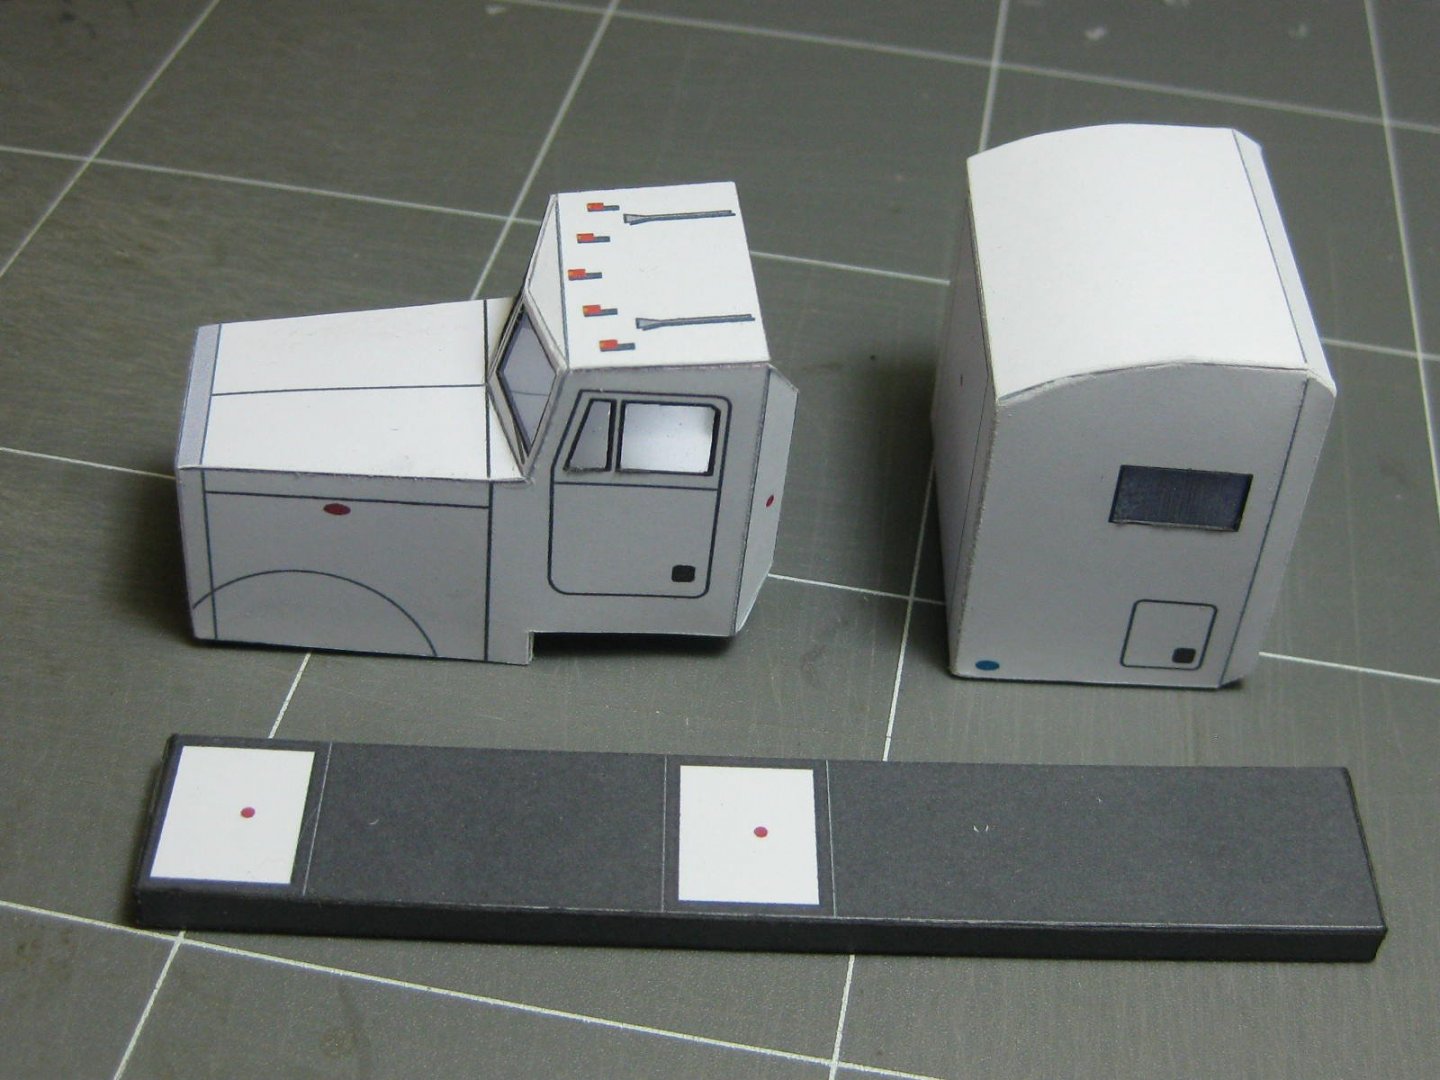
I printed a 2nd parts sheet and cut out things like the air horns, clearance lights and tailgate hinges which I glued over the ones that were simply printed to the roof, tailgate etc to give them more depth. All the smaller details have been added and the model is FINISHED
:


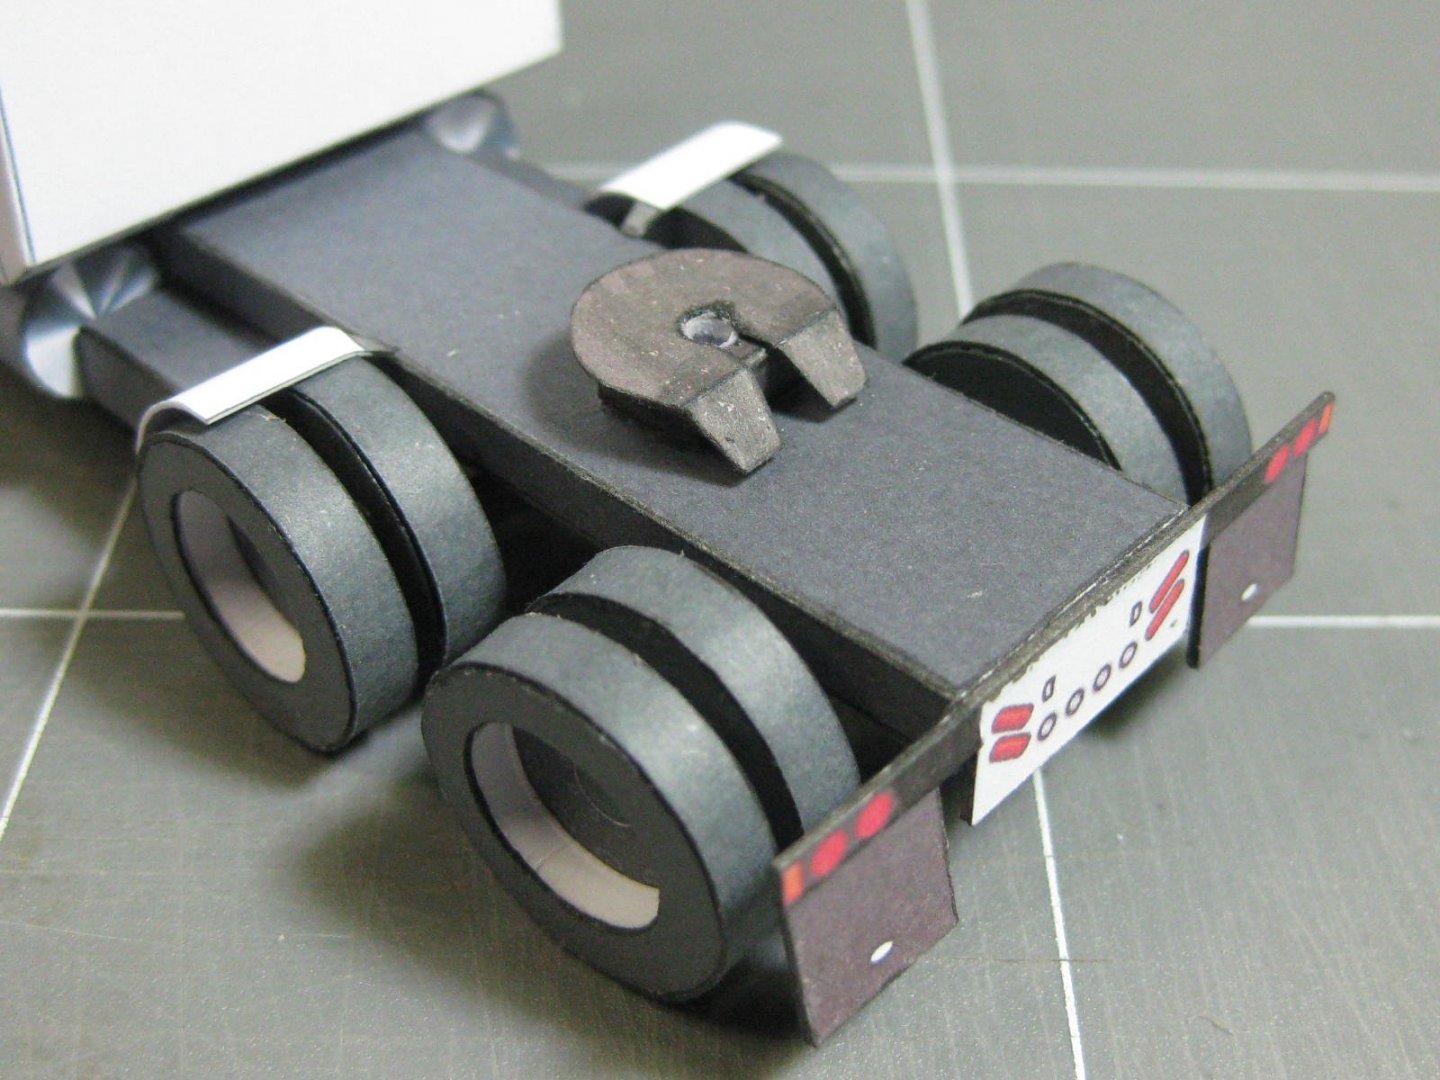


I still need to apply a couple of coats of gloss clear. I'll add a couple more pics when it's dried.
Danny
- popeye the sailor, Mirabell61, jud and 5 others
-
8
-
On 8/26/2019 at 10:28 AM, popeye the sailor said:
super looking guitar Danny. will you be making a stand for it?
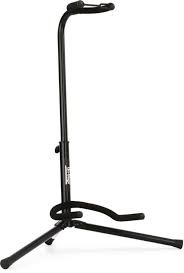
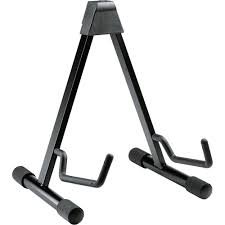
wire frame and black tubing should do the trick
Yes. Thanks for the suggestion Popeye, and the pics. Actually my Admiral rang me about 10 minutes after you posted the above with the same thought - how weird
.
Danny
- Canute, mtaylor, popeye the sailor and 1 other
-
4
-
Hi all,
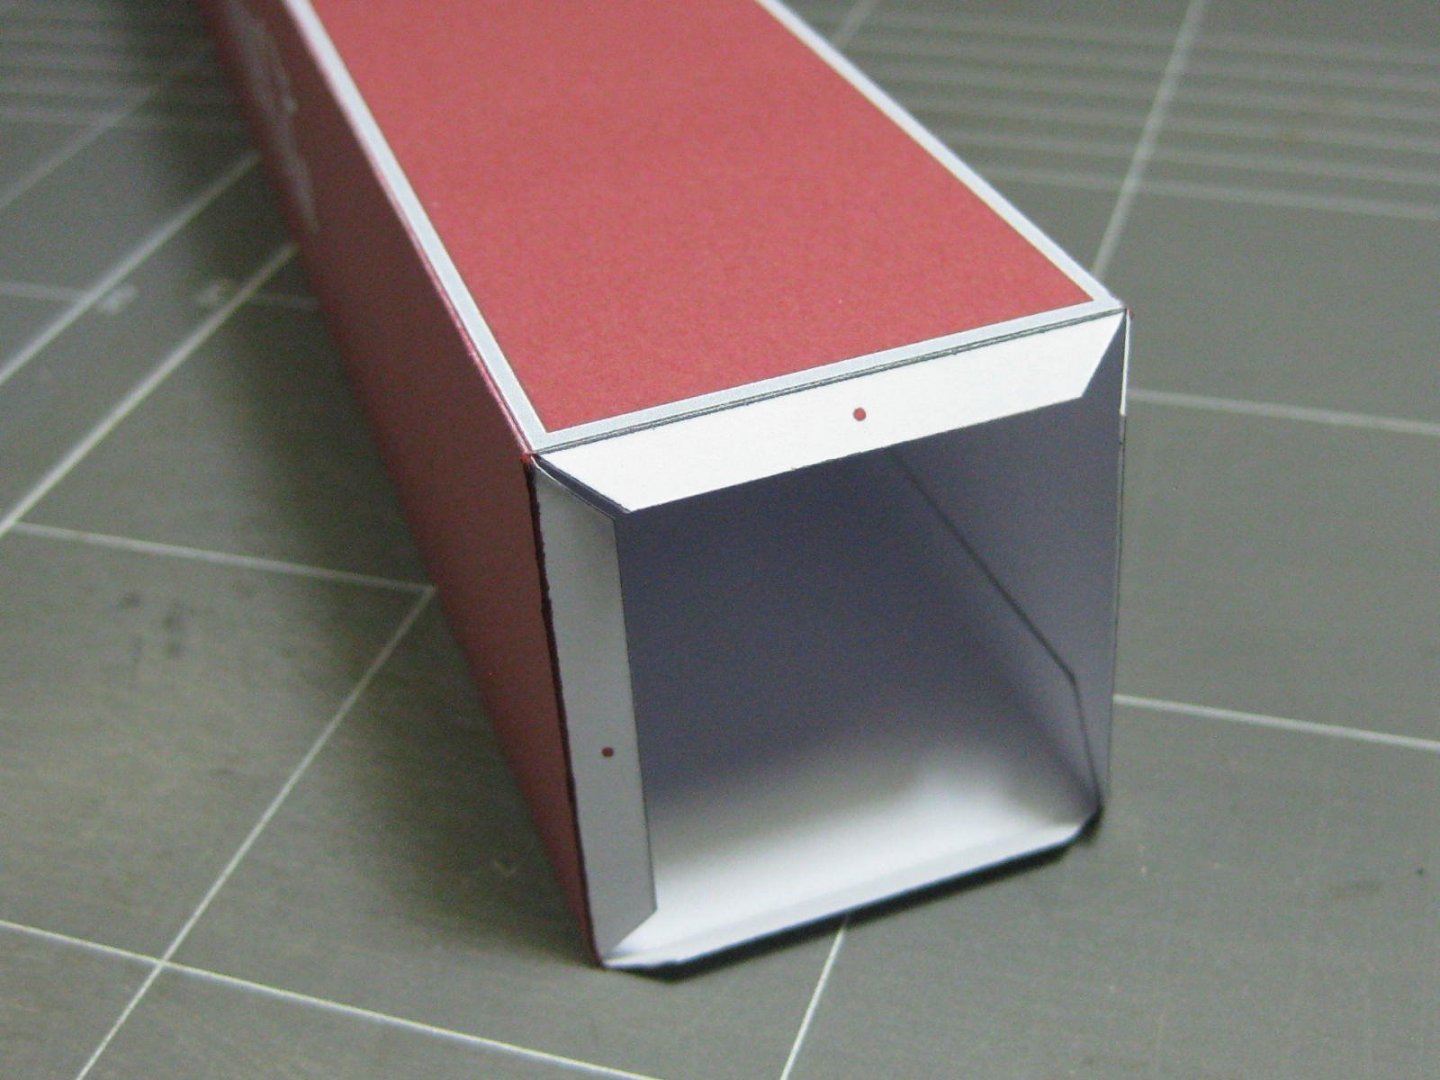
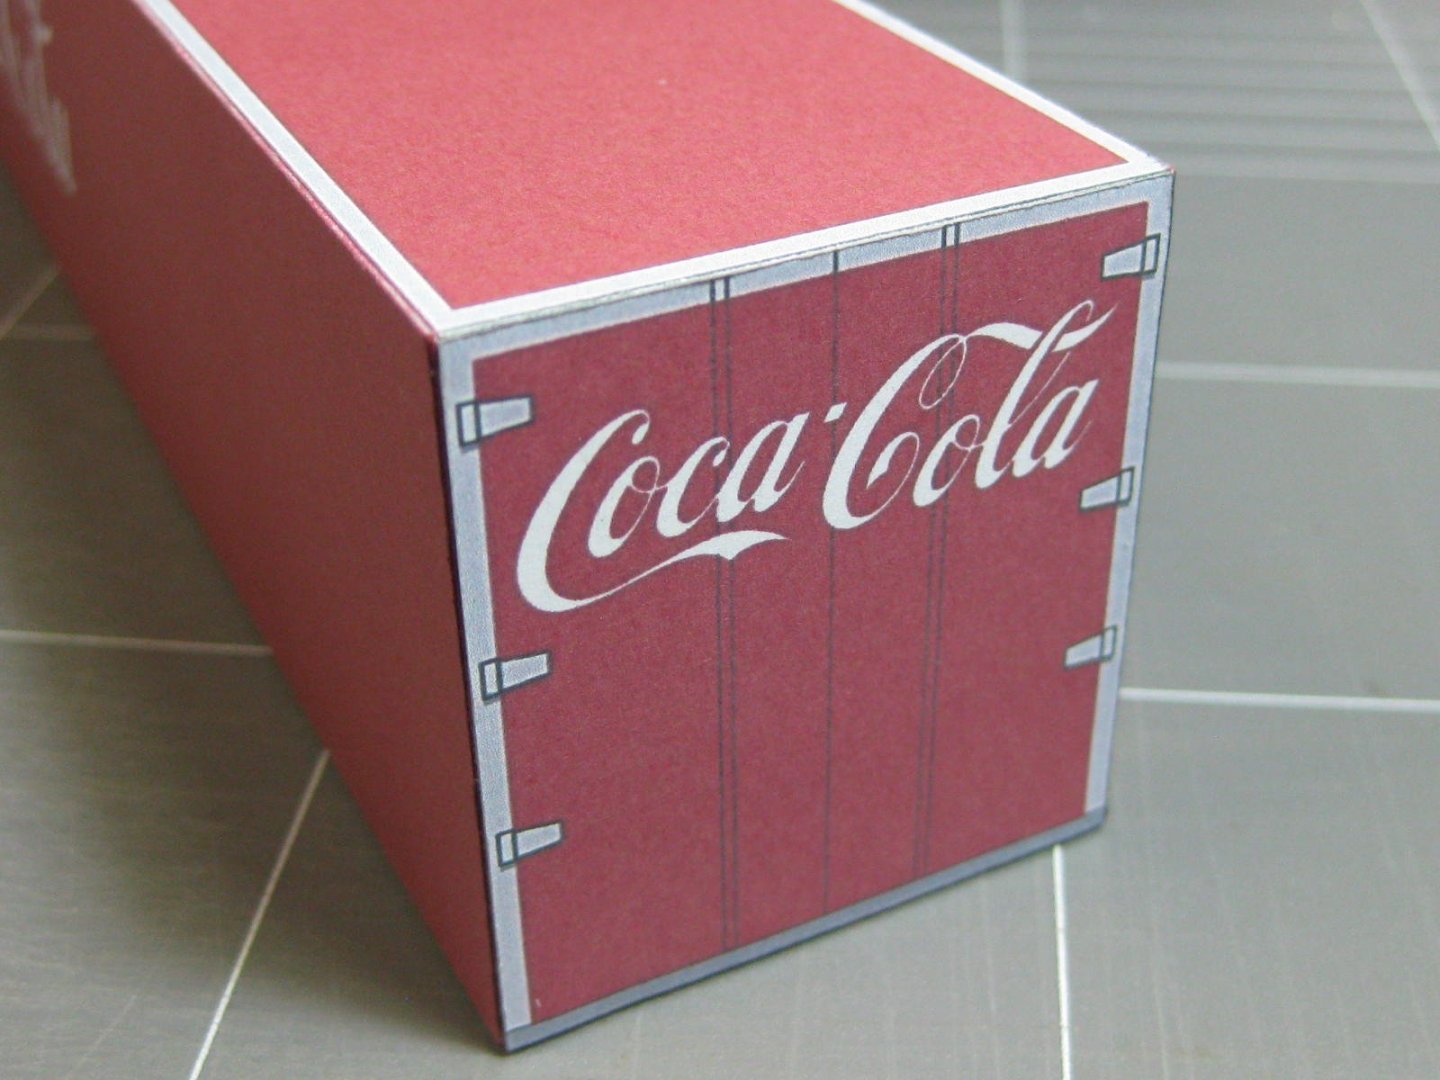
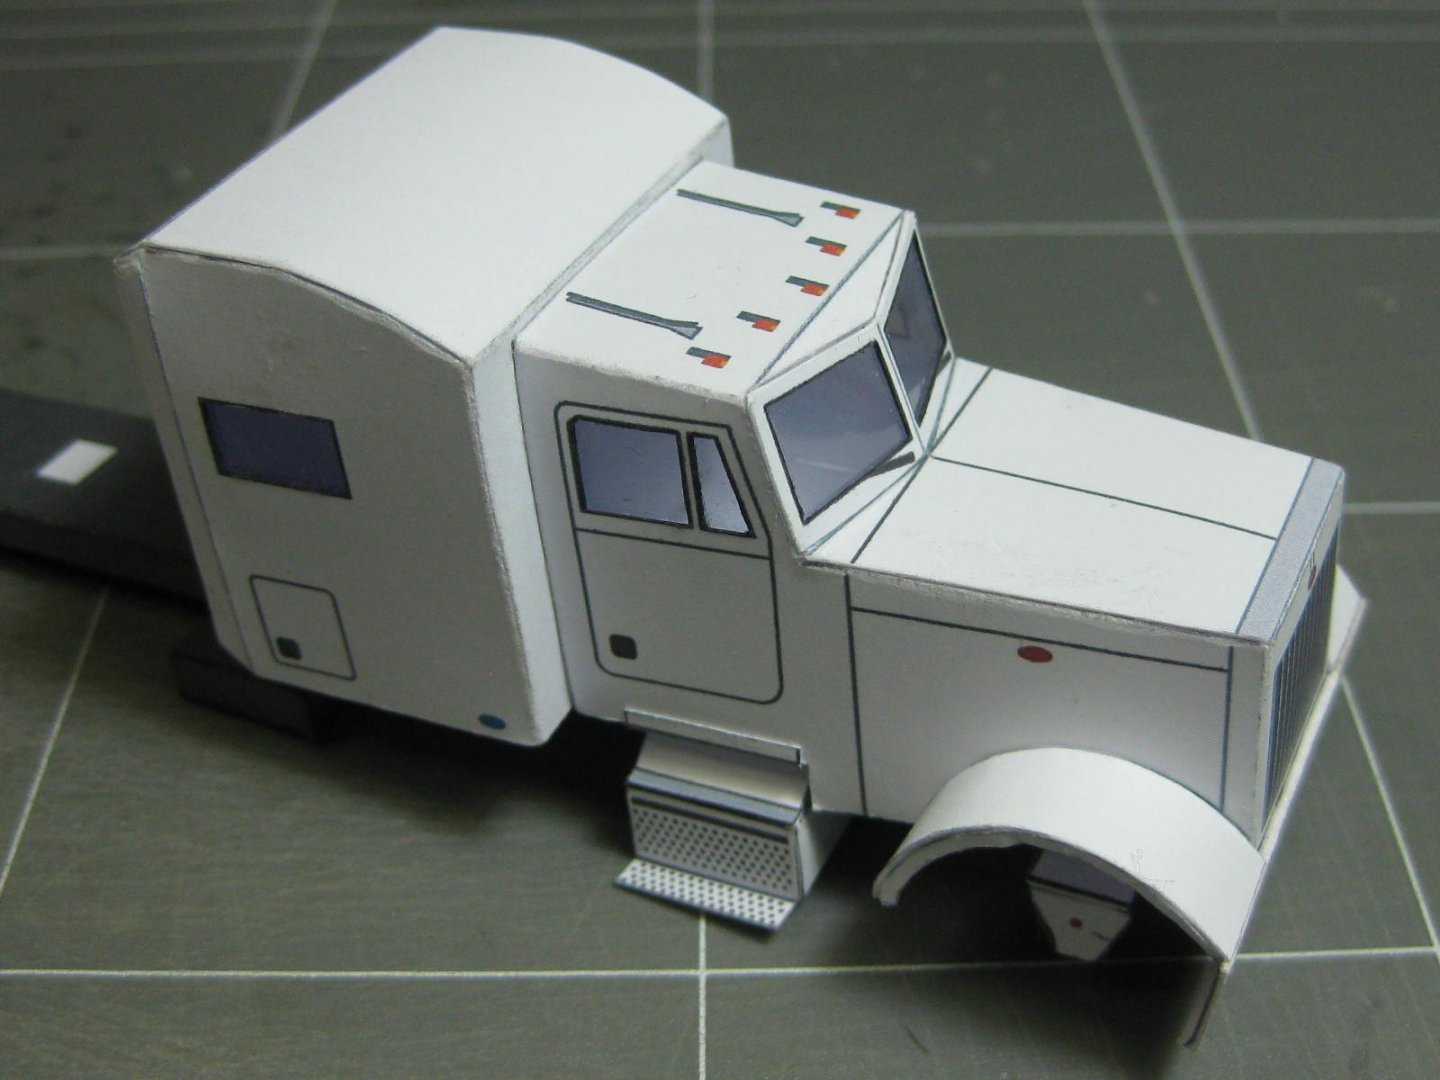
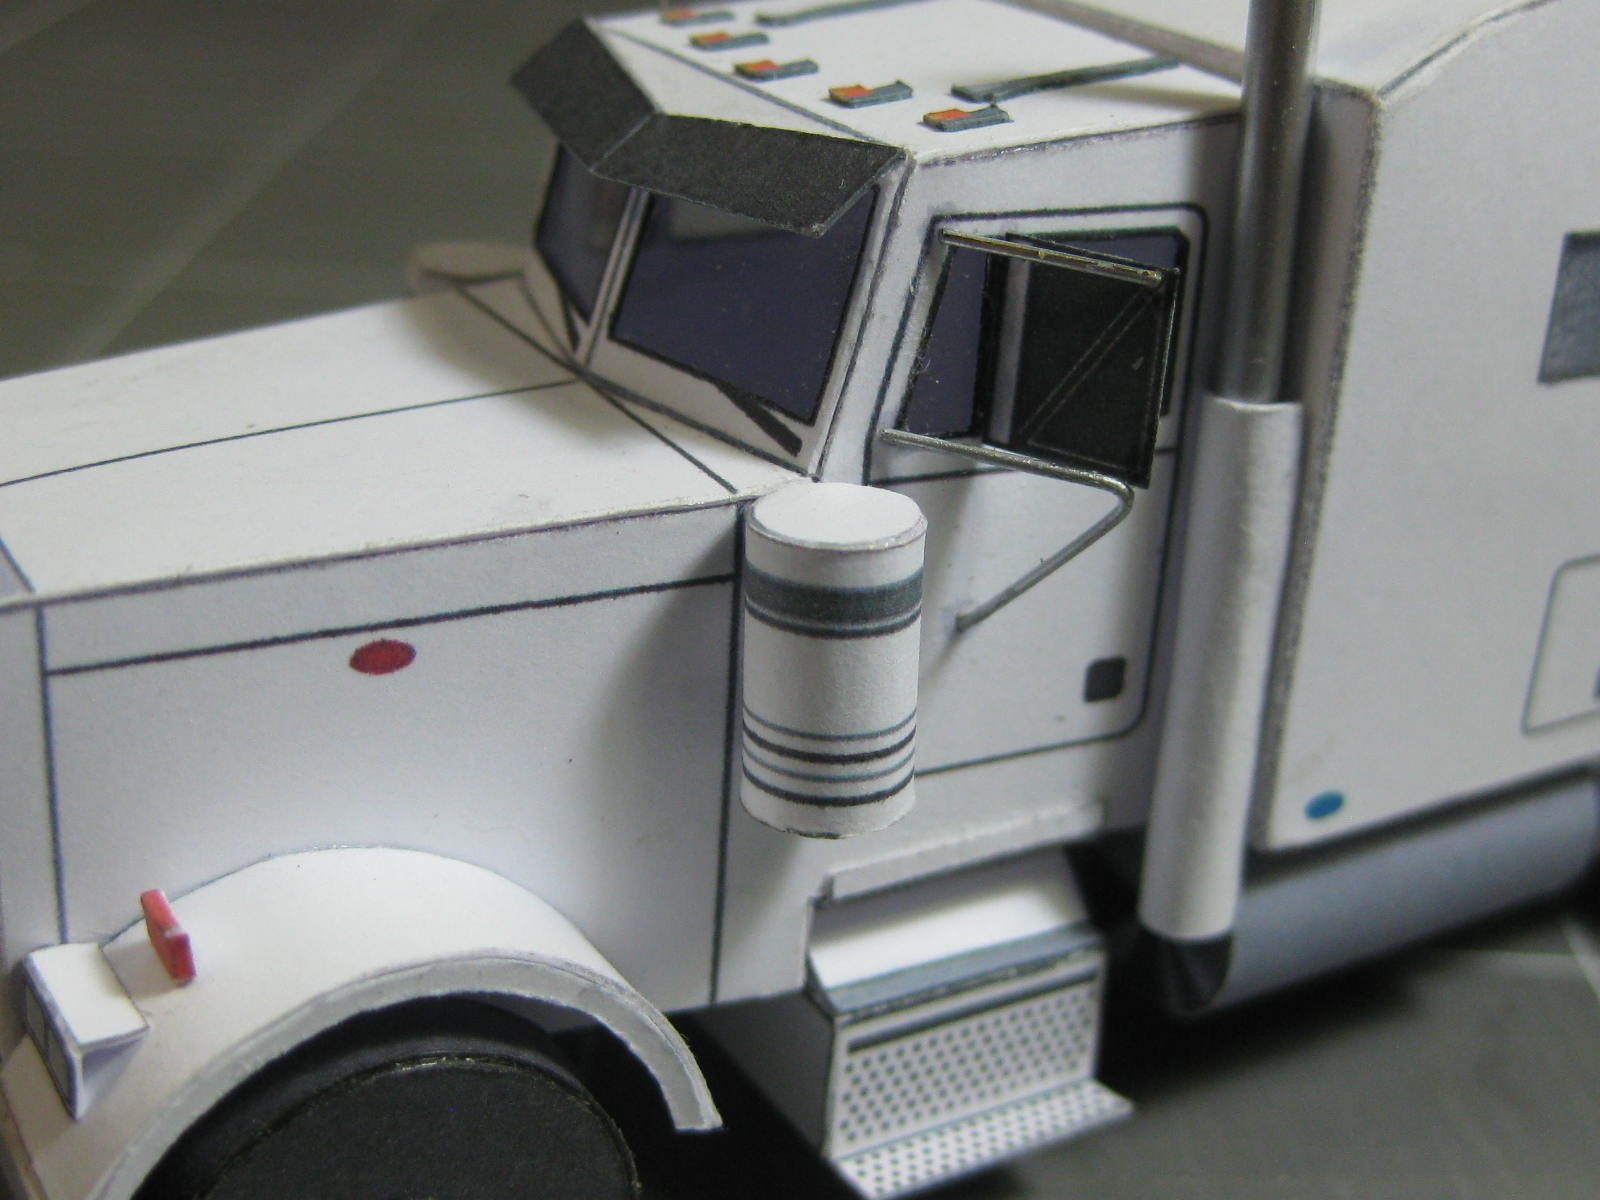
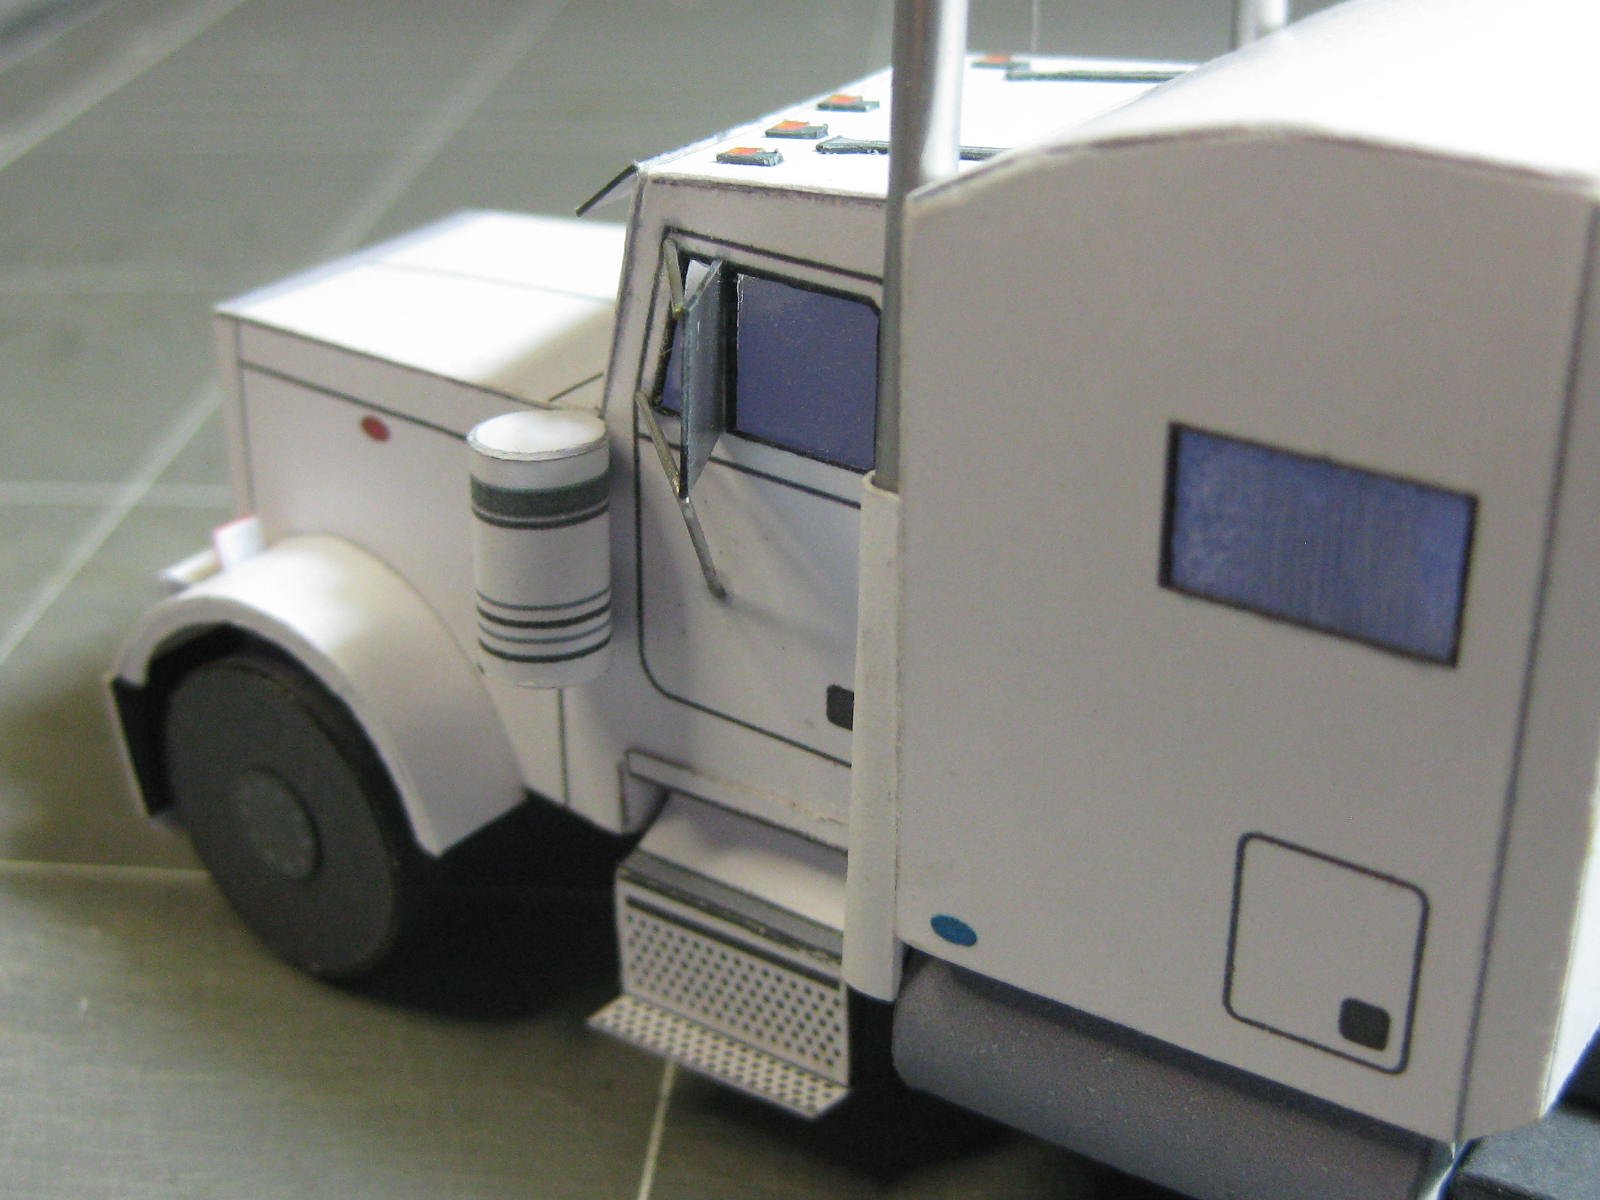
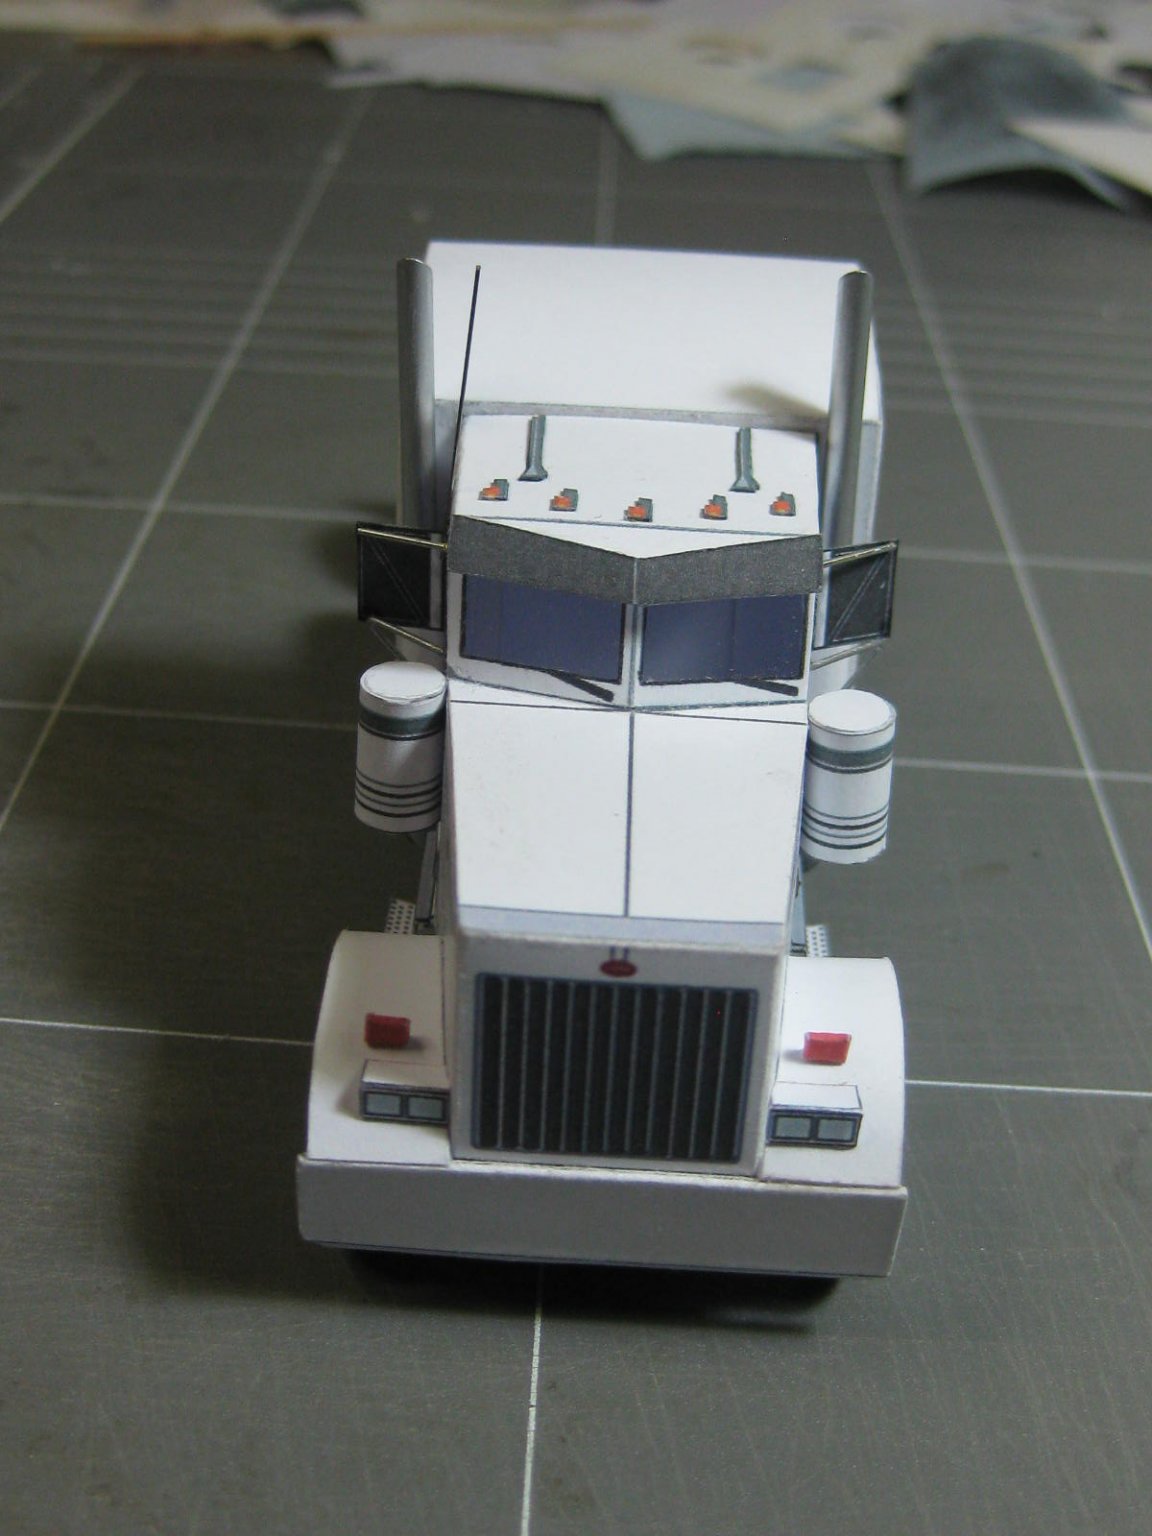
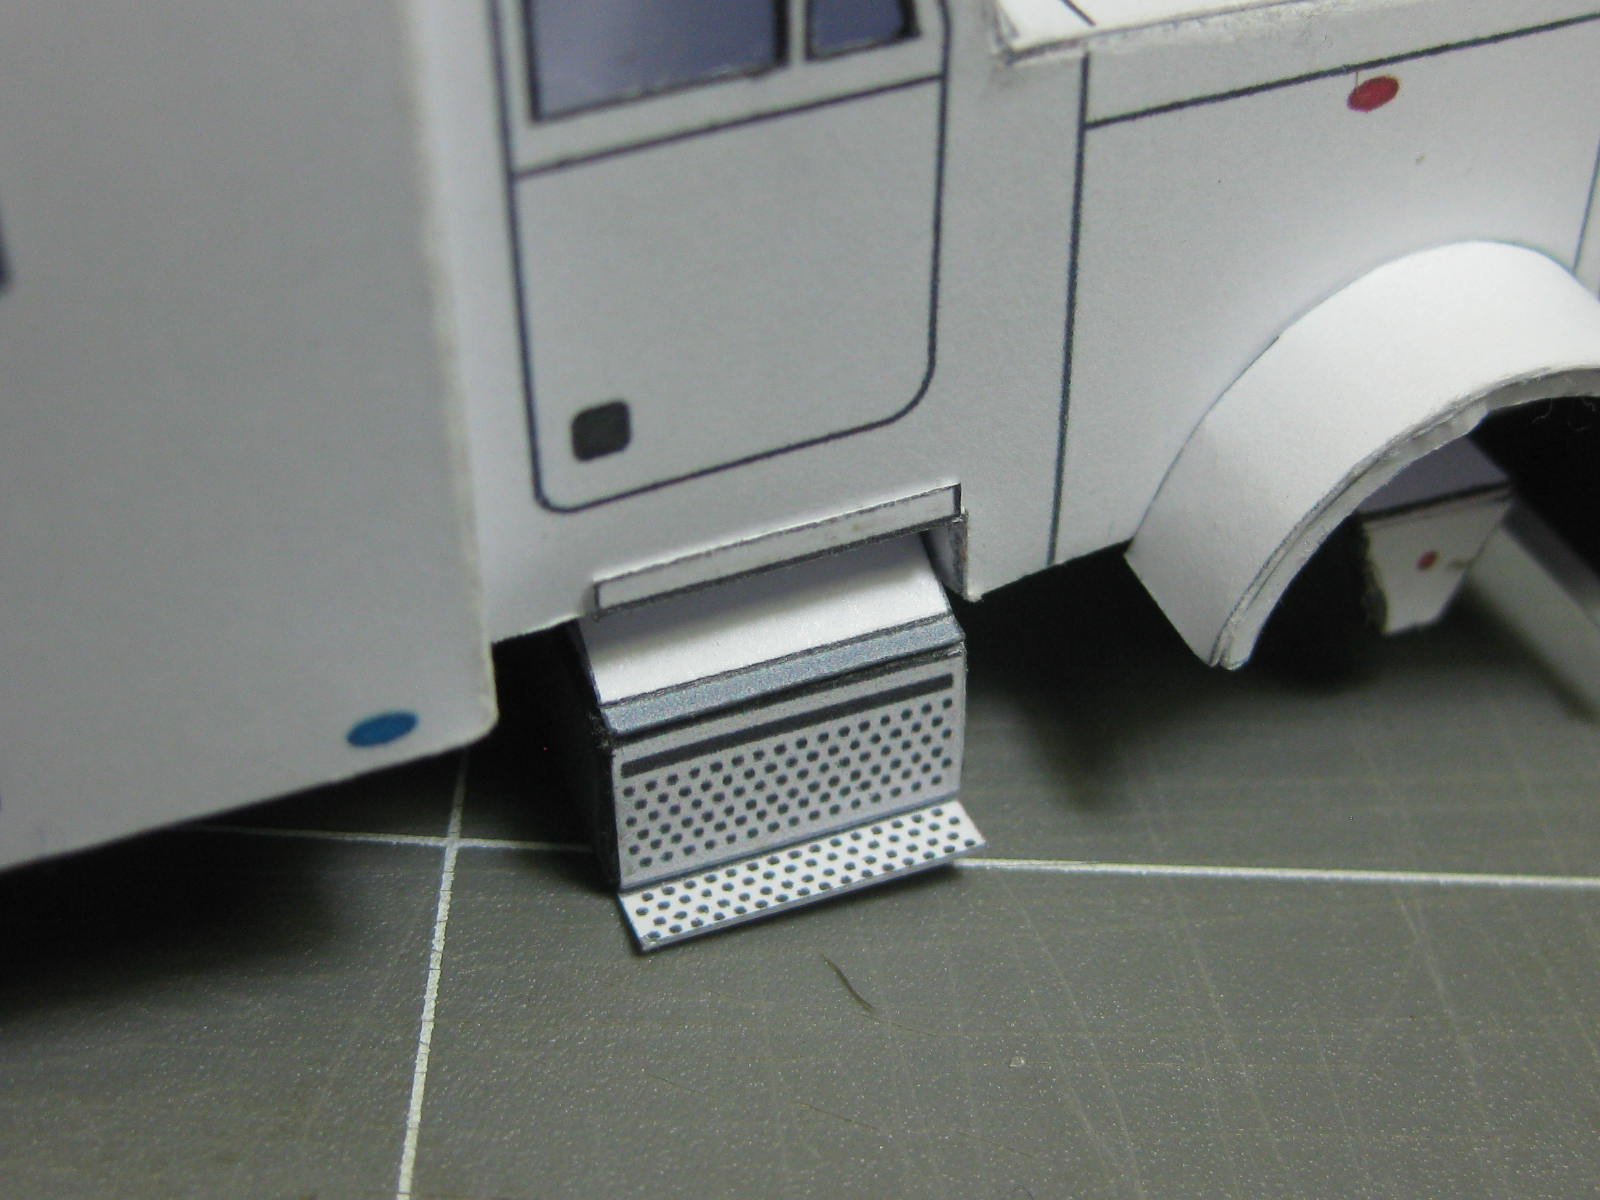
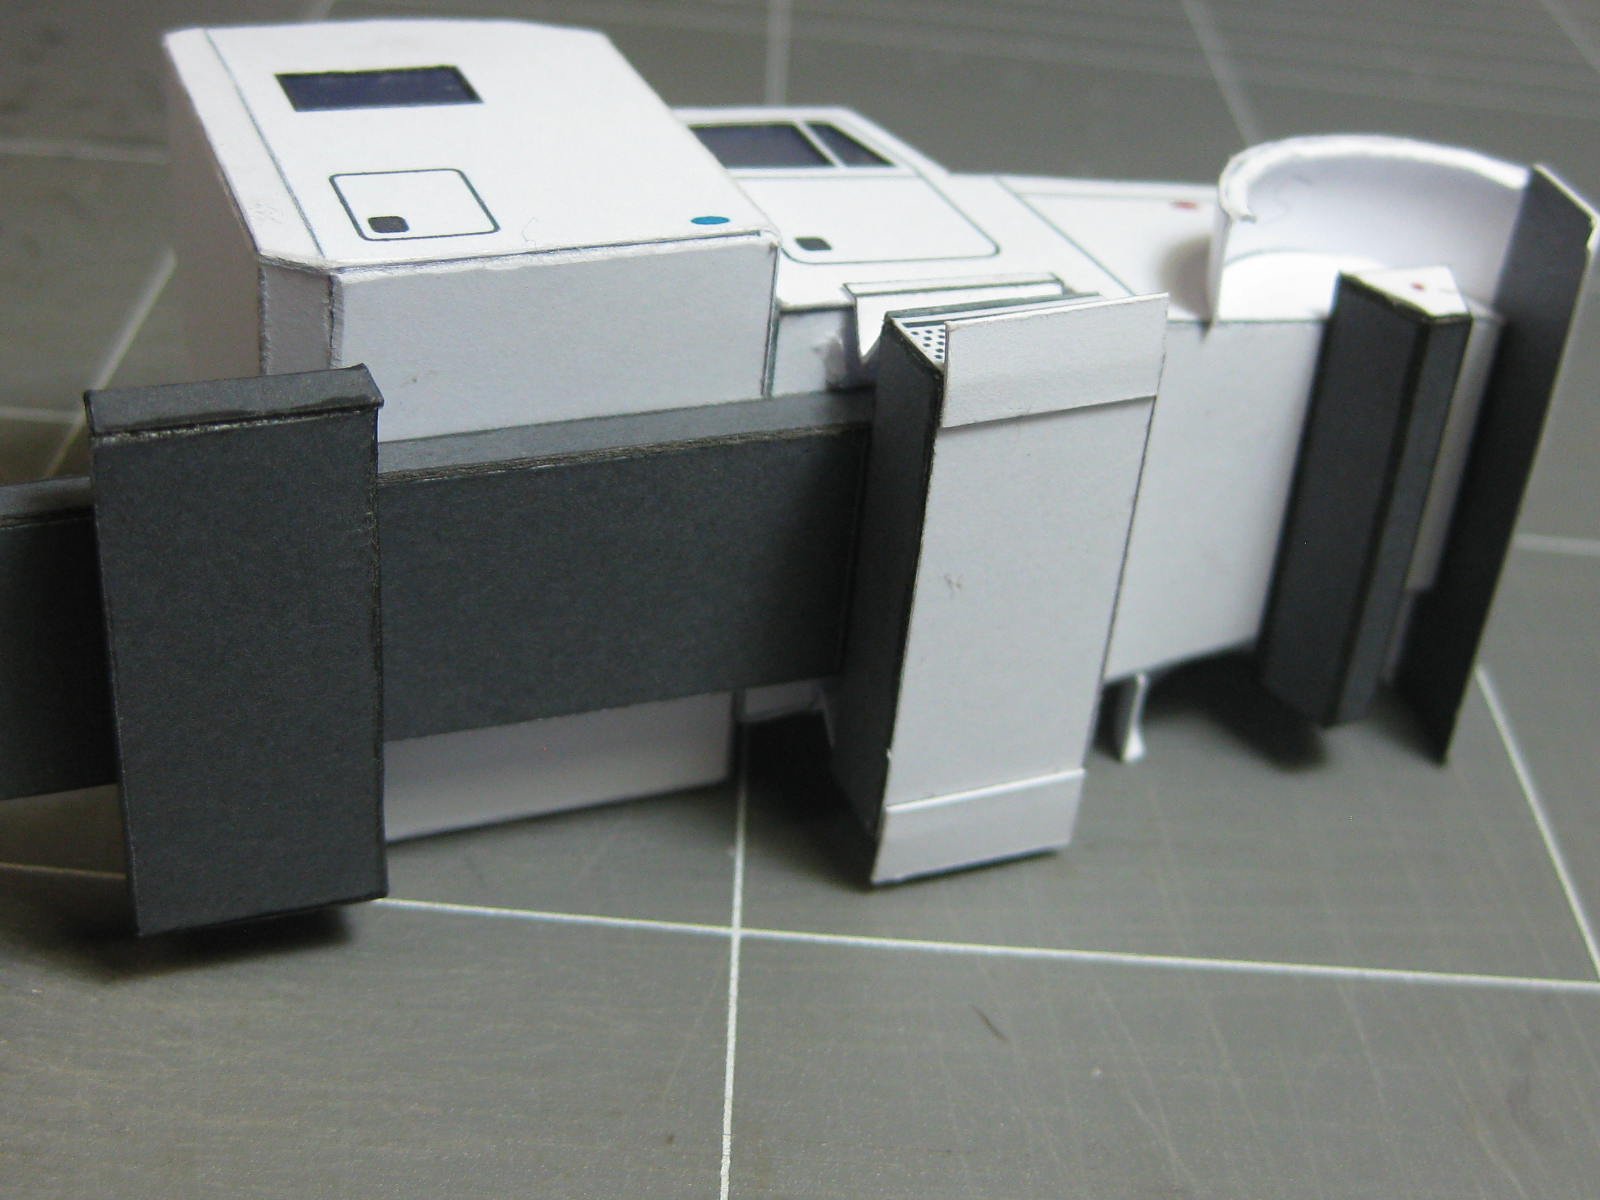
Another "quickie" - a free download of a Peterbuilt Semi-Trailer, which is virtually the same as a Kenworth. My Admiral's late son drove a white Kenworth, so I'm building this one for her in memory of him.
I found this as a free download on the same site as the Fender guitar. The detailing leaves a lot to be desired, but it isn't turning out too bad. I'm enhancing it a little bit (don't I always
).
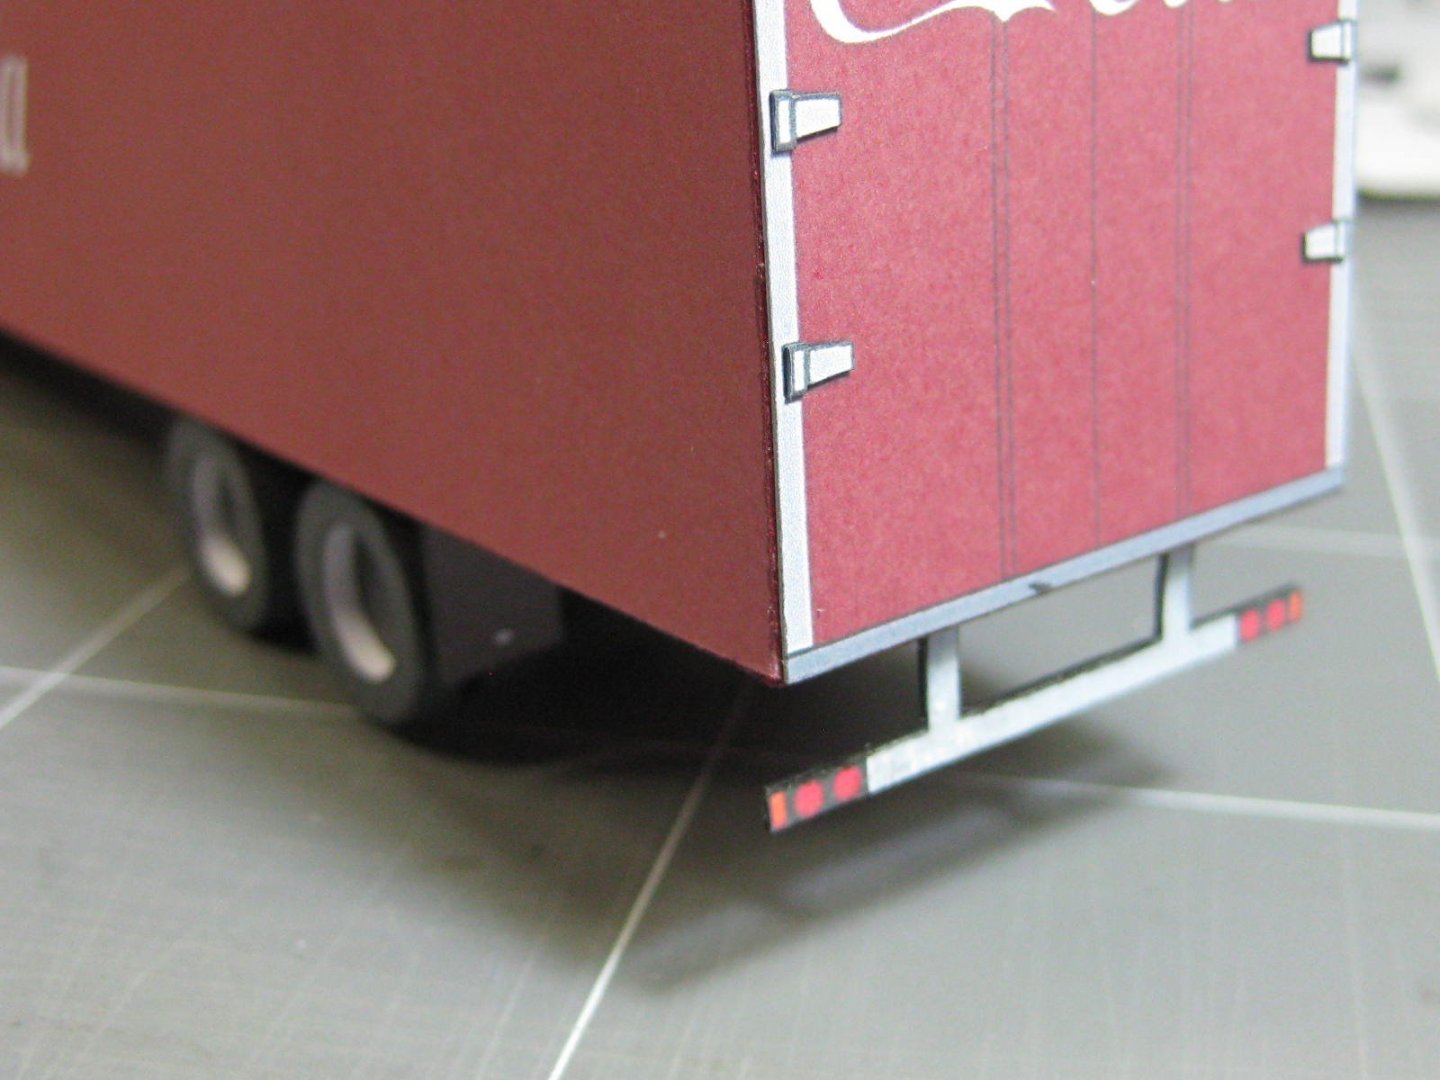
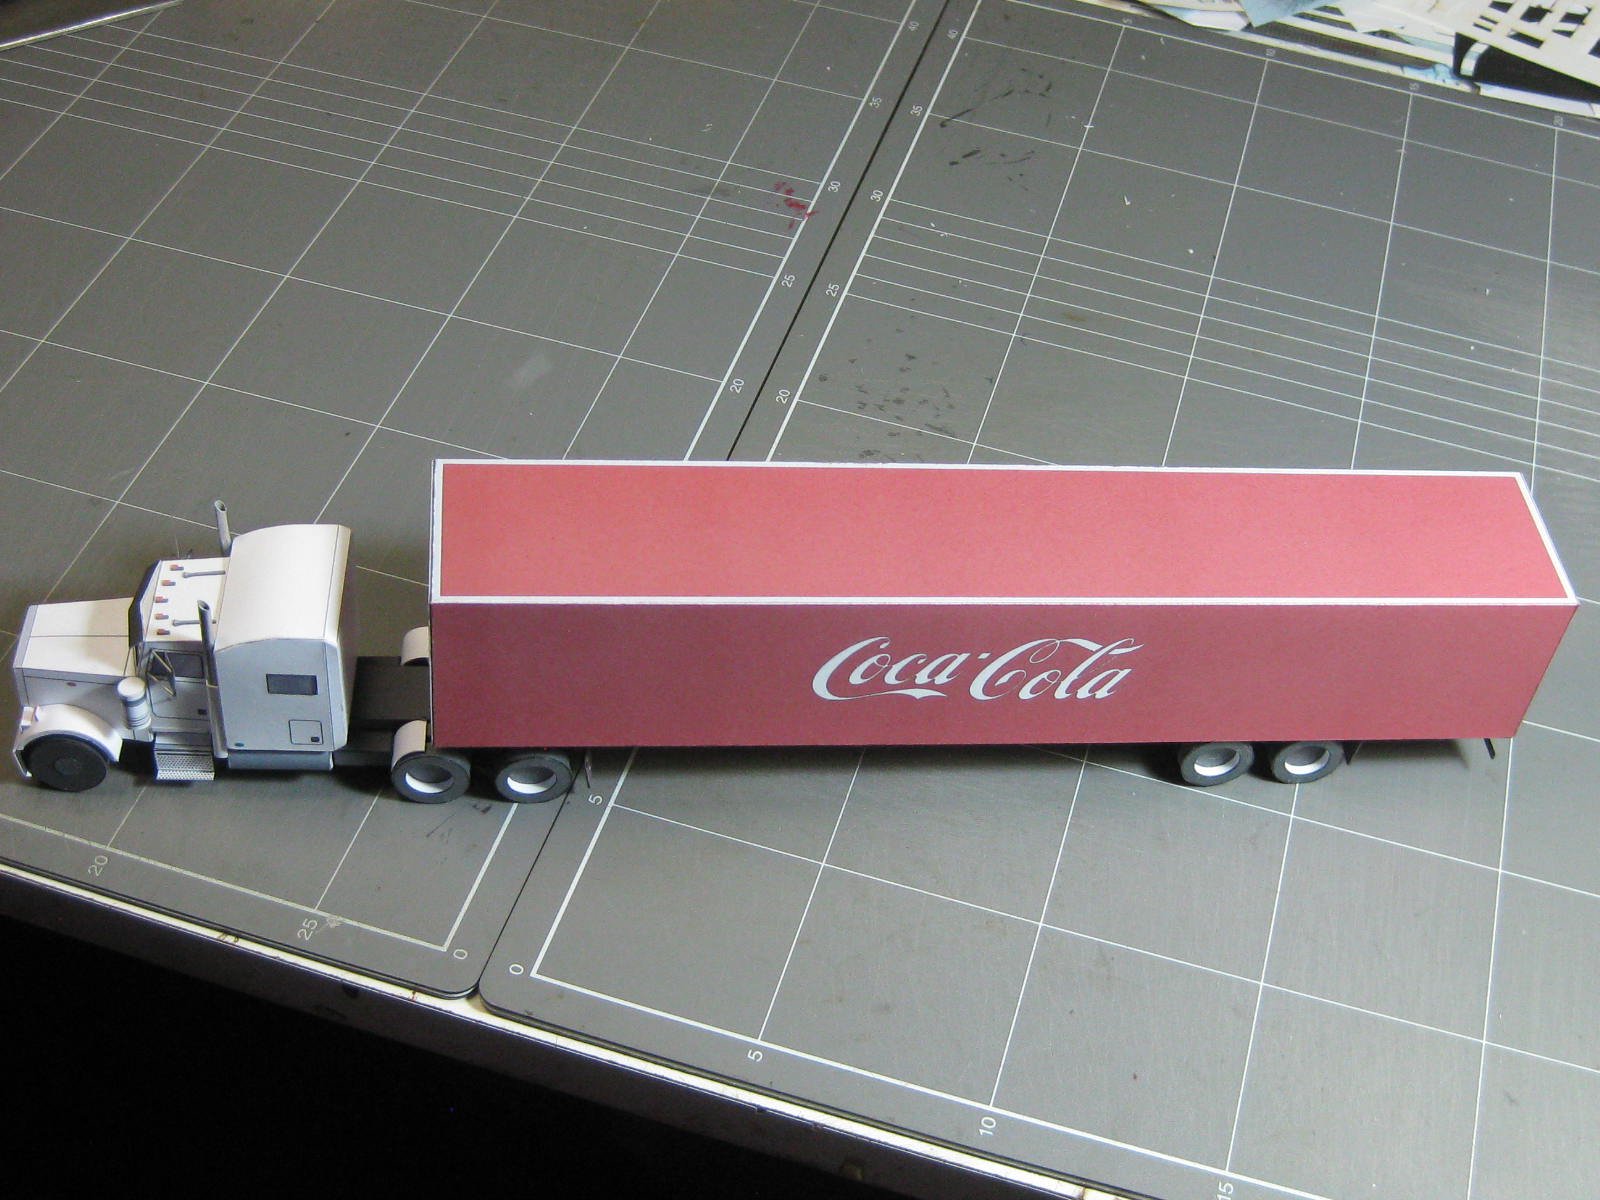
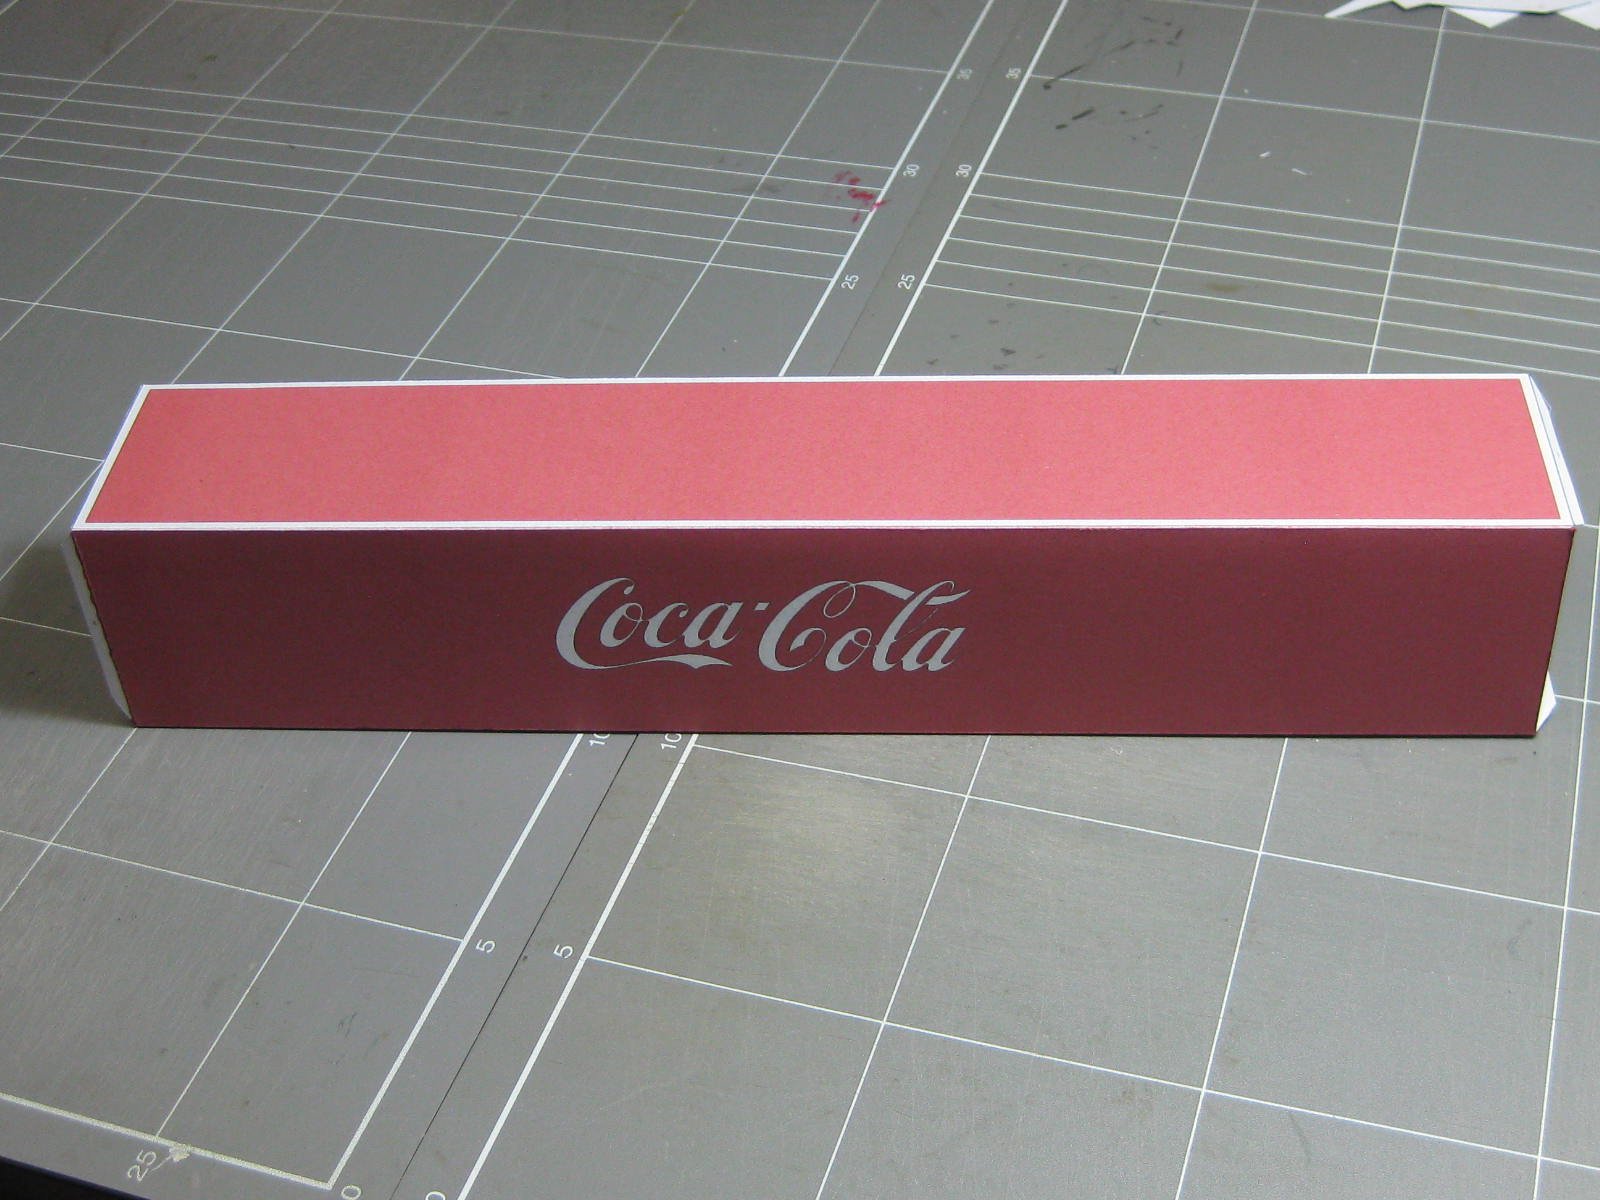
I started with the trailer. The logo on it was from a company that doesn't exist in Australia, so I found a Coca Cola sign on the web, copied it to Paint, re-sized and re-coloured the red to match the trailer and printed it out :

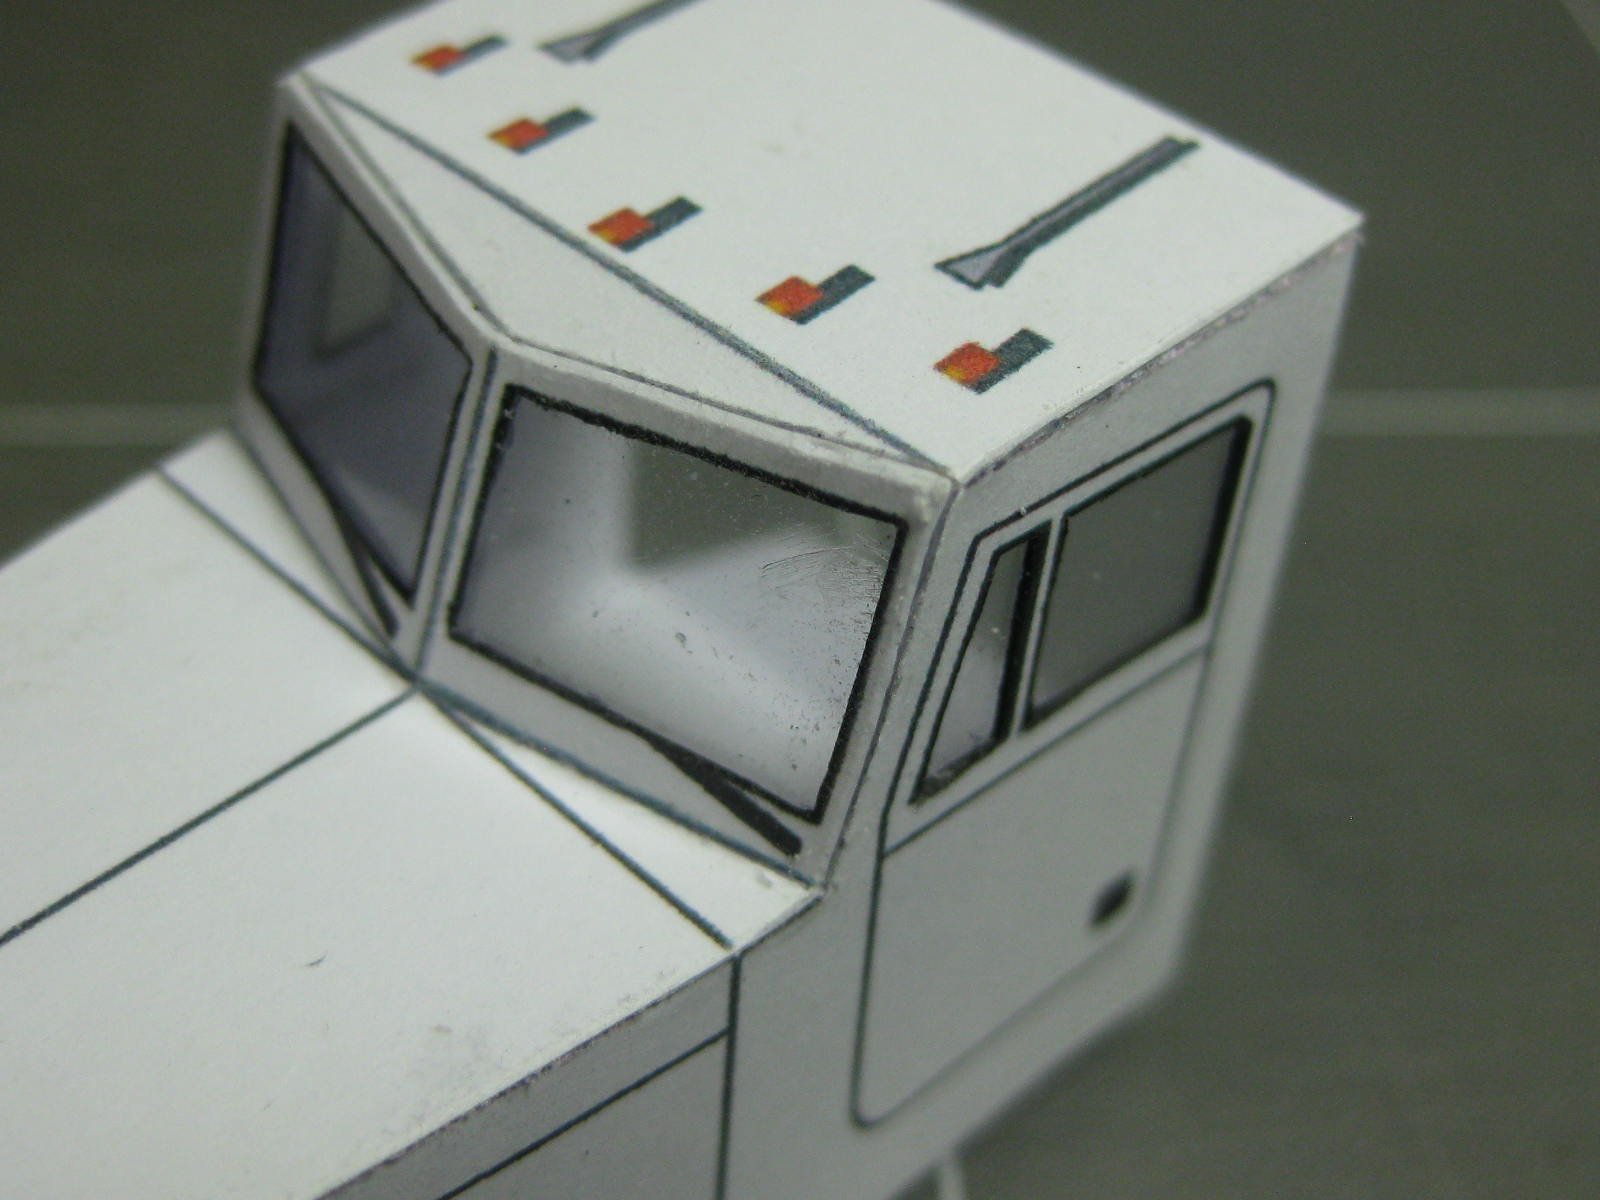
I've added acrylic "glass" to all the windows which were simply printed on :
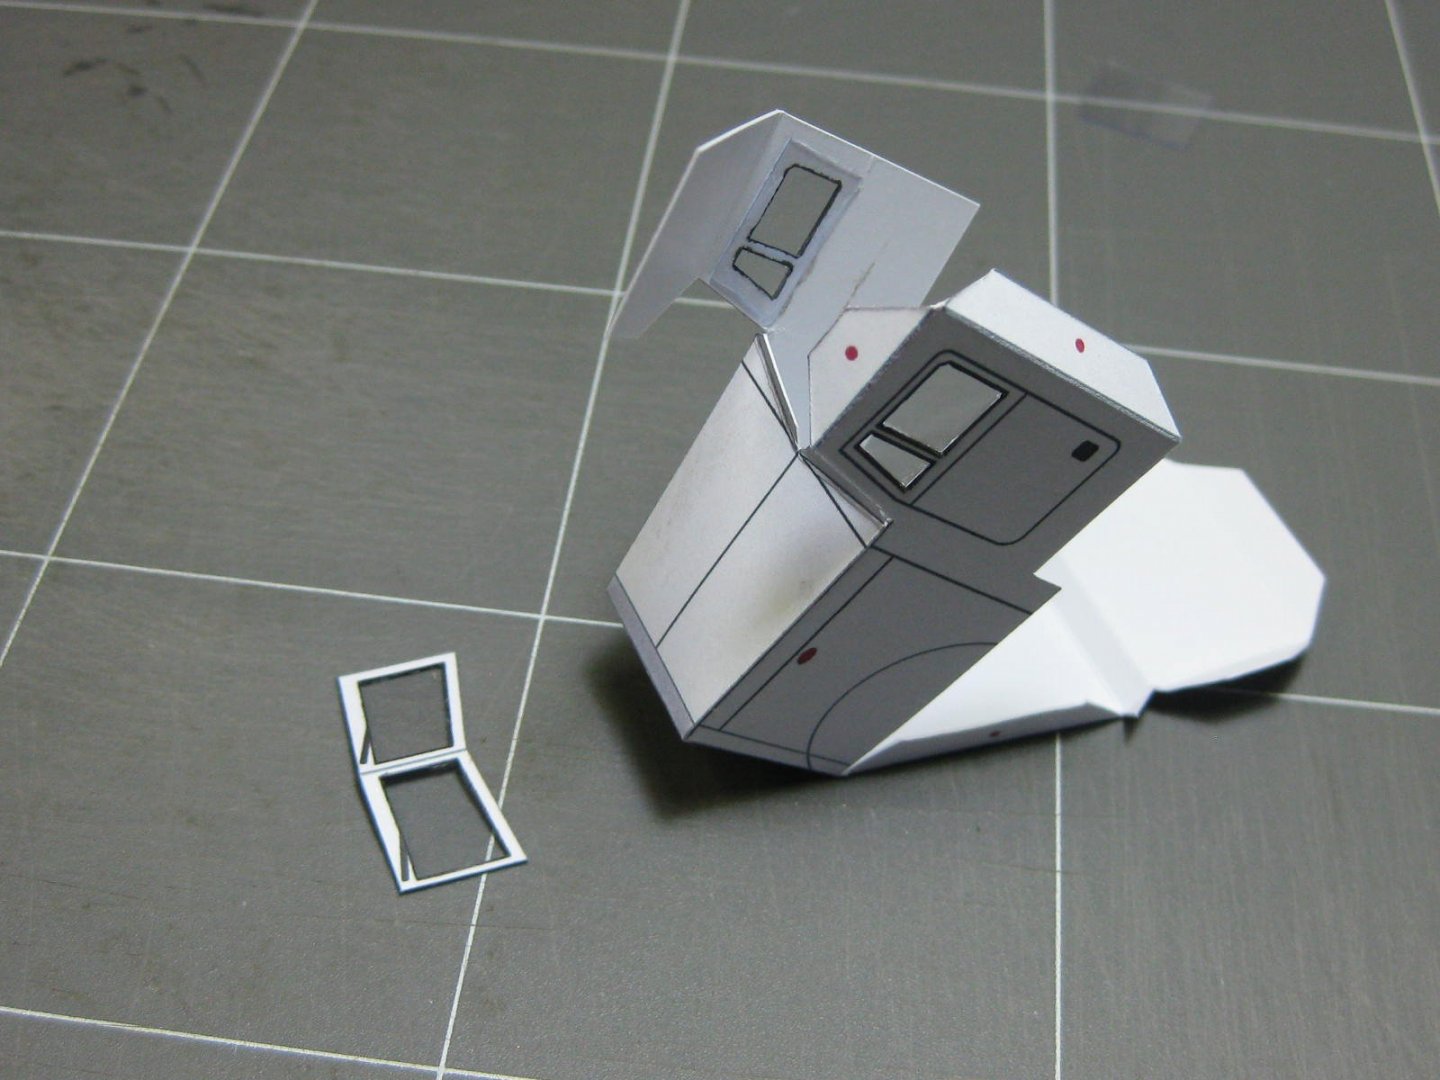
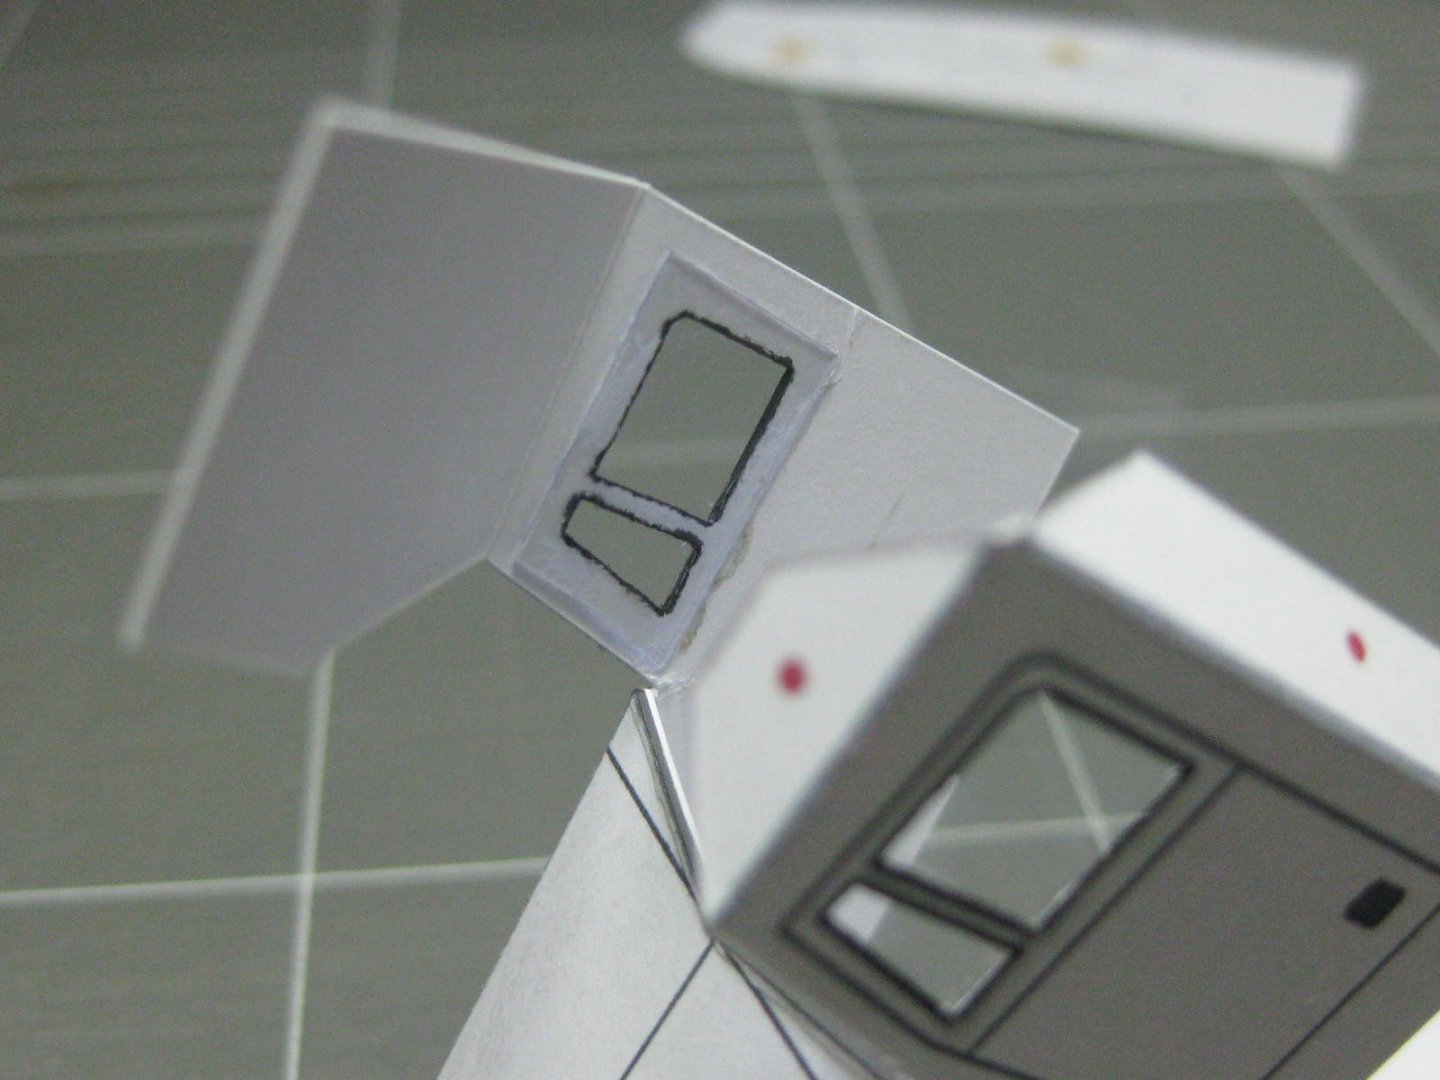
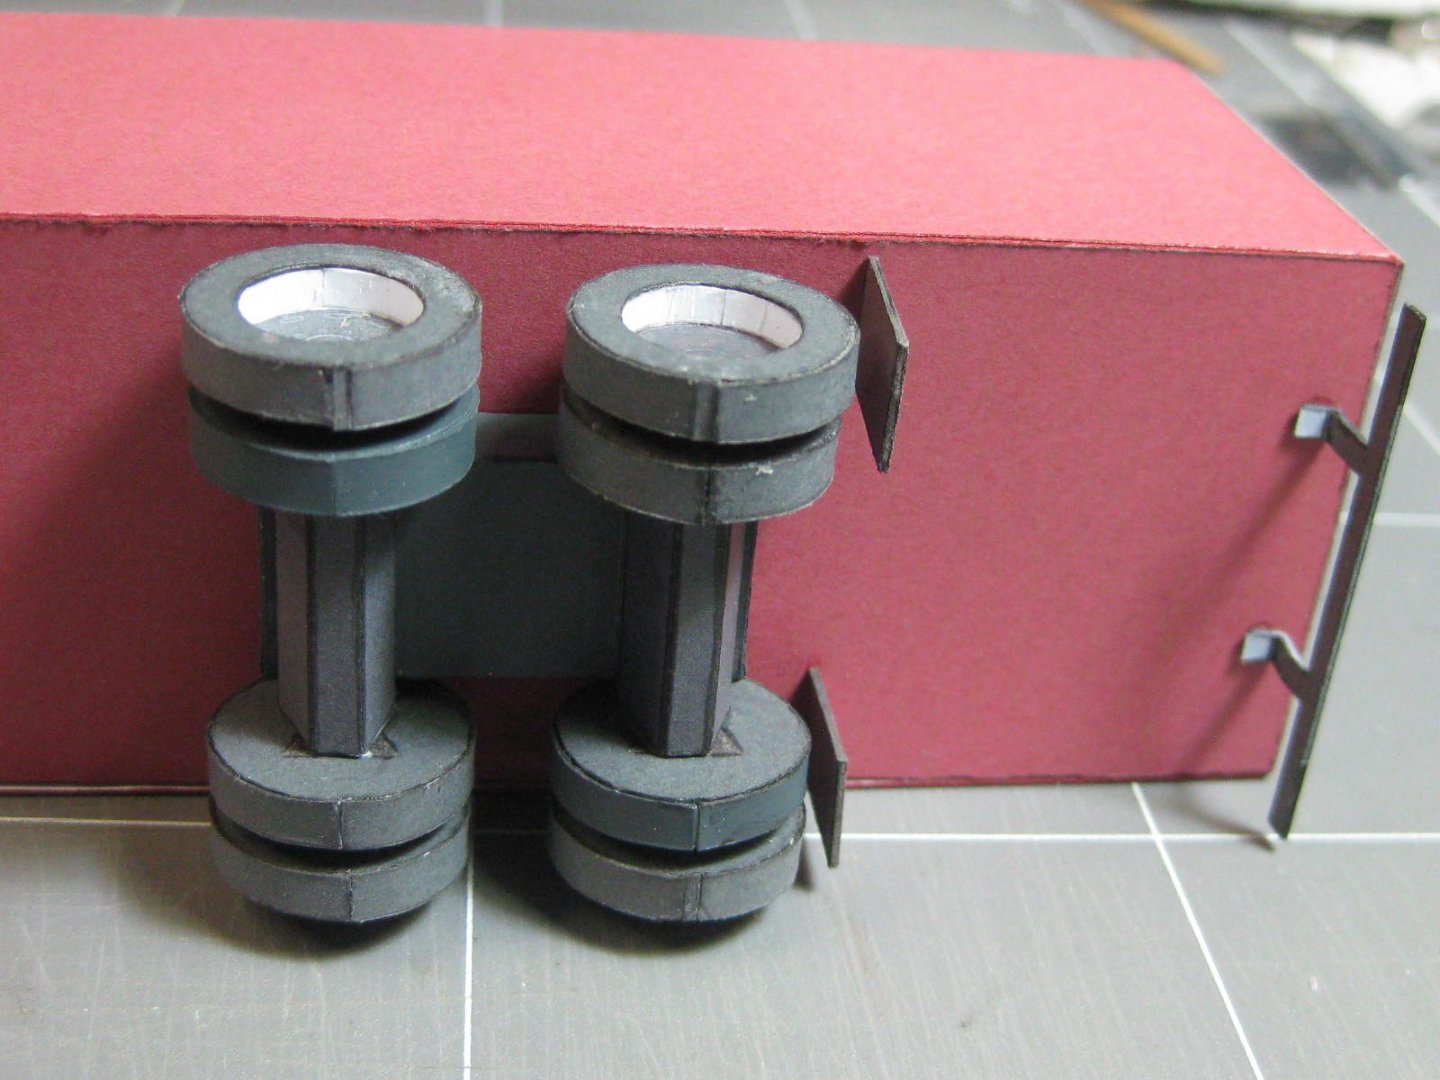
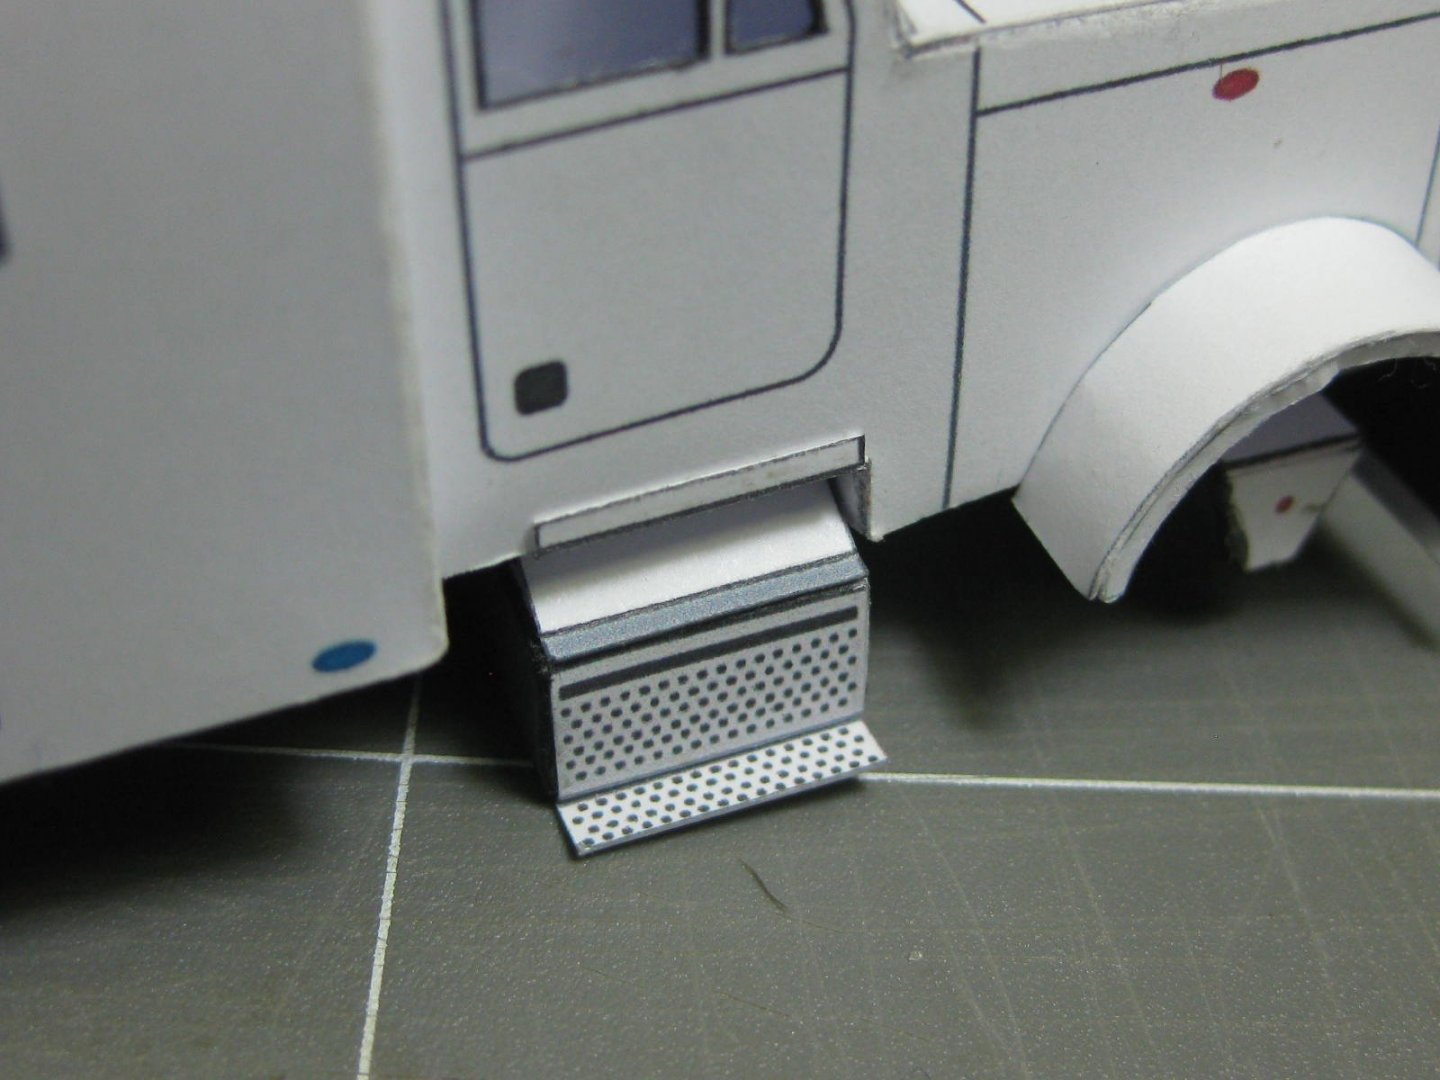
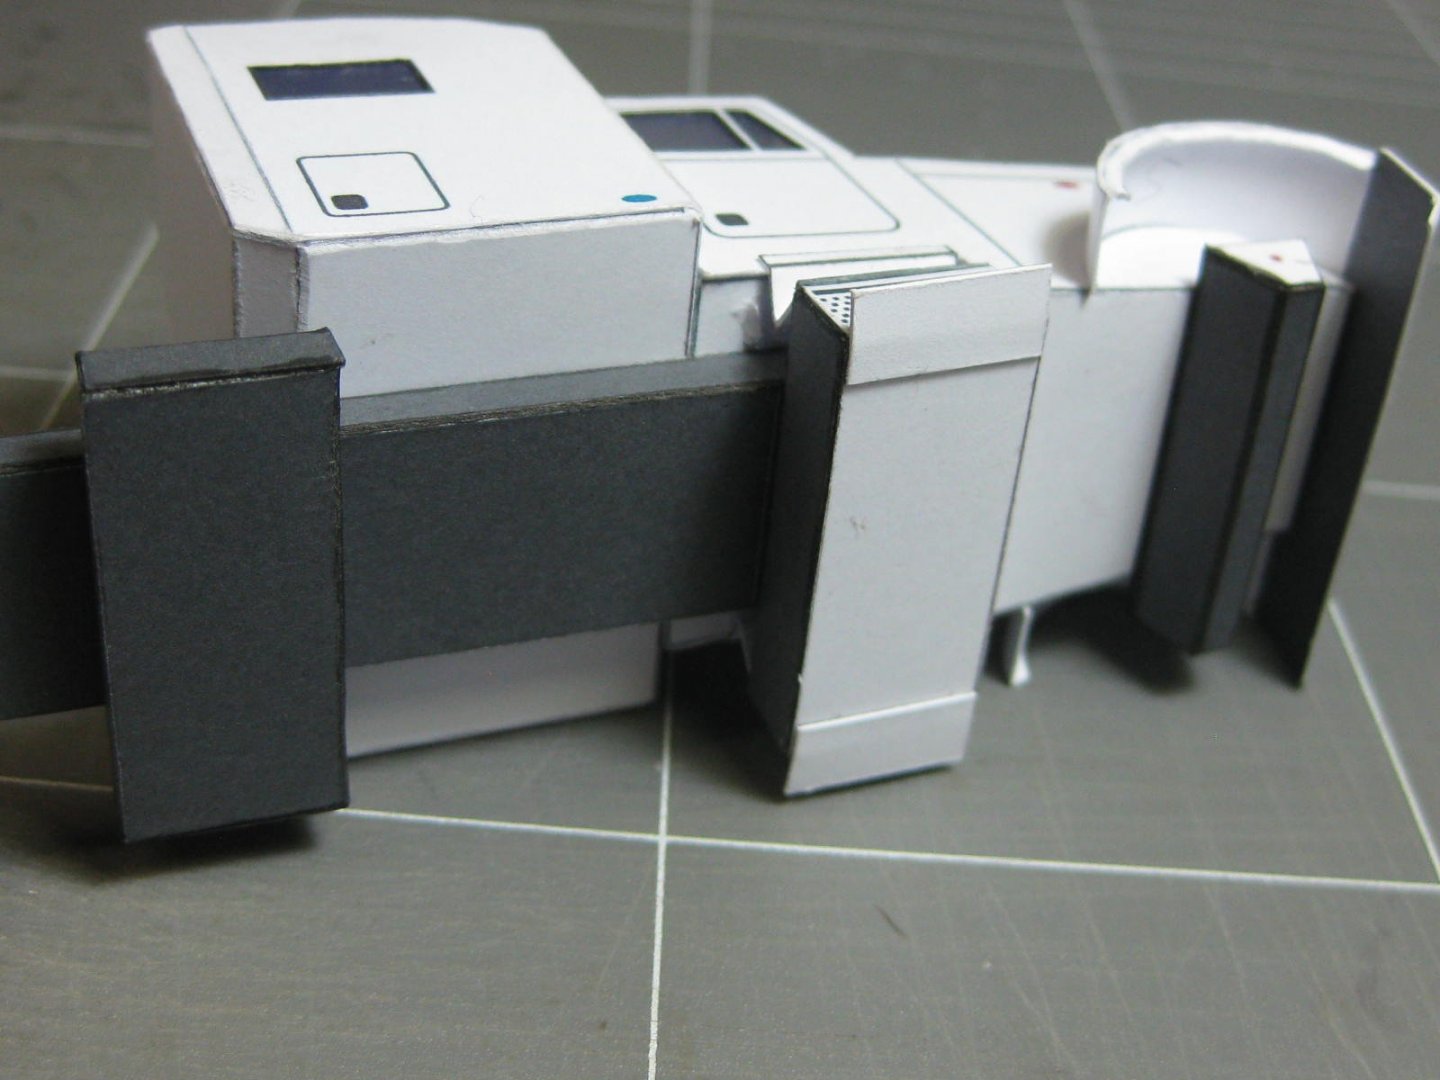
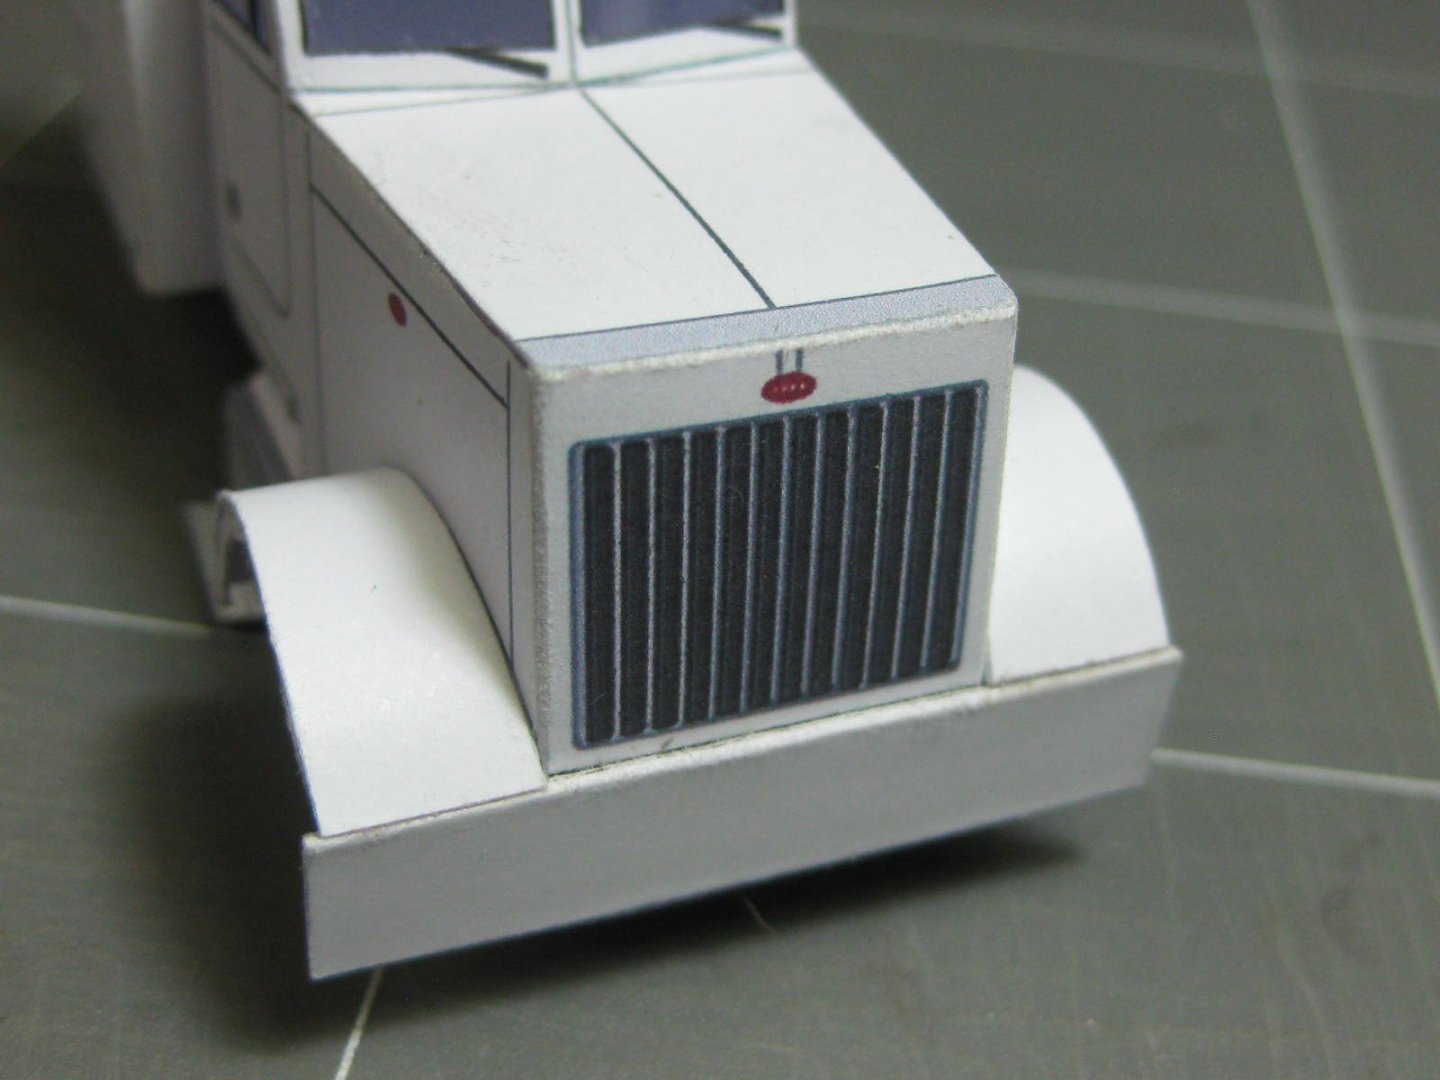
Where I'm up to on the cab. Fuel tanks, air filters, mirrors and exhausts are still to come, along with some small details. Then it's a "simple" matter of a mere 18 wheels
:
Danny
- jud, GrandpaPhil, Moab and 5 others
-
8
-
2 hours ago, SpyGlass said:
What scale Danny??
No idea, but the model is 190mm long.
Danny
- Canute, popeye the sailor and mtaylor
-
3


2-6-6-4 "Bulgar" Steam Locomotive by Dan Vadas - Modelik - 1:25 - CARD - FINISHED
in Non-ship/categorised builds
Posted
Thanks Pav, I knew that but I'd forgotten his name. I've checked out a couple of sites (one was Papermodellers) where I found out the story of his incredible work and the fact that no-one had heard from him for at least two years. Apparently he was getting close to finishing the design work when he went AWOL. I hope he's OK and will get back soon.
Here's a random pic from the Instructions for the Big Boy he was working on. That's some fantastic detail :
Danny