


Dan Vadas
-
Posts
3,261 -
Joined
-
Last visited
Content Type
Profiles
Forums
Gallery
Events
Posts posted by Dan Vadas
-
-
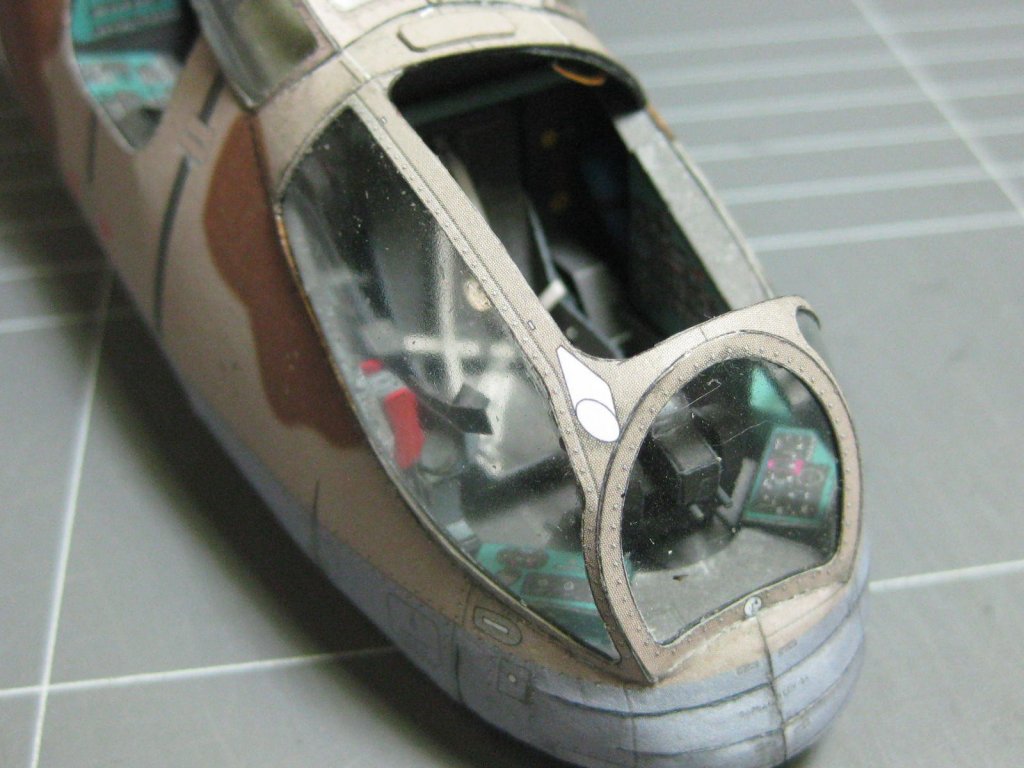
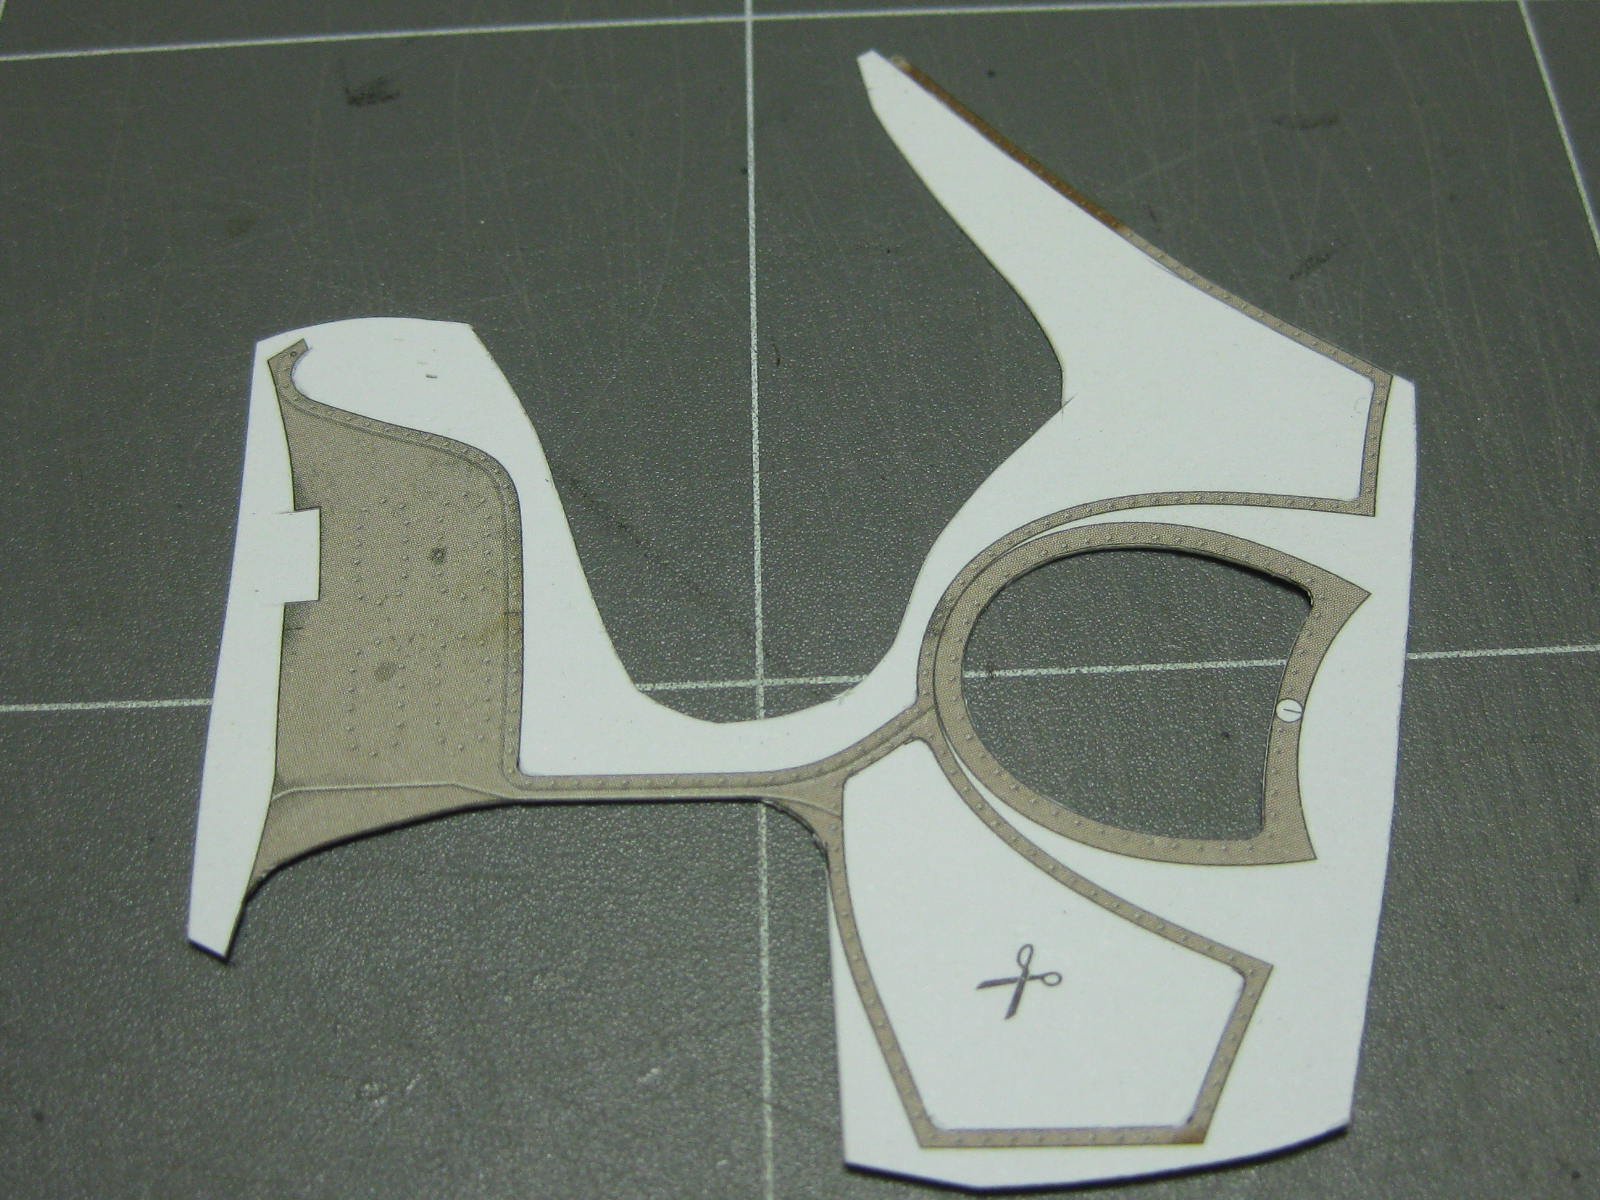
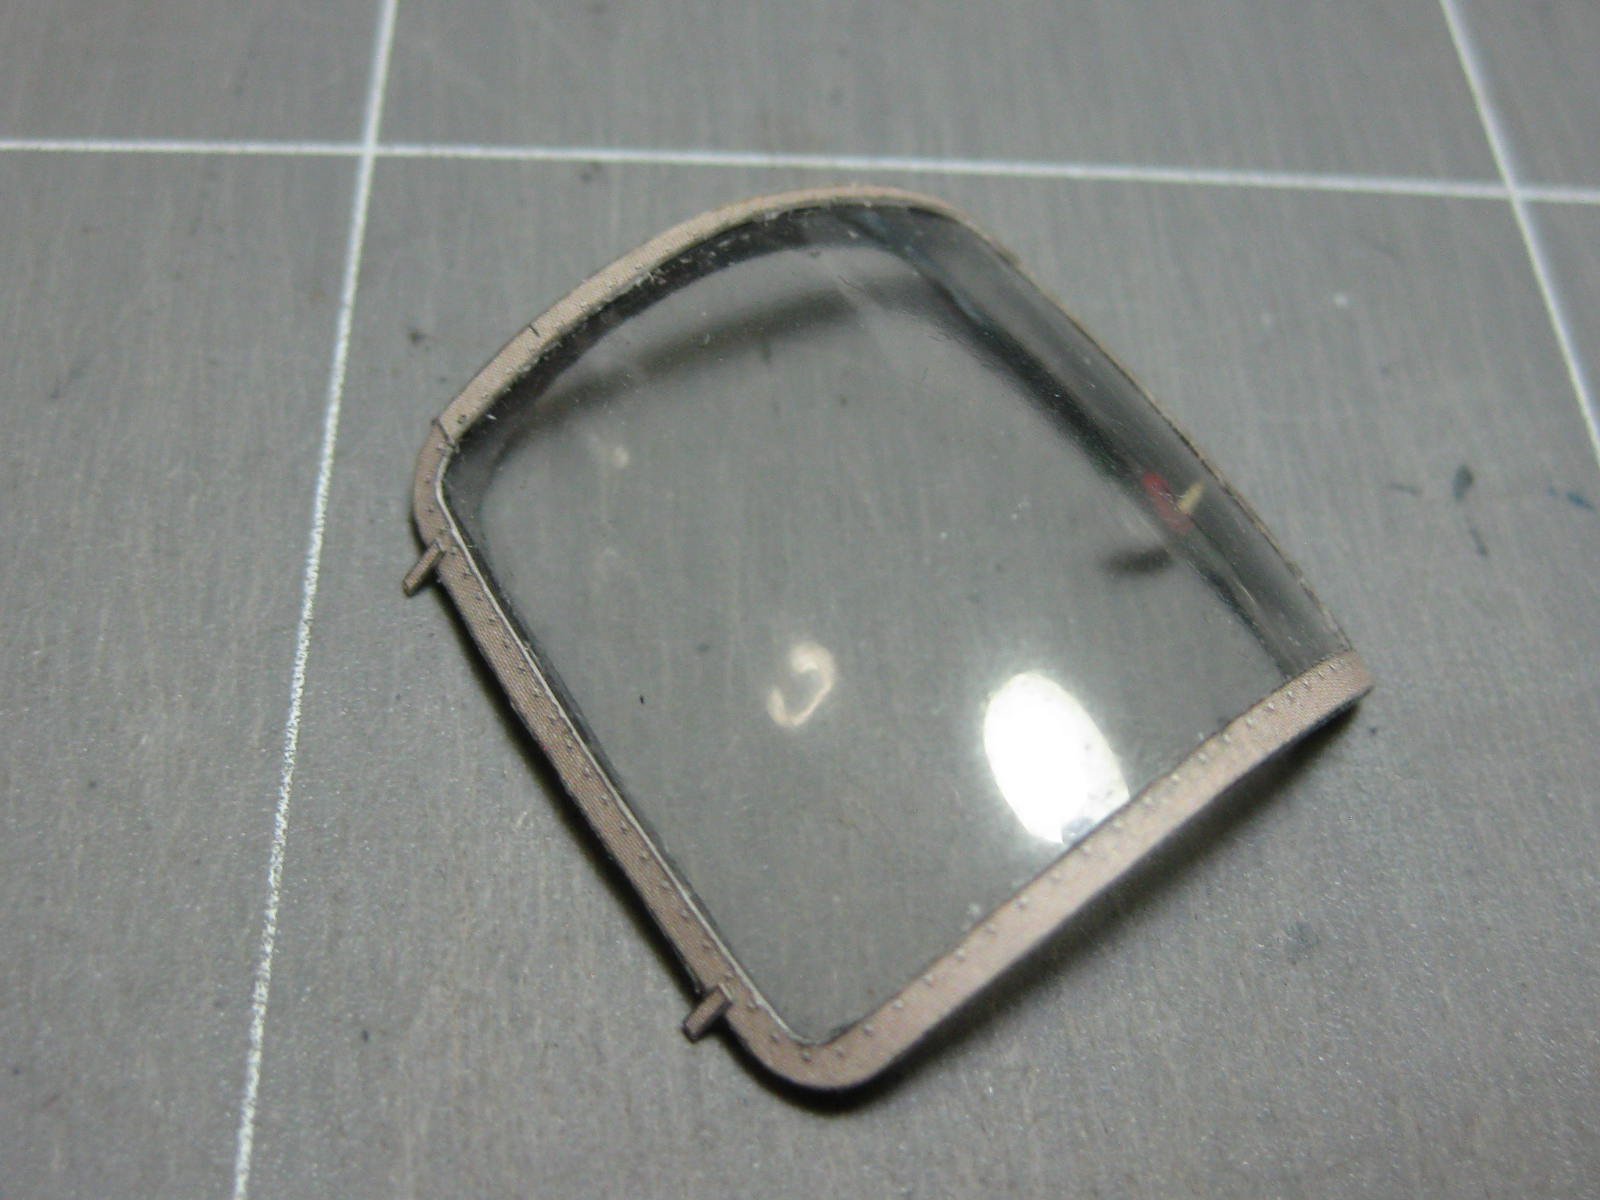
I thought it would be a good idea to fit the two canopies to protect the cabins from damage. I'm using the preformed canopies, but they still need quite a bit of work in cutting them.
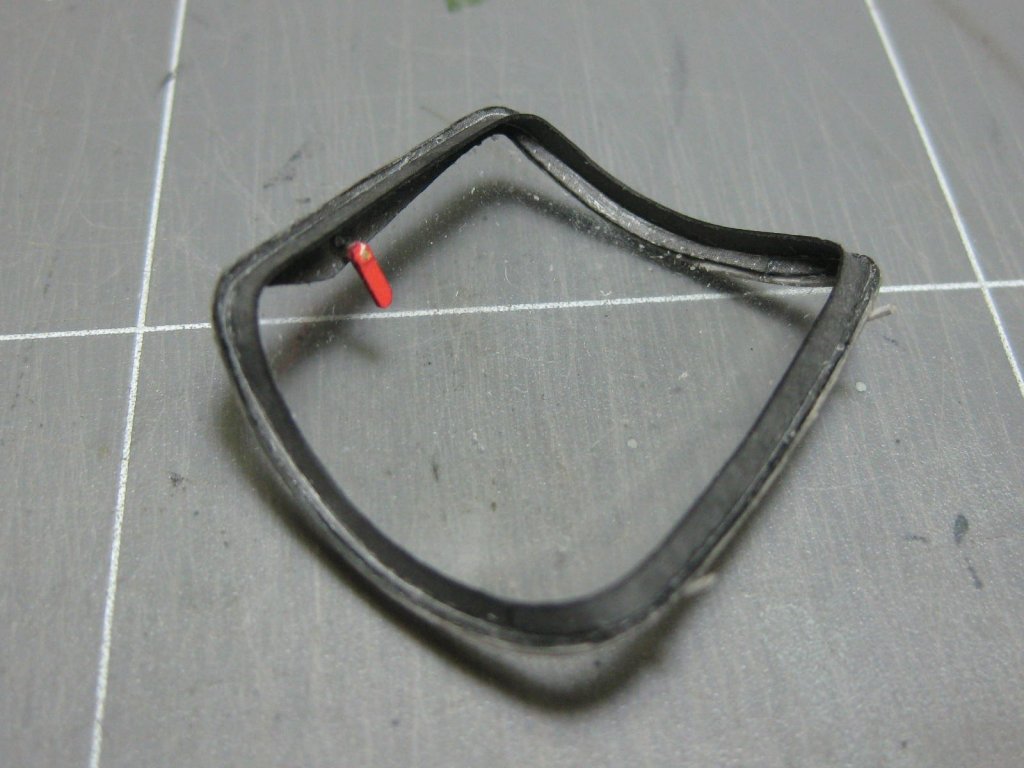
The kit actually supplies two sets of canopy braces as they are easily damaged when cutting and fitting them. I didn't need the 2nd ones
") :
:
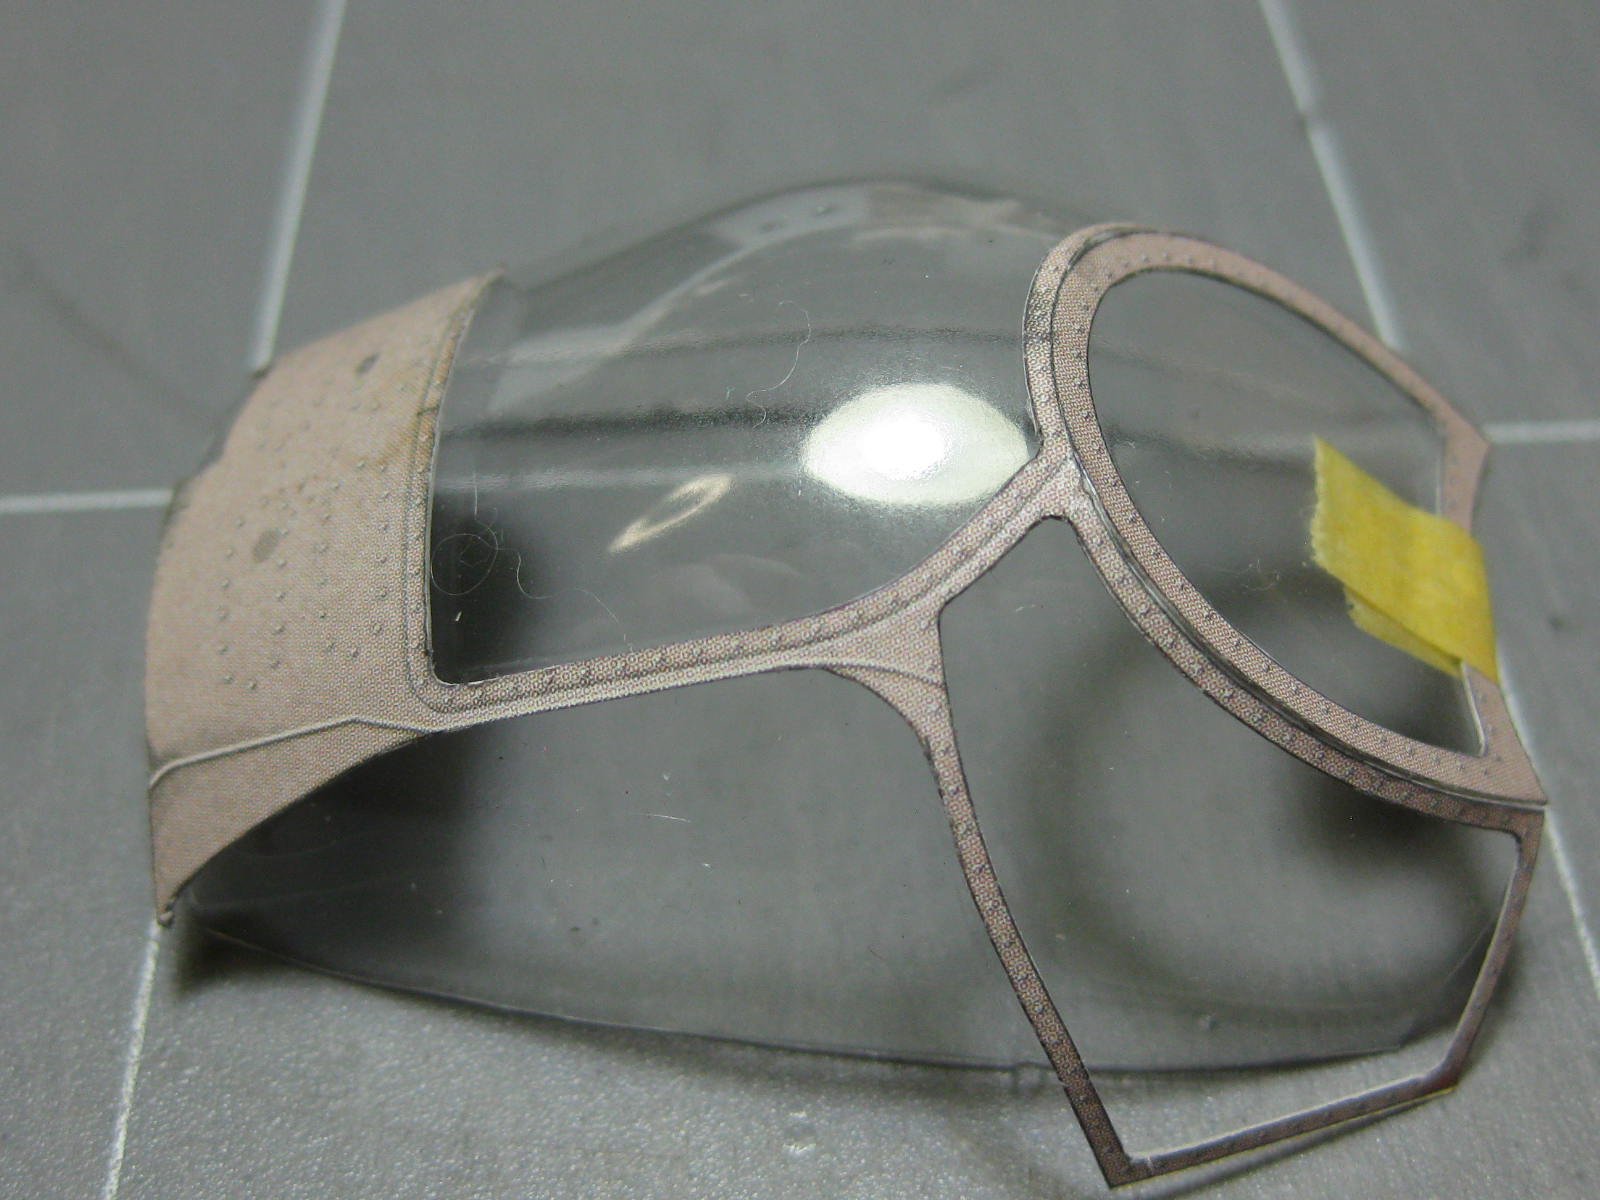
I glued the bracing to the canopies with PVA, let it set, and then wicked some Plastic Super Glue along the edges. Everything held very well :

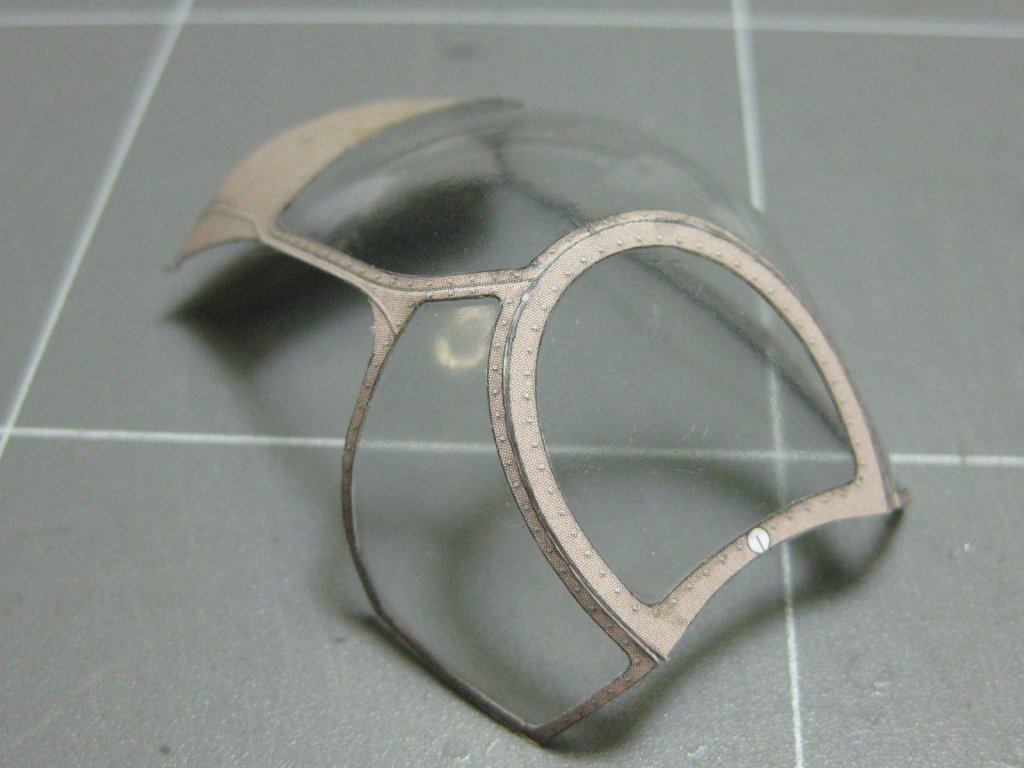
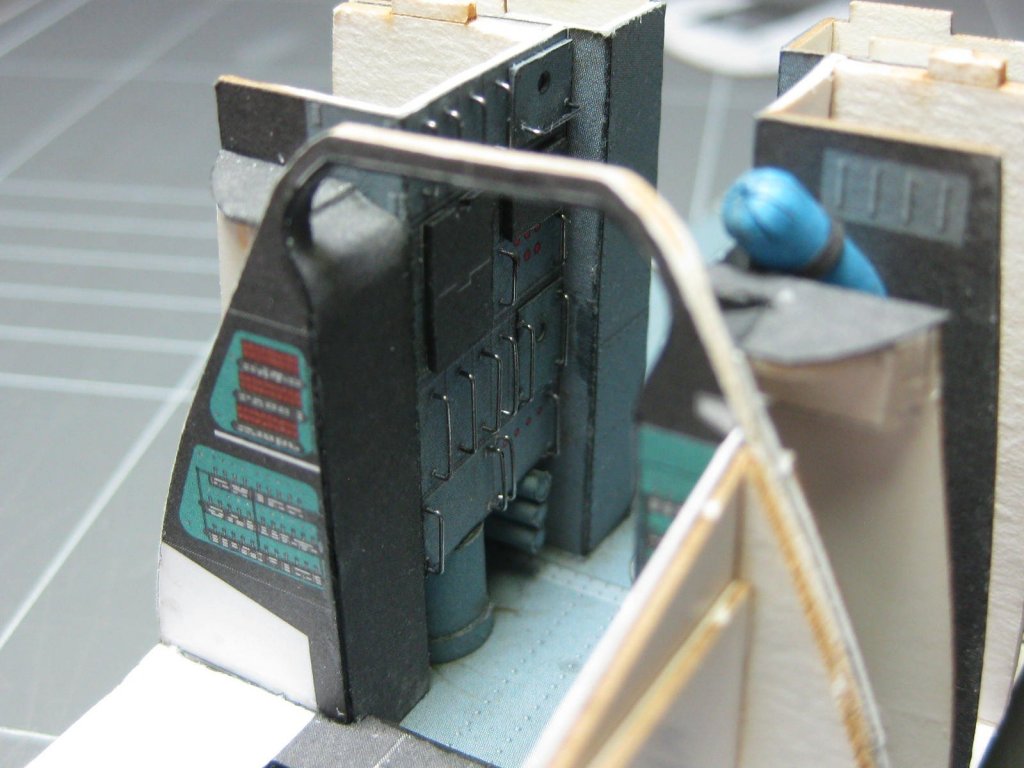
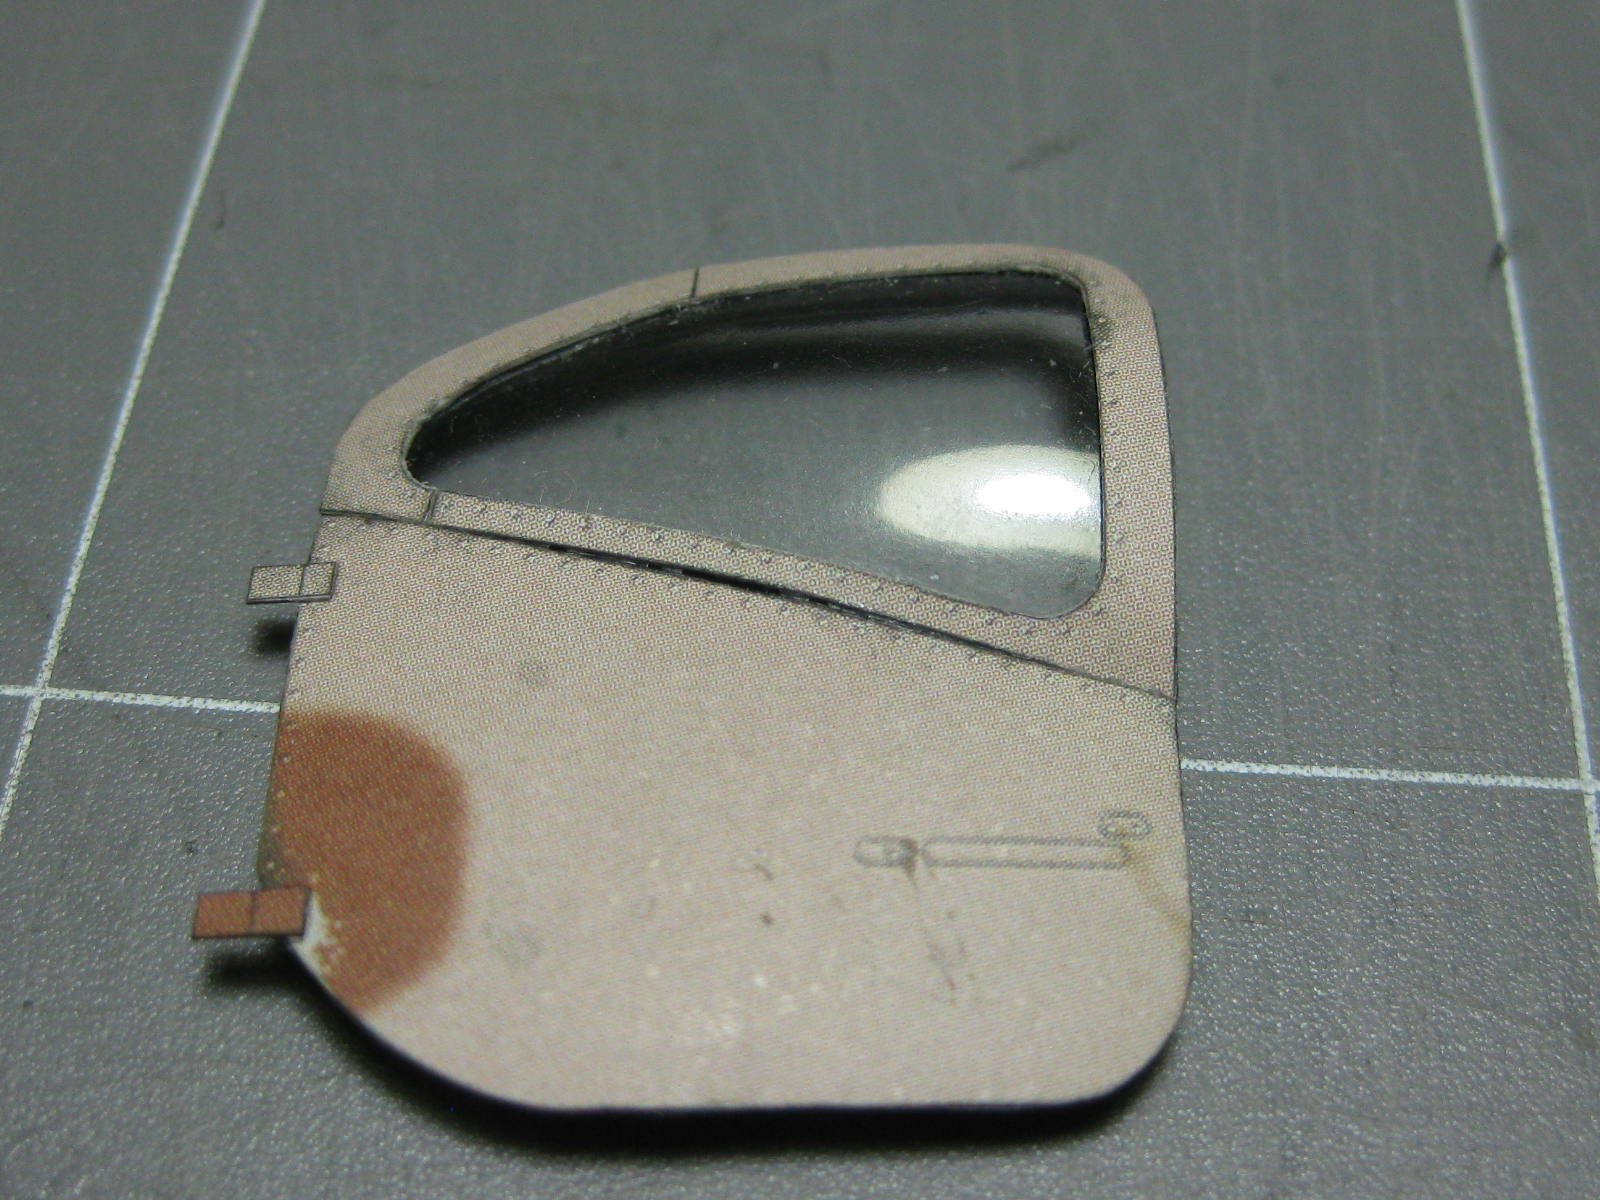
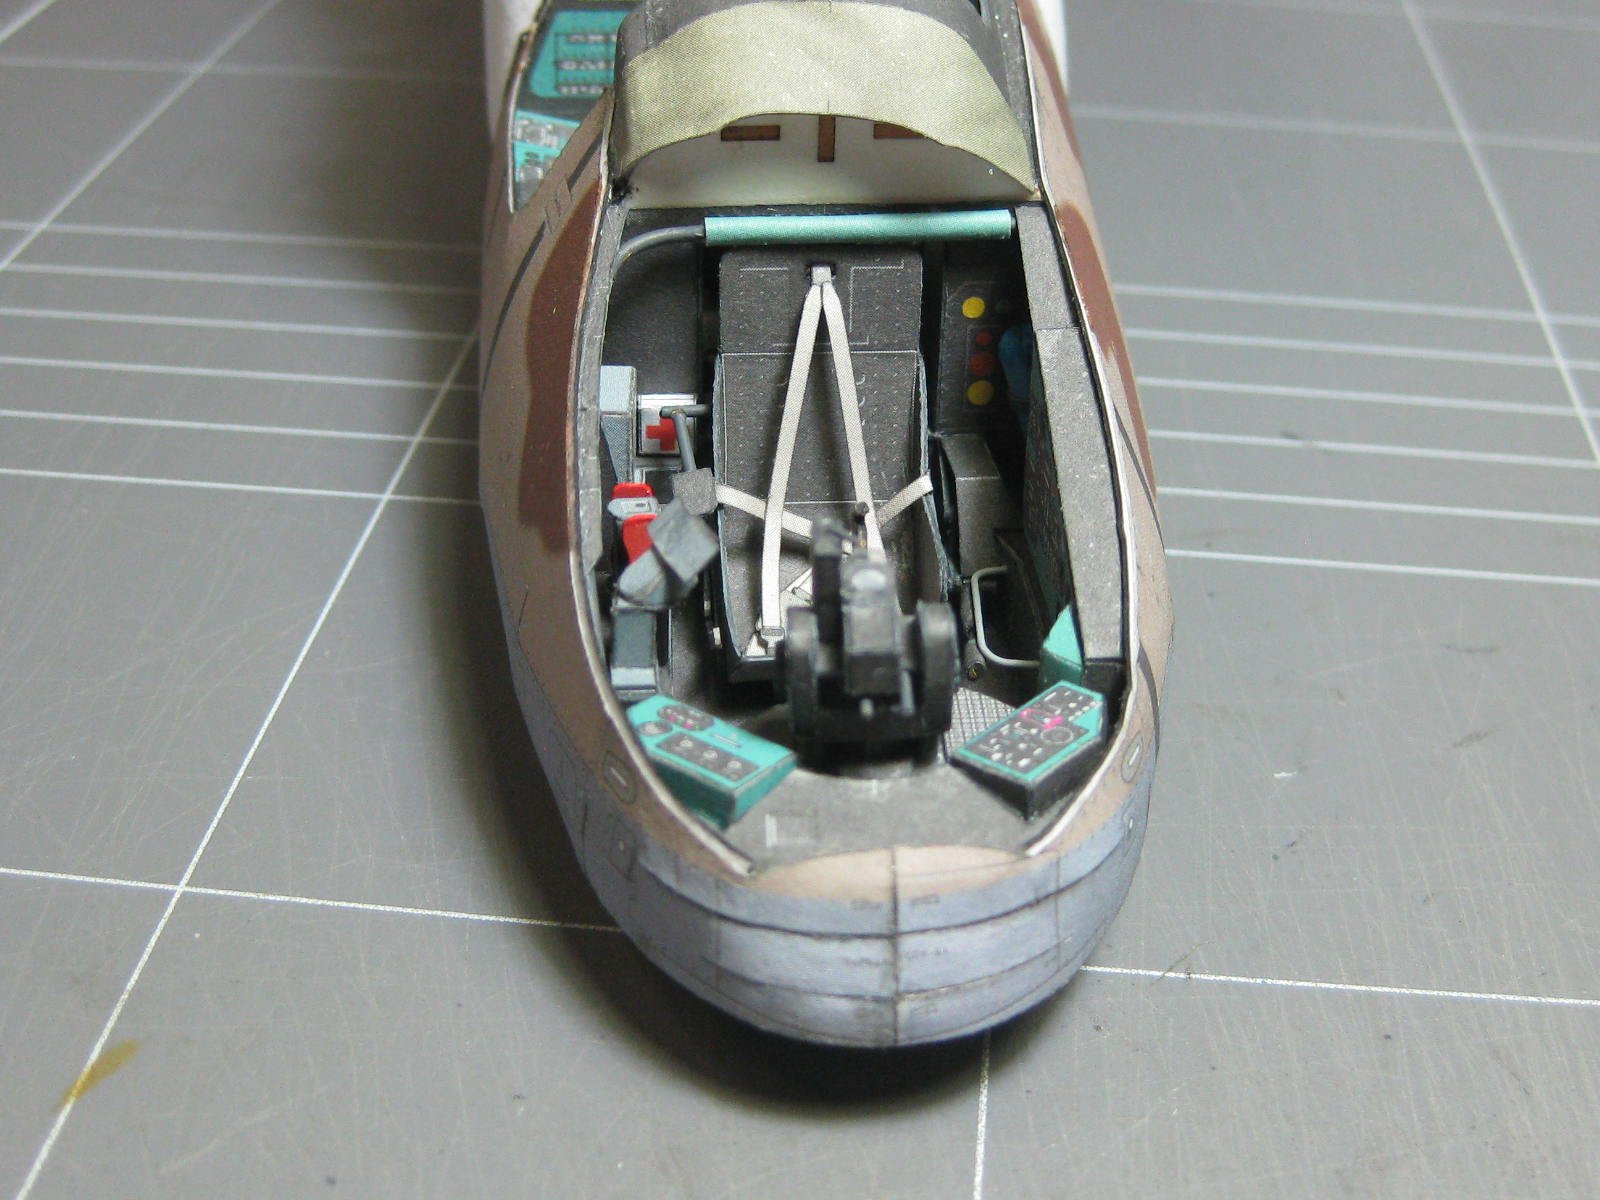
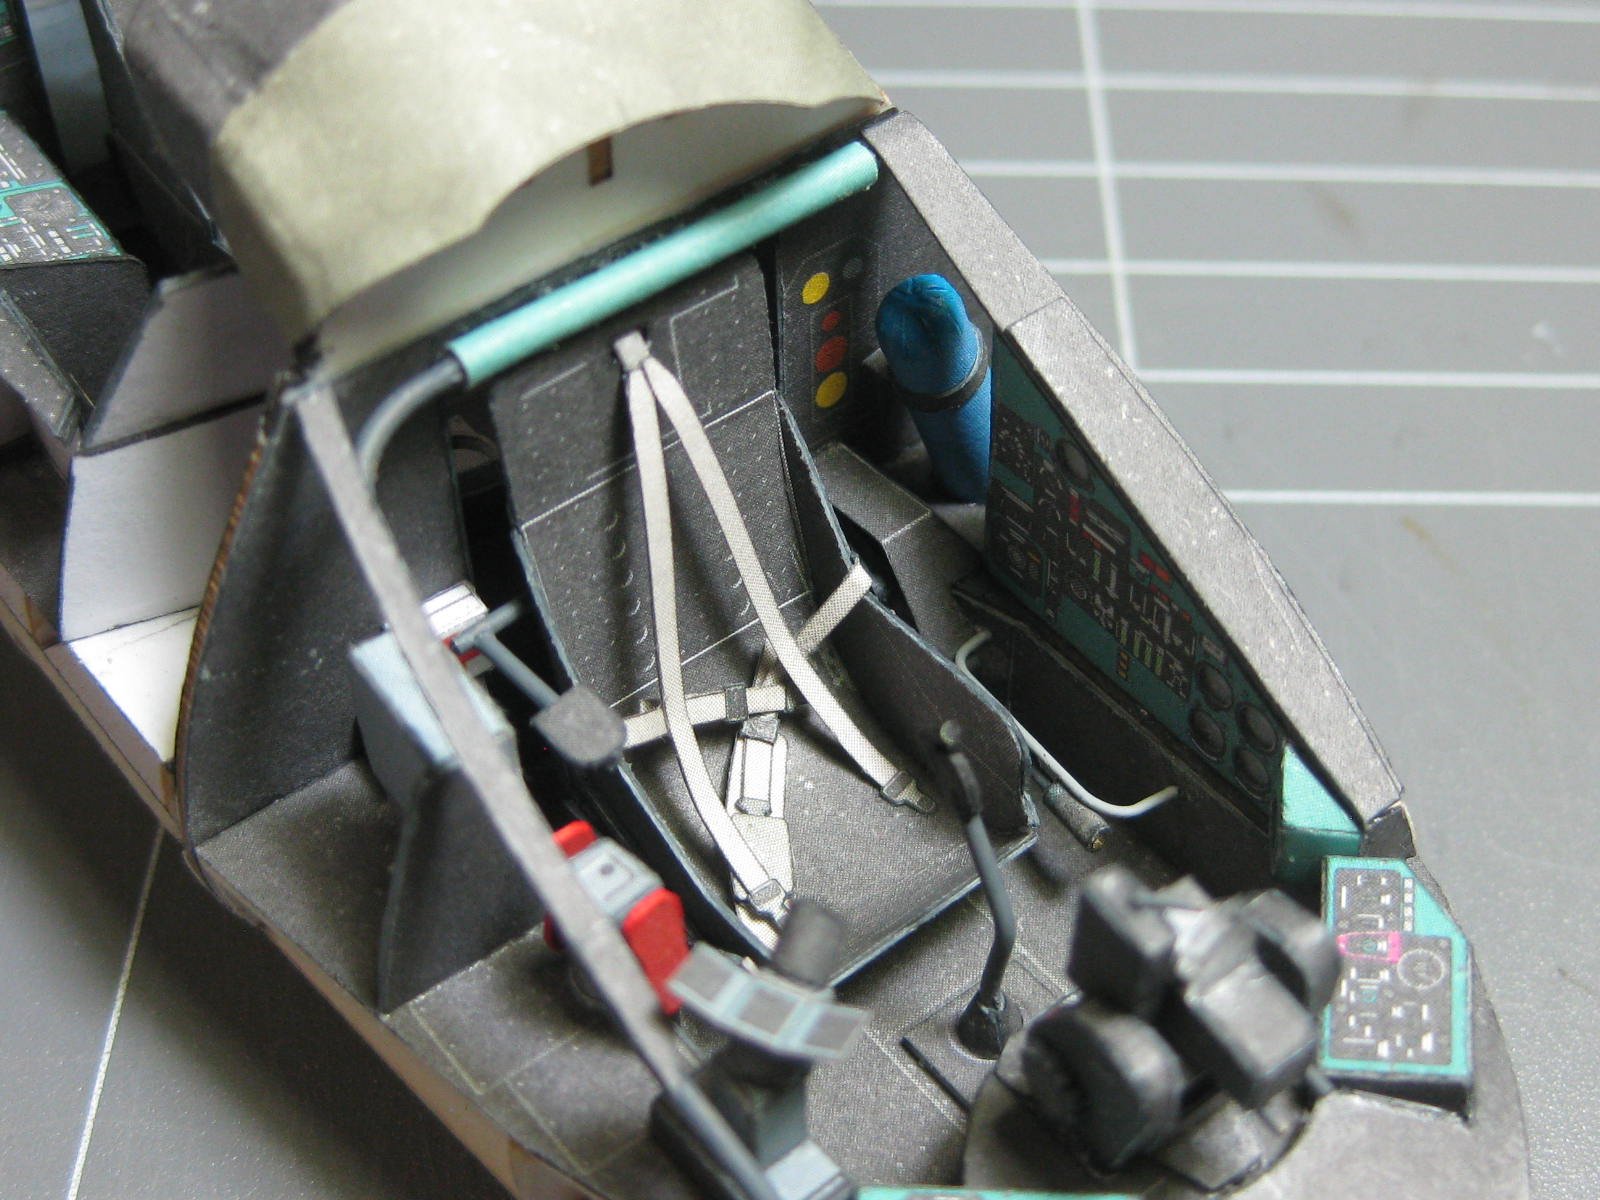
I'm displaying the model with opened doors to show as much interior detail as possible :

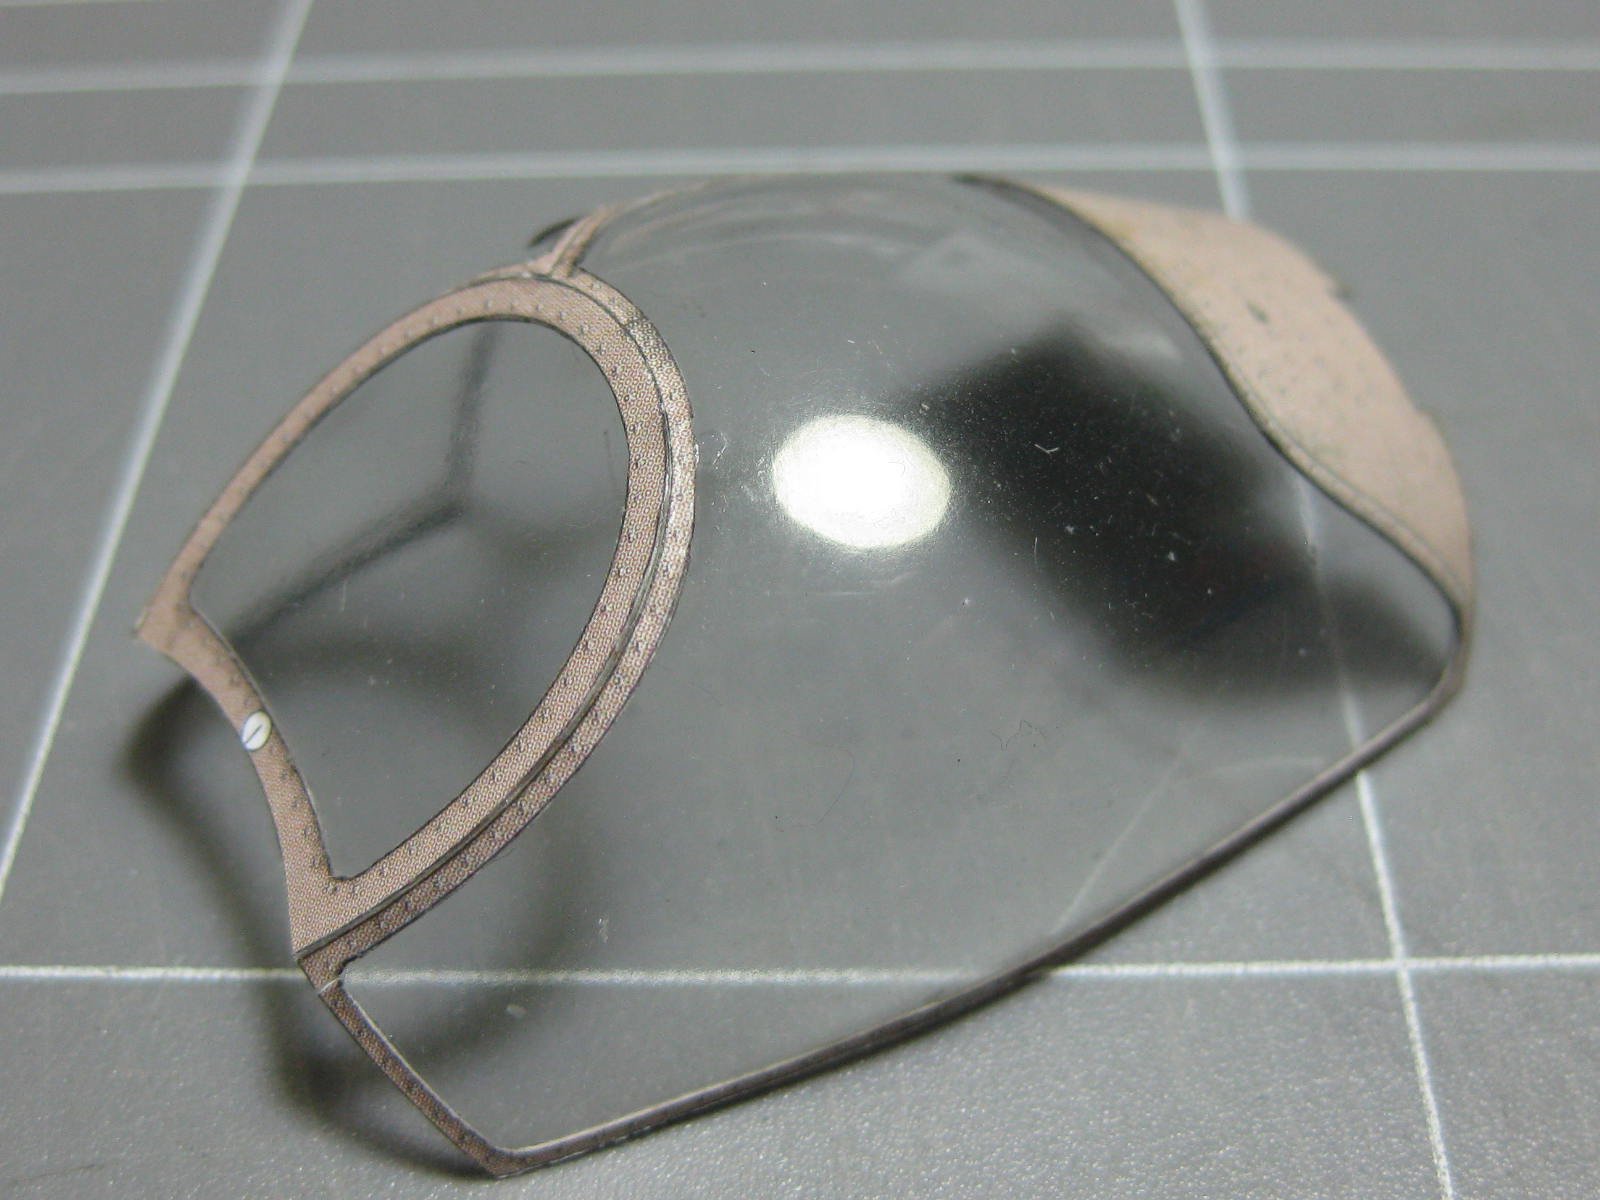
This HUD took me over a day to make :
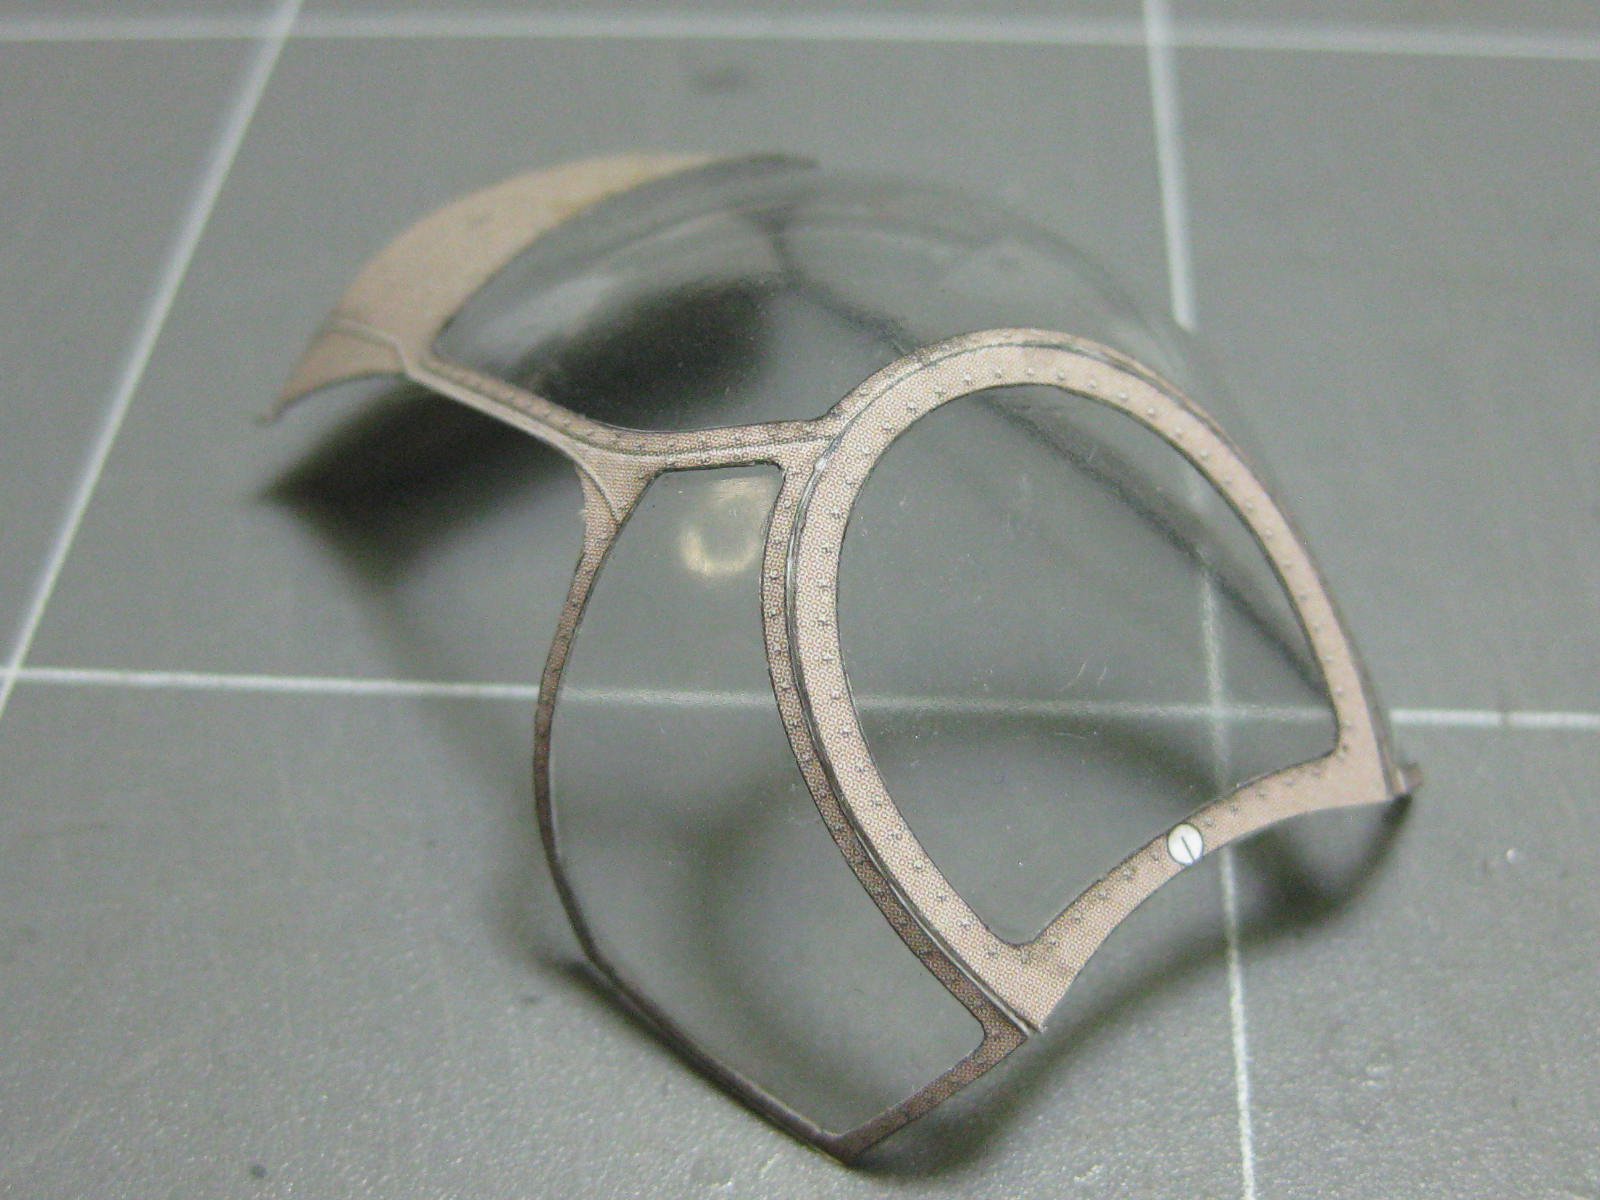
The gunner's canopy fitted :
Danny
-
Thanks guys
. Popeye - the inner skin is only on those sections where the interior is visible, The other sections only have the 1mm thick framing to glue to.
Next we move to the forward landing gear bay :
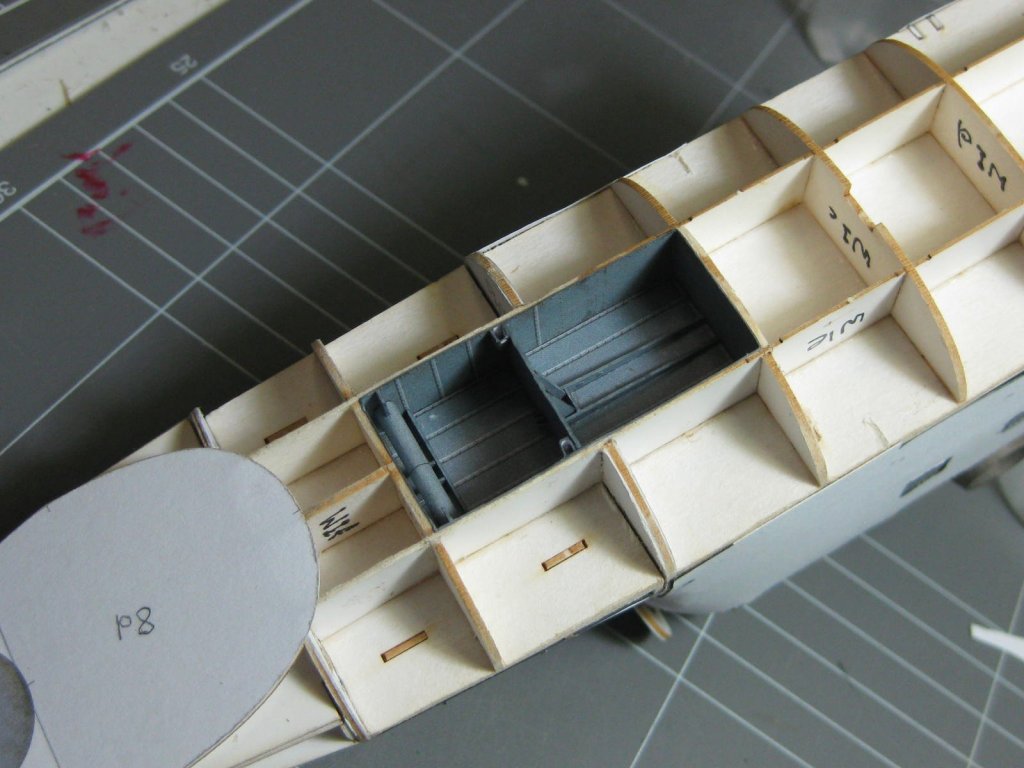

The next section of framing :
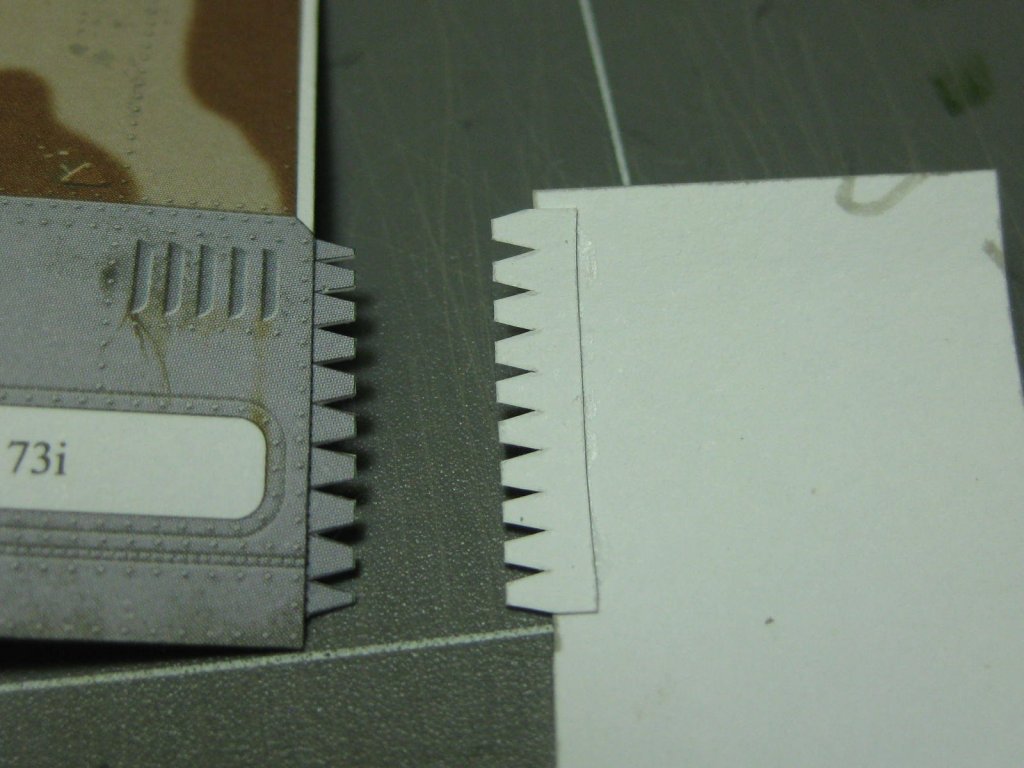
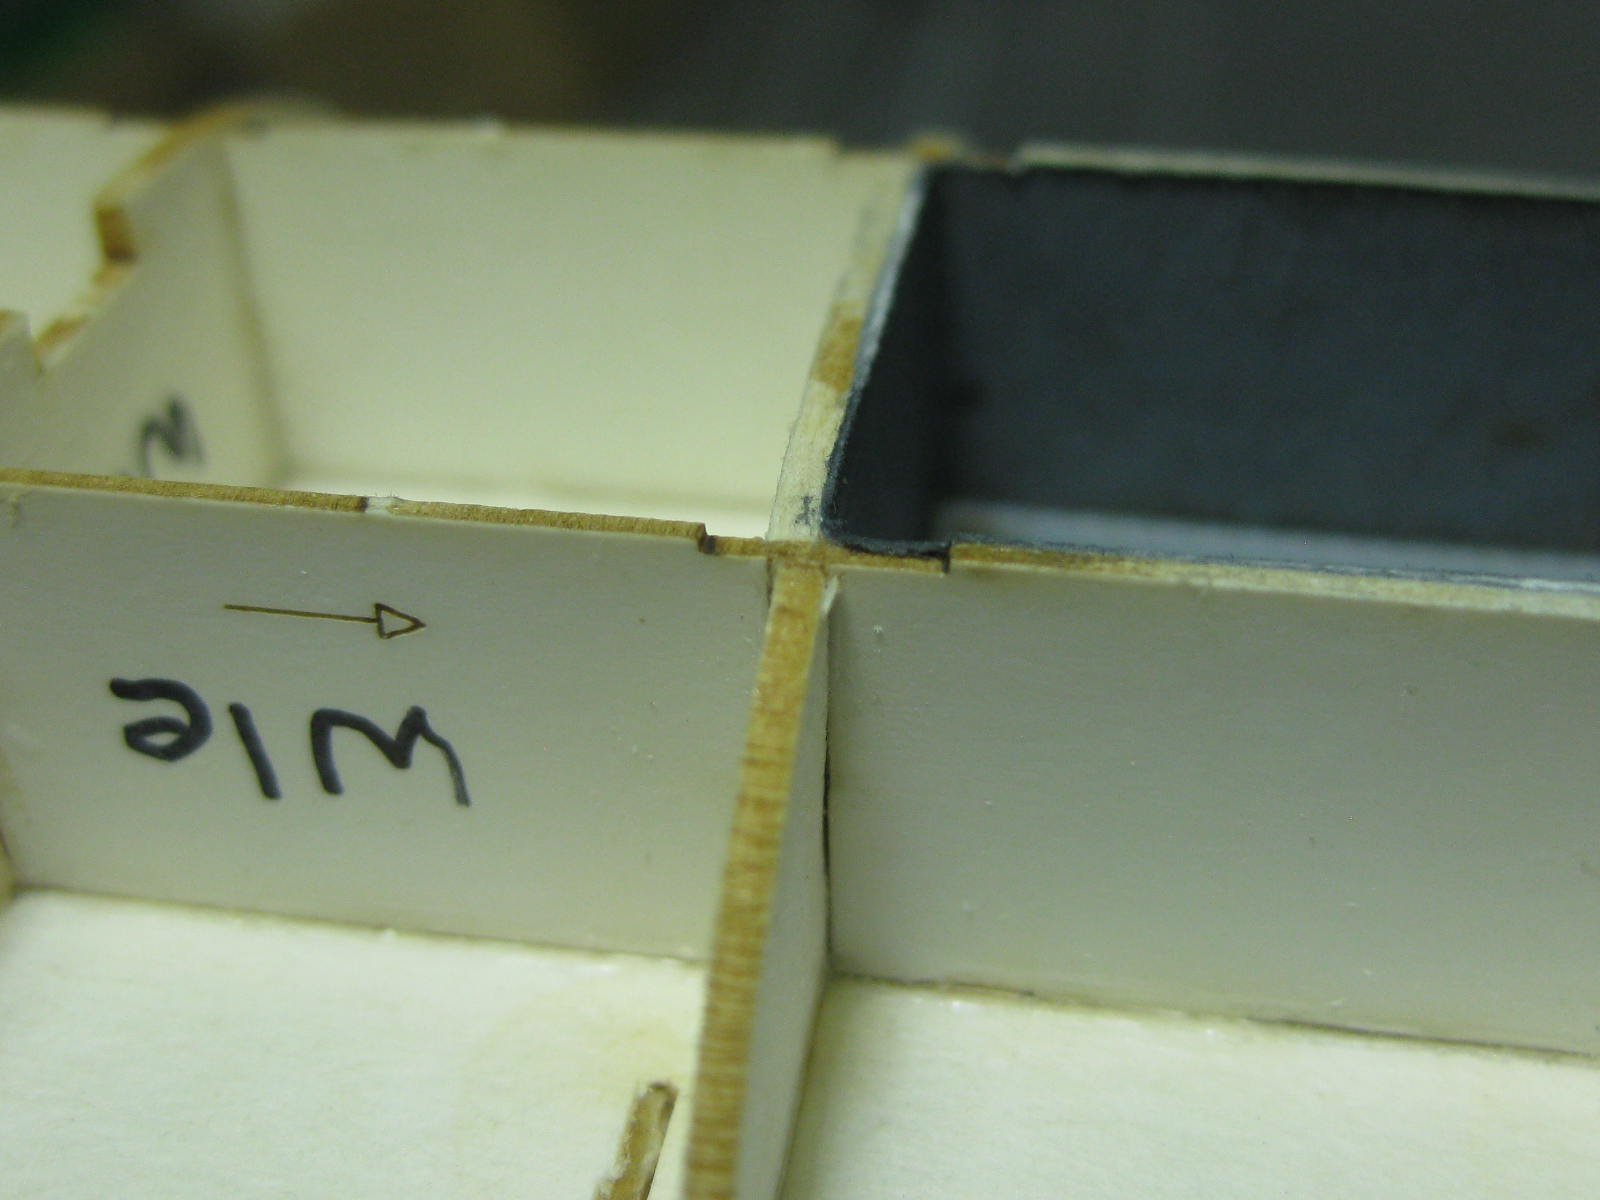
Now I'm starting with the outer skins. The framing needs very careful fairing, as there is absolutely NO margin for error. Lots of dry fitting after shaping each skin was required :


The joins between sections of skin have a separate joining strip which is glued to the inner face of the skin so they line up without a step. The laser-cut frames have a recess in them to allow for this strip. These also need to be carefully faired :

Danny
-
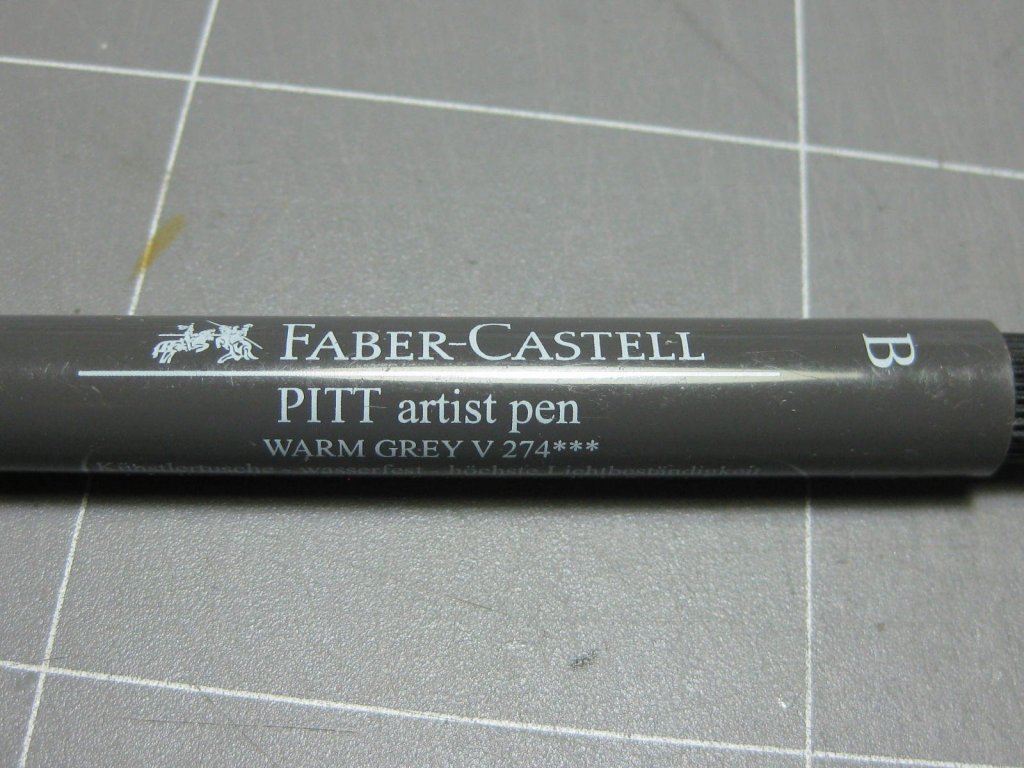
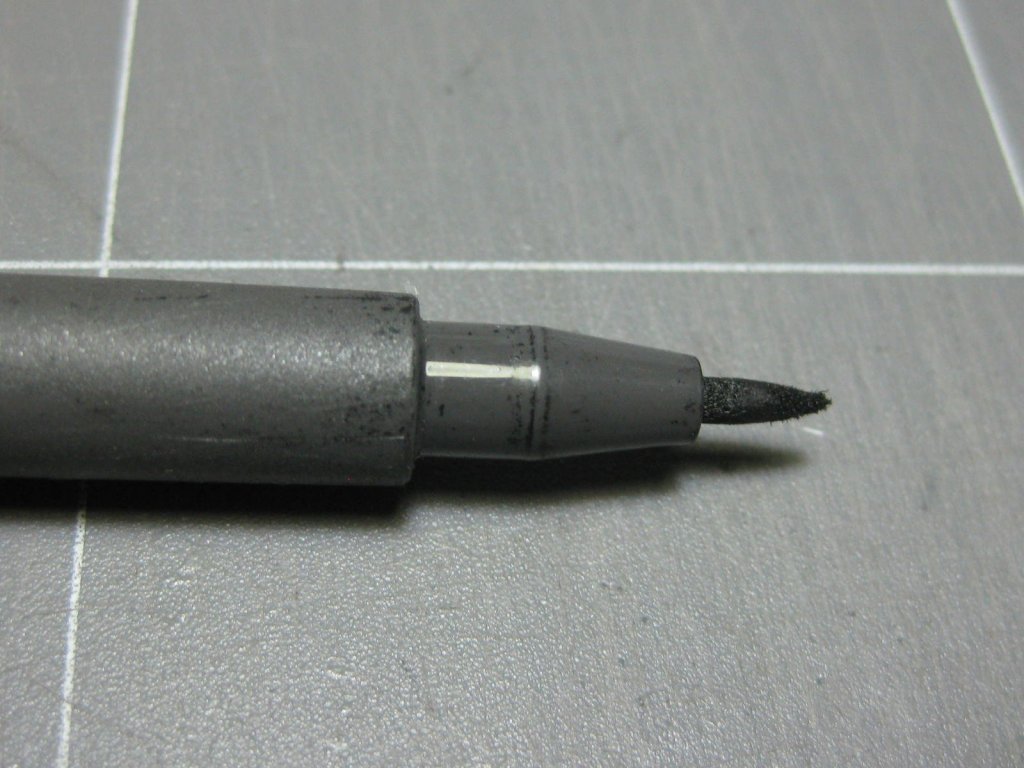
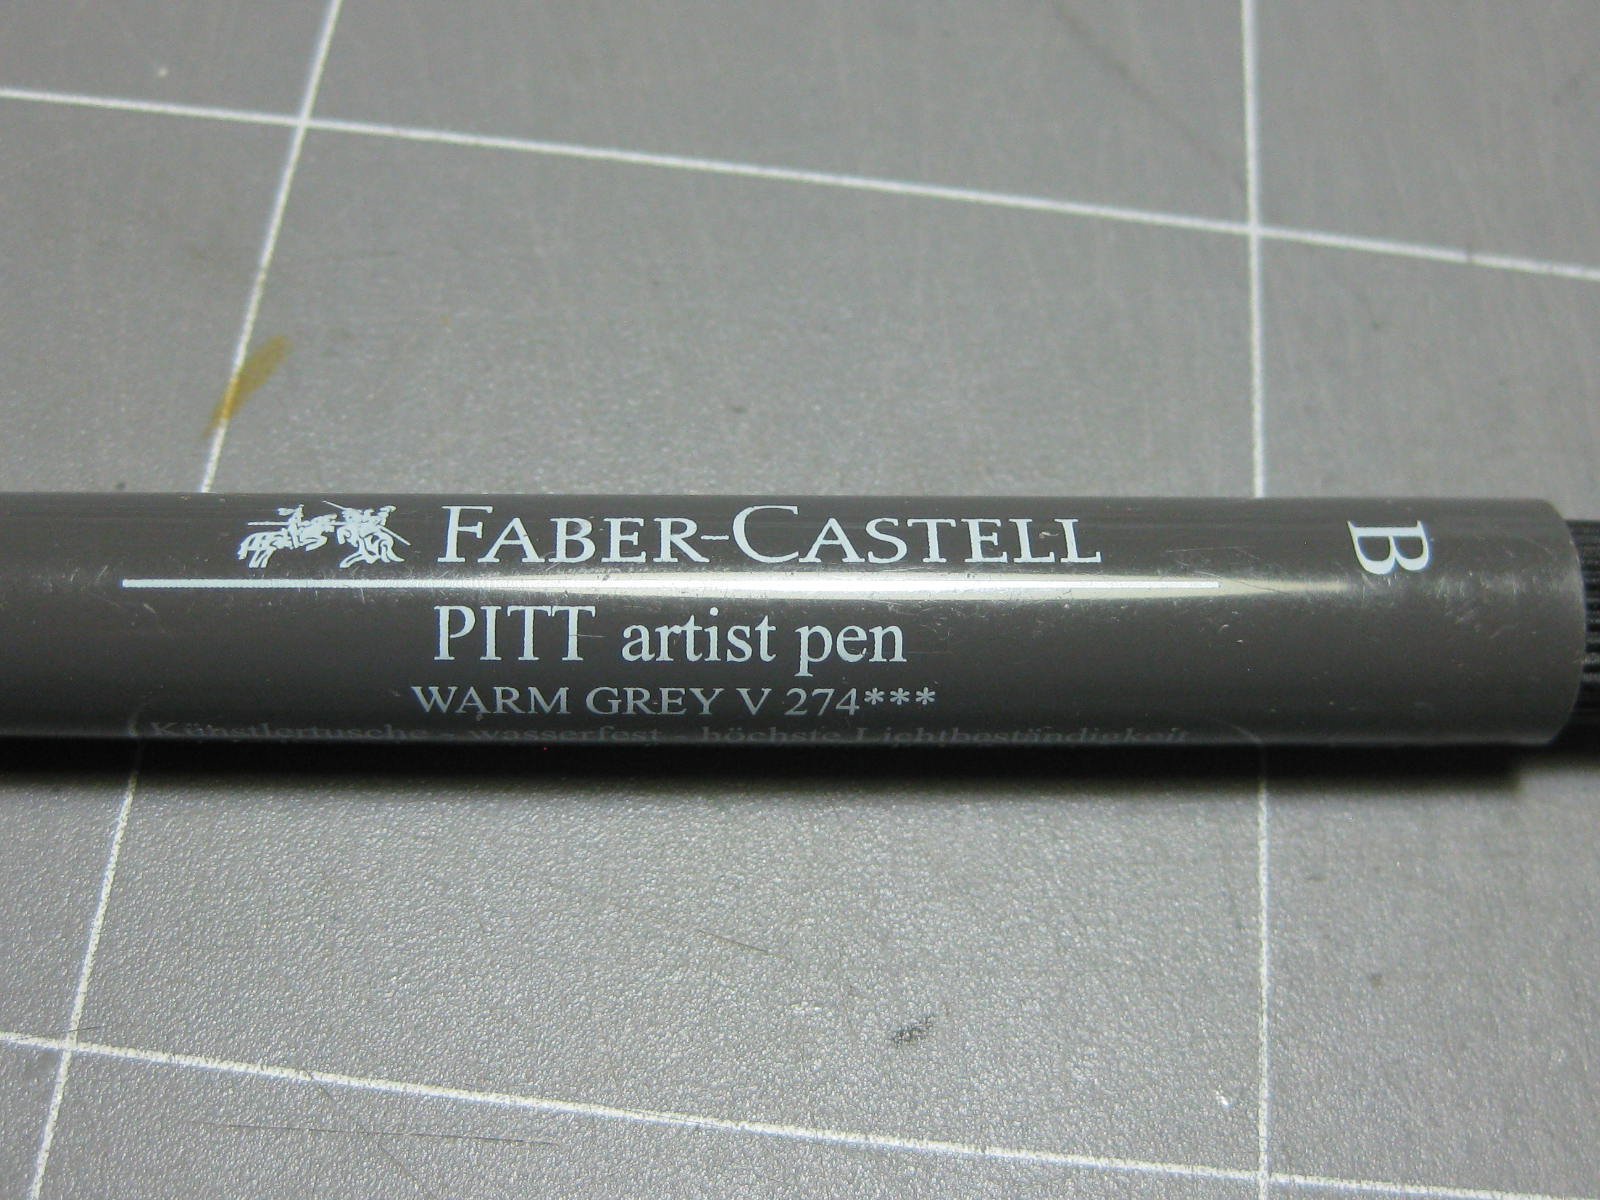
Regarding the "Sharpie" you are using for the planking edge colouring - see if you can get one of these. It is an Archival Ink pen available from most art supply stores, Officeworks or on-line which doesn't bleed into the timber like any other pen I've tried and is also waterproof, which won't smear when you apply PVA glue. Get the "Brush" size and use the side of the nib to apply the ink.
Also - the end join between planks should also be "caulked".
Danny
-
14 hours ago, DarkAngel said:
Do you think adding something like this to the bulkhead's would help line up the cannon rows with the waterline when planking the hull ?
The gunports don't actually line up with the waterline, each deck is slightly different. The height of the ports is actually determined by the sheer line of each deck. Adding port liners is a very good idea as they are actually used in real practise - after all the planking needs to be attached to something around the port
. Click on THIS LINK to see how they look. Check out the following posts as well.
Danny
-
-
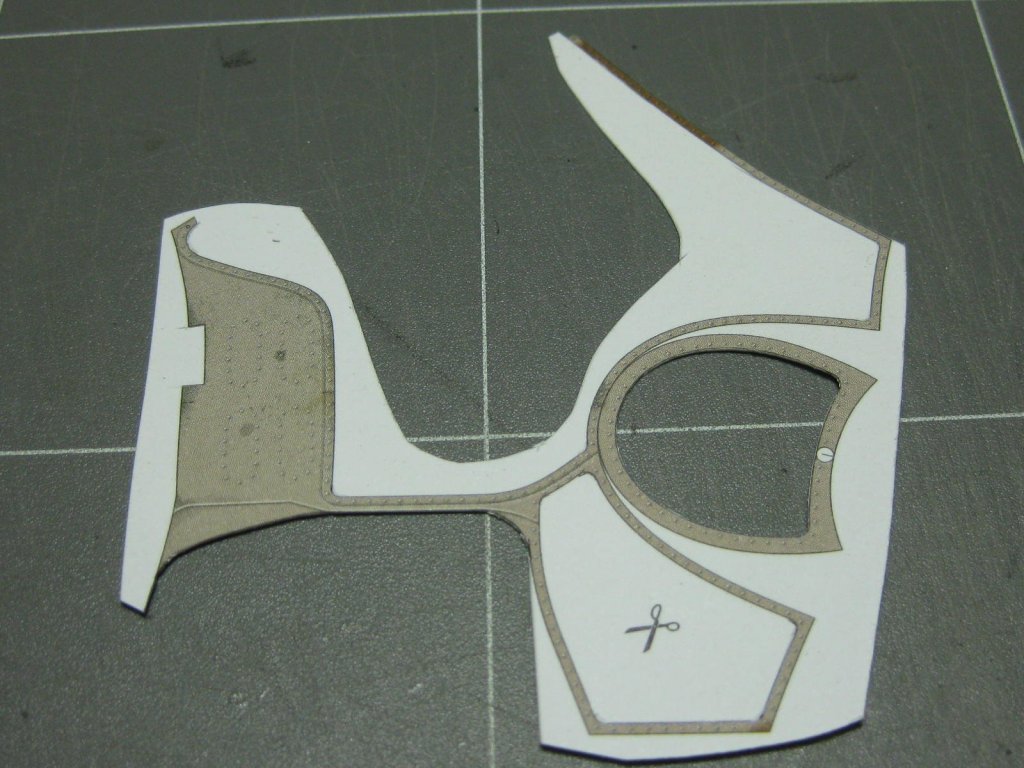
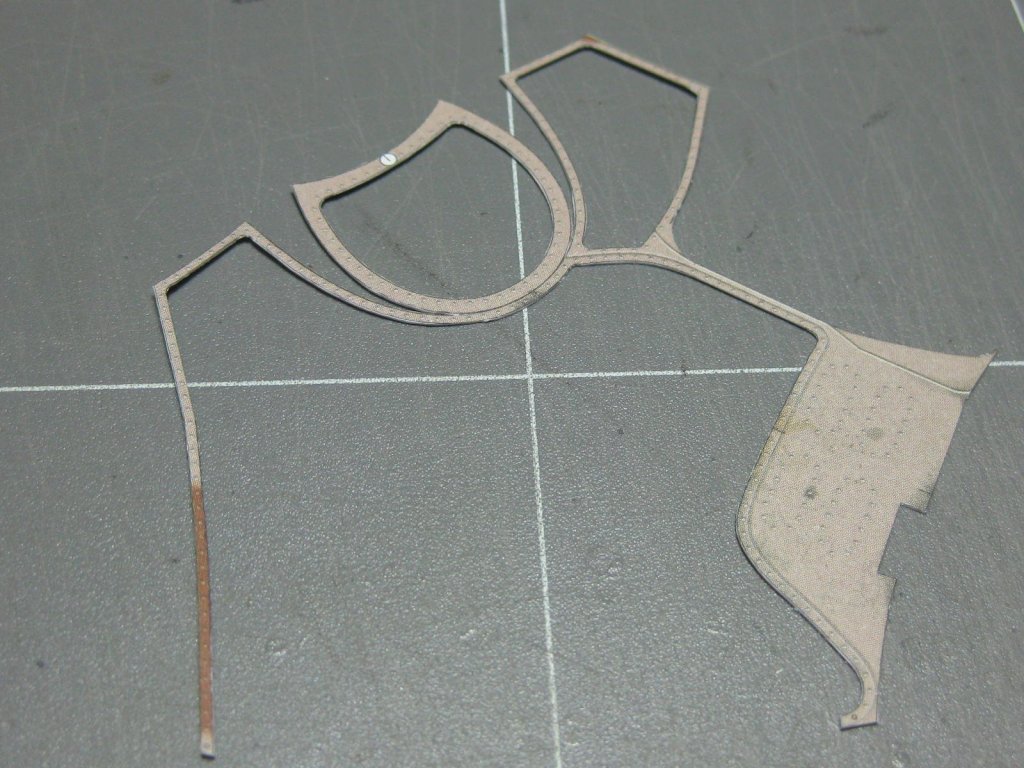
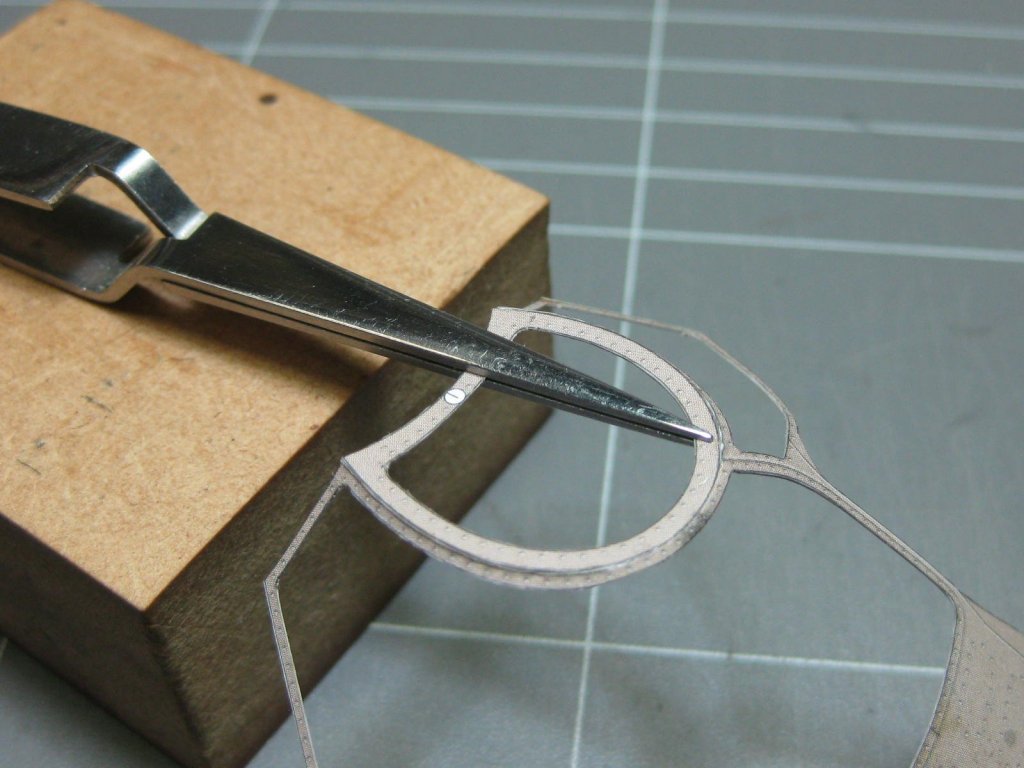
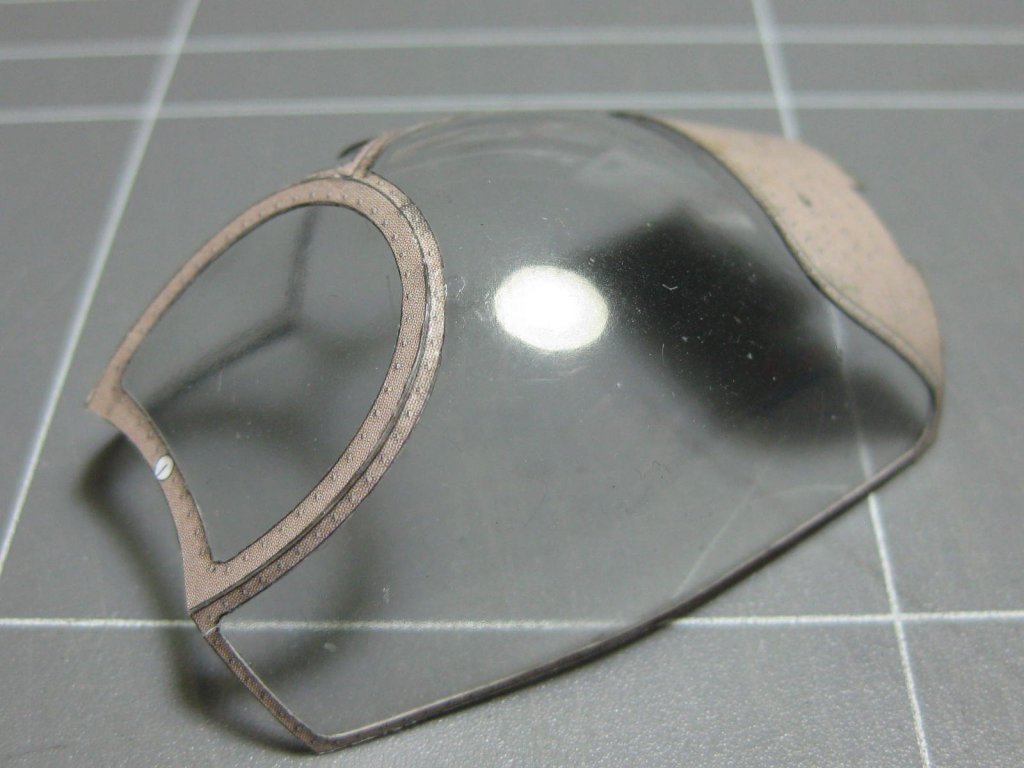
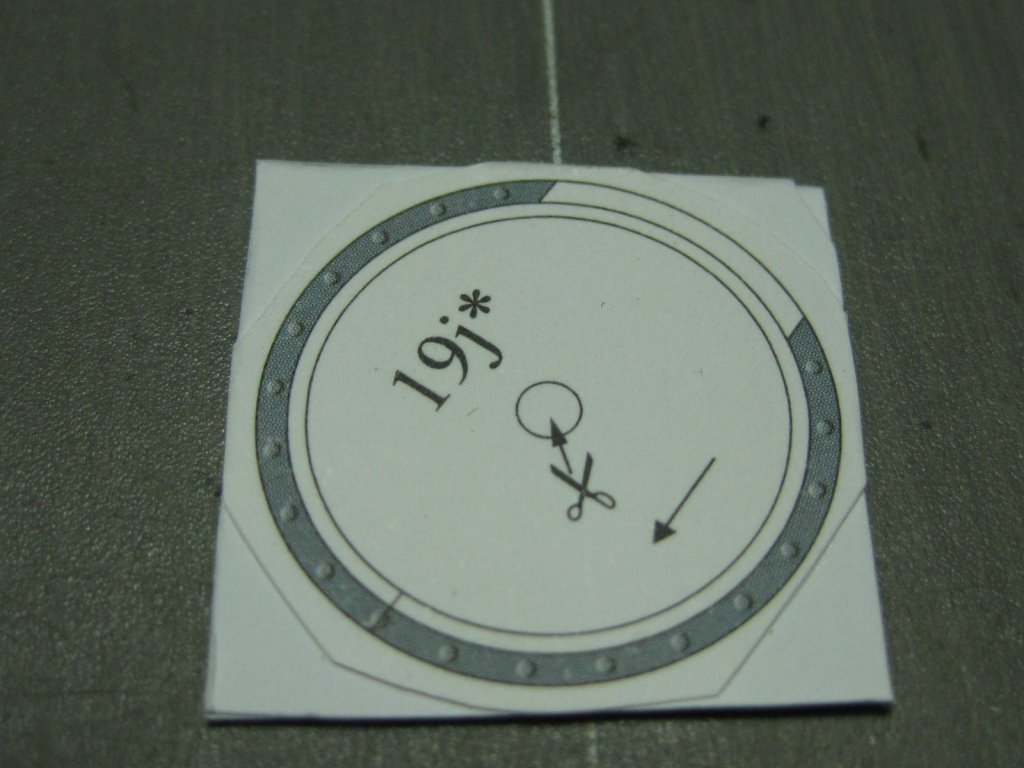
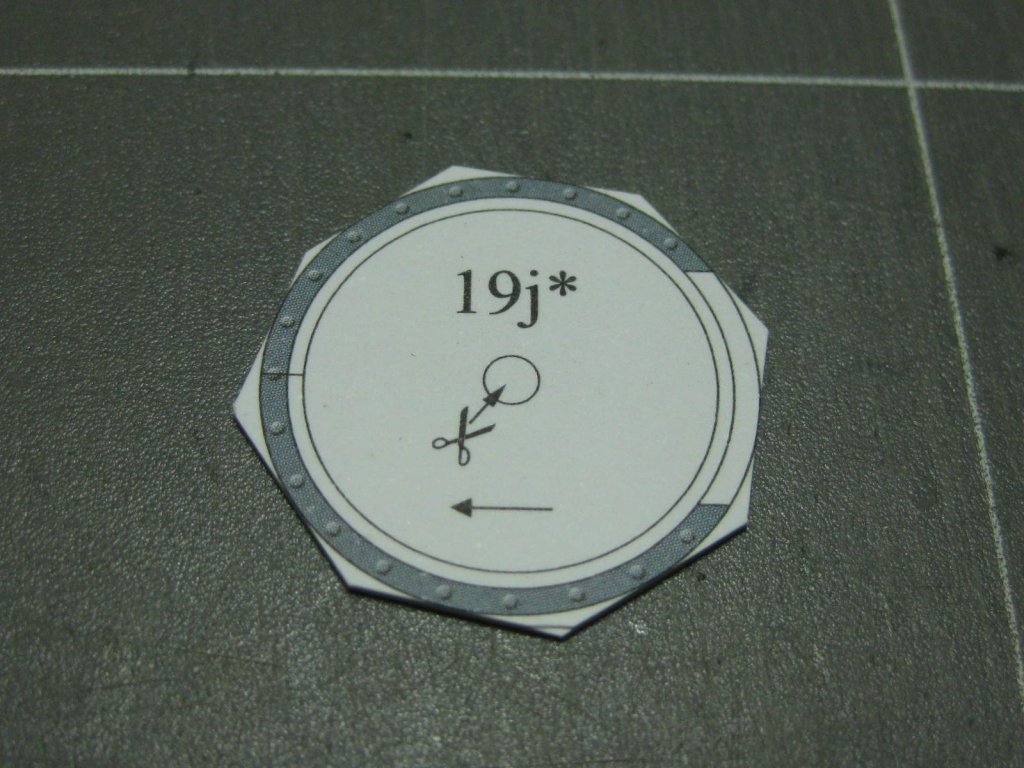
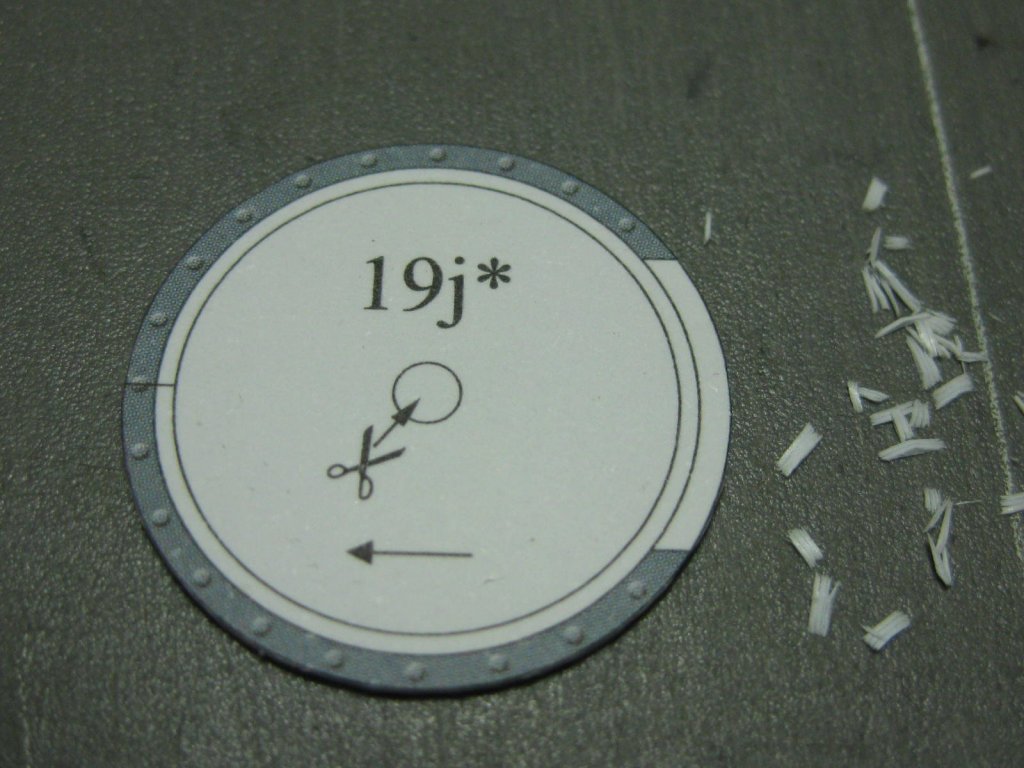
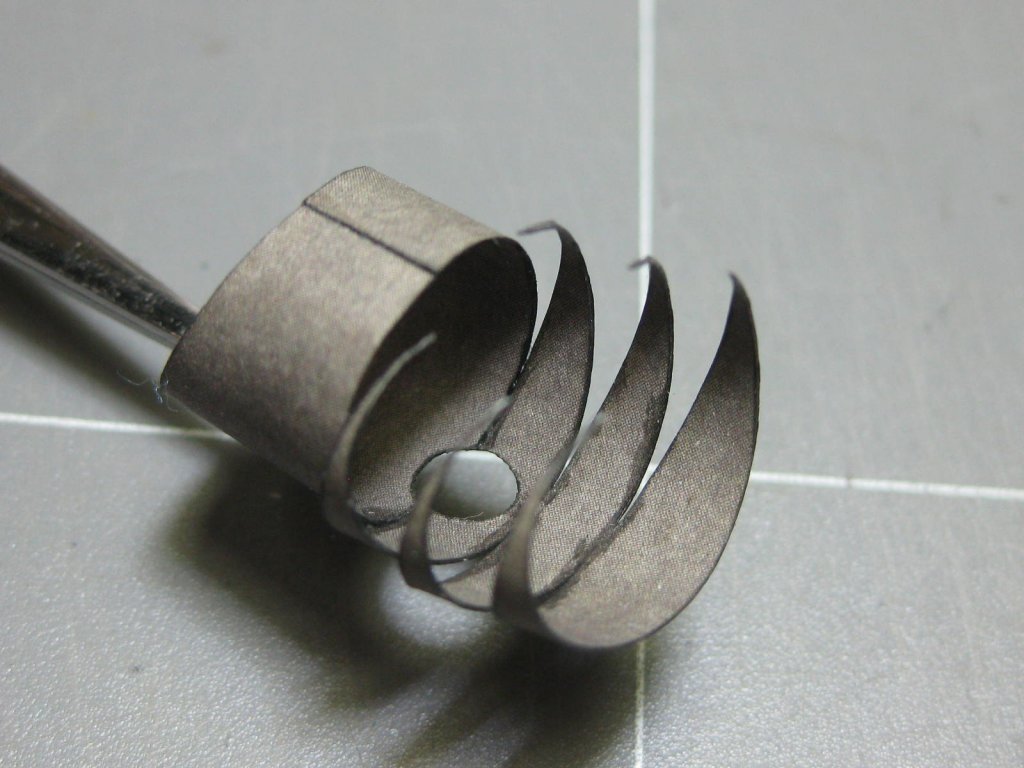
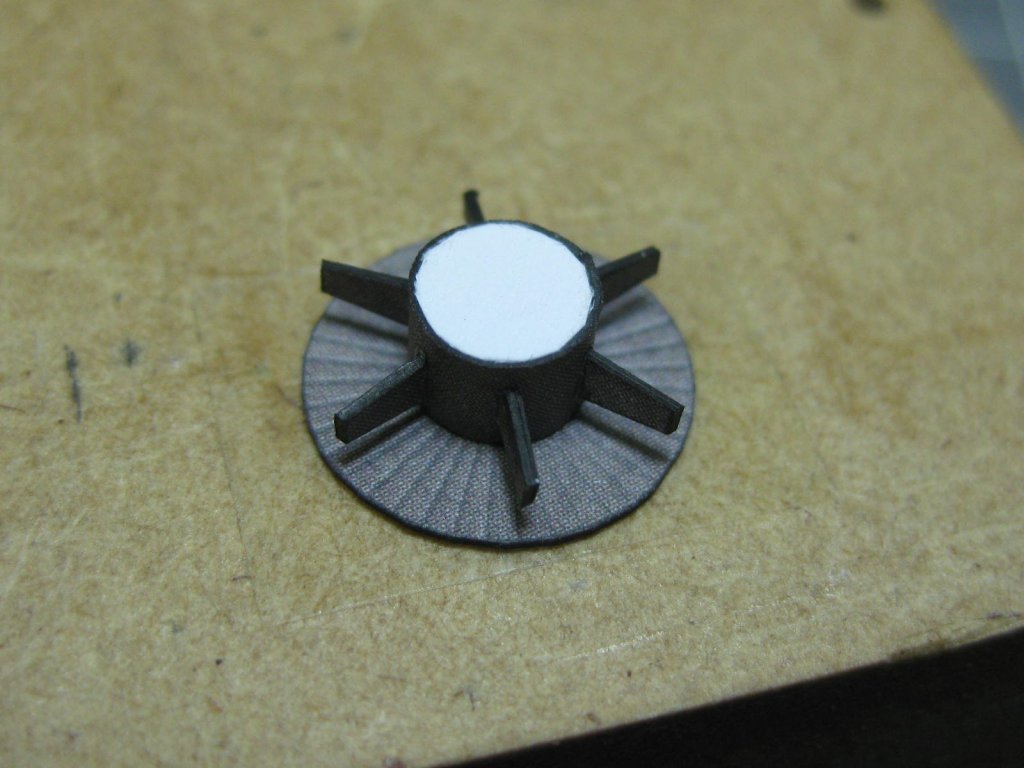
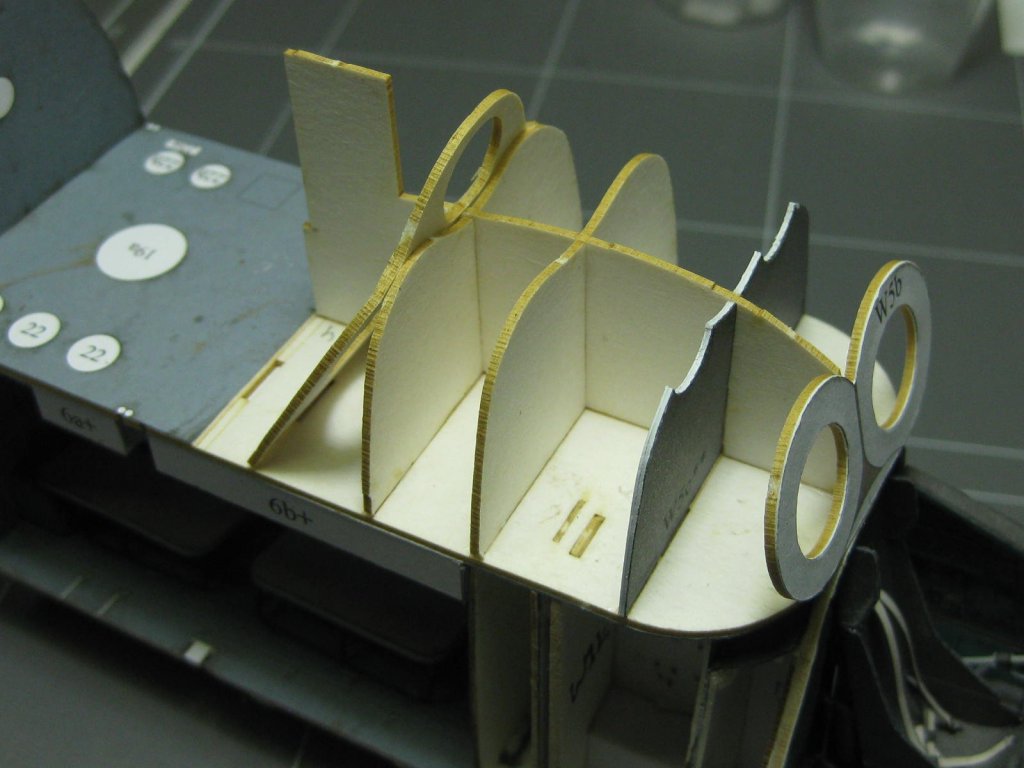
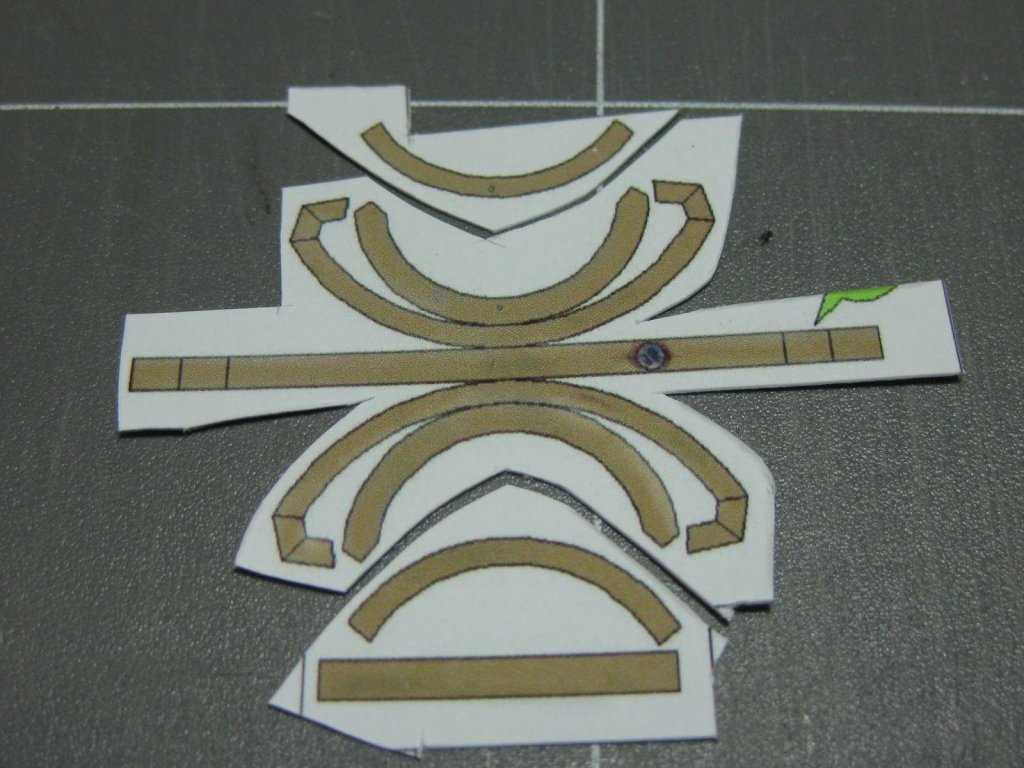
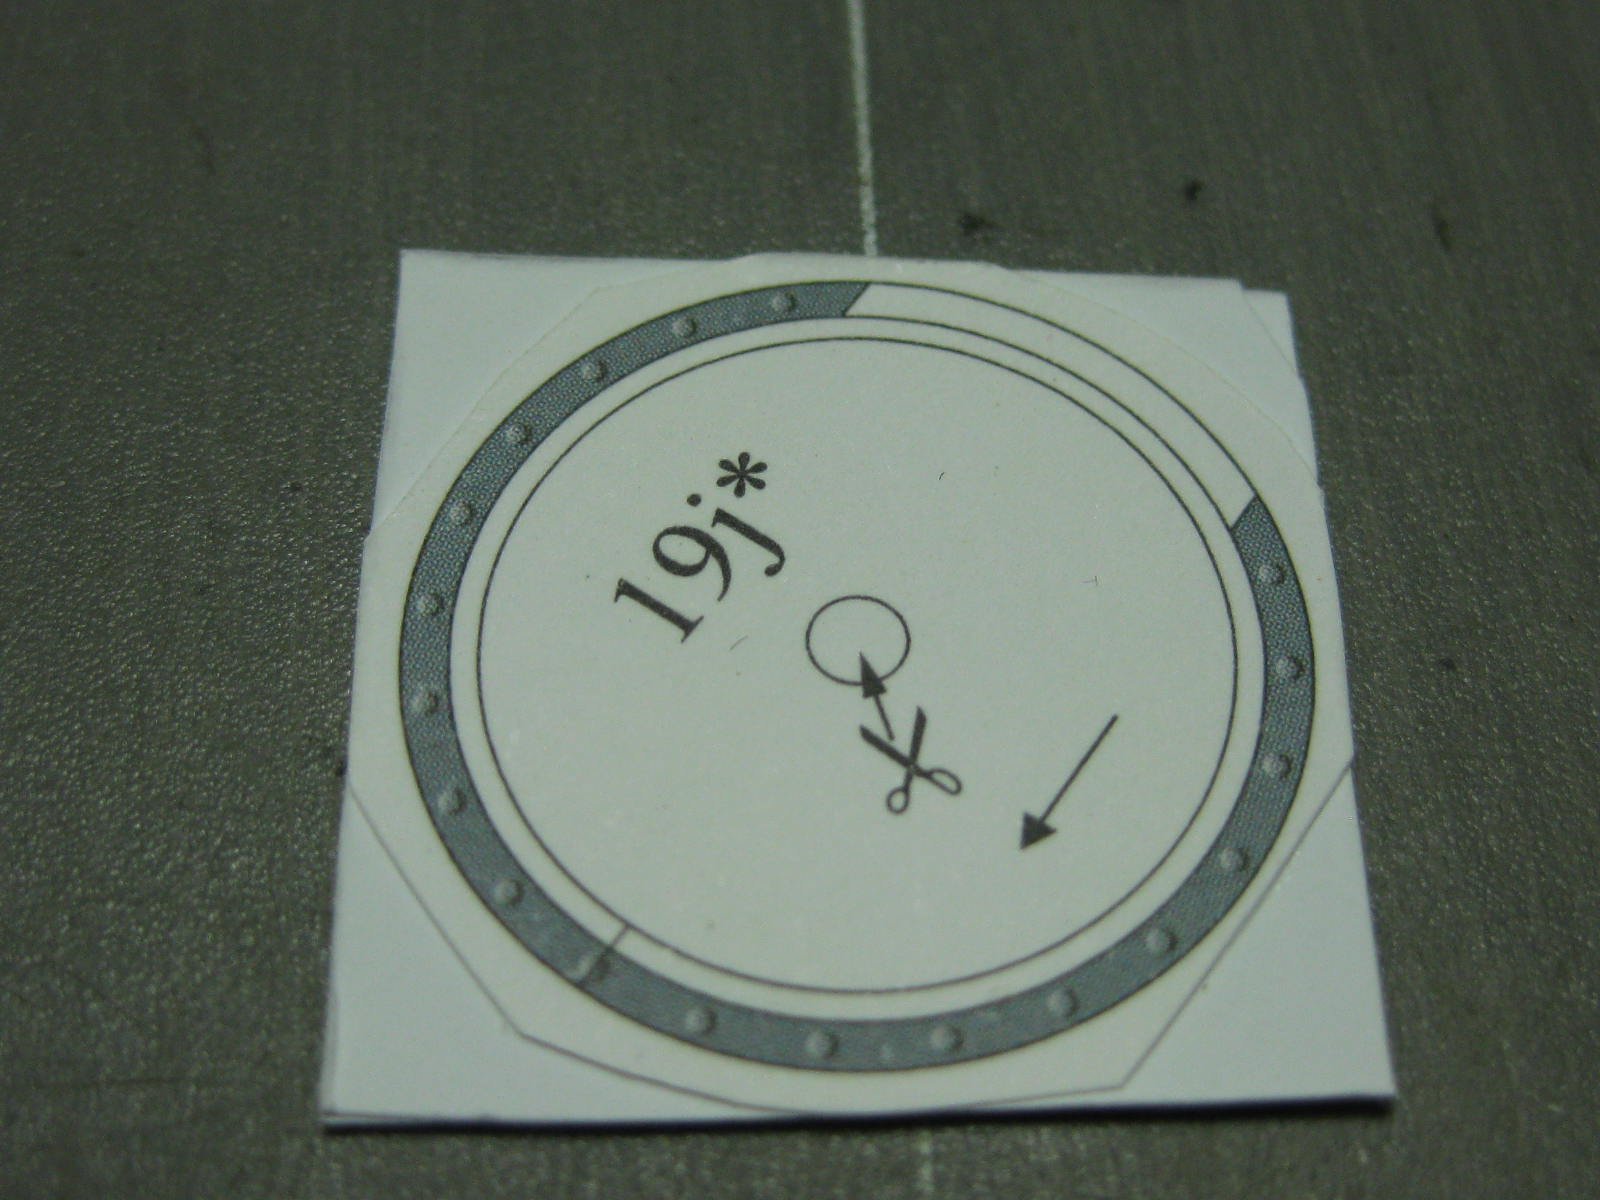
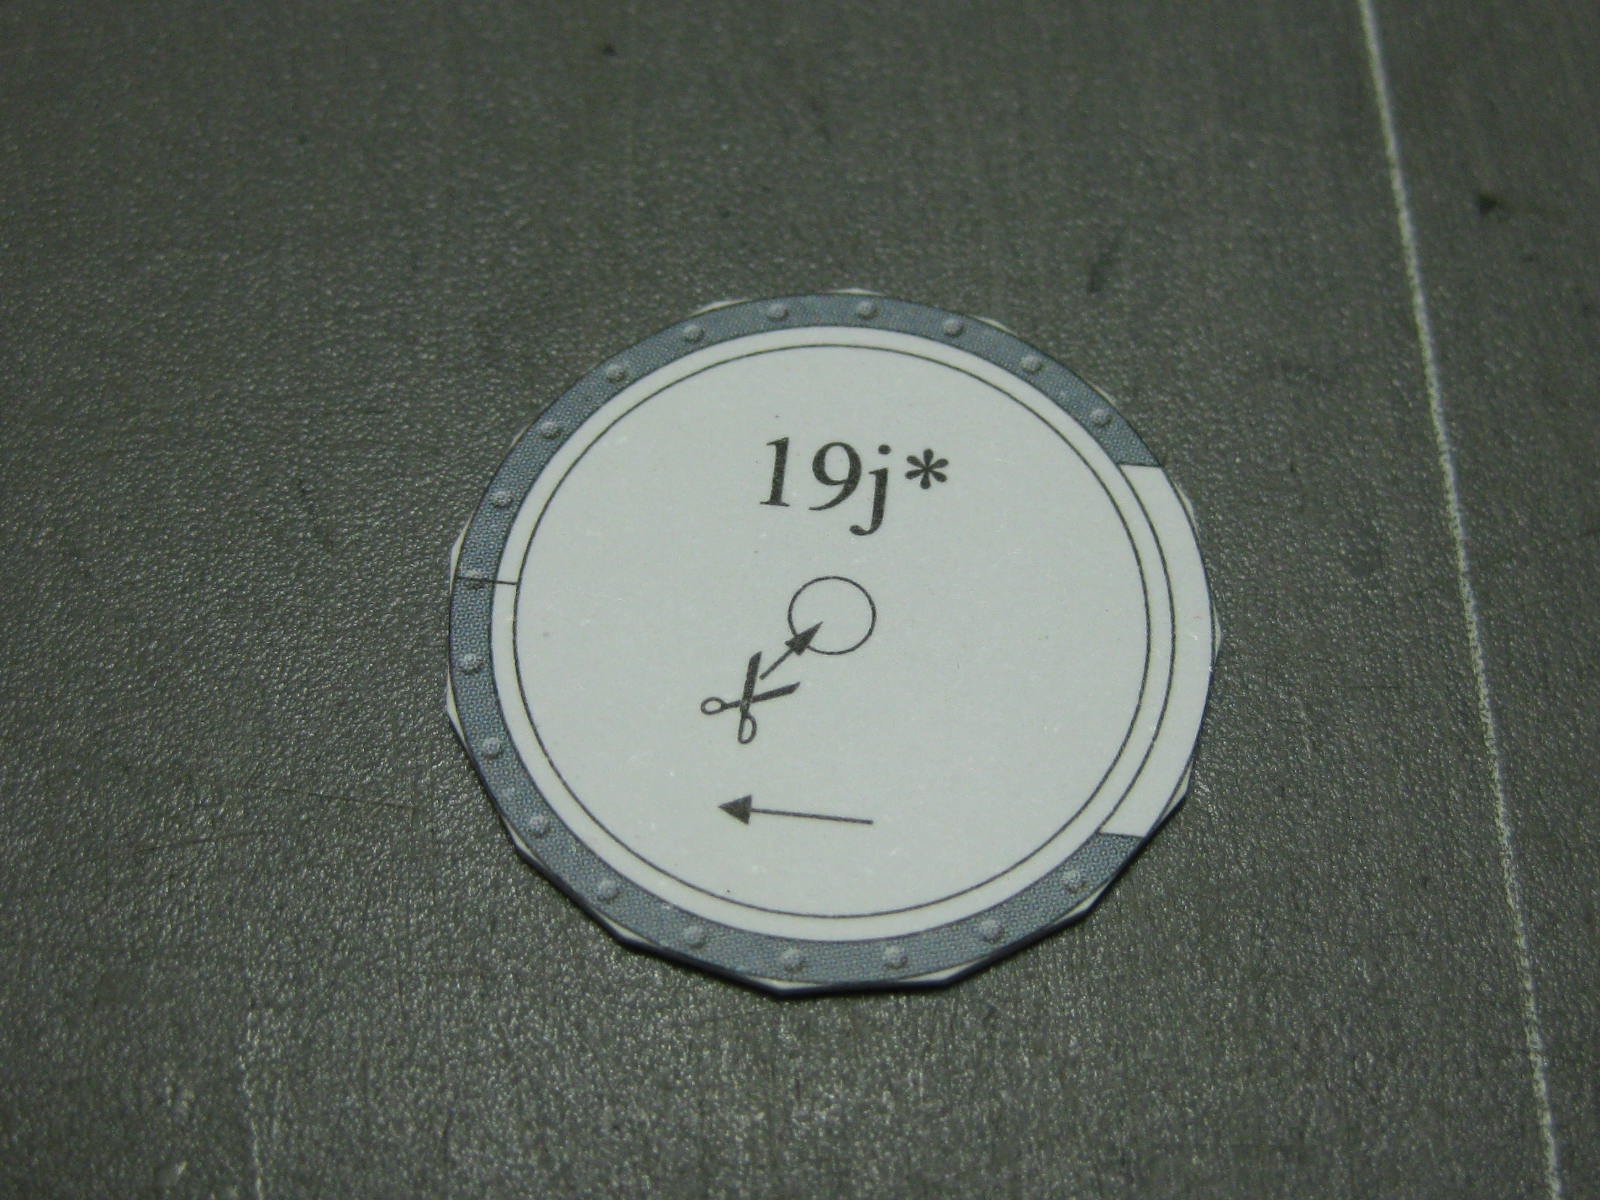
A Mini-Tutorial for those who came in late - How To Cut Circles. I made four of these from double-thickness. The pics should be self-explanatory, except to say that I used a "chopping" motion with the scalpel rather than dragging the blade :

Danny
-
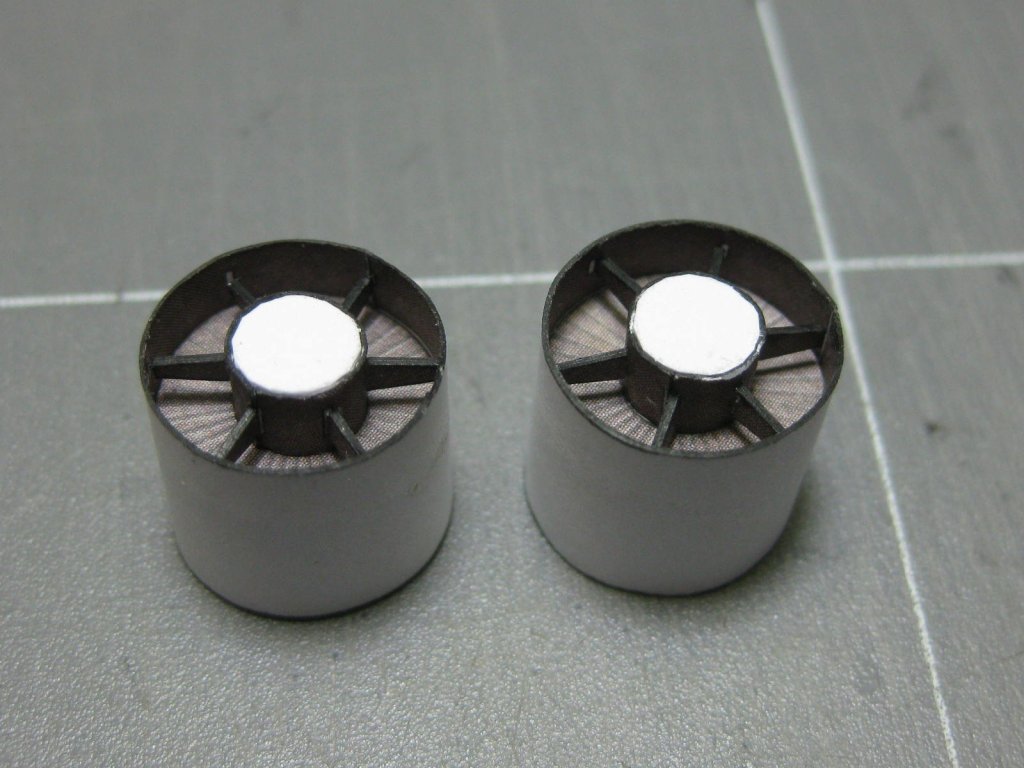
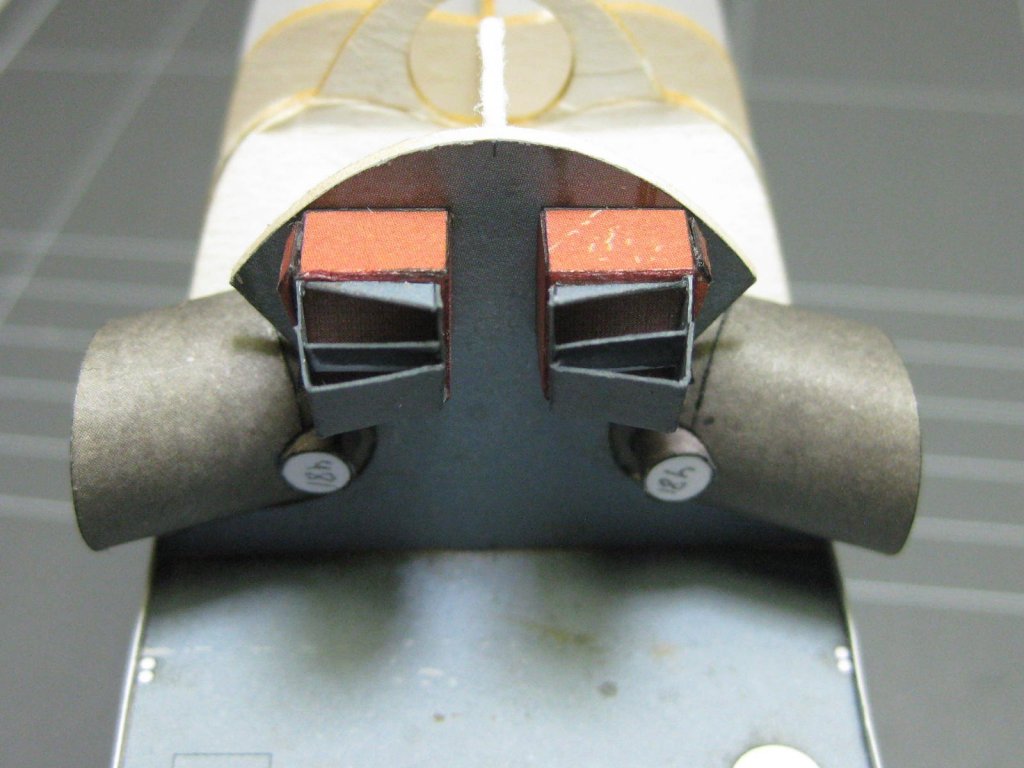
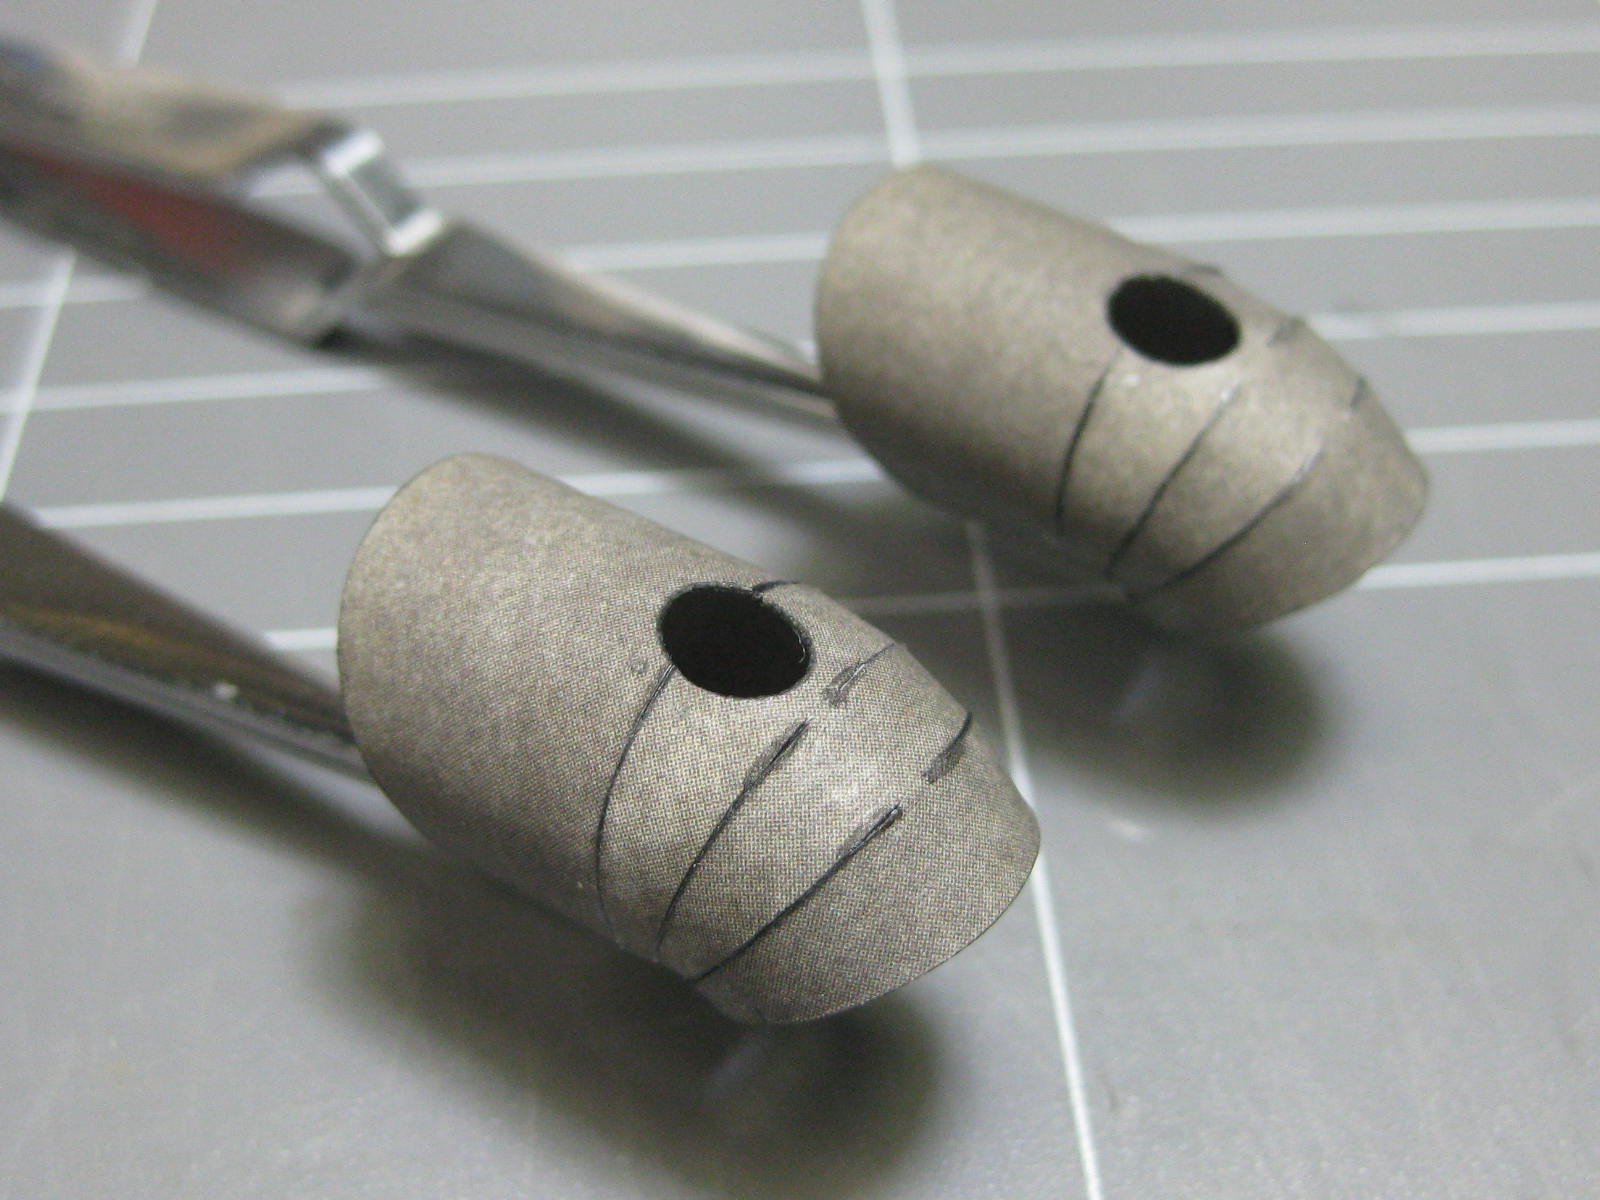
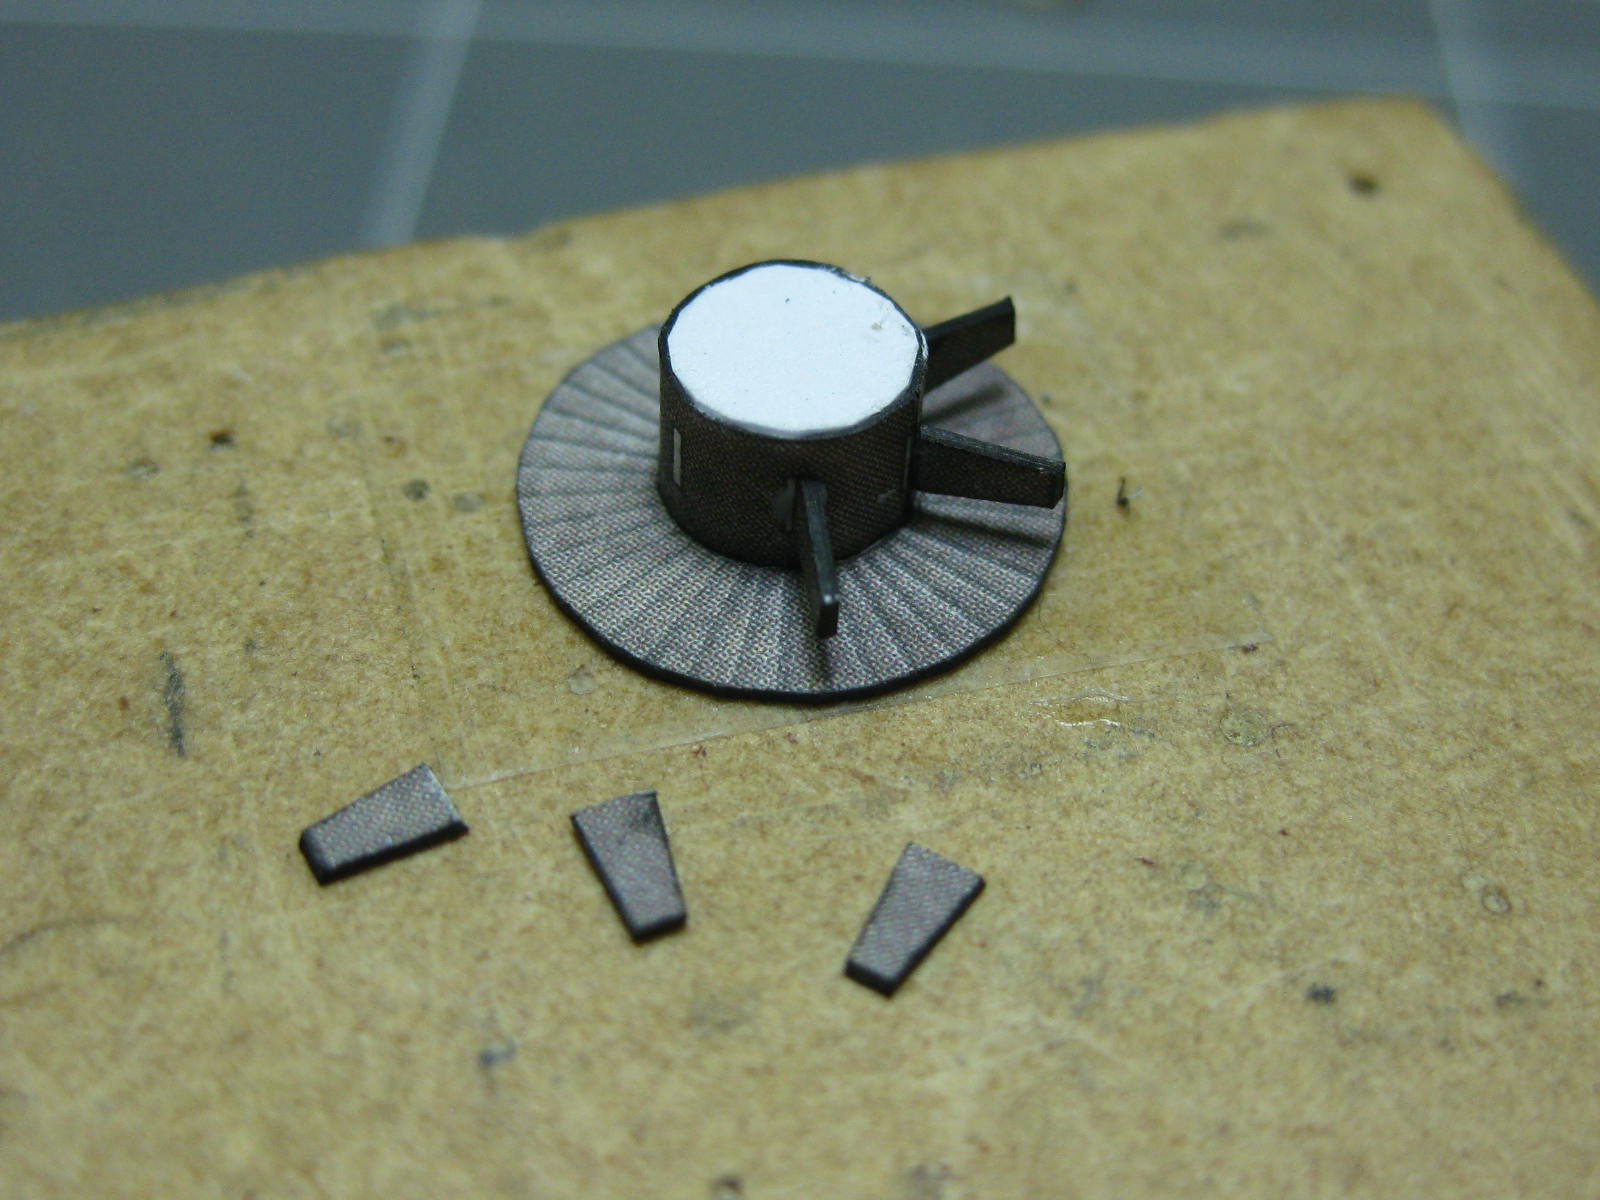
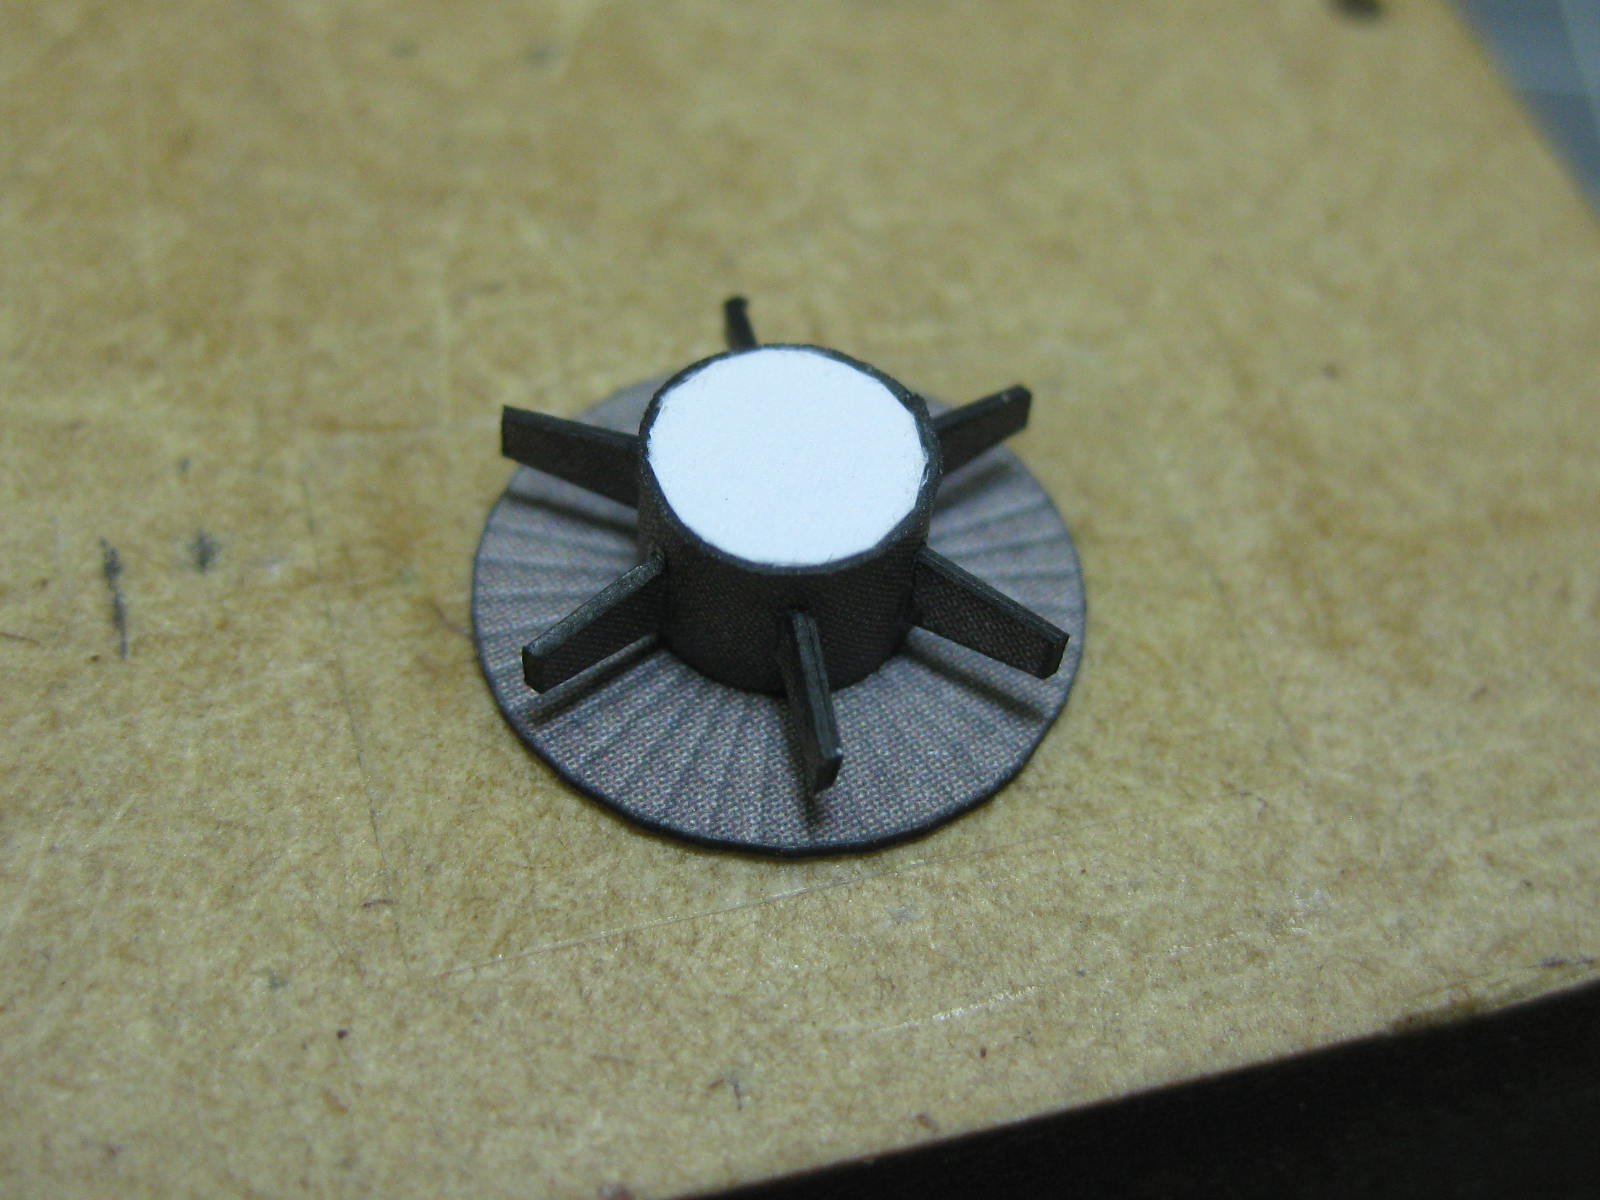
The two exhausts took a bit of work :


Danny
-
On 6/12/2019 at 8:08 PM, DarkAngel said:
Hands up who has built the HMS Victory by Corel before
That would be me
 . Unfortunately I completed the model just before I found MSW, so there is no build log for it (a few pics are in the Gallery - click the link in my signature), but I could give you some advice on building her.
There are about a dozen build logs of the Corel Victory in the Quick-Find Index for Wooden Ship Kits (click this LINK) but none are marked as Finished.
Danny
-
11 hours ago, DarkAngel said:
Thanks Mark
I think you are the first Aussie to welcome me aboard... (besides Jim that is).
Allow me to be the 3rd then - Welcome from a couple of hours North
.
Danny
- mtaylor, Sea Hoss and pontiachedmark
-
 3
3
-
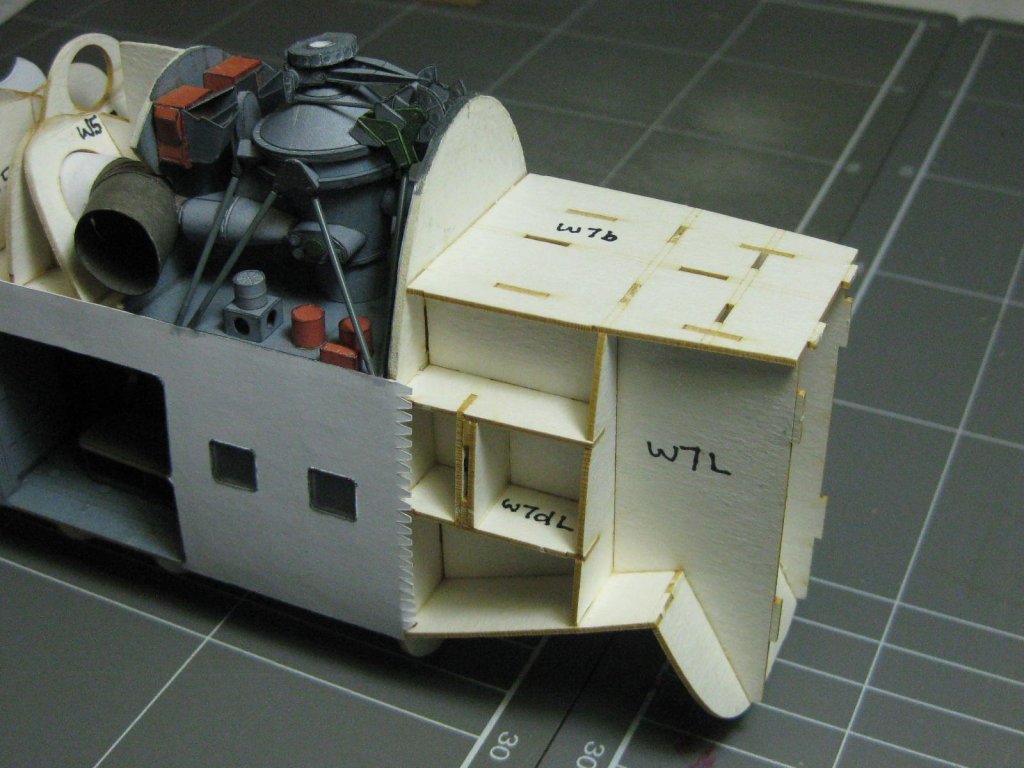
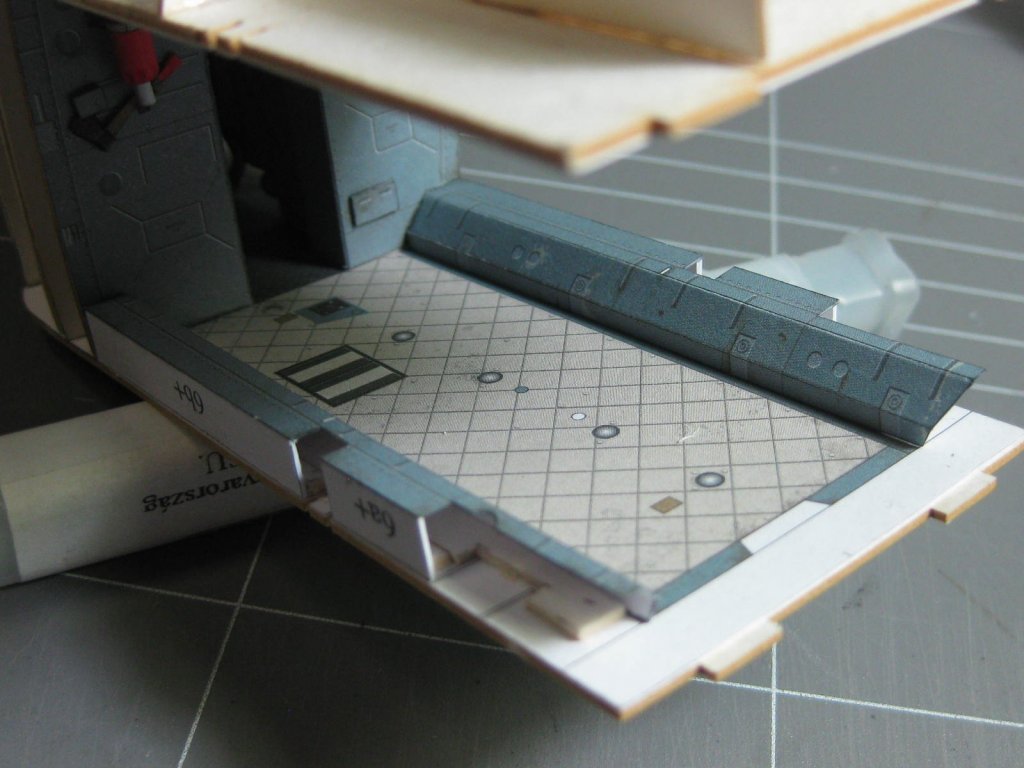
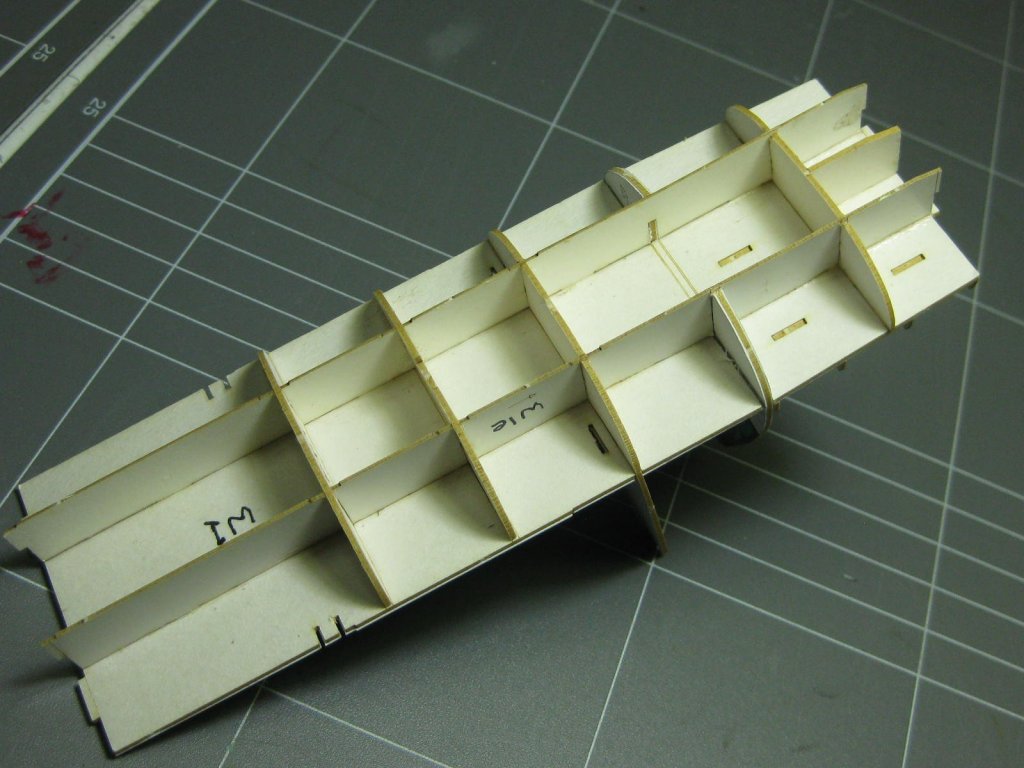
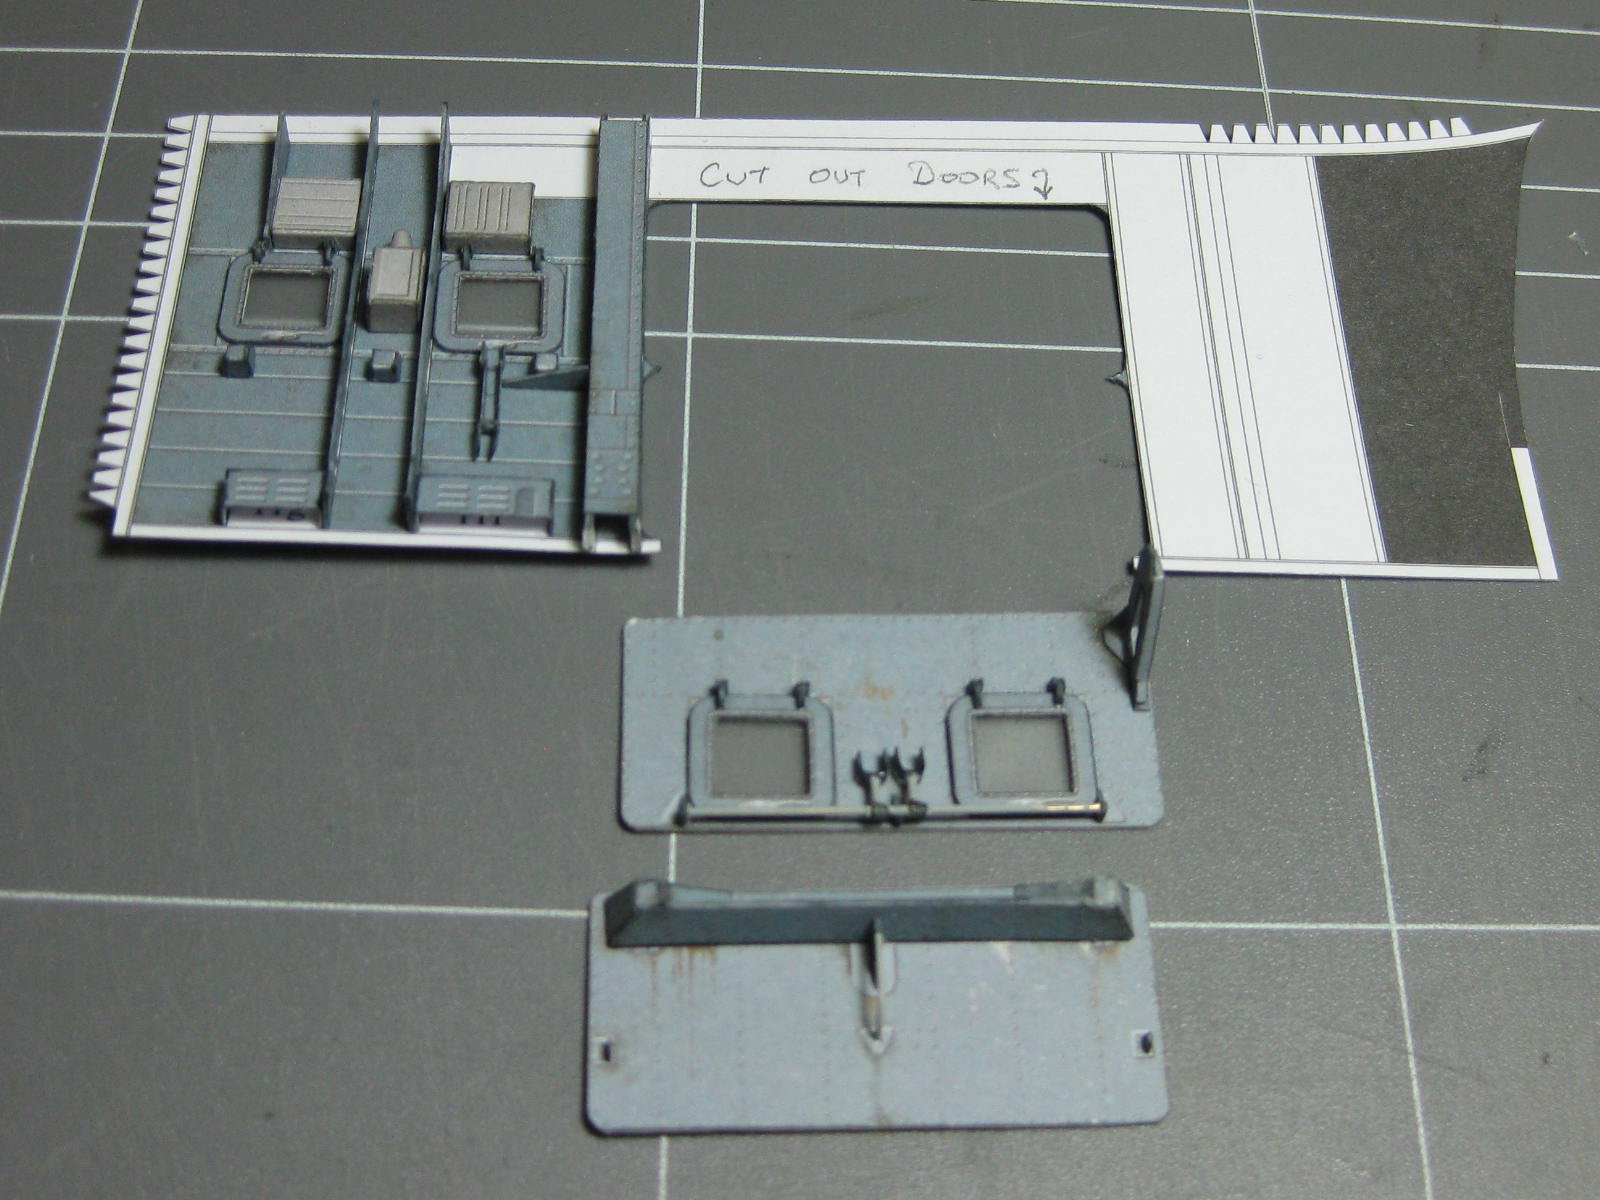
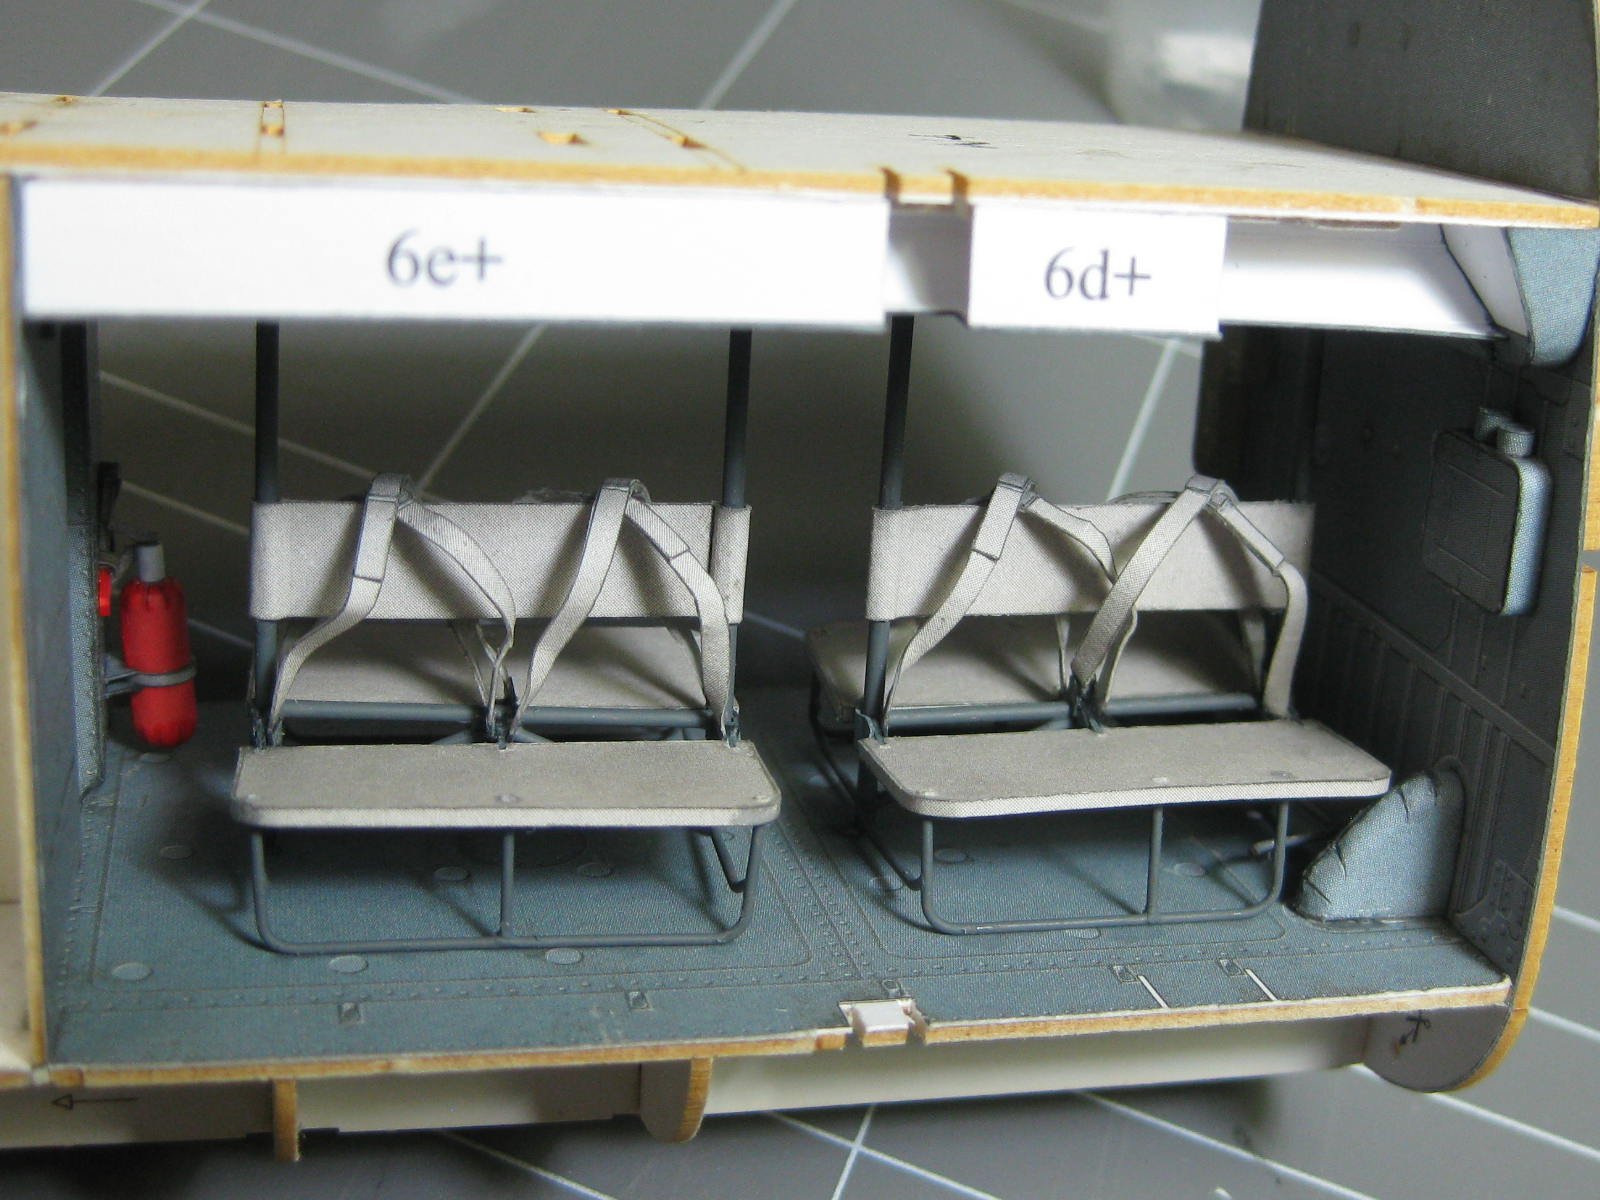
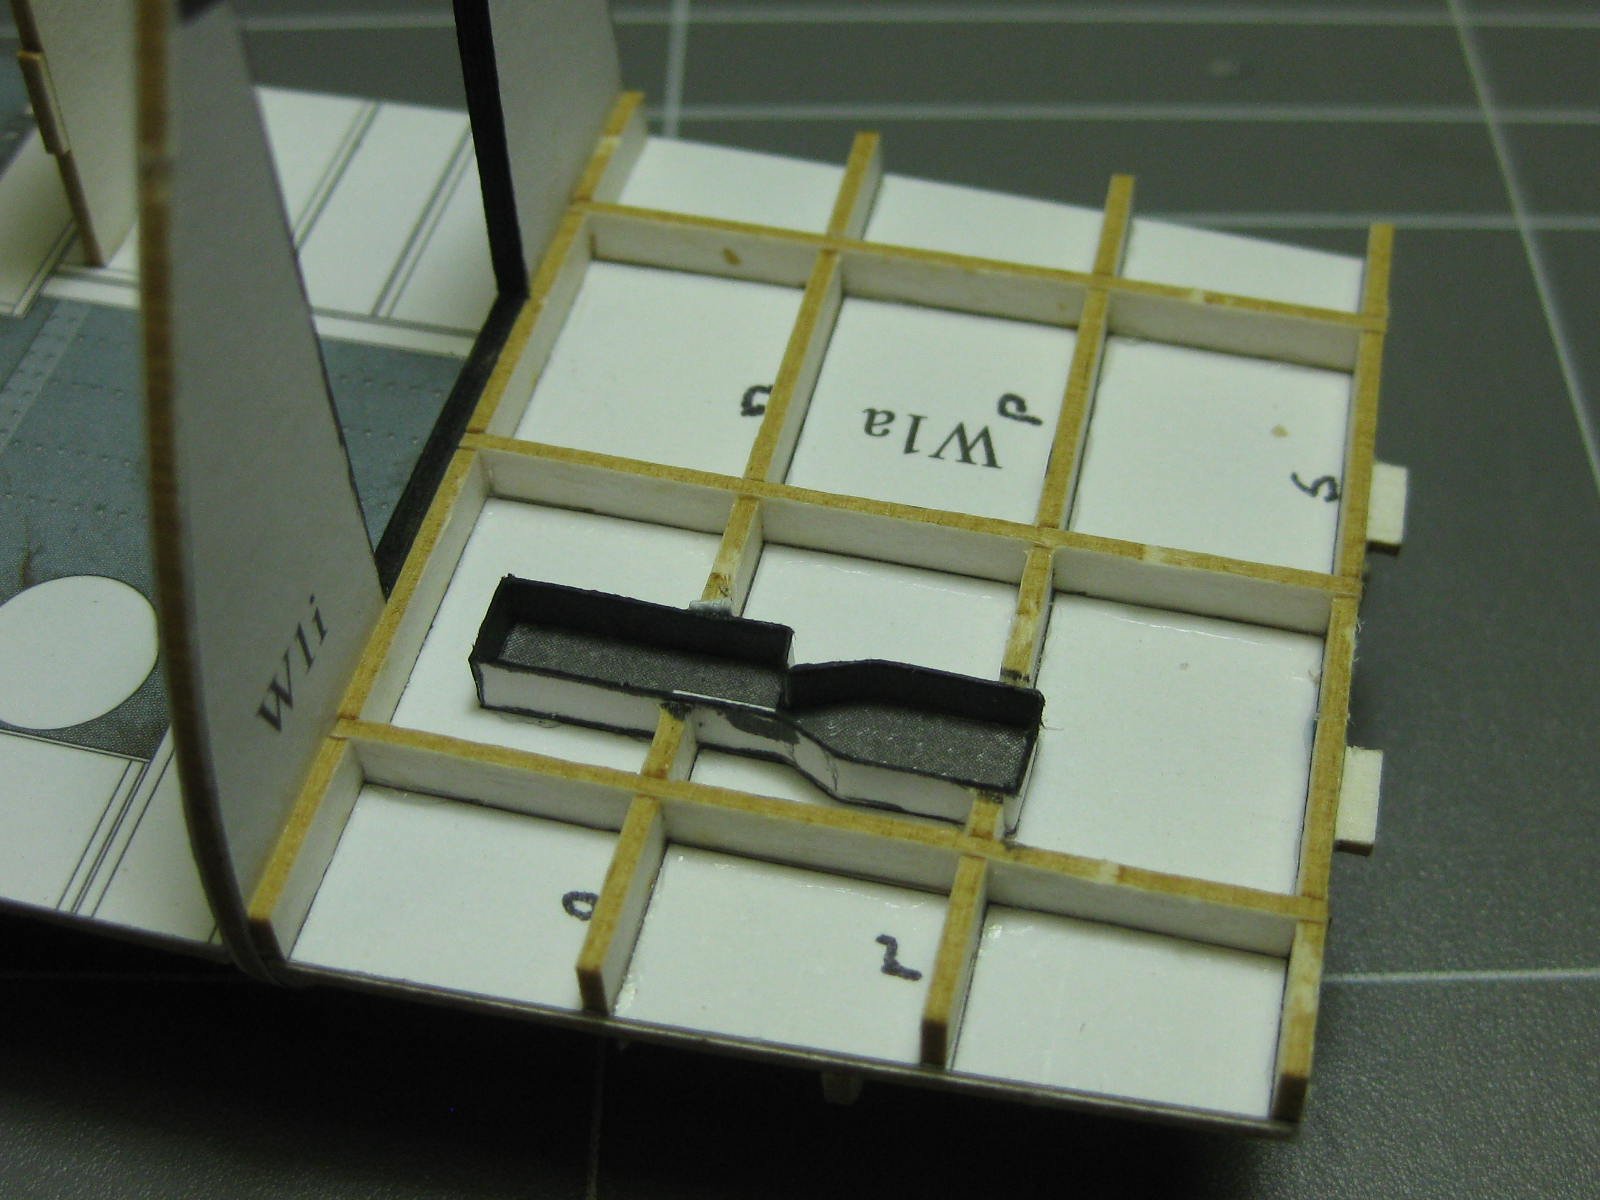
With the pilot's and gunner's cabins completed (for now) work moves to the rear compartment. I "glazed" the windows with some frosted plastic cut from laminating plastic, which is 0.07mm (70 microns) thick :
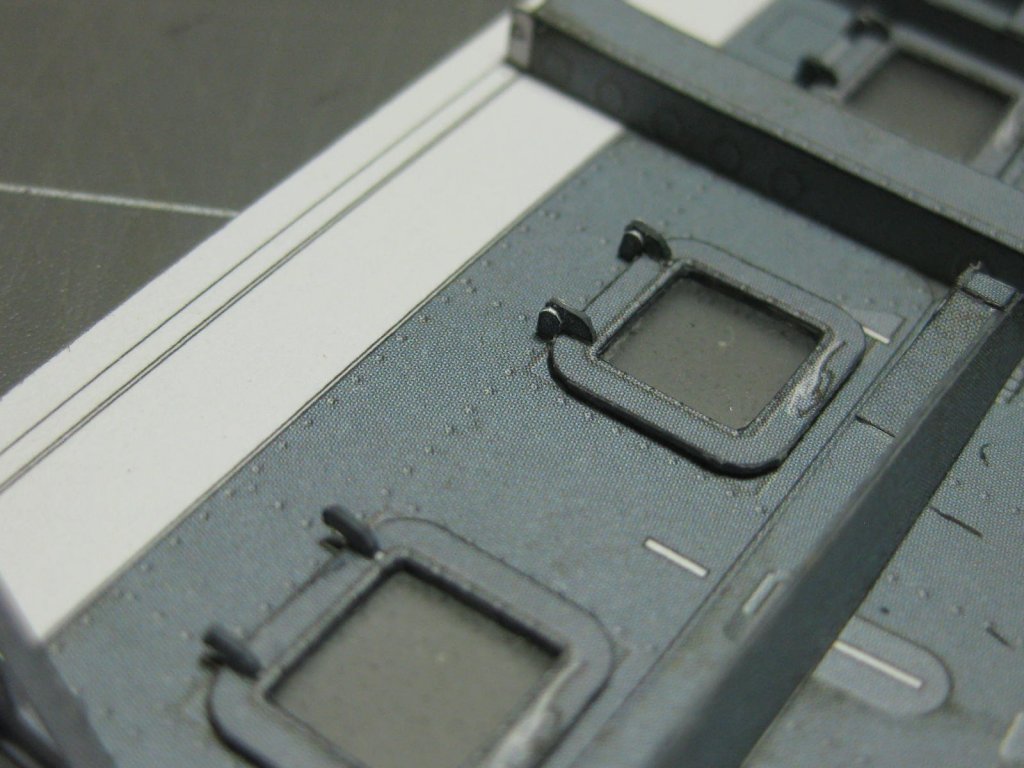
Both the interior side walls are completed first :
The left wall has the door cut out to display the interior :

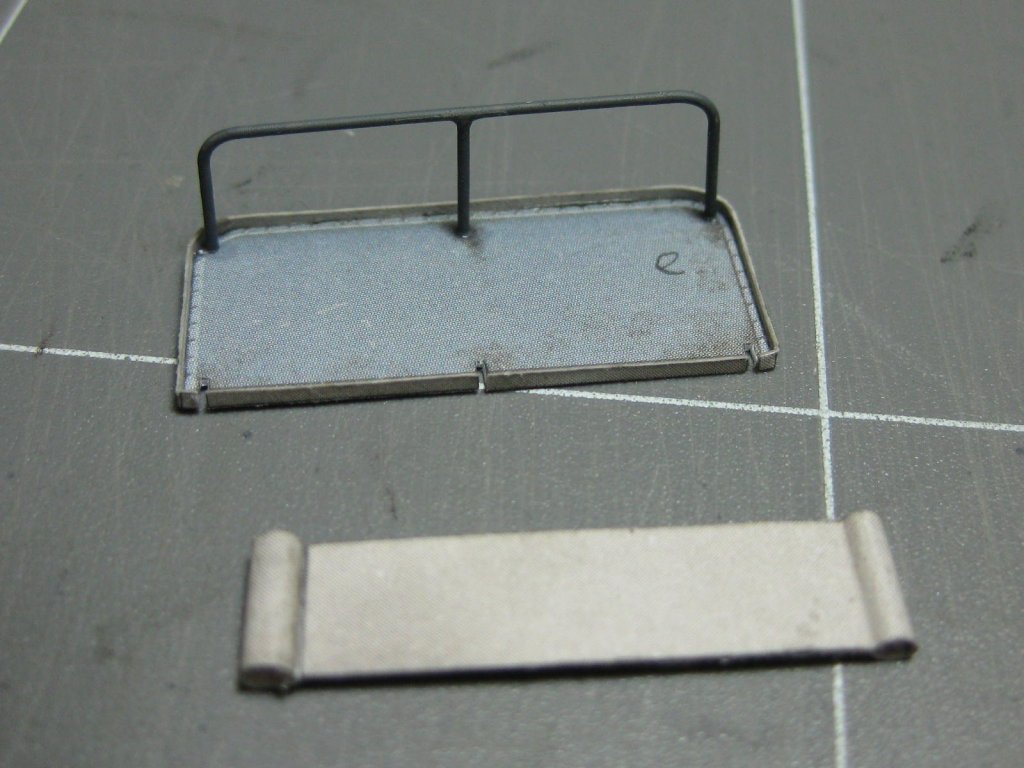
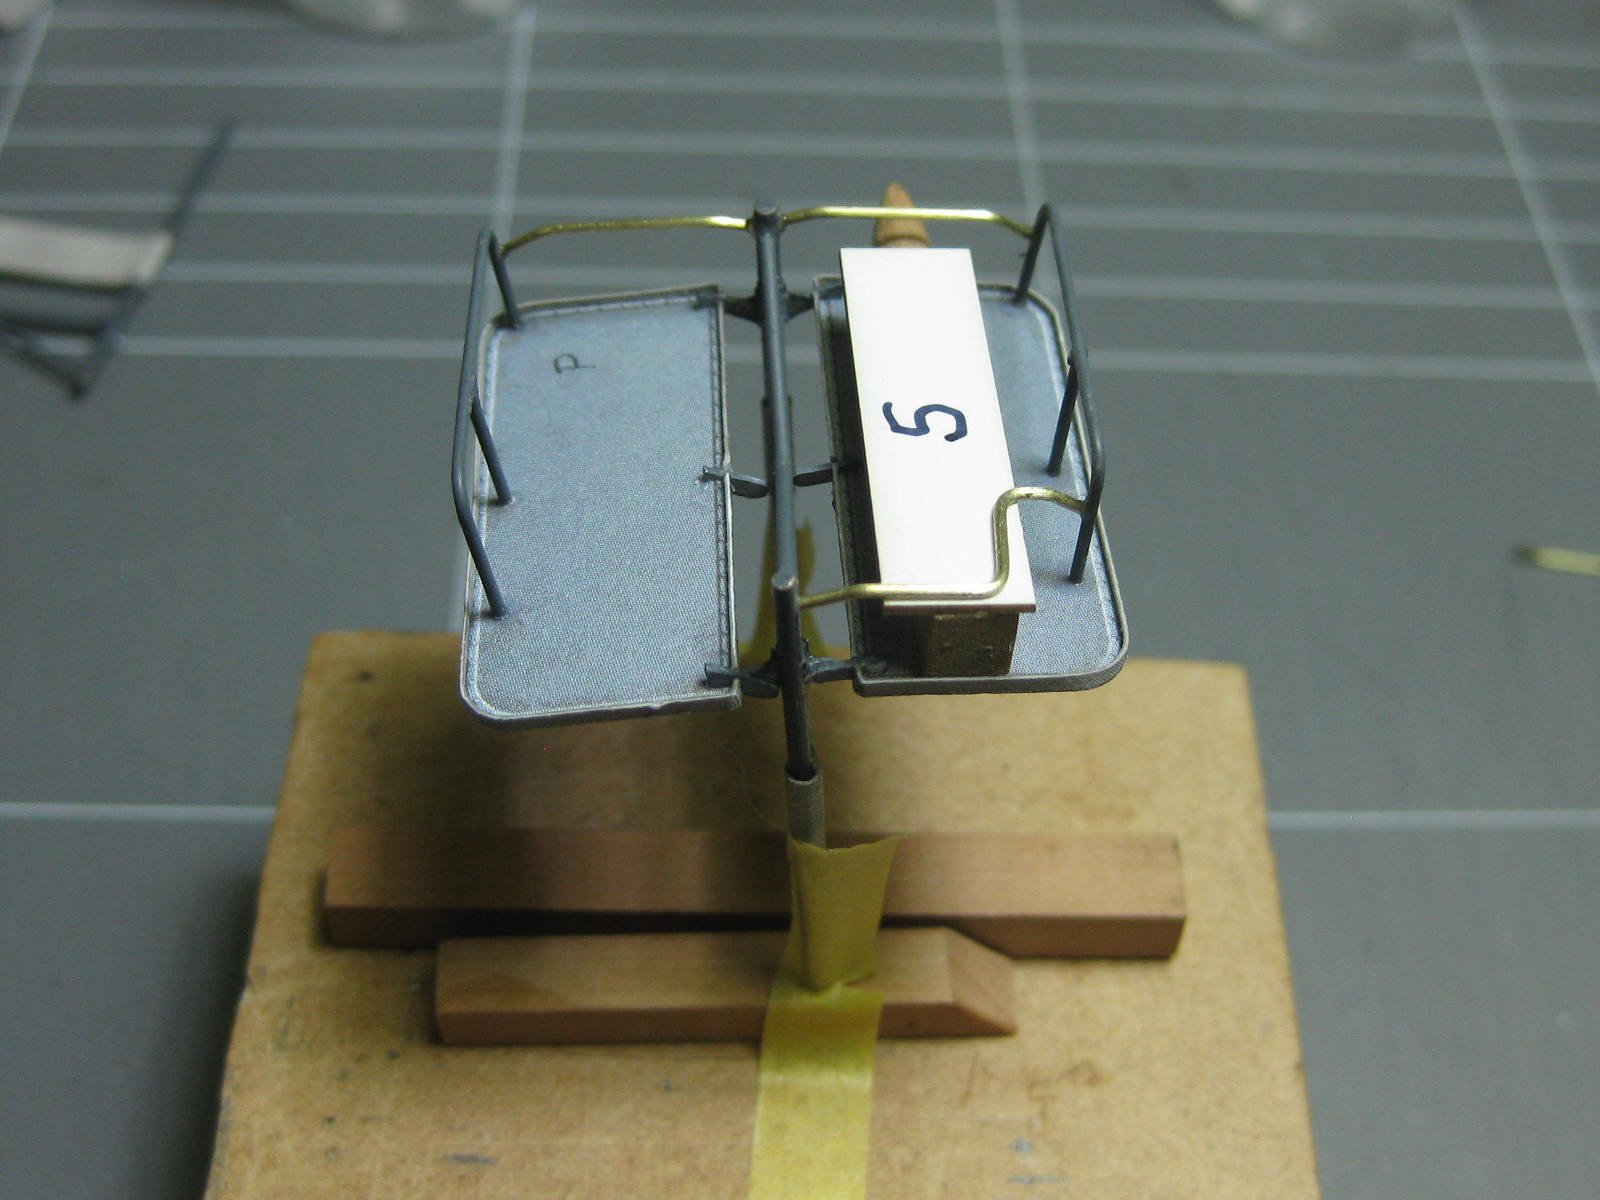
One of the bench seats. I used a jig to hold it for easier construction :
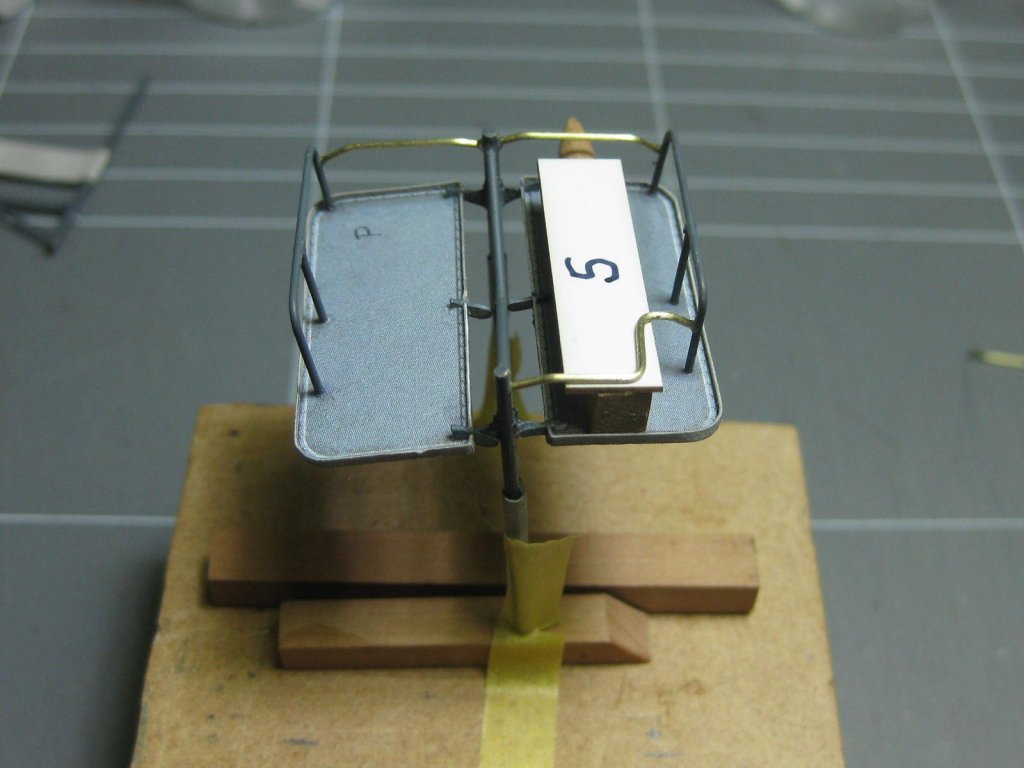
Next the rear wall and ceiling needed to be made and attached before I could fit the seats :


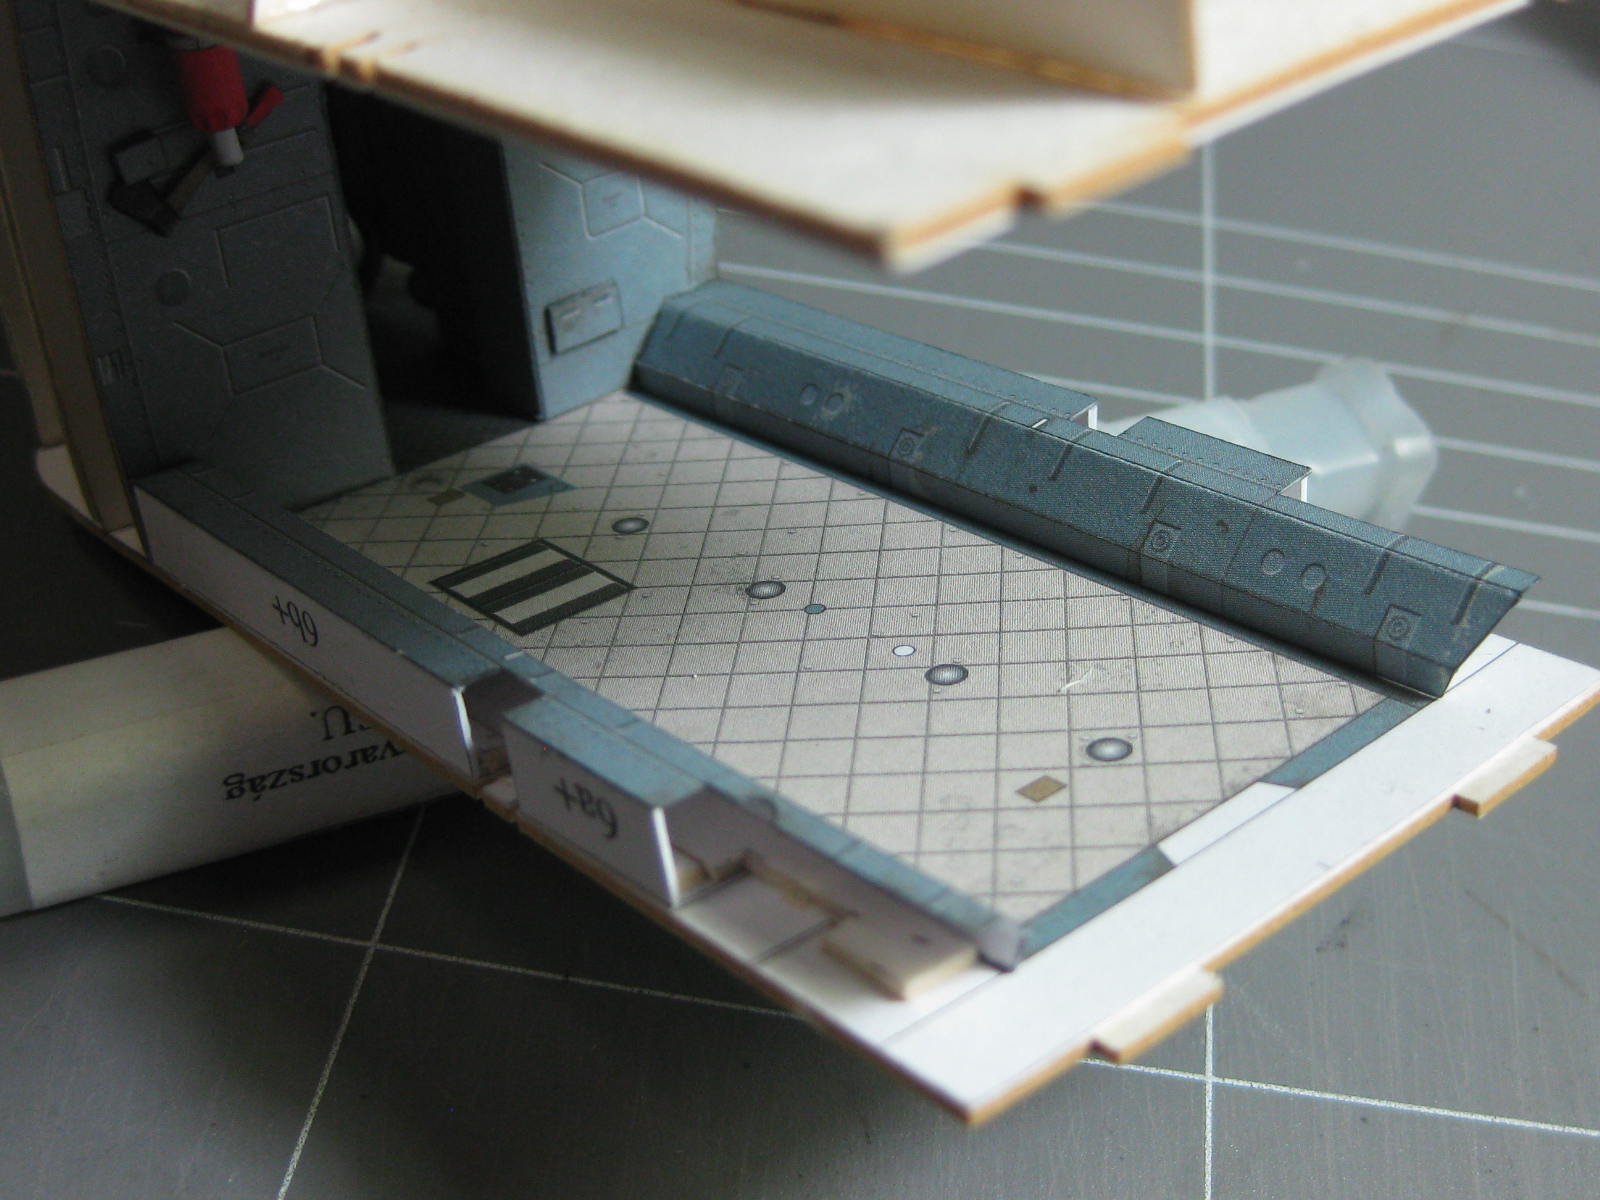
Finally, I started the upper framing :
Danny
-
21 hours ago, Old Collingwood said:
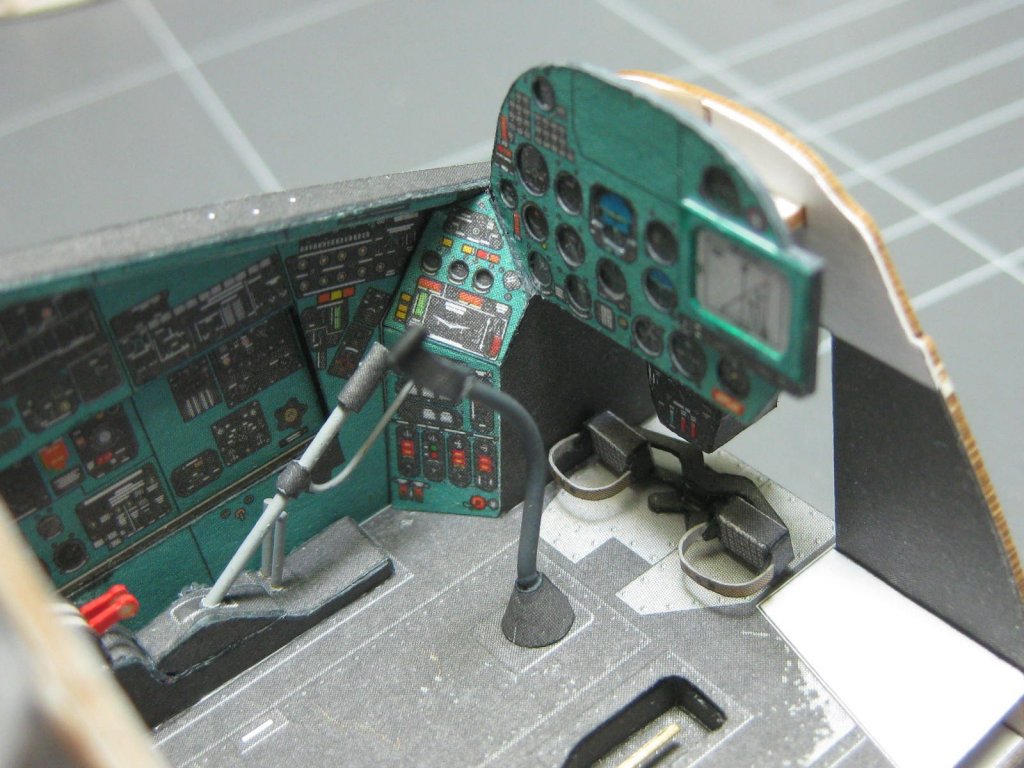
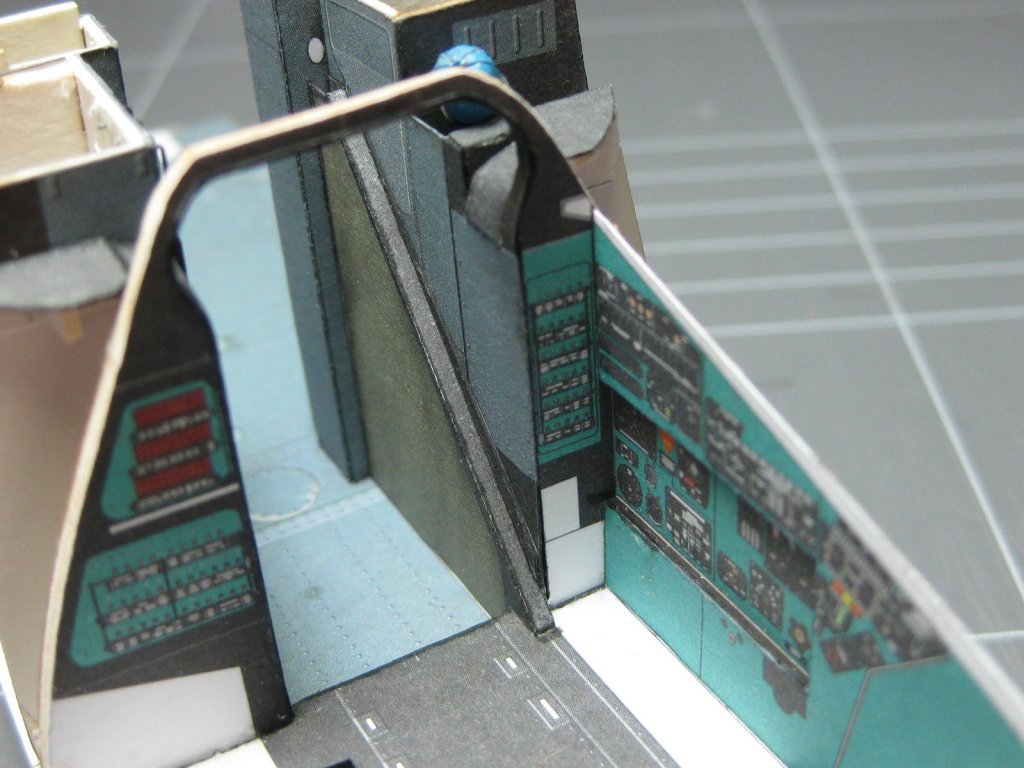
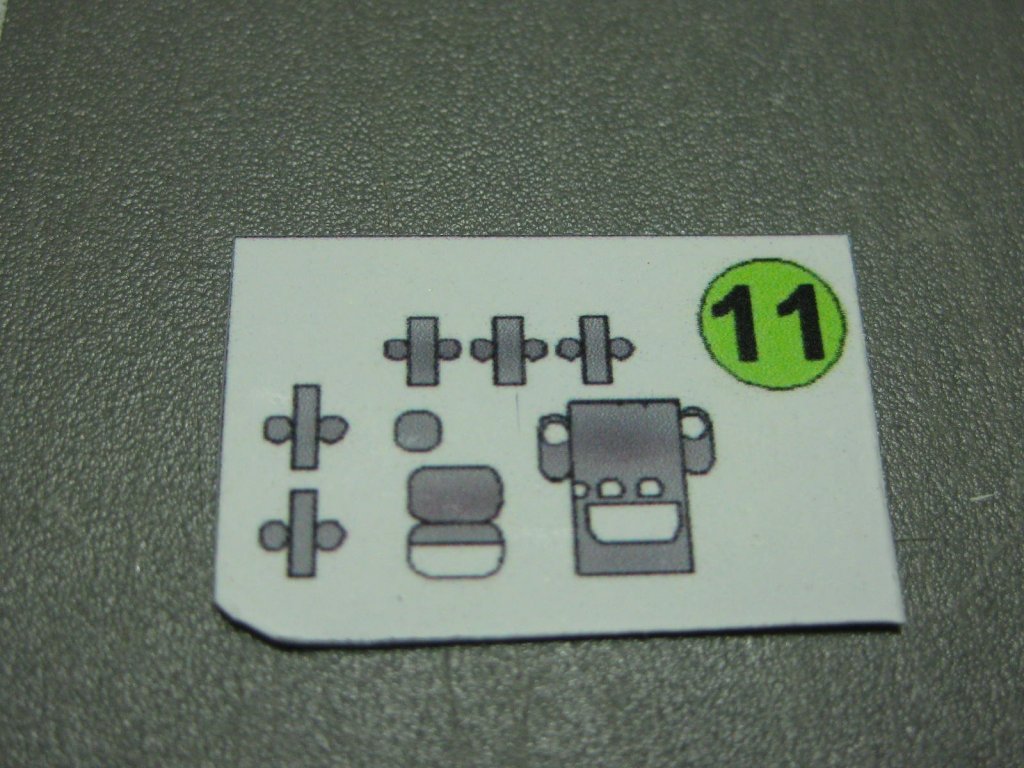
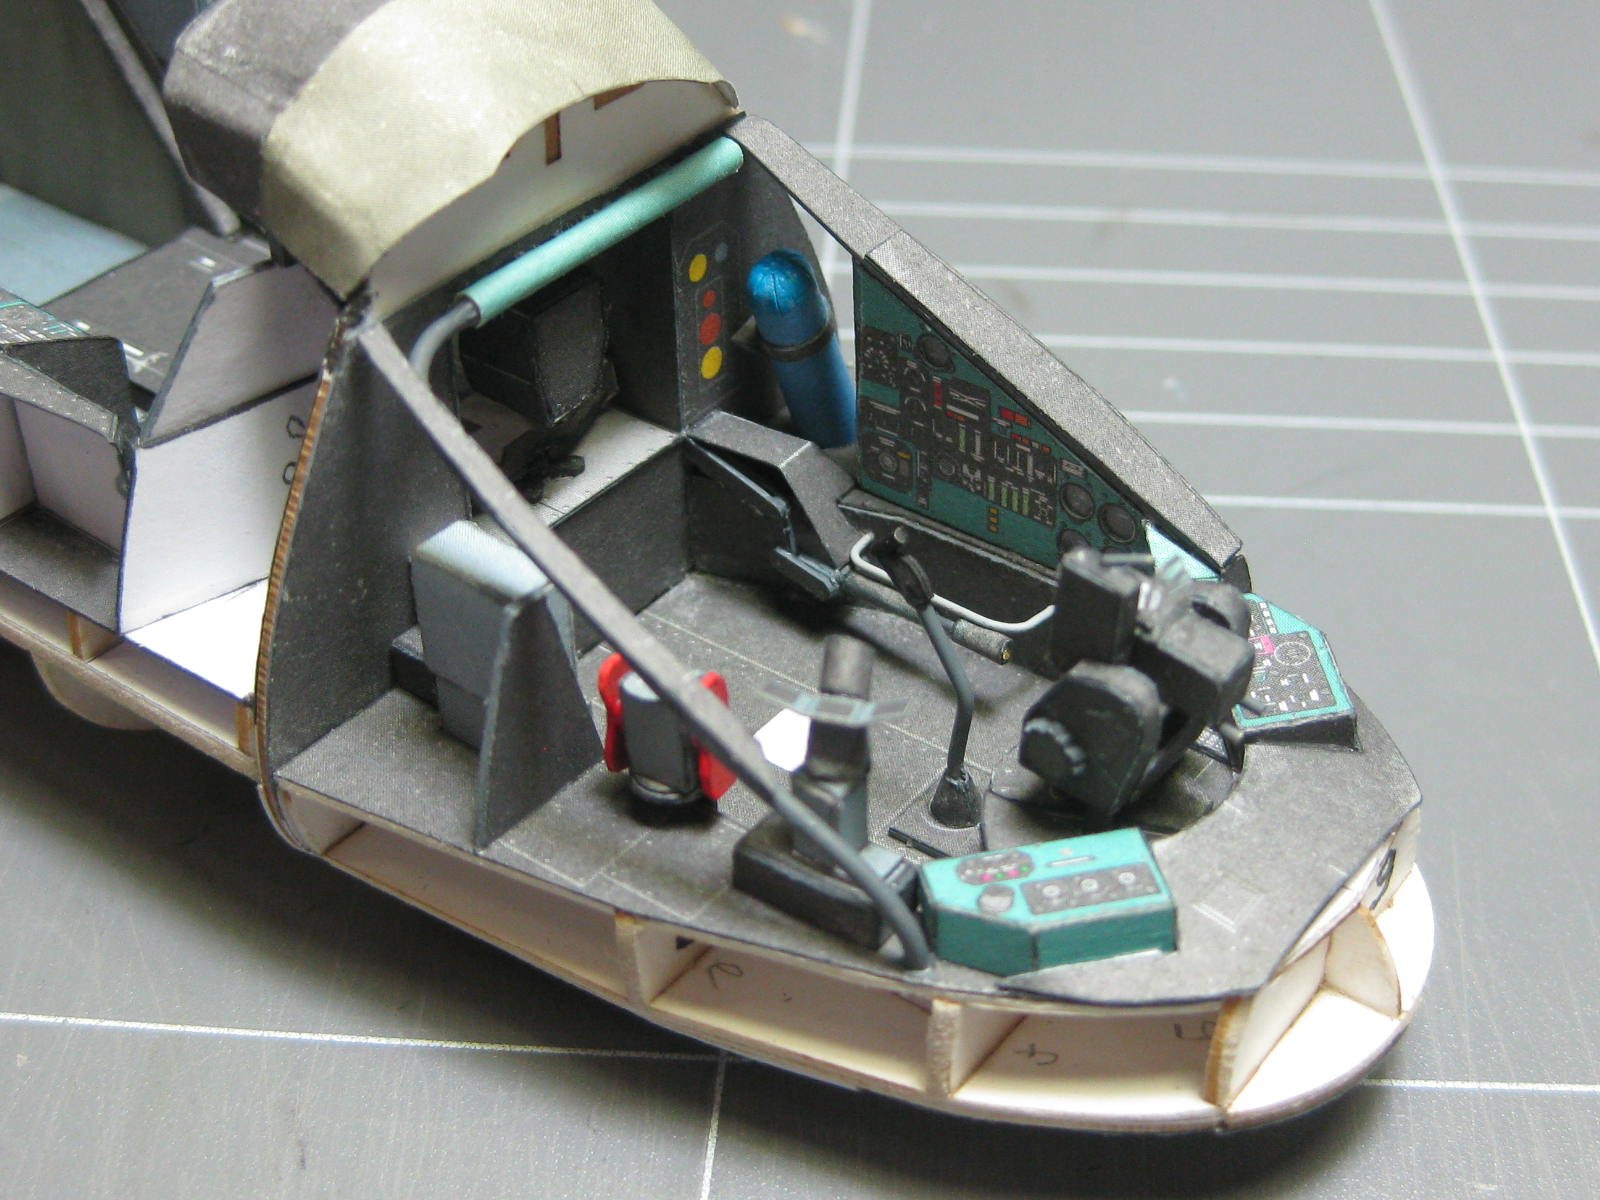
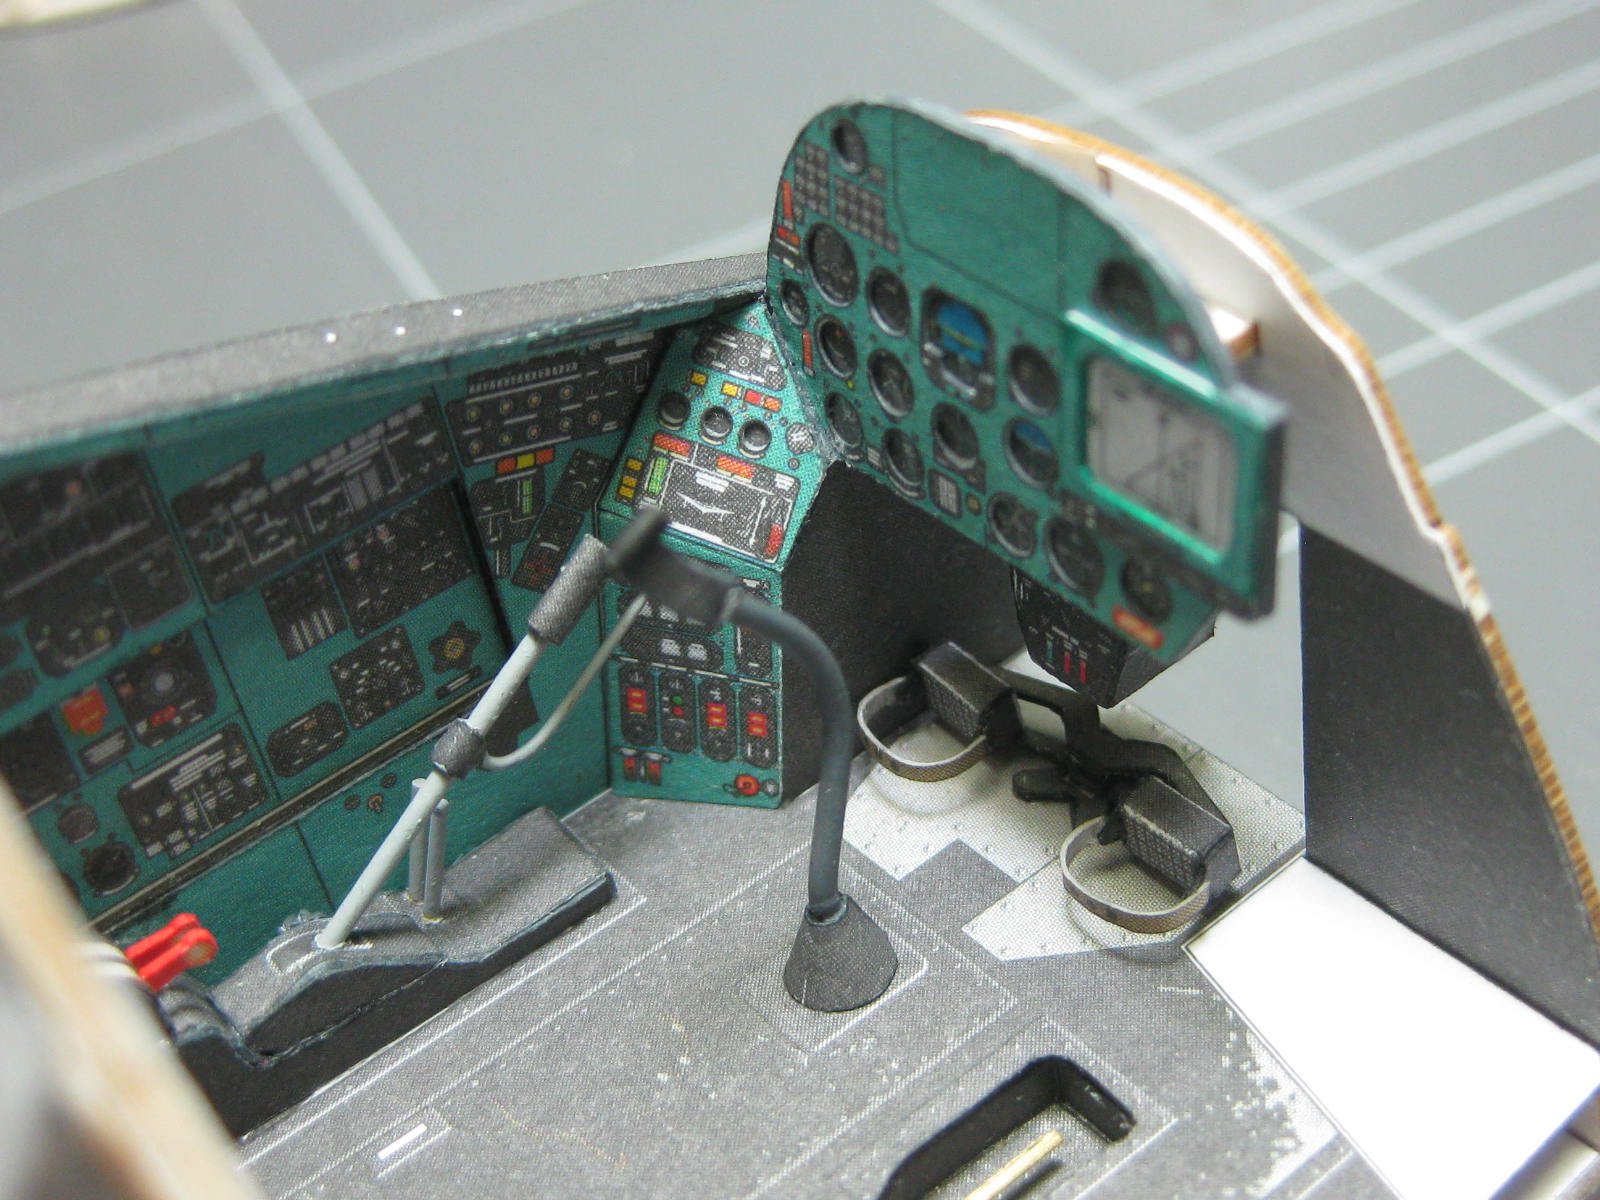
Dan, in the picture showing the instrument panel and foor pedals - shouldn't they be upright were the feet pass through the loops.
OC.
You may be right OC, however "I was just following orders"
. That's the orientation shown in the instructions :

Danny
-
-
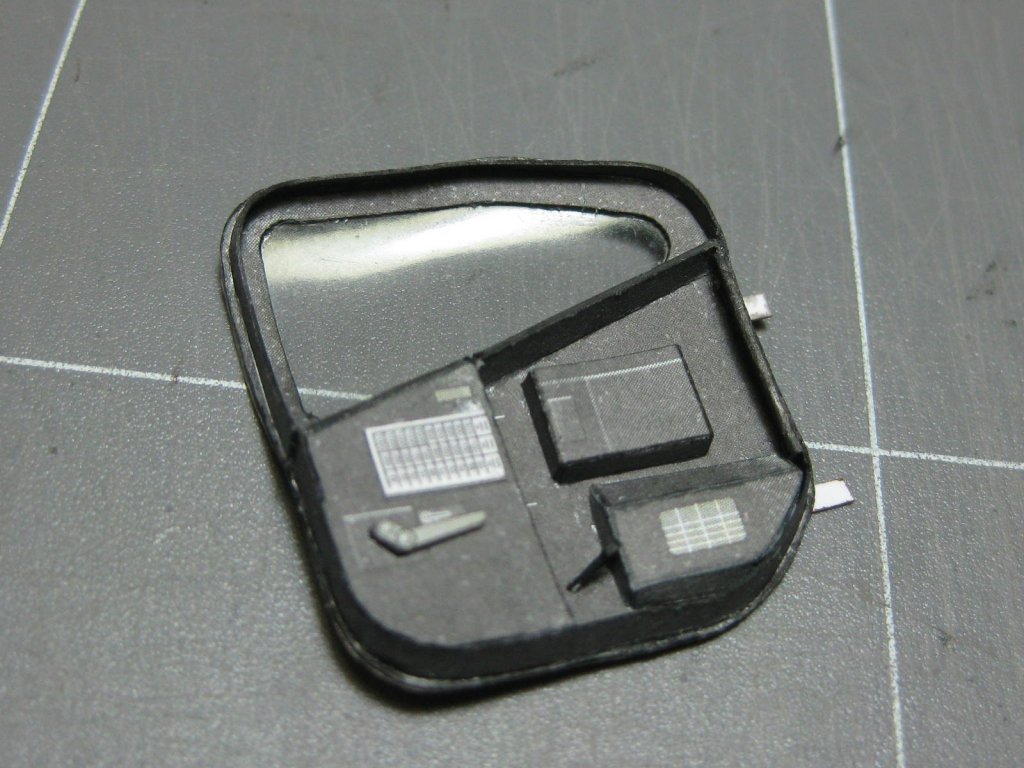
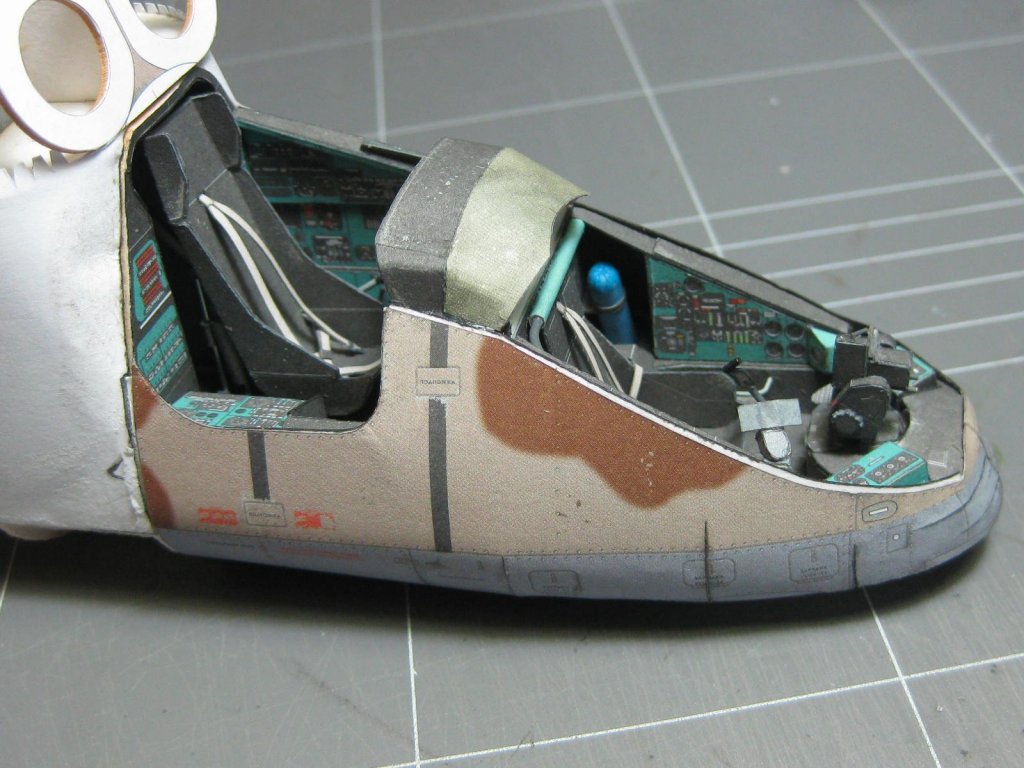
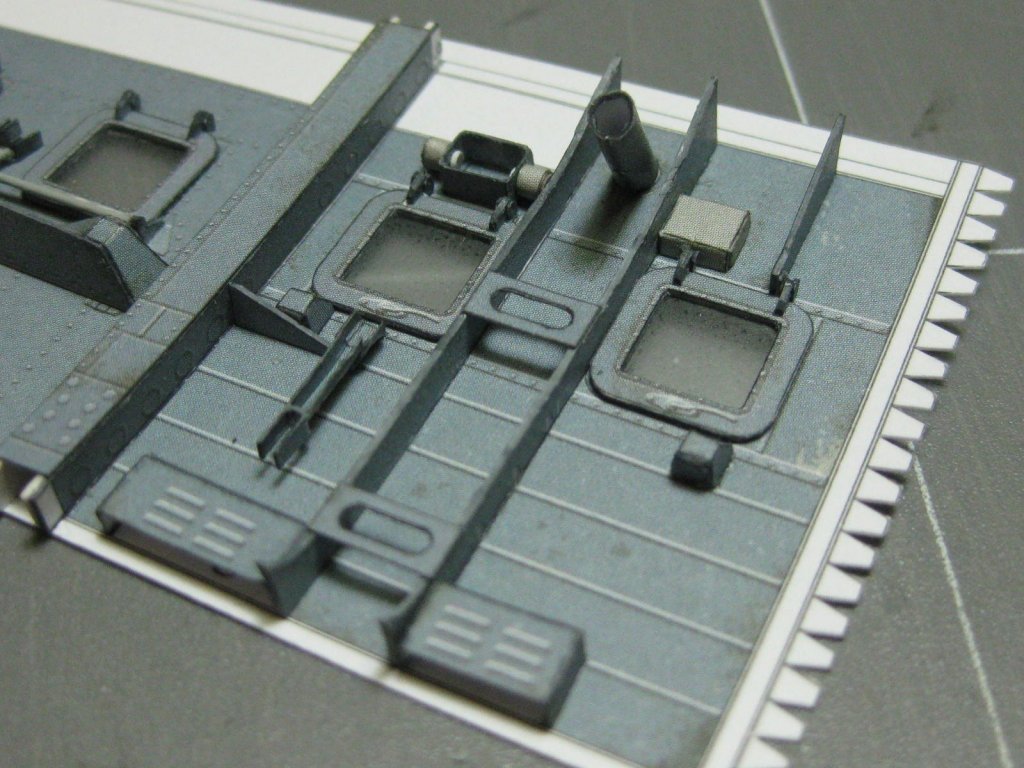
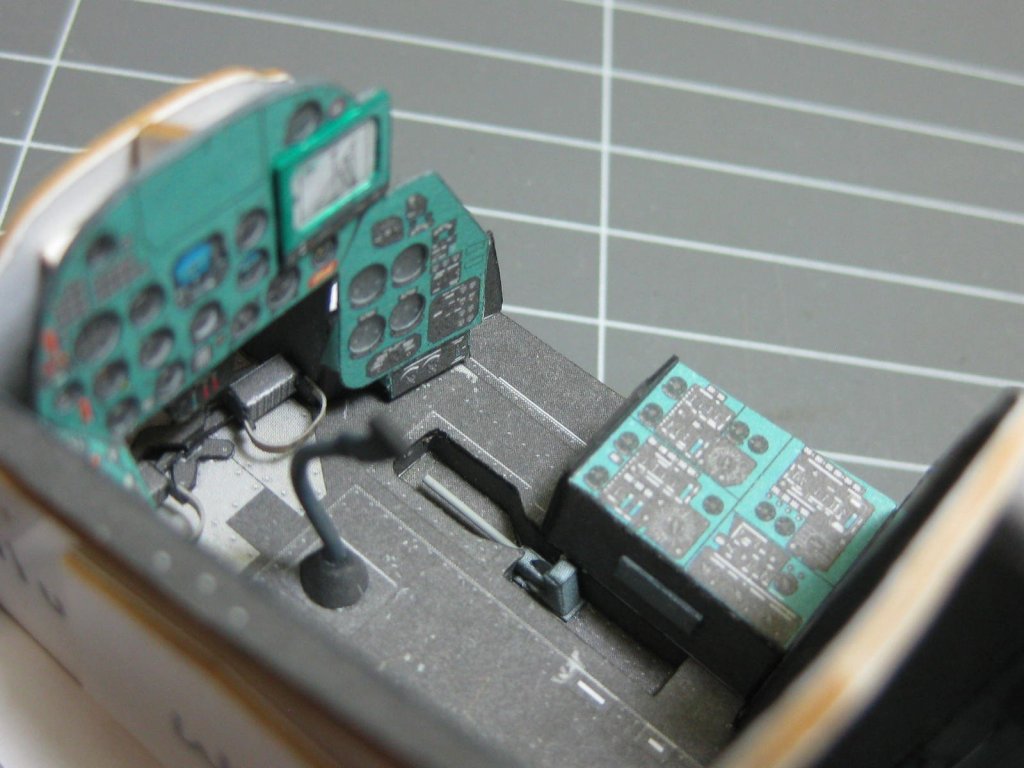
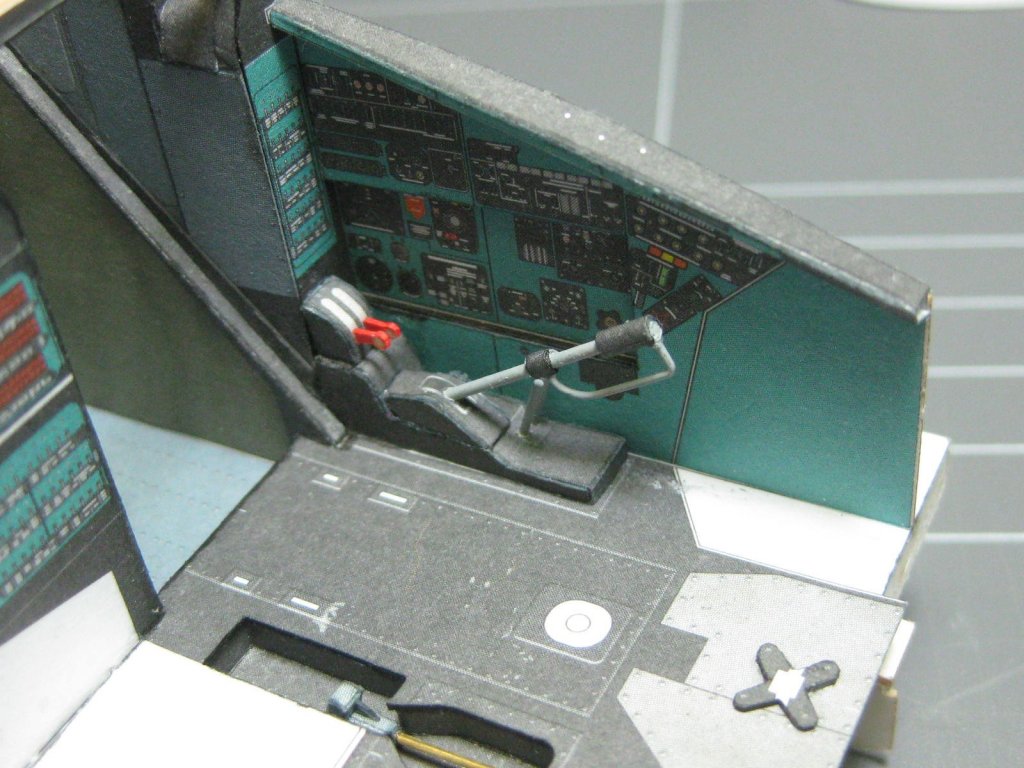
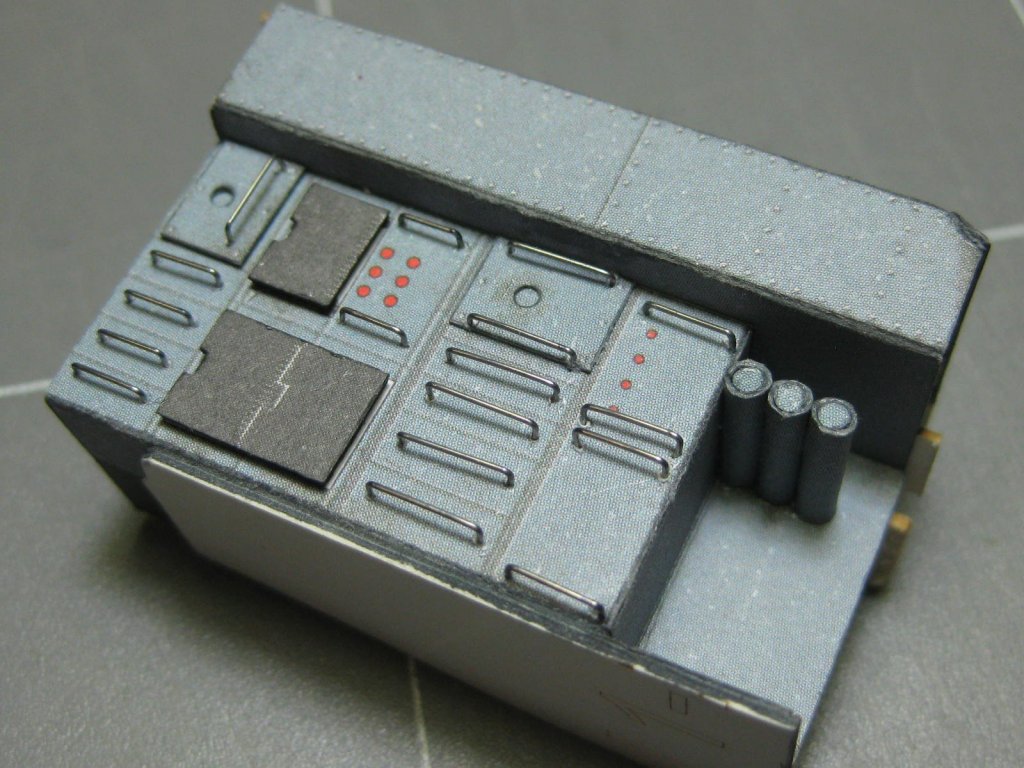
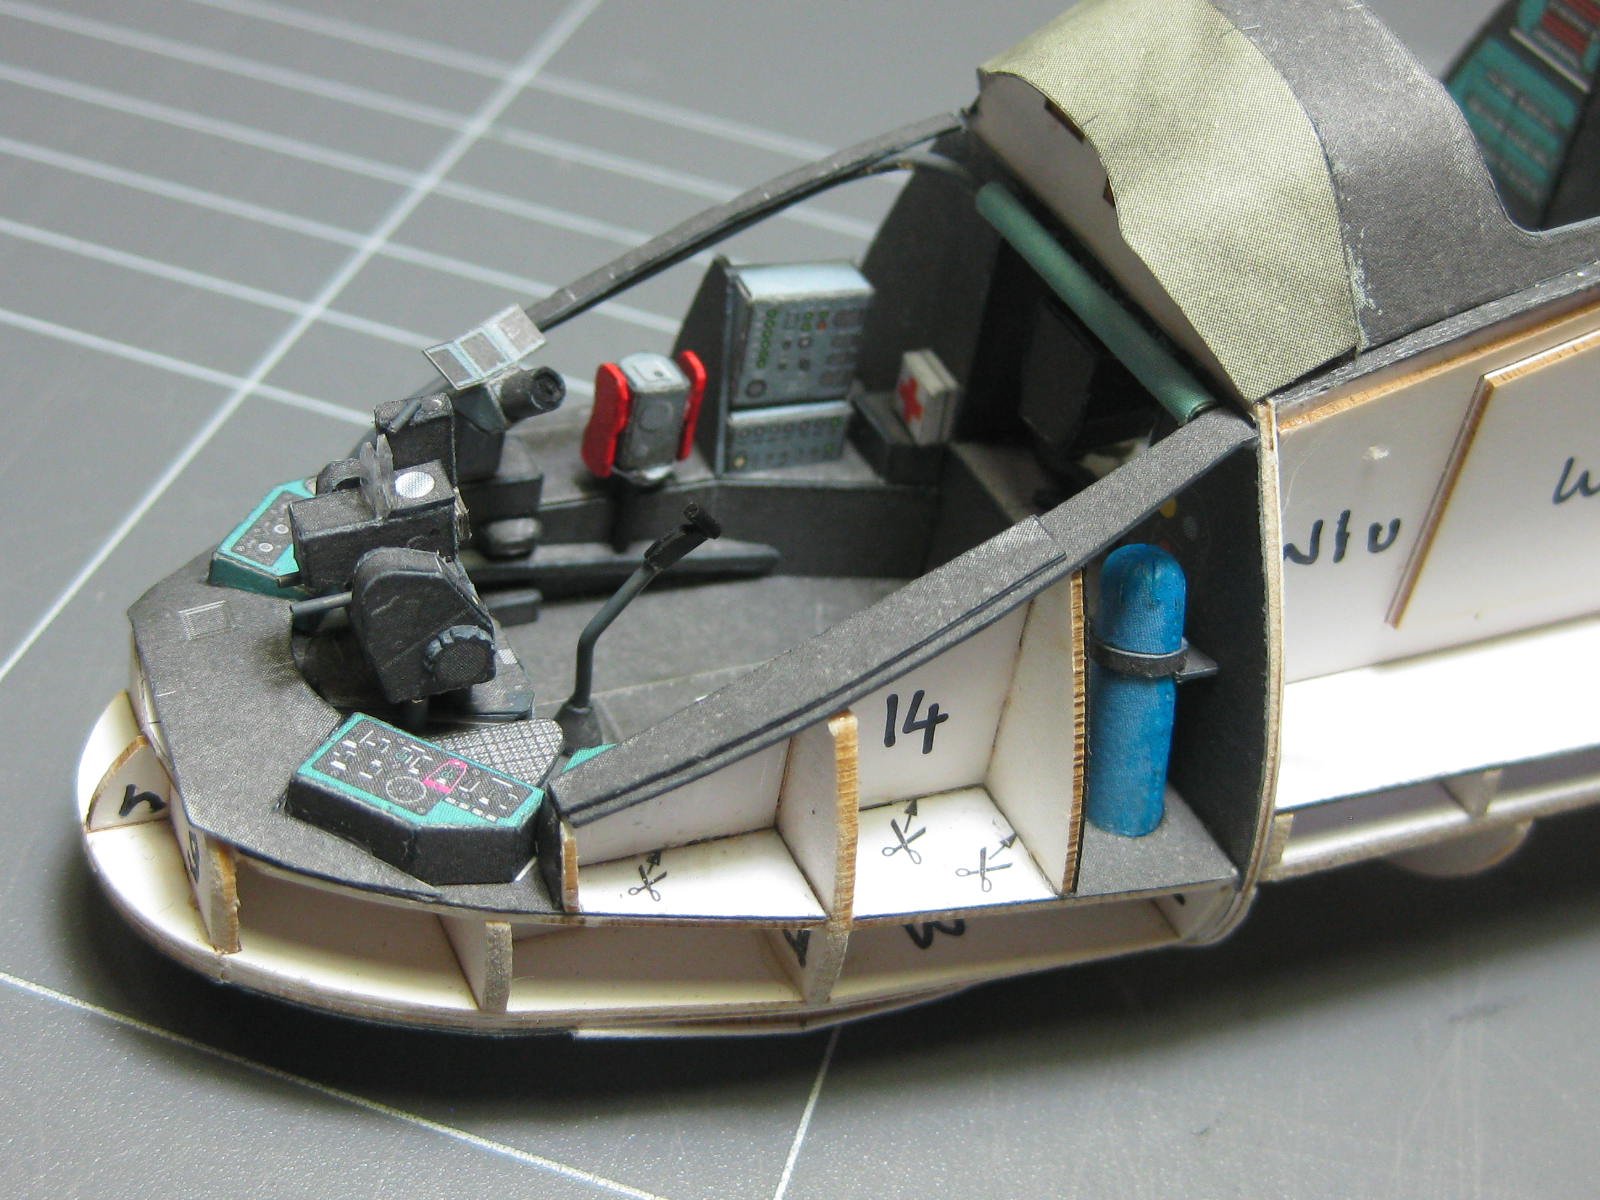
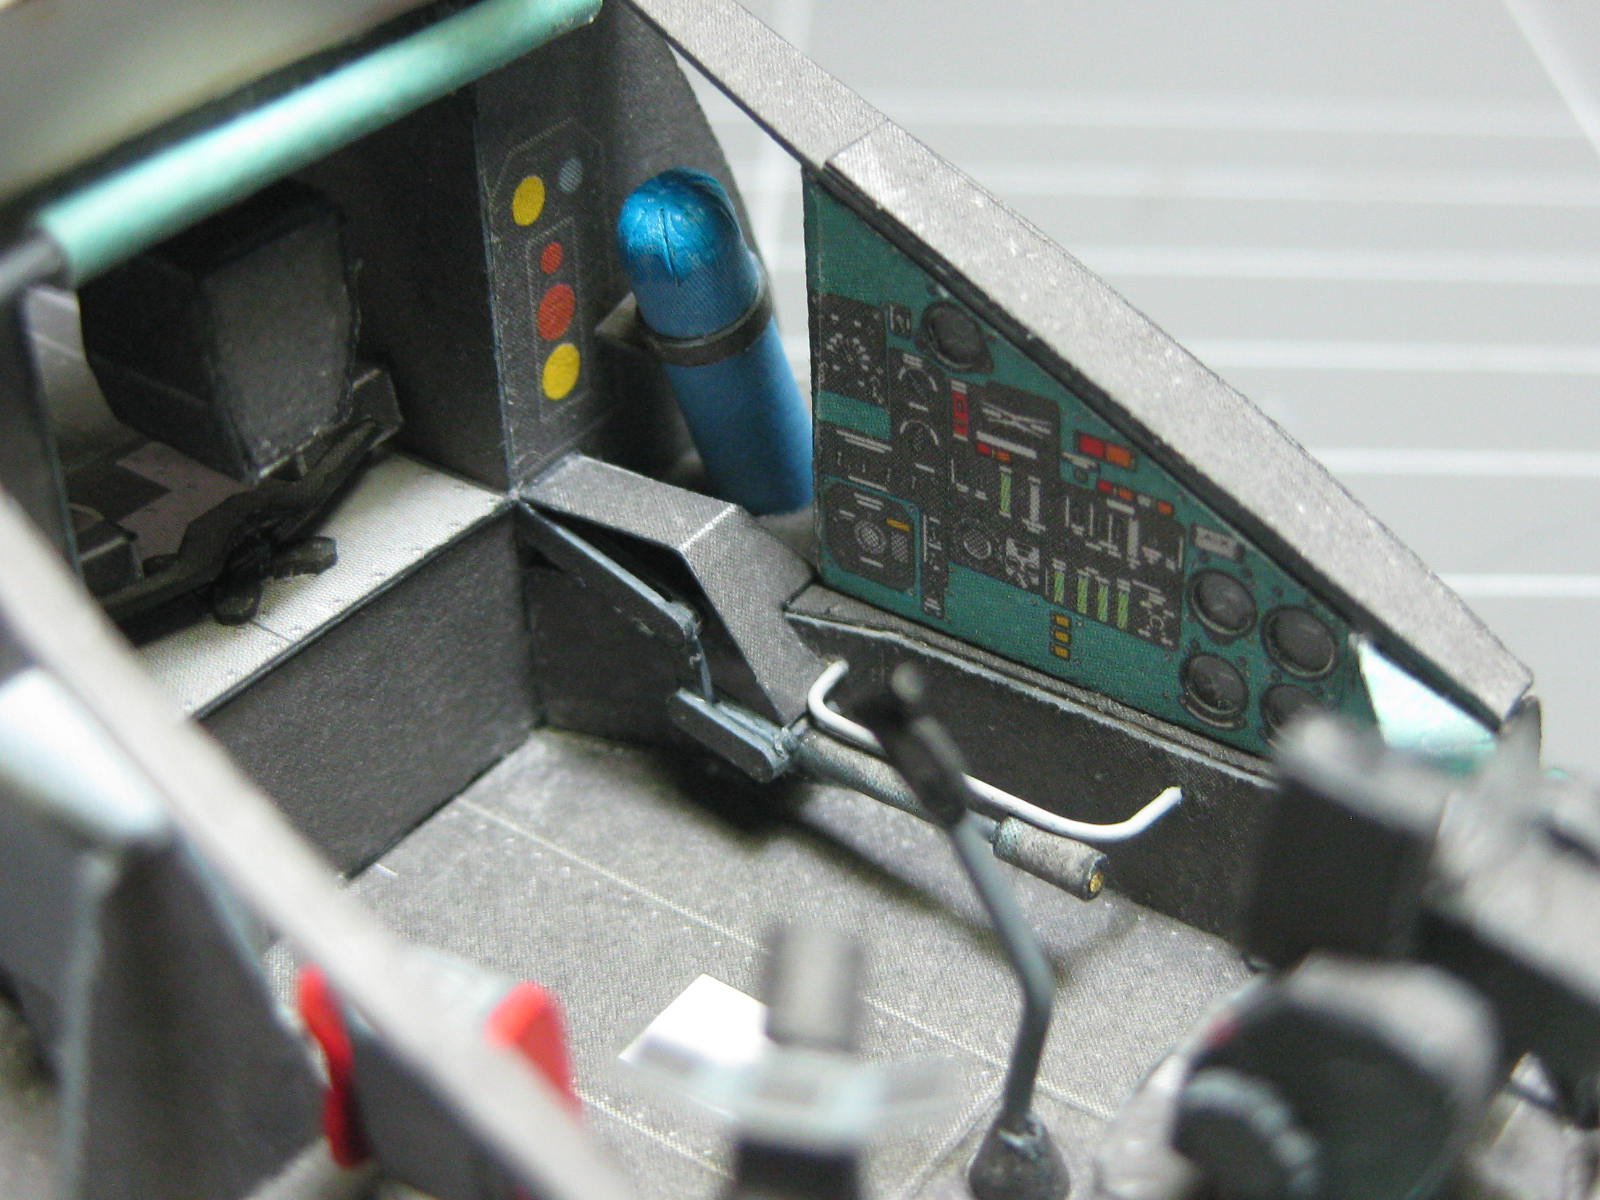
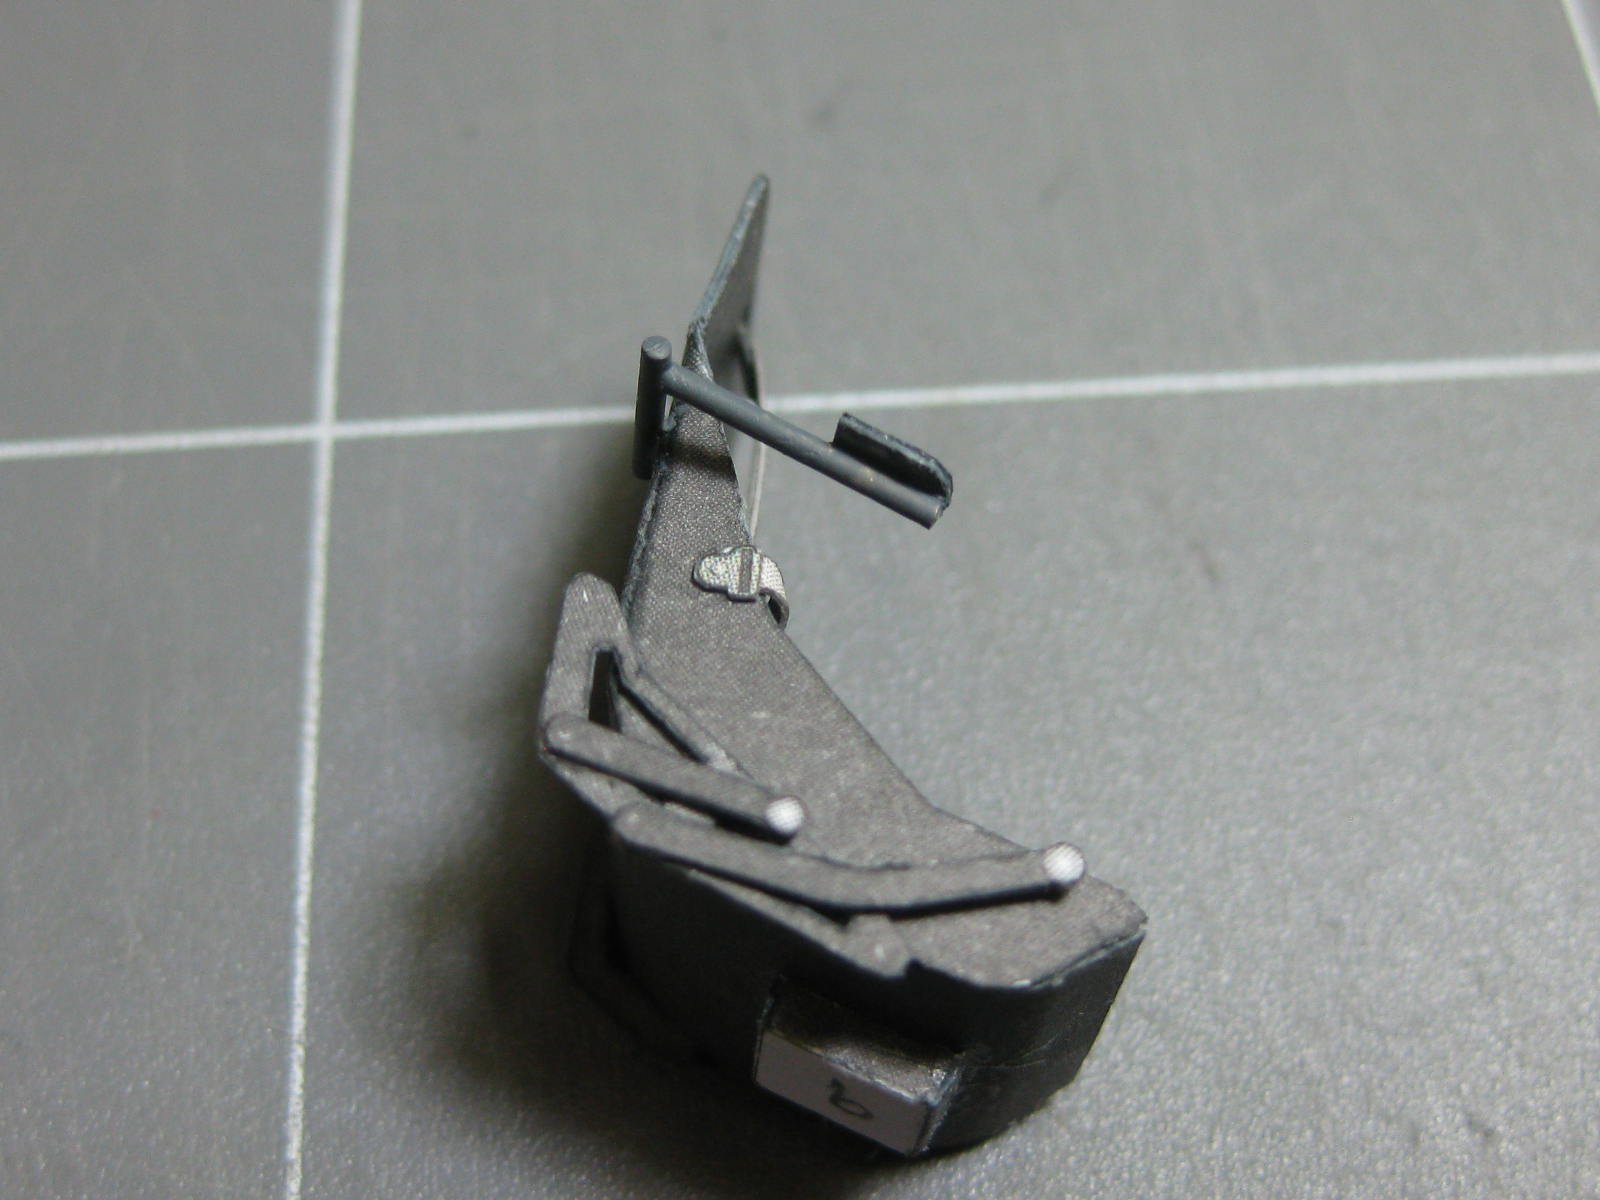
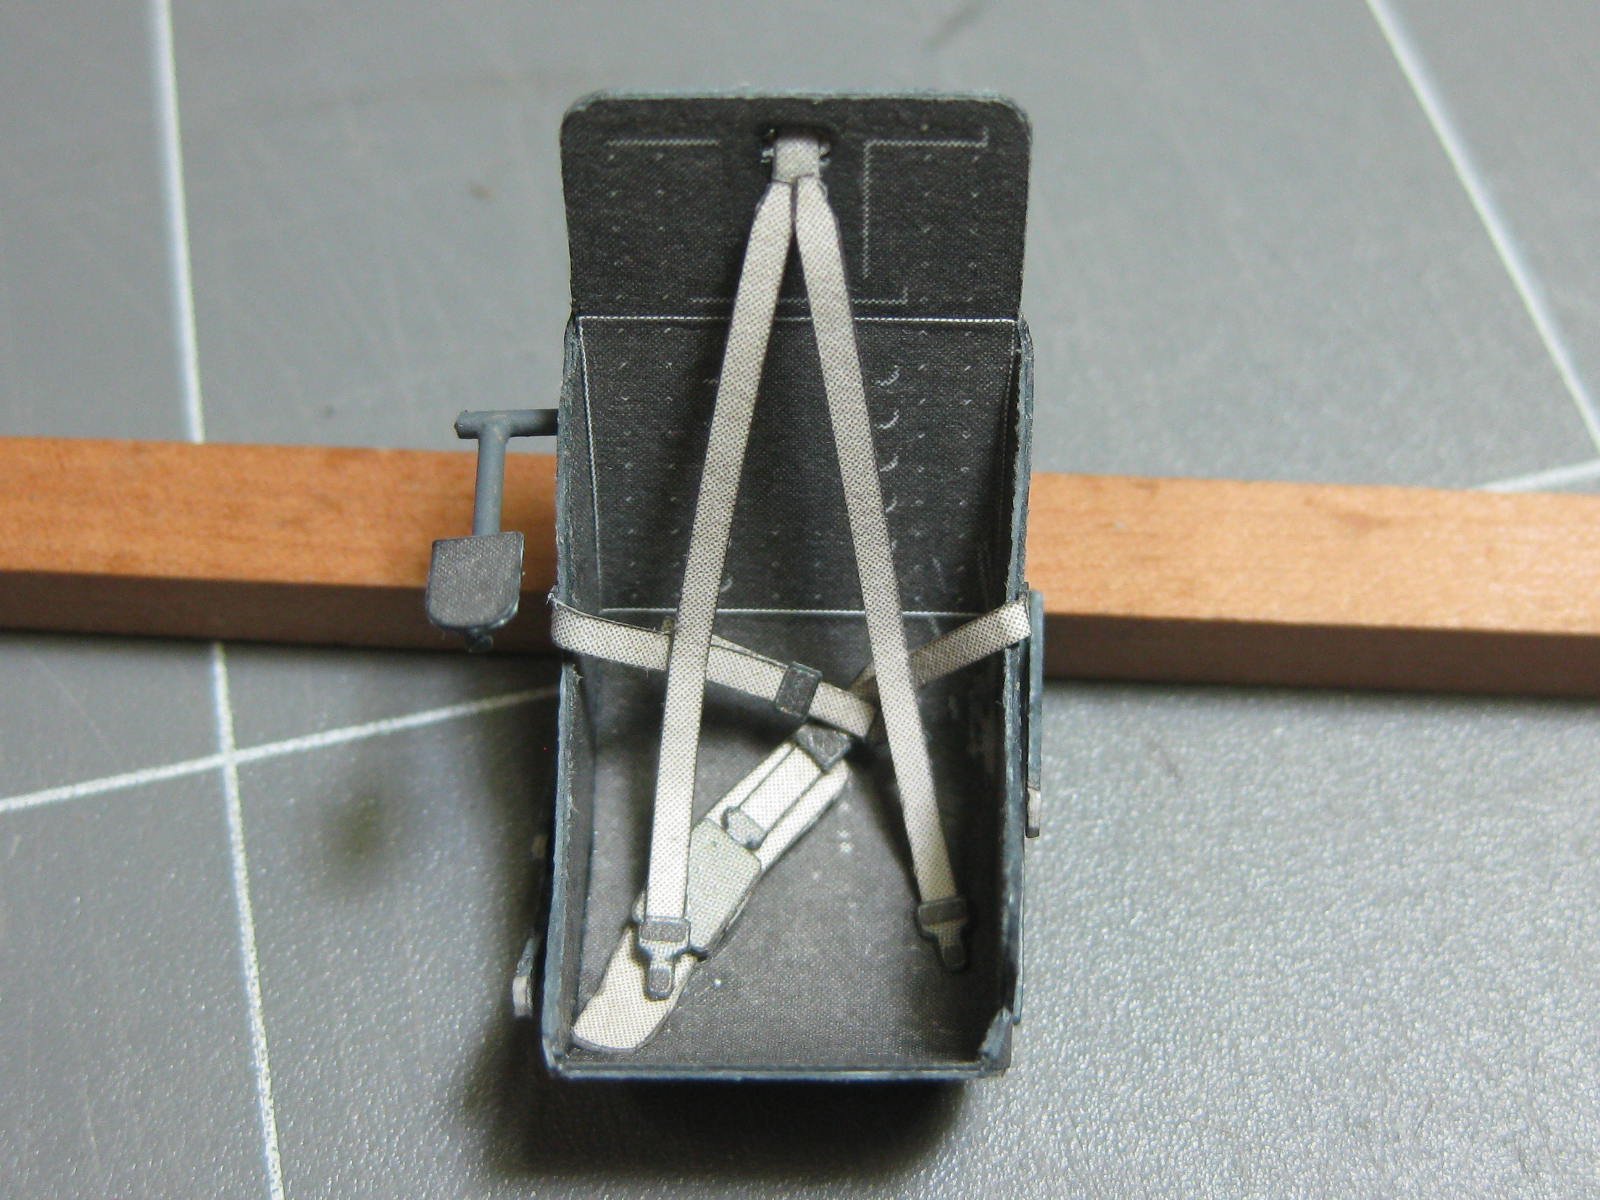
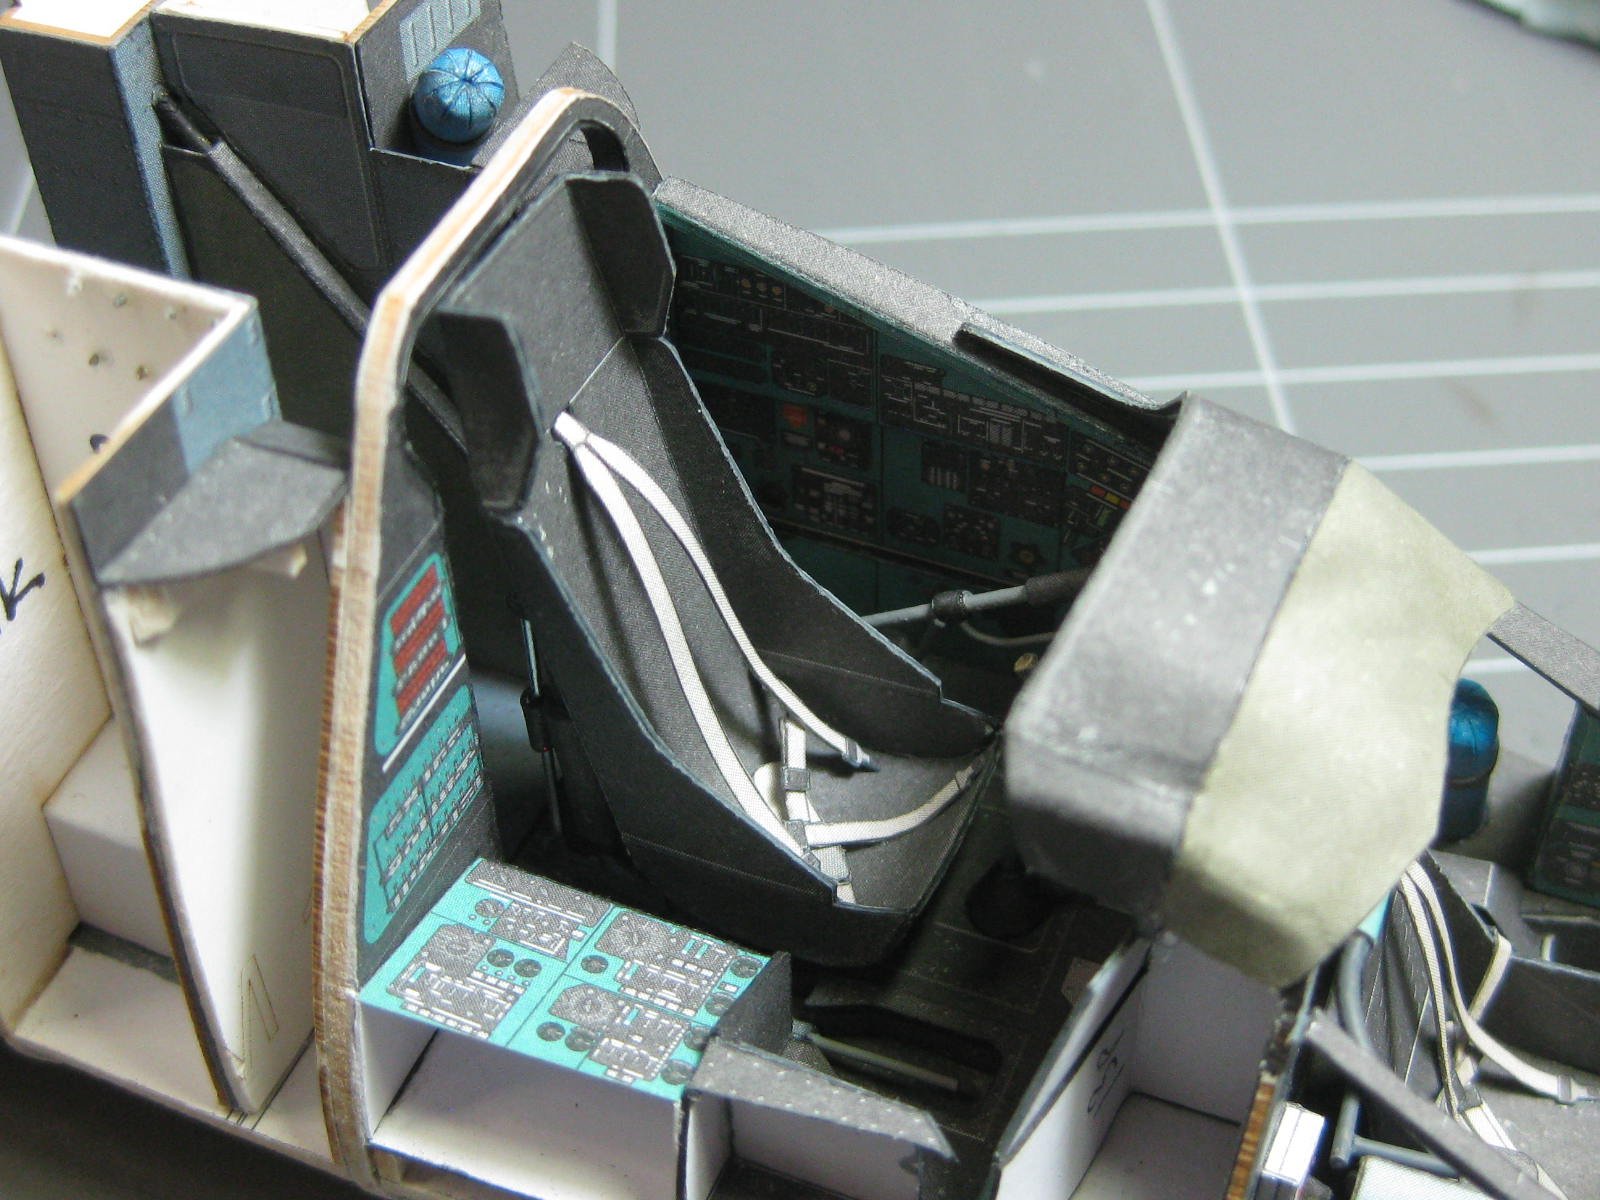
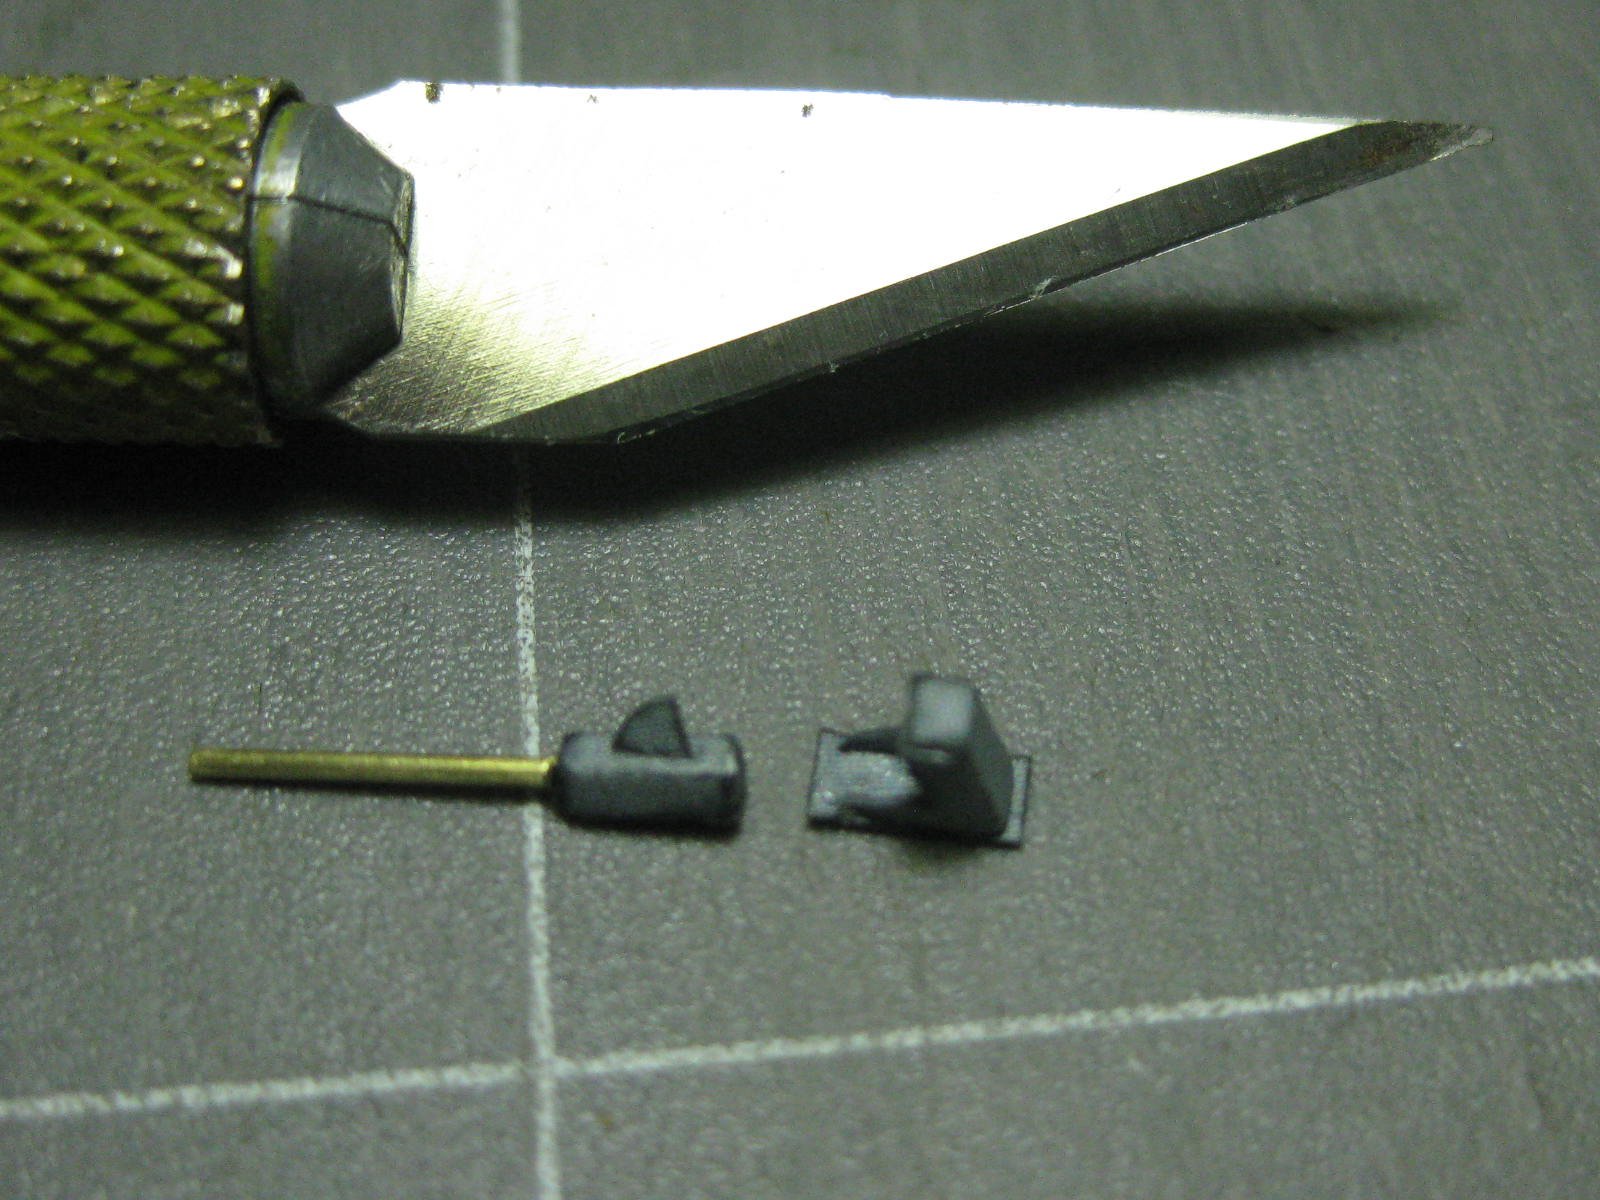
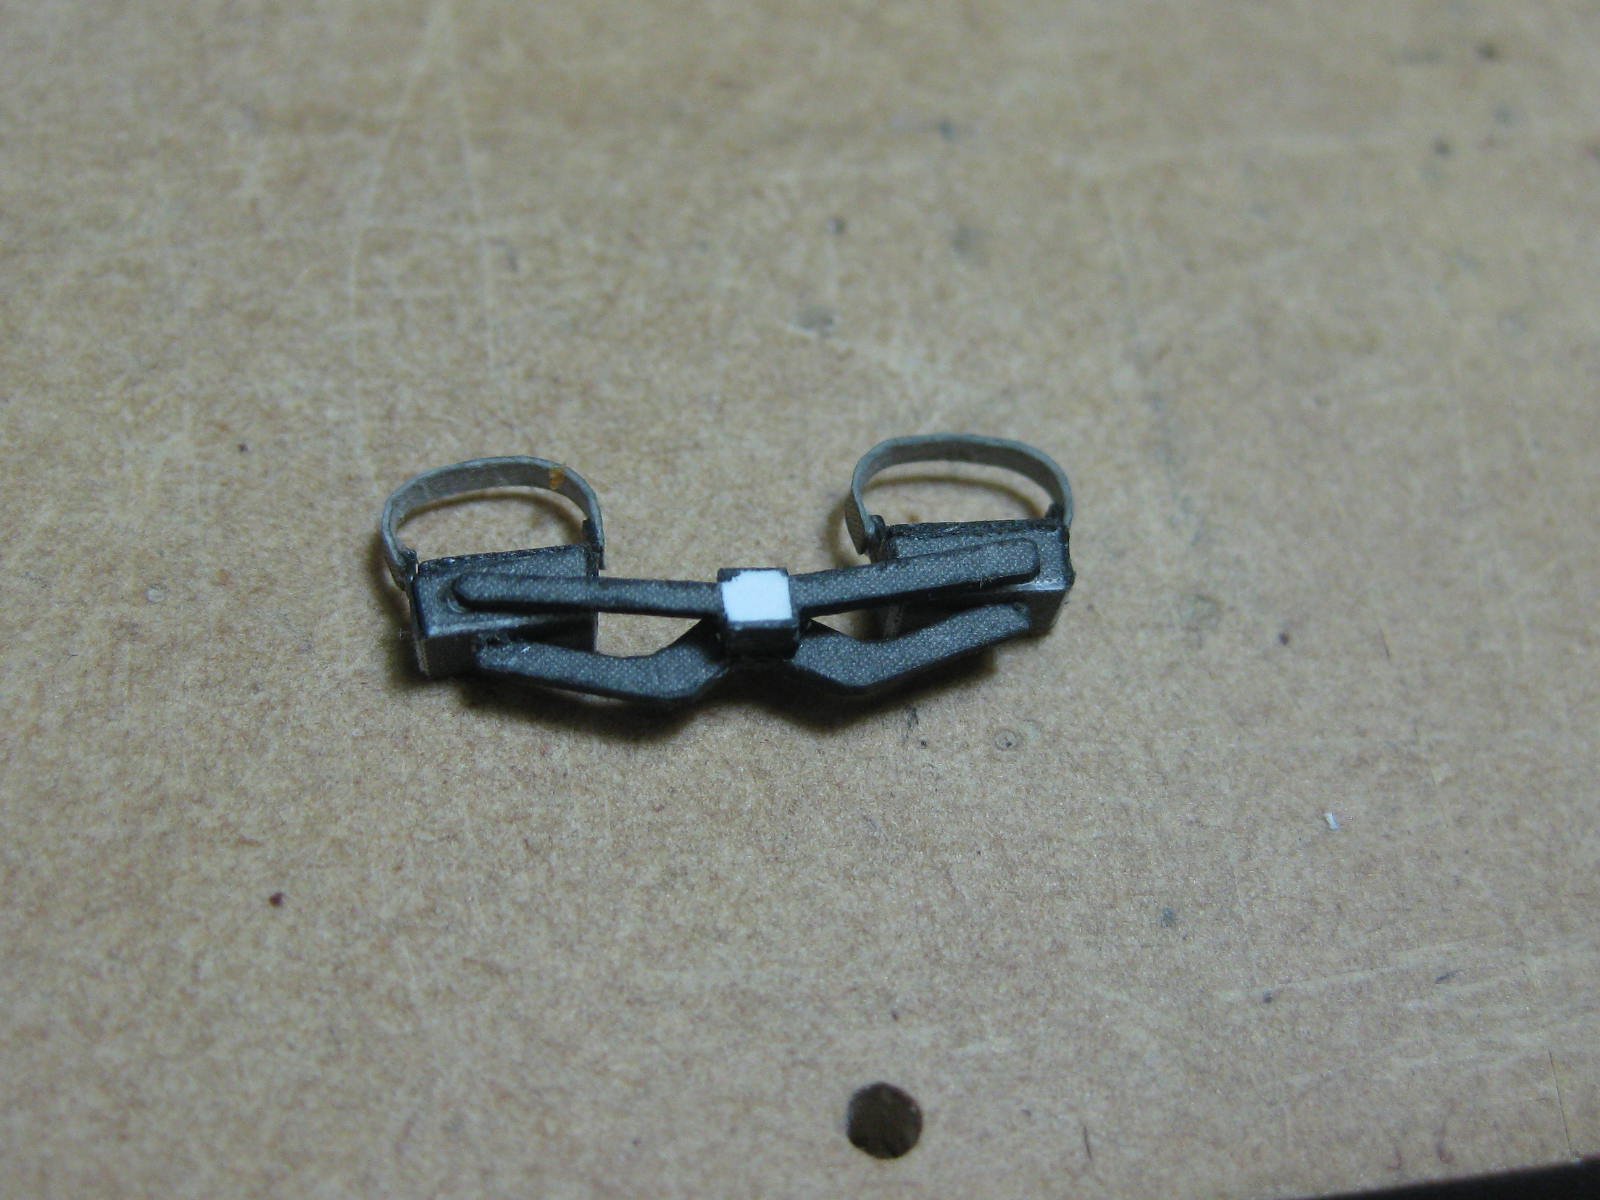
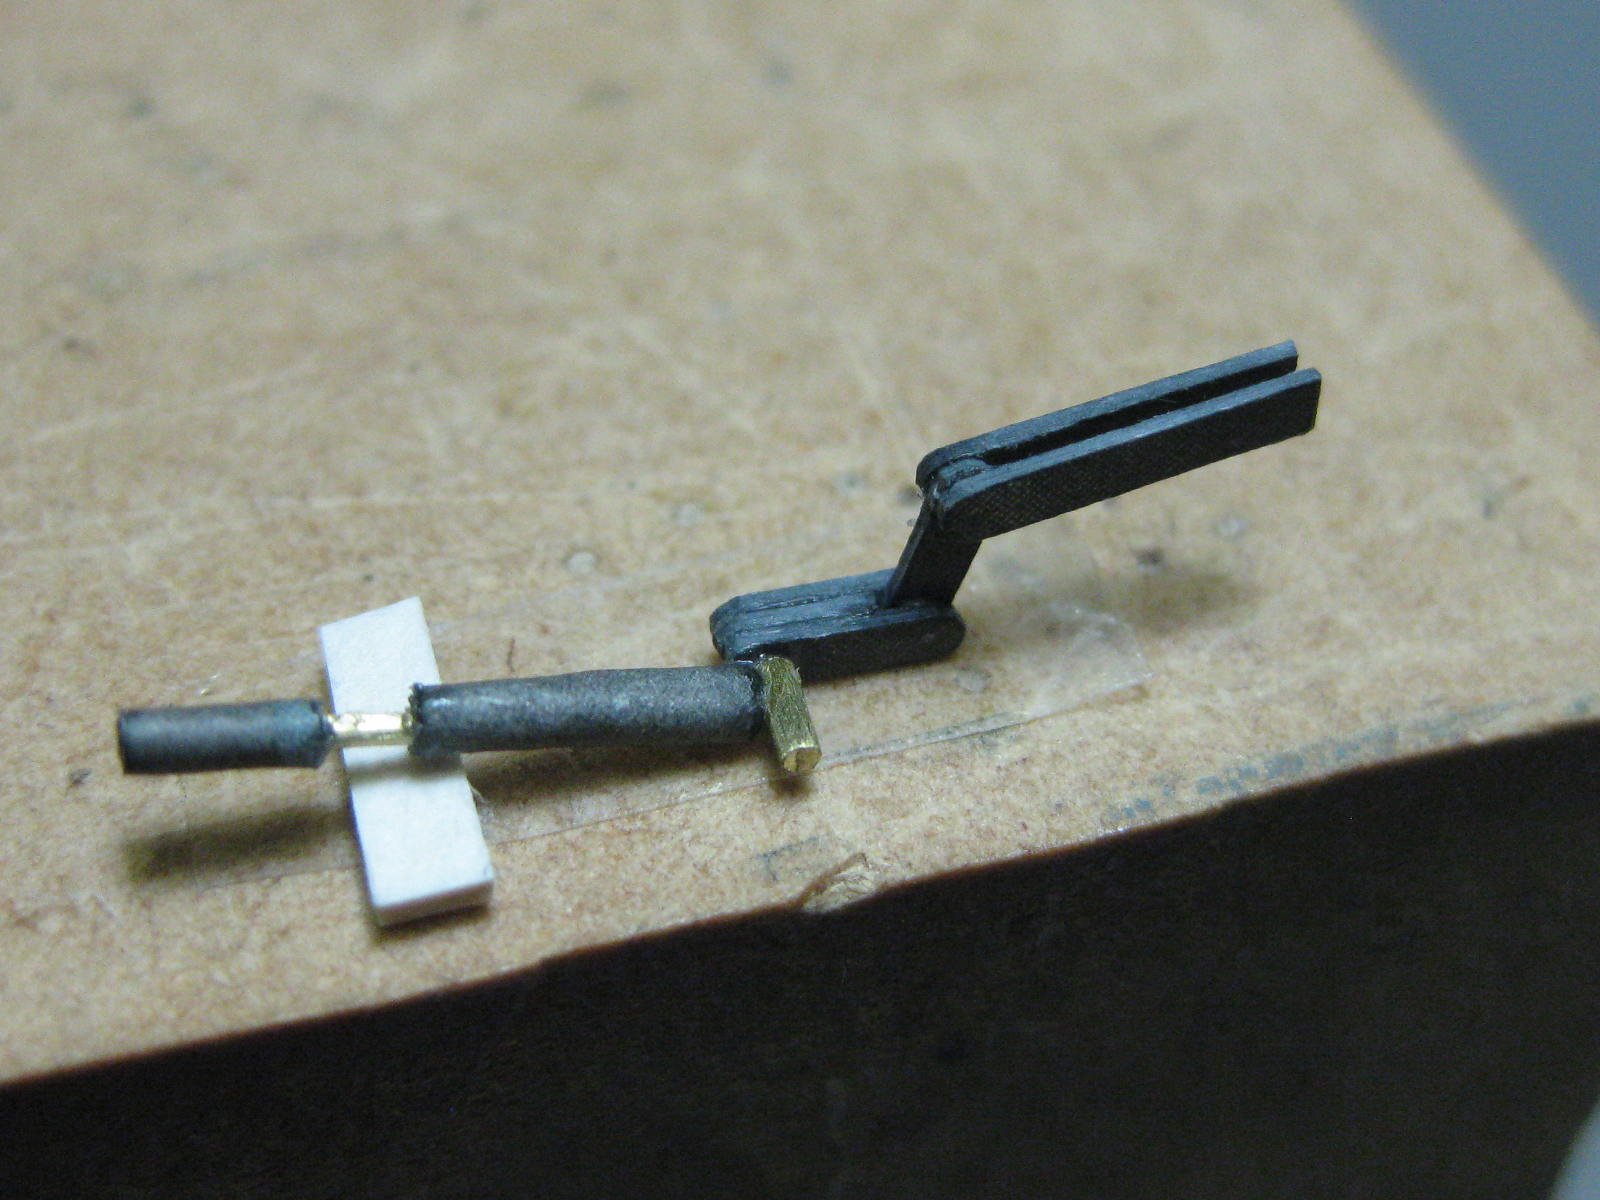
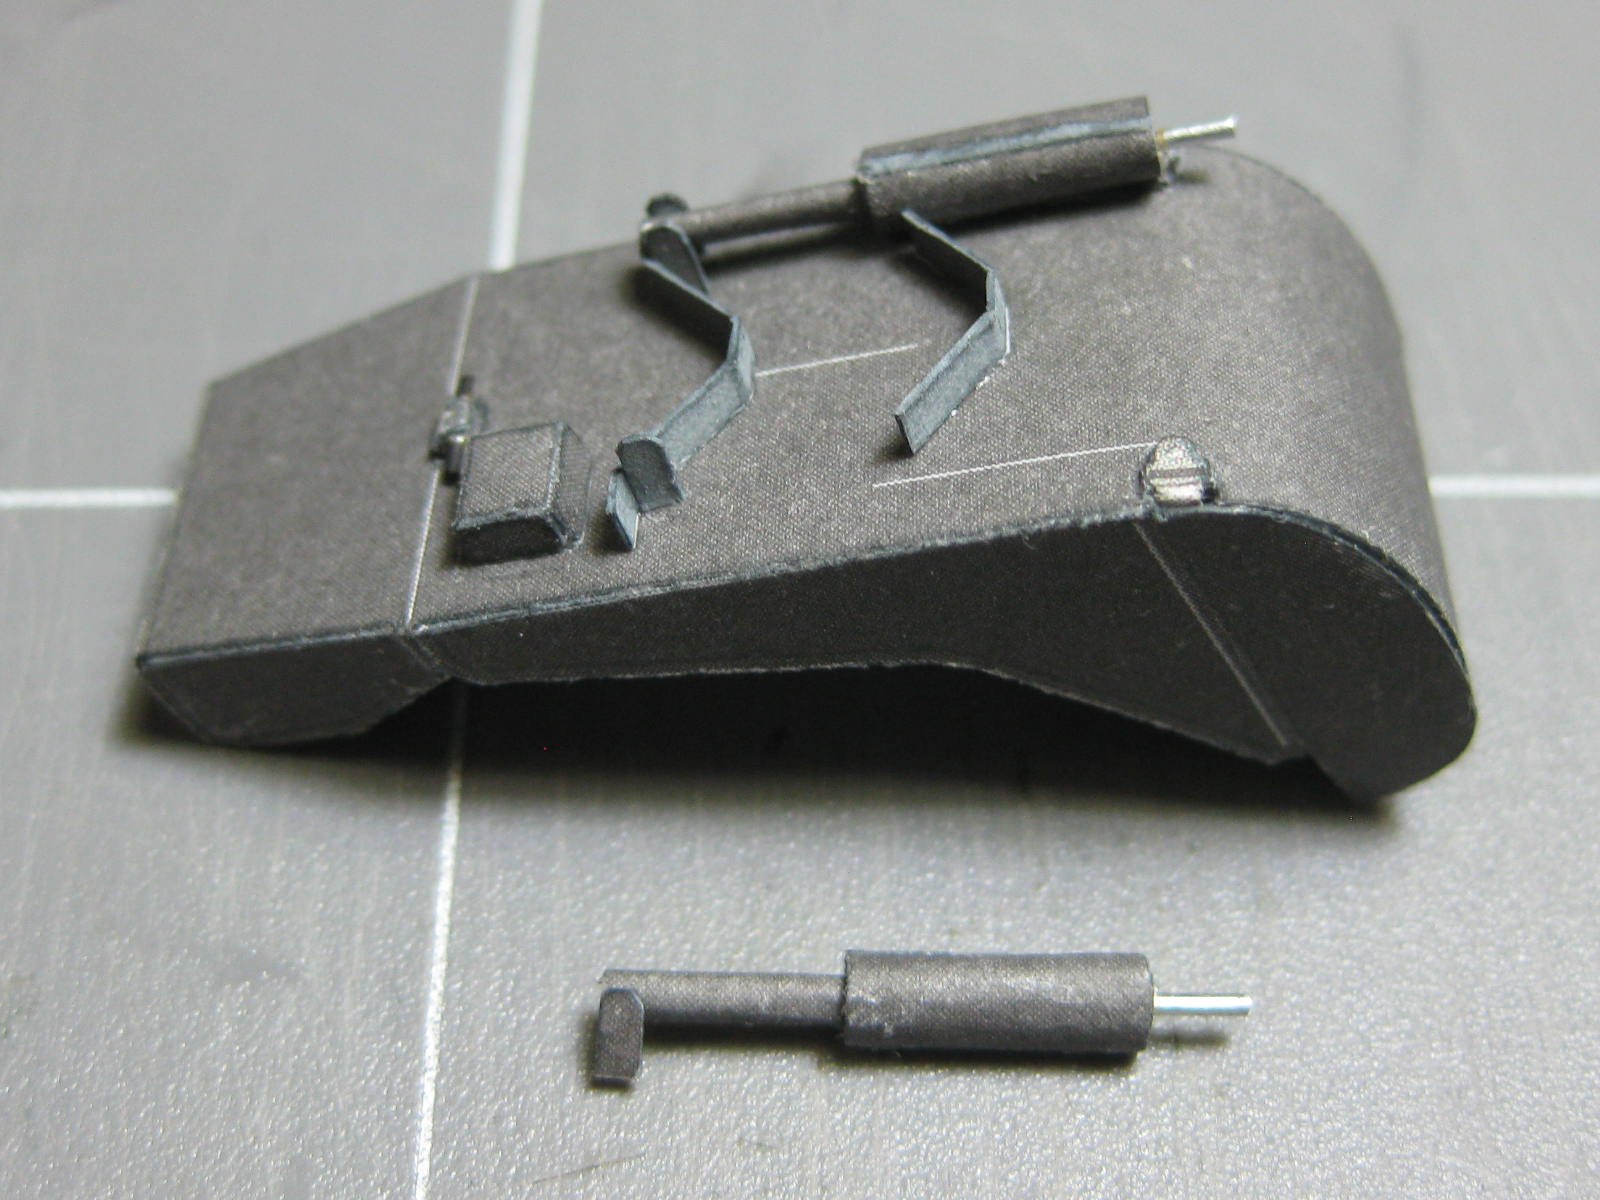
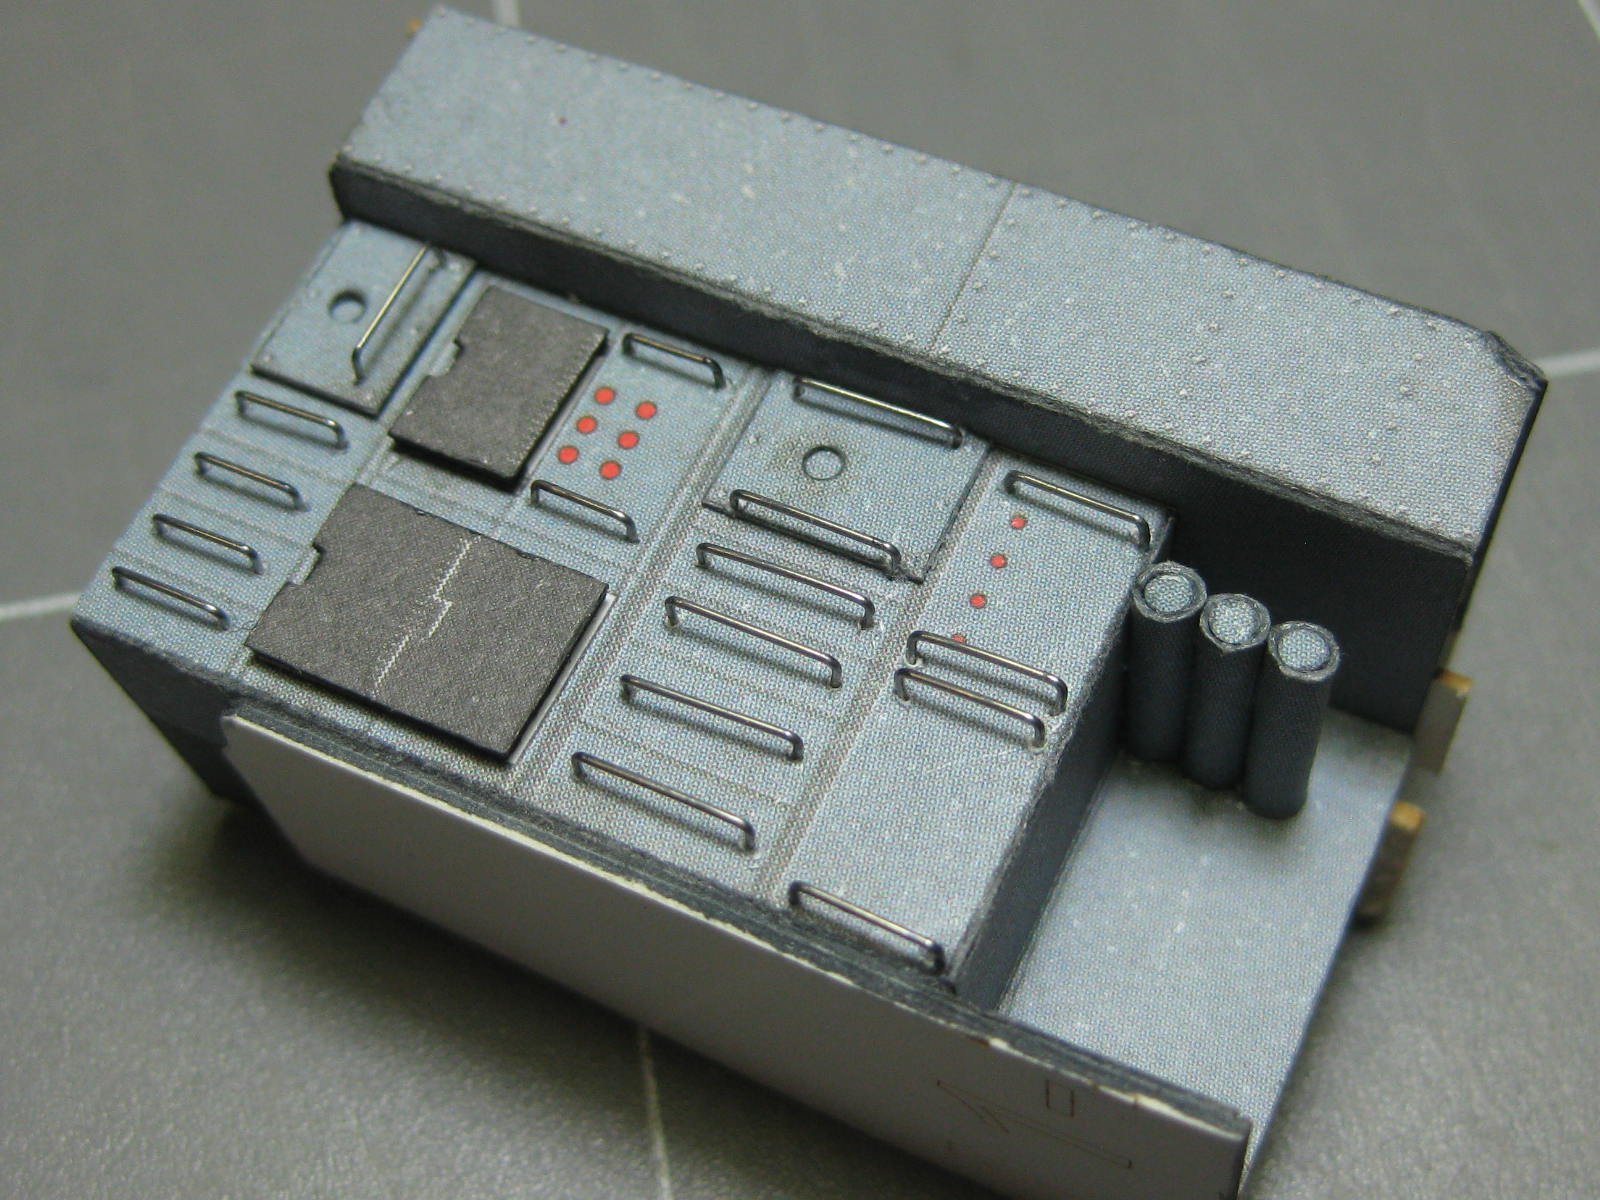
The cabin is loaded with small details. These are some examples :

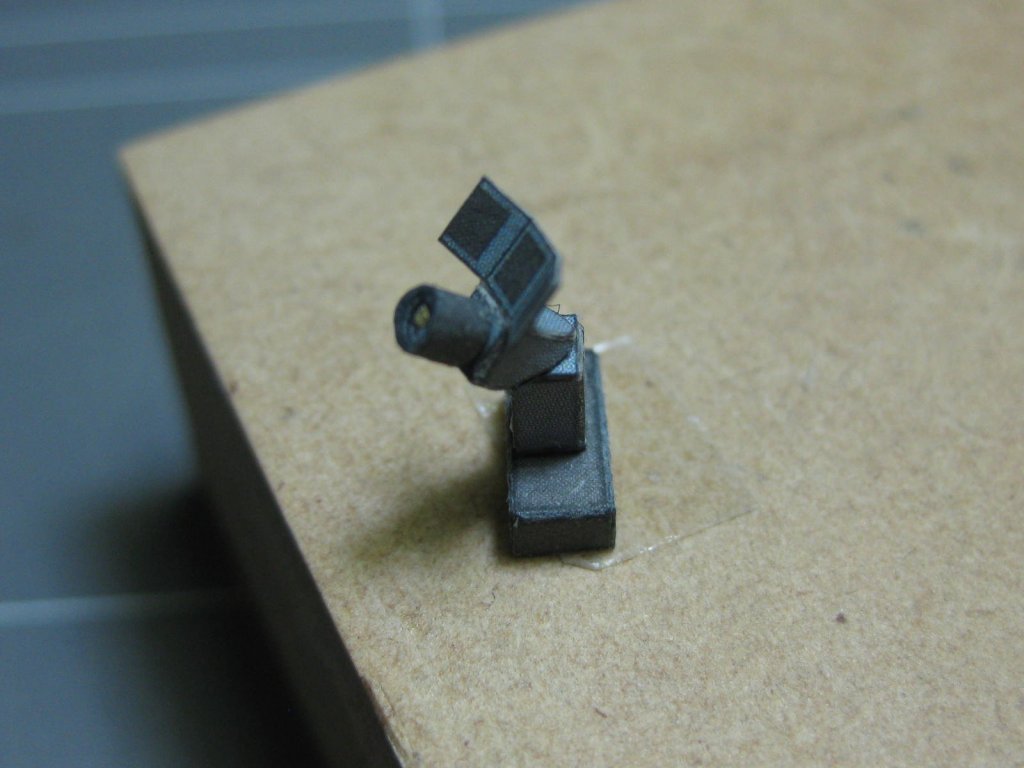

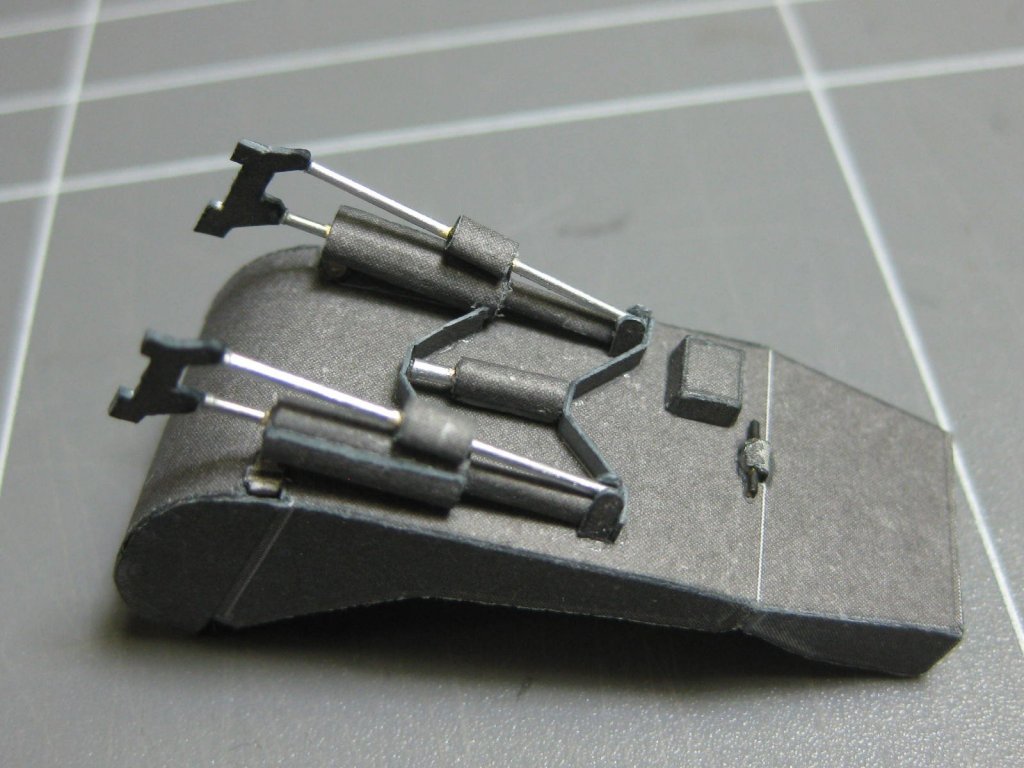
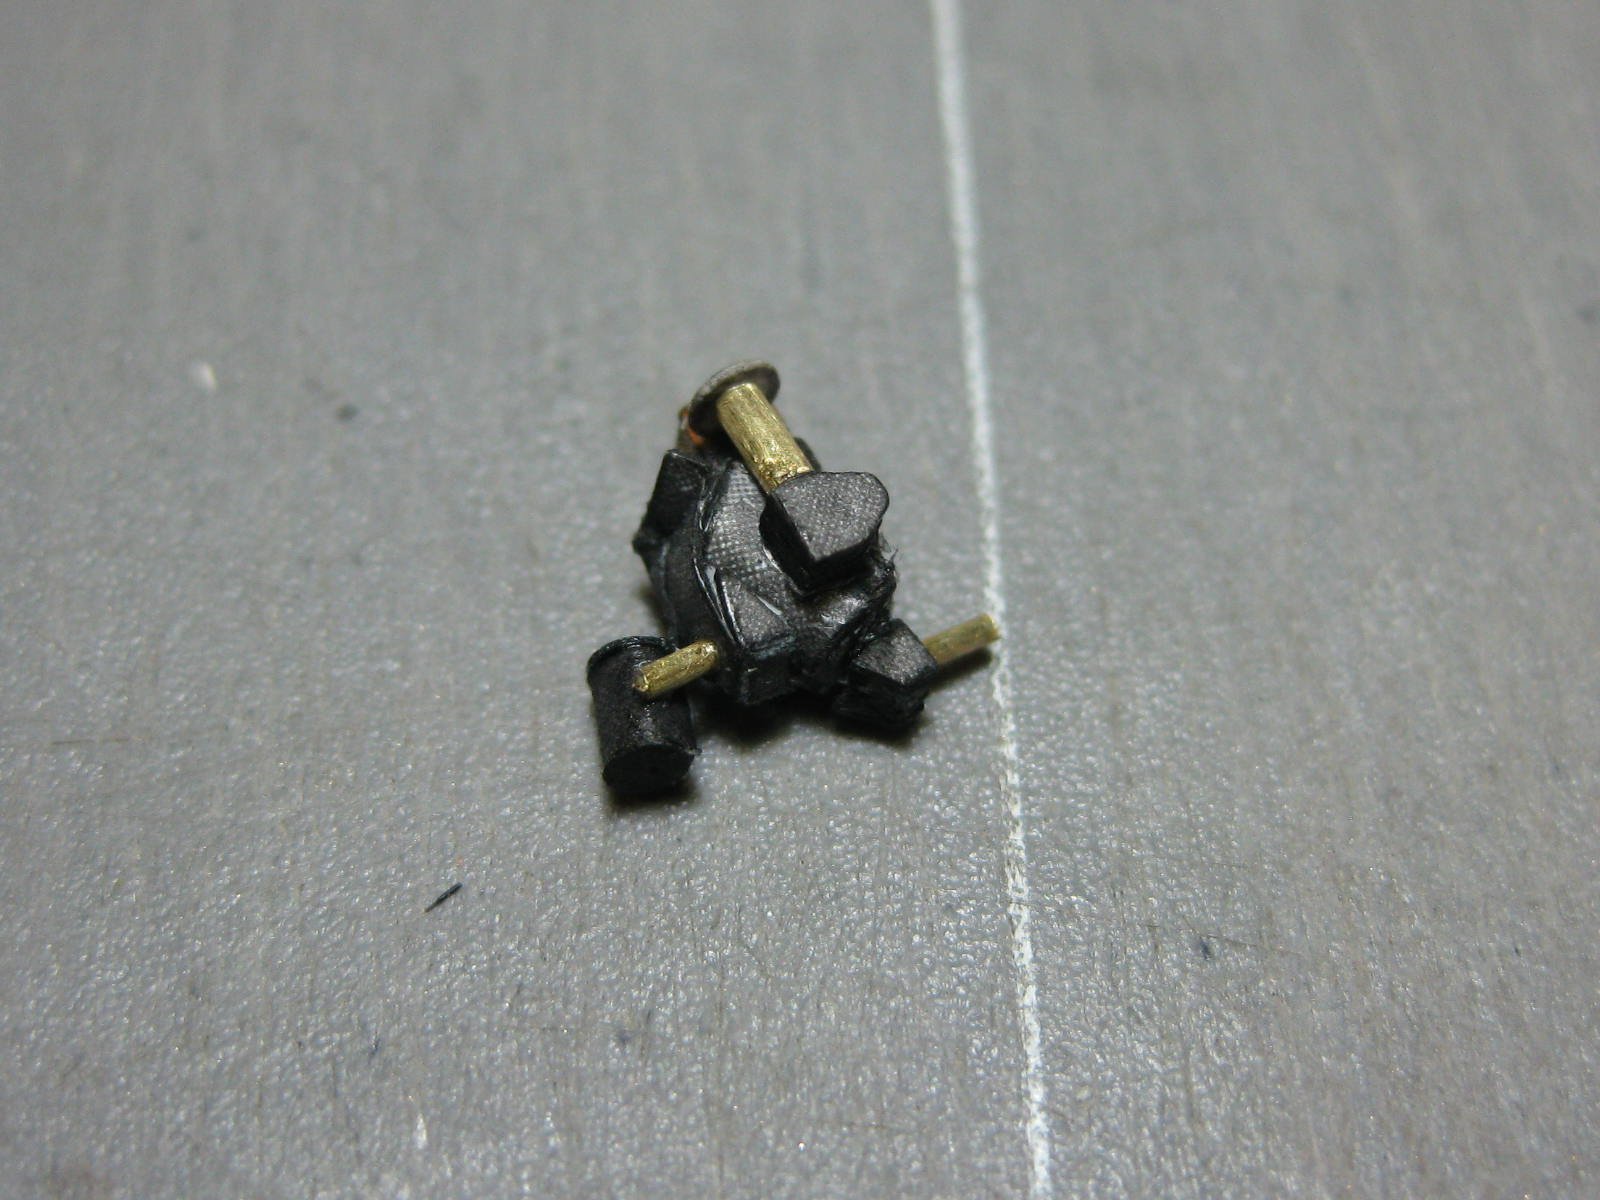
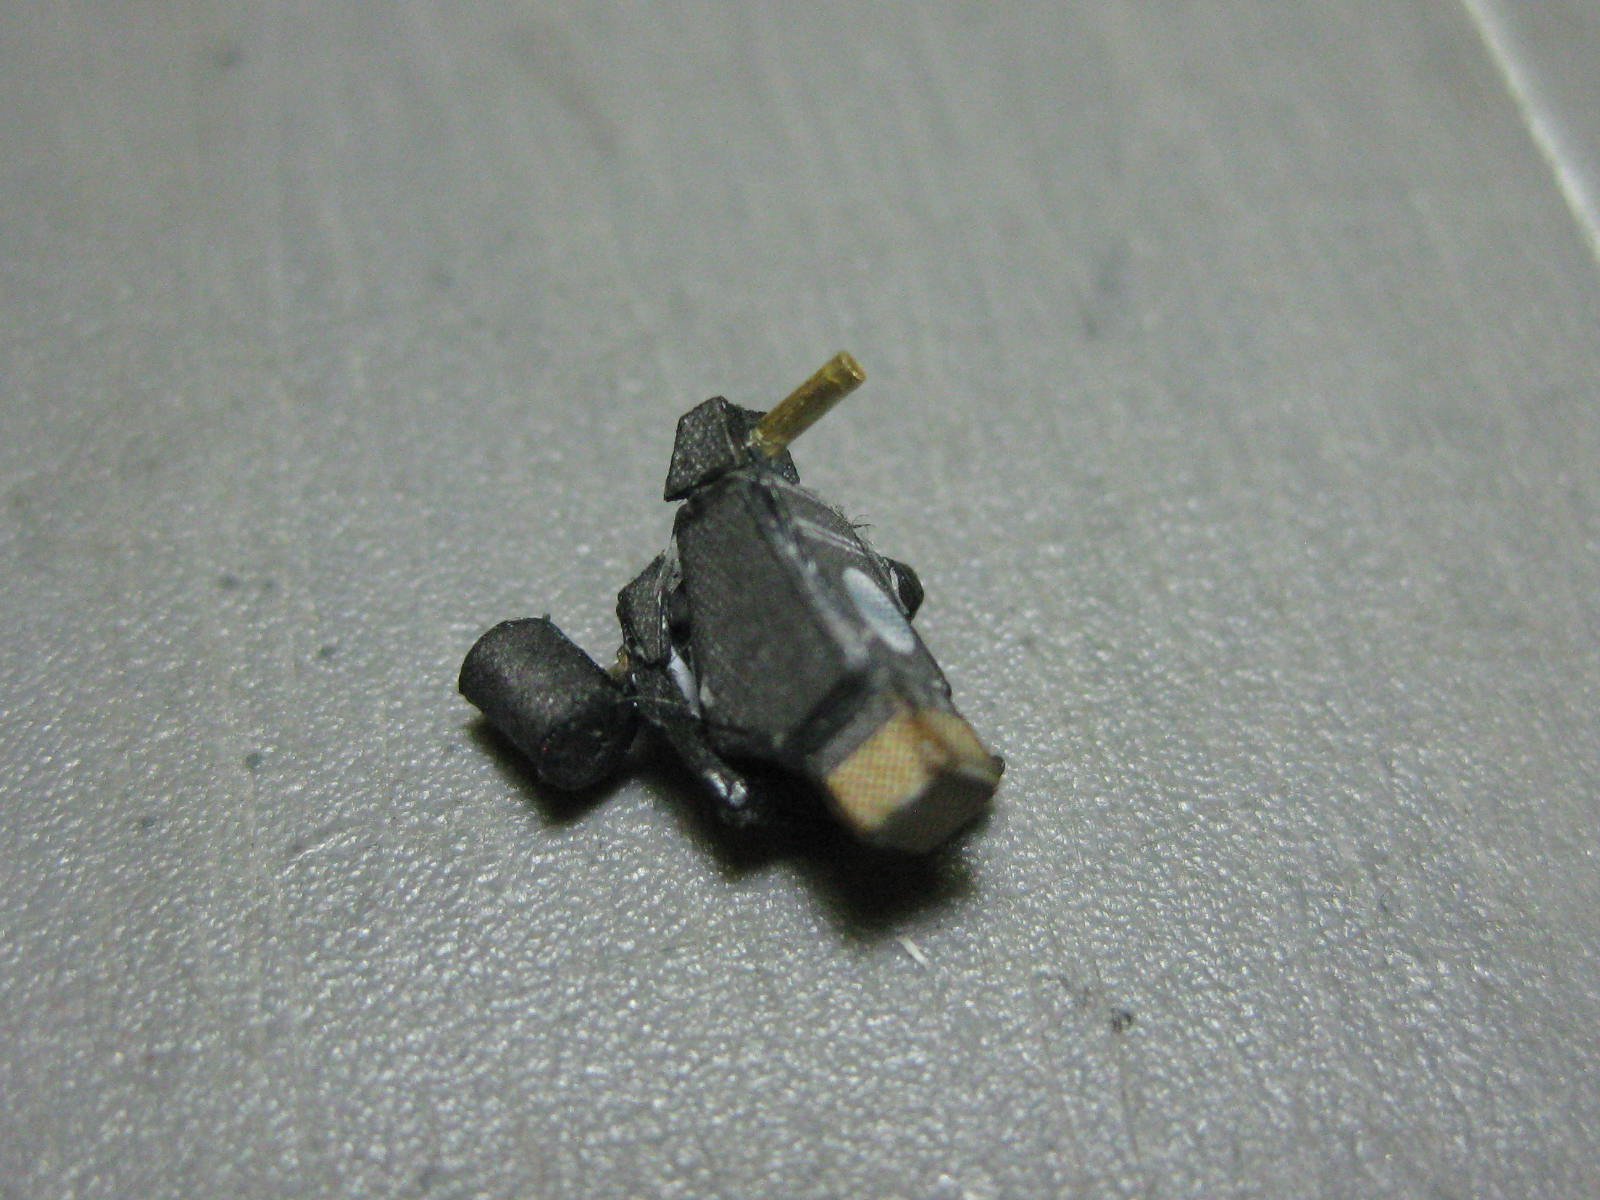
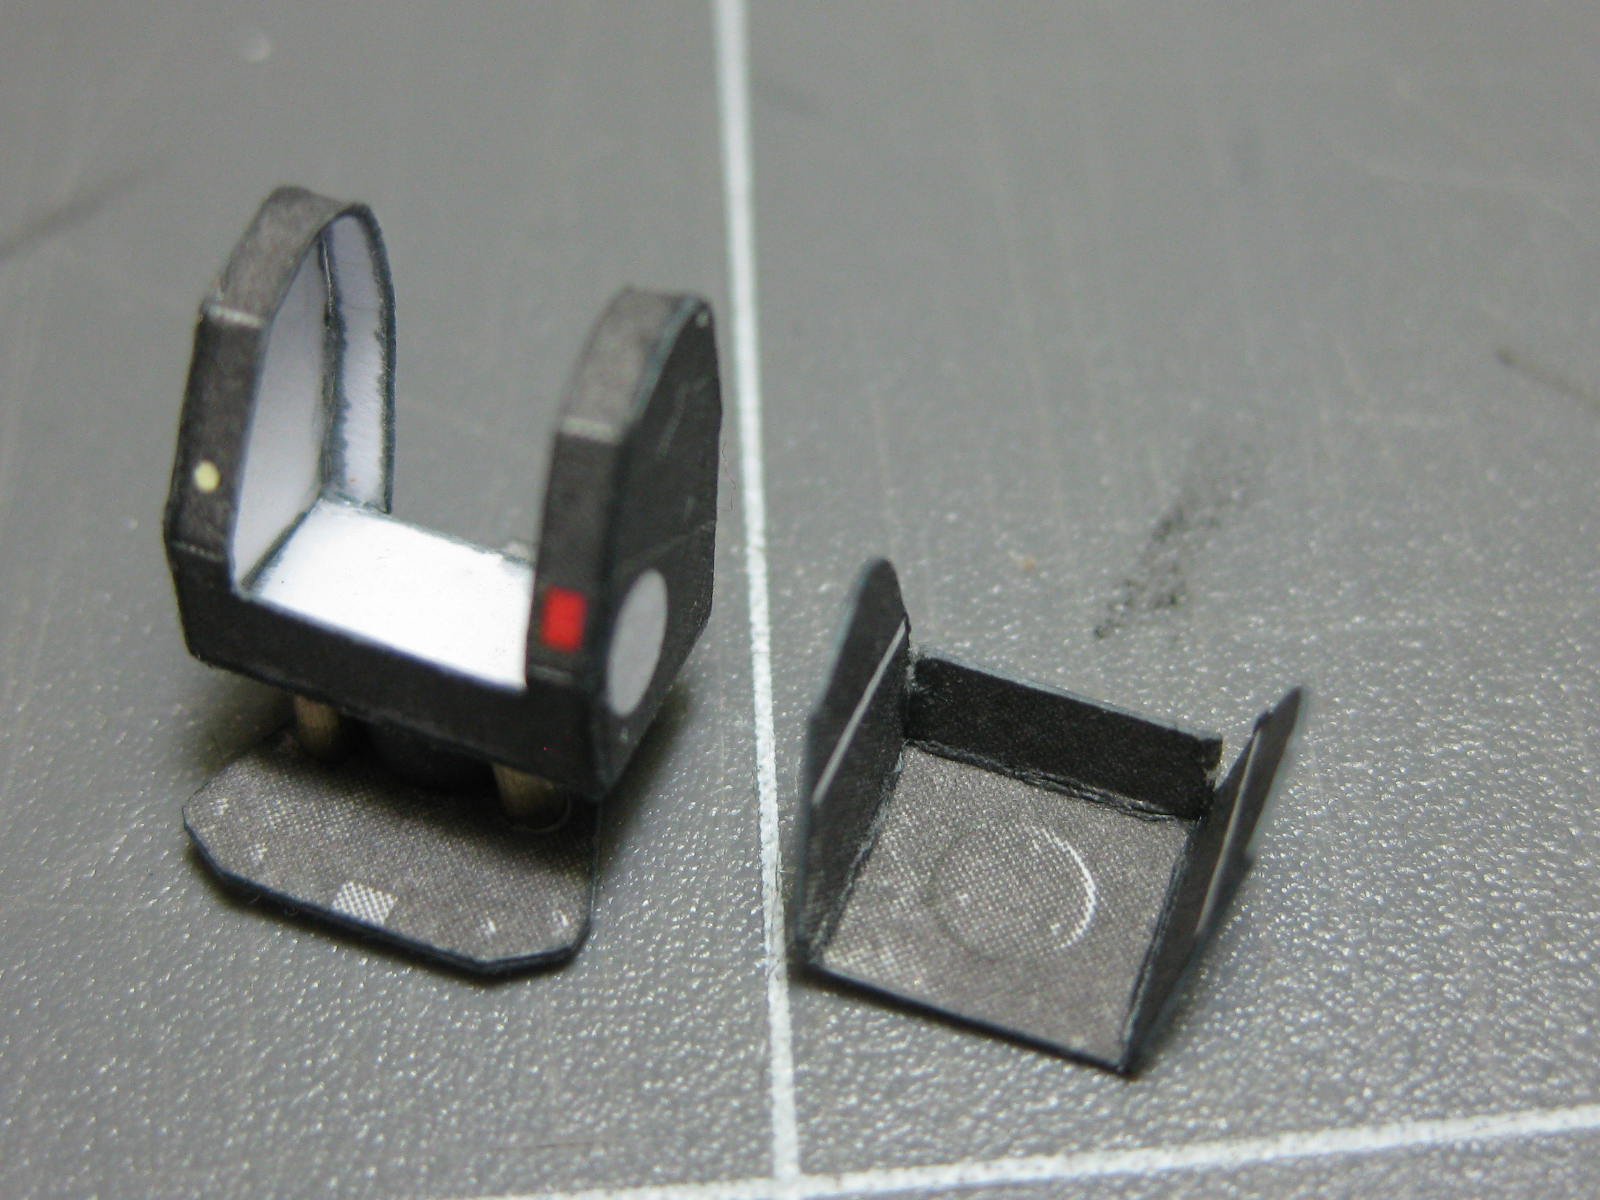
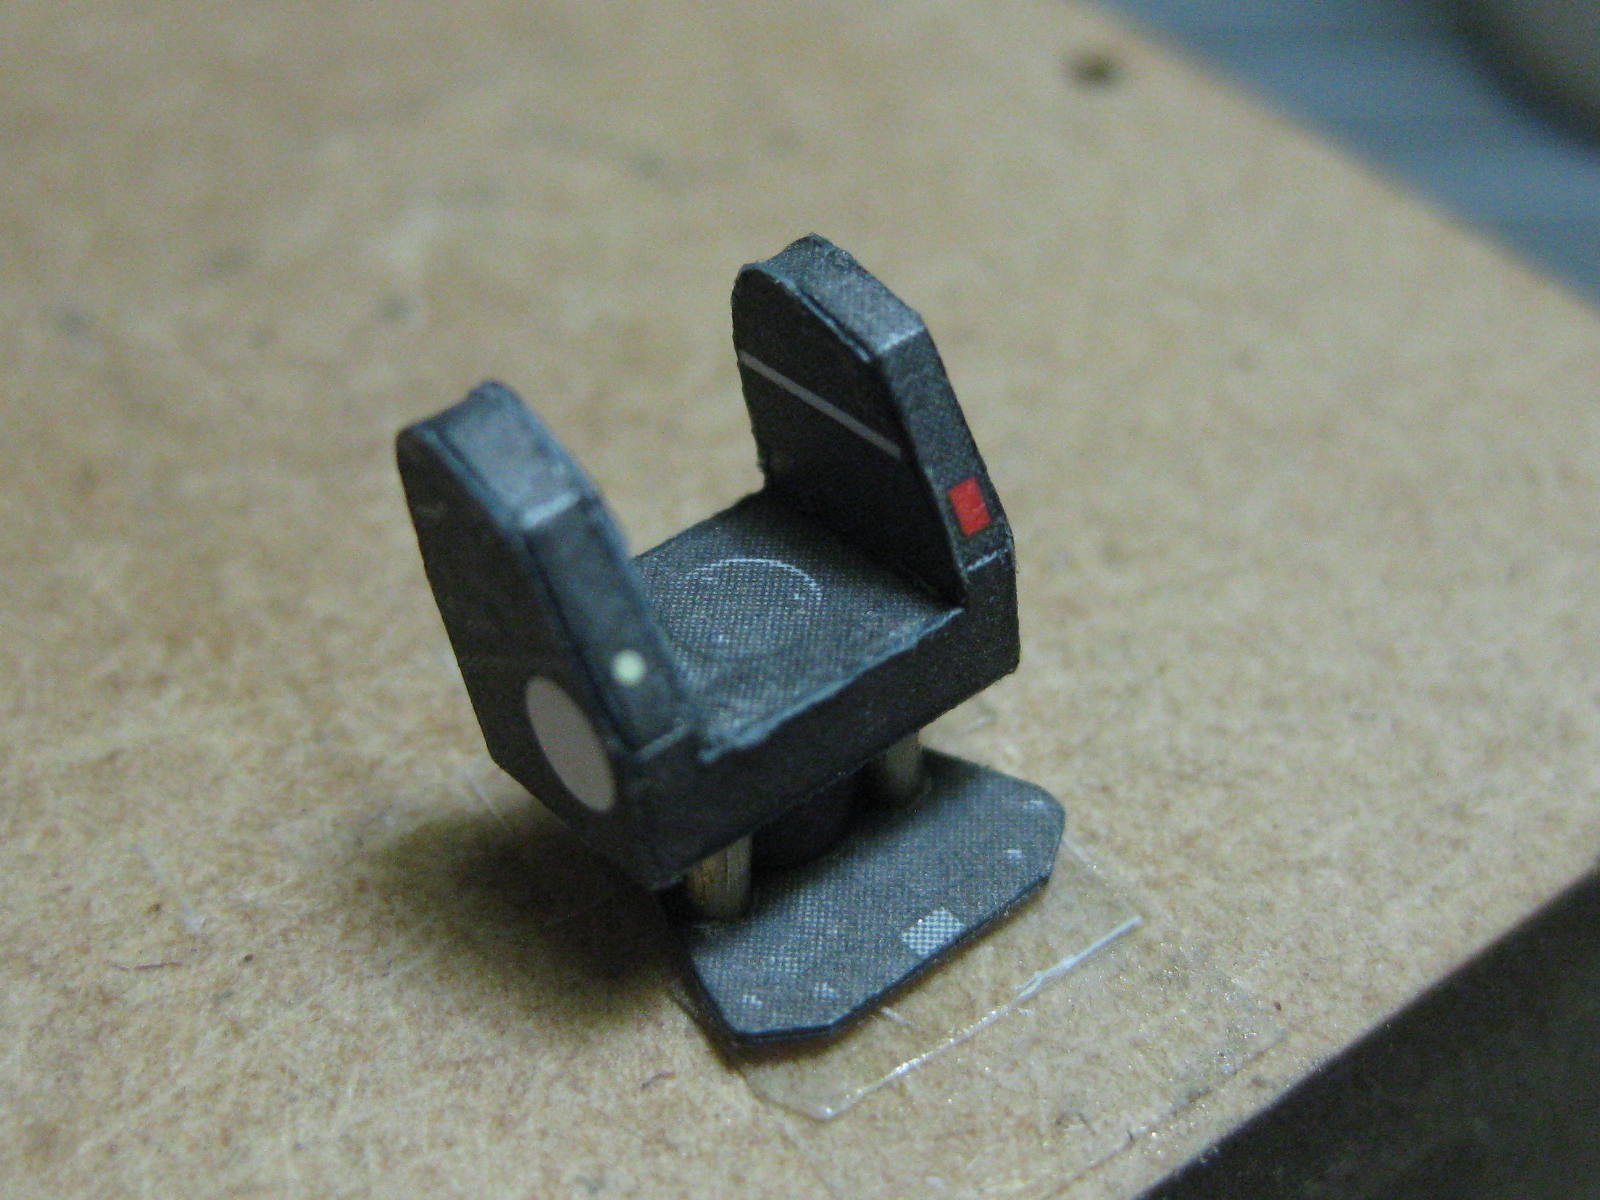
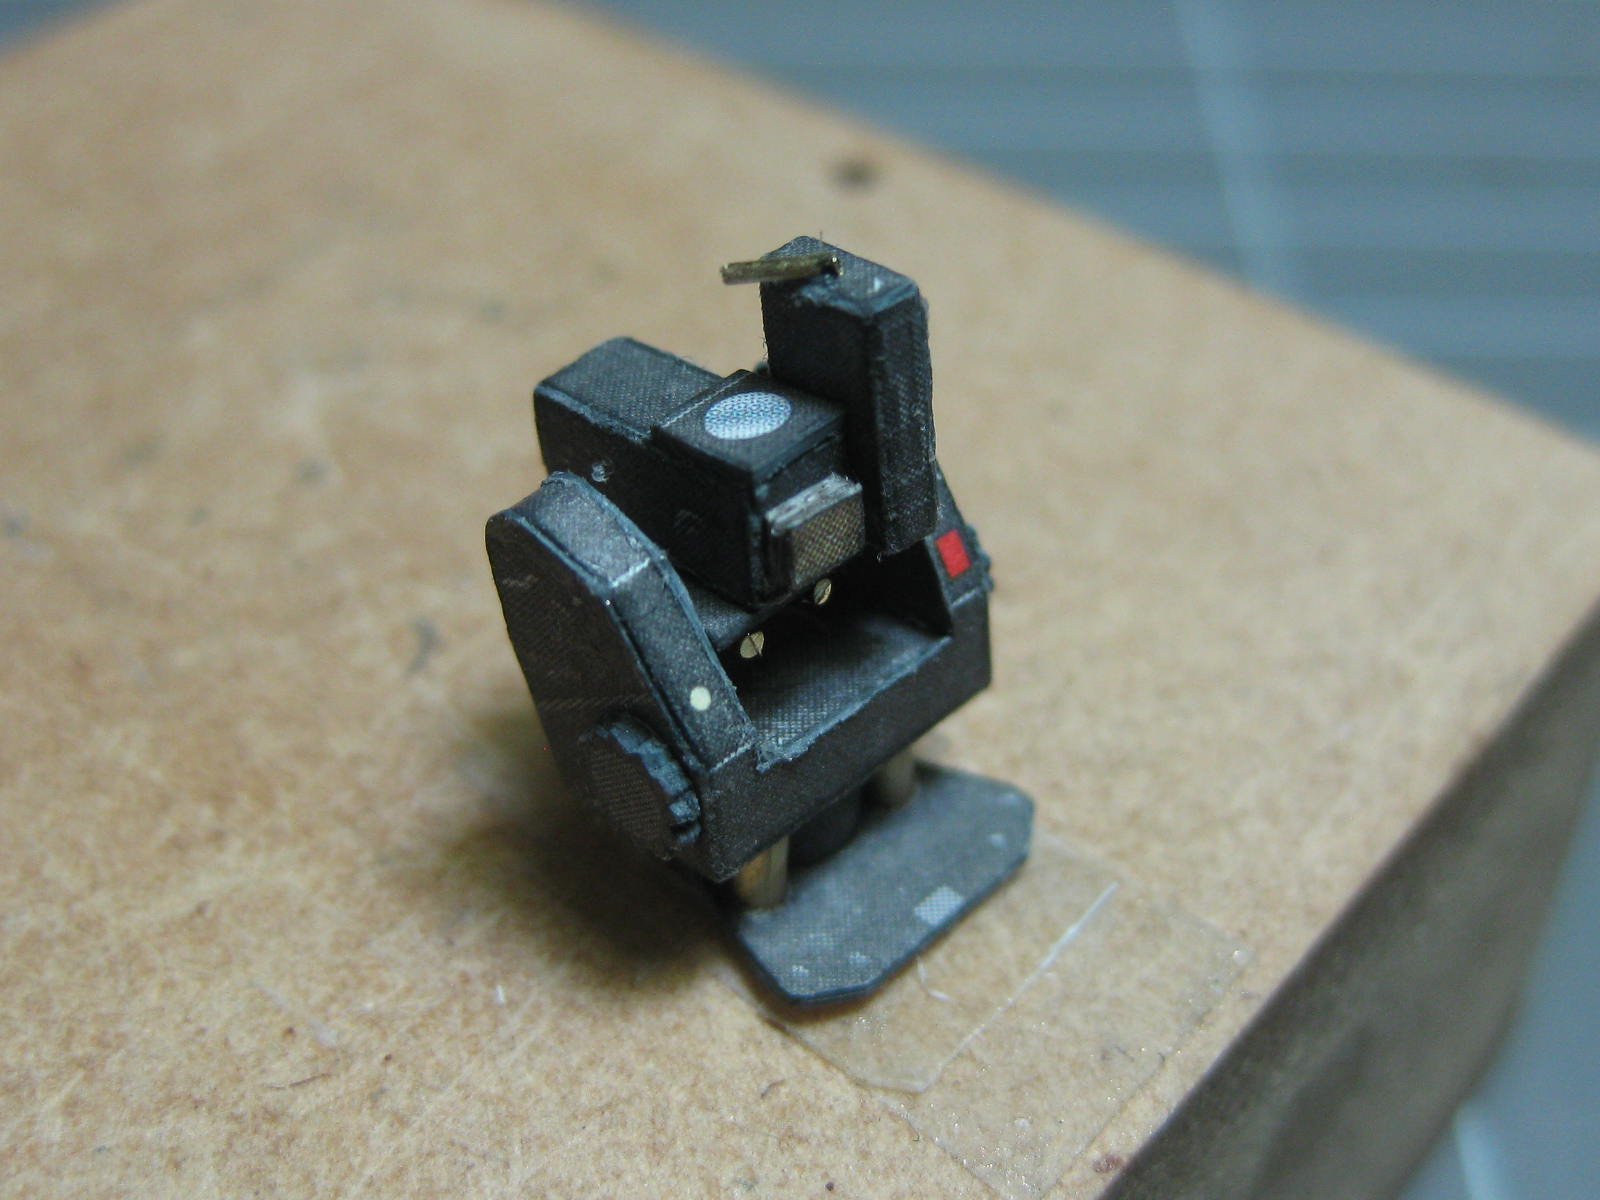
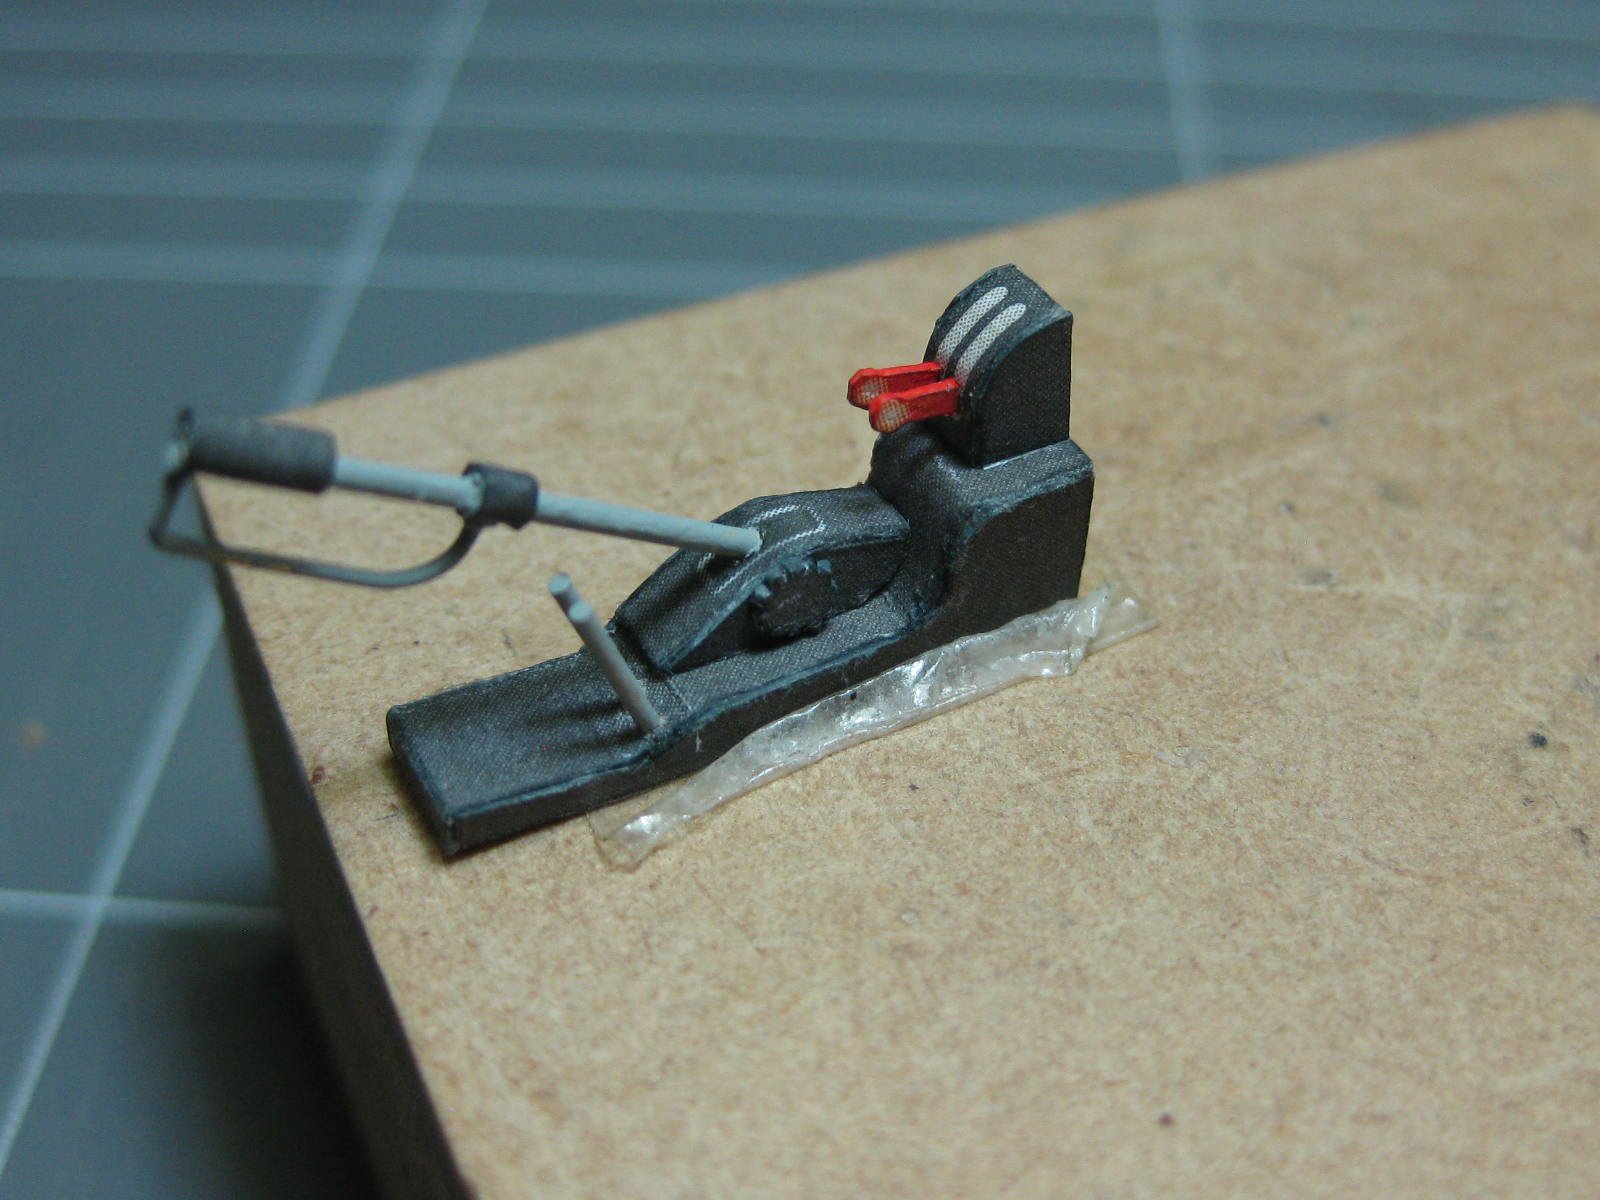
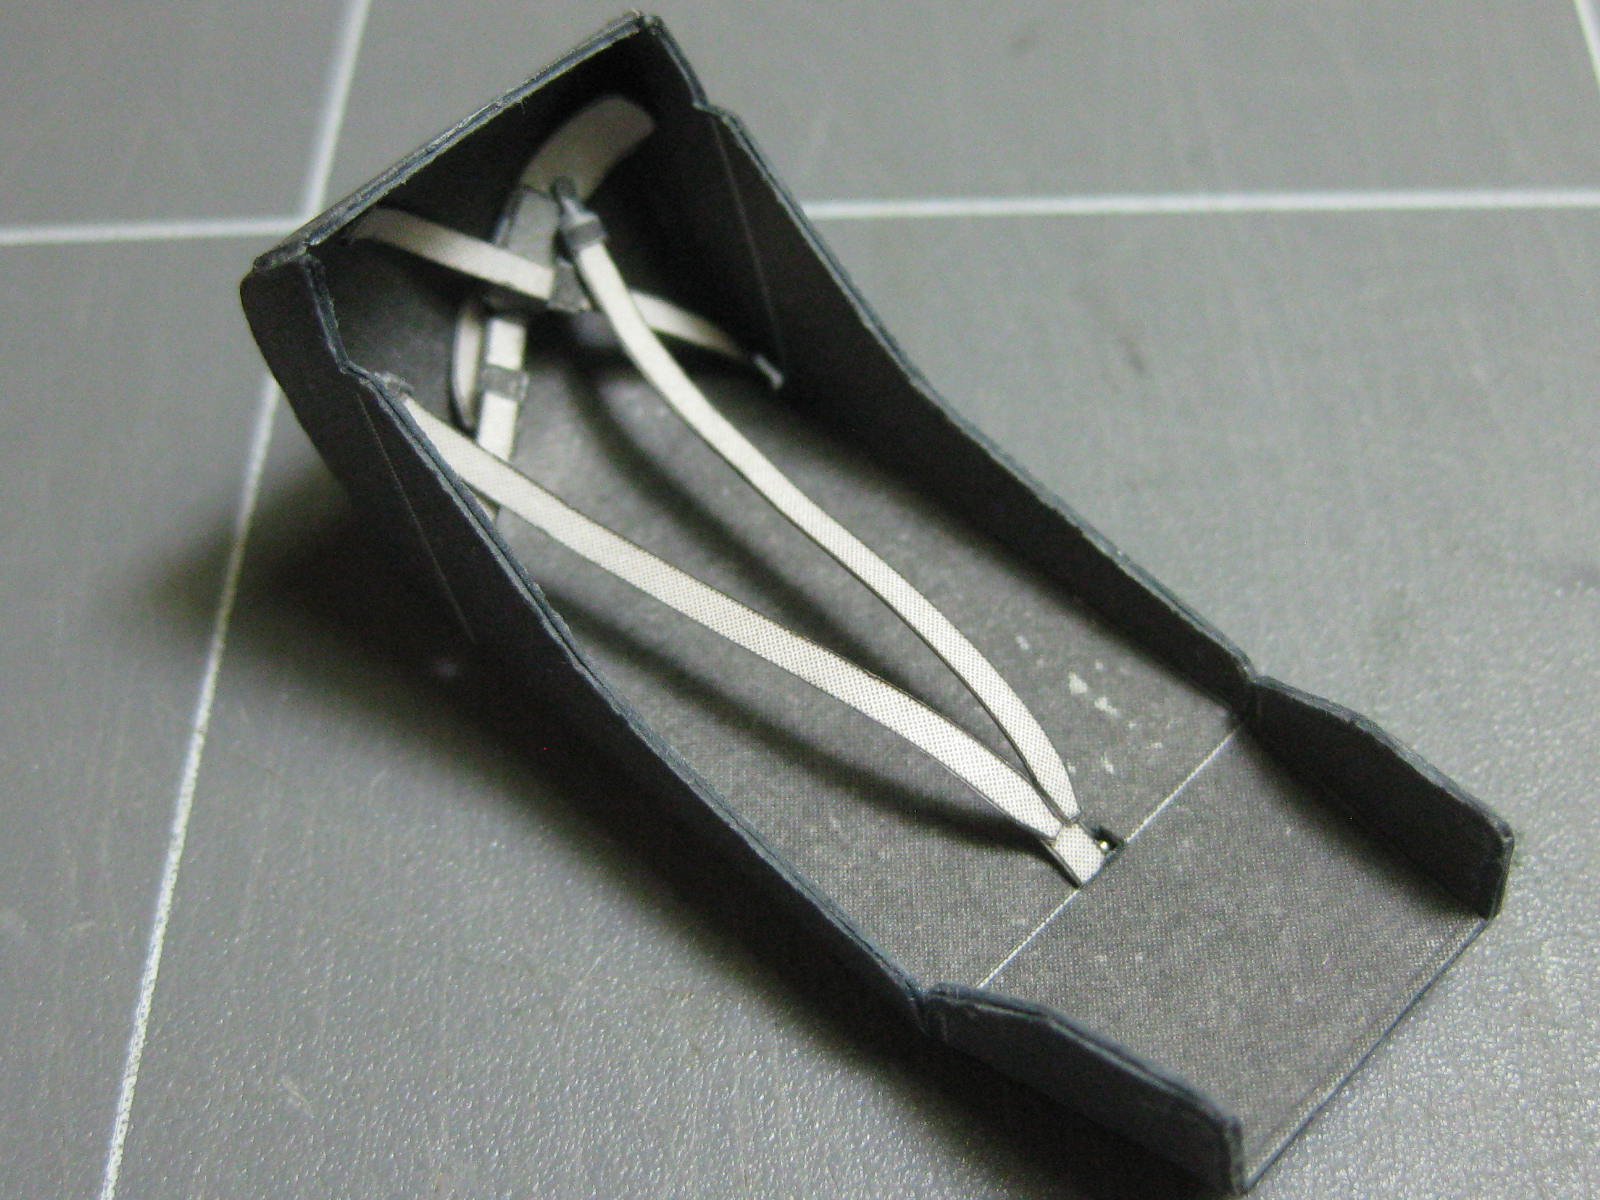
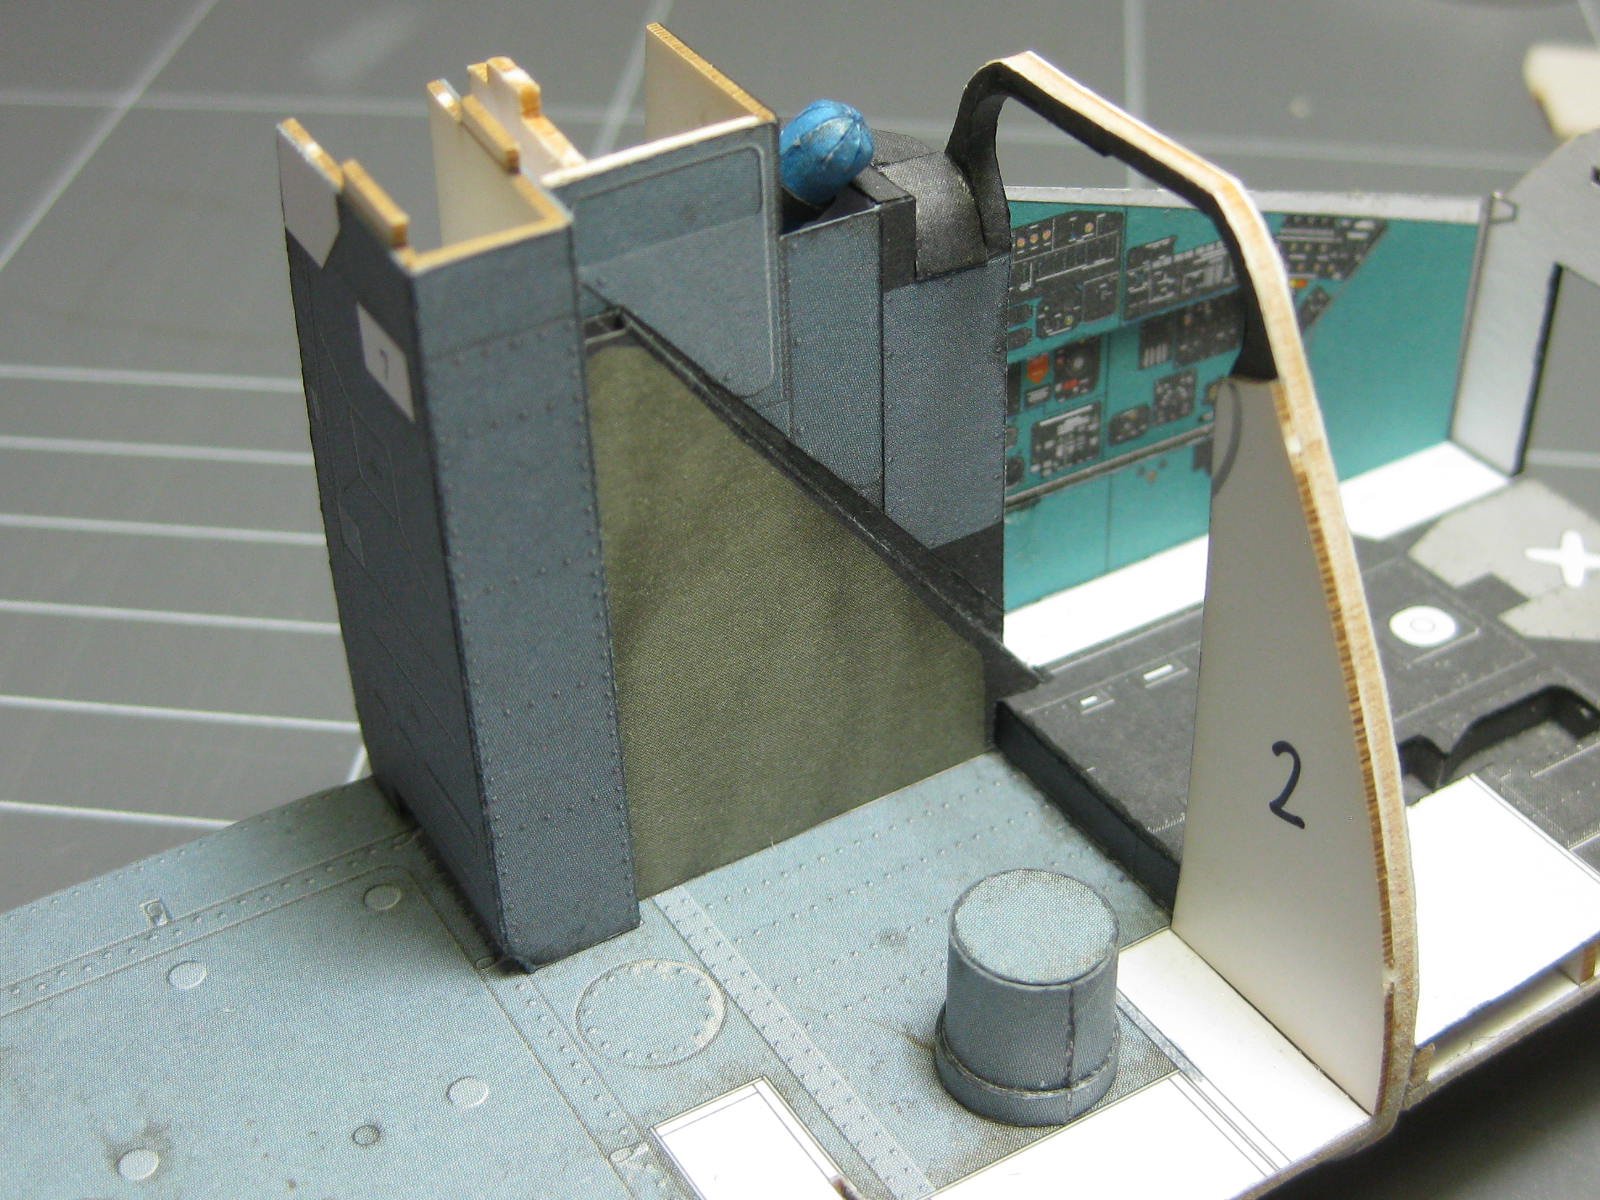
The pilot's seat is a bit complex with it's air rams and seat belts :
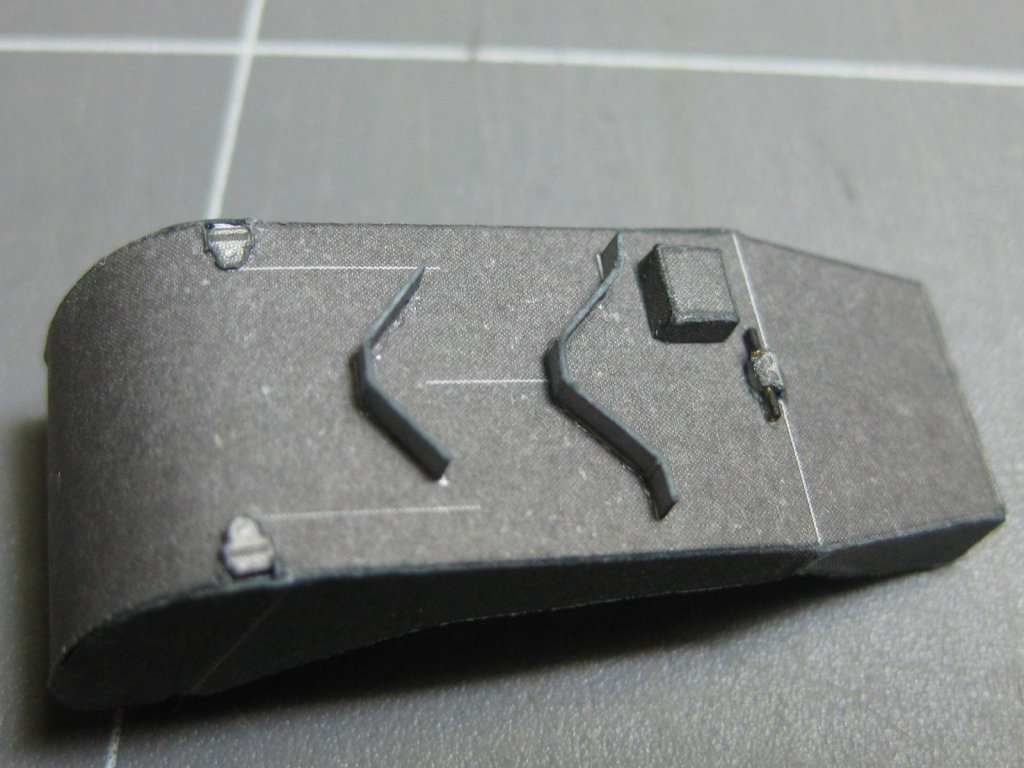
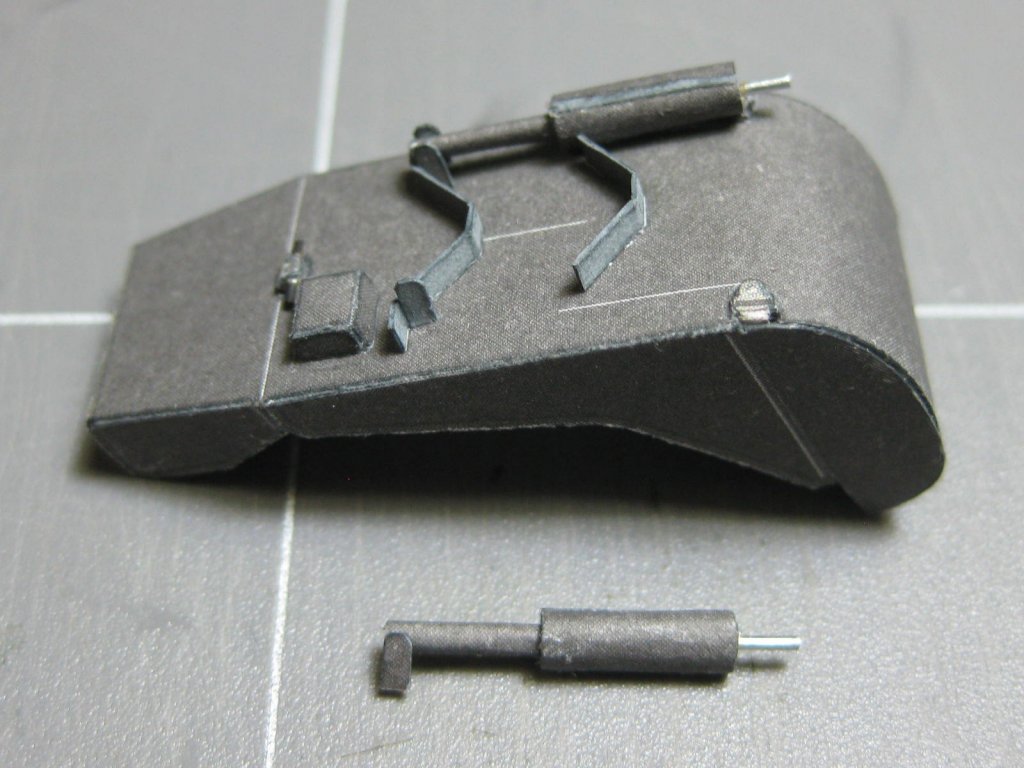

Some of the parts fitted to the pilot's cabin :
Danny
-
Looking at the way the planks have already bent around the bow you should be fine when they dry out - there shouldn't be any "spring-back". If you still have a problem and you don't mind a half-hour drive I have a home-made plank bender that you can borrow - it works a lot better than the Amati one.
Danny
-
Thanks for the very timely link OC, I'm at that very stage with my model and couldn't work out where a couple of pieces went. The pics clarified it for me
.
Danny
- popeye the sailor, Canute and mtaylor
-
3
-
Thank you all
.
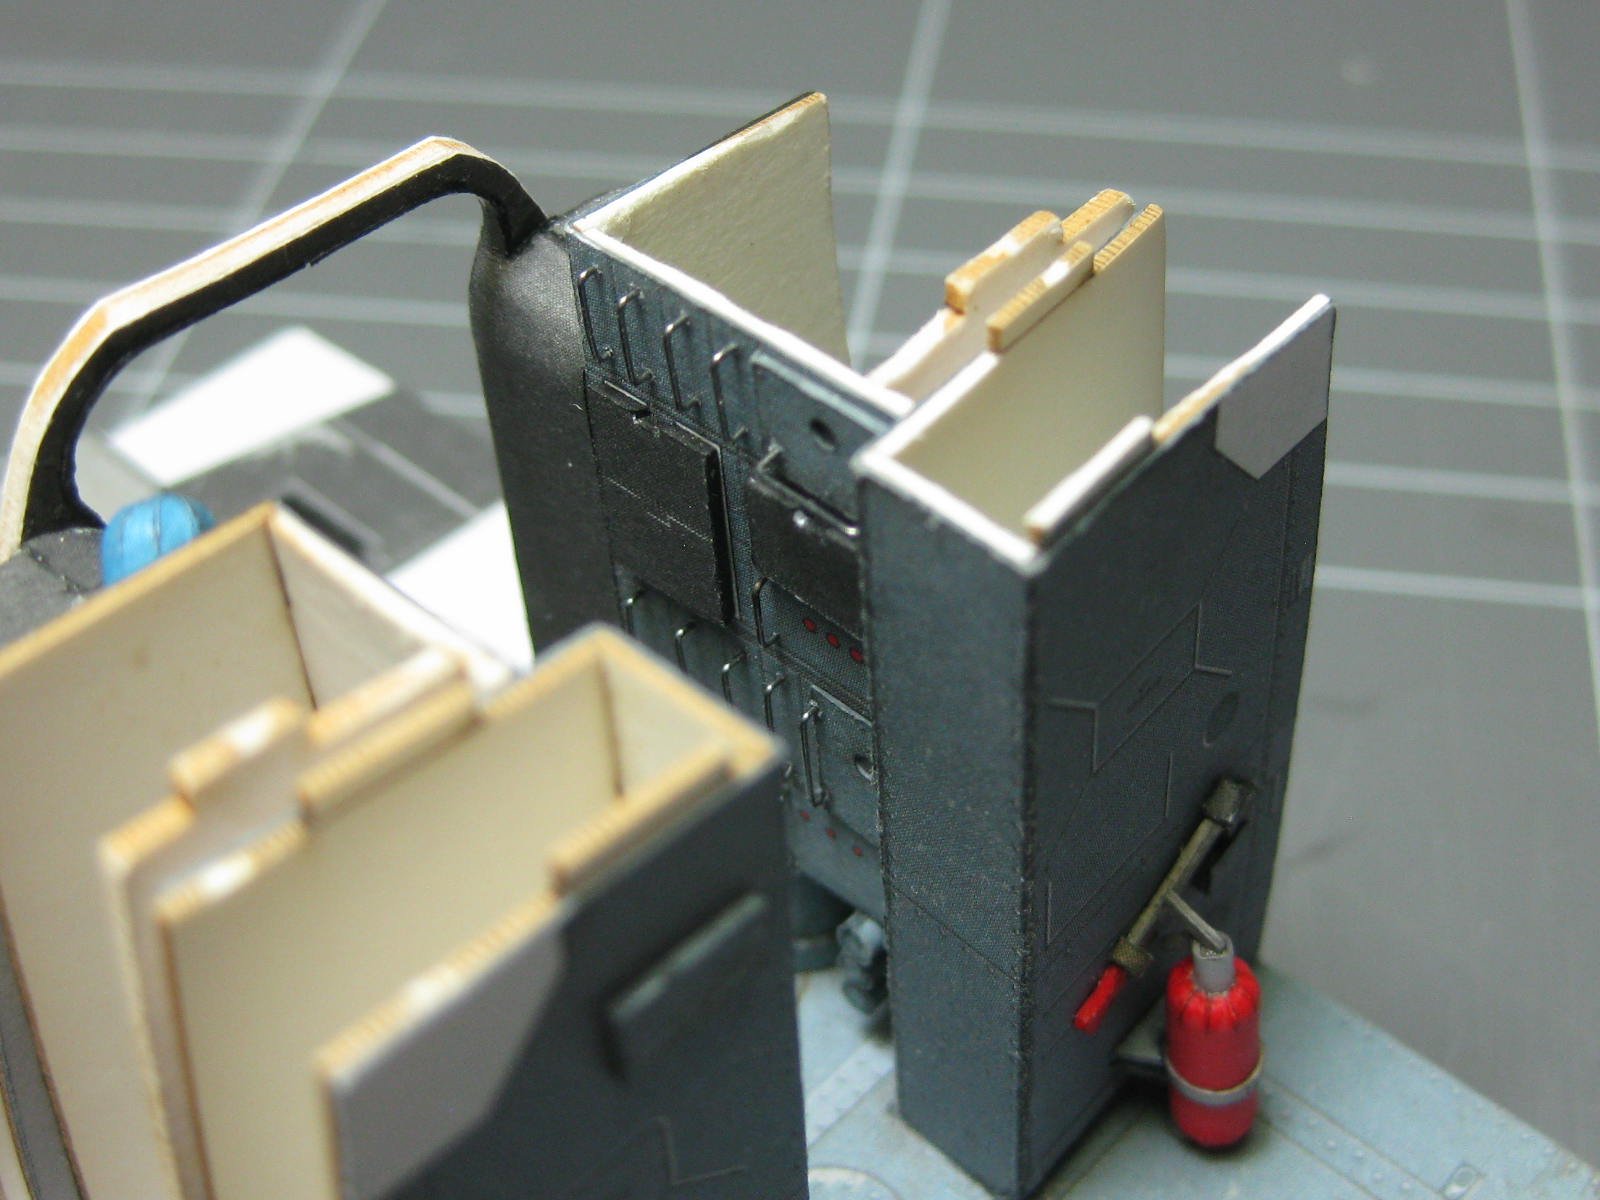
The start of the build is the cabin. The laser-cut parts are perfect, much better than I could cut by hand in 0.5mm and 1.0mm card. Here is the main framing :

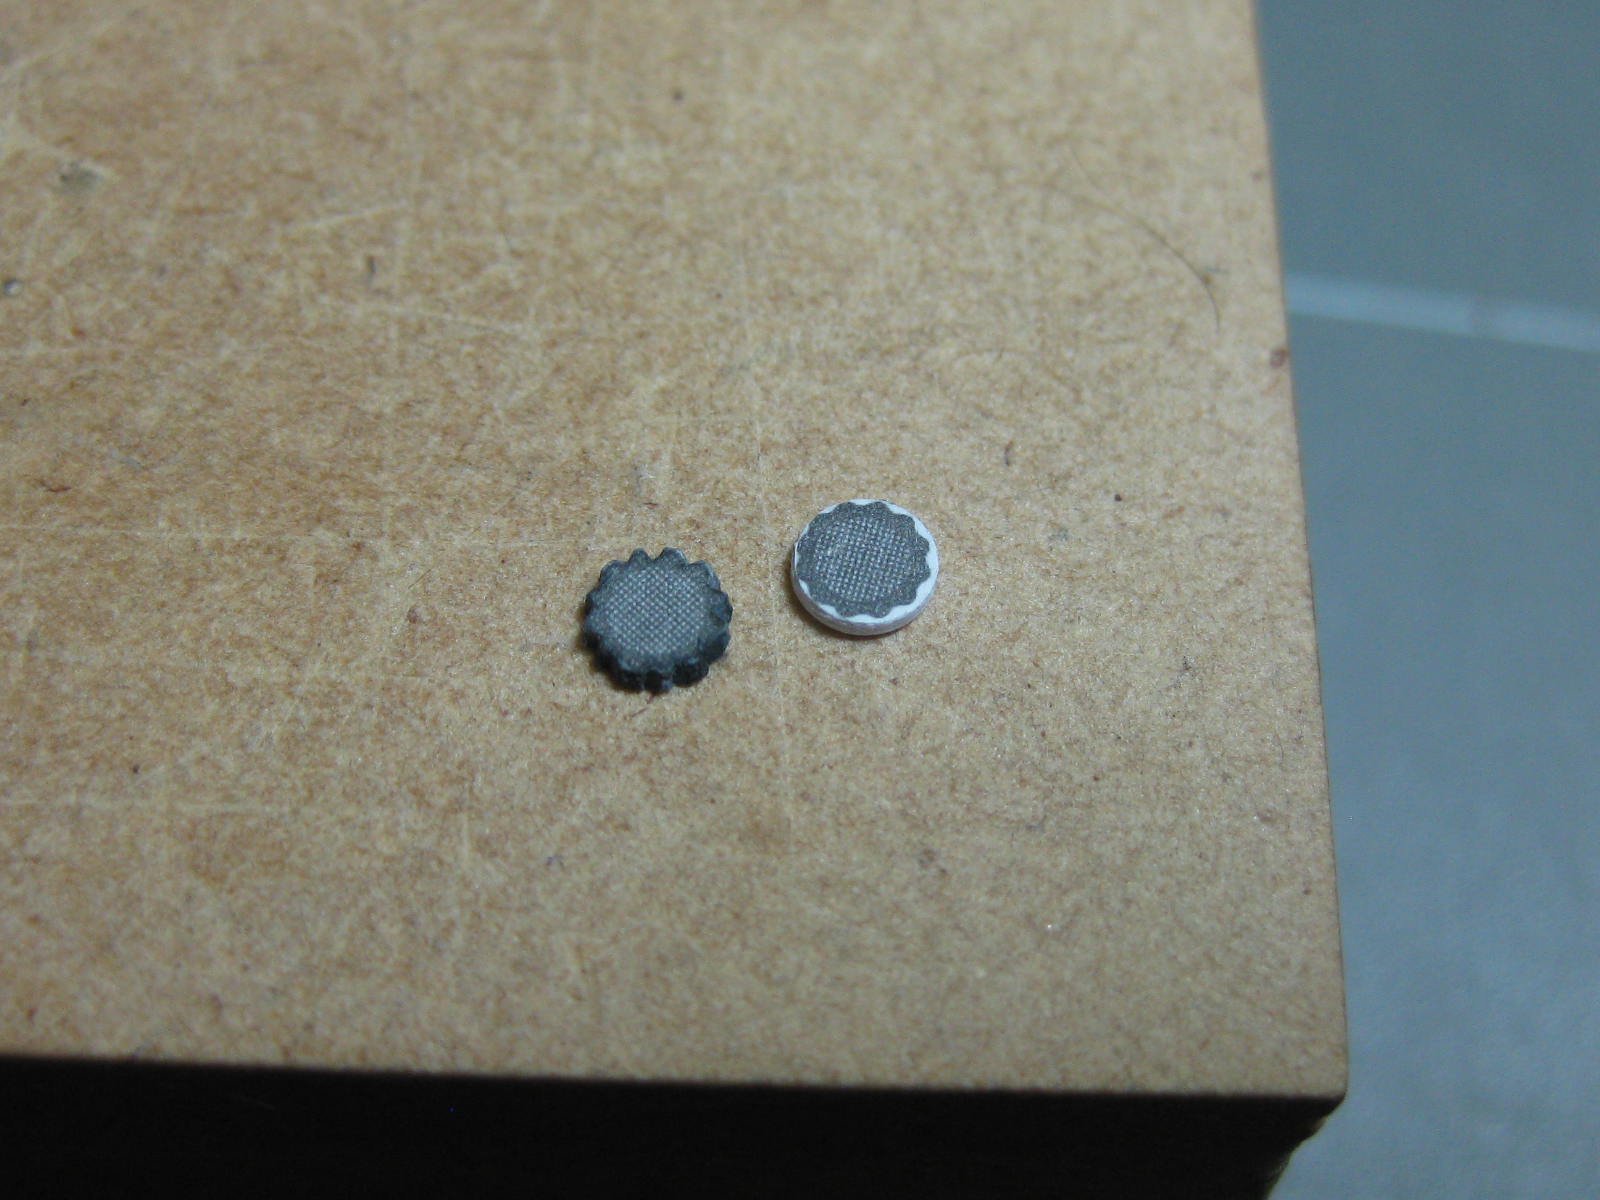
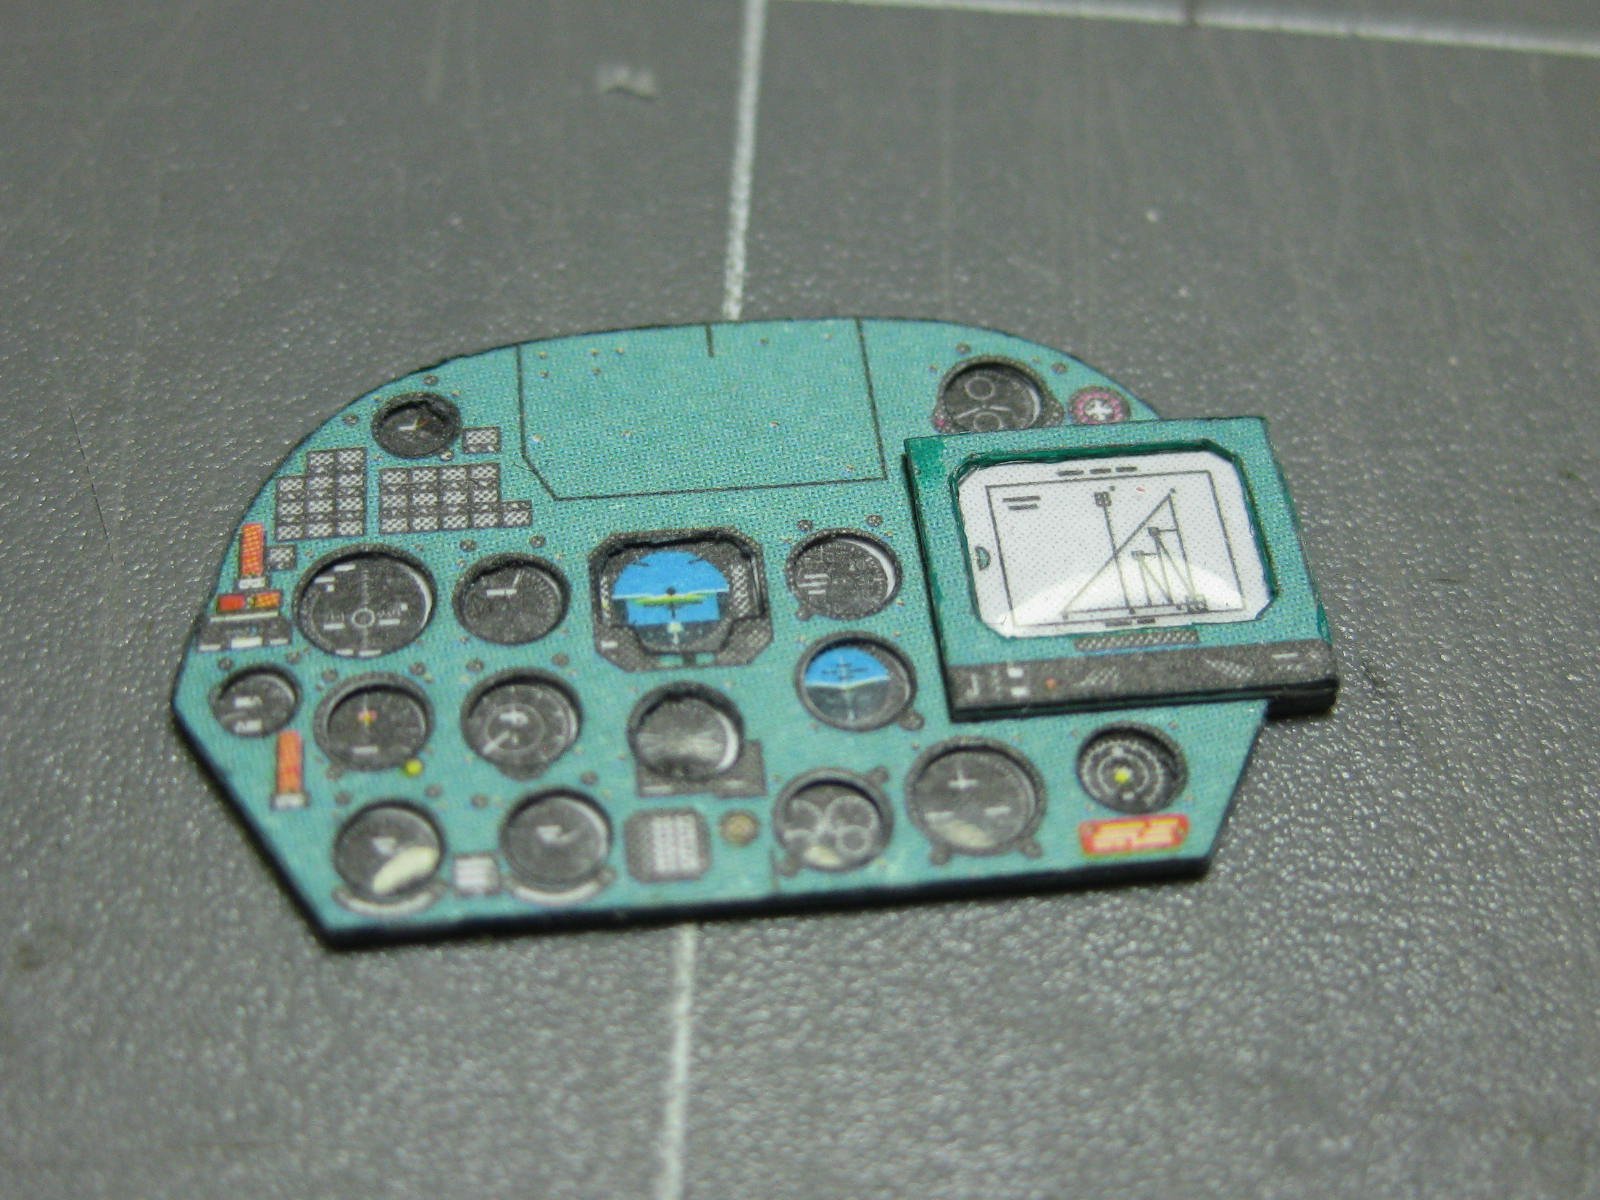
Two of the instrument panels. These have some very small parts. The gauge panel is laminated in 3 parts - the gauges, a very thin piece of clear acrylic from a cigarette packet, and the fascia which has been punched for the gauges :


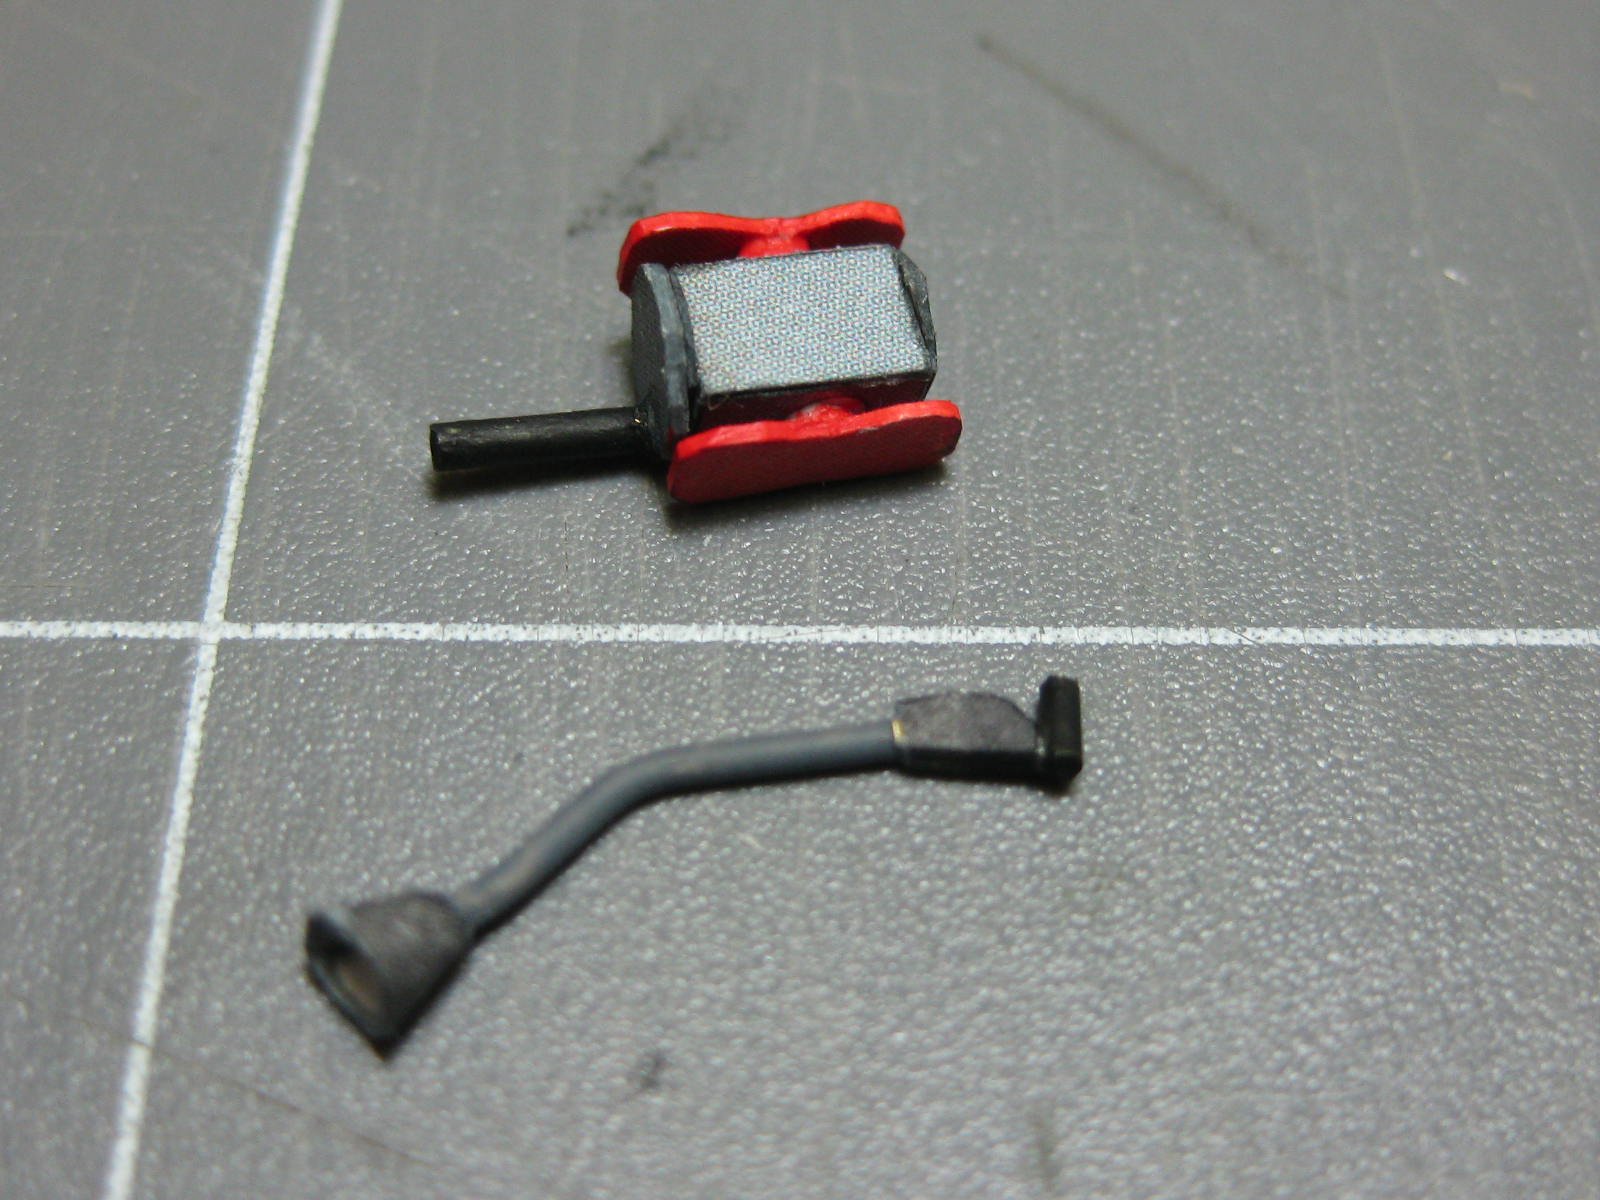
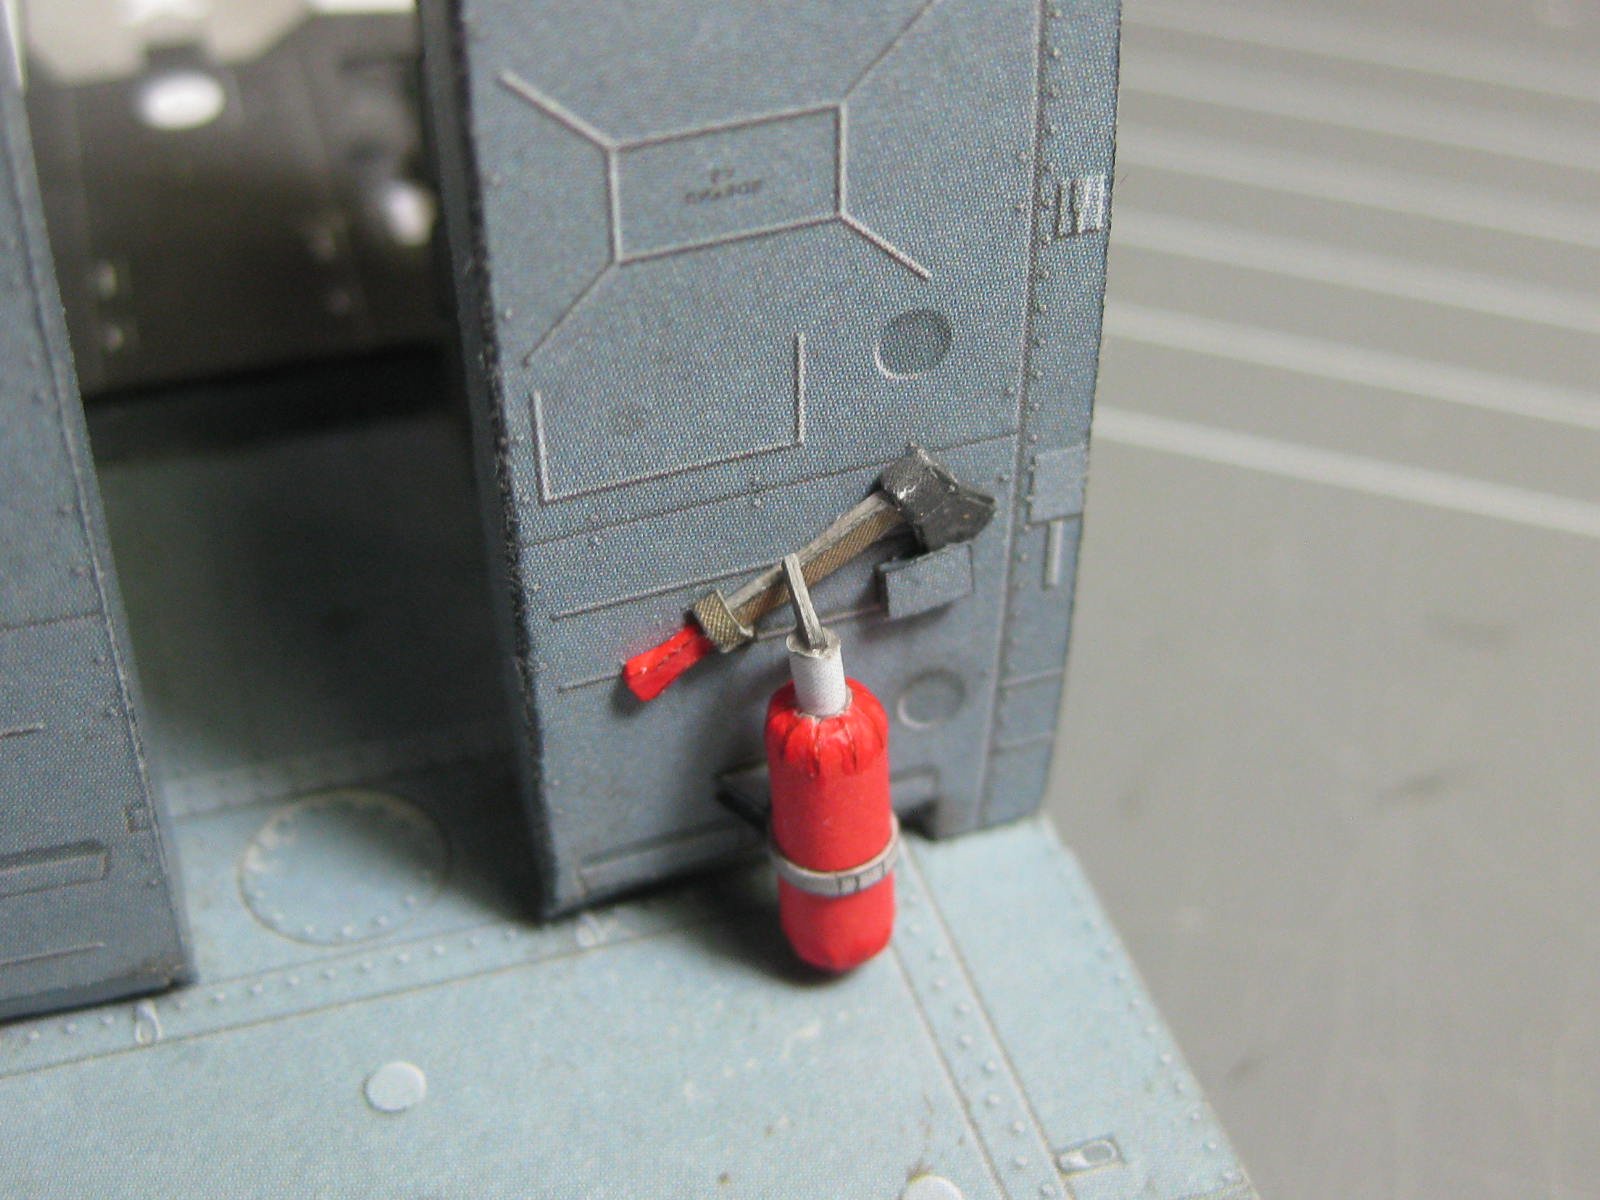
The axe and fire extinguisher took me half a day to make :

The panels fitted to the cabin :

Danny
-
Beautiful job Ed. A masterpiece of a model and a great build log. I've enjoyed every update
.
Danny
- CaptainSteve and Mirabell61
-
2
-
Hi all,
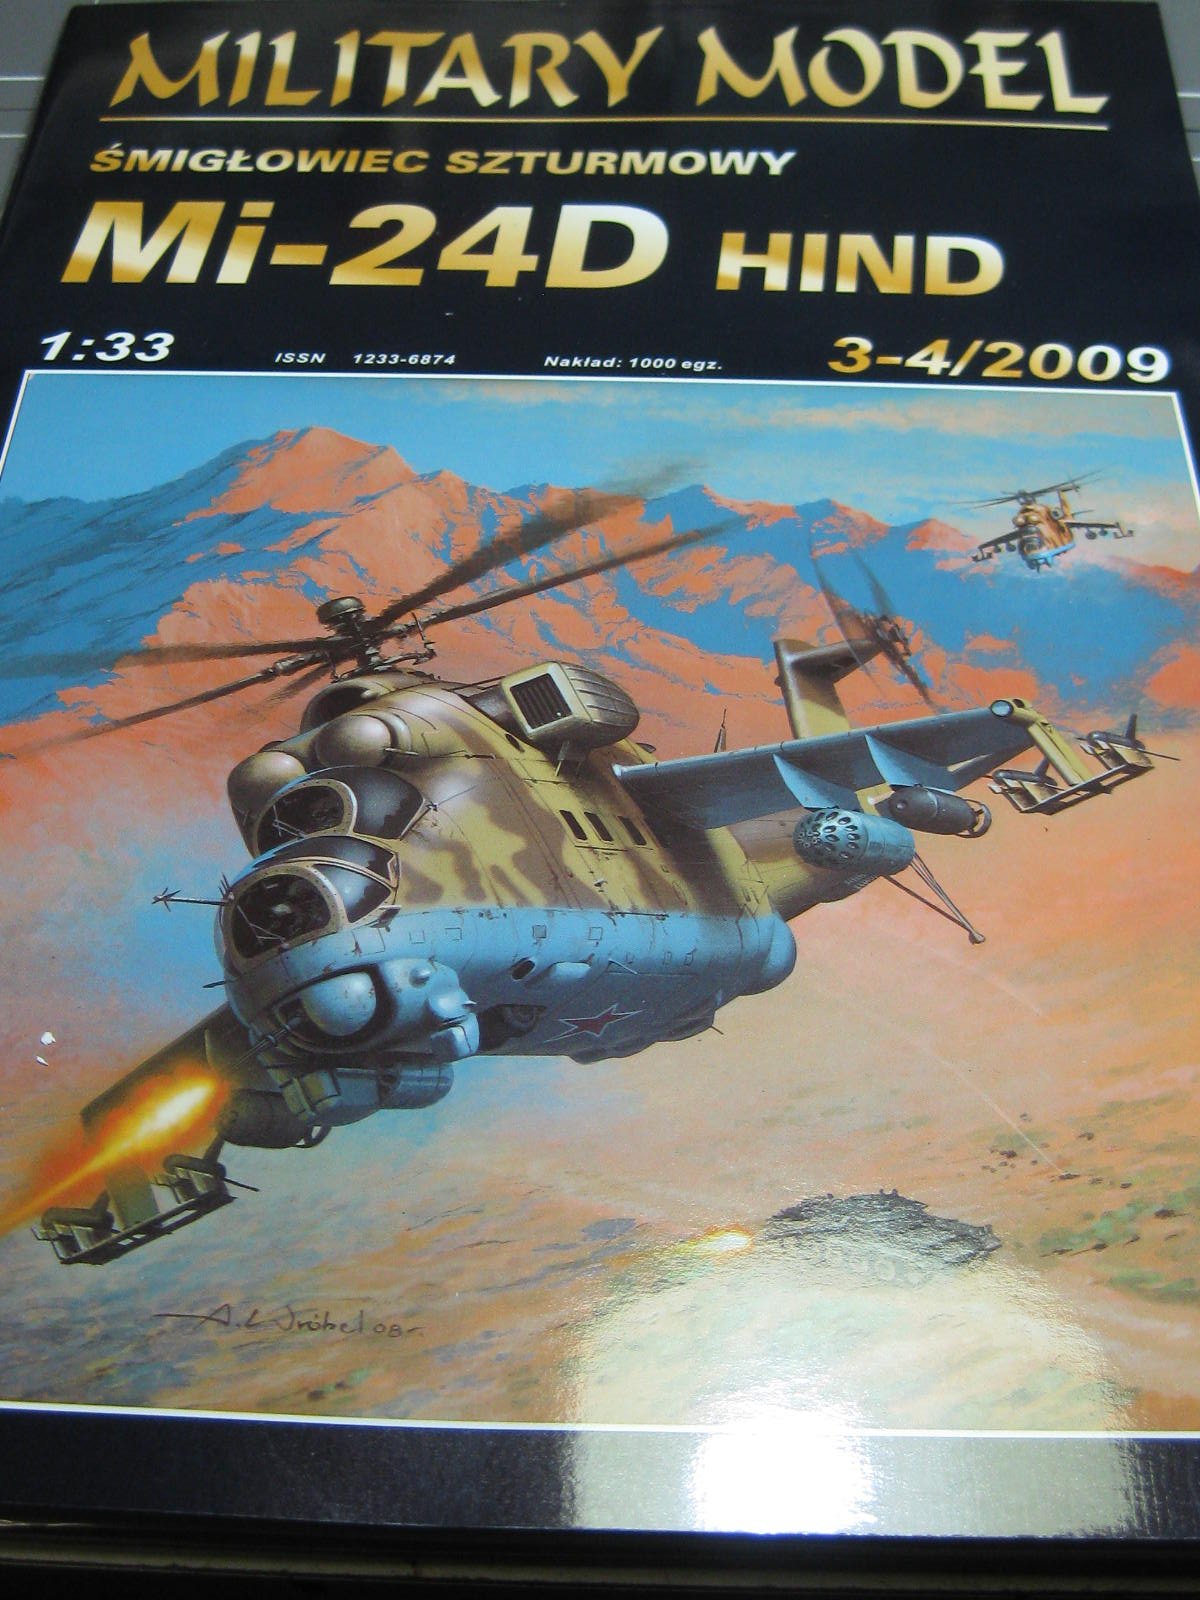
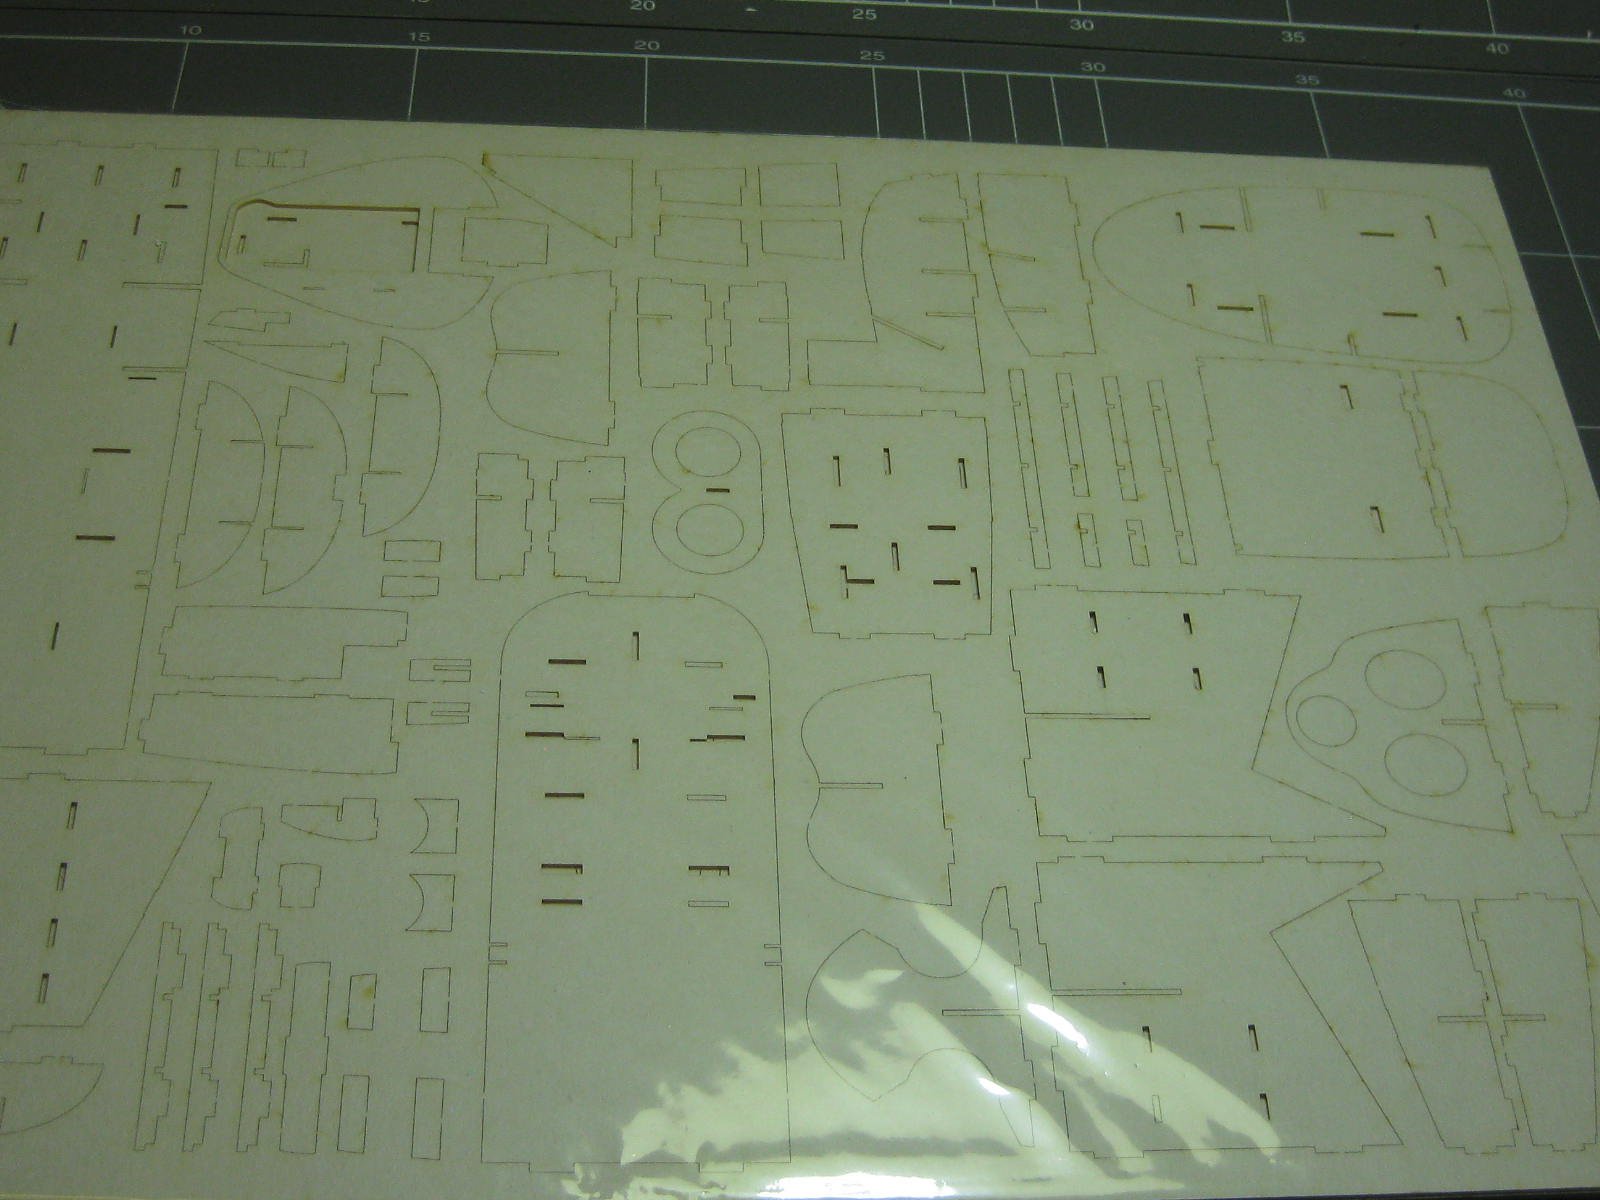
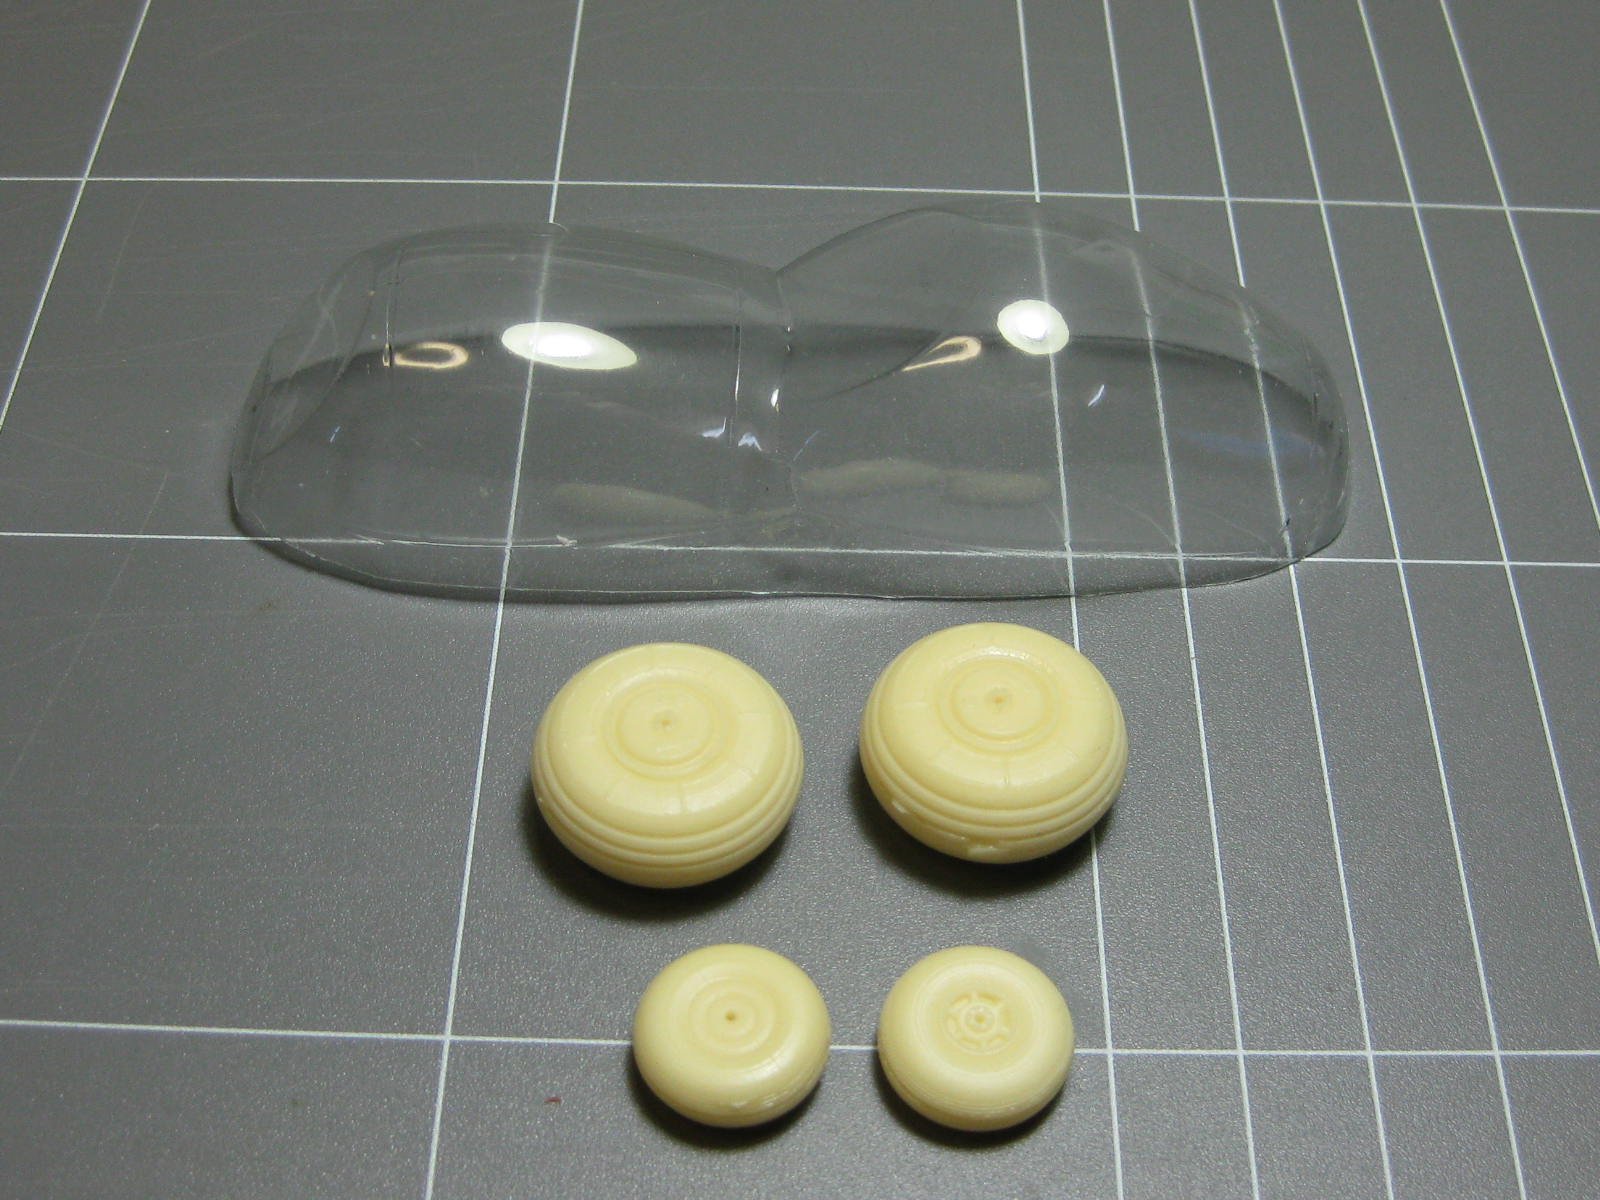
My latest Card model - A Halinski kit of a Russian Mi24D Helicopter. Here are the pics of the cover page, 2 of the 3 pages of the laser-cut pieces, resin wheels and a preformed canopy :


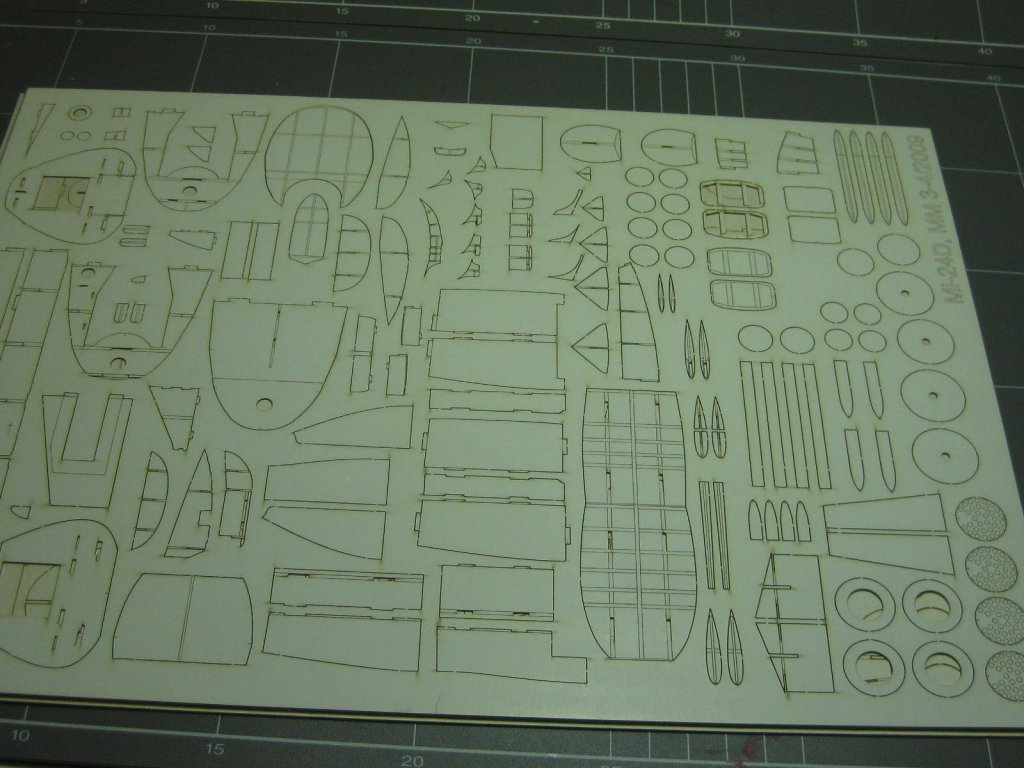

This is going to be my most difficult card model to date. There are over 4,000 pieces (HMS Hood had about 2,500), some of them half the size of the smallest I've done so far. This should be FUN
.
Danny
-
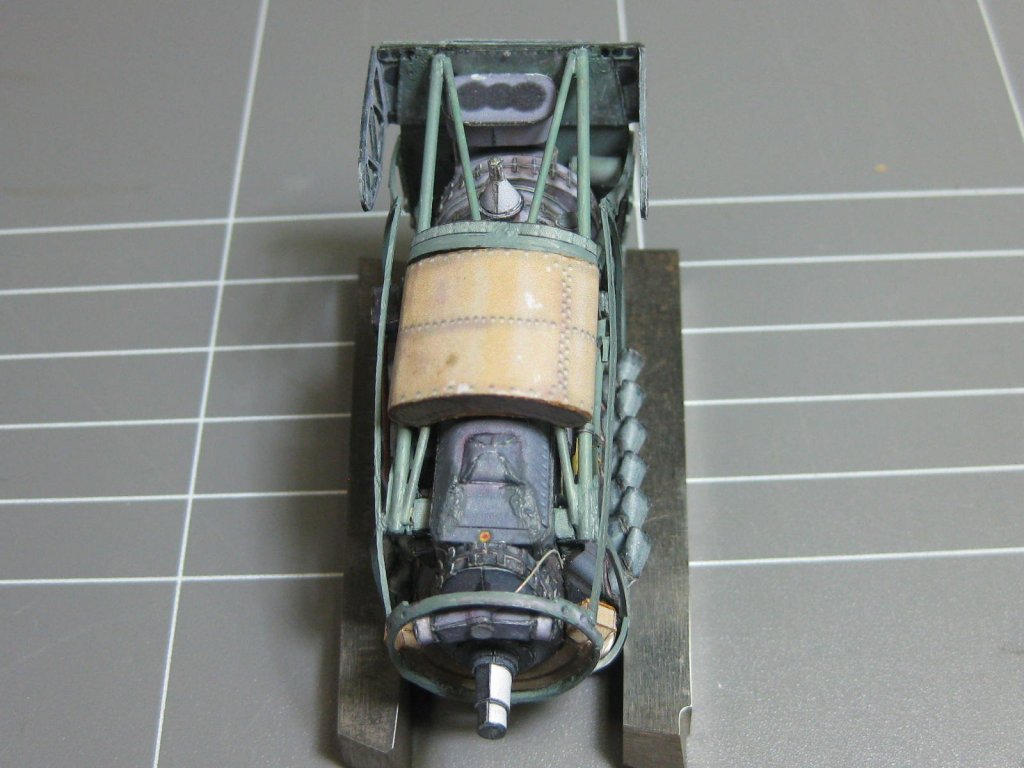
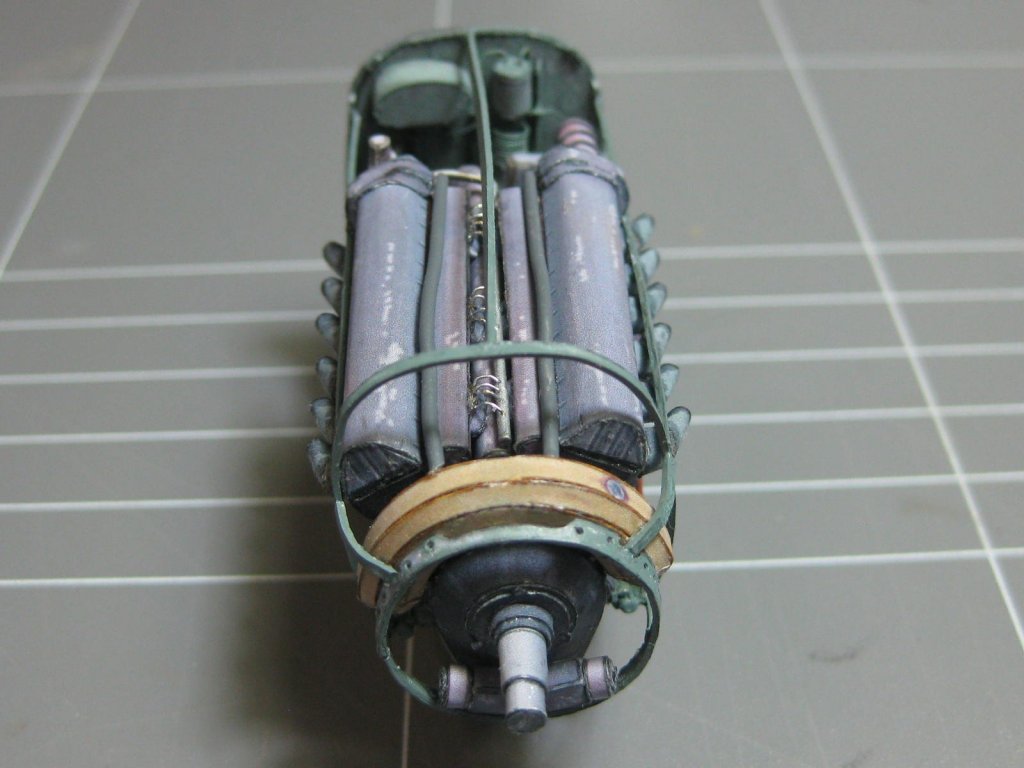
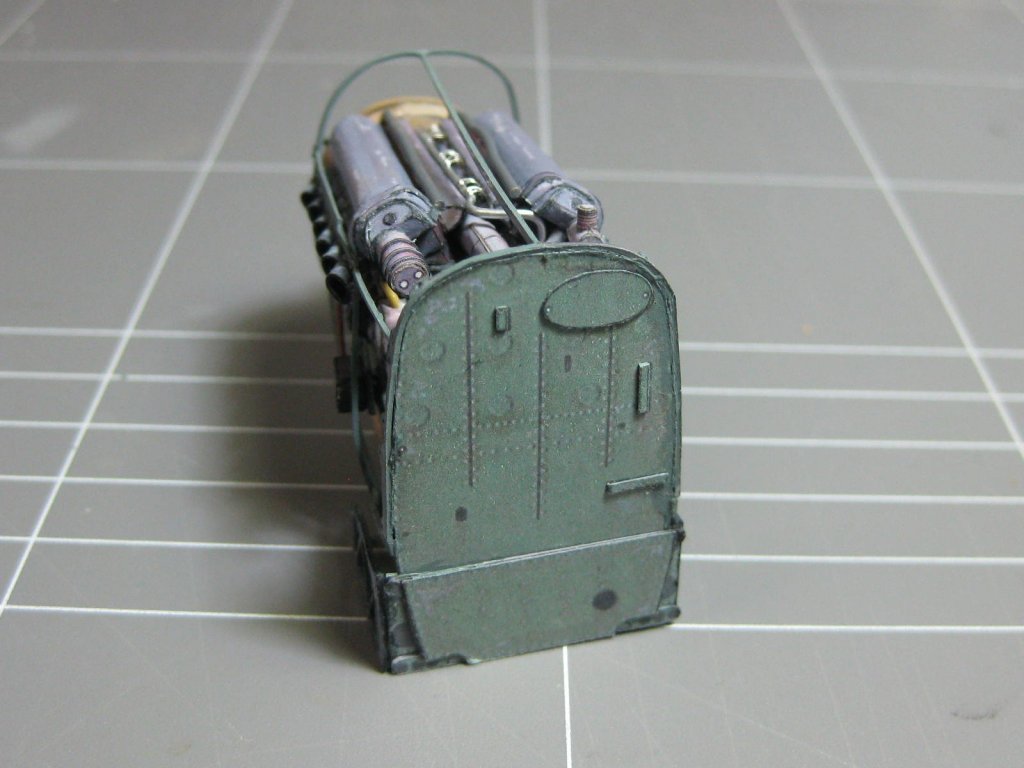
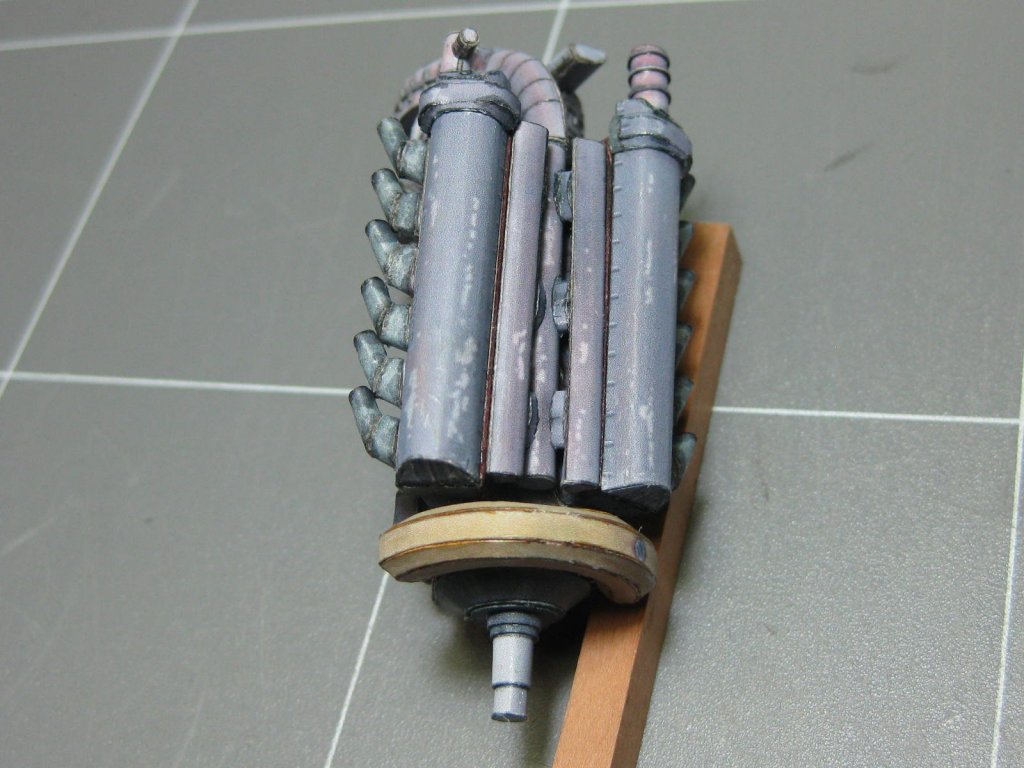
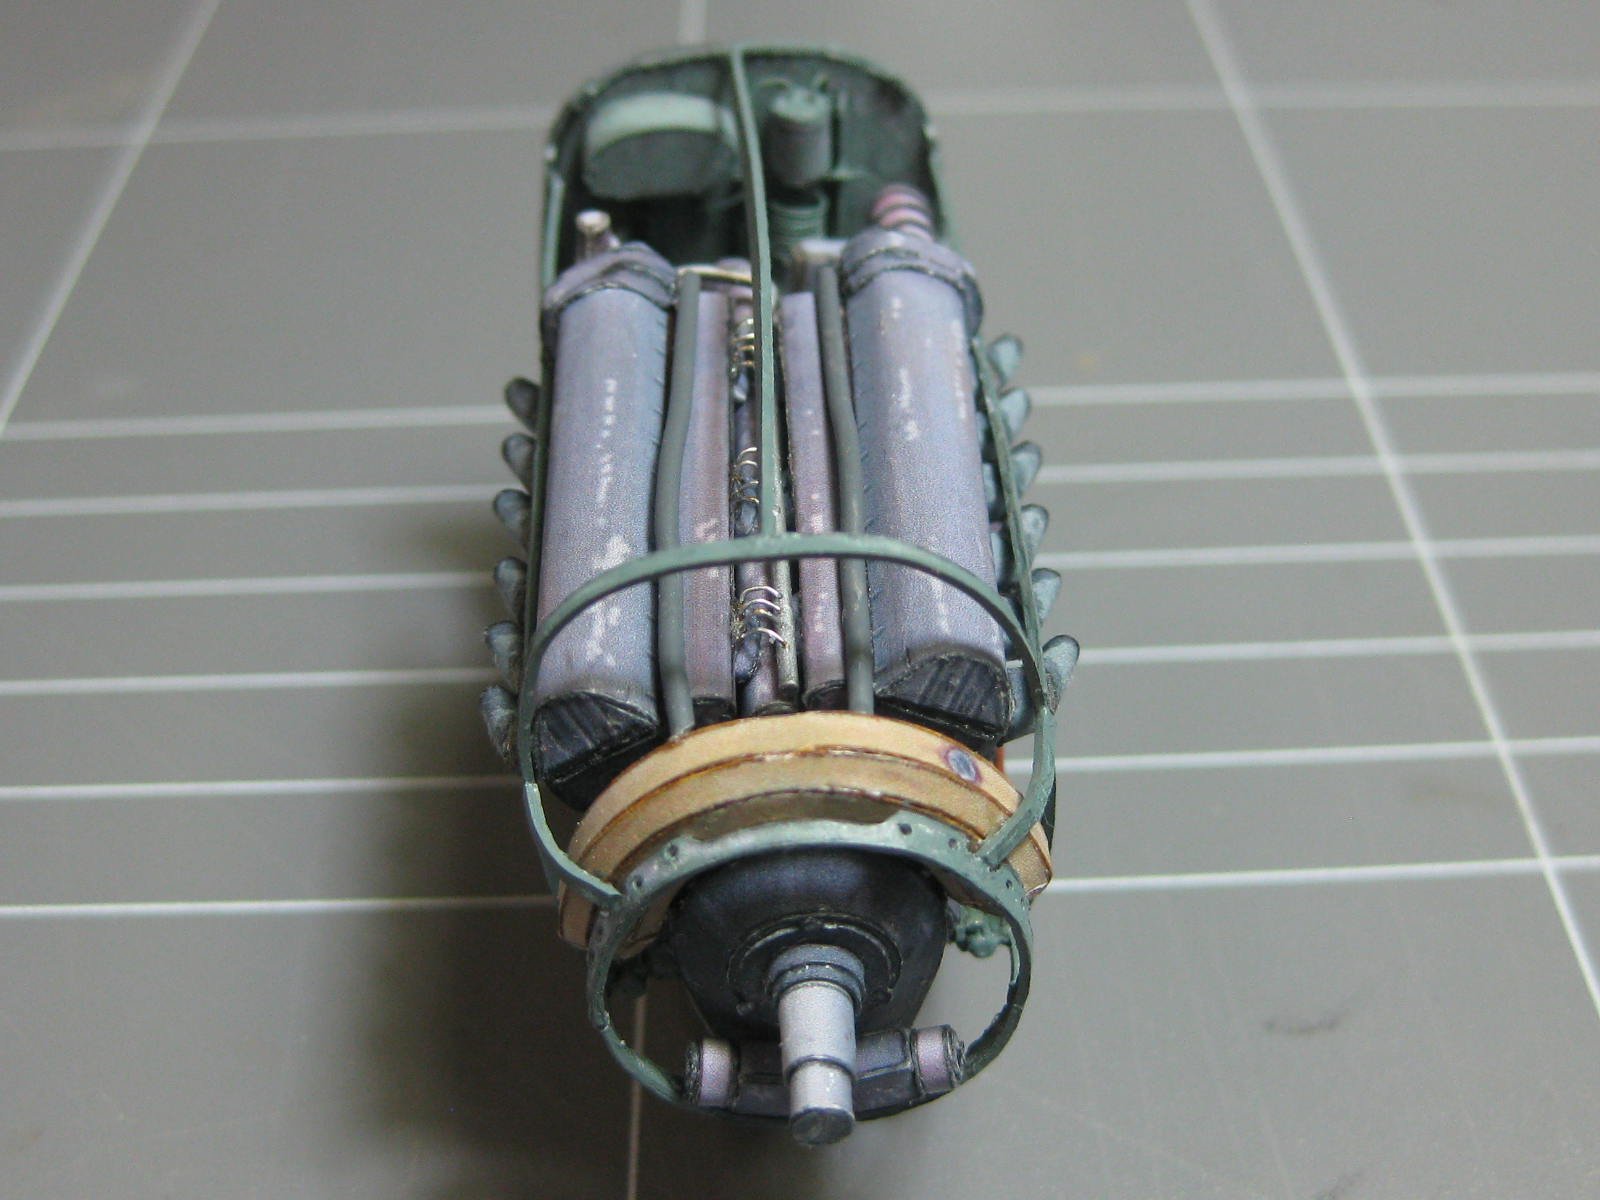
Thank you all. This model is now finished, here are the final pics including the lower tank and some skin bracing.
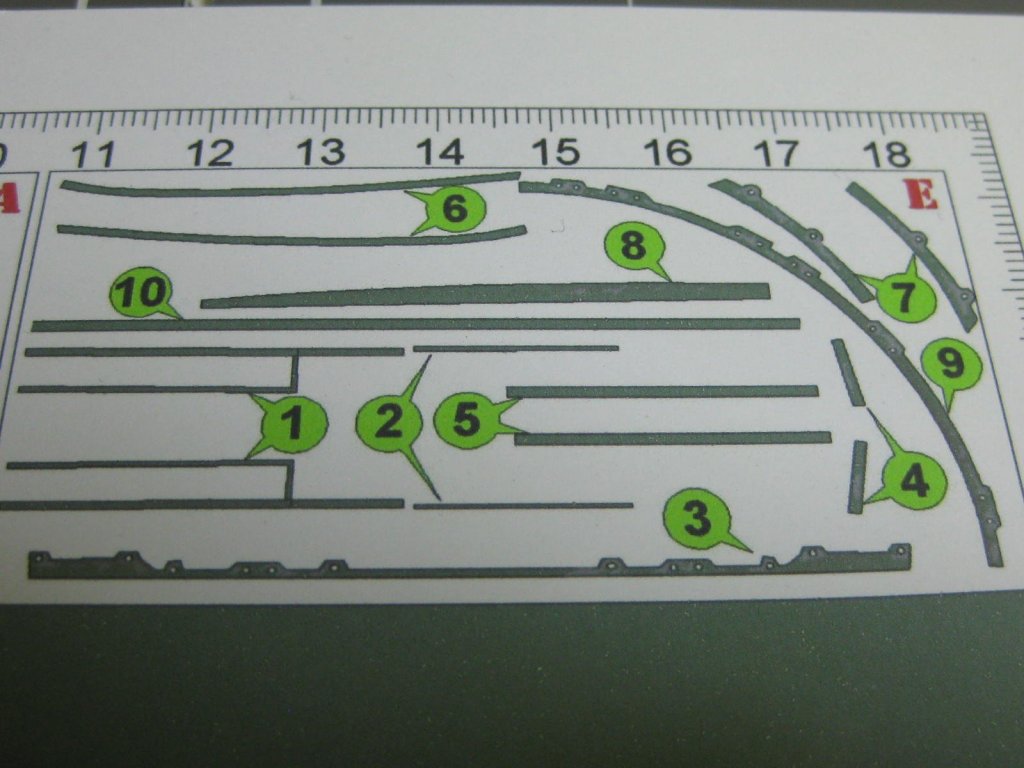
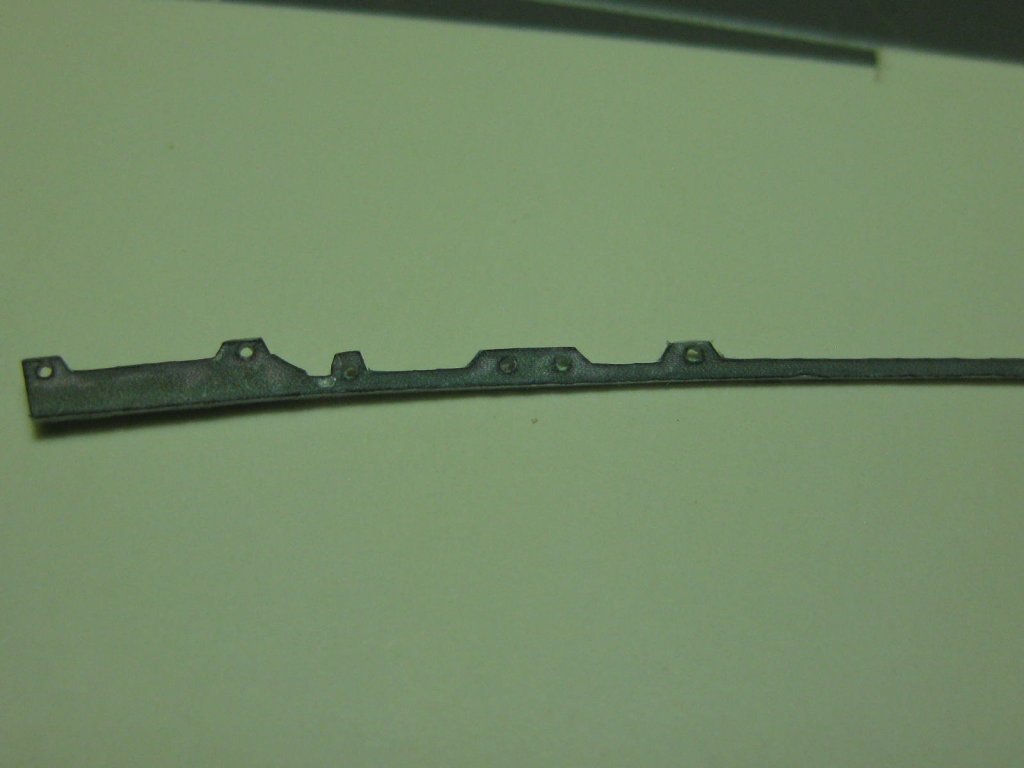
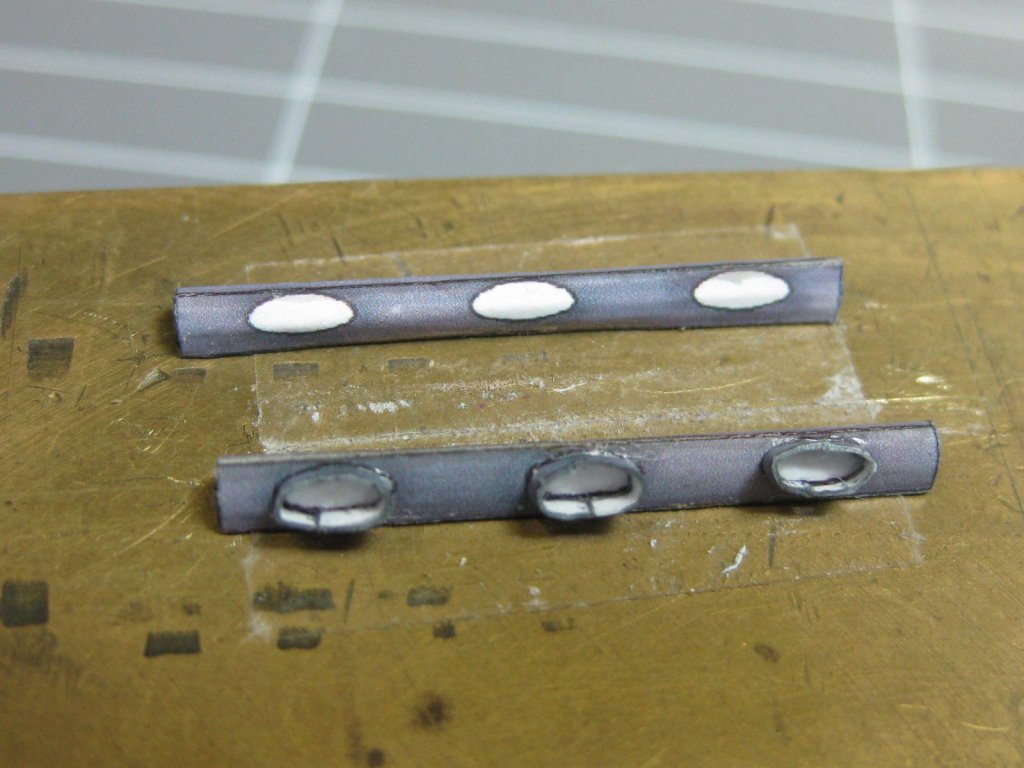
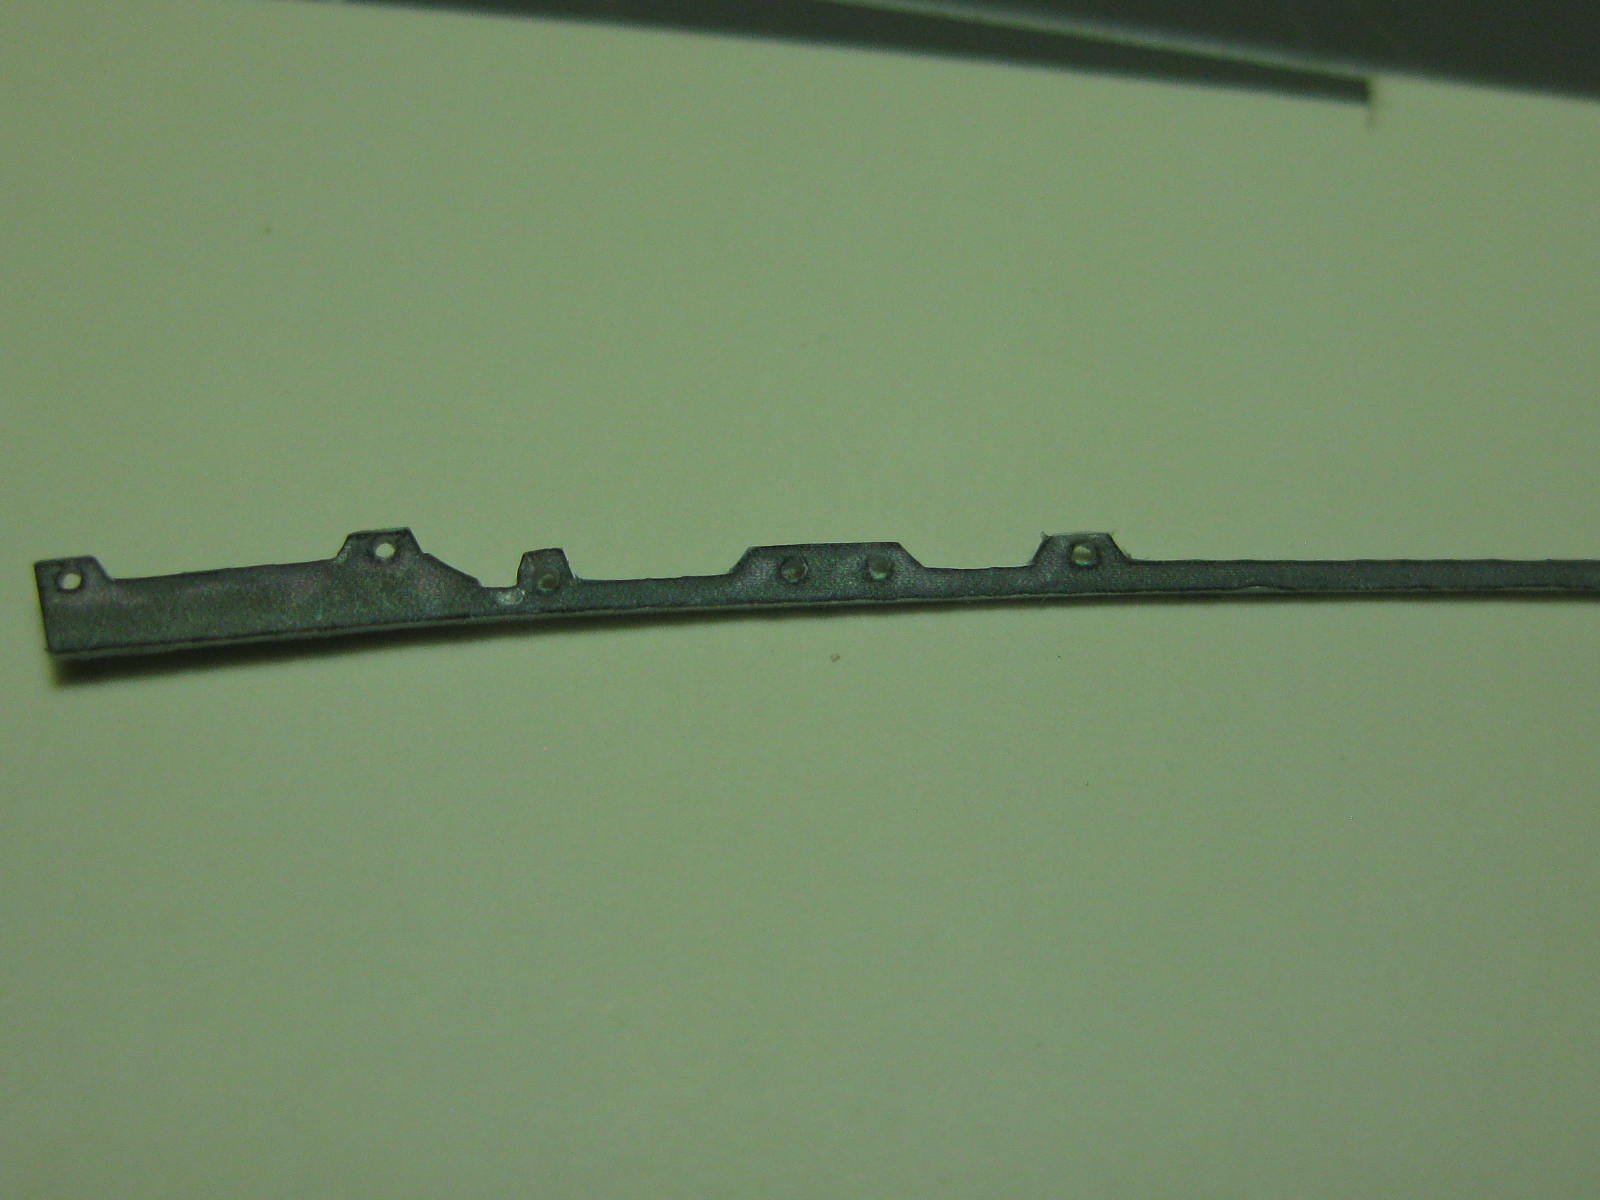
Here are the parts for the bracing - lots of careful cutting. I cut one side of each piece first, applied a little CA glue and then cut the other side. This prevented the piece from distorting as some of them were only 0.3mm wide and were very difficult to cut :
Here are the finished pics :


Danny
-
40 minutes ago, popeye the sailor said:
wwow.........looks really great Danny! without a doubt....a feat of engineering
")
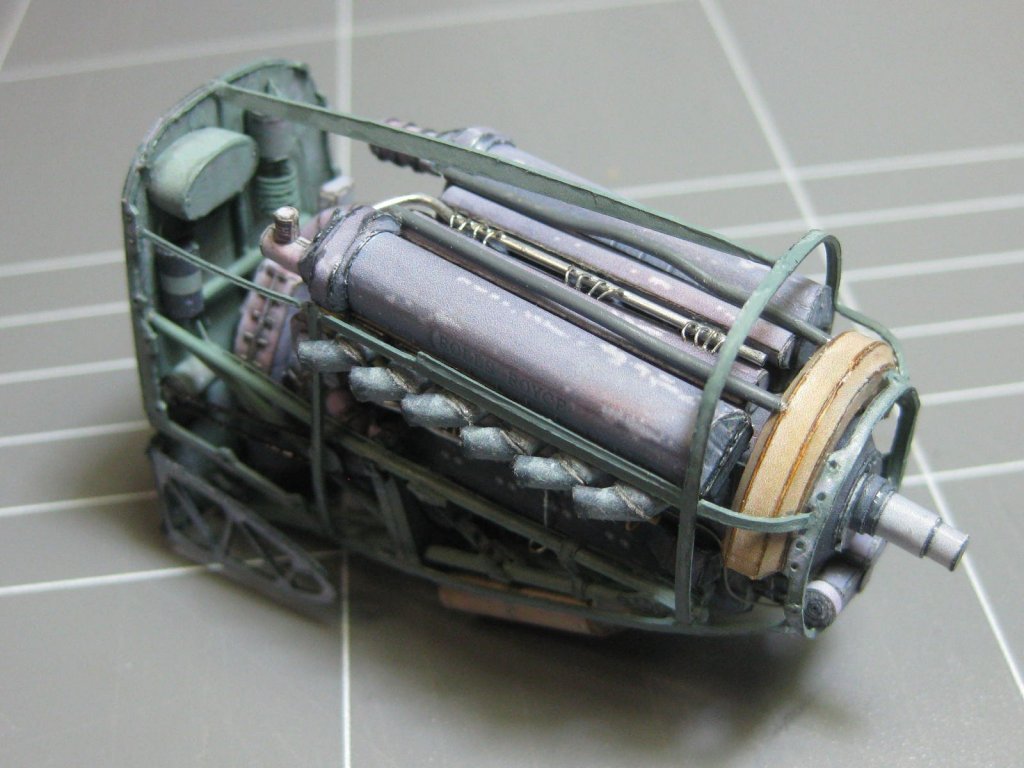
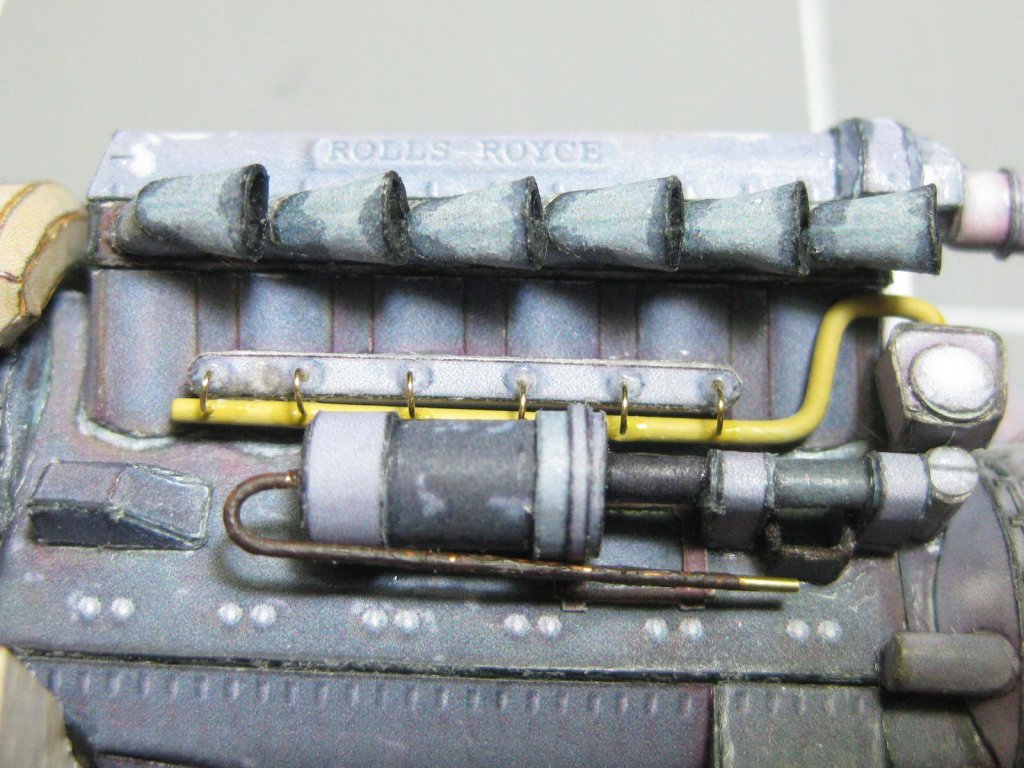
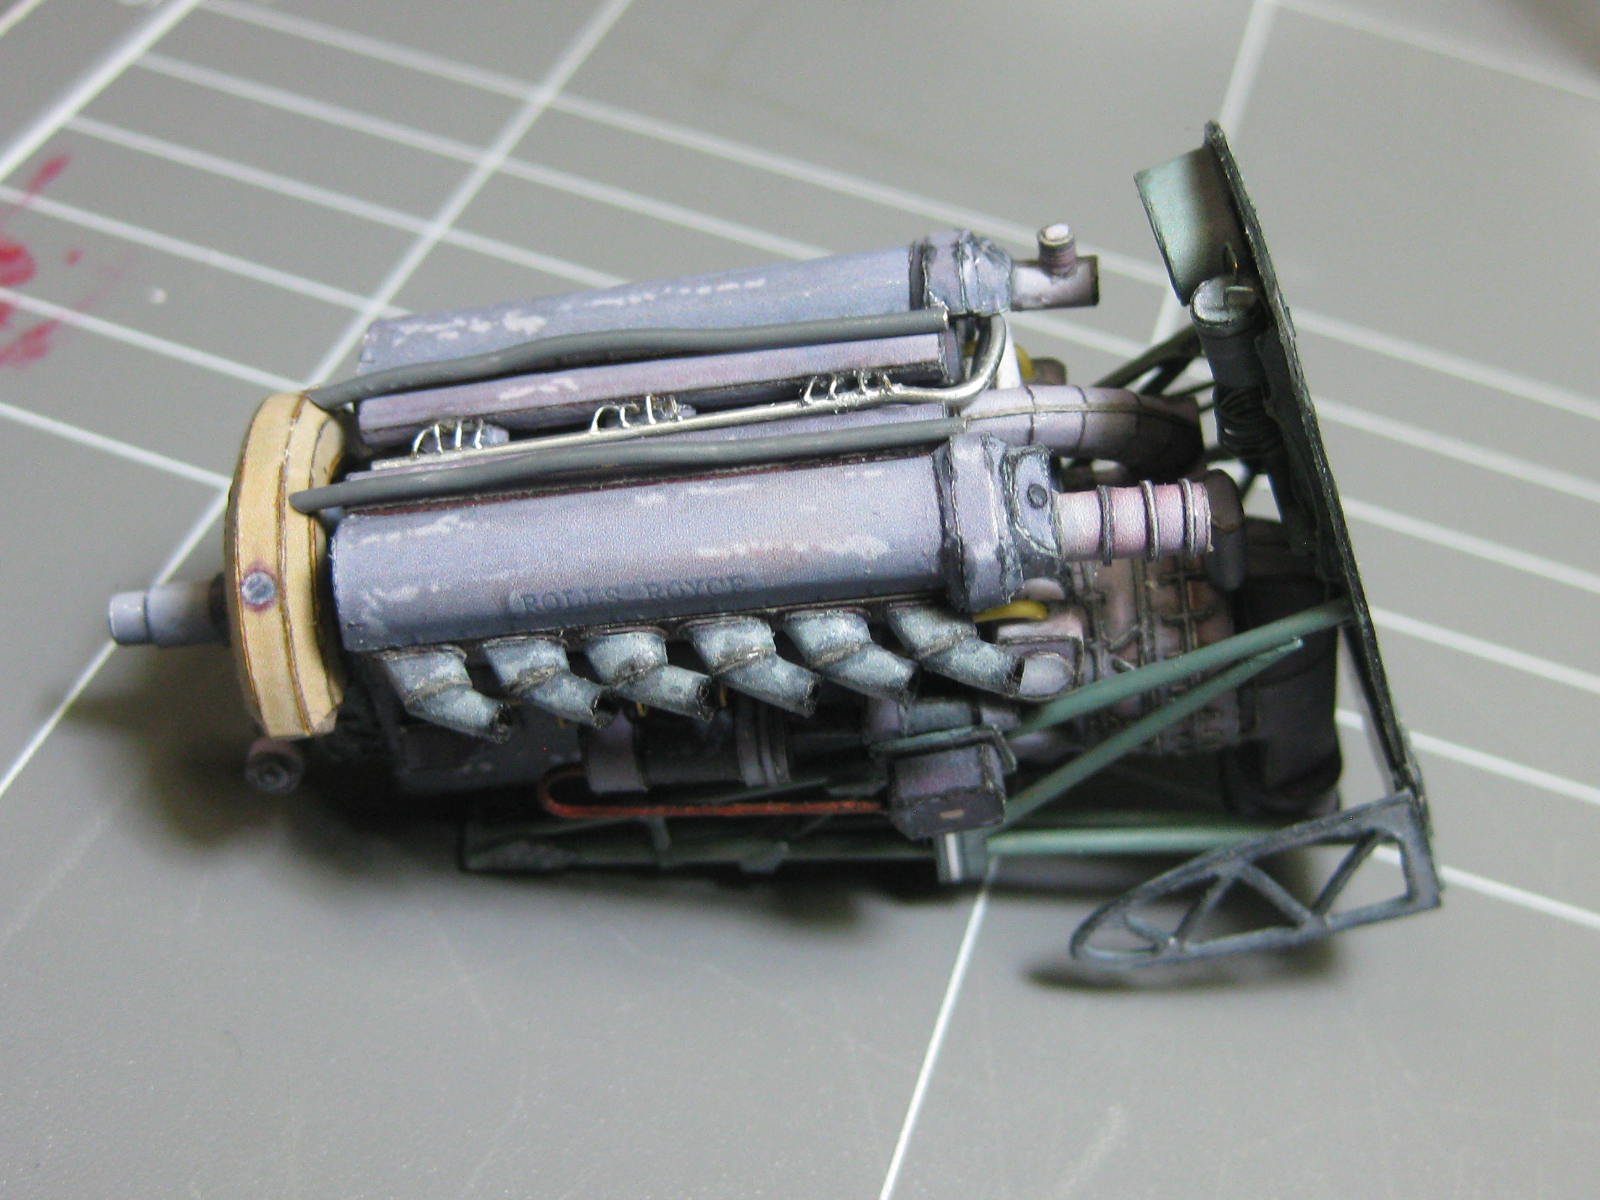
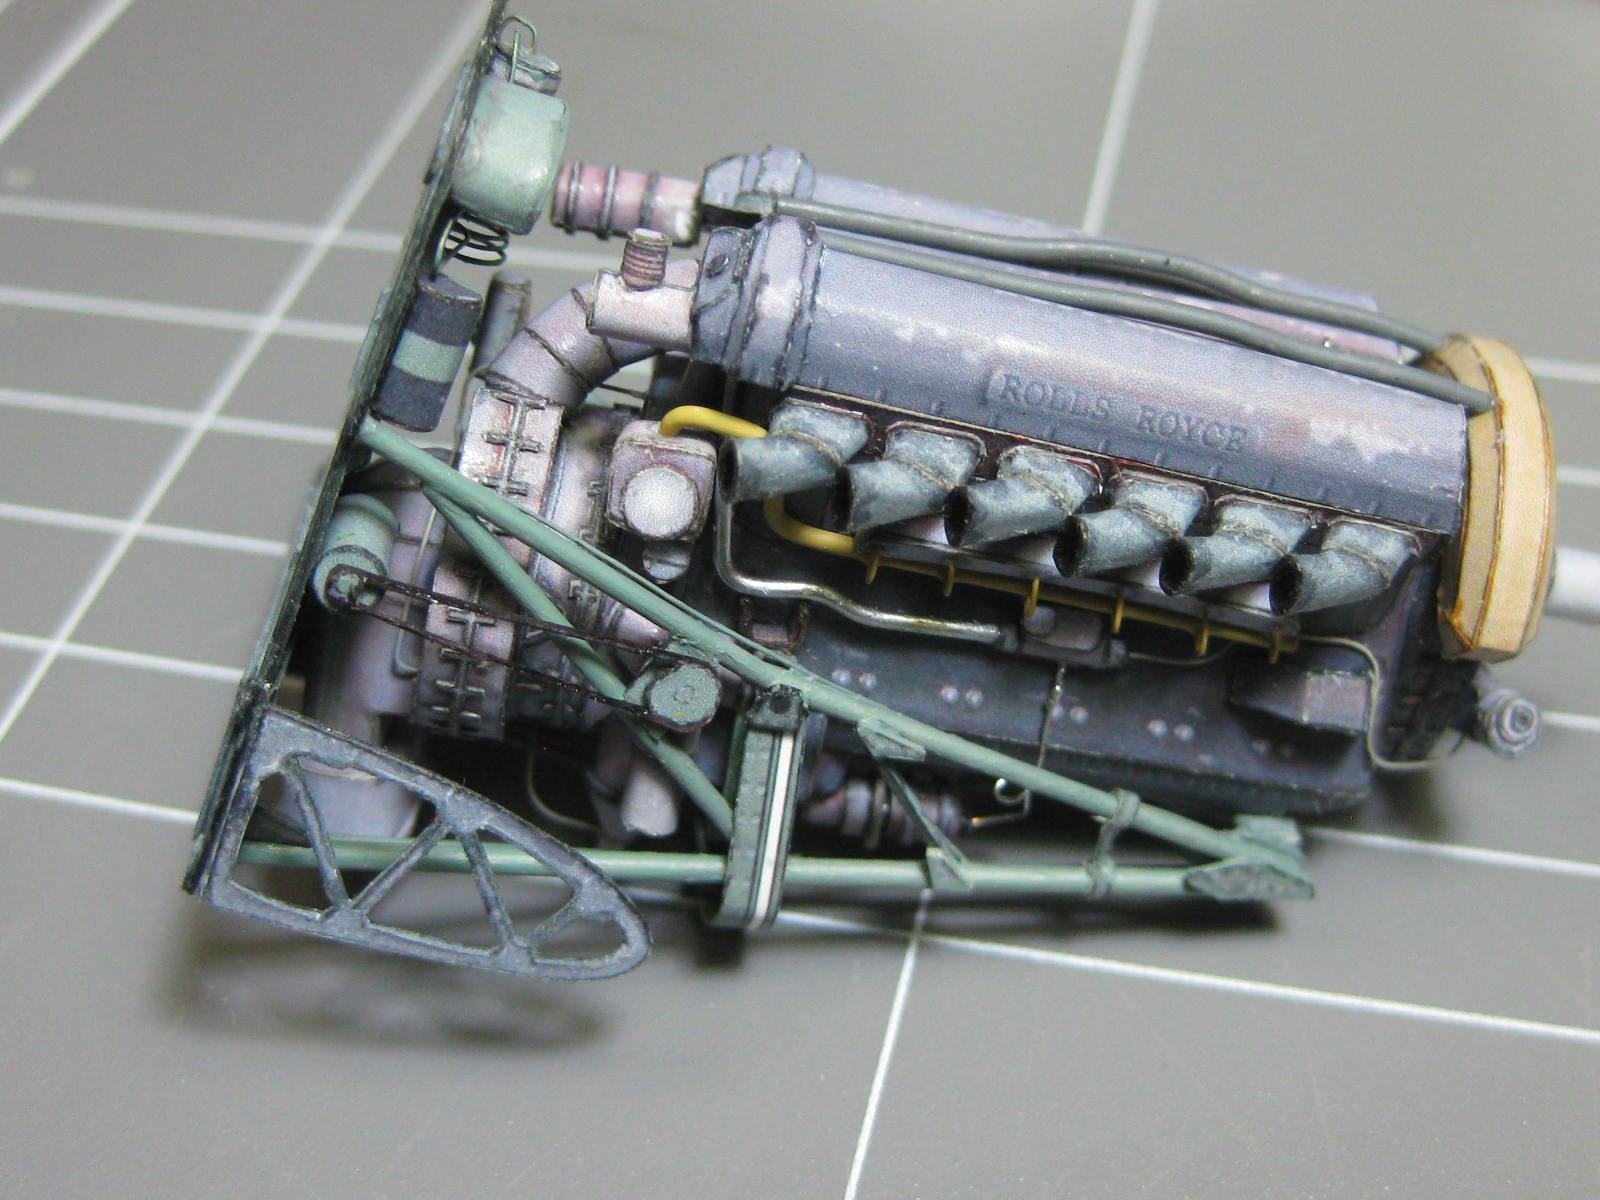
Thanks Popeye. If you think my model looks good check out this pic of a restored real engine :

Danny
- FatFingers, hexnut, mtaylor and 3 others
-
6
-
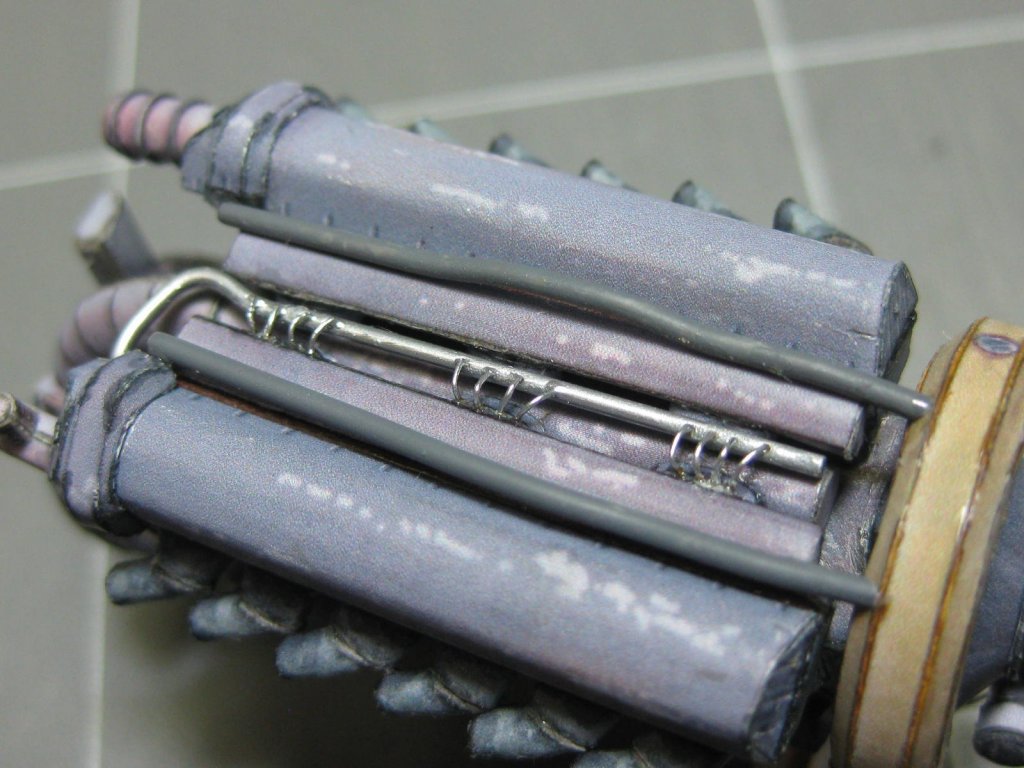
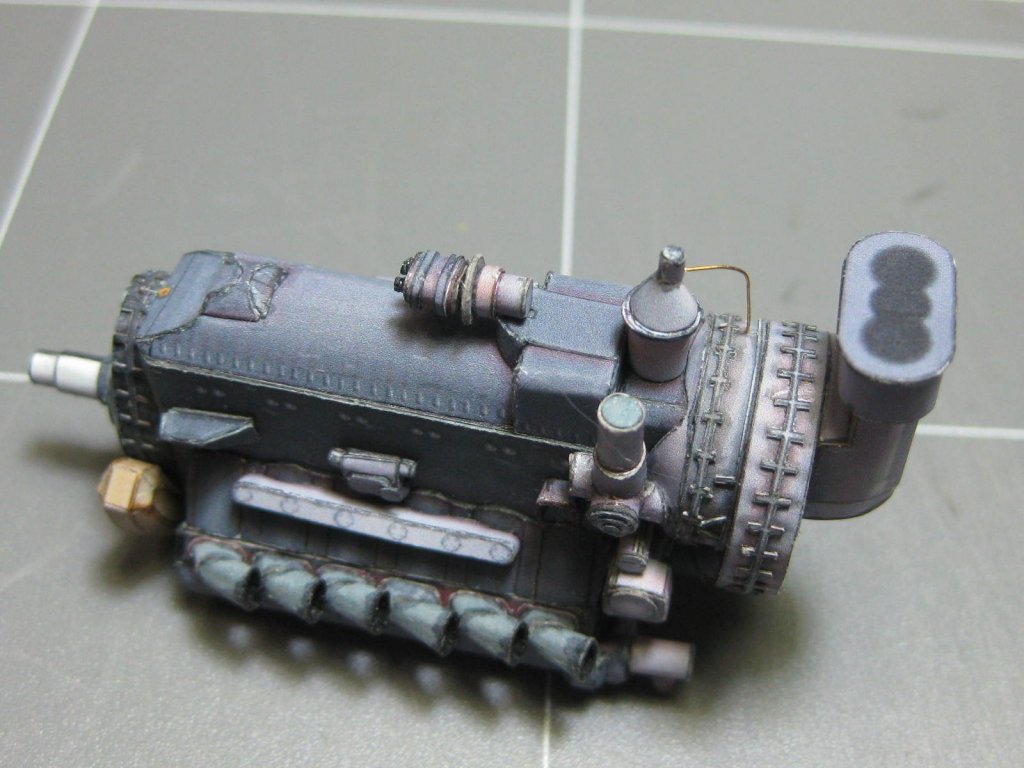
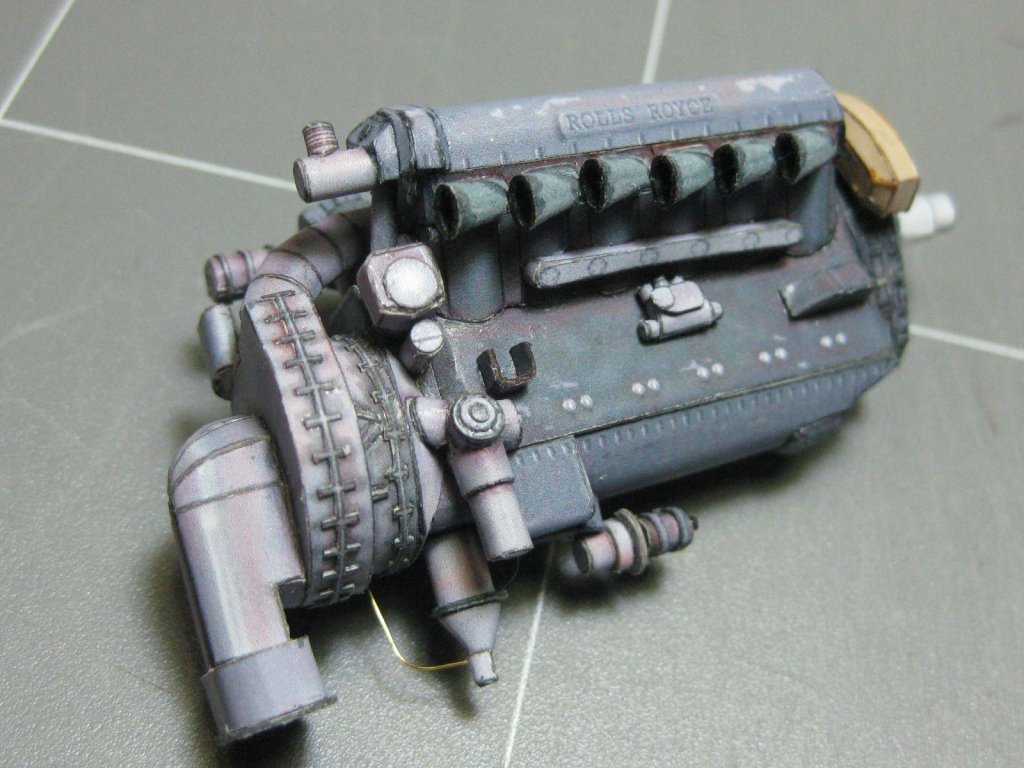
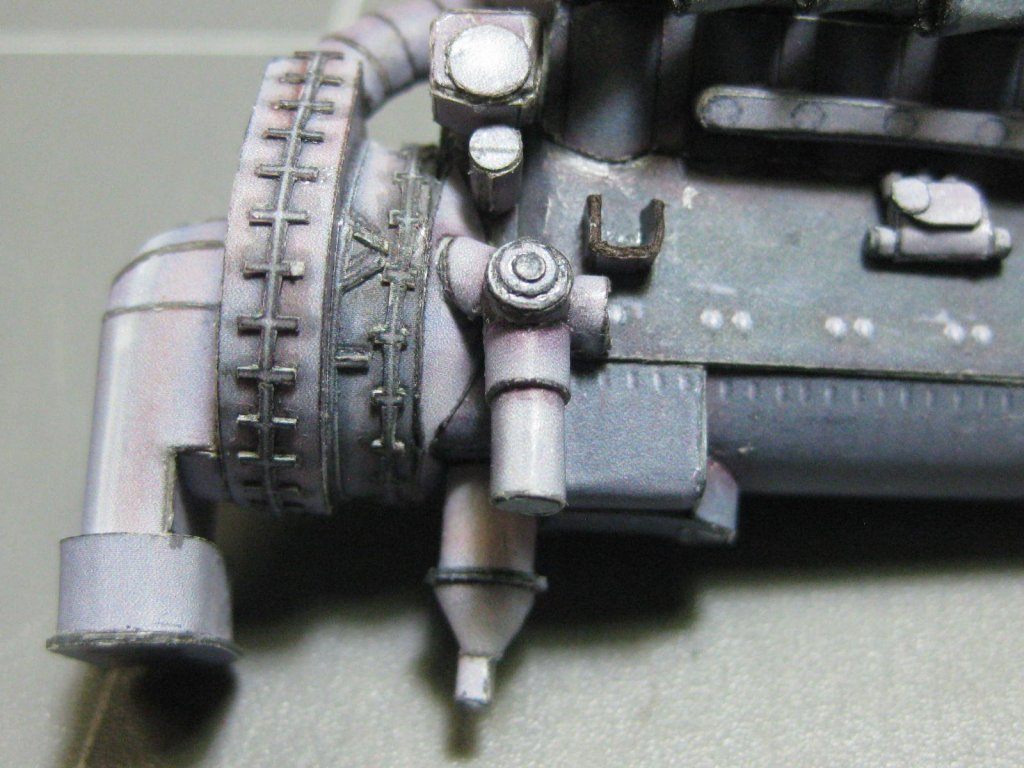
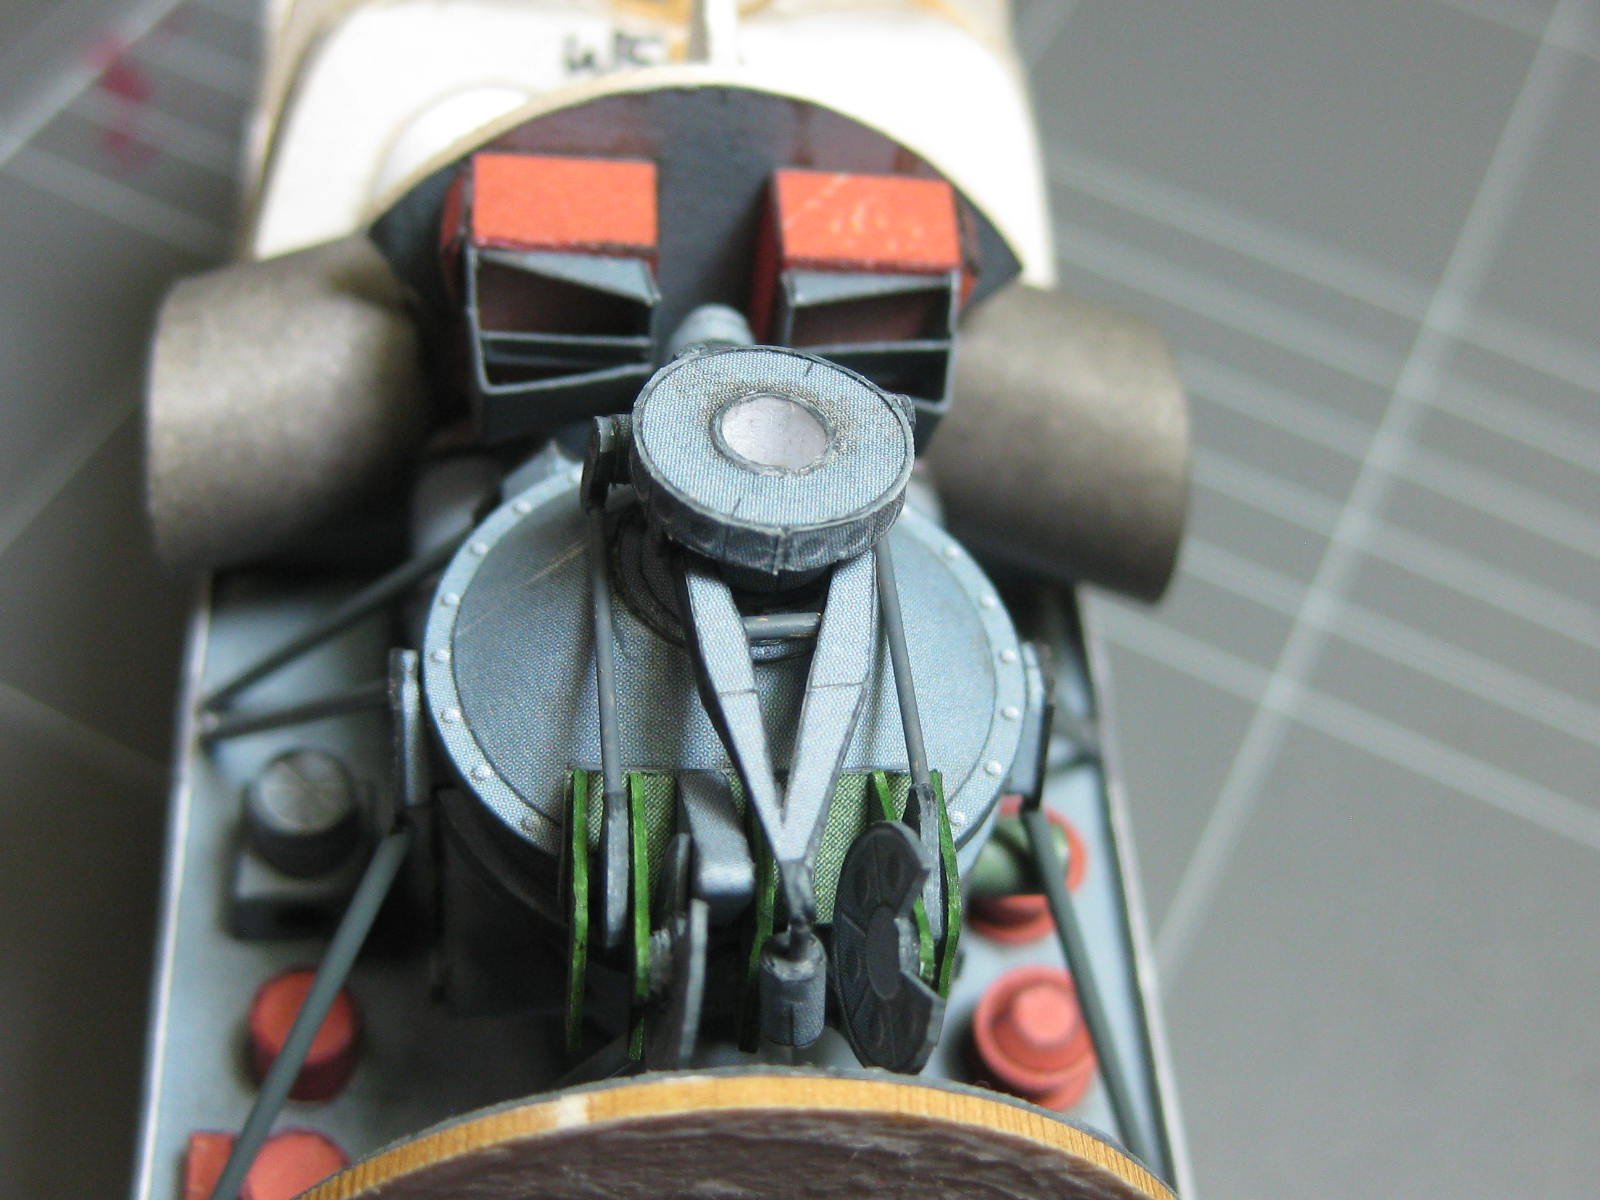
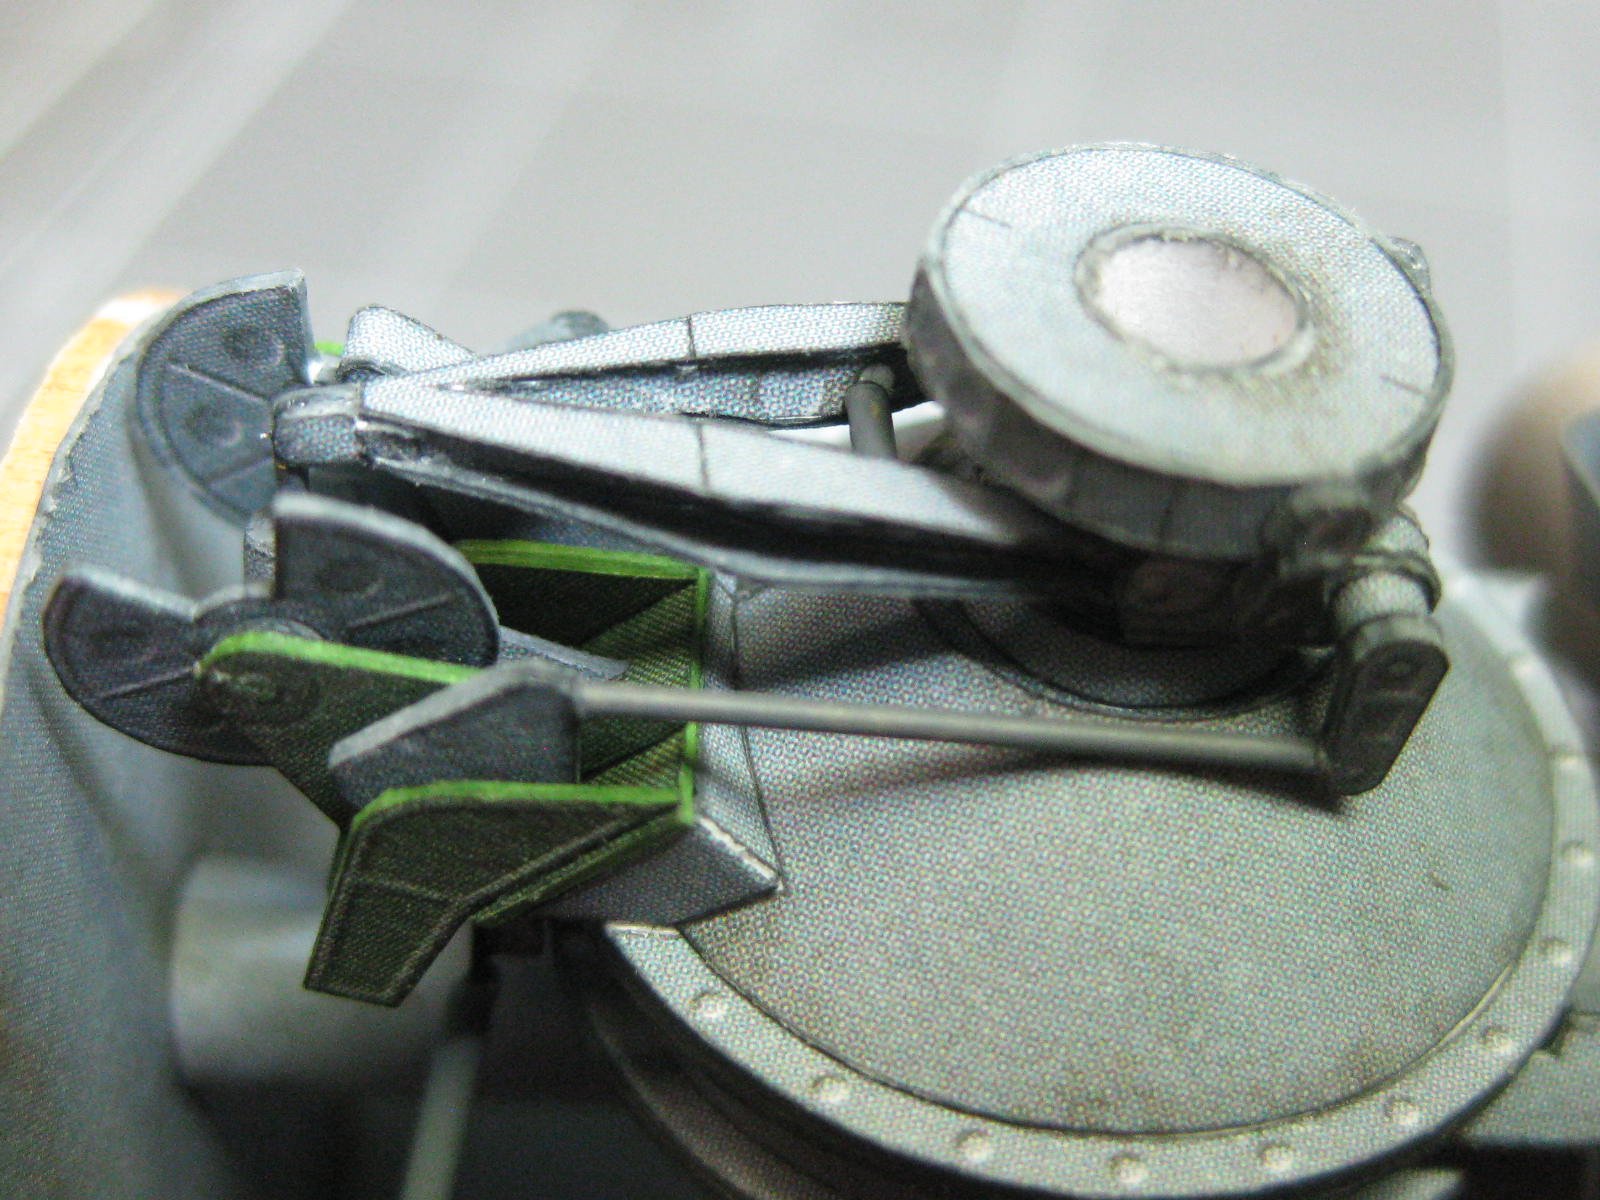
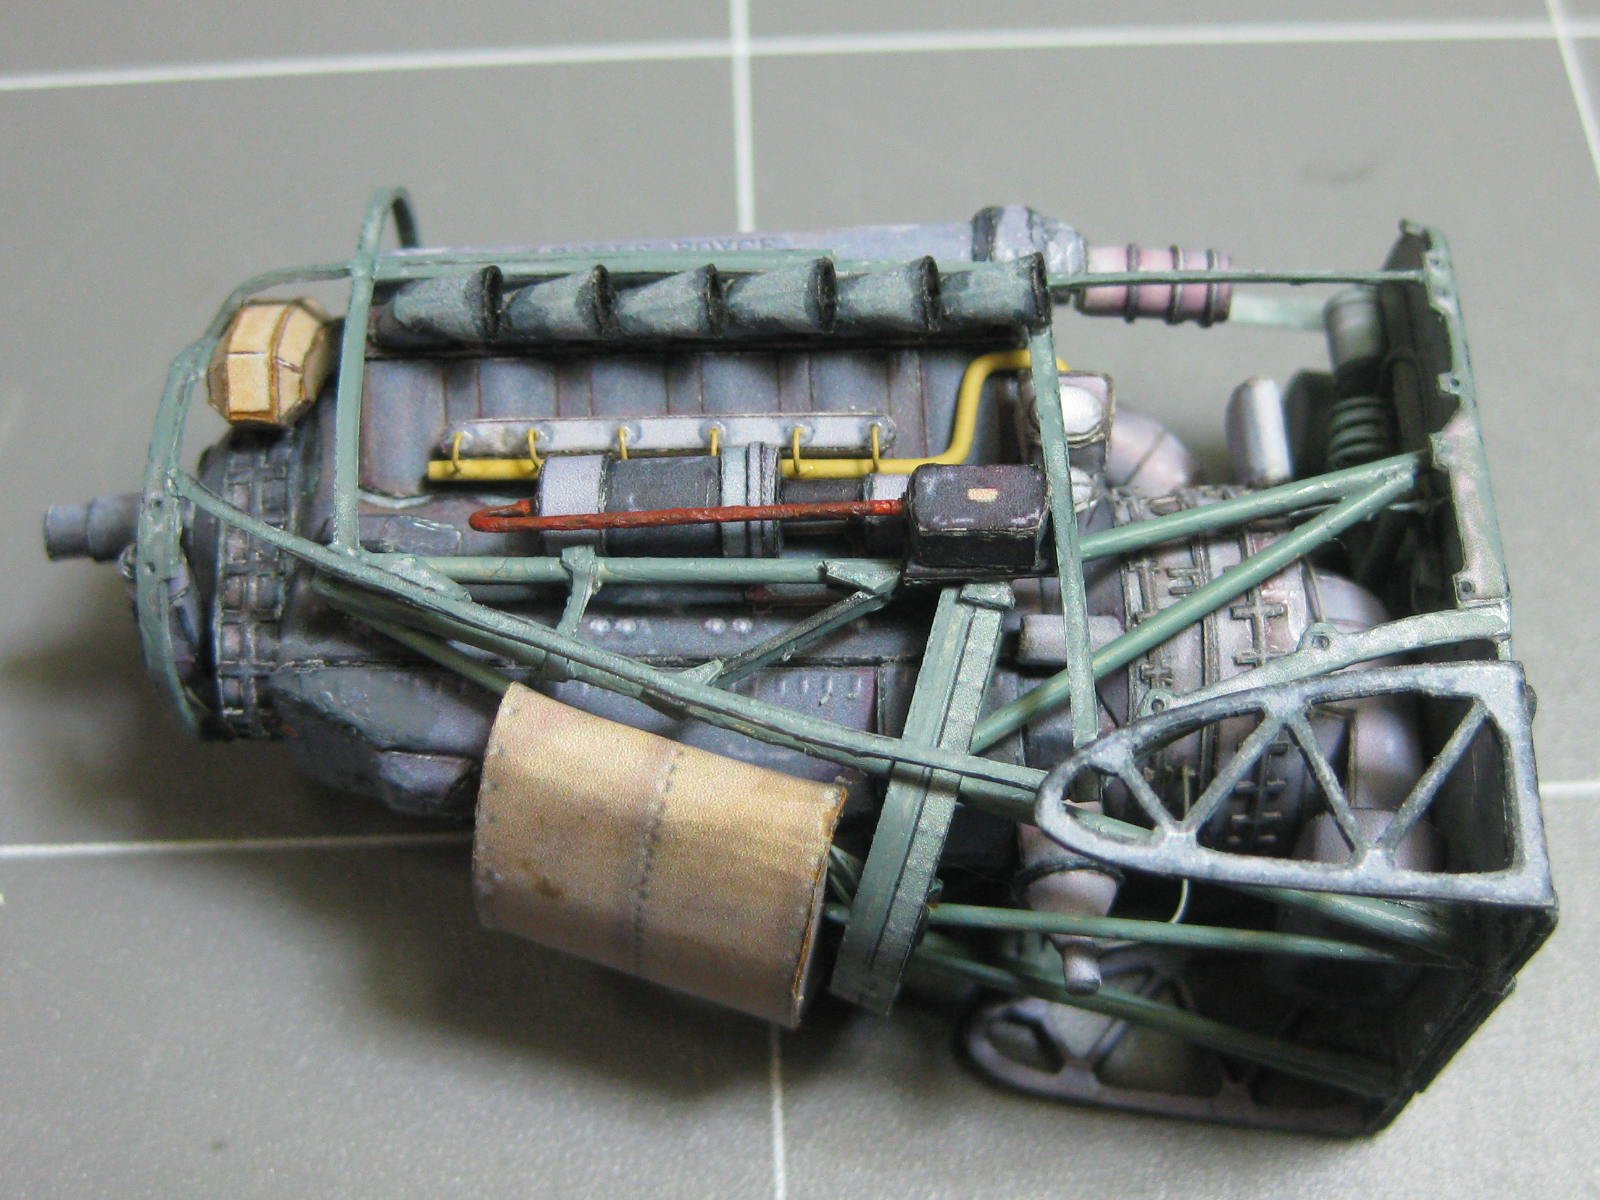
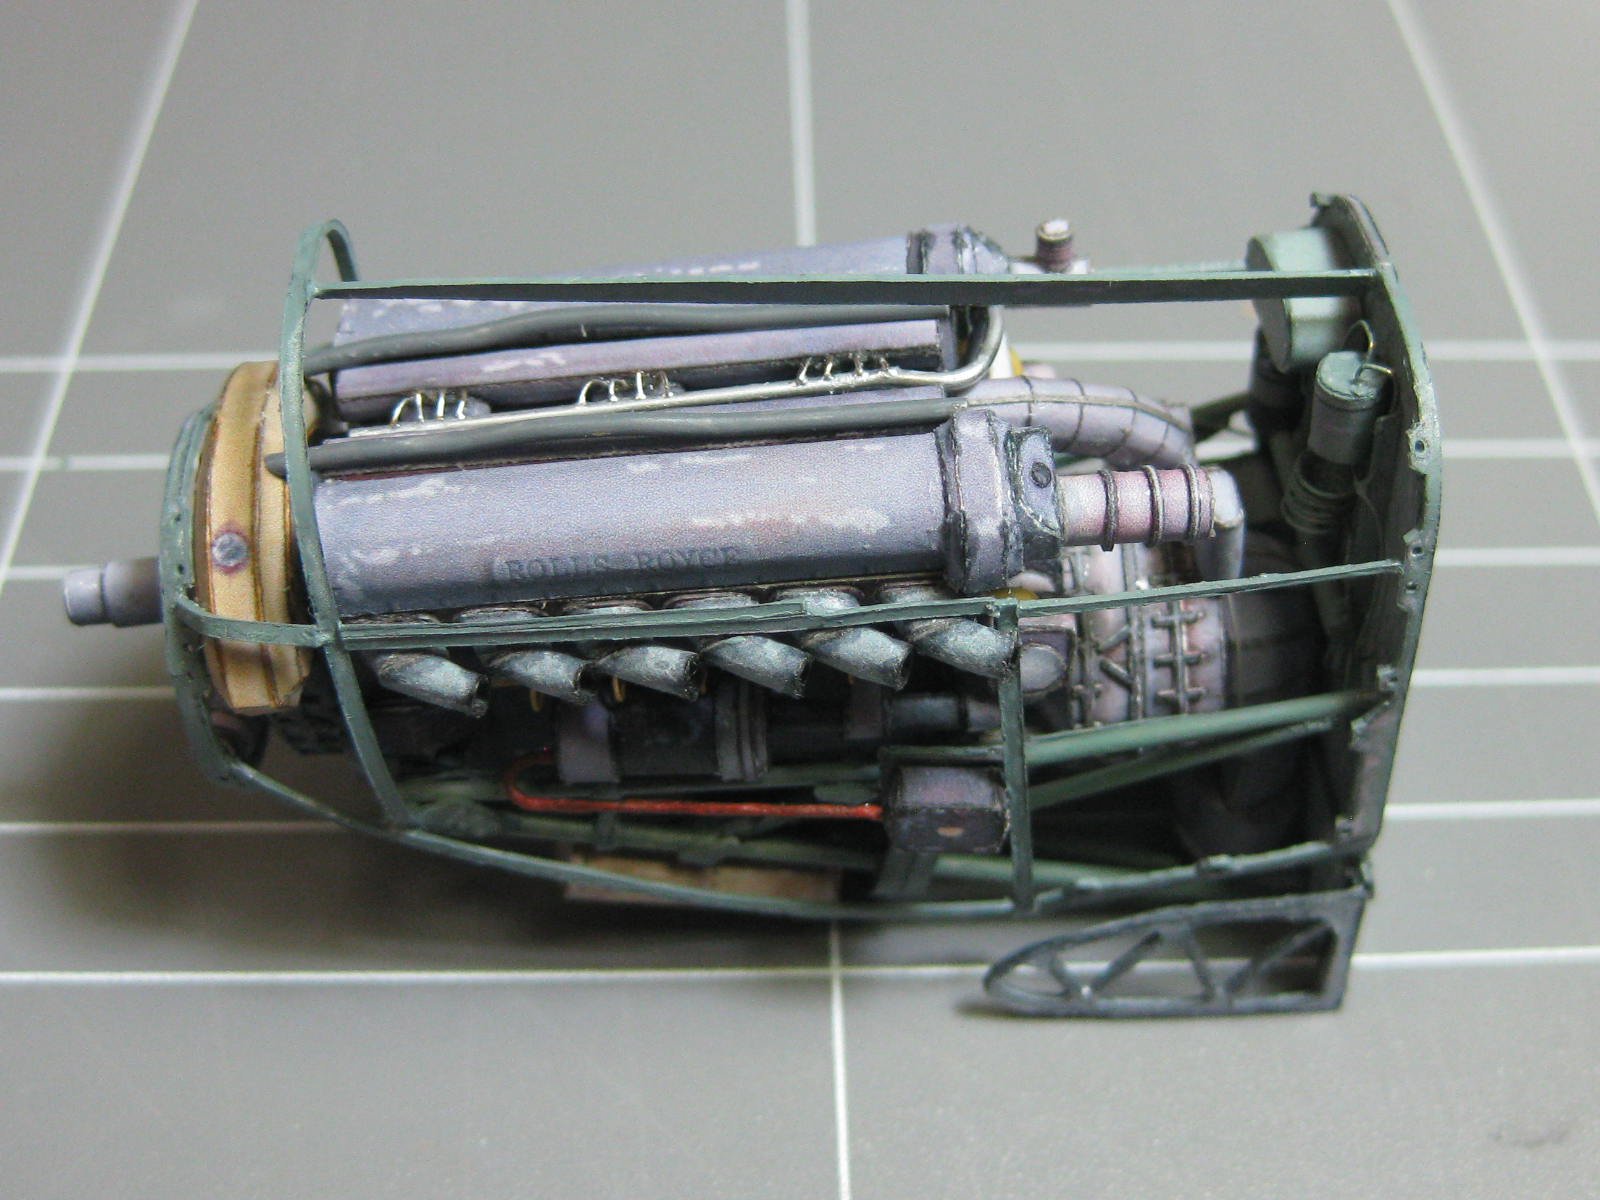
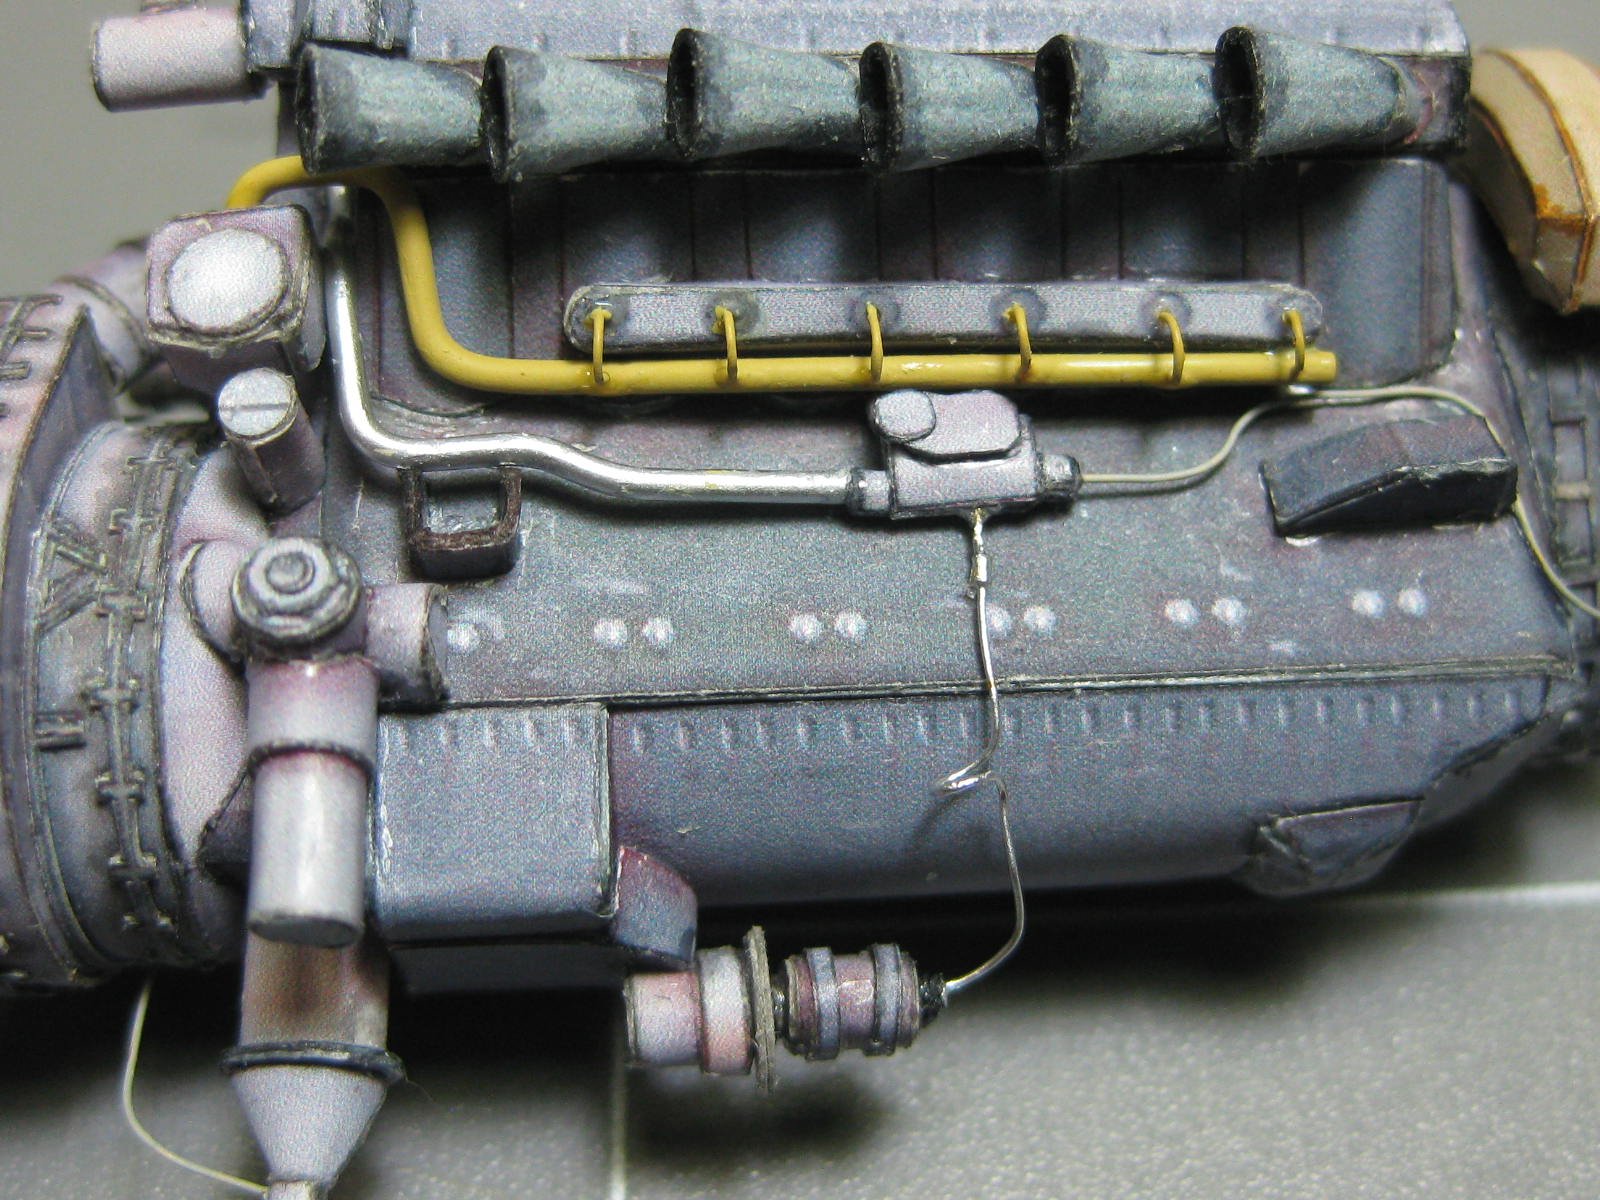
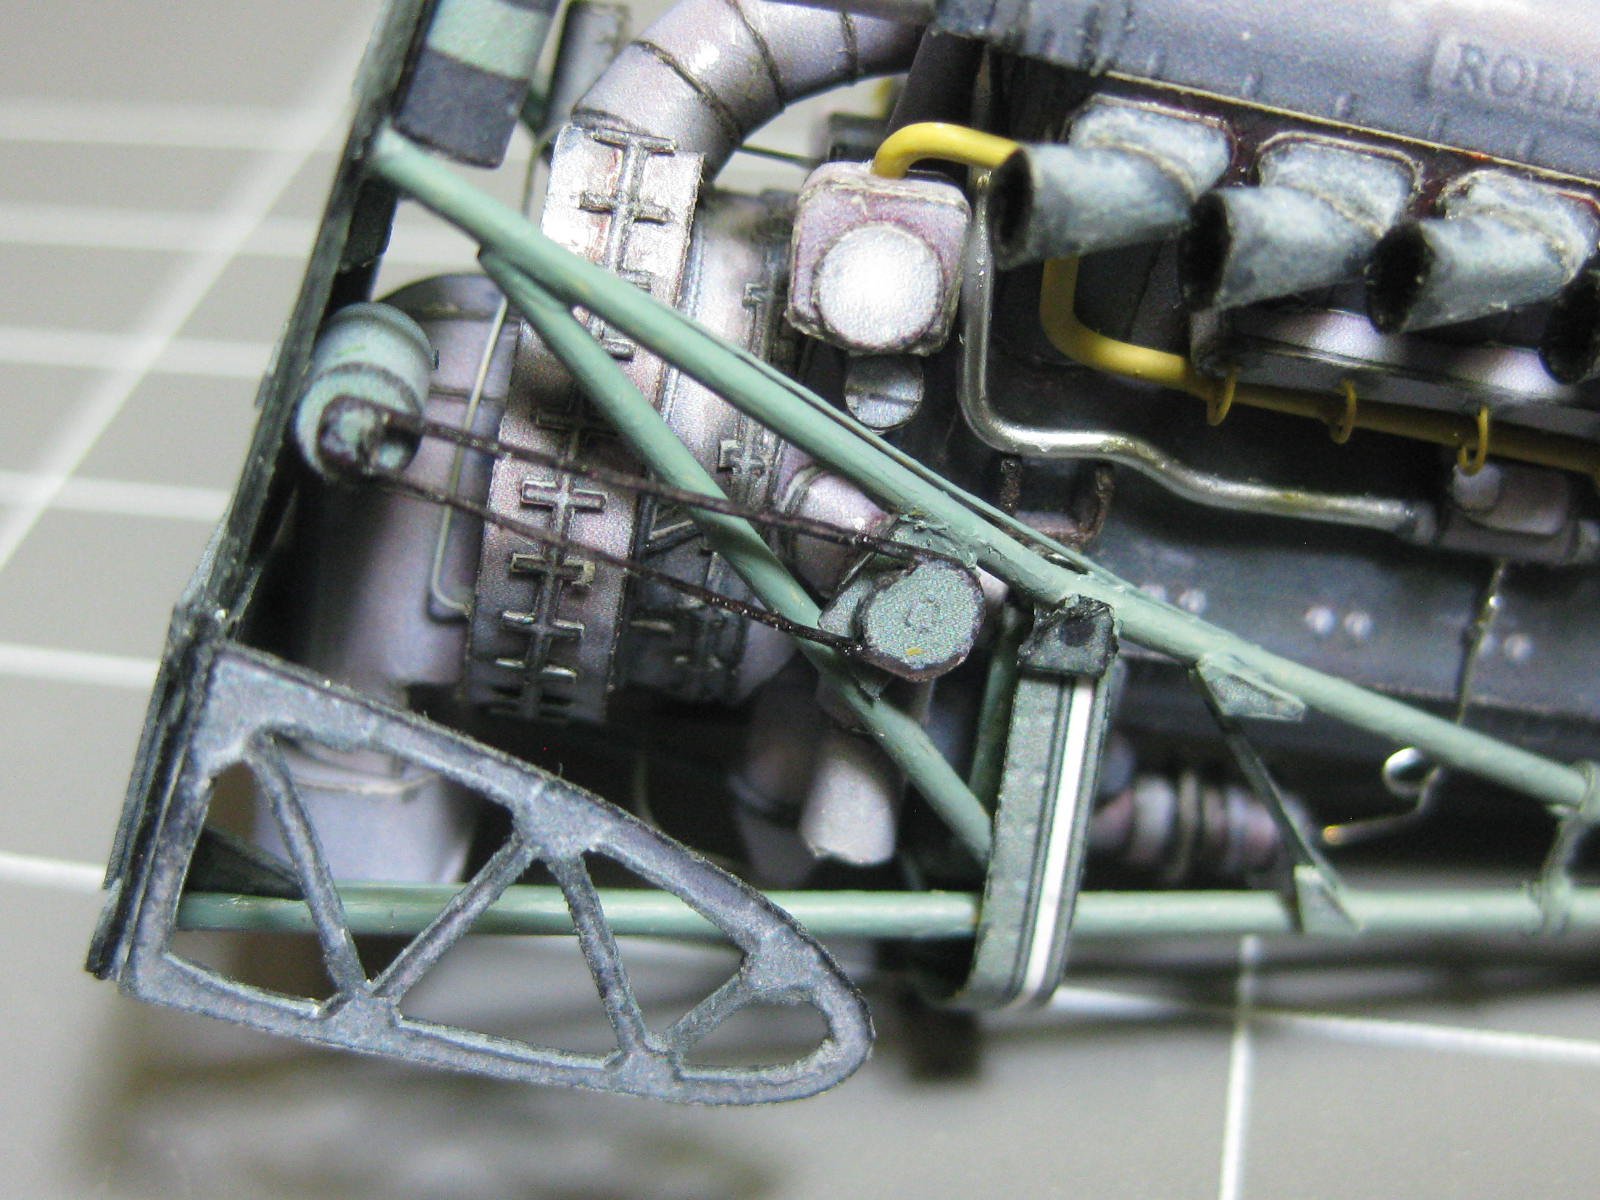
The piping and wiring is all done :

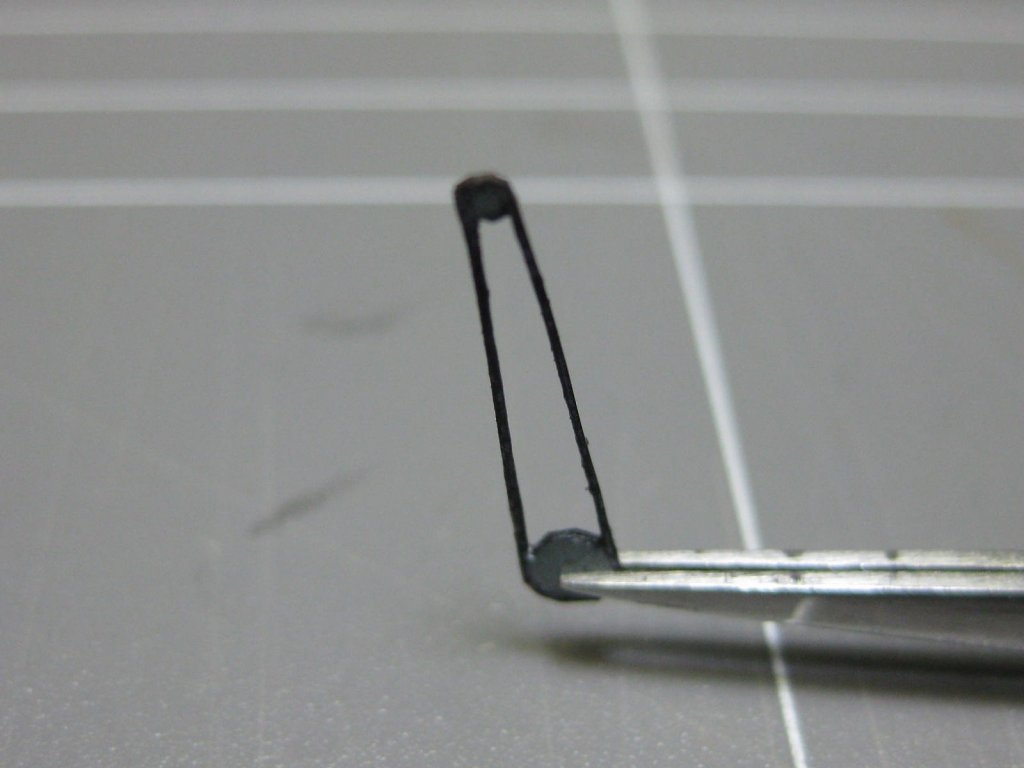
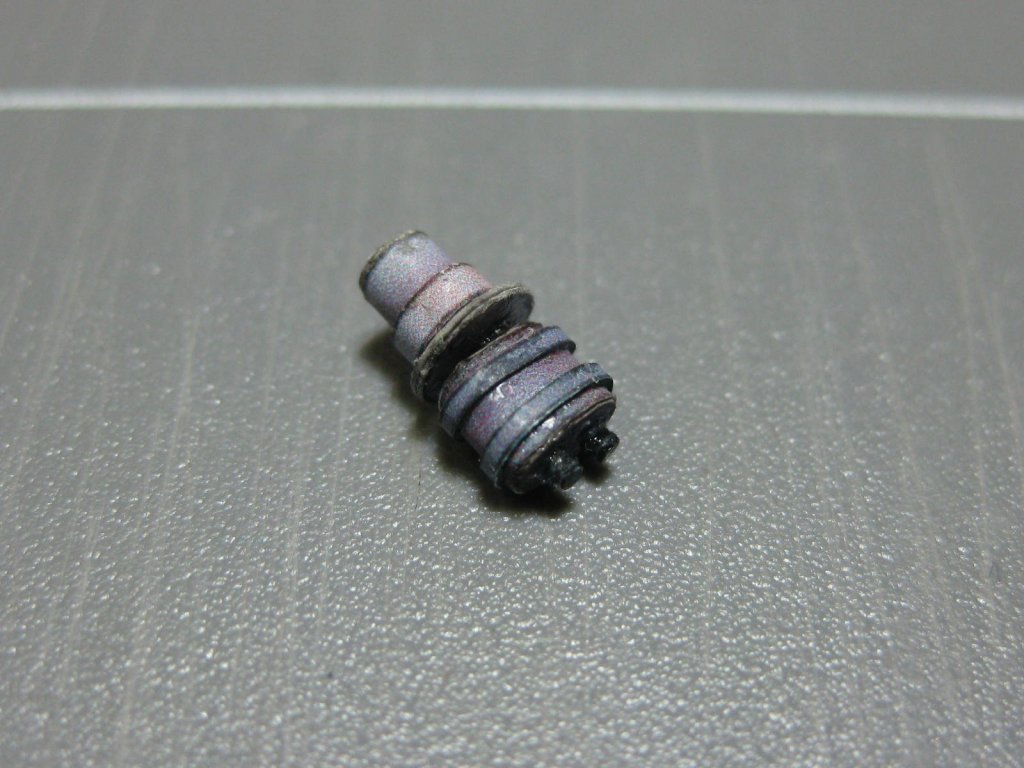
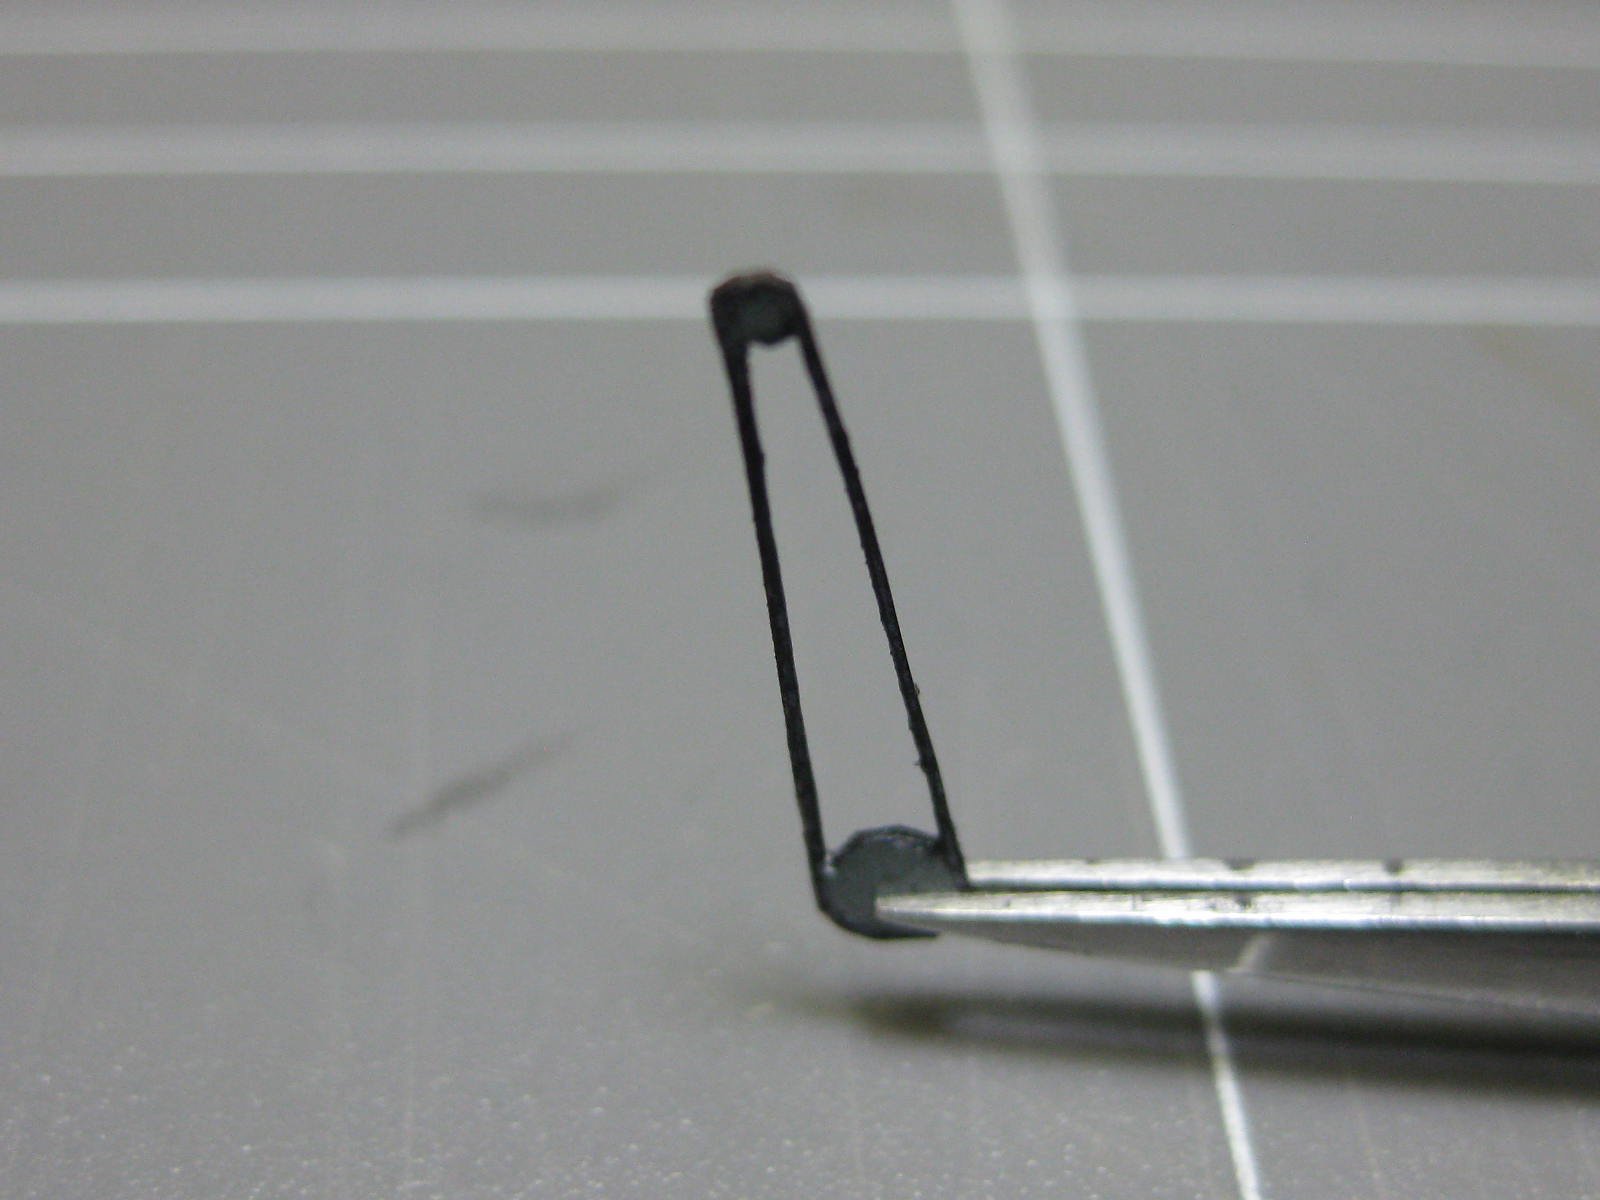
This drive chain wasn't east to cut. The chain is only 0.3mm wide and it's also double thickness :
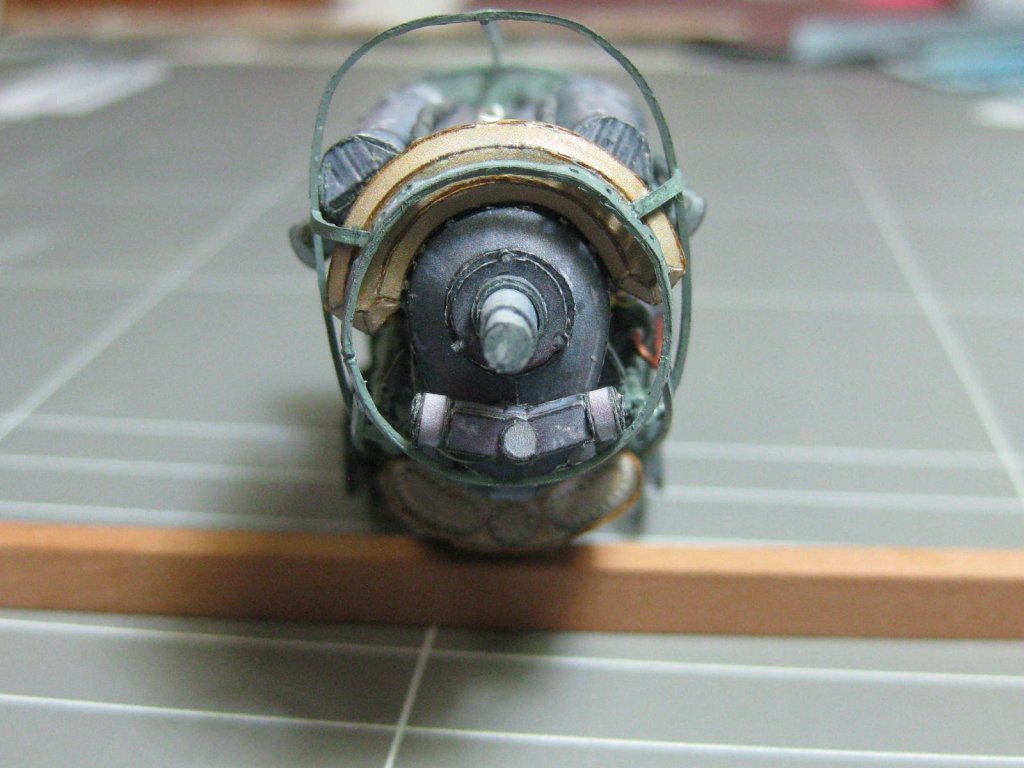
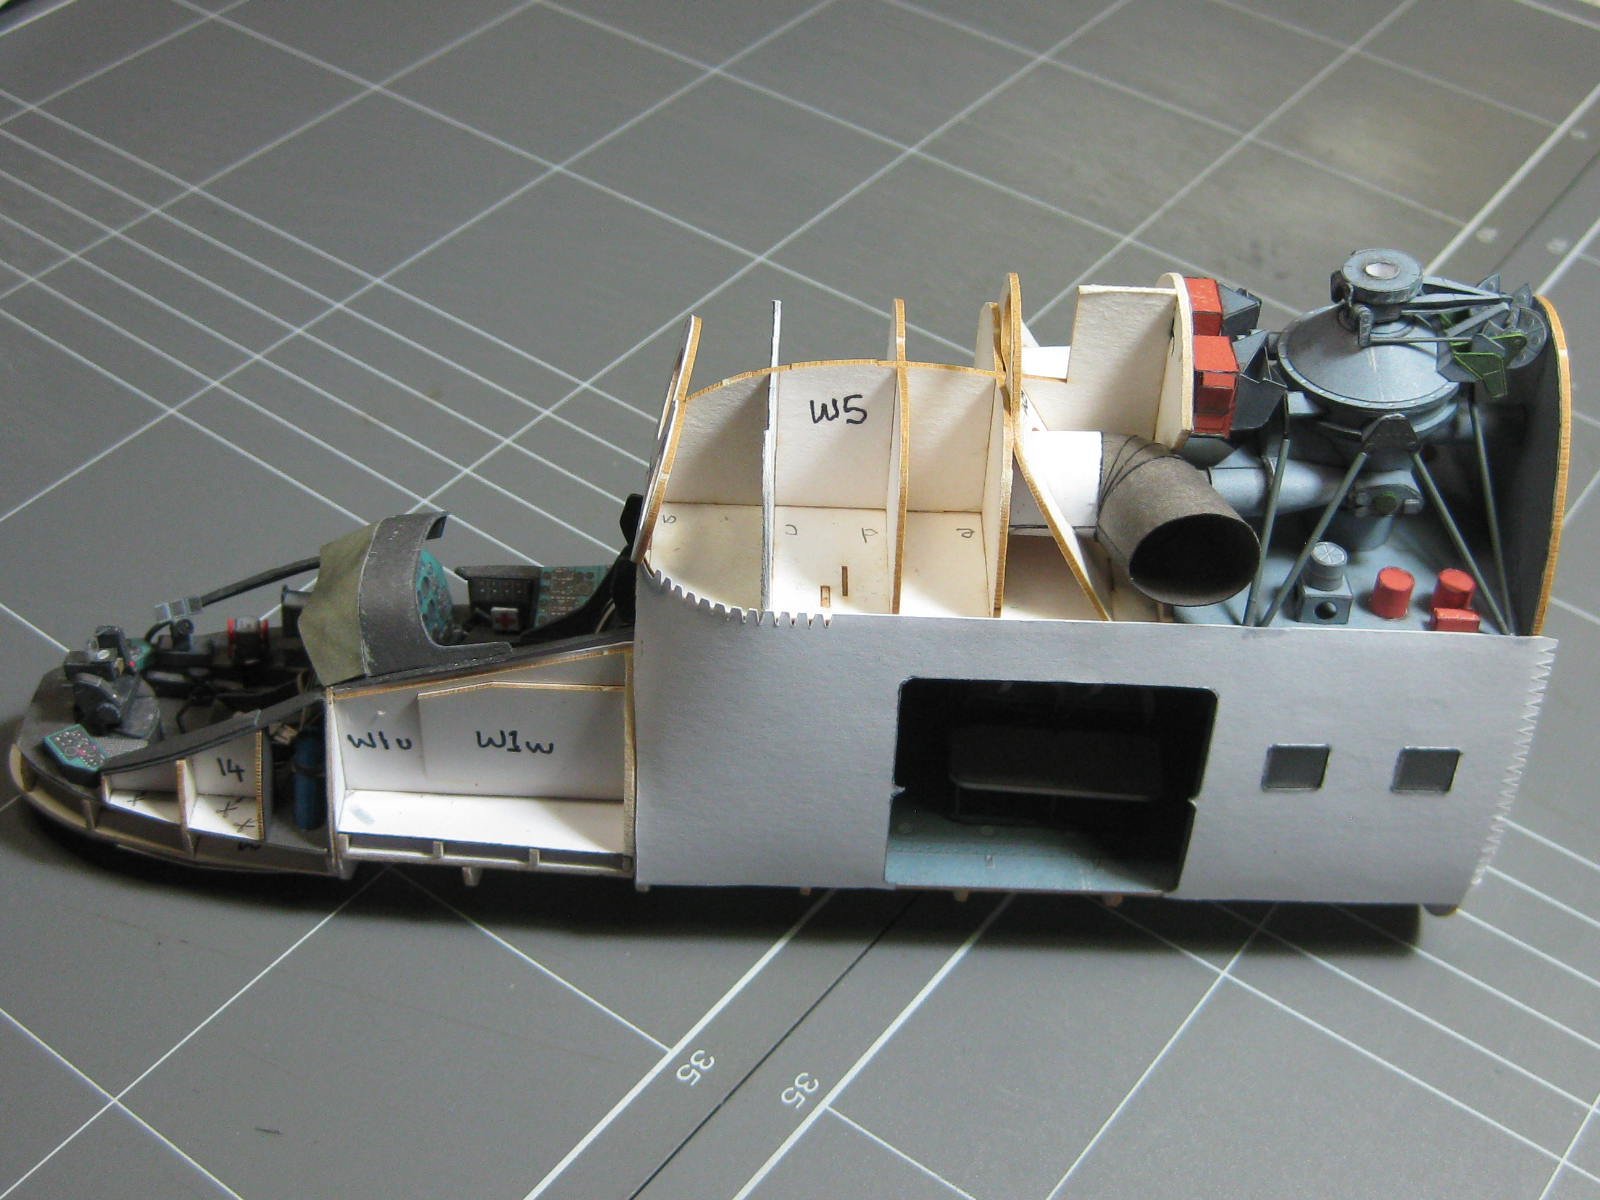
Now it's time to fit the engine into the framework. This will be a real test of my accuracy - there's absolutely NO room for error. Here's the result :


 Danny
Danny
-
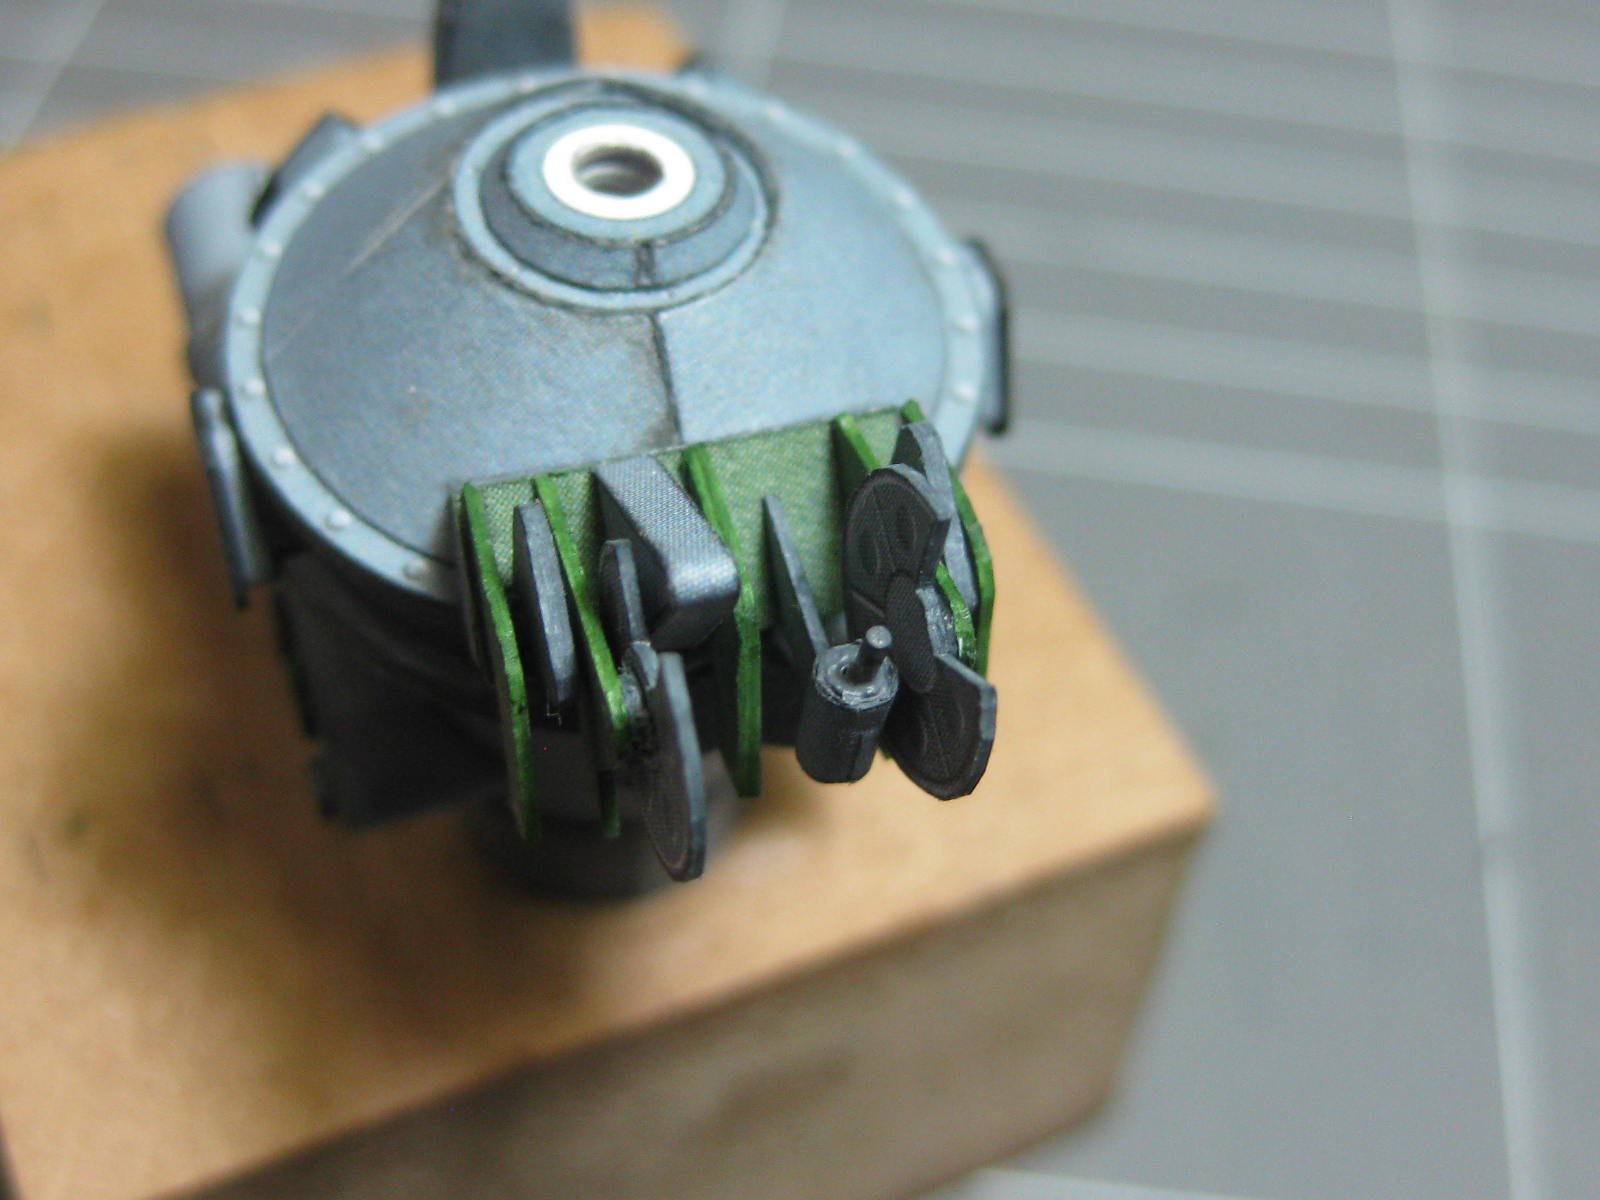
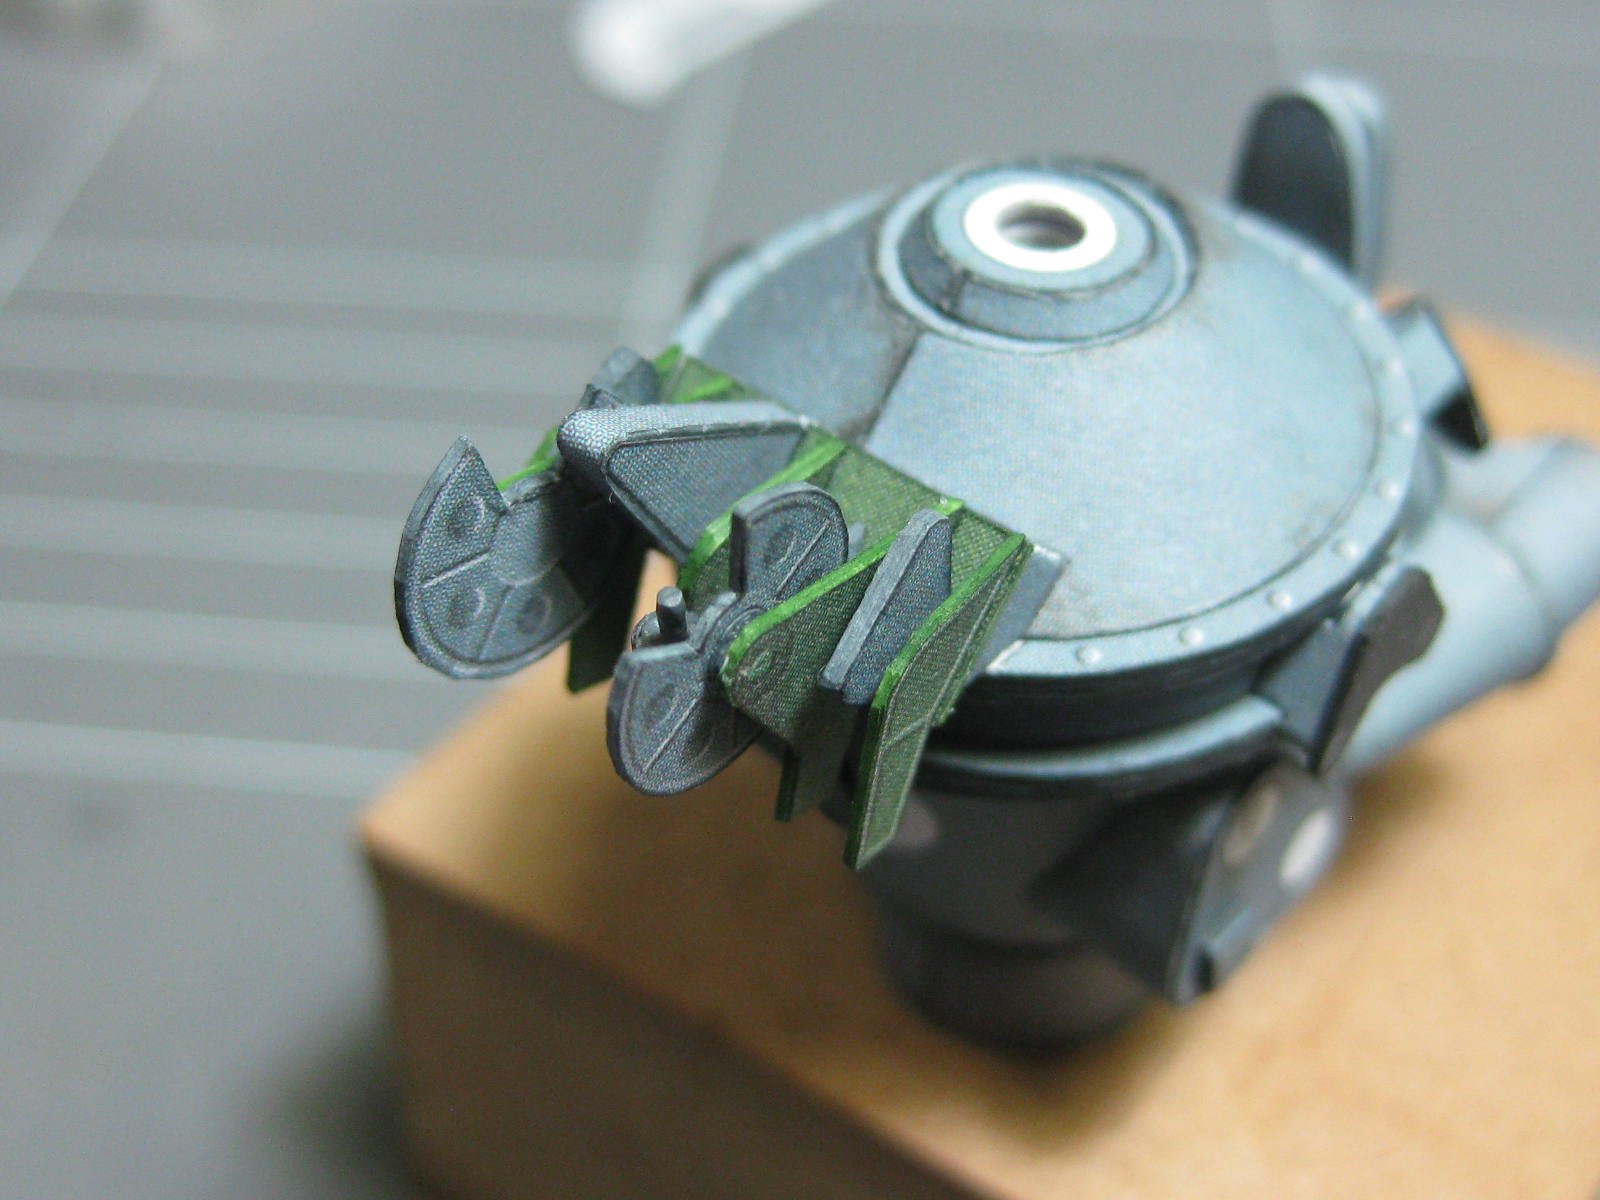
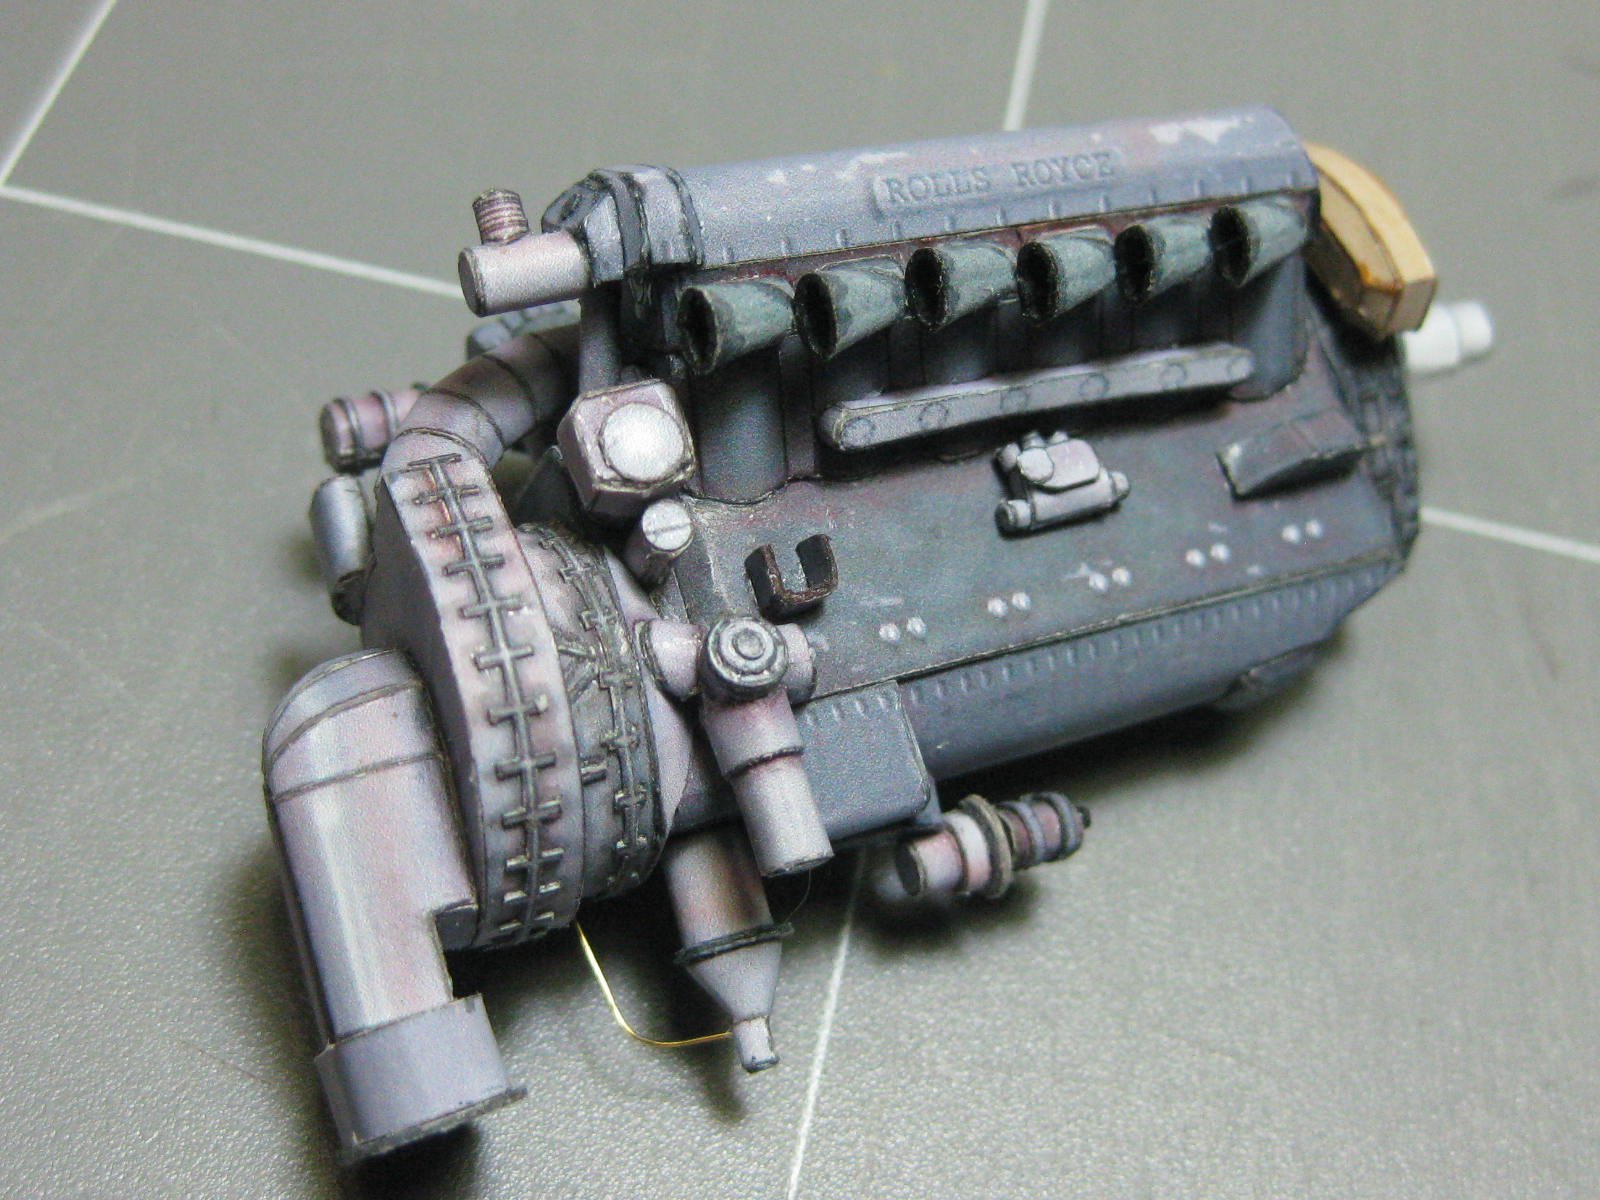
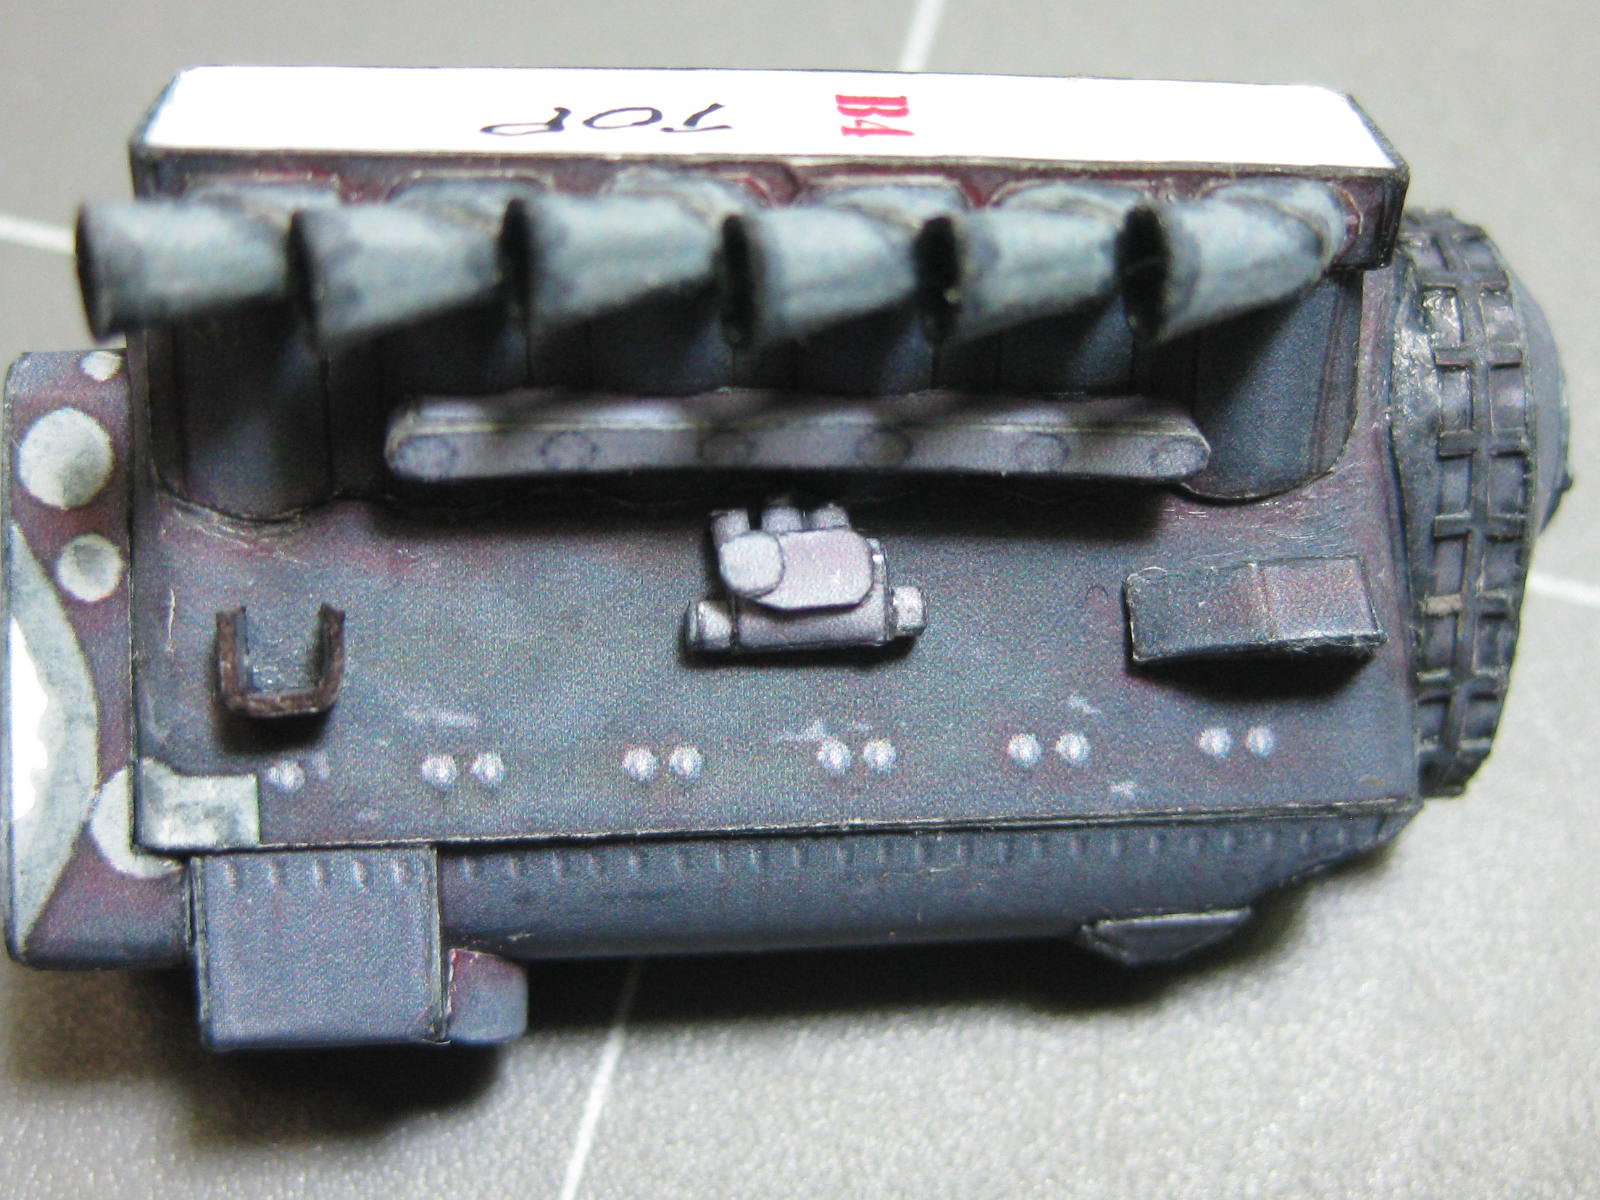
All parts fitted to engine and piping started. I'll do all the piping, plug leads etc needed on the engine before fitting it to the framing :

Danny
-
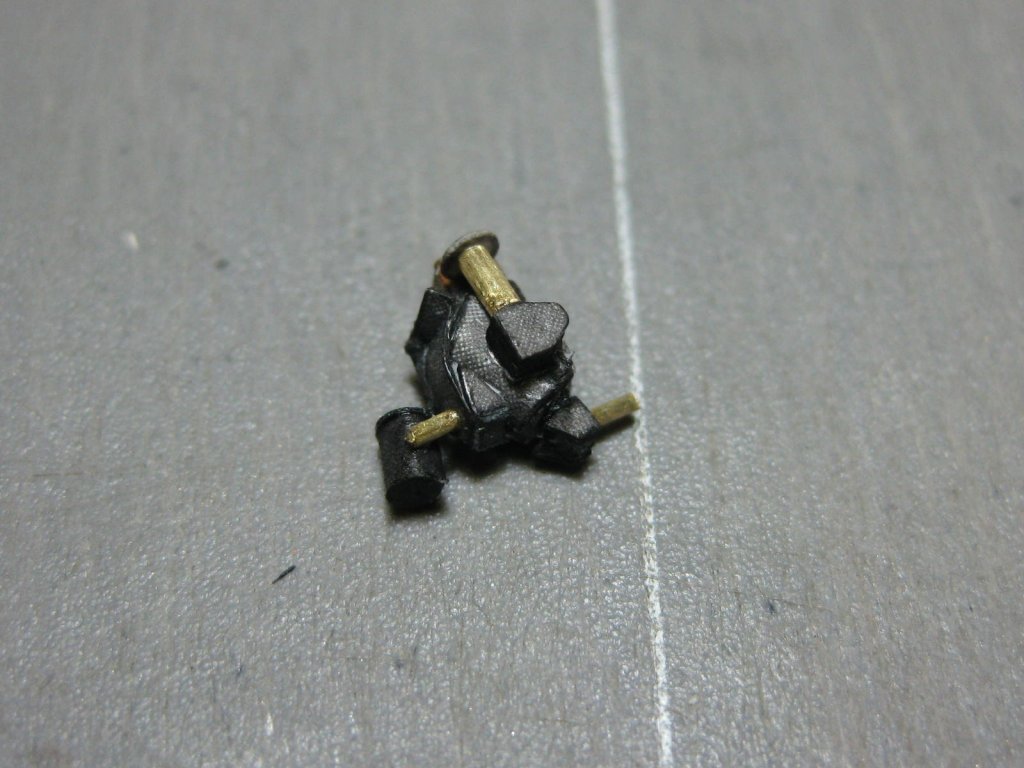
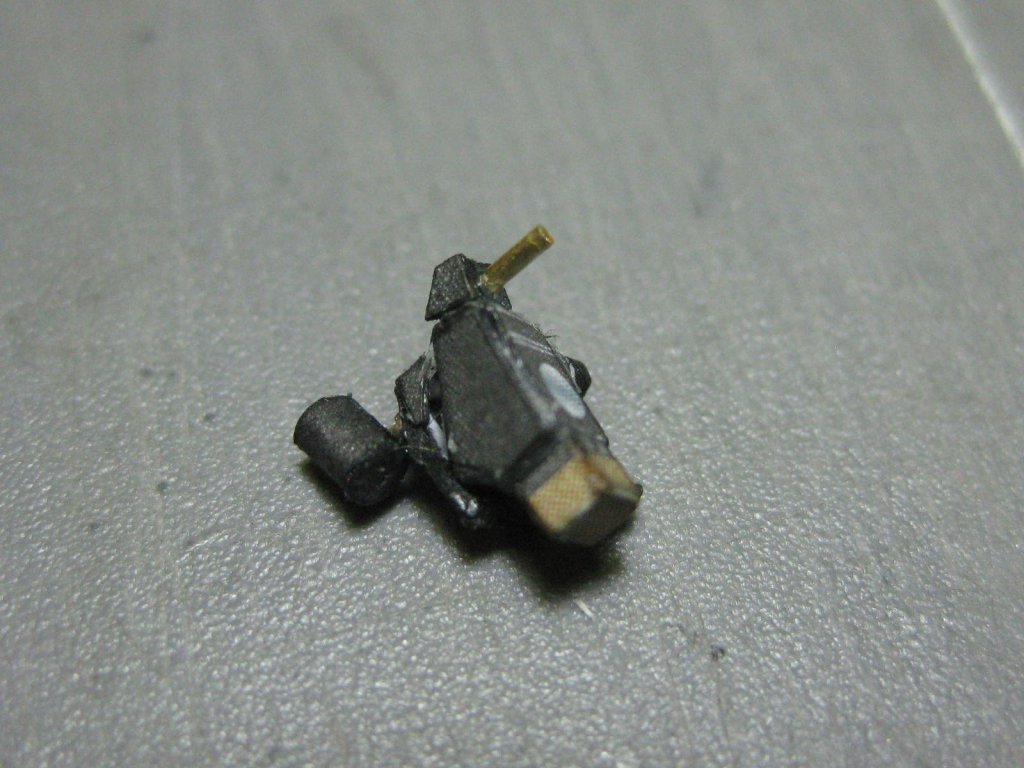
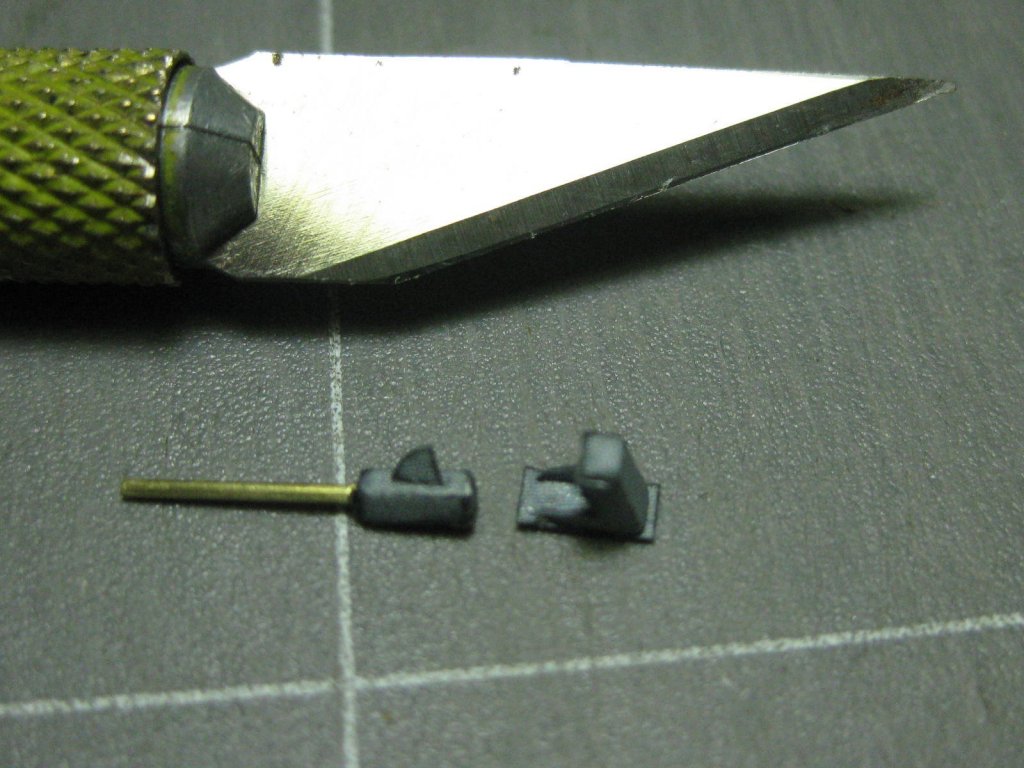
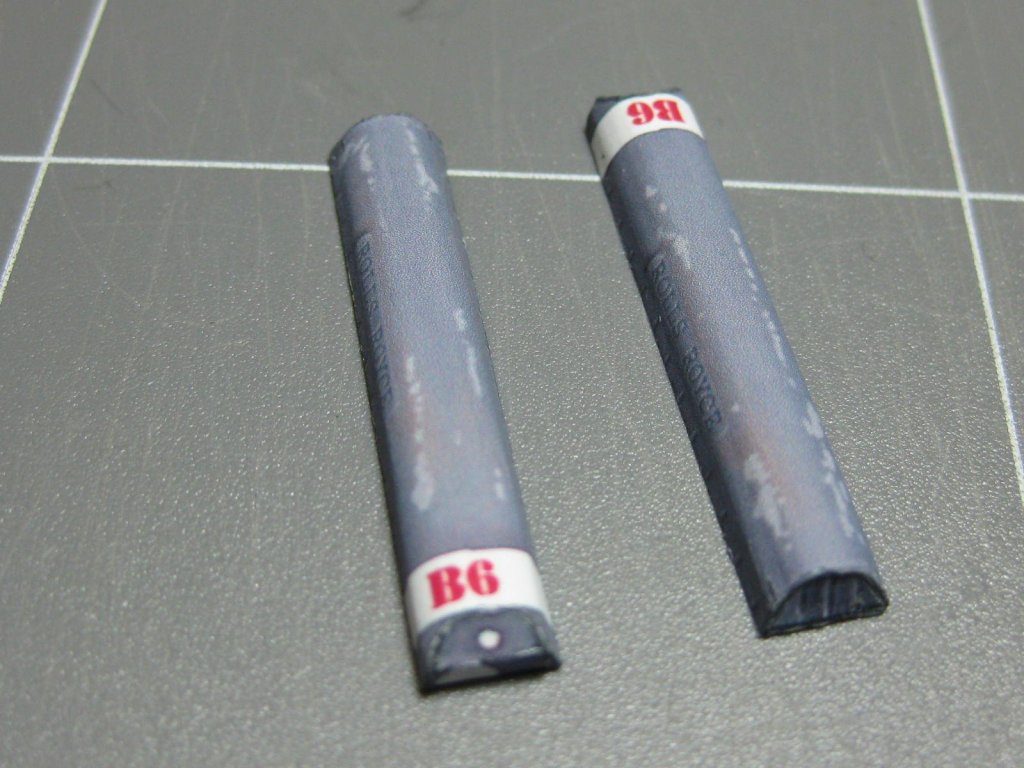
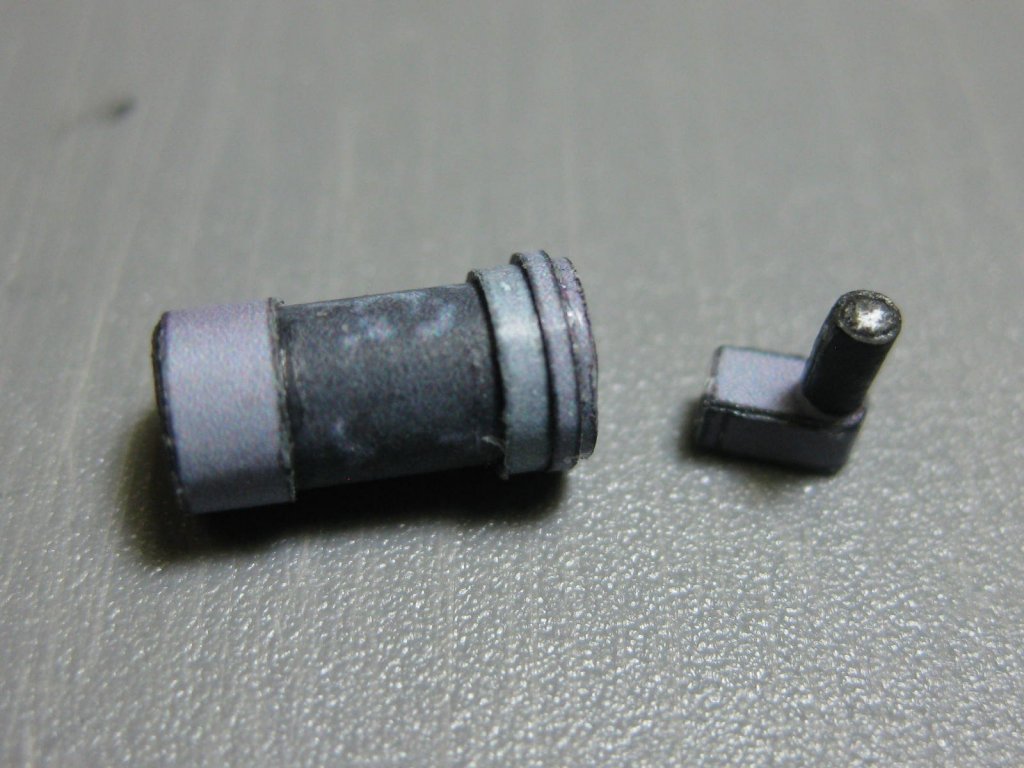
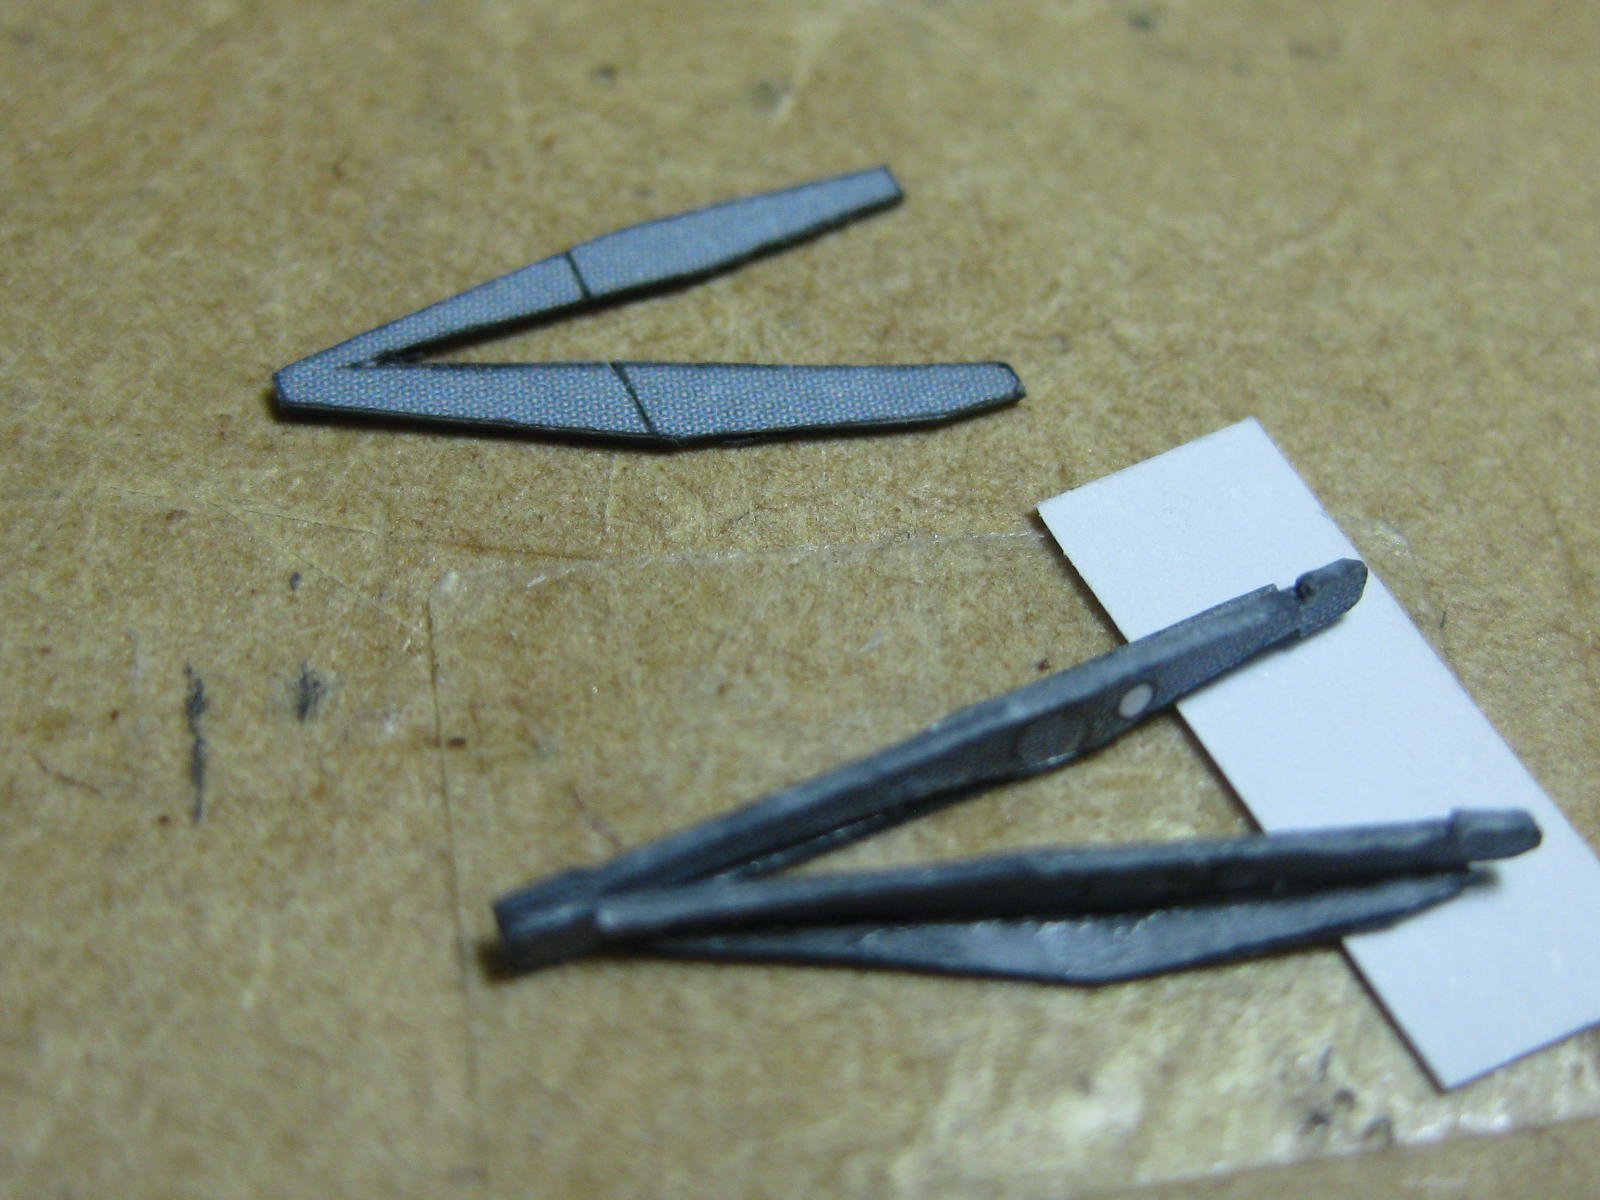
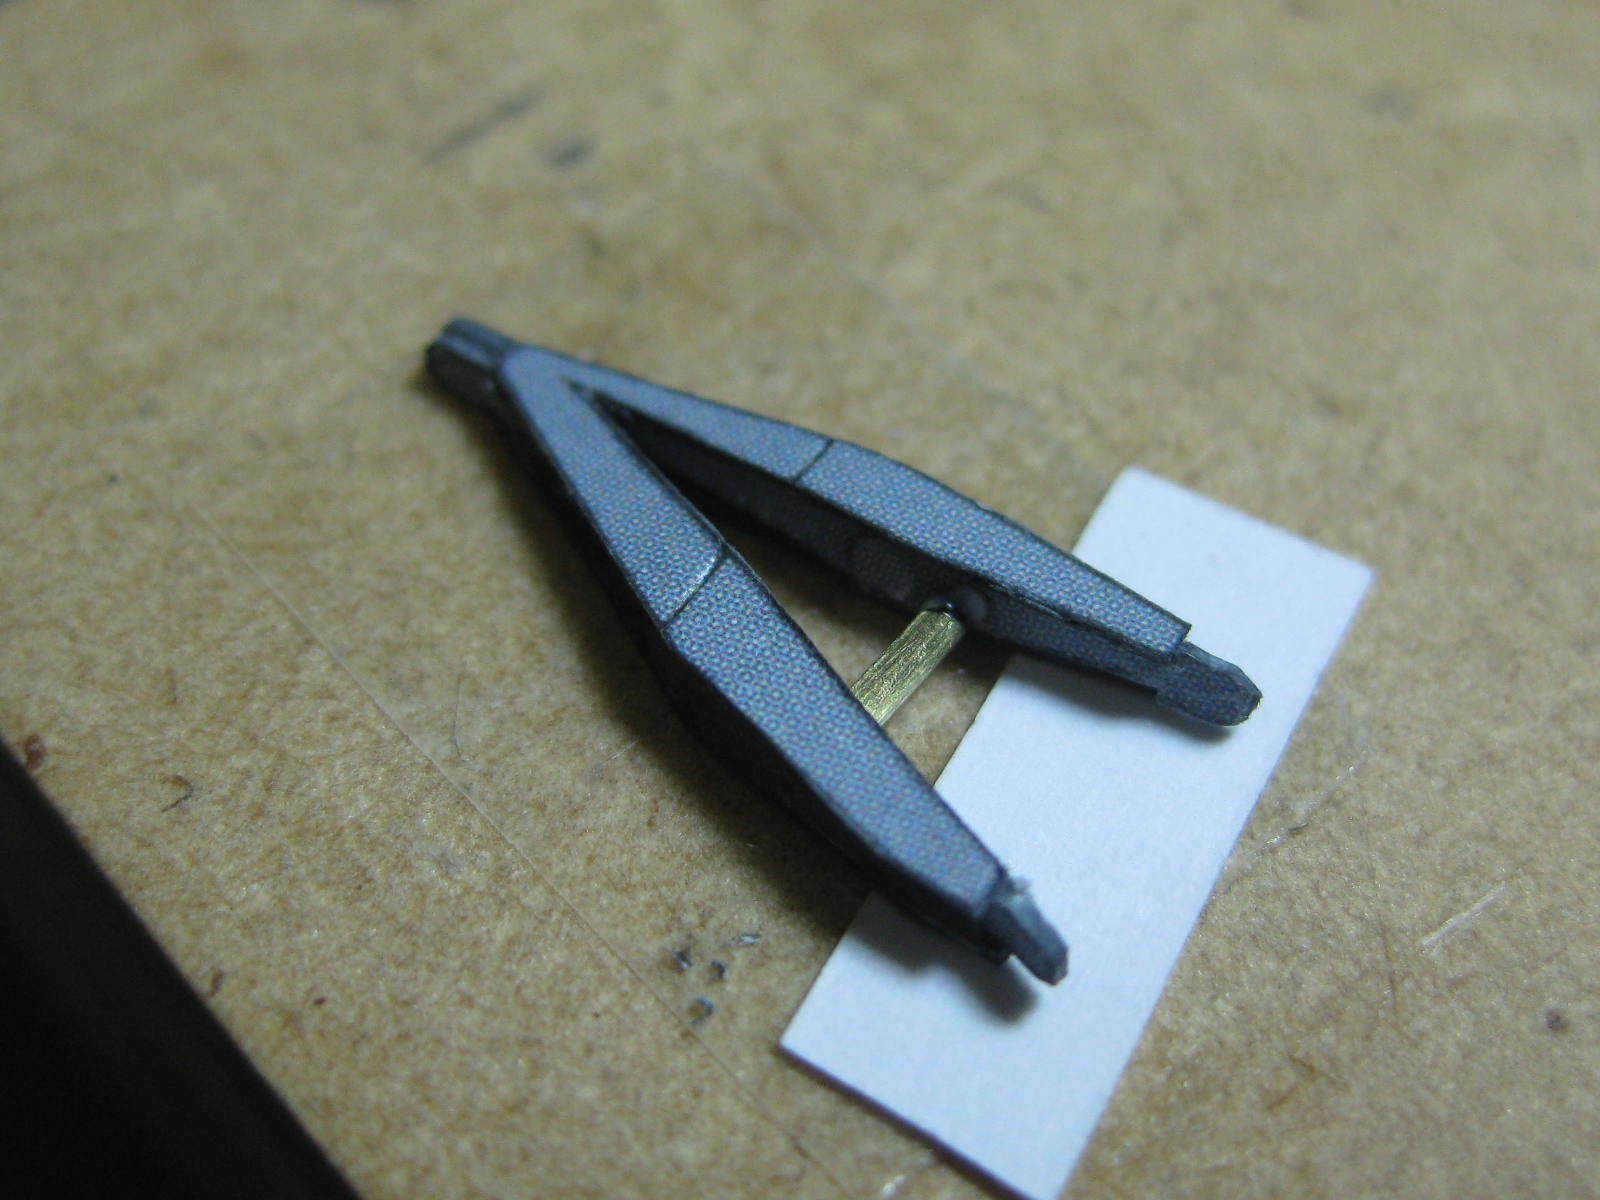
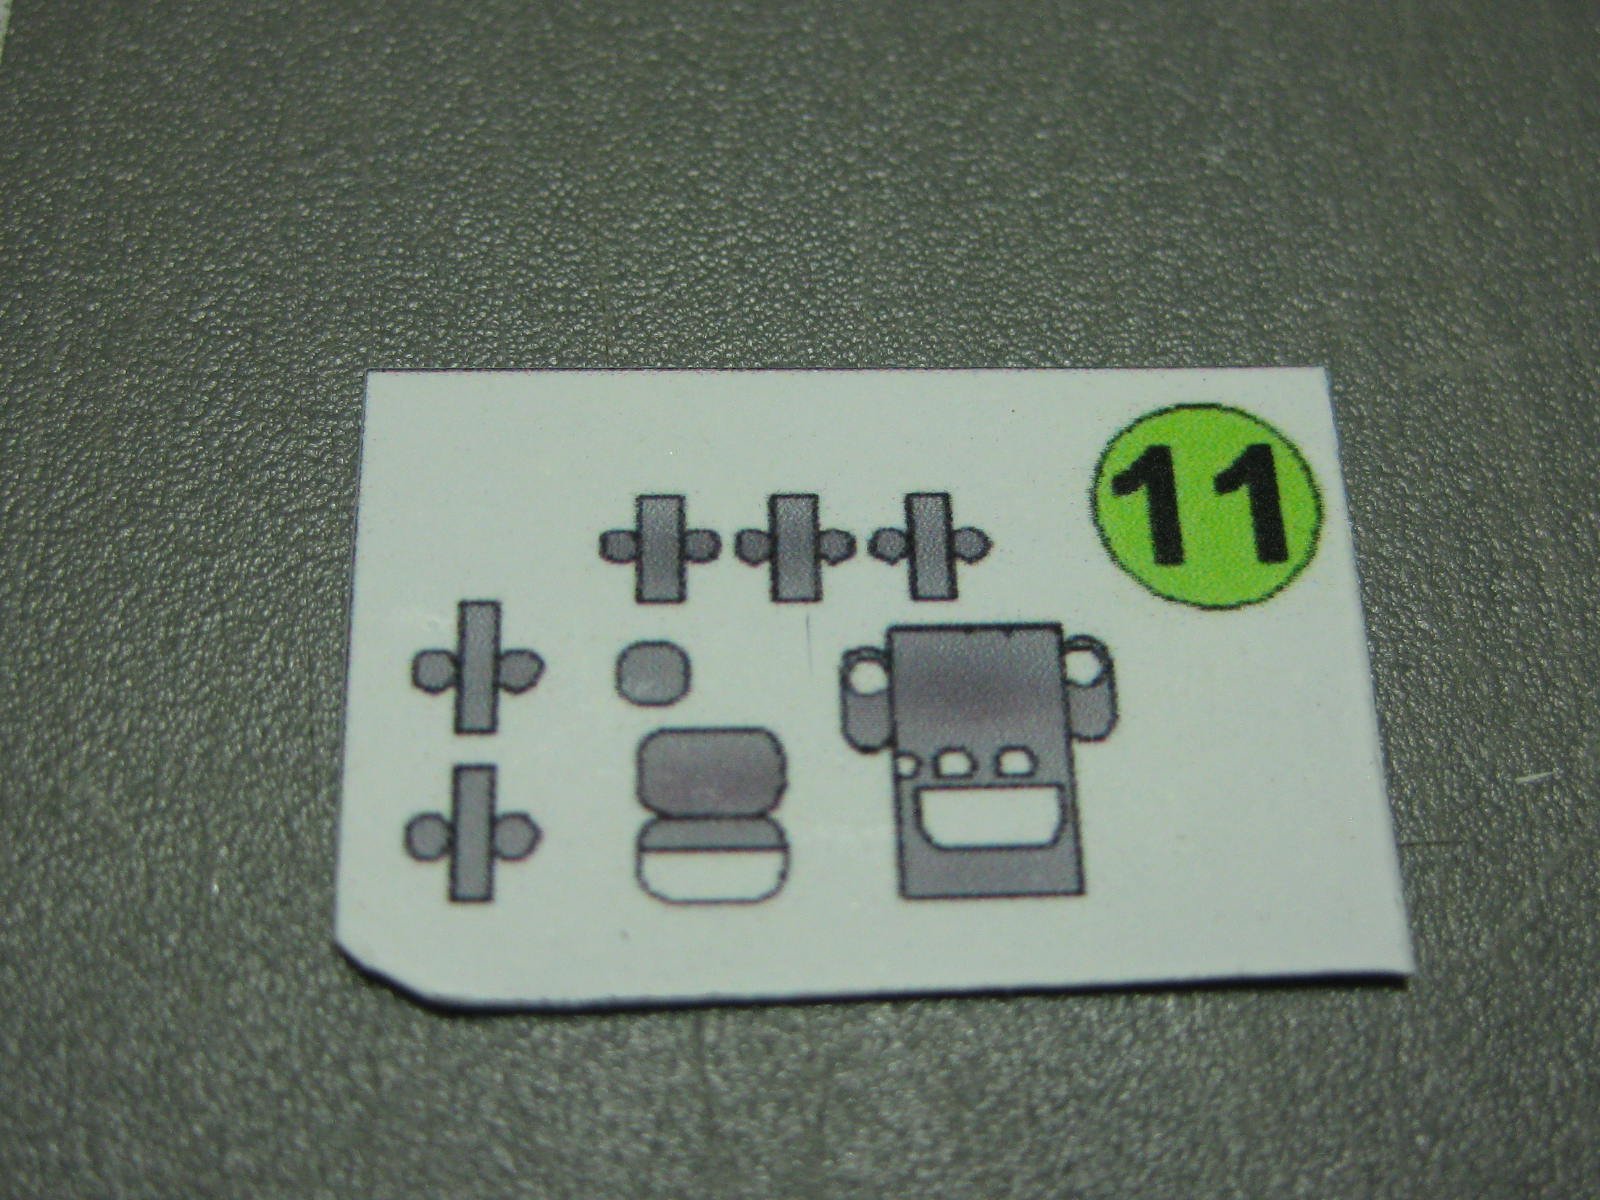
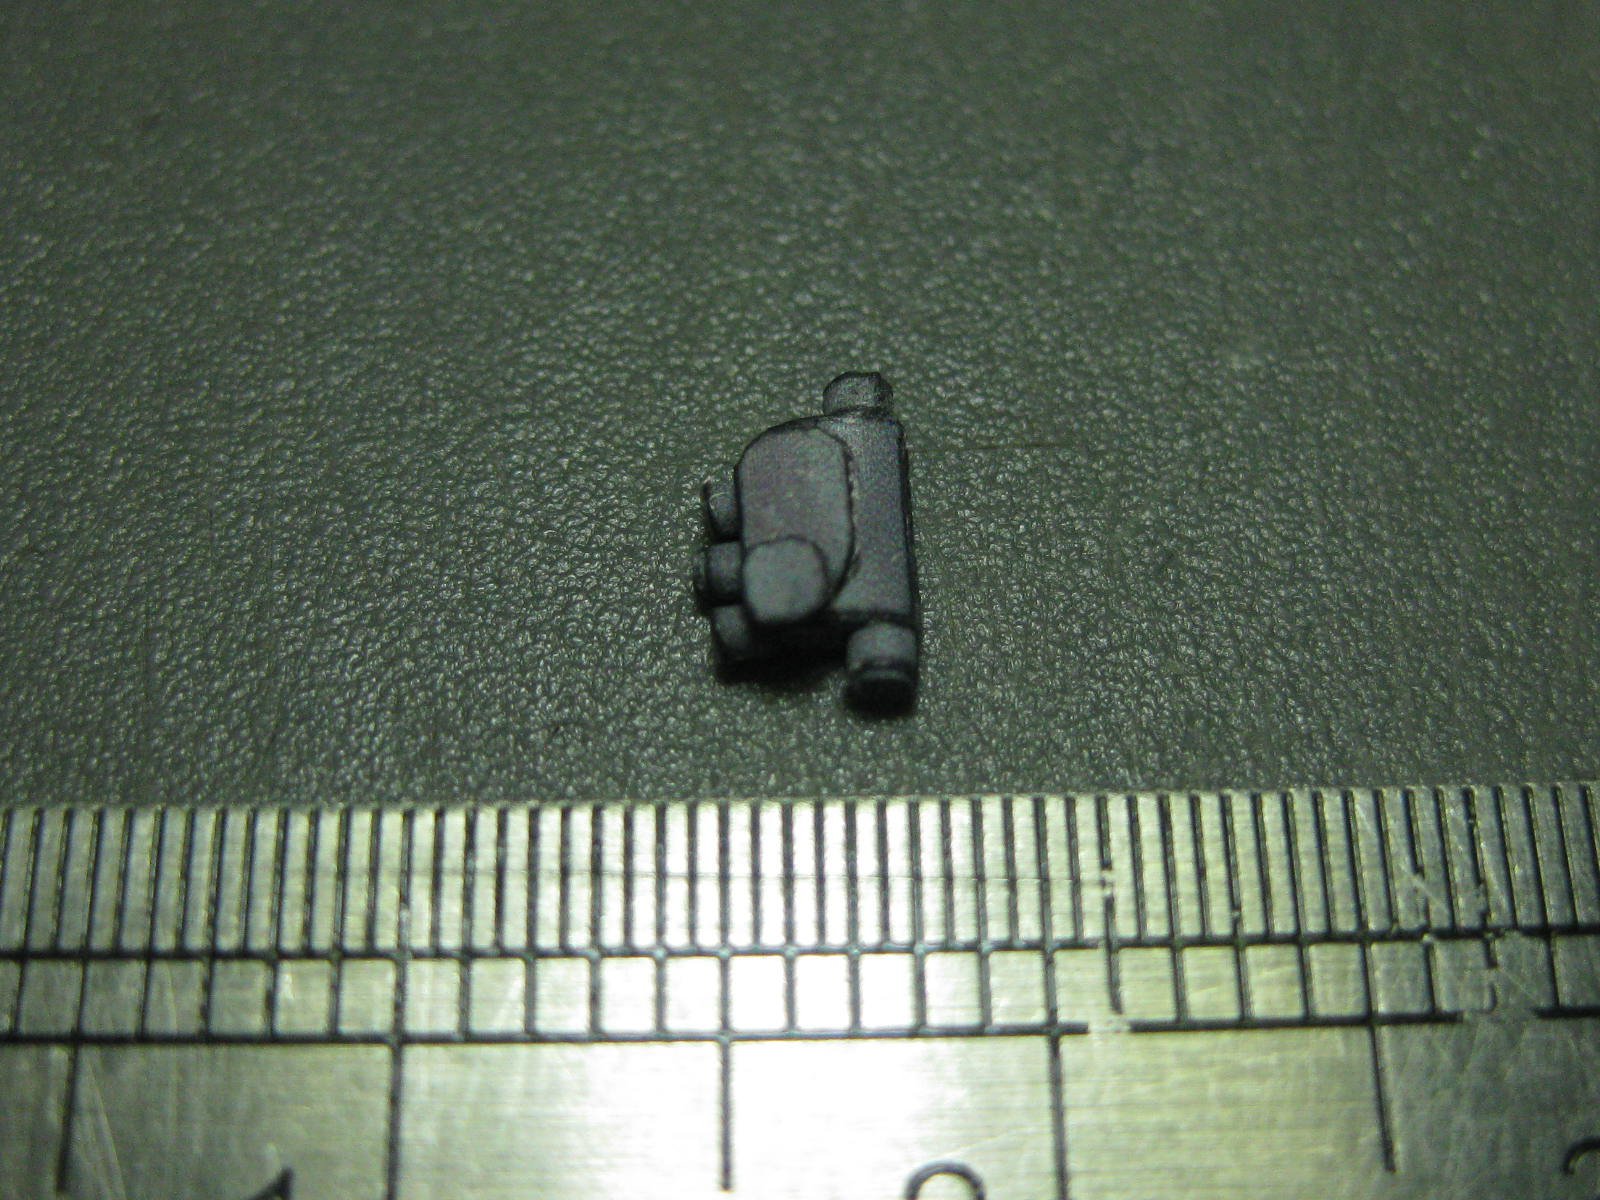
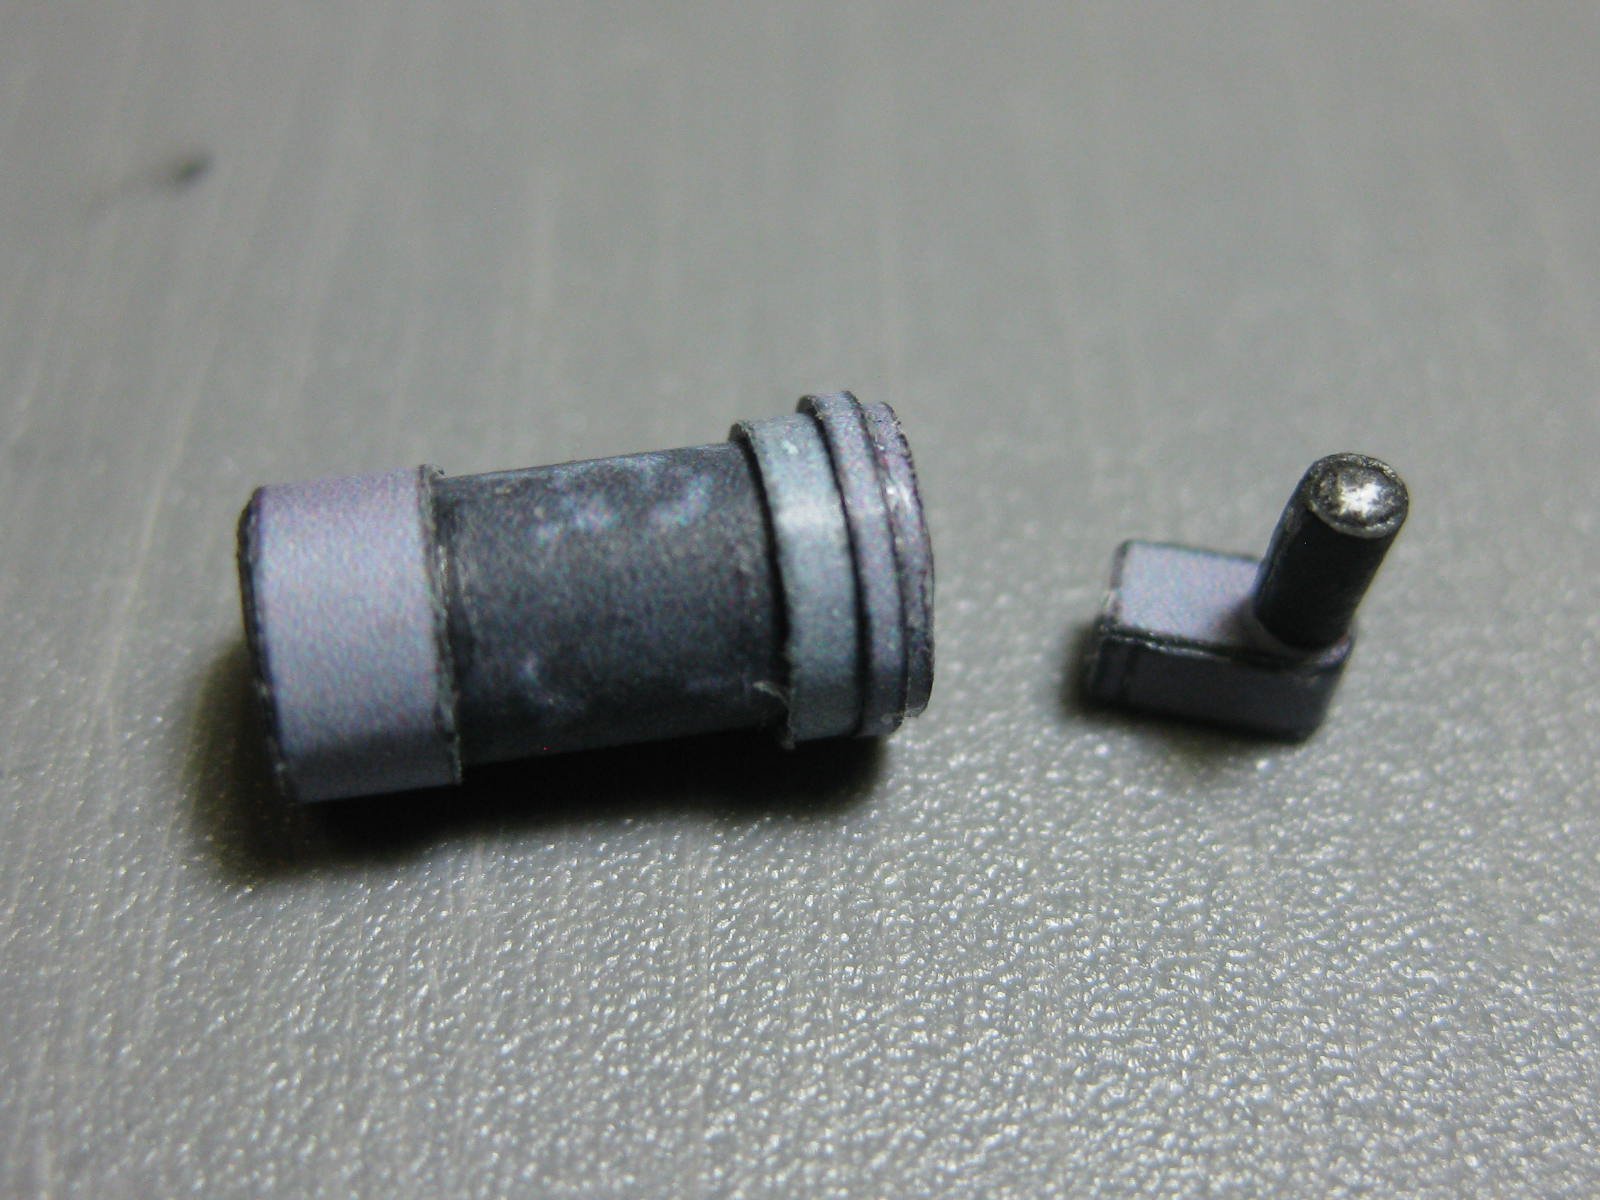
Lots of small bits to make now. Here are some examples.
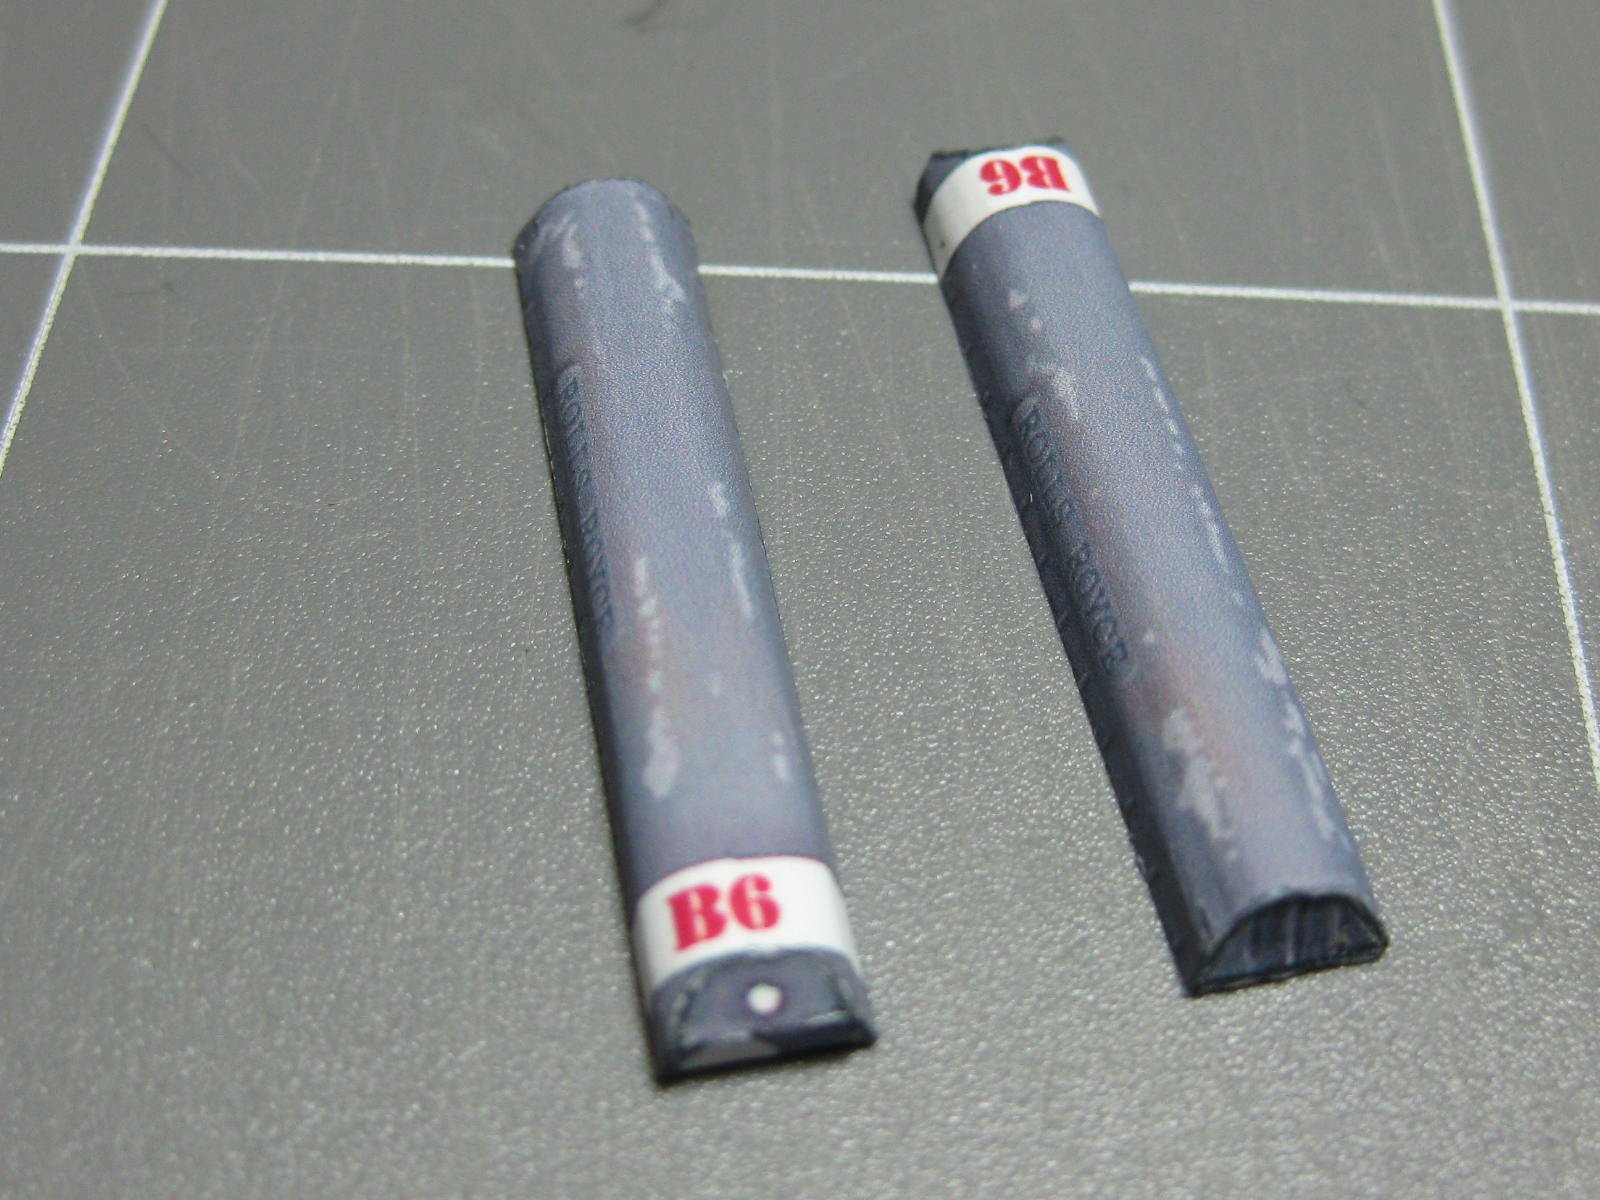
Rocker Covers :
18 parts in this valve :


Starter Motor :
Injector Manifold :
Compressor :
Oil Pump? :
A tricky part to cut, fold and glue :
Danny
- marktiedens, Kevin, druxey and 12 others
-
15
-
Ted - are you kidding me ??? Your modelling history is almost EXACTLY the same as mine, just in a slightly different order (the Revell Constitution was my first ship model at the age of 13, which I bought from my pocket money). That was followed by several others including Mayflower and Cutty Sark - I still have the Cutty but it needs restoration which I'm not going to bother with. My first Wooden ship was Charles W. Morgan which I built at age 25. Weird eh
.
From looking at your previous models and your woodworking experience in my opinion the only thing you may need to learn is Planking. There's plenty of advice on this Forum on doing that, so that's covered. Also plenty of Build Logs to show you the step-by-step way of building a wood ship.
So dive in - choose one of your collection, open a Build Log for it to get any advice you may need (and to show us how good you REALLY are at wood ship building
) and get cracking.
Mark has a good point about the possibility of the brittleness of your kit timber, so check it out. The planking timber may need to be replaced, but extra timber is available from various sources.
Danny


Mi24D Hind by Dan Vadas - FINISHED - Halinski - 1:33 scale - CARD - Russian Attack Helicopter
in Non-ship/categorised builds
Posted
Thanks Ab, and I agree with your opinion of the kit. I've made a couple of other Halinskis and this one is by far the most detailed") .
.
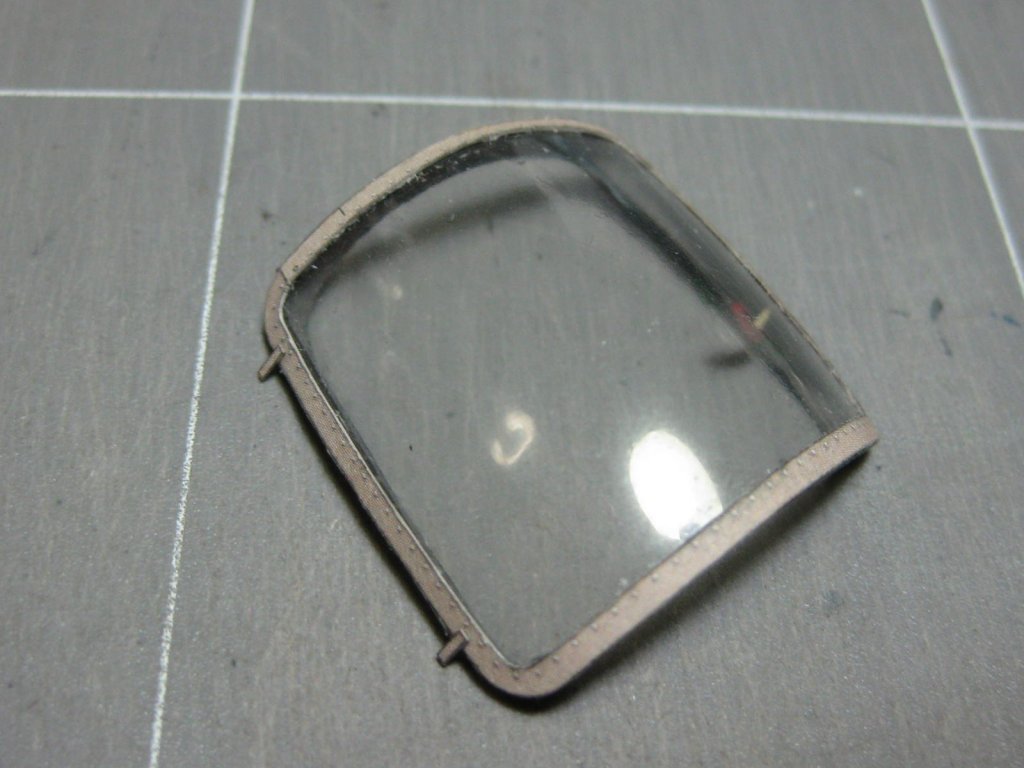
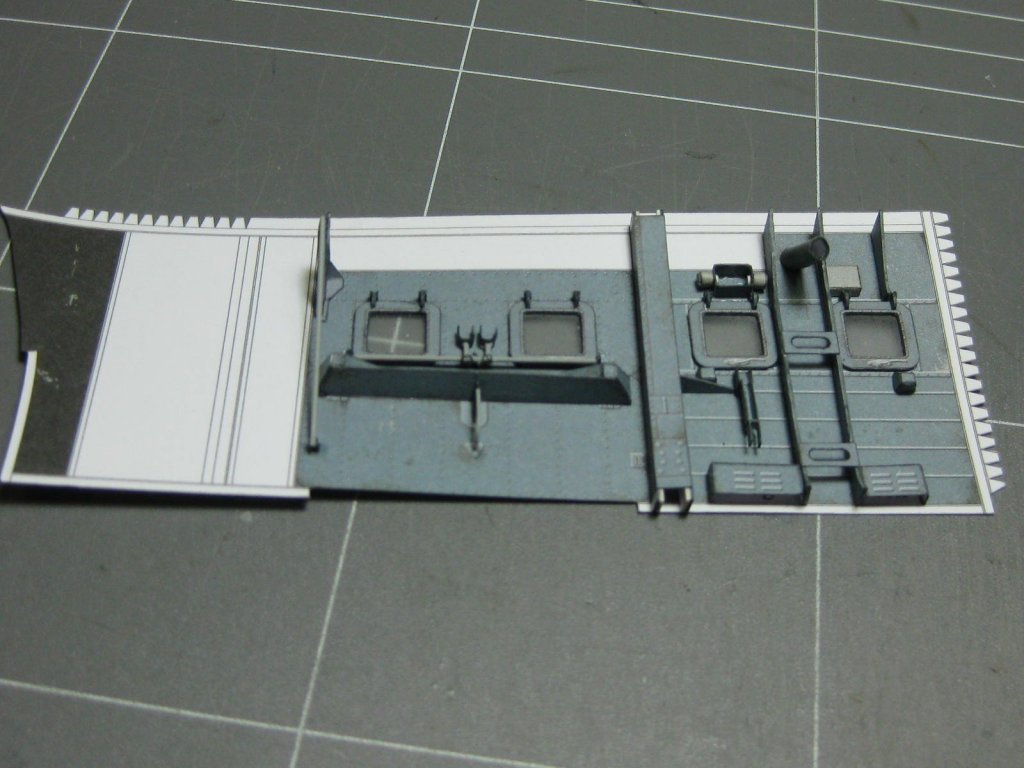
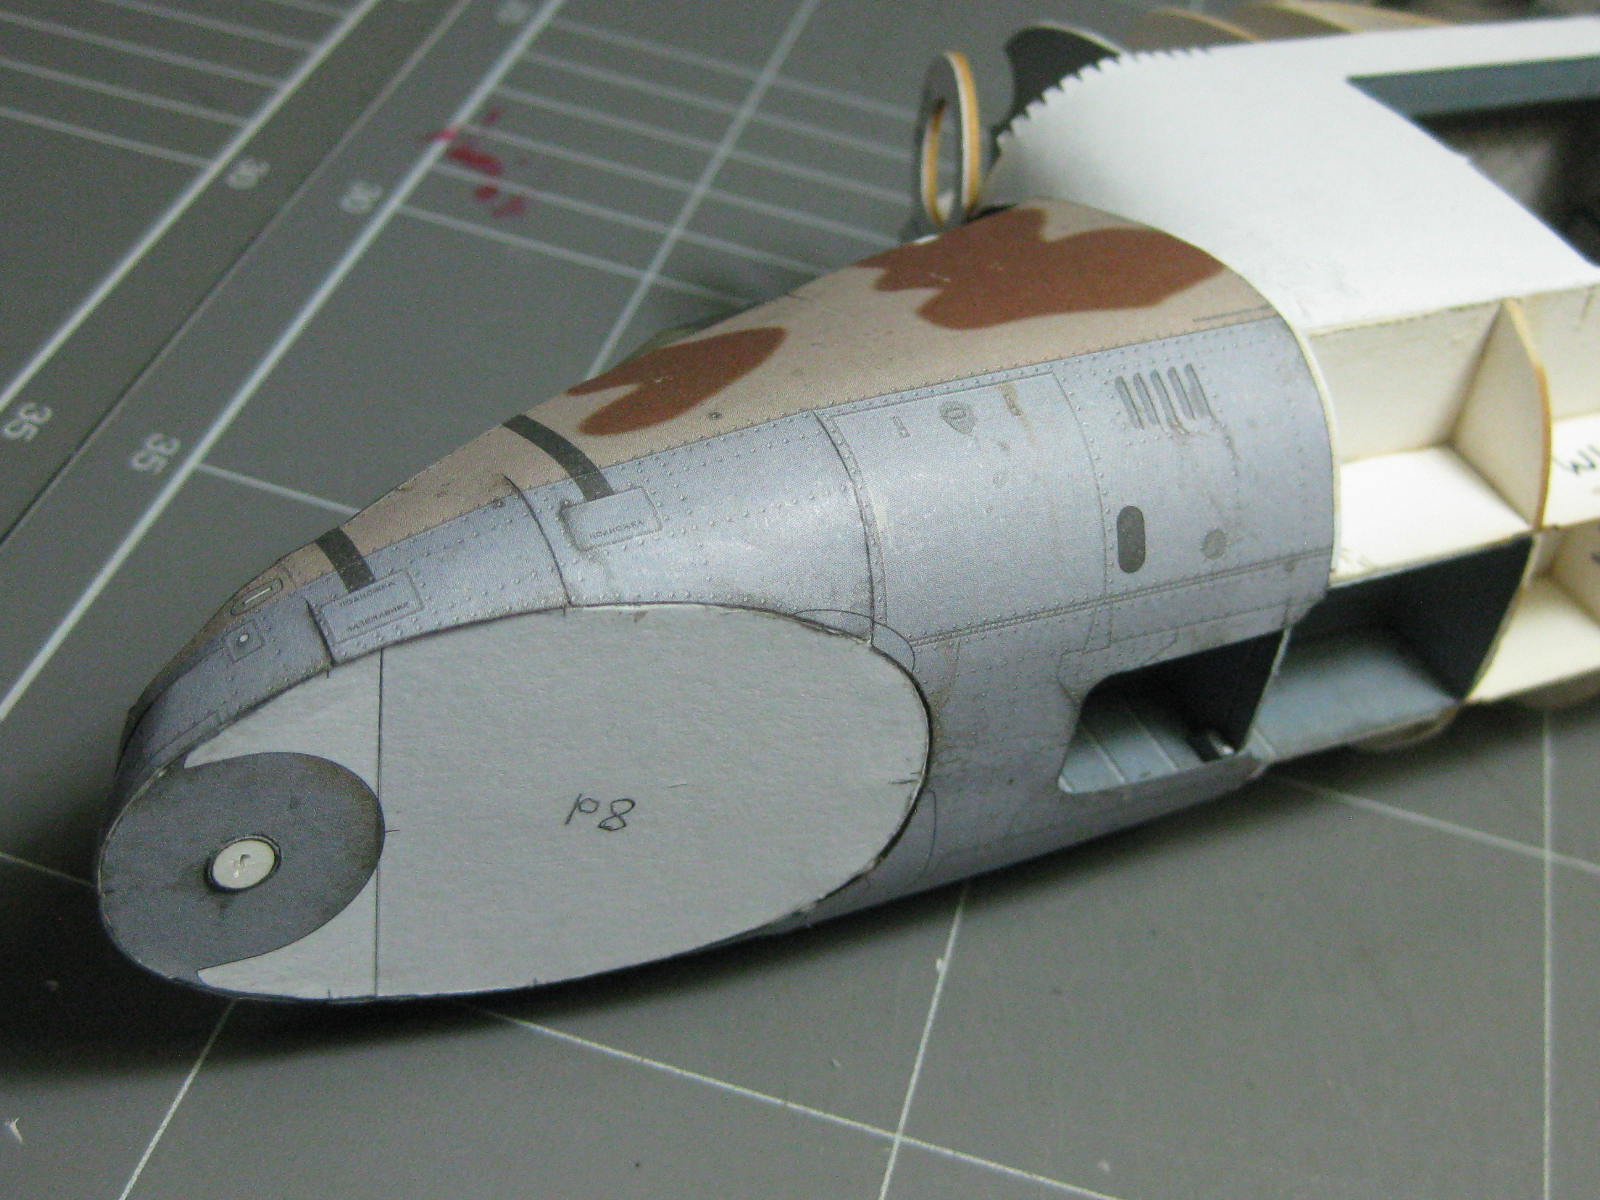
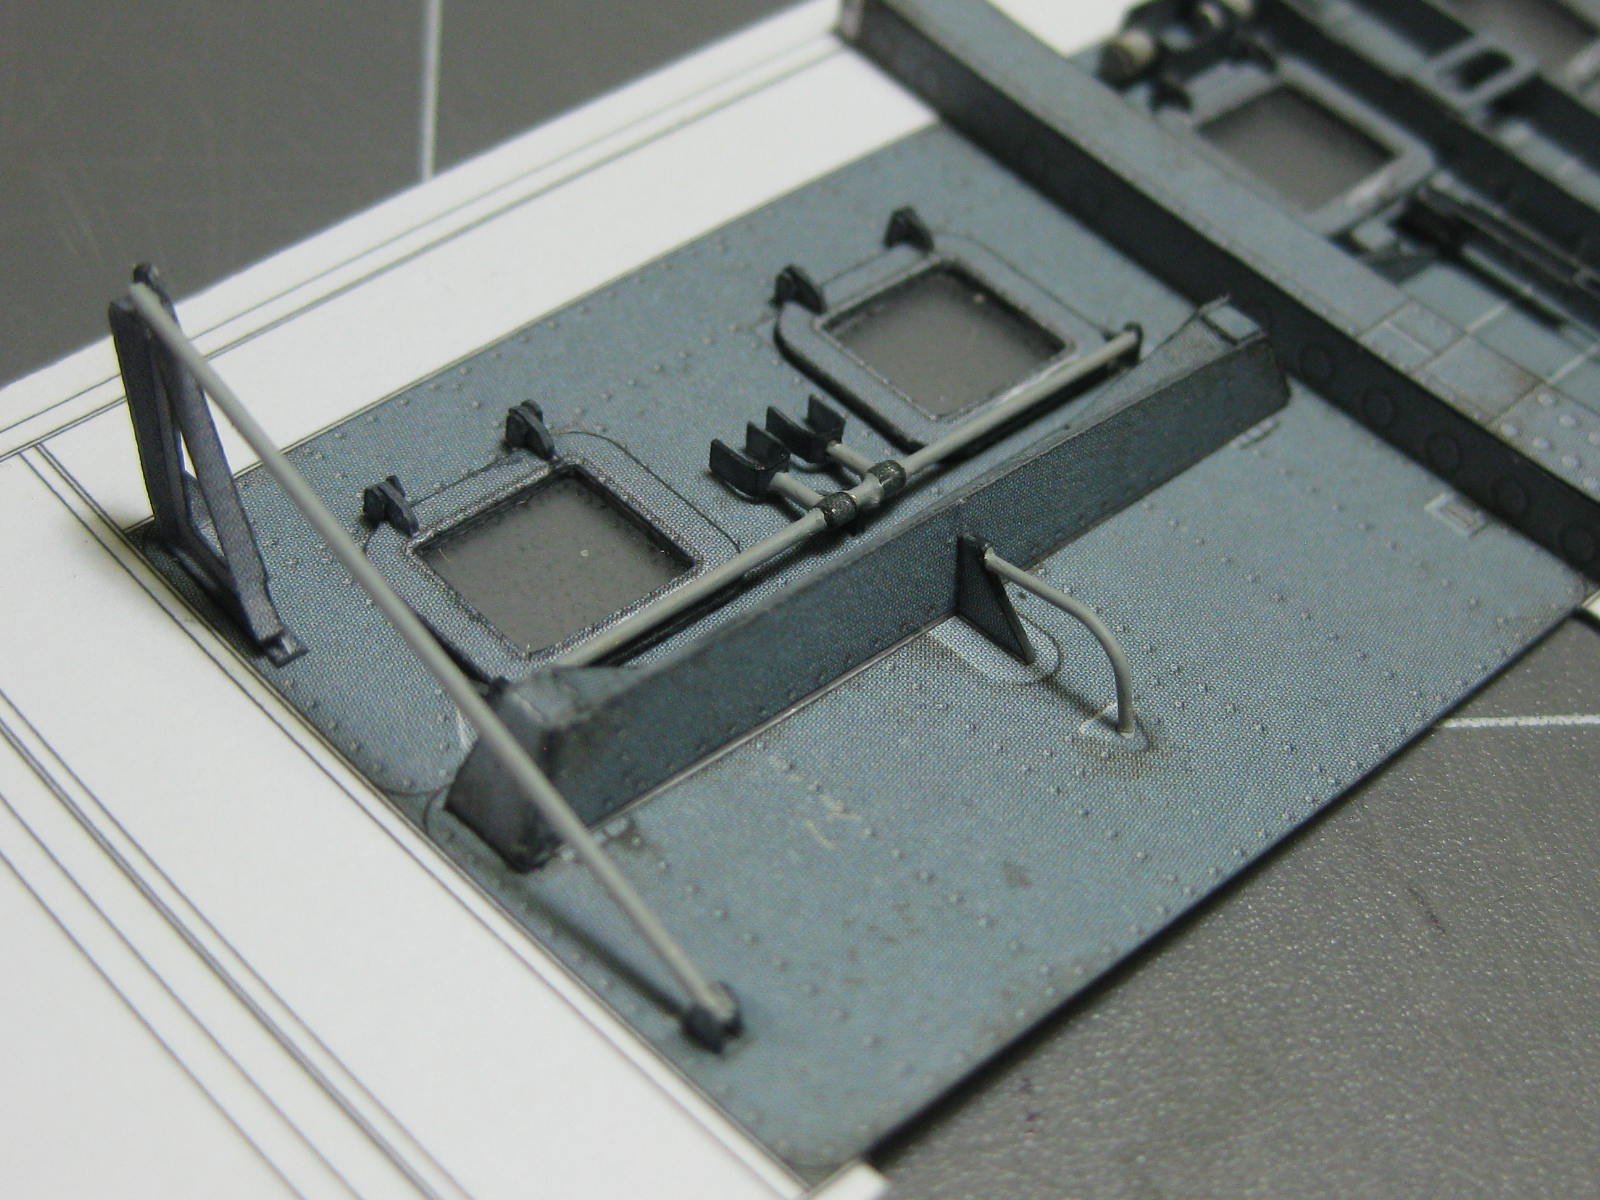
Both the canopies fitted. I'll fit the doors near the end of the build as they can be easily knocked off in the open position (the hinges are "non-working") :
The next section of skin fitted. These skins are REALLY tight - you have to be spot-on with the framing fairing as the piece wraps around from from top-left to top-right in one piece :
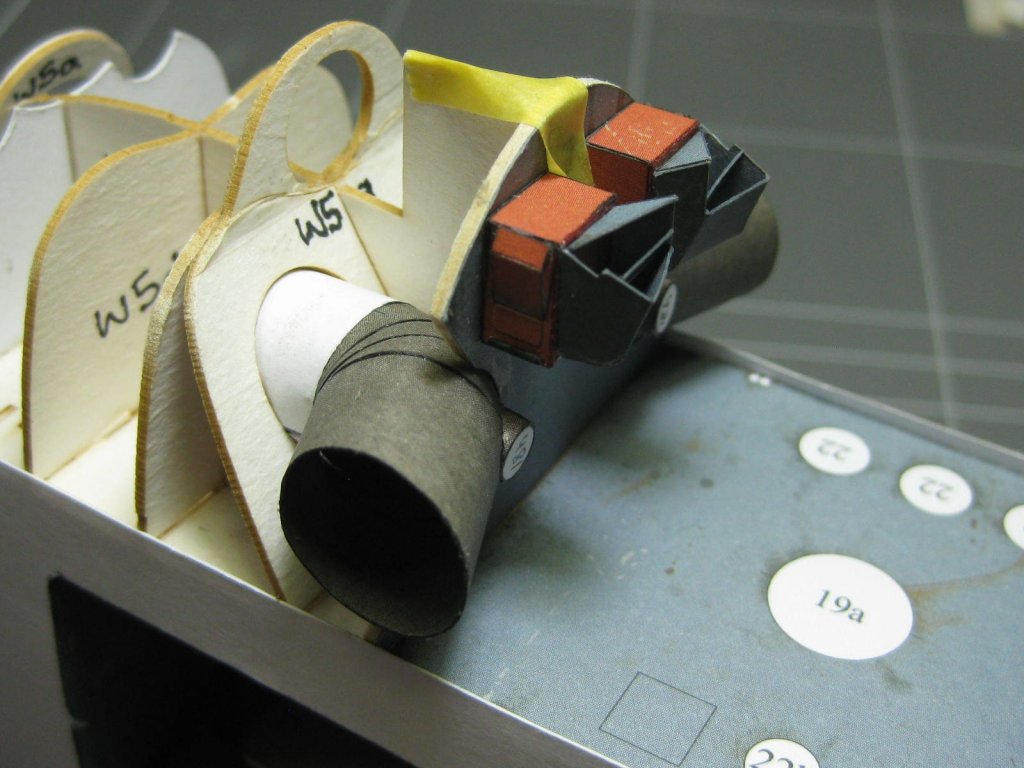
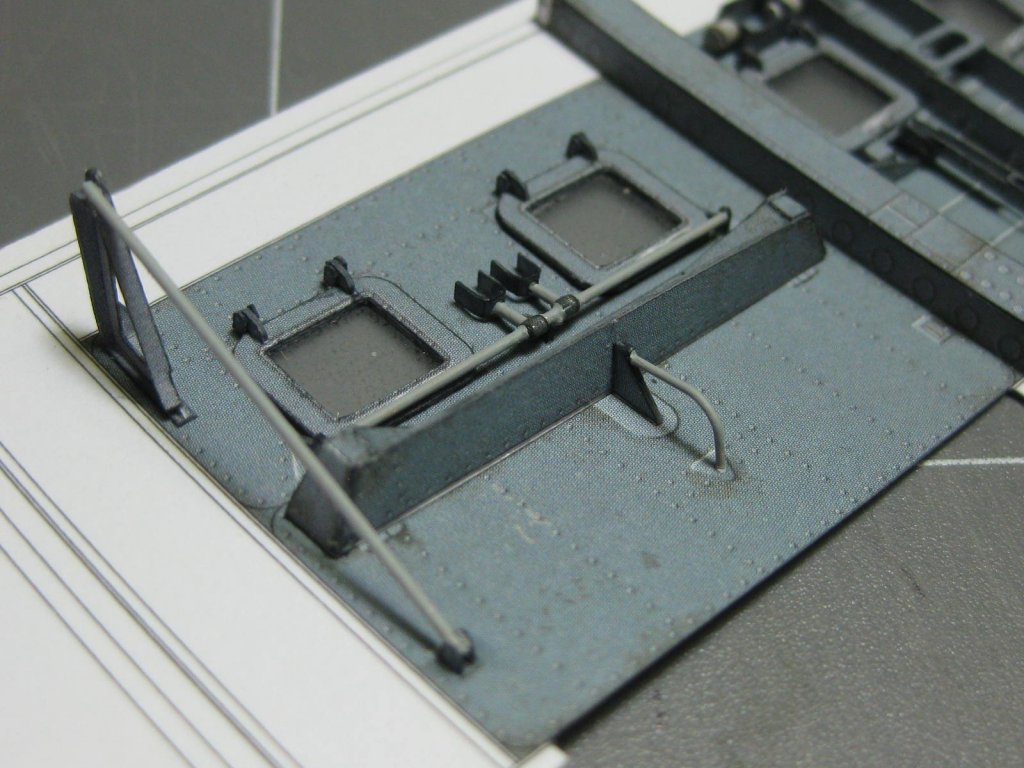
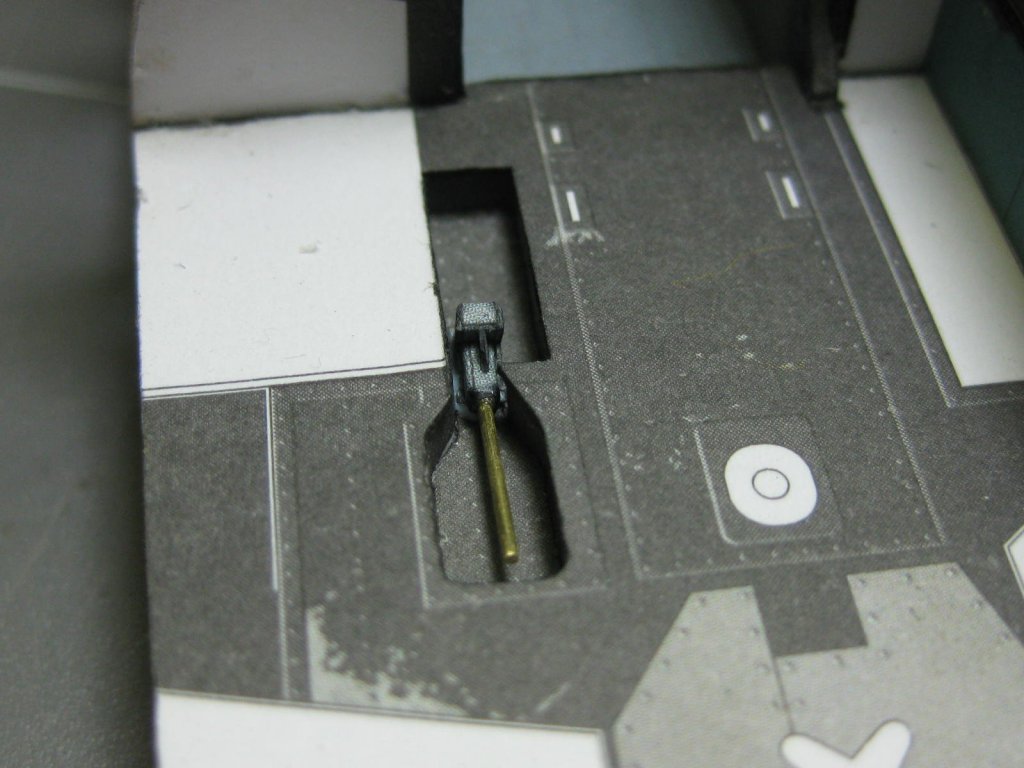
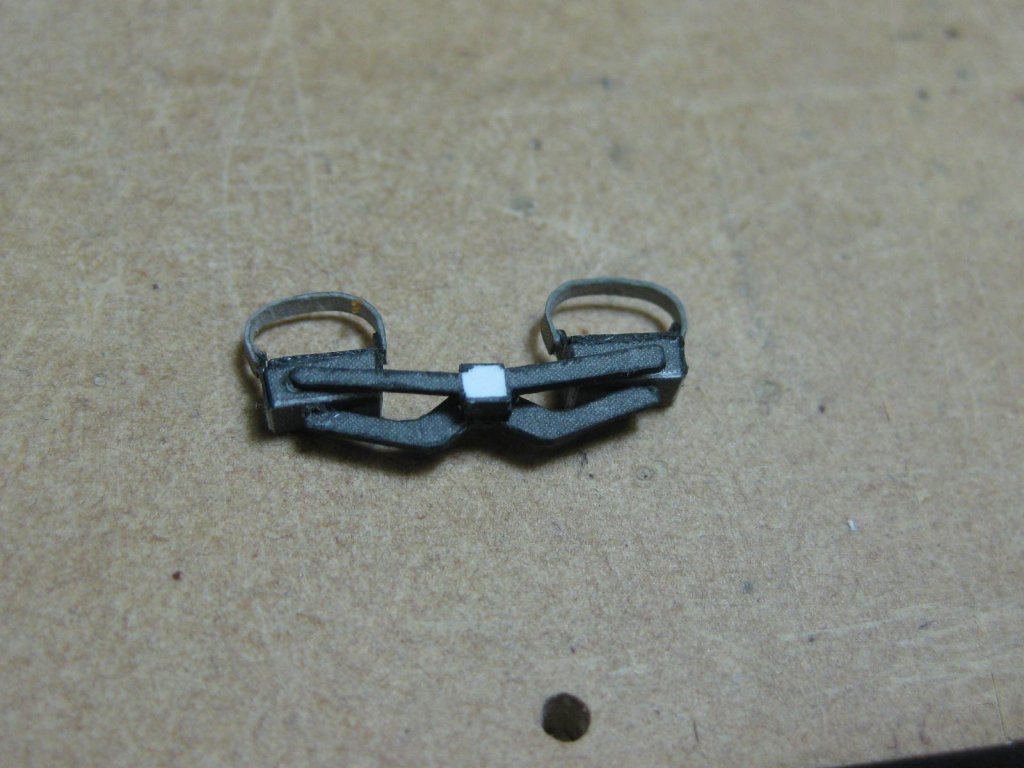
I did a bit of plumbing in the transmission bay using brass wire painted (mostly) in-situ with artist's acrylics :
Danny