


Thukydides
-
Posts
1,272 -
Joined
-
Last visited
Content Type
Profiles
Forums
Gallery
Events
Posts posted by Thukydides
-
-
Log #86: The Cat Falls & Topgallant Backstays
I continue to pick away at a bunch of outstanding lines and small projects on the model. I tend to work on whatever inspires me in the moment from my list of potential tasks.
First up on this list were the topgallant backstays. Now it is not clear to me if these actually would have been fitted on alert and in some logs people have decided to omit them. Steel does include them in the list of ropes, but that is a bit later, but they don’t appear on the hawk and this is another case of Goodwin’s commentary not matching his drawings.
In the end I decided to include them as this is the arrangement both the kit plans and Goodwin depict and I have already somewhat committed to following them up to this point. Also I feel the top of the model looks somewhat “naked” if the topgallant stays are not included.
Steel calls for 2 in rope which equates to 0.32mm diameter at our scale. I used 0.35mm rope seized with fly tying thread. The kit depicts these stays simply tied on to the channels. Goodwin is not clear on how they are attached. I decided that I would treat them in a similar manner to the running backstays, just hook them onto the channels.
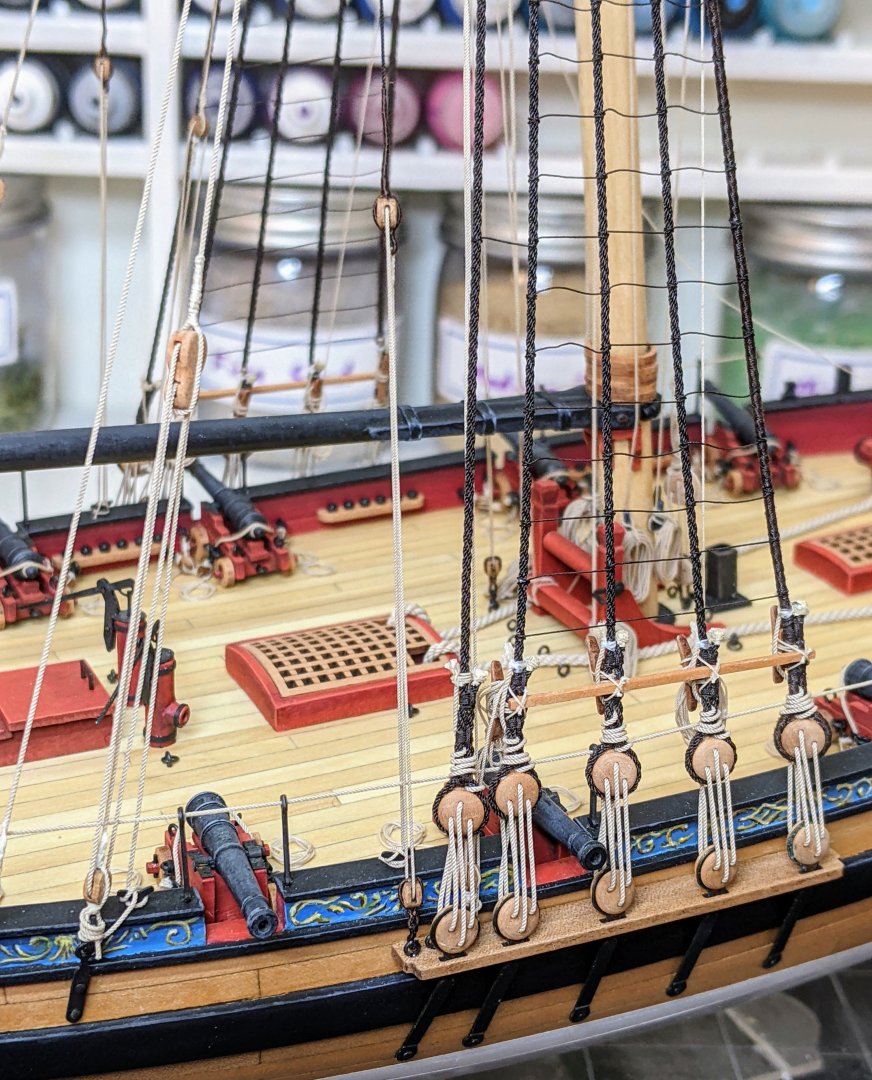
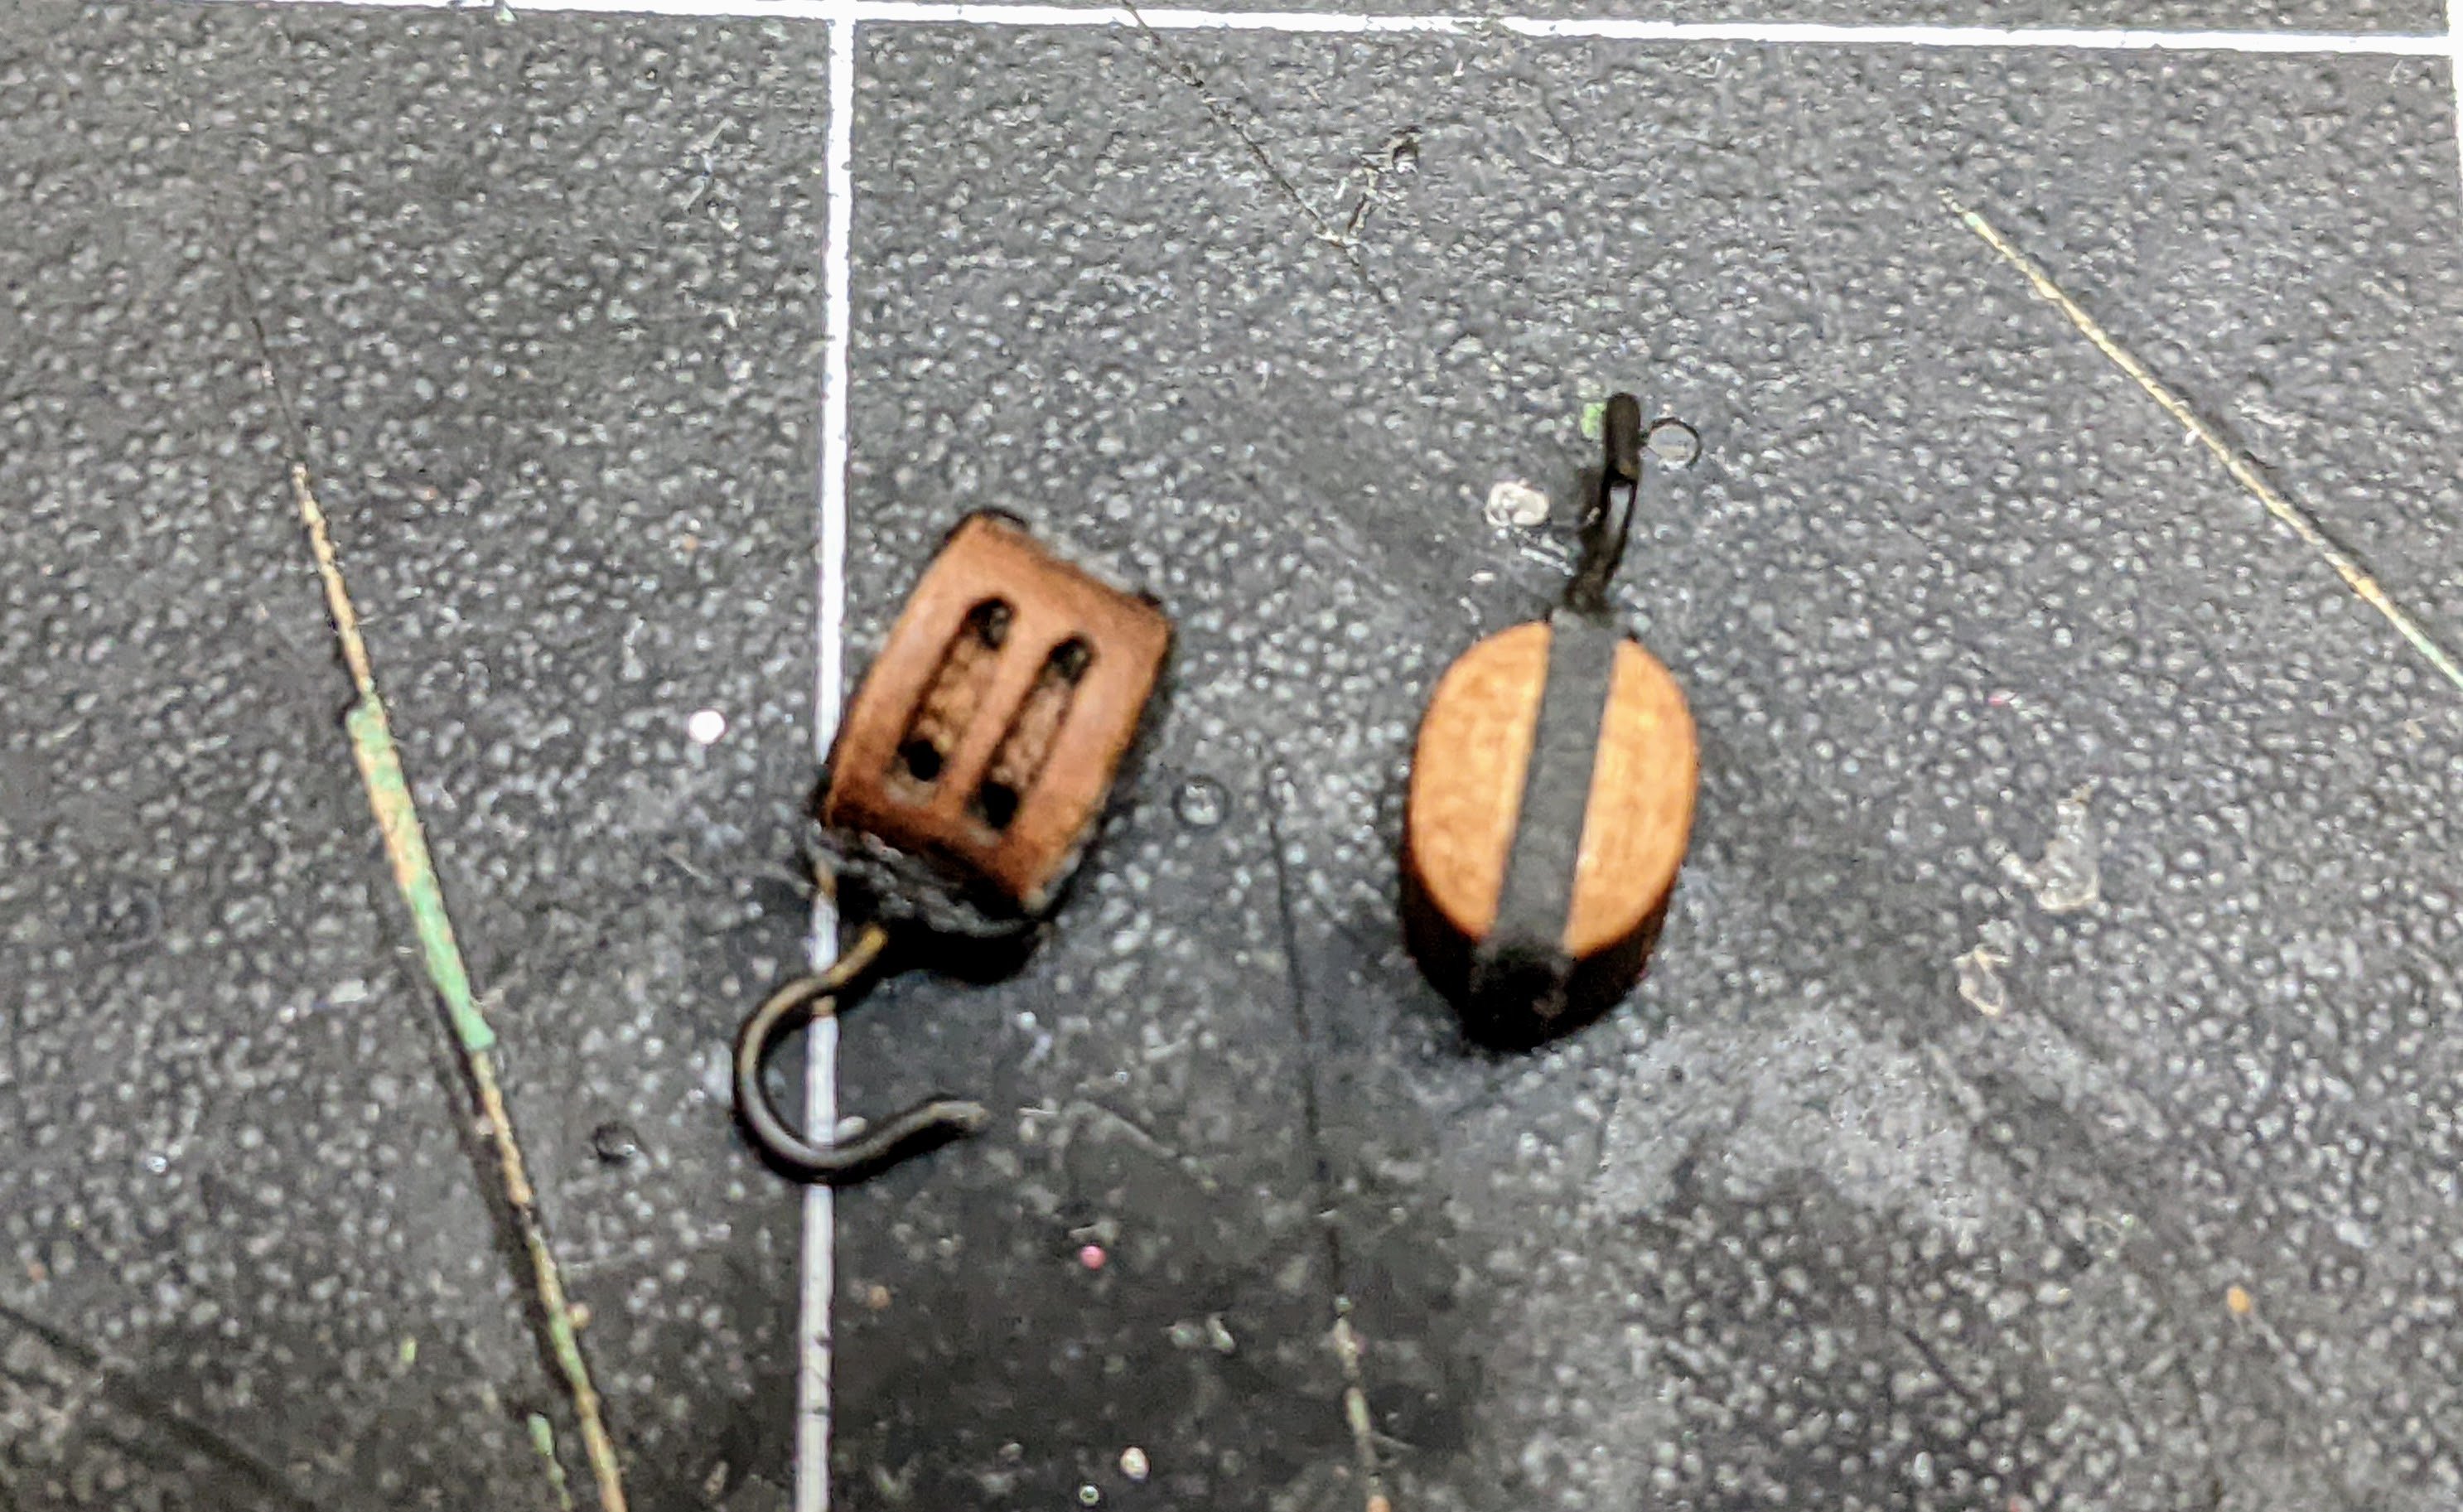
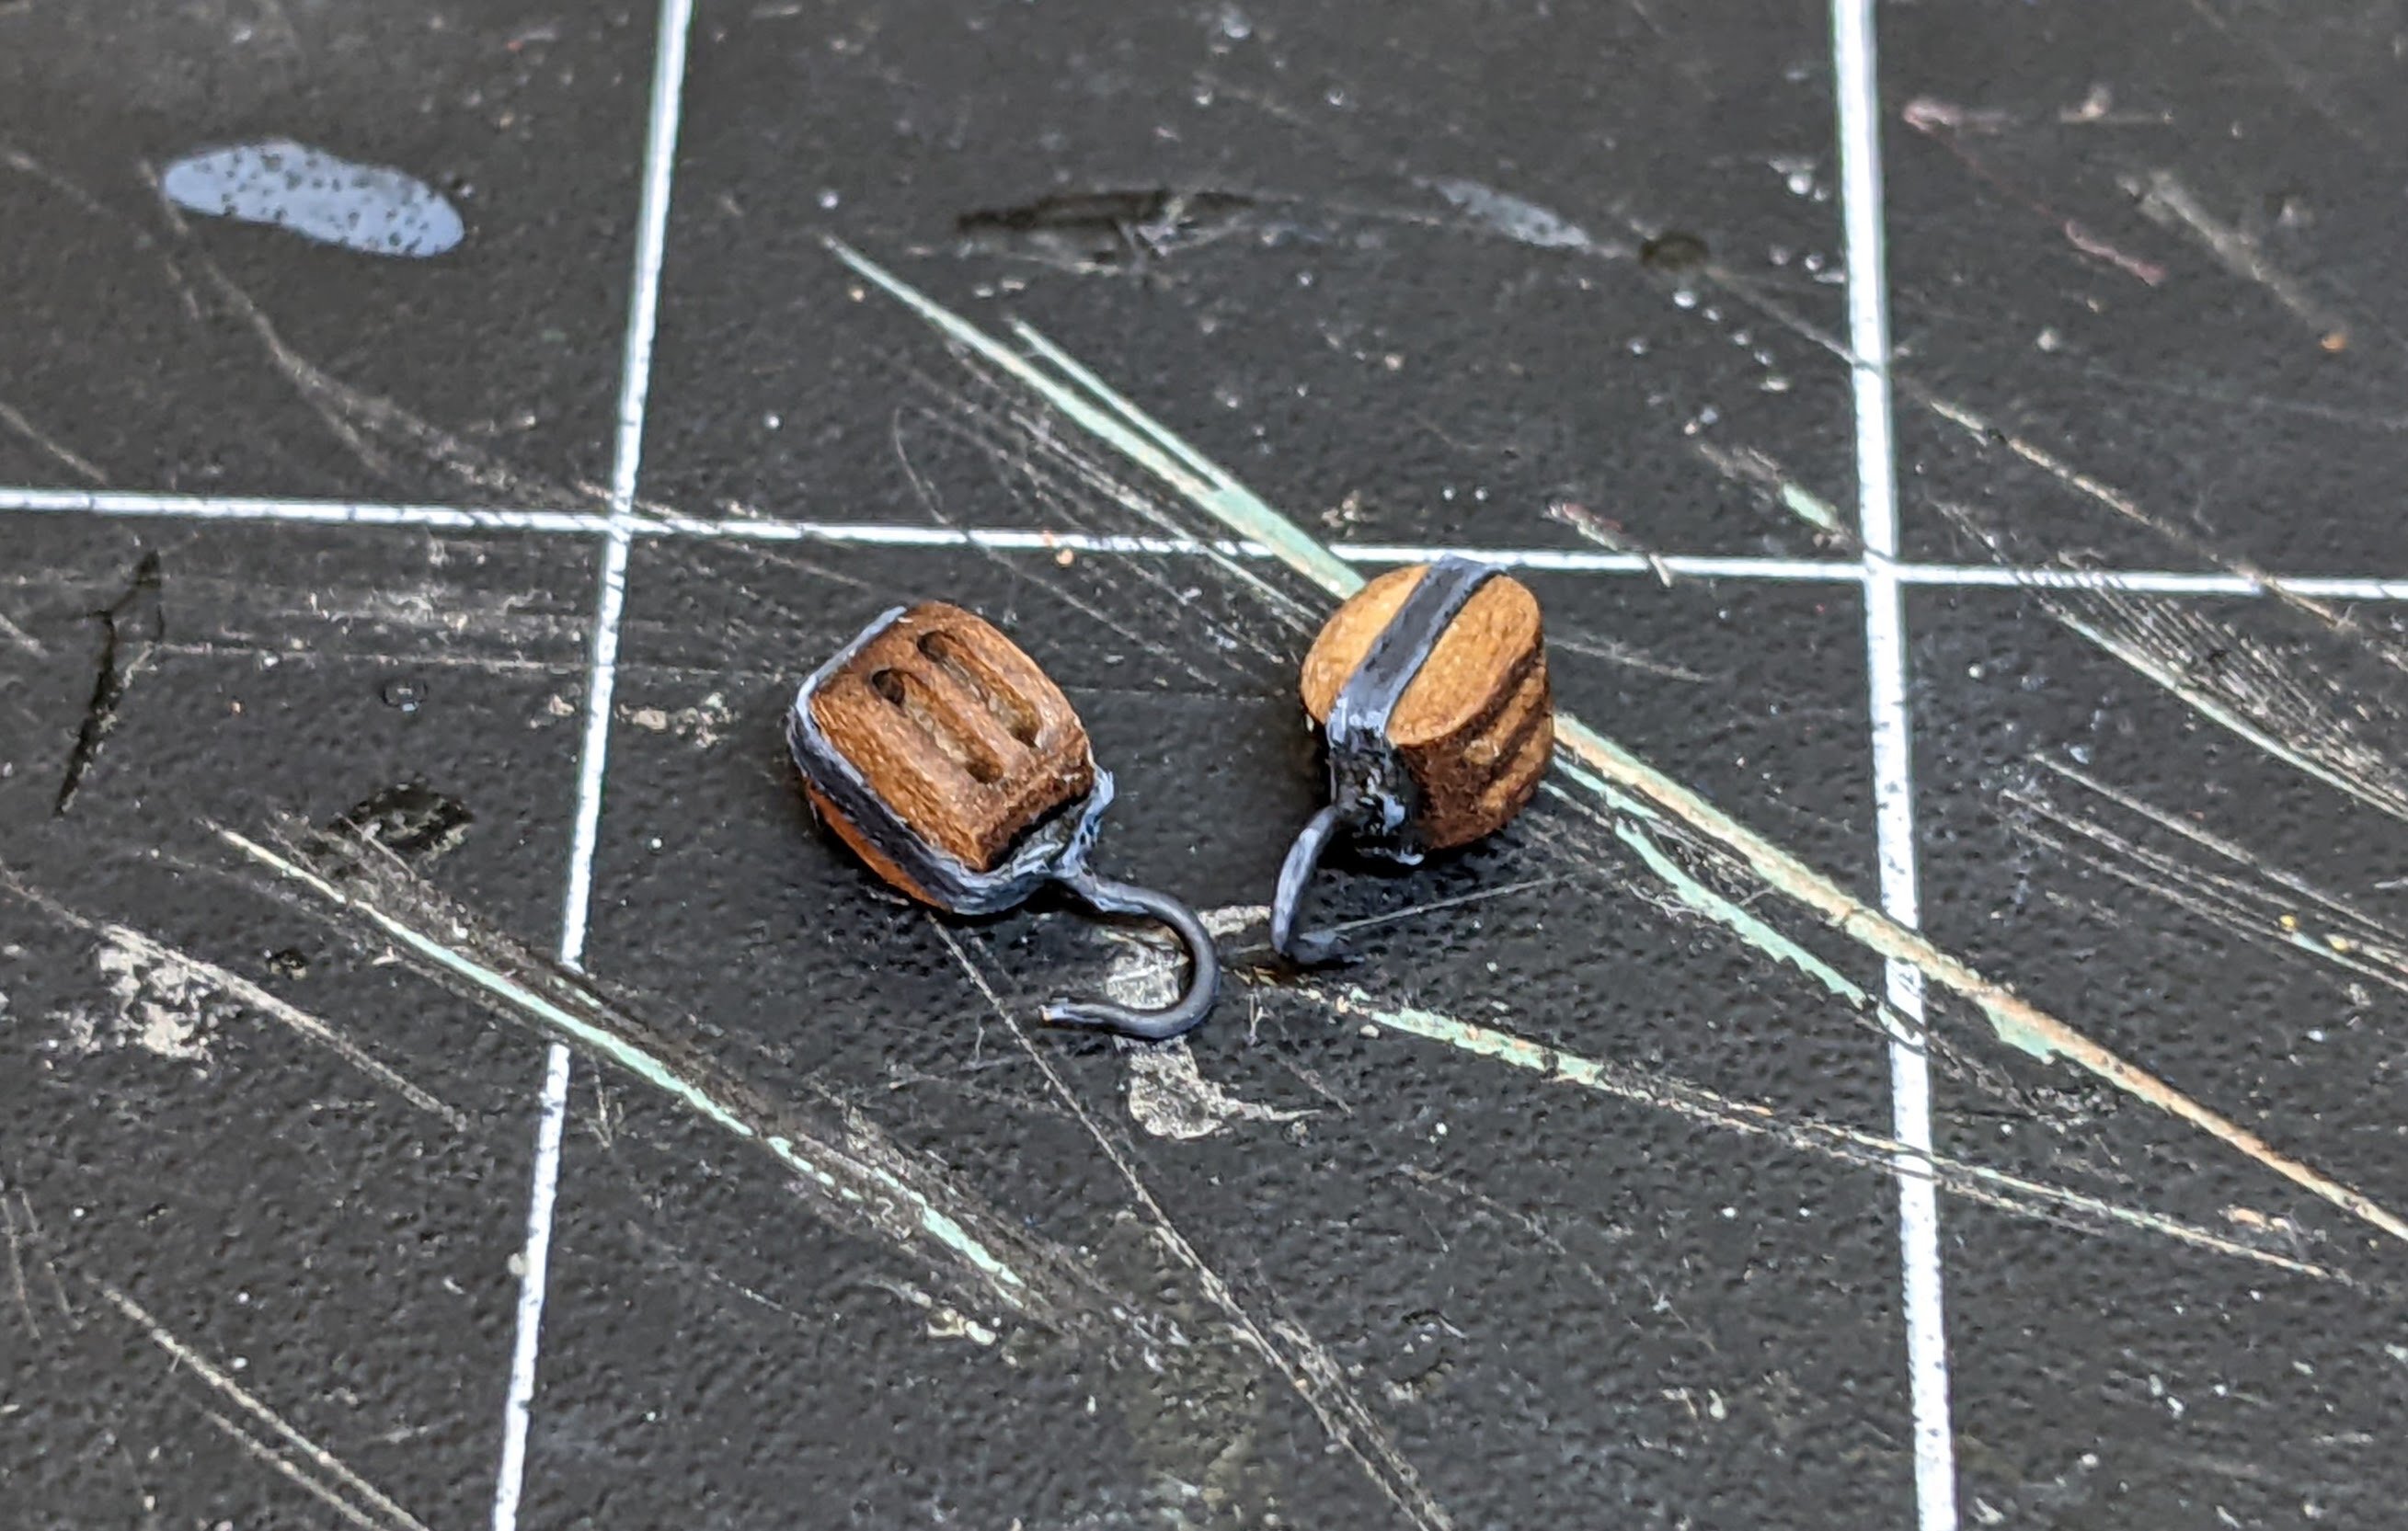
I also decided that I would start work on the cat falls. Steel calls for 12in double block which equats to 4.8mm at our scale. I decided to use a 5mm block. To make the blocks I scratch built the hooks using the brass pins from the kit and the iron strapping was done with the black paper in the kit.
I then painted all the iron in a similar manner to how I painted the ironwork on the anchor.

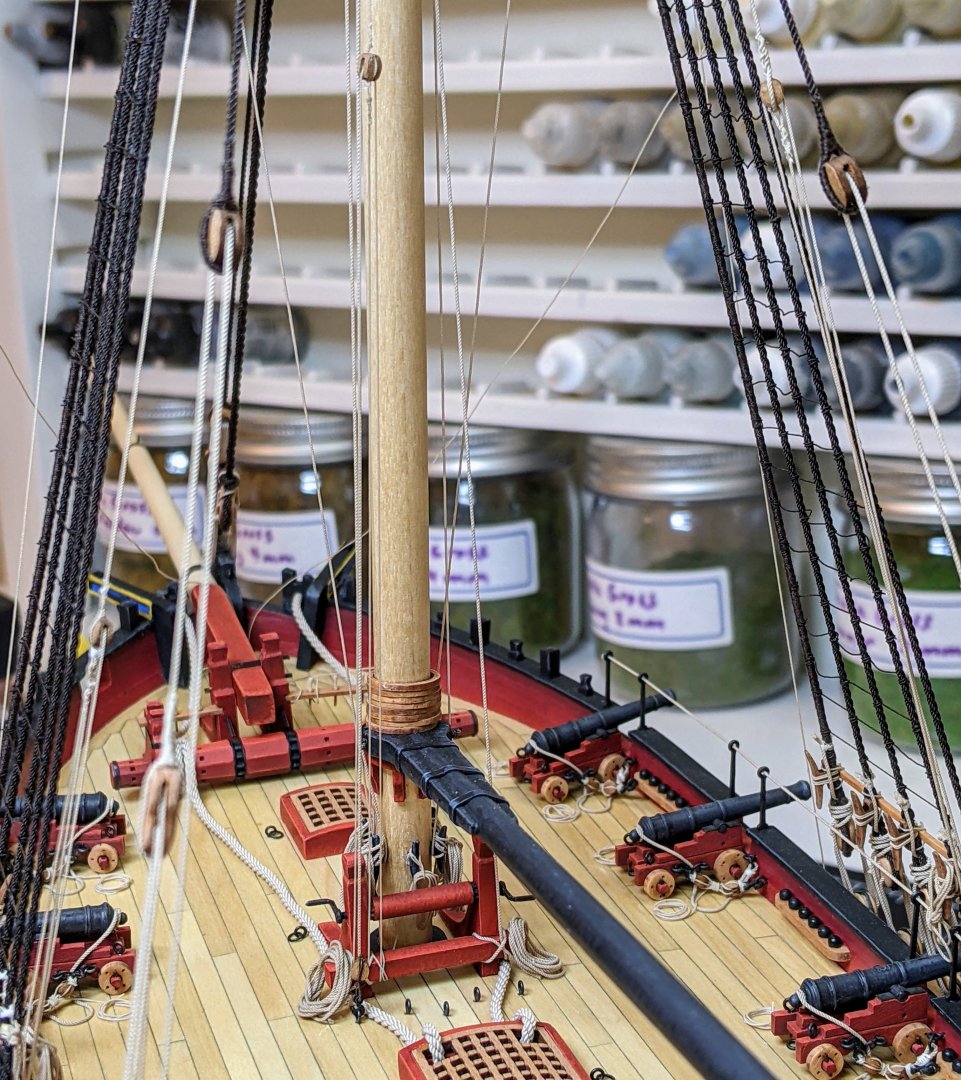
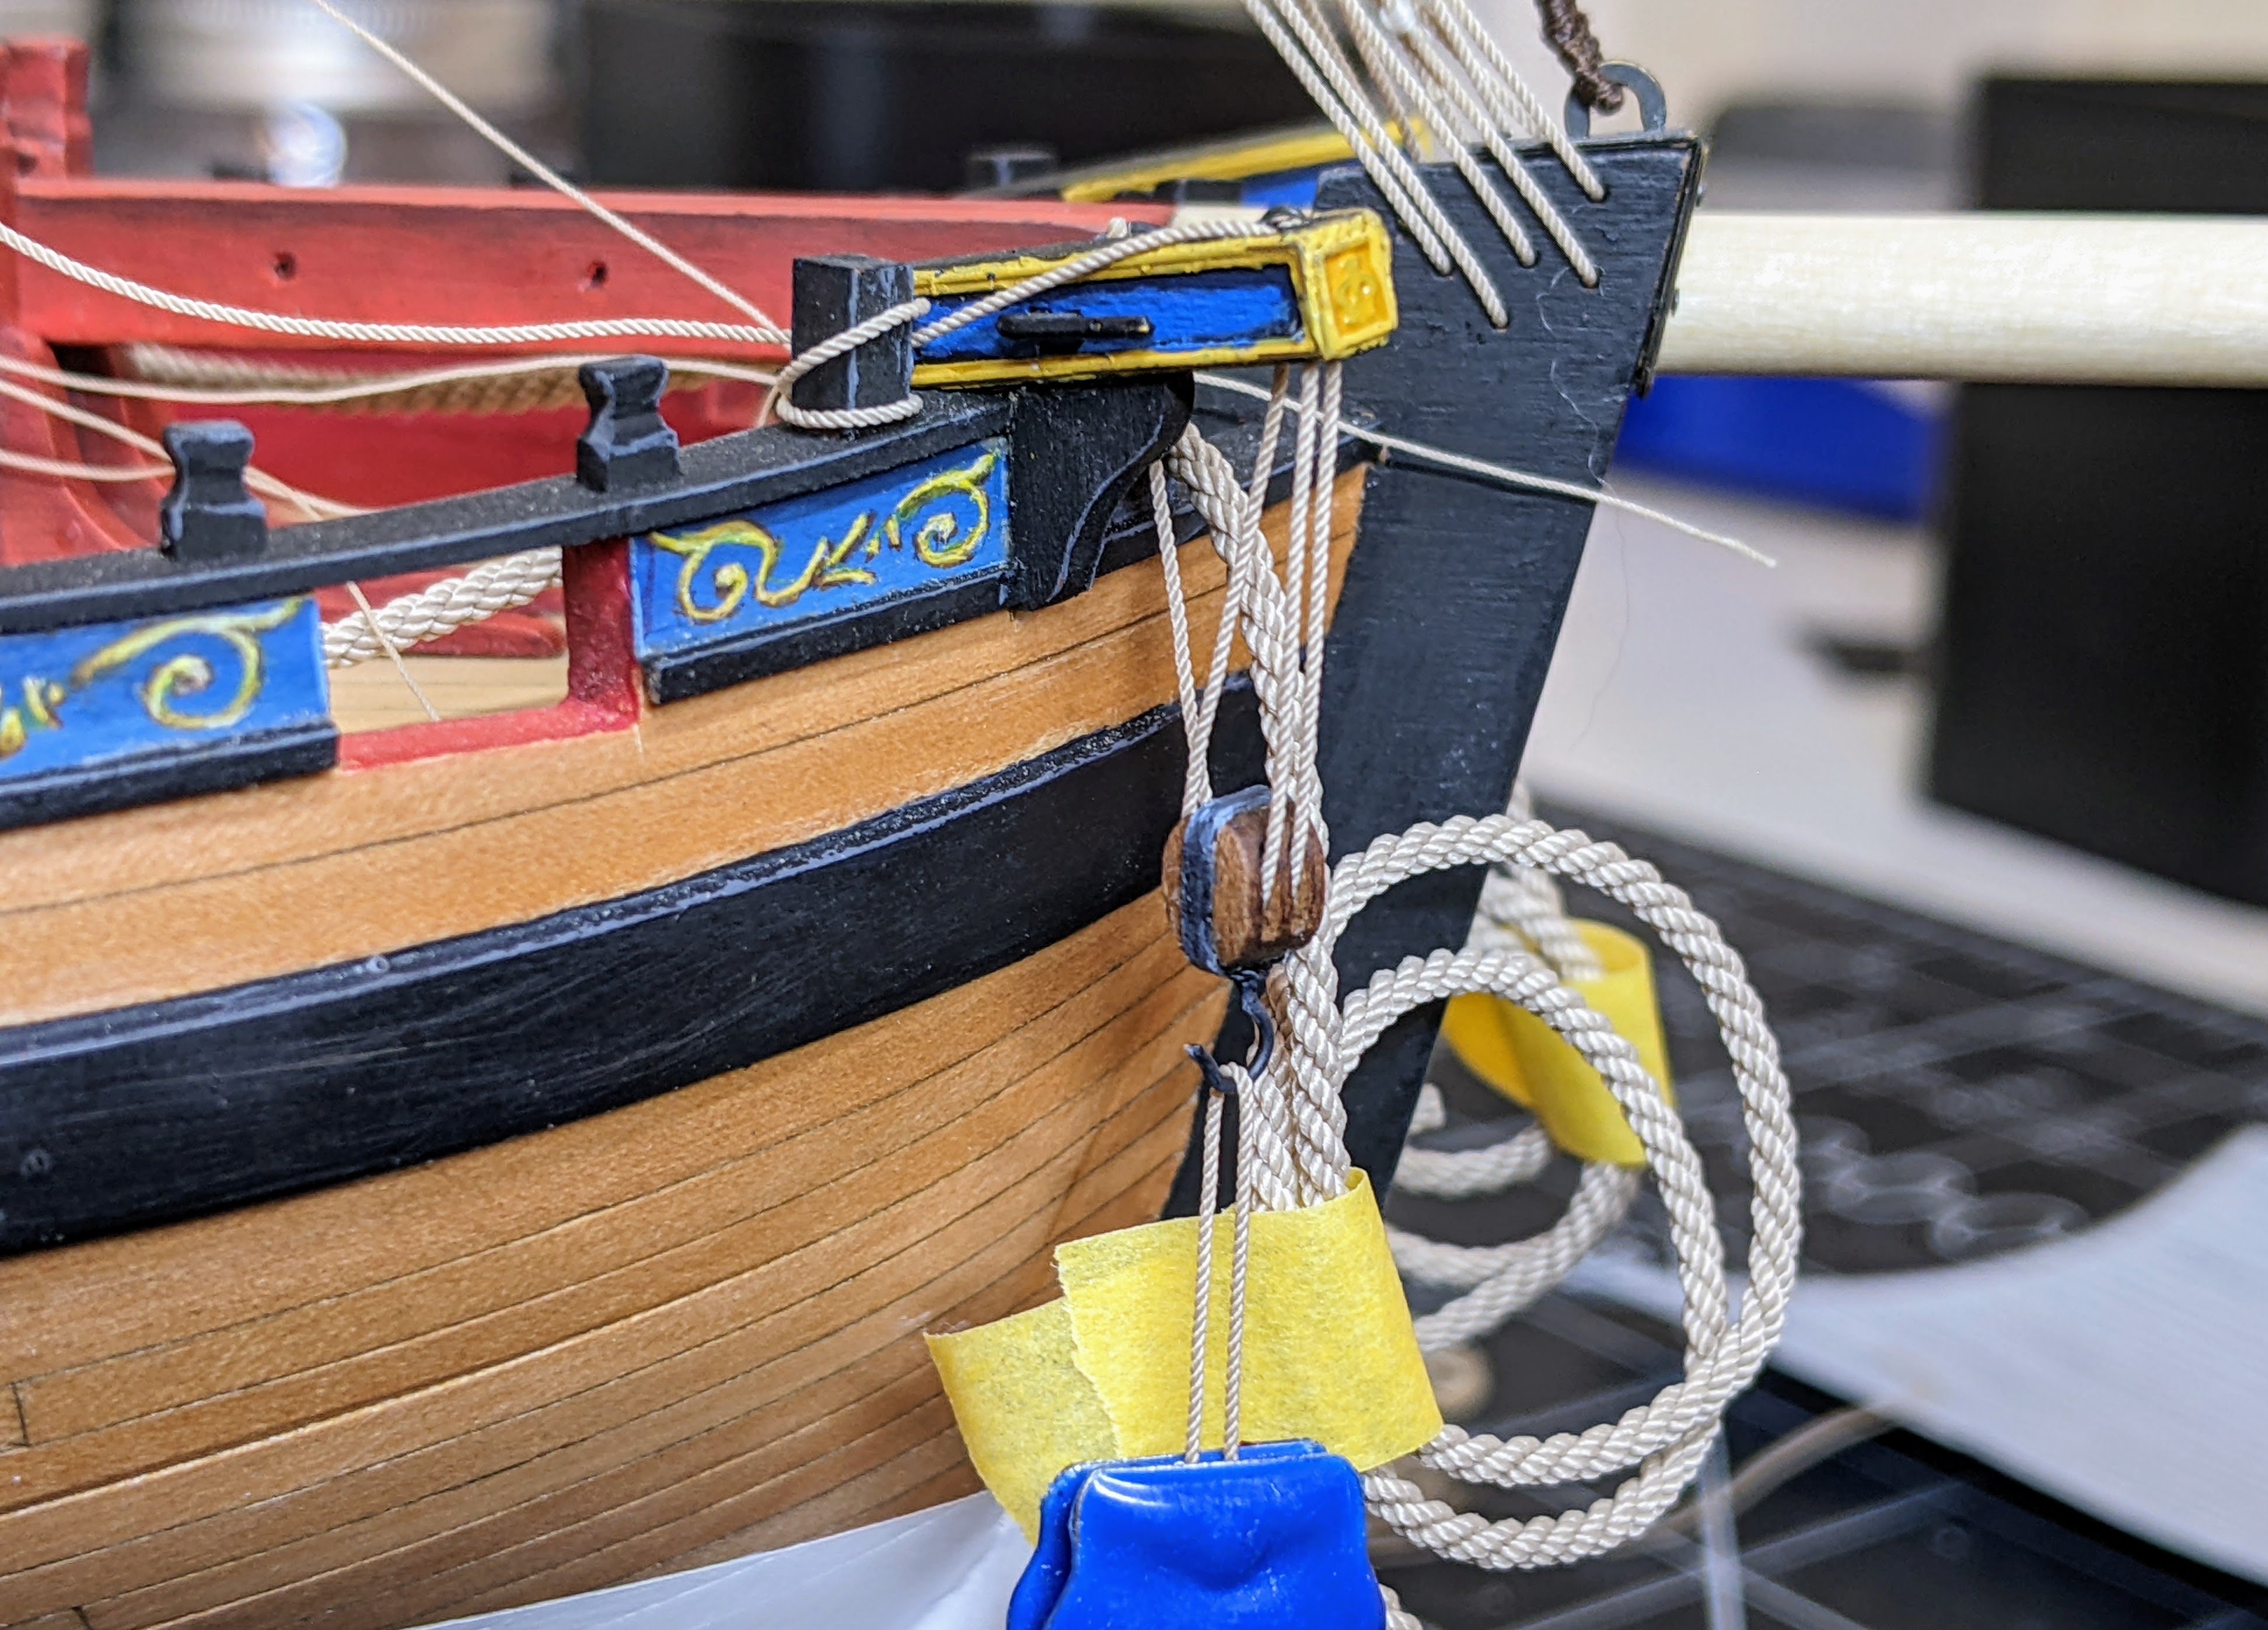
The rope is stated to be 3in cir, 0.38mm at our scale. However, I decided to round up to 0.45mm for the rope. I felt the 0.35mm rope looked a bit small compared to the 5mm block and I wanted to differentiate these slightly larger ropes from the other smaller ones near them.

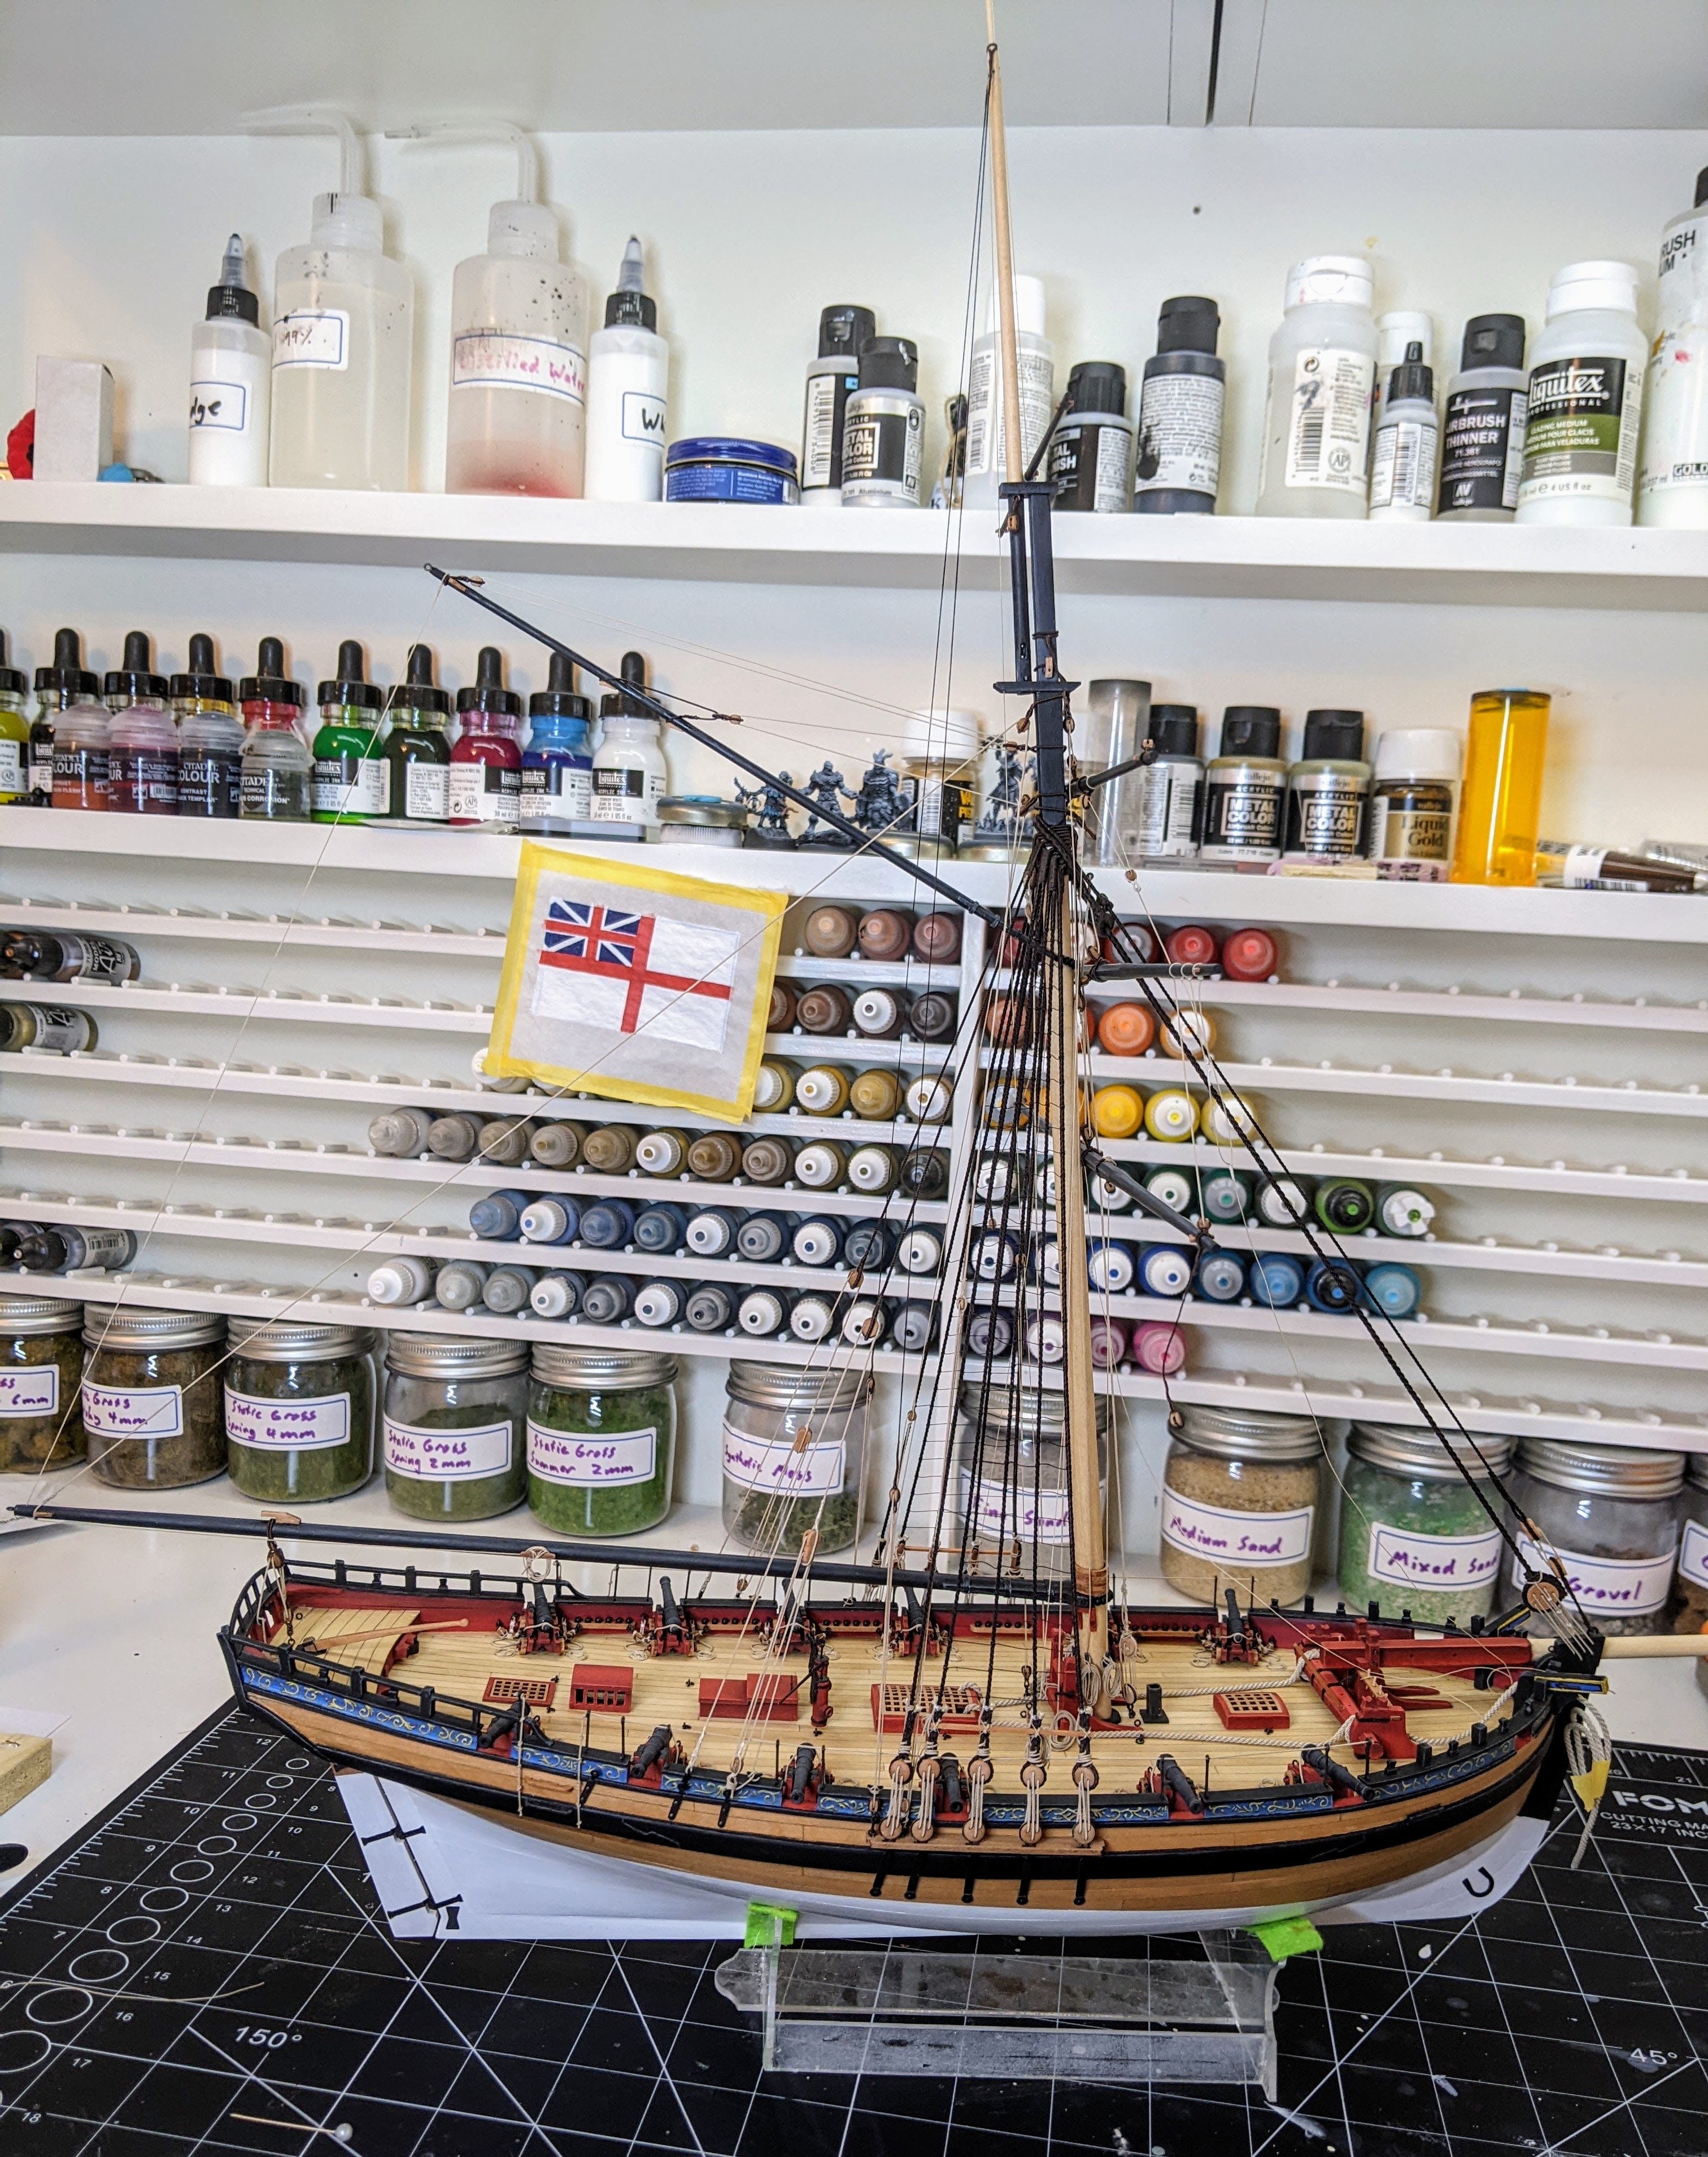
I have not decided quite yet where to tie off the cat falls so for the moment I have it wrapped around one of the posts for the swivel guns.
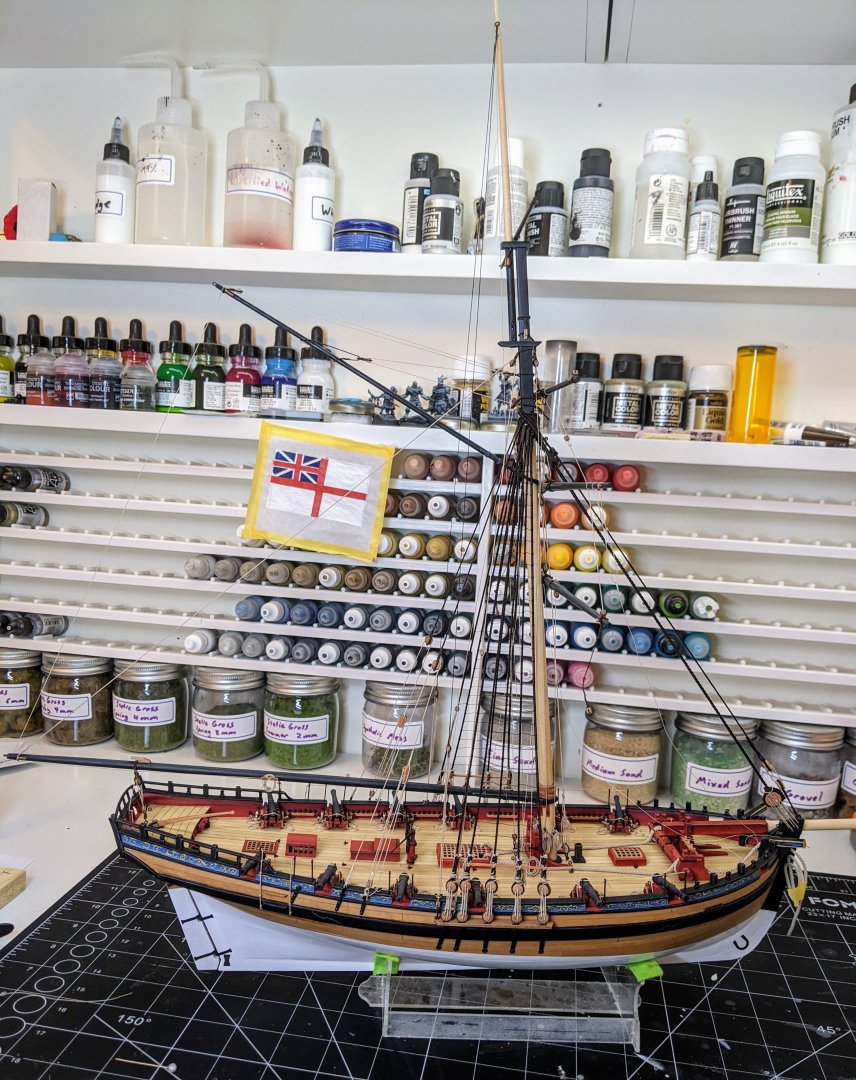
And here is the current state of affairs (taken before I attached the cat falls).

-
-
Looking good. Good to see you back at it.
- Keith Black, mtaylor, Glen McGuire and 1 other
-
 4
4
-
-
16 minutes ago, brunnels said:
I'm using Syren rope which he describes as a cotton polyester blend.
PVA should work just fine then.
- Keith Black and brunnels
-
1
-
 1
1
-
Great job, you are doing very well not just for a first time builder.
3 hours ago, brunnels said:is the technique to just brush these ropes with diluted PVA glue and then hang some weight on them while they dry?
Are you using polyester or natural rope? For natural fibres pva works really well, but it is less good on polyester. It depends on the rope, but you may want to try a few test versions to see how it holds before attempting it on the model if you have polyester rope. I find matt varnish or diluted fabric glue work better for polyester.
-
3 minutes ago, dafi said:
Yepp, it is Lees where I found it first, themn being confimed by the find at Steel. By this resaerch it became quite obvious that Lees uses quite a lot of Steels informations, sometimes word by word. (This is not a moan 🙂 ). These details can be found in Part III "Progressive Method of Rigging Ships" in the article of "Rigging the the Lower-Yards" in the passage about Fore- and- Main-Braces, Preventer-Braces and Slings.
Also most of these details are repeated in the "Tables of the Dimensions of ..."
XXXDAn
I often wish that authors like Lees etc were a bit more explicit about where they get their sources from when they make these sort of statements. It would make it much easier to parse how reliable the statements are if he regularly said "based on Steel" or "based on models viewed", etc... More footnotes equals more good :).
-
Welcome to MSW
- mtaylor and Keith Black
-
2
-
16 minutes ago, Blue Ensign said:
The anchors look great Daniel. 👍
I'm pretty picky about fittings but white metal anchors were one of those items I was fairly relaxed about. There were sufficient after-market versions to suit all sizes - from kedge to Best bower, if a full set was required.
B.E.
Thanks BE, yes I did consider going with an aftermarket version, but I thought if I was going to replace them I might as well just draw up scratch ones in cad as then I could get the scale perfect instead pretty much right (I know a bunch of people with 3d printers).
In the end I thought this solution was good enough for the current build.
@jpalmer1970glad to know I wasn't the only one who had trouble getting the paint to stick. I am going to handle them very carefully from this point on.
- jpalmer1970 and Ryland Craze
-
2
-
You can also find Steel's 1794 book online and transcribed here https://maritime.org/doc/steel/
-
Log #85: The Anchors
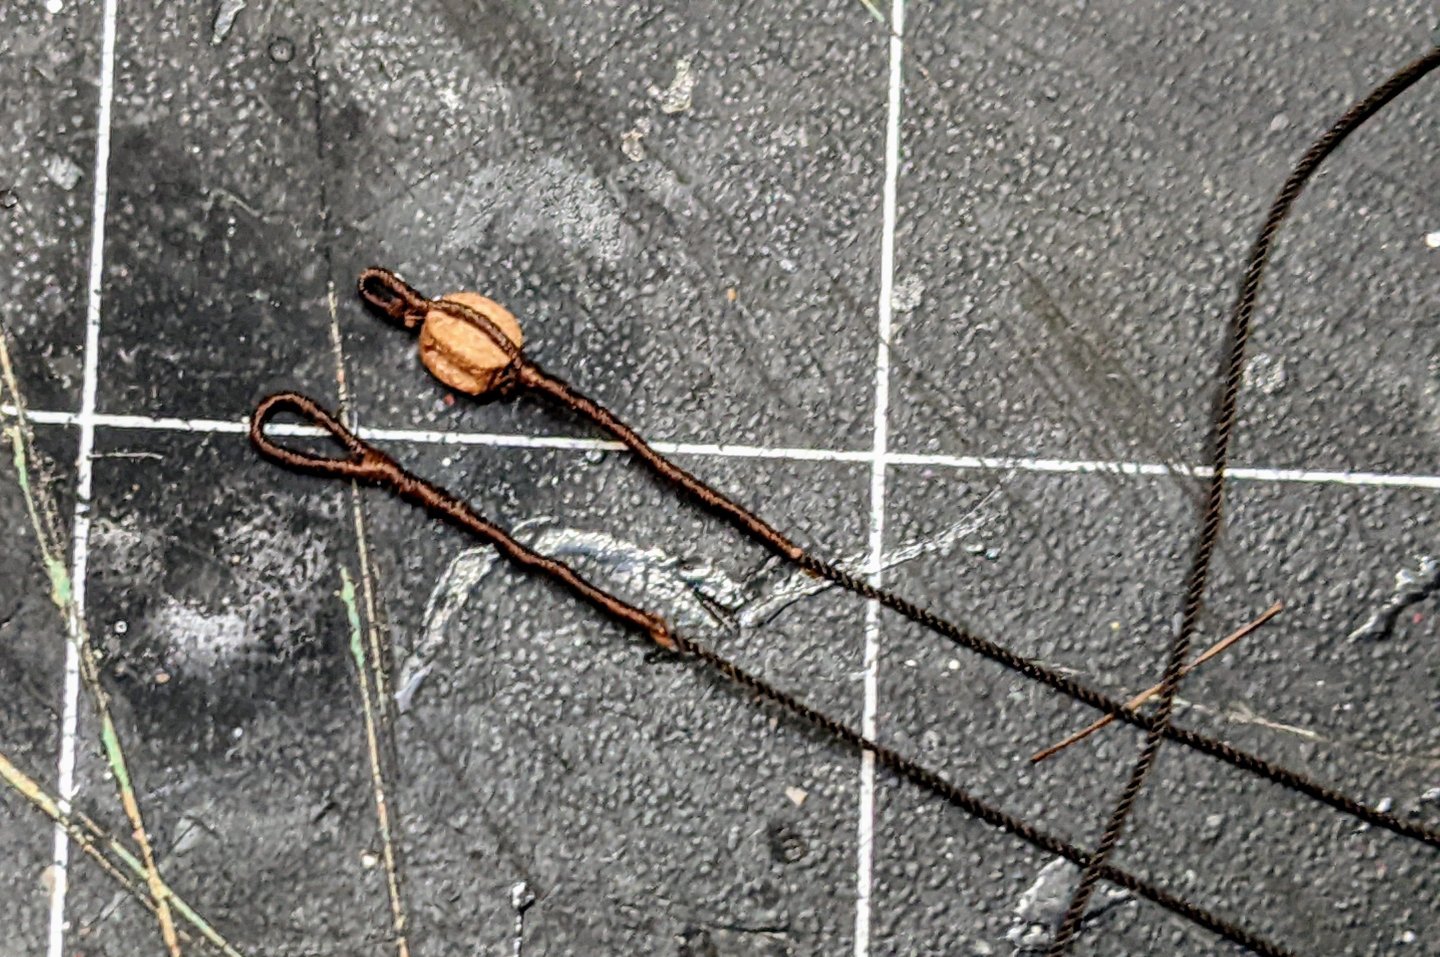
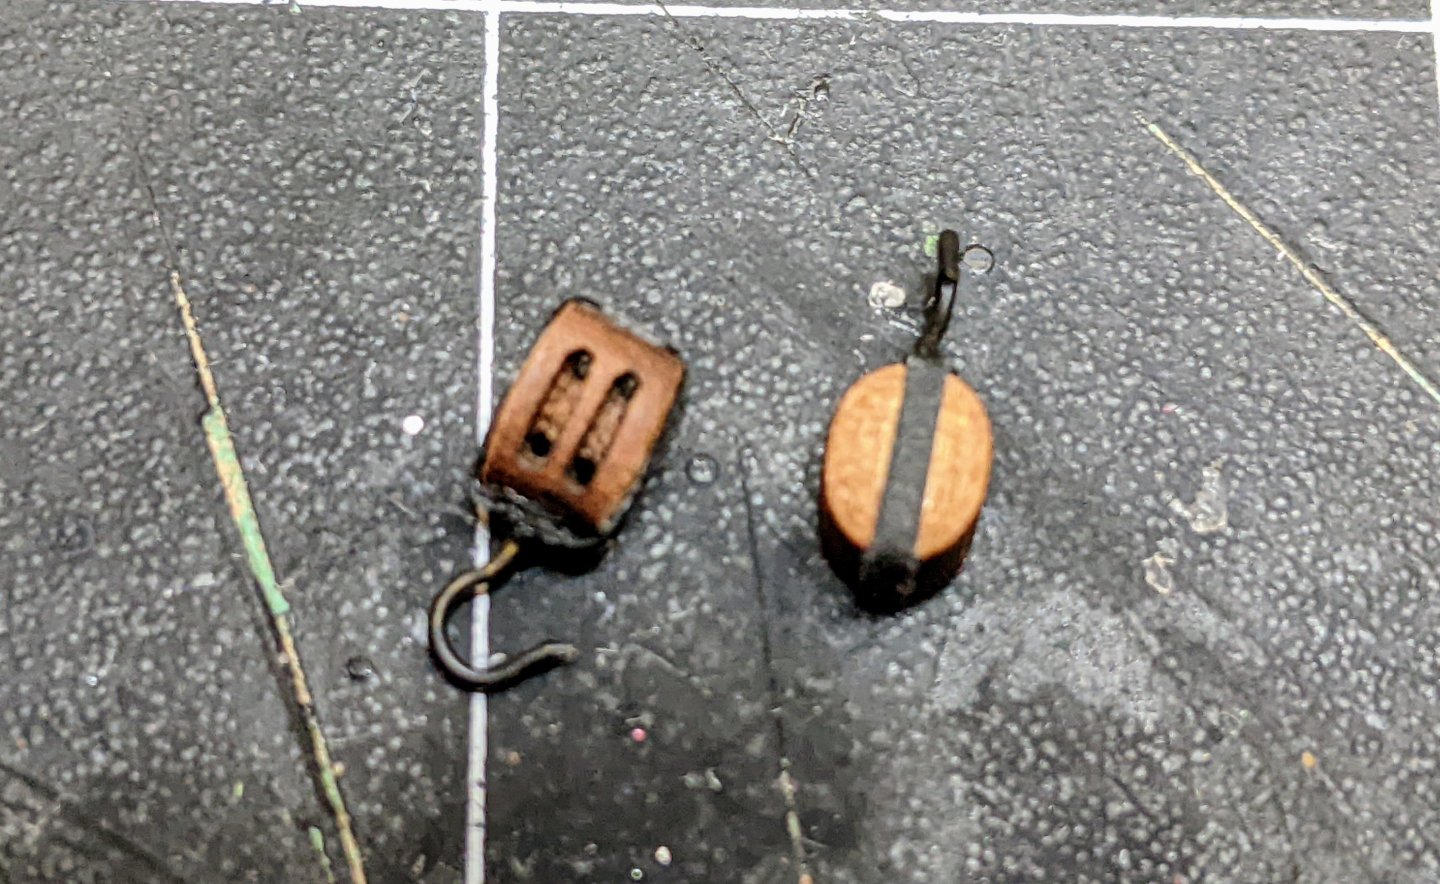
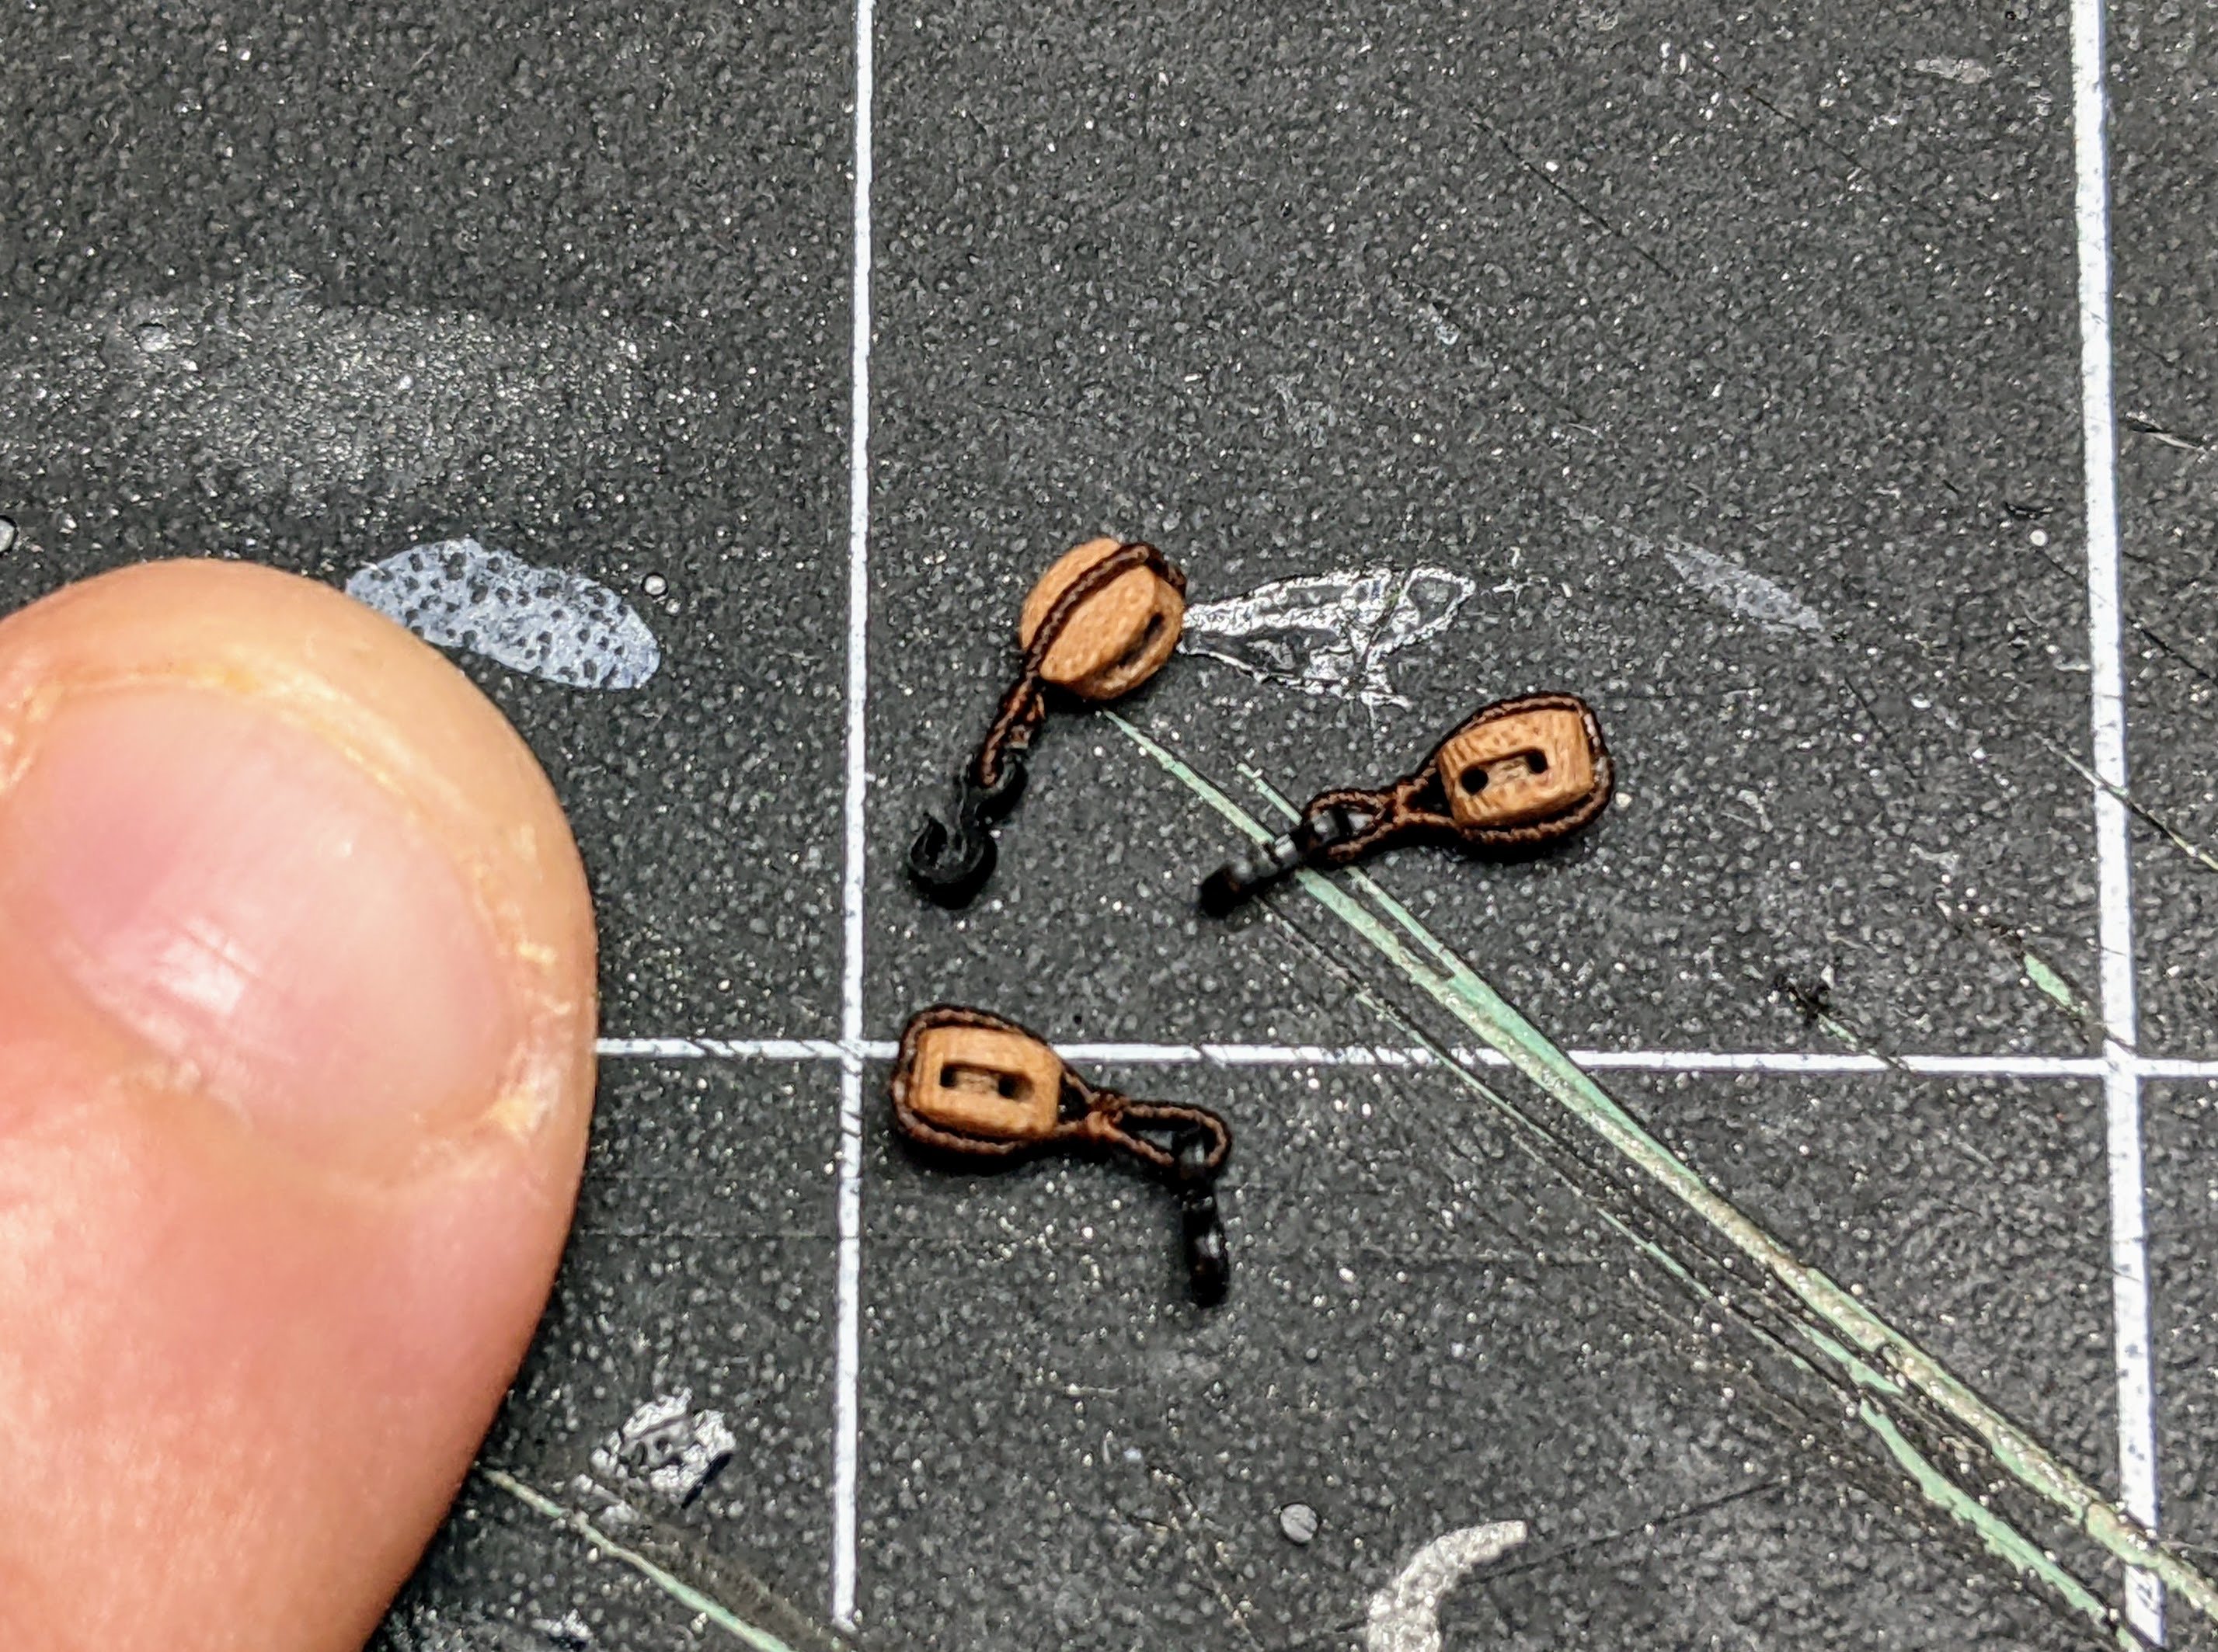
Thank you to everyone for you kind comments and encouragement. I have spent the past couple weeks making a brief detour from the rigging, but before getting to that I did clean up a few lines. First up were some blocks with hooks for the topgallant backstay tackle and the topgallant yard halyard tackle.

I am getting much better at these now I have my process down and can produce them pretty quickly at this point. These ones only took about 15 minutes to make all in.
I then secured the topgallant yard halyard using one of these hook blocks and another block attached to the halyard itself. I belayed the falls to the bits and then ran the coil over the nearest cleate.
With that out of the way I decided to take a break from rigging and look at the anchors.
As I have one of the earlier versions of the alert kit, mine came with the cast metal anchors and I can see why Chris has moved away from these. They are easily one of the weakest parts of the kit. I debated for a while as to whether I should just chuck them and draft and 3d print some new ones, but in the end I decided to try and work with them. As I have previously noted my goal with this build has been to stay pretty close to the kit and I though with a bit of work I could make them look ok.
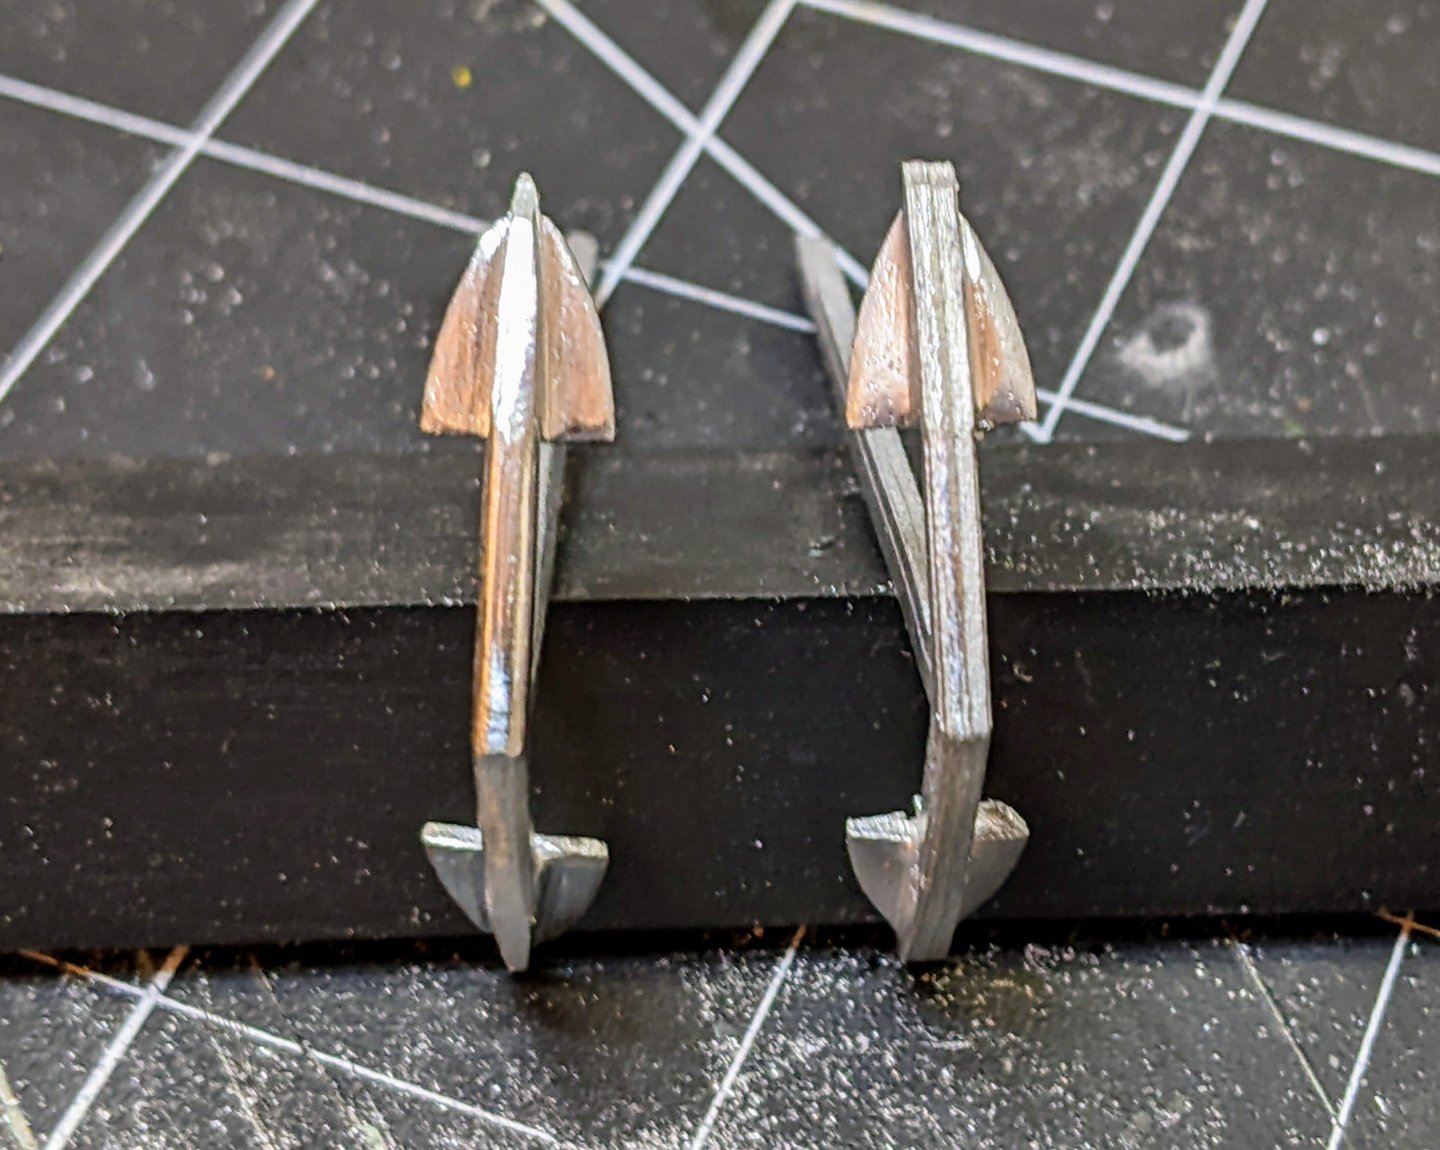
The main problem as you can see from the right hand anchor in the above picture is that they lack detail and the molding process has resulted in some flash and warping. I decided to try and file them down to remove the excess material and make them look closer to how they appear in the illustrations in Steel.
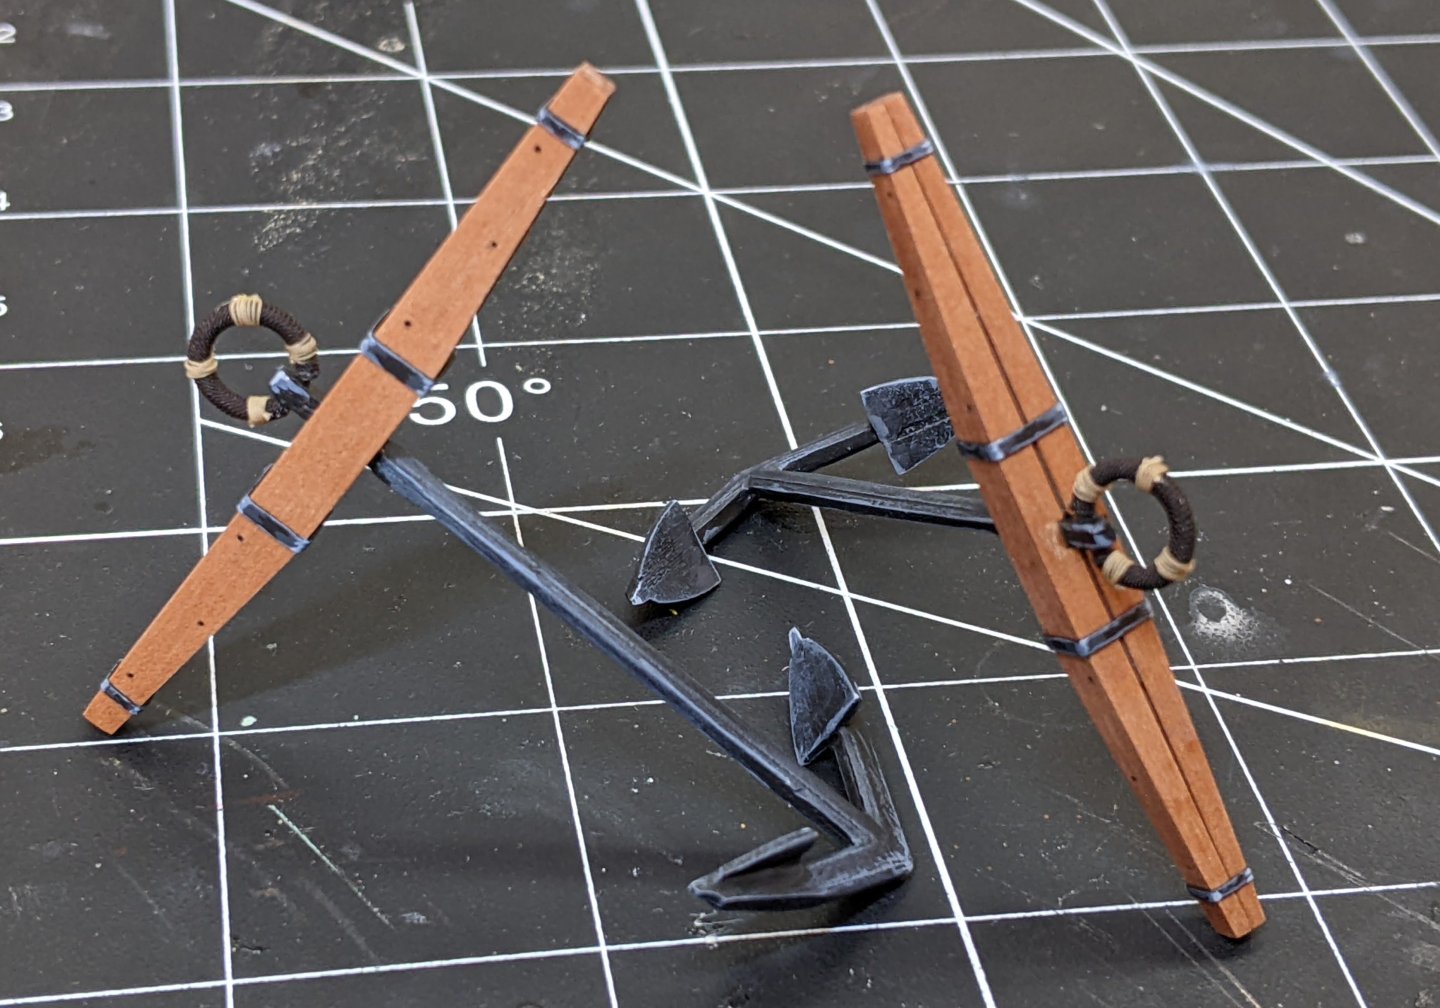
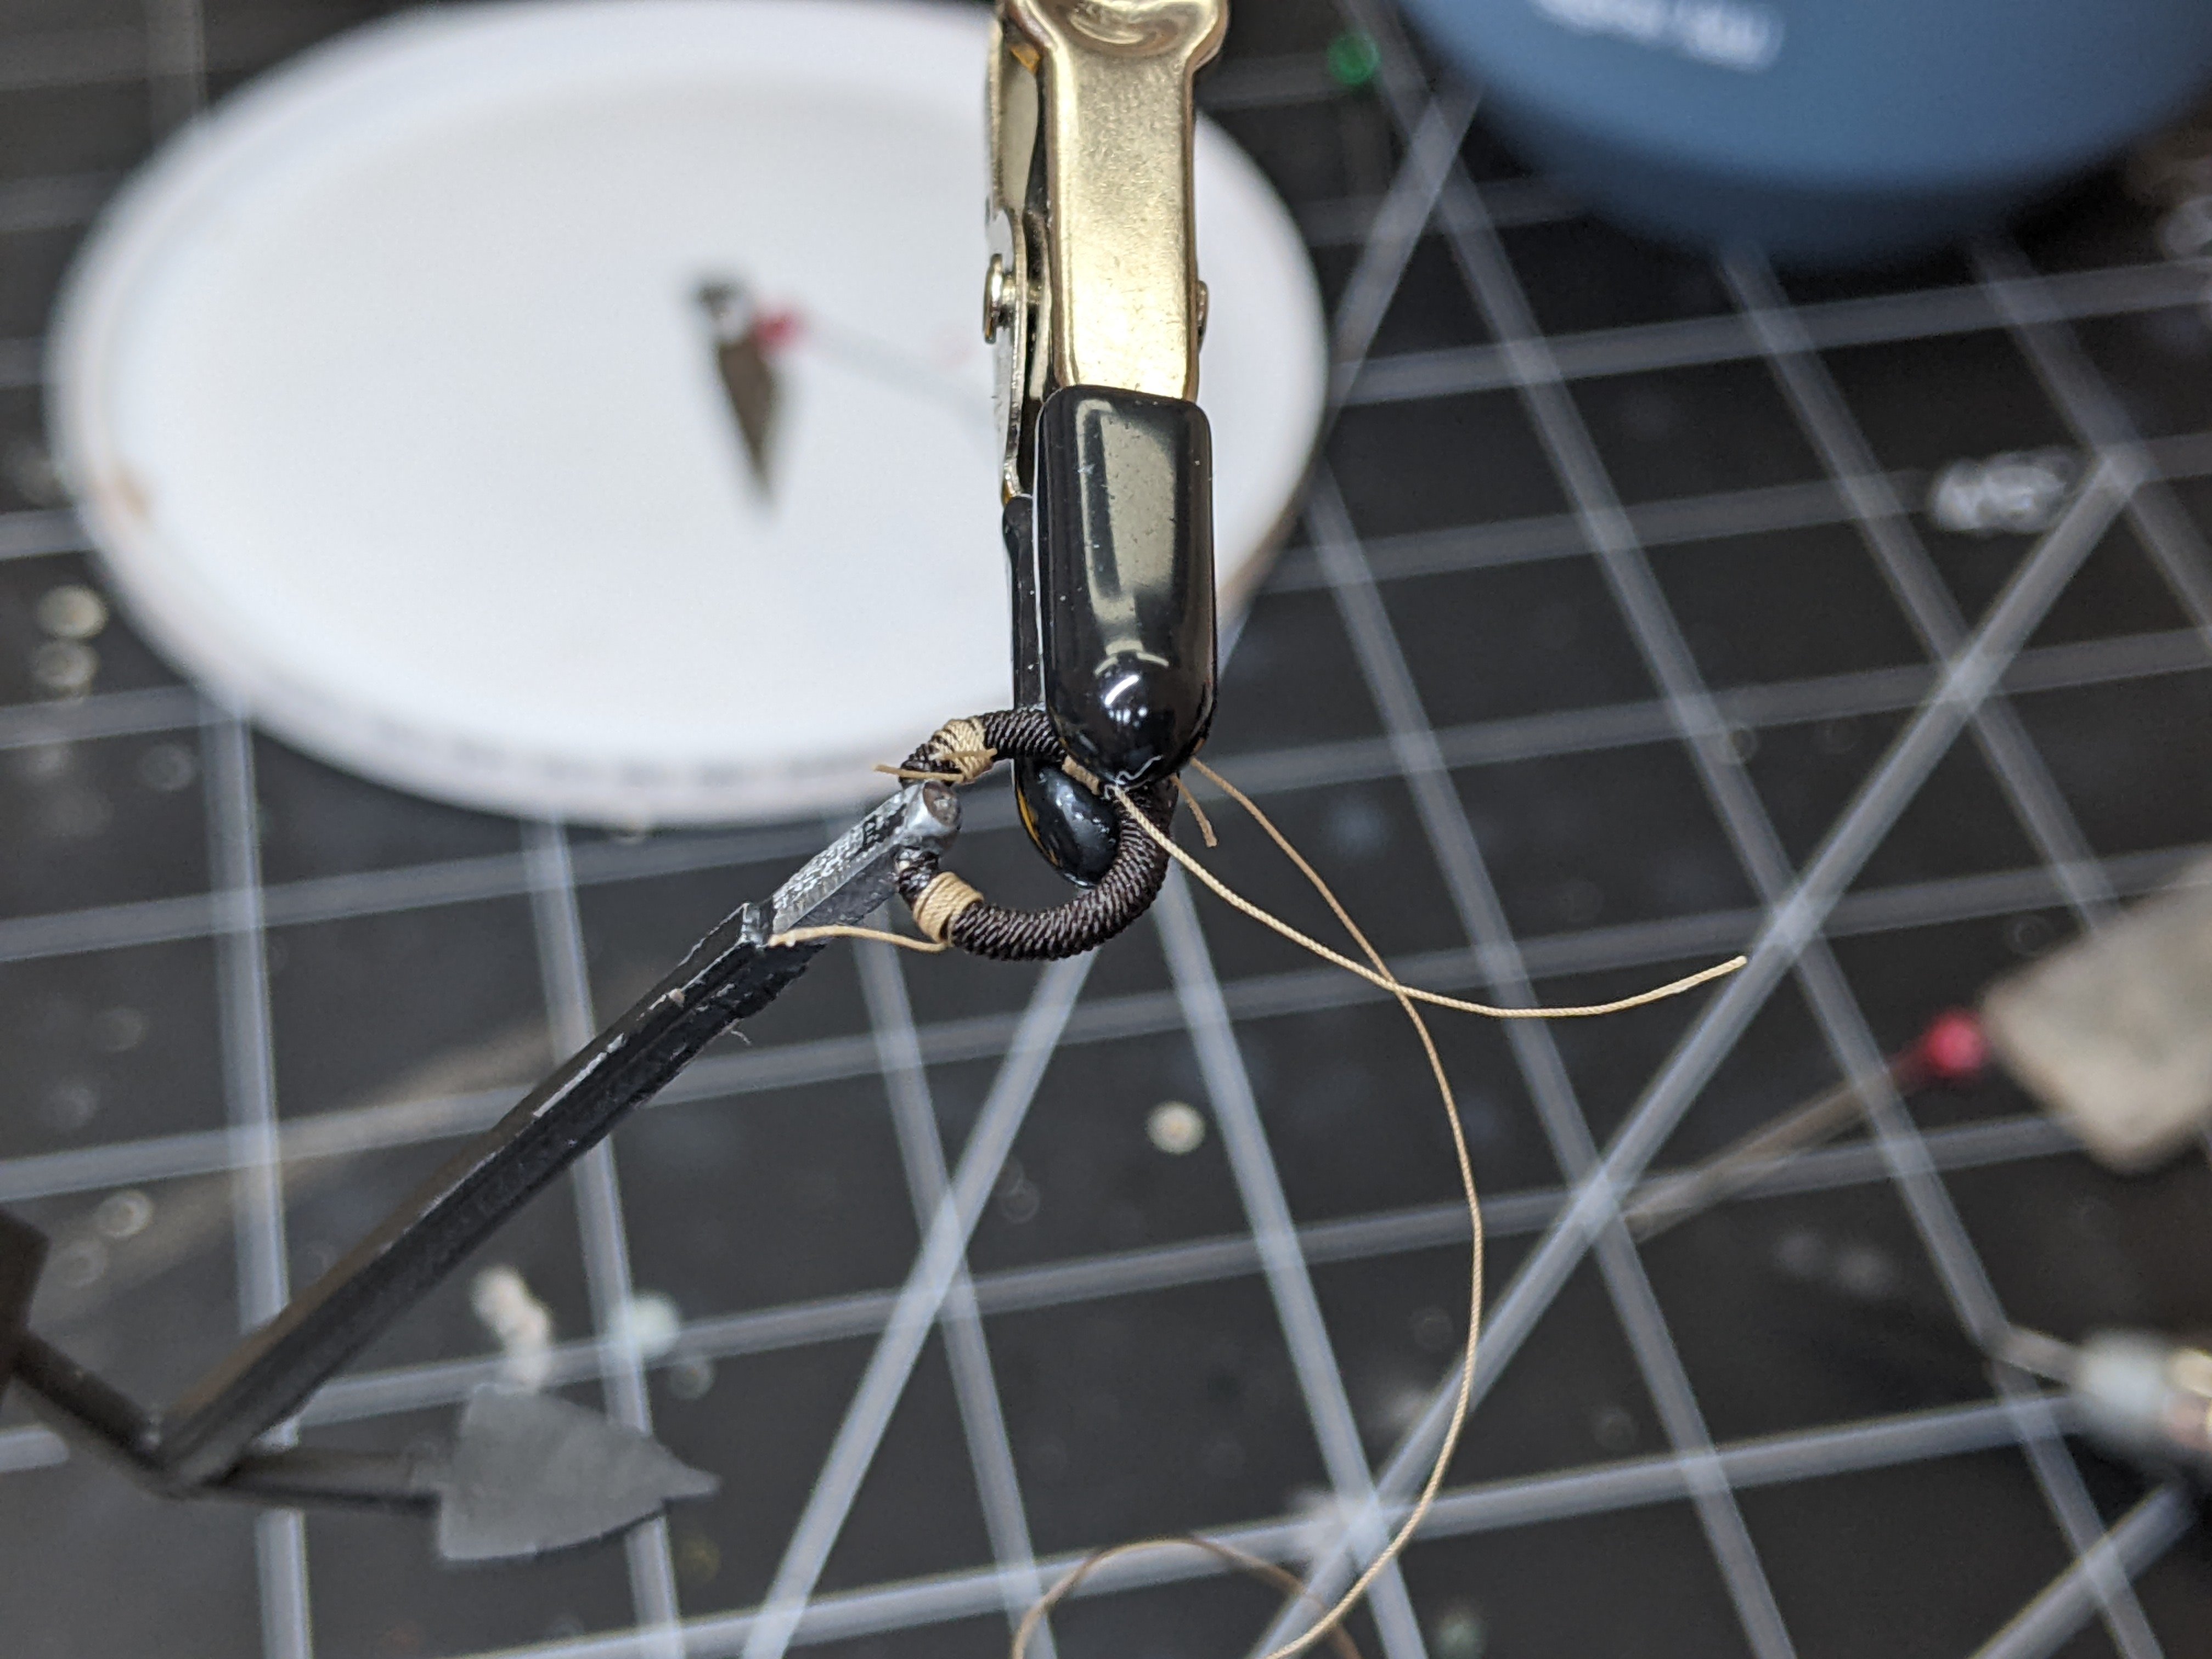
I also decided not to use the PE ring from the kit and instead made one out of paper clips which I wrapped around a drill bit to shape them. I then added the puddening to them with 0.35mm brown rope and seized them with 0.2mm beige rope. The seizing rope was a bit too big, but my only other option is the white fly tying thread I have and I thought the contrast would not look right.

You can see in the above image one of the biggest problems I struggled with, getting the primer to stick to the anchors. Despite washing and filing most of the surface off of them, I could not get the primer to hold well.
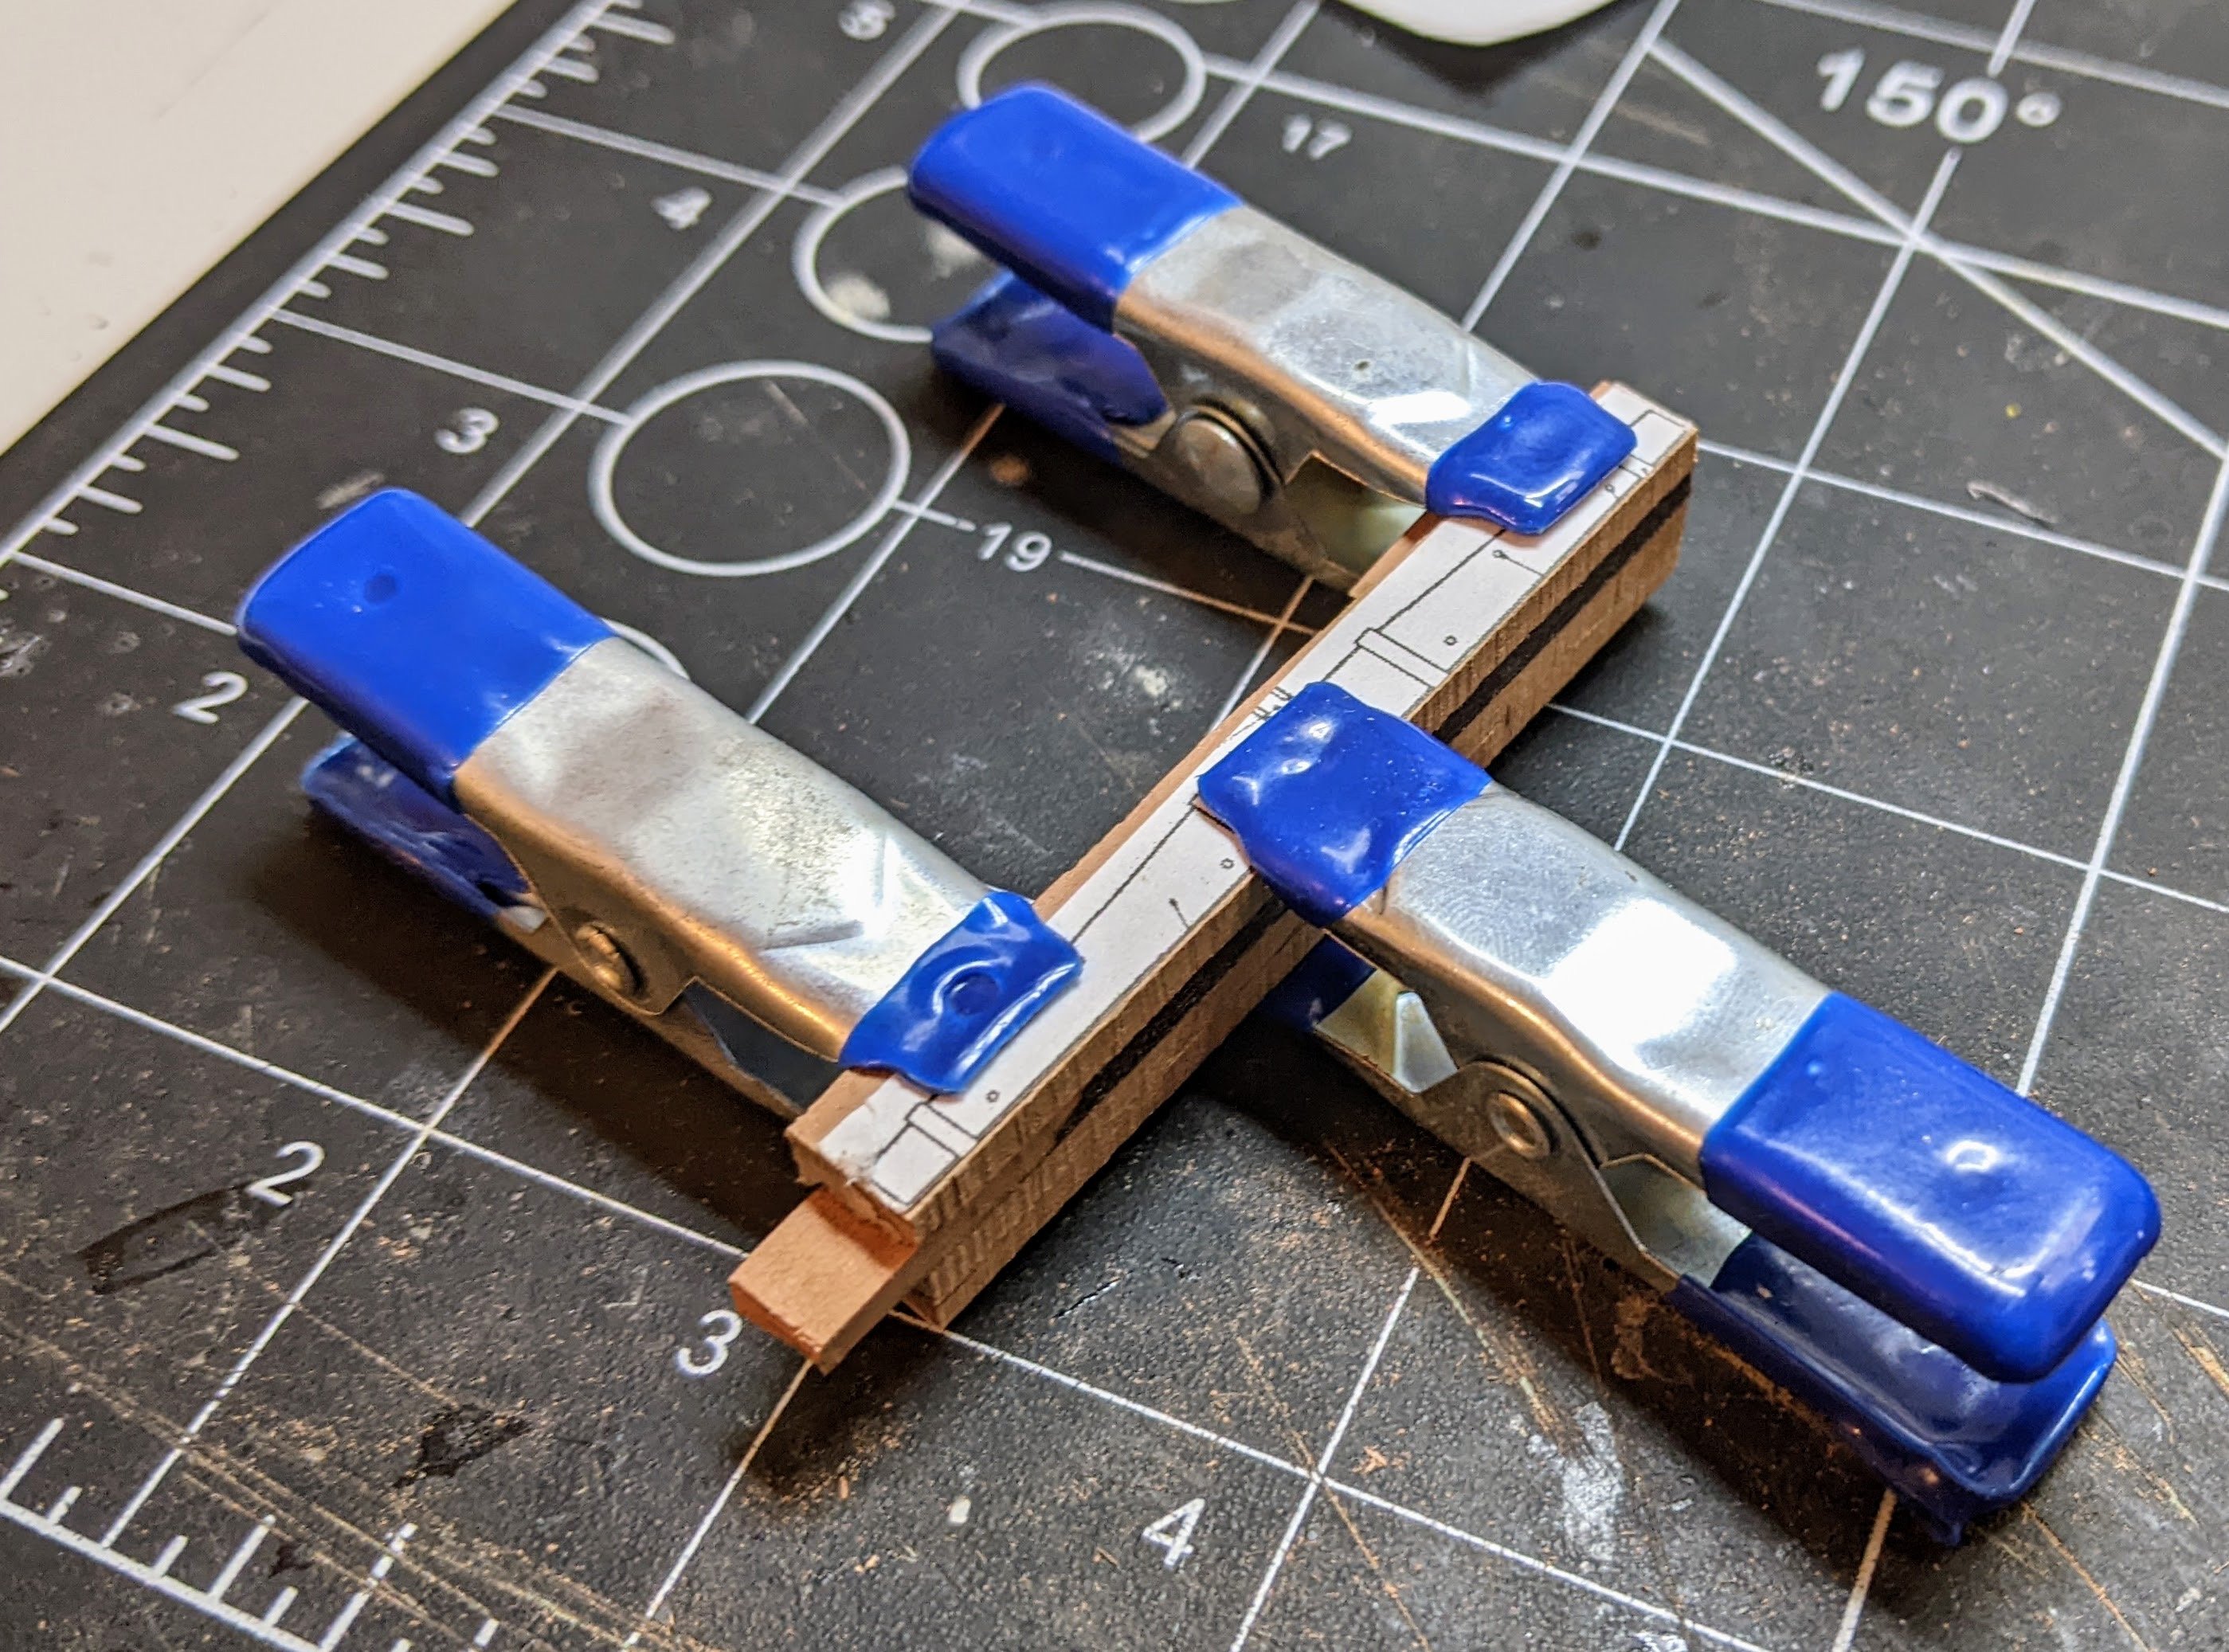
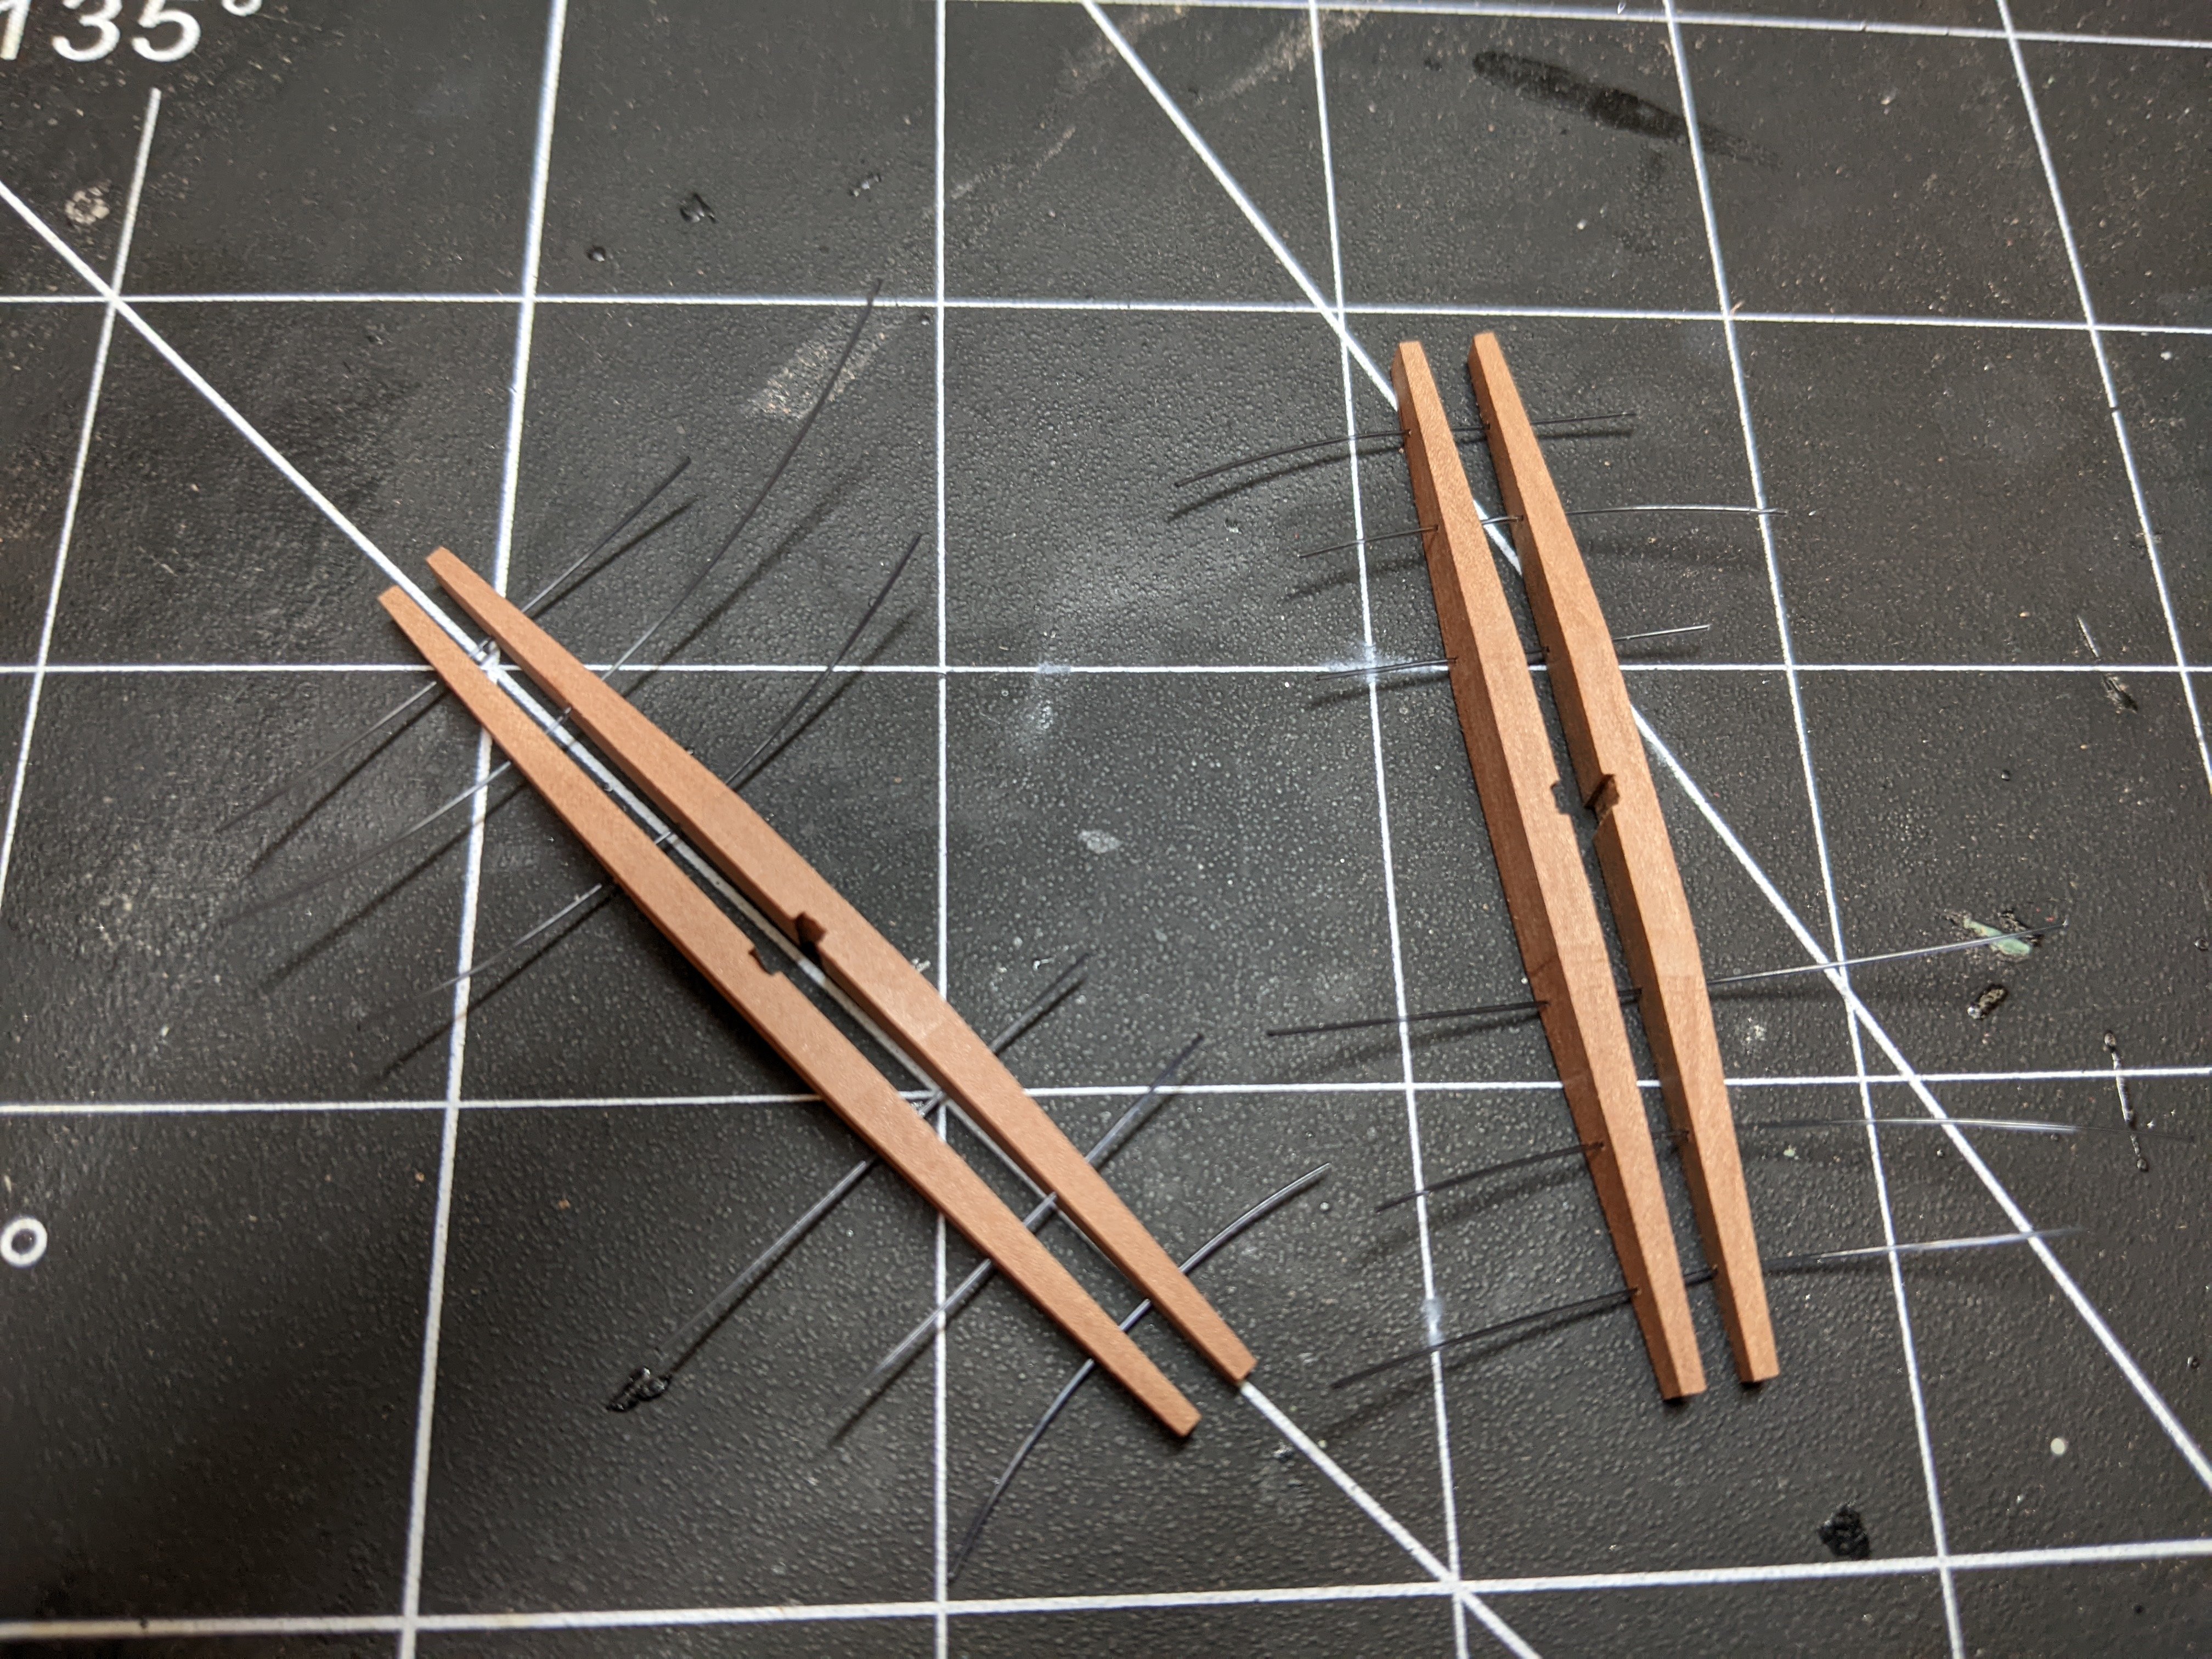
Then I was on to the anchor stock. The kit version did not look enough like the real thing so I scratch built some new ones out of the offcuts of the 3mm laser cut sheet.

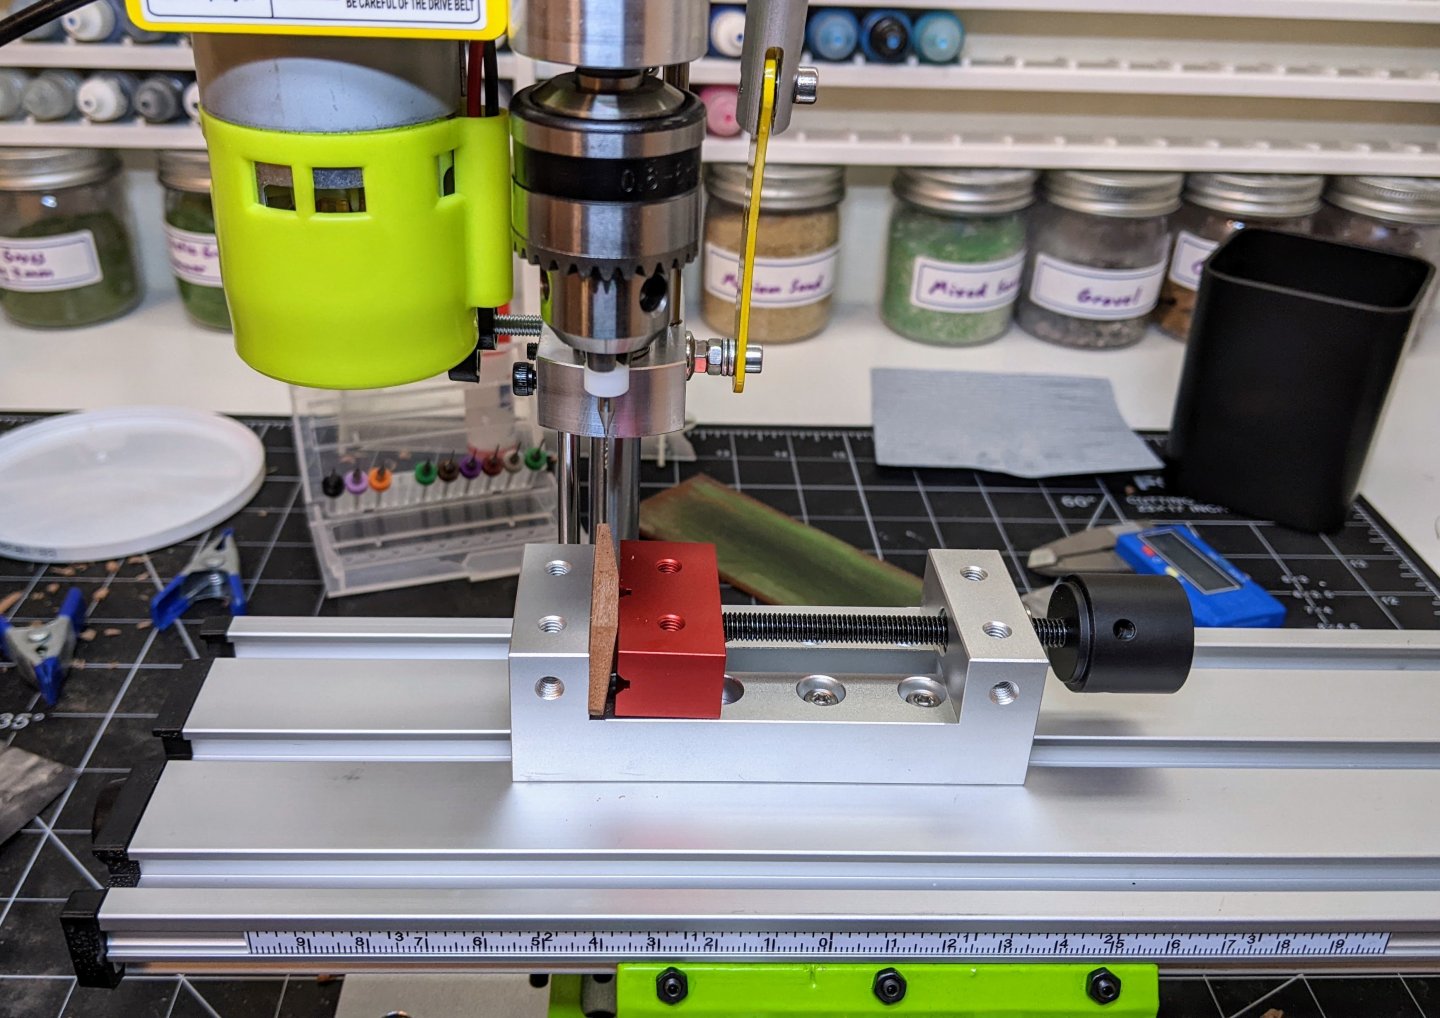
I used the drawing in Goodwin as a template which I photocopied and resized (with some trial and error) and cut them all to the rough shape before carefully planing and sanding them to the correct size. Then I got to test out my recent acquisition of a mini drill press to drill the bolt holes.
With the holes drilled I used black monofilament fishing line to represent the bolts. I put these through before glueing the stock to the anchors to make sure I could get them through properly. Once everything was in place I just used a sharp craft knife to cut off the ends.

I then added iron straps using shrink tube and painted the straps and the anchors. I will not go into detail on the painting as I have previously described all these techniques when I did the straps on the boom jaws and when I painted the cannons.
Here is the final results. In the end I am pretty pleased with how they turned out and they look reasonably like the real thing.
- SighingDutchman, CiscoH, GrandpaPhil and 27 others
-
25
-
 5
5
-
-
-
The model is looking good Chris.
- Glen McGuire, Keith Black, Dave_E and 3 others
-
6
-
-
It is not hard to cut the lengths. All you need is a craft knife. and to measure carefully. If you go slowly and carefully you shouldn’t have any problems. As a first time builder I can say I ran into many much harder problems than cutting scale length planks :).
I would recommend you plan out the planking pattern and maybe even draw it on the false deck to assist.
-
You could also try a middle road and wait till after the lower shrouds and ratlines are on. They are are the main reason why you would want unimpeded access to the area. Also they are pretty strong so if you bang them a bit there is not as much risk you will cause damage unlike single lines that are going everywhere later in the build. Though I would fit the PE associated with them before doing the shrouds.
Just another option
")
-
I like the modifications you are making, they do add some visual interest to the ship.
- Jay 1 and Ryland Craze
-
2
-
That is a fantastic display. The root ball really adds to the overall look.
- hollowneck, Keith Black, Glen McGuire and 4 others
-
6
-
1
-
1 hour ago, dunnock said:
I began to wonder if it would be possible to add a little bit to the lower deck – maybe the Captain’s cabin.
You could definitely do this. There is a cheerful log somewhere (I can't remember which one now, I think the name started with a j) where they did this which might give you ideas.
It would be a nice way to make your model a little unique. Back when I was thinking about doing speedy as my second build I did have some thoughts on doing something like this.
-
Welcome to the forums. That is a nice looking model you have there.
- mtaylor, Scottish Guy, Pete Fleischmann and 1 other
-
3
-
1
-
-
She looks fantastic BE. Another great build.
- Blue Ensign, mtaylor, Ryland Craze and 1 other
-
4
-
9 minutes ago, AON said:
I am assuming there was some heat involved in forming the plastic tube (pressing out the sides). Is that correct.
No actually there wasn't it is fairly soft and I just pushed it down and it held its shape. It is not particularly strong and I had to use some super glue to hold it in place in the eye splice. As I mentioned I am not sure I would recommend the method. If I was going to do it again I would probably use a harder plastic and heat or just go with brass.
I should also say that the pictures are not of the actual thimbles I made as they were too small to really get on camera. So I cut an example thicker slice just to document the process.
- Gregory, DonSangria, Glen McGuire and 3 others
-
5
-
1


Hello from Canada!
in New member Introductions
Posted
Welcome to msw. I also came from the plastic modeling world.
I would encourage you to open a build log so you can document your progress and others can encourage/assist you along the way.