HOLIDAY DONATION DRIVE - SUPPORT MSW - DO YOUR PART TO KEEP THIS GREAT FORUM GOING! (Only 13 donations so far - C'mon guys!)
×


Barbossa
-
Posts
509 -
Joined
-
Last visited
Content Type
Profiles
Forums
Gallery
Events
Everything posted by Barbossa
-
 here's part 2 of 2
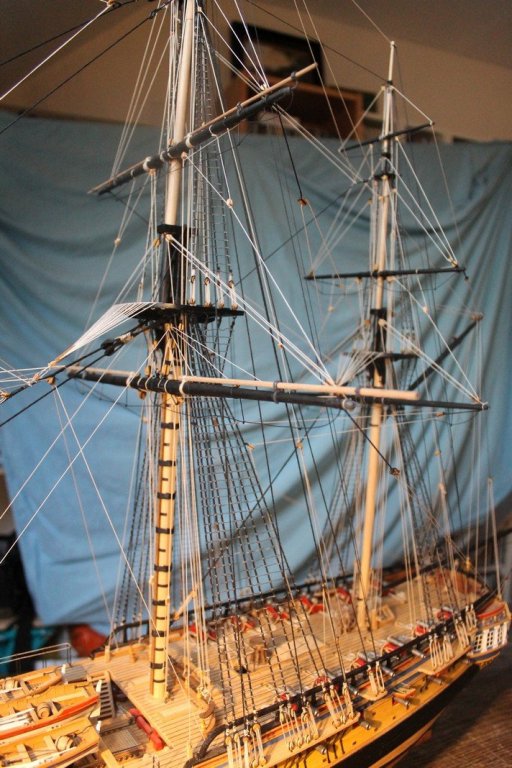

-
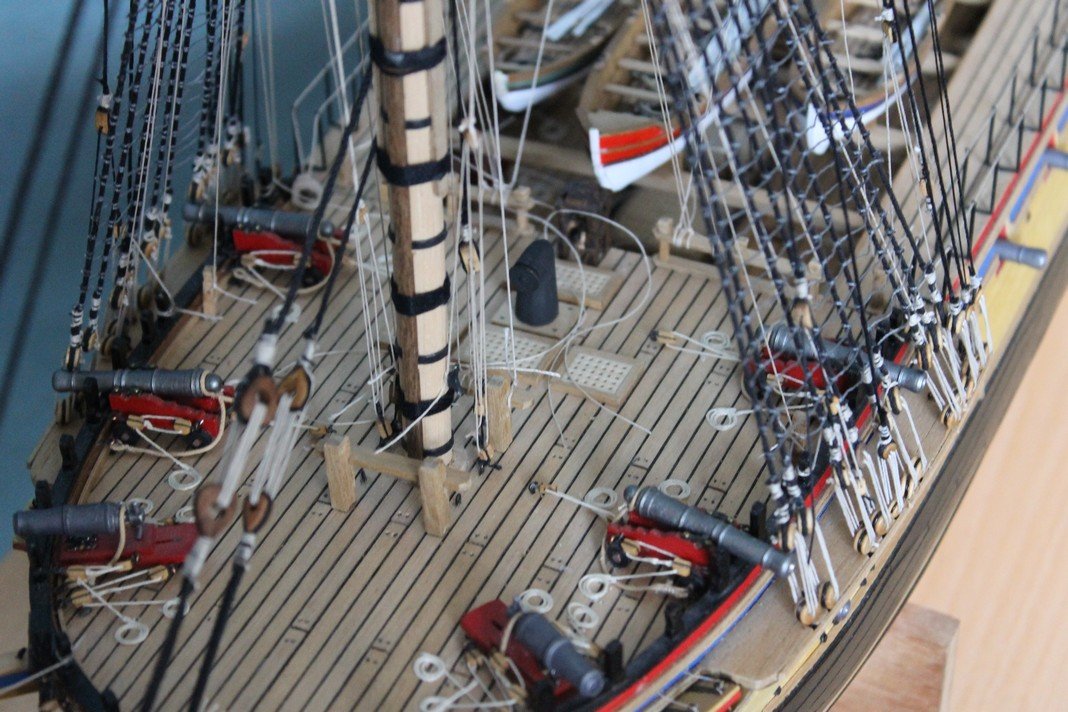
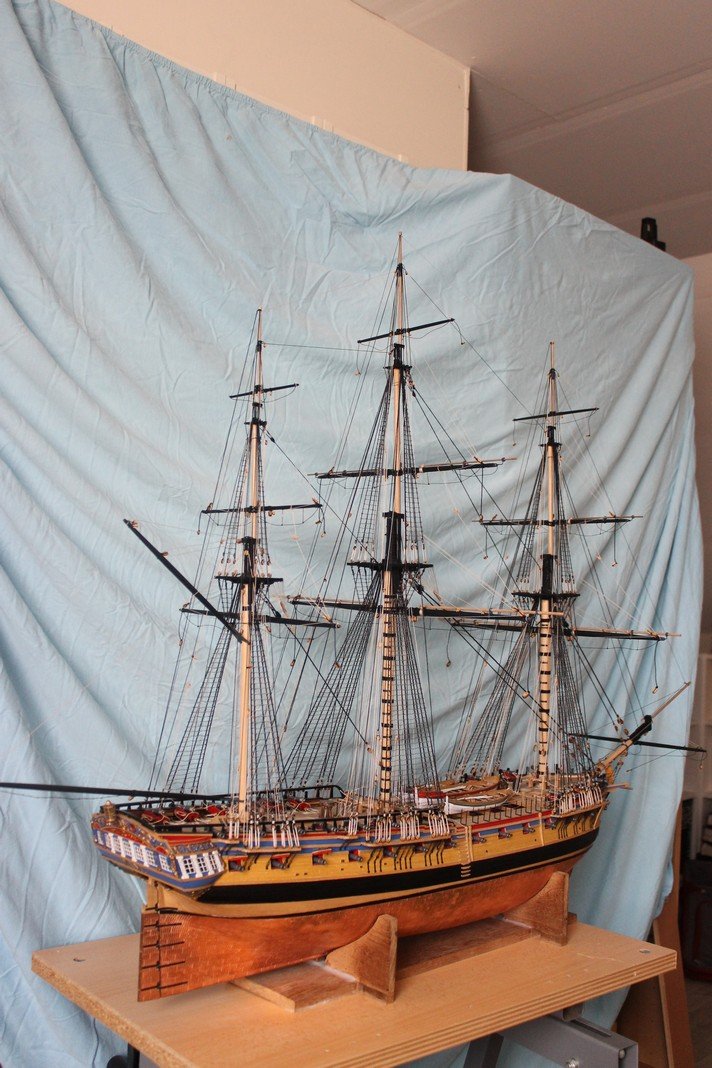
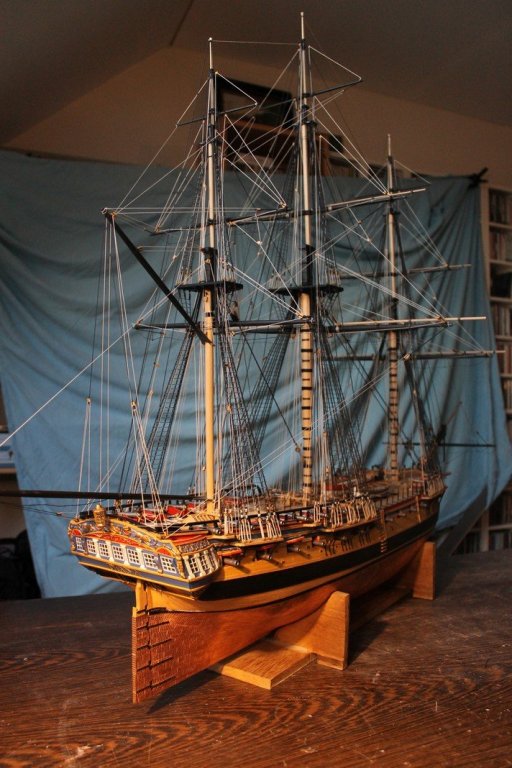
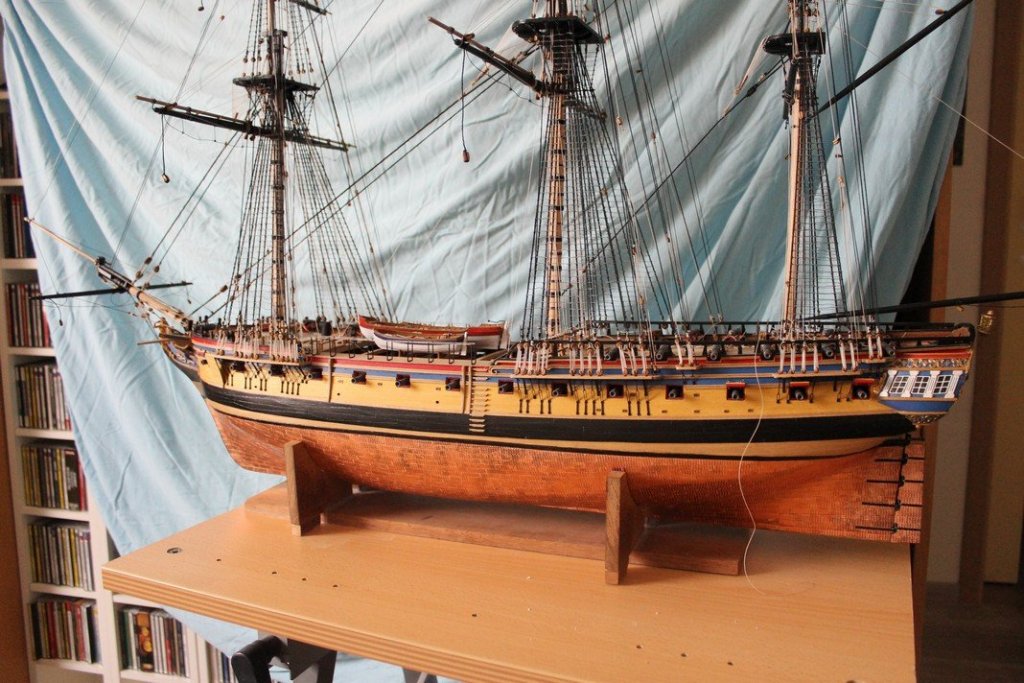
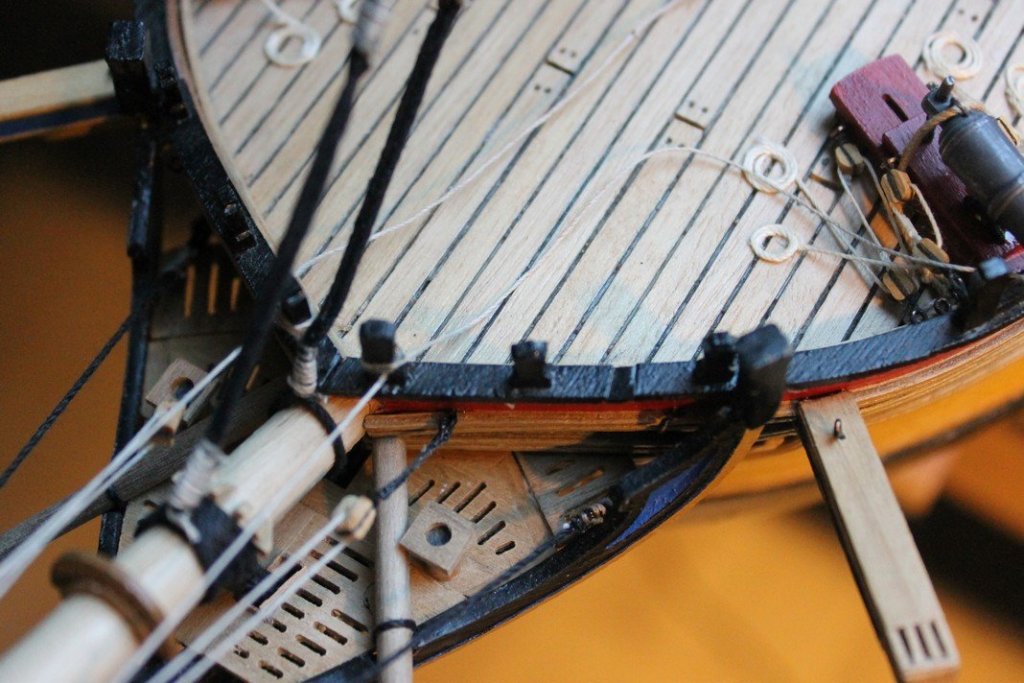
Hello, Running rigging almost done except the tack toggles. For reasons of accessibilty I'd rather move over to the rope coils and belaying pins and take care of the tack toggles later. I found it easier to execute the running rigging and insert the belaying pins afterwards which previously brought me to the following dilemma : increase the diameter of the holes from the pieces that are to receive the belaying pins or decrease the diameter of the part to insert from the belaying pins ? As the pieces that are to receive the belaying pins are made of walnut, finally I decided not to take my chances on this bet as I was a bit anxious to split them. So the only option left was to decrease the diameter of the belaying pins. I admit this is also a risky business as we're talking about very tiny parts. Until now I haven't broken any of them and the stuff will mostly be covered by the rope coils anyway ( I'm such a cheat ) Anyway, here's the actual status - part 1 of 2

-
How inspiring can your build be ? The postman delivered Mark Stille's " The IJN in the Paciific War" the day before yesterday. Sincere congrats
-
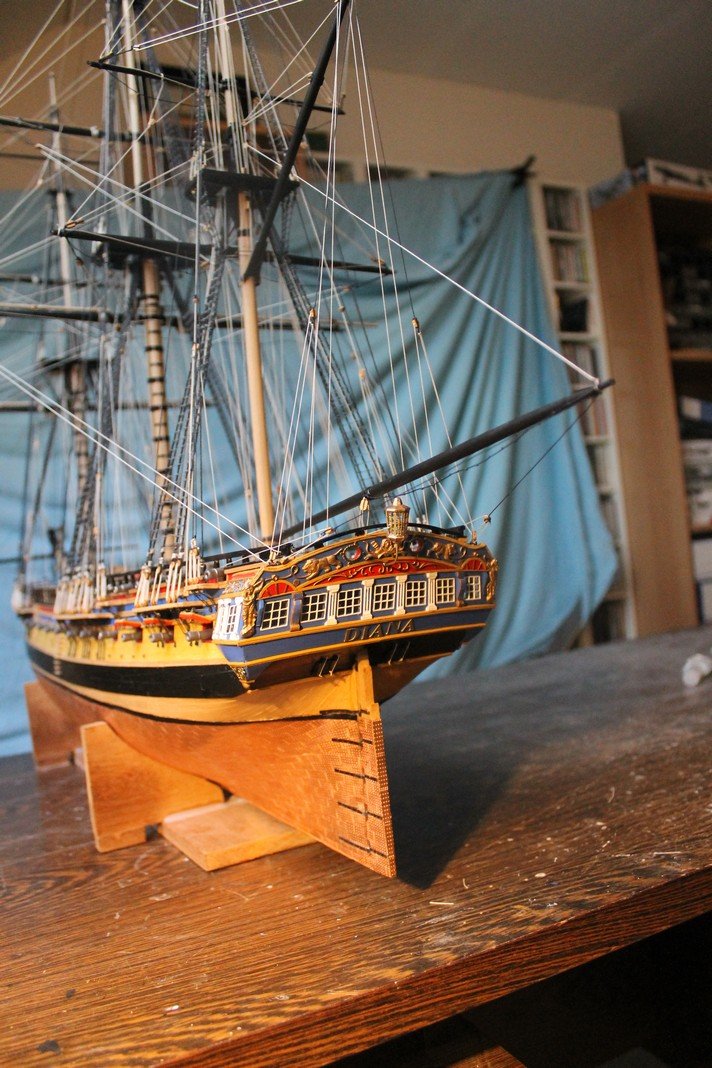
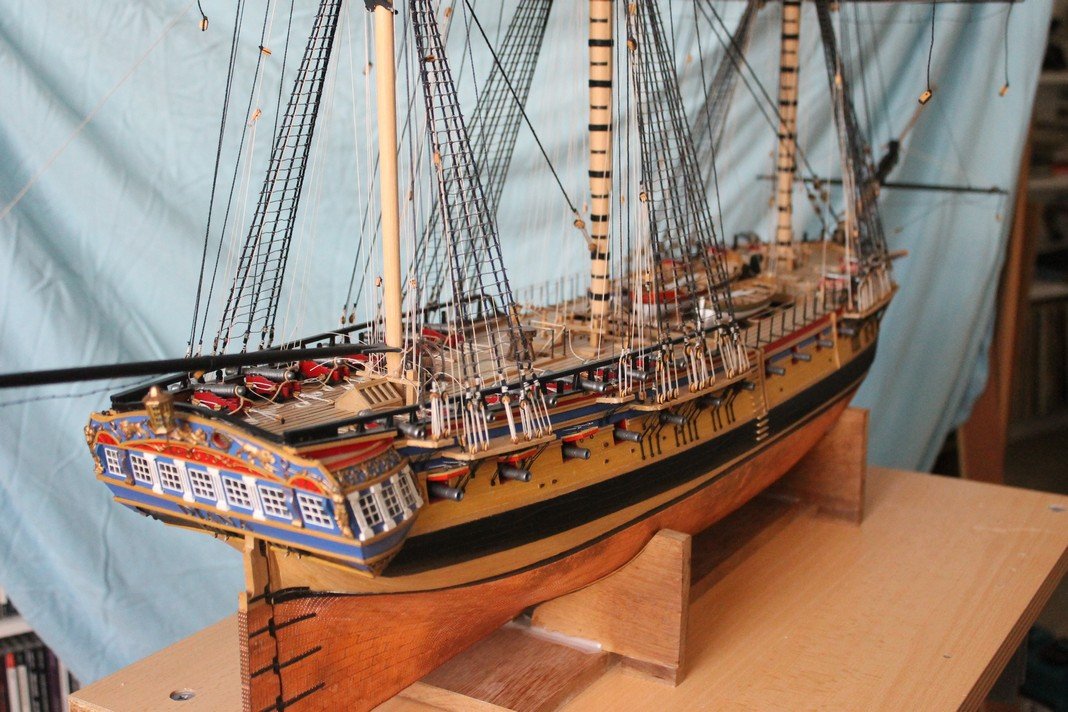
Hi Jason, Alignment & Position of quarterdeckgalleries is bit of an issue as most of the Diana builds I "Googled" ( + mine included) encountered the same problem : The lack of space to fix an ornament rail upon the roof of the Q'deckgallery. As the drawing indicates : the bottom of the window closest to the aftermost gunport should follow more or less the same alignment and this is just impossible to achieve without jeopardising the position of the stern windows. The pics speak for themselves : you made a fantastic job while tackling this issue, translated in scoccer terms : "Jason 1 - Quarterdeckissue 0"
-
Hi Timmo, a more than decent progress to me, lovely work in all its aspects ( rigging, the onlay, choice of materials and approach,...) Sincere congrats
-
Hi Timmo, Sjors and Jason Timmo :Thanks for looking in We just came back from the sunny Greek Islands. As from tomorrow I'll check out some buildlog's and yours is on the priority list. Instead of hitting another "souflaki", I just might hit the like button Sjors : I have something on my mind . There's some study work and a prototype in card involved( at least the hull) . Also HMS Diana may feature as a sort of a benchmark. I know I'm talking in riddles now but yet I need to figure out some things regarding this next project. Hi Jason : regarding the crowsfeet I let myself go a bit there as the genuine Diana had no . But I liked the sight of it as I wanted her to look like a classic "second half of the 18th century British frigate" Furthermore : you're doing a fantastic job. As I'm not resuming professional work the days to come, I'll take some more time to look in your log.
-
Nice work, Ulises. I like her deep and warm colors And the best of luck with the move.
- 786 replies
-
- 2
-

-
- Royal Louis
- Finished
- (and 1 more)
-
I'm less sceptical than Gromit, superb work. I probably overlooked...is this a double planking project ?
- 156 replies
-
- 1
-
-
- pinnace
- model shipways
- (and 1 more)
-
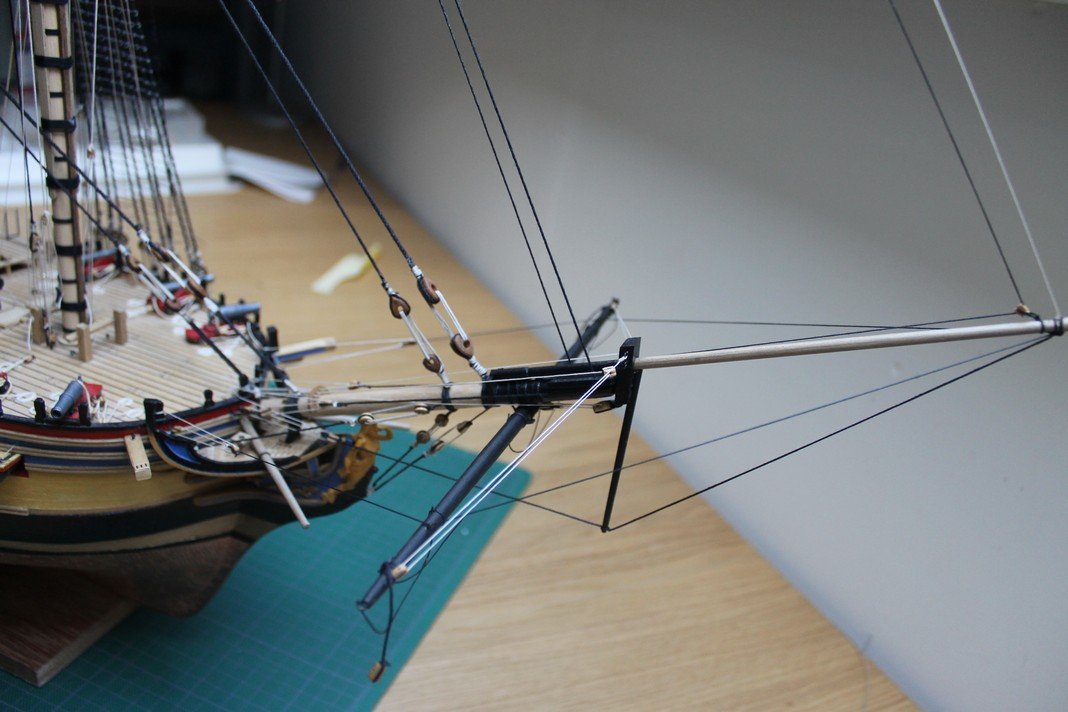
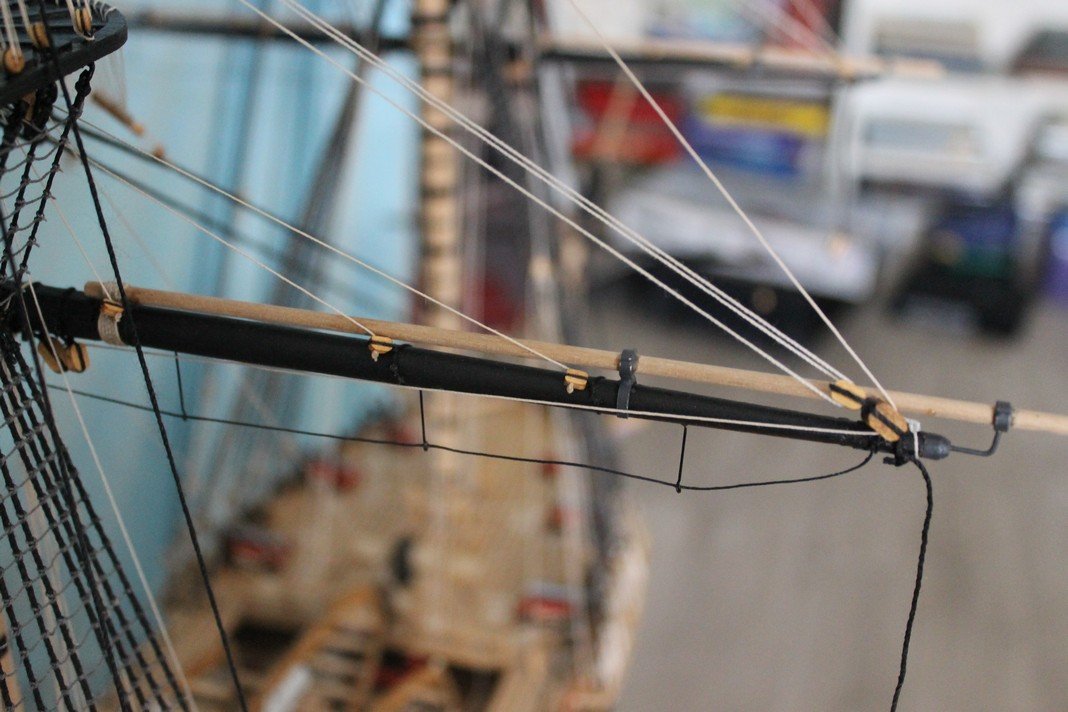
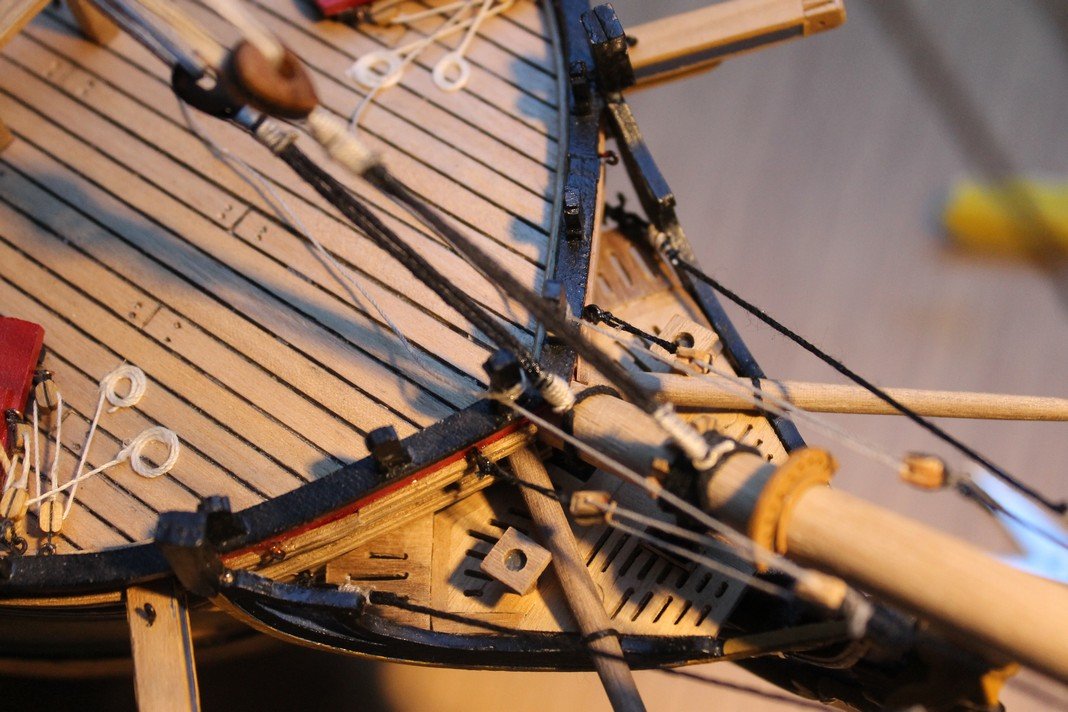
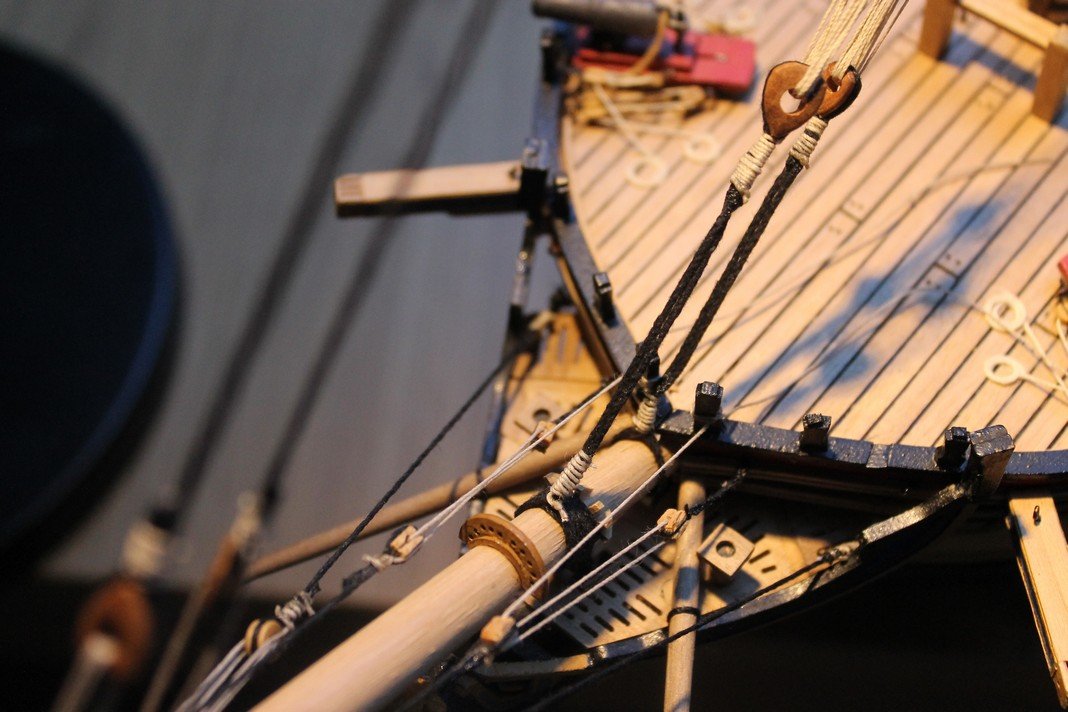
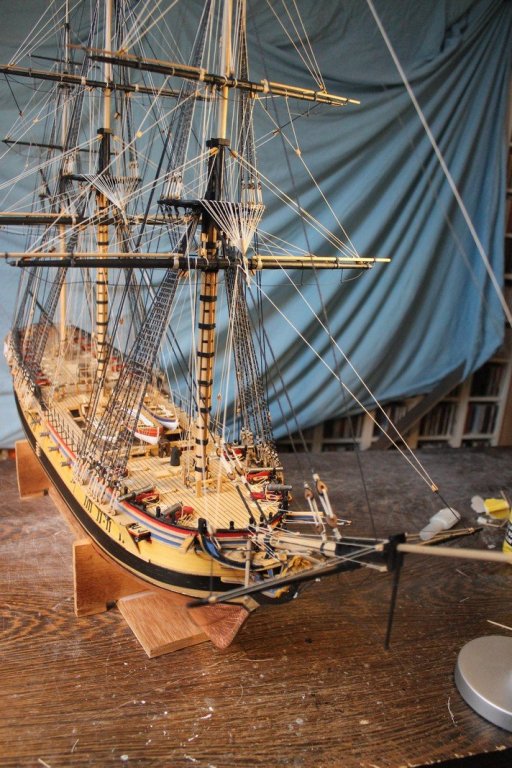
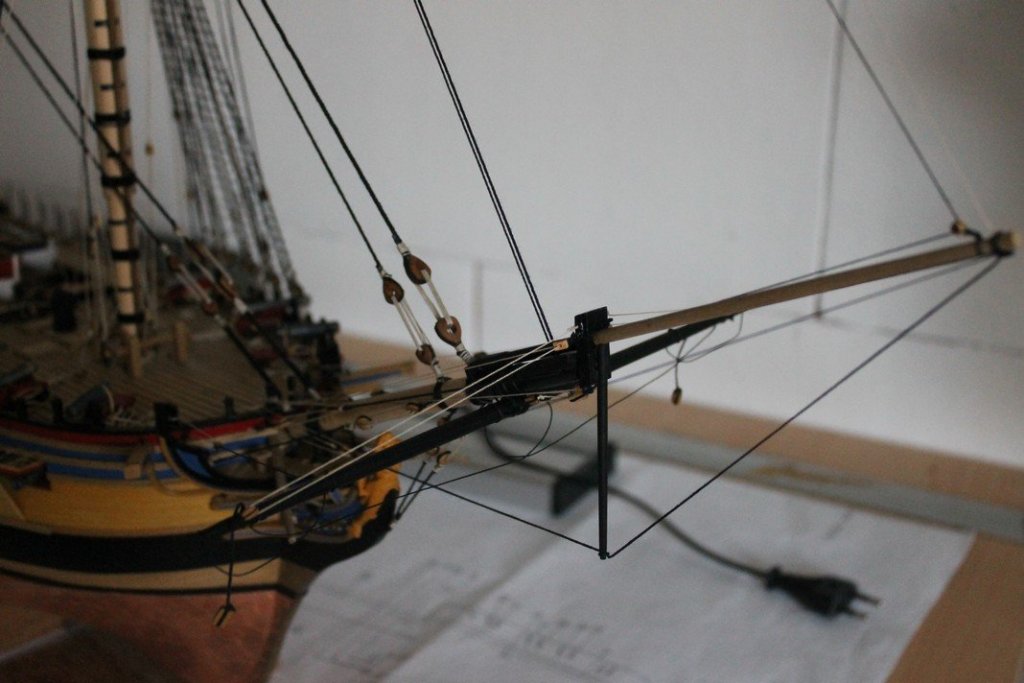
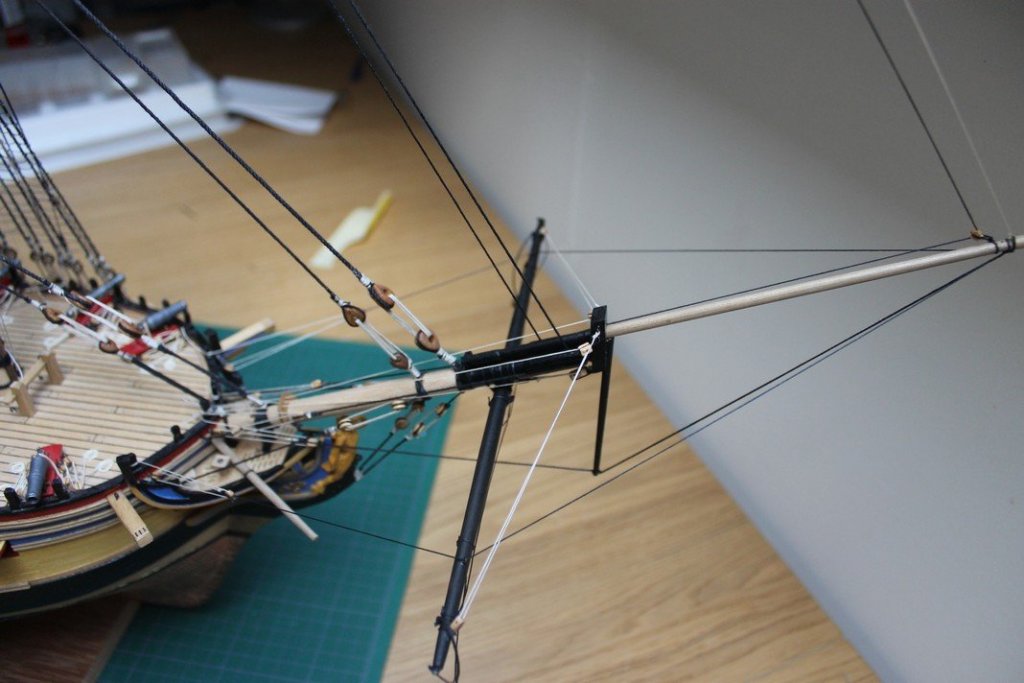
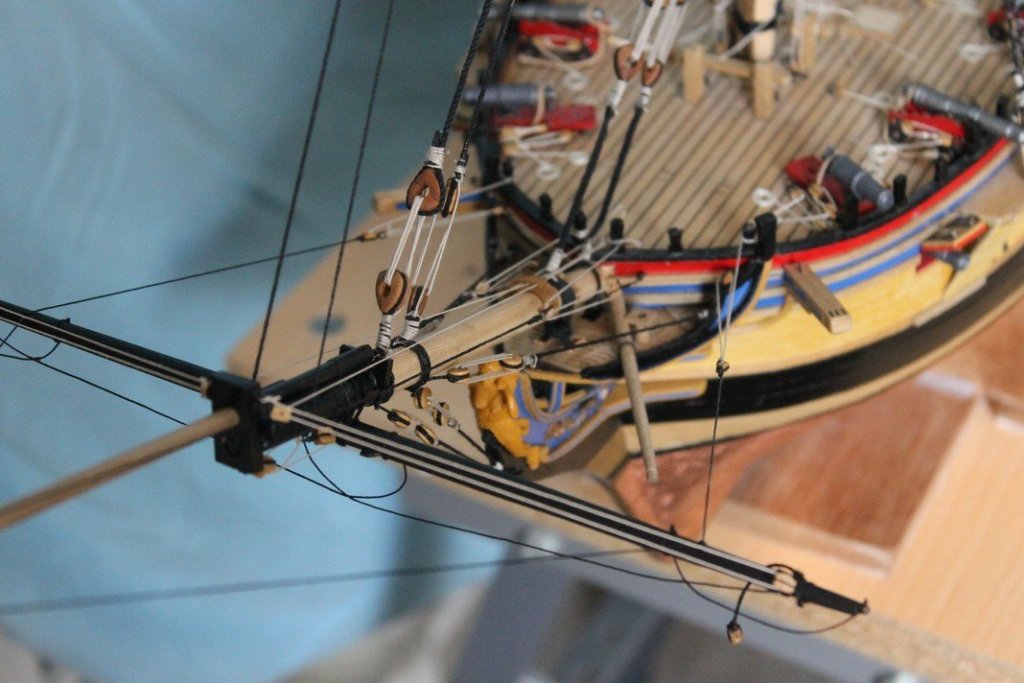
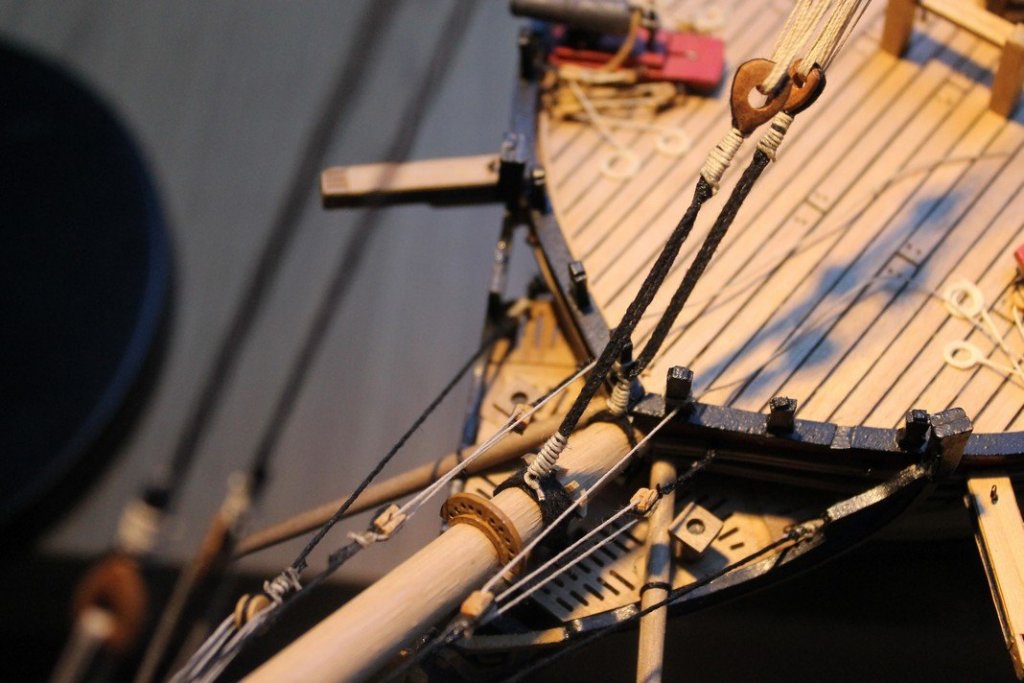
Hi BE and Chris, thanks for the kind comments Ulises : for the record : a pencil code 1 or H will do just fine for the caulking job. Meanwhile , I took care of the Dolphin striker. While we're at it : I do not recall that an appropriate block -on which the dolphin striker is attached- was supplied that would allow a perpandicular position of the dolphin striker towards the surface. As I didn't like it to describe an angle (following the angle of the bowsprit), I succeeded more or less making one myself.

-
Now we can hit the "like" button again , and you deserve it, Bob Just like your previous build, your endeavour to get the maximum result out of an already decent kit is an example for us all.
- 682 replies
-
- 5
-
-
- halifax
- lumberyard
- (and 1 more)
-
Hello Ulises, Wow that is a fast reply. It is an optical ullusion -if you like- as the planks are spaced . So I caulked the edges of both planks but also the underlying deck ( the space in between ) that is to support the planks. I like the effect
-
and finally part 3 of 3


-
Part 2 of 3


-
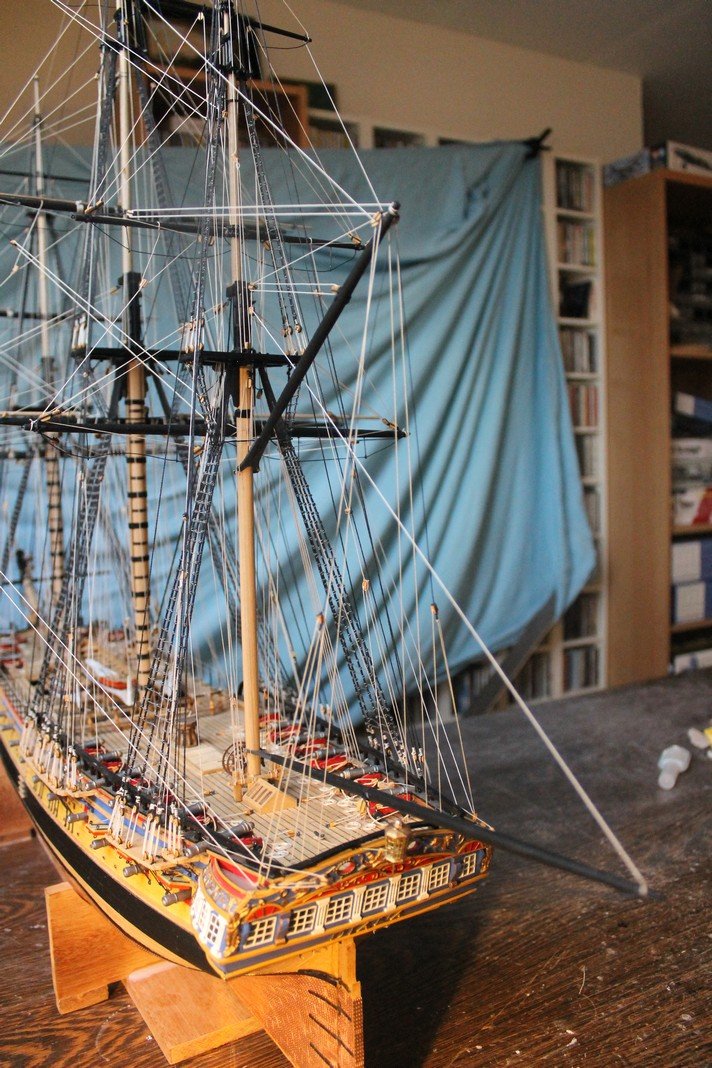
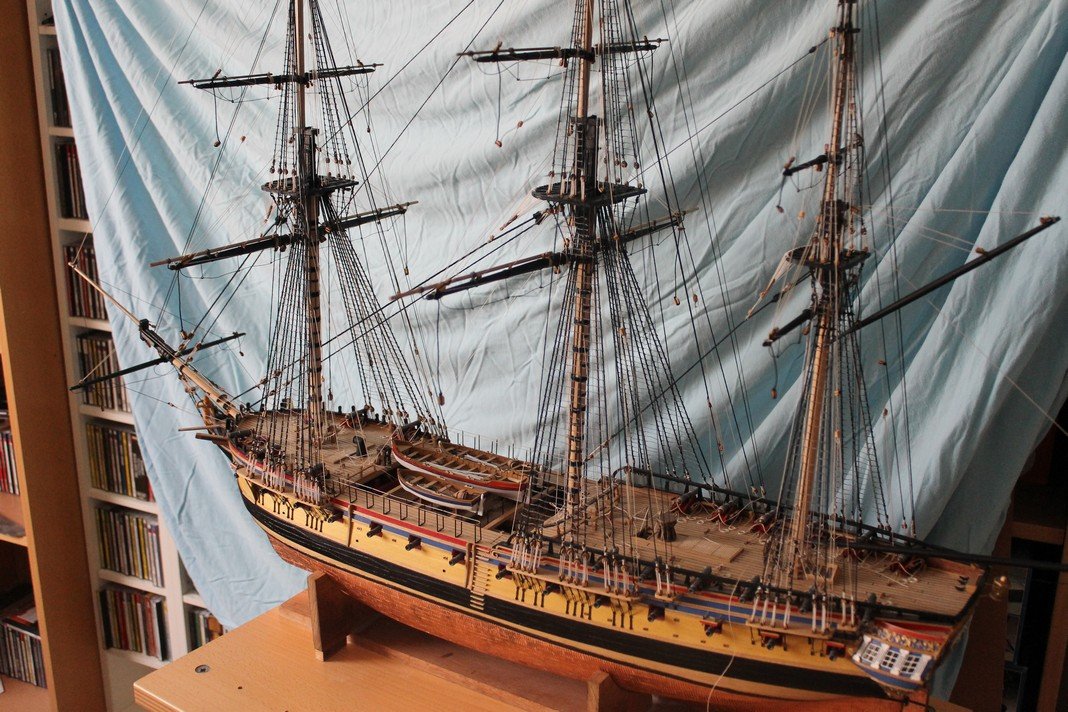
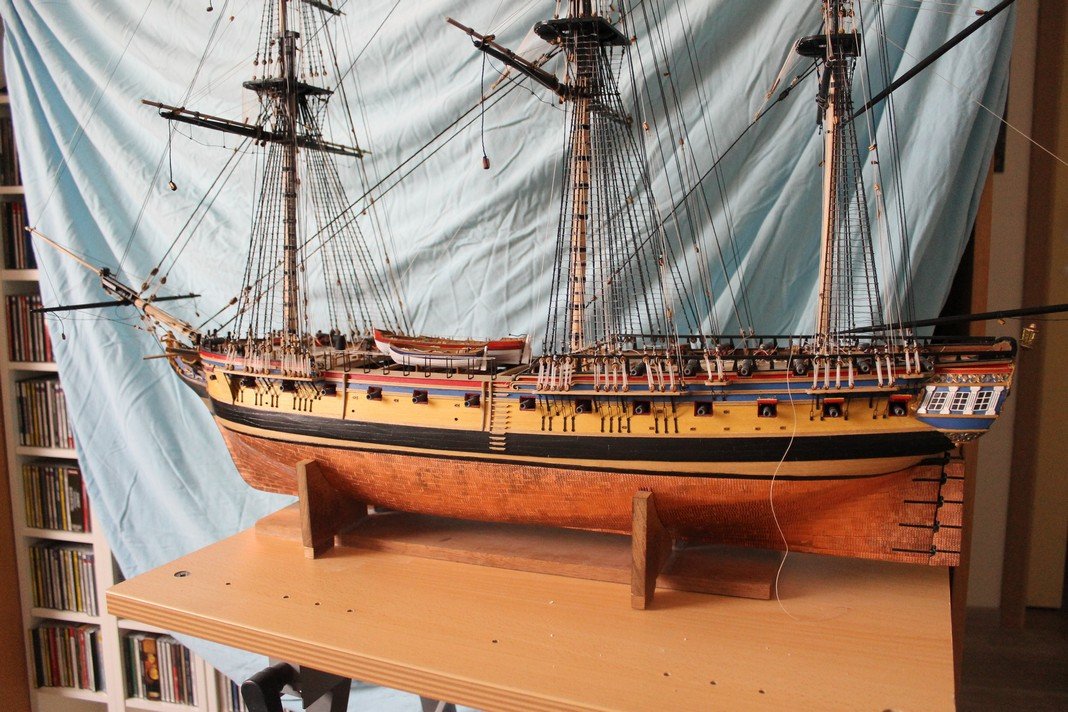
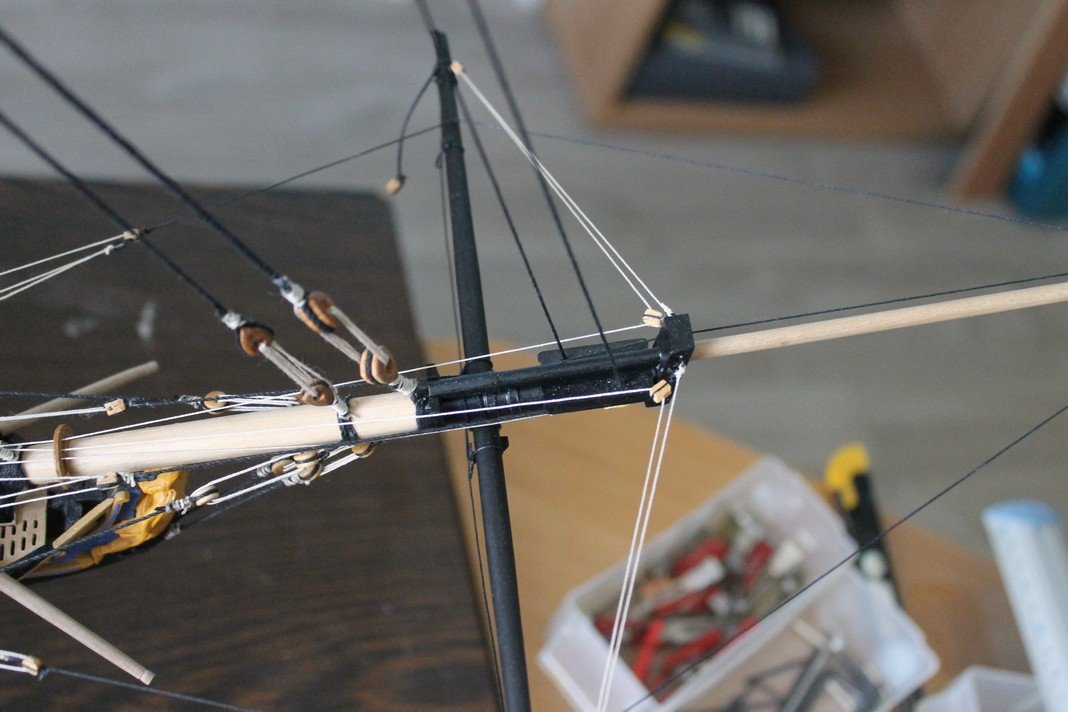
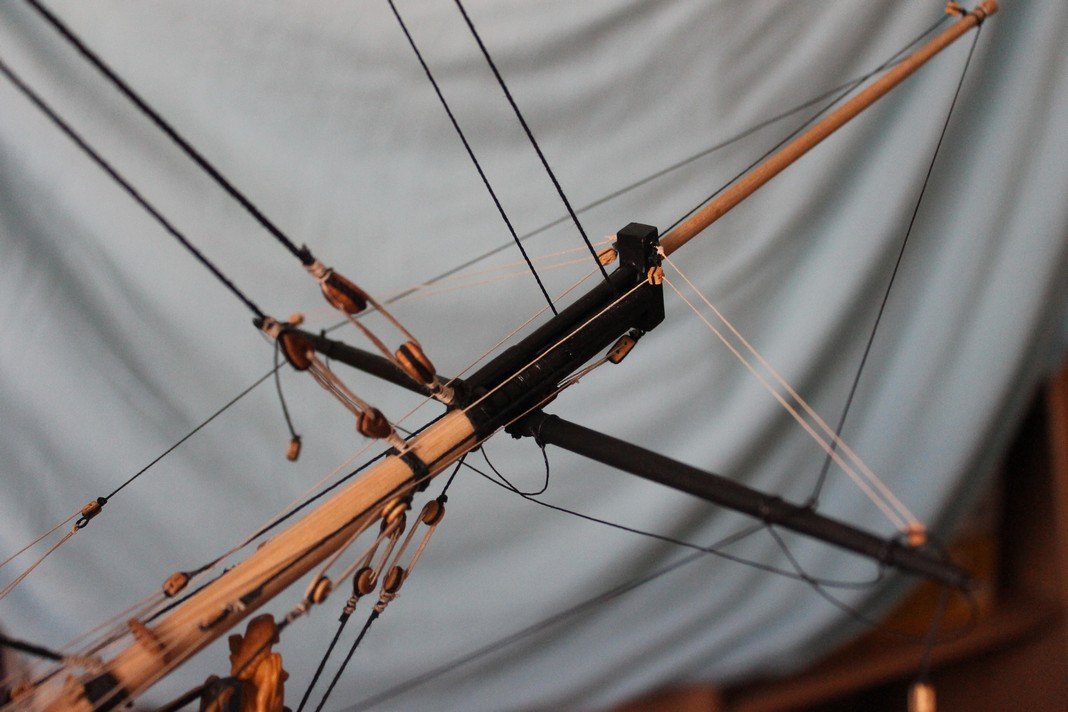
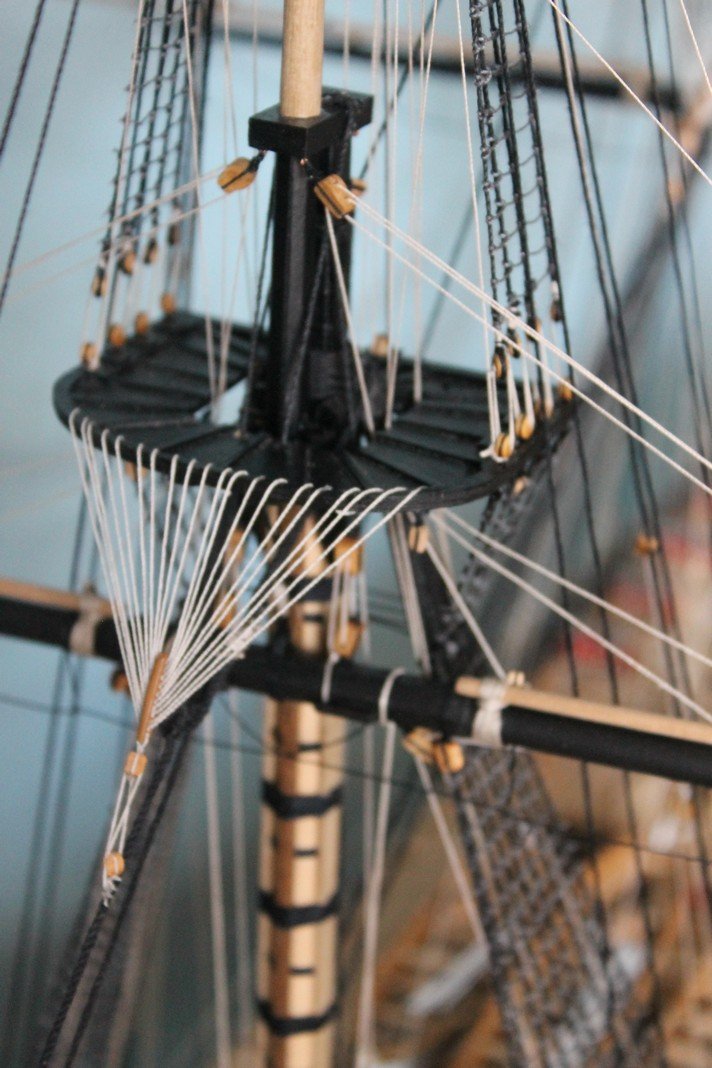
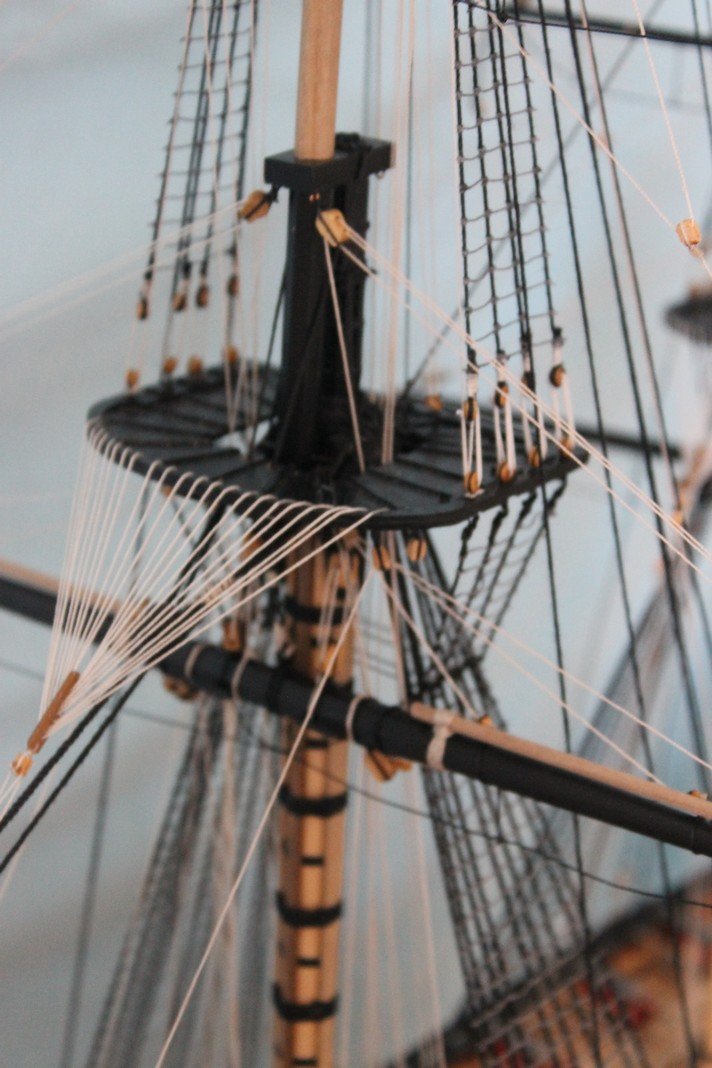
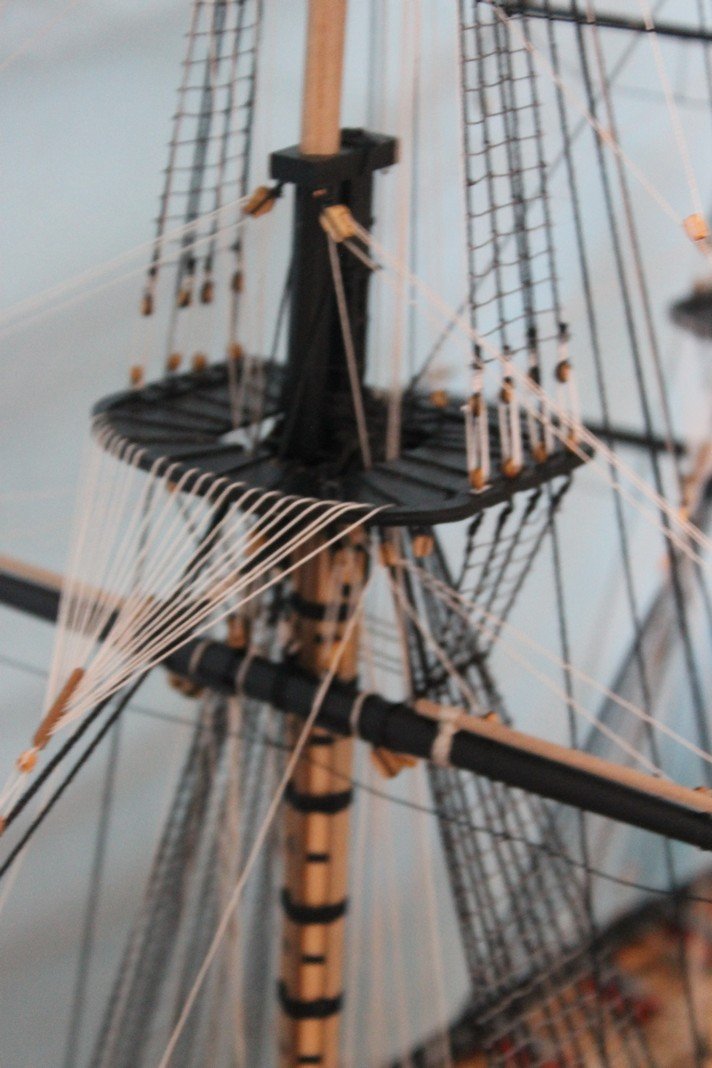
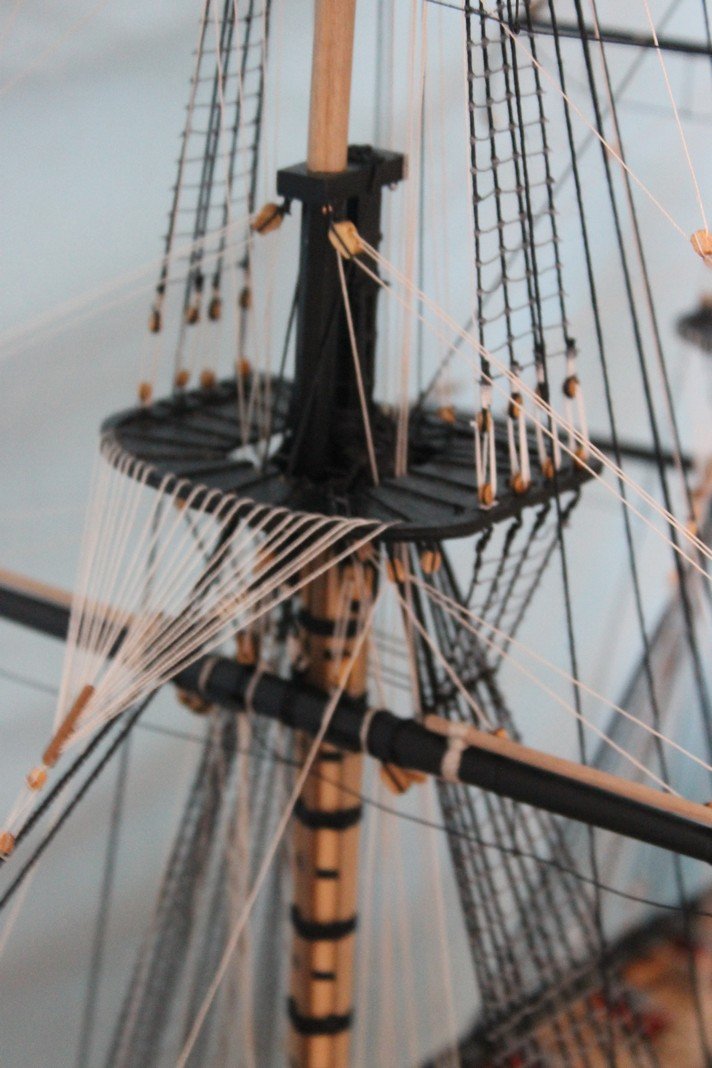
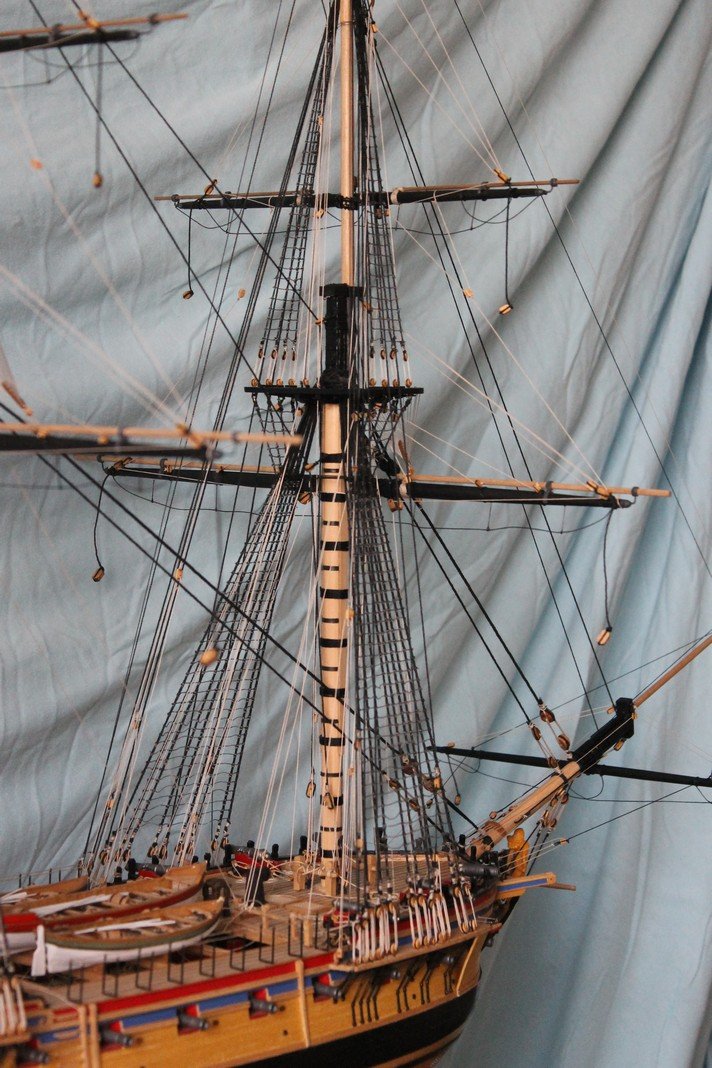
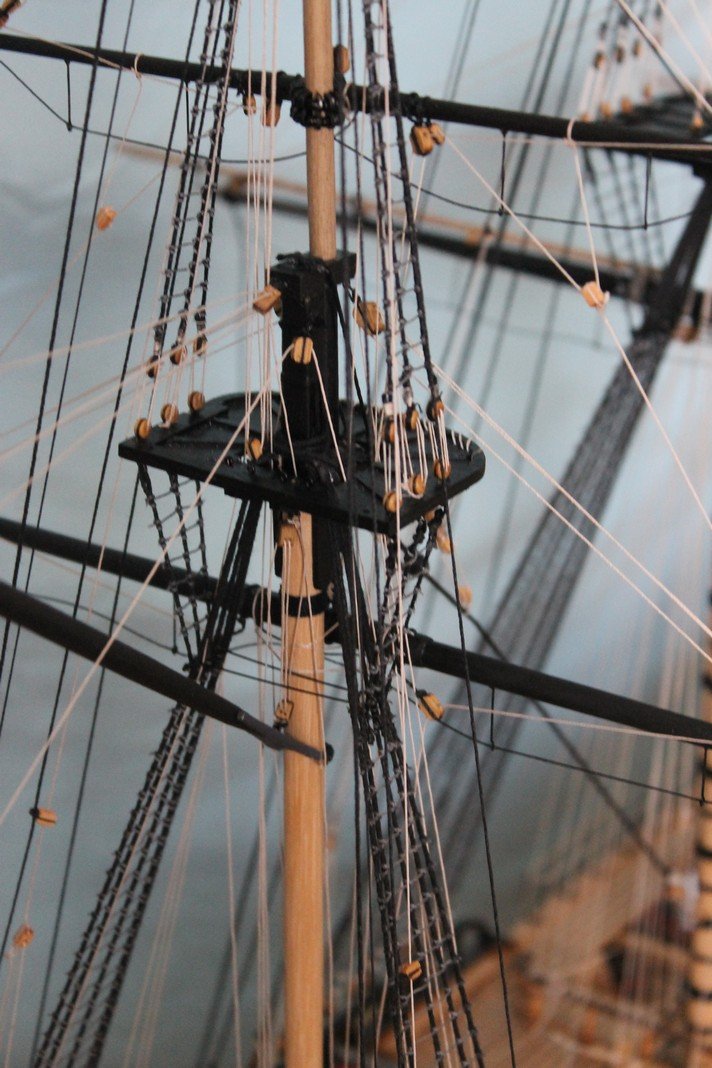
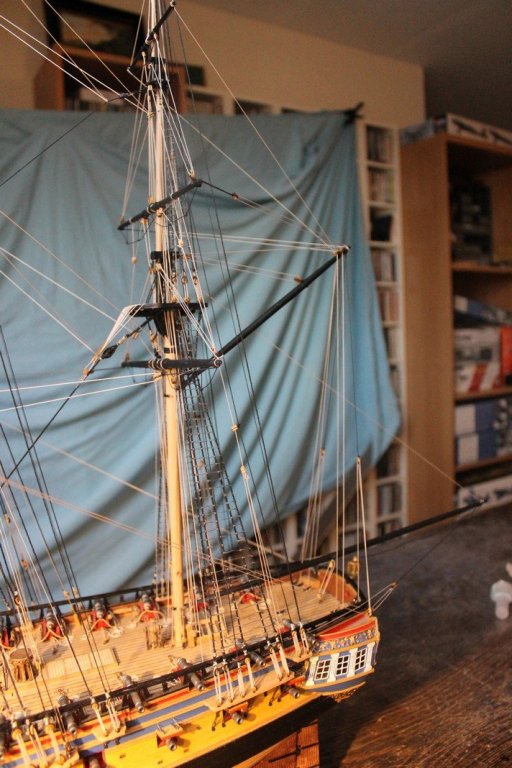
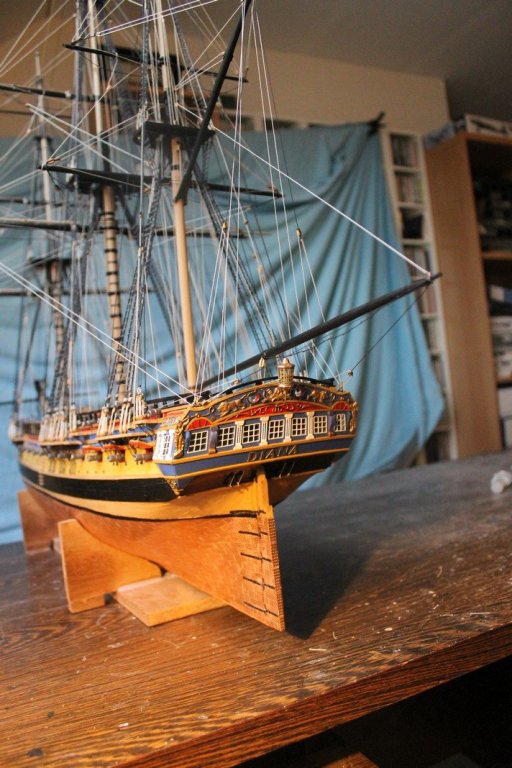
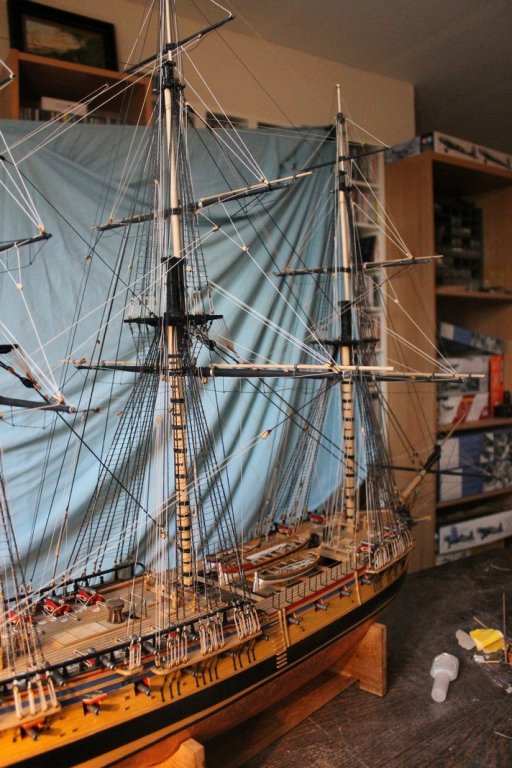
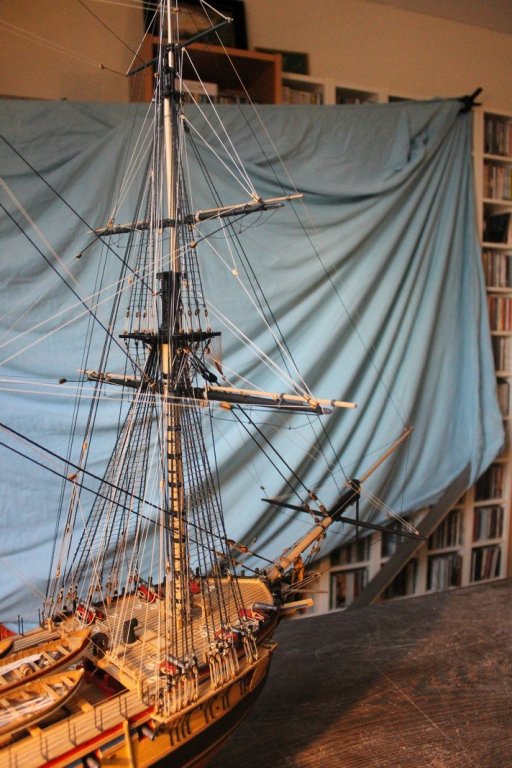
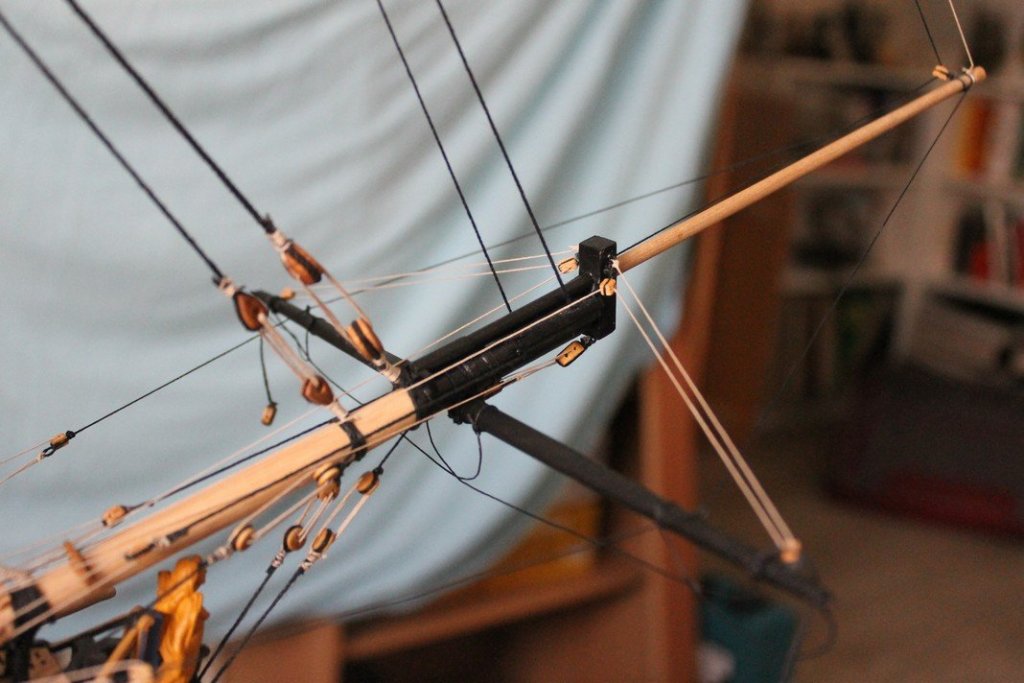
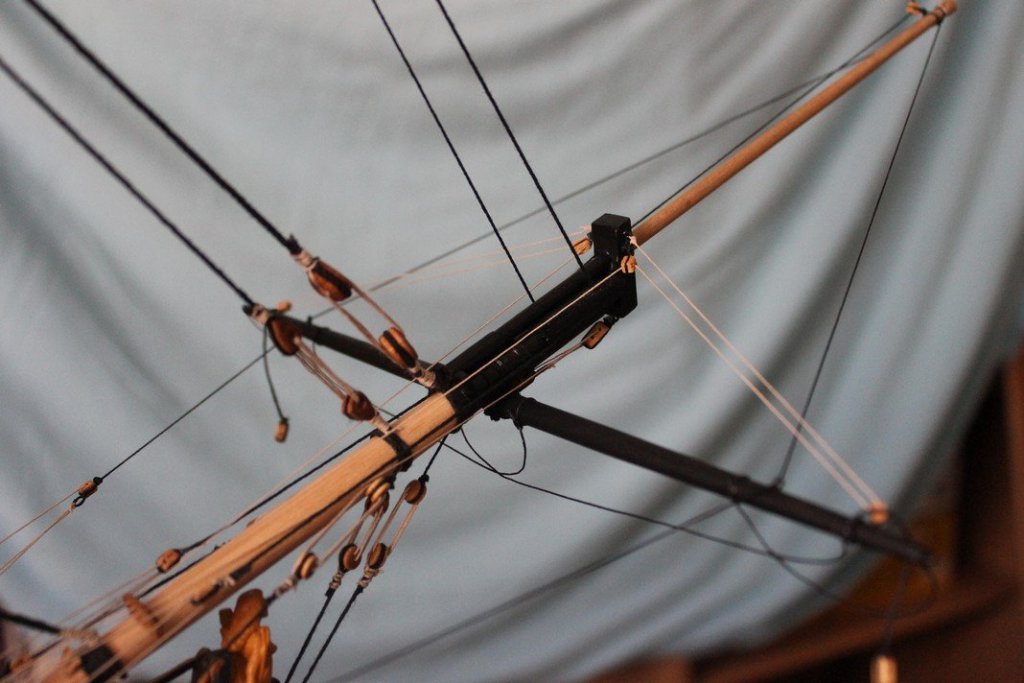
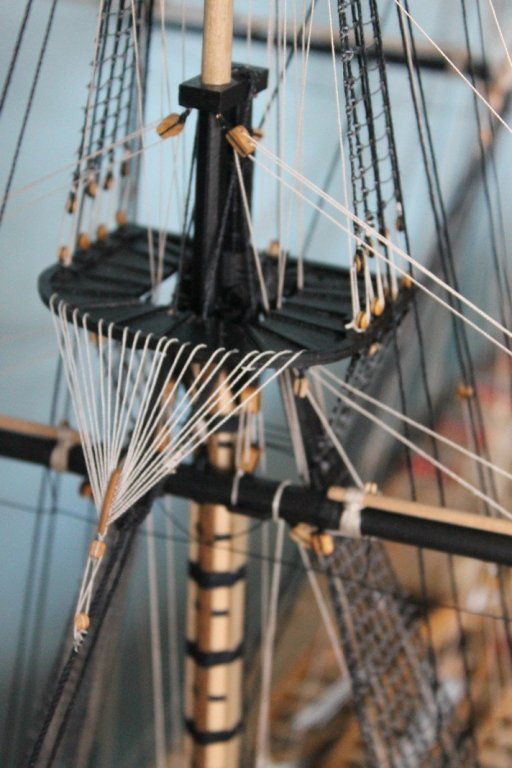
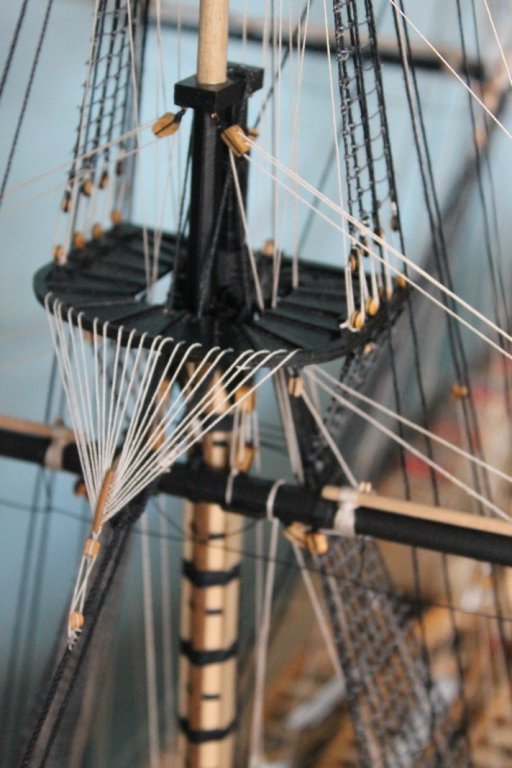
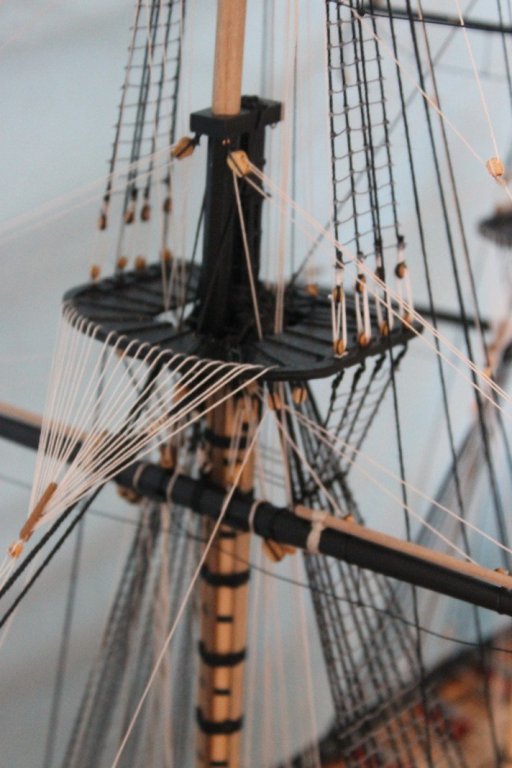
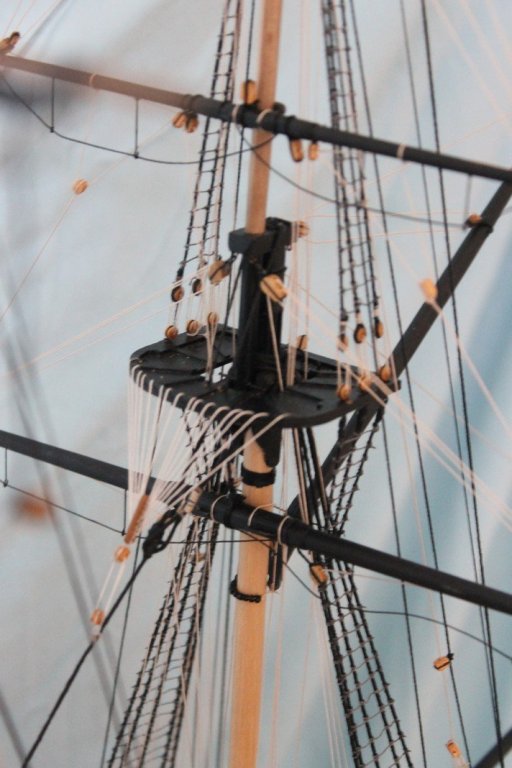
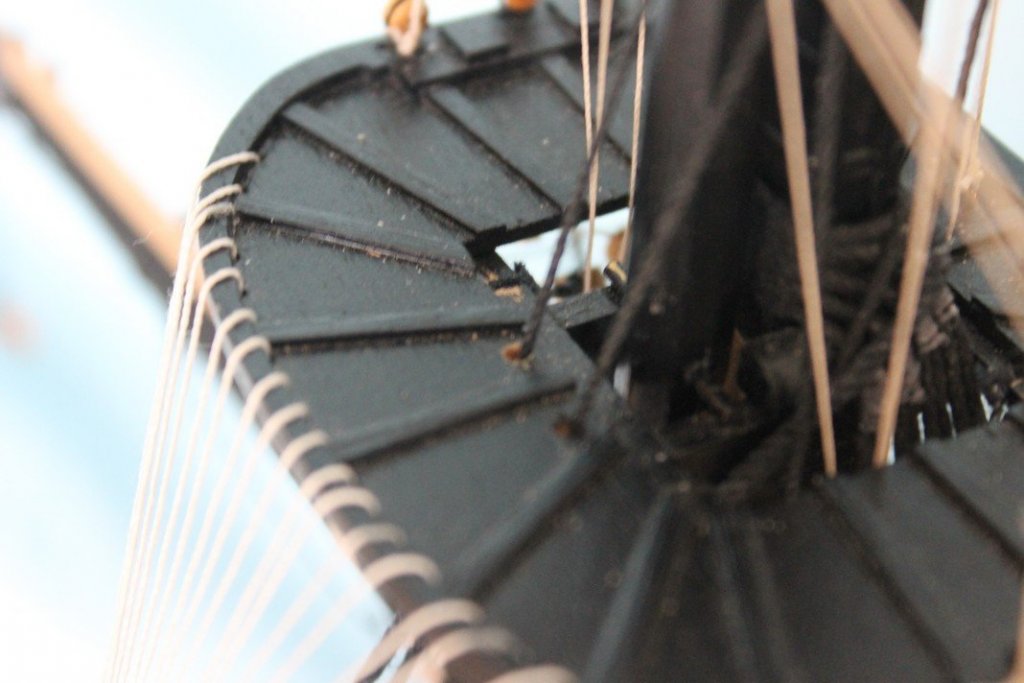
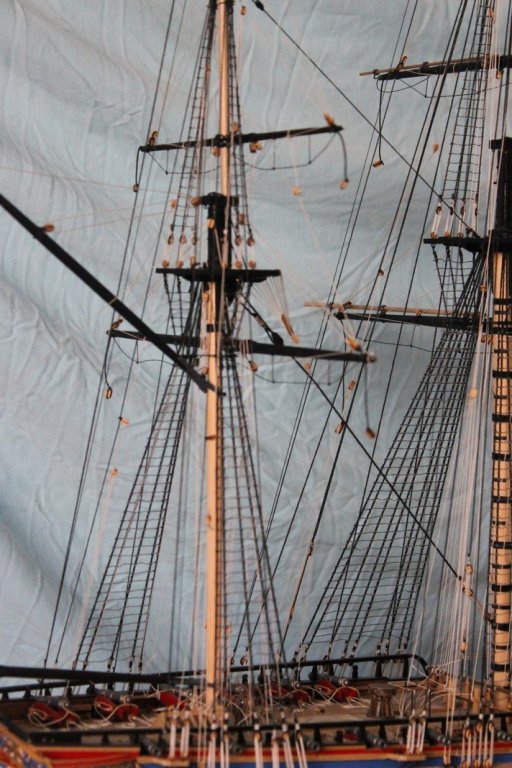
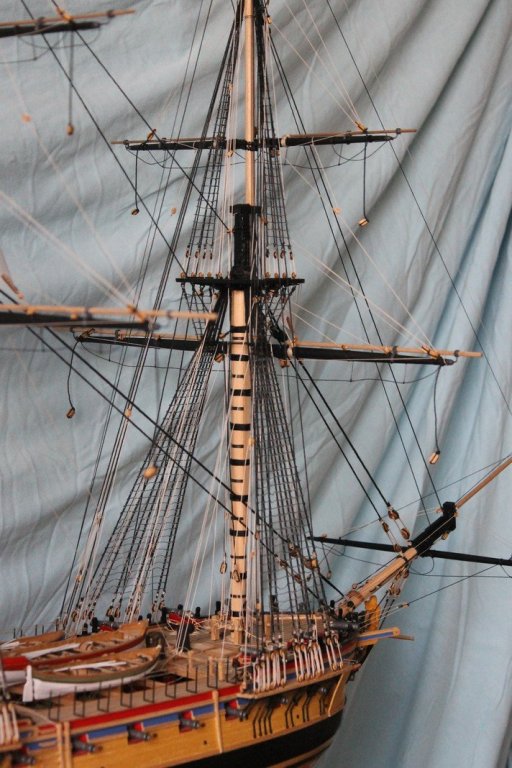
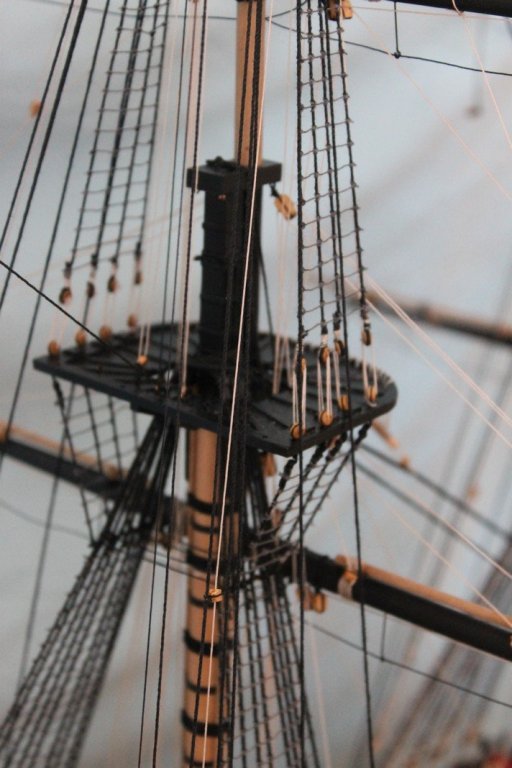
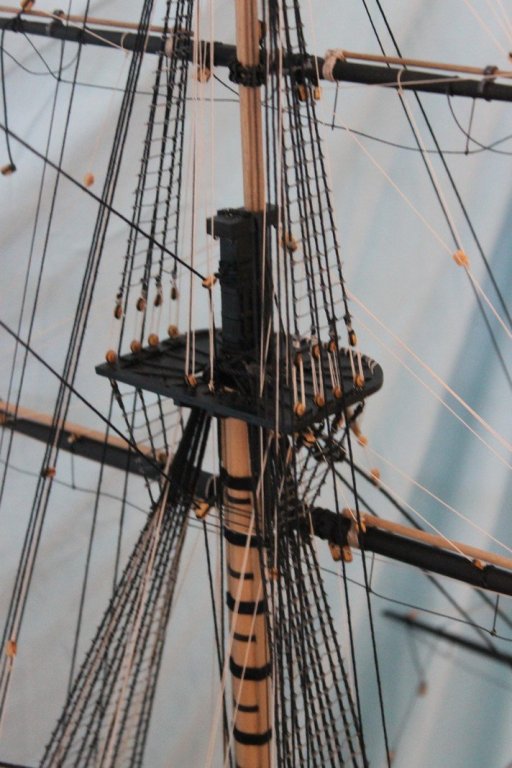
Hi Folks, running rigging almost completed (dolphin striker and yet lot of trimming to do), lots of pics are to come But first a few comments : The process was pretty straight forward according to building instructions but I also relied upon Ray's building log ( Thank you Ray ) For fellow Diana builders : please take a look at drawings 25 and 27 related to the masttops. You may want to fore those holes before fixing them upon the mast and certainly before mounting the yards ( ahem...) I painted the connection pieces for the yard extensions (brackets?) in Vallejo 70.994 dark grey, for a little contrast. Although I still can, I did not fix the blocks to secure the topsail yards on the shrouds as I was a bit anxious to avoid any awkward tension on the same shrouds Furthermore, some rigging is to be fixed on the shrouds just above the upper deadeye ( + cleats) . For the same reason, I wasn't to kean for this so I fixed the rigging on the lower deadeye. It's hardly visisble. This allows to add extra tension on the thread thus to obtain an as straight as possible rigging. The footrope stirrups are of my own making. So enjoy part 1 of 3


-
Hi Jason, fantastic work Tackling these rails, you proved to be far more persistant than I was. I made it easy for myself and just glued a blue paper strip upon them, ahem....
-
Nice work and an interesting build to follow, Piet Another part of Dutch Maritime History comes back alive, which is a good thing. Thank you for sharing.
- 83 replies
-
- 7
-
-
- o16
- pacific crossroads
- (and 2 more)
-
What a daunting project ! I'll follow this with interest
-
Superb work, Patrick The pics speak for themselves, especially the bow section. As others already noticed : the approach for building the hull may perhaps not be "academic" but it seems very effective to me. Interesting method. Well done !
- 756 replies
-
- 3
-
-
- galleon
- golden hind
- (and 2 more)
-
A very warm welcome, Cédric Looking forward to visit your log
-
Outstanding job, Greg. I can hardly imagine one can go any further by upgrading an already decent kit. Also an interesting library you have there ( Sun Tze ) and so many others
-
Hi ,Sjors I presume painting those decorations is not compatible with a previous "avondje in de kroeg" Thanks for explaining the "Agostini"-approach although it makes me sad to learn that the quality of the supplied woods is even worse compared to what we are used to in many kits.
-
HI B.E. Sincere congrats and thank you for your research & sharing your knowledge and enthousiasm
- 366 replies
-
- 3
-
-
- pegasus
- victory models
- (and 2 more)
-
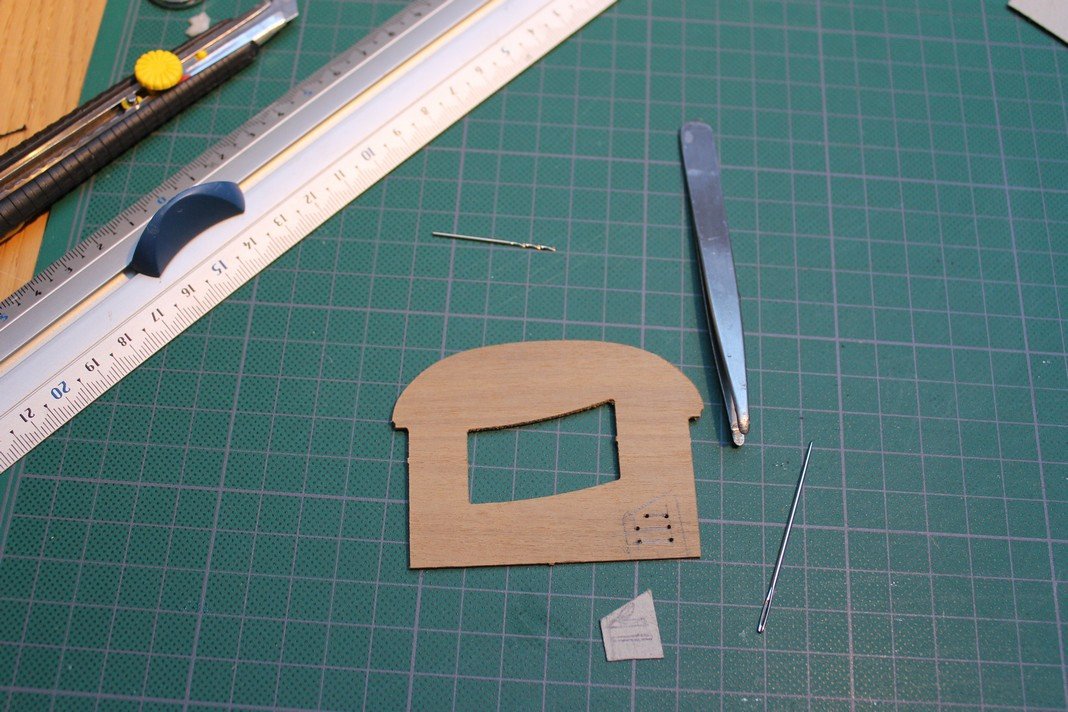
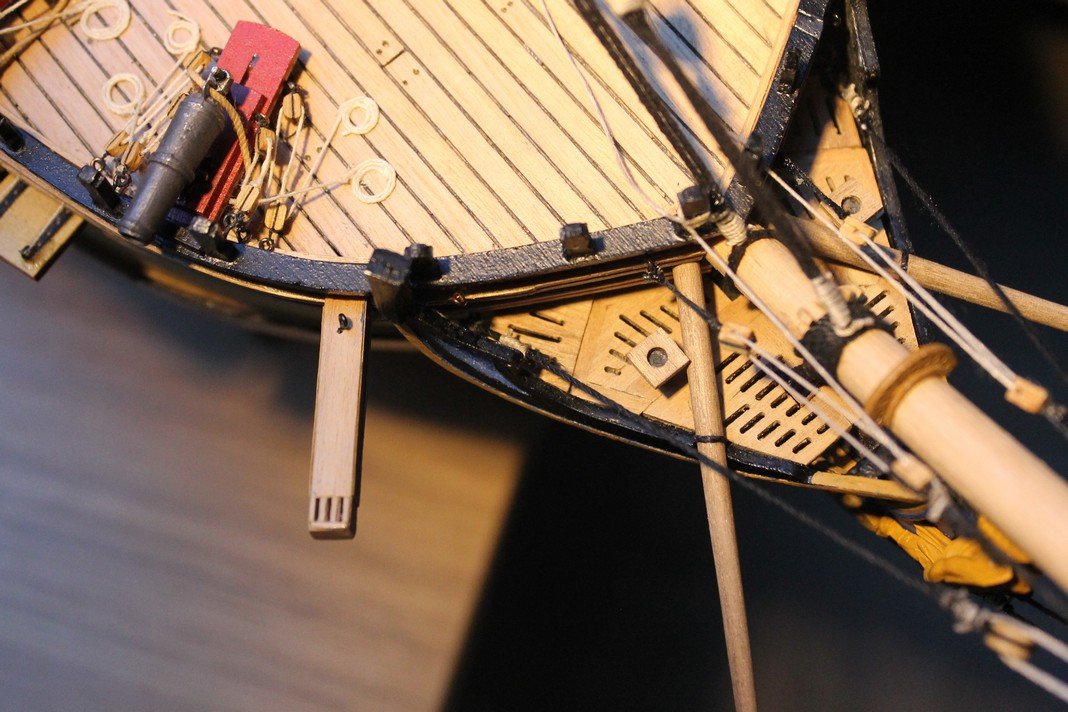
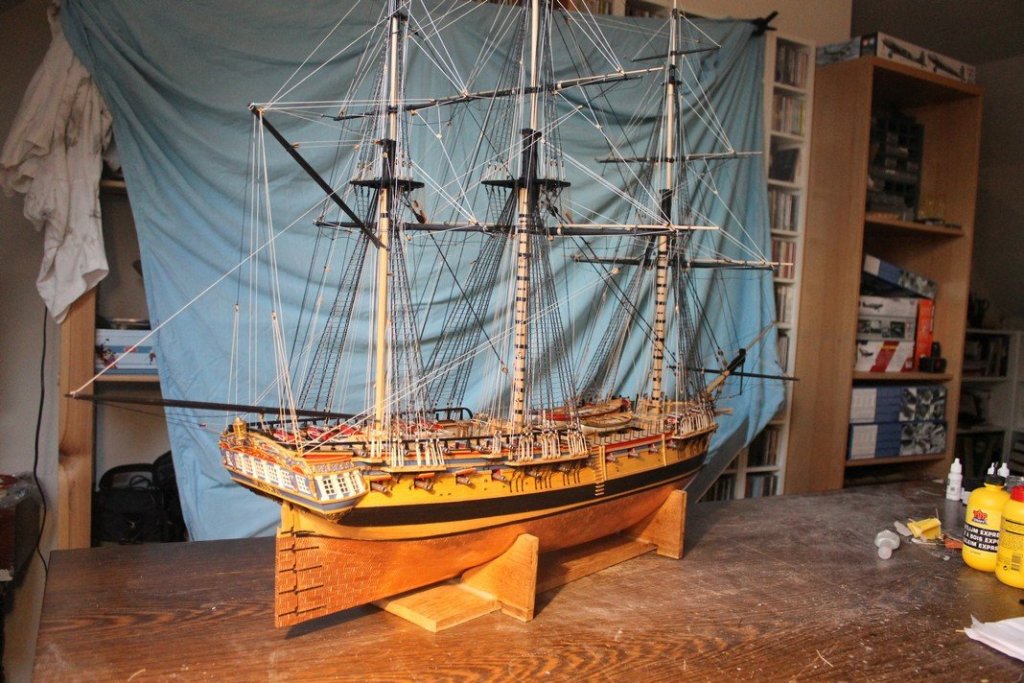
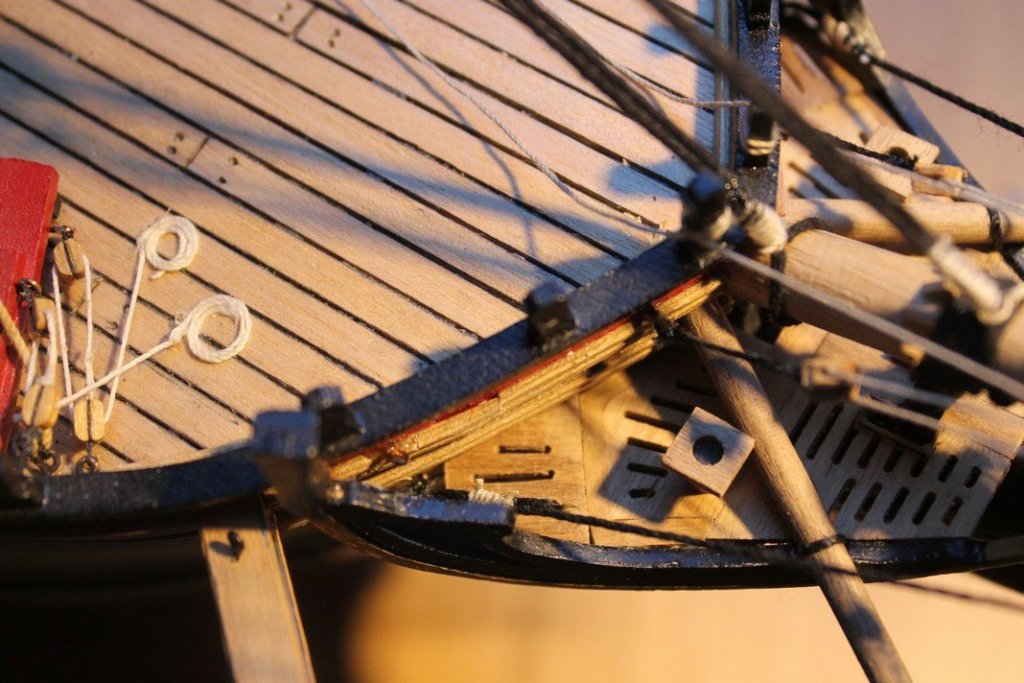
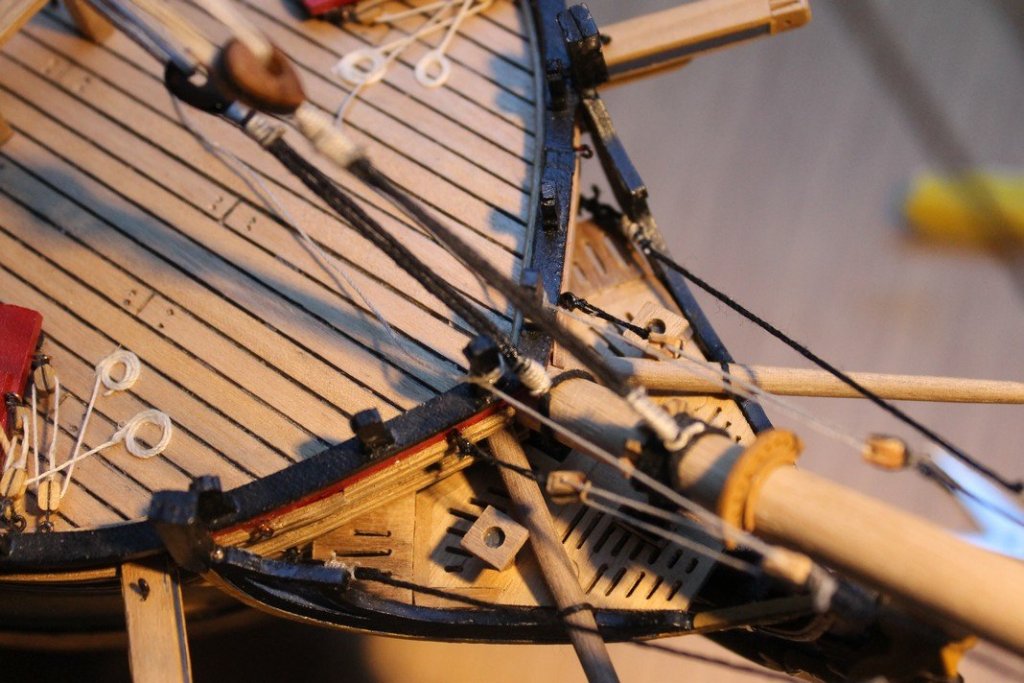
Filling up the gaps on the Gallion Things went less easy then I expected. But other Diana builders may perhaps take some benefit out of this. As the pics show : on both sides an eyebolt that receives standing rigging coming from the bowsprit obstructed somehow the operation so I could not reach into the corners. So one may want to fore these holes ( for the eyebolts ) just one or a few mm higher, building instructions were not that clear to me. Nonetheless I'm quite satisfied : this awkward void is filled up and the lads may feel a bit more comfortable... First pic show the necessary tools and a try out made out of card Now back to the yards !


-
Hi B.E. I couldn't agree more. This makes 100 % sense . I have plenty leftovers from the same material where the genuine gratings came from ( Yes walnut indeed.... ). But gratings it must be. No solid material. Foring 2 holes and connecting them + filing out for obtaining the required slit is the first method that comes across my mind. Thanks again for your sound advise