


Rustyj
-
Posts
2,426 -
Joined
-
Last visited
Content Type
Profiles
Forums
Gallery
Events
Posts posted by Rustyj
-
-
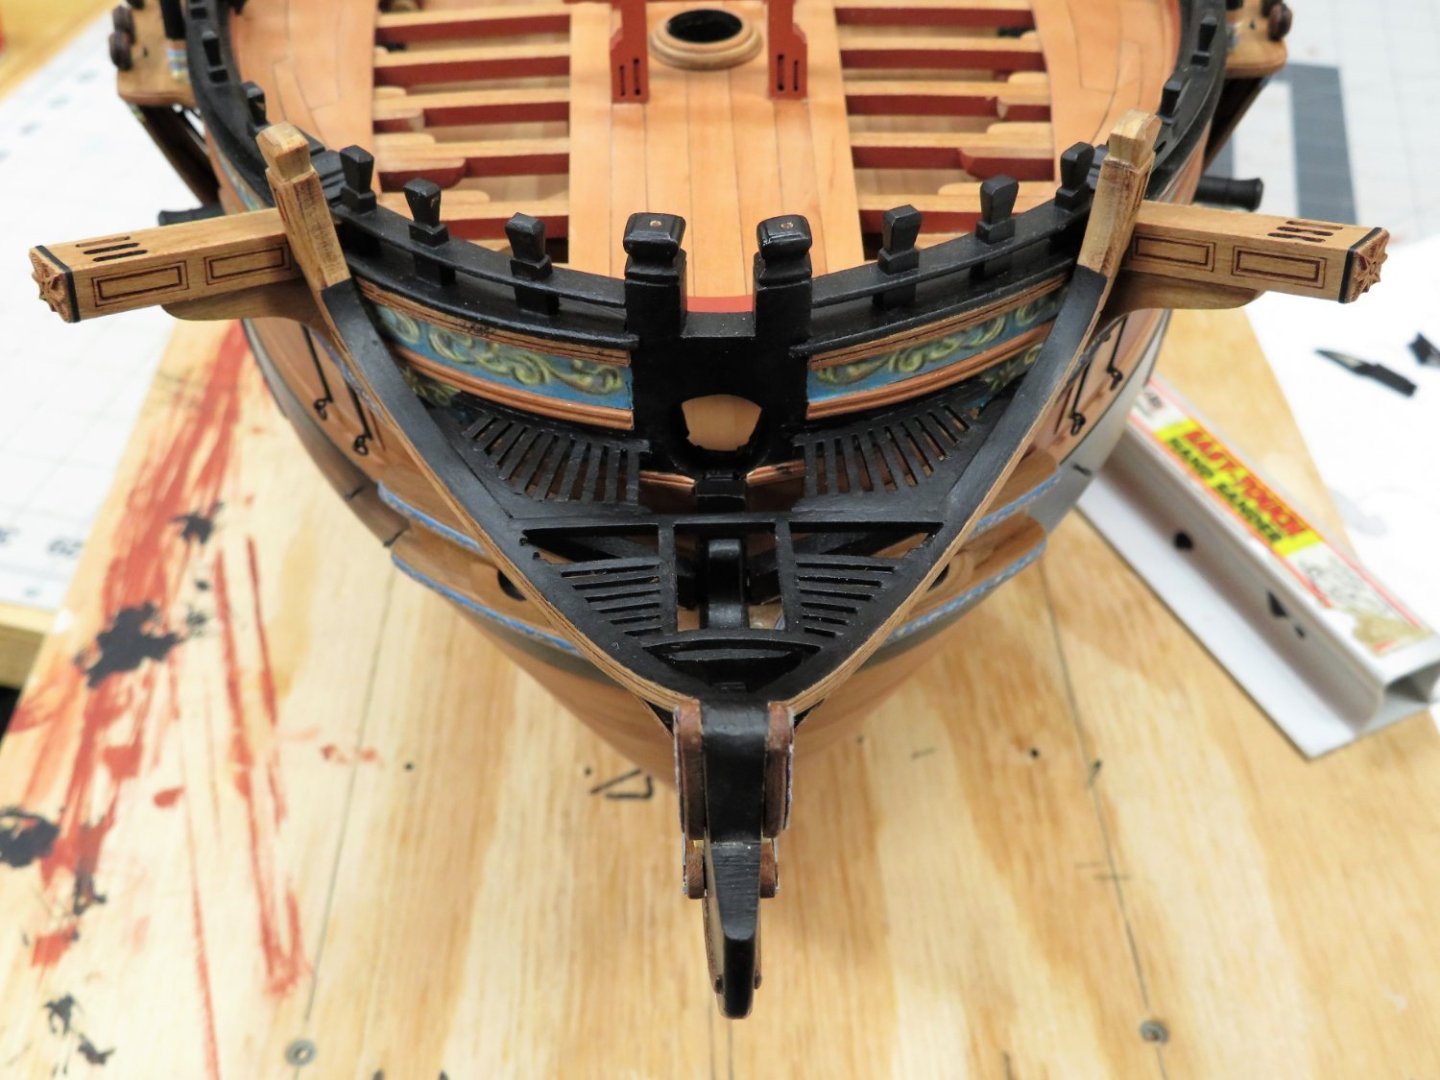
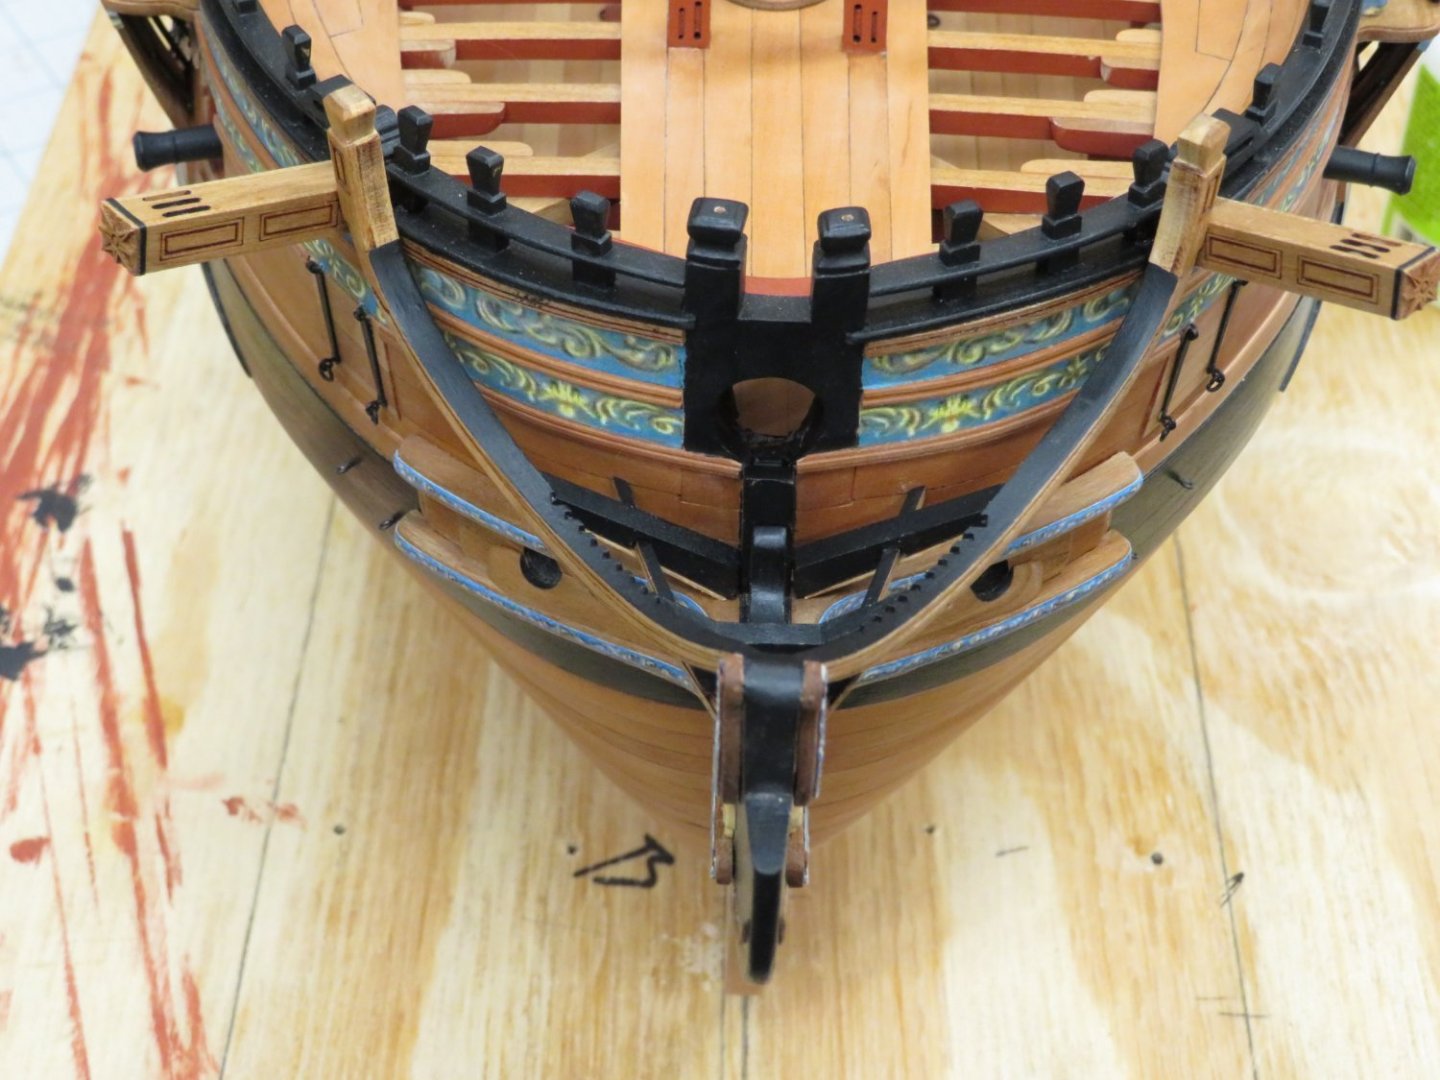
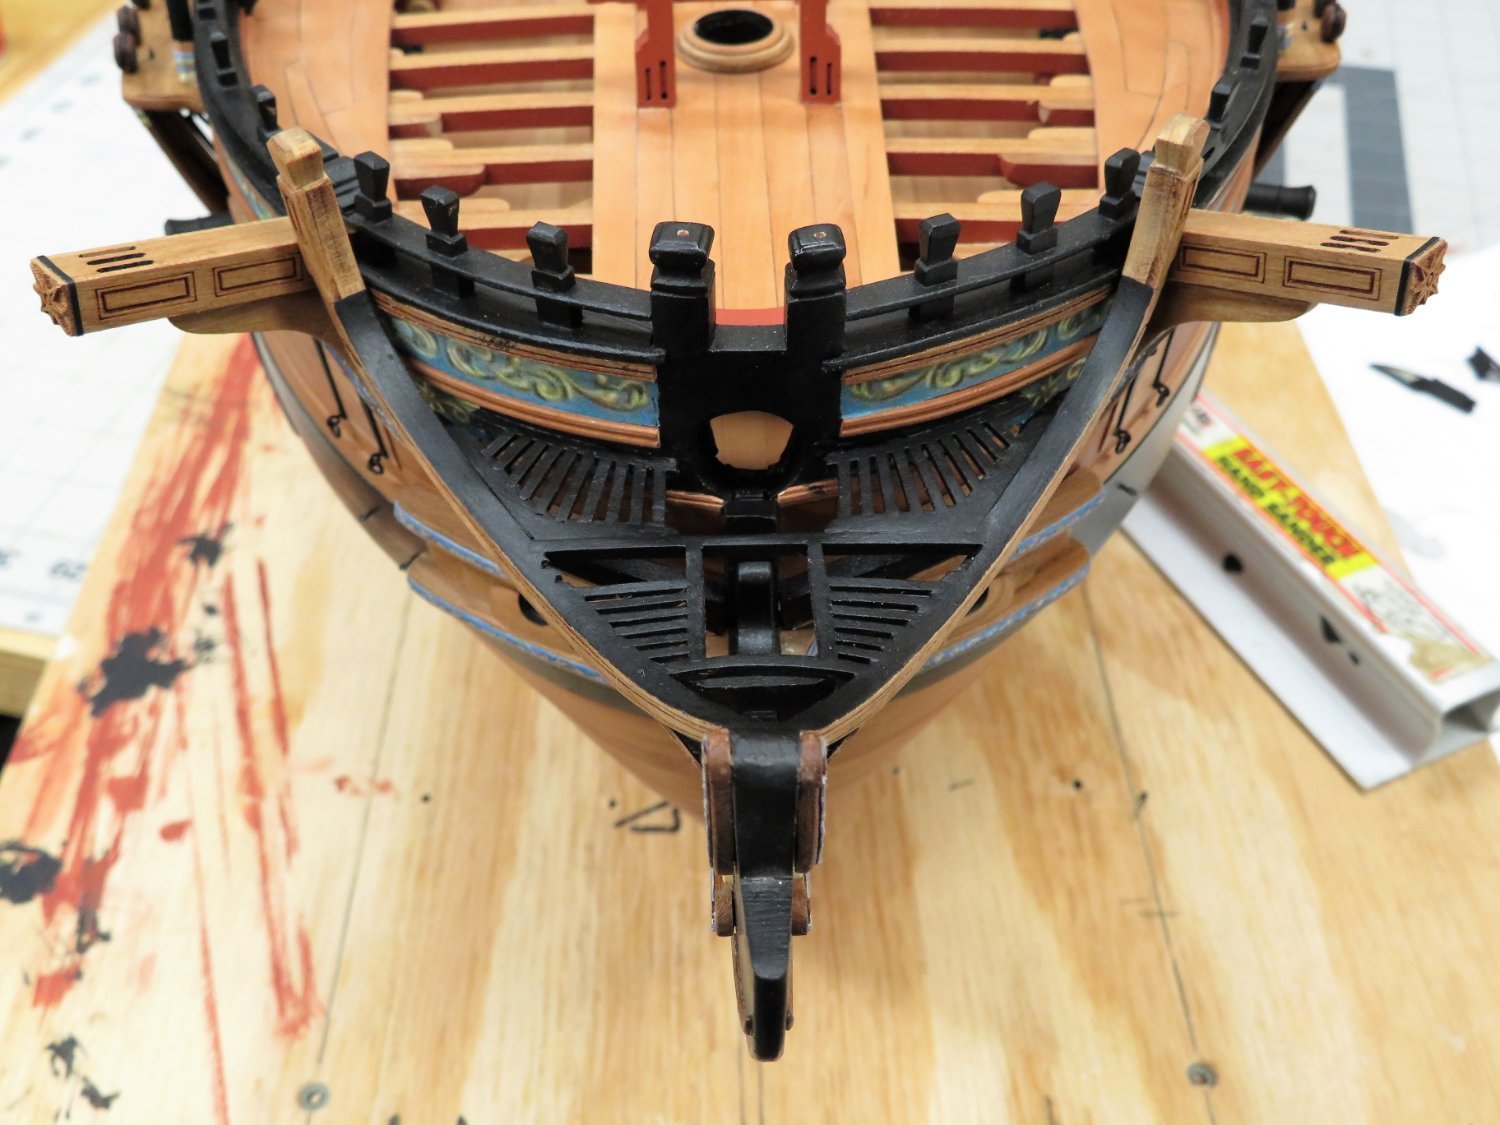
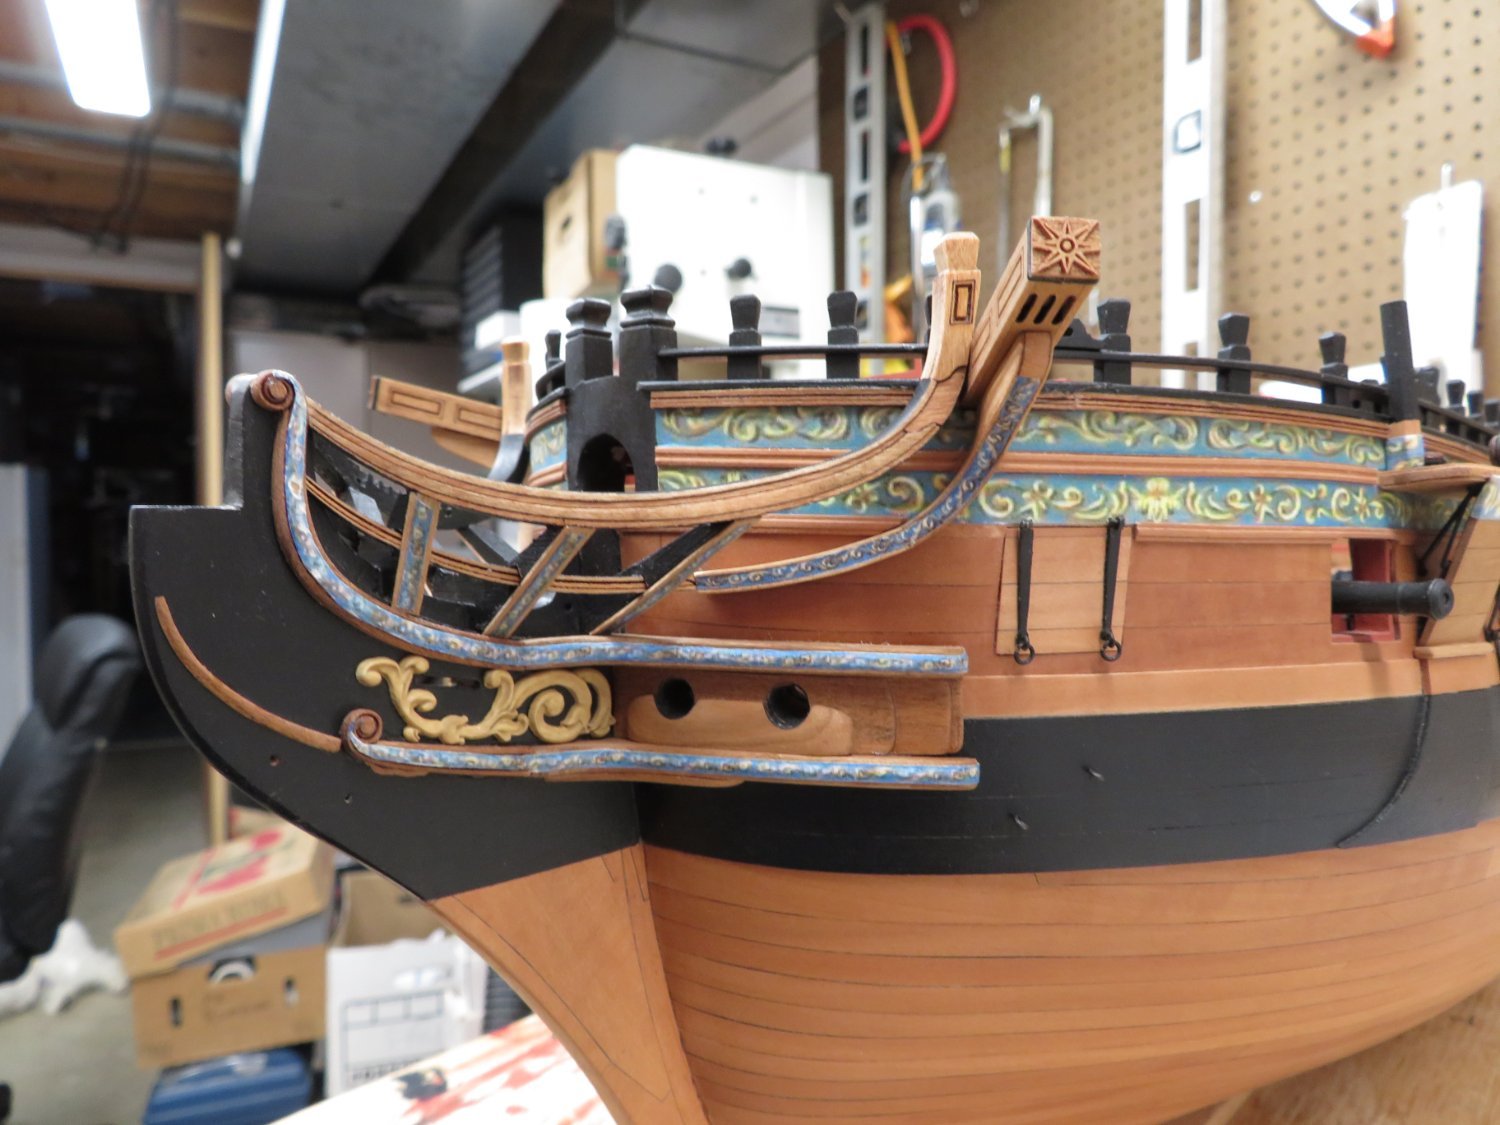
Ok no more crawling on the floor and the squats have been completed to my relief. I was fitting the aft gratings and Chuck calls for them to be just under the molding but level. If I placed mine just under the molding there would have been a very noticeable incline. I was kind of bummed as the frieze showed and I didn't like that look. So I improvised and painted the frieze under molding black and it all blends in. No one is the wiser except all of you!
 I then built the aft seats and false rails. Finally the fore seats and the last of the grating were added.


The cannon and the stern lantern will be the last items to be added. Then a whole bunch of cleaning a touch up will commence.
-
Well done Glenn but I think you missed out on the wonderful experience of shaping the hinges from brass! 😂
- hollowneck, FrankWouts and Dave_E
-
 2
2
-
 1
1
-
8 hours ago, James G said:
I kept asking myself along the way why this step seemed to be taking so much time. Finally, I counted up how many individual pieces are required to complete all of the framing. Works out to be a total of 136 separate parts for this step! Wow 😮…now I know why it took a bit of time.
Well done. With this build it always seems like "why did that step take so long?" then I'd go back and look at how much work it actually took and it always amazed me.
Just wait for the hull planking!
")
- FrankWouts, James G, Ryland Craze and 2 others
-
4
-
 1
1
-
14 hours ago, Chuck said:
Nicely done…so close now.
Thanks Chuck. I can see the light at the end of the very long tunnel and it's not a train!
Thank you JJ and Jim.
9 hours ago, Matt D said:The last two grating slats look like they will be tricky.
The two slates shouldn't be too bad but the two sections next to hull are another matter. Very tight and I'm continually dropping pieces on the floor. Tiny black pieces dropped on the black fatigue mat floor adds a lot of crawling around searching. Getting a lot of squats in though. 🤣
Thanks all for stopping by and the likes.
- FrankWouts, Ryland Craze, glbarlow and 1 other
-
3
-
1
-
4 hours ago, scrubbyj427 said:
I messed up on the color configuration on the channels but I can live with it.
I don't think you messed up at all. They add a really nice look! Well done on chapter 11.
Good luck on your sailing and road trip.
- FrankWouts and scrubbyj427
-
2
-
-
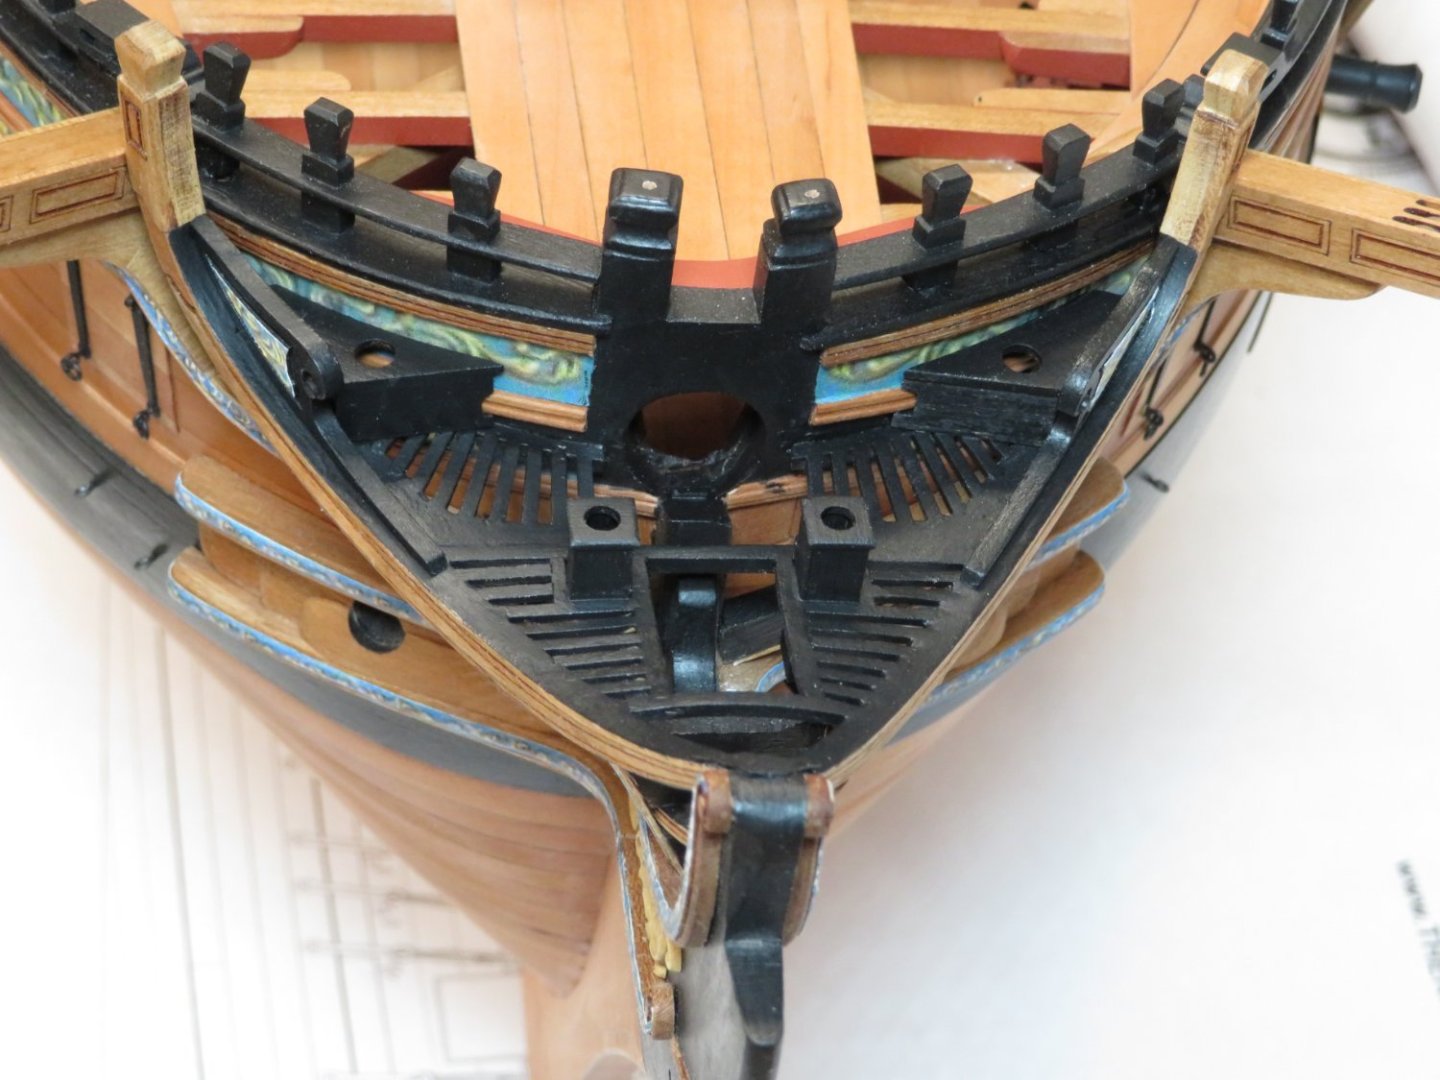
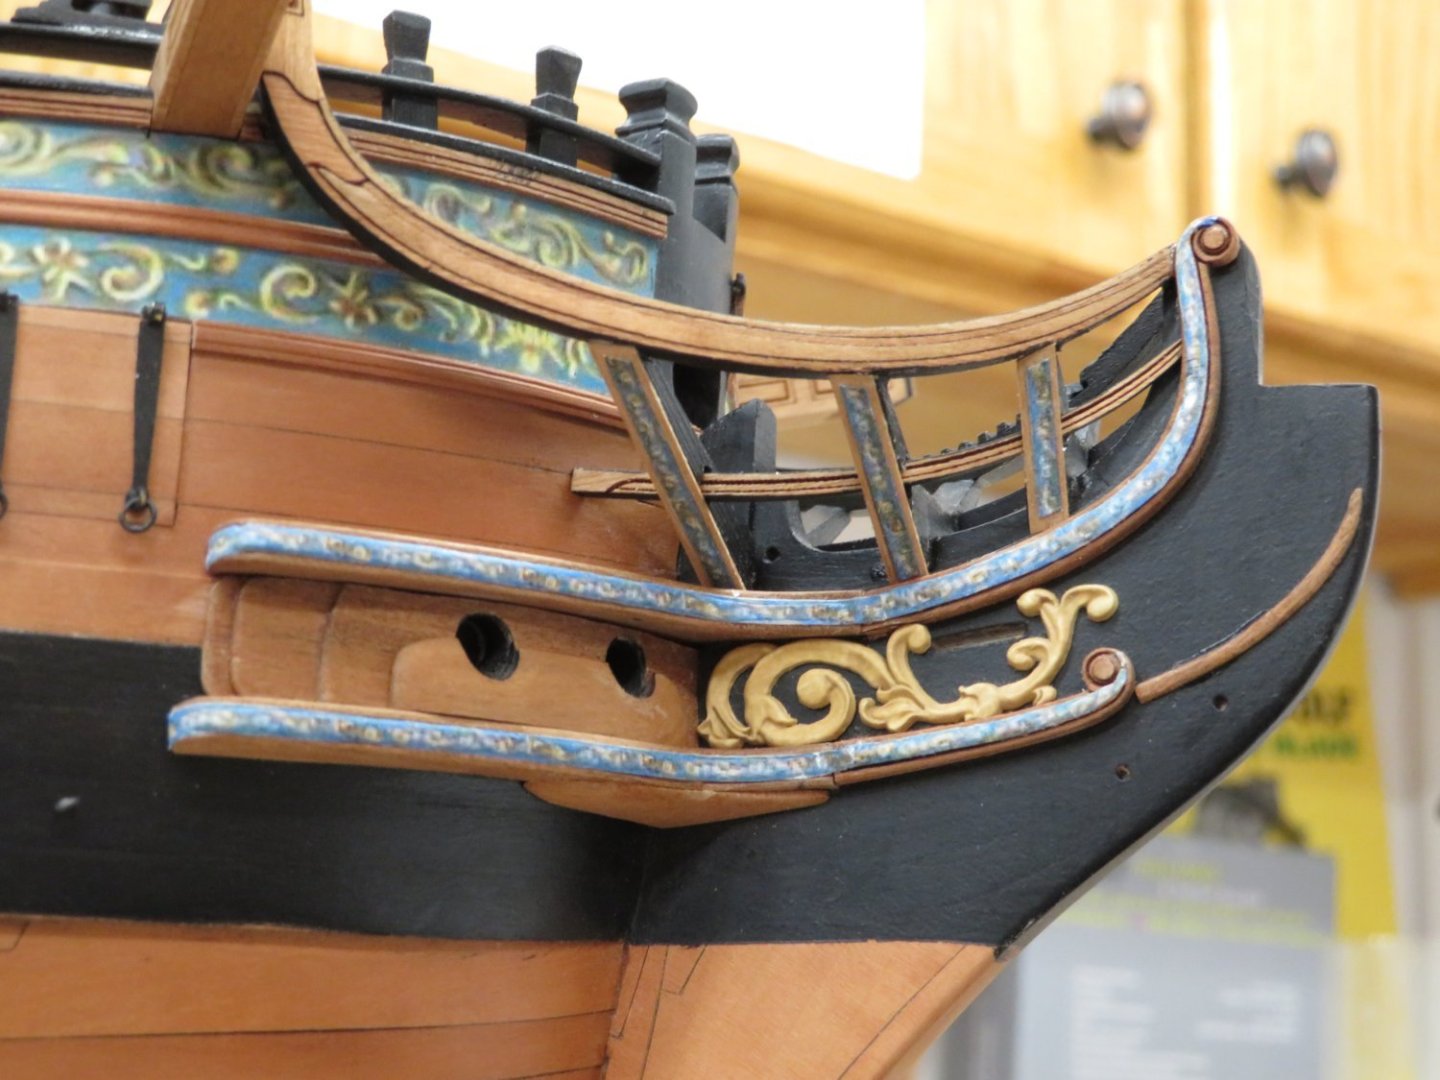
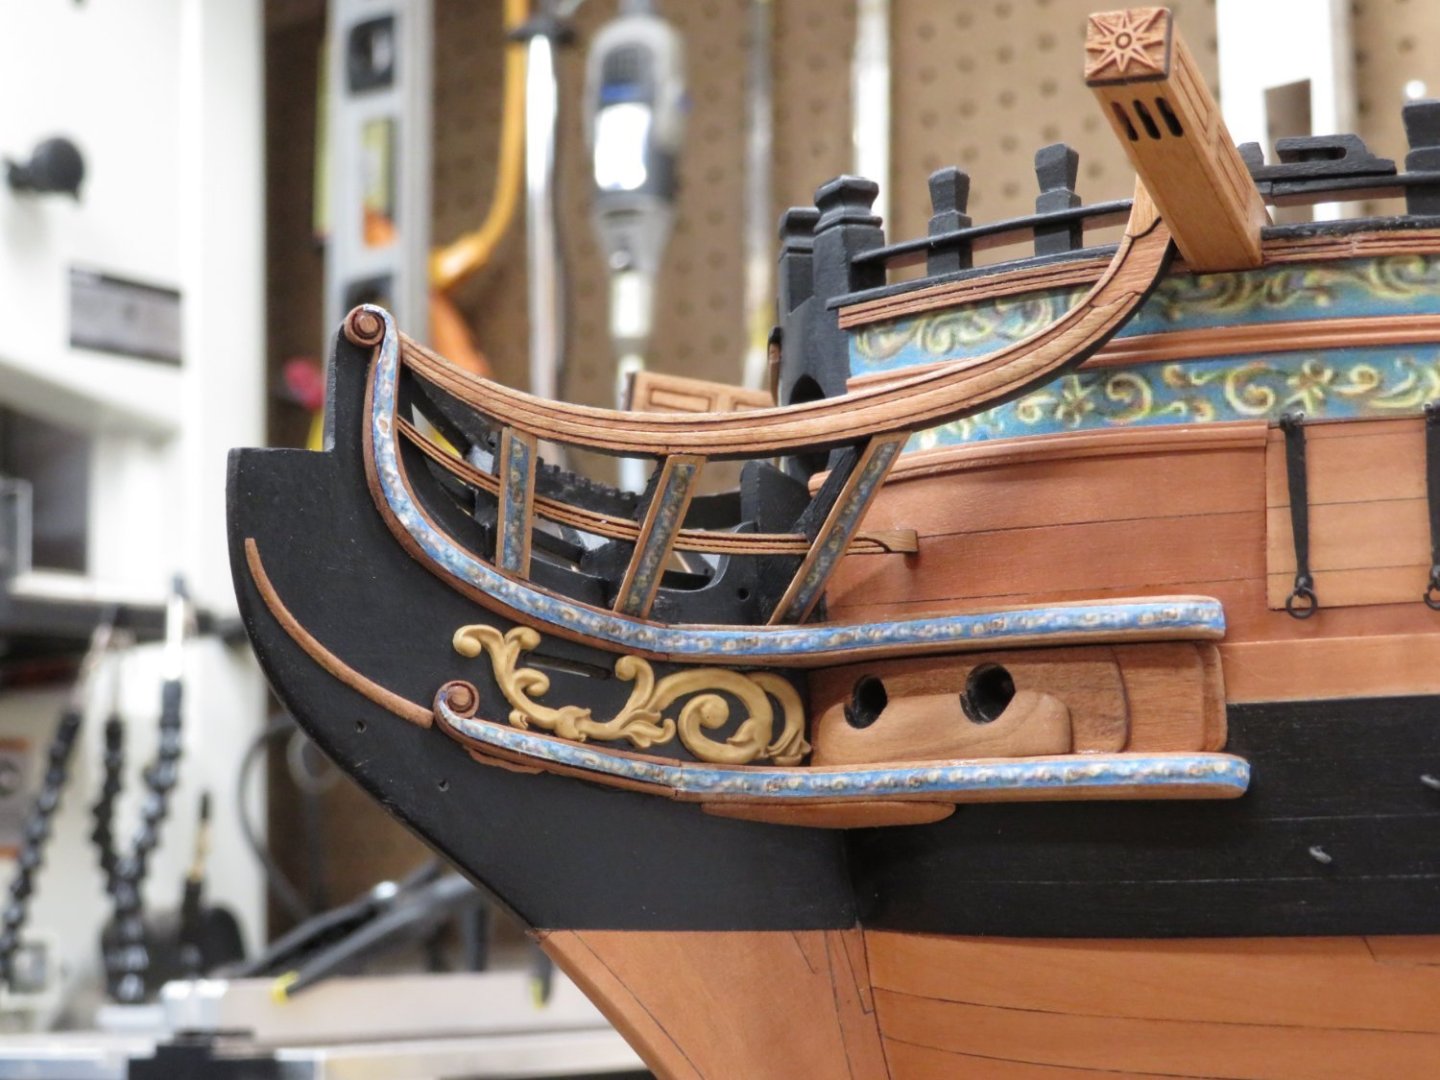
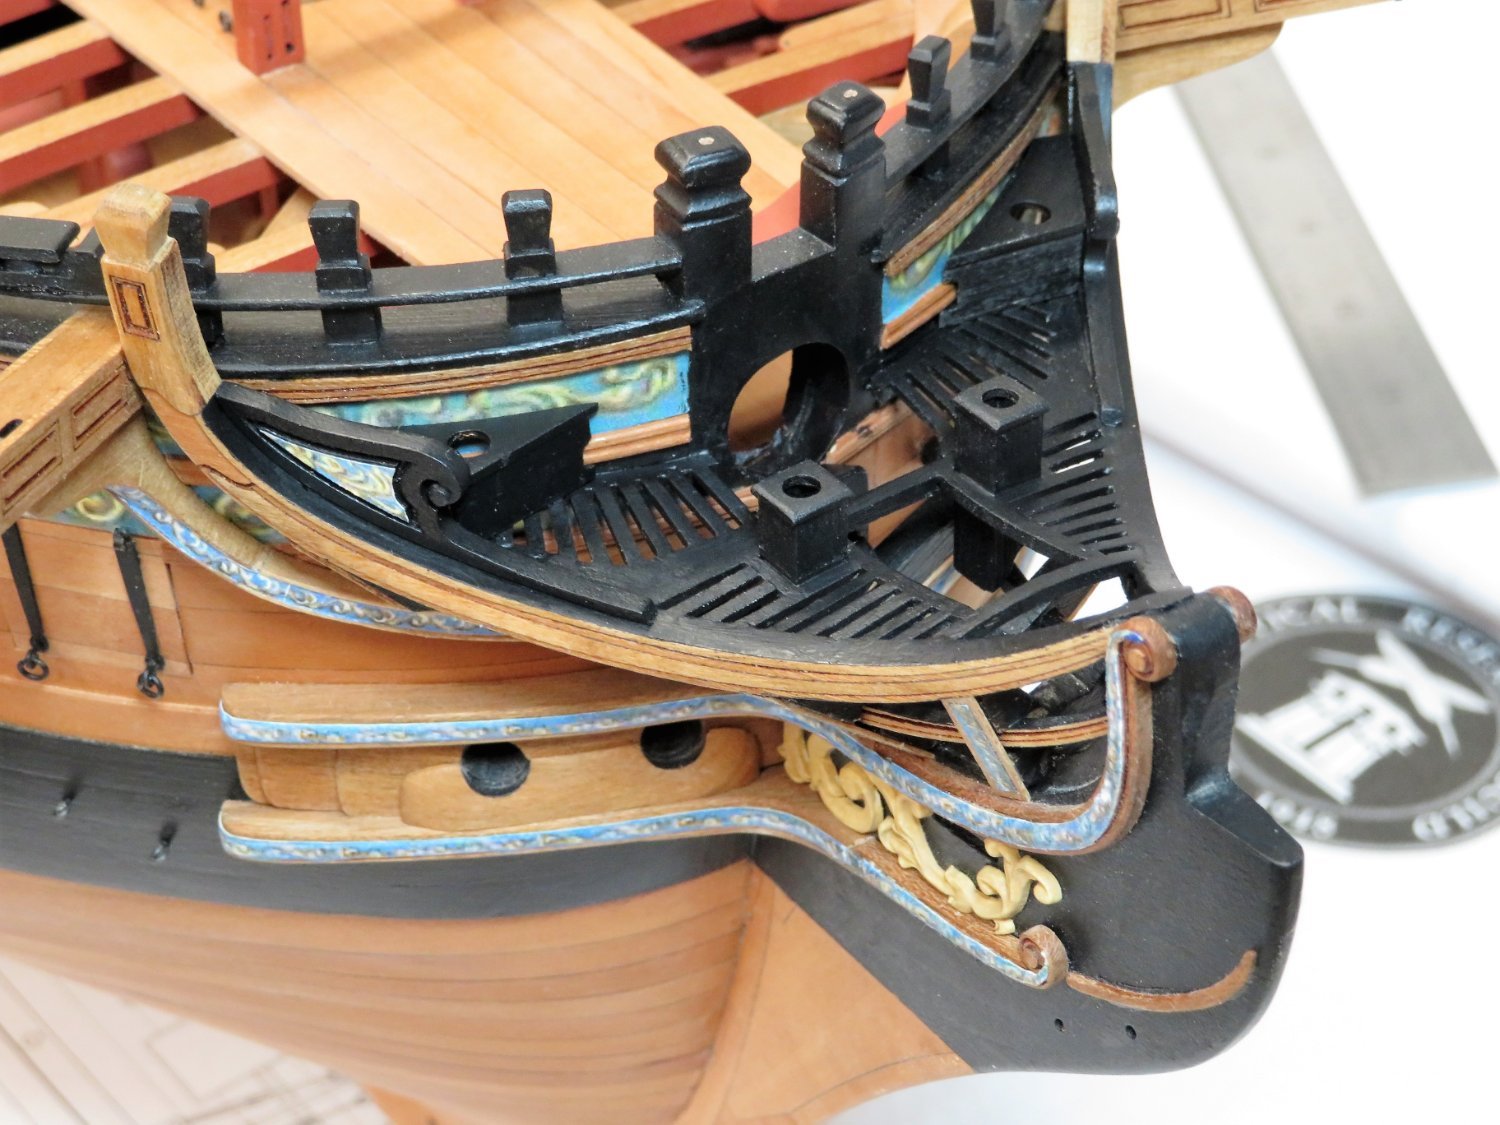
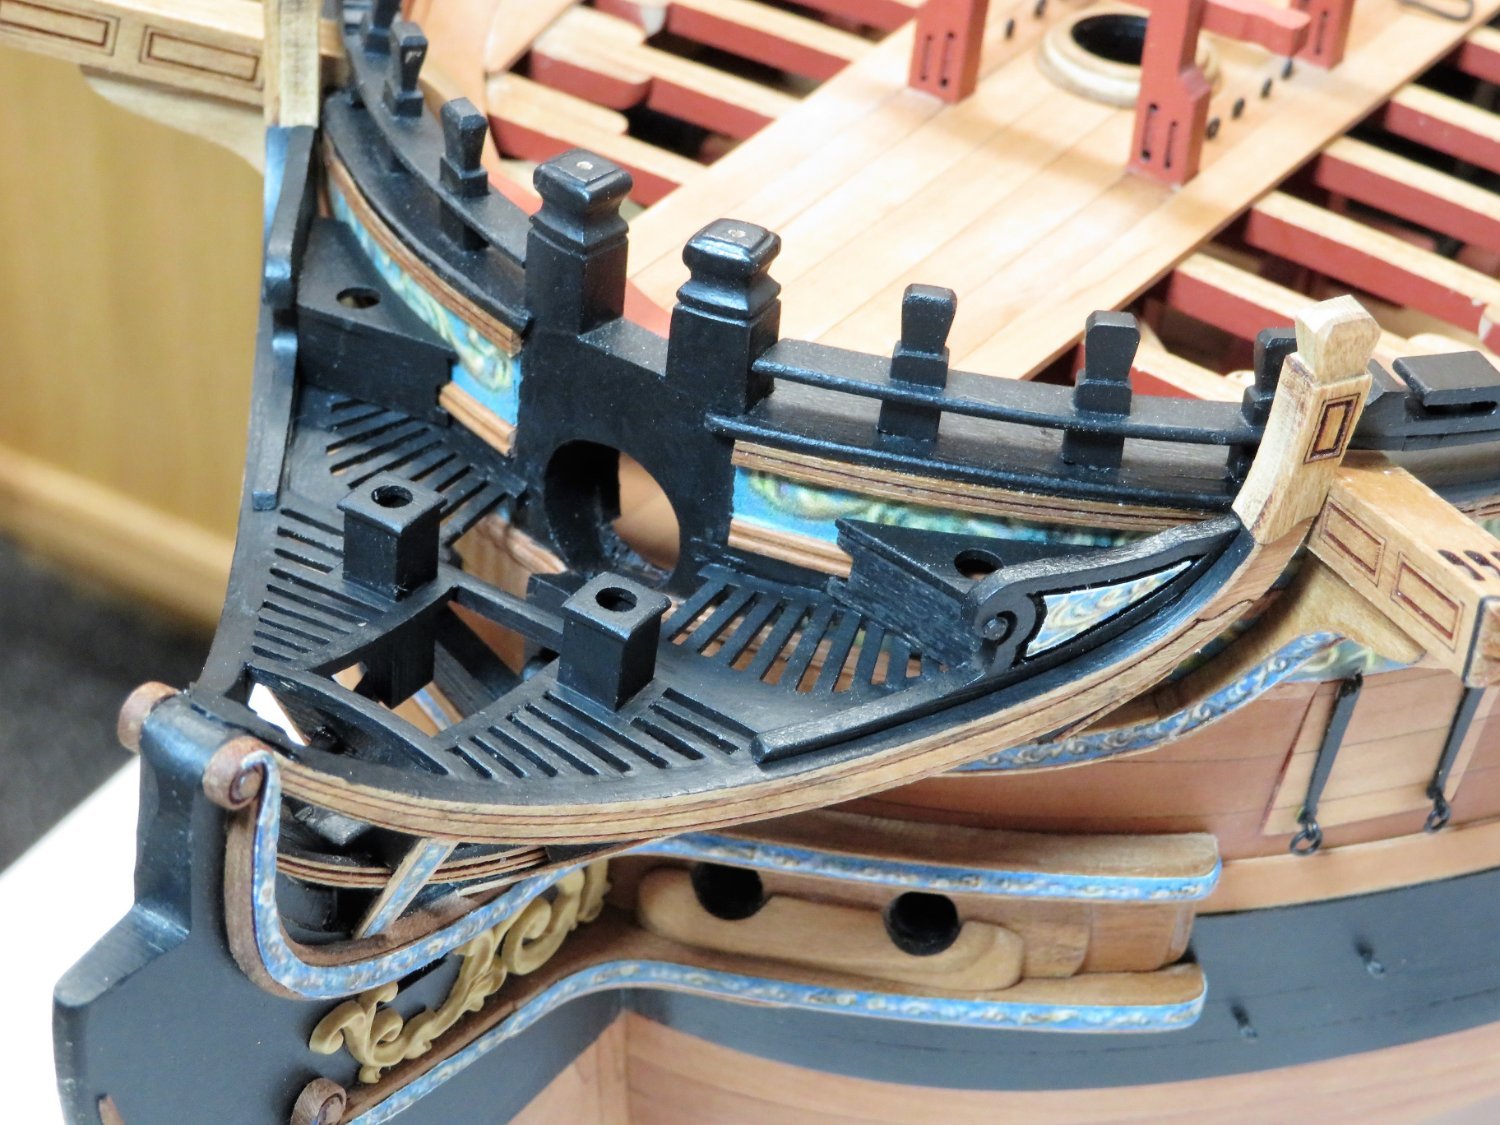
I've now started on the head gratings. They are laser cut and fit into the rails.
Though the pieces were close minor adjustments had to be made for them to fit my model.
The open space is left for fitting the seats later.
This is the best method for making the head gratings I've ever used.
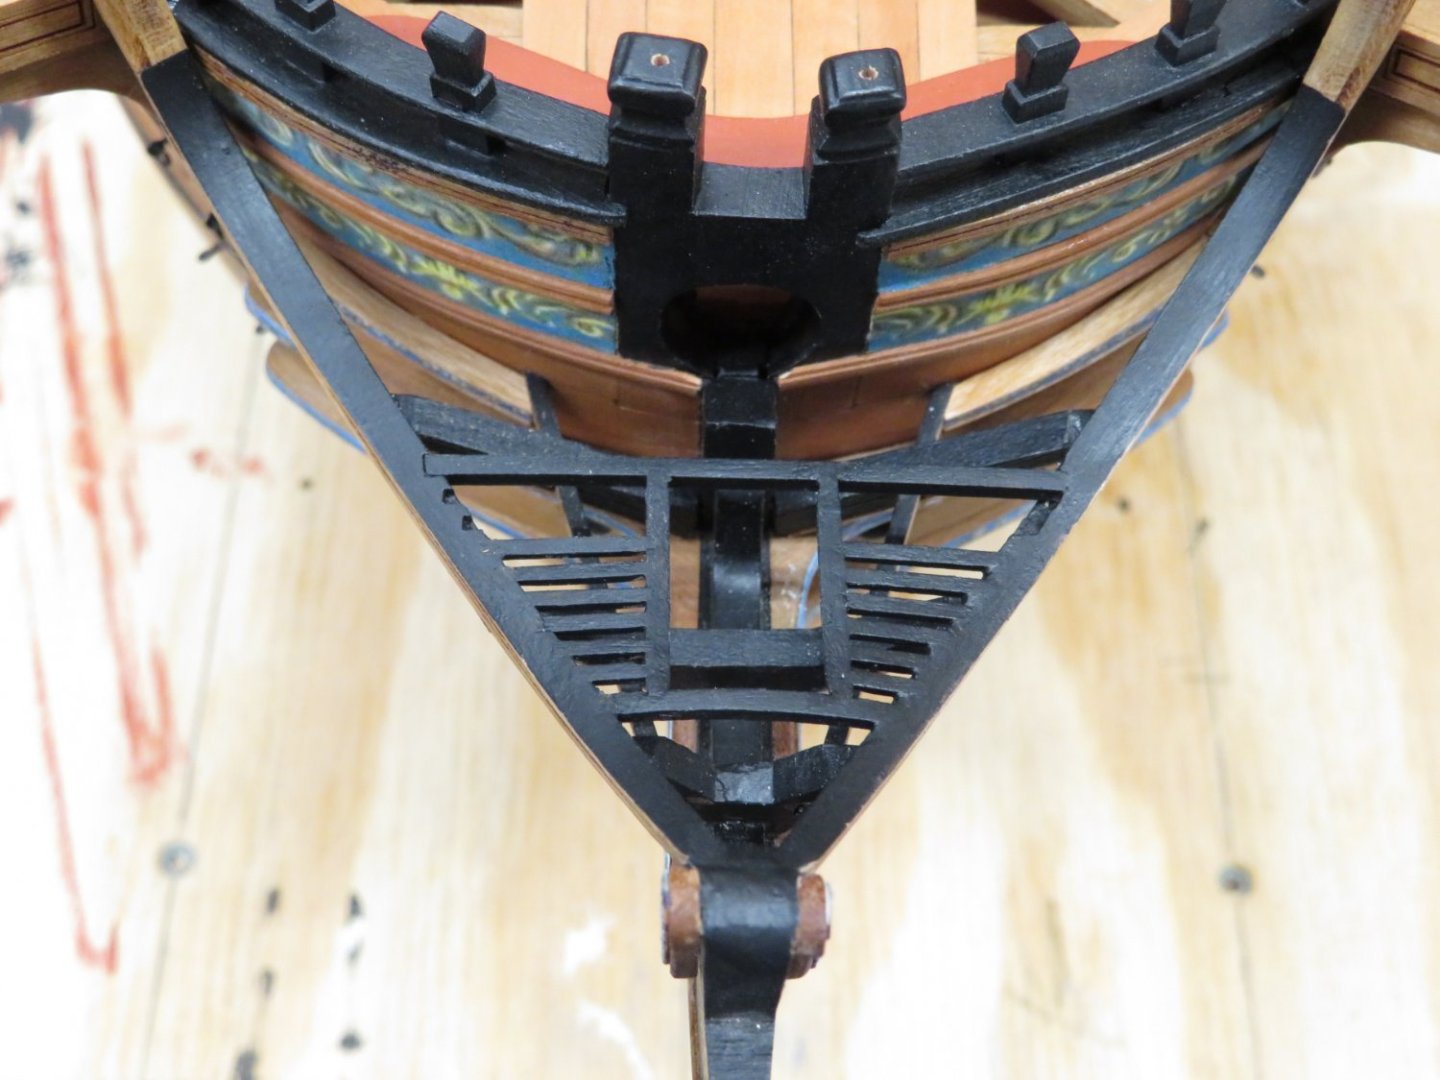

Here you can see I've added the half timber. Just like the rest of the head timbers just smaller and in tighter quarters. It got dropped many times while making the adjustments!
-
From your picture I'd never know that those were not wood! The weathering powder really adds to the look.
- Ryland Craze, Canute, thibaultron and 1 other
-
4
-
On 4/19/2023 at 8:27 PM, glbarlow said:
so much detail, so many curves. You could start over and build a second one 😄
After seeing all of the AYC and Boxwood versions it is tempting to build a twin. I'd better plan on living to 100 though.
On 4/20/2023 at 12:03 PM, James G said:I have a lot of savoring ahead of me since I’m only on chapter 1 but I’m enjoying the journey thus far. With spring finally arriving in Michigan my build time will slow down as the outside projects take precedence. However, will get back to the bench whenever I can. T
Thanks James, Yes summer and family do put a crimp in the modeling time but that's what makes it so enjoyable when we do get a chance to get back into the workshop!
Work has been slow these past few days but a new update should be available soon. Thanks for stopping by and all the likes.
- scrubbyj427 and FrankWouts
-
2
-
I agree that it all looks very nice. The adding of color like that really stands out nicely. Glad to hear you're starting to feel better!
- Ryland Craze, hollowneck and Jack12477
-
3
-
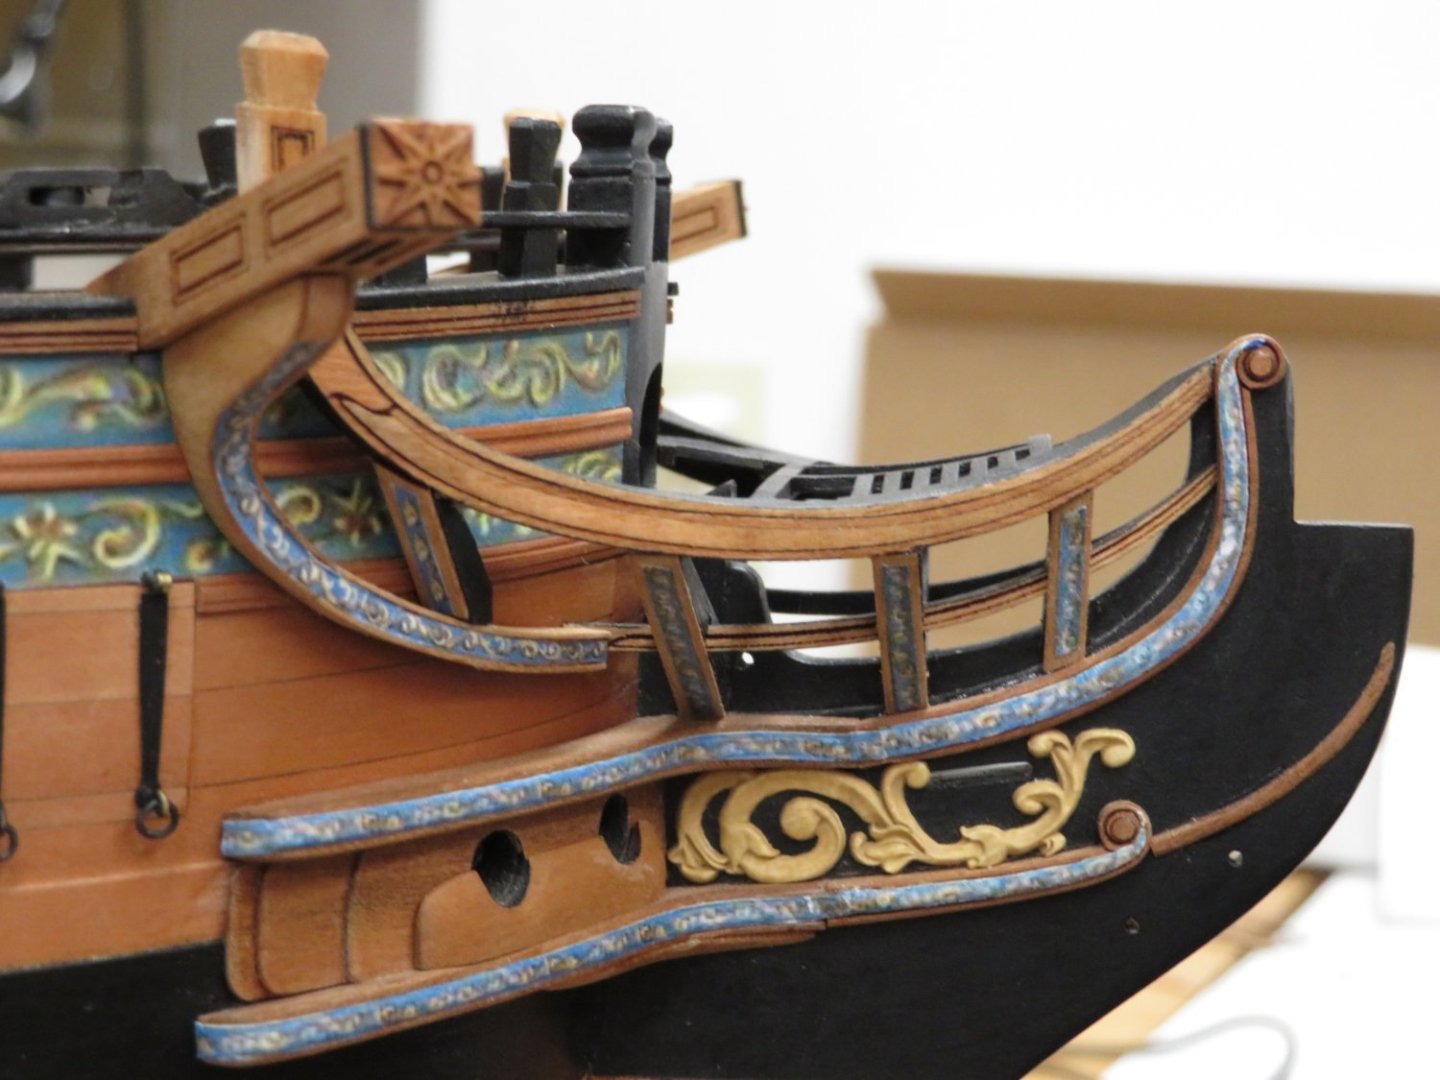
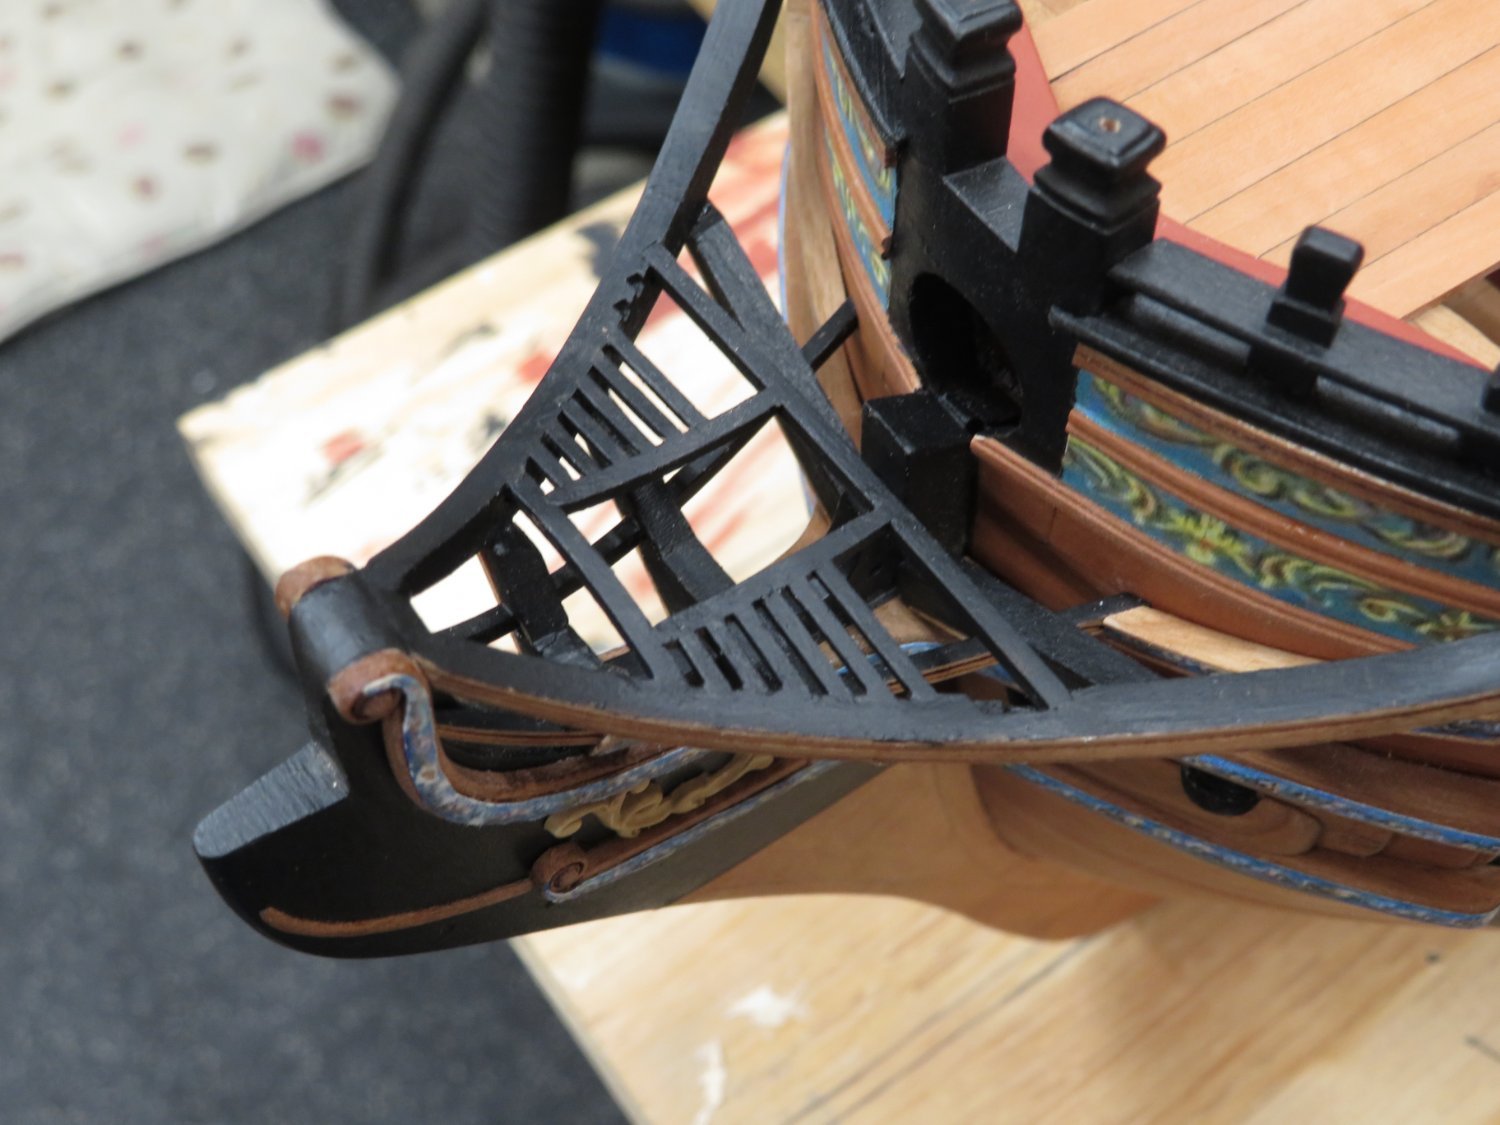
I've completed the cat head support knees. They are multiple layers glued together and then shaped to fit the hull curves. It was not an overly complicated process. Just assemble per Chucks instructions. Then it's a lot of testing over and over until you get a good fit.


There is a fourth head timber that needs shaping and then it's on to the head gratings and seats.
I am going slow as it is the proper way but also to kind of prolong the end!
- westwood, scrubbyj427, Nunnehi (Don) and 13 others
-
13
-
 3
3
-
-
-
Hi Chuck,
I finally got caught up looking at all the new information on a PC instead of my phone. The framing is stunning and your description makes it seem so deceptively easy. Much easier than scratch but still a lot of care and patience is required to produce results like yours. I really like the last set of windows too.
- TBlack, Jack12477, Ryland Craze and 3 others
-
6
-
Thank you Dusan!
Yes Matt fun yep that's the word I would use, yep fun!
Really though it is a fun challenge.
- FrankWouts and Ryland Craze
-
2
-
Hi Matt,
I think because the scroll work has been placed on the outboard side the only thing you can do is either fill it or replace a portion of the clamp. For me I'd redo the clamp. I'm not sure where I'd make the cut though. It should be somewhere accessible where you can get to it in case you need a little filler and sand to hide the joint. If you think you can get a nice tight joint at the first beam then that's where I'd do it. If you have to use a little wood filler only you will know if you don't tell us.
Trust me there's some on my Winnie!
- scrubbyj427, Matt D and Saburo
-
3
-
-
Thank you JJ, Jim and Steve.
Thank you Chuck for designing such a fine model.
On 4/7/2023 at 9:12 AM, glbarlow said:Always look forward to your posts and imagine a day when I get this far, and only hope I do it near as well.
I might as well ask for that third set now.
You'll be here before you know it and your Winnie is right up there with the best of them. I always look forward to seeing your fine work.
Also thank you all for stopping by and for the likes!
- James G, FrankWouts, scrubbyj427 and 1 other
-
4
-
The wow keeps coming. Very nice matt!
- Matt D and FrankWouts
-
2
-
Wow. That is one fine planking job!
- westwood and FrankWouts
-
2
-
Very nice Matt!
- Matt D and FrankWouts
-
2
-
That decking is really nice! Well done.
- cdrusn89 and FrankWouts
-
2
-
I've made more progress on the head timbers and cover boards. Chuck kindly supplied two sets of timbers. My first attempt worked but they weren't as good as I would have liked so I did them again with the second set. After many many hours of adjusting and tweaking I'm happy with the results. Not perfect but the best head timbers I have ever done.

Next I will be doing the cathead support knees and head gratings.
- CaptMorgan, FrankWouts, Ryland Craze and 12 others
-
13
-
2
-
On my my my. That is soooo small and soooo tempting. I'd really have to give it a go if it becomes available. The swear jar would get a hefty donation too!
- amateur, bdgiantman2, Knocklouder and 5 others
-
1
-
7


HMS Winchelsea by Beckmann 1/48
in Member Build logs for the HMS Winchelsea
Posted
Very very nice!