


Rustyj
-
Posts
2,426 -
Joined
-
Last visited
Content Type
Profiles
Forums
Gallery
Events
Posts posted by Rustyj
-
-
Wonderful workmanship JJ. Looking forward to you finishing her up. You are also heading fast to the finish!
- FrankWouts and scrubbyj427
-
 1
1
-
 1
1
-
4 hours ago, Kusawa2000 said:
So Rusty.. what is the next project for your shipyard?
Mike Draper
Hi Mike. Chucks version of Speedwell Is high on the list.
4 hours ago, Blue Ensign said:Beautiful work Rusty, she is a very fine looking 'Winnie'
Your care and attention have paid dividends as is so clearly evident
Thank you B.E. I get so much inspiration from you, Chuck and so many other fine modelers here I can't name them all. Thank to you all. Thanks for the likes to!
- VTHokiEE, James G, FrankWouts and 2 others
-
5
-
5 hours ago, James G said:
I was wondering, do you feel kind of sad that you’re coming to the end?
Thanks James. It's always kinda sad when something you spent years doing comes to an end. But then on the other hand it opens up the shop to new adventures. That's always something to look forward to.
-
Thanks Mike and Glenn. Yes a lot of patience needed. Especially with the head timbers. Just minor sanding, test fit, oh that looks good,set the second one in place, sand and adjust, now the first one needs adjusting again! And repeat repeat repeat! No shortcuts no big tips just a lot of patience. By the way did I say I'm not very patient.😅
- Trussben, FrankWouts, Chuck and 3 others
-
6
-
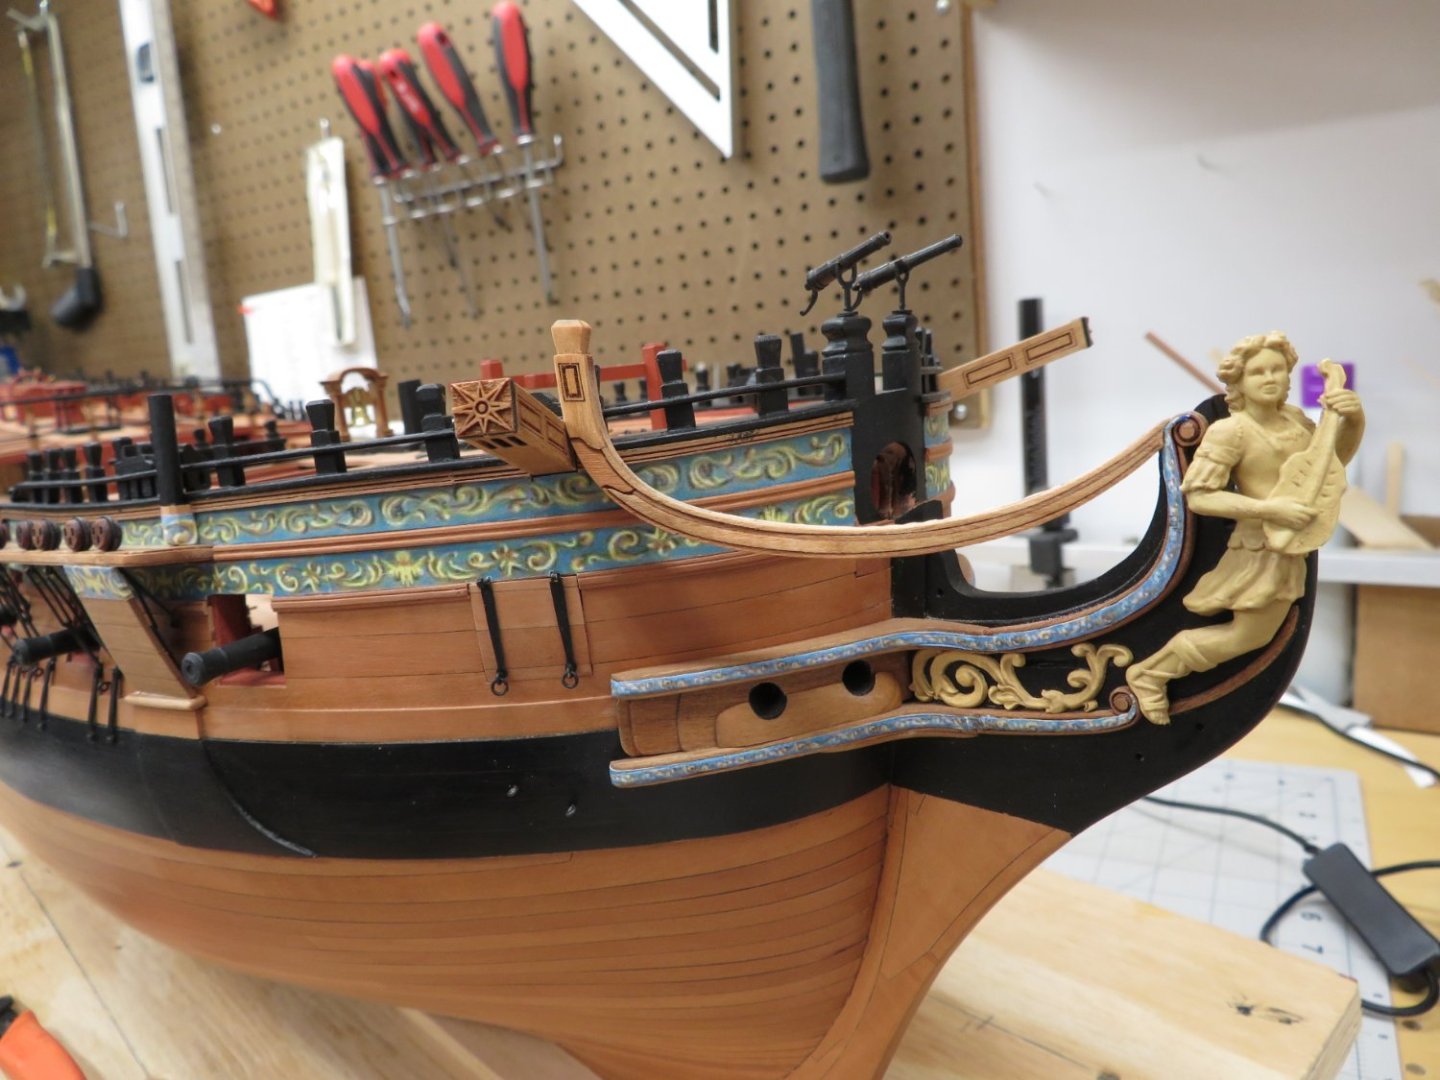
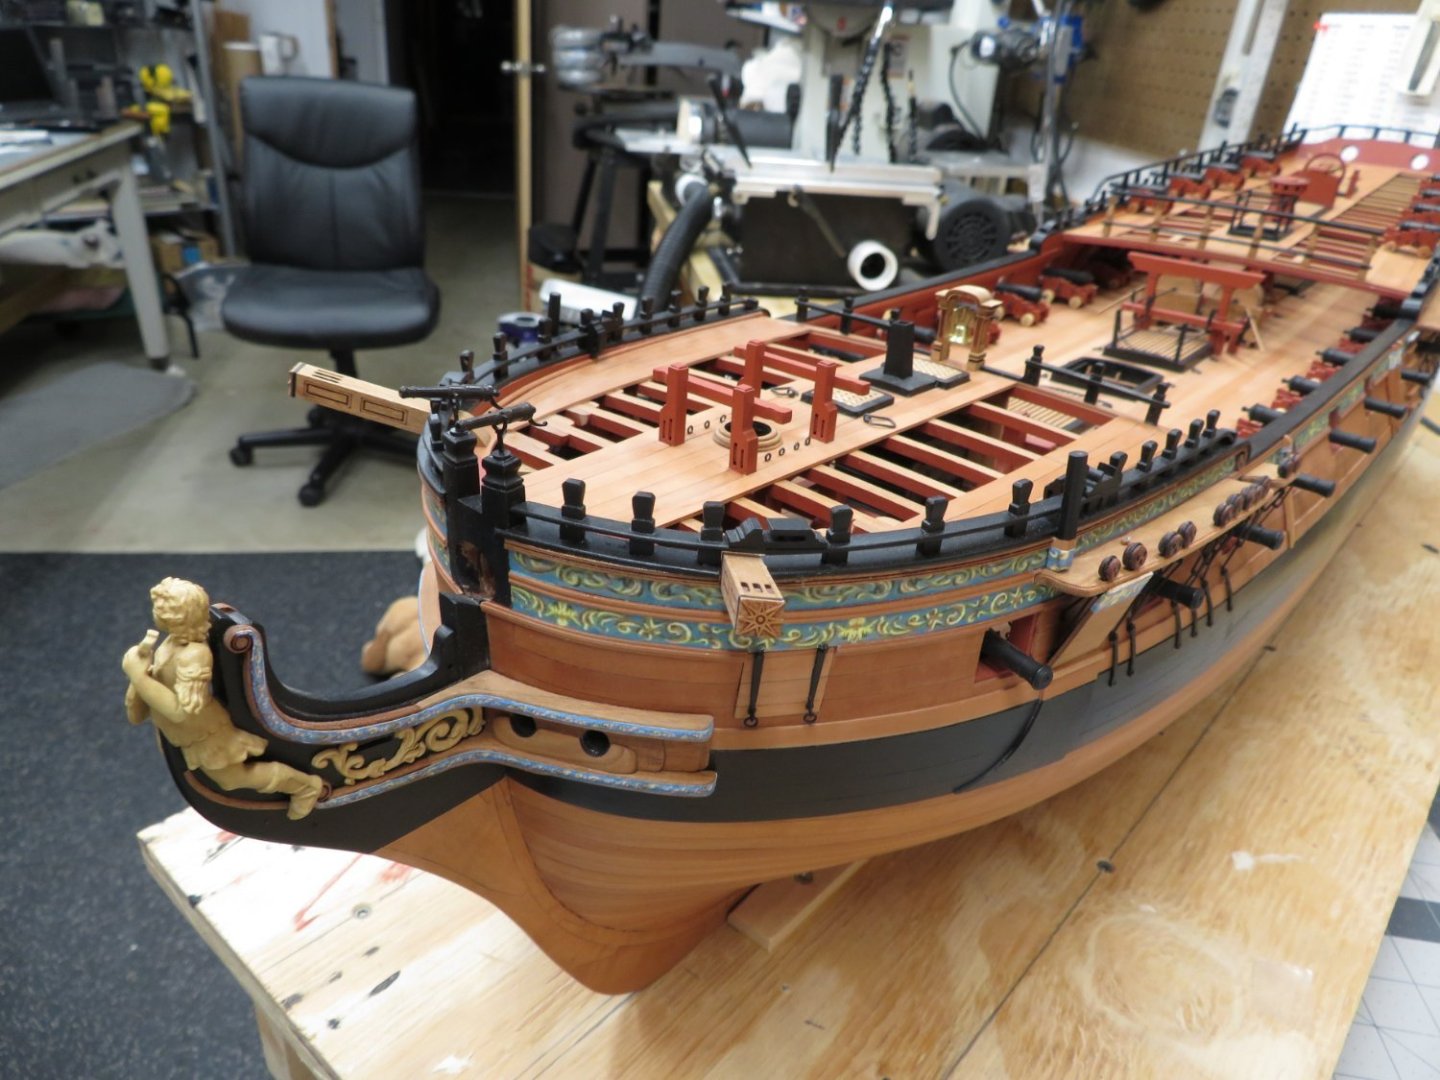
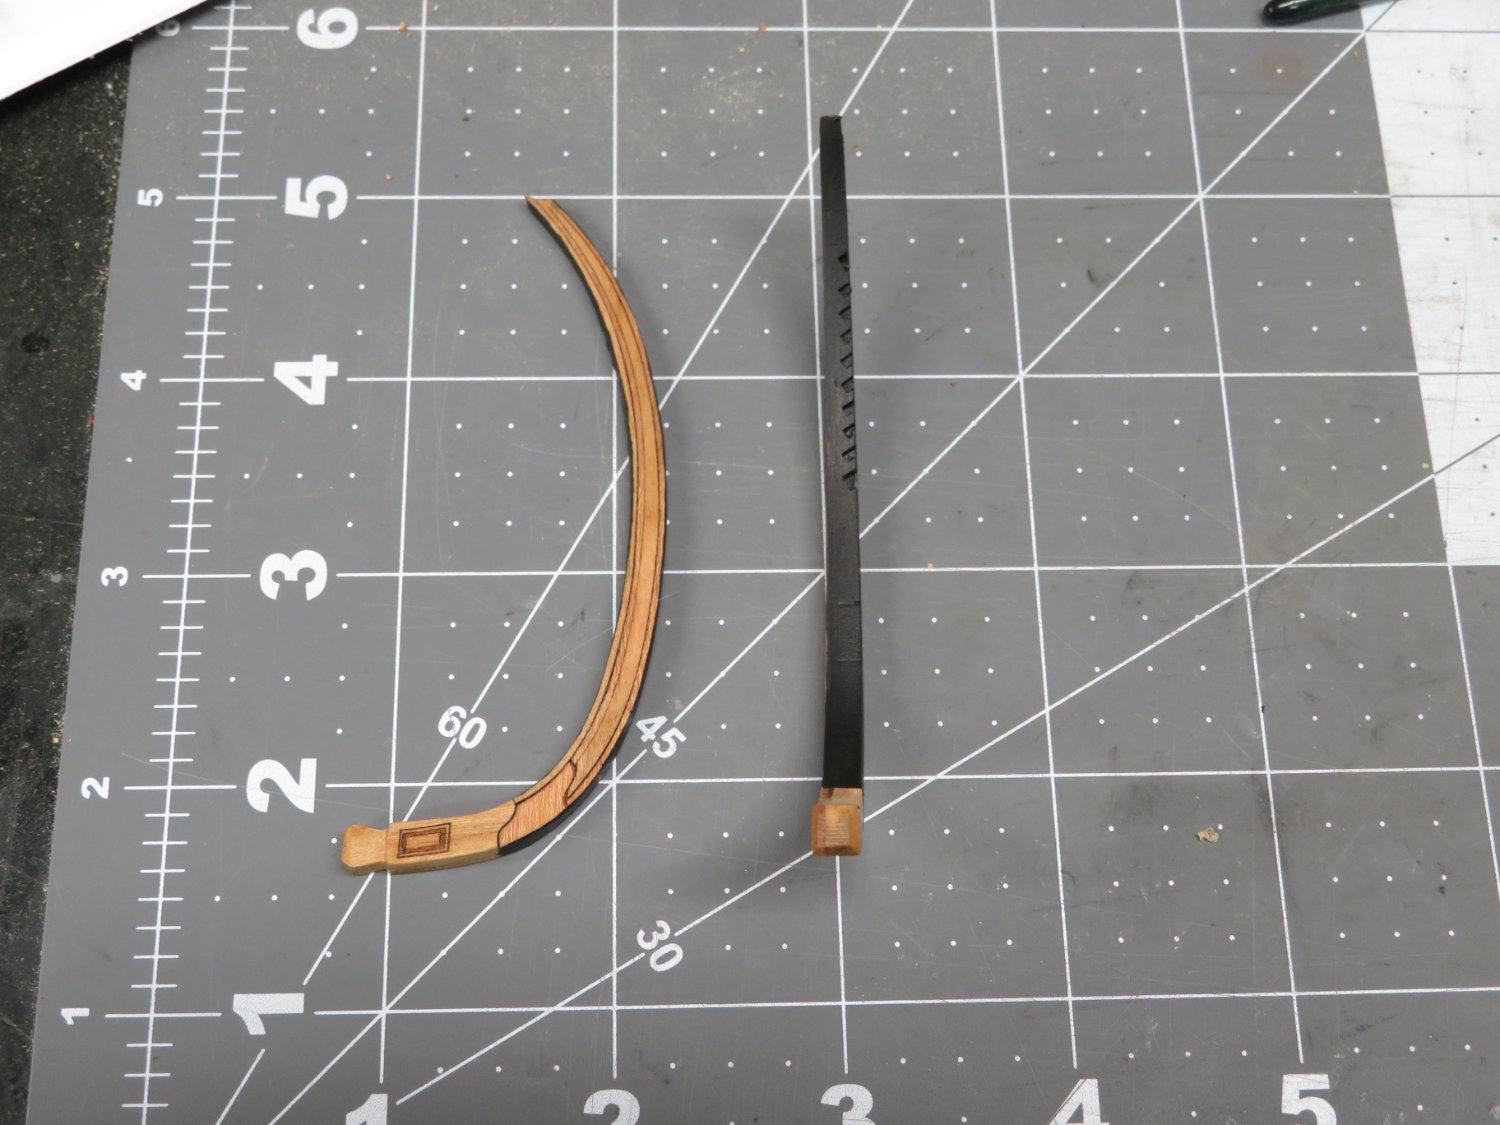
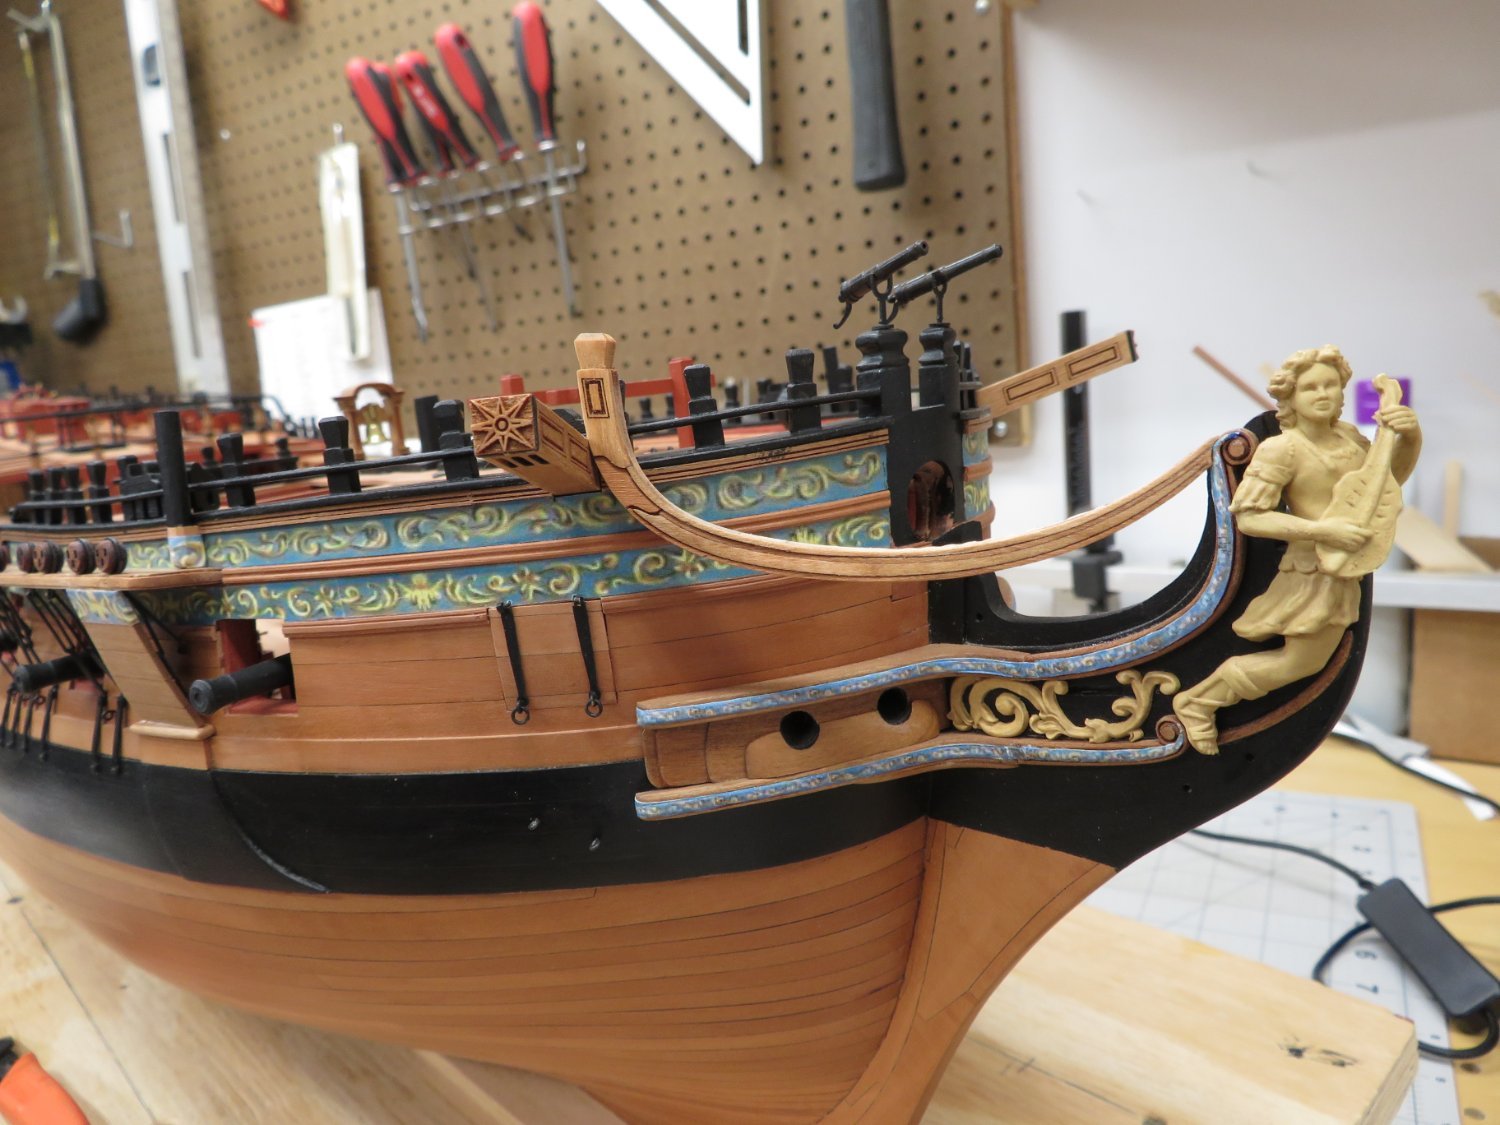
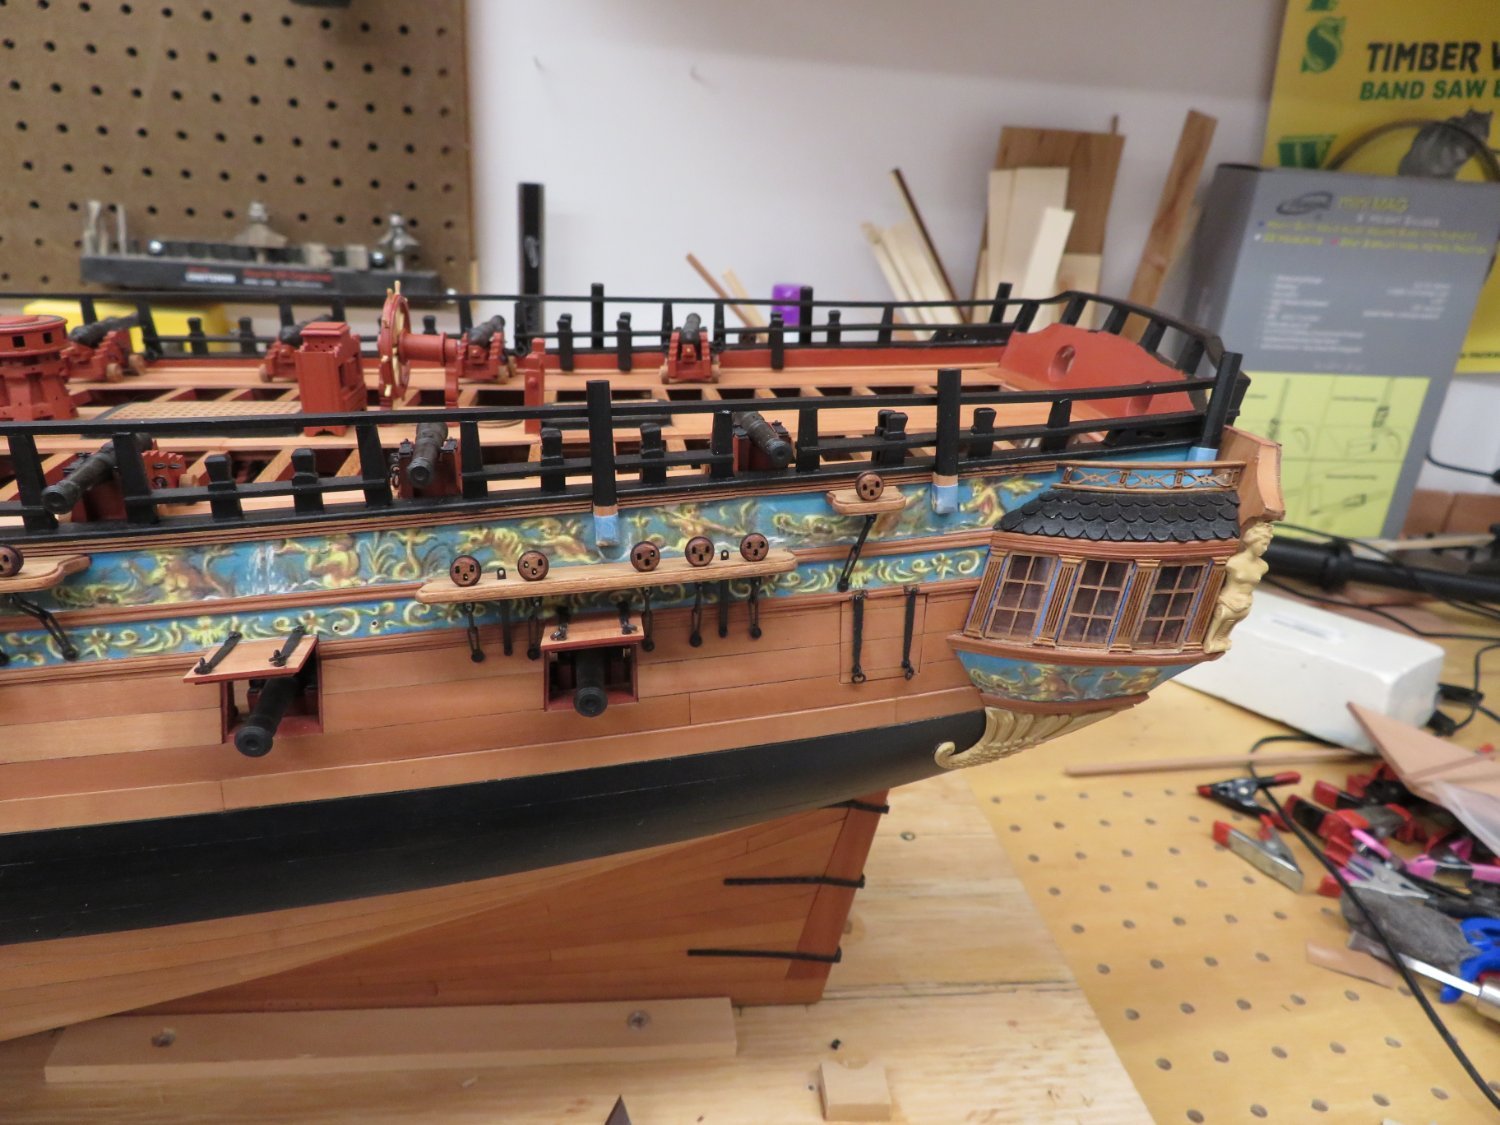
I've finished the prep work on the main rails and they are just set in place until I get all the adjustments done on the head timbers.


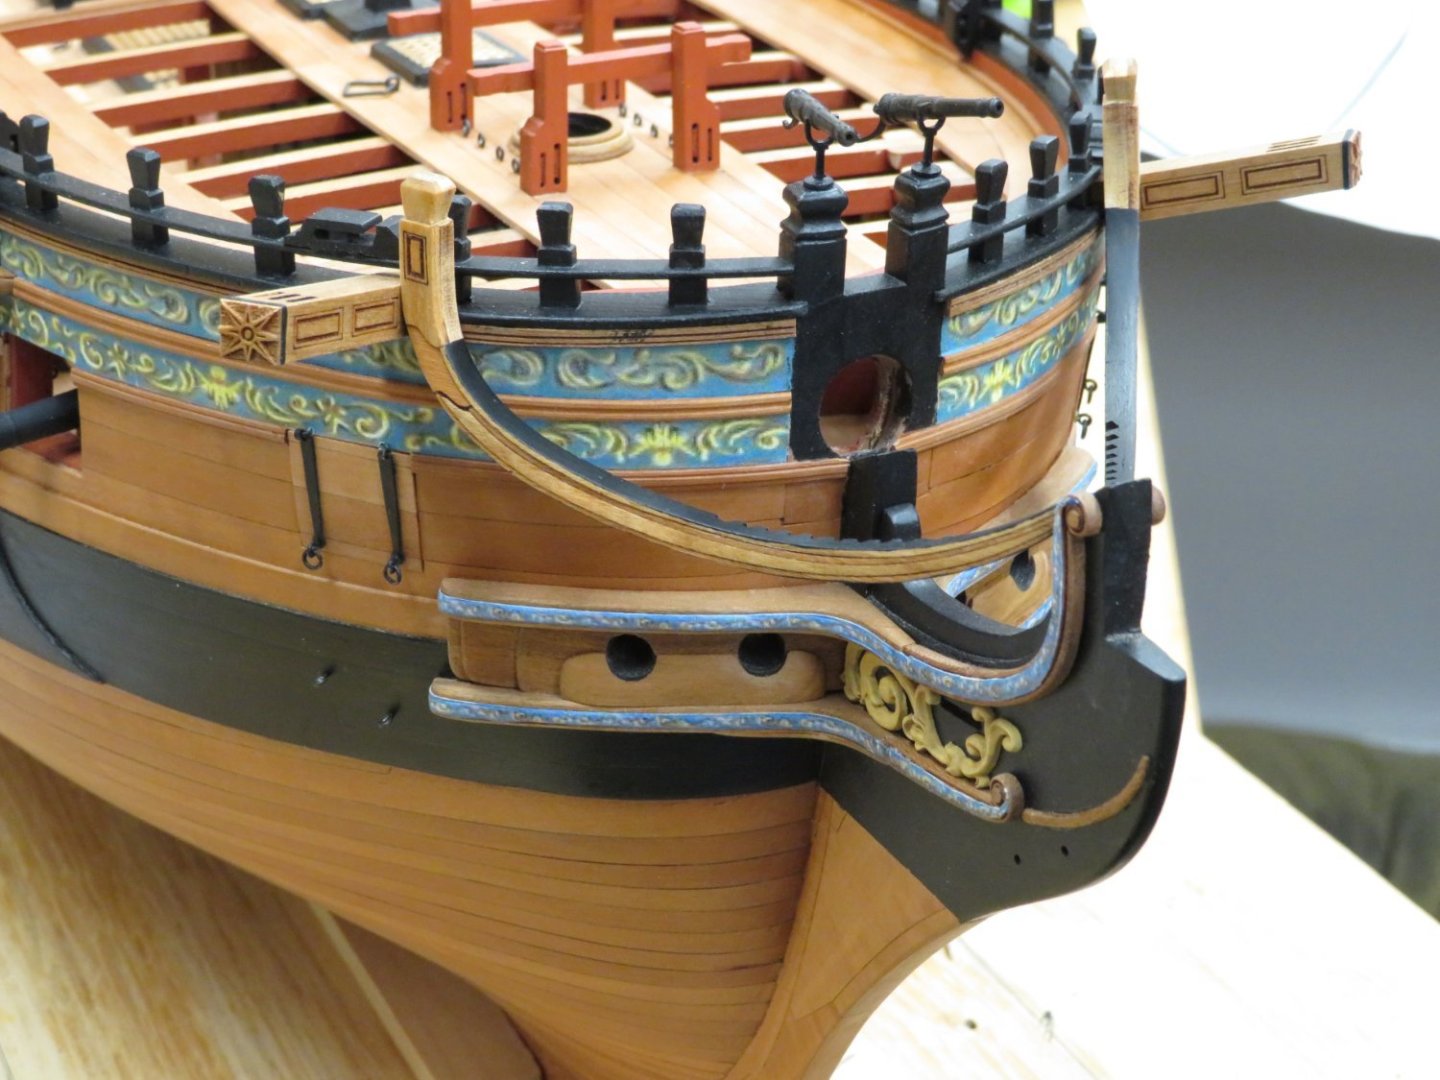
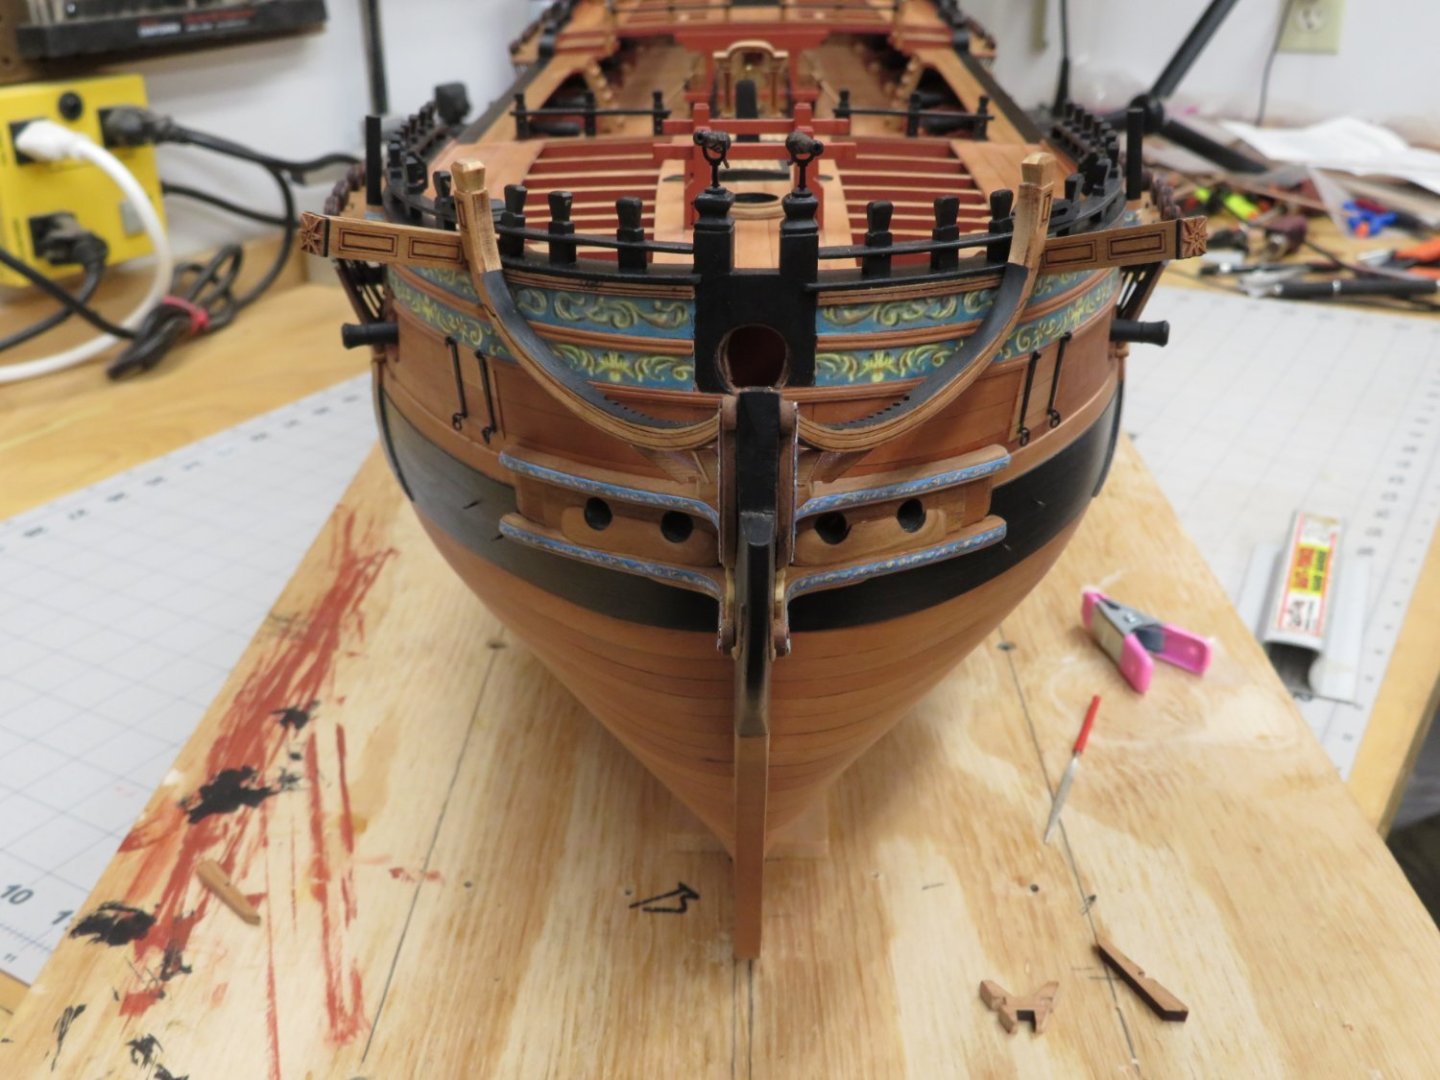

The head timbers have been preliminarily shaped and painted. Now the multiple adjustments need to be made prior to being added to the bow.
-
Very nice Mike. Thank you for the description and pictures. They will be a great help.
- FrankWouts, CaptnBirdseye, mtaylor and 3 others
-
6
-
That stove looks perfect!
- James G, Ryland Craze and FrankWouts
-
3
-
That is a stunning stern Glenn. I just sat and admired your wonderful workmanship!
- FrankWouts, James G, Ryland Craze and 1 other
-
4
-
Looks really nice B.E. that's quite a bend but you've got a nice run.
- Blue Ensign, mtaylor, Knocklouder and 2 others
-
4
-
1
-
13 hours ago, glbarlow said:
Wow, that looks tricky. Nicely done.
Hi Glenn, Like everything Chucks makes, take your time and the results speak for themselves.
5 hours ago, Chuck said:I am sure you haven't built headrails like these before…let me know if you have any questions.
Nope not even close. I've been constantly looking at yours and Mikes logs to assist me. Questions are sure to follow.
3 hours ago, scrubbyj427 said:I’m really looking forward to this chapter.
This will be a challenging chapter but a whole lot of fun.
Thanks for all the likes too!
- Ryland Craze, James G, FrankWouts and 2 others
-
5
-
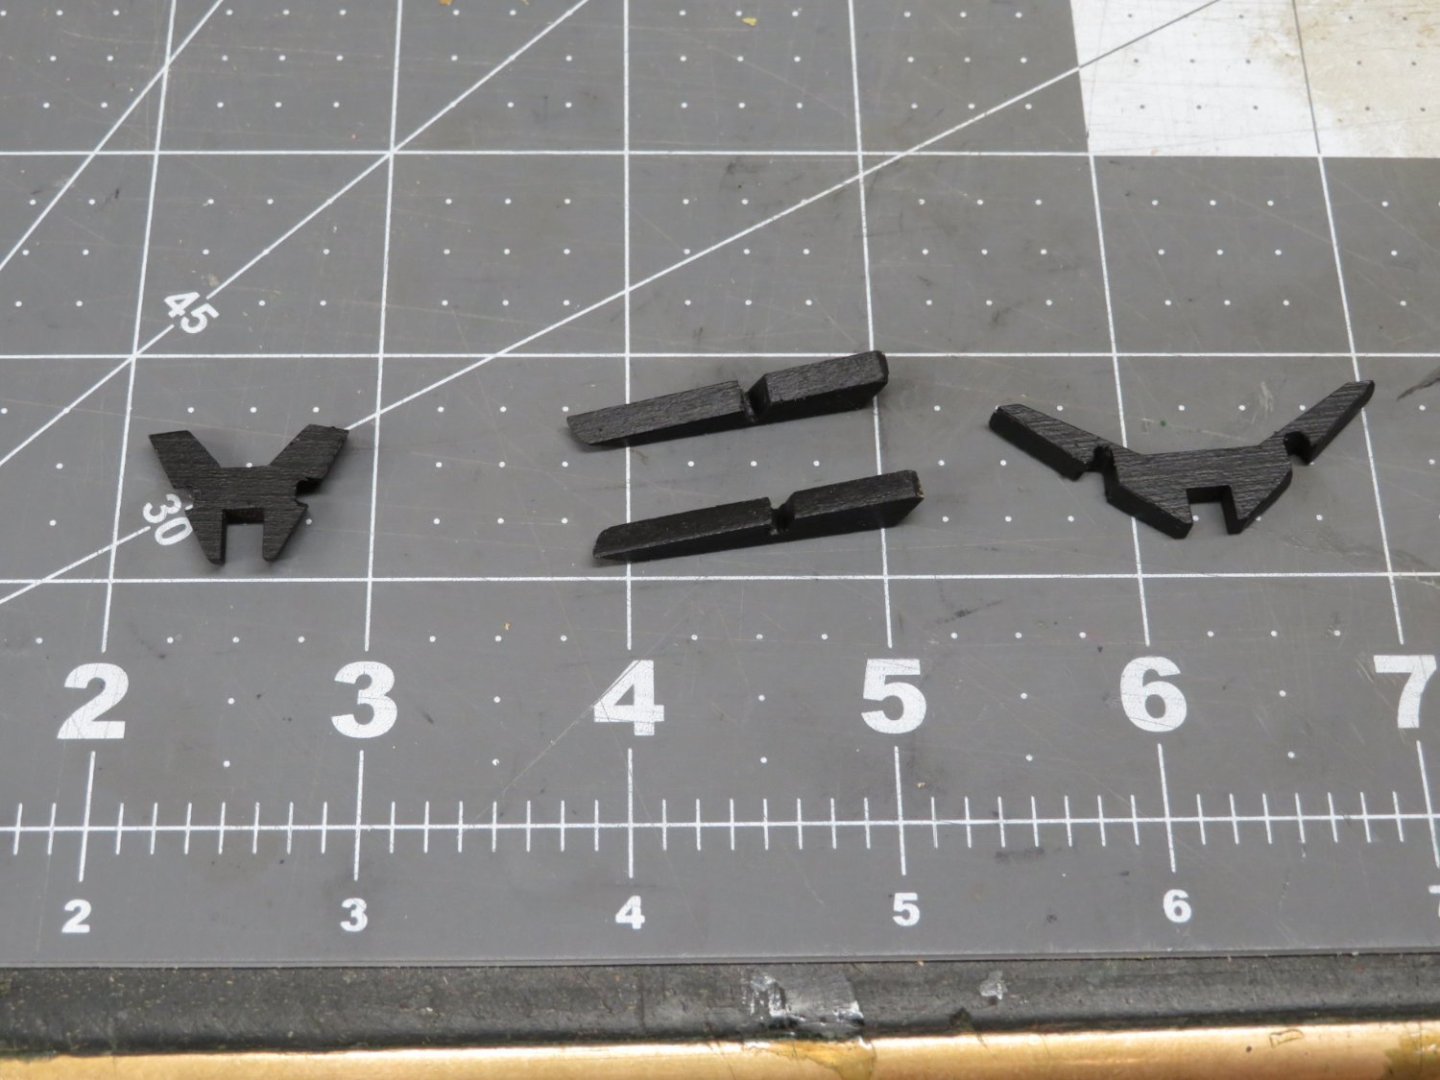
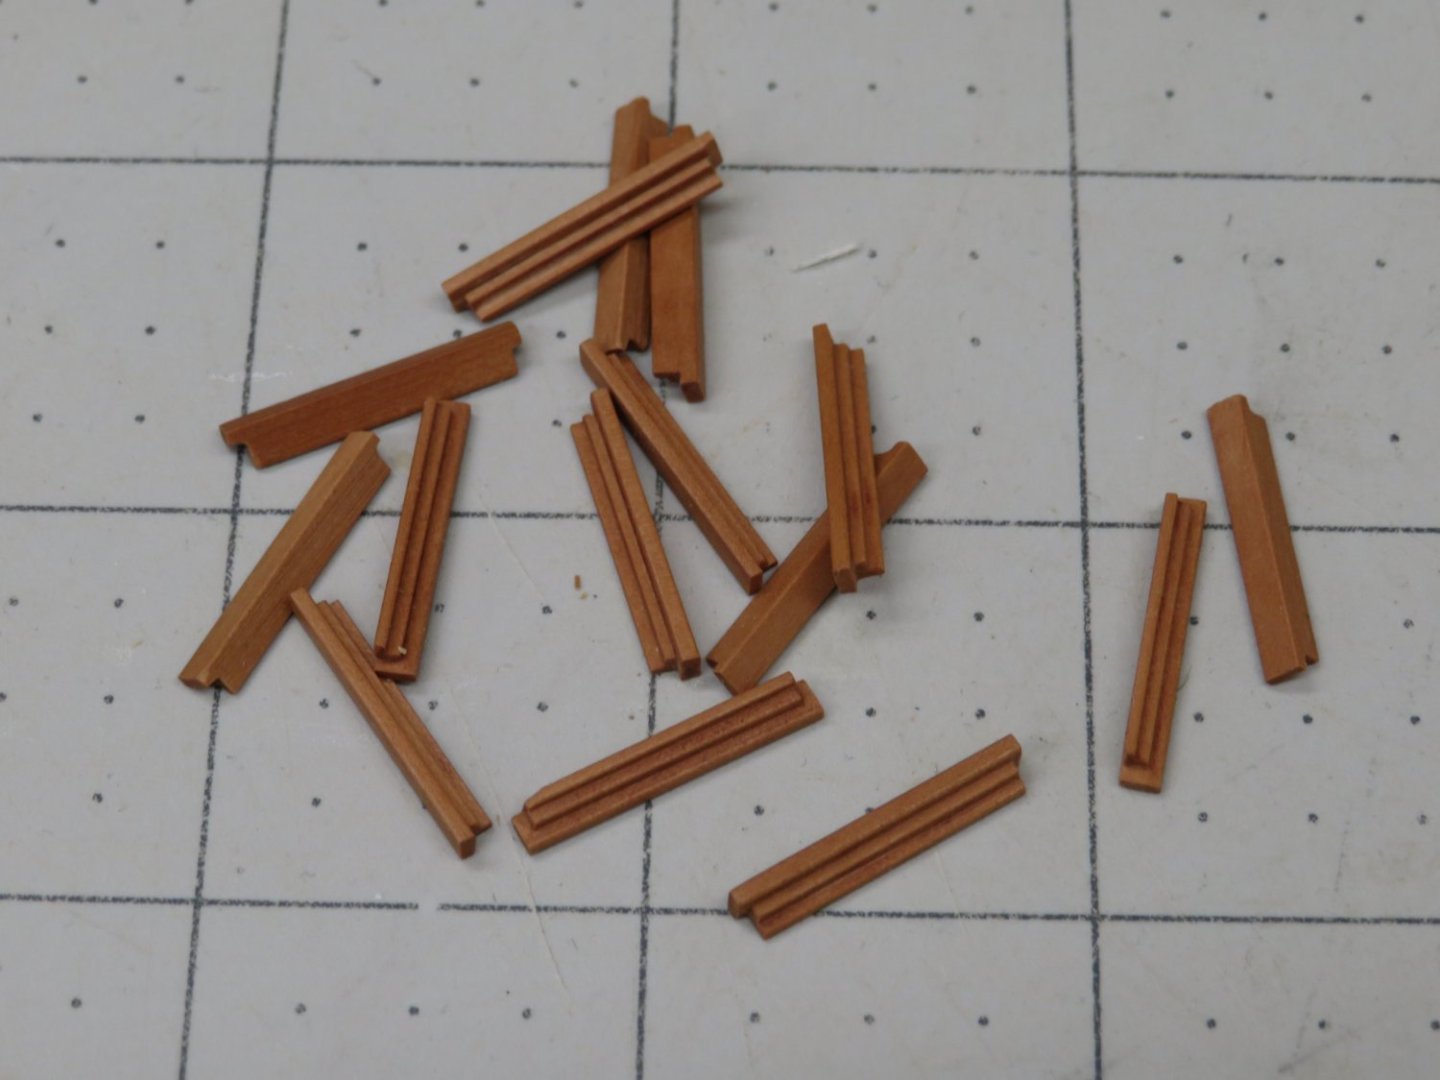
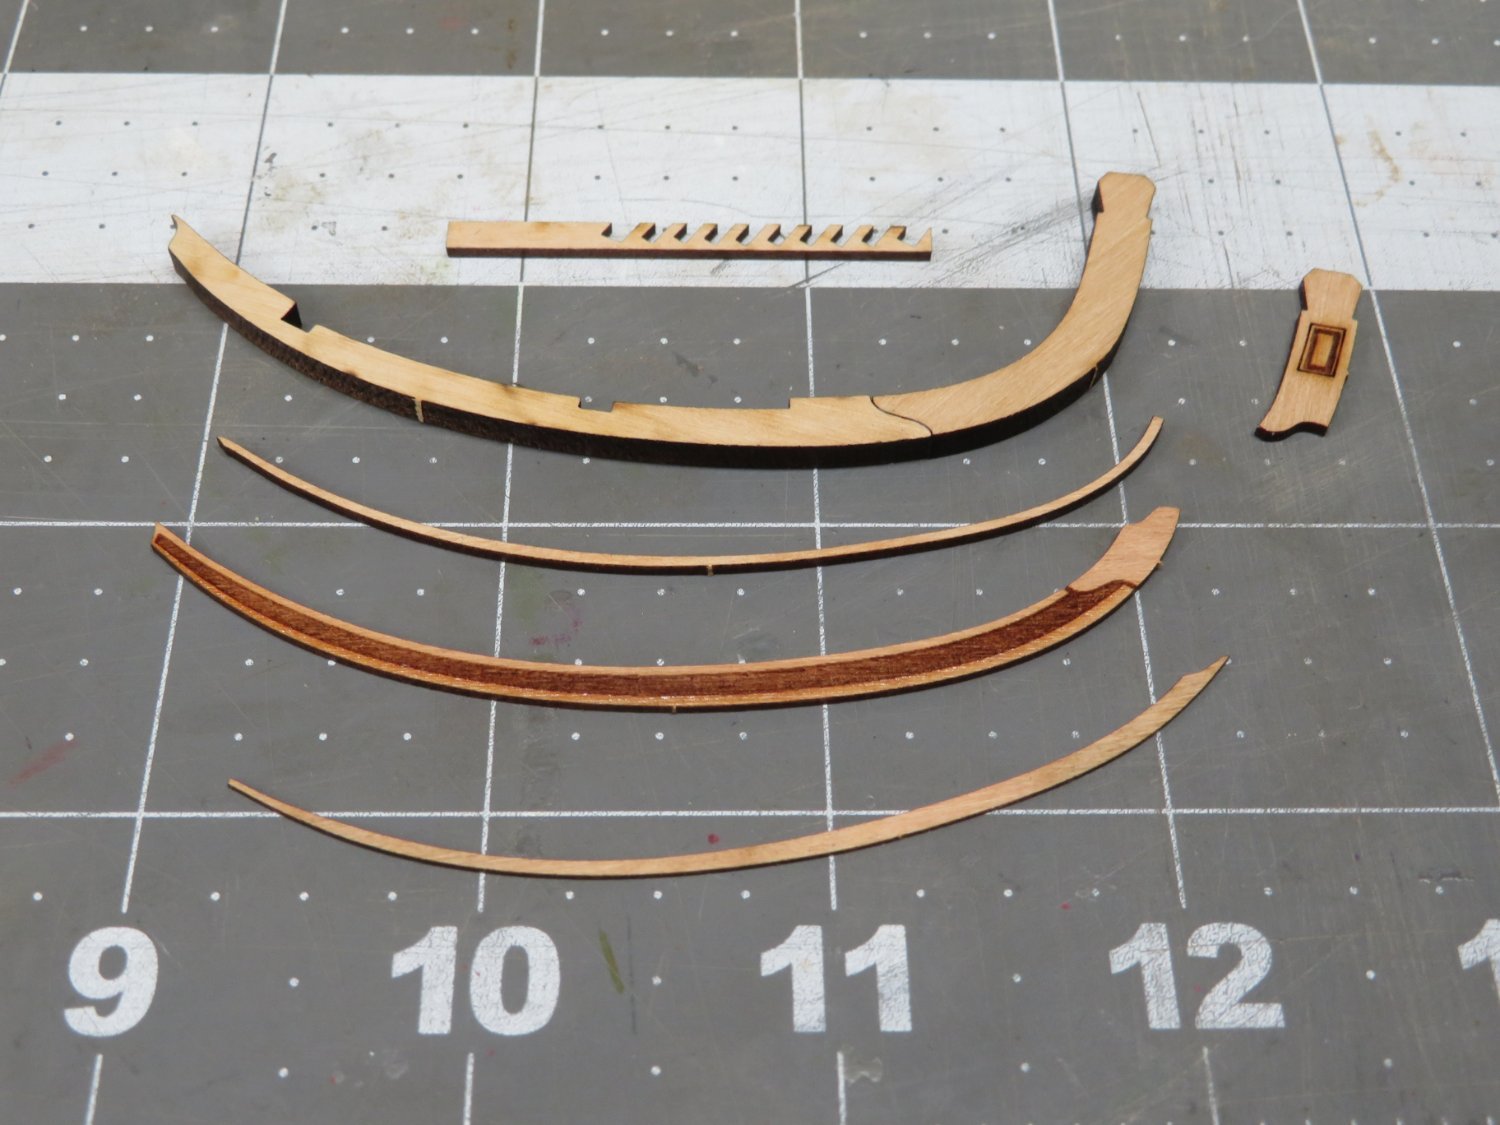
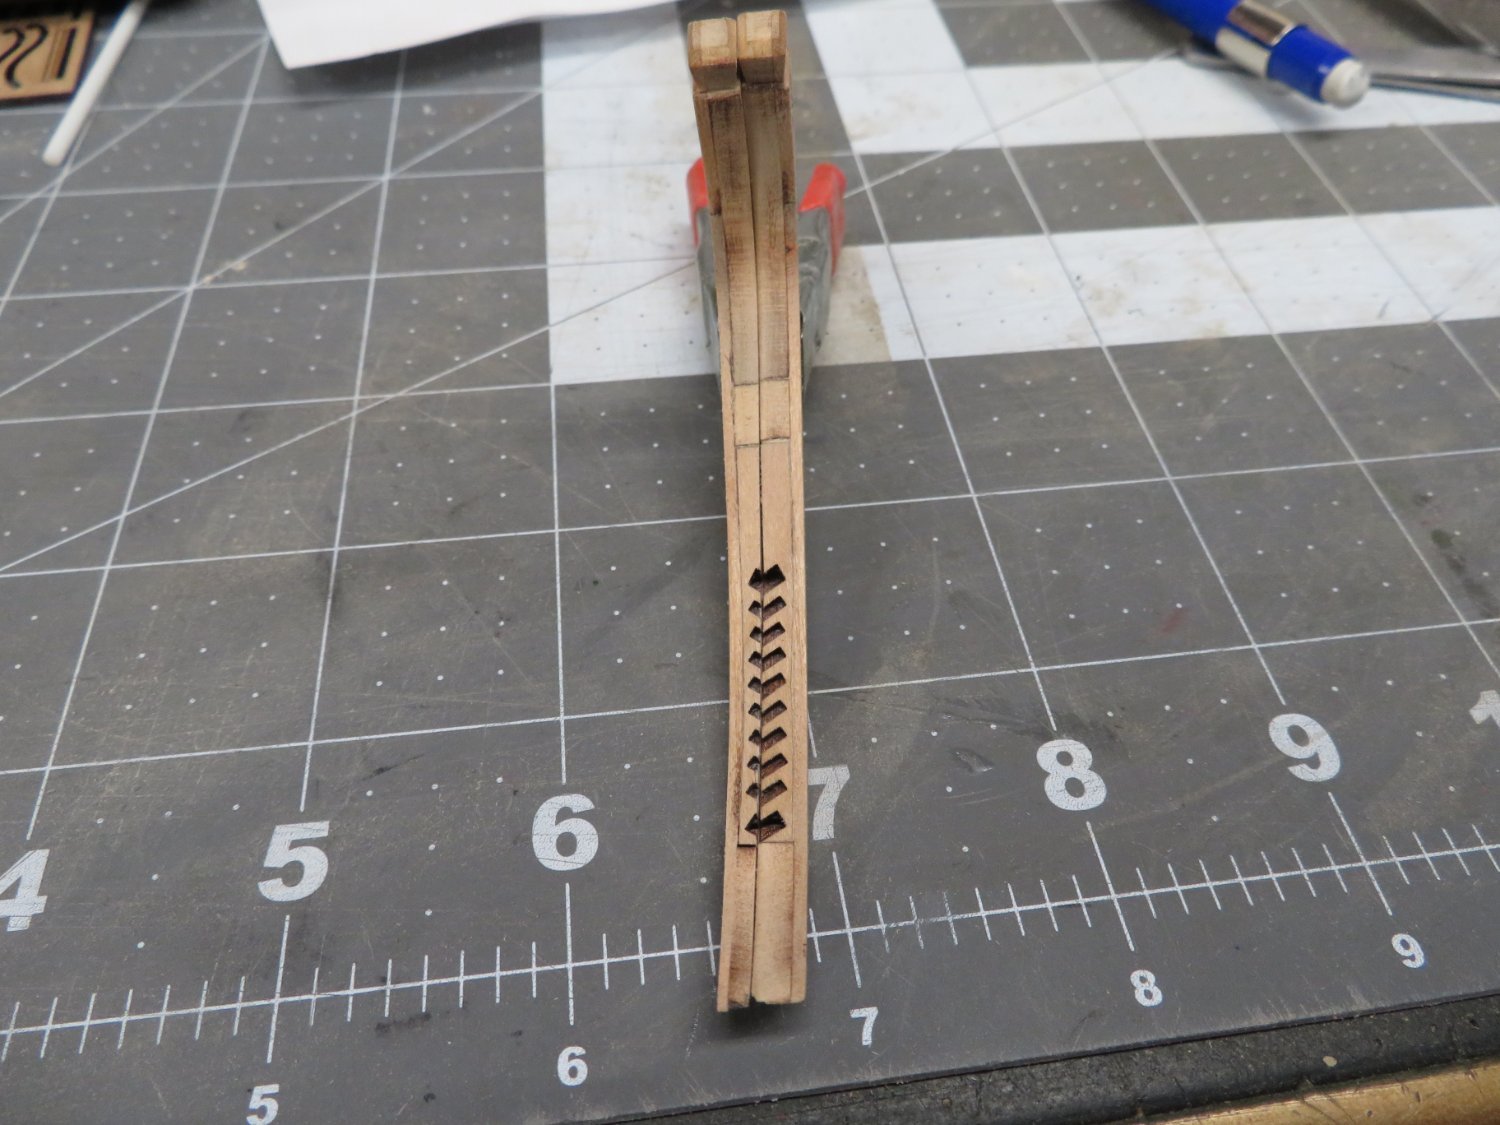
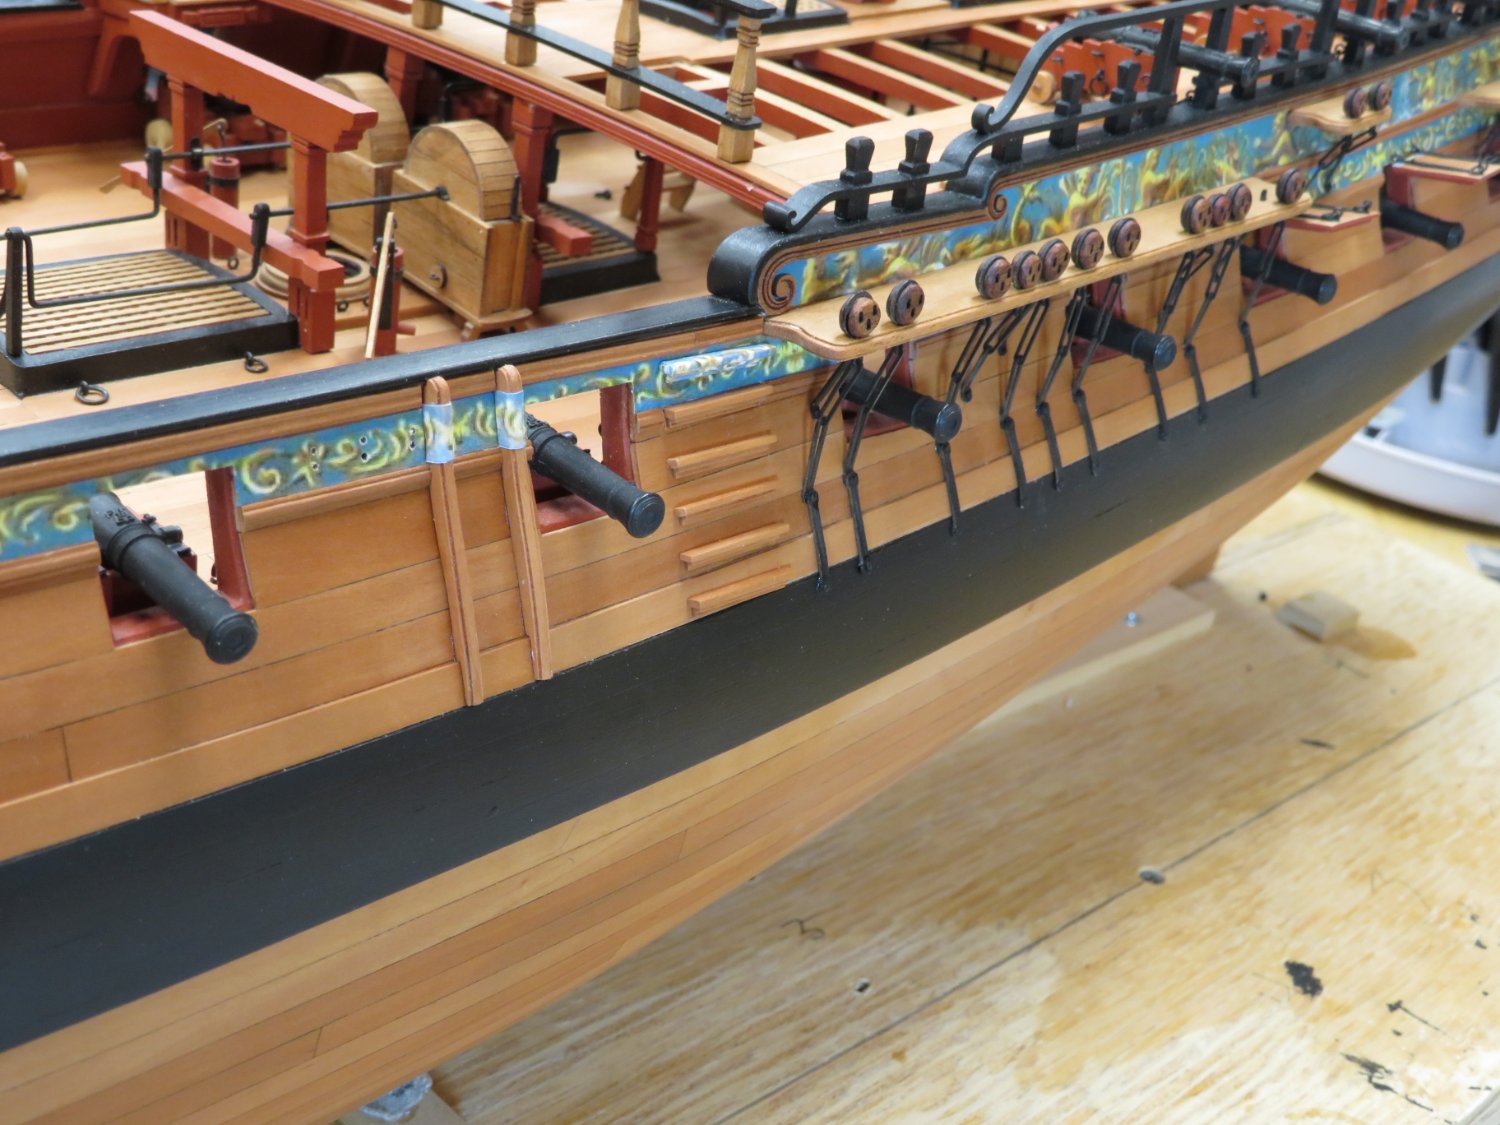
I've started on the main rails. As you can see there are multiple pieces and layers. The cuts were perfect and they went together very well.
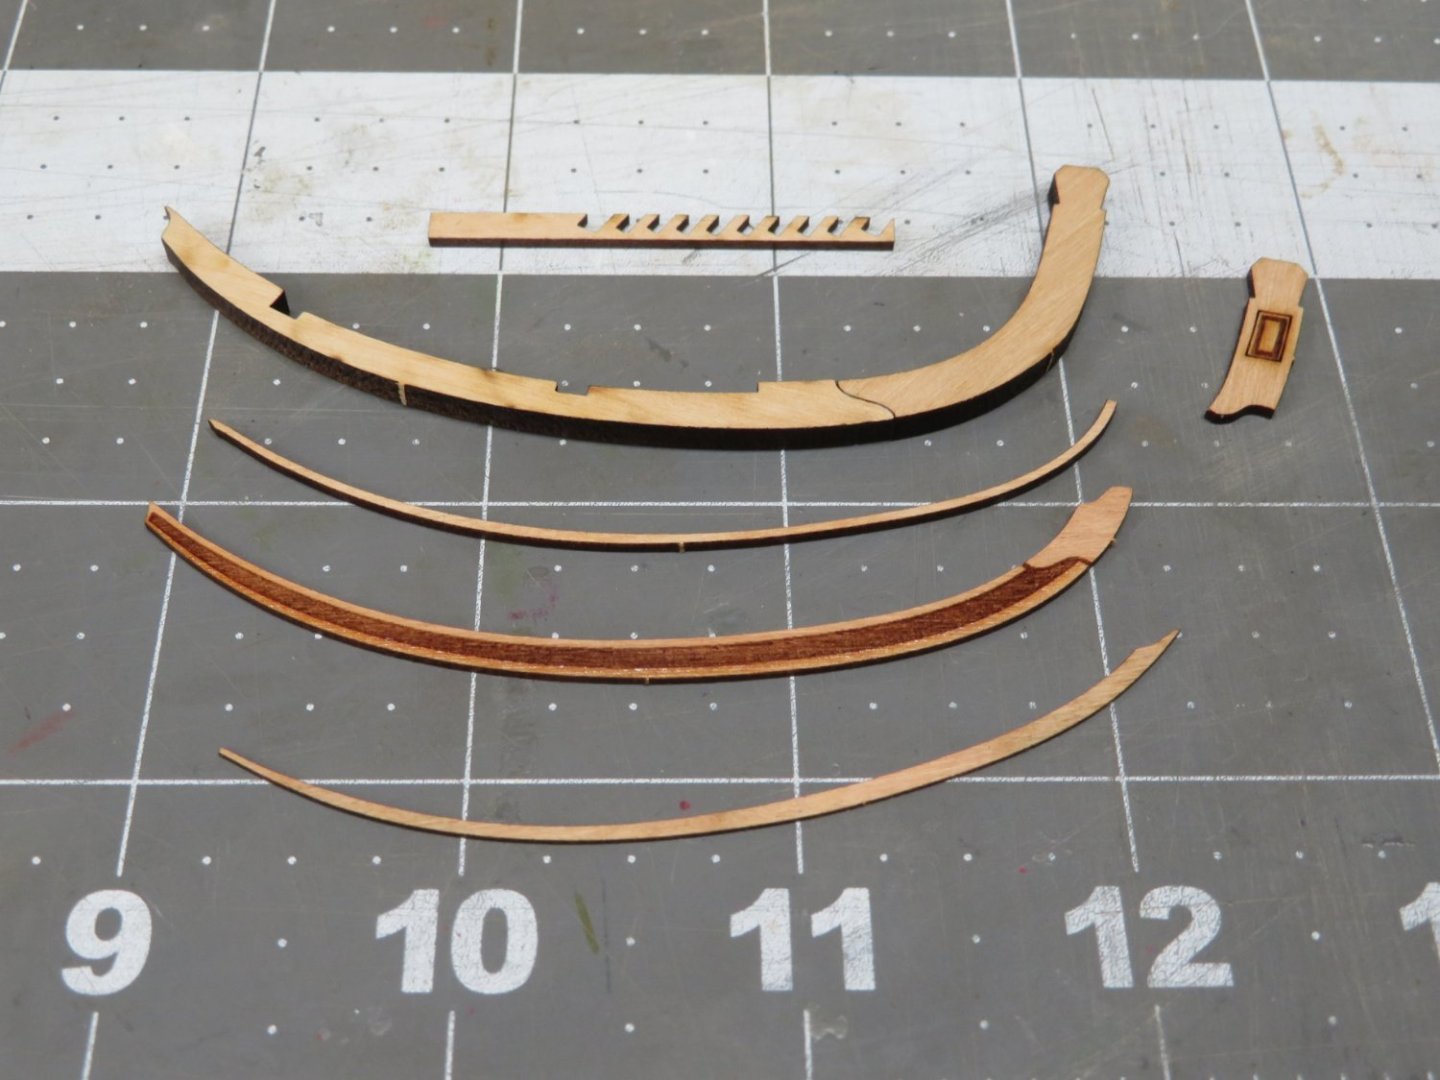
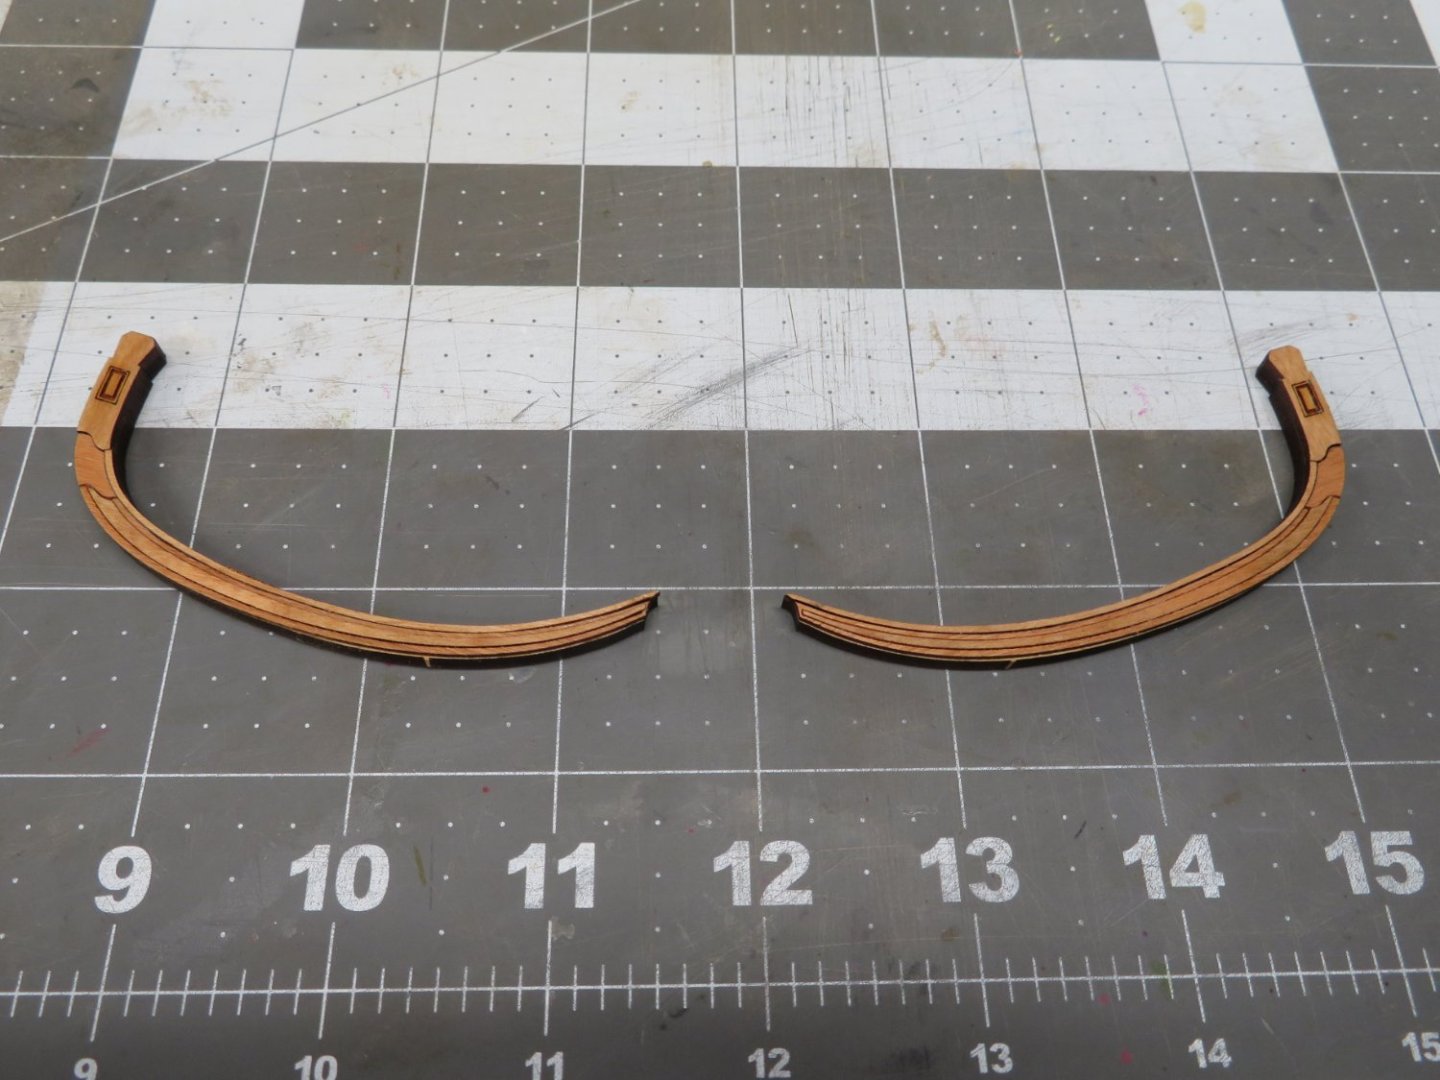
Once assembled the inboard side needed to be sanded from 5/32" at the timberhead to 5/64" at the forward end. The one on the left has been sanded to size and the one on the right has not been sanded yet.

Here the headrail has been placed just to see how it looks.
-
On 3/22/2023 at 3:56 PM, glbarlow said:
I don’t know why I do these things but I counted it all. The rudder, including all the small parts to make up the various straps is 26 pieces, plus 17 more on the stern. I hand-drilled 156 holes for the black filament bolts, each of those glued, inserted, and trimmed.
Beautiful looking rudder Glenn. It also highlights the great planking job. I thought I was the only one who counted up all of the pieces, holes drilled etc. Also, a word of caution as you move the hull around while working it's really easy to bang the rudder and knock it off. Not that I know from experience. Nope not me. 😉
- glbarlow, FrankWouts, scrubbyj427 and 3 others
-
3
-
 3
3
-
Yes Chuck one more! It's kind of a happy sad moment!
Thank you Matt. They really help complete the decks look.
Thanks JJ, You'll be here before you know it!
Thanks to Chuck always supplying extras I've repaired the damaged deadeyes and placed the eye bolts.
It's on to chapter 12 and the head rails!
")
- Trussben and FrankWouts
-
2
-
Wow I never expected that to be one piece. Very creative!
- Chuck, Matt D, CaptnBirdseye and 6 others
-
9
-
Dust or not, she is looking fantastic.
-
The bow is looking really nice Matt and the stove is a lot of fun to build!
- FrankWouts, Matt D, Saburo and 1 other
-
4
-
Thank you Mike, Chuck, Glenn and Grant for the kind words.
Mike your definition of fun just might differ a bit from mine.
")
Grant I'm way more human than you think. In one form or another this is a daily occurrence!
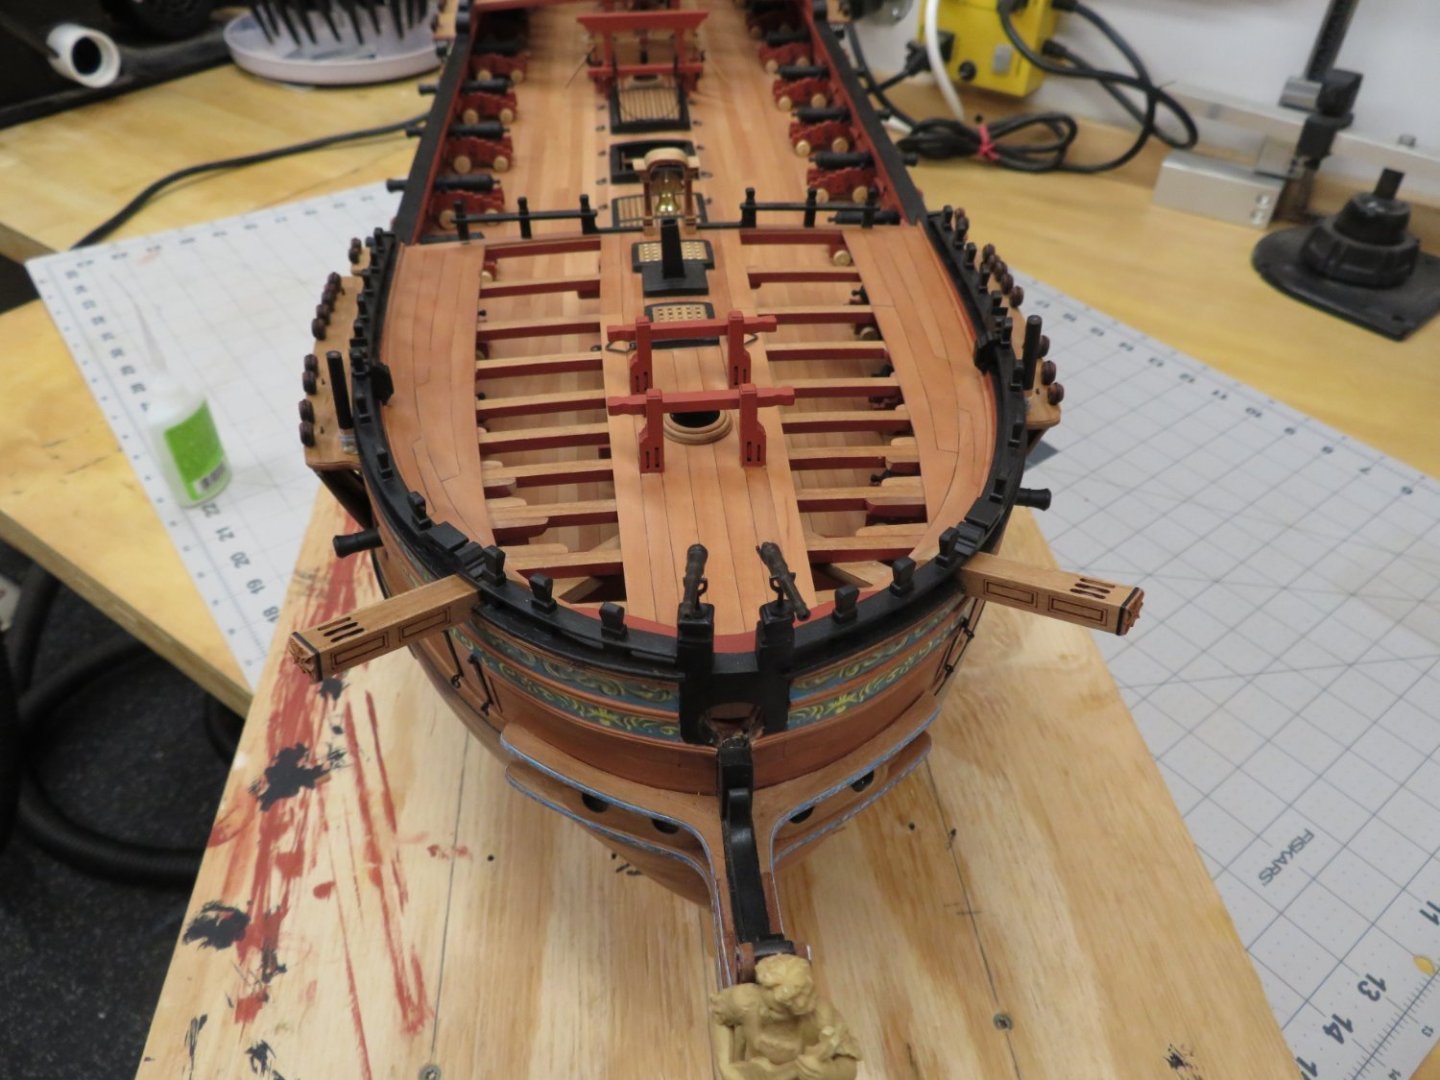
I've finished the gangways. Like Chuck I glued the long gangboards flush to the caprail prior to adding the knees.
I figured that was the only way I could ensure them being flush with the caprail.

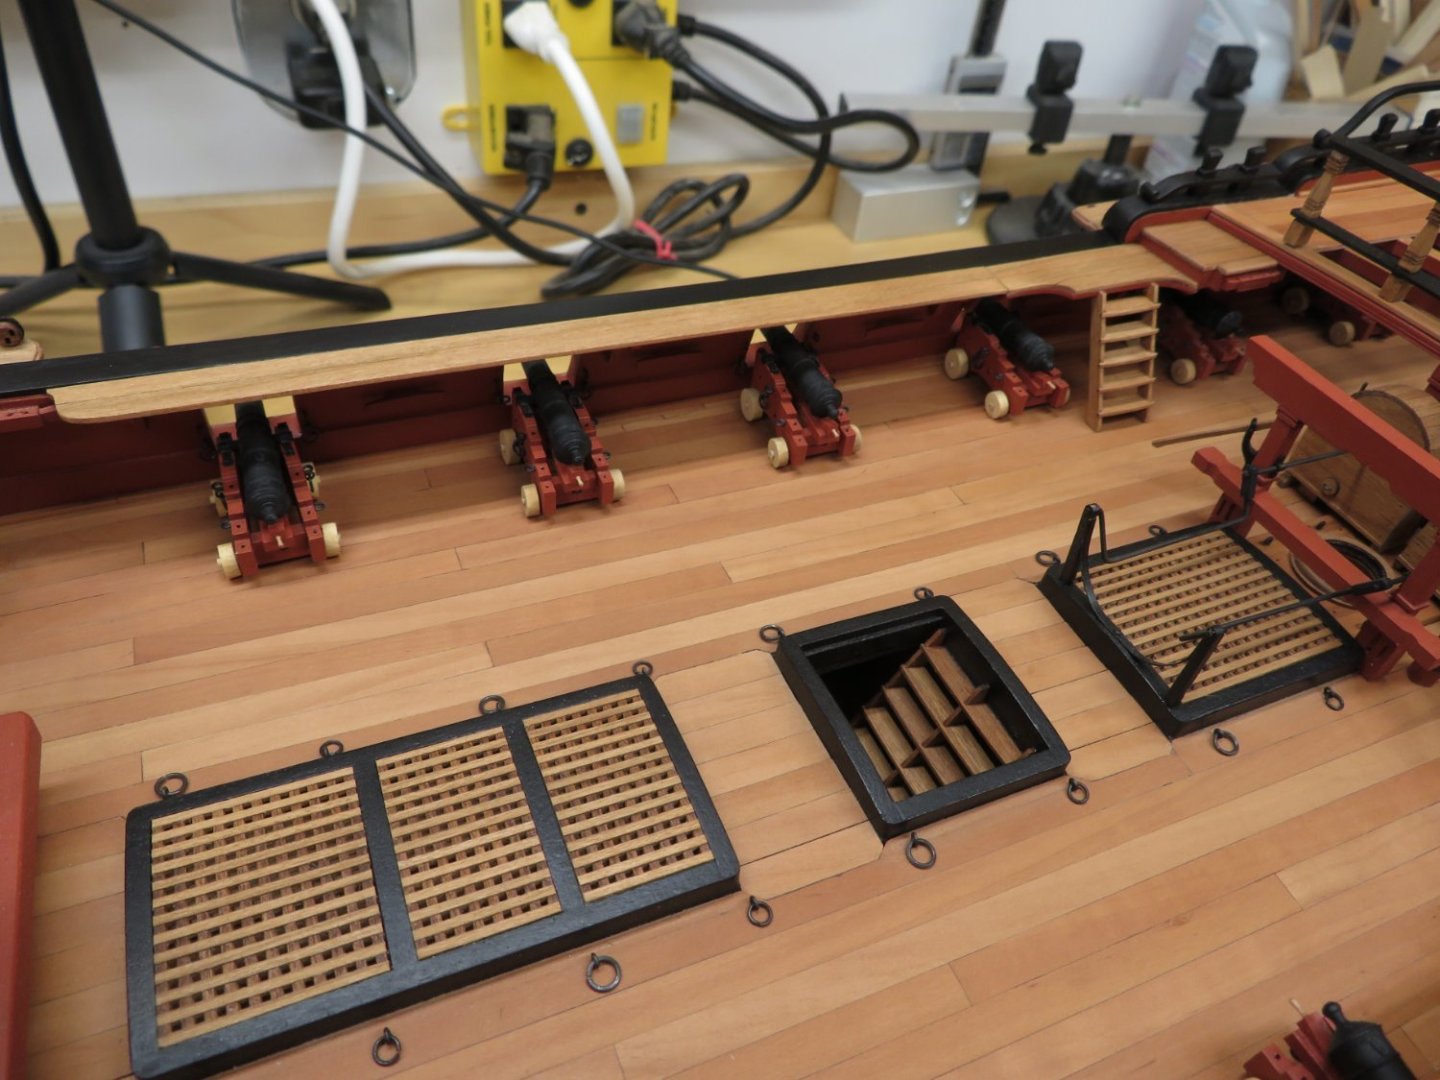

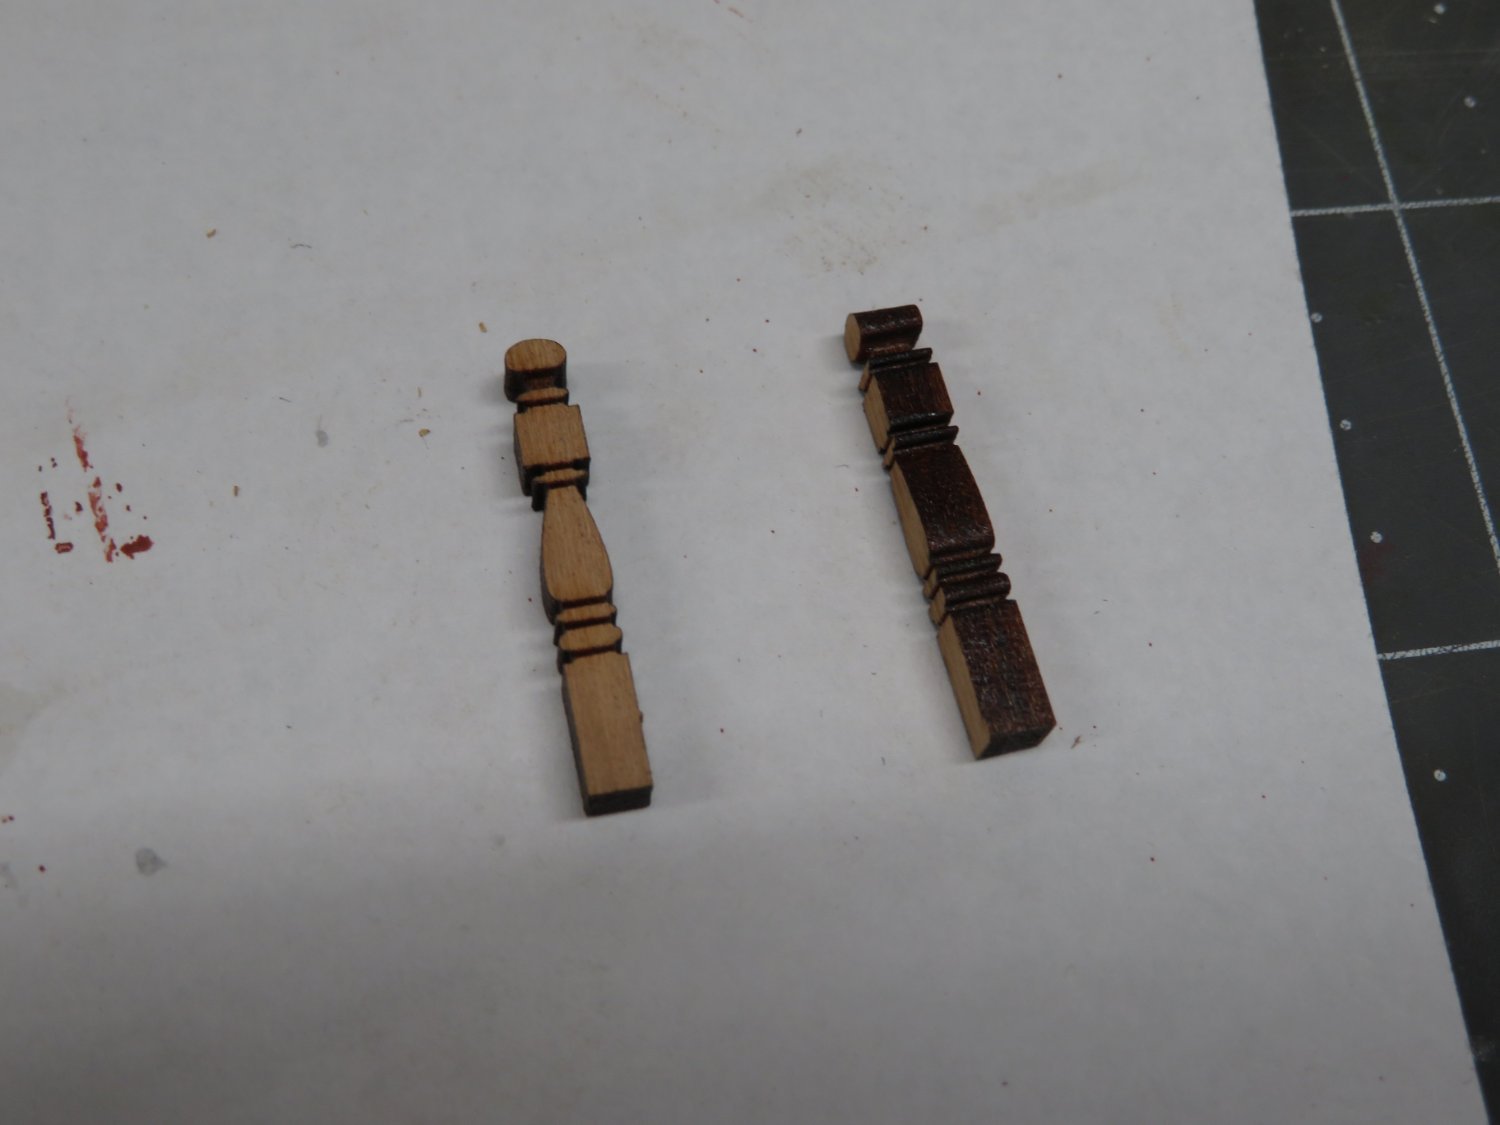
Then I took the laser cut newel post, cleaned it up and added the fancy rails.


I just have to fix the broken deadeyes and add the eye bolts and chapter 11 should be complete.
-
-
-
Beautiful work and a great explanation!
- mtaylor, Jack12477 and Ryland Craze
-
3
-
Thanks Glenn and JJ. Still got a way to go and more updates to do.
Speaking of which here is another one!
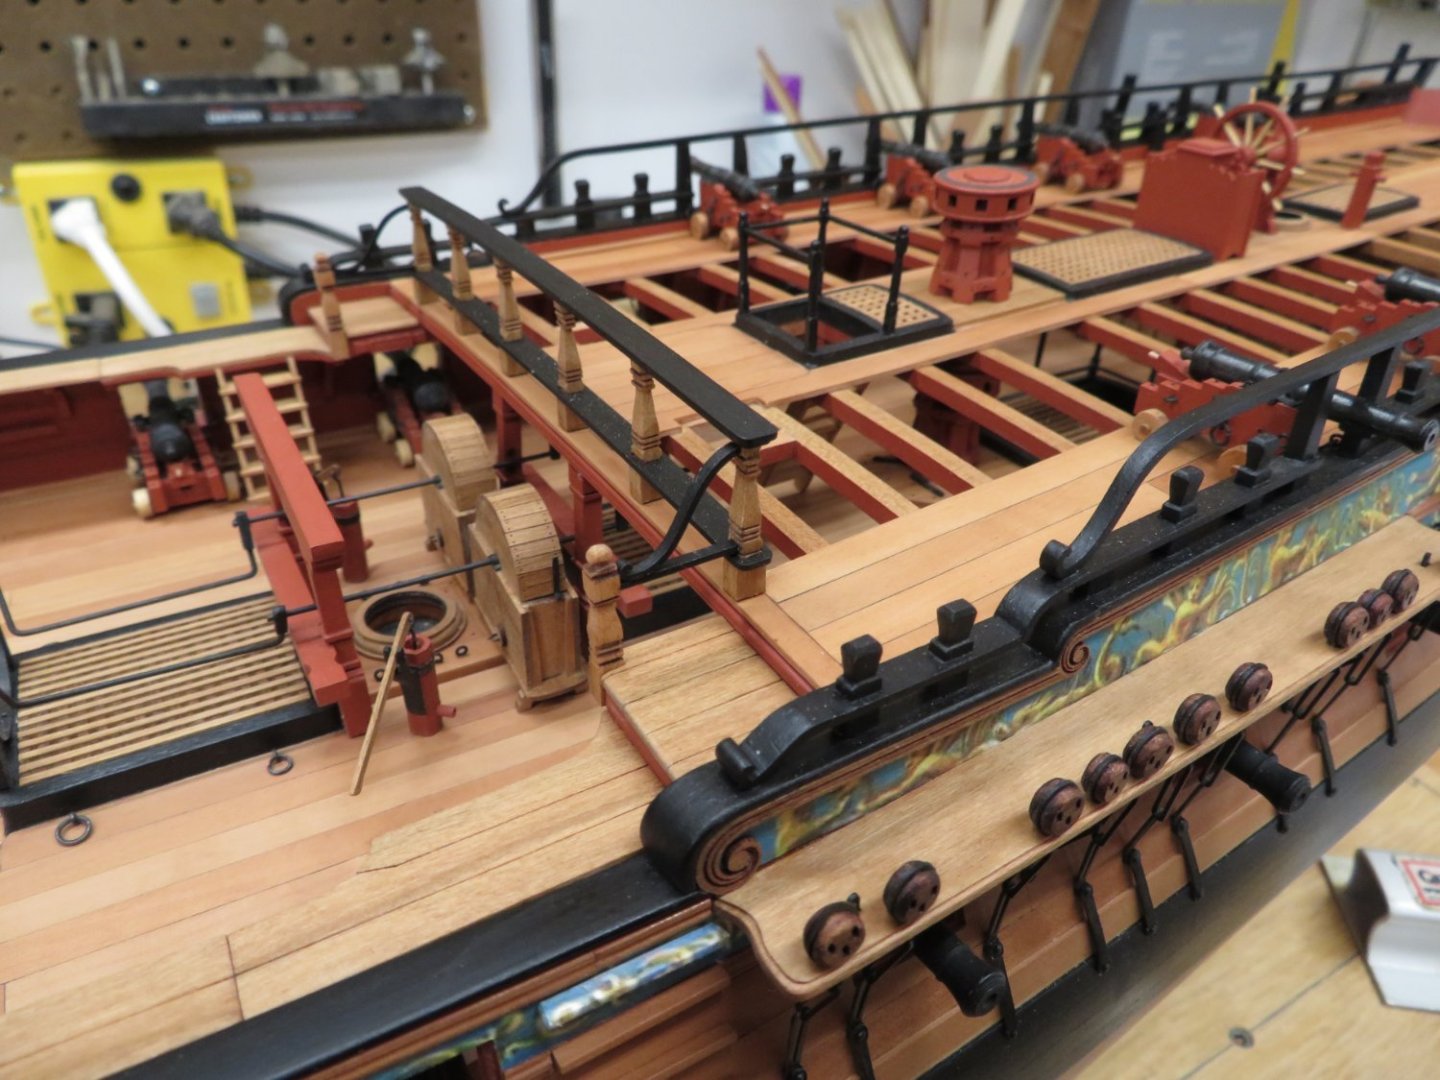
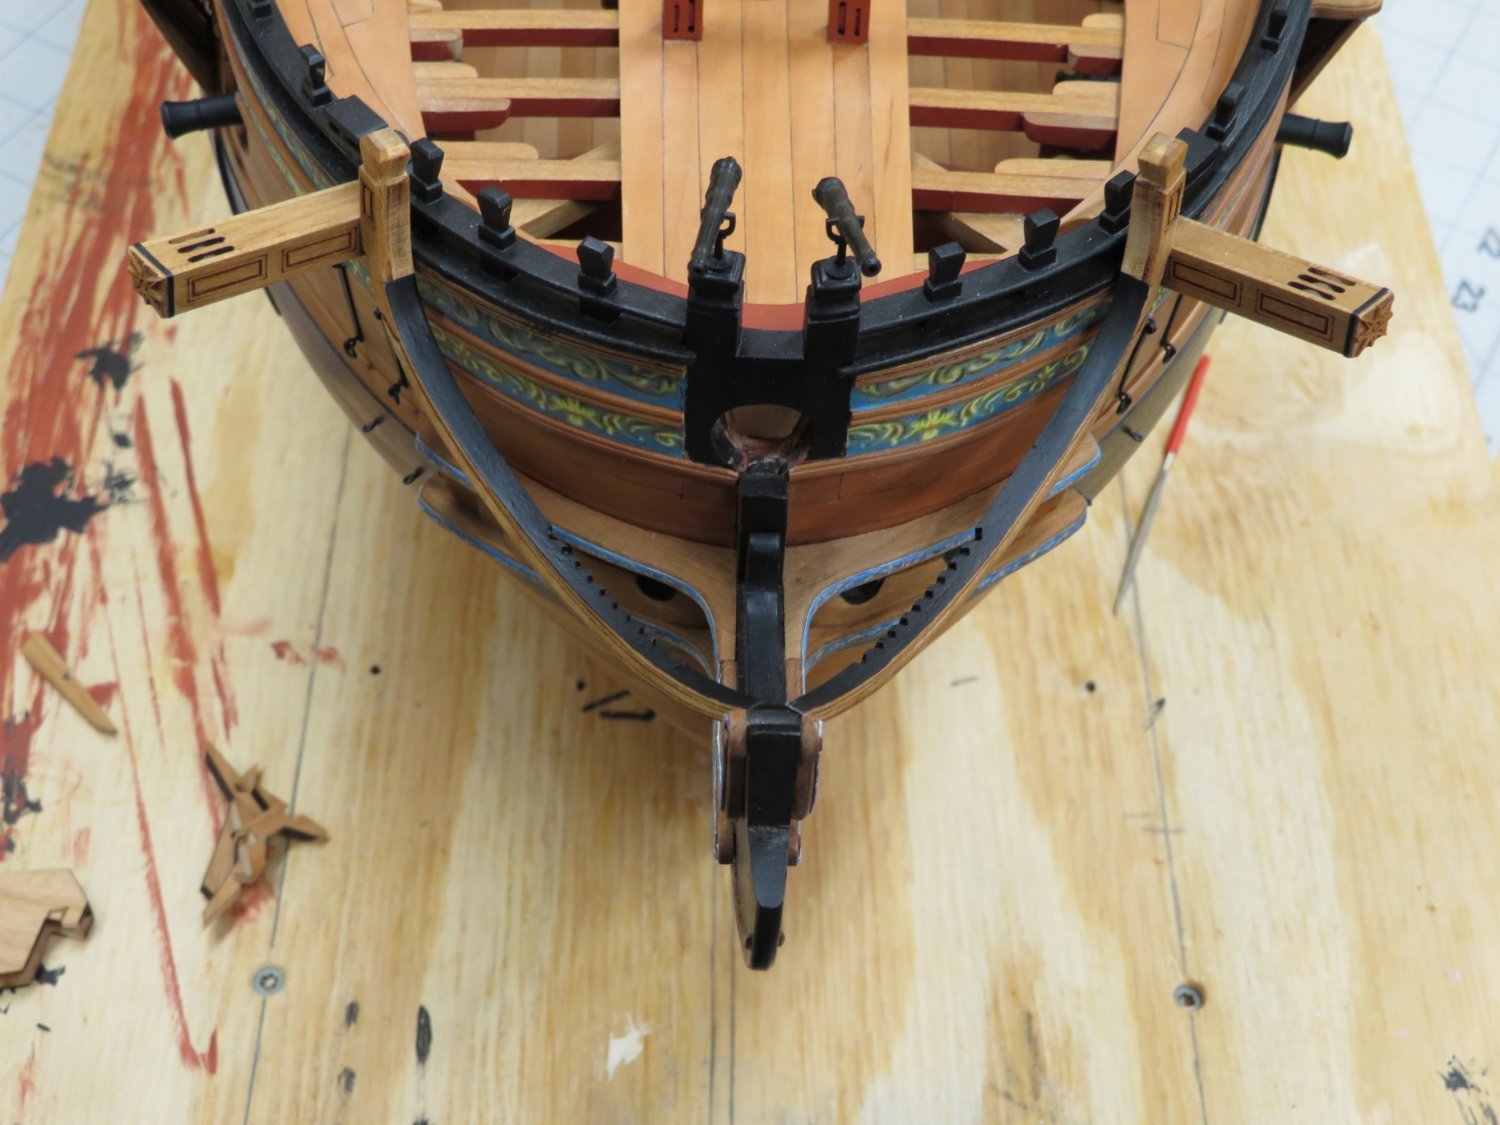
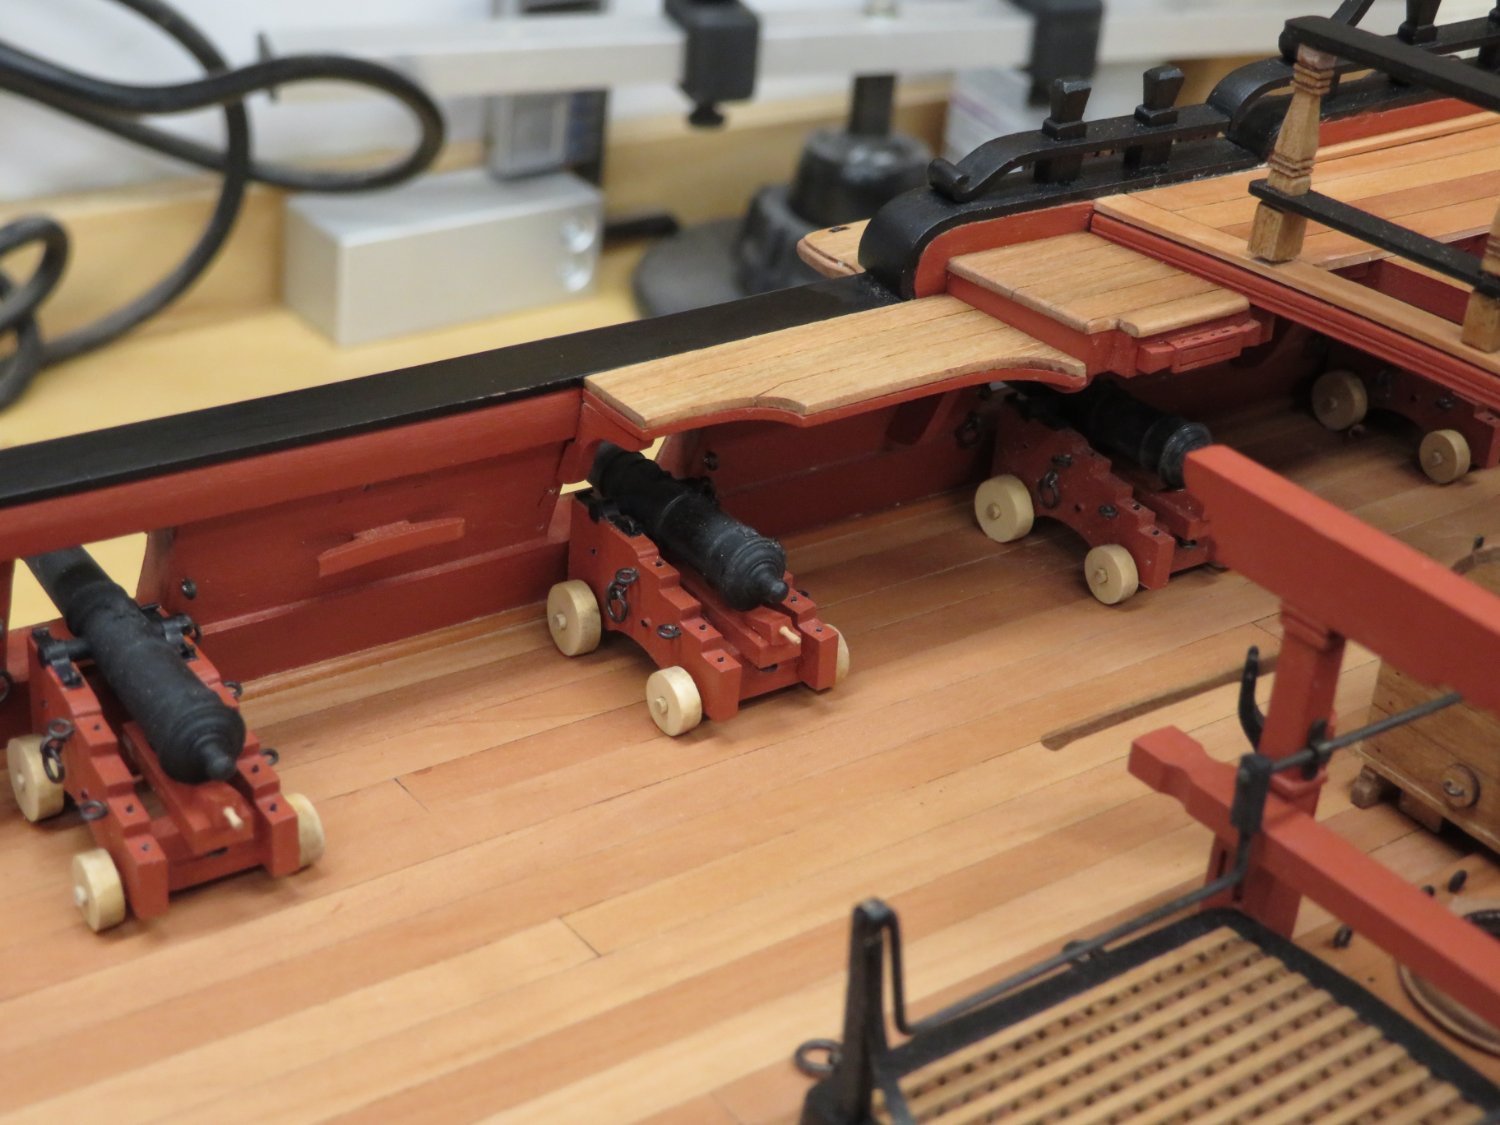
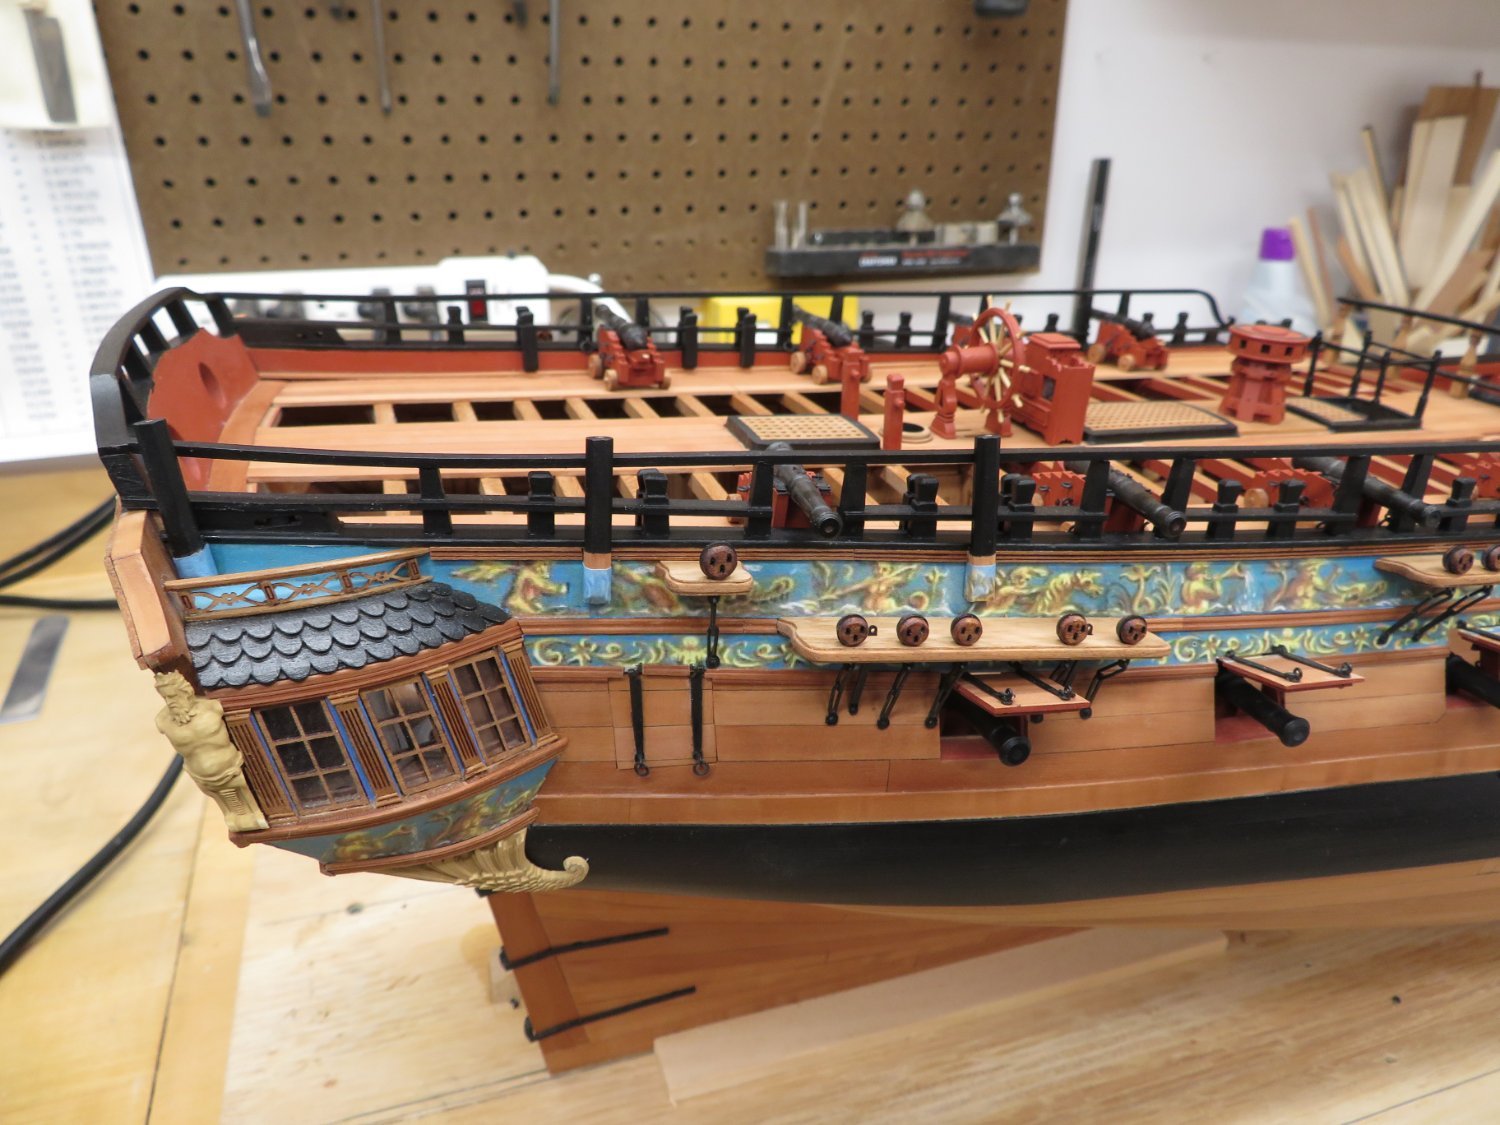
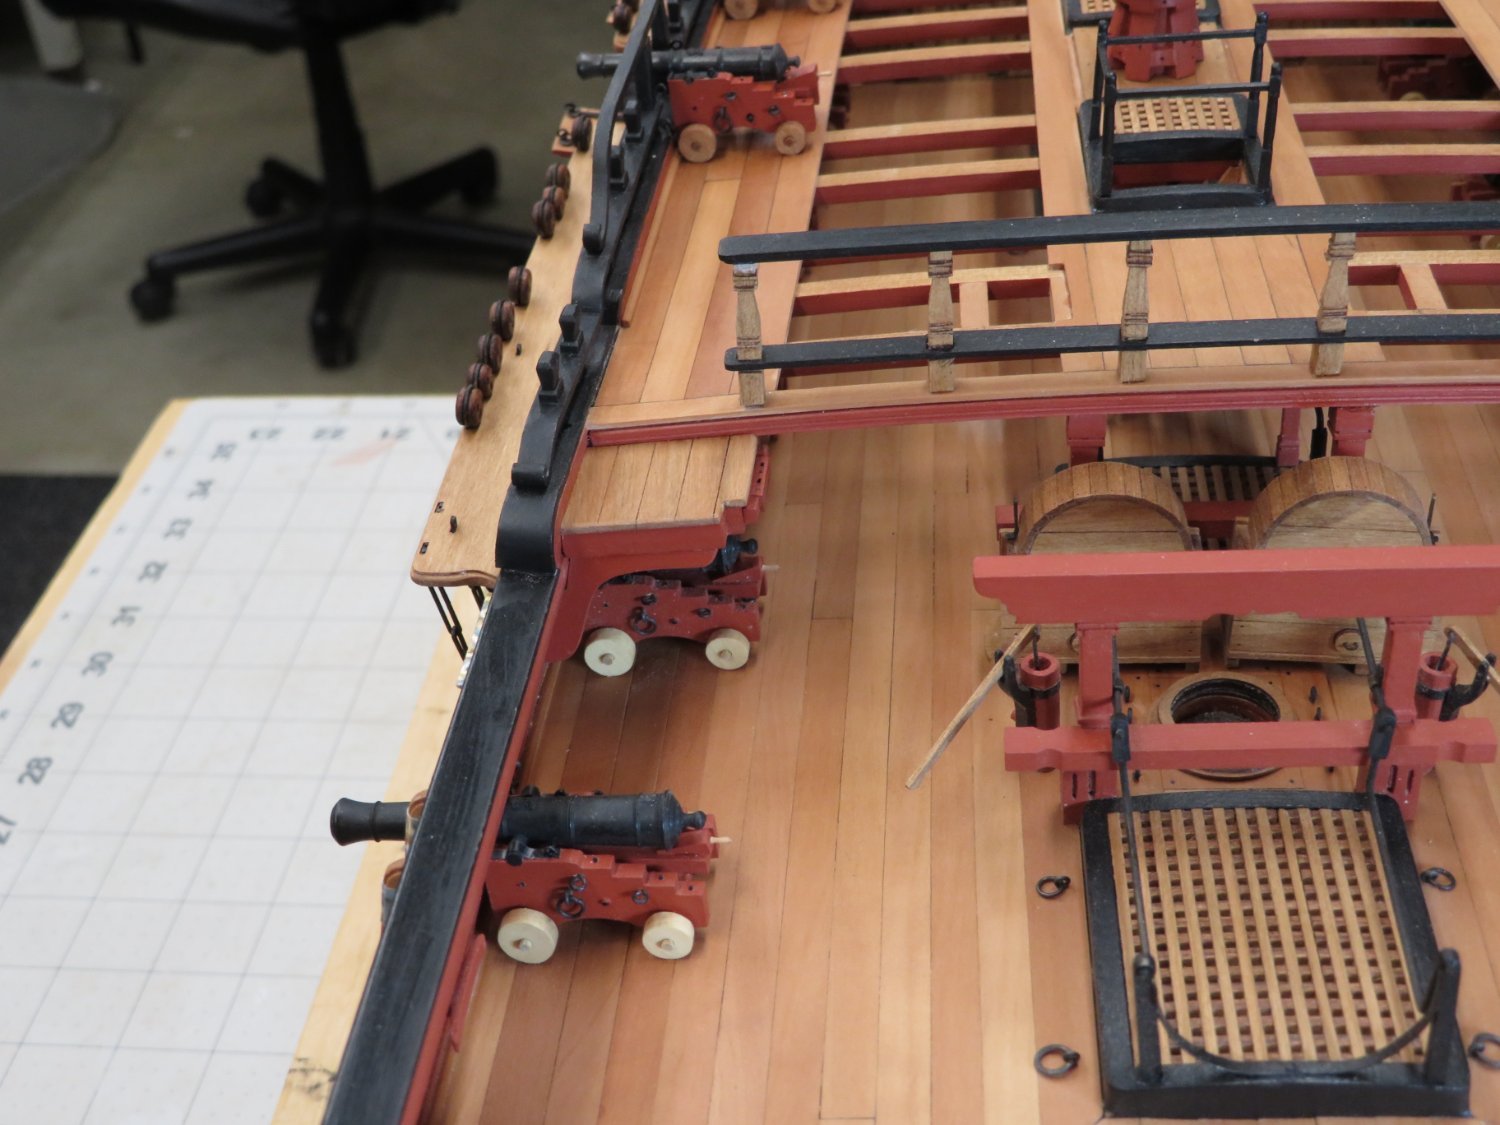
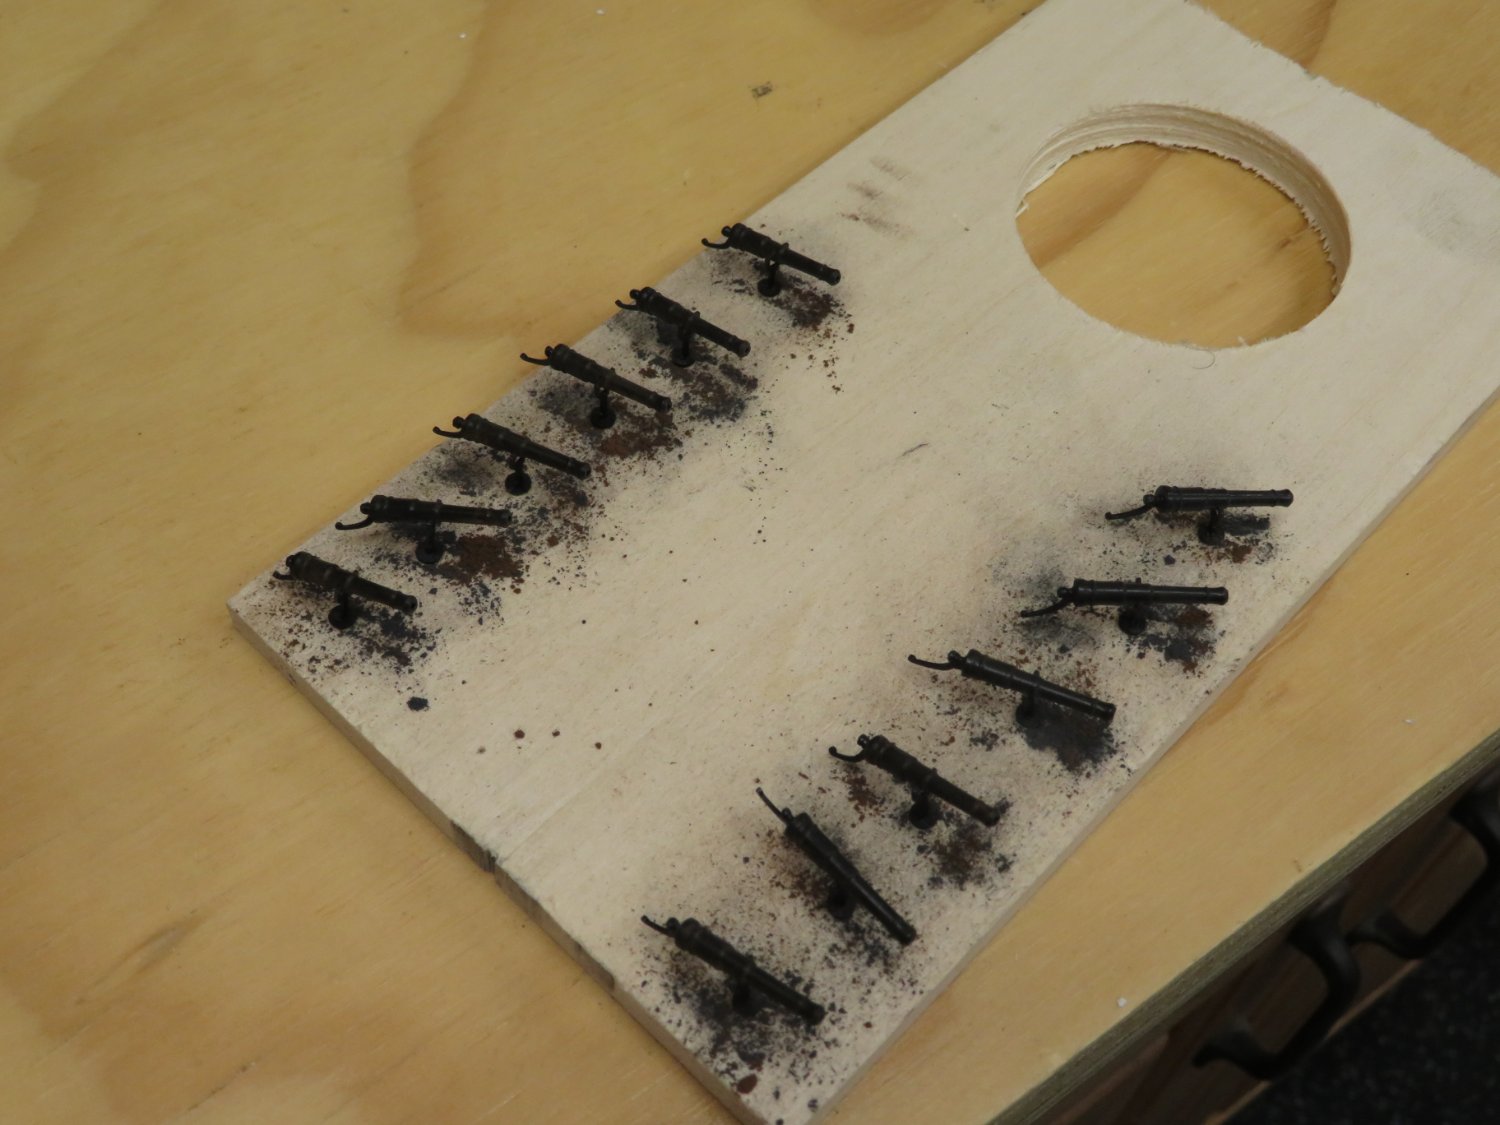
I have shaped the swivel gun stocks and mounted them according to the plans. The swivel guns were also attached to the yoke and added the handle. They were coated with weathering power and the two at the bow were placed to see how they look. I'll wait a bit to add the rest or the swivel guns as I have a tendency to knock parts off a model as I work. Example to follow.🤪


Now I started to put together the gangways. The first part of the platform was assembled from laser cut parts and glued to the bulwarks and the breast beam. Now while pressing it in place someone not to be named was not aware of where they were placing one of their fingers and while applying pressure said finger pressure snapped off two deadeyes.
 Oh well I didn't get enough of the deadeye work so now I can do two over again.

-
Very well done! So clean and crisp!
-
-
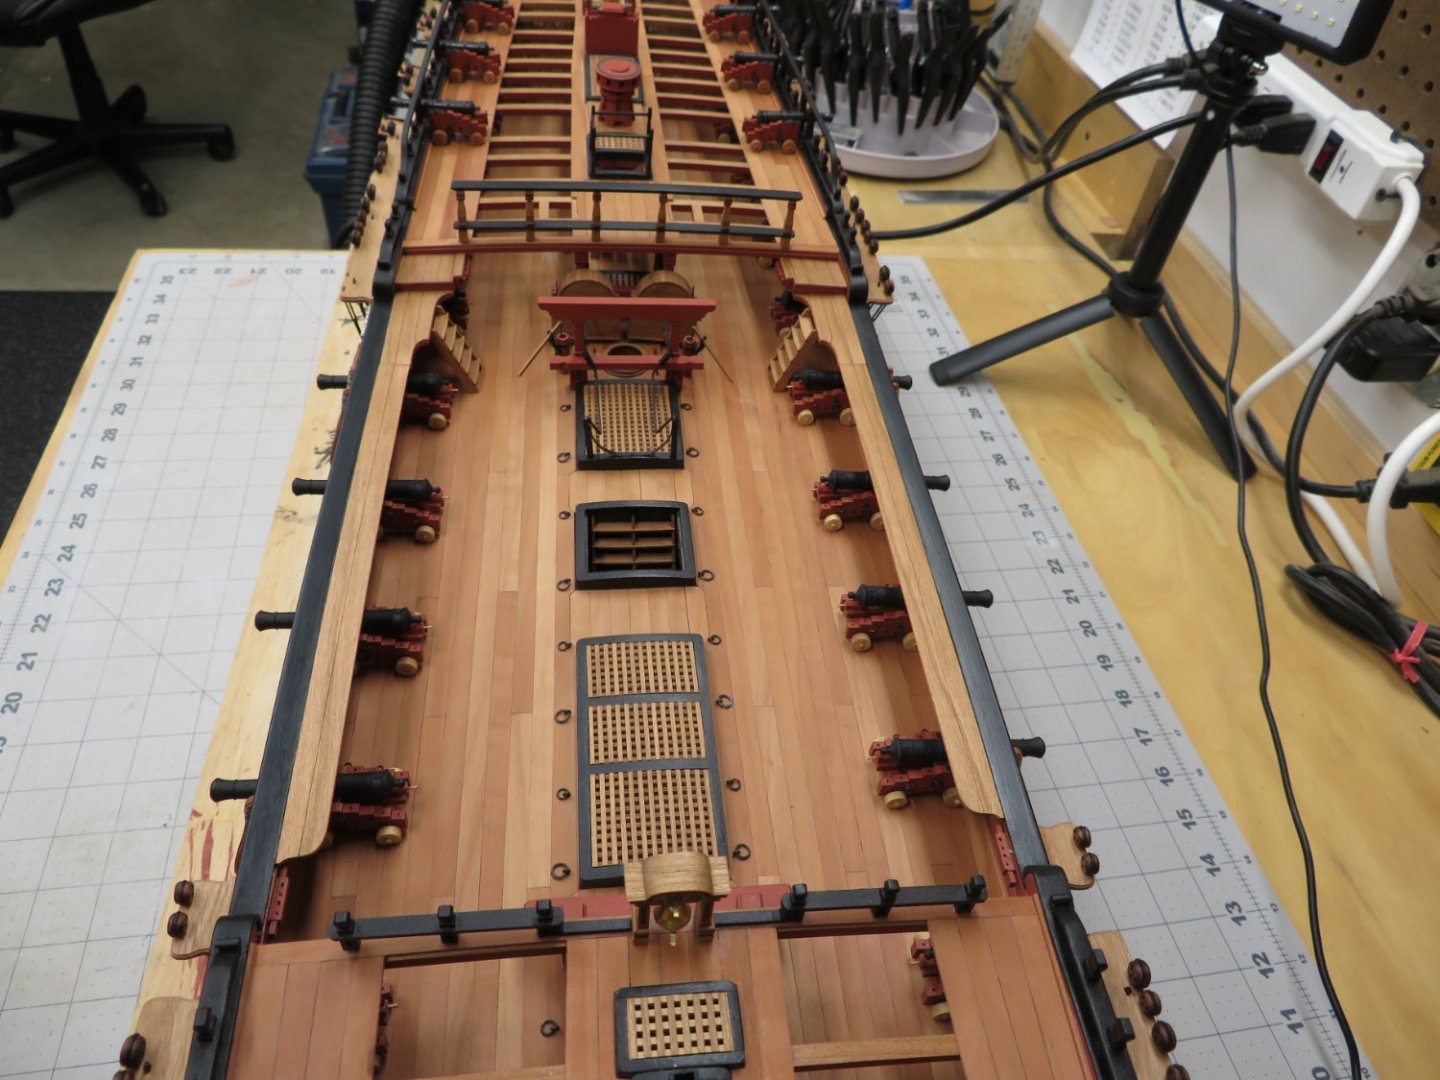
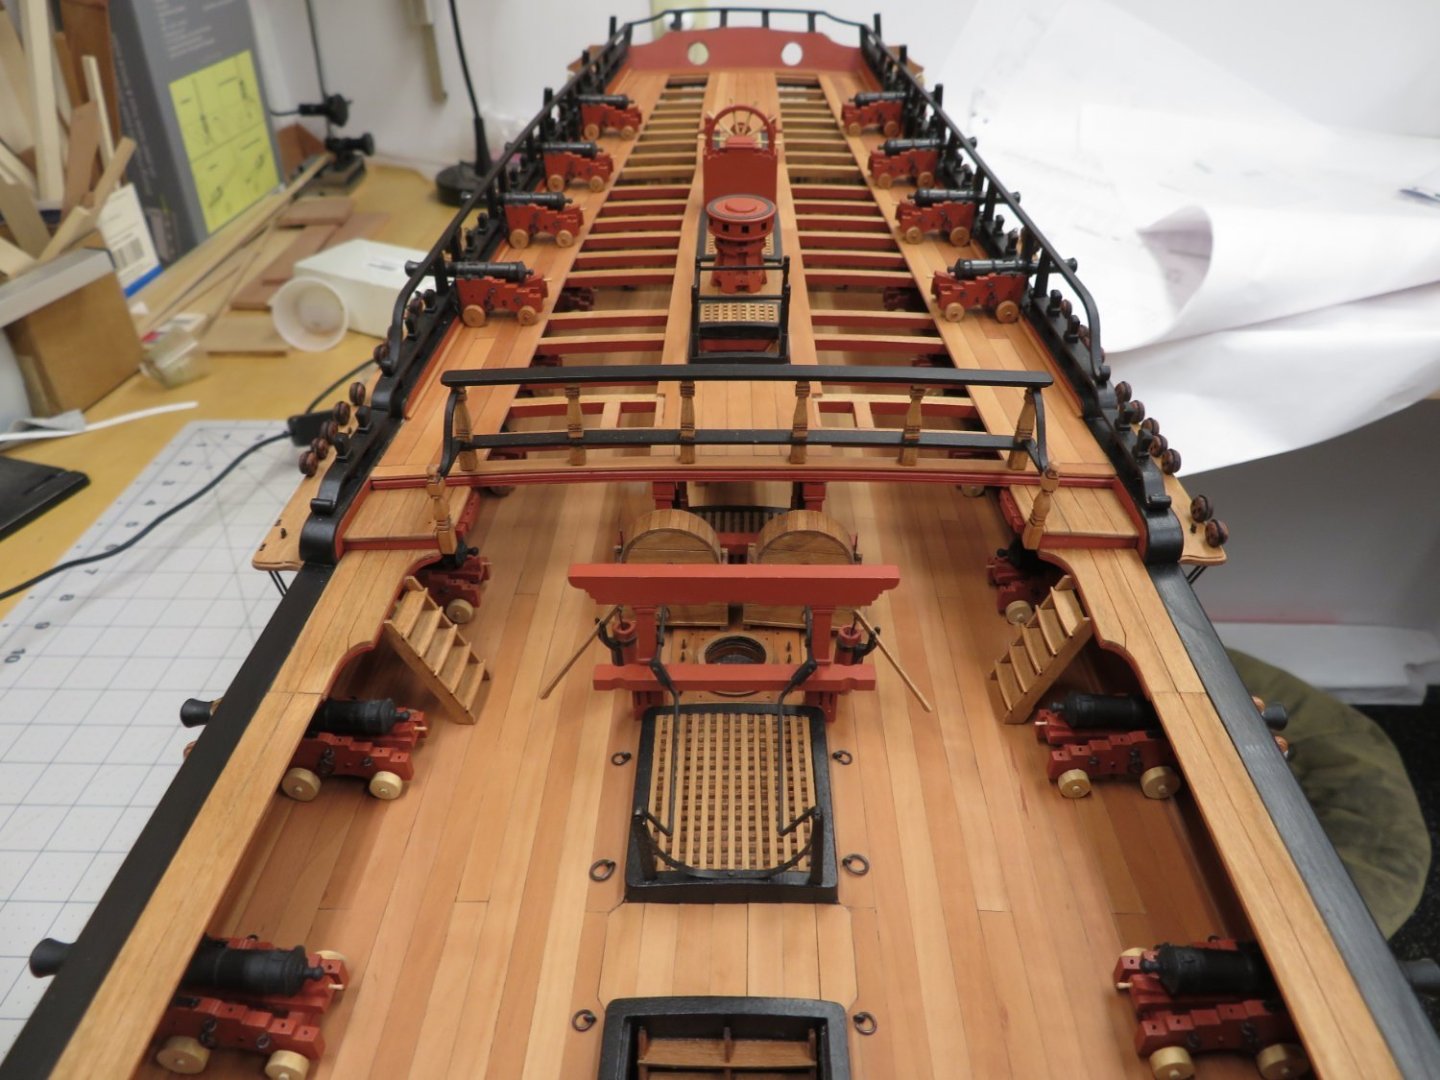
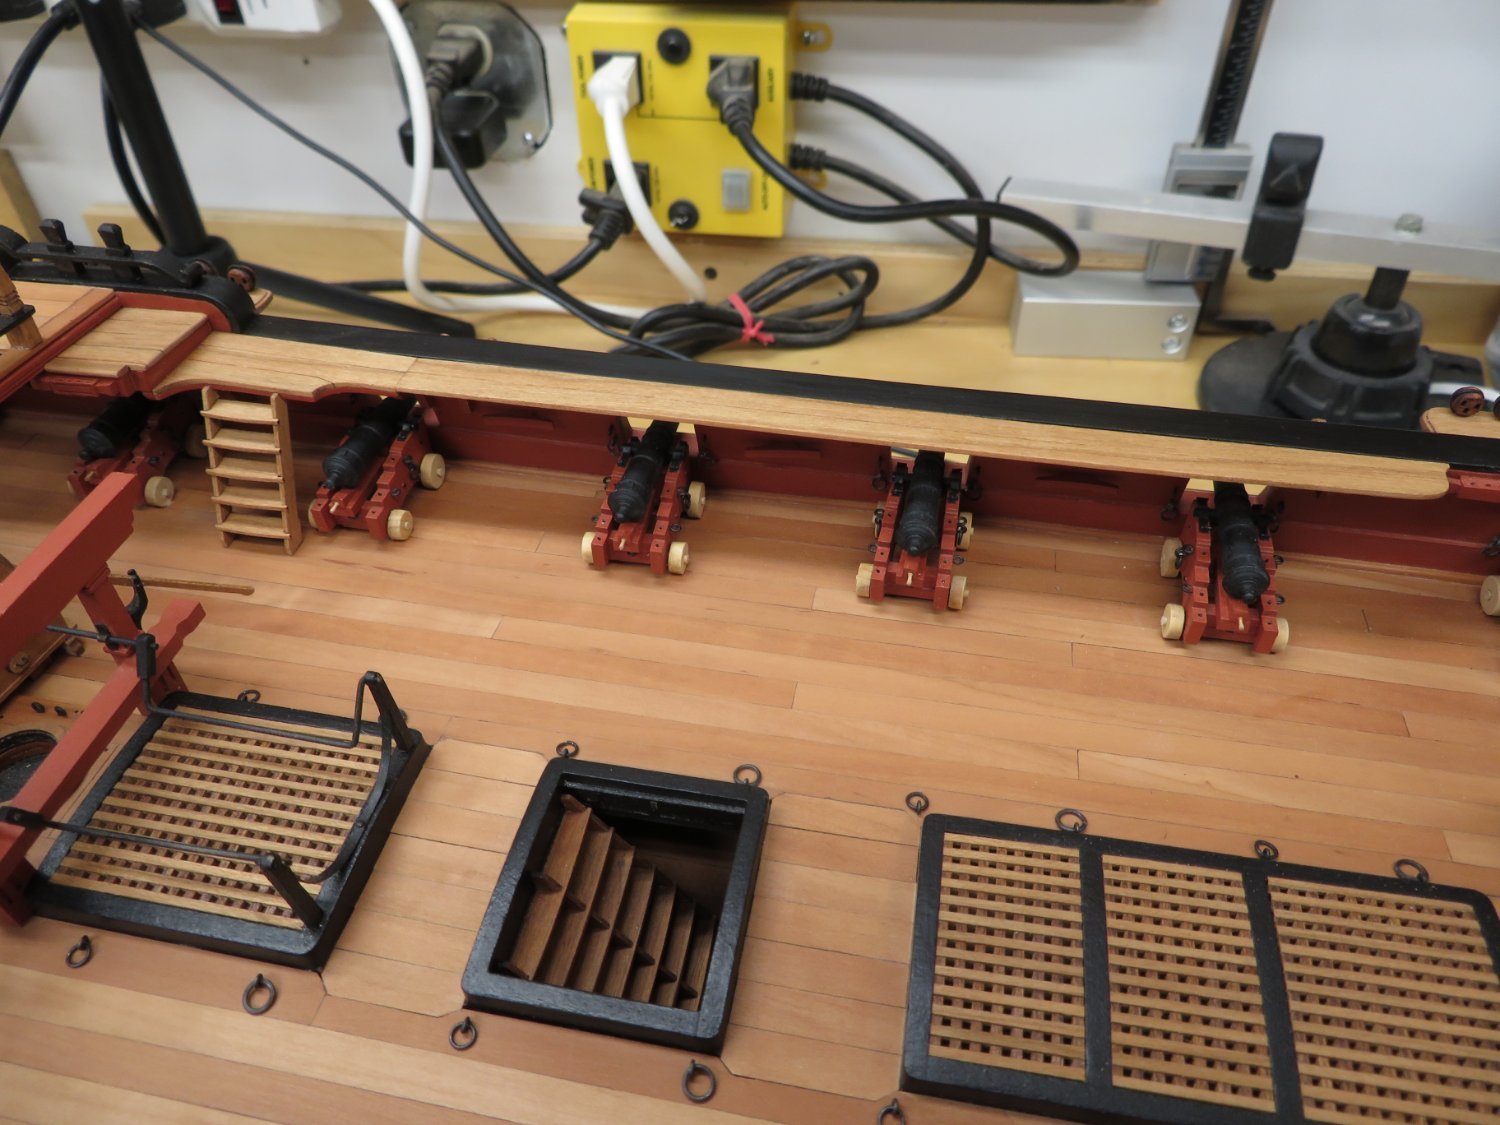
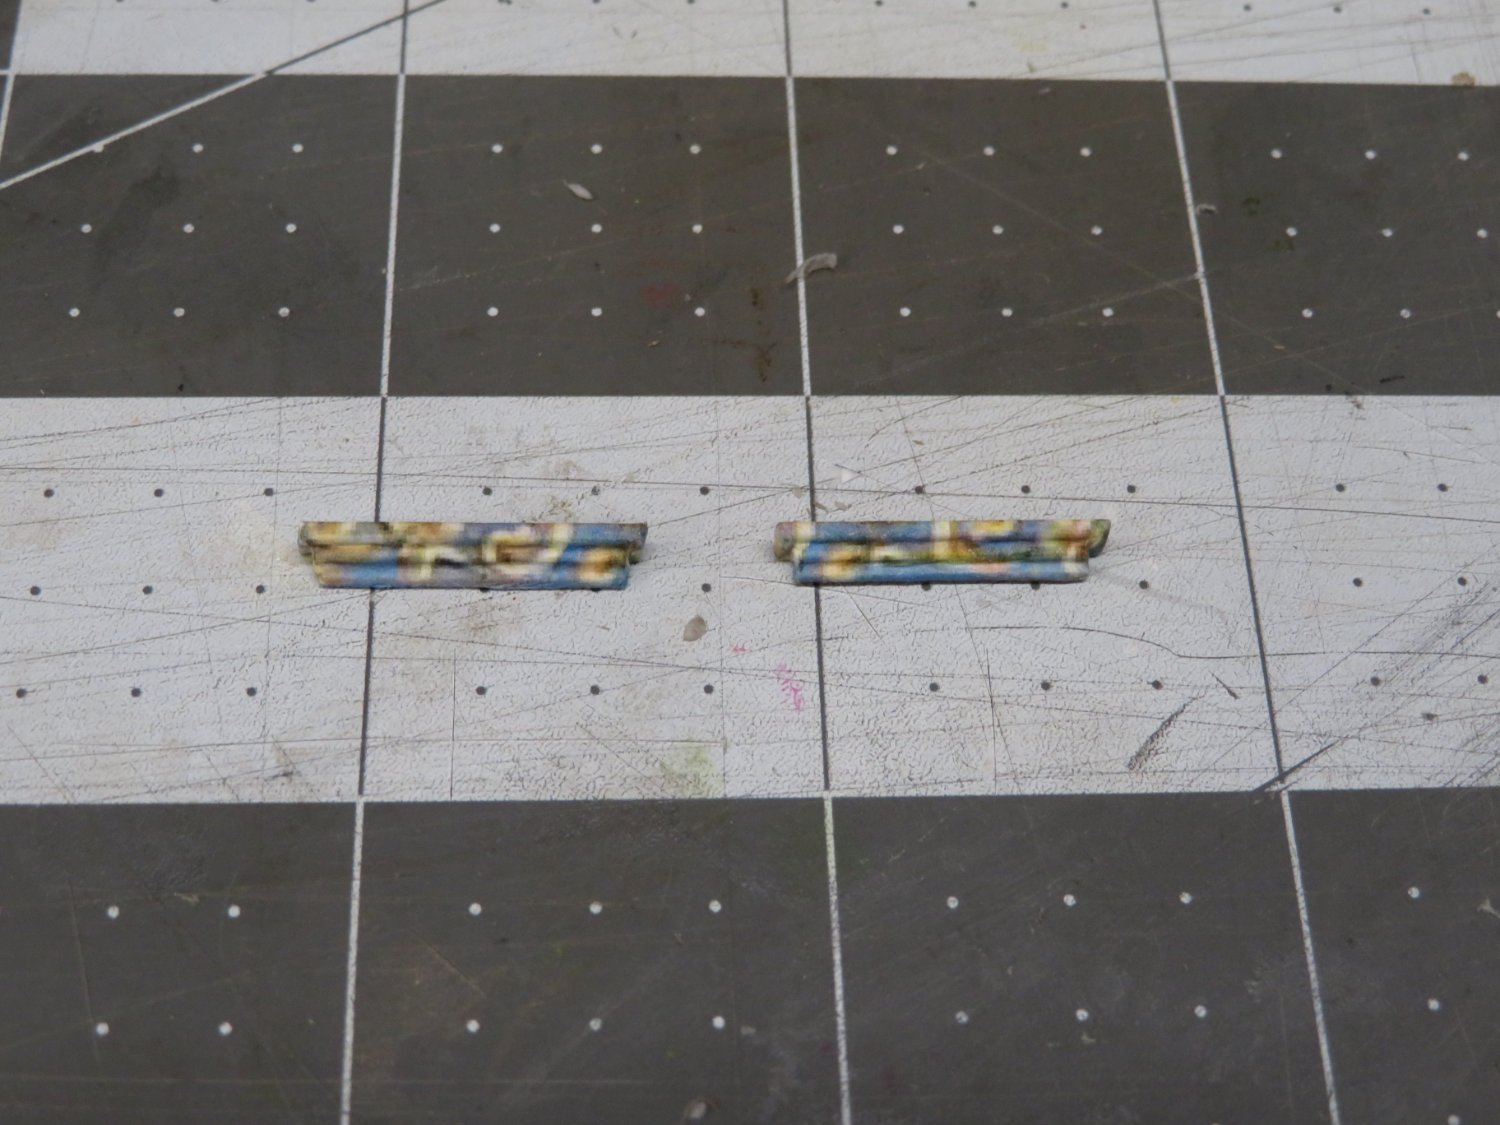
Hi all, Been a bit since my last post. Busy time of the year for me. I've moved on to the boarding ladders. I cut them on the table saw then used files and sanding sticks to finish the shape. The top step is wrapped in the frieze before placing on the hull.

To determine the positions of the steps I cut some scraps to the desired width and tested the fit. I also clamped a strip to the hull to keep them in a straight line while testing the fit.
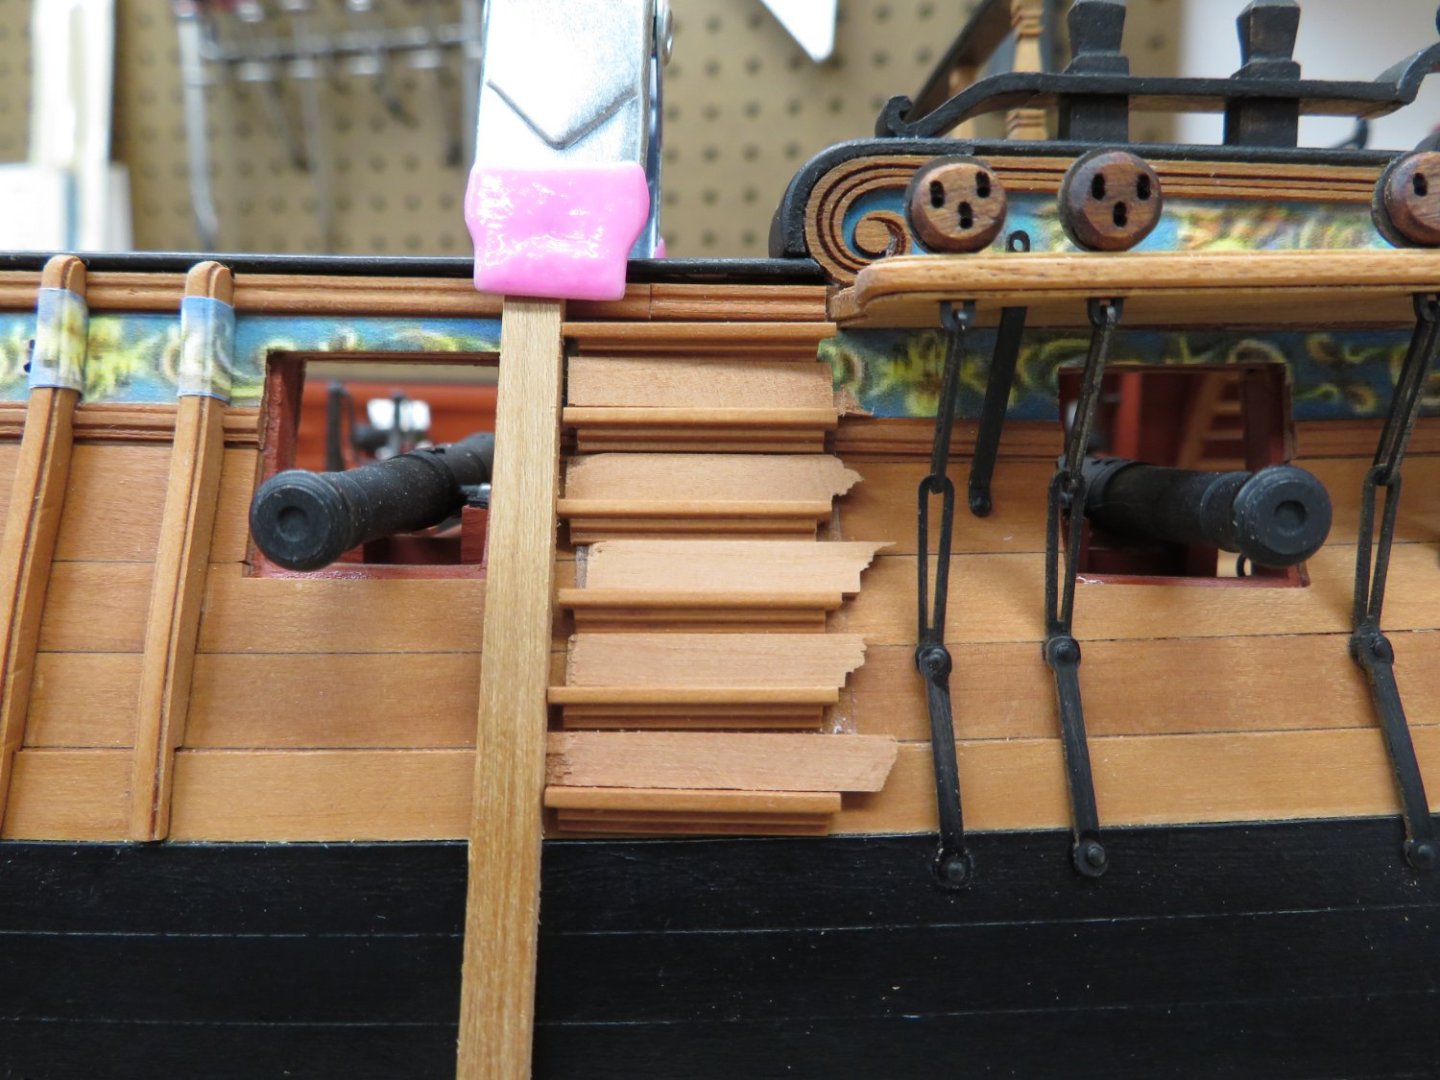
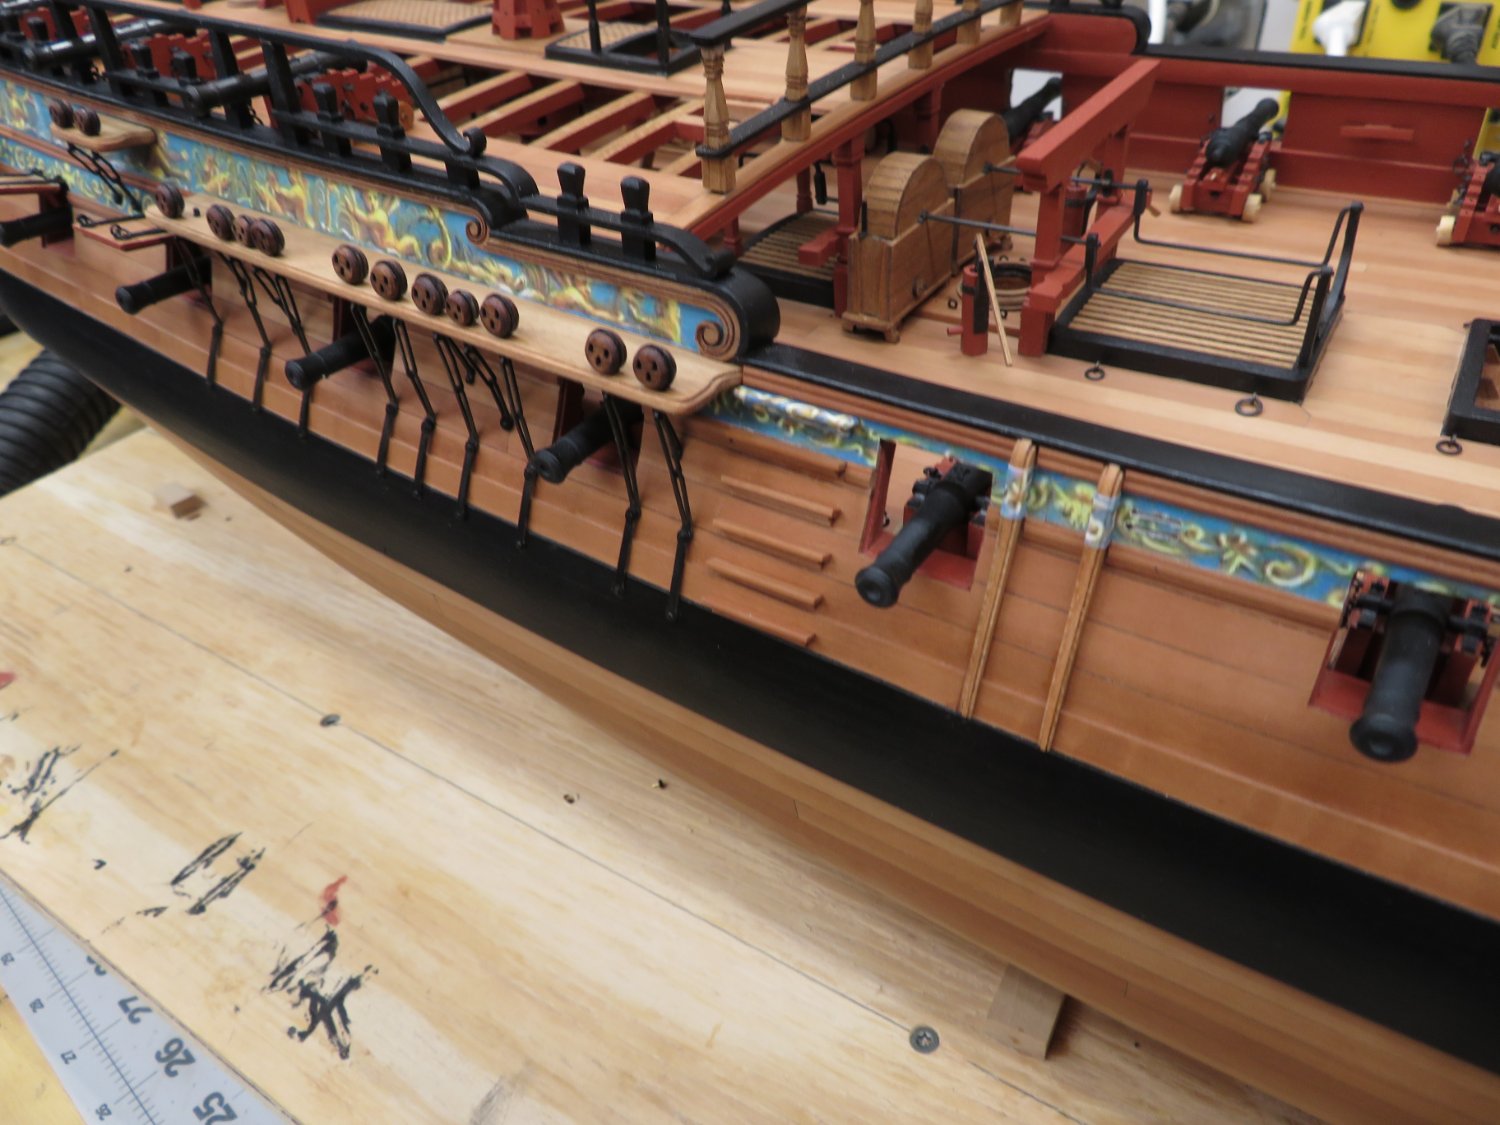
And here they are glued in place.


I've also weathered the swivel guns and started shaping the swivel gun stocks. More to come soon!

- Tigersteve, CiscoH, scrubbyj427 and 12 others
-
15


HMS Winchelsea by cdrusn89 - FINISHED - 1/48th
in Member Build logs for the HMS Winchelsea
Posted
Looking really good Gary!