


Rustyj
-
Posts
2,429 -
Joined
-
Last visited
Content Type
Profiles
Forums
Gallery
Events
Posts posted by Rustyj
-
-
Hi all,
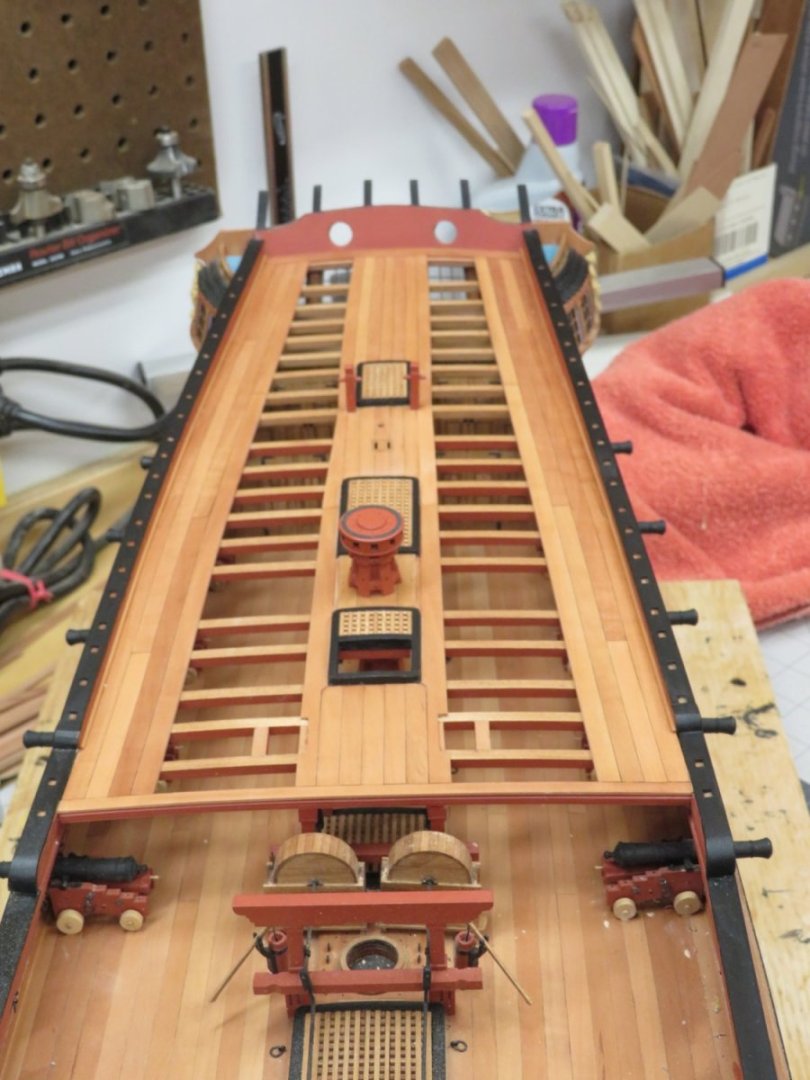
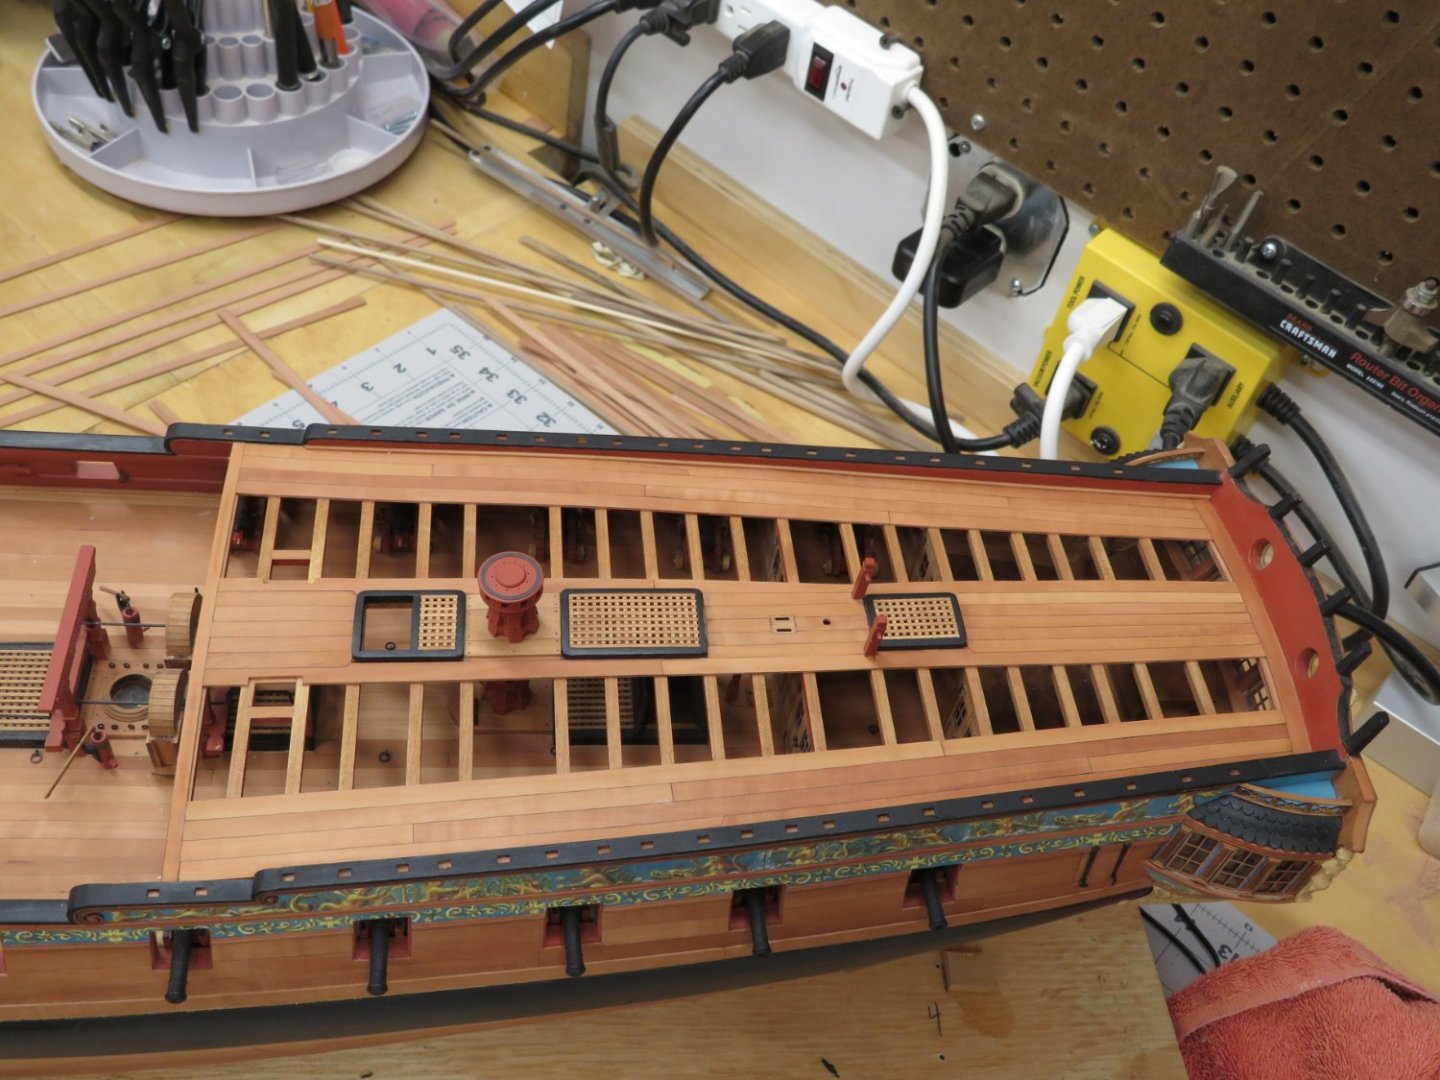
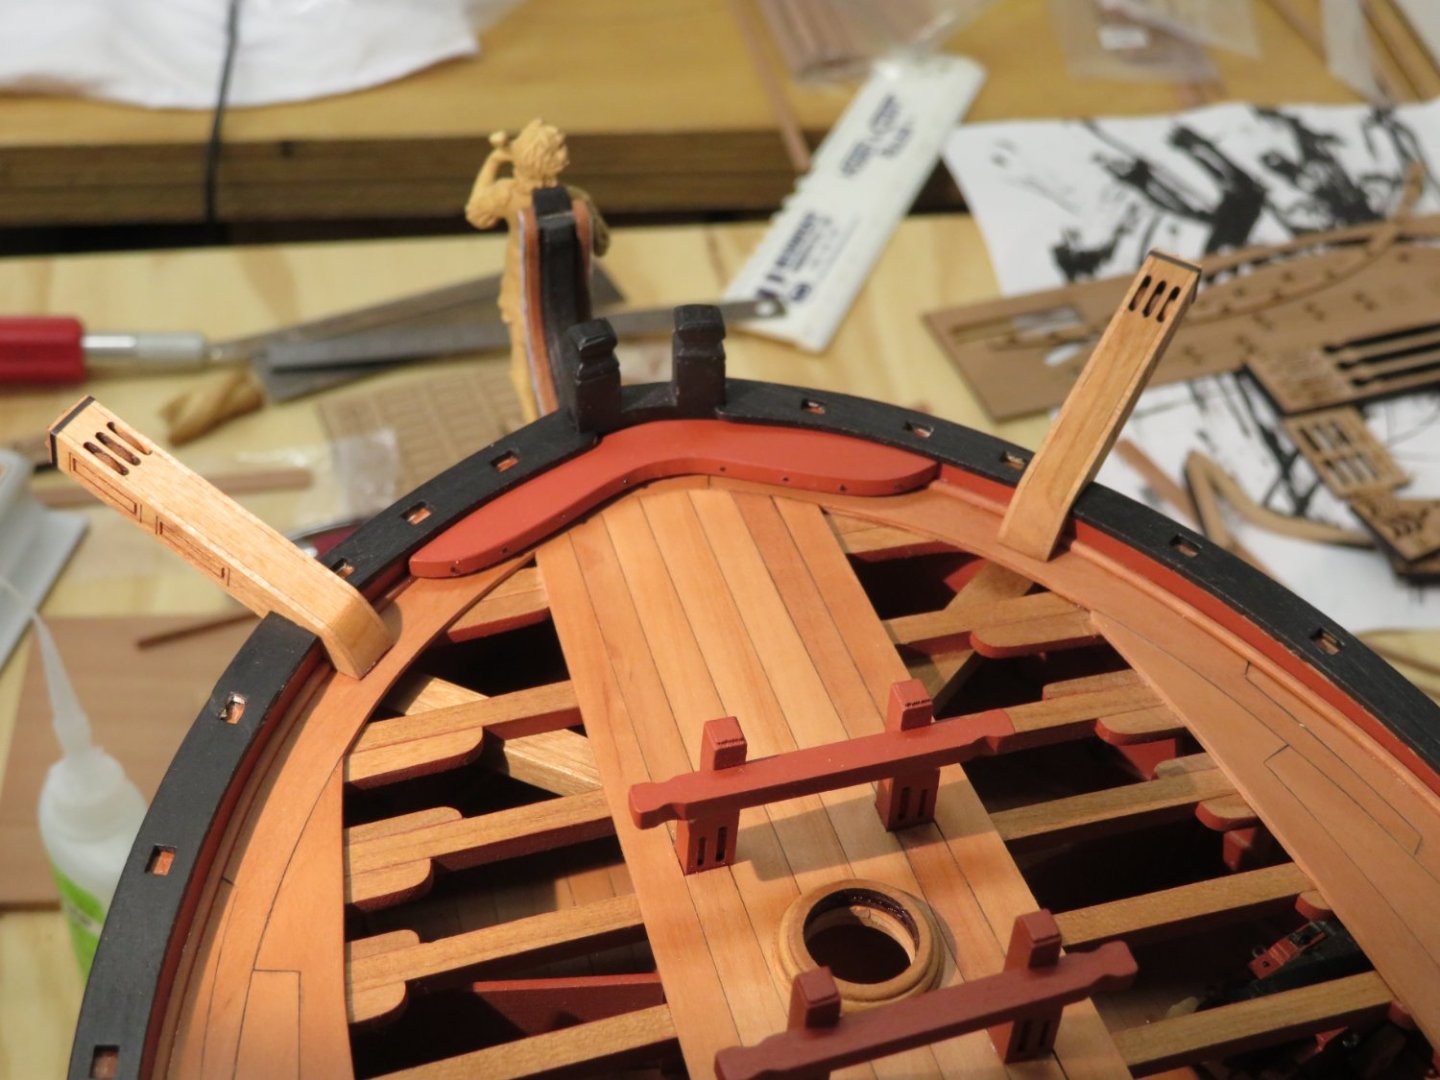
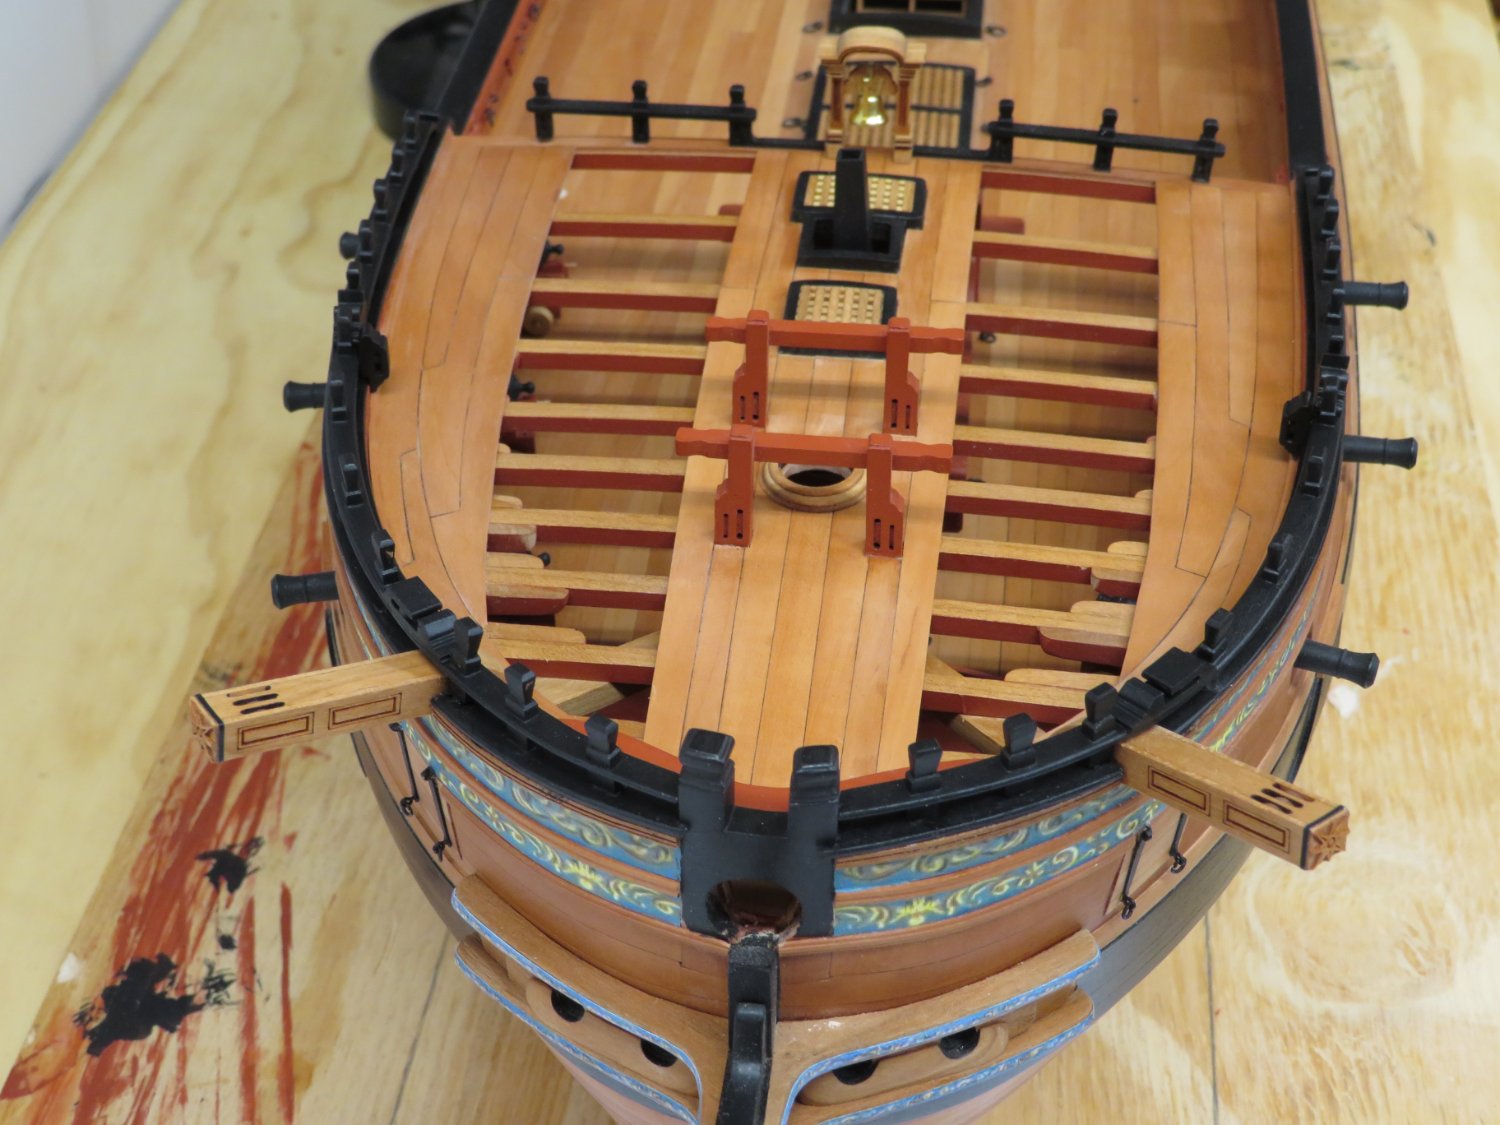
Well the trip was wonderful, it's over and back to work. Progress has continued on chapter 10 with the quarter deck
hatches placed and the deck planked. Pretty much a repeat of the fcastle. A lot of dust to clean up and paint
to touch up though.
-
-
2 minutes ago, glbarlow said:
Not before I drop this scroll, with a message I wrote to the future, into the hold below hopefully never to be seen again.
At least you are dropping something into the hull never to been seen again intentionally unlike some of us!

Looking forward to seeing the deck work commence.
-
19 hours ago, Chuck said:
A huge thank you to David and to Greg who will no doubt think I am pain in biscuit by the time this is completed.
They say pain is good and in this case I agree!
")
This is really going to be so good. I have the books and have wanted to build the Speedwell for some time now!
Thanks Chuck!
- mtaylor, FrankWouts, Vladimir_Wairoa and 1 other
-
 4
4
-
Wonderful job on chapter 3. You'll enjoy You moving inboard and I look forward to seeing it progress.
- Dave_E, FrankWouts and glbarlow
-
3
-
-
Thanks Matt and Glenn!
Thanks bdgiantman2 we are on our way there today!
- FrankWouts and bdgiantman2
-
2
-
Thanks Vlad!
This will be the last post for about two weeks. We leave tomorrow for a vacation in the San Diego area.
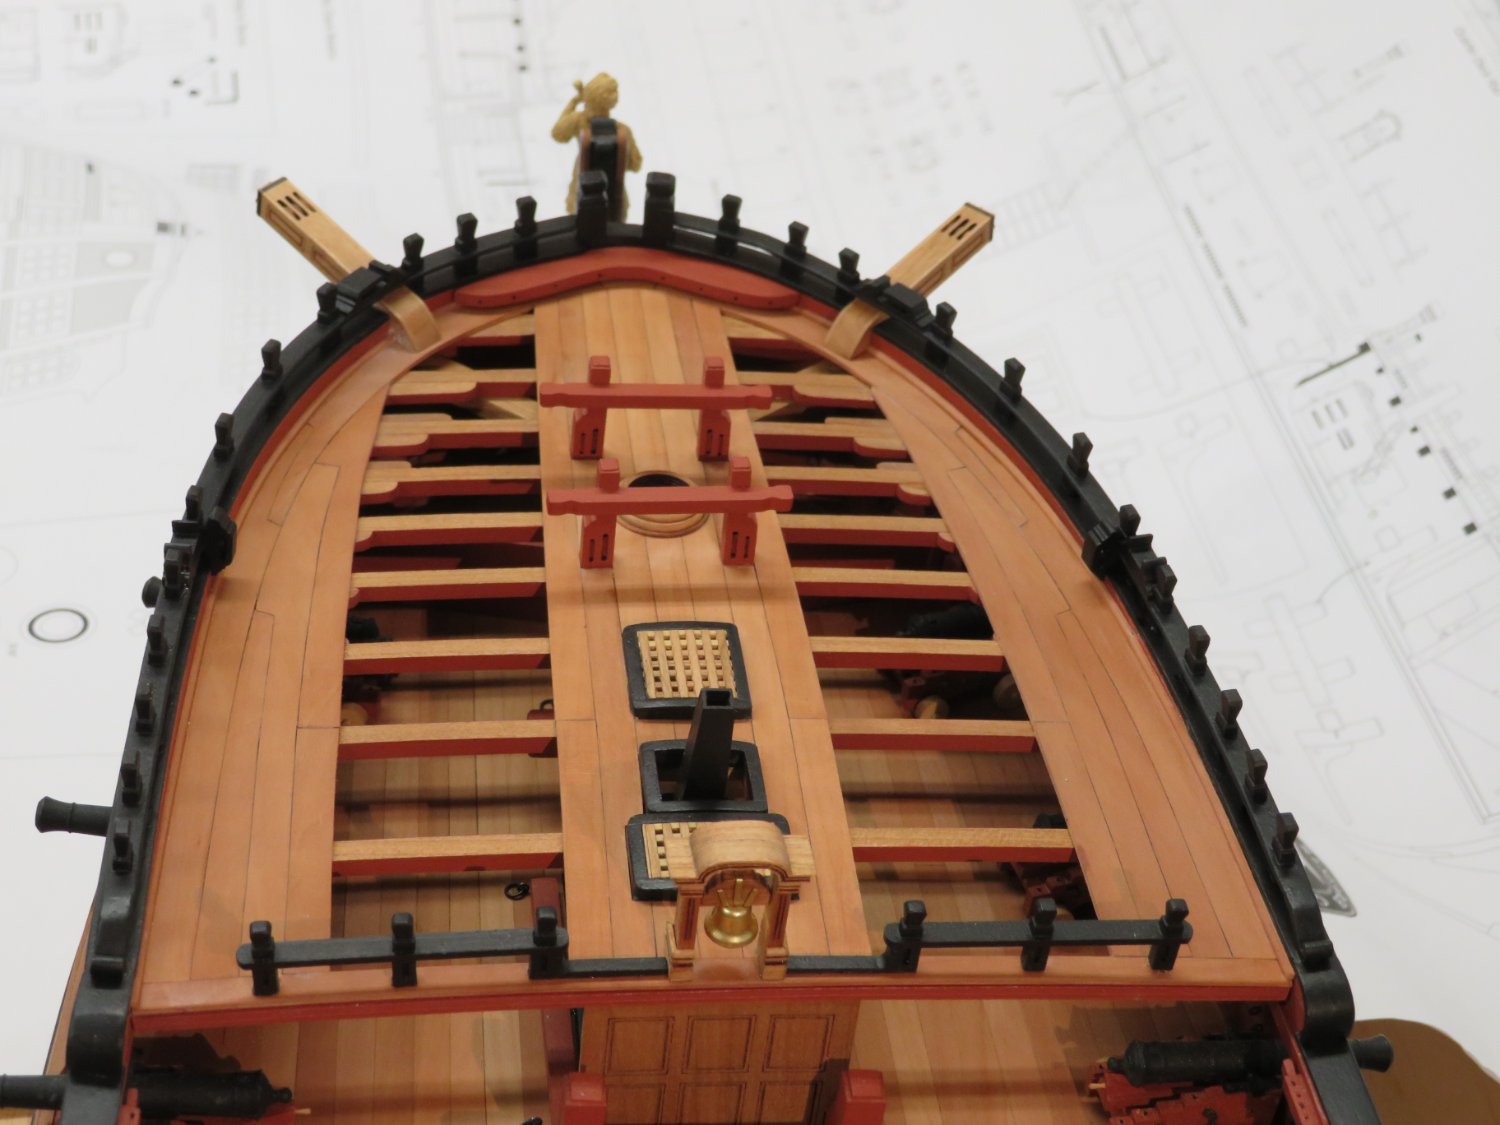
I've added the eye bolts, spanshackles and chimney cover boards.
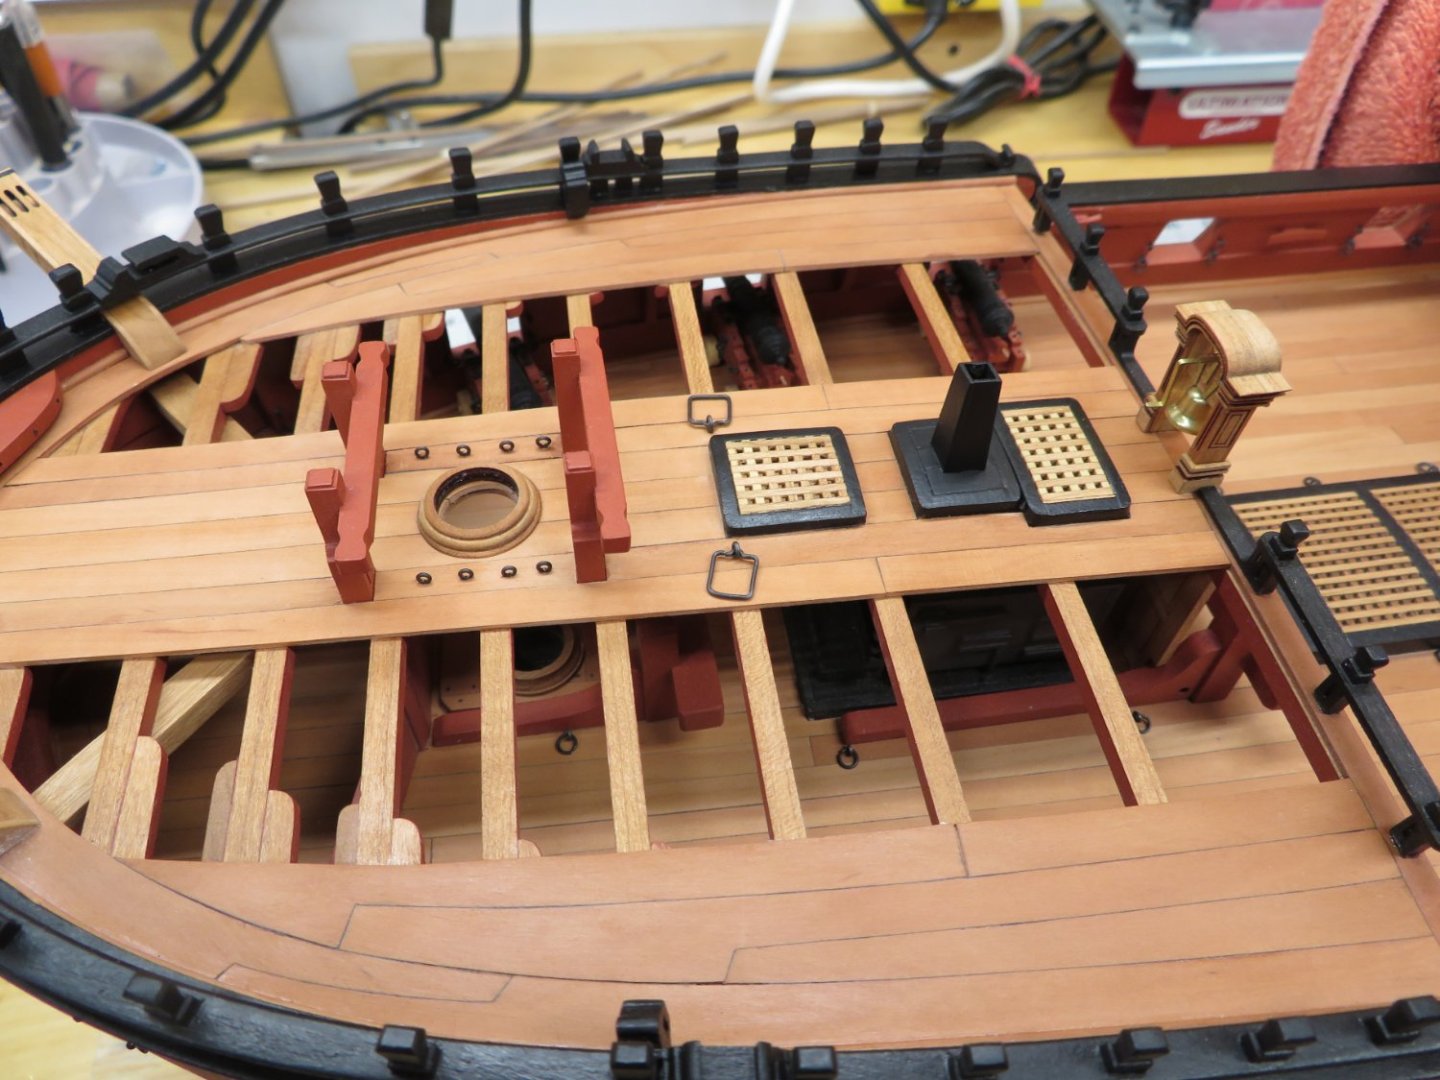
With chapter 9 completed now I've started chapter 10. As I'm leaving very soon I figured I do the hatches instead of starting on the planking.

I'll see you all in a couple of weeks. Behave while I'm away! 😂

- iosto, Matt D, Stuntflyer and 16 others
-
19
-
That is very nice Matthias!
-
Very nice work B.E. The stove was a fun little project and will look great in the display case!
- mtaylor, Jack12477 and Blue Ensign
-
3
-
8 hours ago, chris watton said:
However, for those who do not want dowel, thread and blocks, you can contact me and I will see what I can do - but I will not make much difference to the cost.
For me, if I did it Navy board style you could keep the un-needed parts without altering the price. I just hate to have material go to waste. Anxiously waiting!
- chris watton, VTHokiEE, Canute and 2 others
-
5
-
My best wishes to you Bob for a smooth procedure and a speedy recovery!
- hollowneck and Ryland Craze
-
2
-
On 10/24/2022 at 4:33 PM, Trussben said:
I usually get a little more modeling time during the winter.
Ah the one good thing about winter. More modeling time!
-
Looking really nice Ben!
-
Thank you Don, Bob, Glenn and Joe and all the likes too. Much appreciated.
I'm working on the eye bolts, spanshackles and cover boards for the stove stack and chapter 9 will be complete!
- FrankWouts, glbarlow and Nunnehi (Don)
-
3
-
Hi Mike and welcome aboard. I enjoyed looking through your Agamemnon build. Beautiful workmanship!
You're off to a great start and I look forward to seeing your work on the Winnie.
- FrankWouts, Kusawa2000 and scrubbyj427
-
3
-
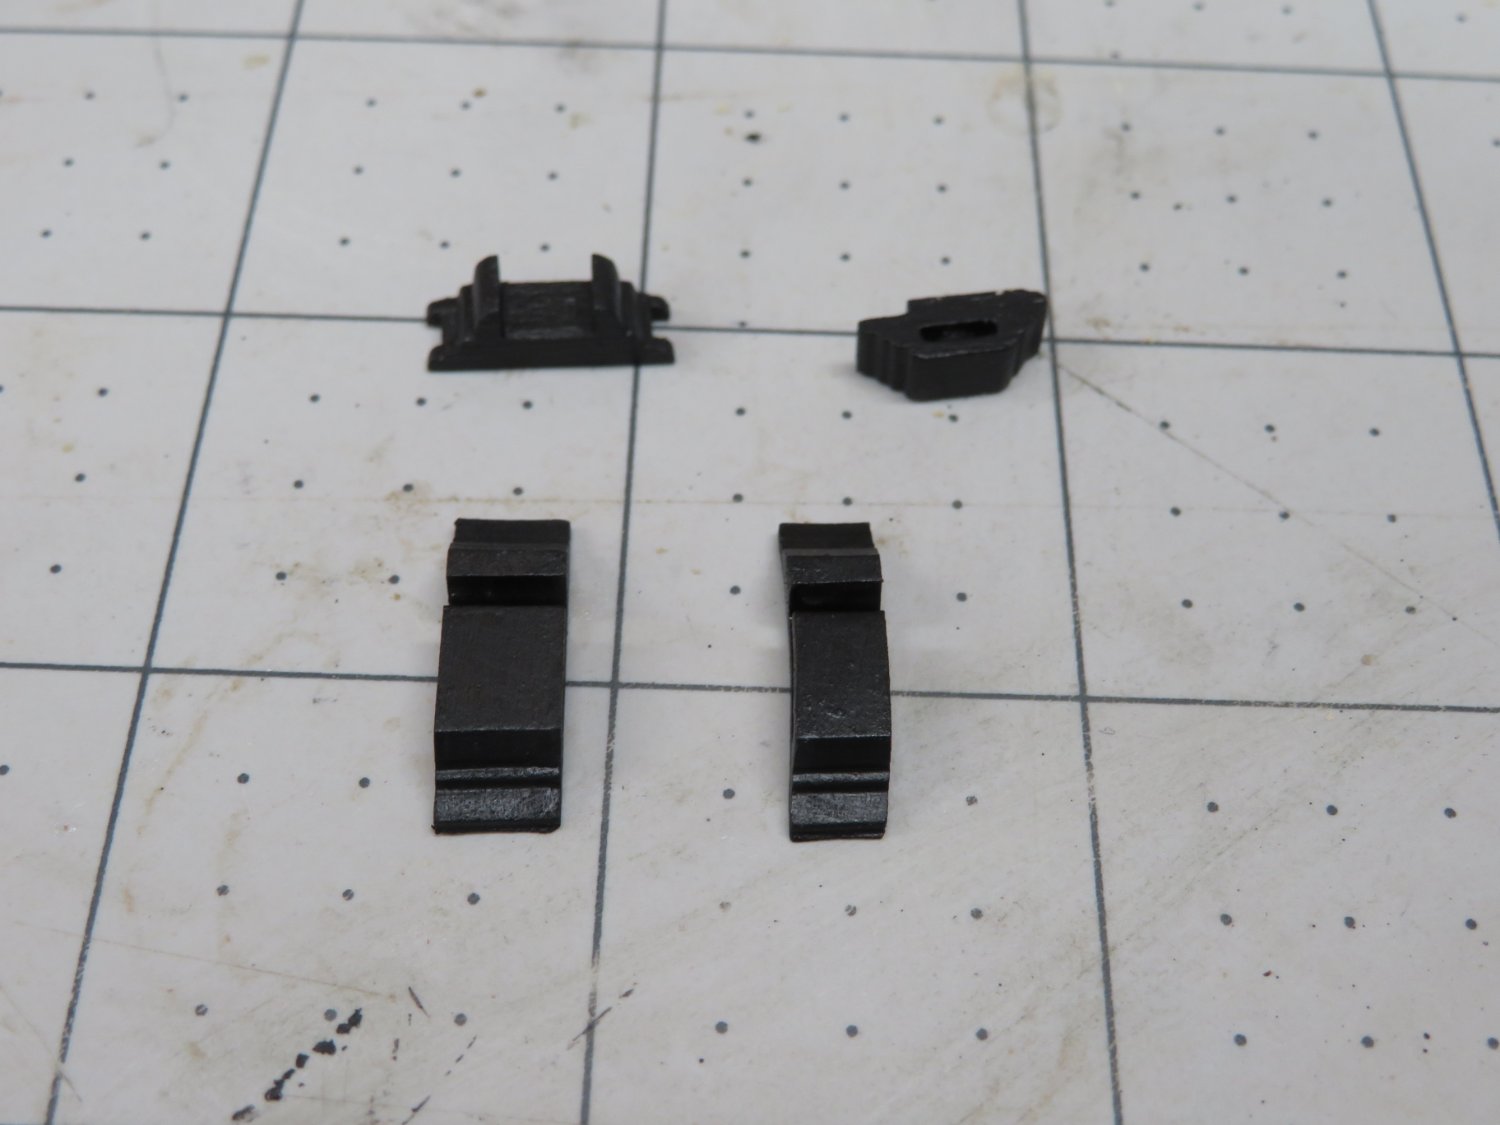
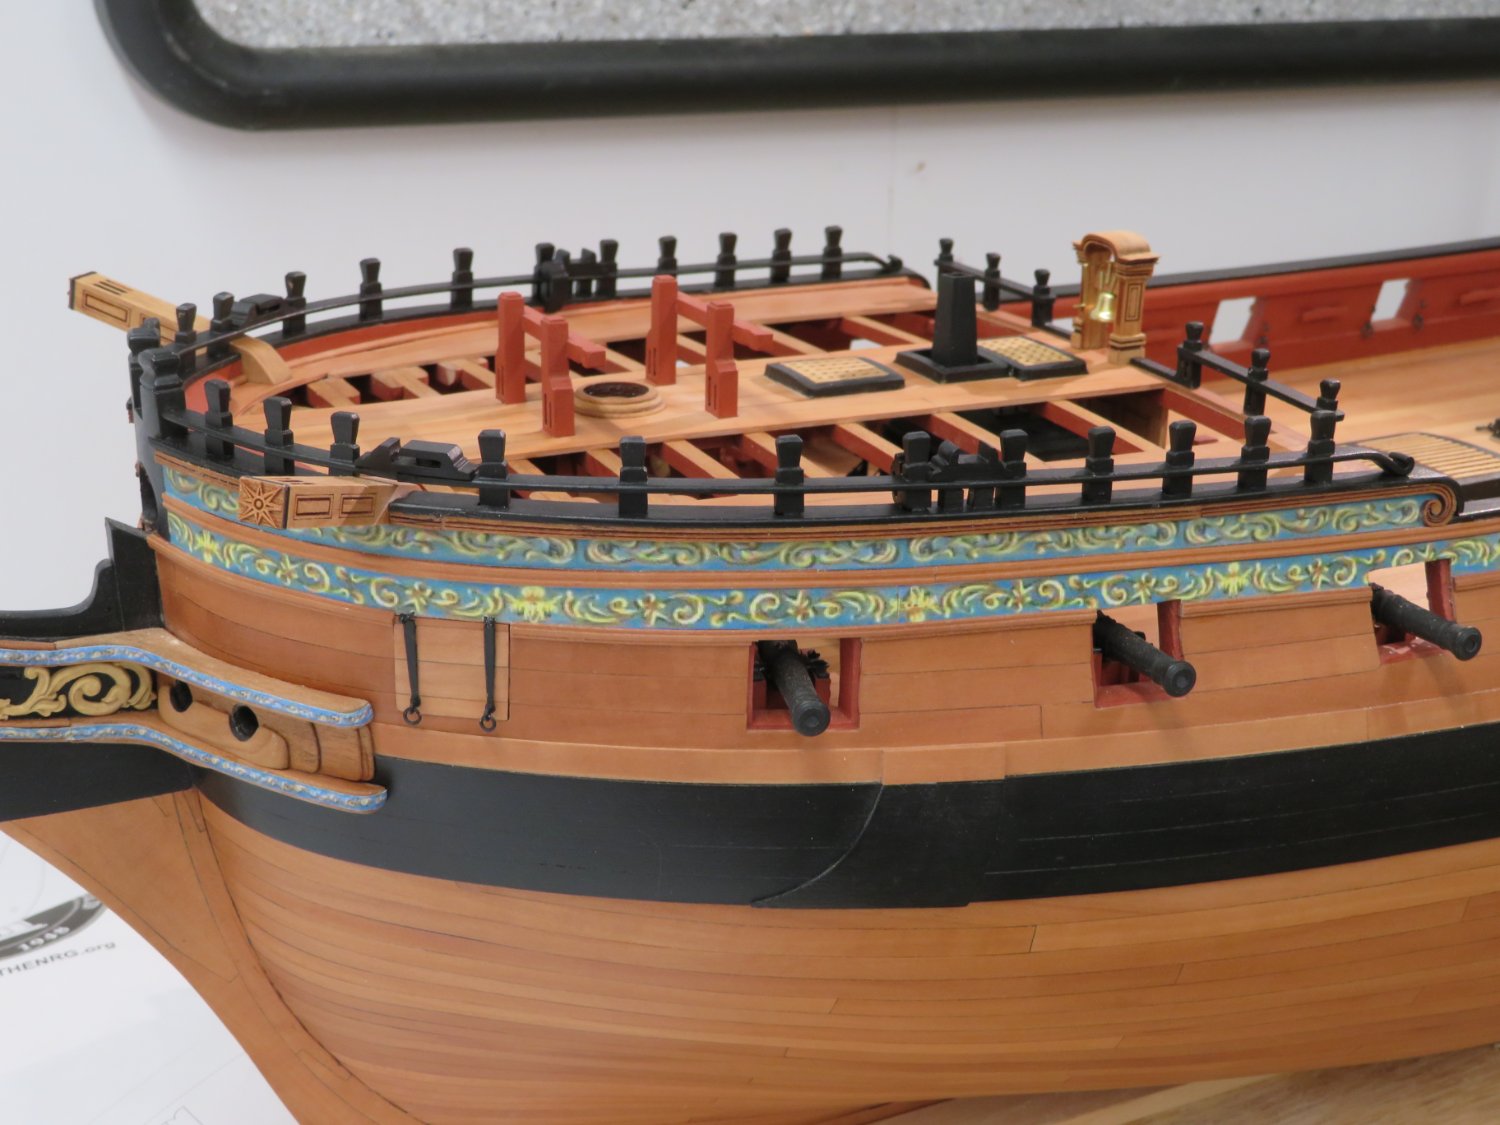
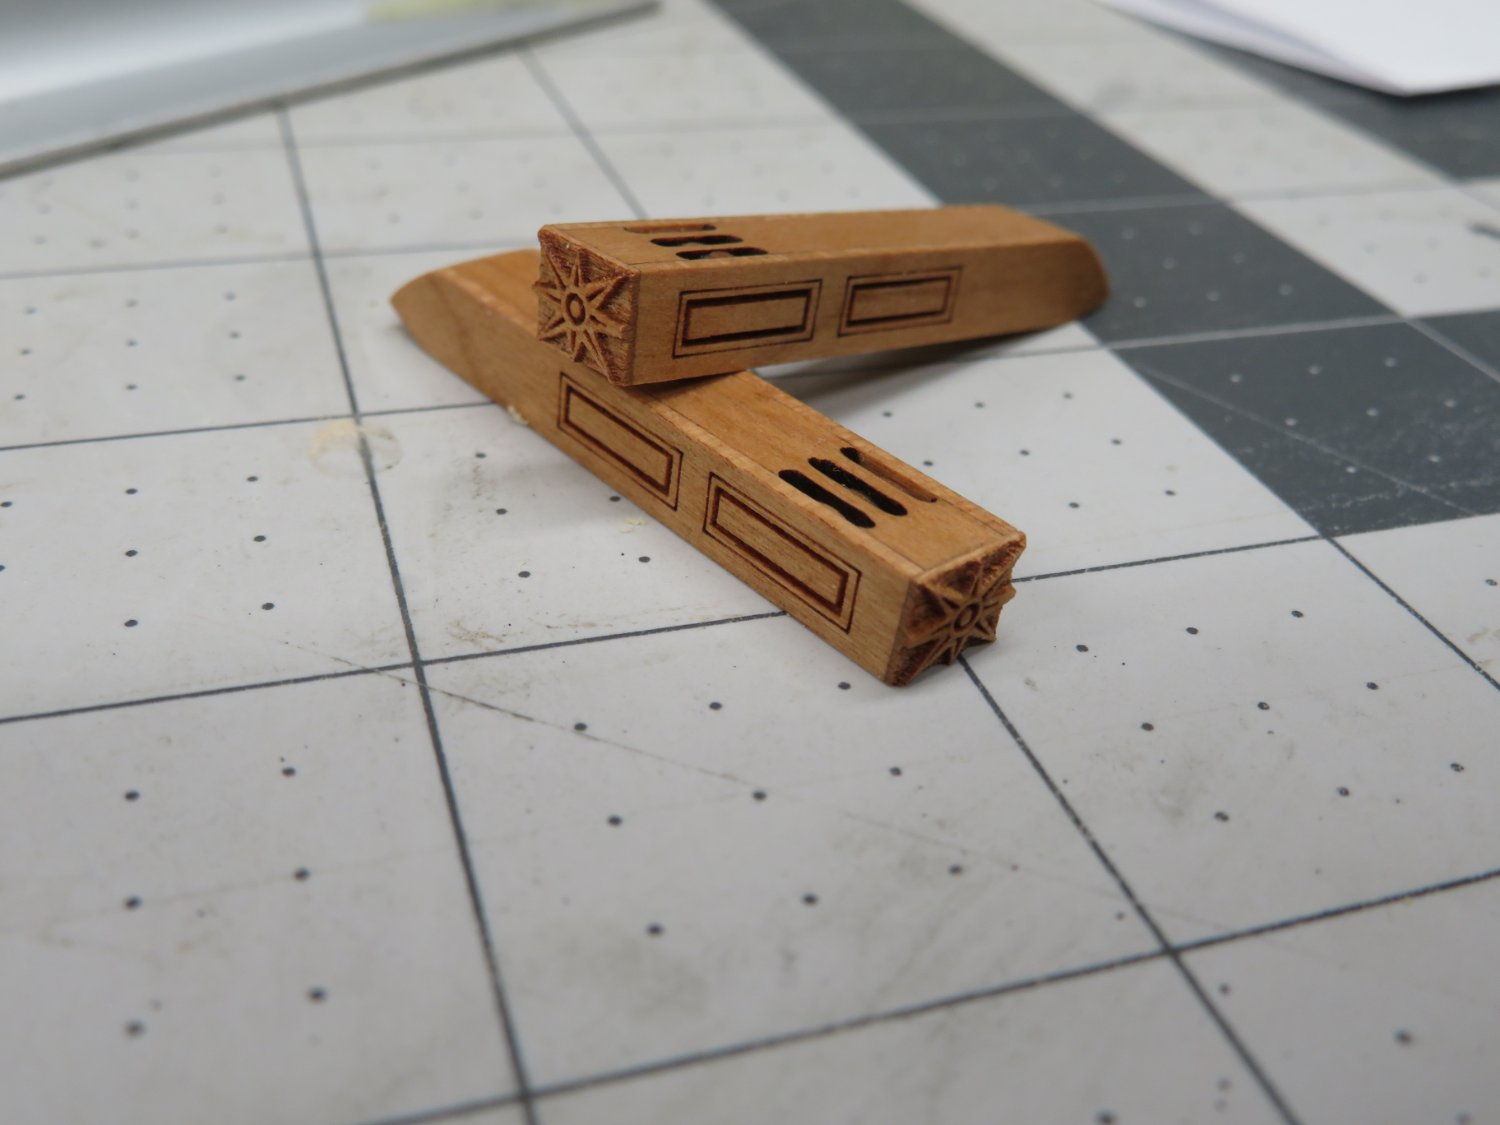
I moved on to the fcastle rail and knightheads. The knight heads are laser cut but the tops needed to be shaped on all four sides. The laser cut rail needed to be sanded smooth and the edges softened. This is where I ran into another oops moment. I hooked the end of the rail snapping off the end two slots. I broke out some sheet stock and remade the first three slots.
Why three you ask? This way the joint would be over the cathead and covered by the cat block. Just in case the seam was visible plus added strength when glued in place. The fun part of the cat block was it needed to be sanded to the curvature of the rail. Not difficult but I needed to go slow to make sure I didn't over sand!
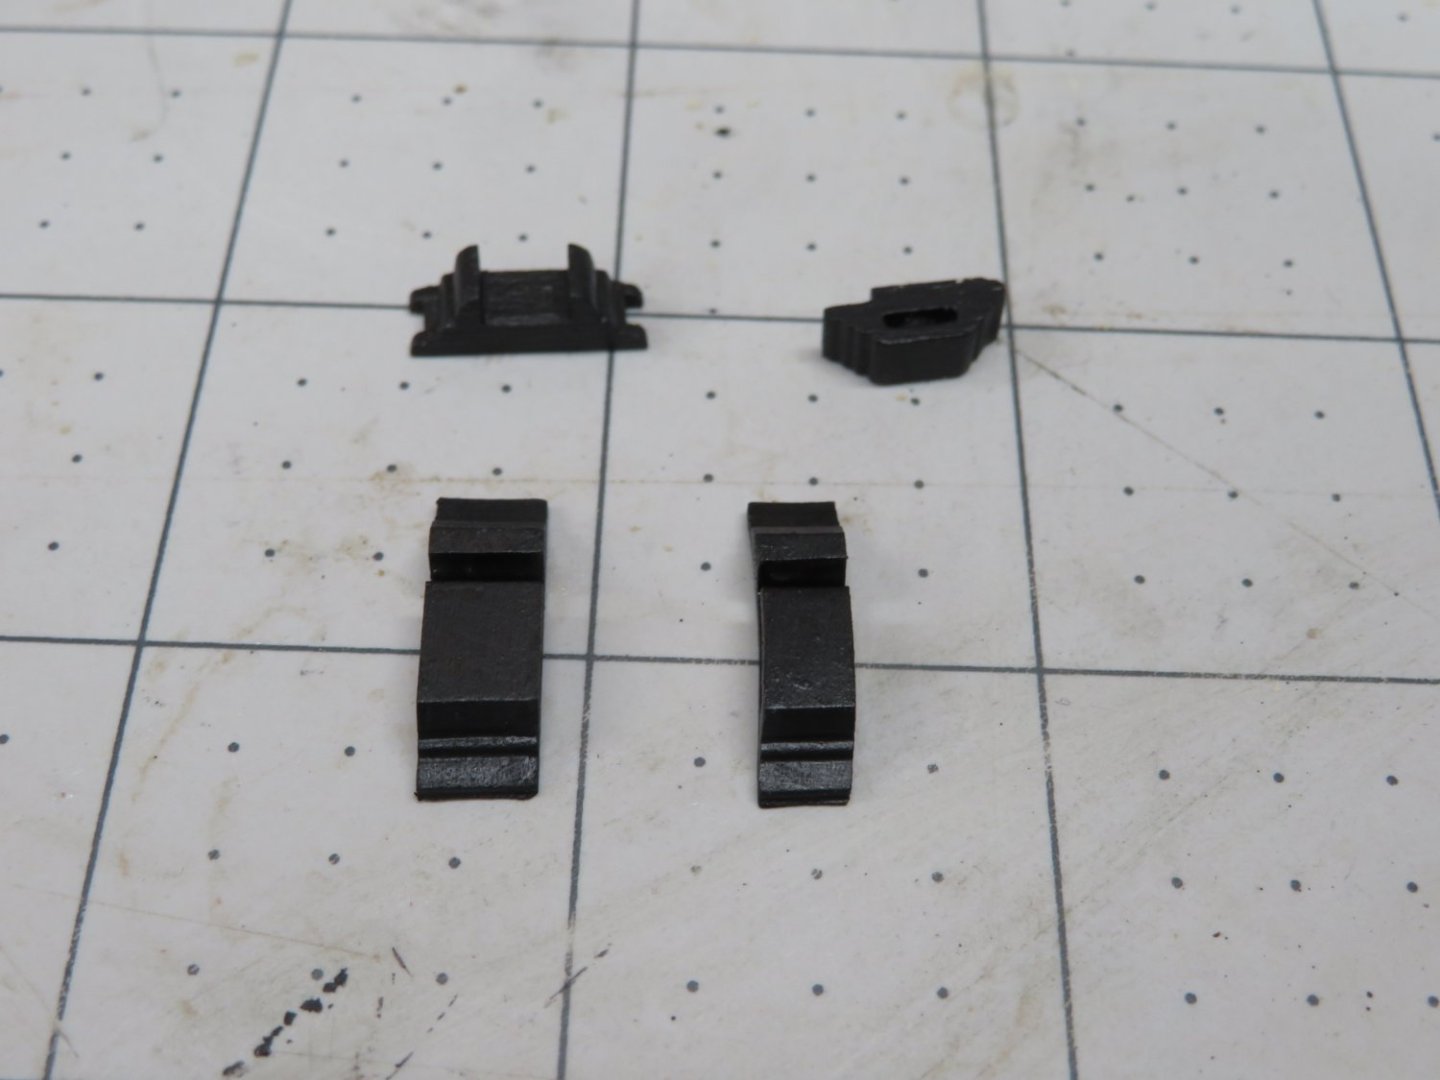
Once everything was test fitted it was painted and glued in place.


-
That looks really good Mike.
-
-
Beautiful work Glenn. So much more fun than planking that huge hull.
- Dave_E, hollowneck, glbarlow and 1 other
-
4
-
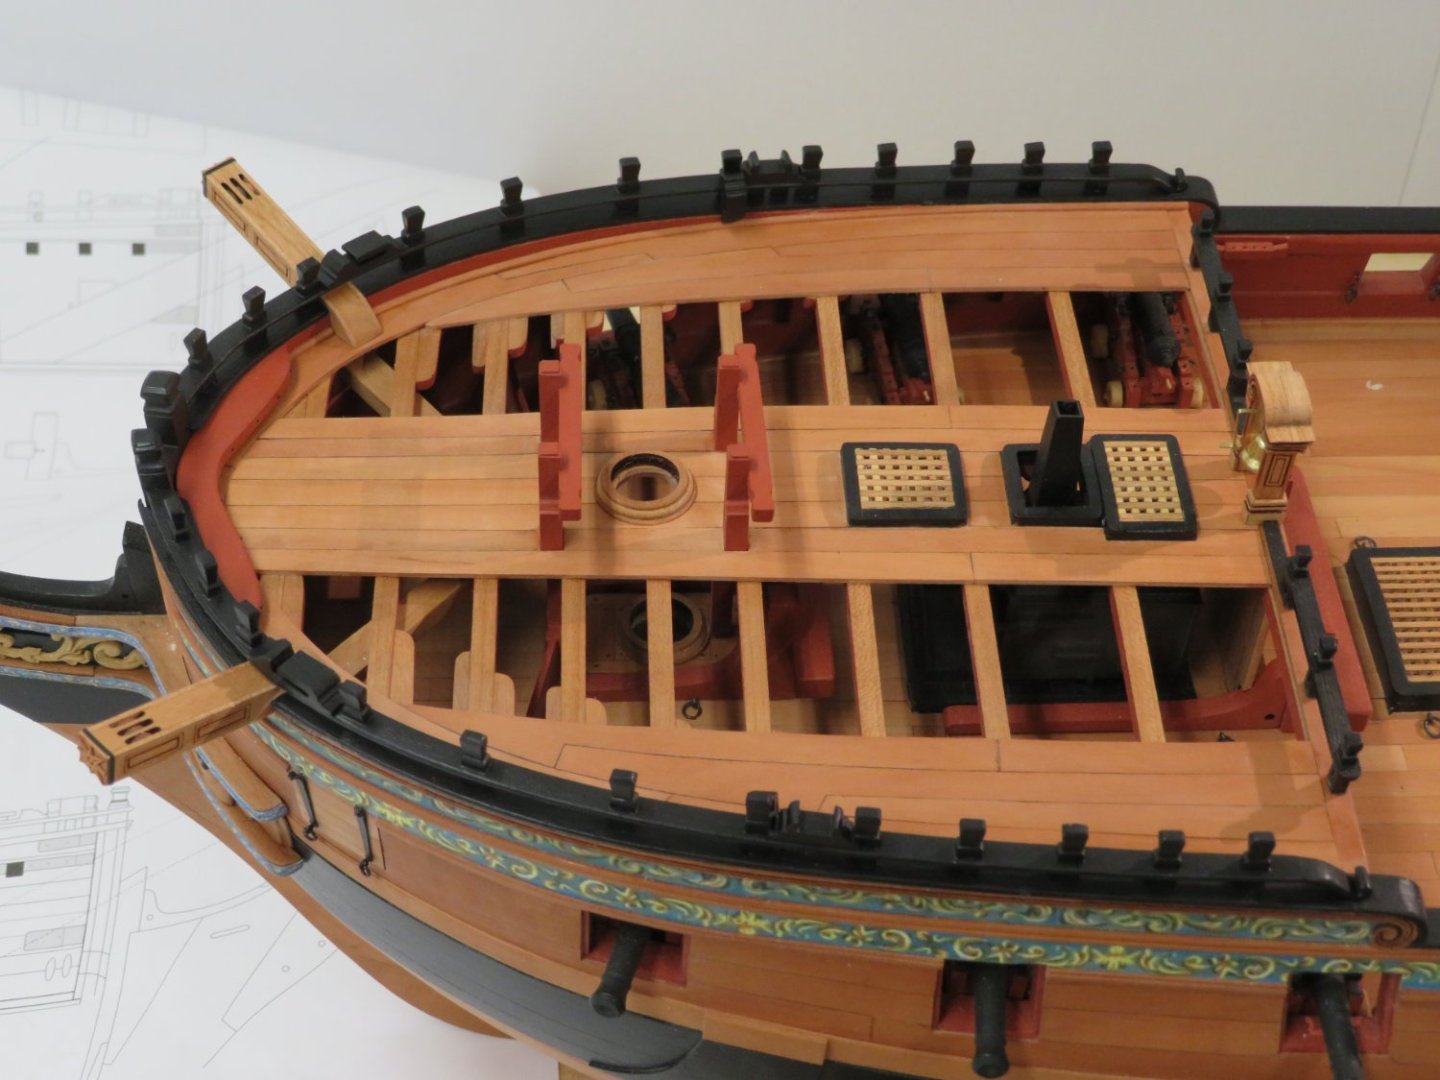
1 hour ago, Chuck said:
Just a wee bit high on the angle. Make the bottom of the cathead flush with the bottom edge of the molding.
That was my though too. Just wanted the group opinion before I adjust them. Thanks!
-
Congratulations on a great model and a build log that was enjoyable to follow and will be a tremendous help to others who follow.
- Blue Ensign, hollowneck, mtaylor and 2 others
-
4
-
 1
1
-
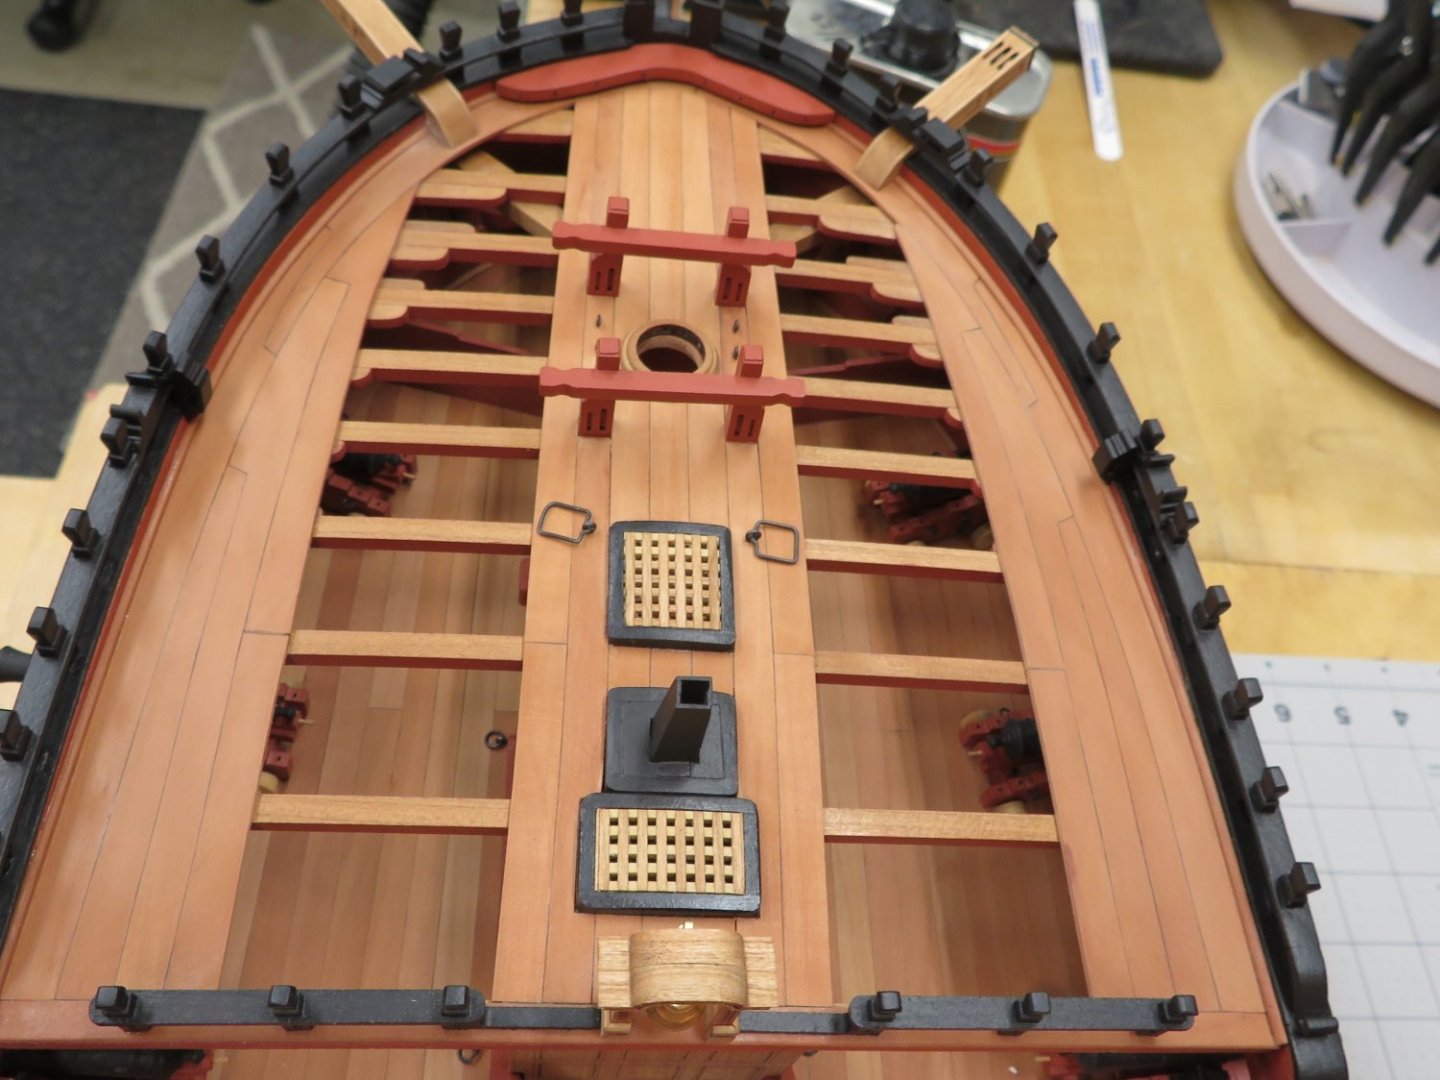
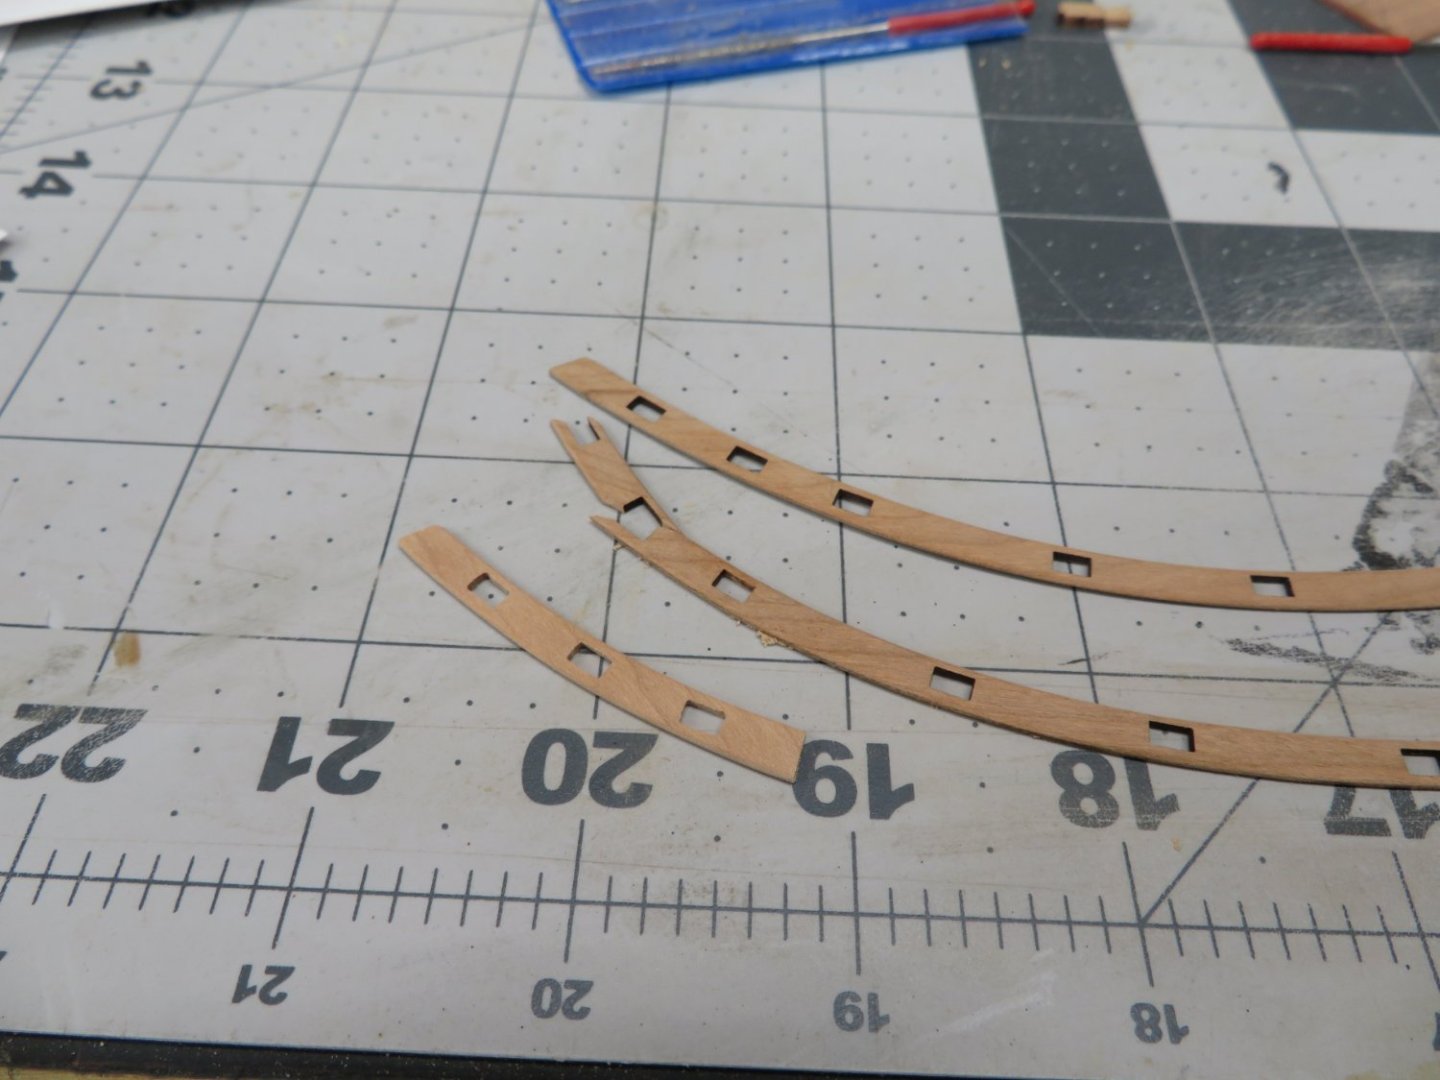
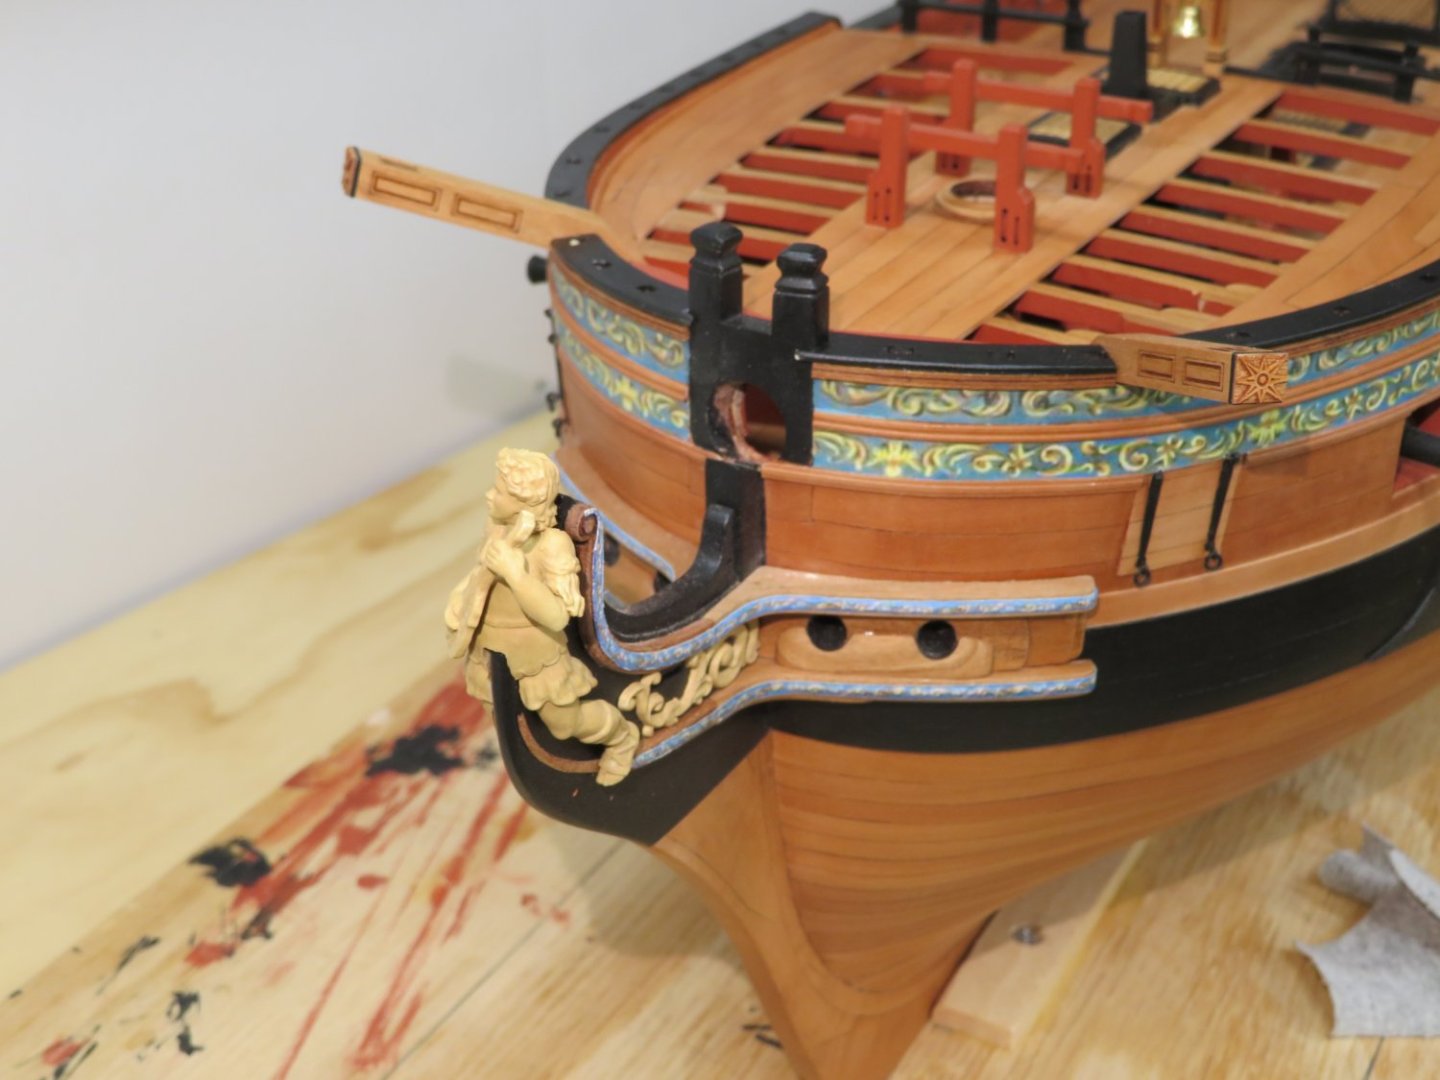
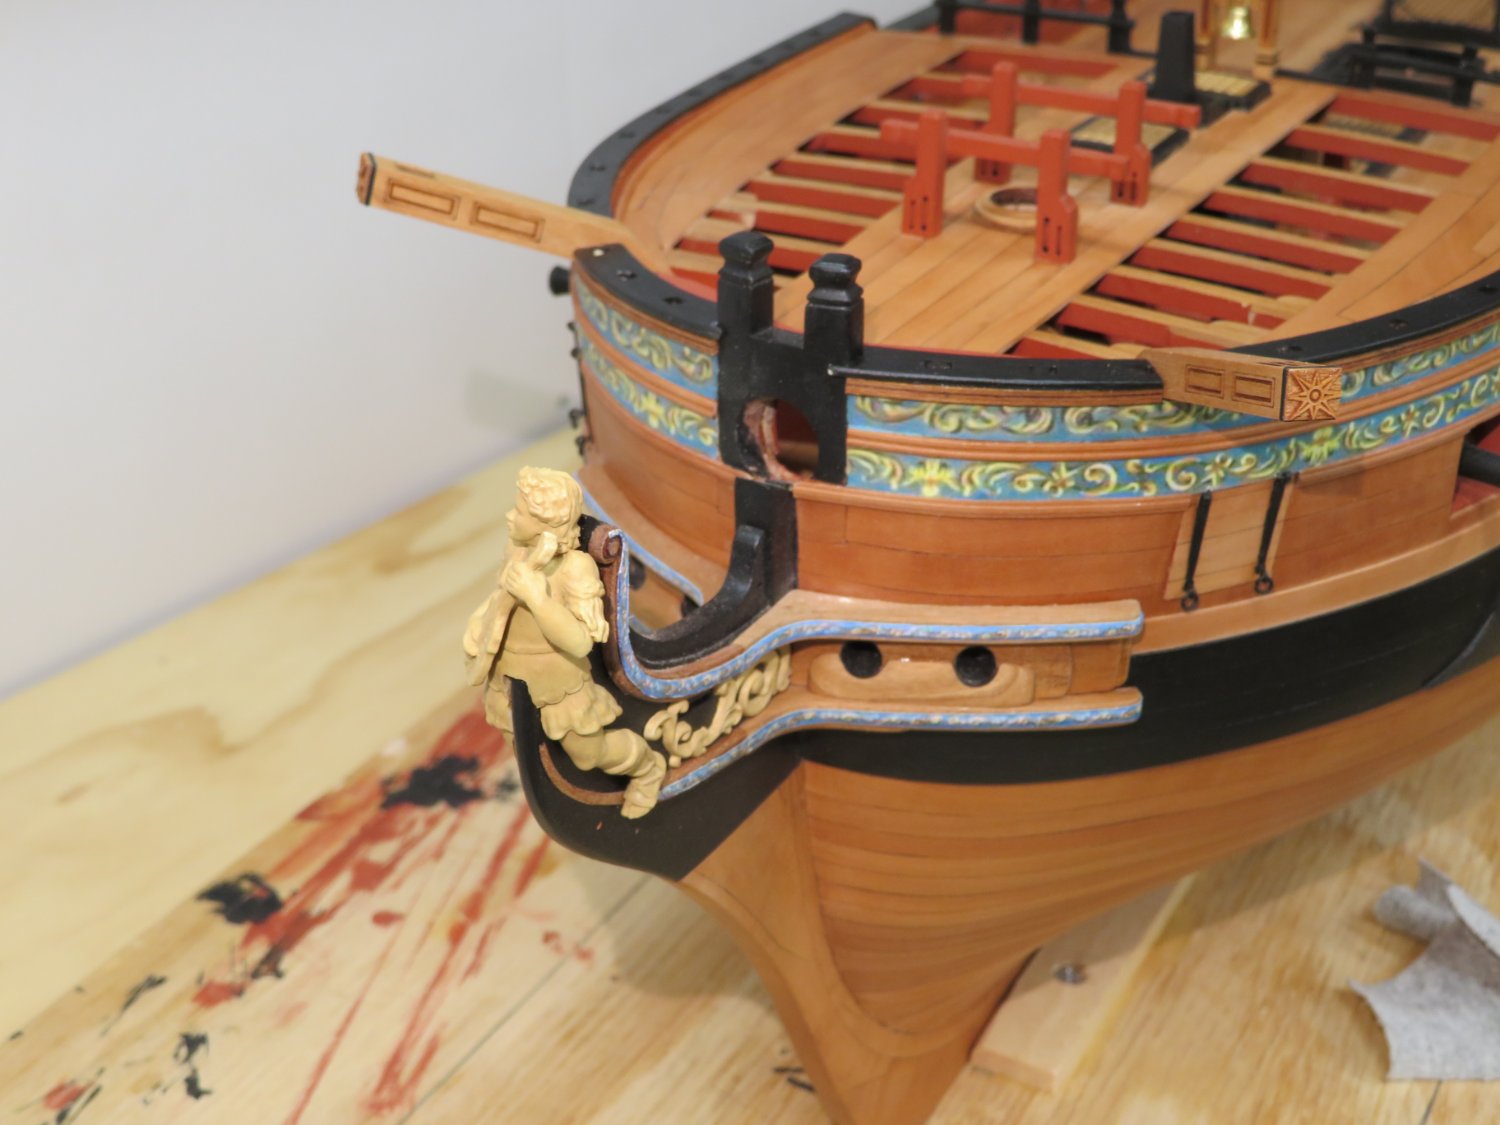
Well, I went back and rounded off the 1/32' X 1/32" strip to make the waterways. They were added
as well as the breasthook. Next I assembled the catheads. Like the belfry take your time and they
come out looking nice. I then cut out the notches for the catheads. They are placed but not glued.
I'm trying to determine if the angle they are at is correct. The cathead sits flush on the margin plank
but they look a little high to me. Hmmmmm.


- Nunnehi (Don), JpR62, scrubbyj427 and 11 others
-
14
-
Another fine masterpiece! It's been a great joy and learning experience following along with you.
As Mike said enjoy your vacation and I can't wait for the next project!
- FrankWouts, Ryland Craze, Jack12477 and 2 others
-
5


Sloop Speedwell 1752 by Chuck - Ketch Rigged Sloop - POF - prototype build
in - Build logs for subjects built 1751 - 1800
Posted
That is really great Chuck. I always have trouble trying to get those angles correct. Usually failing miserably.