Jim Lad
-
Posts
9,581 -
Joined
-
Last visited
Content Type
Profiles
Forums
Gallery
Events
Everything posted by Jim Lad
-
Rick, The standard method is that the inboard end is secured by an iron fid passing through the inboard end of the bowsprit and both knightheads. John
-

Original Rigging for Cutters of 1763: with a Jib boom?
Jim Lad replied to Gregor's topic in Masting, rigging and sails
Just had a look at this as I'm intrigued by the thought of a cutter with a 'flying jib boom'. If you have a look on the NMM 'Collections' page the plans of Sherborne that come up are different to the one shown on their 'Art Prints' page linked by Gregor. The plans on the 'Collections' page are laid out differently and don't have the spar dimensions on them (which is a detail I've never seen on NMM plans before). Also, the 'Art Prints' page plan doesn't have the museums curator stamp on it that NMM plans normally have. Very odd!! John -
It's good to see your determination to get her looking just right, Bob! John
-
Nice to see an update of your beautiful model, Bob. John
- 196 replies
-
- 2
-

-
- higaki kaisen
- woody joe
- (and 1 more)
-
A very nice bit of blacksmith's work, Toni! John
-
She's really coming together, Popeye - love the details! John
- 956 replies
-
- 2
-
-
- andrea gail
- trawler
- (and 1 more)
-
Quite up to your usual standard, Augie! John
- 2,191 replies
-
- 2
-
-
- confederacy
- Model Shipways
- (and 1 more)
-
Thanks, folks! John
-
Thank you all for your kind comments. I had considered just a very light wash of colour on the hull, but in the end have decided to clear finish it so that the planking remains fully visible. Good old Minwax Wipe On Poly will be the finish of choice. John
- 745 replies
-
- 5
-
-
- francis pritt
- mission ship
- (and 1 more)
-
Jim, Are you looking for an anchor rigged to a cathead or to an anchor davit. Also, what type of ship and what era are you interested in? John
-
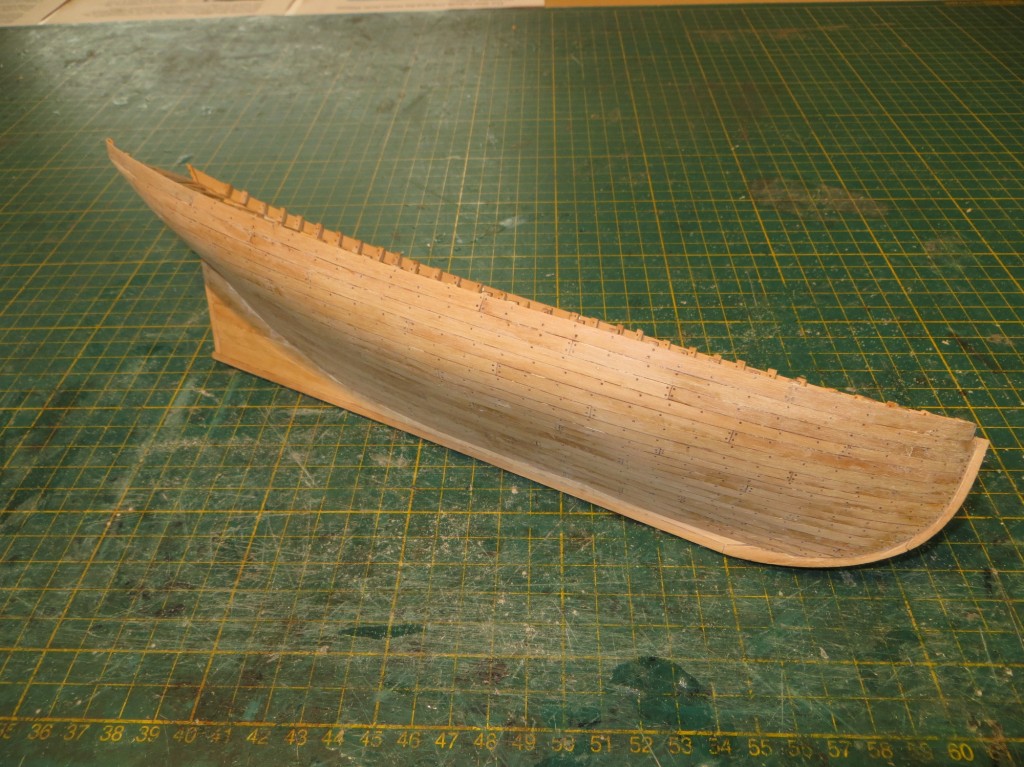
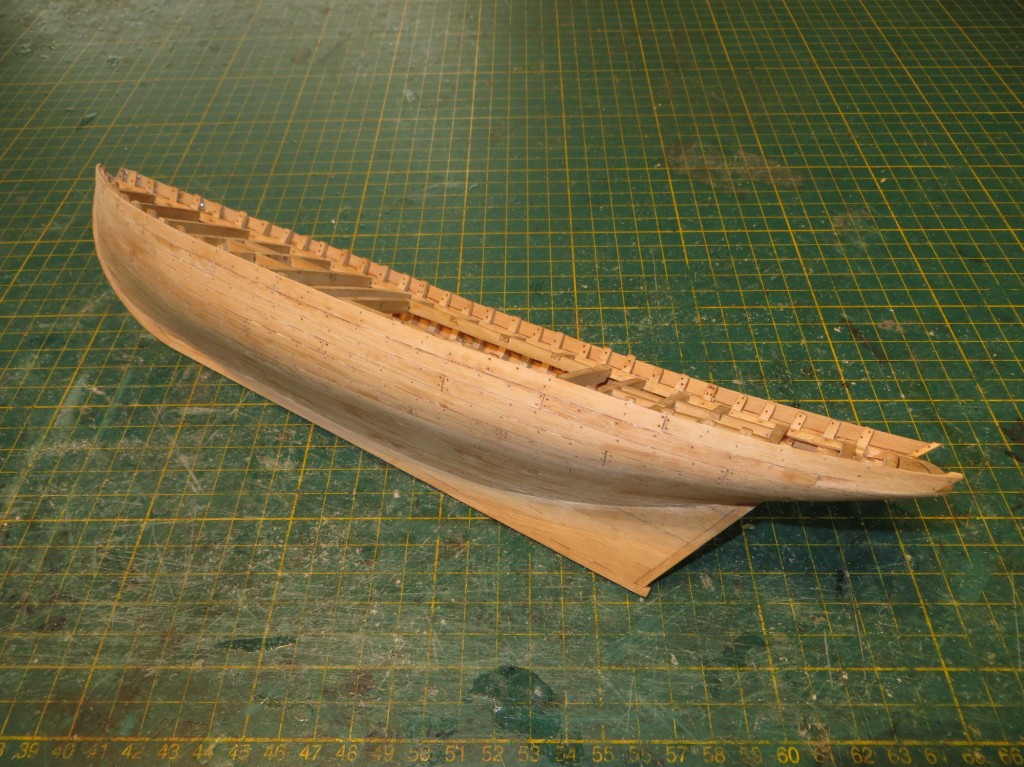
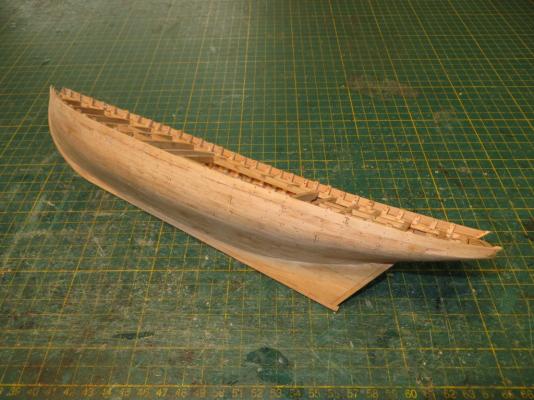
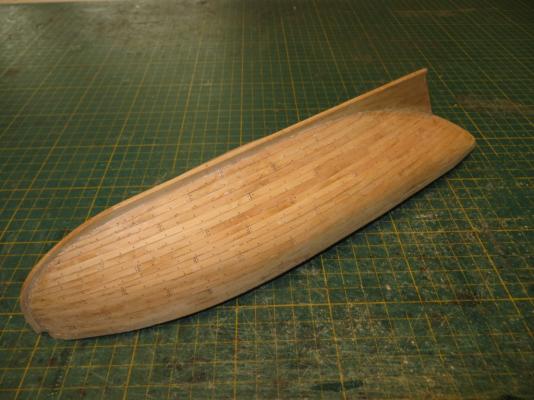
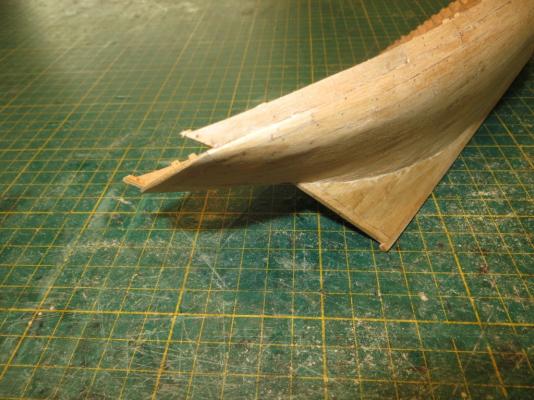
I've had quite a bit of extra time at the museum of late, filling in for one of the model makers who has a few health issues. As a result I've managed to get quite a bit of work done on the 'Pritt'. The treenailing of the hull is now complete and the low kick rail has been fitted and treenailed. The photos show the hull treenailed and rough sanded. The next steps will be to finish sanding the hull; thin down the kick rail stiffeners to a more scale like dimension and then fit the rubbing strake. After that I'll give the hull a coat of finish to protect it and then get on with the capping rail and the deck. In the fourth photo below you'll see that the stern is quite open above the deck. This was quite usual for the T.I. pearlers - the capping rail is supported on three knees across the stern. This configuration allowed for very quick and easy cleaning of the deck after sorting and cleaning pearl shell by simply hosing and sweeping all the rubbish over the stern. John

- 745 replies
-
- 25
-
-
- francis pritt
- mission ship
- (and 1 more)
-
ancre Le Francois by cabrapente
Jim Lad replied to cabrapente's topic in - Build logs for subjects built 1501 - 1750
Cabrapente, This looks an interesting build of a beautiful model, but please post in English!! -
Recycling old wood is actually a very good idea and works well as a source of modelling timber - providing, of course, you can mill it to size. A good source is old furniture. Not the multi thousands on pounds or dollars stuff from your local antique store, but broken and dishevelled pieces from a junk shop. Choose a nice cheap piece of broken furniture mad from good, close grained wood and hey, presto! a goodly supply of well seasoned wood for you. John
-
Nice to see you got some time in the shipyard, Augie. She's looking really good. John
- 2,191 replies
-
- 2
-
-
- confederacy
- Model Shipways
- (and 1 more)
-
Iron stropping on Webb packet ships?
Jim Lad replied to John R. McGann's topic in Masting, rigging and sails
Jamieson notes ships' blocks as being 'stropped with either rope or iron' in his "A Dictionary of Mechanical Science, Arts, Manufactures, and Miscellaneous Knowledge" of 1829. John -
Phil, Having had a close look at both Steel and Lever, I can offer the following advice for the way flying square ails were set in British ships. The flying yards were usually rigged without braces or lifts, but occasionally had braces (as in revenue cutters). If braces were fitted, then they were rigged to the yard and sent up with it. The halliard was rigged through a sheave in the mast and the sail secured to the yard with lengths of sennit. It was sent aloft from the deck by simply heaving it up with the halliard, which was stoppered to one end of the yard so that it went up vertically. When the yard was aloft a boy sent aloft for the purpose would cut the stopper on the halliard and secure the clues of the sail by lashing them to the ends of the yard below, and the flying yard would then be hoisted right up. I hope this is helpful. If unclear, please let me know and I'll see if I can make my description a little better. John
-
Very neat looking coppering (and it's great to see that you're working on her )! John
- 161 replies
-
- 2
-
-
- pegasus
- victory models
- (and 1 more)
-
I just use an old office chair, Mario - whatever's comfortable for you is the way to go. John
-
Very nice indeed, Popeye - she's really coming on now. John
- 956 replies
-
- 2
-
-
- andrea gail
- trawler
- (and 1 more)
-
Is there a better #11 blade handle
Jim Lad replied to roach101761's topic in Modeling tools and Workshop Equipment
Phil, I use scalpel blades and scalpel handles. I've had my current scalpel handles for many years. Just a tip - don't buy from a surgical supply house - they charge like wounded buffaloes; some hobby shops sell genuine scalpel blades and handles, itherwaise you can get them a bit cheaper (for the same product) than at surgical suppliers by going to a veterinary supply place. John- 75 replies
-
- 10
-