Jim Lad
-
Posts
9,591 -
Joined
-
Last visited
Content Type
Profiles
Forums
Gallery
Events
Everything posted by Jim Lad
-
 Popeye, I haven't had a problem with archive quality markers - it should be fine. John PS. If there is a problem we can all blame Danny - I'm pretty sure it was originally his idea!
 -
Hello guy, and a very warm welcome to the forum from 'Down Under'. Sounds like you're a big fan of JRR Tolkien! If your hull is sound and the planking hasn't opened up, why not continue your Bluenose from where you left off? John
-
So do we assume that the next one will be 1:96 Ed? I'm looking forward to seeing you going into full frame production. John
-
Hamilton, Bit of a pain to do, but you probably will need to make a grommet (continuous loop like a quoit) considerably larger than the diameter of the bowsprit and then seize the four eyes into it. If you form each eye in turn with your fingers and then clamp the eye while you seize it, it should be doable. John
-
There you go, Popeye! Nothing to it (well, almost)! John
-
Jay, Stag was built in a private yard at Cowes on the Isle of Wight for the Revenue Service. She was the fastest cutter of her day and in 1839 the Royal Navy took her into Portsmouth Dock and drew up a set of plans for her - I'm guessing they wanted one the same because of her speed. It was just a happy accident that the cutter that they drew up such detailed plans for was the one I wanted to build. John
-
Jay, The plans are in at the museum at the moment, so I can't take a picture of them, but on the lines drawings there's a detailed cross section amidships that shows the planking. Very unusual to find that sort of detail on an admiralty plan, but there it is, and I'm grateful. John
-
Mobbsie - yeah, I've been leaning towards pedestals - we'll see Popeye - The museum currently want to display her in the Members' Lounge Sherry and Bob - Thanks very much for your support! John
-
Excellent précis of the extreme clippers, Ed. John
- 3,618 replies
-
- 1
-

-
- young america
- clipper
- (and 1 more)
-
Nicely plated, Piet. The boilermaker foreman would be proud of you. John
-
Best if the ratlines are left until the standing rigging is finally tensioned. I know that this leaves a lot of ratlines to do in one hit, but you have a better chance of ending up with better looking rigging. John
-
Harvey, Cotton isn't as liable to slipping as some synthetic fibres, however I think the trick is to leave a reasonable length on the end after temporarily securing the line. That way the knot isn't so liable to give way and you also have something to play with if you need to adjust the tension. John
-
Elia - I'm still tossing up between pedestals and a stand. I hope to get the base organised before my next trip to the museum, so that might finally settle it for me. Druxey - I really regret my reprehensible rigging (w)reckage! Augie - Thanks for the good word, mate! John
-
Harvey, Your planned rigging is exactly the way I rig my models. The trick is to get as much rigging as possible already fitted on each yard before they go aloft. As for rigging tautness, don't finally fix any of your standing rigging until the entire ship is rigged - i.e., tie everything off, but leave the 'tails on the lines and don't glue anything. That way you'll be able to make any final adjustments that might be necessary. John
-
Very neat grating, Danny - pity we may not see any more! John
-
Beautiful work (as usual), Kester! John
-
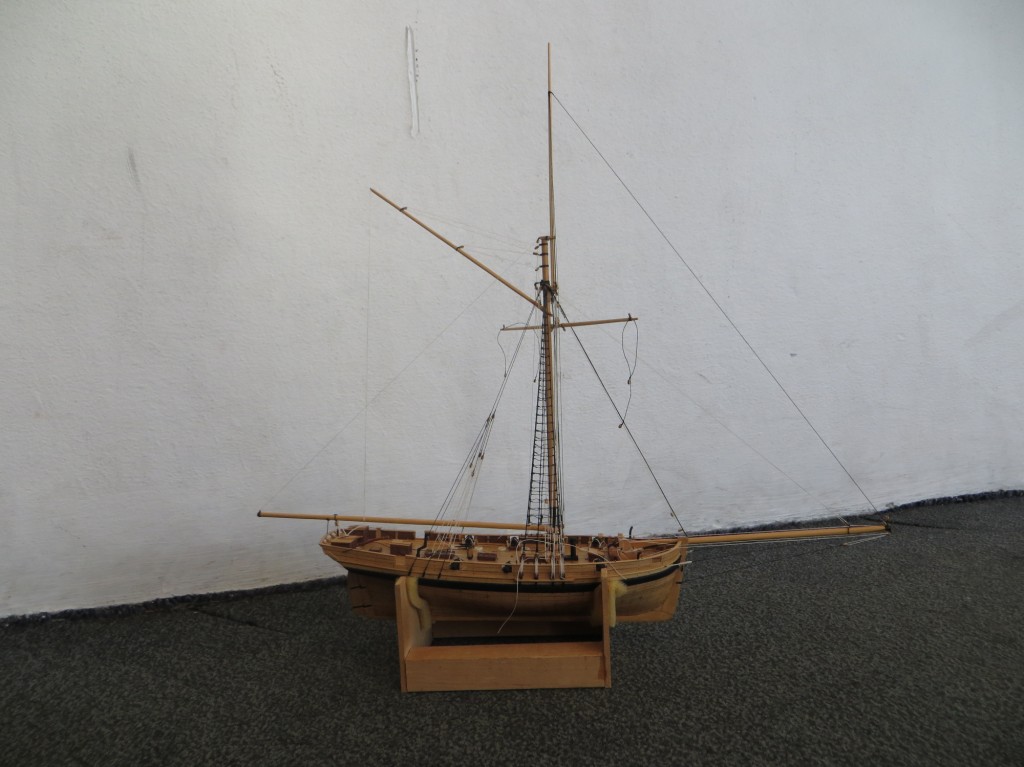
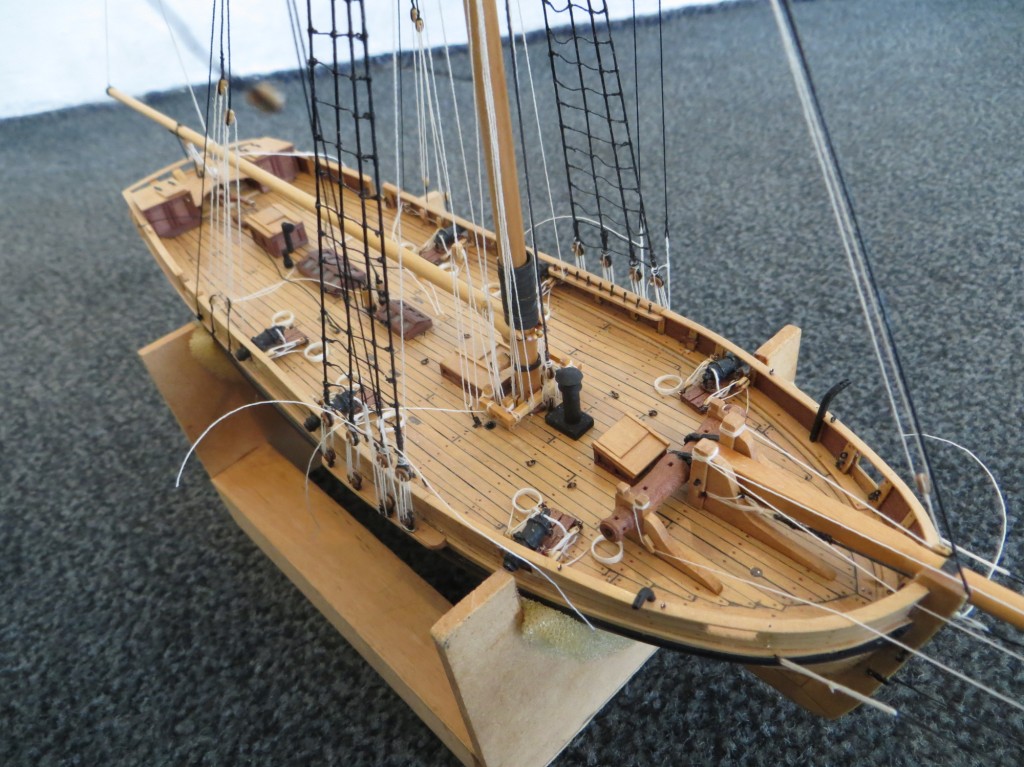
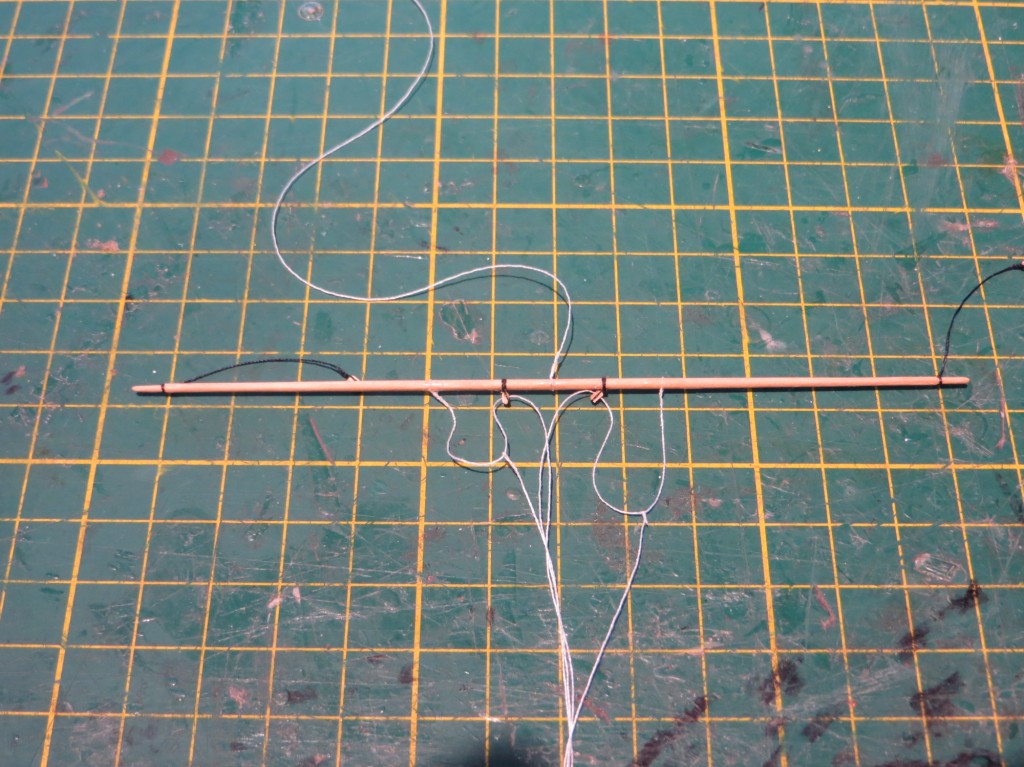
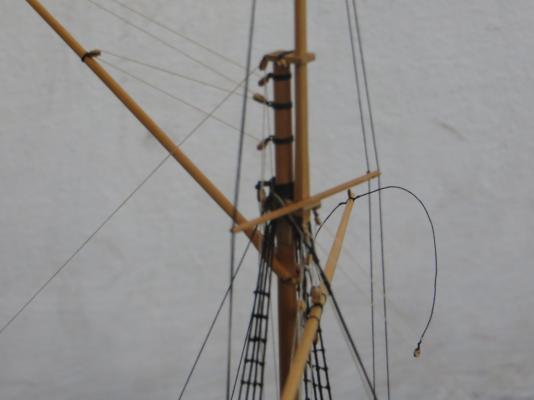
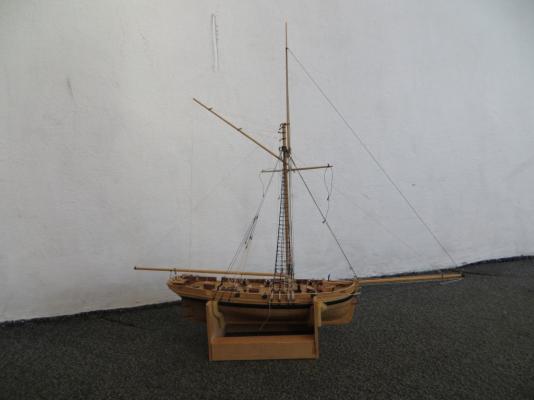
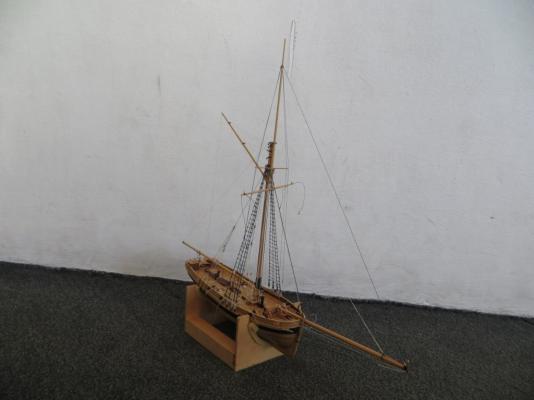
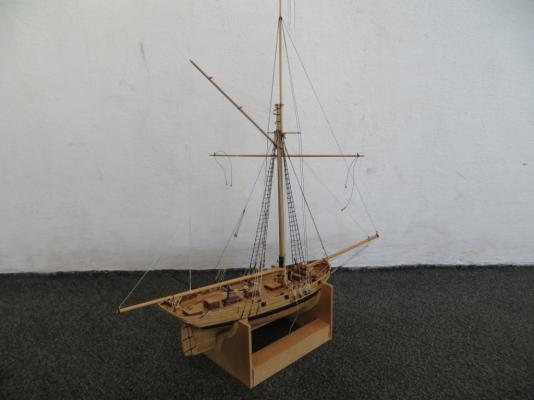
Well, Stag progresses (more or less). The spreader has been completed and the topmast shrouds and forestay rigged. I have also just about got all the rigging on the upper square yard ready for sending it aloft. Oh, and the boom topping lift is also rigged and secured. I made a stupid boo boo just before leaving the museum - trying to rush to get things done, I suppose. I was checking the lower square yard brace pennants and realised that the starboard after pennant was way too long. Thinking, "Why did you do that?", I cut it off ready to make a new one next time I'm in at the work bench and only then realised that the starboard forward pennant was way too short!! You guessed it - when I'd fitted them I'd put them on the wrong way round, so all I had needed to do was to soften the glue, turn both pennants through 180 degrees and re-glue them. Oh, well, a bit of pennant making practice won't hurt. Here are a few photos of her as of yesterday afternoon. I realise that the close up of the mast is pretty blurry - I'll try to remember to get a better one next time in. Overall views of the model A blurry mast! The deck showing an ever more crowded area around the foot of the mast. The upper yard almost ready to go aloft John


-
Mick, The photo below shows the windlass on the replica endeavour. You can see the handspike holes quite clearly. In this photo you can see the square handspike holes at the outboard ends of the windlass on my Palmerin model. The square holes were made by first drilling the holes to size and then squaring them off with the tip of a very small square file. John
-
Looks like most of this happened while I was away on holidays. Lovely job, Allan! John
-
Cutty Sark by NenadM
Jim Lad replied to NenadM's topic in - Build logs for subjects built 1851 - 1900
If you search the internet for old photographs of the Cutty Sark when she was still in service, you'll see that those two lower lines certainly didn't exist originally. Take a deep breath and start work again - you'll soon be back in the swing of things! John- 4,152 replies
-
- 1
-
-
- cutty sark
- tehnodidakta
- (and 1 more)
-
That's nice detail work there, Piet! John
-
Nicely done, Danny. Any thoughts on why the stove was put in a... about on the Vulture? John
-
You're certainly doing a thorough job on the research for this little beauty. John
-
Great to see more progress, Gary - and I love your ropewalk traveller!! John
-
Hooray! Another 19th century merchant ship coming our way!! Are you going to build her with her original single topsail rig? John
- 3,618 replies
-
- 1
-
-
- young america
- clipper
- (and 1 more)