

kay
-
Posts
46 -
Joined
-
Last visited
Content Type
Profiles
Forums
Gallery
Events
Posts posted by kay
-
-
Hello,
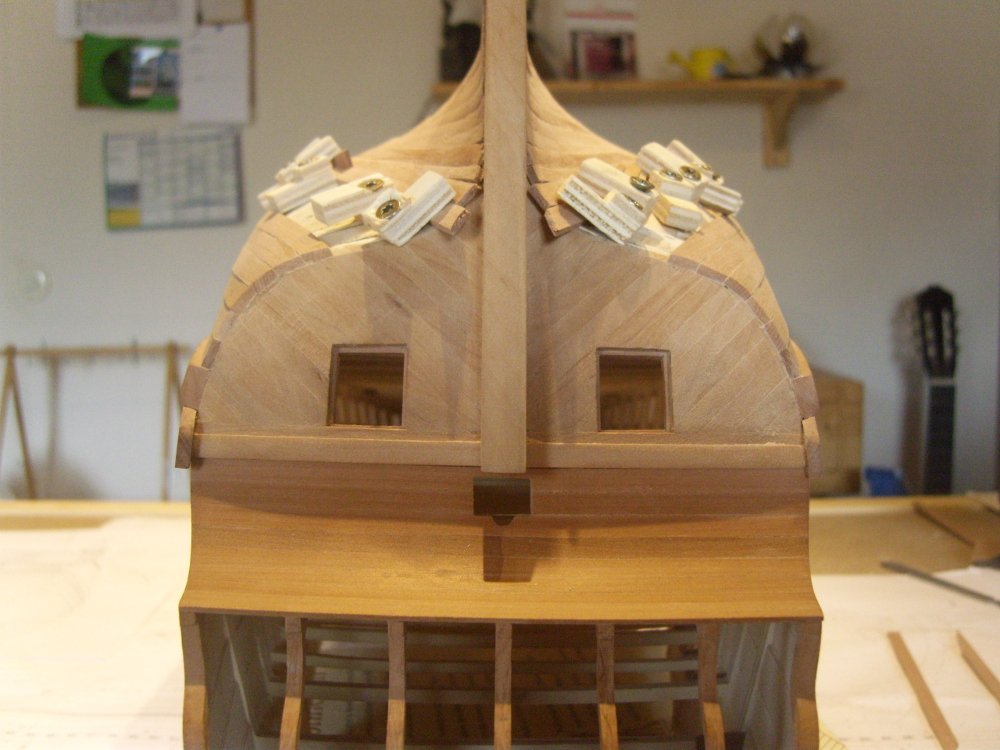
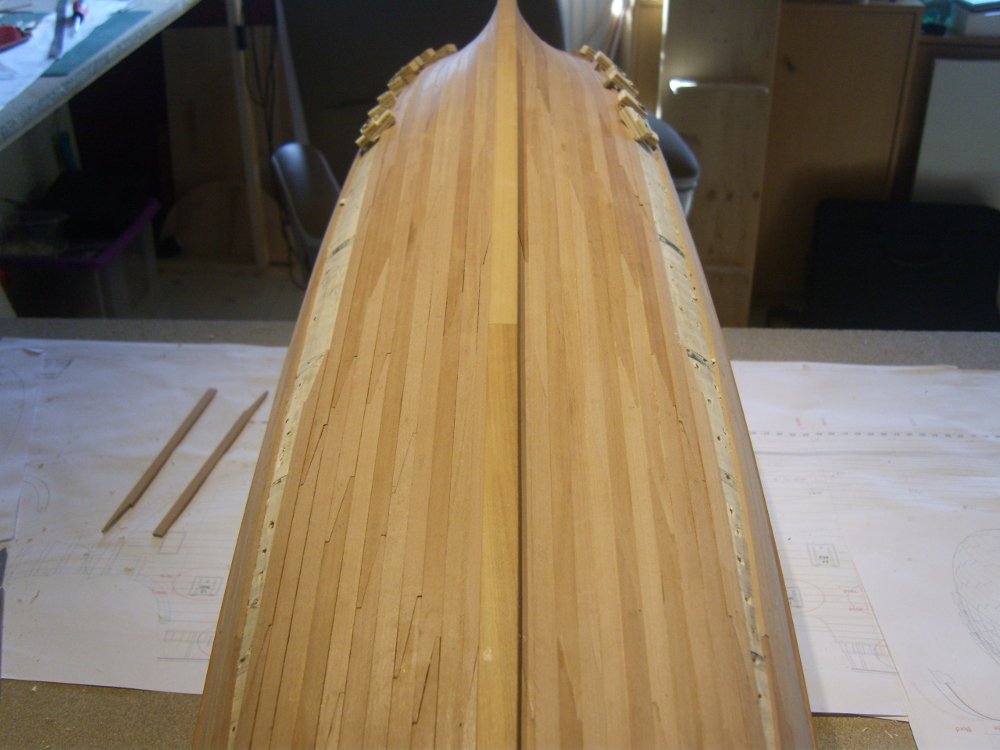
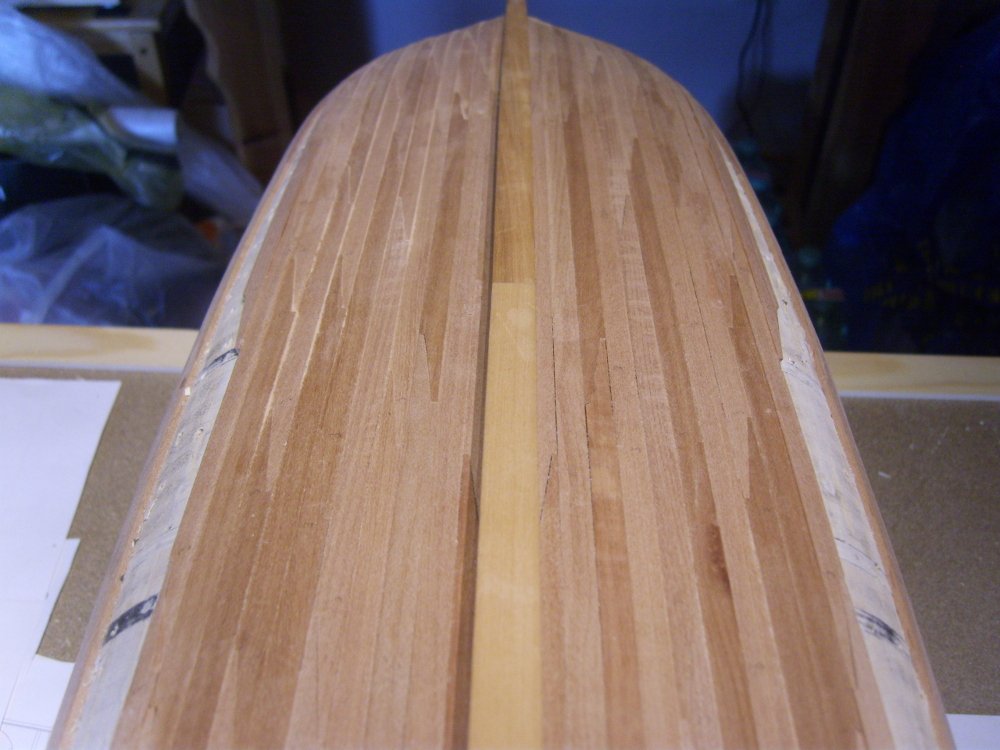
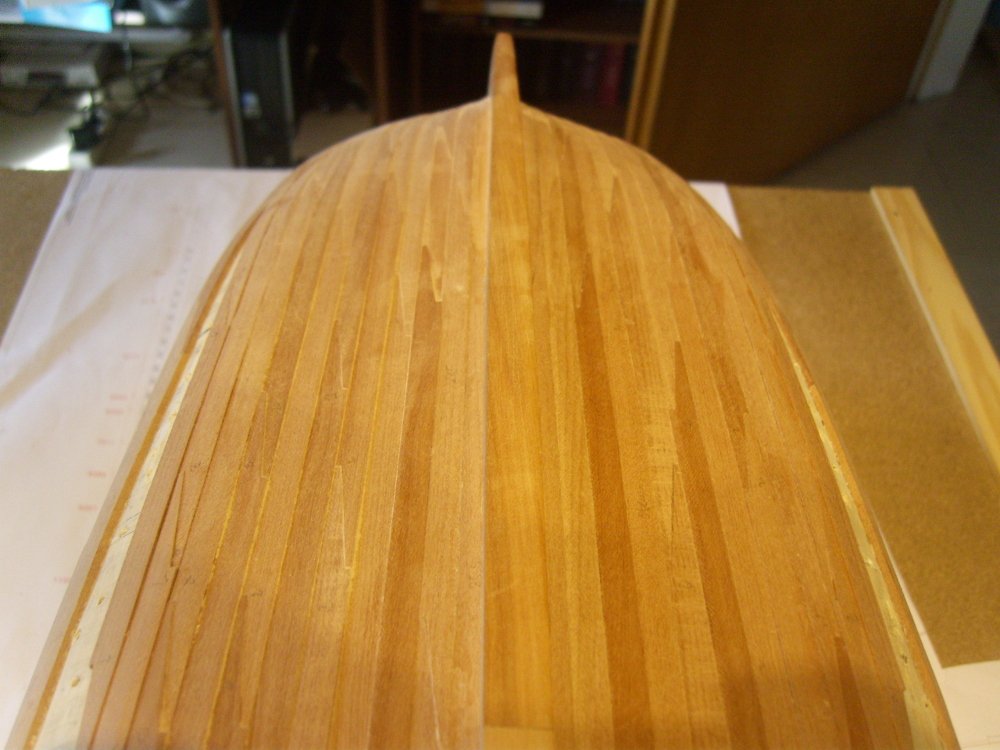
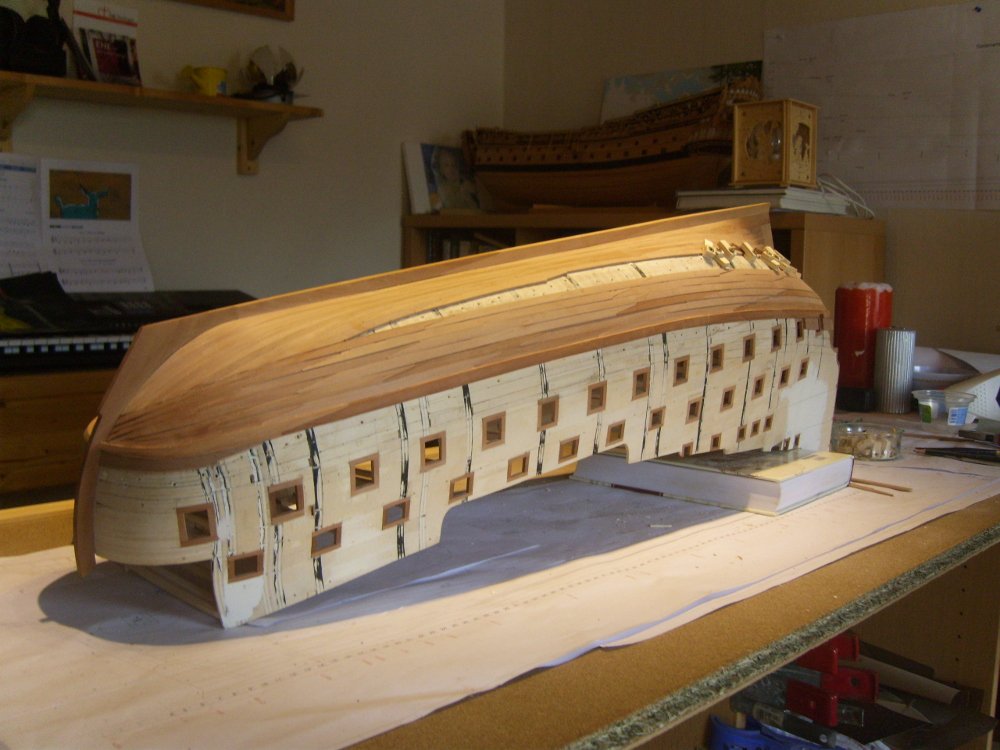
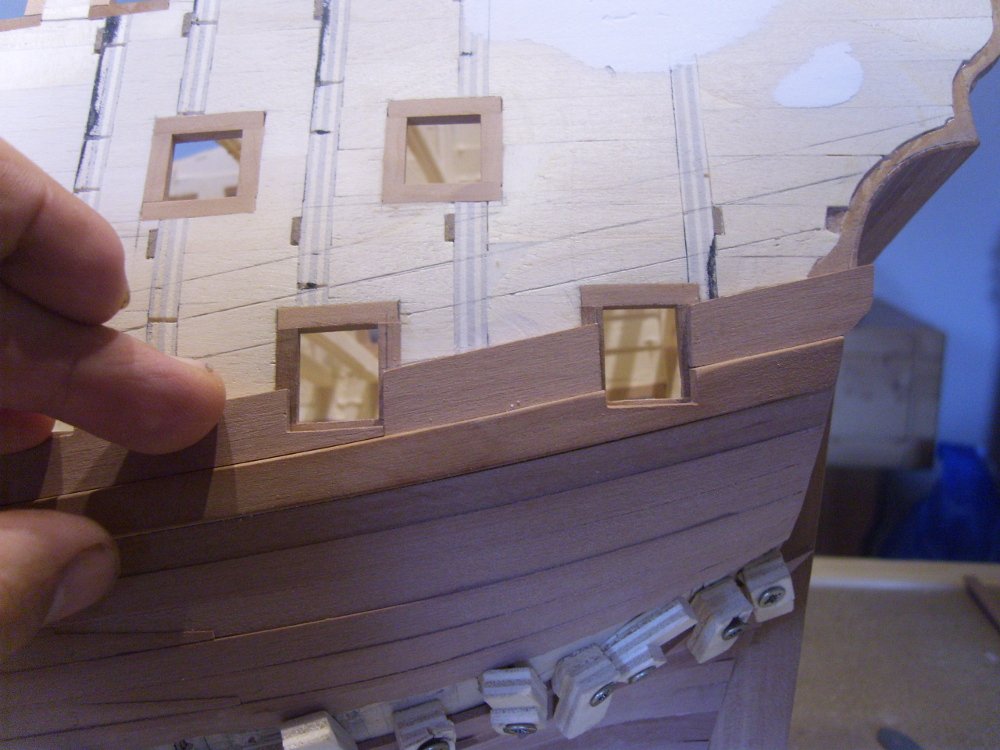
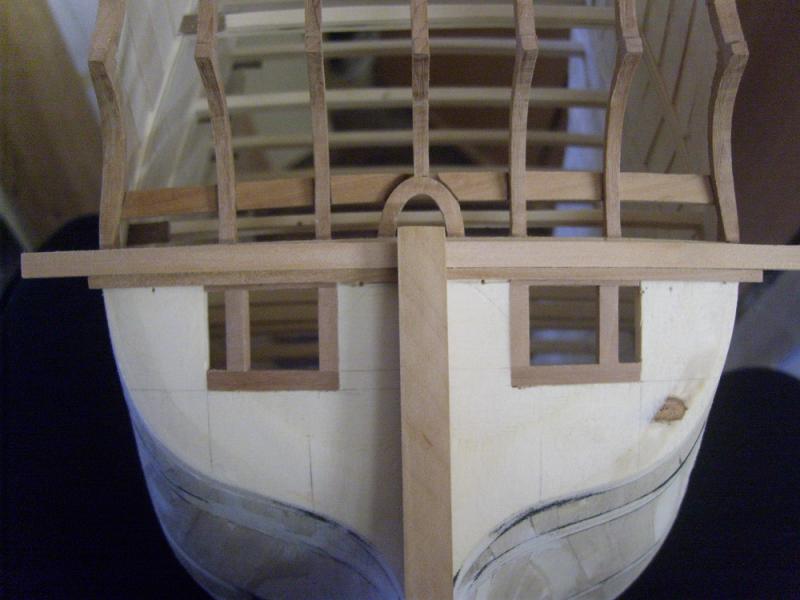
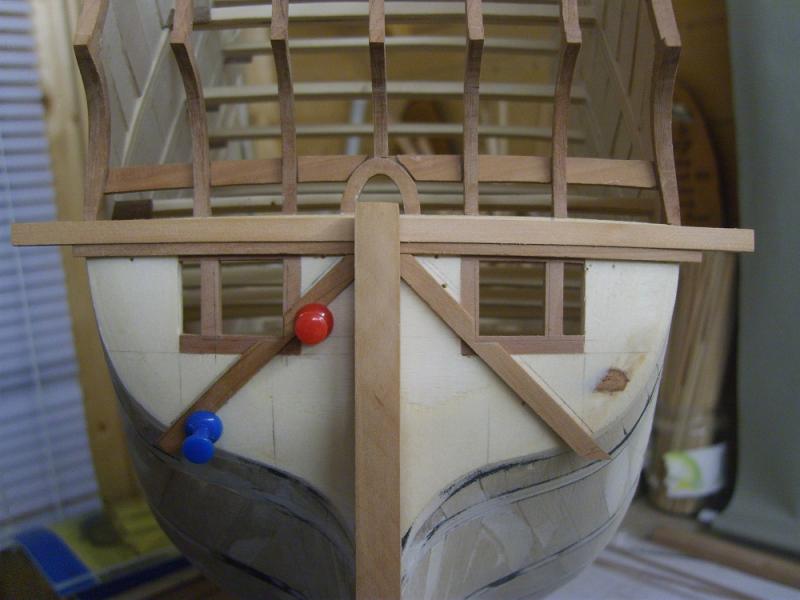
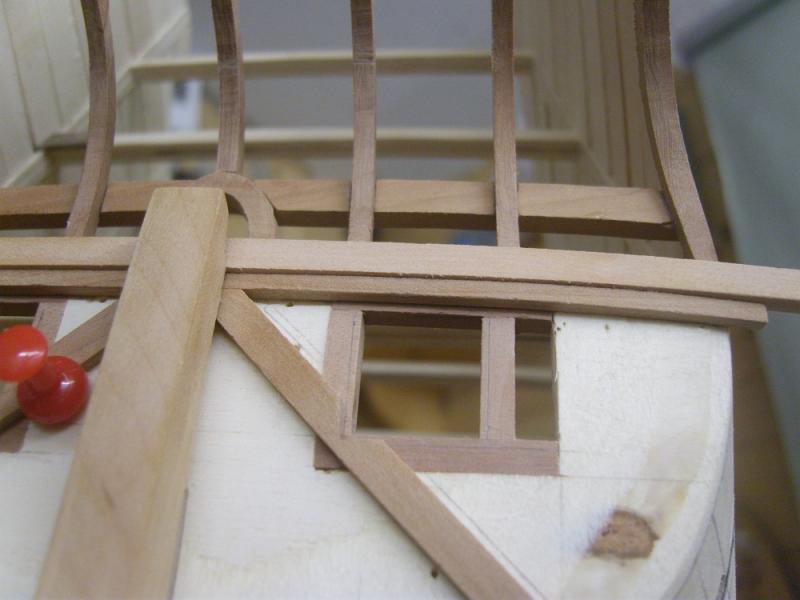
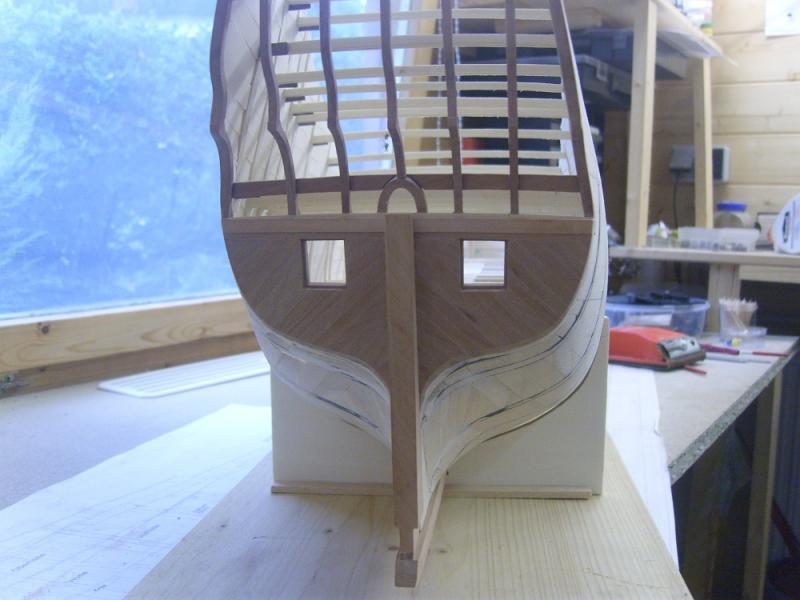
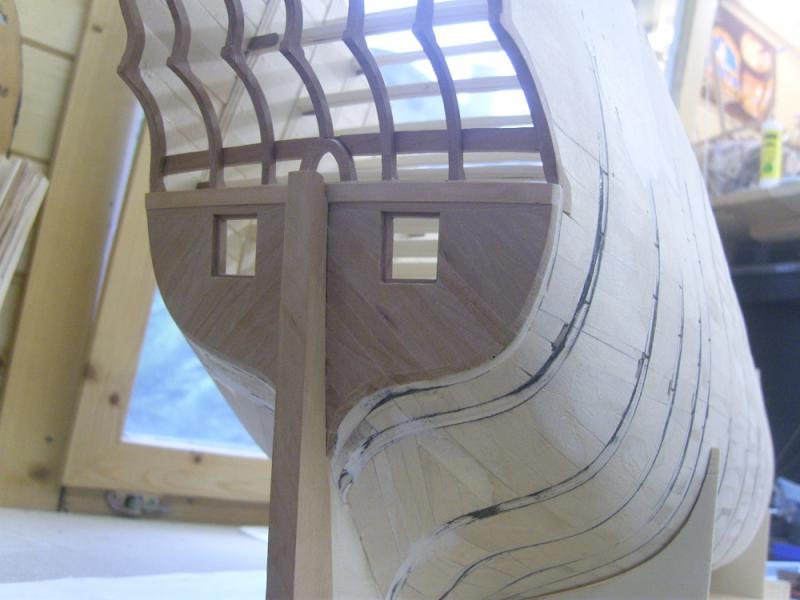
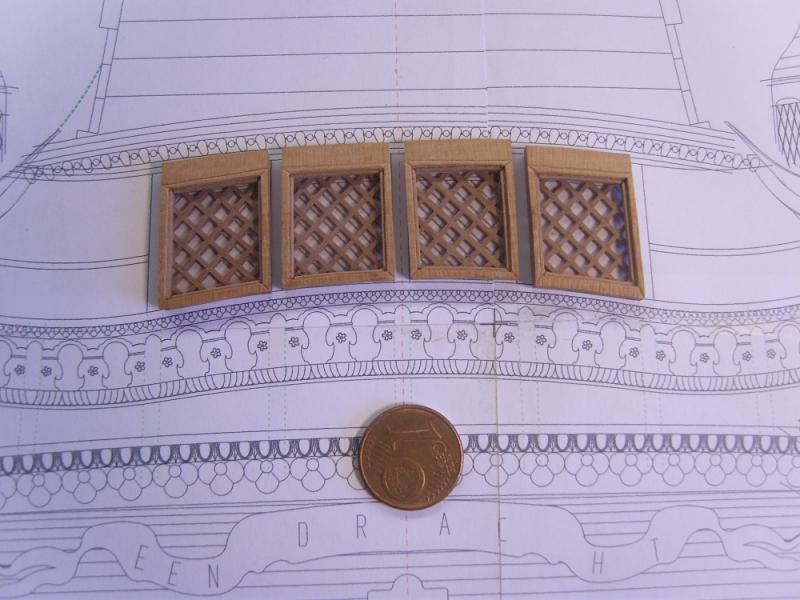
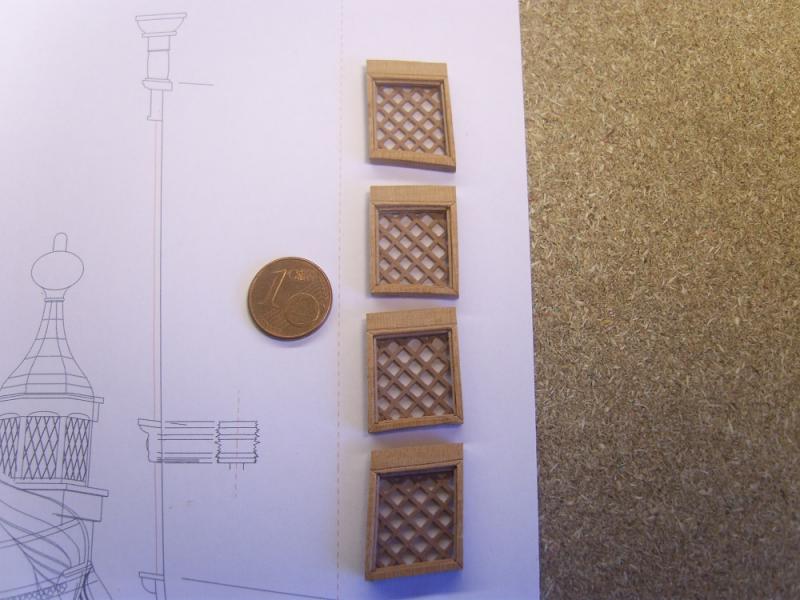
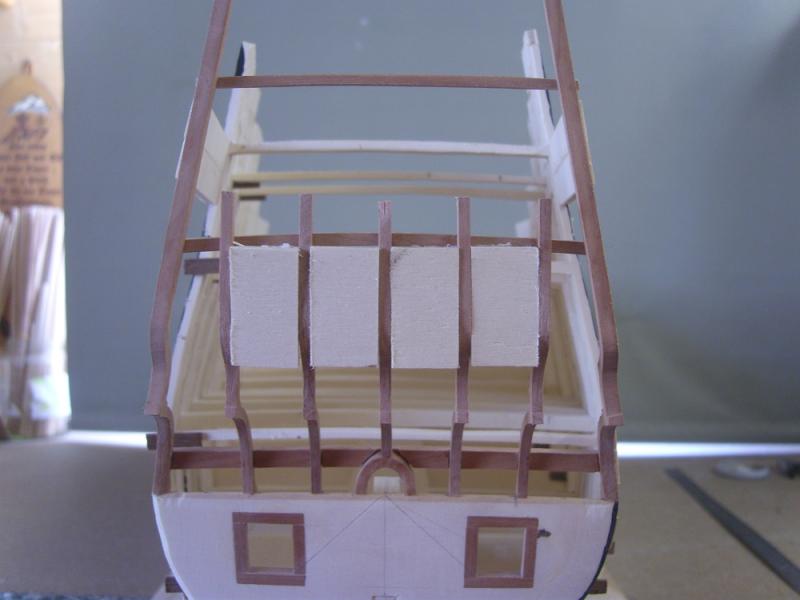
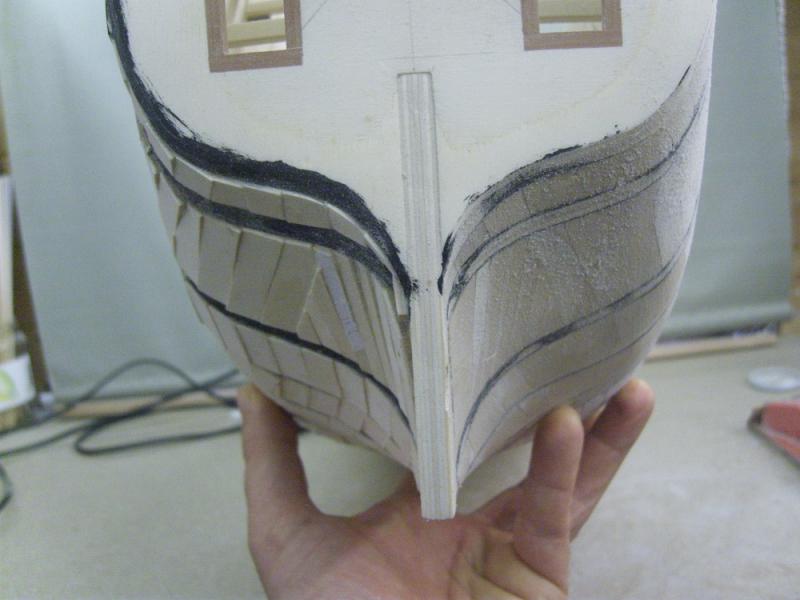
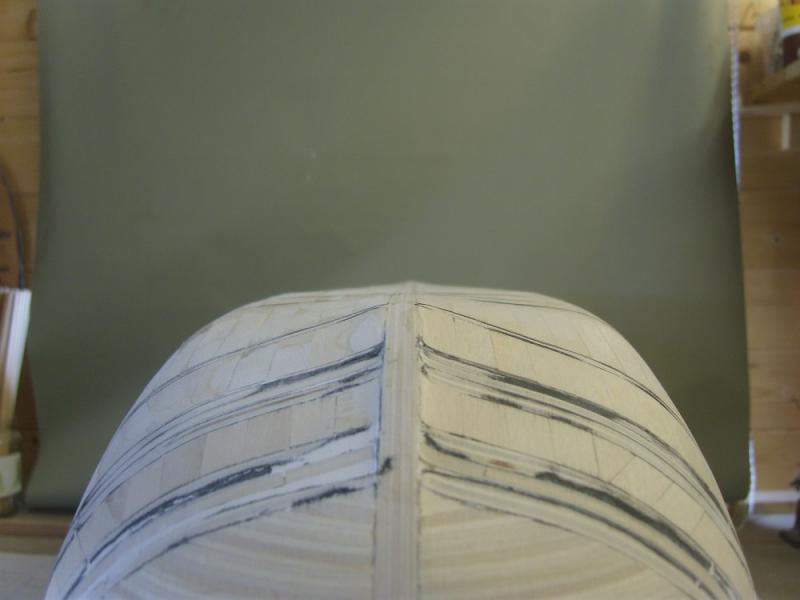
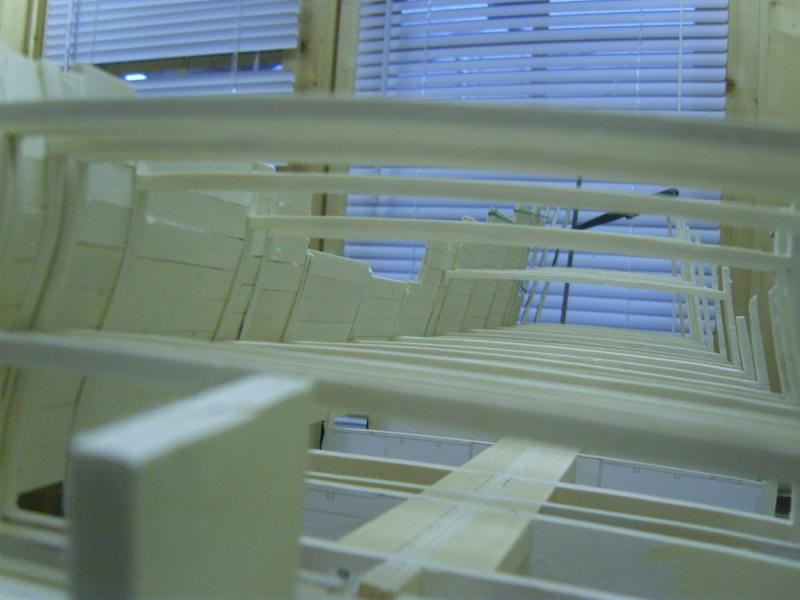
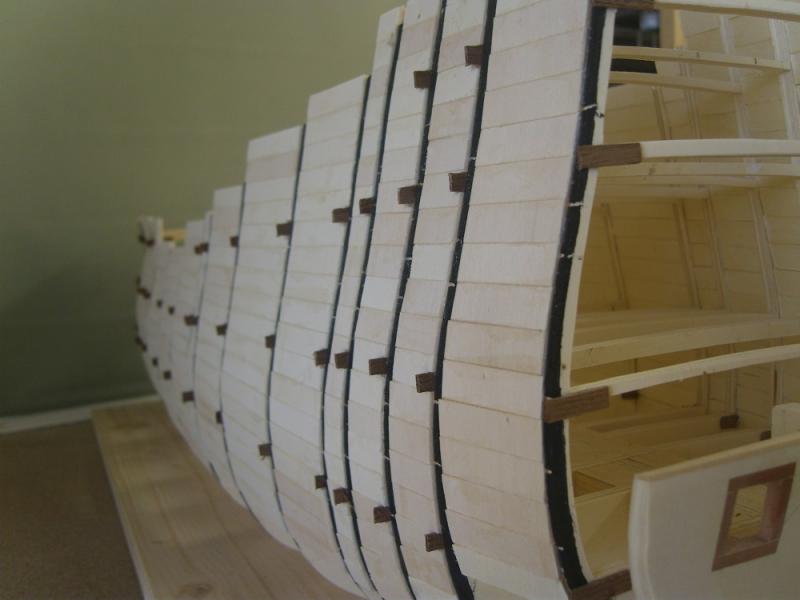
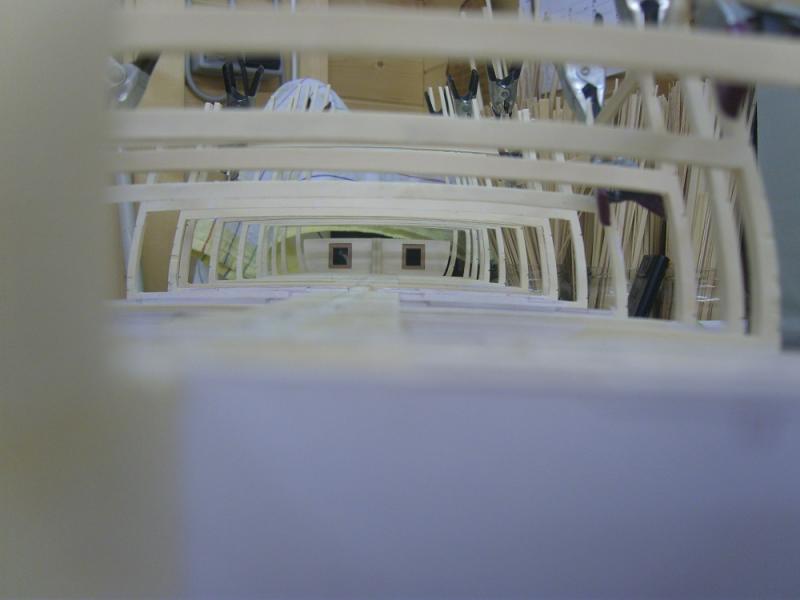
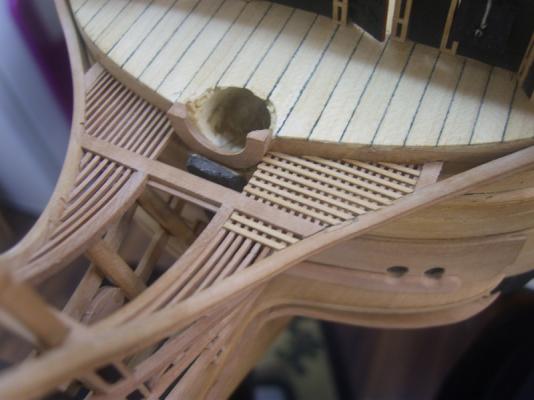
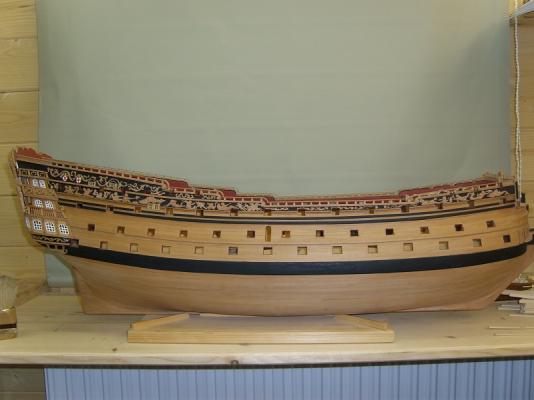
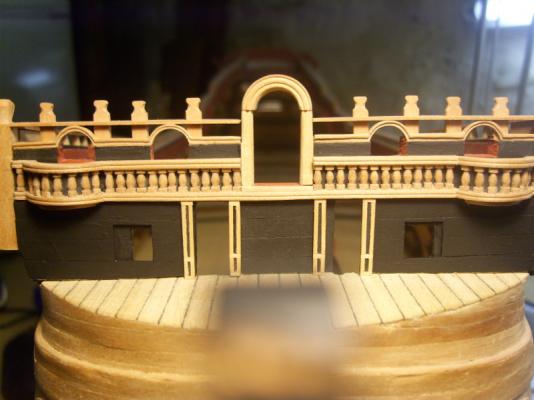
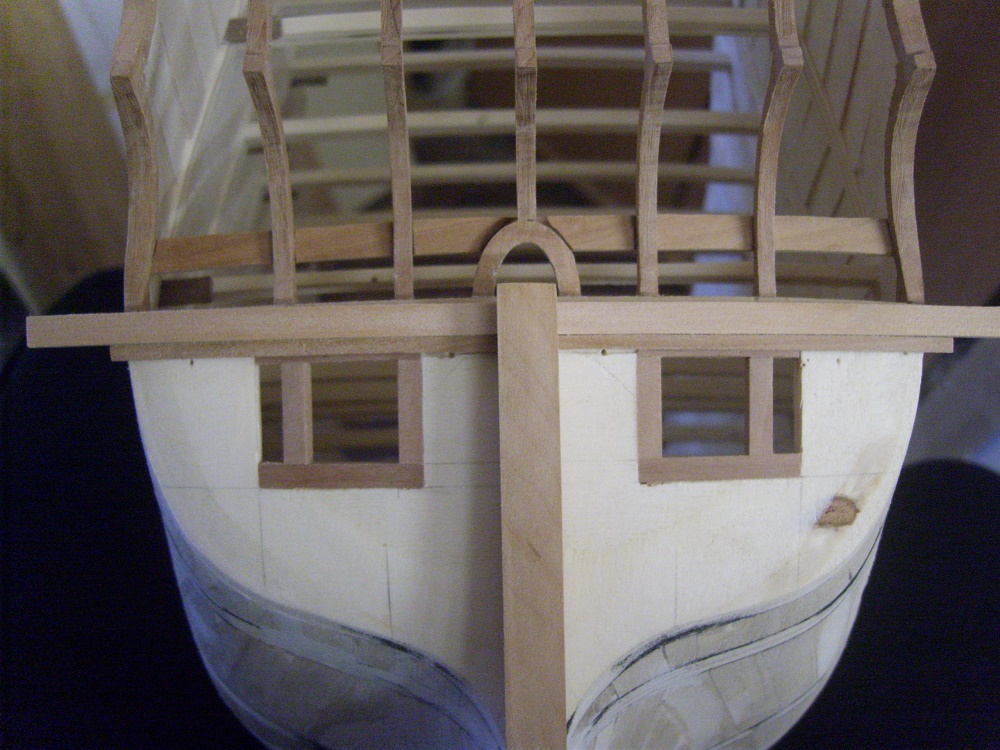
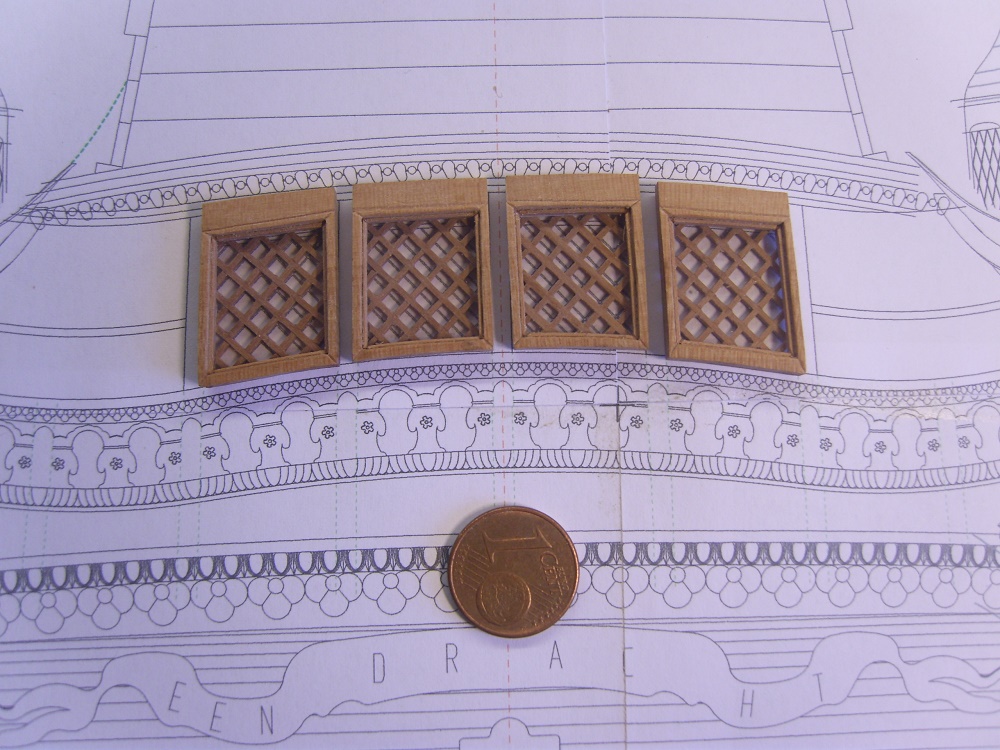
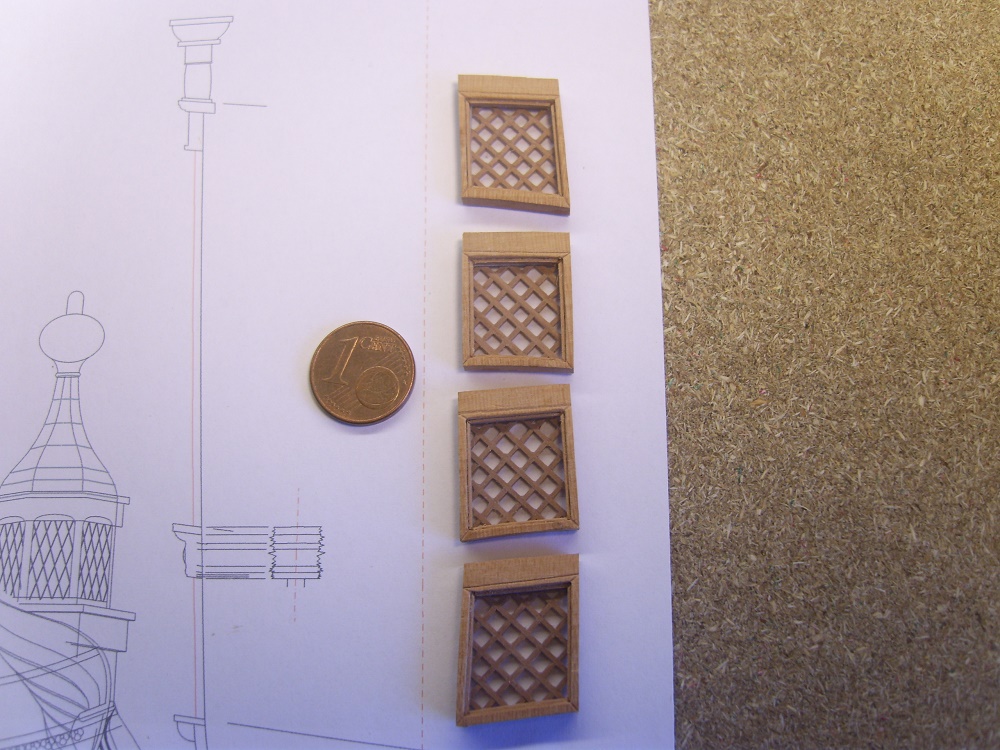
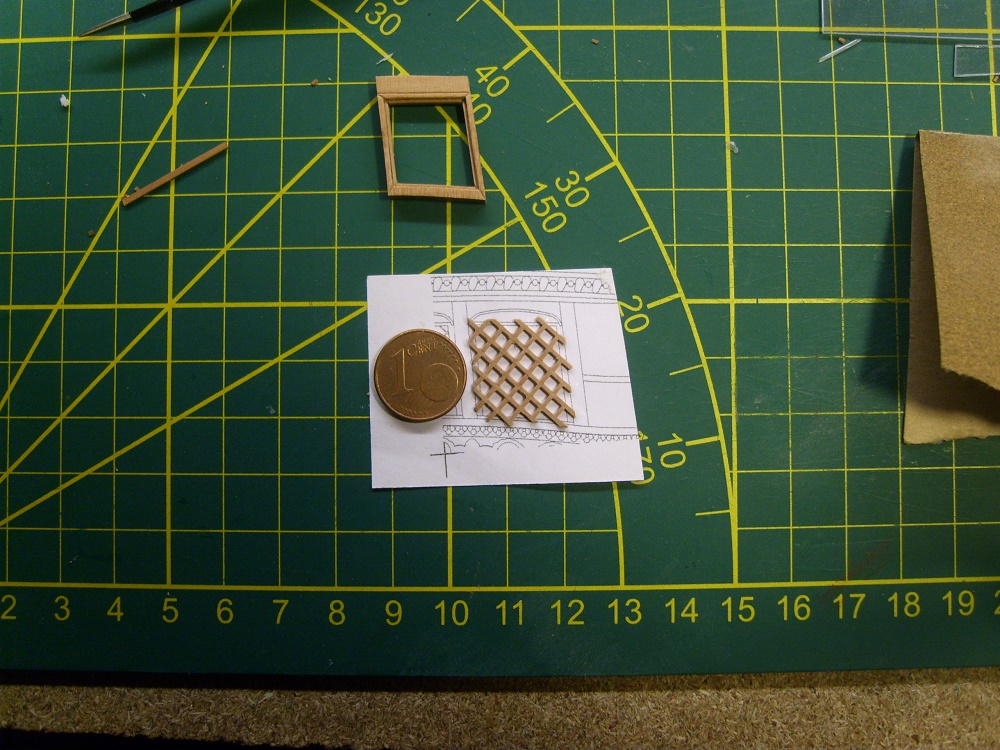
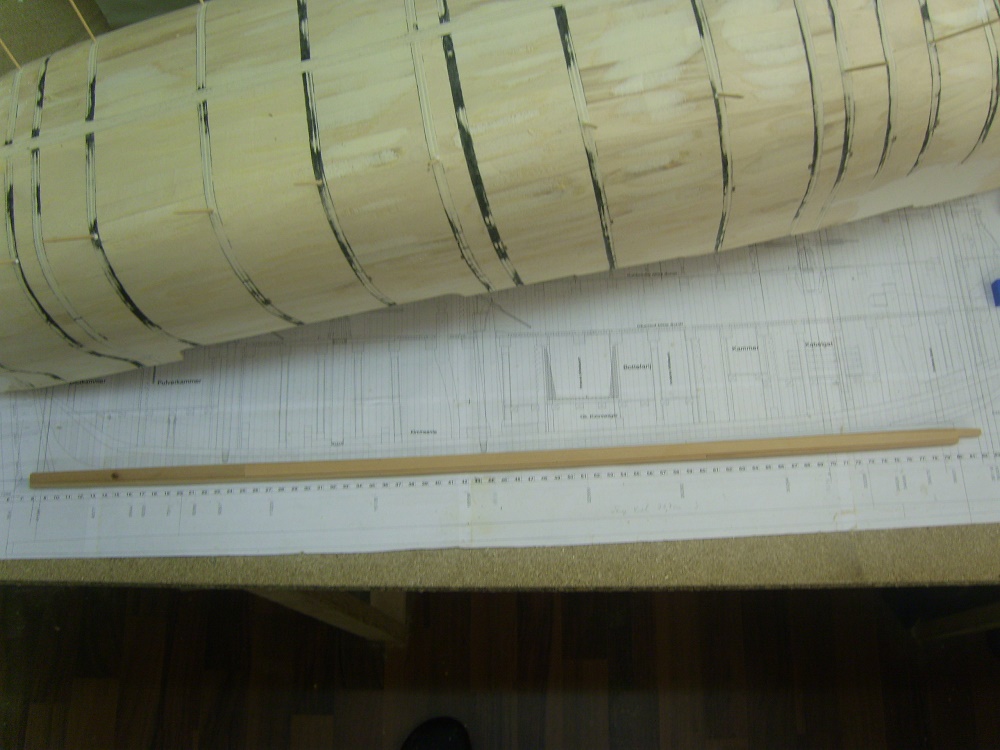
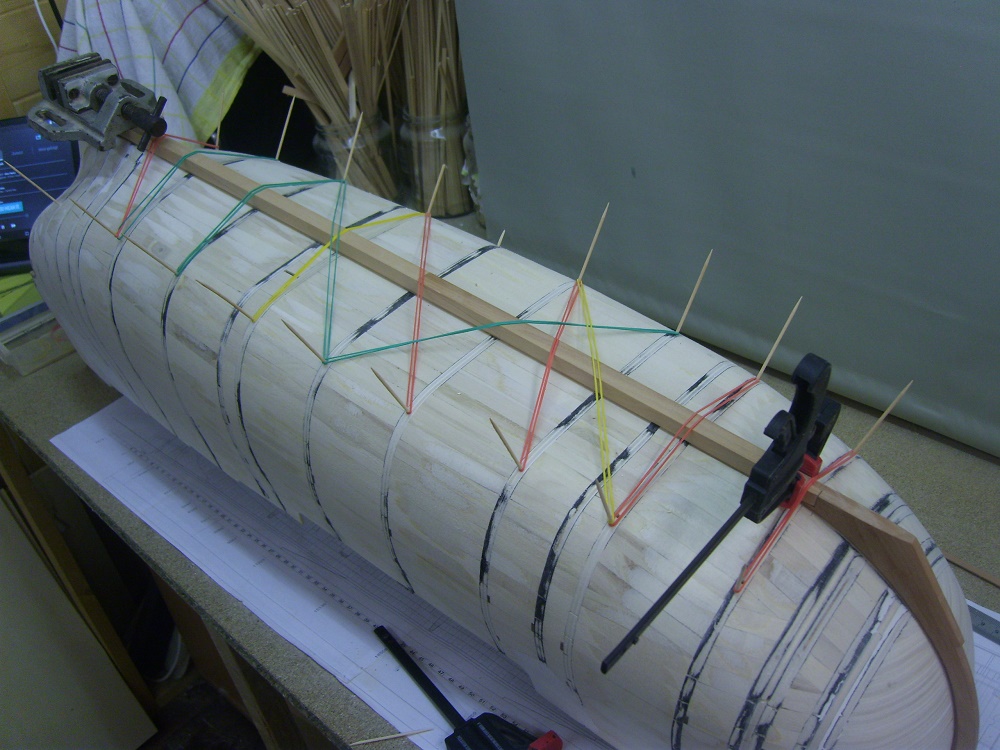
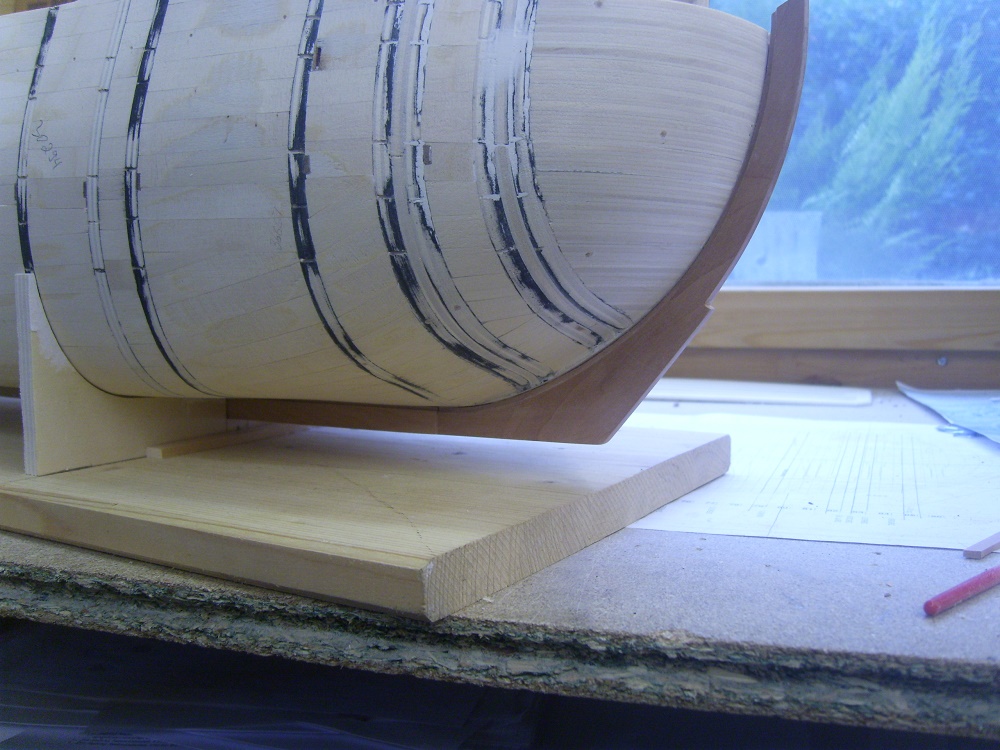
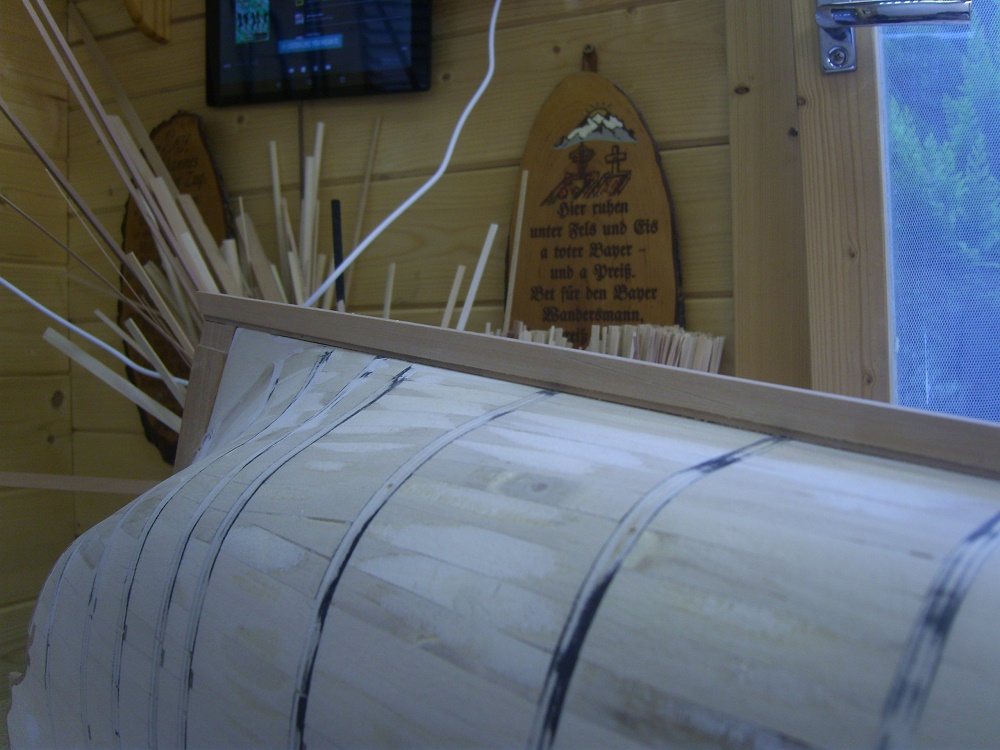
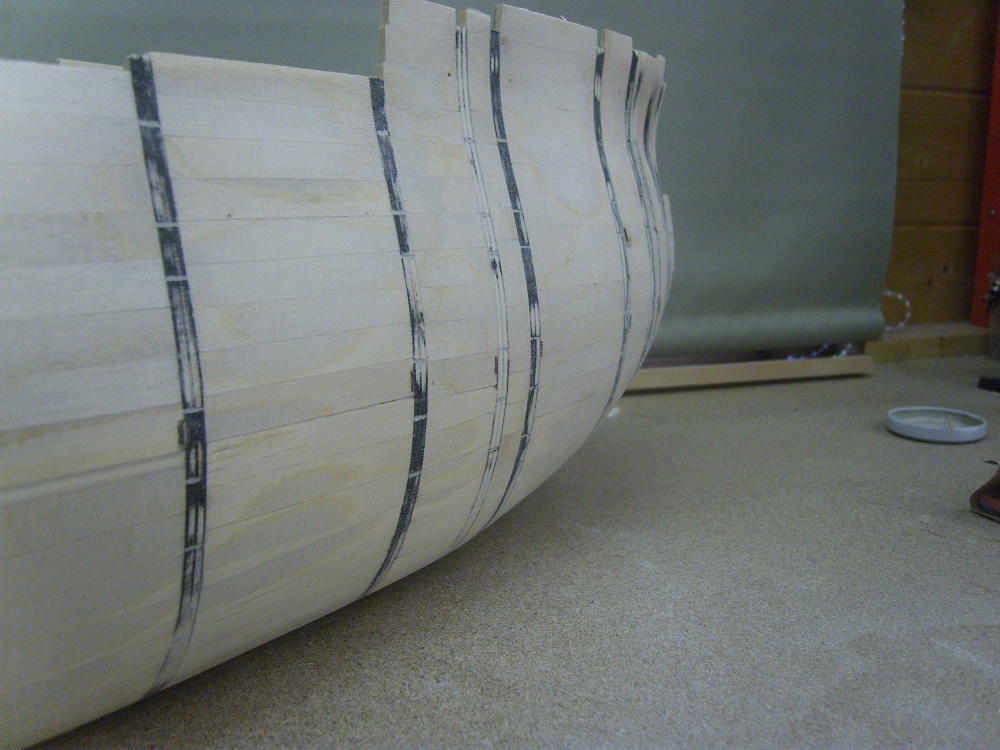
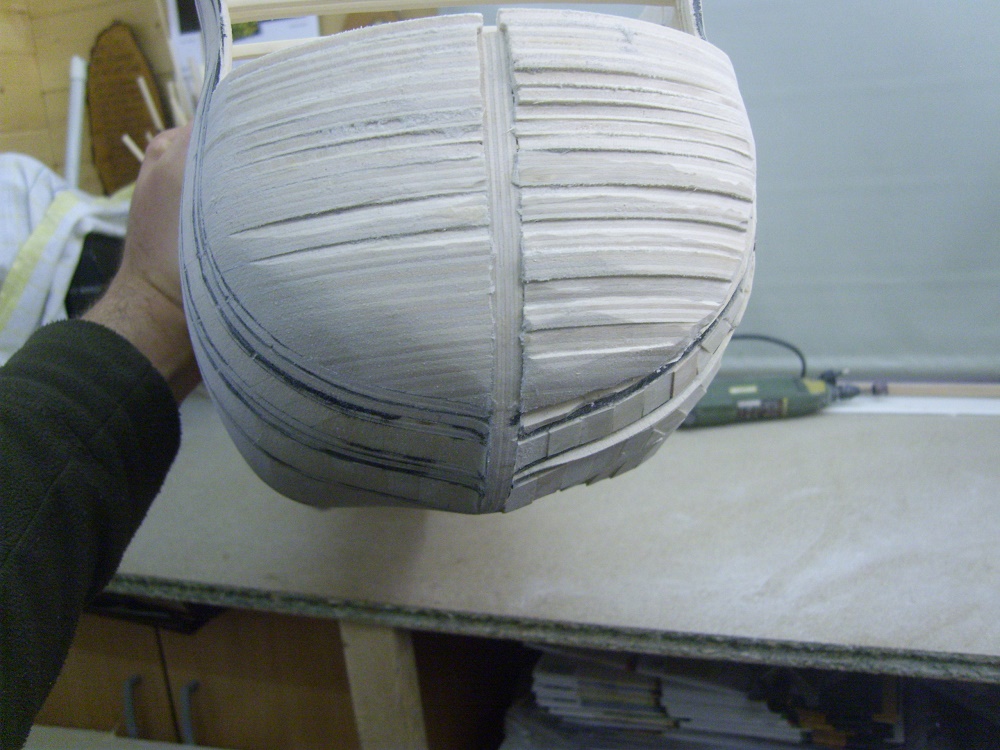
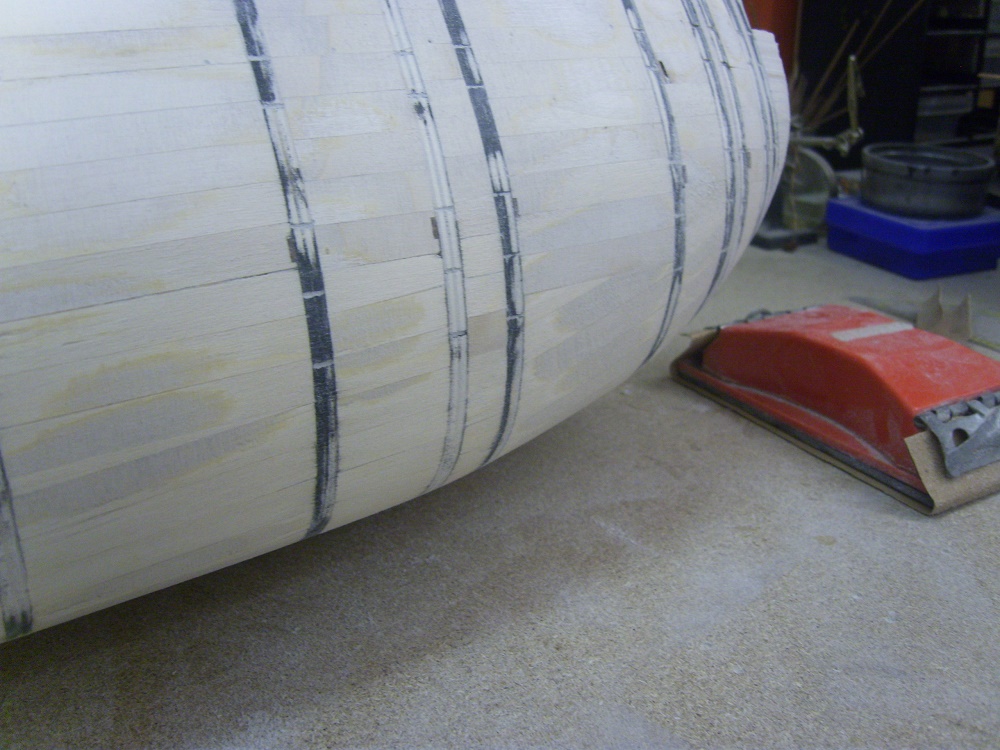
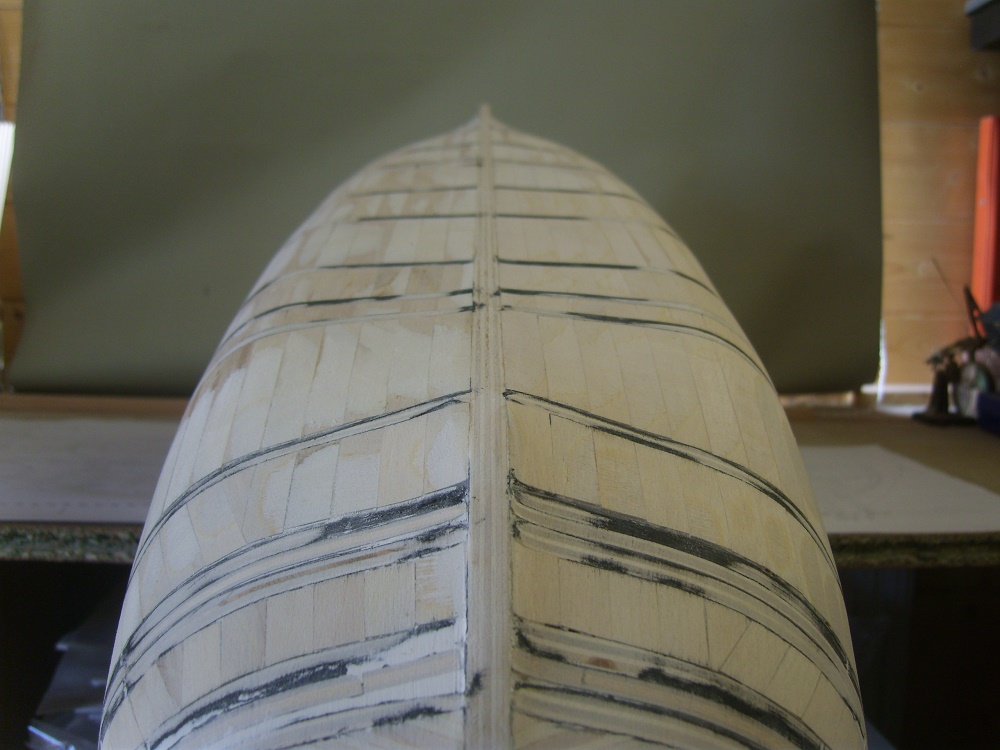
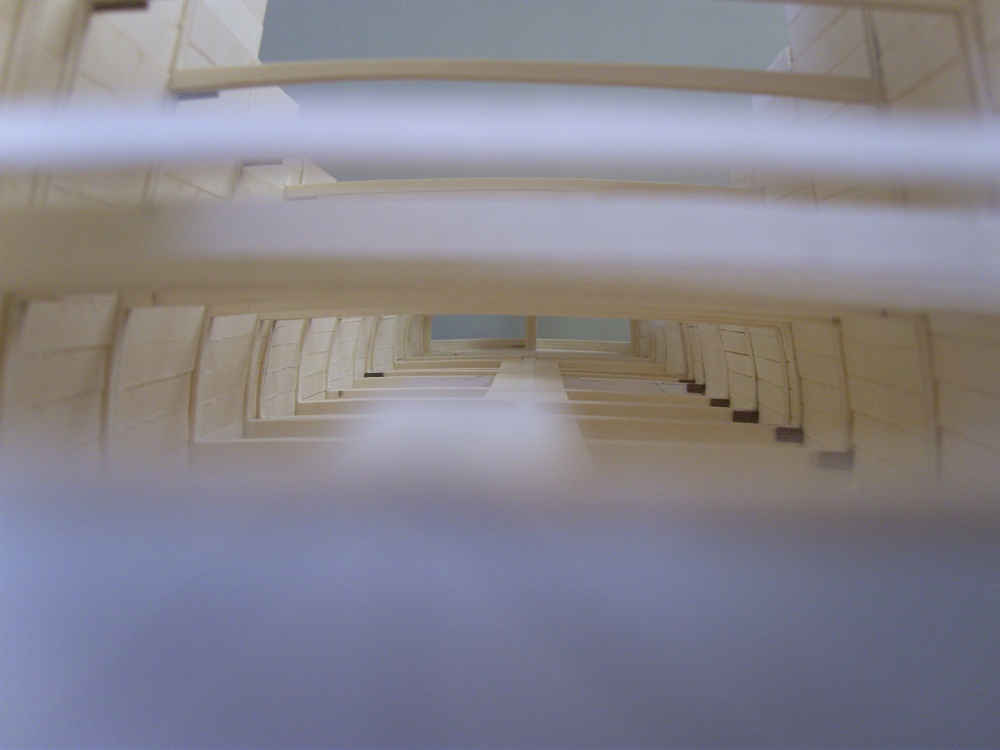
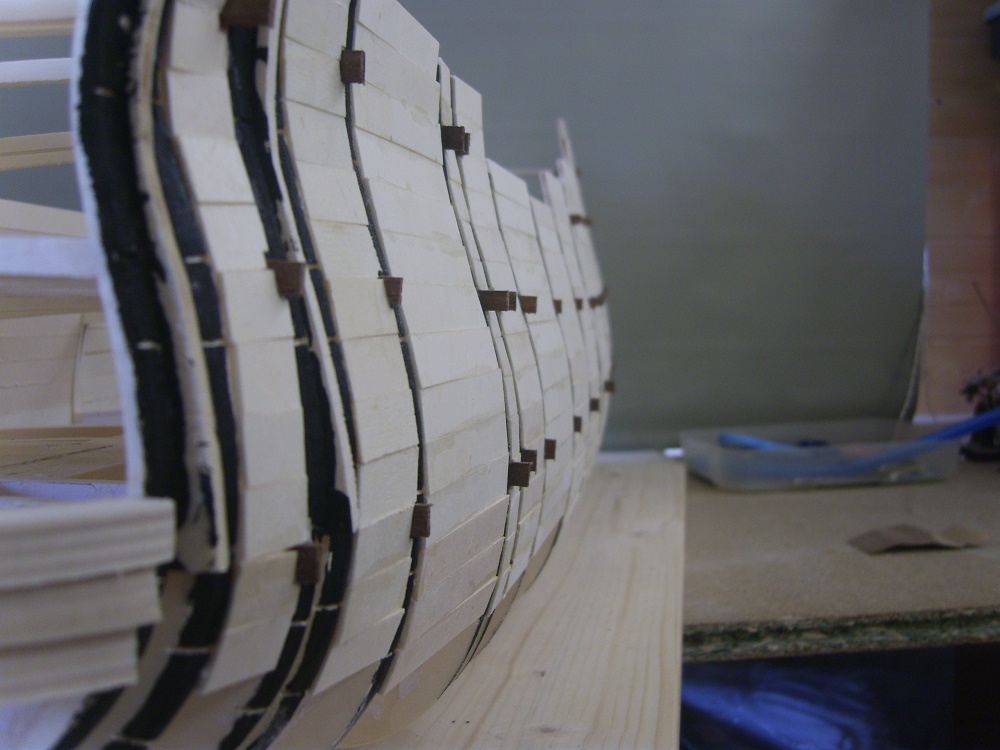
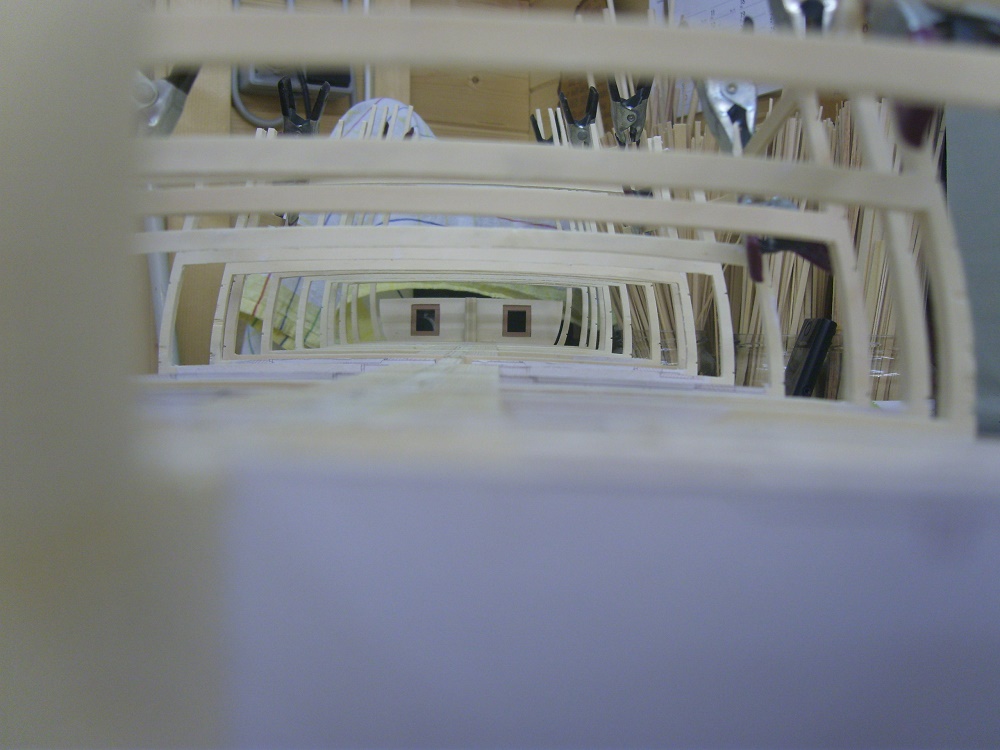
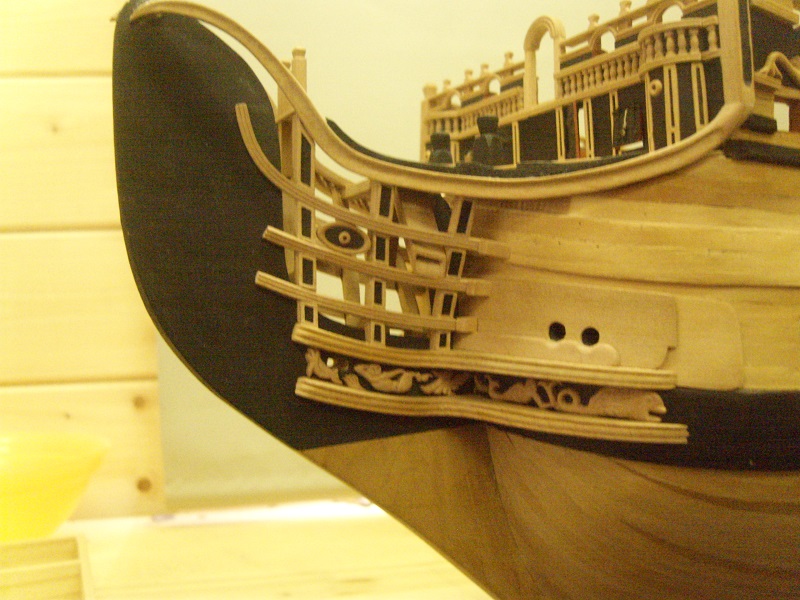
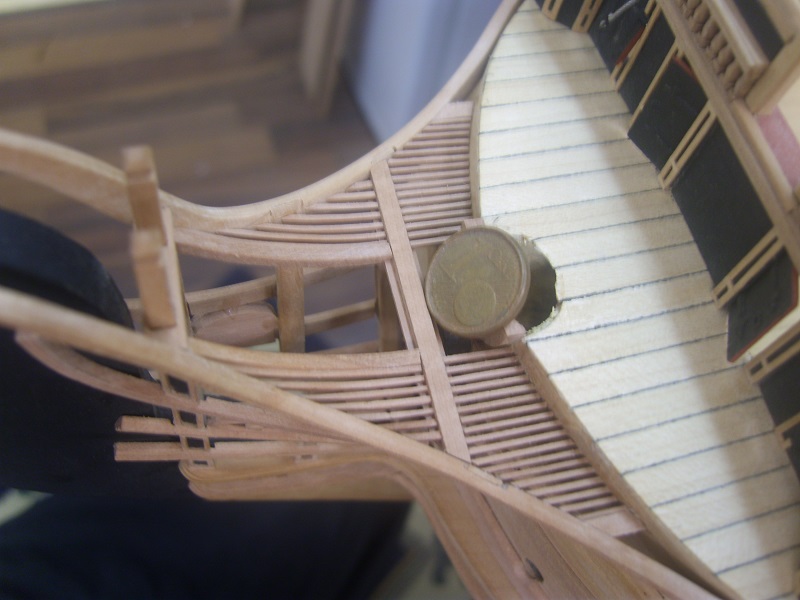
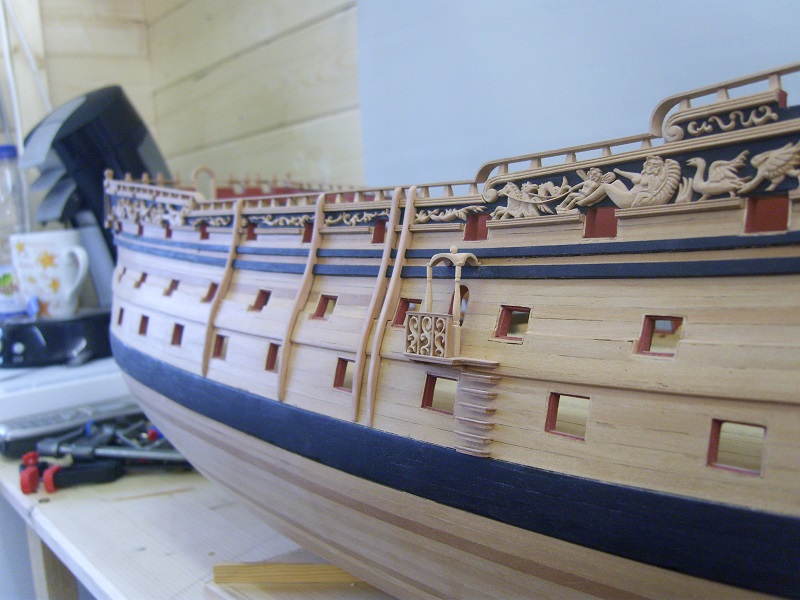
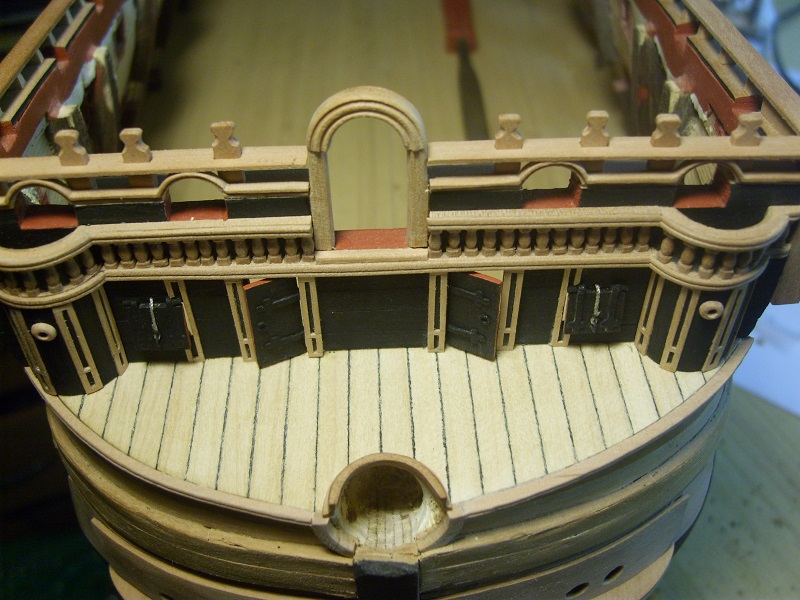
long, long ago, but to my excuse I must say, it does not go faster. I make every plank one by one, it must bend, let dry and then glue. This takes a while. Here are some pictures. The underwater hull is almost finished. The windows at the rear are also in it. The next images are then, if that's underwater hull finished.
Regards kay
- tadheus, Rudolf, Farbror Fartyg and 9 others
-
 12
12
-
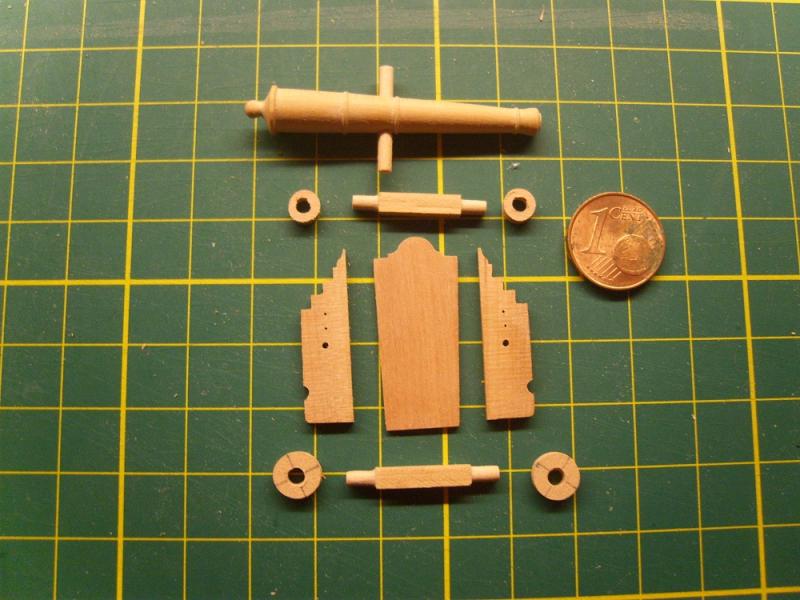
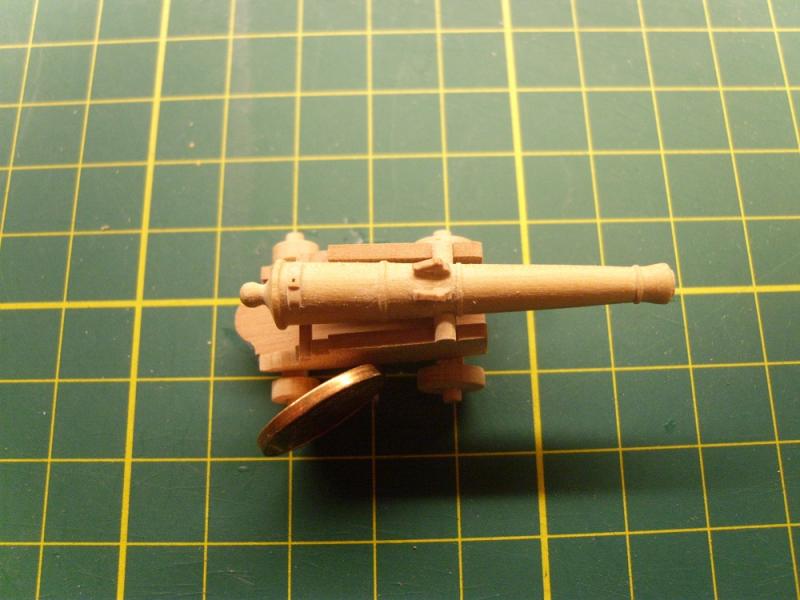
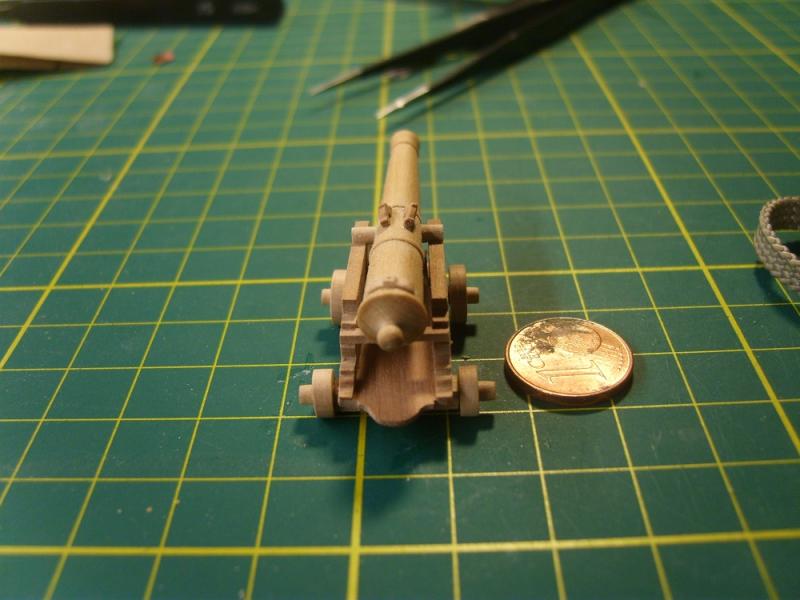
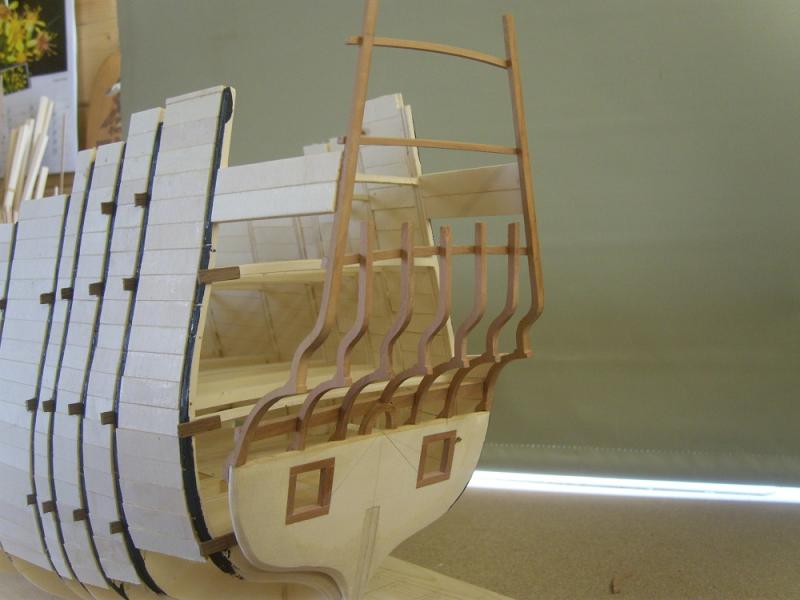
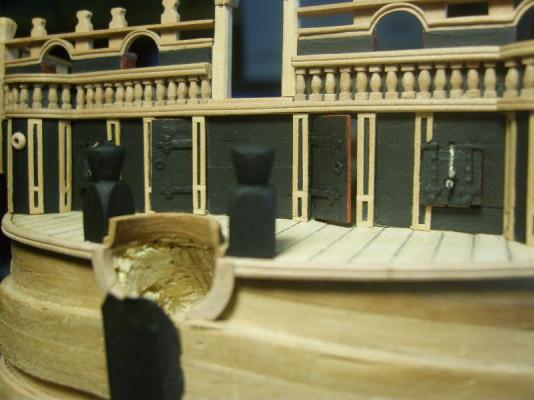
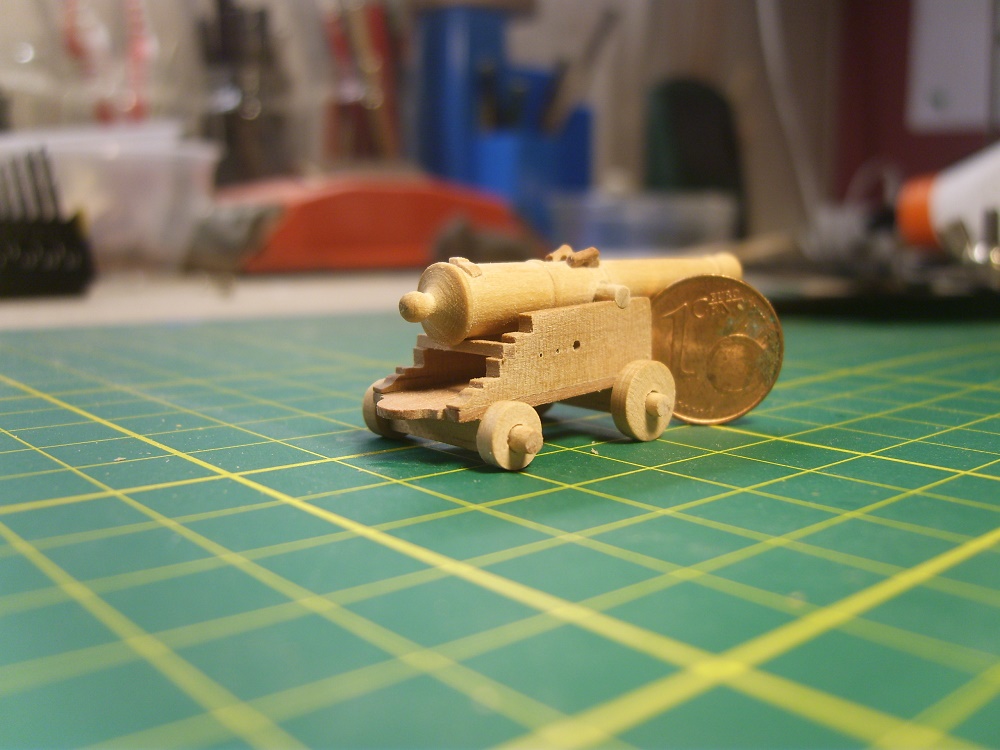
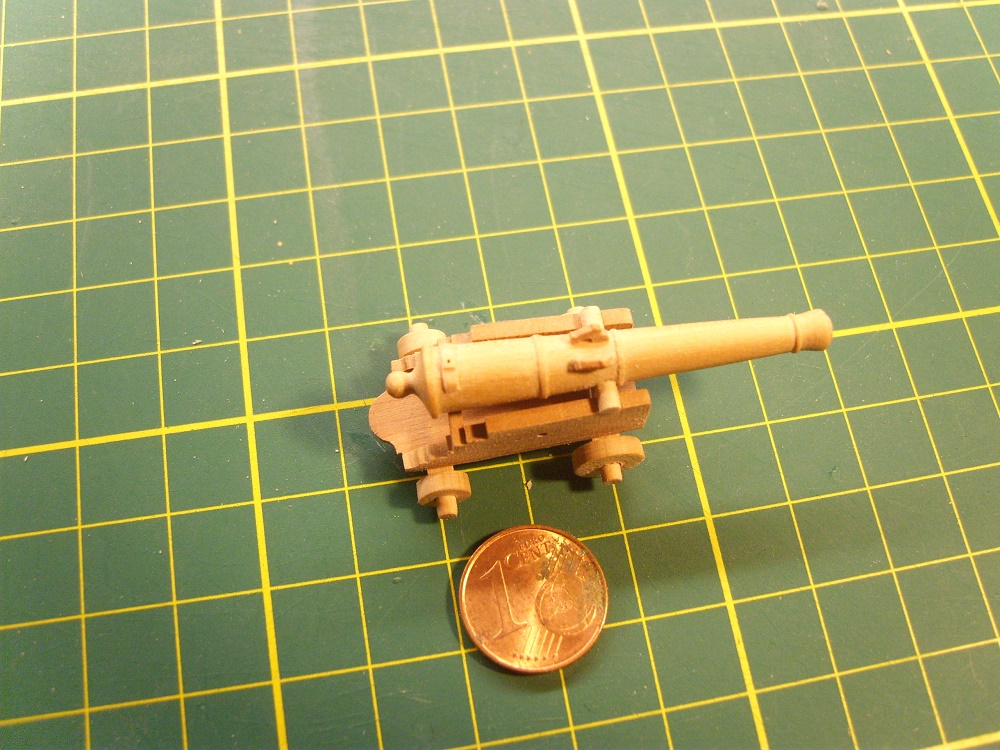
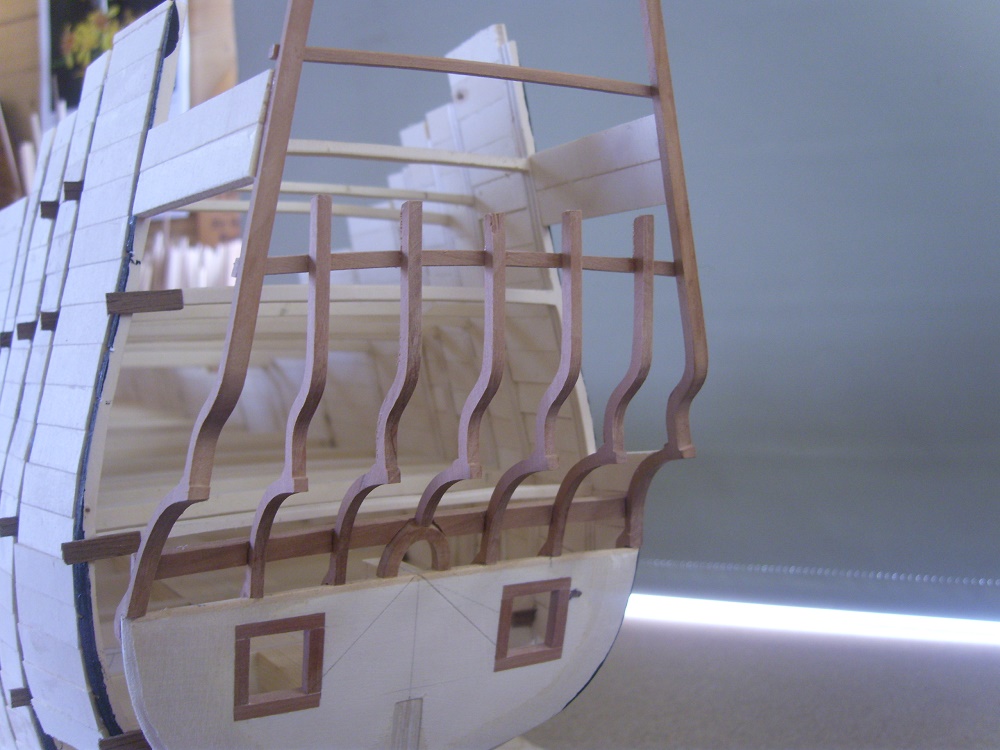
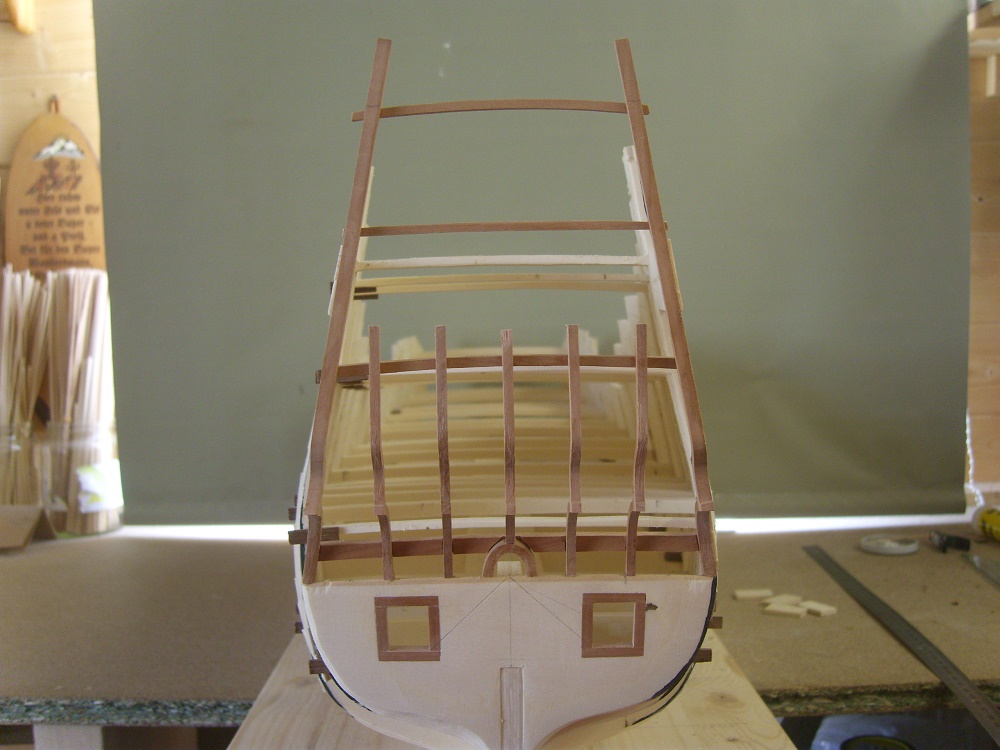
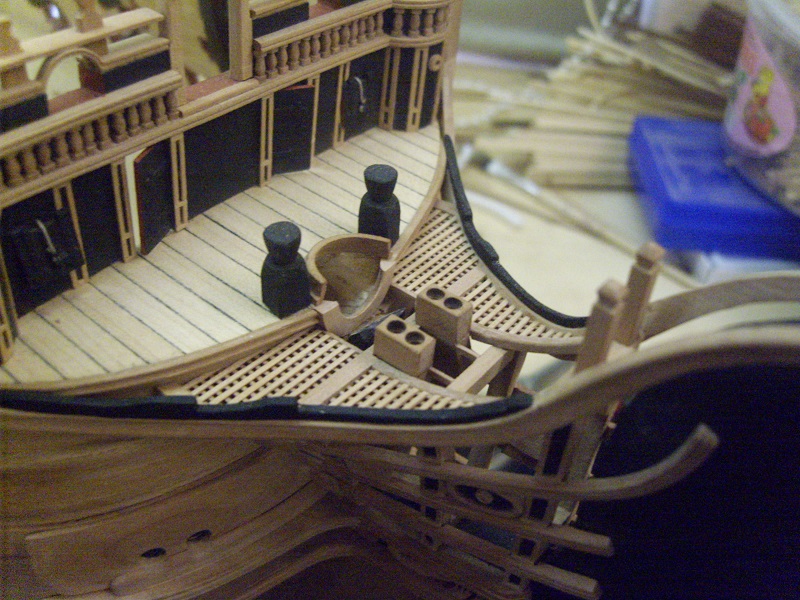
The cannon is designed as a pattern and was turned free hand. The wood is only clamped in a drill. The wood at the stern is pear. I had forgotten to show that I had already cut the gunports. Work was also done at the stern. The "Hennegat" was again made and the gunports were moved still somewhat direction sternpost.Some of the gunports on the cow bridge are still missing, as the position is not yet clear.Regards kay
-
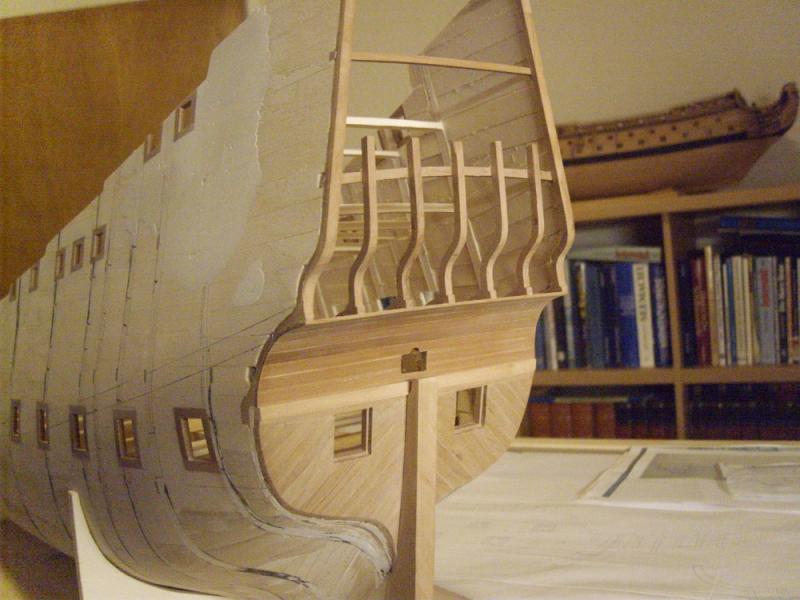
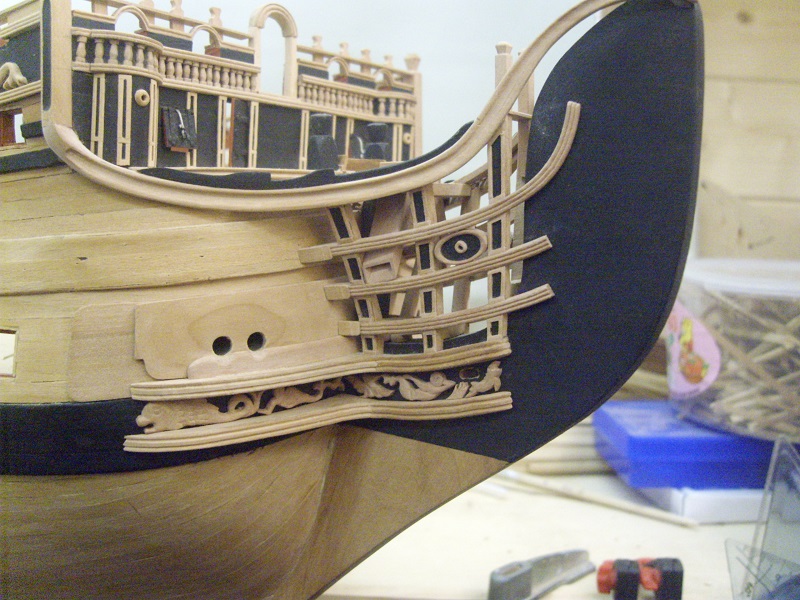
This is roughly the state of the building. I then made the windows at the stern, where a friend said they looked horrible. So I again made it new. And further I have built a 18 pound cannon, which is to serve as a model for pouring.
@zoly, yes, Robert Volk write a book, only in german
Regards kay


- tadheus, Elijah, marktiedens and 17 others
-
20
-
-
And moore pictures.


- marktiedens, Stoyne, costeo and 21 others
-
24
-
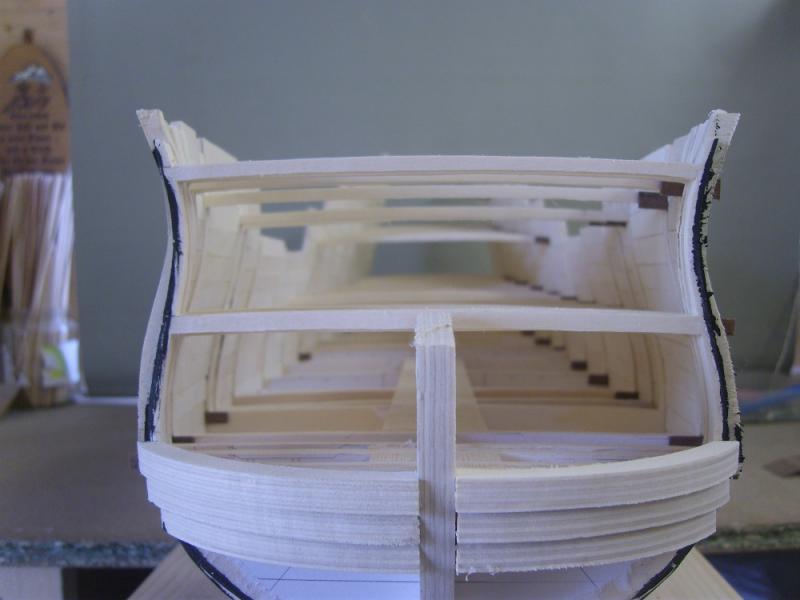
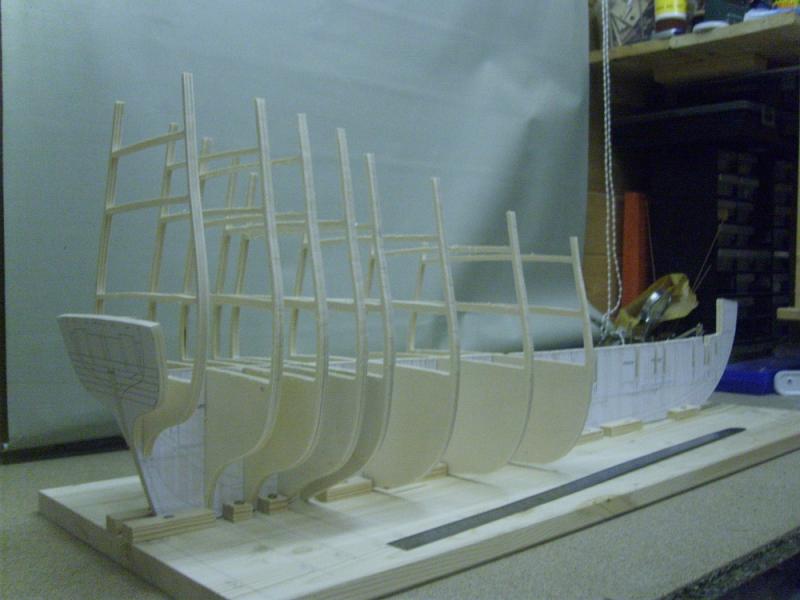
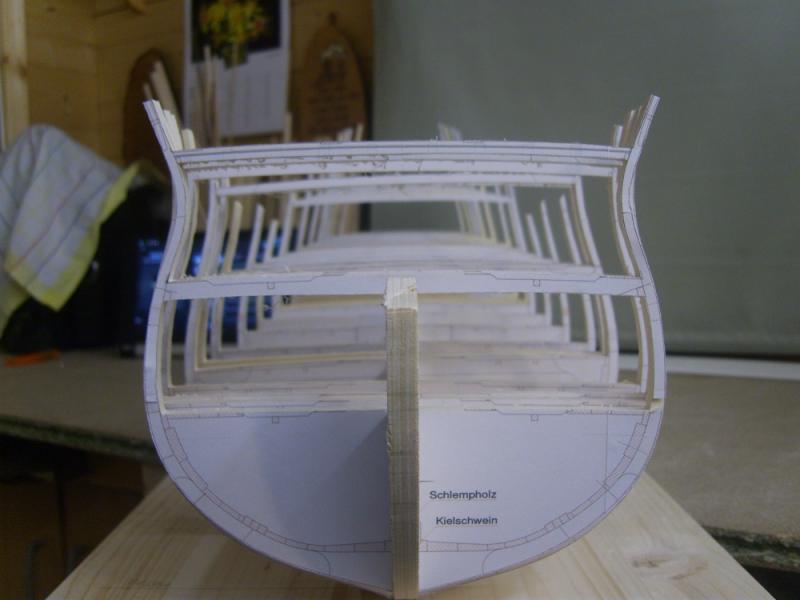
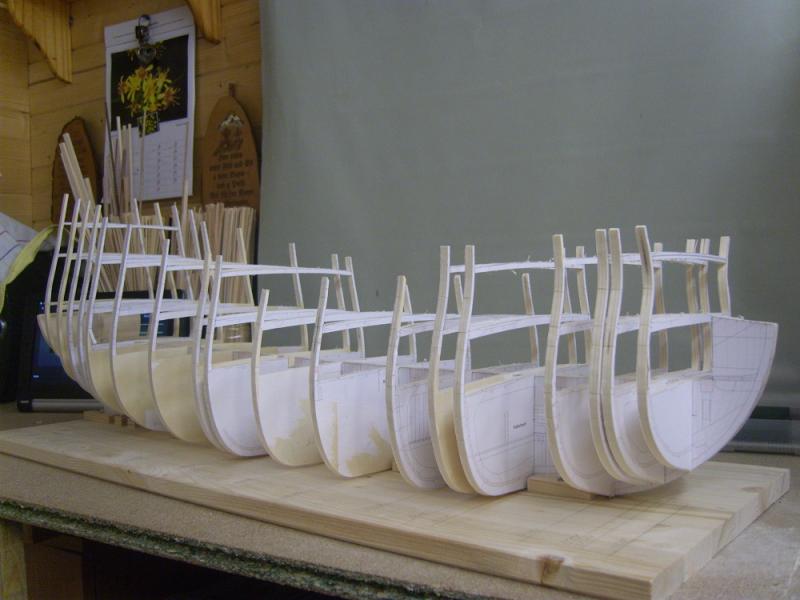
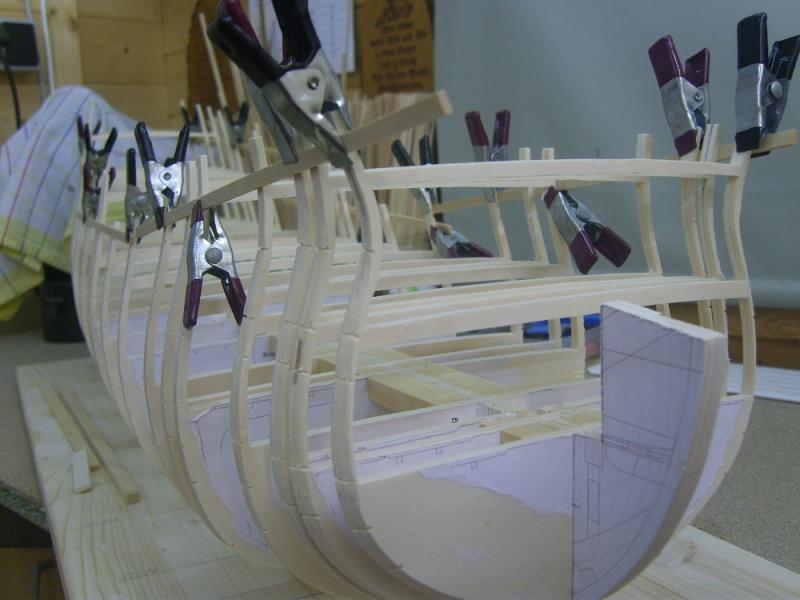
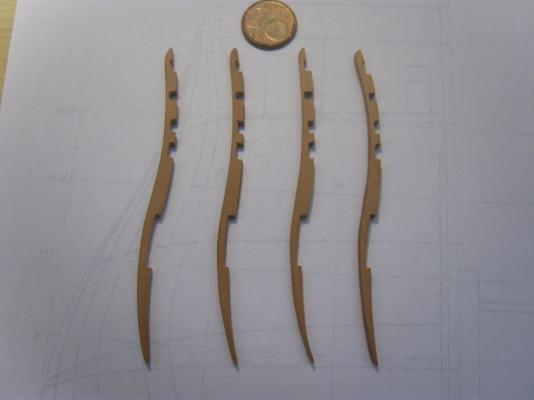
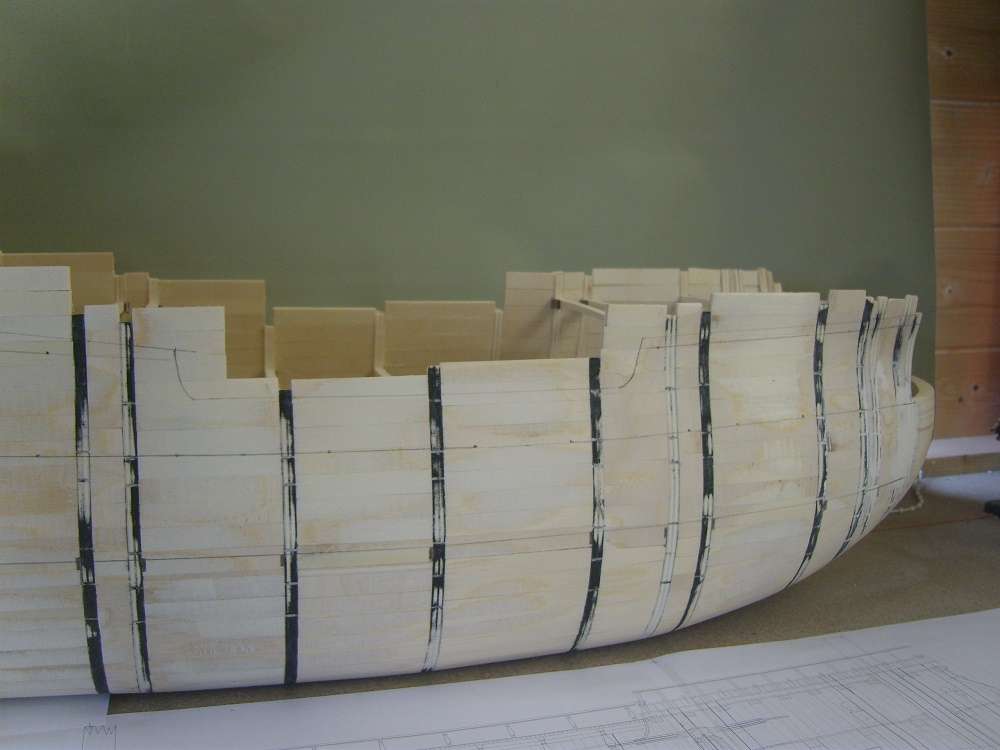
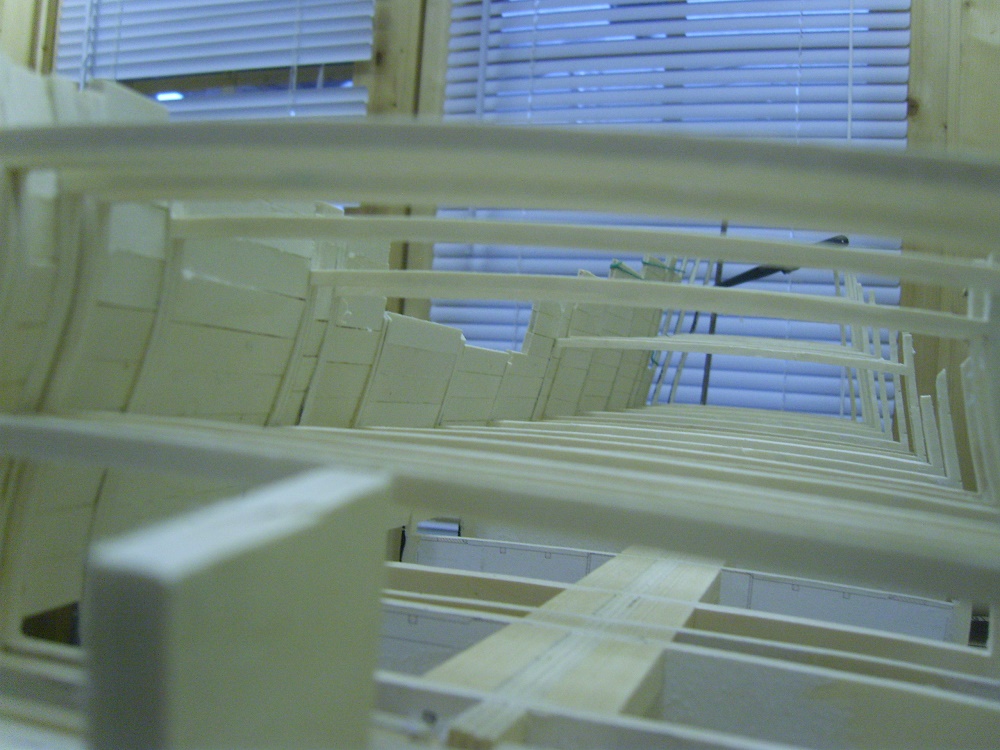
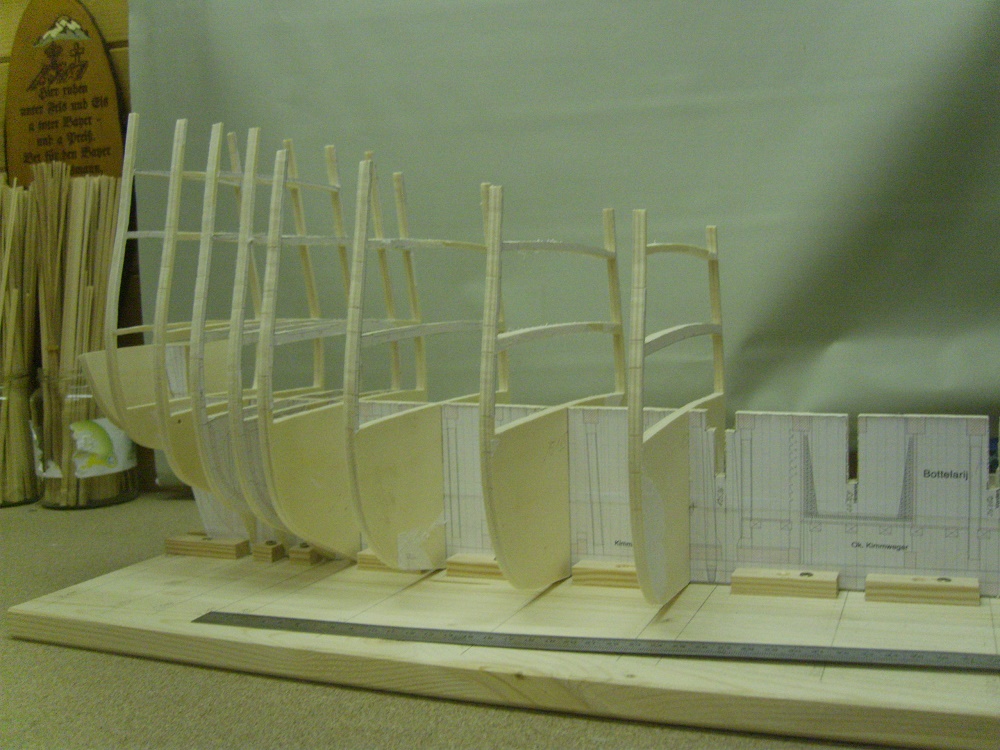
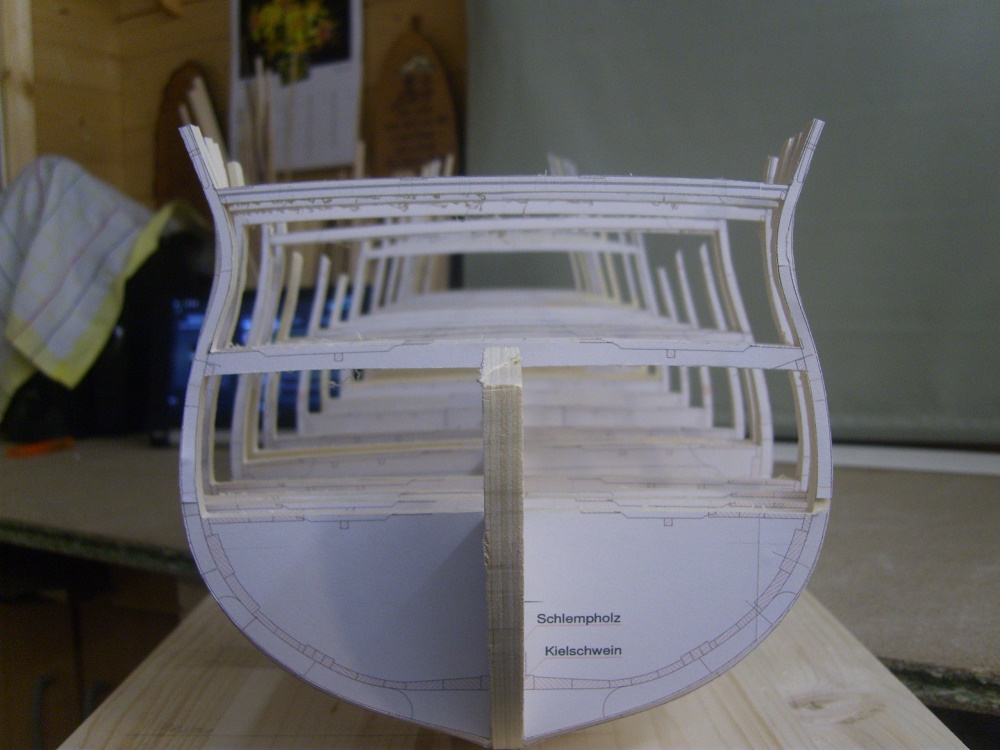
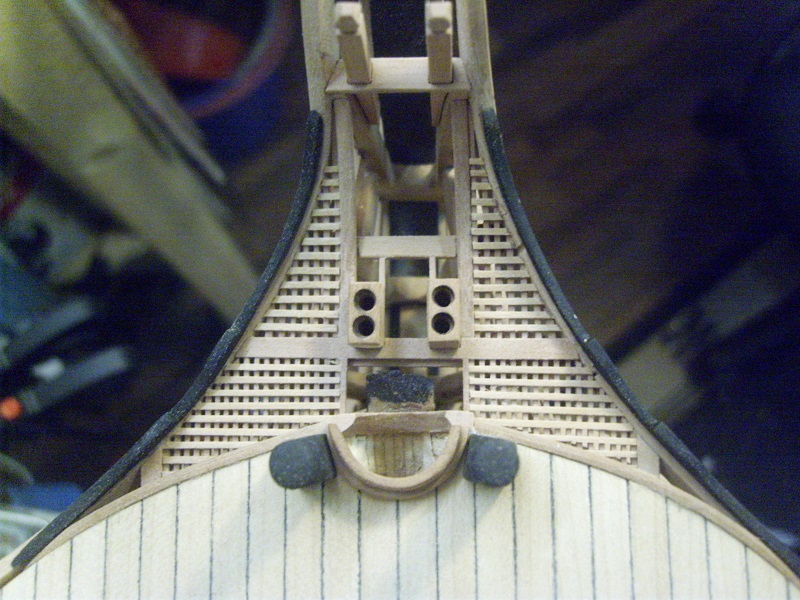
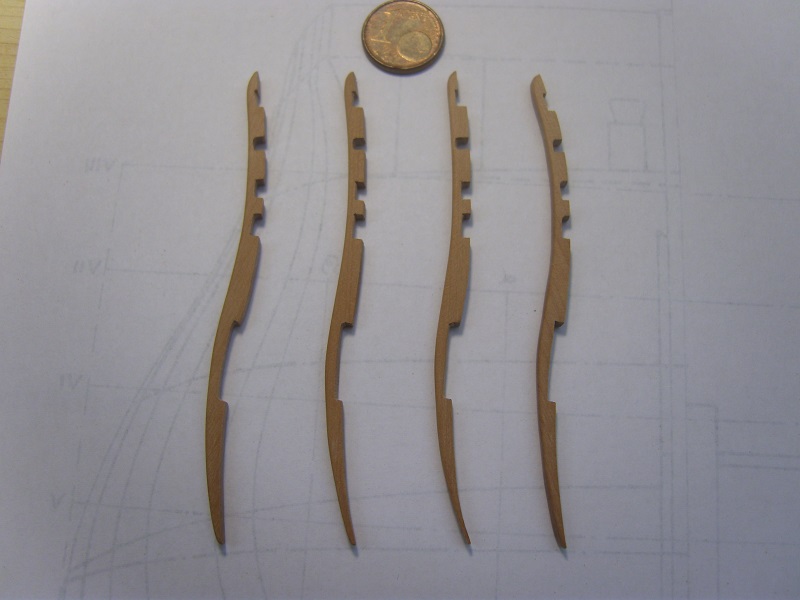
And it went on with grind, grind and grind again. Now the beam of the stern were prepared and inserted into the whole structure. Next, the keel, the stem, and the sternpost were made and glued. In these the rabbet was incorporated.
Regards kay


- zoly99sask, tlevine, Stoyne and 17 others
-
20
-
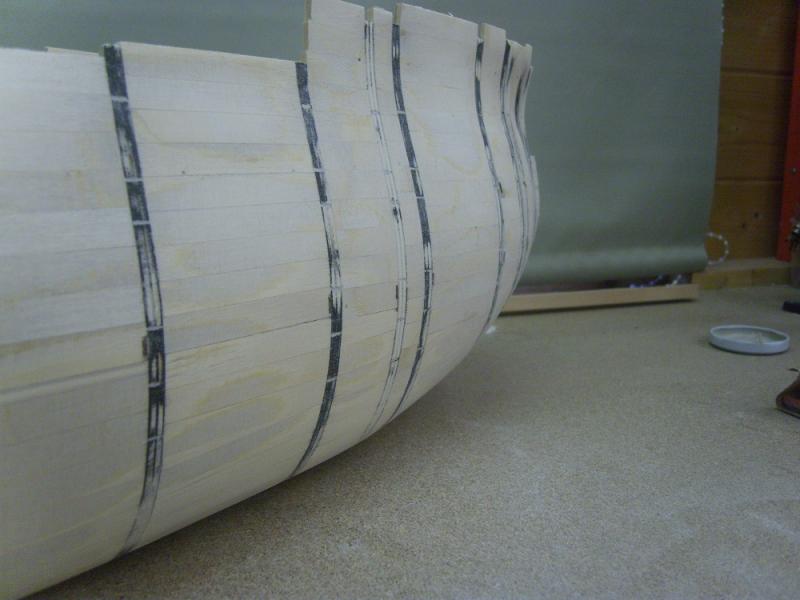
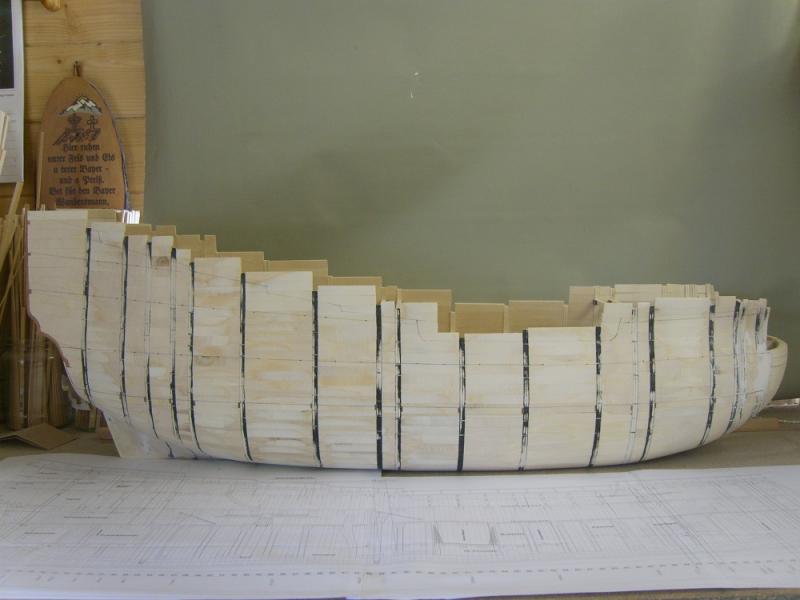
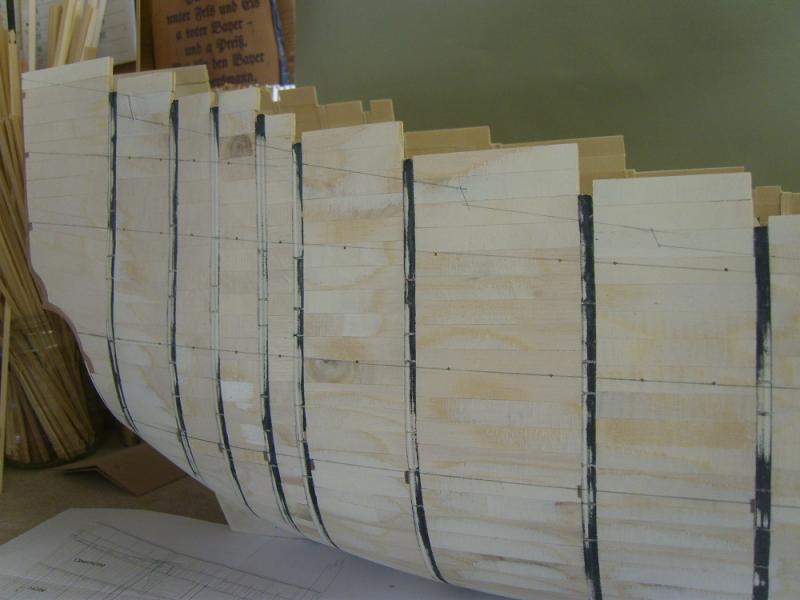
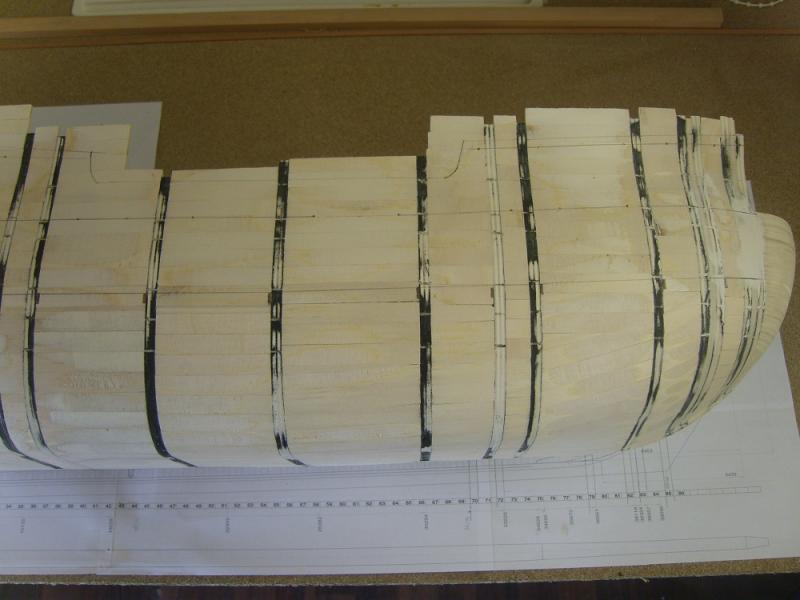
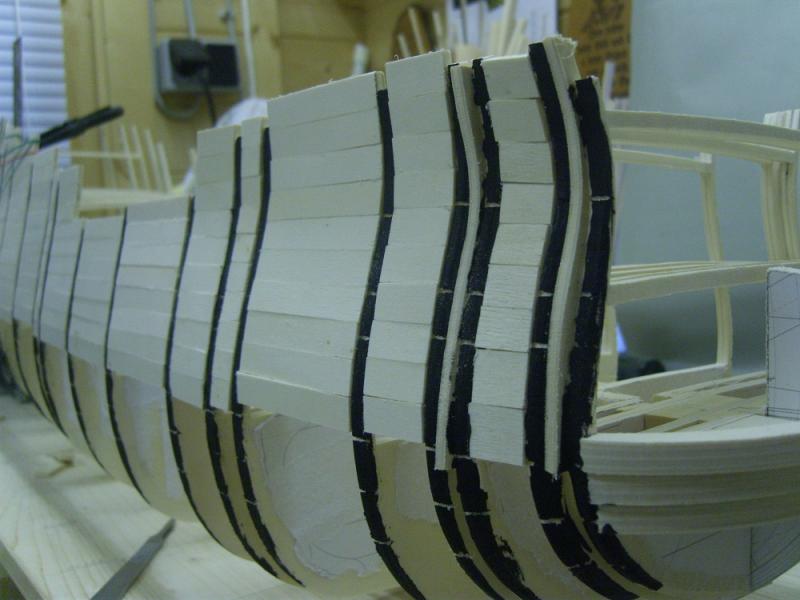
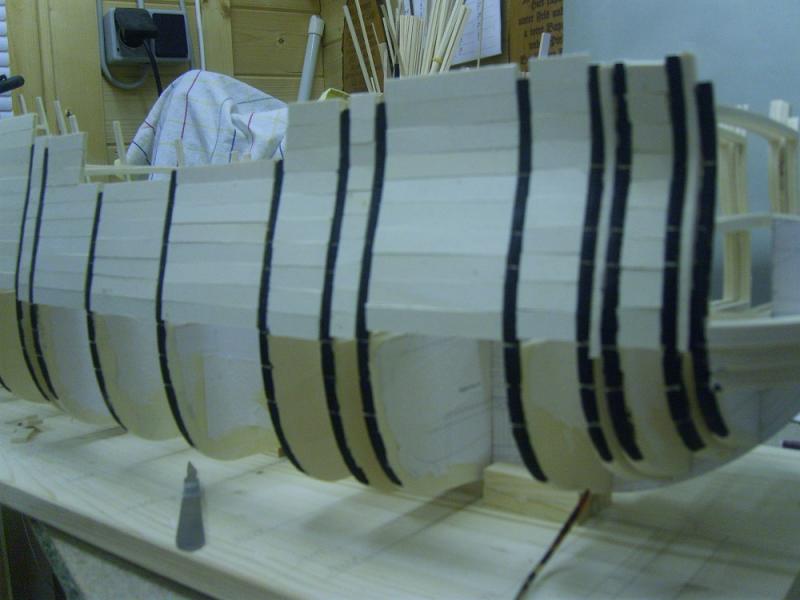
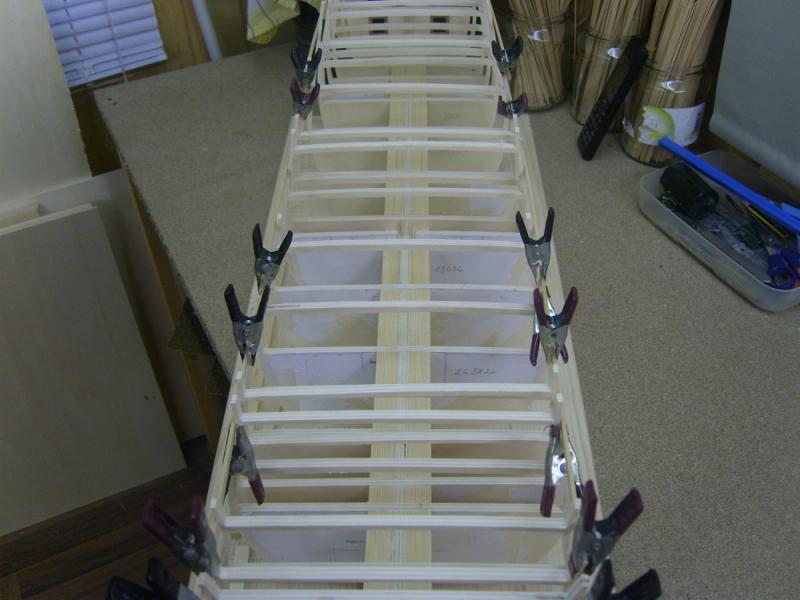
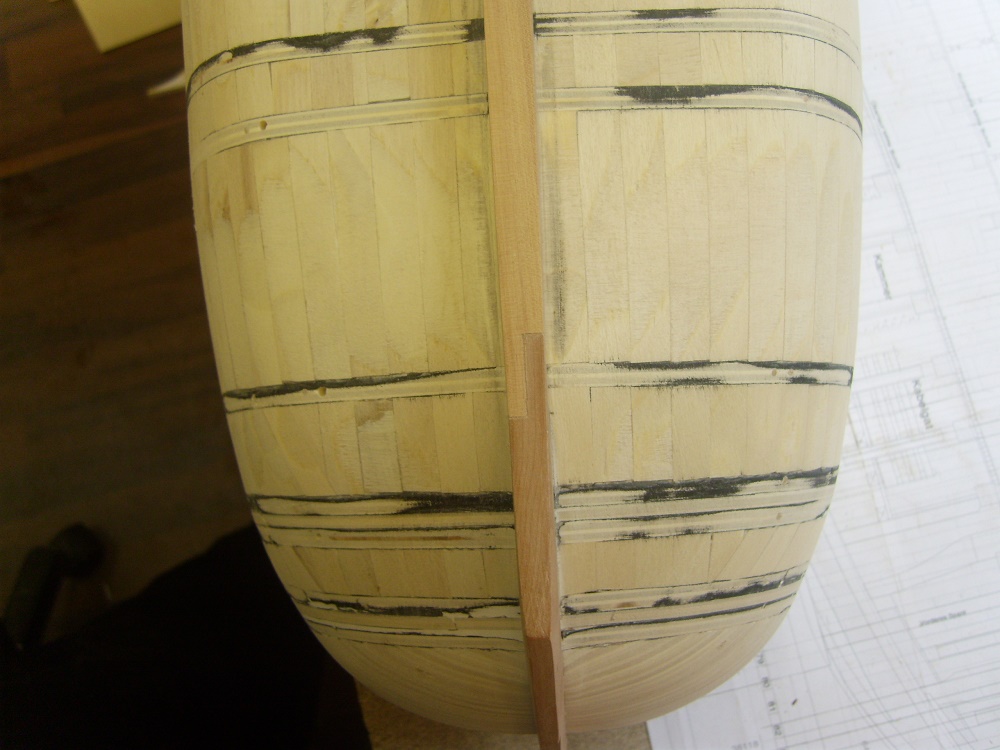
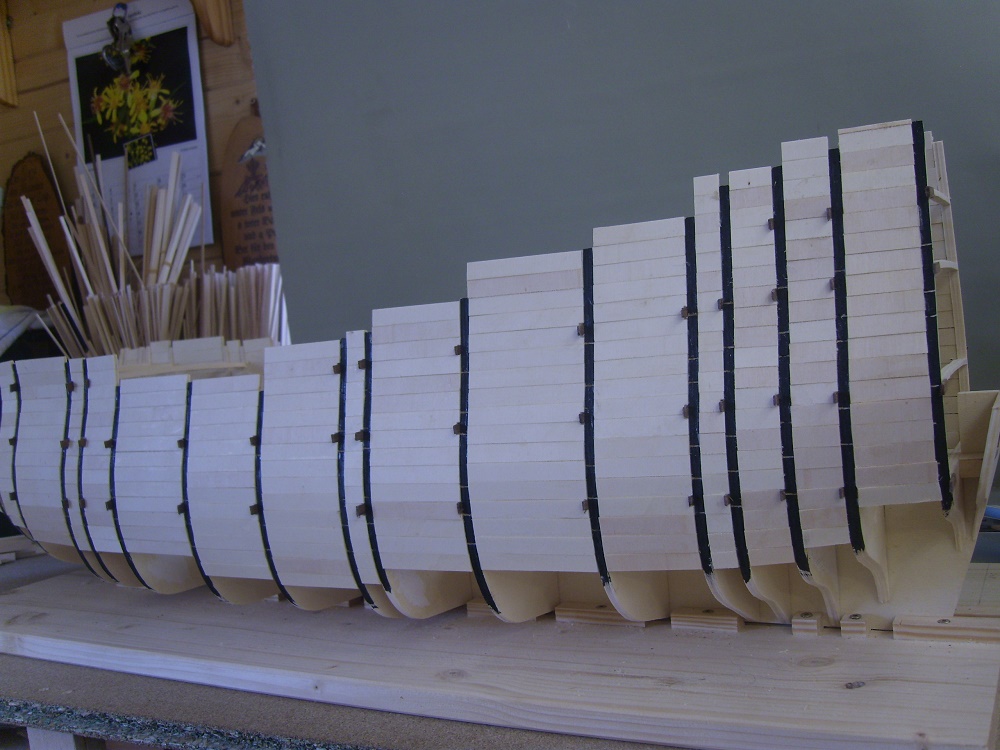
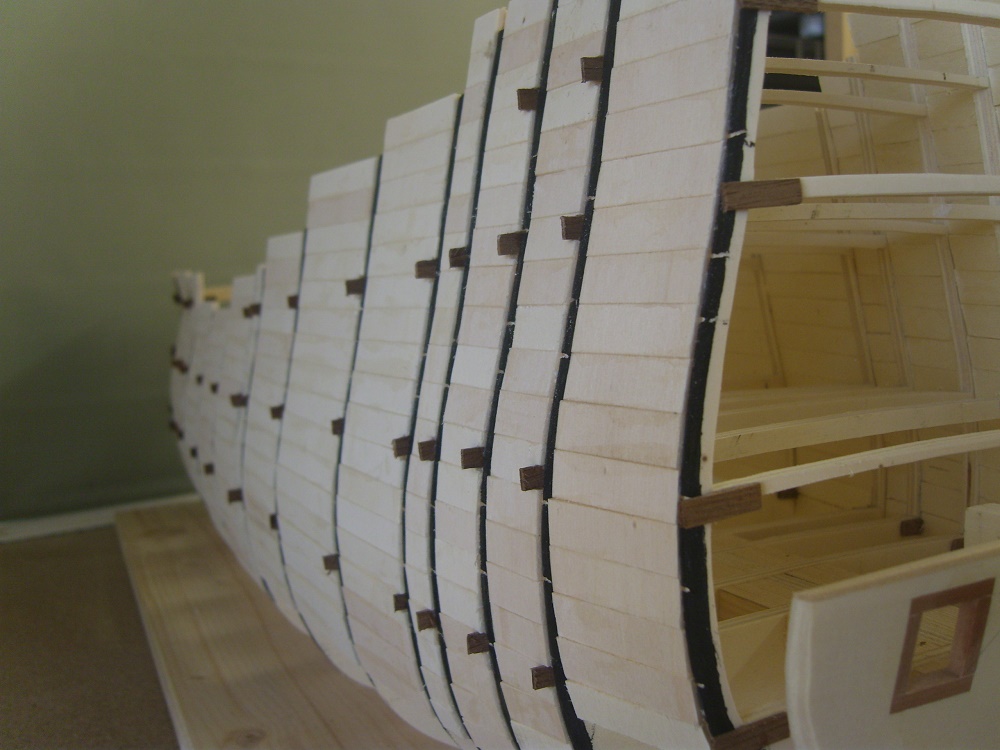
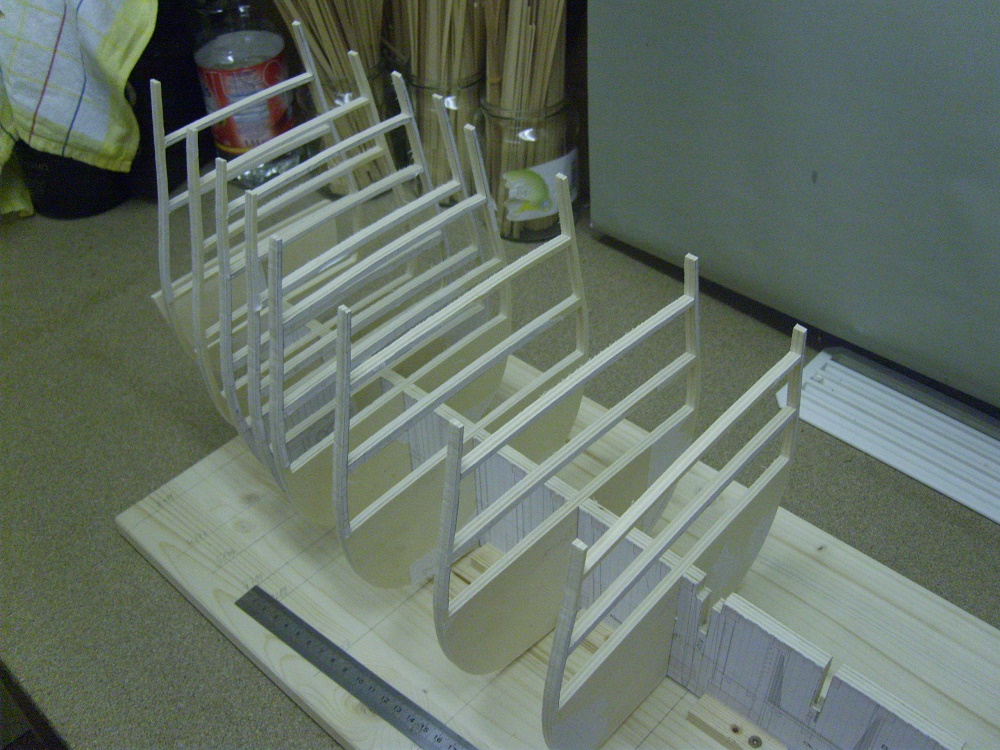
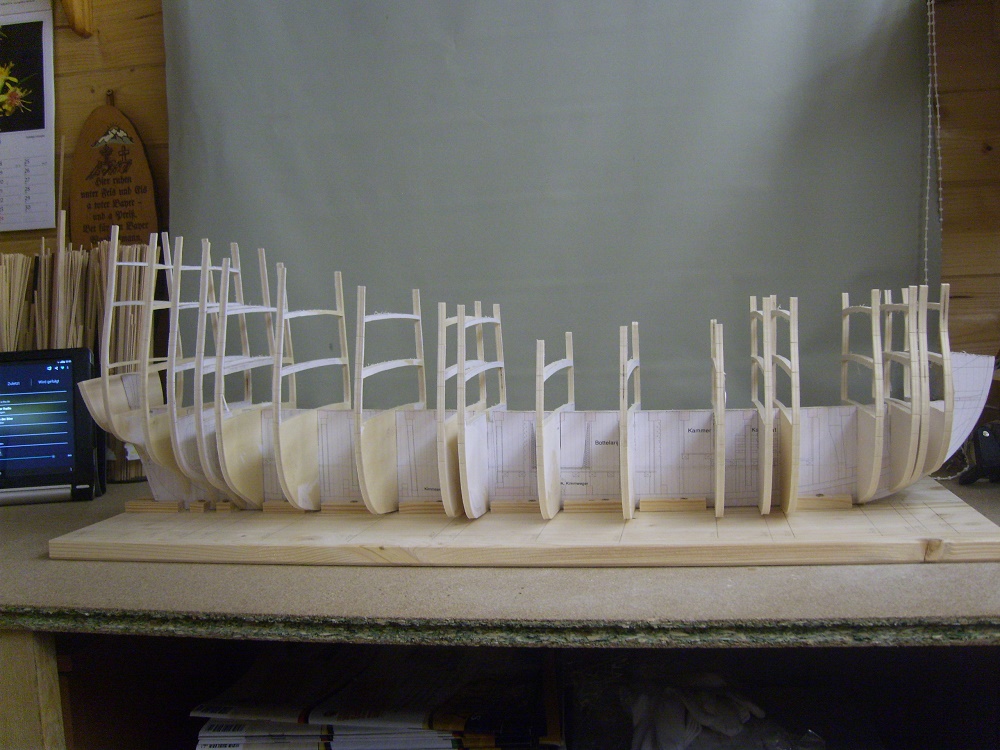
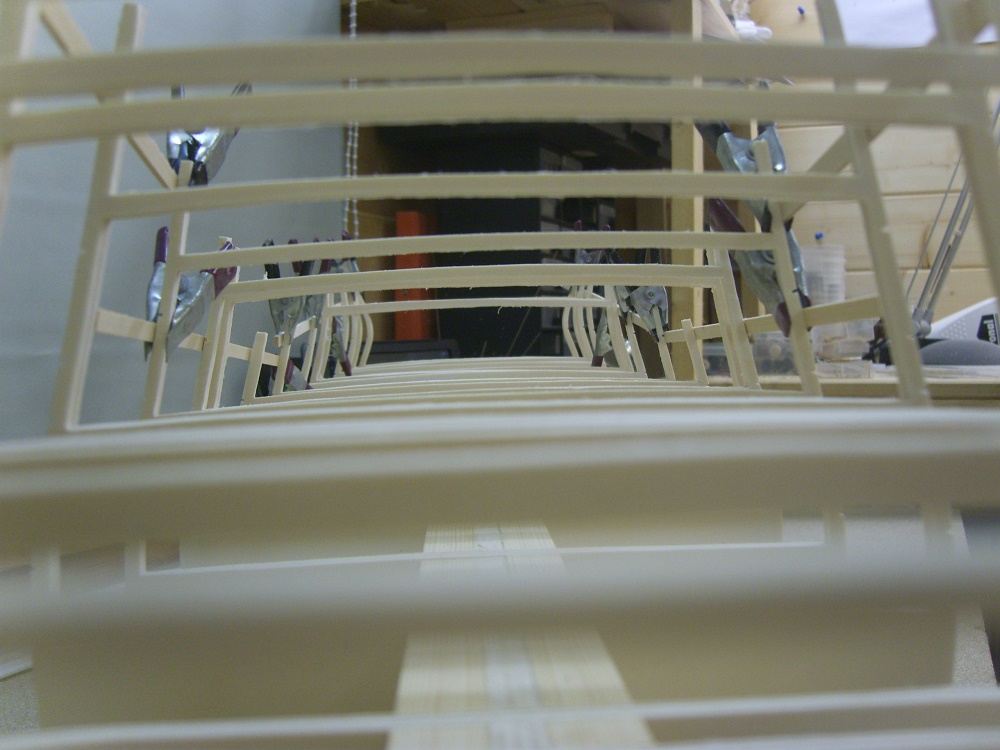
And it goes on. The outer edge of the frames has been blackened to have a reference point when grinding. Now the hull was filled with plywood, according to the method of Robert Volk / germany. The method yields a very solid hull.
@Elijah: With the jigsaw, handwork !
@sjors : Yes, the Black Forest is a very nice area, I like to live here!
@all: Thanks for your comments !


-
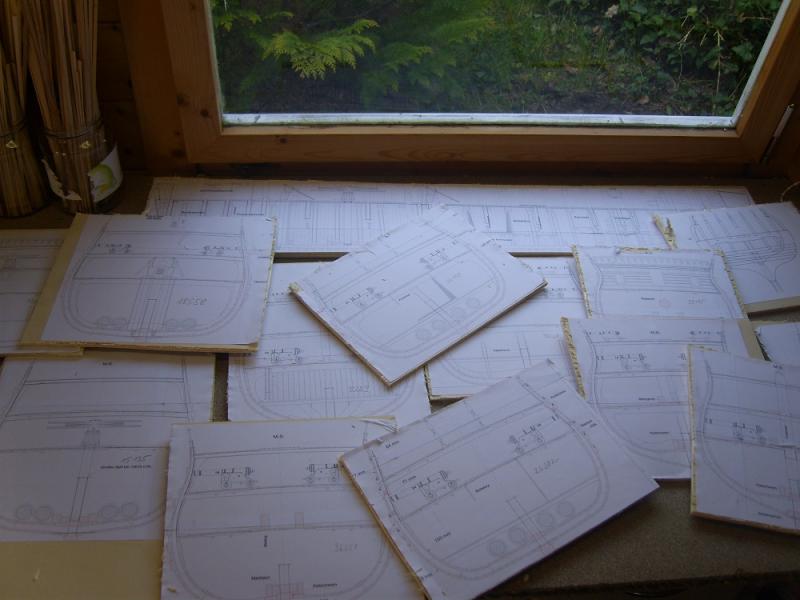
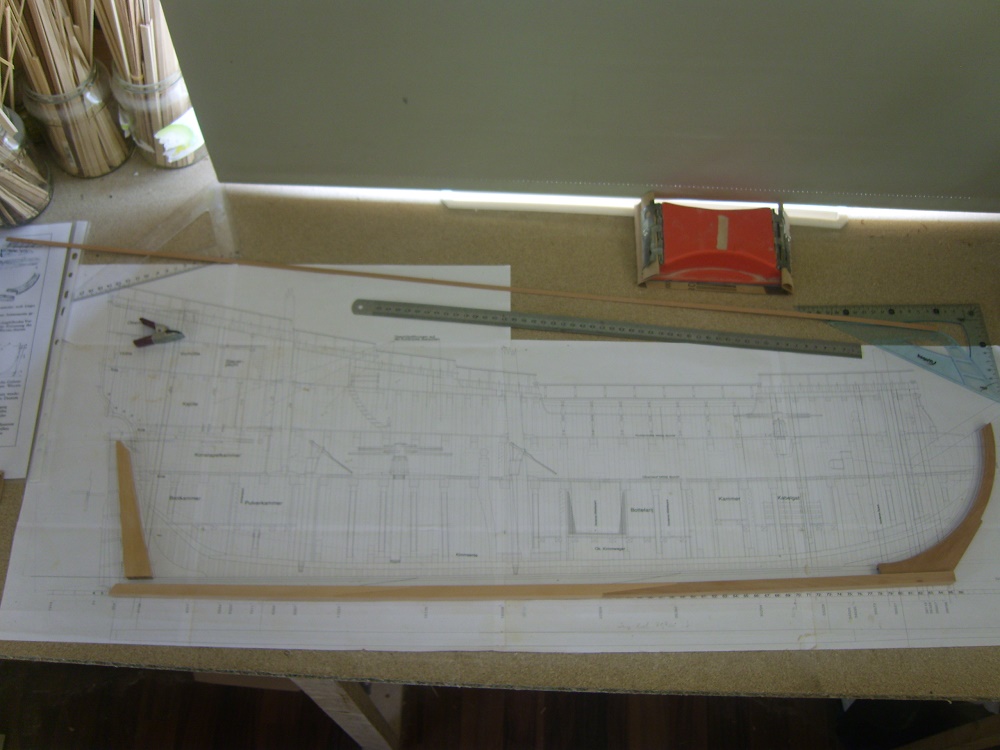
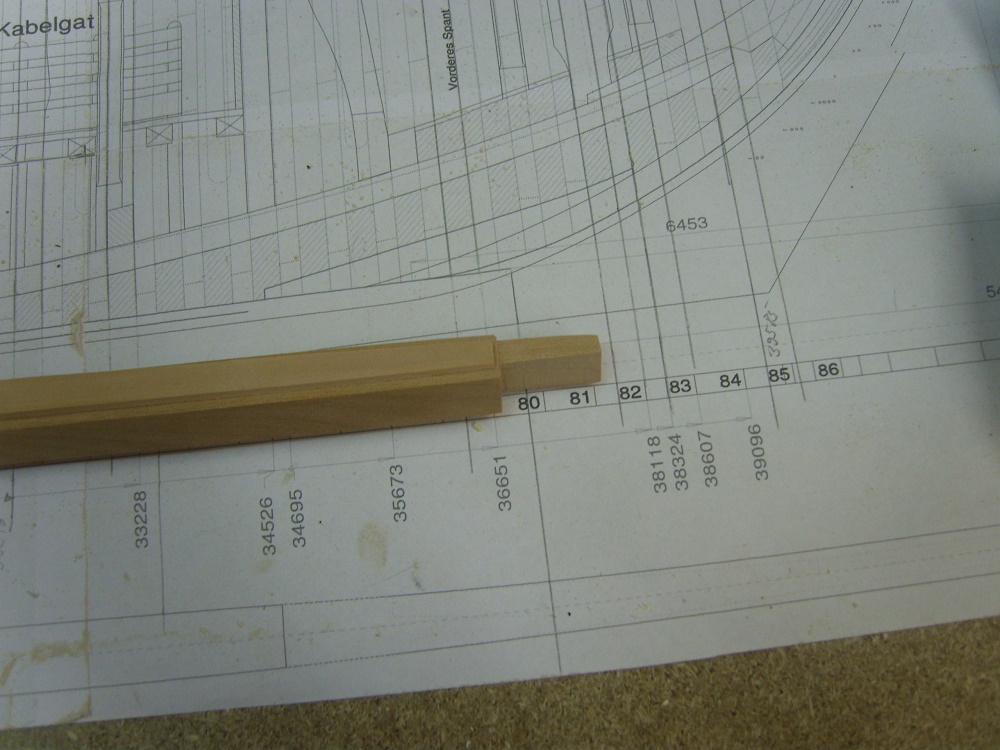
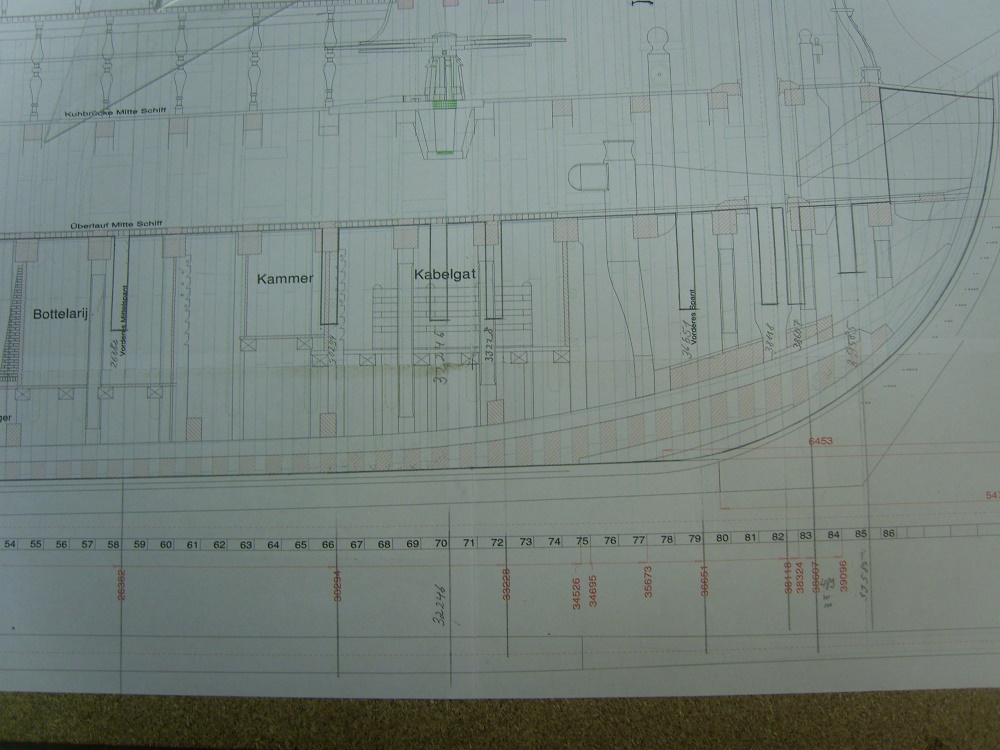
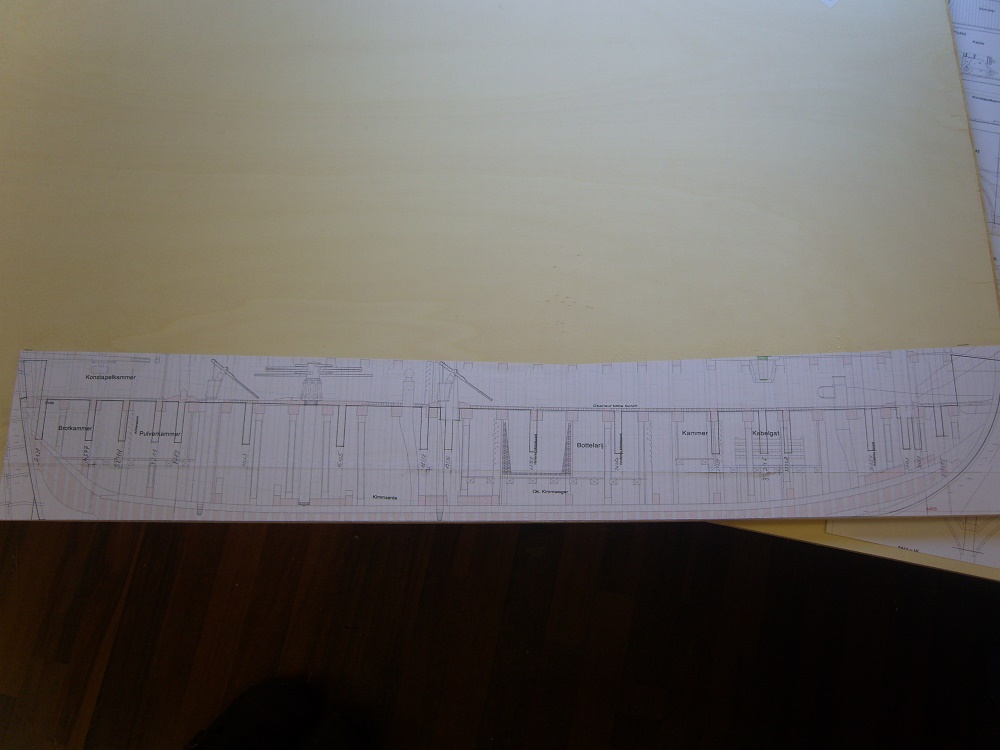
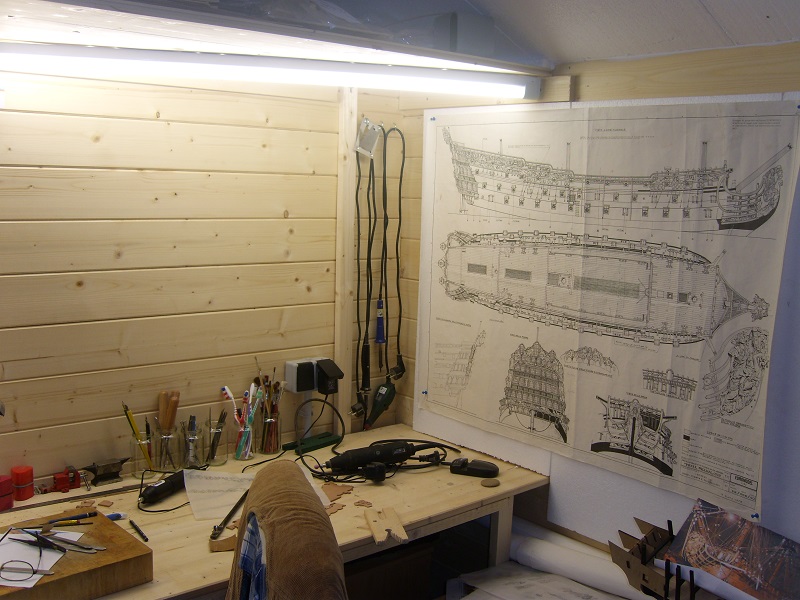
hi Guys,The construction started with the marking of the keel from the plan. The plan is a construction drawing, it is not made for model building. All dimensions are in 1:1. As always, everything is then sawn out and put together.Pictures say more than 1000 words, so see!Regards kay


-
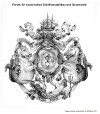
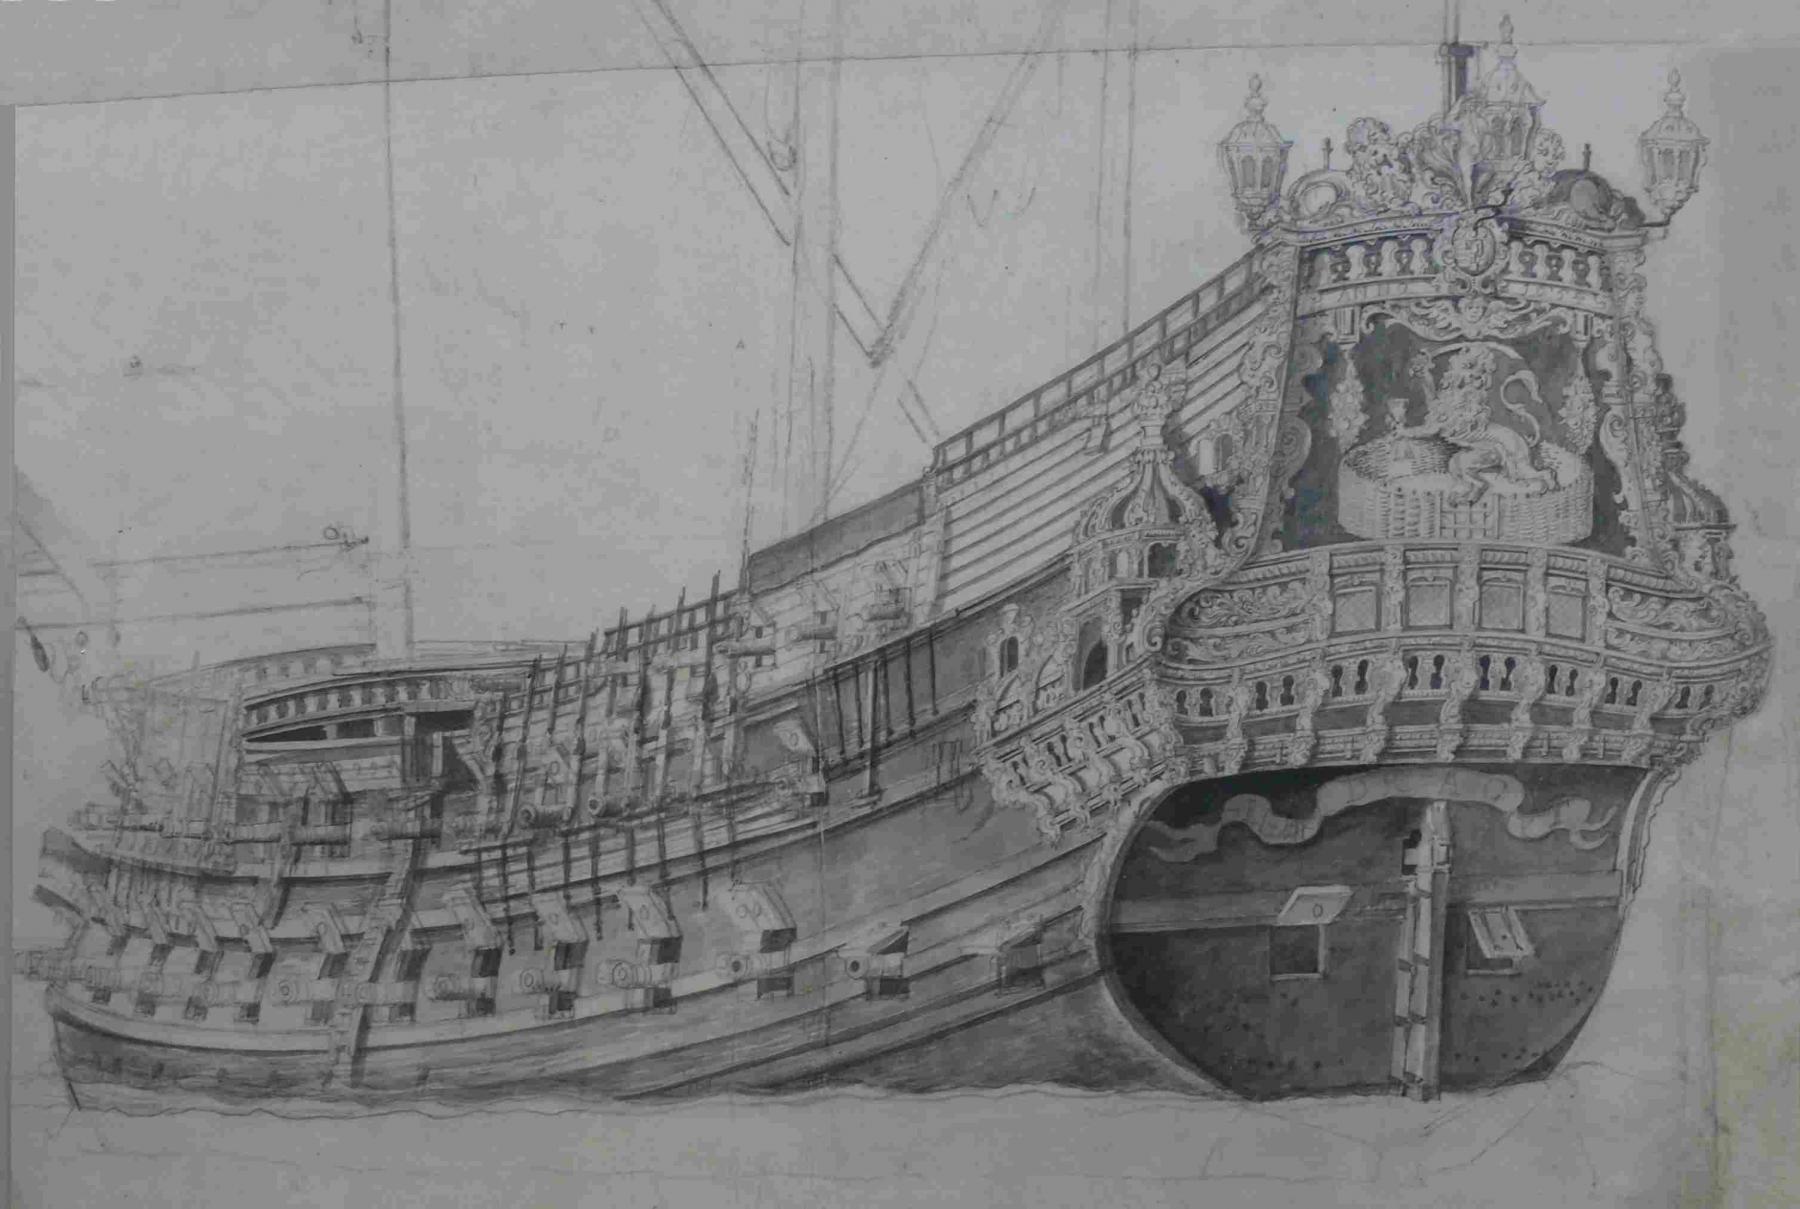
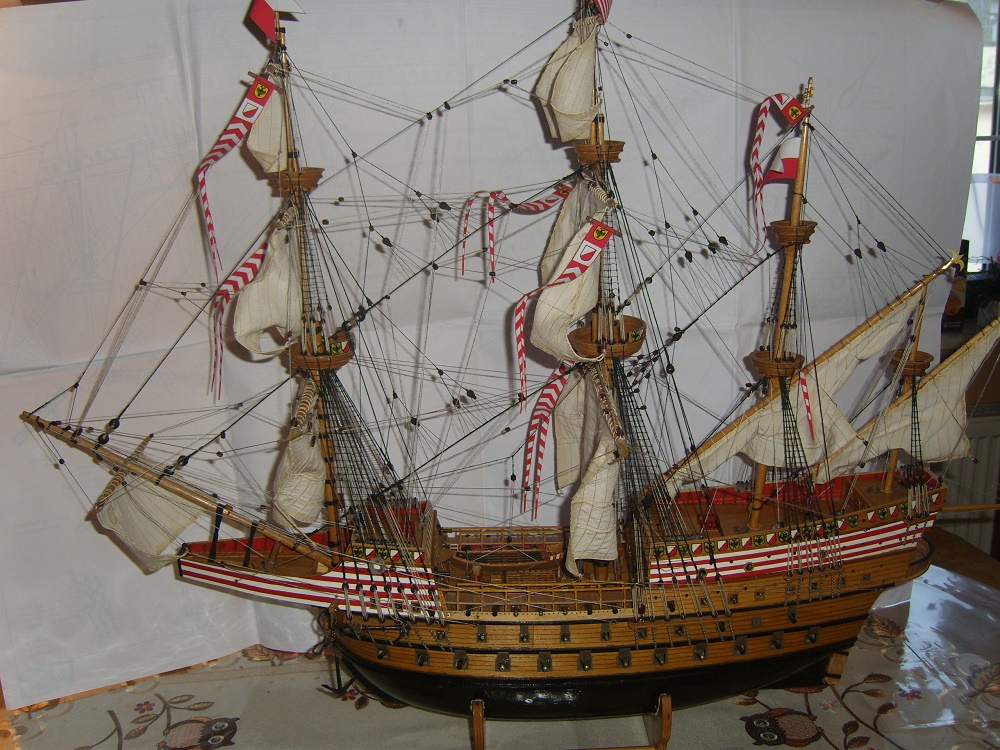
Hi Guys,At the beginning of the year, I began to build the Dutch flagship De Eendracht for a good friend. My friend Werner has been reconstructing the ship for about 16 years, and has been traveling a lot in the Netherlands in the archives. He gave me the manuscript of his book and the plans of the ship.The Eendracht was built in Rotterdam in 1654 by the shipbuilders Goossen Schalck van der Arent and Jan Salomonszon van der Tempel. The ship had a length of 152 feet and a width of 38 feet. The ship was armed in 1654 with 58 guns.The Eendracht was the flagship of Jacob van Wassenaer Obdam in the naval battle of Lowesoft, where she exploded.Since there are many drawings by van de Velde from the Eendracht, I have laid down the basis for the Brielle van de Velde.And off we go, we're going to build.Here the van de Velde drawings of BrielleRegards Kay

-
Hi Guys,again a life sign from me. Here, the most recent Royal William. A small film about them.I will pause with William now that I, the Eendracht, a Dutch flagship 1654 1:50 am building for a friend.I then start also an building report on the Eendracht.Regards Kay
-
-
-
-
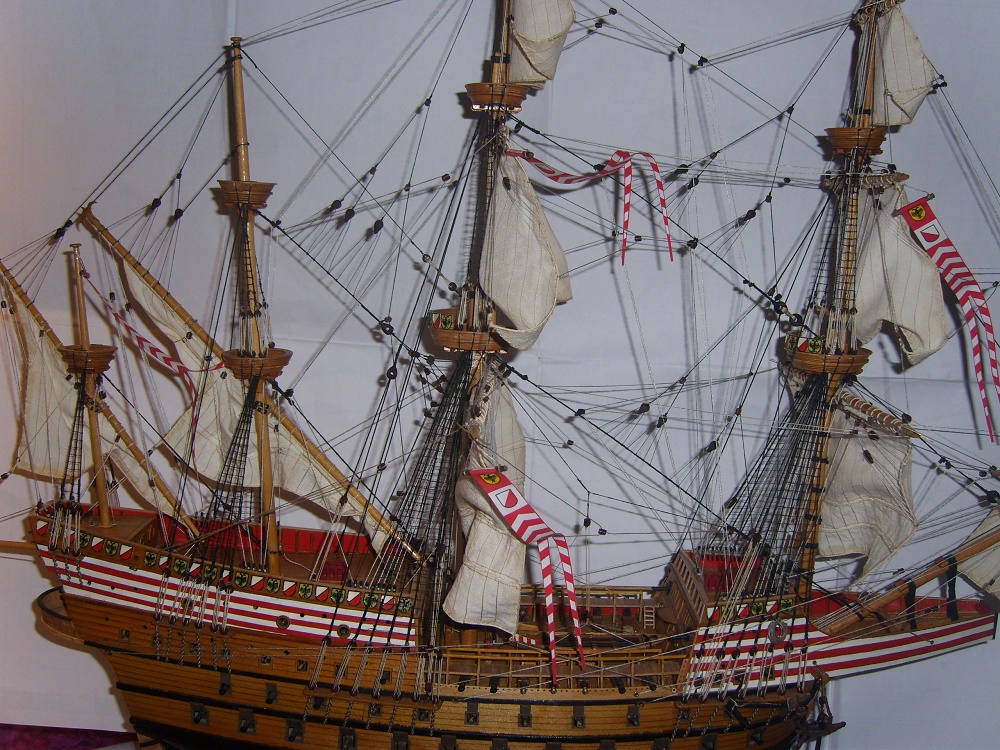
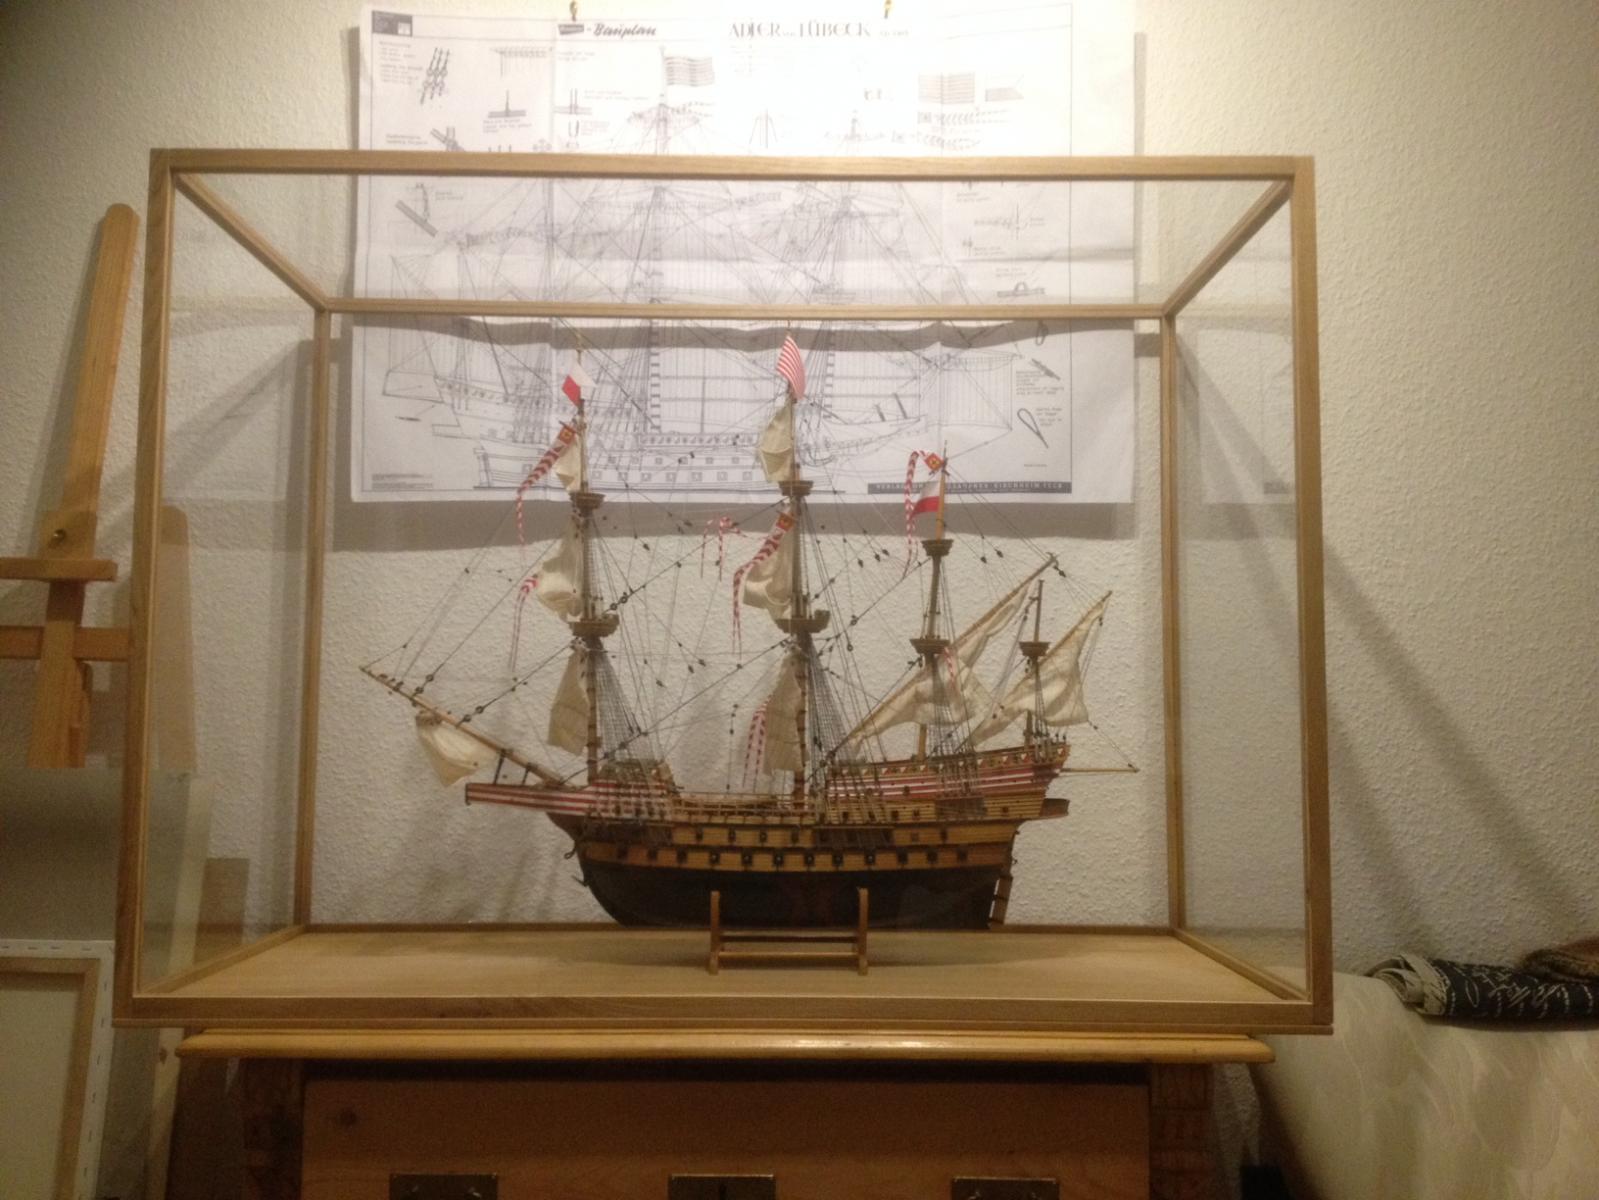
Hi Guys,Here it is not long continued, but I promise that I will continue to build the end of January at the William. I have the ship "Eagle of Lübeck 1565" restored in recent months for a customer. Now it's done, and I can devote myself to the William again. Bye now !The pictures show the eagle after its completion.

- Tadeusz43, GrandpaPhil, Dubz and 14 others
-
17
-
Can you say when the volumes of Karl Heinz Marquardt, a good acquaintance of mine, will be buying from you?
Regards Kay
-
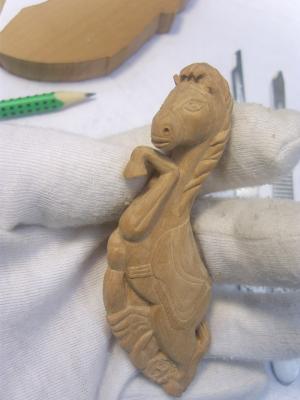
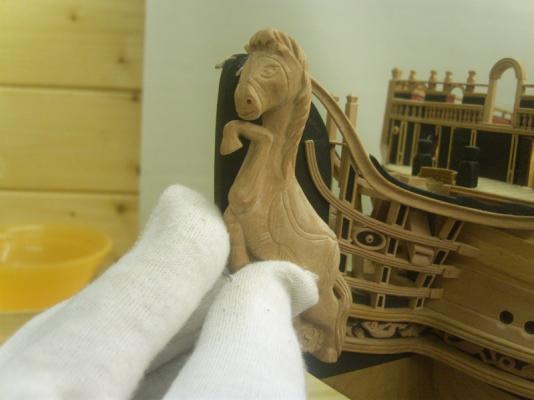
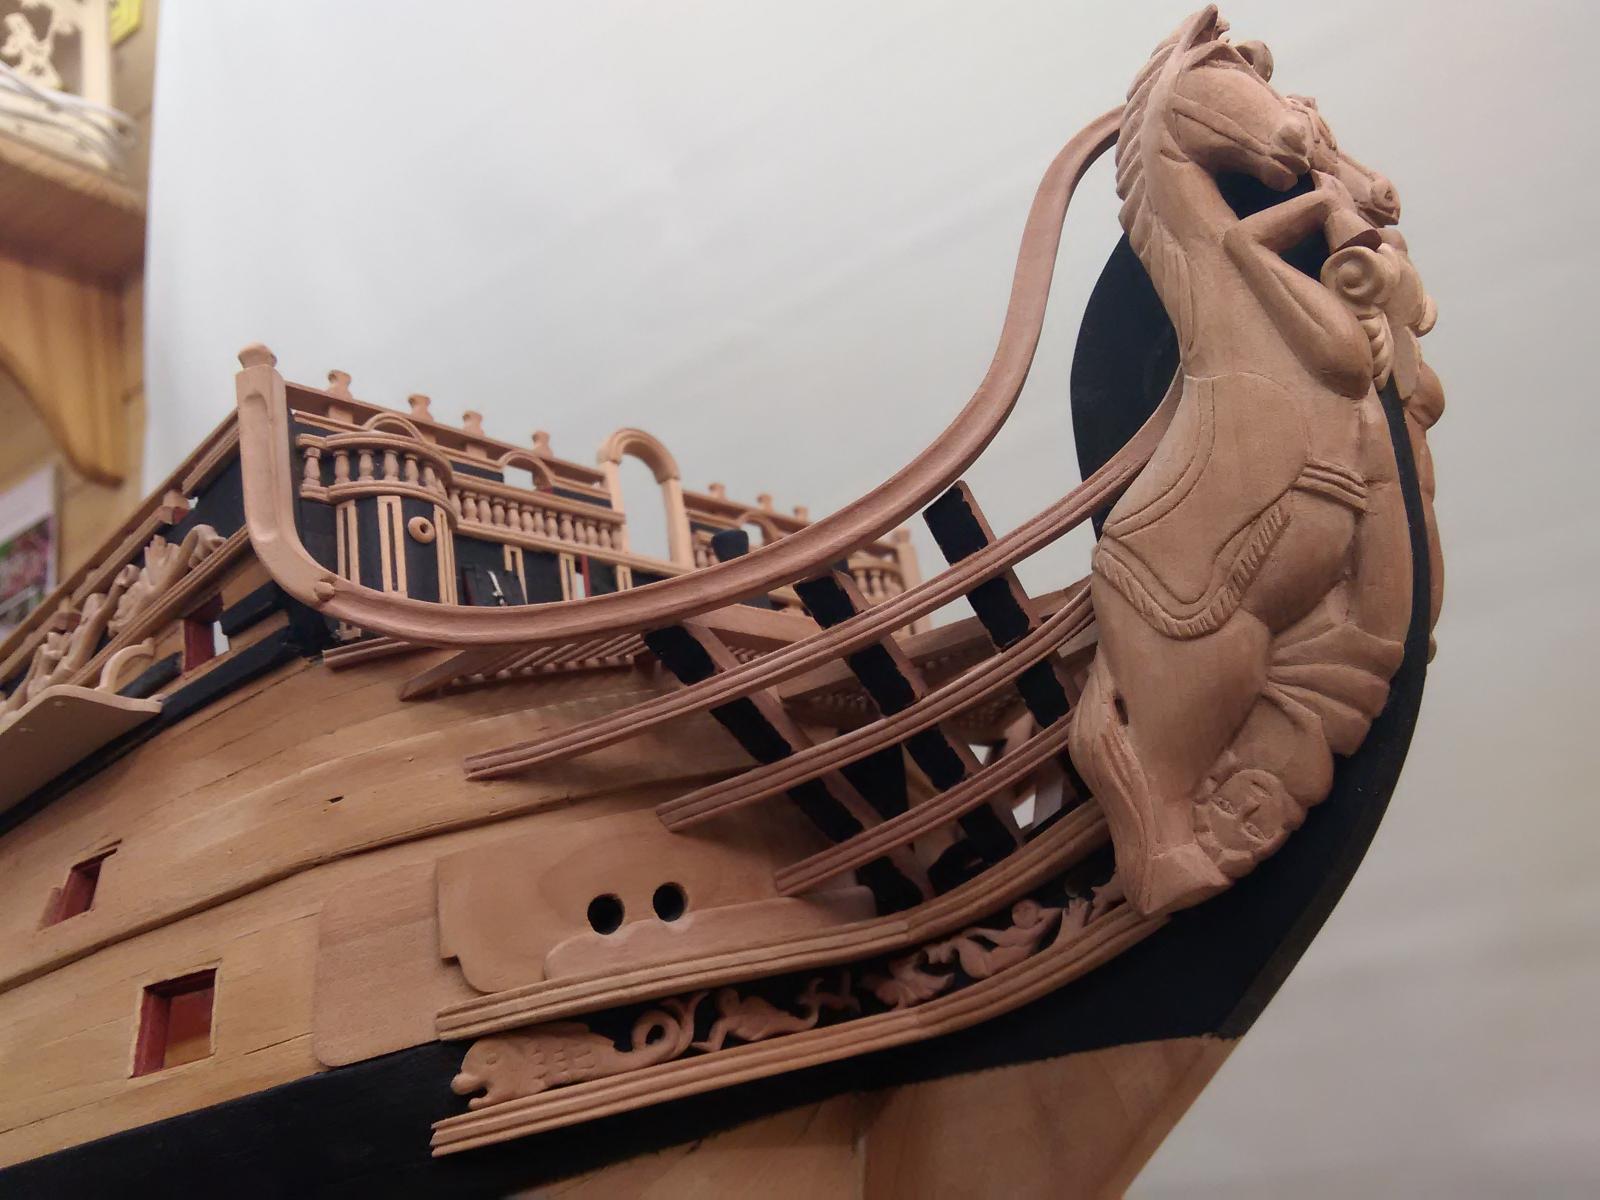
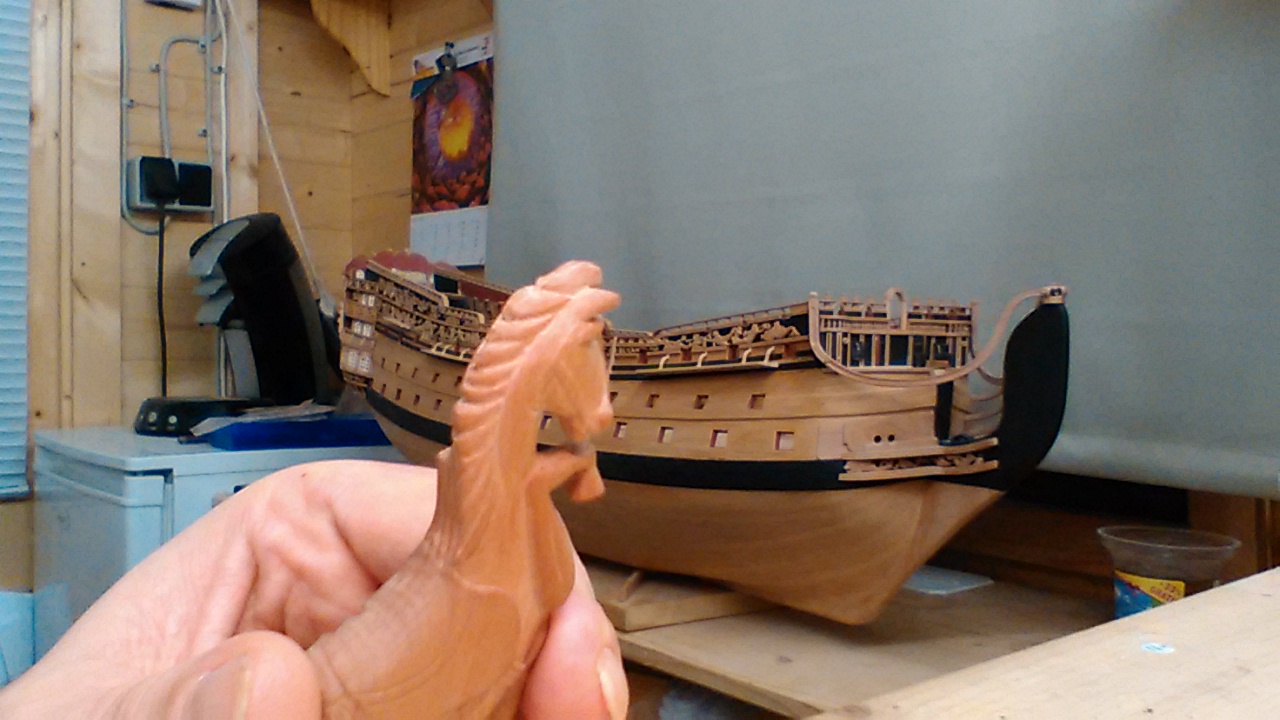
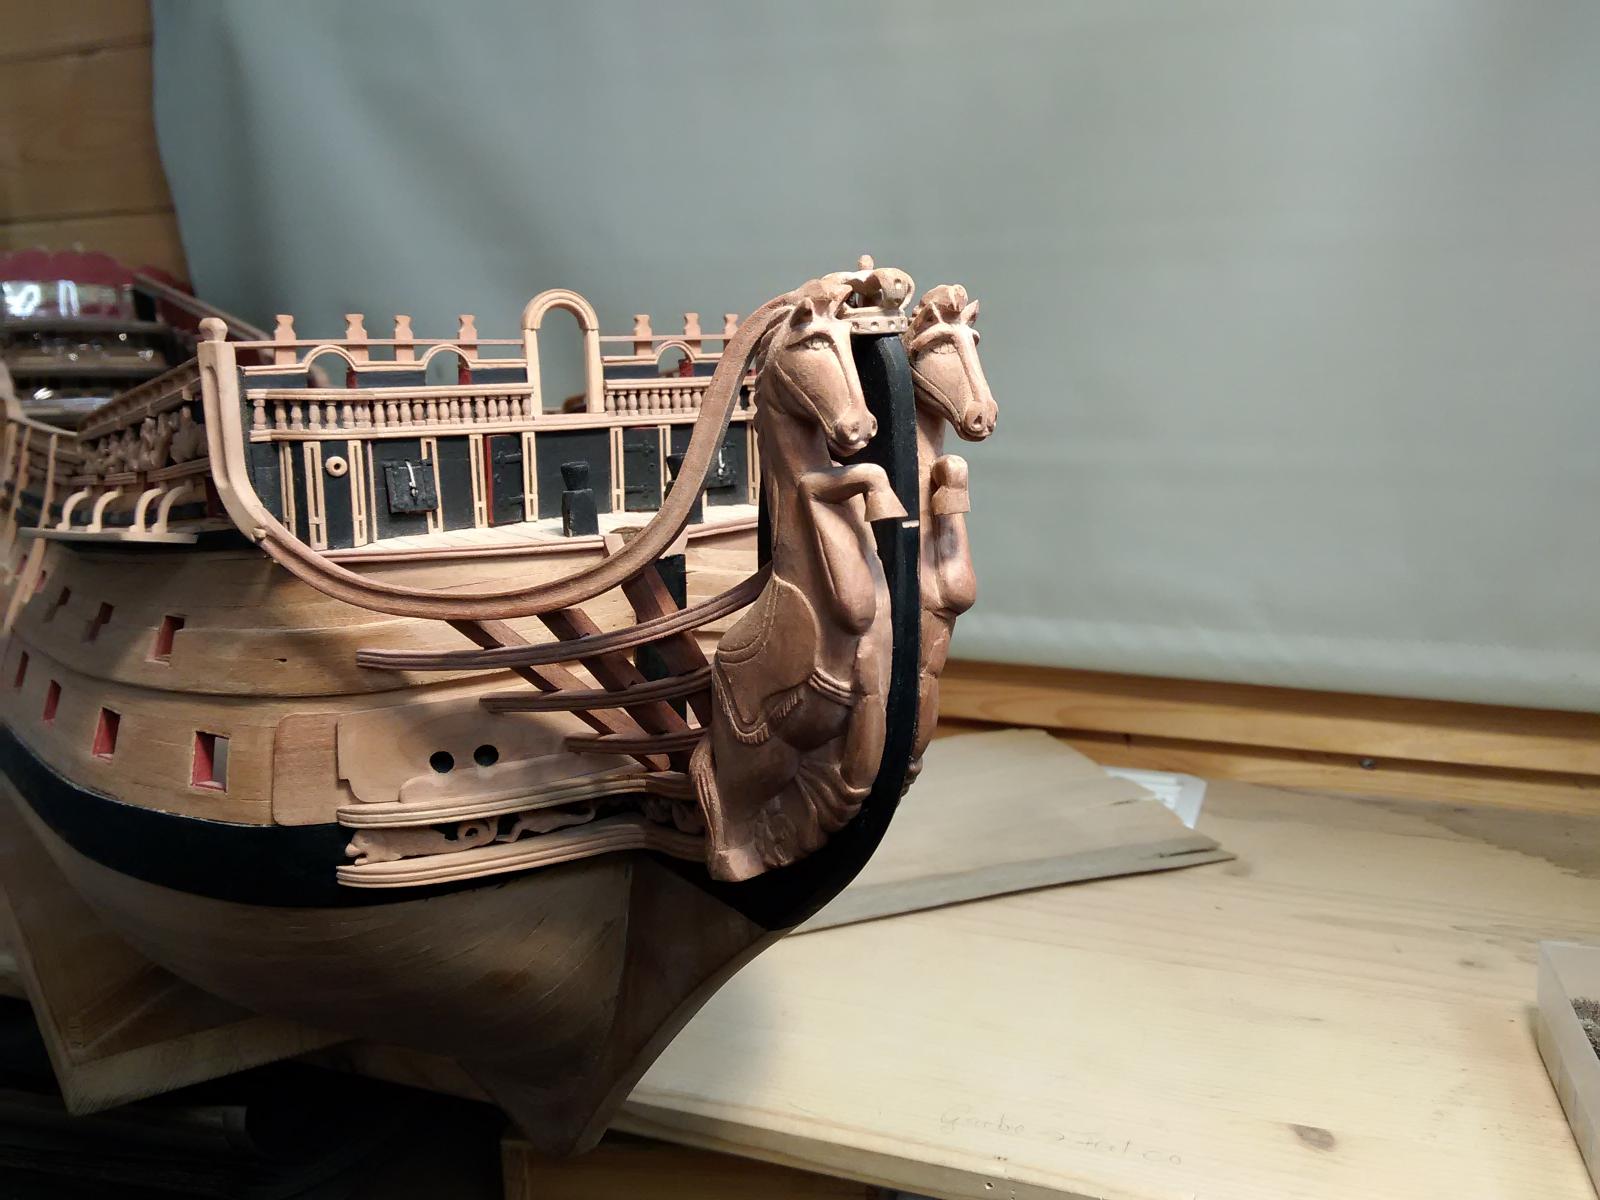
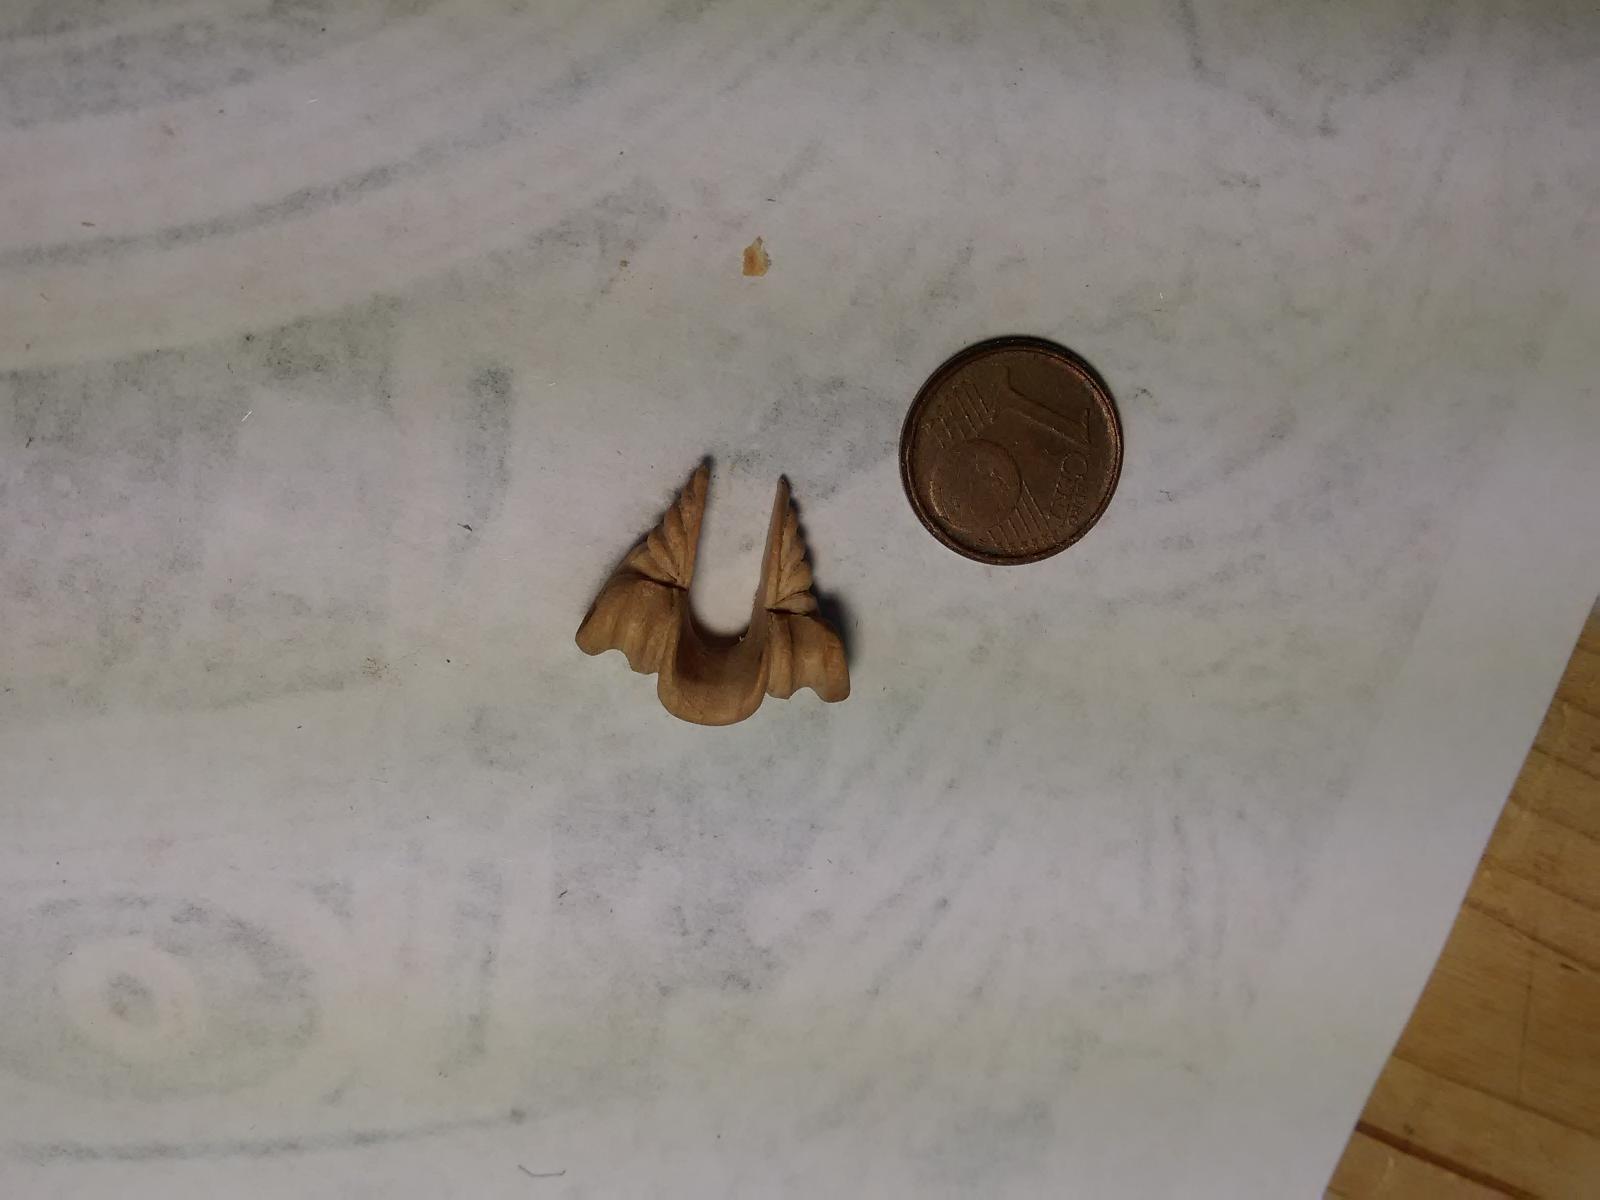
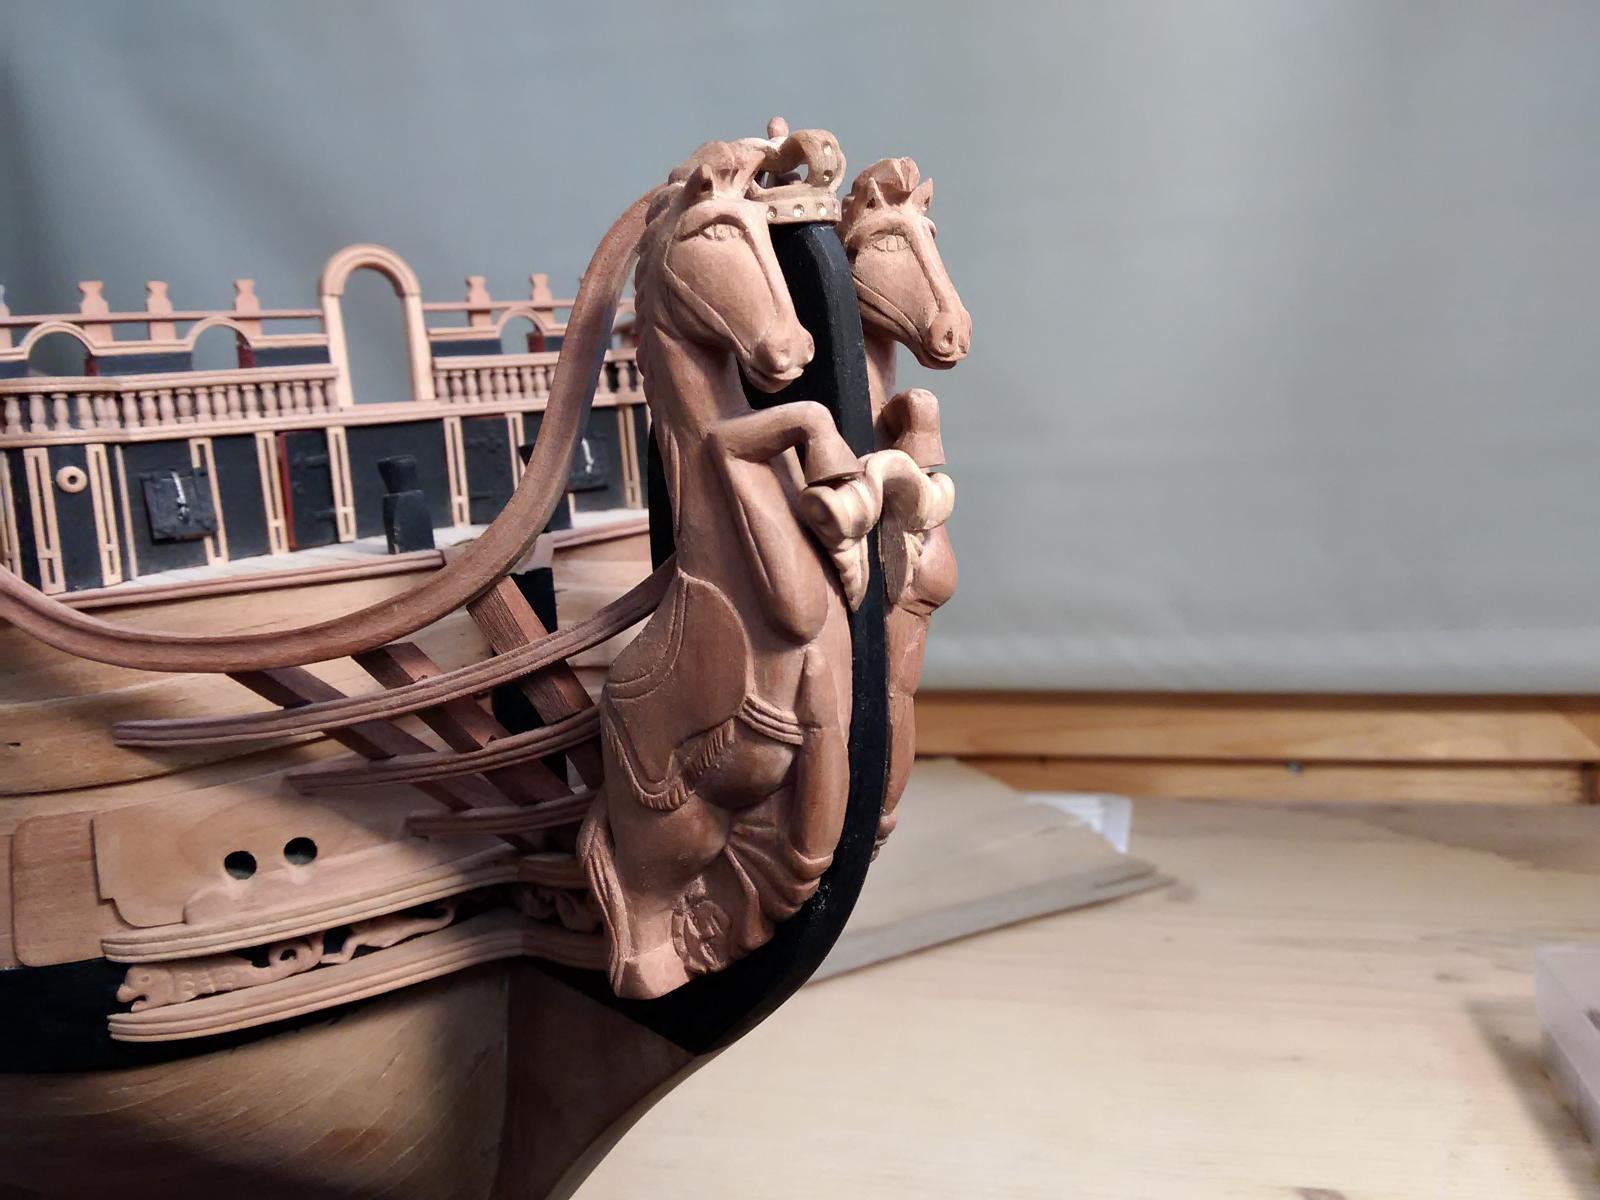
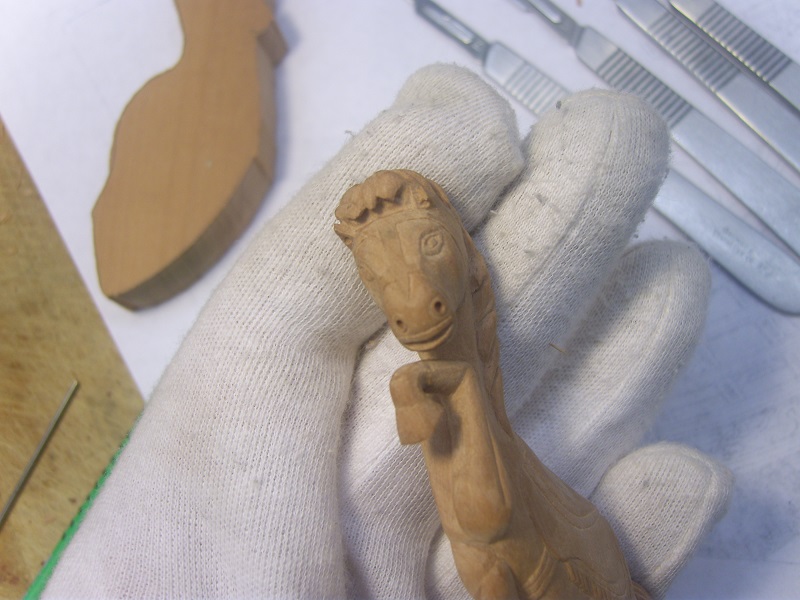
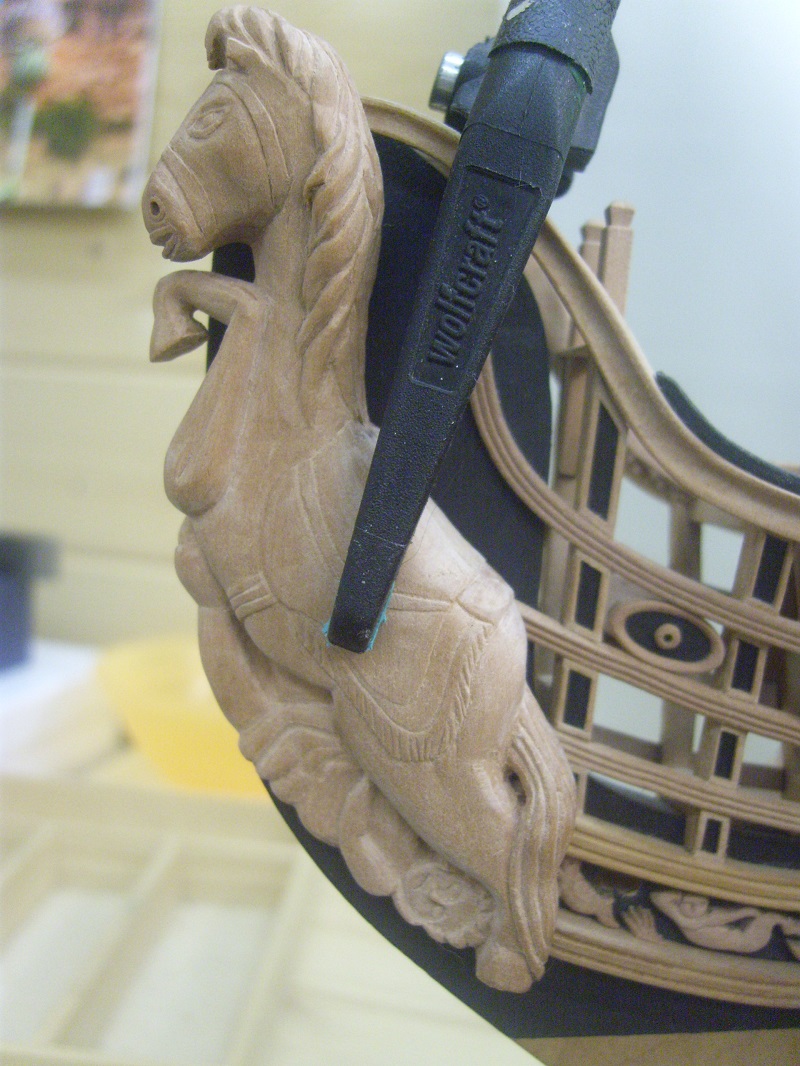
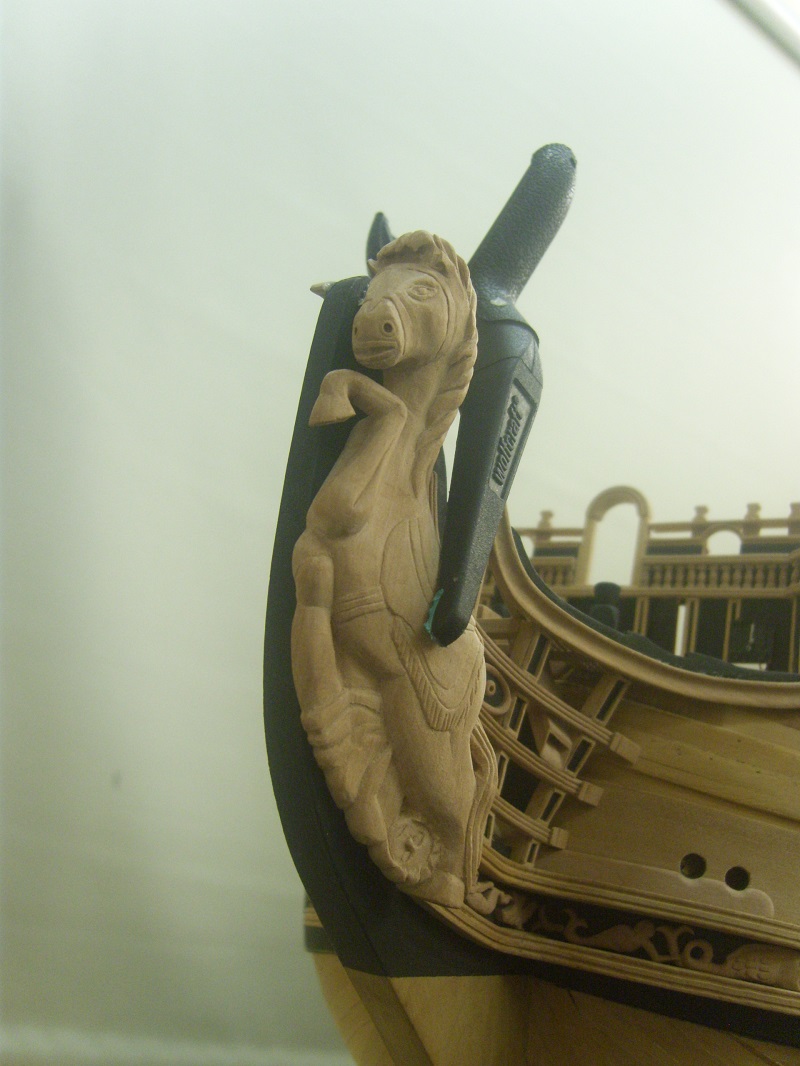
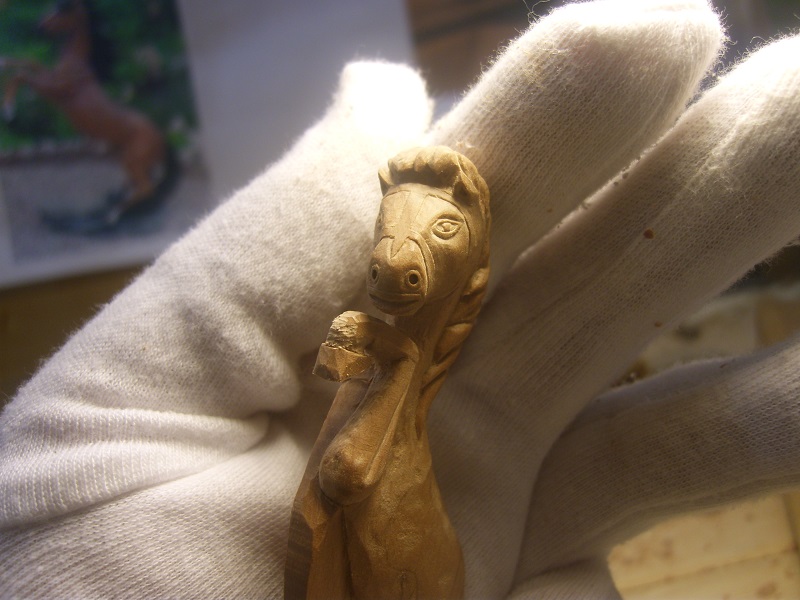
Vielen Dank für Ihre lieben Kommentare. Ich schnitt das erste Pferd der Galionsfigur. Ich werde nun zu schnitzen die zweite Pferd und dann Achilles. Ich hoffe, dass ich es hin gleichmäßig.
Grüße Kay


- Mfelinger, edmay, avsjerome2003 and 20 others
-
23
-
-
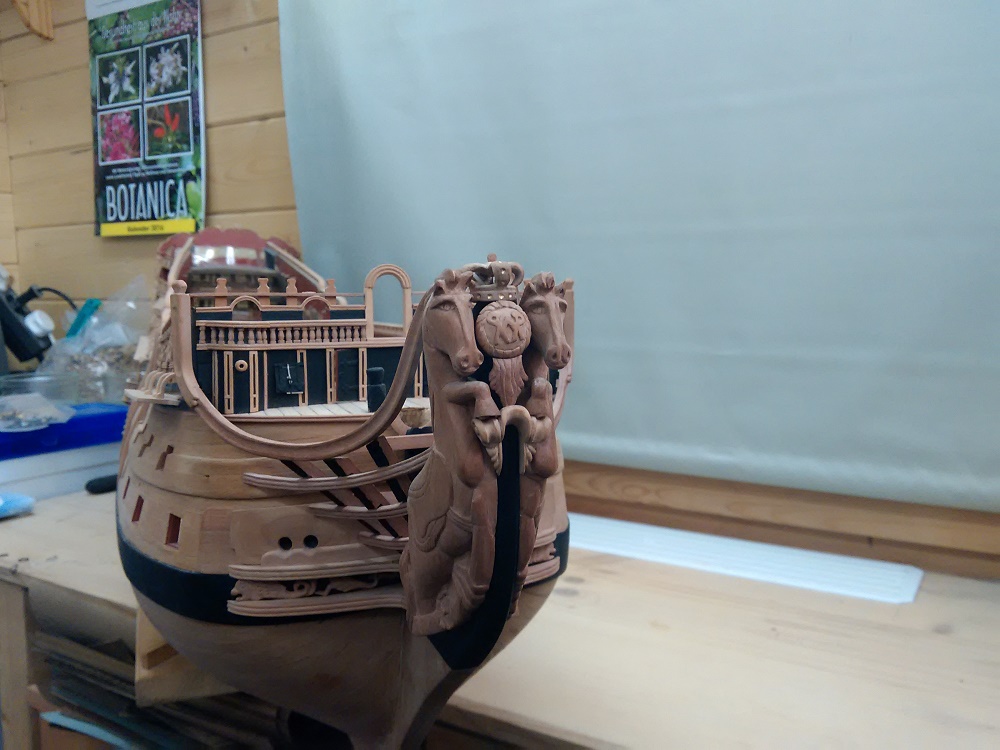
Und beenden.


- Jeronimo, Farbror Fartyg, mtaylor and 9 others
-
12
-
-
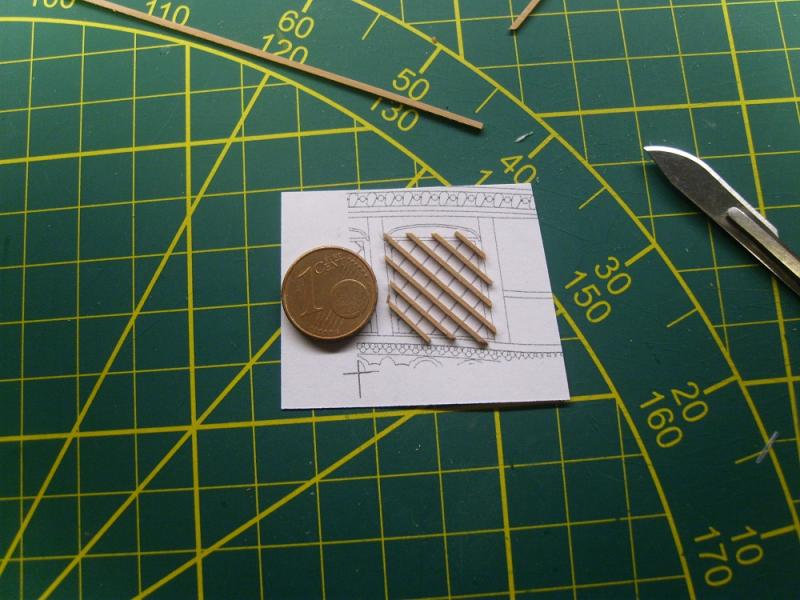
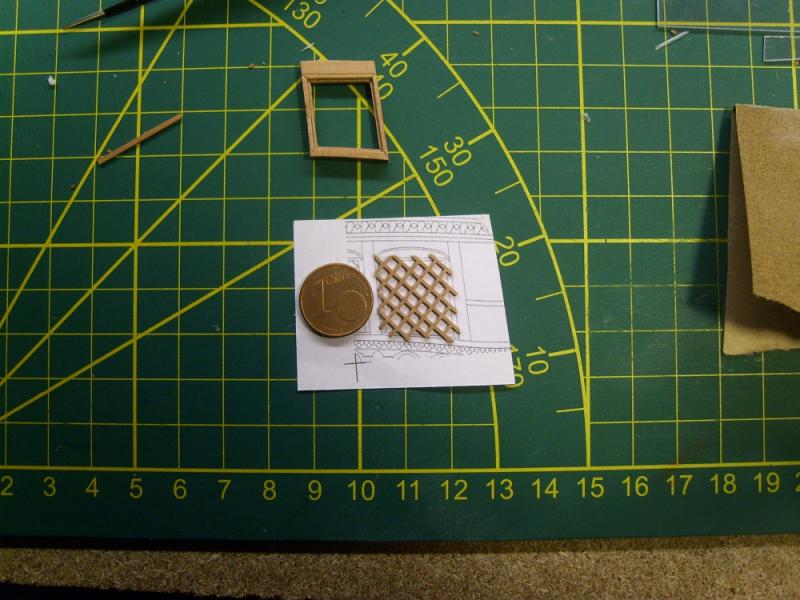
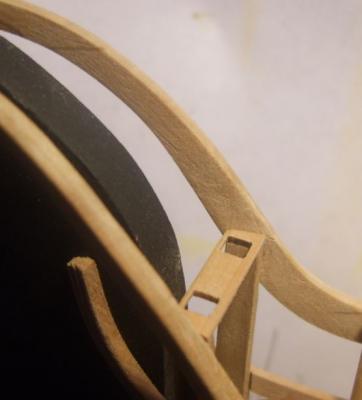
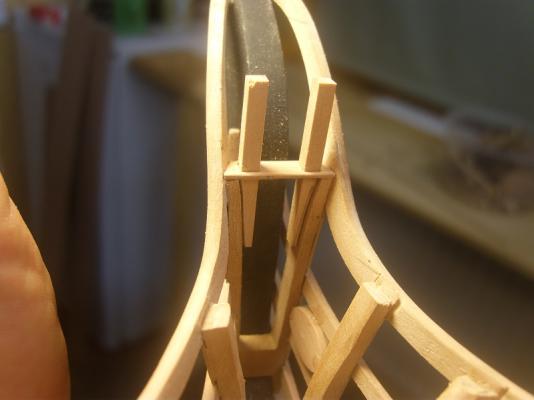
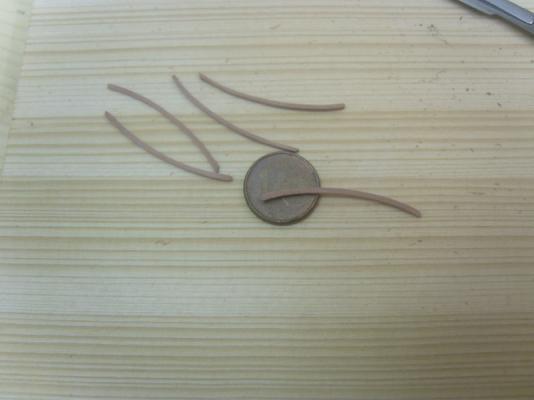
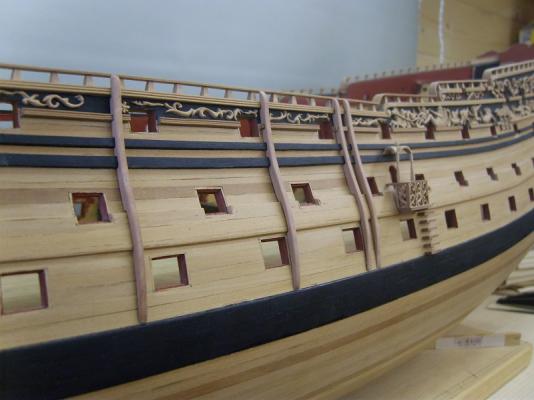
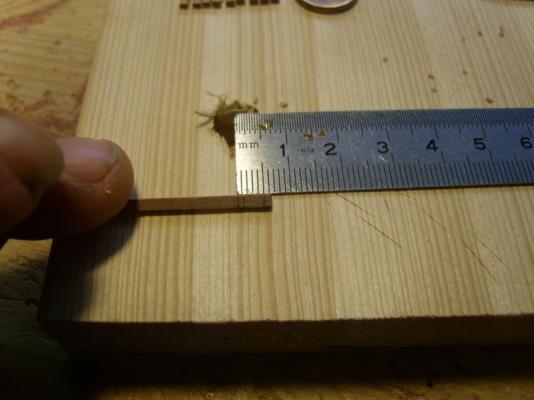
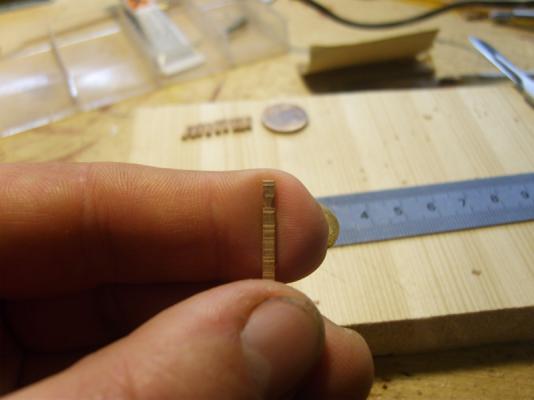
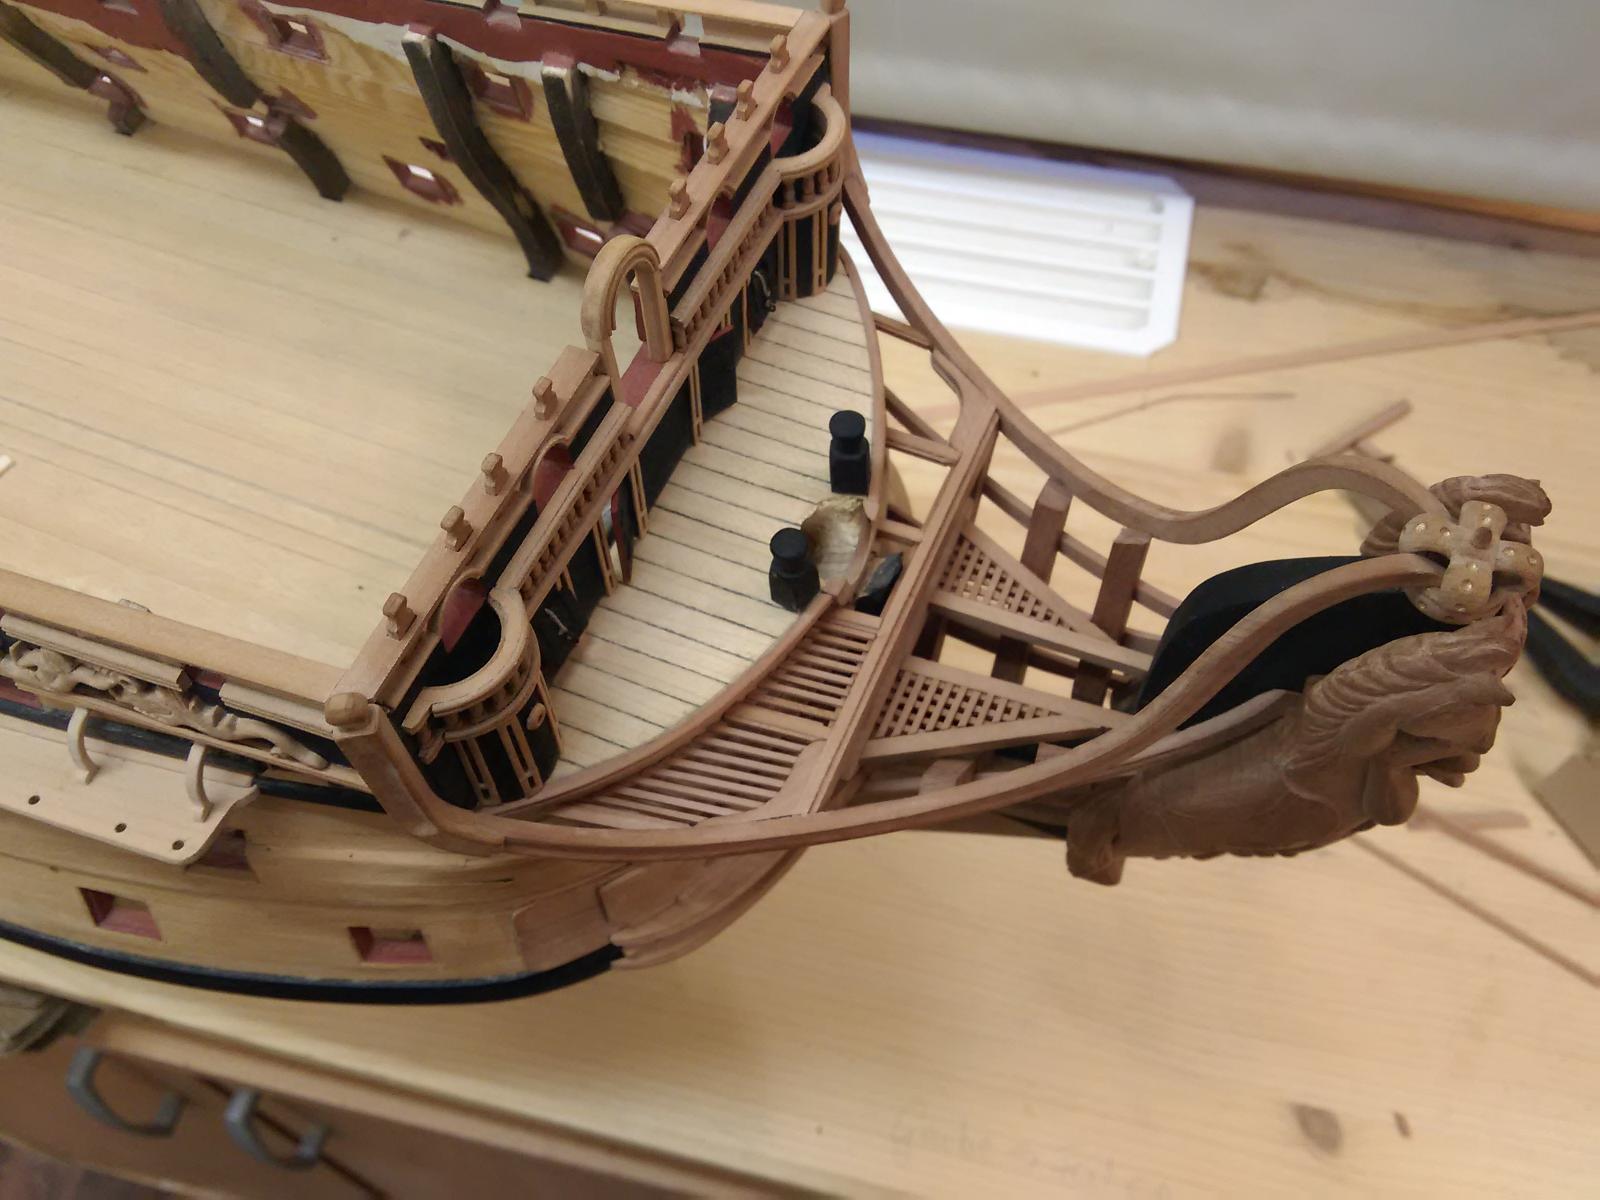
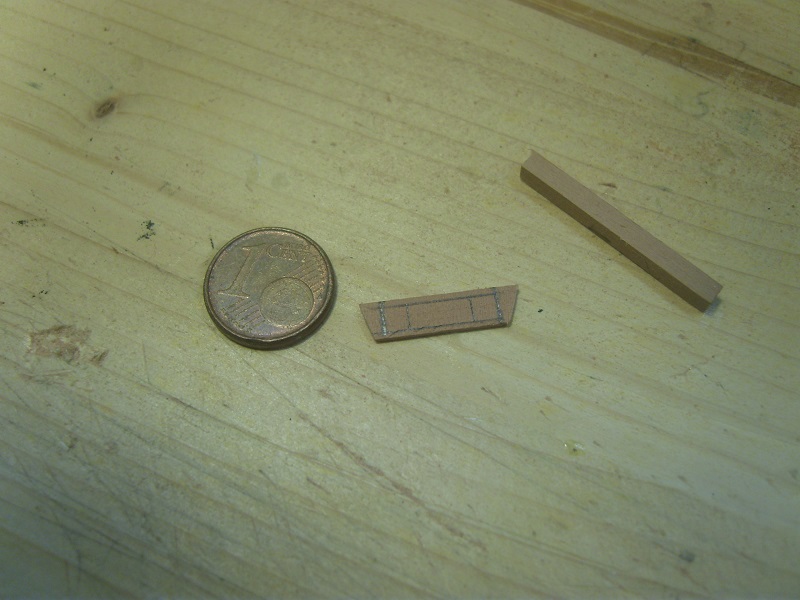
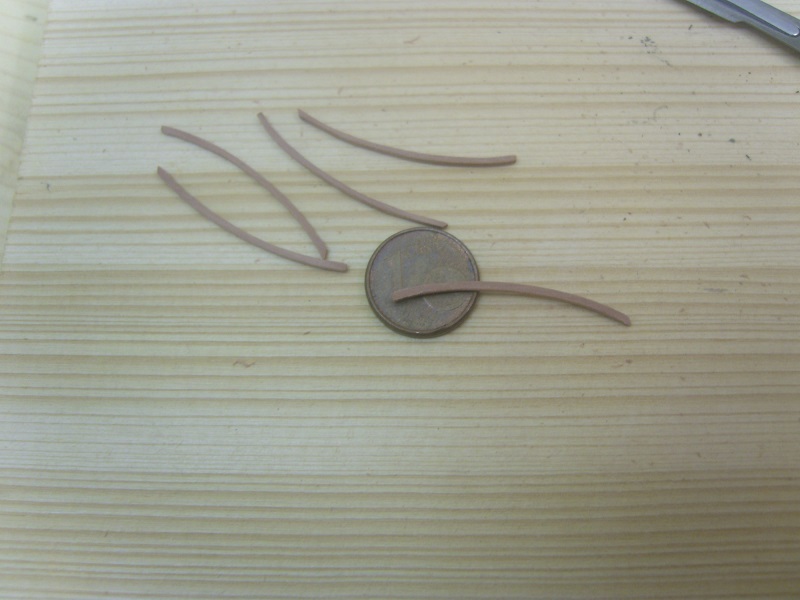
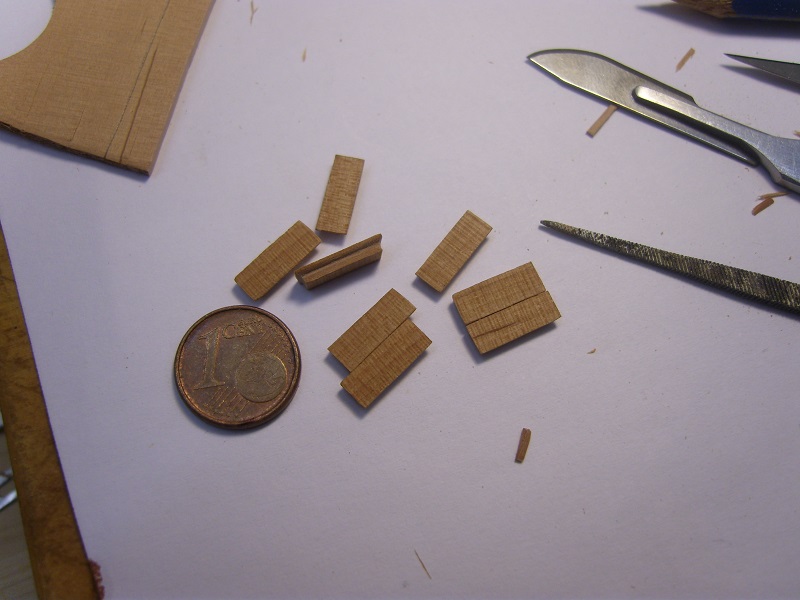
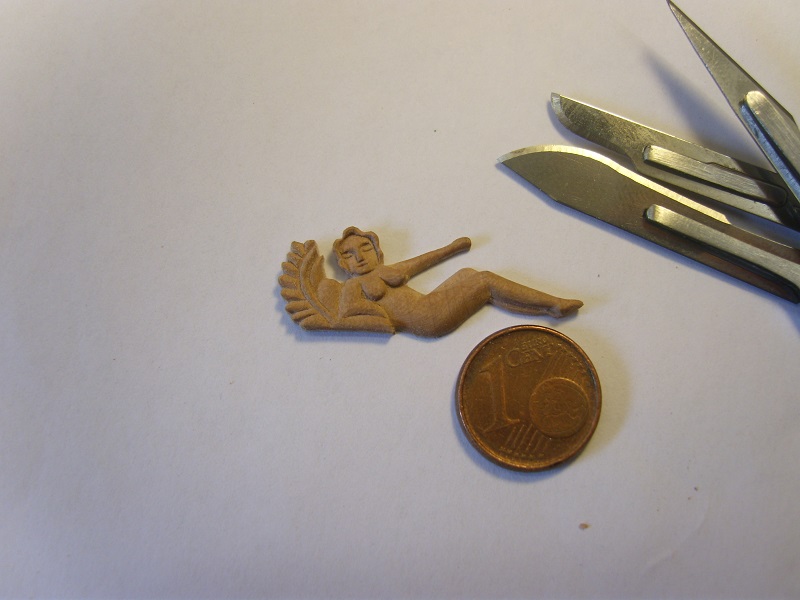
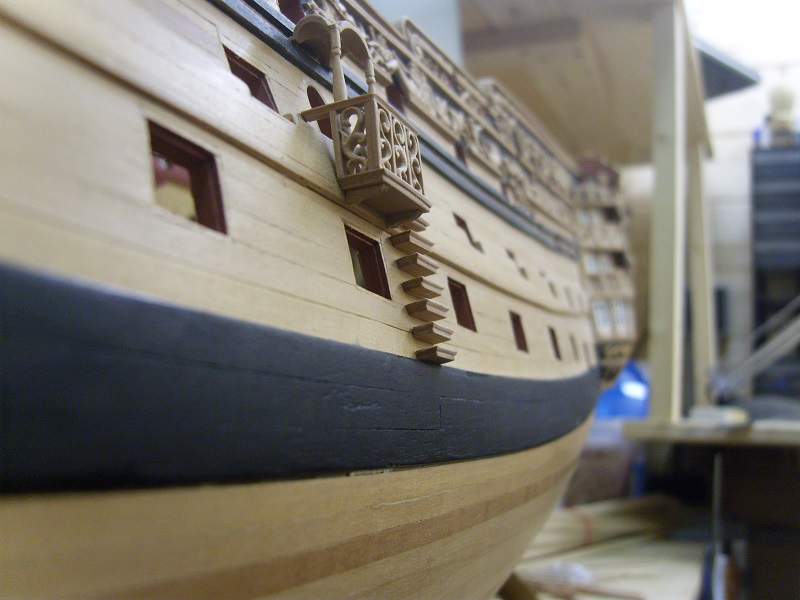
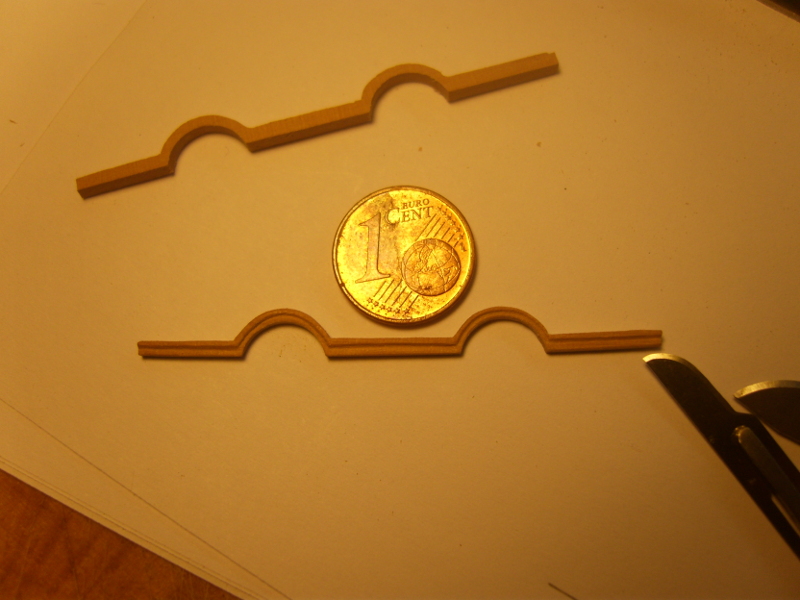
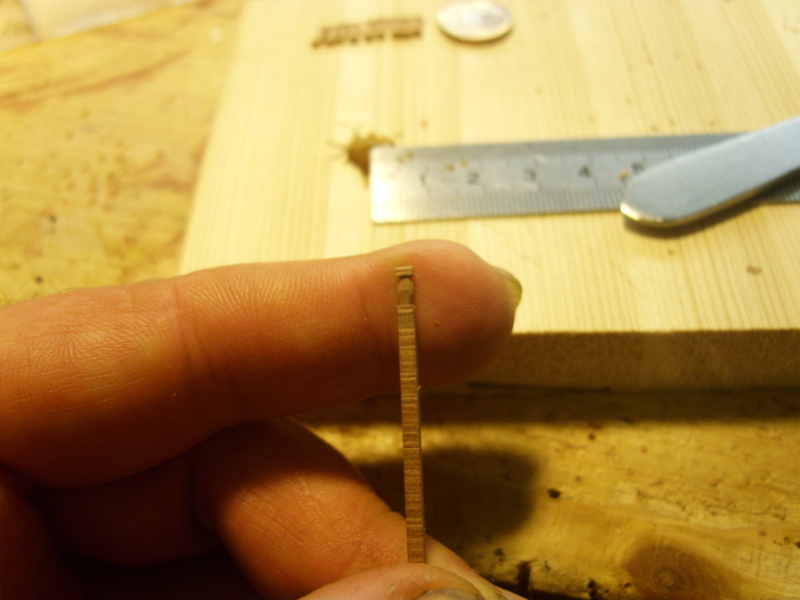
Hallo Leute,Ich habe hier Eine lange Zeit nichts, tut mir leid. Ich hätte Zuerst die Bauarbeiten zu mir nach Hause zu BEENDEN, sonst meine Frau Wäre sauer auf mich zu haben. Ich habe jetzt Begann sterben Galion, Aber ganz Eigene. Alle Artikel anzeigen Werden ohne Maschinen gemacht, Auch reine Handarbeit. Die Streifen 0,5 x 1,00 mm Sind mit Einem Messer geschnitten. Zu DM zeitpunkt, zu schnitzen ich sterben Galionsfigur.Und ich danke IHNEN allen für die lieben Kommentare.Grüße Kay


- seafarermiami, Dubz, Mfelinger and 7 others
-
10
-
Vielen Dank für Ihre Motivation.@ KeithW: Ich schaue, ob ich noch Bilder von der Baubeginn haben. Ich habe von Linde Fenster gebaut.@ SawdustDave: Schön, dass Sie die Schnitzereien gefallen. Ich habe in der RW geschnitzt die erste Zeit. Die Grundlagen hat mir gezeigt, Willibald Meischl aus Österreich im deutschen Forum www.segelschiffsmodellbau.com. Er ist ein ausgezeichneter Modellbauer und Spezialist in der Royal Navy im 17. Jahrhundert. Und danach habe ich versucht, und versucht und versucht.In der RW habe ich weiter am Wochenende gebaut. Einige kleine Teile entstanden sind, aber überzeugen Sie sich.


-
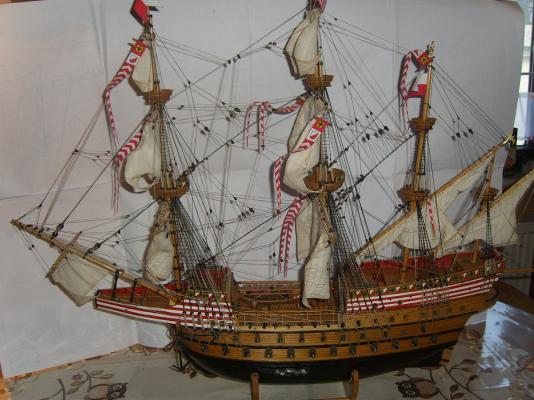
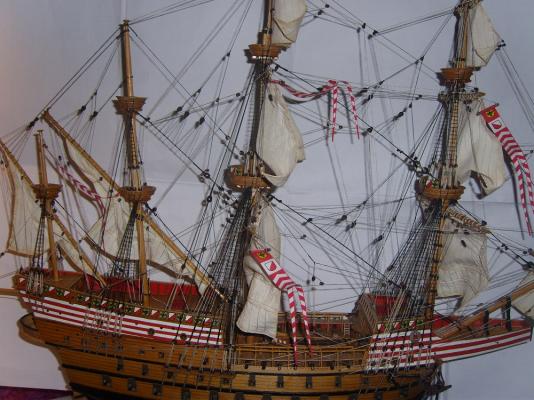
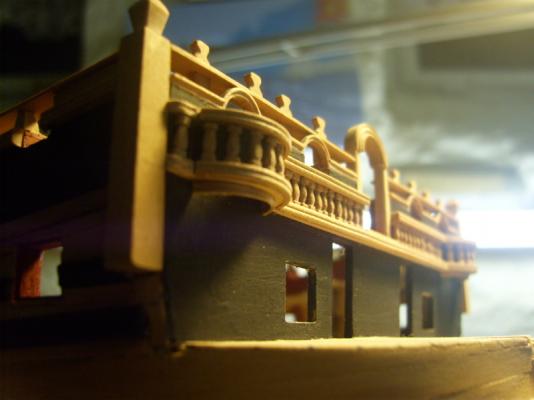
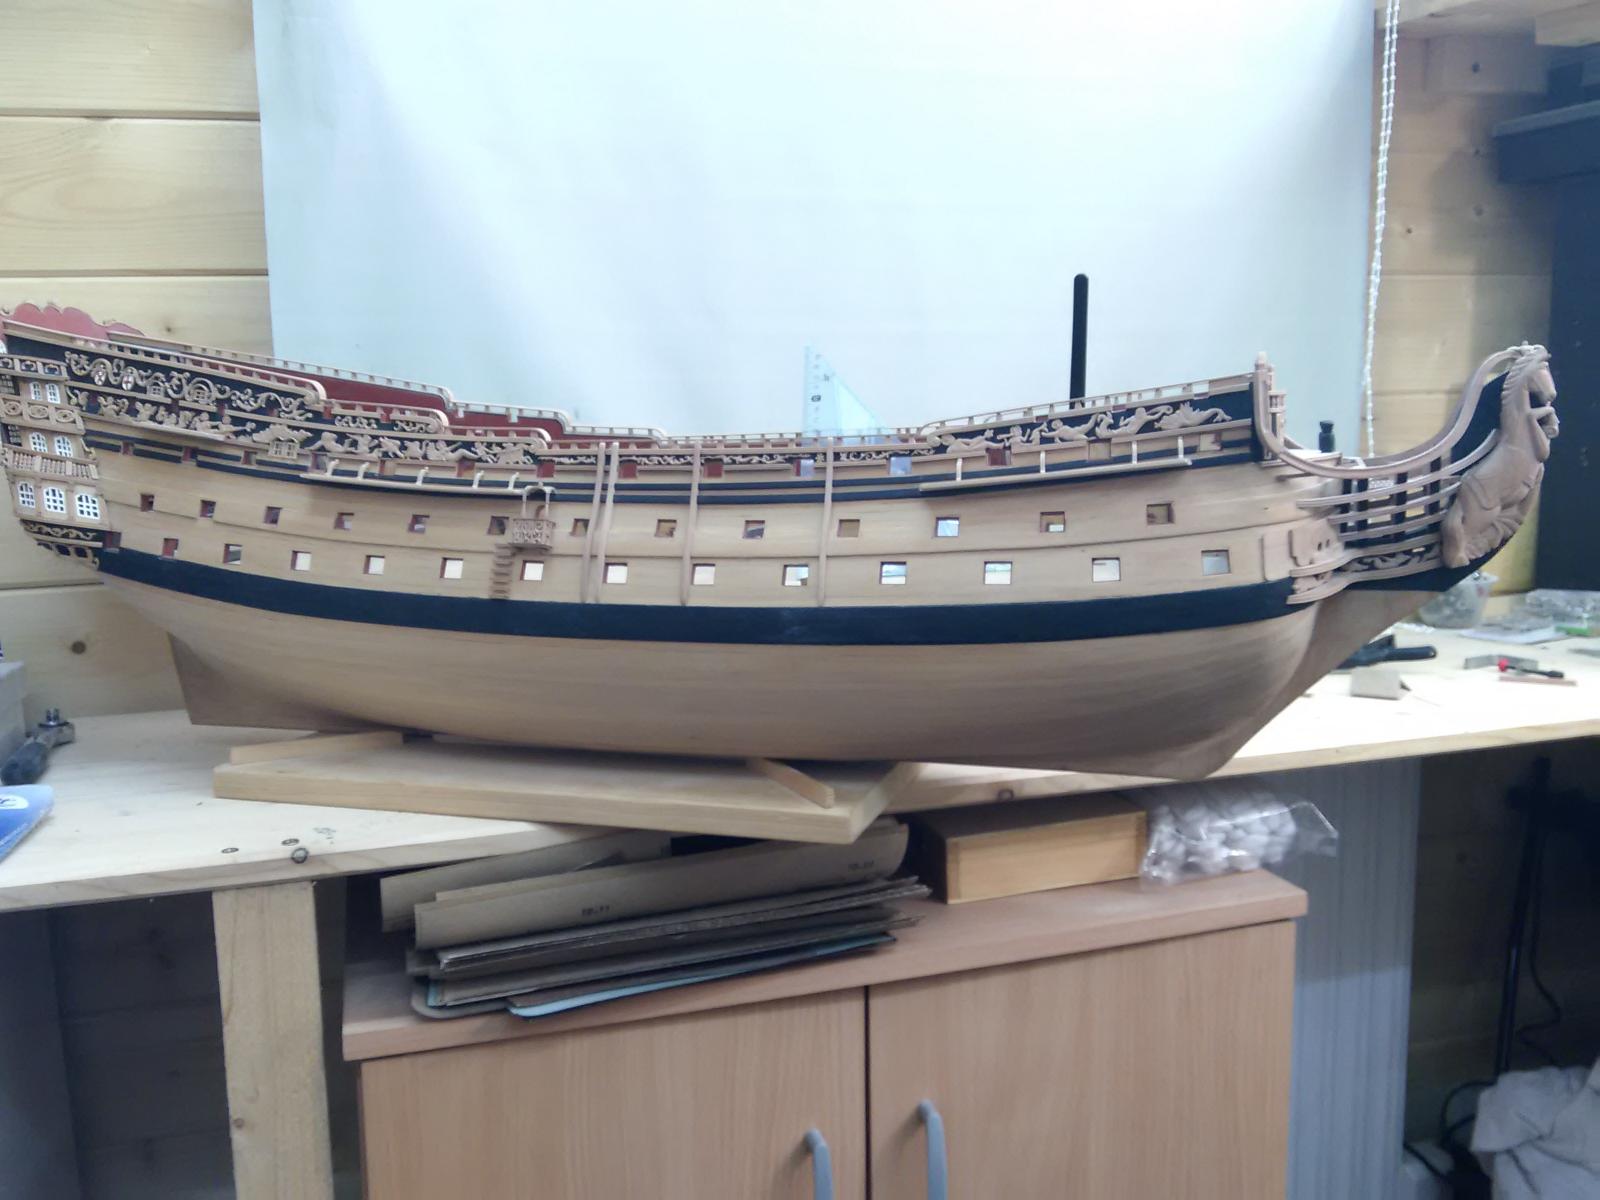
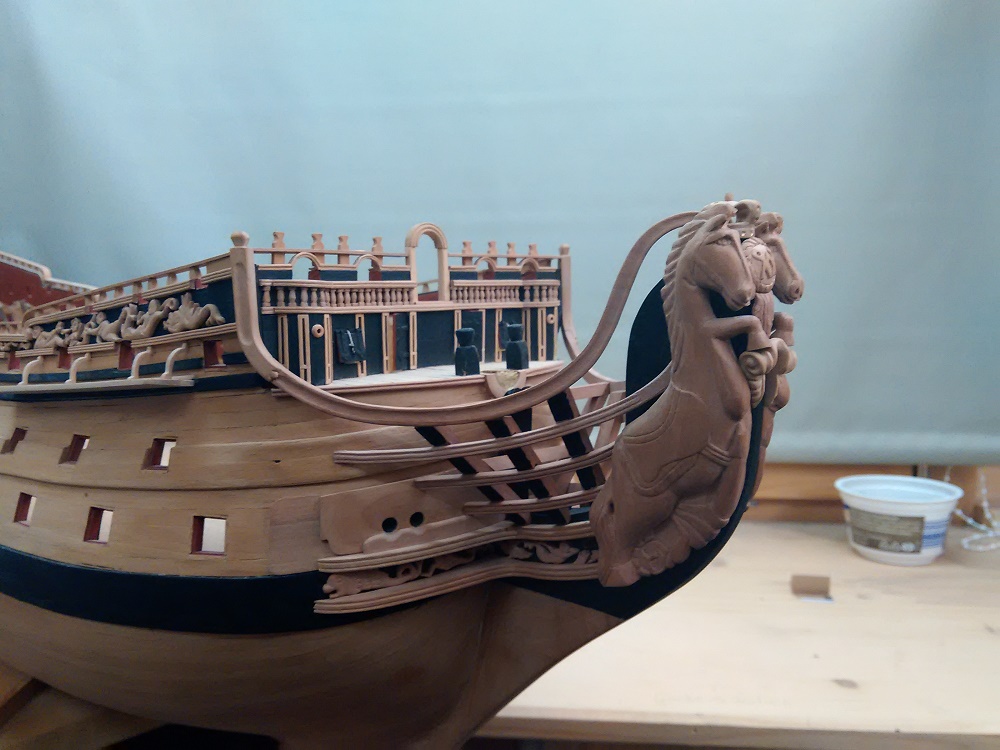
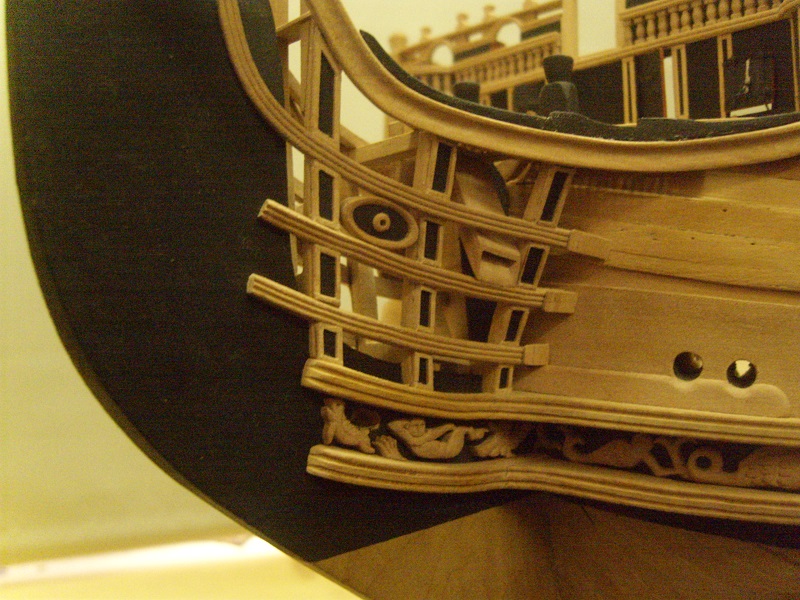
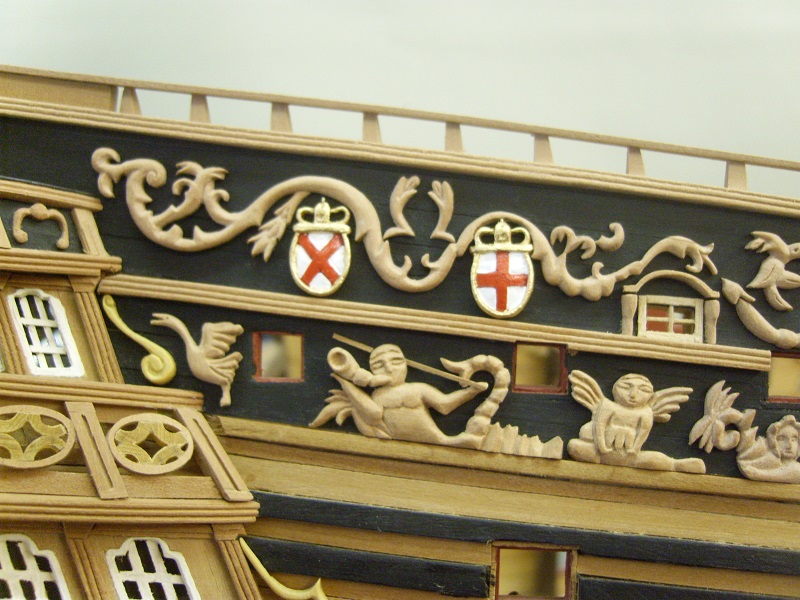
Hello folks,now a few current impressions of the RW. The starboard side is now ready carved and the front part has been started. The next stages of construction, I will then set restored promptly. Now a lot of fun with the pictures.And also look at the video channel of mine, there's also a film about the RW and other works of art.
Regards Kay


- Mfelinger, NMBROOK, The Sailor and 23 others
-
26
-
Hello folks,
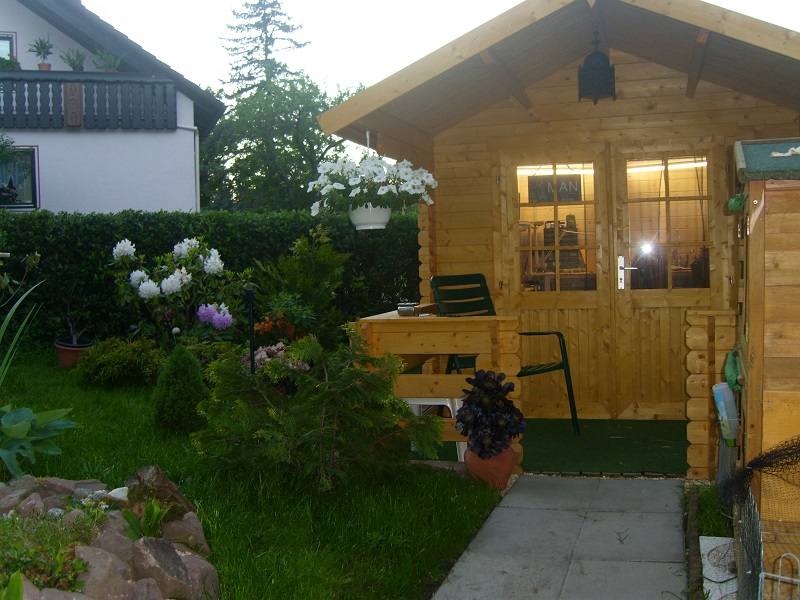
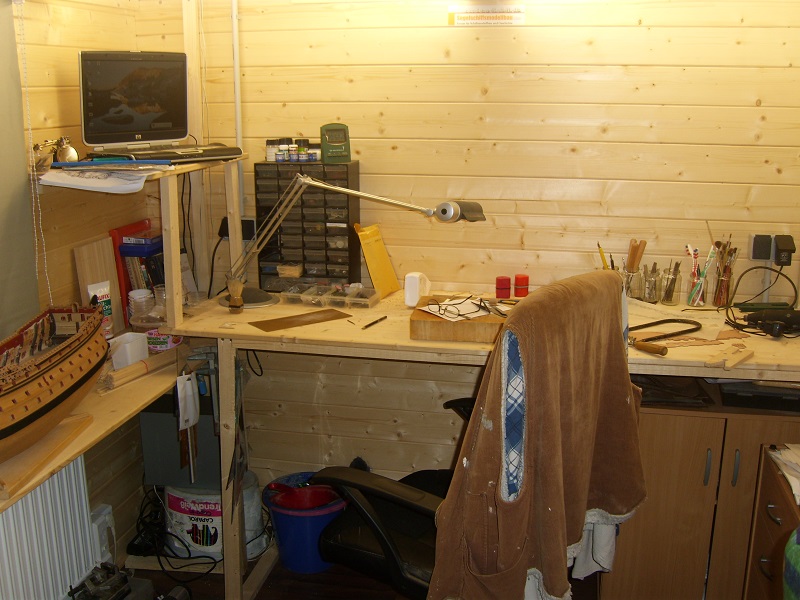
it was a long time nothing from me to hear. Because I had to take a break to build my new yard. Since a few weeks she's done and there will be new pictures of the Royal William. Here are some impressions.Regards Kay


- WackoWolf, Dubz, Farbror Fartyg and 12 others
-
15
-
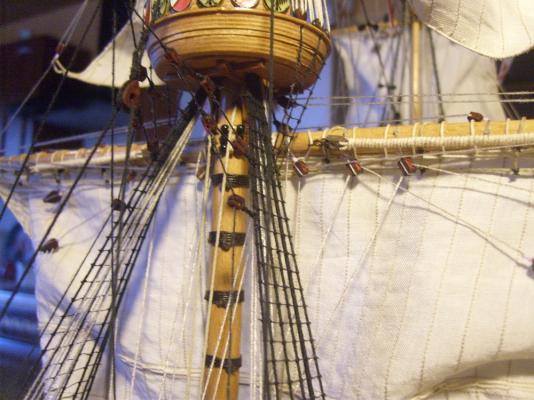
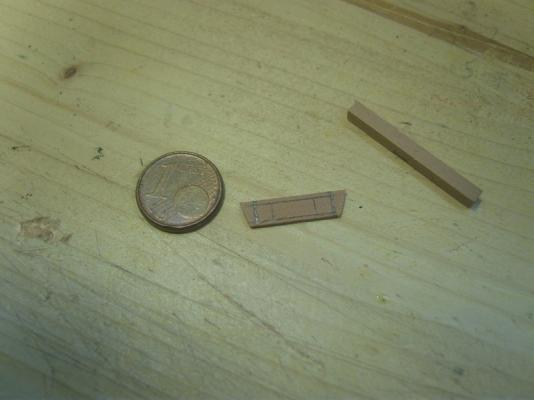
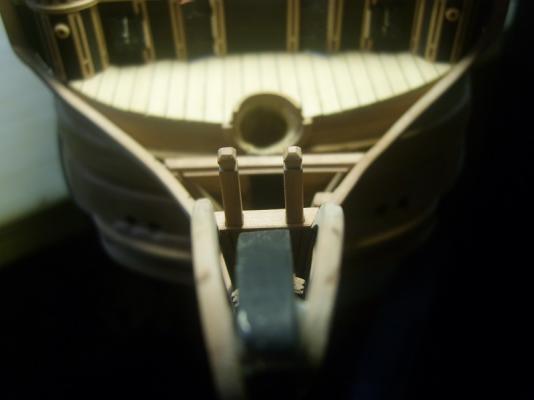
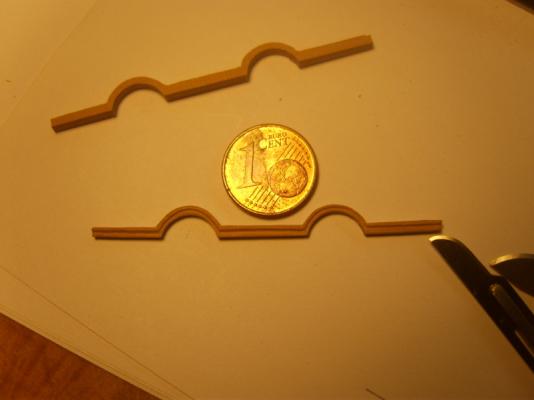
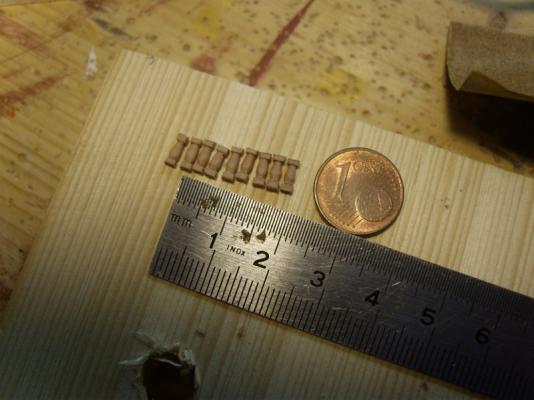
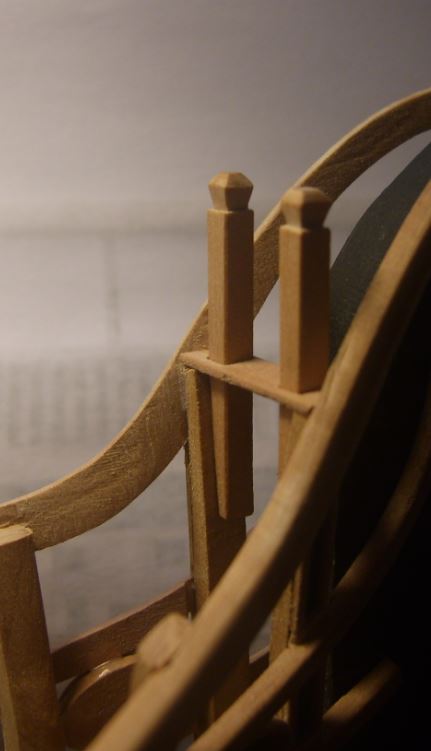
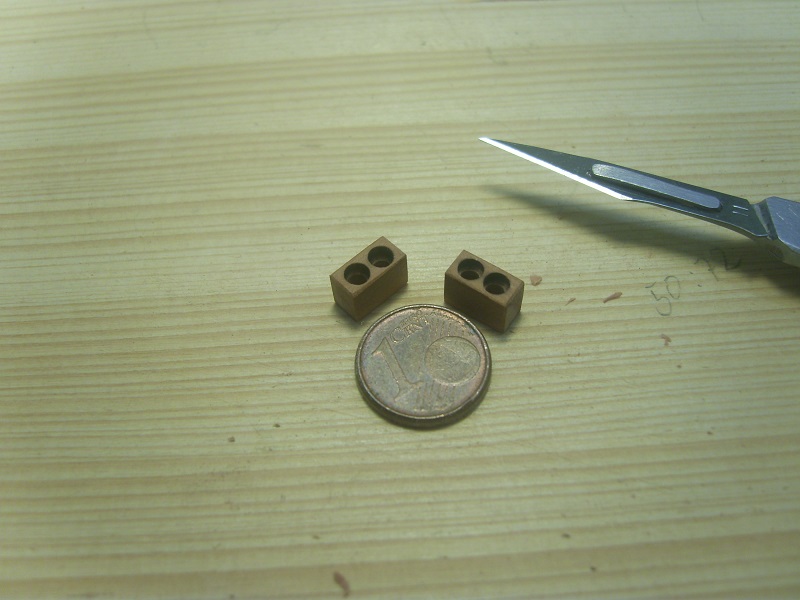
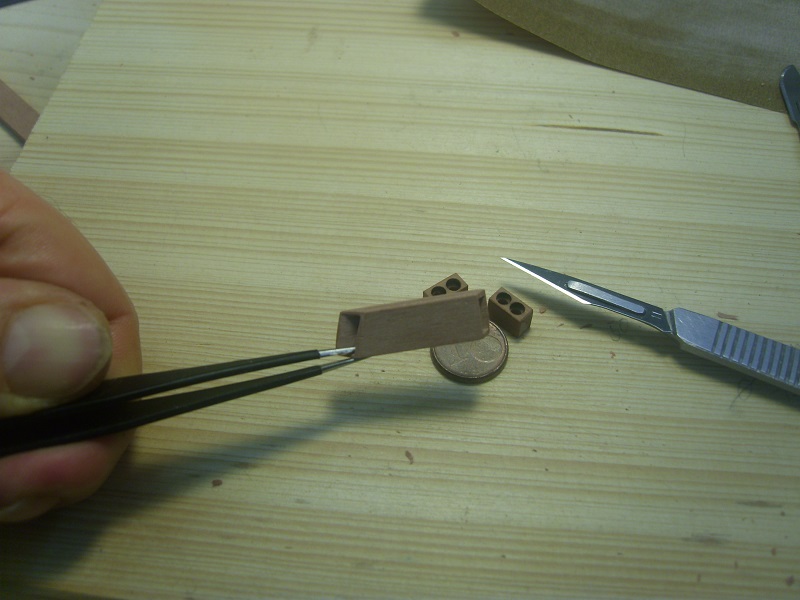
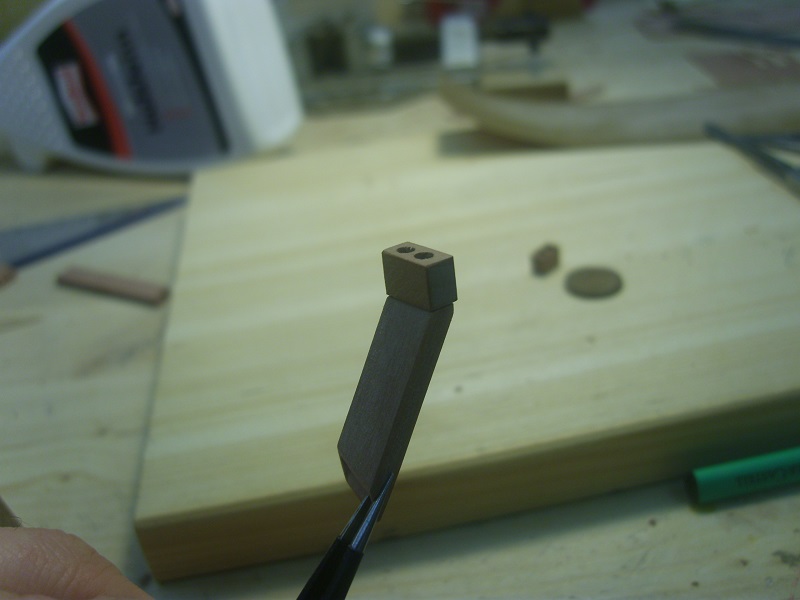
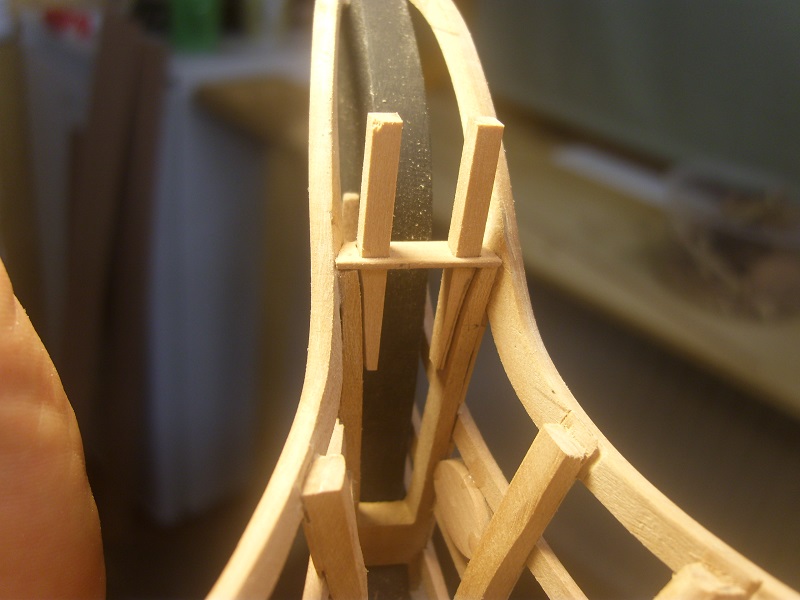
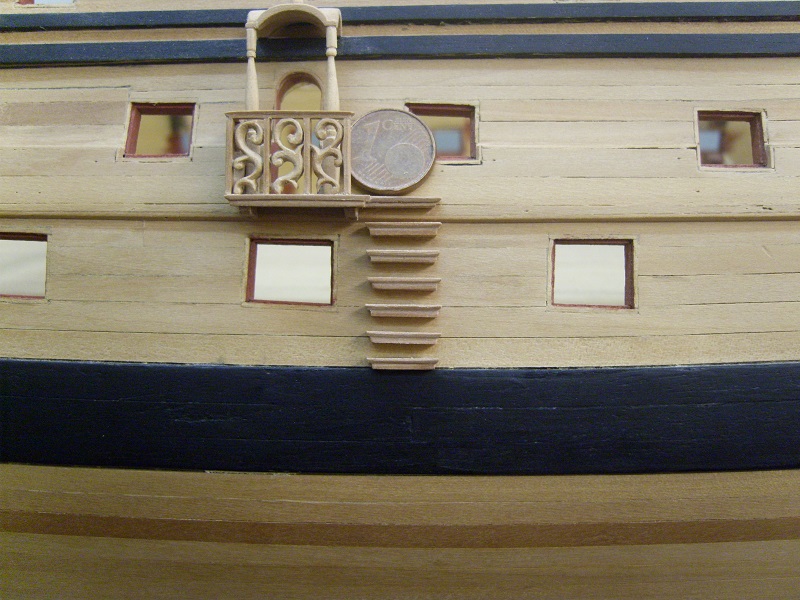
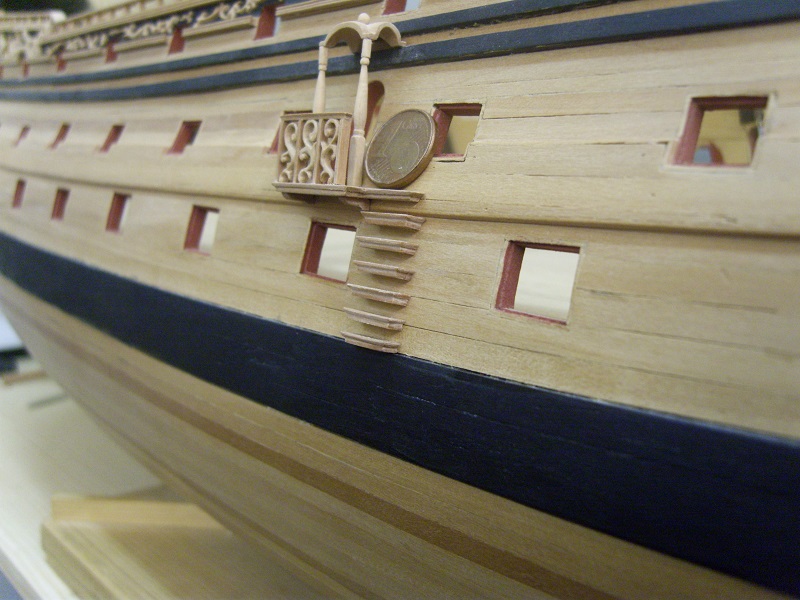
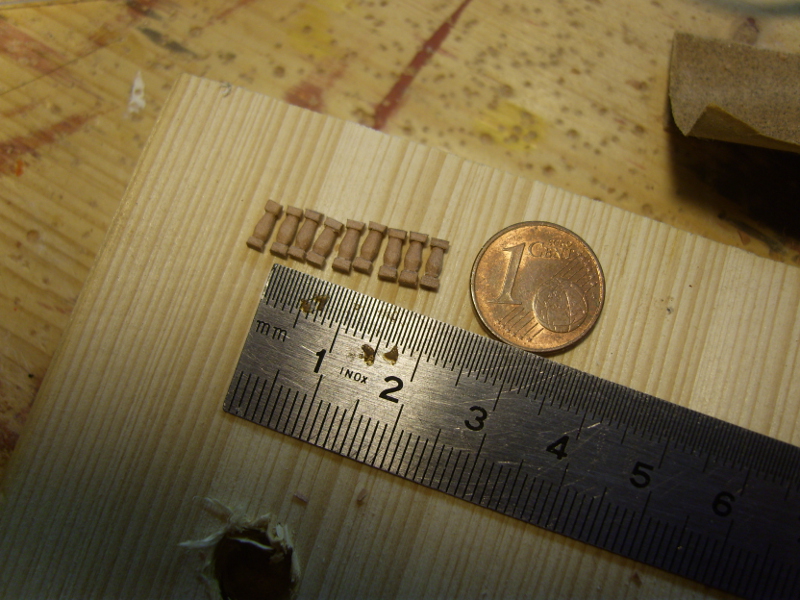
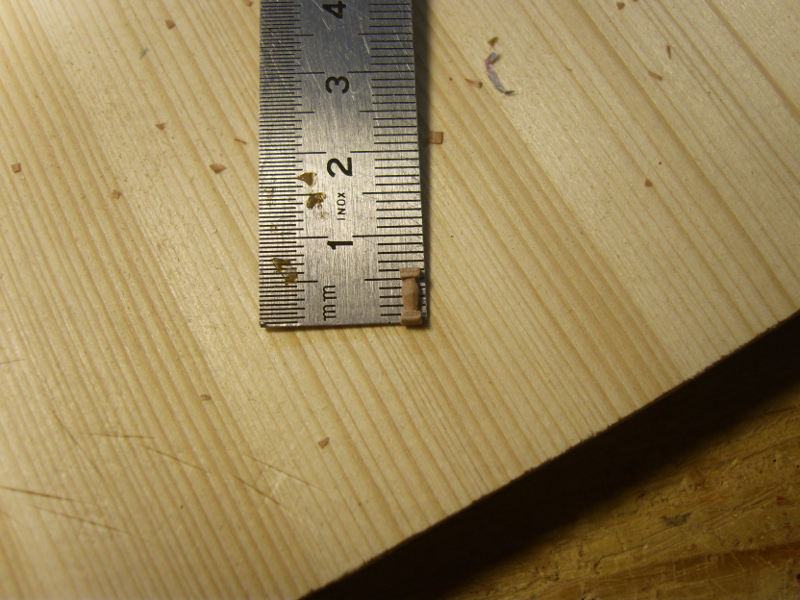
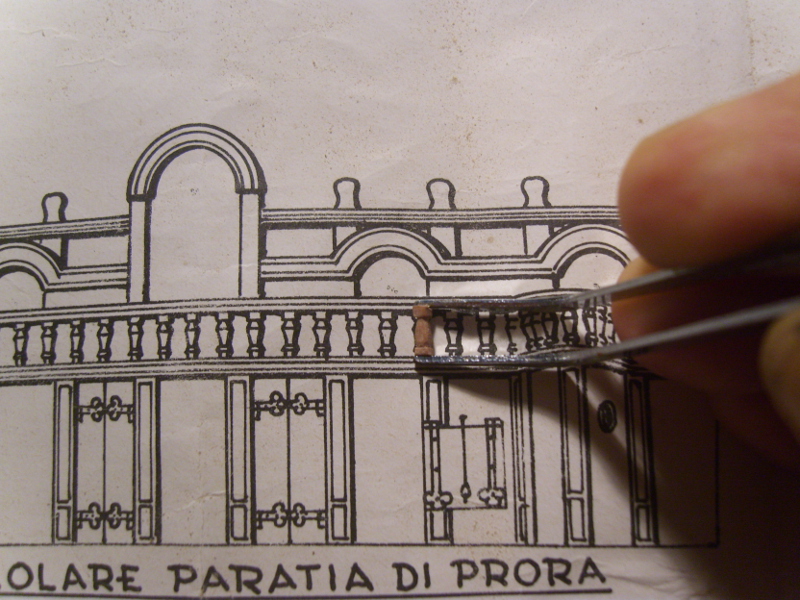
Good evening from Germany,Thanks to all for the motivating words. Here's a little update. I started to carve the small columns. I need 42 pieces. When i attach it then come new images. I forgot to write a column is 6 mm large or small
 ?
?


- Jeronimo, avsjerome2003, NMBROOK and 6 others
-
9


De Eendracht by kay - 1:50 - a dutch flagship
in - Build logs for subjects built 1501 - 1750
Posted
Hello Jan,
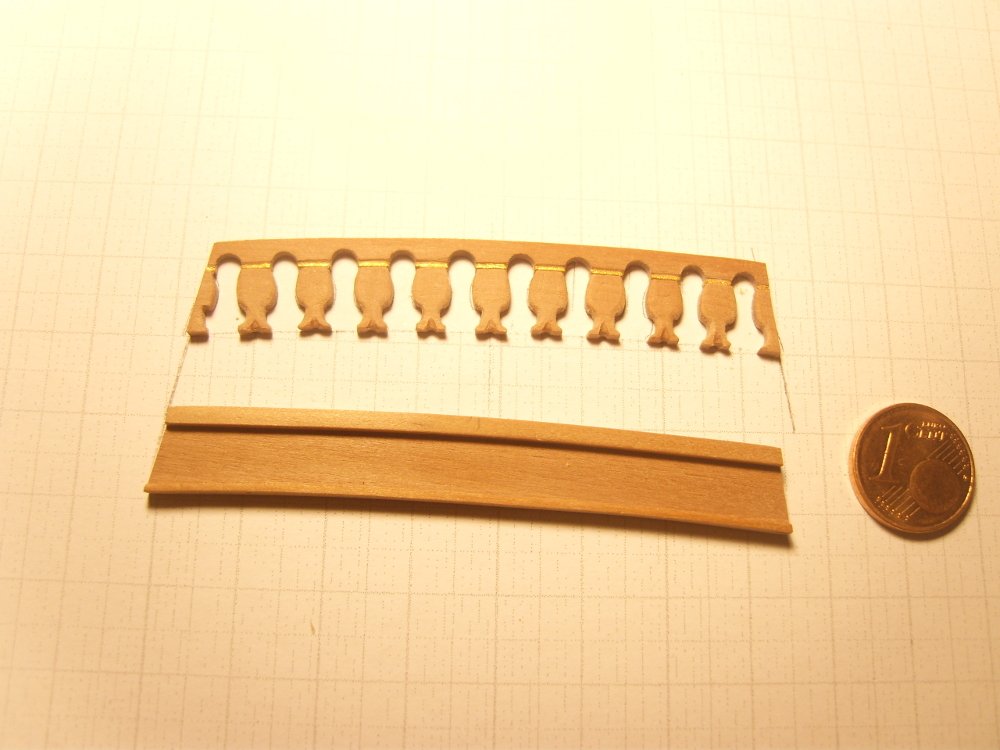
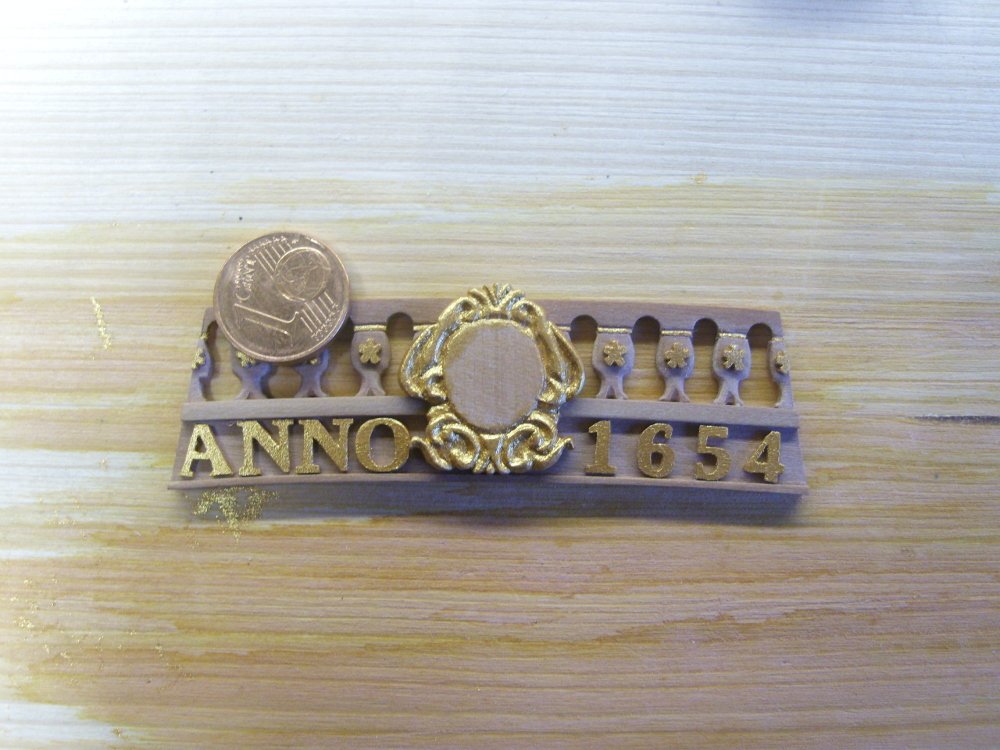
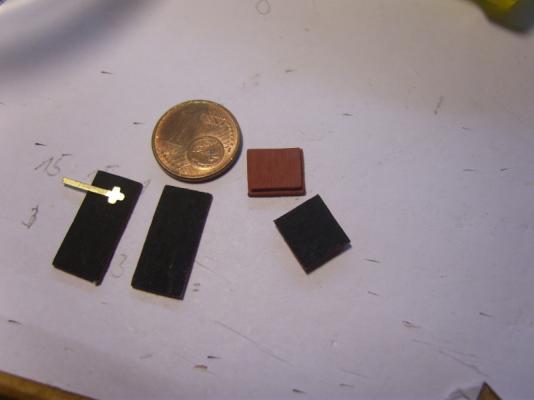
The letters I have made with the fretsaw, sawn from 2 mm pearwood.
Regards Kay