


popeye the sailor
-
Posts
16,007 -
Joined
-
Last visited
Content Type
Profiles
Forums
Gallery
Events
Everything posted by popeye the sailor
-
 do we log our progress on this log, or do we start our own?
- 1,090 replies
-
- 6
-

-
- showcase models
- vendetta
- (and 2 more)
-
I've never done a wood build with a plastic hull..........closest thing I've come so far is wooden decks in a Revell kit {and I haven't even progressed that far yet}. you did a nice bit of paint to the hull........make sure that the fore deck is flush against the bow stem {all the way forward}. you have an ambitious concept for the model......that's a start........and your off to a good start. you passed the first test....gluing two sticks together. GOOD! now you can join the rest of us savages!
- 37 replies
-
- 2
-
-
- eagle
- constructo
- (and 1 more)
-
coming along look'in great Michael are you going to display it so both sides can be seen {front and back}? if you are, you may be able to plank out the orlop deck a bit more. this way, if you plan on populating the deck, you'll have more surface to put stuff on.
-
good morning gents......woke up early this morn with a headache on the left side. reliever is working fine.....no worries. I took the day off today.......should be heading to work at this moment it took a little convincing to get the admiral's go ahead. I had to show her the Jeanne D'Arc...........and then there was the Plastic issue {she hates plastic}. looked it up on E-Bay and found two. both were 'buy it now'. good to know there is PE in the kit......explains why the kit cost that much. 1:350 can't be that expensive. I plan to use enamels....I have plenty of Model Master to go around. this will give me a chance hopefully to learn some of your tricks Greg.....gotta break out of this 'Mr Clean' cycle one of these days. pretty ambitious Carl........should look very nice. I'll see what stand comes with the kit and go from there. thanks for the heads up about the masts no doubt Greg has something up his sleeve. thanks for the invitation.......should be rather fun
- 1,090 replies
-
- 9
-
-
- showcase models
- vendetta
- (and 2 more)
-
I'm in.......I ordered the kit. might not see it though till the end of the month any special rules I need to know?
- 1,090 replies
-
- 8
-
-
- showcase models
- vendetta
- (and 2 more)
-
how does this work?.......do each of you build a model of the ship, or build sections of it?
- 1,090 replies
-
- 5
-
-
- showcase models
- vendetta
- (and 2 more)
-
thanks Piet I took tomorrow off........the deck is really giving a hard decision. if I do plank it, even at .5 mm, it will take away from the height of the bulwark. I'll ponder it tomorrow......after I cut the grass. happy to see the snow gone ......but the other headache begins. can't a modeler get a break?
- 171 replies
-
- 7
-
-
- krabbenkutter
- authentic models
- (and 1 more)
-
ssssssh! don't tell 'em that! com'on Doug...you can do it your not cross eyed enough yet kidding aside,,,,the hull looks great!
-
glad to see your making progress Bob........great way to avoid having to mask her up to paint. I too hope you feel better soon
- 359 replies
-
- 2
-
-
- prince de neufchatel
- model shipways
- (and 1 more)
-
that should fit the bill very well Evergreen has thinner strips available. get better my friend........pull'in for ya!
-
kitchen table?.......gee, if I even spread a rigging diagram on the kitchen table, the admiral squawks. I just look at her........."my two tables are precious, you know!"
-
amazing work Danny...to think of all the parts it must have taken to get you where you are....and then the PE railings and stairs to boot! very well done!
-
looks like you've done a lot since you last posted progress.........looks really good. glad to see your back at the table
-
thanks John........this is my first solid hull model
- 171 replies
-
- 4
-
-
- krabbenkutter
- authentic models
- (and 1 more)
-
second that ! look'in great!
-
thanks Lou....it's amazing the stuff model companies leave out. it's always good to have a vision and concept to make up for it. thanks for the good word thanks for all the likes
- 171 replies
-
- 4
-
-
- krabbenkutter
- authentic models
- (and 1 more)
-
some nice clean work OC.........some rig and some don't. if the cannon won't be visible, it isn't a crime if you don't do the complete rigging.
- 455 replies
-
- 4
-
-
- slightly modified
- greyhound
- (and 1 more)
-
still shaping up to be a first class model I'll be getting back to mine very soon now...still hoping it come out as good as yours.
-
superior fleet! another fine model you've built always enjoy your projects...can't wait for your next one
-
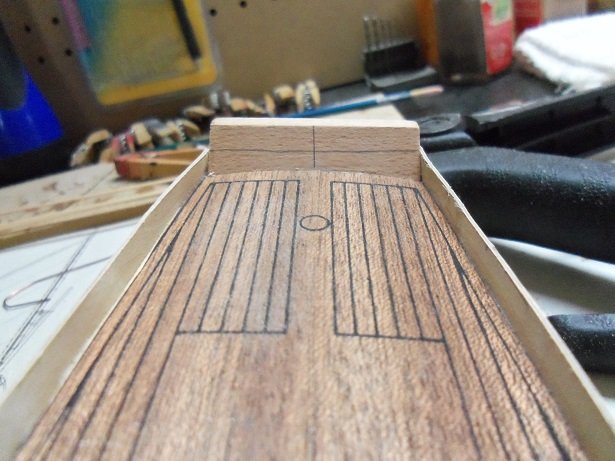
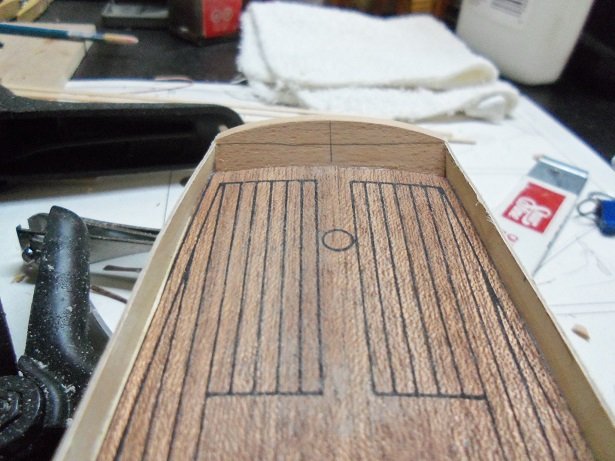
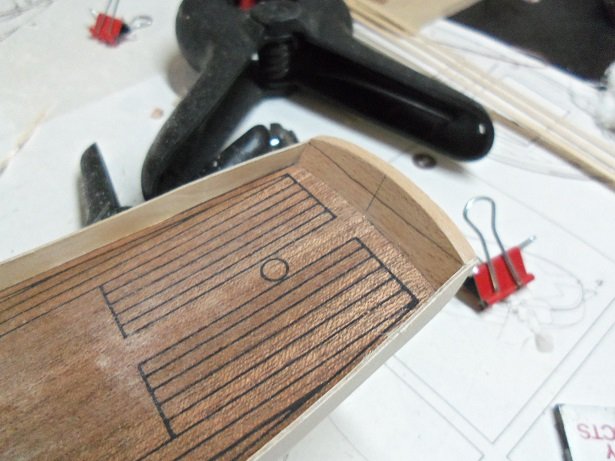
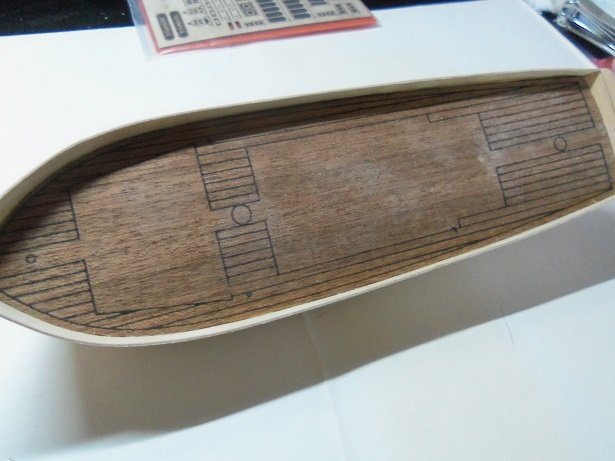
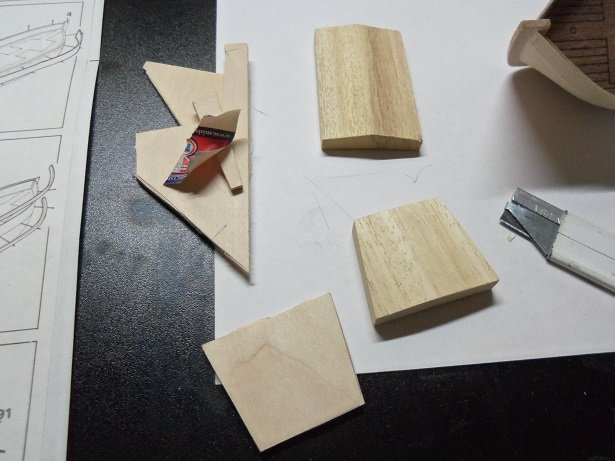
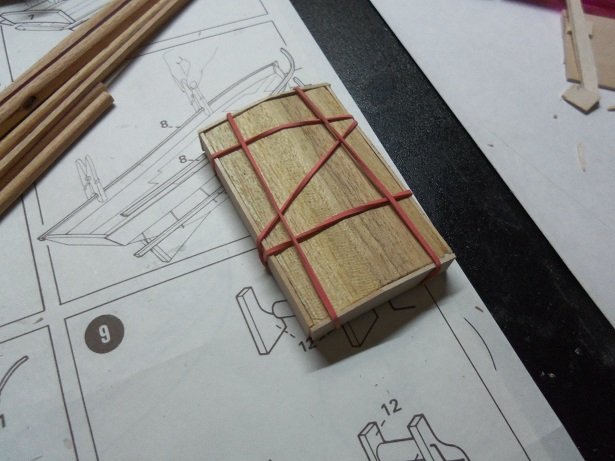
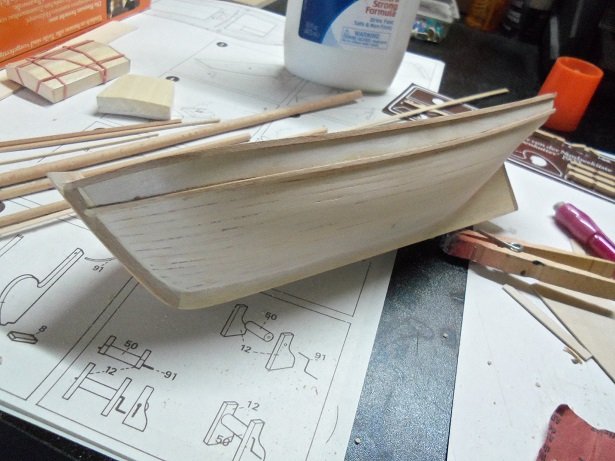
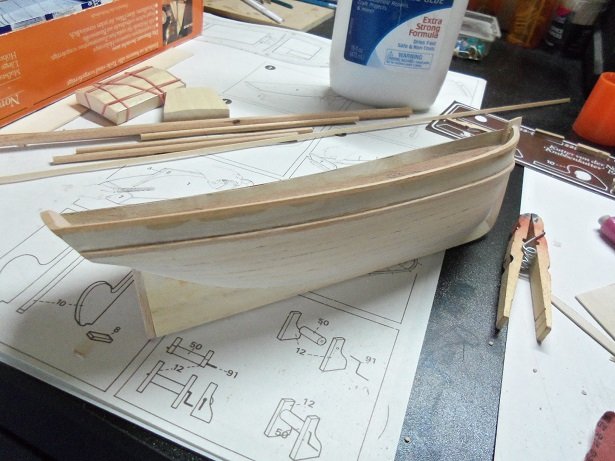
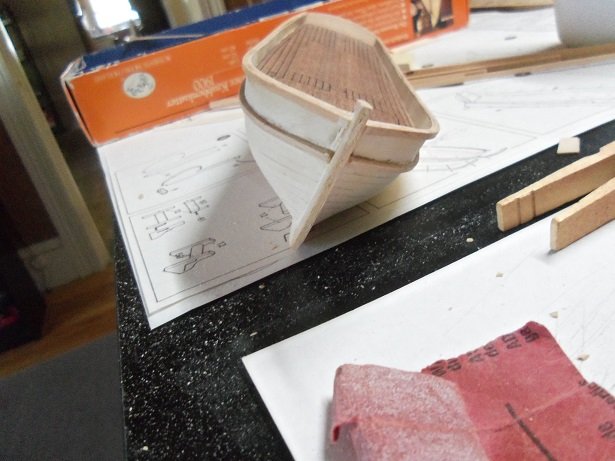
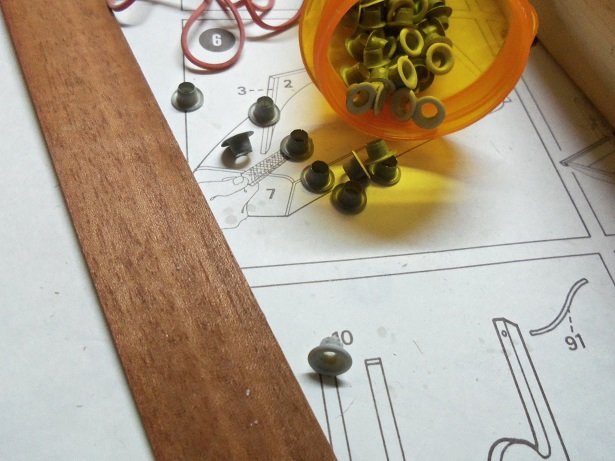
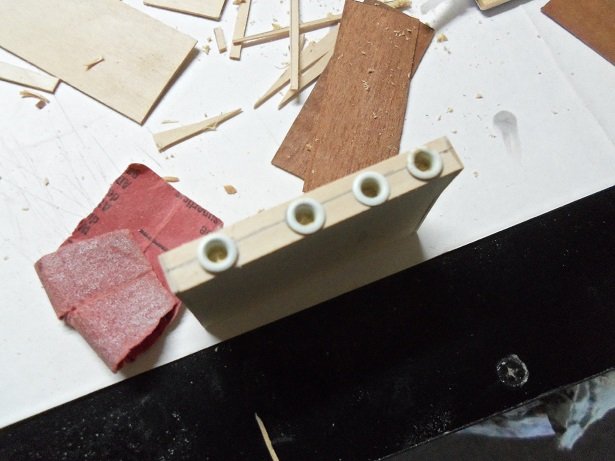
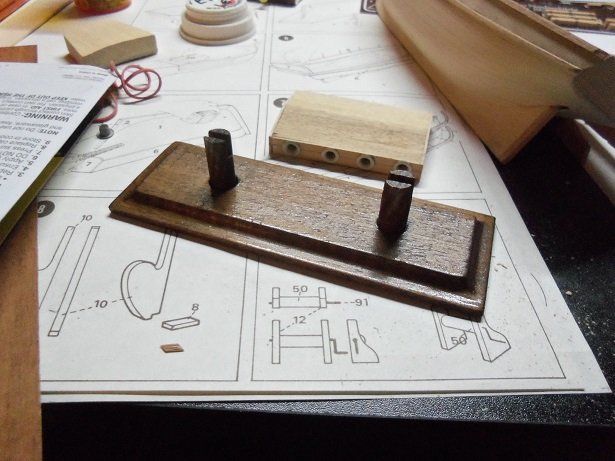
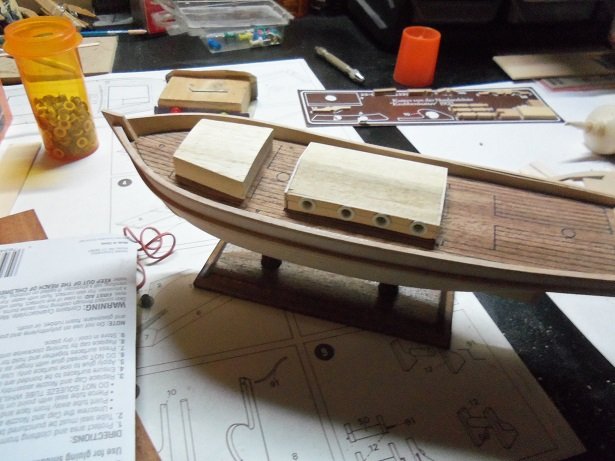
OK......are you ready for this? here is a priceless example of working on the fly. it's not painted yet, but I think this idea will work out wonderfully. the first thing to do is fix the transom and bulwark. trimmed down to equal the other side......5 mm.......the top edges was sanded to straighten them out. a line was drawn across the transom to get a sense of how much to cut off. I was about to get the saw, when I got an idea about the shape of the transom. I then started to whittle away at the outer edges of the transom with my x-actor. after a bout of sanding to smooth it all out, it now looks like this. the deck layout is as such. the two structures are much smaller than the outlines. putting them on there, I started thinking of how to plank the deck. I also want to add bulwark posts and other related detail. above in the picture, you can see that I brought out the extra detail sheet I got for the Thermopylae........finding that it wouldn't work, I began thinking of other ways to achieve what I wanted to do. one thing I though, was the structures are too low on the deck. so, I decided to add 1/8 to the thickness......I have plenty of scrap around to do it. meanwhile, I took the stand in the other room and stained it with dark walnut. we all have dealt with these 'plugs' from time to time.......solid wood, with the end sides that seem to suck up the paint. with some 1/32nd scrape wood, I traced and cut out the front, back, and sides for the main structure, and glued them on. the hull was ready for the rub rails too......so these were next to be done. for the cap rails, I'll do something a little different.......I'll line the top edges, sand them flush and paint over them. I still need to do the inner bulwark posts and stuff. I have the 25 mm wide strips of mahogany for the roof of the structures......I will also be adding companionways as well. I want to add portholes ......I have just the thing.......those eyelets that I've been talking about. I picked out the smallest ones I have. I have a ton of these little buggers........different sizes and finishes.....I chose the white ones. drawing a line along the sides, holes were drilled and they were dry fitted in place. the portholes will be filled with window maker, and when dry, will be painted inside with yellow or white......whatever will show through the best. now....the outline for this particular structure doesn't match the structure shape.......I'll have to think of what to do with the other part of the outline. adding the sides on these structures will allow them to fit the outline shape a lot more. when I plank the deck, I'll cover the excess over so they will fit better, but I have the feeling that I'll end up planking the entire deck and cement the structures on top. I'll also have to keep in mind to drill out the holes marked off on the deck. the stand was given two coats of clear lacquer....... ....and here is a dry fit of the structures on the deck you can see the area behind the main structure that I mentioned. I will have to look at the drawing to see what that is all about. more to come

- 171 replies
-
- 15
-
-
- krabbenkutter
- authentic models
- (and 1 more)
-
Exactly OC very easy to run a bead and wipe with a finger, and avoid all the mess
- 171 replies
-
- 3
-
-
- krabbenkutter
- authentic models
- (and 1 more)