
HOLIDAY DONATION DRIVE - SUPPORT MSW - DO YOUR PART TO KEEP THIS GREAT FORUM GOING! (Only 13 donations so far - C'mon guys!)
×


popeye the sailor
-
Posts
16,007 -
Joined
-
Last visited
Content Type
Profiles
Forums
Gallery
Events
Everything posted by popeye the sailor
-

Cutty Sark by NenadM
popeye the sailor replied to NenadM's topic in - Build logs for subjects built 1851 - 1900
it was a running joke between me and my brother-in-law..........mother hated to hear the bathroom referred to as the 'head'. of course, the both of us would jump on that, like a dog to a bone!- 4,152 replies
-
- 8
-

-
- cutty sark
- tehnodidakta
- (and 1 more)
-
thanks for the kind comments and the likes I'm in the process of adding the parts I've already made to the fore deck. from there, I think the aft deck needs some more added to it......and I've been assessing the gallows as well. I made one around 12/32 nds shorter, and that seems to look much better. I'm going to need some of those metal pulleys once again, but they need to be smaller.......I have some 4 mm pulley reels that will work nicely I think hope to have more to show soon
-
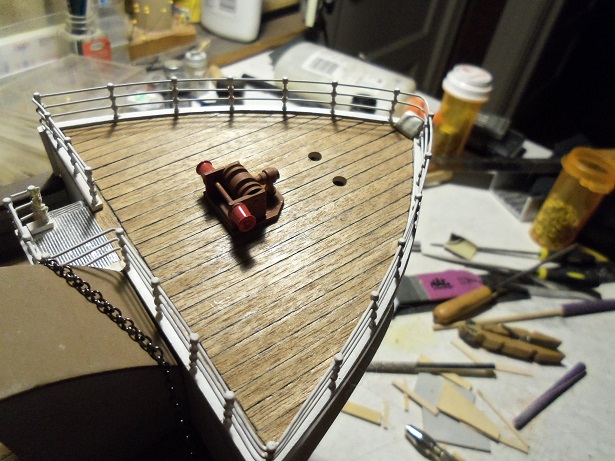
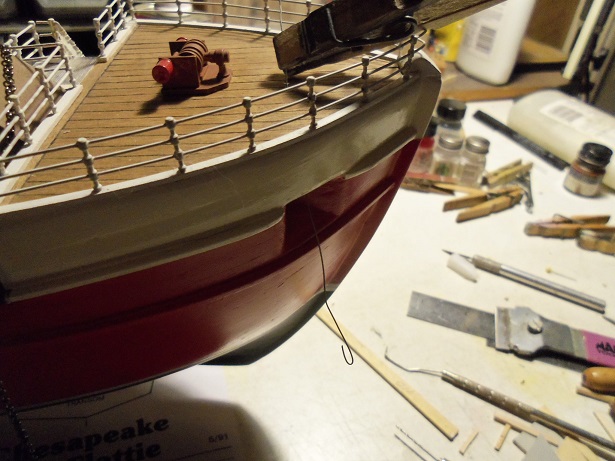
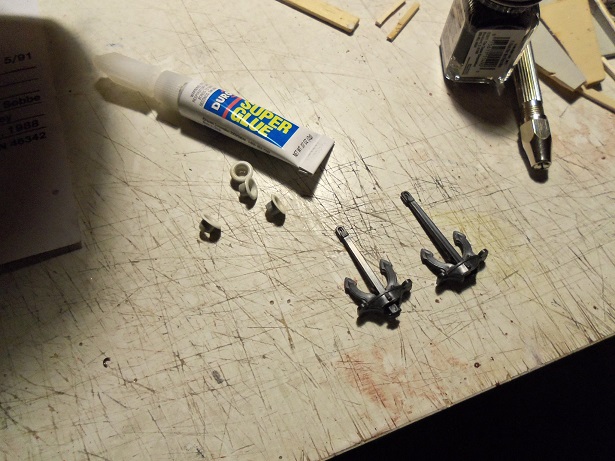
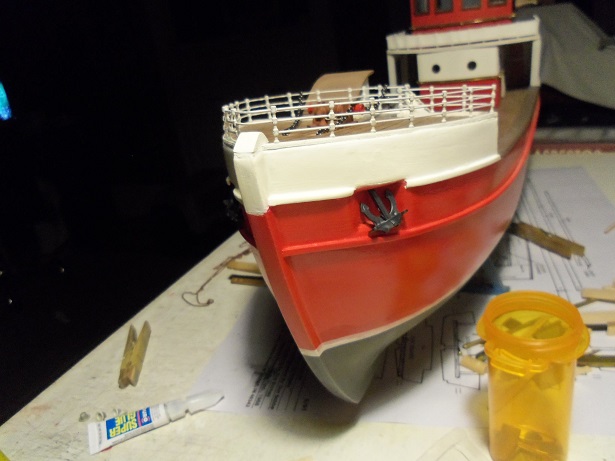
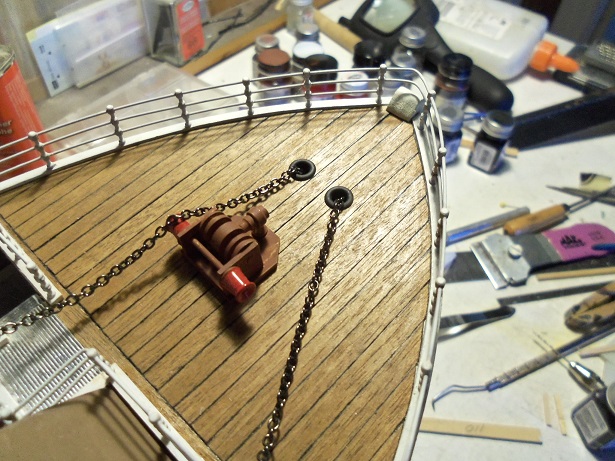
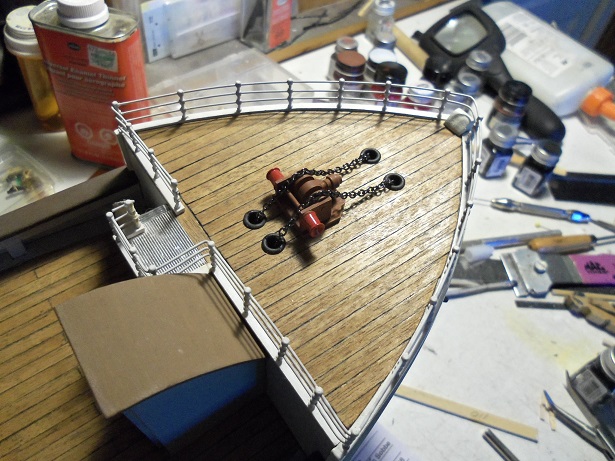
in order to get any further with the masting, there is one thing that needs to be addressed. I have been looking at different windlass configurations.....but none of them suited the parts I have on hand. the shape of the fore deck also plays a part too. rather than look further and aggravate myself with this any more........I took a look at the Nordkap windlass and do that........they are the same parts. first thing to do, is to enlarge the holes in the hull. the windlass was cemented in place and the first pair of hawse holes were drilled. I use a piece of wire to snake the chain up through the holes..........hook the chain and drag it on through. the chain was ran through the holes the eyelets are from that box I found a while back........I had sorted some out and bottled them. these are the smallest ones I have. the anchors are what is left of the Nordkap booty. the anchors were attached to the chain and pulled up into place. darn thing won't sit up there like I want them to......oh well! the eyelets were painted black and cemented in place. two more holes were drilled behind the windlass and done in the same manner..........the chains were dropped in and set so the anchors won't move.........windlass assembly done. I may add a lever and a few other tid-bits. should I make any more progress, I'll be sure to post it thanks for look'in in!


- 747 replies
-
- 23
-
-
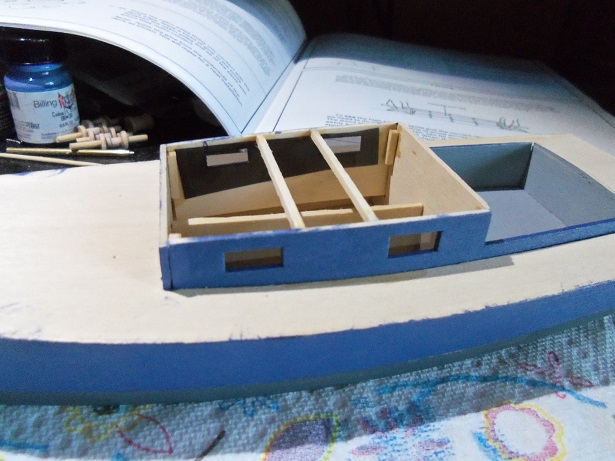
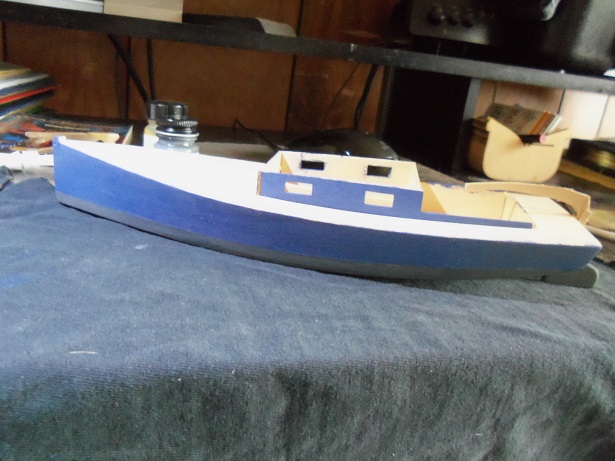
there is a bit more progress to report! the Flattie seems to have taken up residence on my desk........makes it hard to do any work I wish this could work at my regular job to start off.......I took some of that tinted cello and cemented it in place over the windows. cabin roof beams are also in place.......the instructions only said one........but an extra one couldn't hurt. I didn't want to paint the deck sheer white or gray.........so I settled for tan {deck tan}, which I seem to have an abundance of. personally, if I had some 2 mm thin strip, I'd have planked it.......but that might have taken away from the work boat look. I could also have tried that thing I did with the fishing boat deck in the Holiday Harbor build. I'm play'in with the roof and holds at the moment. I also have to fix a gap at the starboard side aft cockpit wall, before I can do the cap rails. the tiller is also in the works........more refinement to that monstrosity you saw earlier. more progress soon thanks for the likes!

-
nice progress Jesse what size are those blocks......they look small.
- 1,306 replies
-
- 6
-
-
- syren
- model shipways
- (and 1 more)
-
Cutty Sark by NenadM
popeye the sailor replied to NenadM's topic in - Build logs for subjects built 1851 - 1900
don'tcha just hate a task that involves paperwork at the end? I keep thinking that the heads should be a bit taller though..but you've done a great job there- 4,152 replies
-
- 5
-
-
- cutty sark
- tehnodidakta
- (and 1 more)
-
that really is a good idea........most vents I've seen have no throats........they look so fake I've taken Billing's vents and drilled them out {of course, after I cement them together. I think it's great!
- 2,625 replies
-
- 4
-
-
- kaiser wilhelm der grosse
- passenger steamer
- (and 1 more)
-
it's not the speed in which you build.........it's what you achieved at the finish line I'm not going to get too comfy with the color.......chances are you'll see something down the road that will tickle your fancy......... it will give you a good basis for smoothing out the hull looking really good so far!
-
awesome vent assembly line.........they really look good
- 2,625 replies
-
- 3
-
-
- kaiser wilhelm der grosse
- passenger steamer
- (and 1 more)
-
lost track of you Pete since your last build.........my....my.....you have been busy! such a sweet little boat to be sure did you make the changes to the jig before you began with the #2 hull? would be cool to see these two hull side by side.....would we see the difference .....or were you talking about the jig you dismantled?
-
your getting there Piet..........pretty cool drawings
-
great job on the paint Sjors .......add the grating, and the bow looks really sweet!
-
thank you for the likes and kind comments. I'm going to try a few other idea I have about these reels.........I been off the radar for a few days {work and such}, but I hope to get back to it tomorrow, along with another aspect. the mast needs to be out for it......once done, I can finally glue it into place. thanks Sjors and Pat it's amazing what can be found in a craft store. really neat to find stuff from other types of hobbies, that can be applied to our hobby. I just gotta get some of those fancy toys one of these days. for the time being though......I guess I'll have to rely on sandpaper and razor blades.........and a little imagination thanks for look'in in ......I hope to have more soon
-
Oak is such a nice wood to work with..........with that size of a hip, it's gorgeous! very ncely done!
-
hey there Jerry.......awesome progress! the deck lay out looks really super.......don't feel bad.....I've done the upside down thing too darn Billing's instructions well done!
-
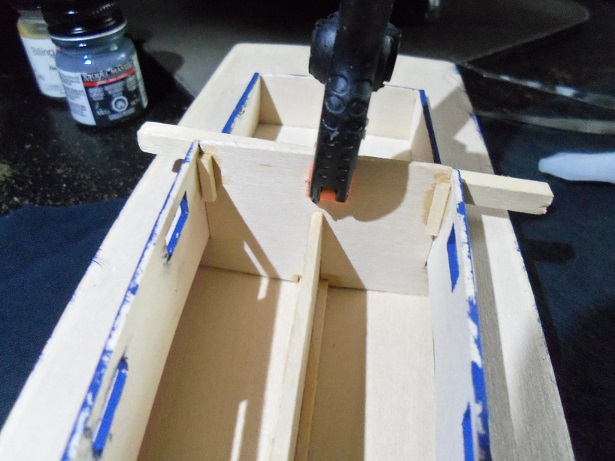
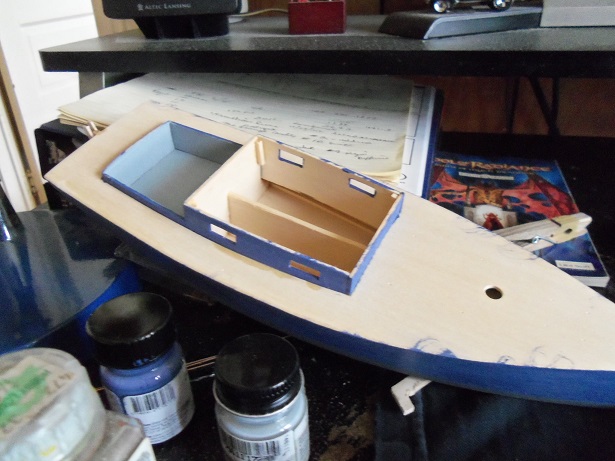
thanks for the likes.......I got little bit more done on the Flattie. the cabin sides are painted.......time to cement them in place. the cabin bulkhead needed to be lined up......a heavy duty timber did the trick, clamping it in place. pieces of strip wood was put in the corners to help the bonding process. additional clamps were used to close the gaps along the sides. the aft cockpit wall was sunken in for some reason.....the cap molding will not line up. a little piece was added to make it all level. the cockpit was then painted a light gray. haven't decided what color the roof and hatches will be yet.
-
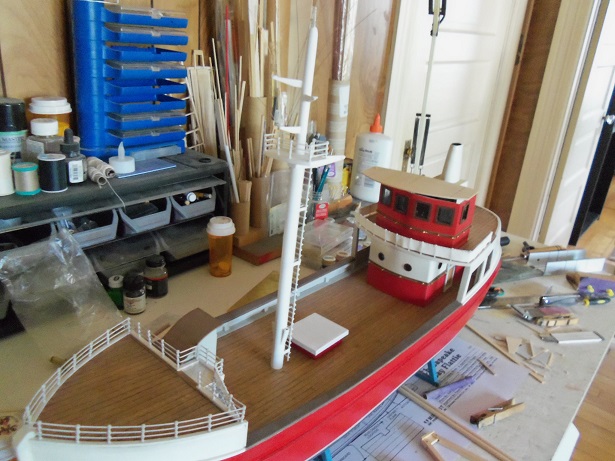
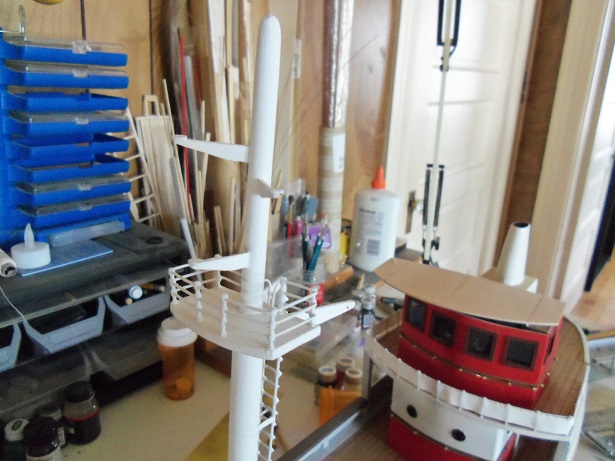
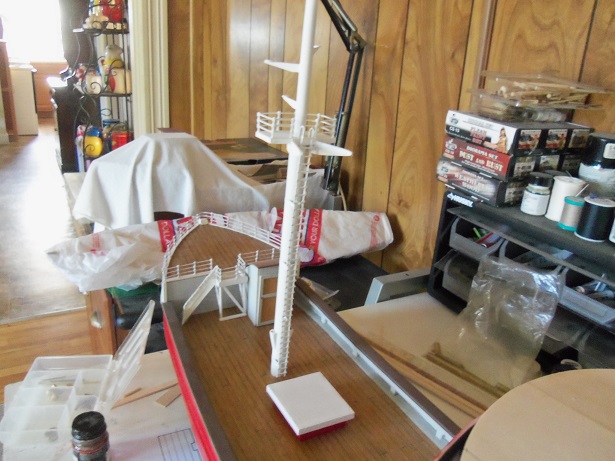
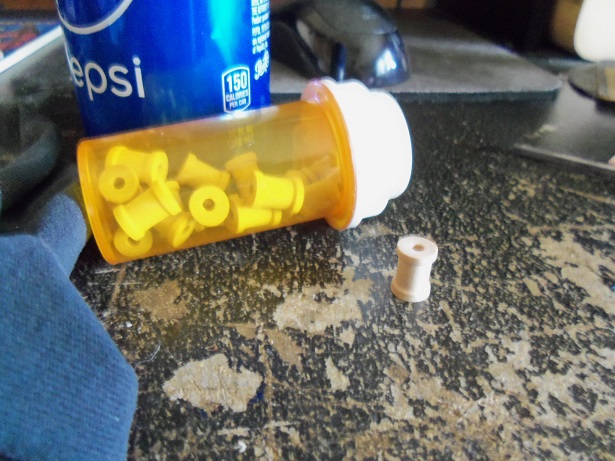
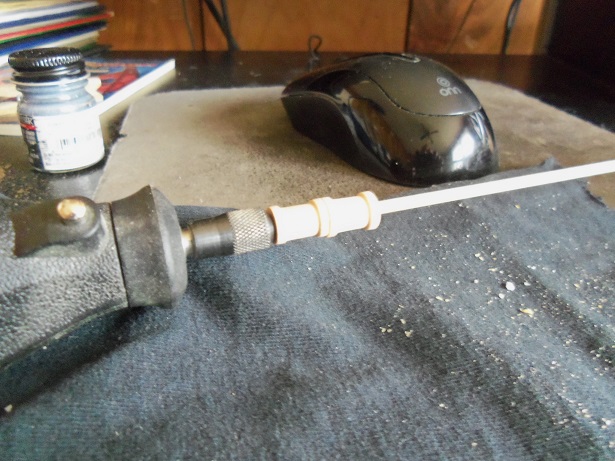
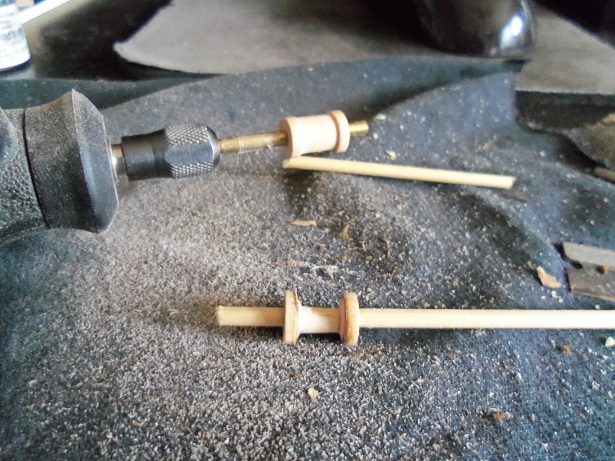
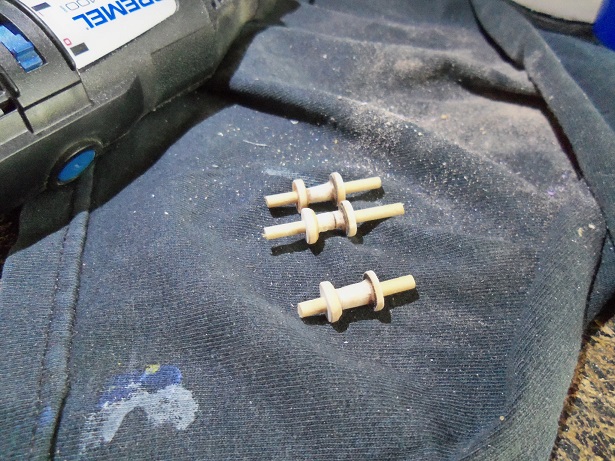
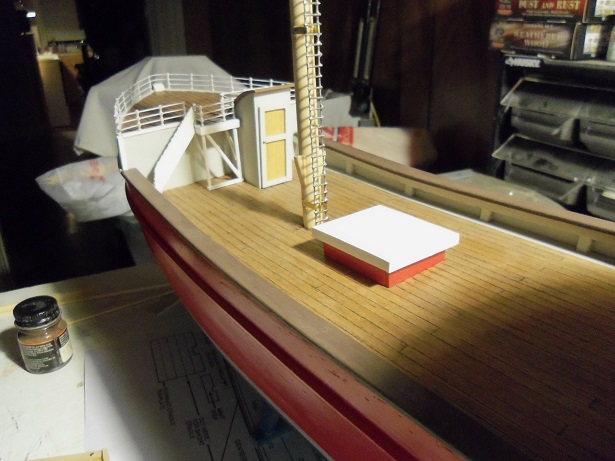
thanks to everyone for the kind word, and for those who hit the like button. besides a few eye bolts here and there......the mast is pretty much done. now I can give it a coat of paint.......make 'er pretty, and then cement it into place. well.......I haven't cemented it in just yet.....but, I did give it a coat of paint. as for the hold.........it can stay white. I was thinking of some smaller reels.........rigging the booms....etc. I have these small spools.......they might do the trick with a little modification. here's where it gets funny..........I stuck 'em on my dremel, using a wooden dowel that they fit really snug on....... turn the dremel on...........and boy!.....do those things go flying! I had the admiral ducking for cover! after a couple of times.......I saw that it wasn't going to fly {figuratively speaking, of course}........so I swapped the dowel over to a brass rod about the same diameter. there was too much free play, so I used scotch tape to take up the slack and make them fit snugly on the shaft. I should mention why in the world, I would want to do this. the center part of the spool isn't very deep....to wrap thread around it would fill the indention and leave nothing for another layer of thread. the spool would look over full and run over the sides. to make the depth a bit deeper, I can layer the thread and it will look a lot better.........like I have done to this first one. I made a couple of others........I dunno.......they look kinda sloppy. painted, in a rack....wound with thread....some of the weird stuff might not be seen. up against a bulkhead or bulwark......might deter from them even more....... we'll see what else I can come up with thank again all........I'll post more as things develop
- 747 replies
-
- 17
-
-
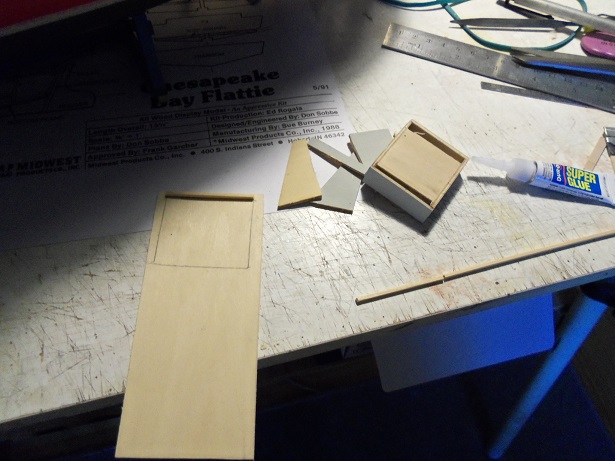
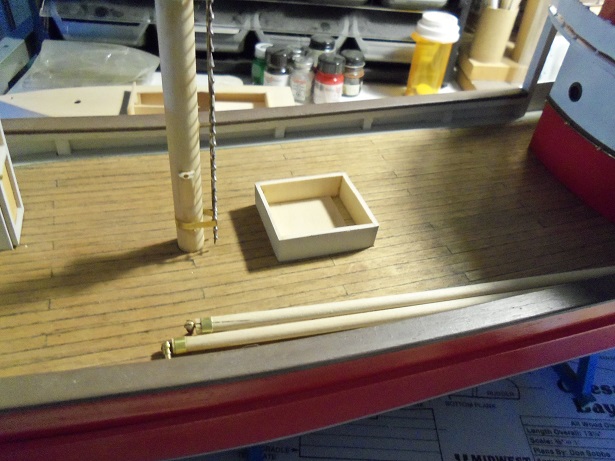
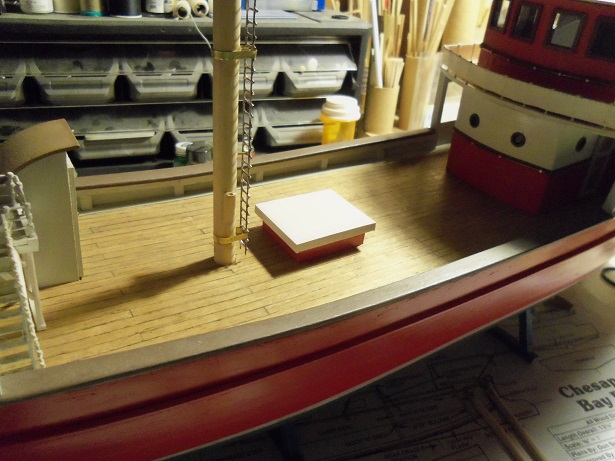
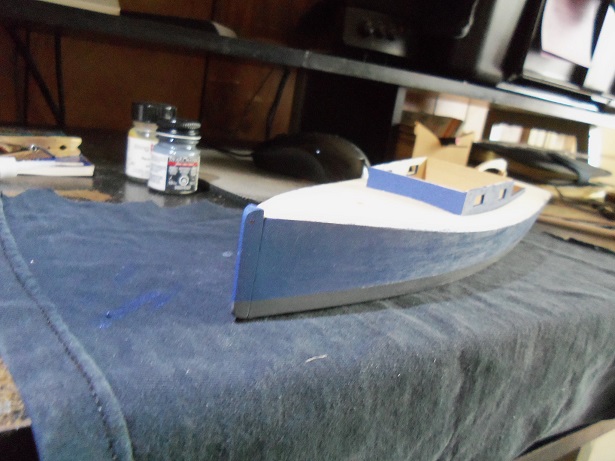
thanks a lot piet.........I had a wonderful day! I found that I had these pictures of the hold and what I did to it. with the changes the mast made, it was impossible to leave it the way I originally made it. it needed a little modification...... I had to give it a bottom, to make it strong enough for the operation.........I pretty much cut the top off and leveled it out. the top was an oversize square of flat stock.........cemented in a box frame to assemble it to the hold, and then cement on some molding around it. I painted it flat white.......but I'm thinking better of it......the inner bulwarks and bulkheads are a light gray. I may change it.
- 747 replies
-
- 12
-
-
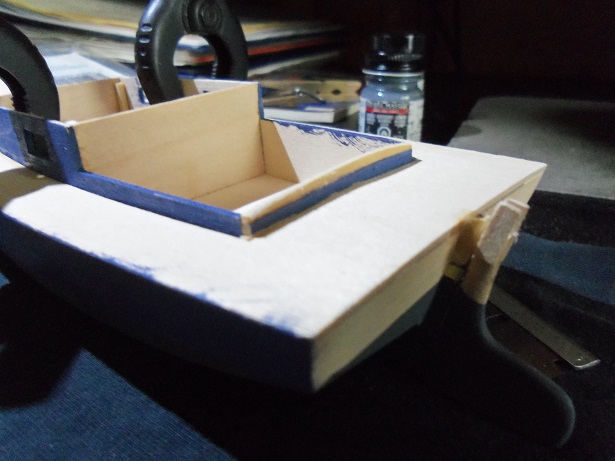
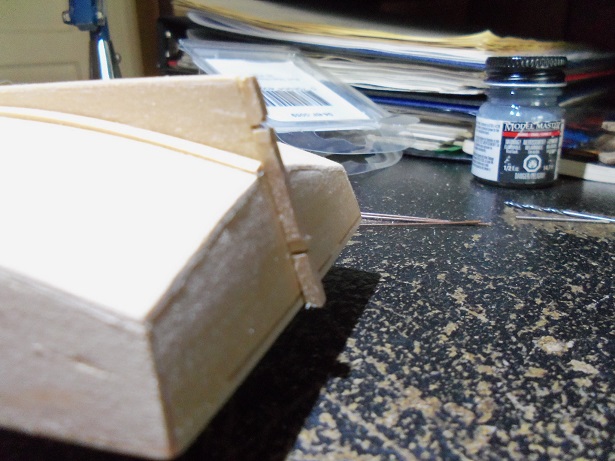
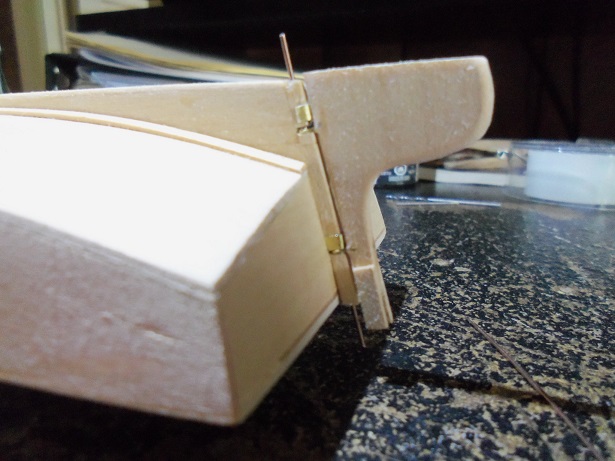
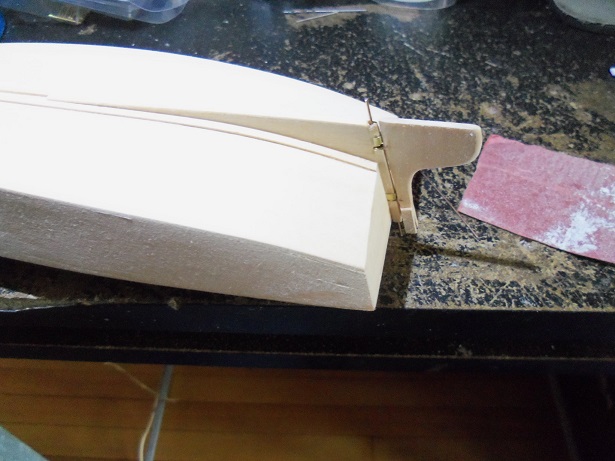
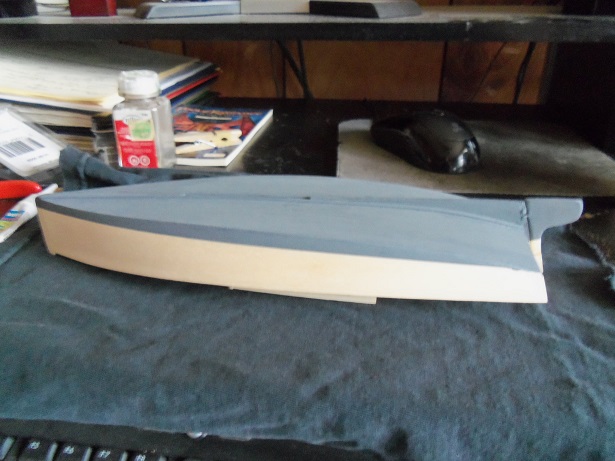
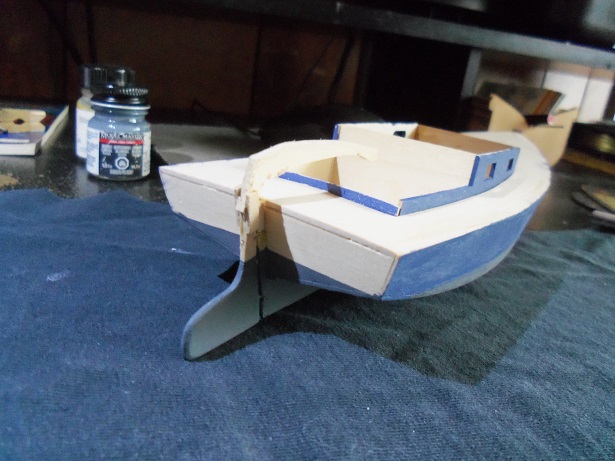
I continued a bit more with this build. I want to paint her.......but I need to fit the rudder first. I started the feeble attempt to do a gungeon and pintle set up on the rudder, but I cut the slots a bit too big......I'll need to fill them in. you can see just how 'hairy' basswood can be. the rudder pintle eyes were slip into place, and two pins were stuck in the top and bottom holes, locking the rudder in place. metal caps will imitate the gungeons. after a little sanding........trying to further clean up the hairy disaster, the bottom paint was laid down. I used scotch tape to mask the bottom, to lessen the paint line. it does a fair job........it doesn't rule out the minor bleed here and there. it is good though, if you don't want the paint lines after the masking is removed. not only that.......I'm doing this with a brush.....the first one I've done using a brush in a long time. I was rummaging around in my paints.......I still have a fair selection of Billing's paint. BOY!!!! I'm going to have to do another orange boat real soon! .........haven't done one since the cux! I settled on cobalt blue.......painting the sides and the parts for the cabin. I'll need to pay some attention to the transom and aft cockpit wall......I was a little off with the bottom paint, and the cockpit wall is uneven with the side cockpit walls. I'll have to do something about leveling it off. the beginnings of the tiller is there as well.........more refinement needed
-
looking good Marc. sometimes flattening the tip of the eye bolt will give it a better anchor, when pressed into place. I've done this with high stress rigging.
- 525 replies
-
- 1
-
-
- cutty sark
- mantua
- (and 2 more)
-
hello Sam....what a cool looking build you have here gee......I've probably done at least one carrier.......larger than than this one though. perhaps penciling in some lines for the planking, might enhance it a bit......but the one on the right looks good to me. it does kinda knock it out of scale with the grain though......perhaps blonde veneer with a weathered look might be better. it's nice to be following one of your builds again
-
could have been a dollop of cement that got on there {inside}........something you didn't see. as it cured and hardened, it softened the plastic and pulled it in along with the shrinkage of the cement. sad, but it does happen.....I'm sure a little filler will do wonders the bottom looks really good