


popeye the sailor
-
Posts
16,007 -
Joined
-
Last visited
Content Type
Profiles
Forums
Gallery
Events
Everything posted by popeye the sailor
-
 sorry to hear your having problems my friend. I hope things go smoothly, and your recoup time is short. I'll look forward in seeing you back in the shop
 -
thanks Nils! the obvious set up is almost complete.....next will be the booms and how they will be set. winches too.......and everything associated with them. with the instructions you may still have.......you'll be able to follow long thanks for the good word thanks to you as well Bob....the plot thickens
-
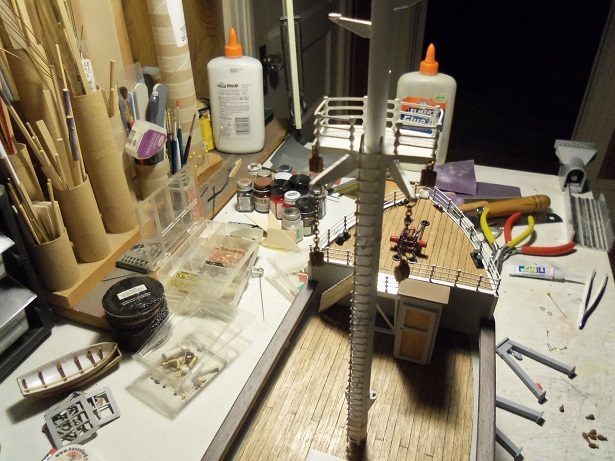
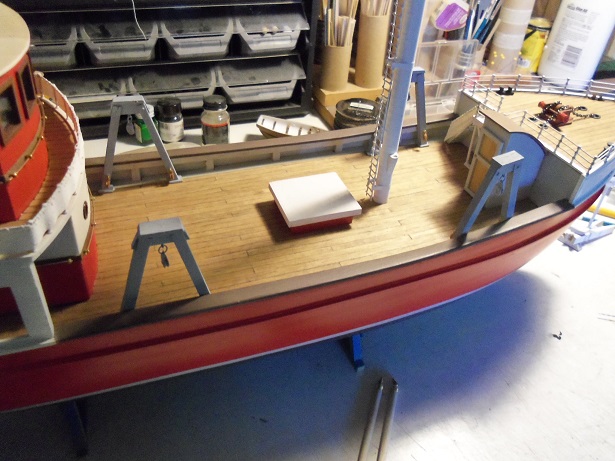
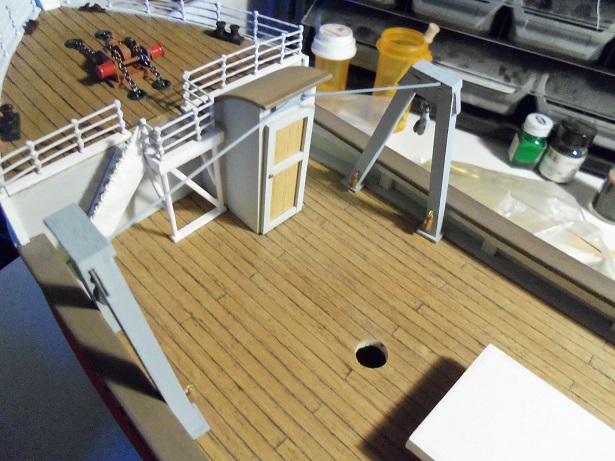
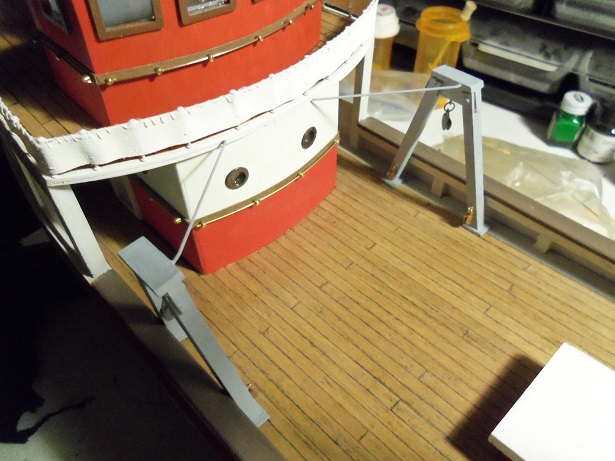
the roaming magical finger of fate landed on the main deck yesterday....the layout got a bit busier. the sentinels of the mid ship were finally put in their places. it began with the mast.......more detail, in the way of double blocks, was added to it. the gallows have been painted...........holes were drilled for future assembly, and single blocks were fastened in place. I added one to both uprights, a combination of added detail and functionality {in the event that an added line had to be set} "but Popeye," you say, "we thought you made an extra one?" "yes I did," I say, "but look on the deck........there she be!" I could have cut them down a little more.......but they look more in line to the scale of the model than they did. as time passed, I've come aware to a few oddities with the model. they are not enough to constitute a viking burial, so I continued with the build. besides, no one this side of the levee will ever notice them anyway. by this time, after some touch up paint, the other gallows were positioned on the deck. those are plastic blocks, by the way..........I actually ordered them. for these modern fishing boat, they work well.......a lot better than if they were found in a sailing ship kit. they look out of place there.......but in these kits and builds, they have the right amount of detail and shape. to me........they have their place. I did goof on the ordering......5 mm vs 7 mm........I forgot to order 7 mm single blocks. I won't worry about it though. these gallows need added support, so I cut some metal rod for them. this is steel rod......very hard to cut and shape. but......it's the level of support I want. I used this same rod on the Nordkap.......tells ya how long I've had it, and I still have quite a bit of it. not being able to use the mast as an anchor point {it's still removable}, I chose the second best location.......the companion way. it was the best central location for the supports. the aft pair were next...... with all of this.......I did knock one loose....having to reglue it back in place. so now the playing field gets a bit more crowded. I'm losing the wide open spaces, that I've been so accustomed to. that's OK with me.........just means that I'm another step closer towards finishing her.


- 747 replies
-
- 16
-

-
cool pictures.......nice ship! sweet all the way to the bow! awesome build
- 2,625 replies
-
- 5
-
-
- kaiser wilhelm der grosse
- passenger steamer
- (and 1 more)
-
who knows Patrick......perhaps later, when you have the decks and structures fleshed out, you may opt to redo them in styrene she's looking fine!
-
is there a competition there.........ribbons or such? blue ribbon for sure have a great time! wonderful model!
- 649 replies
-
- 4
-
-
- dunbrody
- famine ship
- (and 2 more)
-
wow.........looks really awesome Bob! very clean and neat build well done!
- 348 replies
-
- 4
-
-
- pequot
- cable ship
- (and 1 more)
-
I didn't do much cleaning.......just a good wipe down with a clean cloth. the good thing about solder......it files easy enough
- 250 replies
-
- 2
-
-
- willie l bennett
- model shipways
- (and 1 more)
-
this is a very interesting thought. have you given any though to it? I have something here I thought you might enjoy http://www.eyewitnesstohistory.com/lordnelson.htm wonderful bit of progress Daniel.....great way to make belaying pins the netting was a scary moment.......I thought to myself "boy, Daniel doesn't need little ones or animals around.......he's his own worst enemy!"............but you proved once again, that there is a method to your madness. this is why I enjoy watching your build.......you add so much to it the above entry..........don't read a lot into it. your such a whiz at dioramas, when Jan made the comment, it was the first thing that came to mind. there is a picture there.......it would be interesting to see your interpretation of it.
-
good to see your moving ahead.........your progress looks really good. nice overall shots of the decks!
-
you'll succeed Jack........we're all pull'in for ya I use a flux too........as well as the core that is in the solder rod. I use a light electronic's solder. technique is half the battle.......all I can add is, to insure that the joint to be soldered is clean. I use a Q-tip to dab on a tiny amount of flux......then I heat it to activate the flux. if the joint is hot enough, touching it with the solder, should be enough for it to melt into the joint. as this is happening, pull the iron away.....it won't be needed. a little will go a long way I use steel wool to clean the tip of my Iron.......followed by what Lawrence does a clean tip is a happy tip
- 250 replies
-
- 4
-
-
- willie l bennett
- model shipways
- (and 1 more)
-
it's very interesting how photo etch looks so much better than detail already molded onto the part. earlier kits had this........and most times, poorly done {I might add}. there is so much of it out there now-a-days.........even more so now with wood kits I used to own a P.E. bender.....traded it for a Billing Bluenose kit. I probably should be regretting it right now nice job detailing that area.......surprised that there isn't any info about it.
-
hello Hennie..........finally! I got to review your log. she's a good look'in ship......you've done a great job love the group shot with Sjors and Anja I have you on my watch list now.......I can see the big finish
- 214 replies
-
- 4
-
-
- agamemnon
- caldercraft
- (and 1 more)
-
Cutty Sark by NenadM
popeye the sailor replied to NenadM's topic in - Build logs for subjects built 1851 - 1900
look'in great Nenad!- 4,152 replies
-
- 4
-
-
- cutty sark
- tehnodidakta
- (and 1 more)
-
hey there Bob........super bit of progress on the pequot! the dory looks great on the davits....as the other boats as well...those davits look pretty cool too. the fire buckets are a nice touch hmmmmmm.......seventeenth century......would they have had steam back then? whatever you come up with....I'll be watching
- 348 replies
-
- 4
-
-
- pequot
- cable ship
- (and 1 more)
-
hello Piet.........not a problem.......this time of year can get hectic I have yard work ahead of me. seems like it's time to add the metal bits.....luckily, I learned a thing or two from your log and others, who have done great things with metal. good to know I've passed muster thanks for the good word! spent the day playing catch up..........hope to spend some quality time at the table tomorrow
-
you've made quite a bit of progress Jerry........the masts look great! she's looking splendid!
-
congratz Julian.........the Bluenose looks great!
-
sweet progress Sjors.....look'in great!
-
nice progress Greg........look'in really good!
-
good to see you've resumed I was wondering where you went. deck structures look nice........well done!
- 1,208 replies
-
- 3
-
-
- great republic
- clipper
- (and 1 more)
-
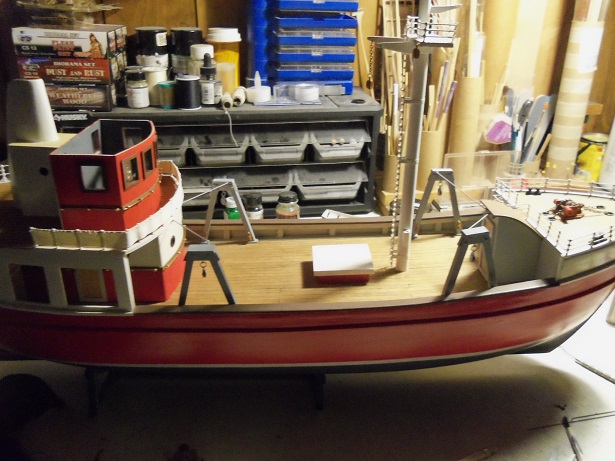
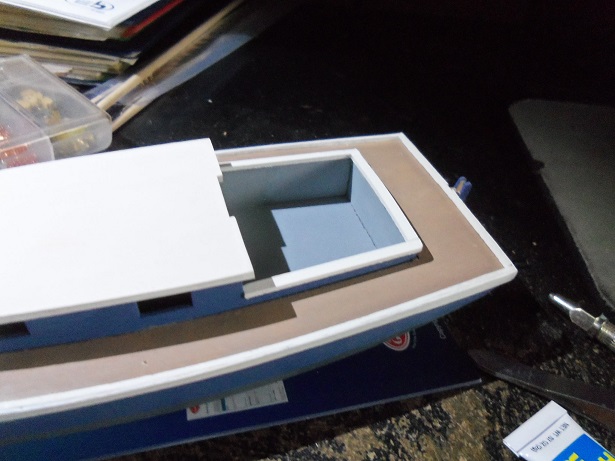
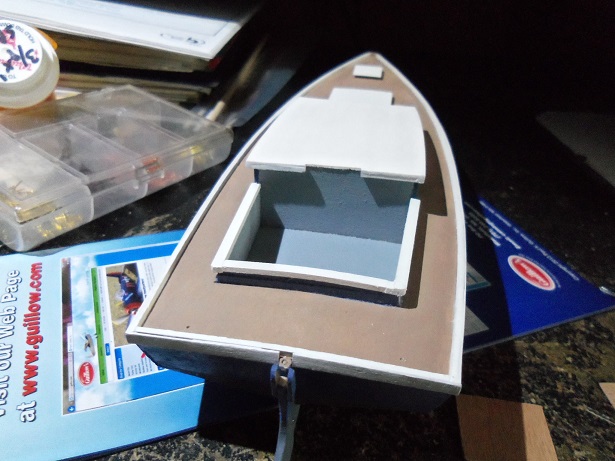
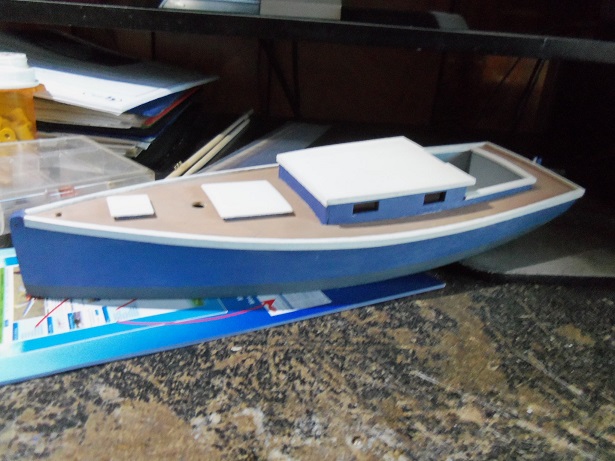
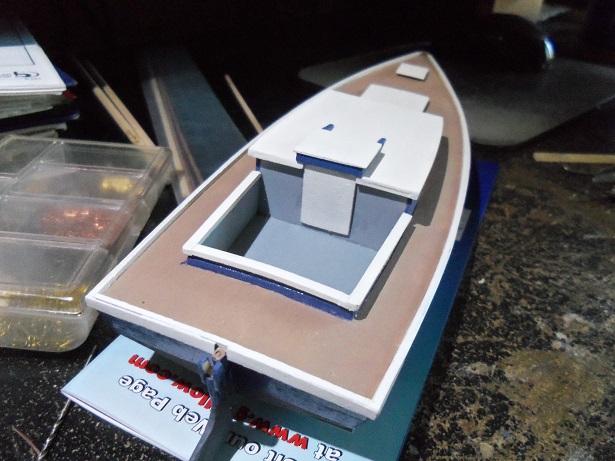
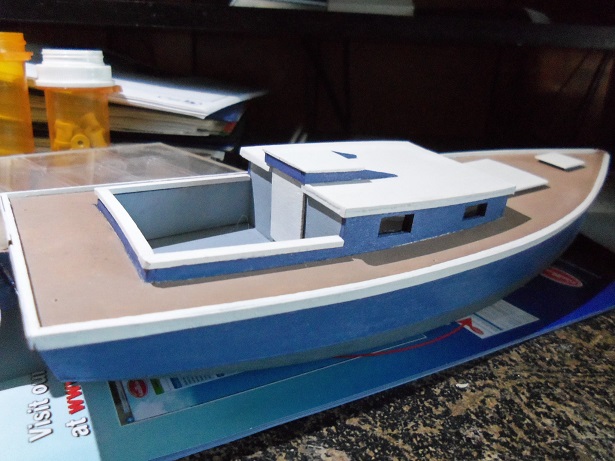
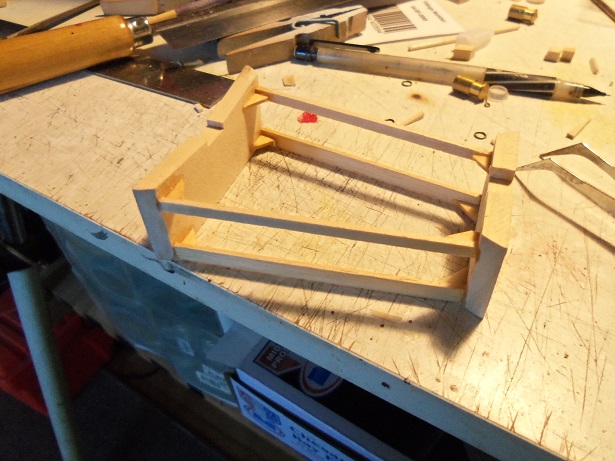
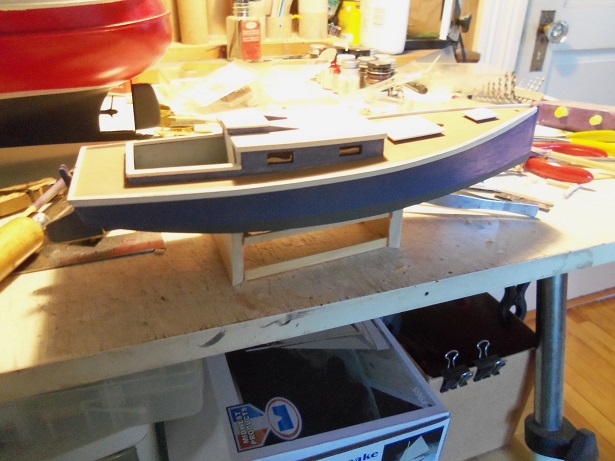
I made some progress with this build as well..........finally I have time to post it the mast, boom, and gaff is tapered. now I need to get the hardware on them. I did get the mast somewhat done......... I also got the cap rails on the cockpit. the hatch for the cabin is assembled....... ...and then painted..... I did little touch ups on the boat before the new parts are added.... the cockpit door and hatch are now in place. at this point, I made the stand for it. it's high enough for the center board {leeboard}. I painted the stand when I did the gallows for the trawler. I'll be working on the mast parts and the sails. I should have more soon thanks for looking in!


-
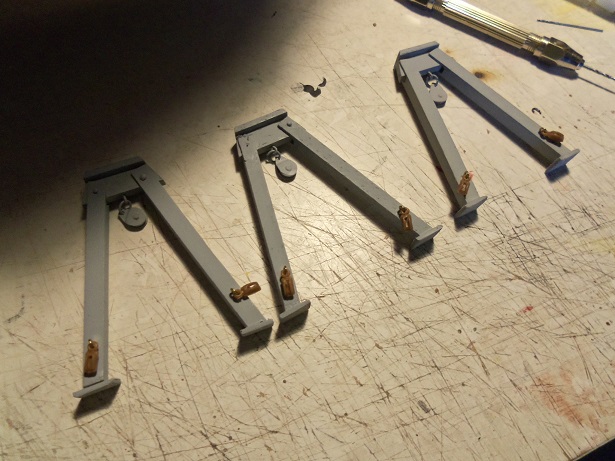
thanks Carl, Patrick and Pat......and thanks for the likes as well! work has pulled me away from the table at the moment. I'm sure things will fall into place as I add stuff.........that, or do it the way I'm thinking and be done with it the gallows first.........
-
Thanks Denis, nice compliments of yours, I wish I were so far to build the stacks, (have gathered some 26 mm diam. plugs to wrap the metal funnel skin around already) , or at least to install more details of the superstructure that makes it look more like the ship should look like. Nils I think she looks very much the part.........the name on the bow gives her away
- 2,625 replies
-
- 4
-
-
- kaiser wilhelm der grosse
- passenger steamer
- (and 1 more)