popeye the sailor
-
Posts
16,007 -
Joined
-
Last visited
Content Type
Profiles
Forums
Gallery
Events
Everything posted by popeye the sailor
-
 thanks Blackreed.......I think we might see some warmer weather up here....last week was nice,.......that is....until it chilled up again. today wasn't too bad in the afternoon, so I hope we see more during this week. I'm thinking of getting the sheer on and finish filling in what joints are visible........then I can see what a resin coat will look like on her I got the Shapeways order in today....I do feel a bit confused, as some of the gun parts look small I dry fitted the tubs into the gun turrets, and they fit really good..........I just hope I ordered the right ones. I ordered them in 1:30..........heck! I'm probably worrying for nothing the parts look really good! I'll get some pictures and show yas!
 -
she came out great Dragzz! sails are a required taste........some like 'em, some don't. yea....you got a little more rigging to do, but all 'n all, you did a superb job ! congratz on the finish of your model
-
I have that book....along with a few other paperbacks. it's a good read the bottom came out looking really good.....now you gotta get the rest of the boat covered, now that the cut outs are done. the engine looks really good too!
-
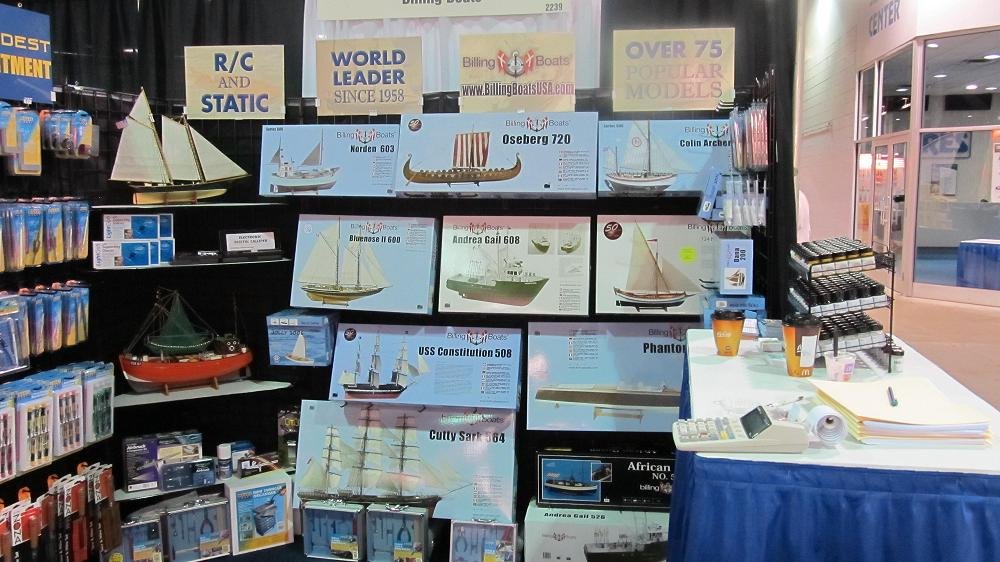
tough news on the display case.......I hope you get it sorted out. reminds me of the time I sent a ship model through the mail. I built it for my friend Tom in Wisconsin, back when he owned a Billing Boats distributive warehouse {this was back when I was build'in the Nordkap}. we had planned it, that he was making a trip to Mass, and he would be picking it up. cool 'cuz we'd get a chance to meet. the plans fell through, and he asked me to ship it to him. I had my doubts, but OK.........made sure it was secure in the box......even had it double insulated. it almost made it there unscathed......the box got jammed on a conveyor belt or something, and got a bit crushed. there was not too much damage on the model though, but he had to get it repaired quickly, since he was going to use it as a display at a model show. he fixed it and the show went on without a hitch this was in 2011 in Chicago
-
awesome model James........extremely well done!
-
looks really good! these paper kits are neat
-
guess I'm not 'too late' for the party nice start!
-
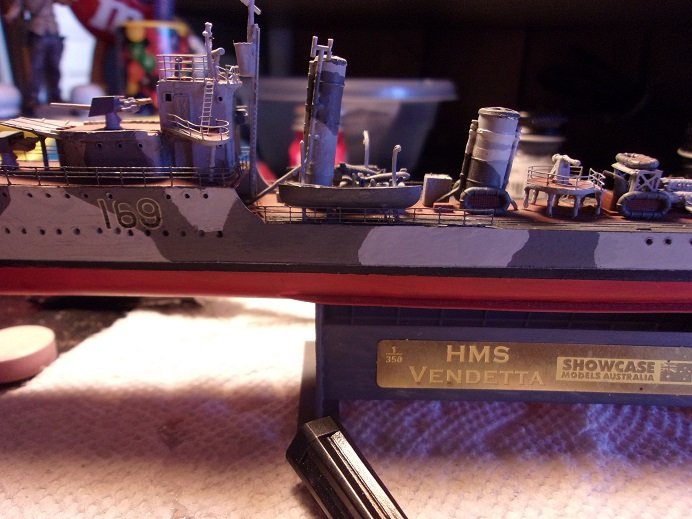
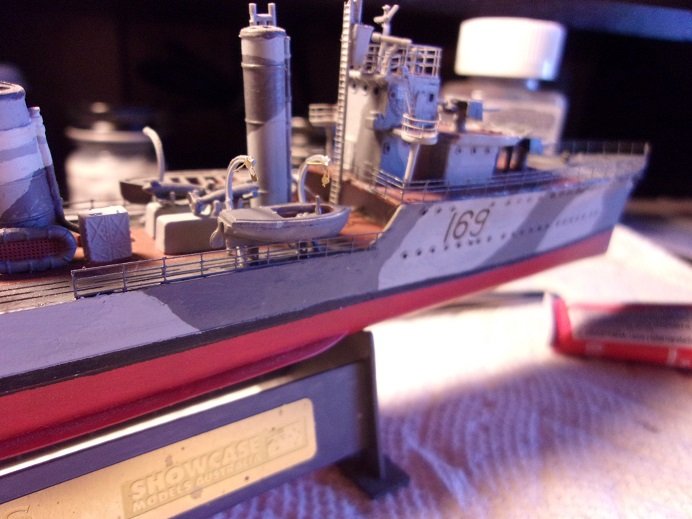
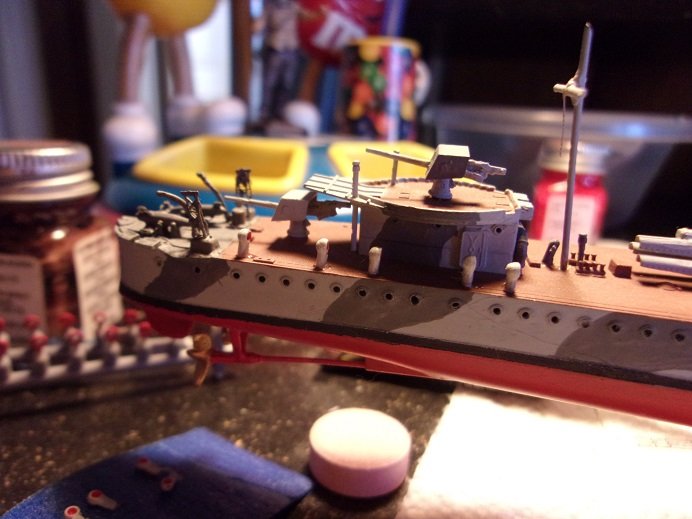
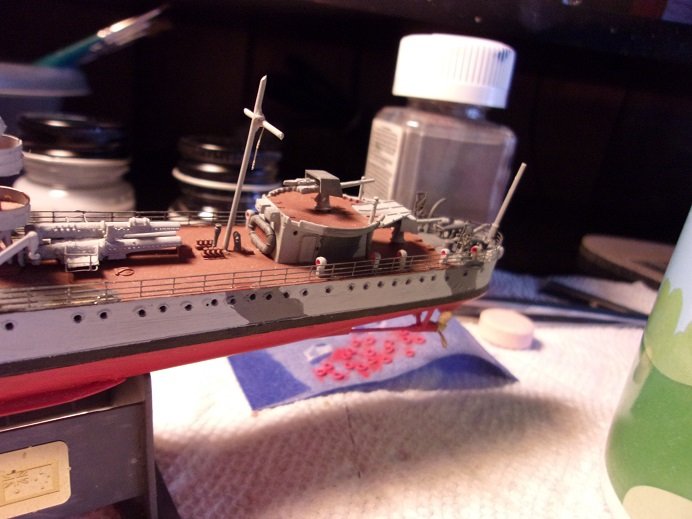
I was going to wait till the end to show pictures Carl, but I still have a little bit more to go still. here's what I have so far. the forward sections of railing were added.... on the starboard side, the other life boat was added. I also added pulleys to the davits........I broke one, so one port side davit doesn't have any. I'll see what I have in the Hood set..... there are vents aft on the deck on both sides......they were added, as well as the props and the anchors then the aft railings..........a feat to get the ca to stick around the stern the flag staffs have also been added. more to come.
- 1,090 replies
-
- 10
-

-
- showcase models
- vendetta
- (and 2 more)
-
believe it or not Lou.......it wasn't too hard to do I couldn't leave them look'in like that. didn't have to trim them too much either. I them thought that there should be more of a curve at the top.......so I had to do them both. thanks for the good word!
-
yea...planking can be a bear.......I'm not the best either. but I've planked quite a few hulls already, and it DOES get better good that your checking out methods........it's all part of the learning curve one thing I try not to do, is ruin the parts panels that the parts come from. if a part becomes damaged, another part can be traced and cut to replace it. I also use them to create other hulls......just the hulls......and fit out different ships that are similar.
-
I do recall seeing listed parts from fellow with a similar user name.........you mentioned this earlier....cool yea......I just got the wood muffler plugs..way too thin to be taken as real I'd order more......but I'm getting serious rebuttals .........guess I'll be doing a lot of scratch
-
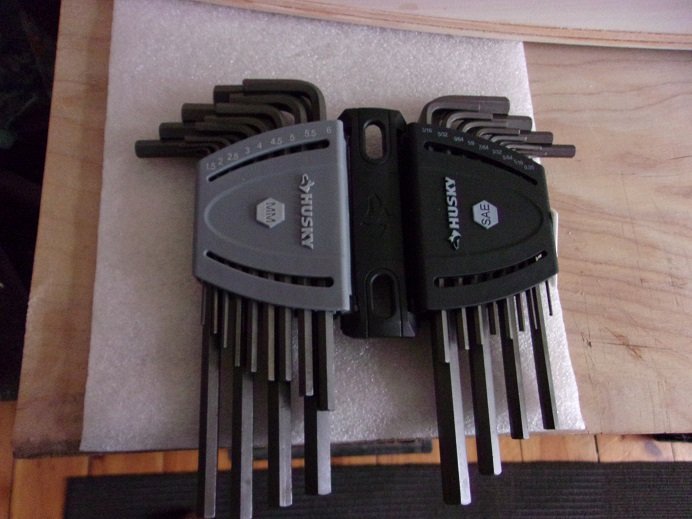
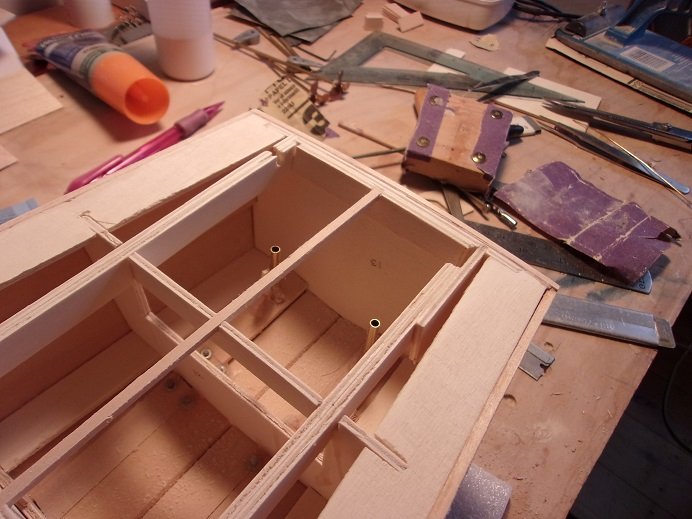
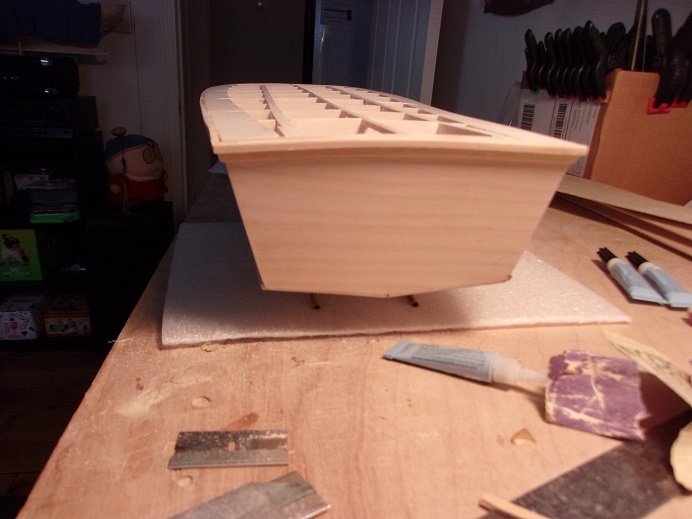
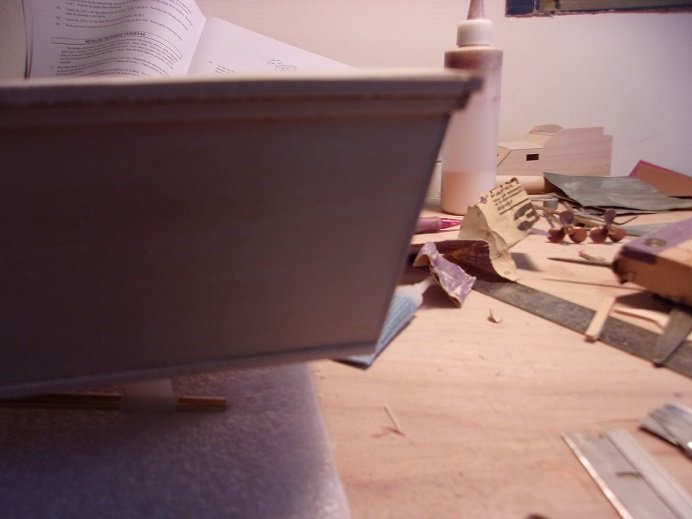
.........two tool boxes....full of tools.......and no sign of an allen wrench that small! so I guess the next step would be to visit the local hardware store and see what they got. I would have been happy to see a 1/4 socket set........or a collection of bits, that went down that small. I ended up with a standard and metric combo set. 1.5 mm to 10 mm metric & 0.05 to 3/8 standard.........fingers crossed that one will do the job. this set was around $16.00. I do have a 1.5 mm allen wrench, but it fits sloppy and slips {likely due to wear}. the 0.05 allen standard is odd.........why not do it in 1/32, or even 1/64ths? the actual size of these set screws turned out to be 1/16, and I was very happy to see there was one in the set. I also shaped the rudders......not exact, but I like the way they came out. I started to fill in some of the seams and joints and do some more sanding. I also did more sanding on the deck surface, in prep to lay the deck platform. I'm beginning to think I should have it in place before I do the resin .......the gap line around the gunwales. the excess along the stern was also removed, since it seemed to offset the deck platform forward, jutting it over the bow. sanding it flush with the frame, the platform was dry fitted, and it was seen that the platforms now jutted over the stern lip. adding a 1/8th strip connecting the gunwale sides, cured the overhang perfectly. to clean up the rest, I added a strip that joins the clamps too. side profile of the deck line...... more to come
-
looking great Mike! I've been wanting to mention that I found instructions for the 50 cal and deck gun........found them on the Shapeways site. you must have gotten the mufflers from there as well. did your kit have the vacuum form mufflers or wood?.......I got the wood ones......not cool. I'm thickening them up so I can sand them in the oval shape PT boats are known for. have you done anything with the rudders and props yet?
-
thanks Halvor! feel free to use any of the log you find useful. it's a fun kit, and there is some freedom in how you want to fit 'er out. I generally look at pictures and derive ideas from there. looking at other logs, you'll see what I mean about building styles. create your own style and above all....have fun
- 378 replies
-
- 2
-
-
- t78 norden
- billing boats
- (and 1 more)
-
my word Mark........you do such beautiful work reading through your log was very enjoyable....some very precise work! glad to finally get caught up with your project......pulling up a chair
-
not much further to go...........I have been working on her off and on. I take it as therapeutic.....I turn to it when something else frustrates me ....am I going about this the right way?
- 1,090 replies
-
- 5
-
-

-
- showcase models
- vendetta
- (and 2 more)
-
a nice glossy sealer will make 'er pop!
-
here to echo what all has said.......I've had burn out issues too, as well as projects that get my goat sorry to hear your admiral has issues as well......I wish you well in that regard. take care of things man........look'in forward to seeing you continue
-
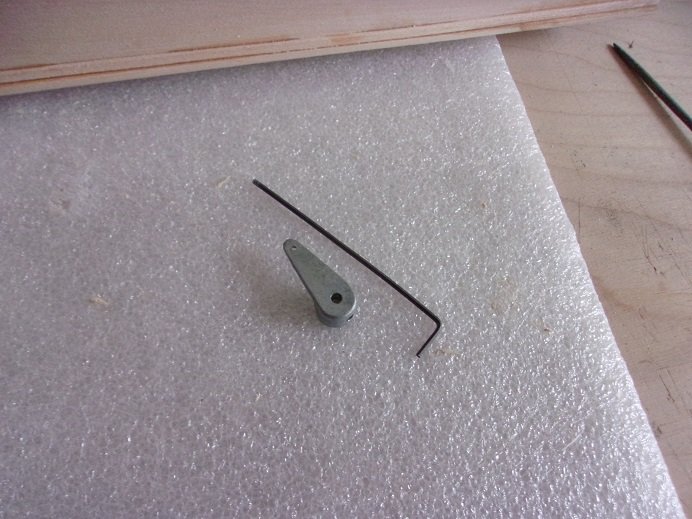
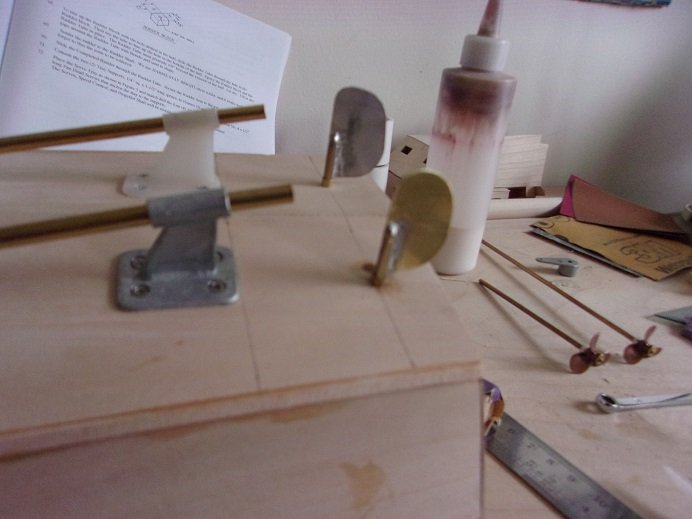
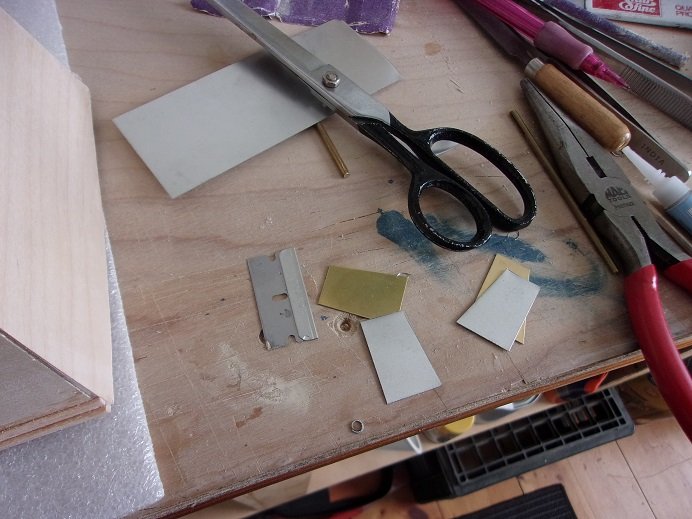
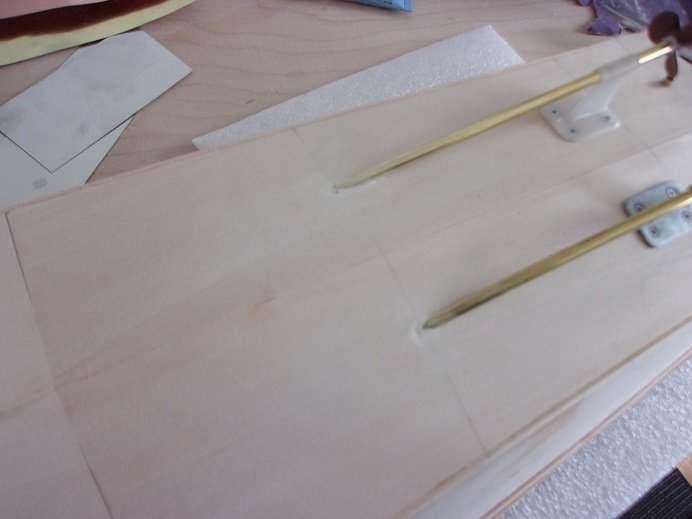
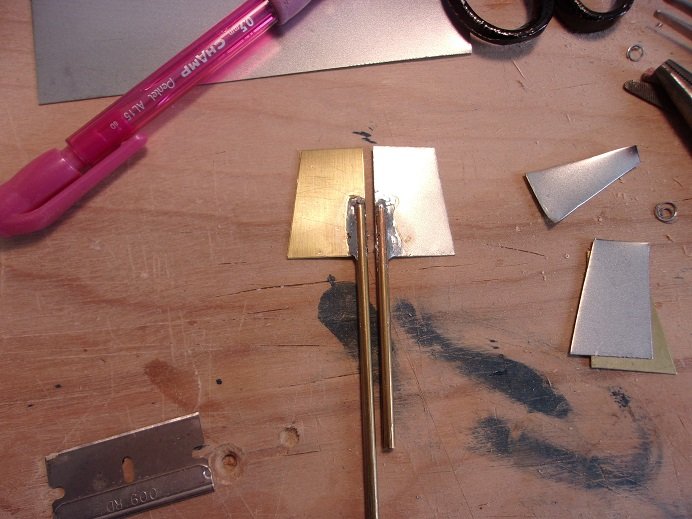
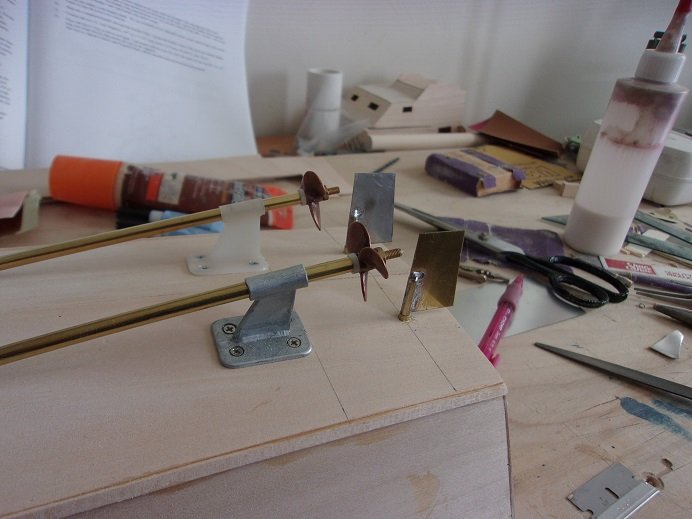
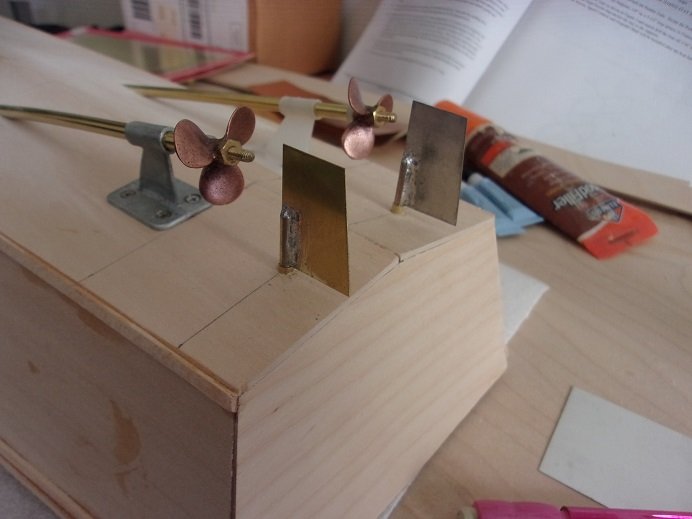
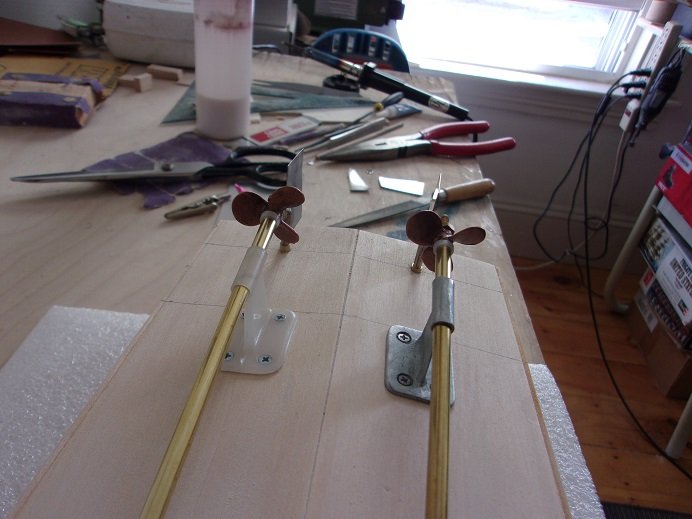
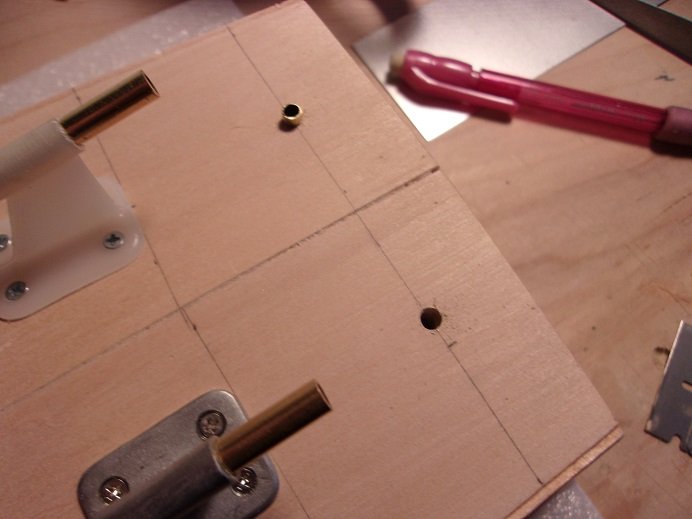
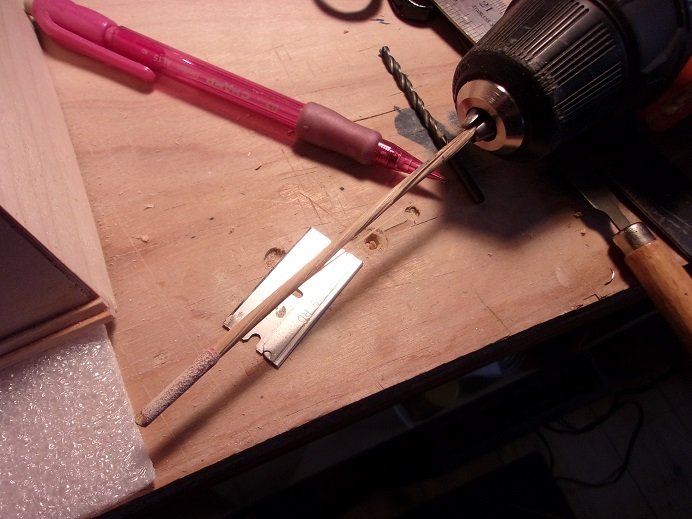
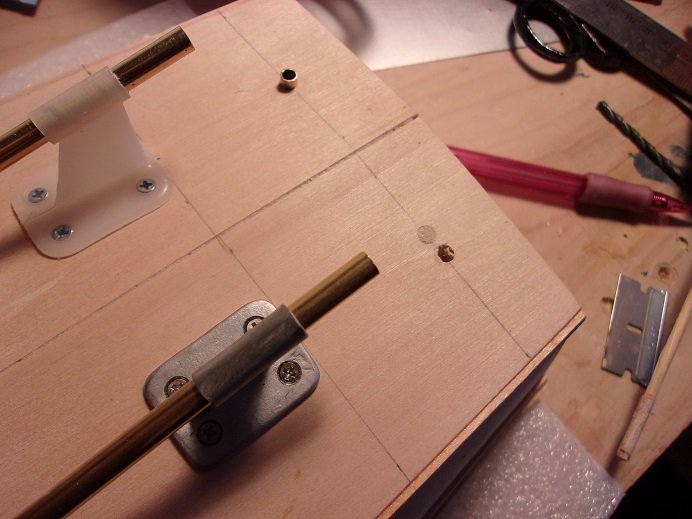
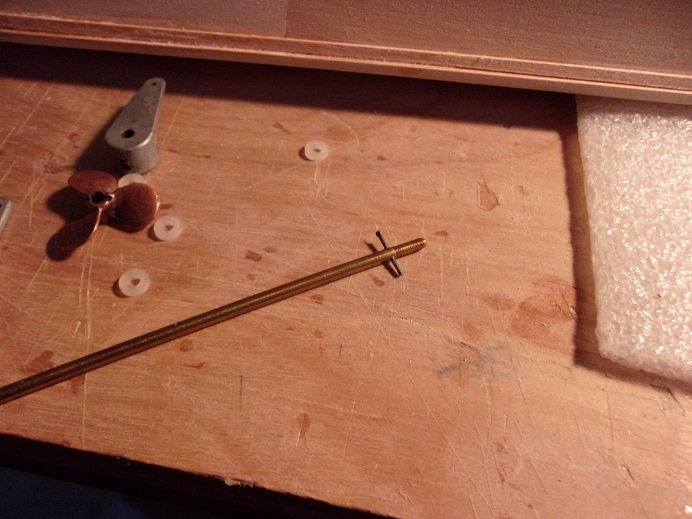
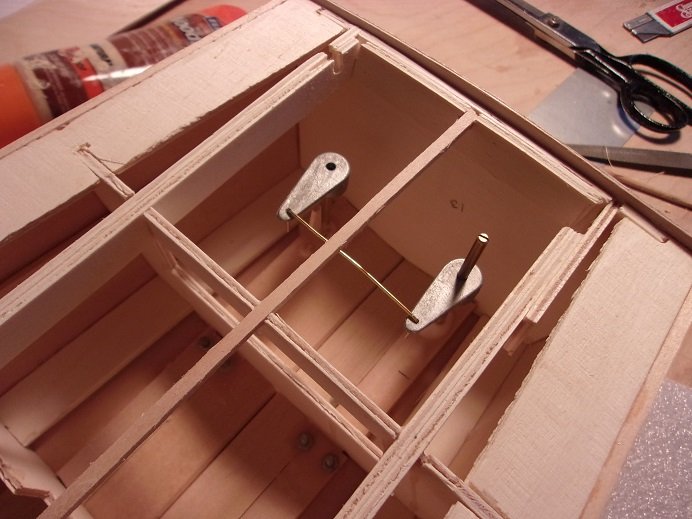
which catalog is that? that is the general shape of the rudders from Shapeways. as Lou pointed out, these are R/C parts I'm working with. as with any parts found in kits, some require shaping and trimming. I may shape them. I have been able to pick at the PT boat. the rudders don't match, so I'll have to make a match to either one. I have some sheet brass stock. I have a copper sheet, but it isn't thick enough, nor ridged enough. what I did find was some tin sheet........that was thick enough. the hull was sanded around the tubes....just a little more and it will be good. I still need to go over the rest of the hull, before I do the resin coat......the weather is getting better and better....I'd rather do it in the garage. the next step with the rudders, was to solder them on the shafts. another defect I had to deal with, was that the slots for the rudder weren't cut equally. the solution was to measure how much of the rudder would fit into the shafts, and notch the one for that particular shaft. I think it was like a 3/16x3/16 square cut out of the corner. soldered together, they now look even. luckily, there is enough shaft to go the entire length of the tubes......I can do what I want to do. fitted in place, the spacing looks good. the last picture had me concerned.........the starboard side rudder was a bit out of line with the prop. there was a difference of about an 1/8th of an inch. removing the tube, I remeasured and marked where it was supposed to be. this can be easily corrected. the hole was redrilled........to fit the tubes, I used sandpaper to ream out the holes. this was done by wrapping sandpaper around a bamboo dowel, secured in place with CA. it was fitted in the drill and then passed through the hole....in and out........over and over, until the tube fit, tight enough to be firmly inserted. it worked well for the first holes...........I guess I got too aggressive with the reaming, and I found out how strong bamboo is, before it began to twist. I still got the job done though one beauty of a round hole, is how easily it can be plugged. so the tube will be refitted and properly sealed. as for the prop shafts, there were no holes for a shear pin. for a static model, this isn't important, but I was able to drill them anyway. I located them so there won't be too many threads jutting out from shafts. inside the hull, the linkage levers for the rudders were sync together, and a connection rood was fashioned for them. so far, I haven't found an allen wrench that fits the jam screws....I know I have some that are THAT small...I just have to find them {I'm sure they are in a bag somewhere in the garage}. more to come
- 221 replies
-
- 11
-
-
...almost forgot..........the admiral and I feel fine after the second shot no adverse reactions
-
I just placed the next order for this vessel at Shapeways.......I saw that they also list the struts, associated parts and props as a set. if I knew that back when........ I ordered the 50 cals......and I ordered the deck gun as well.......I liked the way Mike's came out yea......I know Lou. what I should do is round off the rudders so they would look more like the real ones {the ones I saw at Shapeways are}. hopefully, I can set up the rudders so they can move.....I will connect them so they move together. I could have gone with the three prop/rudder set up, but I was concerned with the apex of the keel for the center shaft. I read in the instructions that when locating the 'single' shaft, the keel was flattened, to accept the strut.........I wasn't keen on drilling through the keel either. so I settled on having just two props/rudders........close enough for me I'm going to use the props too.......they are close enough. I've done some work on the rudders.......I'll have something to show later
-
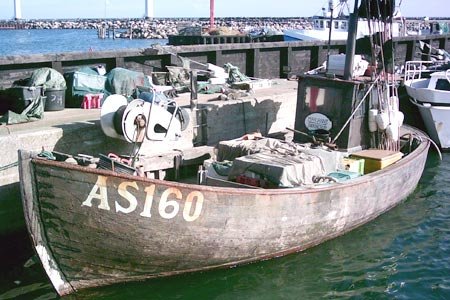
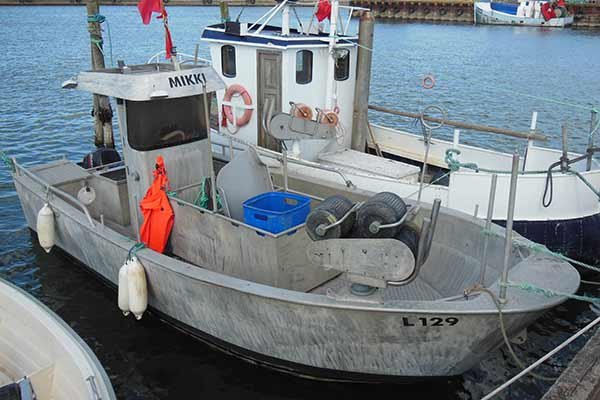
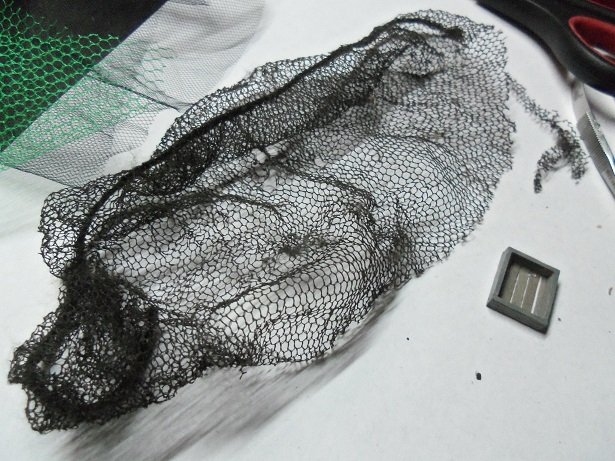
yes...those bulwark panels can be a problem. usually, I don't use them...I simply plank the bulwarks. it comes out just as good. I've built a couple of these split hull designs, and to me, felt that it might be extra work joining the two halves once planked. I joined the halves together before planking, so I could properly clamp the halves together. I also though of the seams at the stern and the bow. most modelers will approach these steps in a different way.....there are no real wrong ways to build wooden ships. it all comes down to what is easier for you. the neat bit of research I think you will enjoy, is the net winch I did a lot of looking to find out how it worked........even more to find the right mesh for netting. I work for Walmart on the trailers and trucks, and one day I was working in a trailer, I happened on a hairnet that crumpled in a corner. it had been left behind from a shipment to a store, and repeatedly run over and beaten........it looked perfect! I didn't even clean it up.......cut it to size and used it be sure to fare the frames well, so the planking will sit on the bulkheads flat.......it will insure smooth contour to the hull