


glbarlow
-
Posts
3,855 -
Joined
-
Last visited
Content Type
Profiles
Forums
Gallery
Events
Posts posted by glbarlow
-
-
Well done, your attention to detail is impressive.
-
-
I’ve never not done inner bulwarks before decking to ensure a clean tight fit. I use a laser level to true up the masts. Your problem is either a warped dowel than or the slot is off, not entirely uncommon in some kits. A leveling process between the table, the ship, and the mast is a common step to take. I don’t follow your measurement process other than it seems it’s over complicating things. I doubt an exact knife would do much, you might be able to fake it with a mini chisel If that’s the look you want why not just cut the planks and lay them for real. Basic kits like this one call for full length planks only because it’s easier for beginners. It’s not hard to cut them, the only challenge is determining your planking shift pattern, which you musT do in advance of the first plank. You can lay full length ones in the center that will be covered by deck furniture.
-
Both of those places sound cold, but then I’m a Texan. We recently set a historic high for The Dallas area, 106 F, 41 C for those across the pond. That’s hot. Fortunately it was a one day thing.
Your a never ending source of skills Derek. I think there is silver soldering in my future with Cheerful, the paste is something I’ll definitely try, I’ve only attempted it with the old spool of solder in the past with mixed result.
-
Thanks Derek, it does look like a ship now.
Thanks also everyone for the likes and for stopping by.
-
Such great detail in this model and so finely brought out with your skills Rusty. Did you choose to go with the pear for your decking? The wood looks great in the hold
- FrankWouts and Saburo
-
 2
2
-
Nicely done. Brings back memories. The stern was a favorite part of the build for me.
-
18 hours ago, Edwardkenway said:
been looking forward to seeing you do your moulding as I know you purchased the scrapers
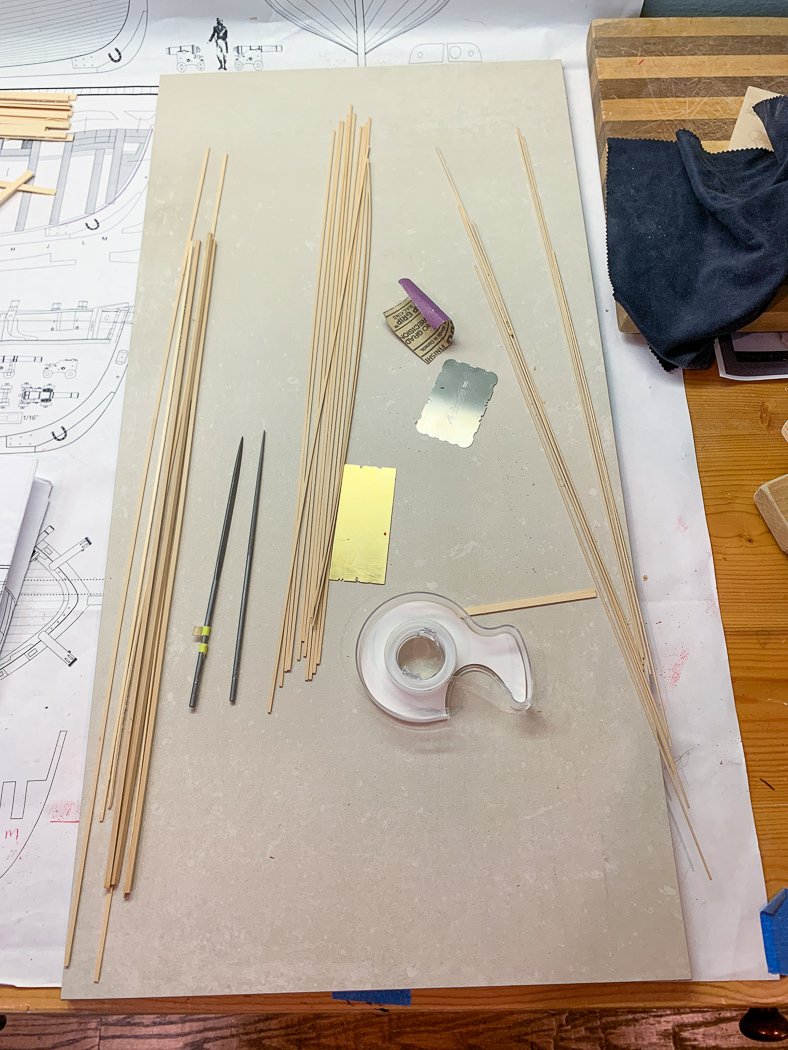
I've been looking forward to it too, being done with it. The Amati scrapers won't work - as someone noted the smaller one isn't small enough for these 1/16 x 1/32 strips. I've managed to make one from a brass plate, I'll report in the next post how I'm doing with it. 😄
I like the color contrast as well, the black, red, and AYC do all look good together. The upper part of the hull is a bit beat up at the moment, it'll look even better once I solve, I mean install the moulding.
- Edwardkenway, mtaylor and Ryland Craze
-
3
-
1 hour ago, Chuck said:
You are almost to the fun bits!!!!
Well its all fun Chuck. 😄 I agree, I've looked forward to getting to this stage - the one after the moulding...
- mtaylor and Edwardkenway
-
2
-
Thank you all again for the likes, comments, and checking in on my build log.
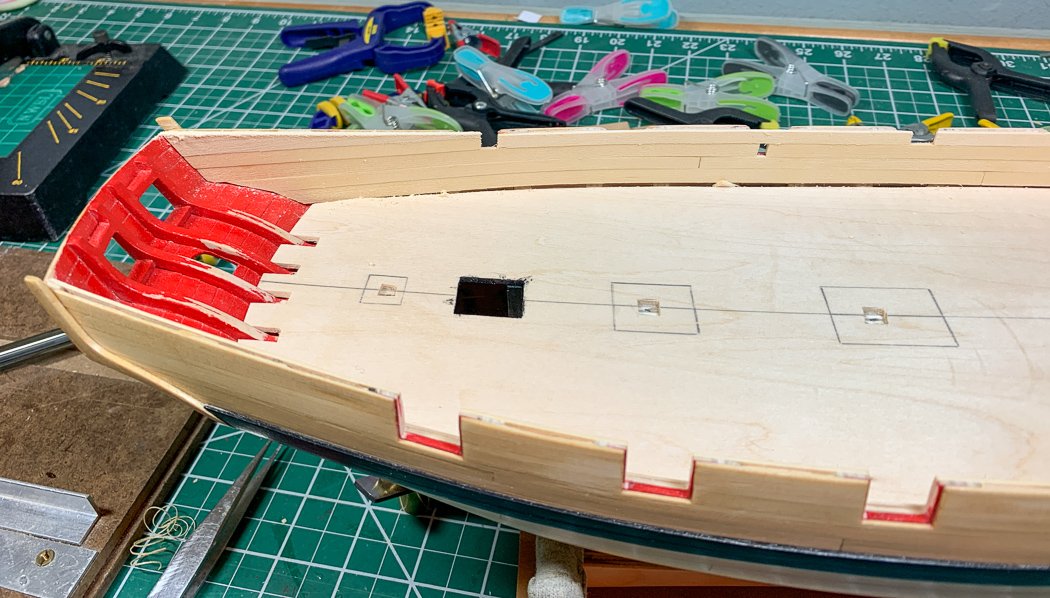
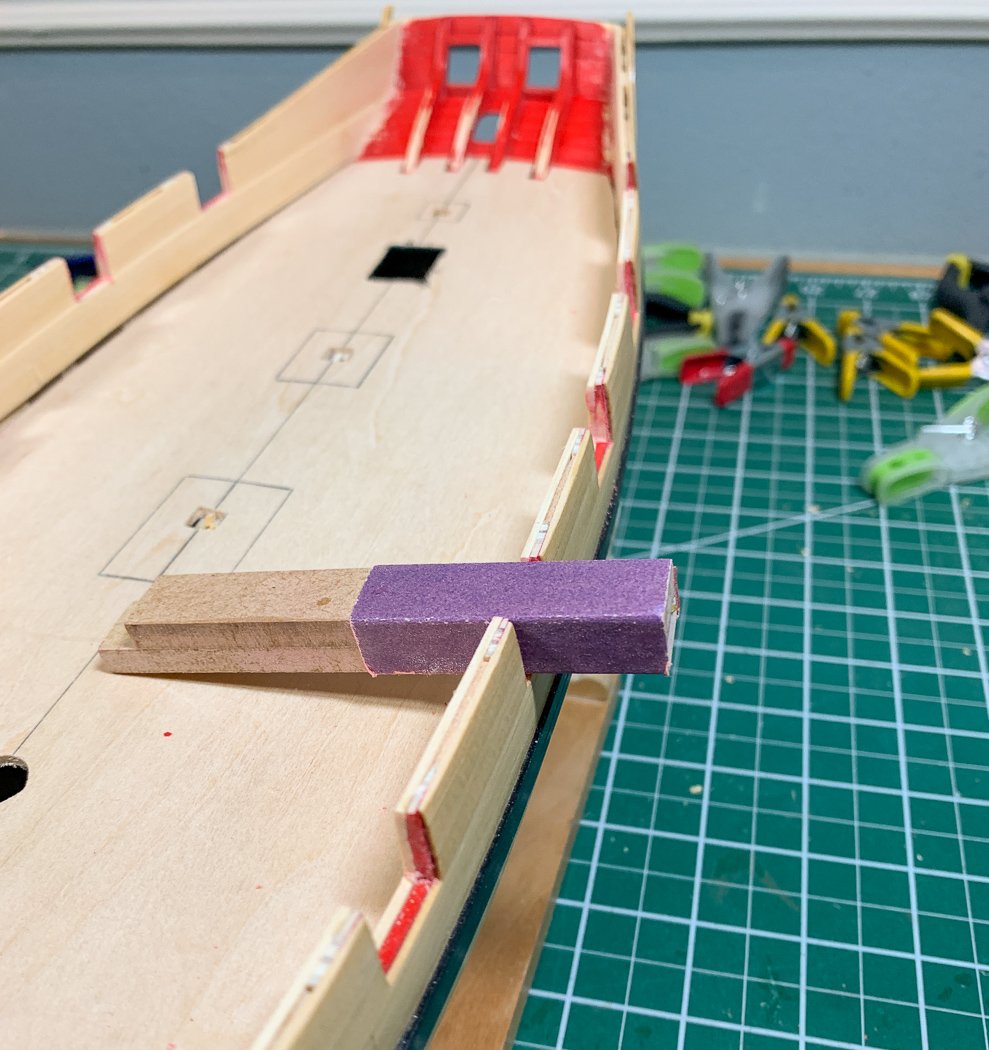
Next up is planking the bulwarks. The first step is adding a 3/64 vertical strip as a false keel/stem at the bow. I elected to make it 1/16th thick so the spiriketing would be flush, while it stands proud for the upper two planks.
The first 3/16, 3/64 thick plank is added with its top even to the bottom of the port sills. This is another of those things had to go right back at the beginning in order for that plank to run smoothly. I mention this only as a reminder to future Cheerful builders to take the slow careful time to get those measurements right. Just as important as a properly faired hull is a properly measured one, no gun port patterns to guide you on Cheerful.
Here is the first layer of planking, prior to adding the spirketing. The plans call for a second 3/16 plank to go below this first one, but I found I needed a 7/32 to leave an acceptable amount of space below. I’ve also lightly sanded the outer hull with 400 grit above the wales to make ready for the moulding coming up next.
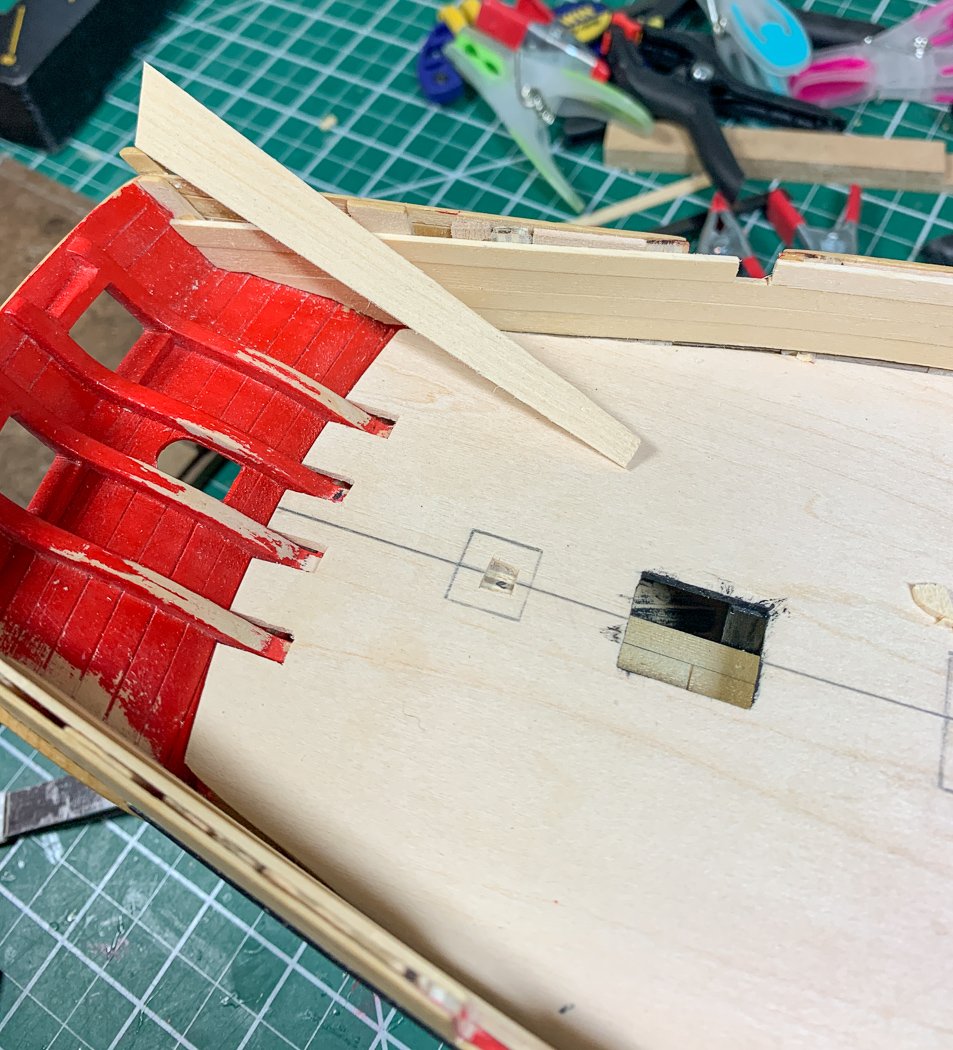
I chose to cut the top row from the stern most port to the transom as a triangle from a sheet of 3/64 thick stock. The alternative with my stern would have been to have a small triangular sliver to fill at the top. It won’t be noticeable once sanded and painted and importantly it provided more wood to adhere to the bulwarks. I cut it over-sized, glued it on, then trimmed it down to fit. I imagine transom heights will very from one model to the next.
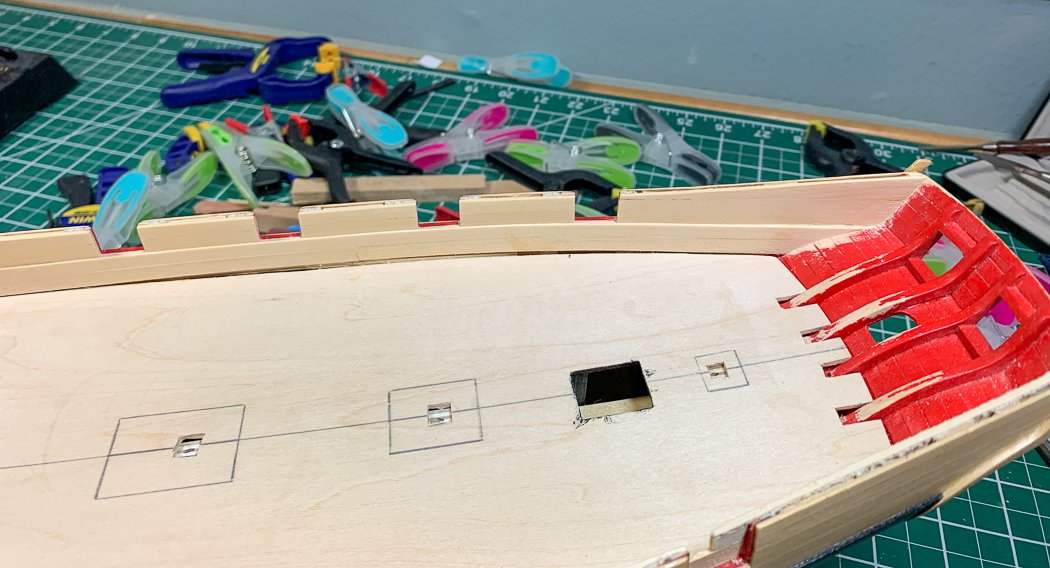
In this photo you can see I painted the inside of the area where the skylight will be and added a few strips of deck planking (before adding the false deck). I don’t know if it will show once the skylight is there, but what the heck, it took 5 minutes to do.
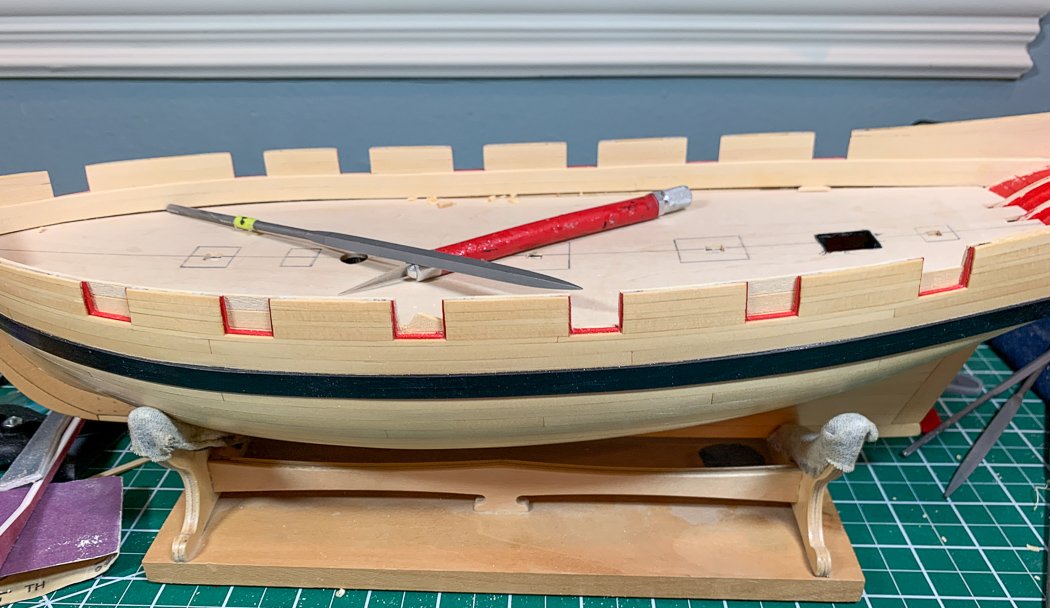
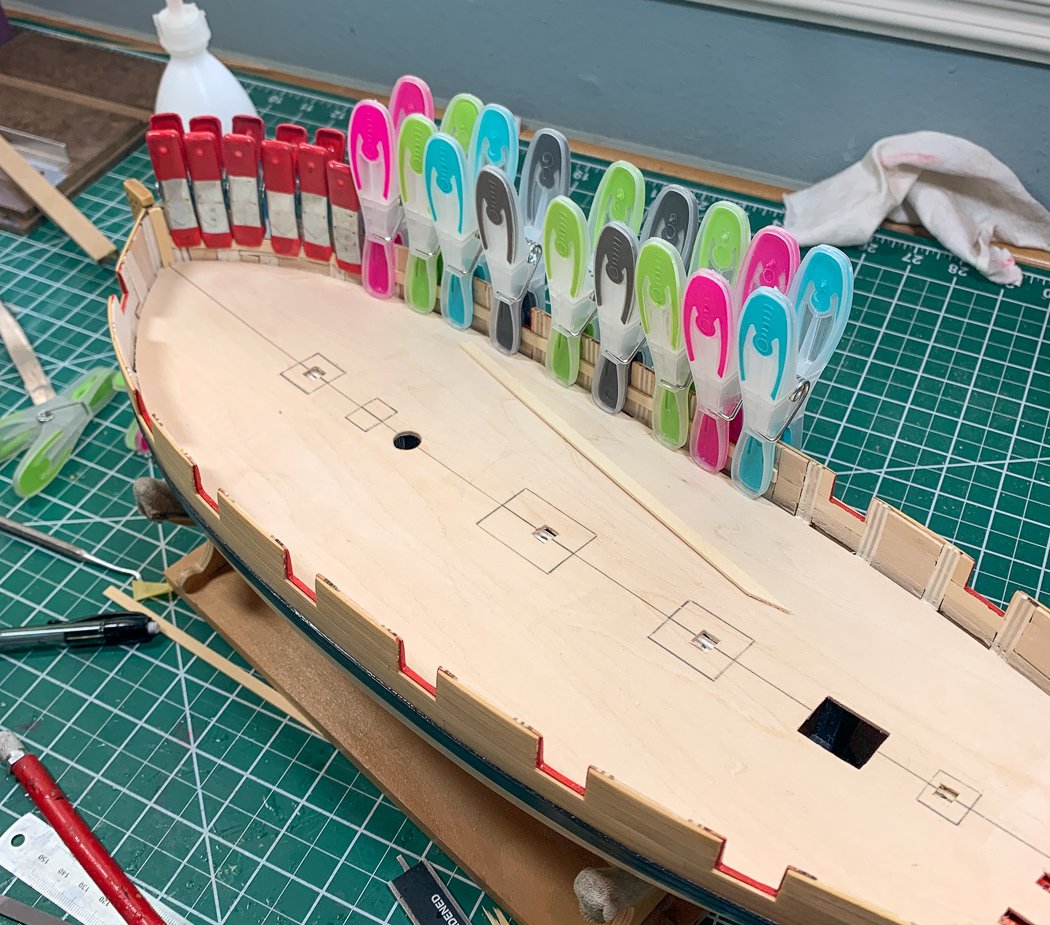
I then added the two rows of planks above the sills. There are lots of ways to do this. I could have, like I did on the outside where rabbits were required, cut individual planks between the ports. I chose to run planks the full length and then cut the ports out with my #11 blade. I feel like I get a smoother plank run this way and I’m comfortable working the ports open with the #11 blade by first cutting down the edge a little, peeling it back, then repeating that multiple times while alternating sides to prevent splintering or cracking until the waste falls away. You can see the ports in various stages of being roughed out in this photo and one above. I don’t have planks long enough for the full length, the holes and gaps are when a plank terminates I end it in the middle of an open port.
The bottom two planks now have a second row of 1/32 thick planks to simulate the spirketing, I rounded the top edge a little with 400 grit to soften the edge. In reality this was a thick row of planks, not two layers, but no one will know the difference. It’s good to remember we’re building models, not actual ships and its ok to simulate some things.
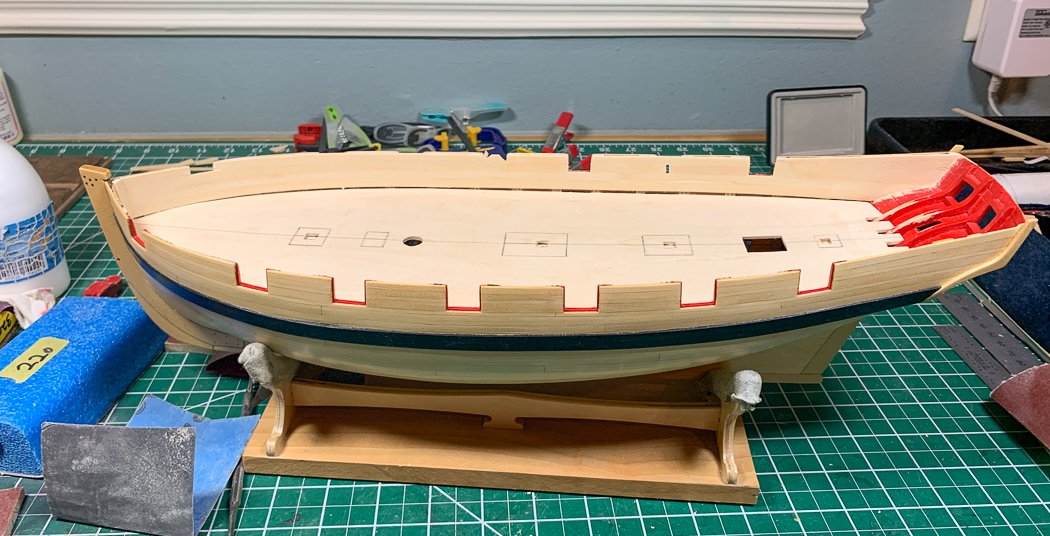
Along with my #11 blade and needle file to square the corners, I brought out the “port sander” jig I made so long ago when the sills first went in, only this time turning it upside down so I only sanded the sides and not the bottom and ensuring all the ports are the proper finished width. I like how the lens distortion in this photo makes the stern look long and skinny, merely an illusion.
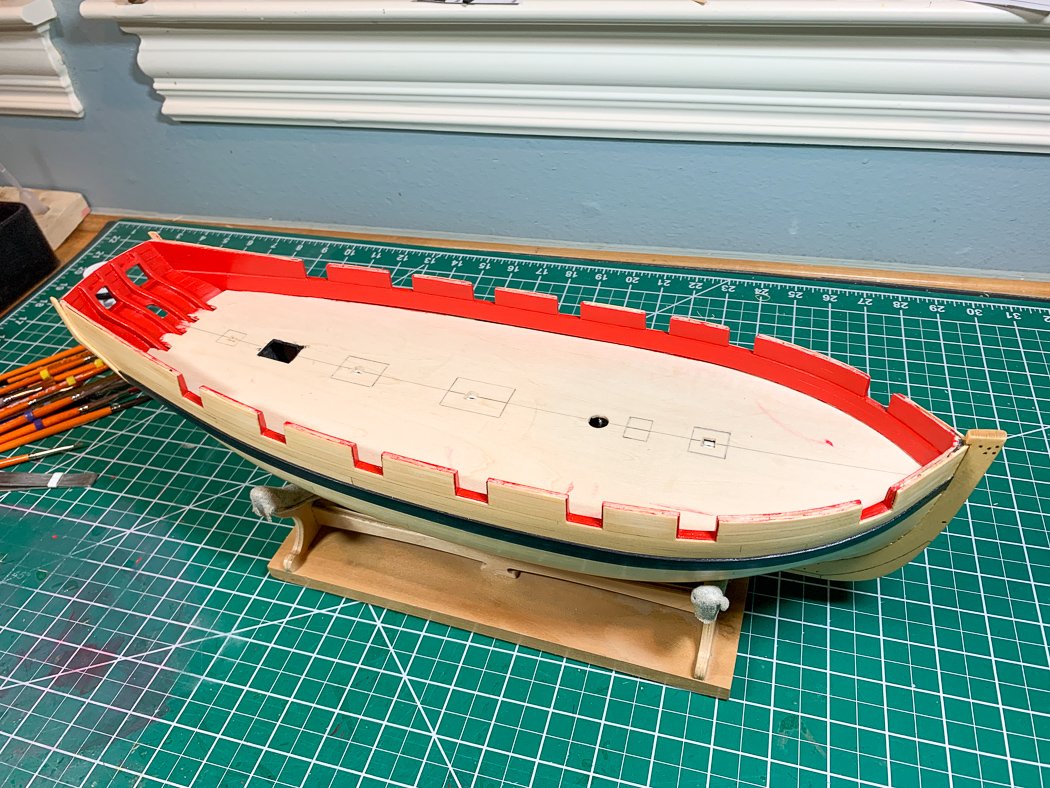
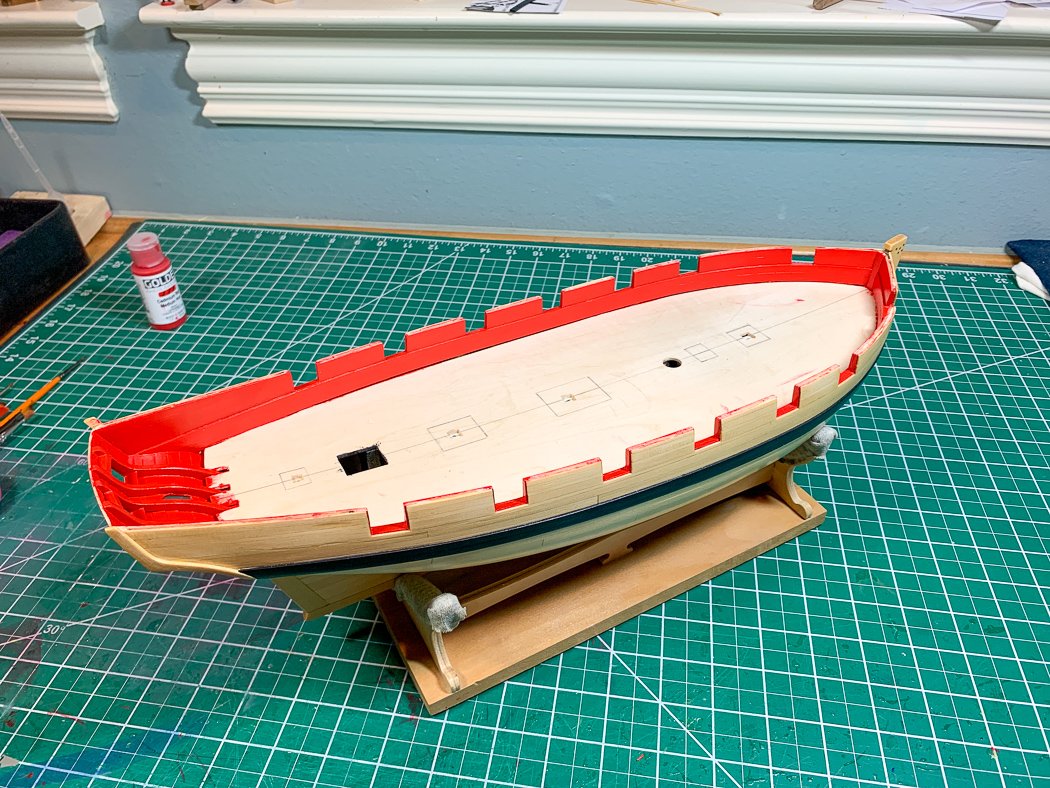
With everything shaped and fitted it’s time to paint. Here she is with my nice bright red paint. As I said at the beginning of my log I was opting for RED! on this model. I think I’ve achieved that with my Golden Cadium Medium Red, I like it. (although its not as red-orange as it appears in these photos, it's bright but not this bright).
Now I’ve put off adding the fancy moulding as long as I can, that and the cap rails are up next.
-
I lock it it with wood glue using a laser level to make sure it’s straight. It is an anxious time ensuring it dries straight, but once it is no worries from there. You have to tension the lines so they are taunt but not tight. I use the analogy of a guitar string, just short of floppy. Also where the bottom up inside out comes into play, this helps keep things properly aligned.
Click on the link for my Lady Nelson build In my signature line below and scroll way down. I describe my process for rigging and stepping the mast. It should be of some help if you choose my method.
Don’t over think it, you can adjust as you go.
-
This is my 1,000th post on MSW. I don’t have anything interesting to say but thought I should at least memorialize number 1,000 here on my build log.
I’ll have a new update soon. A lot of non-model activity is going on, limiting my time in the shop.
Yay, 1,000 posts. 🎉🎊🎈🍾
- Chuck, Ryland Craze, Rik Thistle and 11 others
-
13
-
 1
1
-
Well, there you go. The common method is there no common method apparently 😁
- RichardG, BobG and Ryland Craze
-
3
-
Clever recovery but Chris’ designs don’t require any form of filler at the bow, you may want to study your first planking pattern to determine where you went wrong before starting the second planking. The number of full run tapered planks at the bow will equal the same number of full width planks midship. This where lining the hull and tick strips pay off. Just trying to help.
-
I don’t favor that method at all. I build the full mast and attach everything rope, shroud, and block l can off the ship. It looks like a tangled mess but it is a much smoother process than running the lines after it’s stepped on the ship. Once the mast is up and rigged then I add the yards on the ship. Since the lifts are part of that rigged mast it goes easier.
Put a pin in the center back of the yard and match and glue it to the right location as shown by the plans for each yard.
Even still the ropes and blocks have to be attached in the right order. Generally from the inside out and from the bottom up is a reasonable guide for the order.
The plans are all you need for rigging, instructions would be more confusing than helpful in my experience.
Other than rat lines, rigging the ship is a fun part of the build. Sooo much string...
-
-
I hope your enjoying your decisions, don’t let a log or other builders dictate anything.
Your cannon rigging looks great.
-
-
May want to do a test to compare a spray can to using a brush on the hull. The brush strokes on a wooden sailing ship would look more natural than the static look of spray paint, in my opinion.
- popeye the sailor, Sjors and mtaylor
-
3
-
Amazing work! I see you have a new friend to keep you company on the deck.
- Ryland Craze, Stuntflyer and JpR62
-
3
-
-
Copper plating this monster almost did me in. I enjoyed the phase you’re on now. Very neat work.
-
2 hours ago, Bill Brown said:
my first attempt at a plank on bulkhead project.
Mine too, Not just that but scratch building all the parts and milling the wood are all new to me despite it being my 9th model. As we both know it’s very different, even with the expert direction and sub assemblies from Chuck. Your work is very nicely done.
-
14 hours ago, BobG said:
bit of a journey for me.
That’s the fun of it though right. Journey or not I think this is my third post saying what a great job you did. And, welcome to my do it over until you get it right club😁
- Ryland Craze and BobG
-
2
Pride of Baltimore II by Brewerpaul - Model Shipways - 1/64
in - Kit build logs for subjects built from 1801 - 1850
Posted
There needs to be a false deck on top of the bulkheads and then the deck planks applied to that, not the plank applied directly to the bulkhead. If one is missing from the kit I'd highly advise you to get some 1/16 basswood and cut one yourself.
Very cool about helping with the restoration.