
Dfell
-
Posts
220 -
Joined
-
Last visited
Content Type
Profiles
Forums
Gallery
Events
Posts posted by Dfell
-
-
Very nicely done - lovely build
-
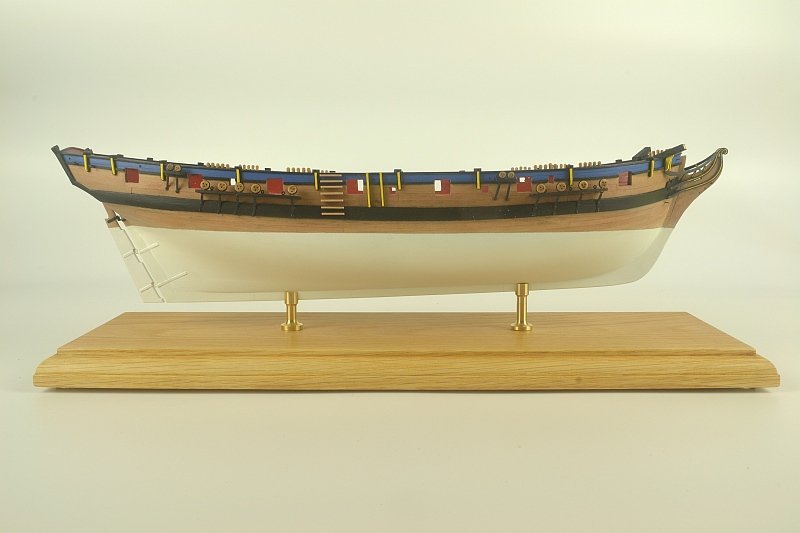
Hello – a bit of a step forward. Have managed to fit HMS Flirt using brass mounts onto a plinth.
Used the smallest brass stand from Amati but found the next size up did not match the top and bottom sections of the smaller one. So doing some measurements got a friend to make one by 3D printing which I was then able to check that the waterline was level before finding a local engineer to make one in brass.
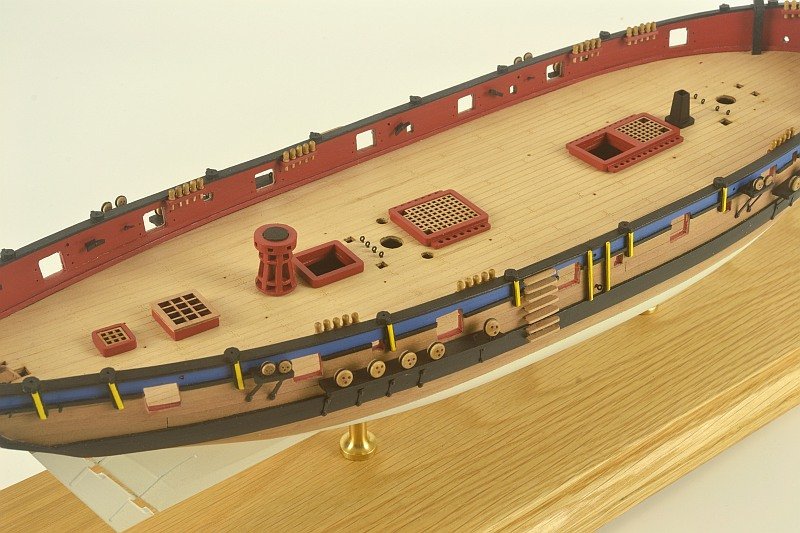
Deck 'furniture' in place but not glued down as I first will get the cannons in place and rigged. The cannons are made - just adding the small blocks.
Thank you for looking.
Regards
Doug
- Theodosius, Edwardkenway, mugje and 10 others
-
 13
13
-
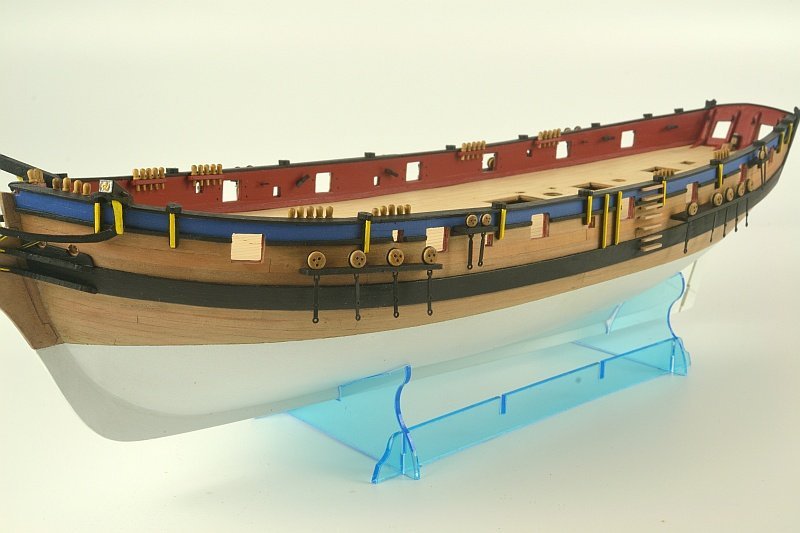
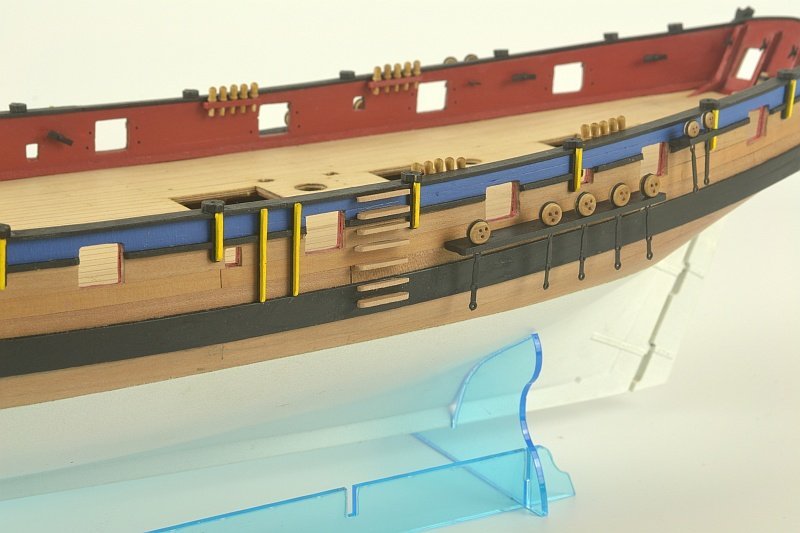
Hello - Deck Bulwark Cleats plus Belaying Pin Racks all pinned into place as instructed. The Belaying Pins I opted for wooden ones.
Also the Channels pinned into place with the Deadeyes which have the Strops yet to be pinned down at the correct angle.
The Steps I have decided to leave unpainted.
I opened the Strops to take the Deadeyes by sliding the Strops over a tapered dowel - they are very delicate. Found sliding Strops over a tapered dowel helped to keep their shape whereas using tweezers to open them up found I was distorting them but then again maybe doing it wrong.
Thank you for looking.
Regards
Doug
-
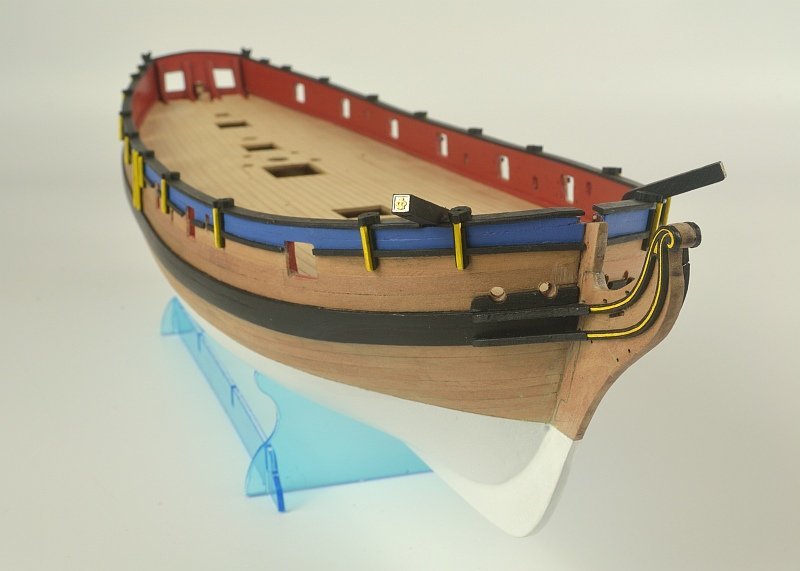
Hello - now the bow is done. The Main Rails and the Rail parts assembled plus the Cathead Knees as instructions although have painted the Rail parts underneath slightly different to how James H did. I kept the yellow stripe with a black surround to be in keeping with the Swivel Gun Supports.
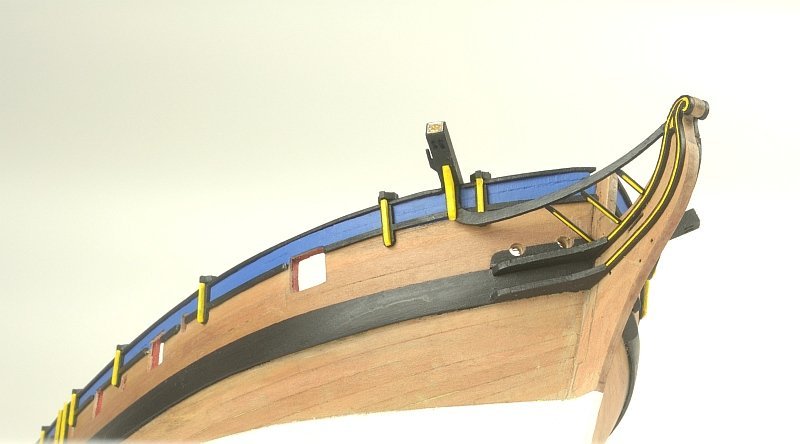
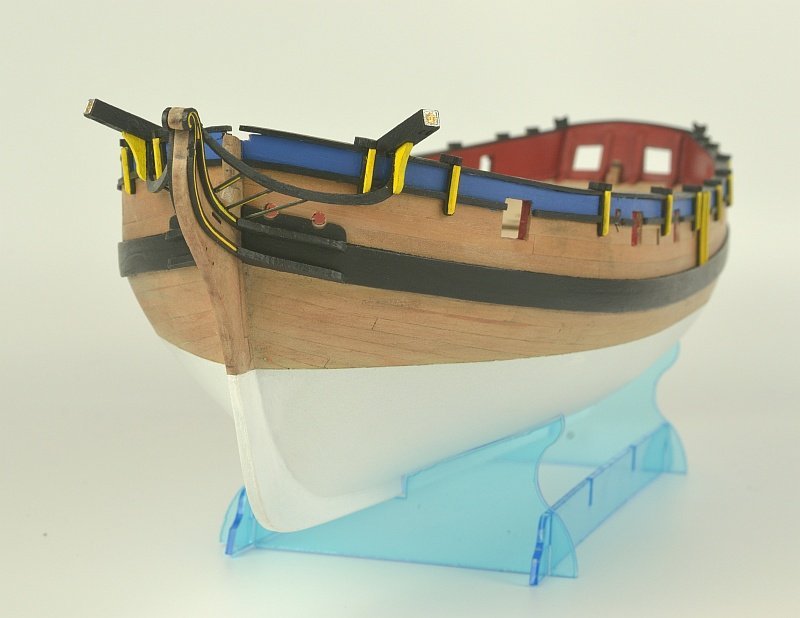
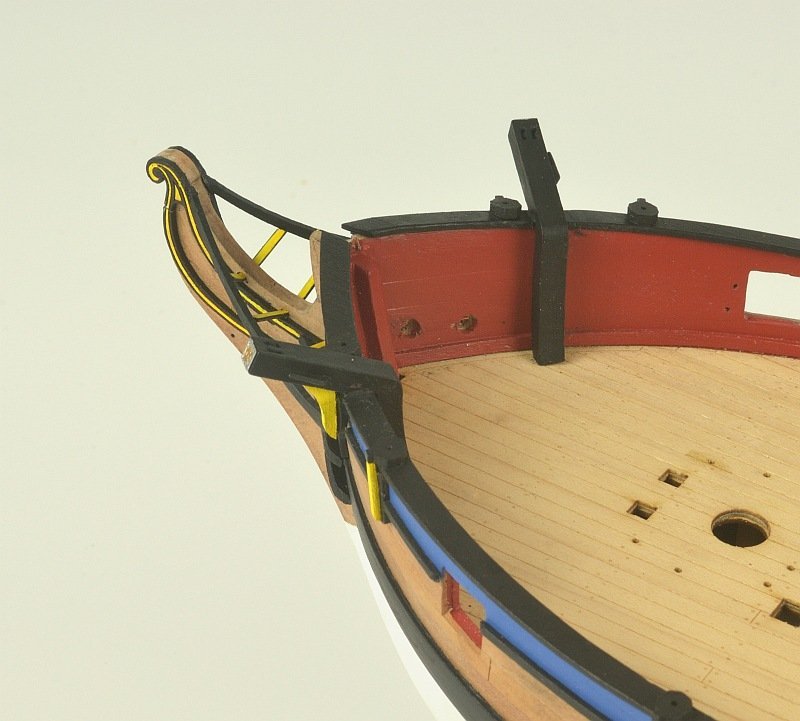
Thank you for your nice comments - BobG, DelF, glbarlow and Theodosius.
BobG - you're doing fine so far. Hopefully you have recovered from your medical treatment / op and you will be soon back at doing the hull planking.
Also thank you for the 'Likes'
Regards
Doug
- glbarlow, BobG, Theodosius and 9 others
-
 12
12
-
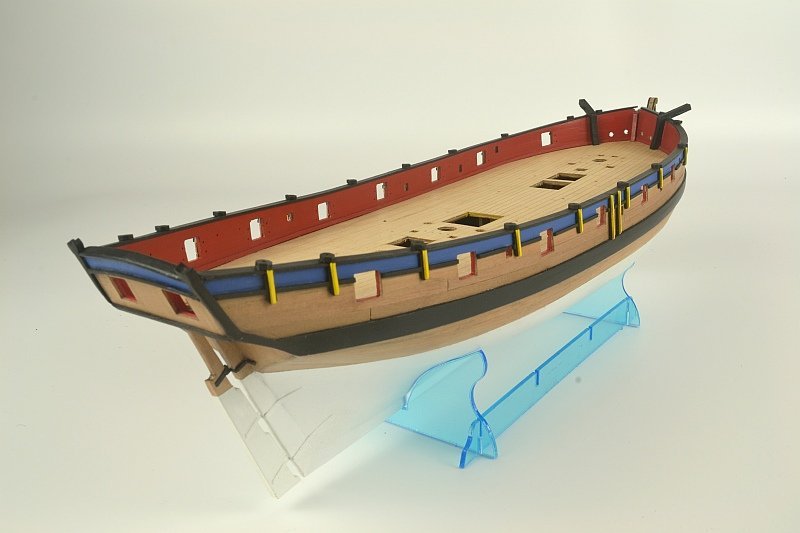
Hello - some more progress - the stern completed. The instruction say to glue the Boom Crutches flush with the Stern Board but decided to fix them so the Stern Board Rails would be flush with them. Also did not fit the top rail (part 60) - just put a Capping Rail.
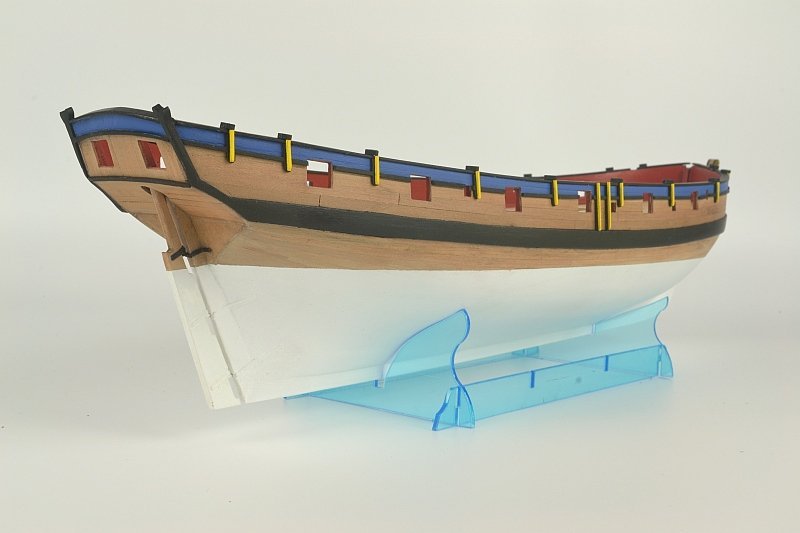
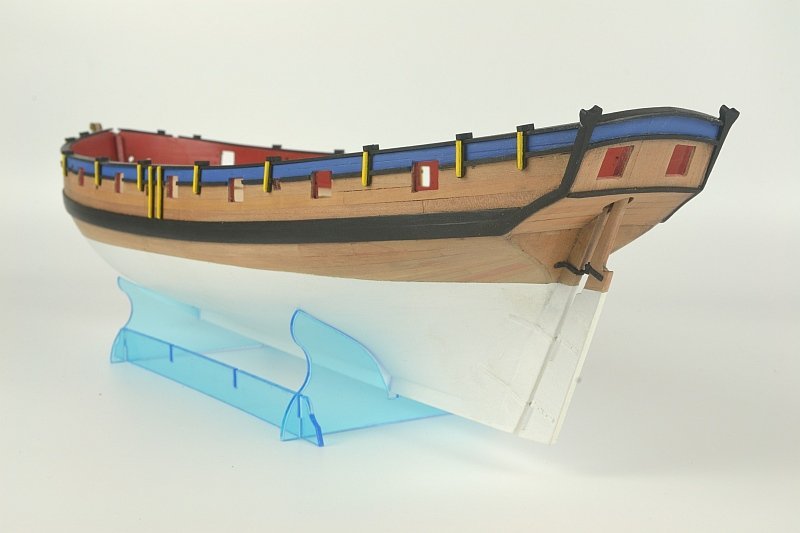
Catheads fitted - little sanding required to get them to fit neatly.
The Cathead End Caps painted in silver and gold.
Regards
Doug
- ccoyle, Rik Thistle, DelF and 14 others
-
 17
17
-
Hello - further progress. The Upper rails and Swivel Gun Posts fixed in place having painted the upper area in a blue. The blue is Humbrol 25 with some white and purple added.
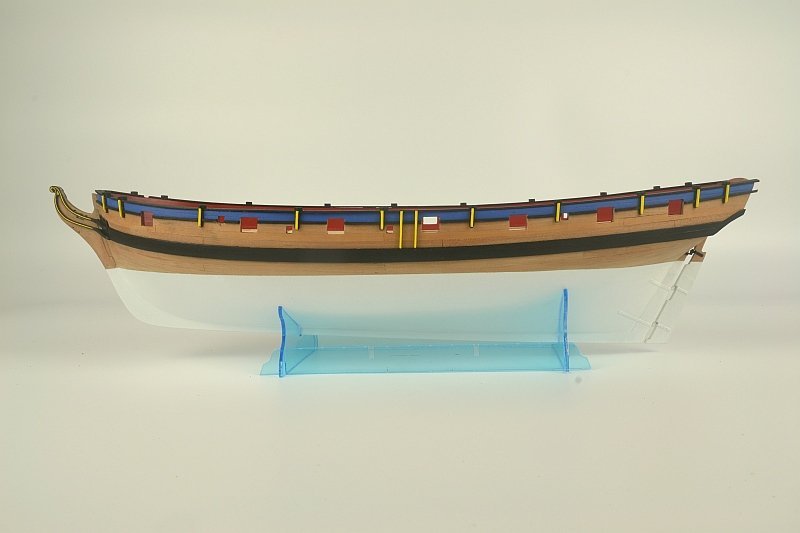
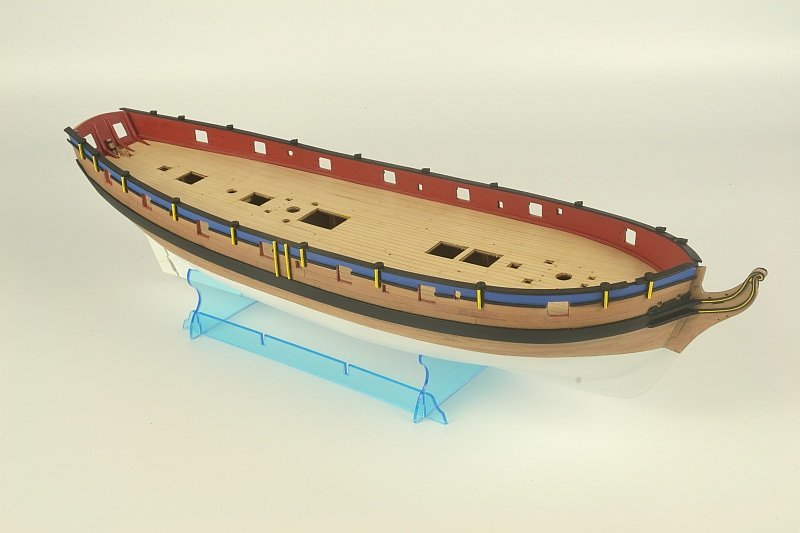
The Stern section is next on the to do list.
Thank you for looking and previous comments.
Regards
Doug
-
Hello - Having had a discussion with myself as part of me wanted to keep the build as it should be and along with comments by Blue Ensign and others have decided to correct the water line, The decision on how to mount HMS Flirt will have to be worked out at a later date.
One corrected waterline. The Wale and waterline work better with each other.
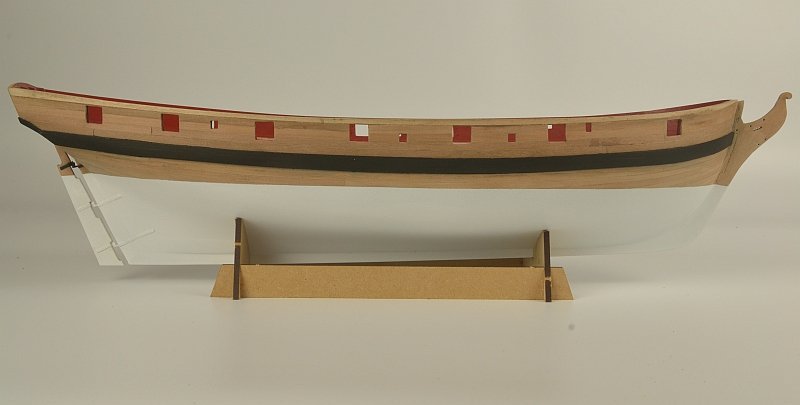
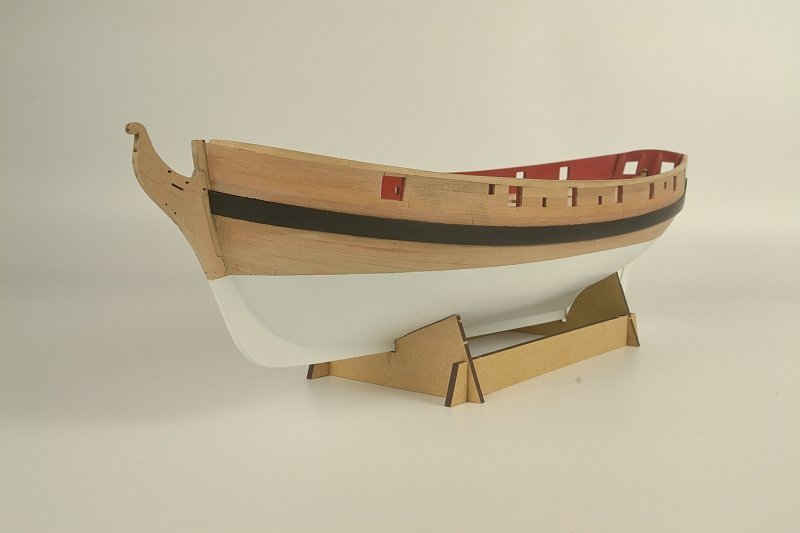
The Hair Brackets are attached. Coloured using a felt tip pen.
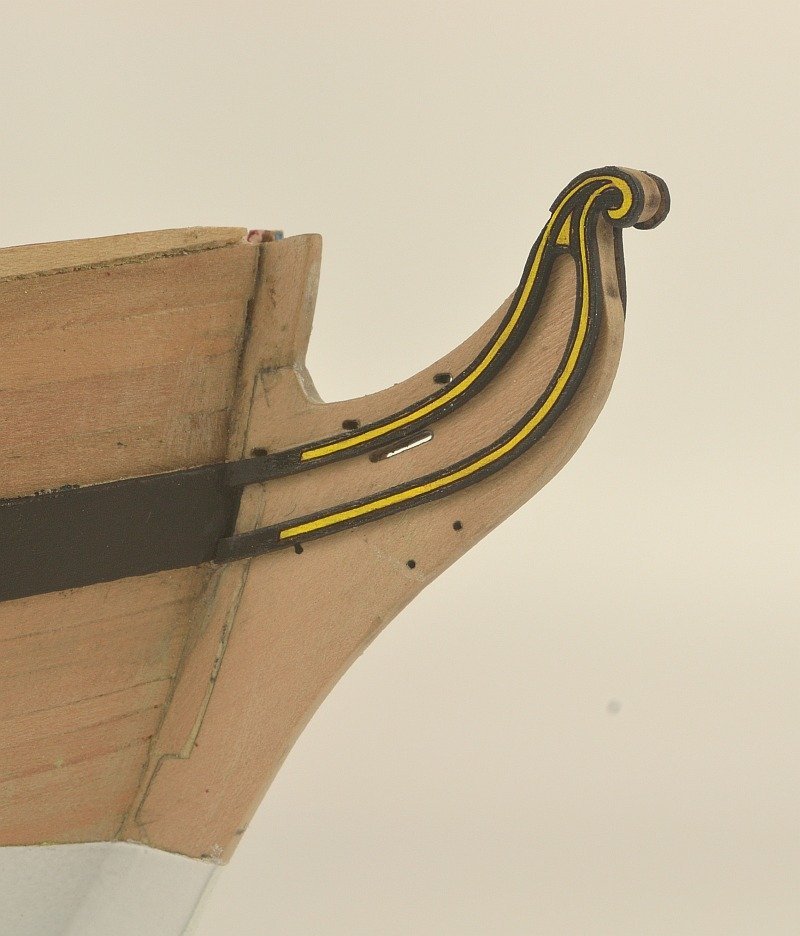
Thank you for the advice / comments Blue Ensign, glbarlow and Theodosius.
Also for the 'Likes'.
Regards
Doug
- Edwardkenway, Gregory, bruce d and 8 others
-
 11
11
-
-
Hello glbarlow - yes it was a difficult decision. Kept looking at it on the stand and felt the keel not being level was harder to take compared to how much the stern was raised up. Anyway cannot change it now 😕
Just hoping when the masts etc are in place it will look okay.
Blue Ensign - thank you for the explanation. Maybe I should have put this up for advise before doing anything. At the time did not think the stern was raised too much and thought might get away with it.
I apologise to Chris for not doing what he had designed as it should be.
Regards
Doug
-
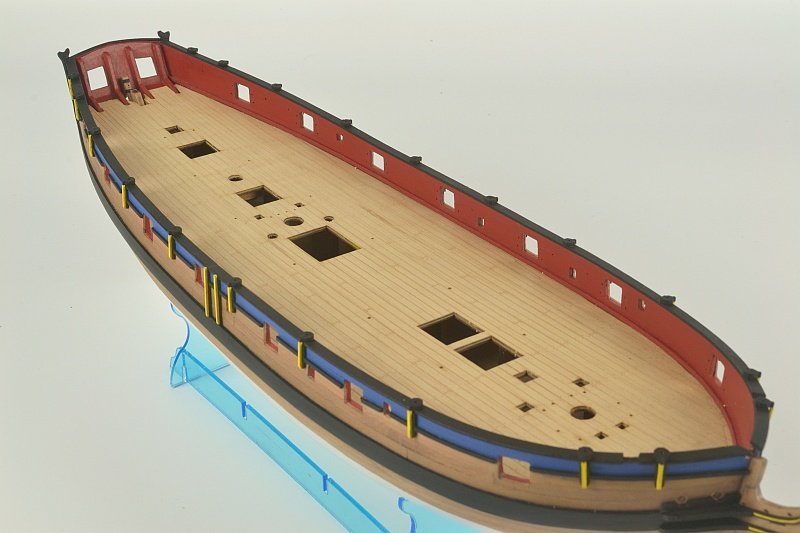
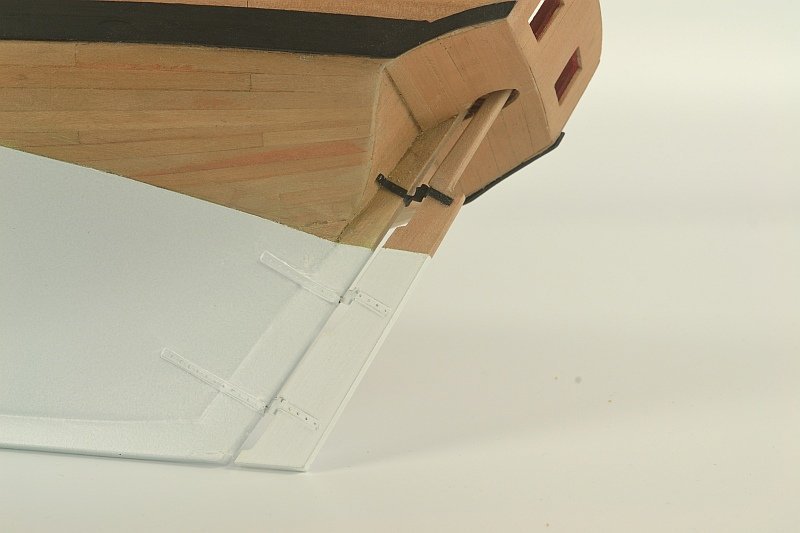
Hello - feel like a major milestone has been reached. Hull completed although had an issue with establishing the waterline.
With the hull sitting on the stand found the bottom keel was not level - lower at the stern. Noticed on plans where showing the keel level the waterline goes downwards towards bow. Have decided to do the waterline parallel to the keel and the keel level as I will be mounting Flirt on small brass columns.
Hopefully this has not been a mistake.
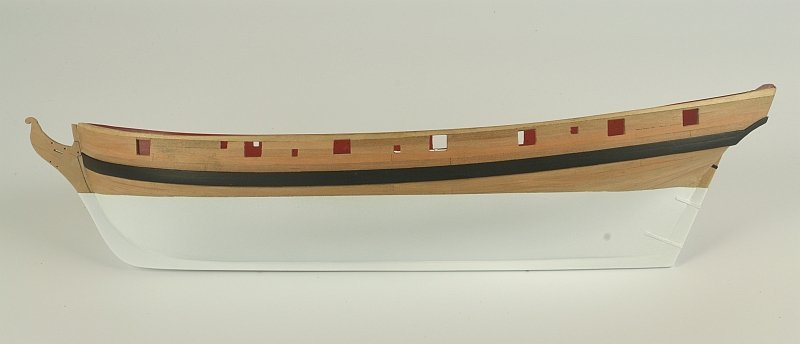
Rudder ready to be fitted.
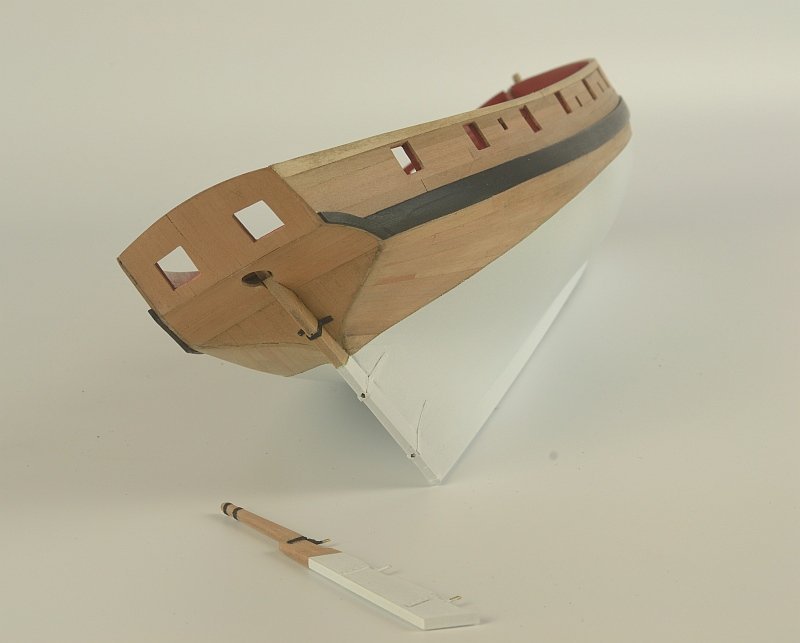
Rudder fitted.
Regards
Doug
- JpR62, Edwardkenway, DelF and 4 others
-
 7
7
-
-
Hi - thank you for the comments.
BobG - used 3 butt shift with the planks being 13.5cm in length. Find it easier to shape and glue down if I just have to concentrate on either the stern or bow. Don’t do any thinking / marking up - just get on with it. Some times one can over think the job or in my case it’s too hard to think it through. Find the first planking gives clues on how to / where to get it right. Once two thirds down will work up a couple of strips from keel and then muddle through in between. My get out clause is on all my builds so far have white hulls so can covering things up 😕
2 small stealers each side at stern and no drop planks at bow.
The Stern Side Counters in the instructions are done at a later stage but it seemed as glbarlow did more sensible to add them while doing the Wales.
Thanks
Doug
-
Hello - second hull planking completed with gun ports etc opened. For some strange reason did not have enough strips to do the job hence the lighter maple strip. Short by 4 strips - top row and a strip either side for the Wale.
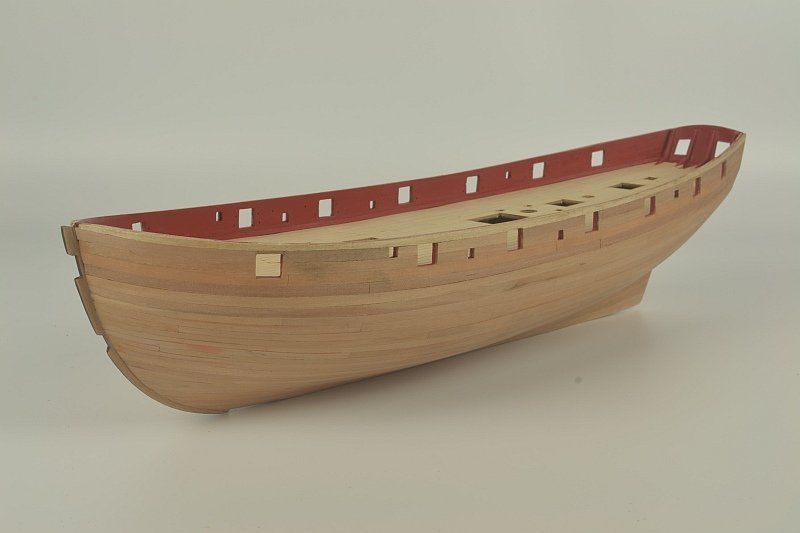
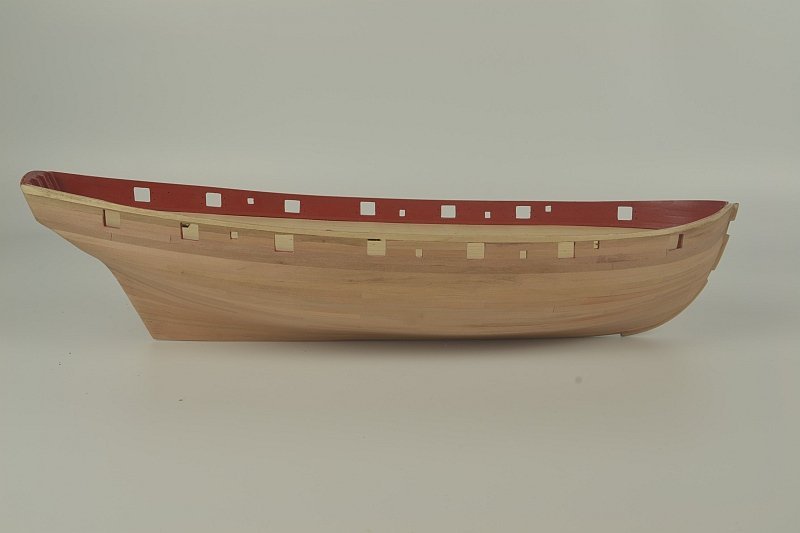
Used masking tape to position top of Wale.
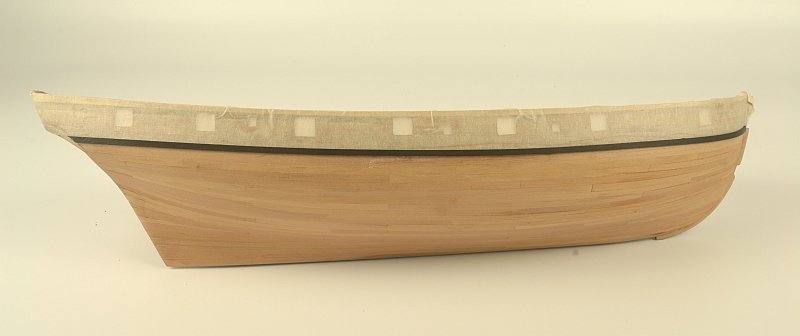
Wale completed but have followed glbarlow example in adding the Stern Side Counters while doing the Wales.
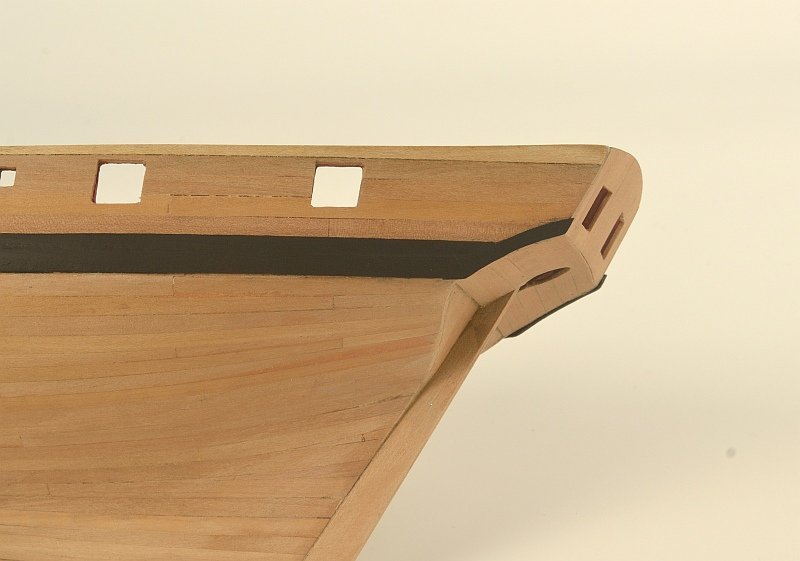
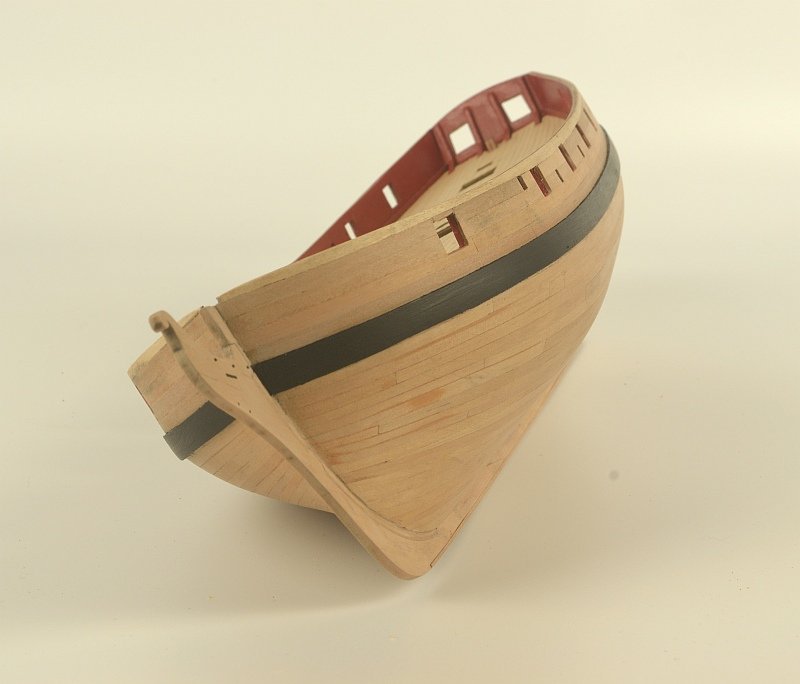
Thank you for looking.
Doug
-
Thank you glbarlow and Blue Ensign. Doing my best - greatly helped by the excellent step by step instructions with lovely photos by James H and the kit quality by Chuck.
Thanks for looking.
Regards
Doug
-
Hello - Further steps forward. Have mounted the deck veneer onto thin ply as I thought it would be easier to get flat off the model as the veneer had a few ripples / undulations.
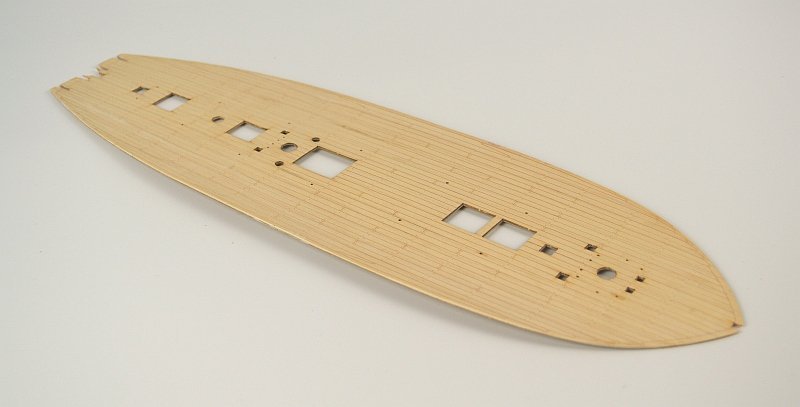
Deck glued in place and protected with a vinyl film. The inner Bulwarks lined and gun and oar ports opened up.
Have mixed a colour slightly brighter than the standard red ochre / red oxide although it possibly doesn't show.
Just need to do a 2 x1 mm strip along bottom edge.
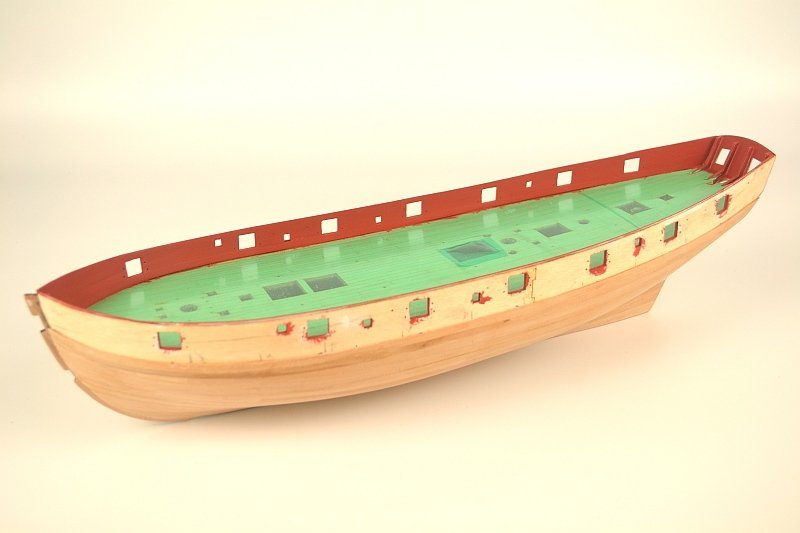
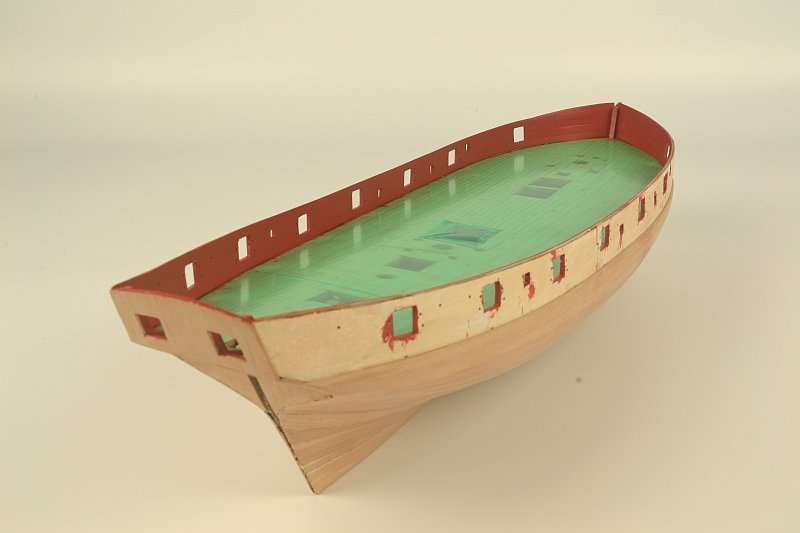
Bottom strip in place and protective deck cover off although will cover it again for the next stage which is the rest of the hull planking and wales.
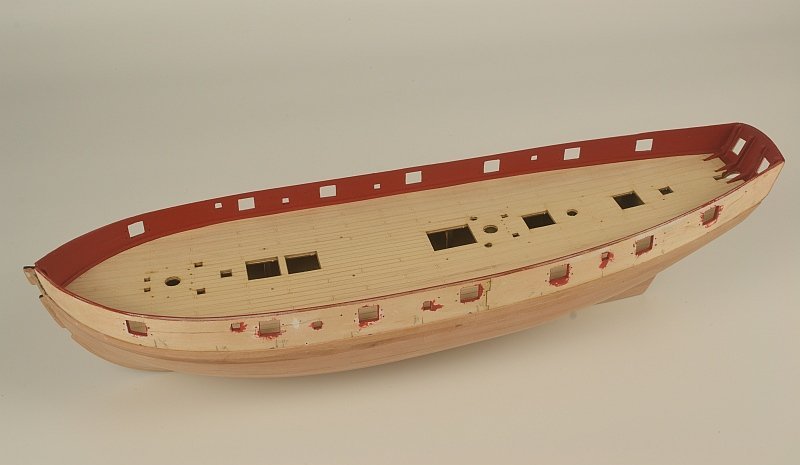
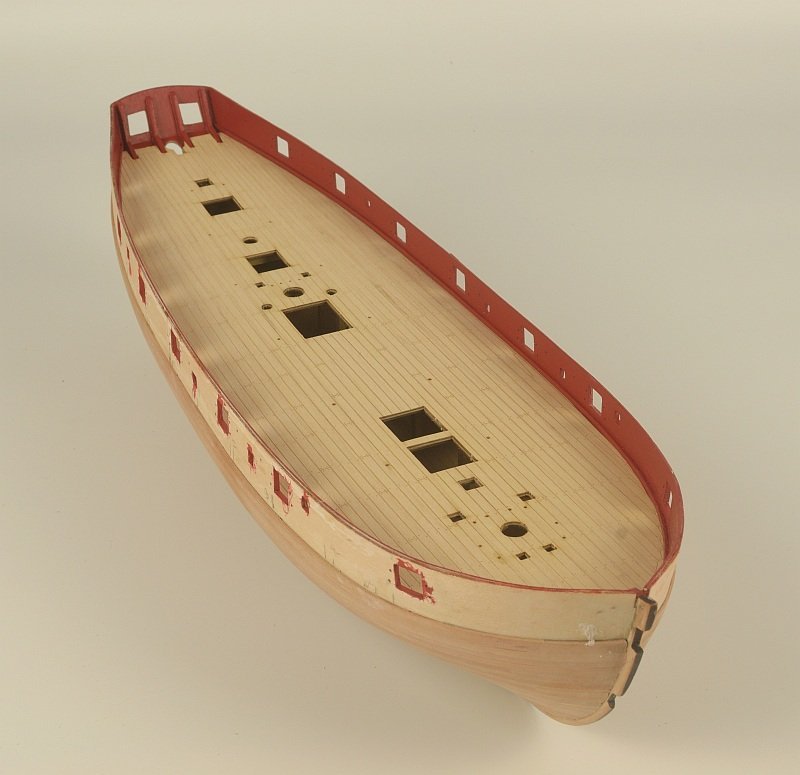
Thank you for looking and the previous encouraging comments and 'Likes'
Regards
Doug
- Edwardkenway, glbarlow, yvesvidal and 3 others
-
 6
6
-
Hello - Hopefully you all are having a good Christmas. Second planking from the wale down done using super glue and planks cut to a lengthof 13.5 cm.
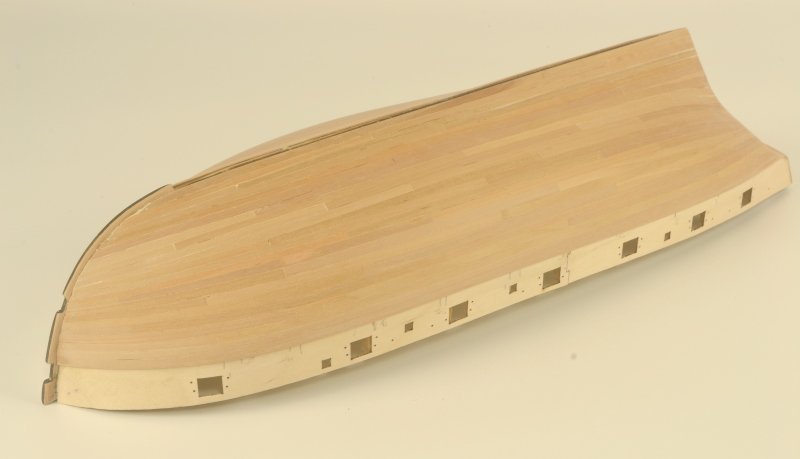
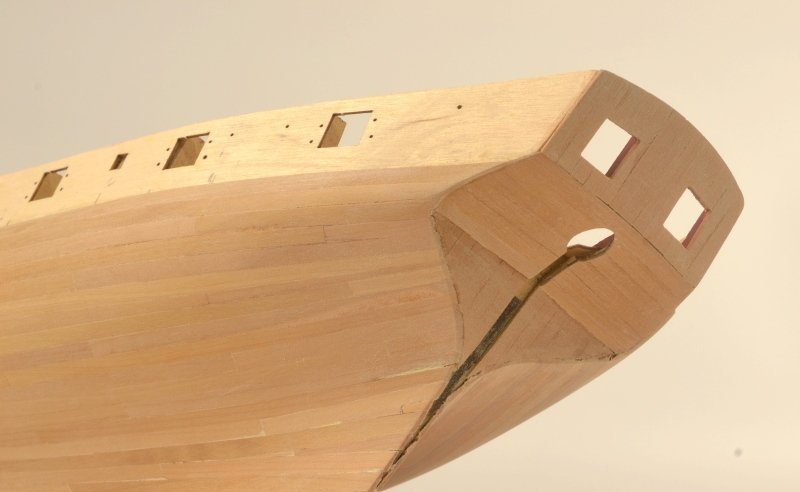
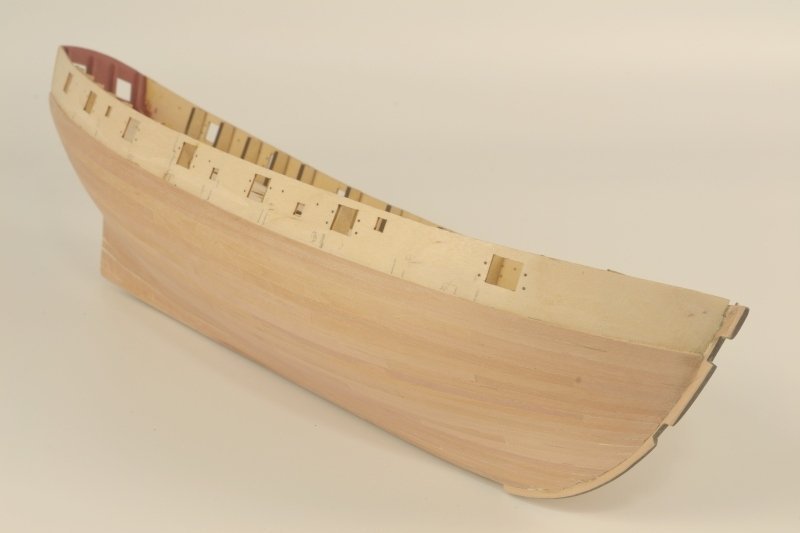
Thank you for looking and past 'likes'.
Regards
Doug
- Wahka_est, Theodosius, BobG and 8 others
-
 11
11
-
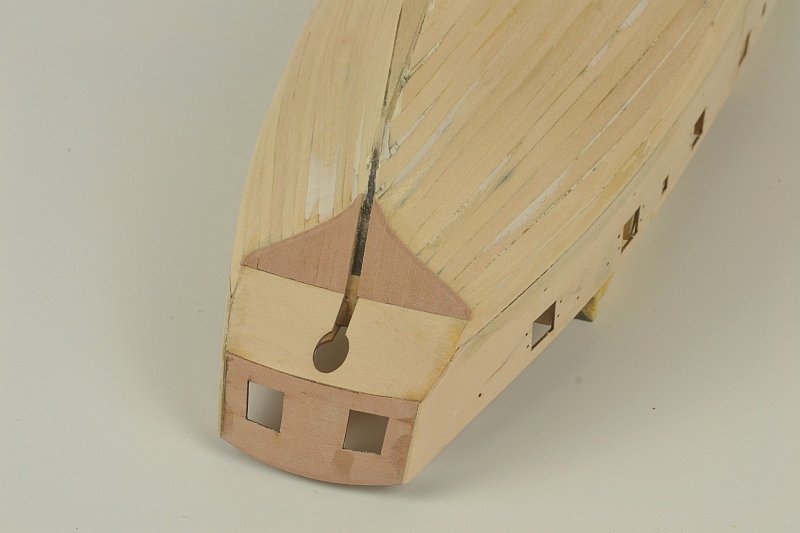
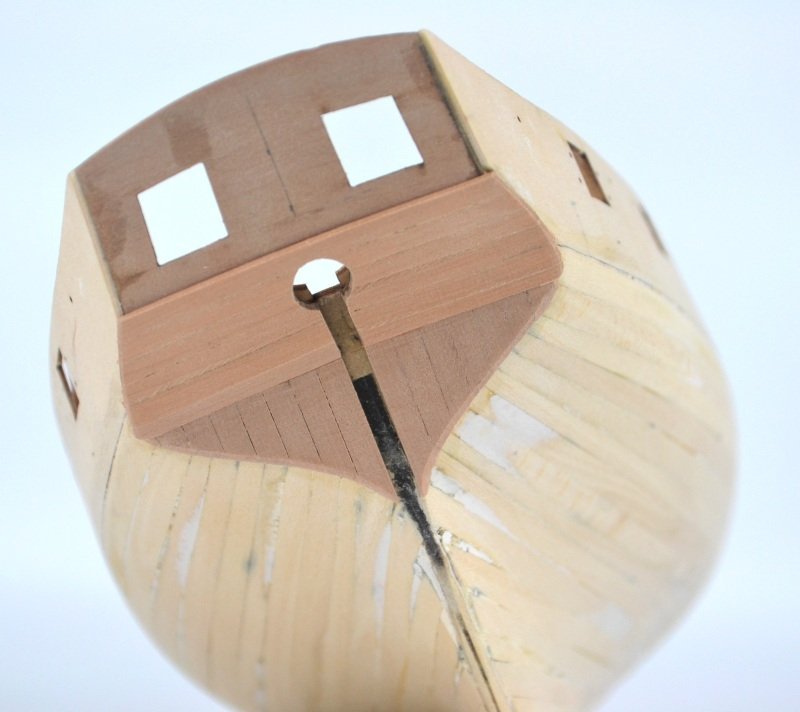
Hello - just a quick update on progress. Have finished stern counter. Decided to cut the pieces exact around window area so to minimise sanding as the area around on the inside had been painted in the red.
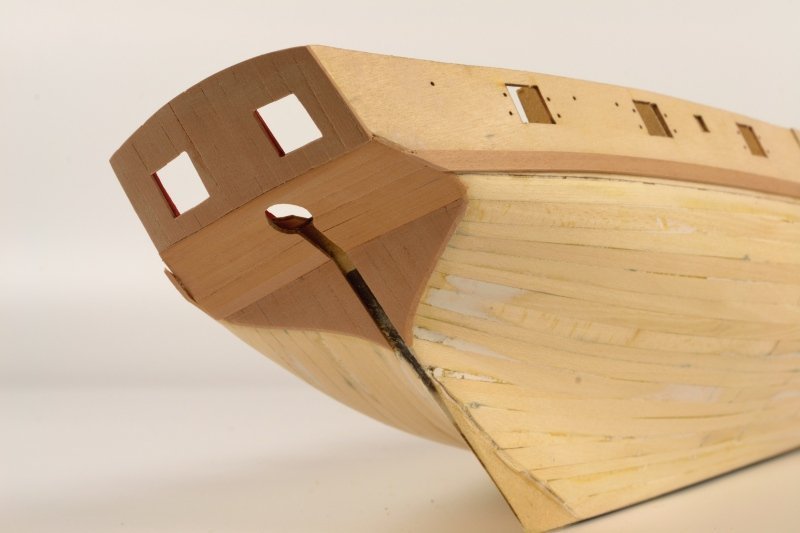
The 'master plank' on both sides laid as instructed. Looks a bit wavy to me - maybe did not fit the Bulwark Patterns too well.
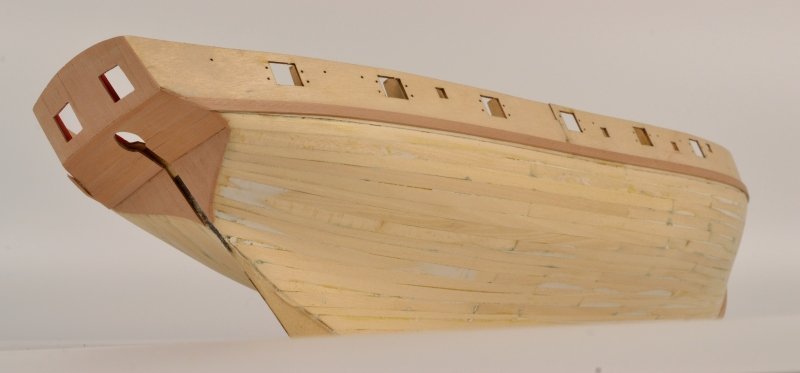
I may be some time - the dreaded 2nd planking now has to be done....
Regards
Doug
- yvesvidal, Rik Thistle, CiscoH and 5 others
-
 8
8
-
-
Hello glbarlow - thank you with help with the tint. Seeing the images on my iPhone the background is grey and when I upload the images to the site from my pc the background is blue. Am using a Nikon D3100 camera but it’s a bit too clever for me - am trying to sort the colour balance via it’s software.
Hope you don’t mind am using your good build as a very helpful guide / inspiration along with the manual.
Thanks for looking
Doug
-
Hello - just a small update. Following the instructions as laid out beautifully by Chris Watton and James H.
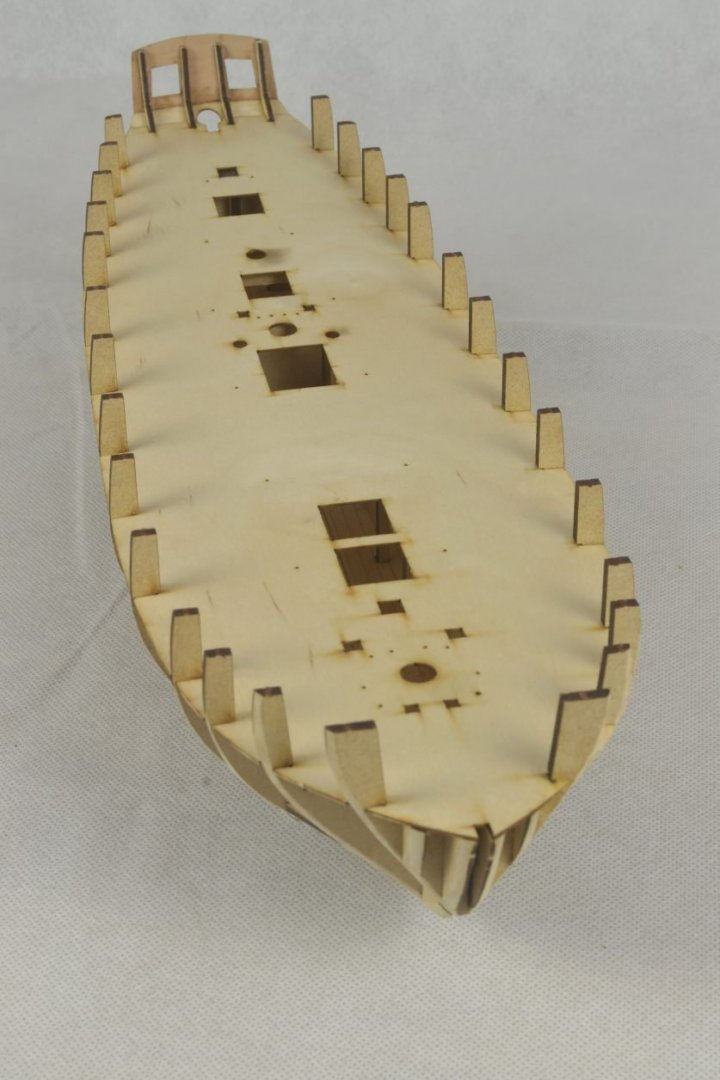
Deck supports in place
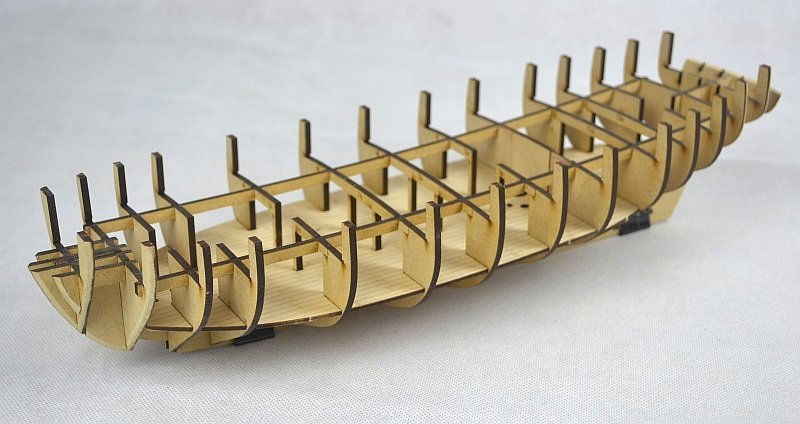
The Stern Frame Patterns fitted and then a slightly worrying time getting the main Deck in place. It all clicked into place and no need of any weights to hold it down while glue dried.
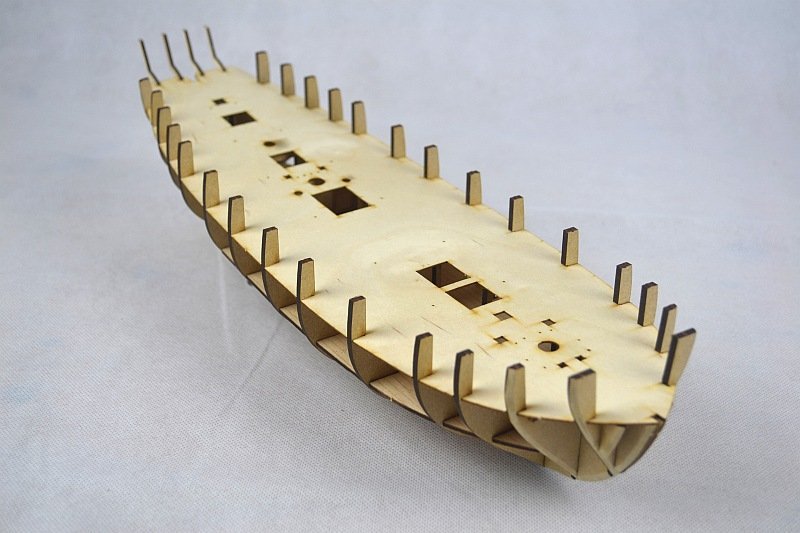
Stern Counter in place along with the Stern Board. Have thinned the mdf where the Stern Post fits.
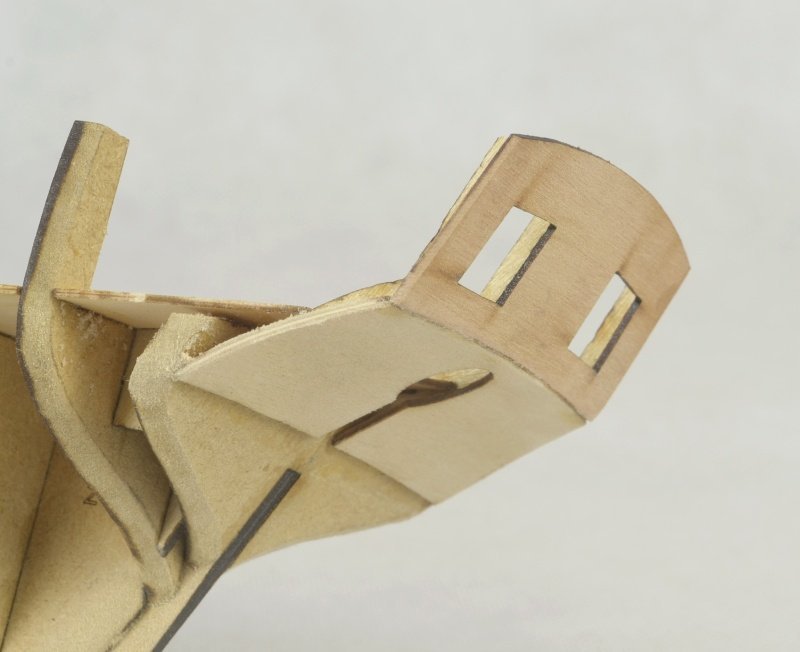
Just more sanding to make sure the run of the first hull planking will be smooth.
Going to have to find a way to get the background without a blue tint - guess colour balance is wrong.
Anyway thanks for looking.
Regards
Doug
-
Hello – have decided to do HMS Flirt as my next build having seen the excellent reviews and build logs of various Vanguard Models ships on this site.
Chris Watton has certainly done a beautiful job and was somewhat hesitant to make a start on this build as it will probably be downhill from here and not do Chris any justice even though the instruction book is a work of art on its own.
Have followed James H and gone for a white background instead of my usual black but have not as yet got any clever photoshop programs to improve the backdrop.
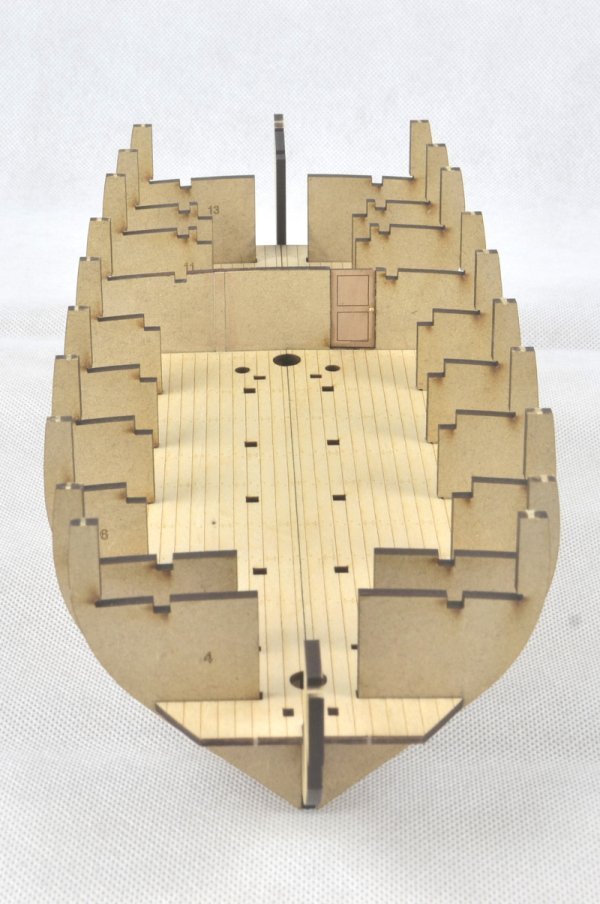
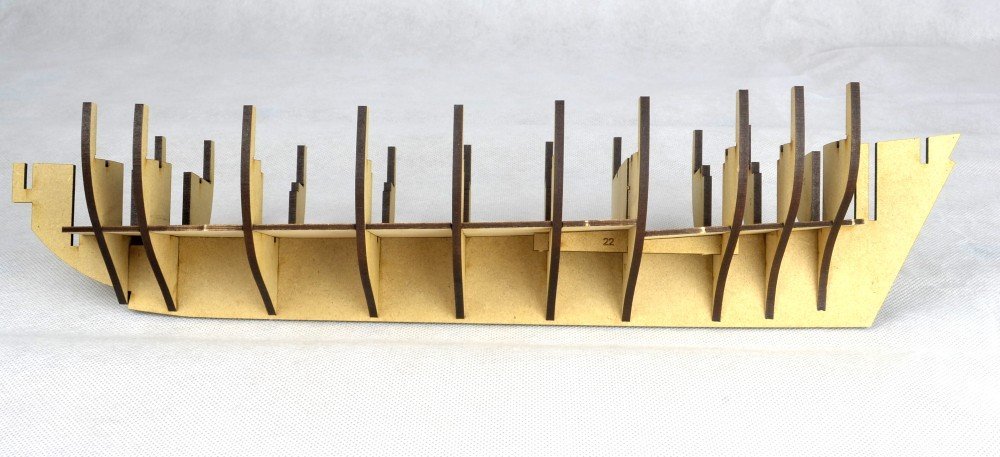
Anyway first stage done. For some reason which I don't know why I decided to fill in the vertical gap on bulkhead 10 using the part from the mdf sheet. Door fixed in place and a small eyelet and blobs of glue for door handle.
Thanks for looking.
Regards
Doug
- yvesvidal, ccoyle, chris watton and 5 others
-
 8
8
-
-
- Edwardkenway, BenD, JpR62 and 4 others
-
 7
7
-
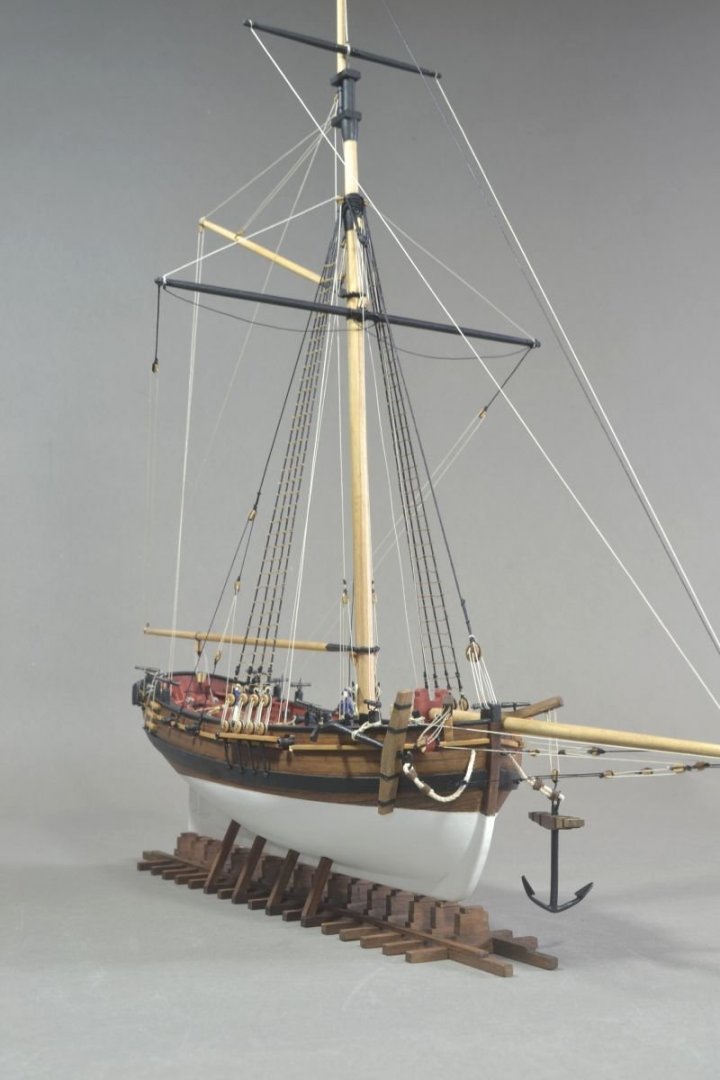
Hello - I finished about a week ago and now just waiting for the holiday period to end so as I can order the display case.
The anchors all roped up - I know the anchors should be tied with a knot but always think the knot ends up looking rather large.
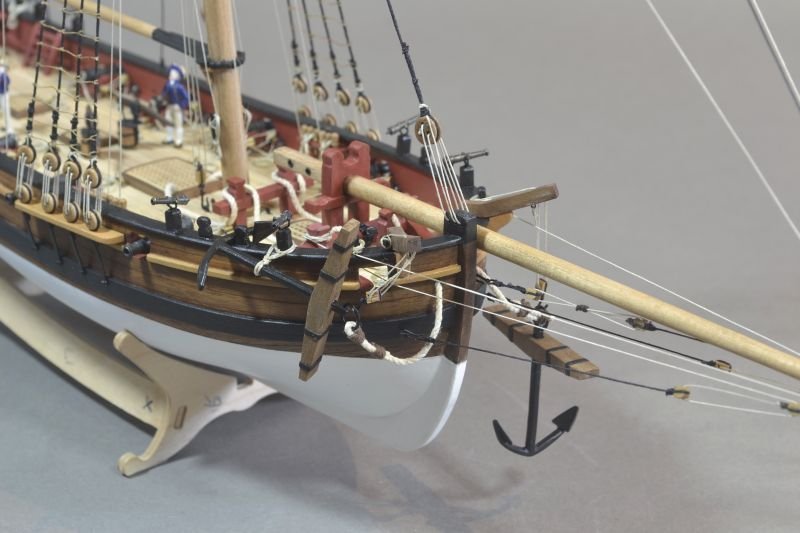
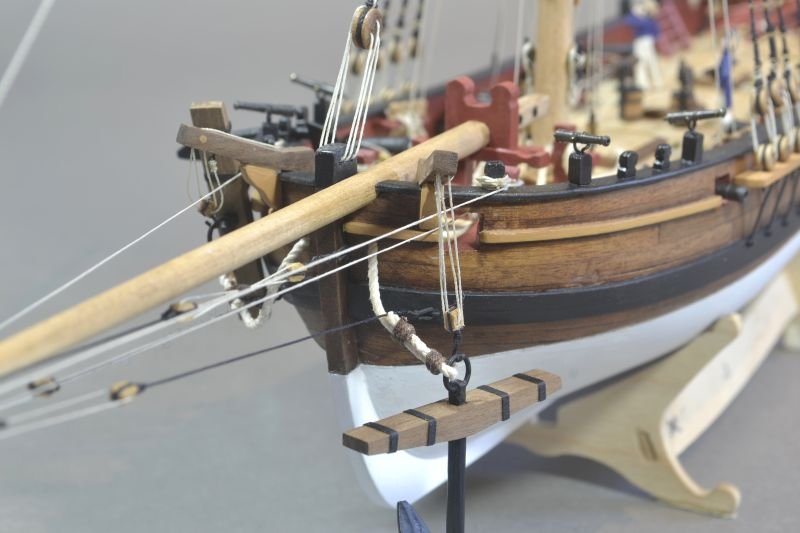
Have done the stand / slipway - idea pinched from Dubz who I would like to thank although by the looks of things he has been banned. A great loss.
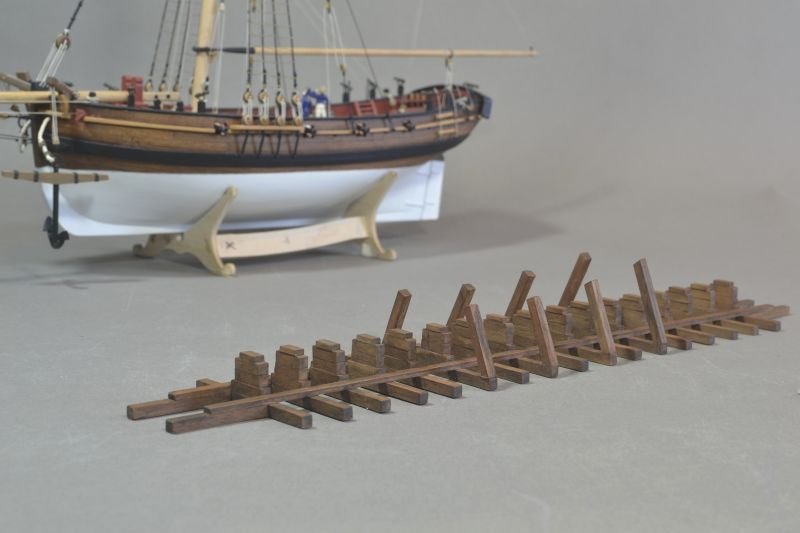
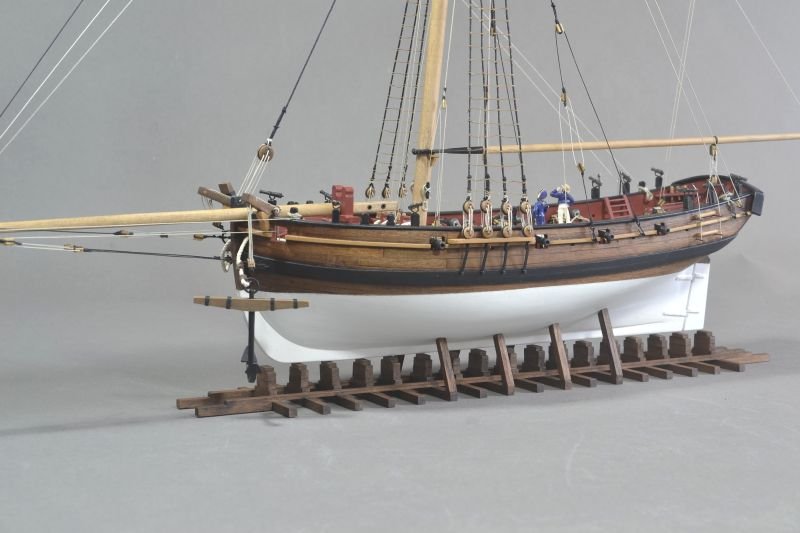
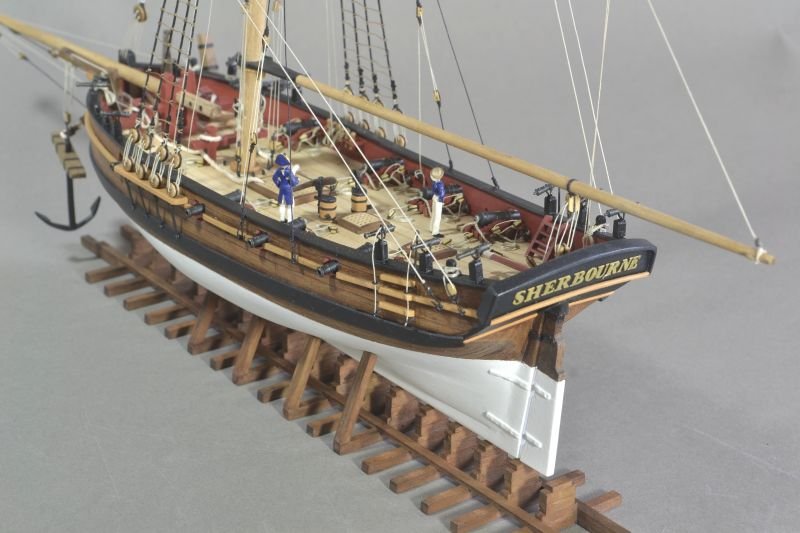
All rope coils added.
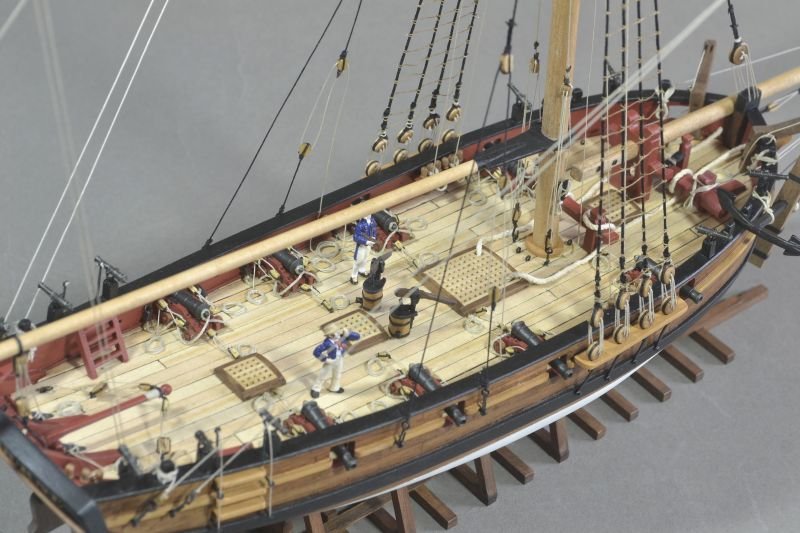
Well that's it, other to thank all the Sherbourne builds which were a great help and hopefully I haven't let the side down.
Would like to also give credit to Blue Ensign who showed how to do swivel gun brackets from hooks on his Pegasus.
Thank you for looking in and all the past comments and likes.
Will update with a final photo once display case arrives.
Hope next year is better for everyone.
Regards
Doug


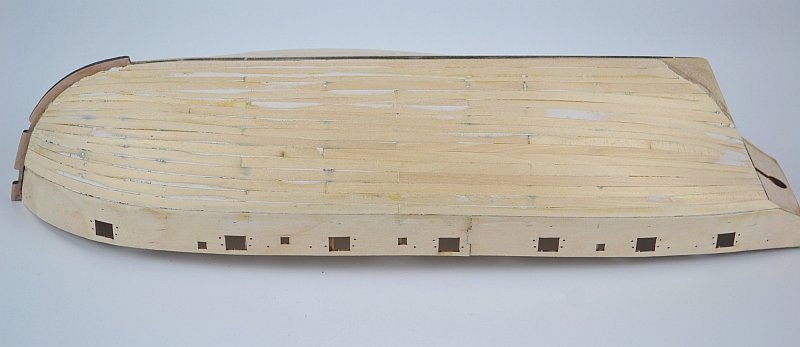
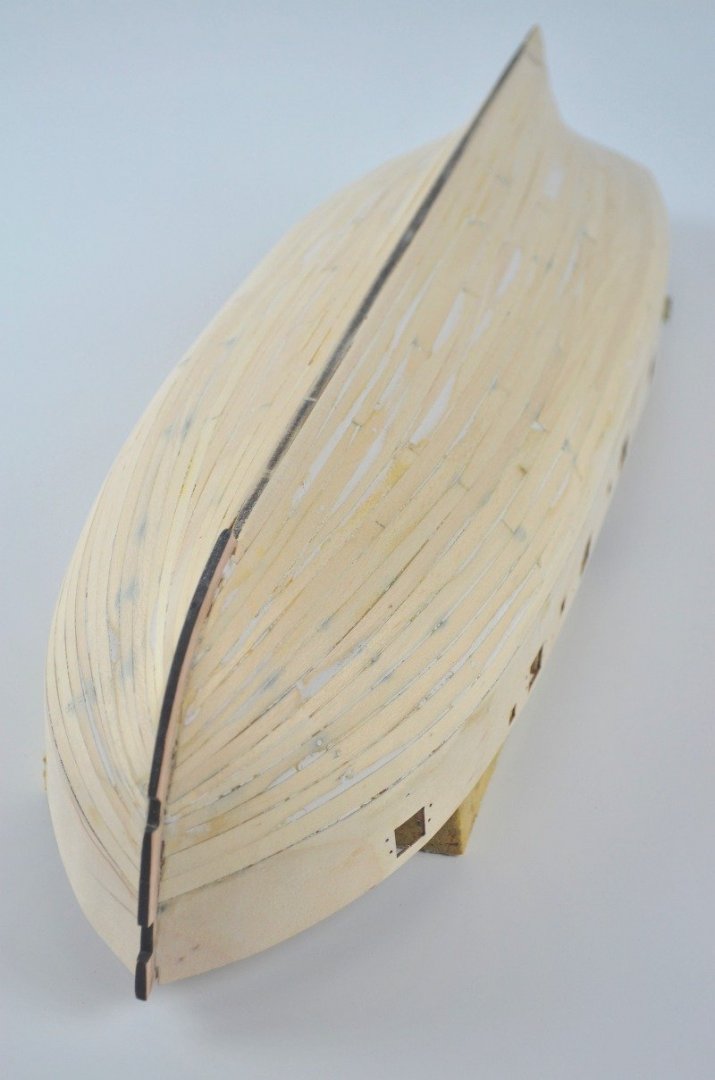
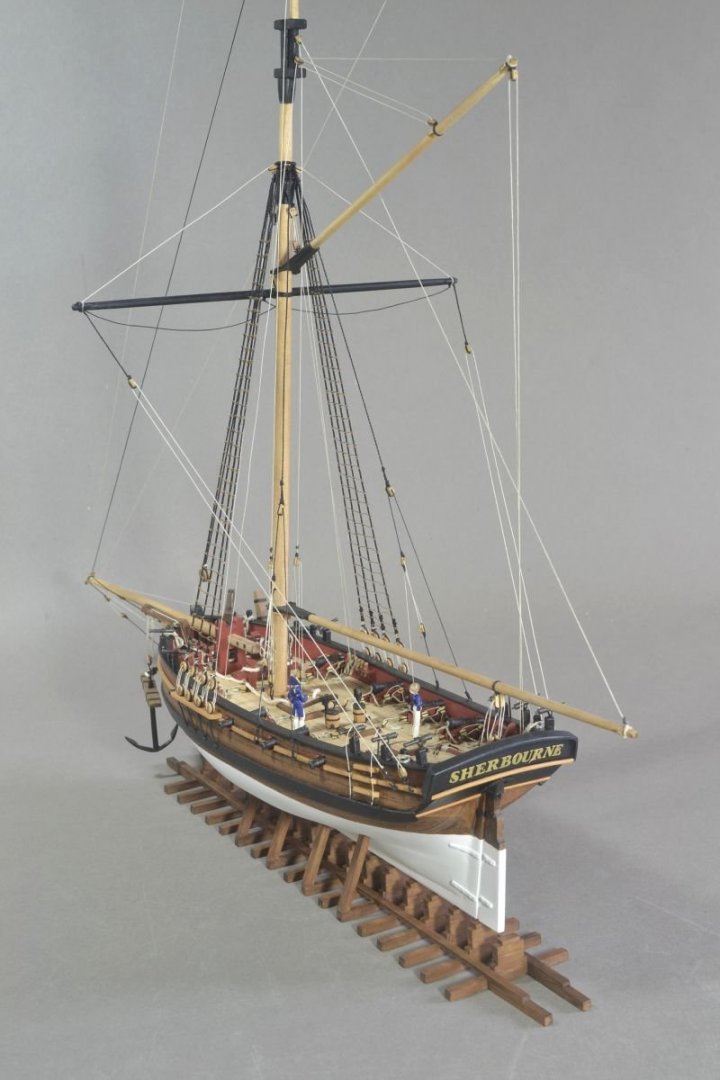
HMS Flirt by Dfell - FINISHED - Vanguard Models - 1:64
in - Kit build logs for subjects built from 1751 - 1800
Posted
Hello - it's been awhile since last posting as work on the cannons has been excruciating as they are so small as everyone has mentioned plus a spell of the dreaded Covid and other things getting in the way.
Anyway here are some pictures of the cannons at various stages.
Only done one half so far with a rather bad attempt at some frapping.
Thank you for looking and I will push on and get the other side done.
Thank you whitejamest for your comment - much appreciated.
Regards
Doug