


JesseLee
-
Posts
1,694 -
Joined
-
Last visited
Content Type
Profiles
Forums
Gallery
Events
Posts posted by JesseLee
-
-
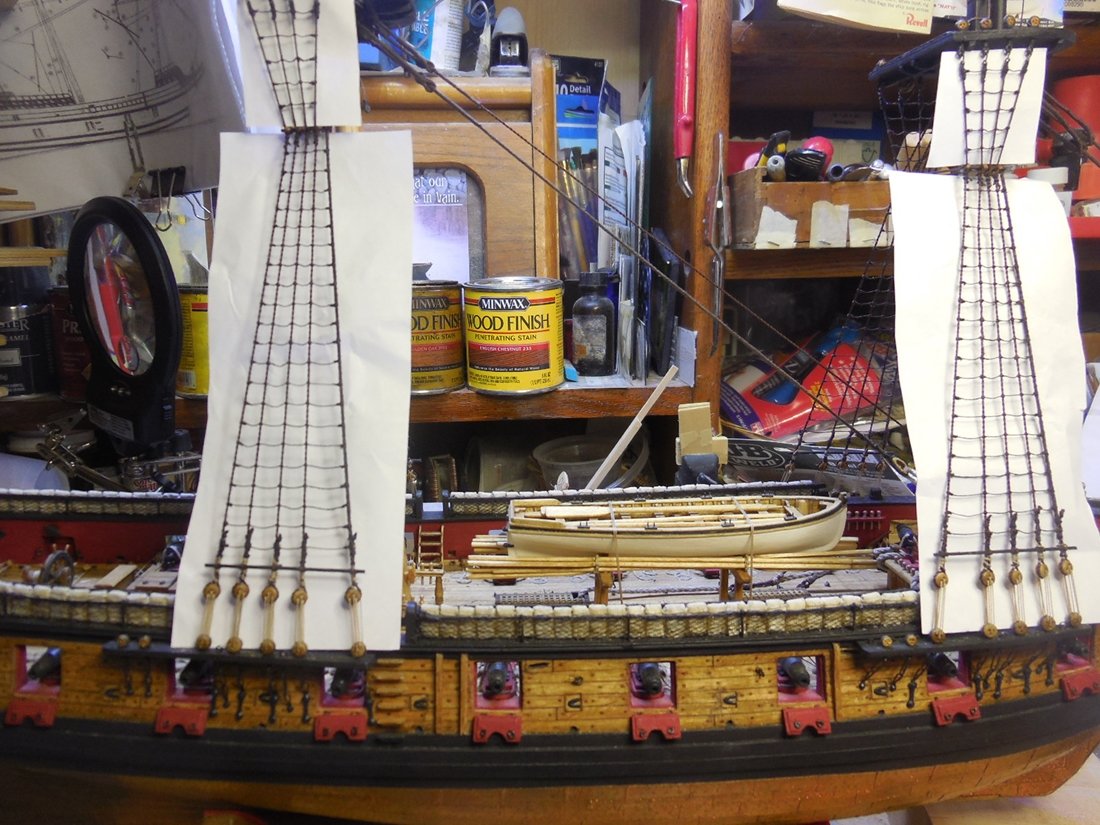
I finished the ratlines. Did them on the futtock shrouds too.
On 4/10/2018 at 6:23 PM, BETAQDAVE said:How did you get that realistic sag in the ratlines and how did you get it to stay put?
I failed to give enough detail. After tying off the lines the watery glue is brushed on and let dry to seal all the line ends where they are tied and hitched. Shape as needed as the glue gets about half-way dry. When the whole thing is done I water brushed them to thin down any areas where the glue may show on the knots and hitches. You want them to look like you just tied them. After all this I usually do another light brushing of water with a drop or two of paint to match the original rope color to mask any glue washed look to them. This is a very light wash. I immediately dry it by lightly pressing front and back sides between my fingers where space allows this. I try to have cut pieces of cloth like handkerchief material around my fingers. You can also use cotton swabs in hard to reach areas. I have chosen dark brown instead of black rope for my standing rigging so I had a drop of black and brown in the wash. This can sometimes slightly tighten it up when the wet ropes dry. I learned this from my flagpole ropes outside. You can also use a stain for this if you want instead of the water/paint wash. I don't like it as well because to me the ropes turn out looking more wet/oily looking from the stain. The water paint wash leaves them flat and dry looking like regular rope. I know some will think this overkill but I love the final resulting look.
Jesse

-
23 hours ago, SawdustDave said:
I do admit I enjoy creating anchors Jesse. Guess I've made at least 50 of various sizes over the years, if I count the ones I trashed.
Always great to hear from you.
Question..... are you considering attending the Beaufort show coming up on May 5th?
DaveI wasn't aware of it. My problem is I can't drive anymore and my wife works. Difficult to get rides and I can never predict how I will be feeling ahead of time.
-
-
-
-
15 hours ago, BETAQDAVE said:
How did you get that realistic sag in the ratlines and how did you get it to stay put?
I "paint" them with watered down white glue. This holds the hitches and the shape. I sort of shape them with the paintbrush before it dries. They dry pretty quick. If you need to re-shape them just dip the brush in water and go back over it so you can work on the shape of the sag.
Jesse
-
Looking great Piet!
I have often looked at the polymer stuff on the shelf at Hobby Lobby and wondered about it. I have never worked with it so I am anxious to see how it works with you.
Jesse
- popeye the sailor, Canute, Piet and 3 others
-
 6
6
-
I have really enjoyed following this build. The work and the research have been awesome!
Jesse
- cog, Mark Pearse, mtaylor and 1 other
-
4
-
Steve, my kit came with the ropes missing. This kit was a gift and I did not know if they would have sent me any or not. I also wasn't sure what quality it would be - past kit ropes have always been awful. I probably would have swithed up anyway because I like to use dark brown instead of black for standing rigging. I'm using a combination of other stuff I have saved up. The larger shroud lines are Chuck's ropes from his Syren Co. The smaller is different sizes of sewing thread I got at Hobby Lobby. I was thinking about this yesterday. I'm not sure I have enough leftovers to finish the rigging. Will probably order more from Chuck. It is the best rope I have ever used.
Jesse
- mtaylor, Elijah, popeye the sailor and 8 others
-
11
-
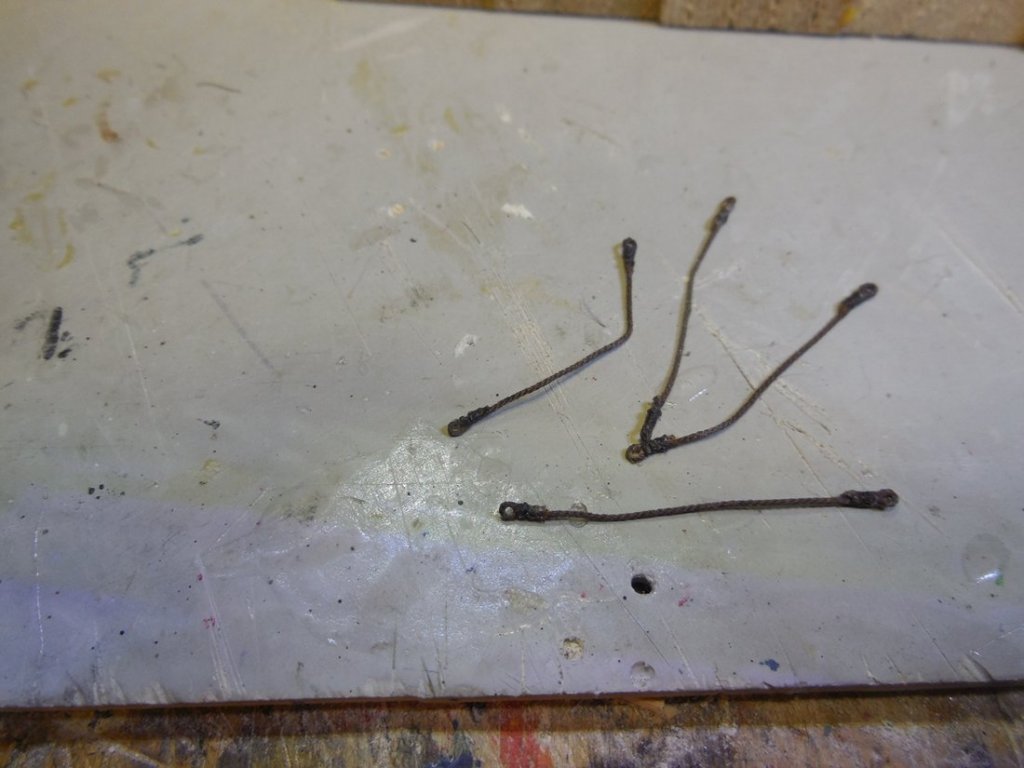
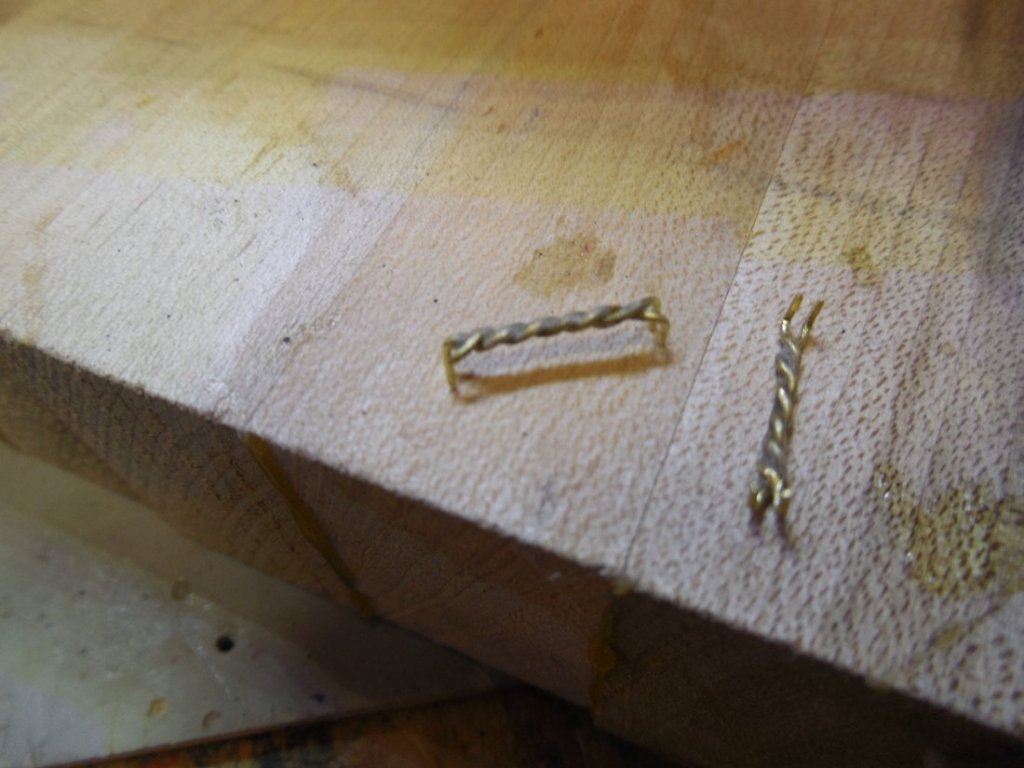
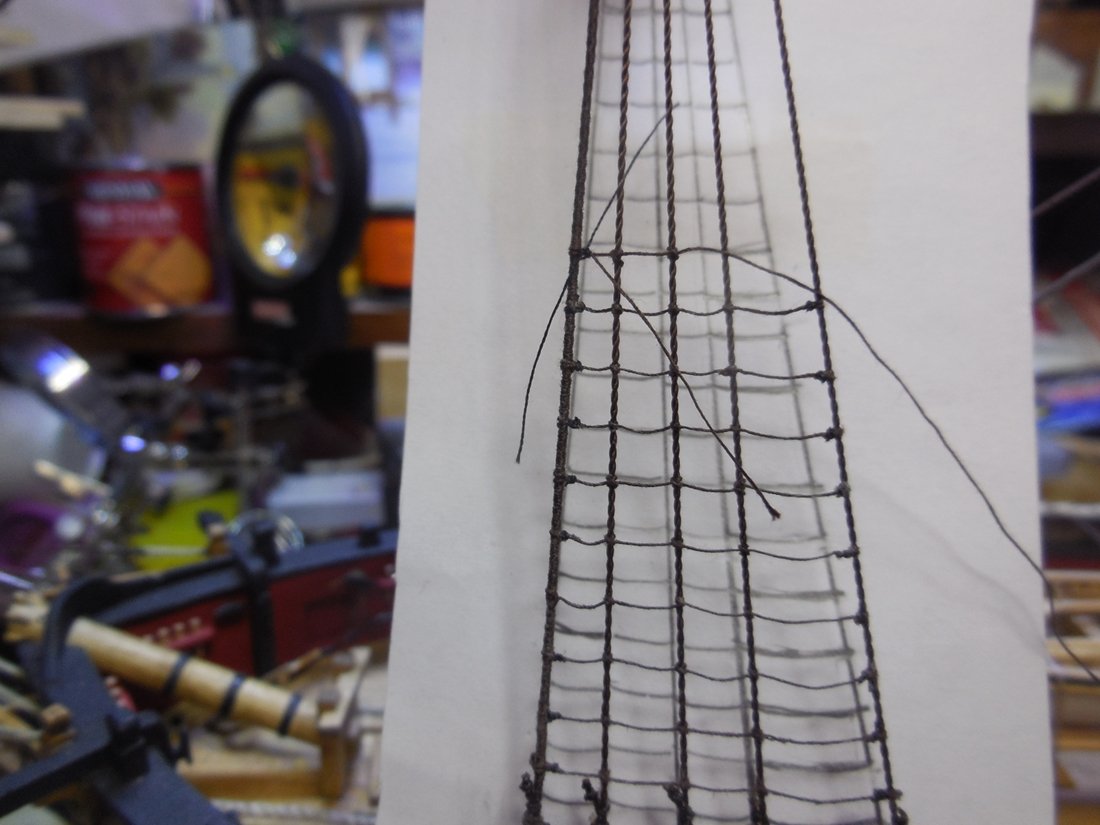
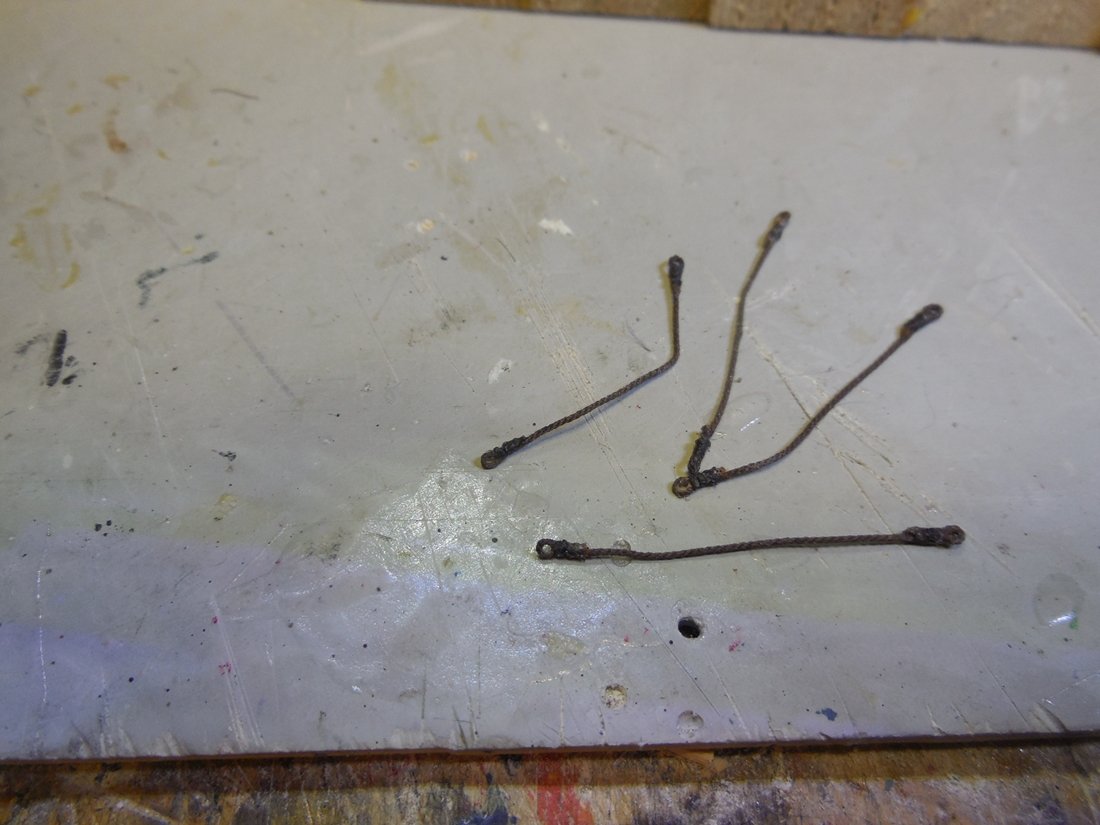
Started ratlines. I experimented with the different ways of tying the ends. The first 2 I an eye splice lashed to the shroud line This was hard to do and very time consuming. The next 2 I tied the ends and seized it like the eye spliced ones. Without magnification you cant see the difference so I'm continuing to do them that way instead. It is less time consuming this way too. A lot of clove hitching to do!
Jesse
-
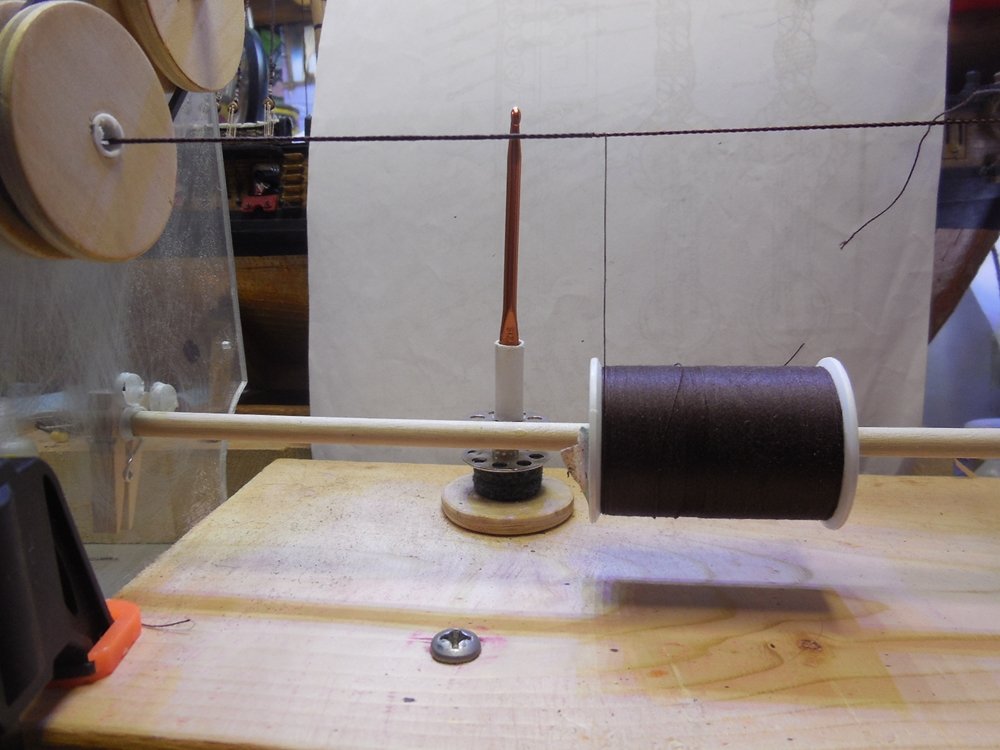
Something my wife got for me at Hobby Lobby.
- Piet, Chasseur, popeye the sailor and 4 others
-
7
-
-
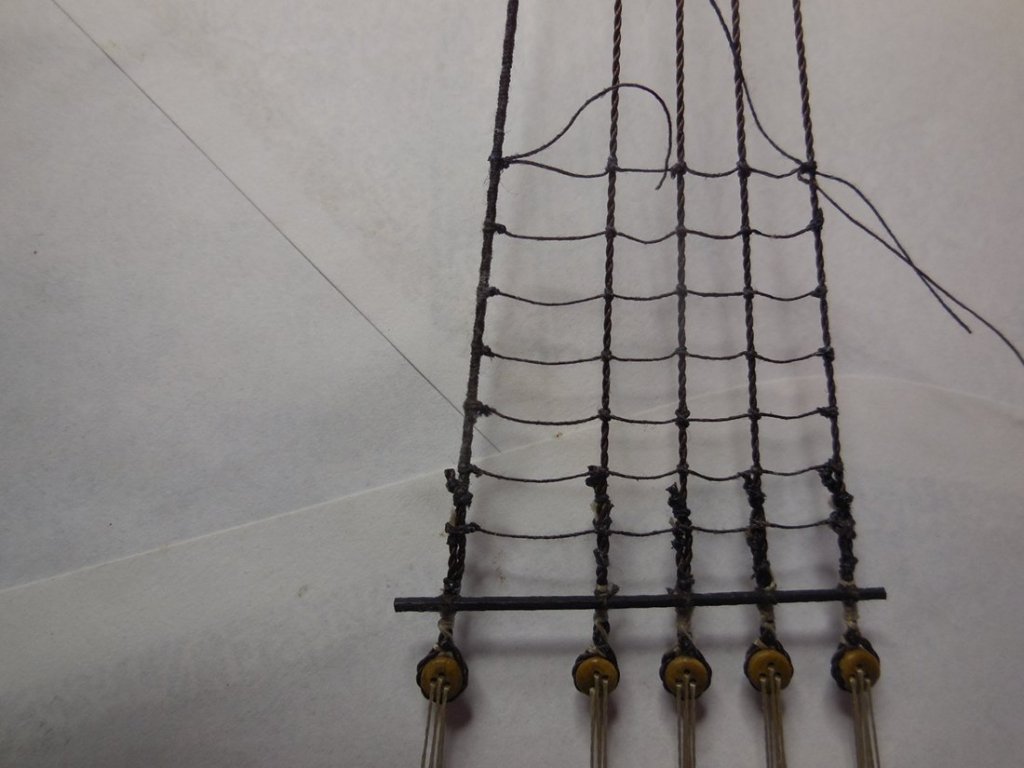
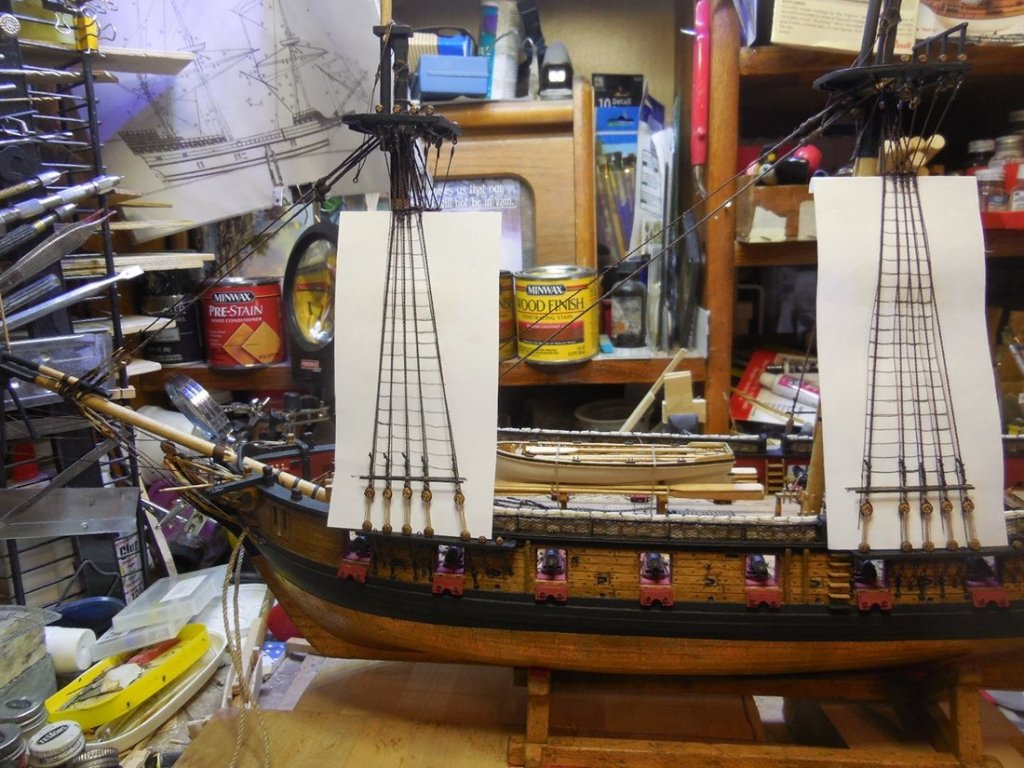
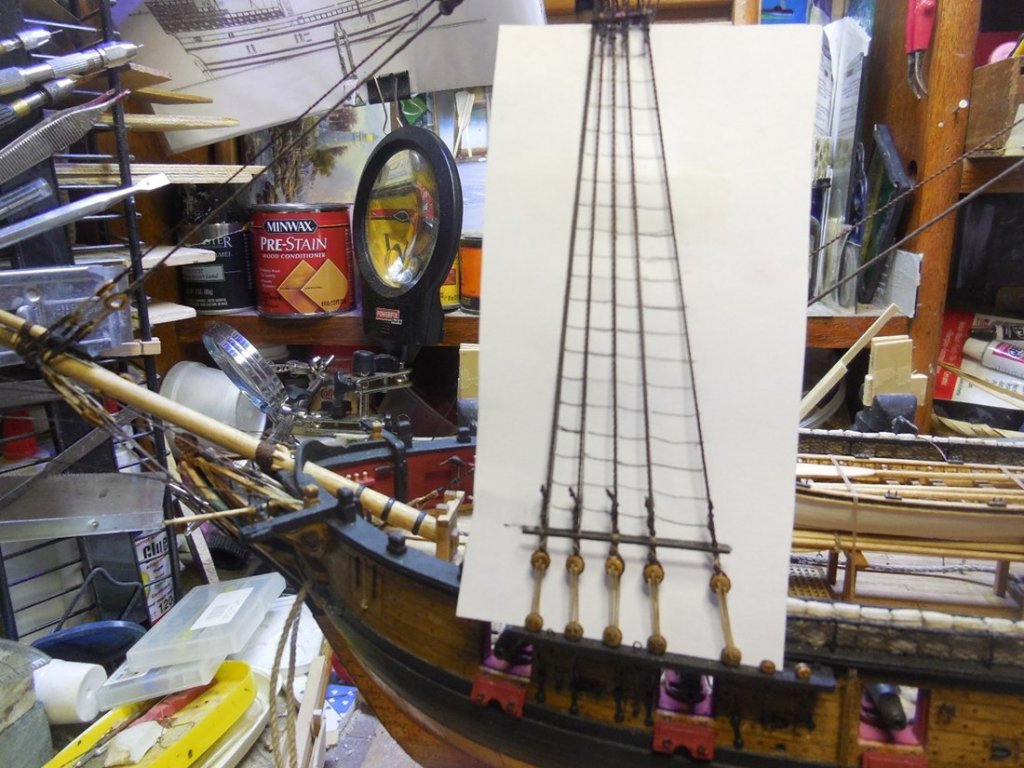
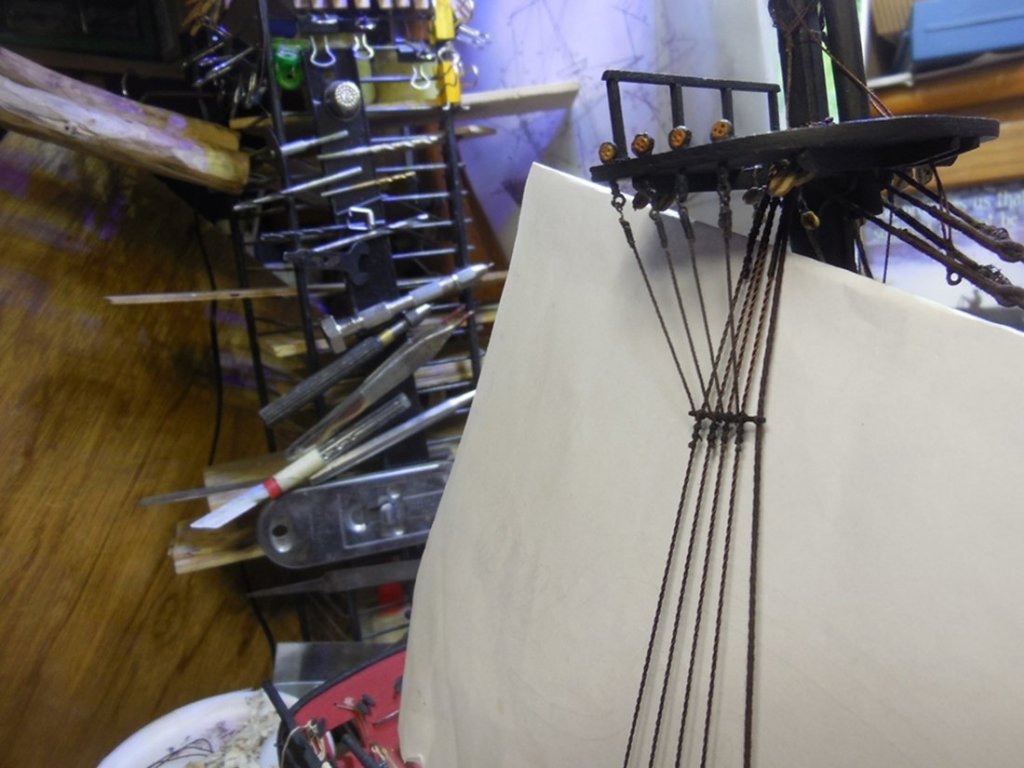
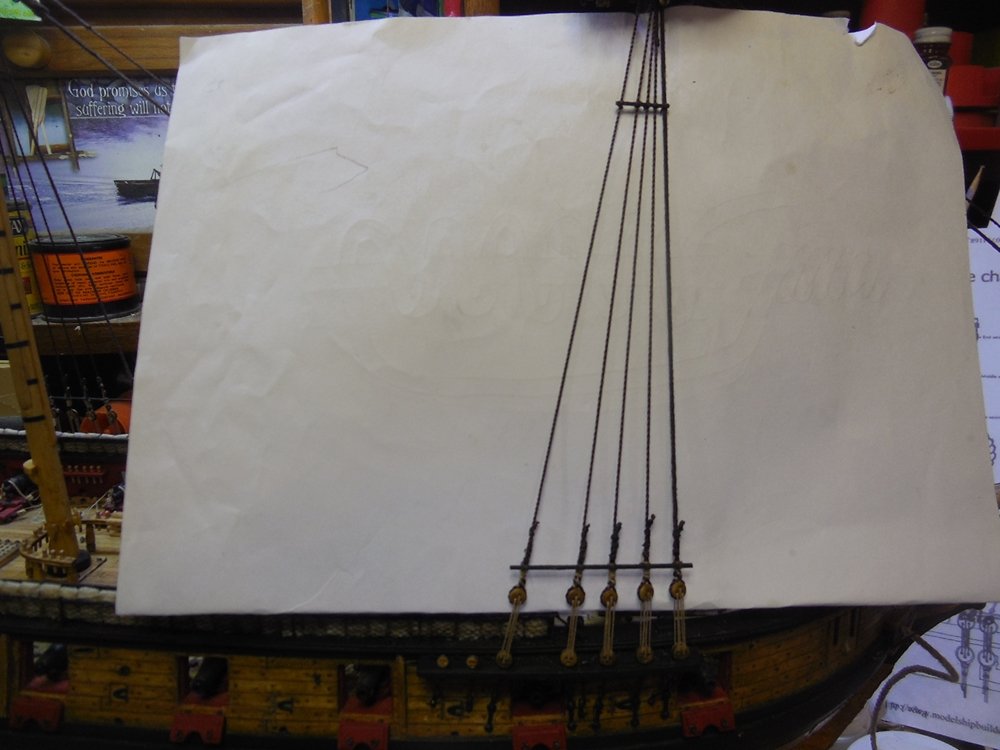
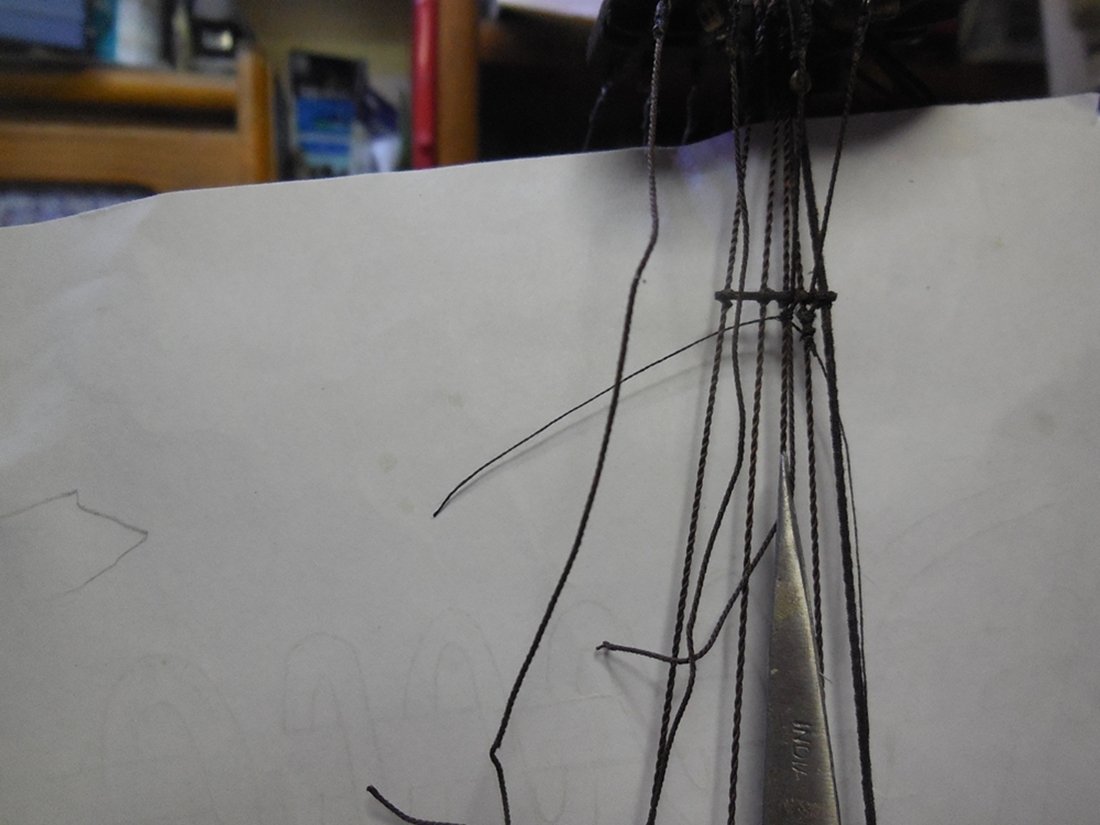
Made guides for the ratlines...
-
Thanks for all the likes and encouraging comments.
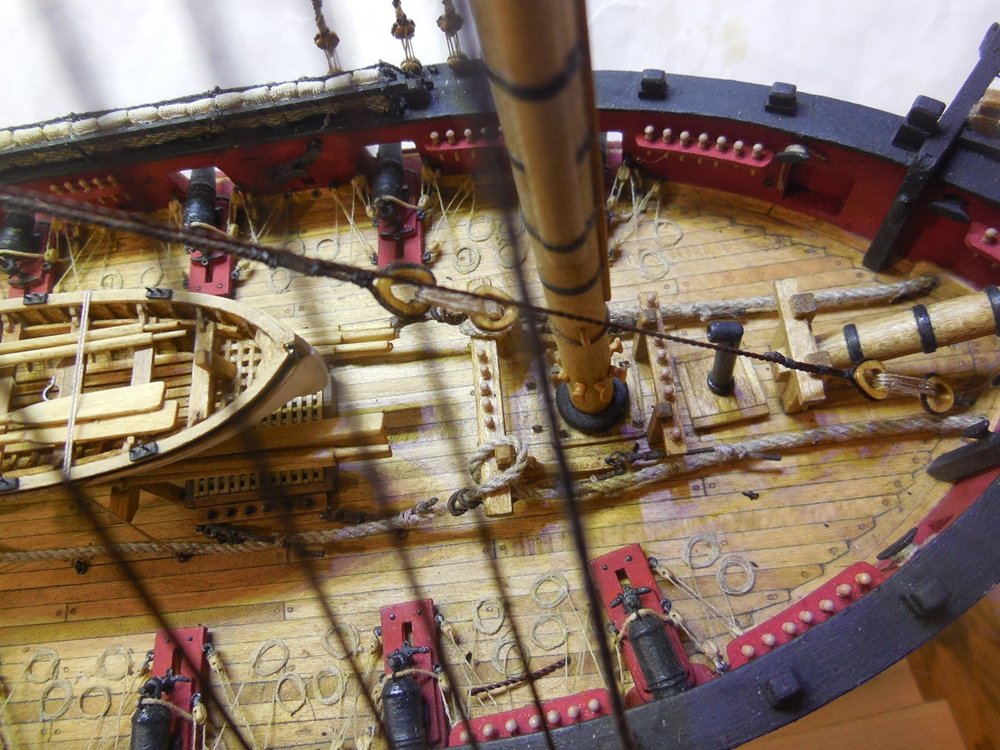
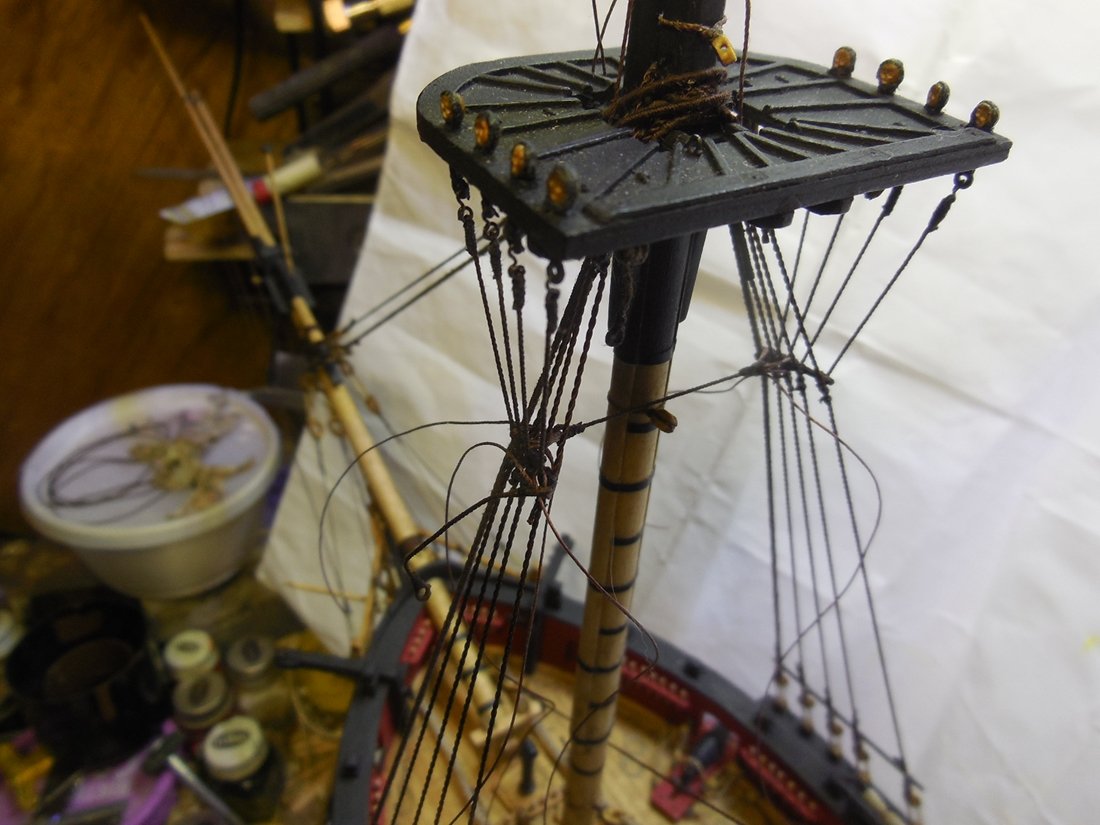
Got the lower catharpins rigged on. I rigged them the way the plan sheet shows them instead of the simplified way the instruction book shows. This wad very difficult because of the very tight space and the scale size. After doing one I really wished I had just tied them off at each end. Now I dread doing this again when I get to the upper ones. ( Sorry but the pics loaded in reverse again)
Jesse

-
Just found this. I'll be following along too
Jesse
- thibaultron, mtaylor and Canute
-
3
-
-
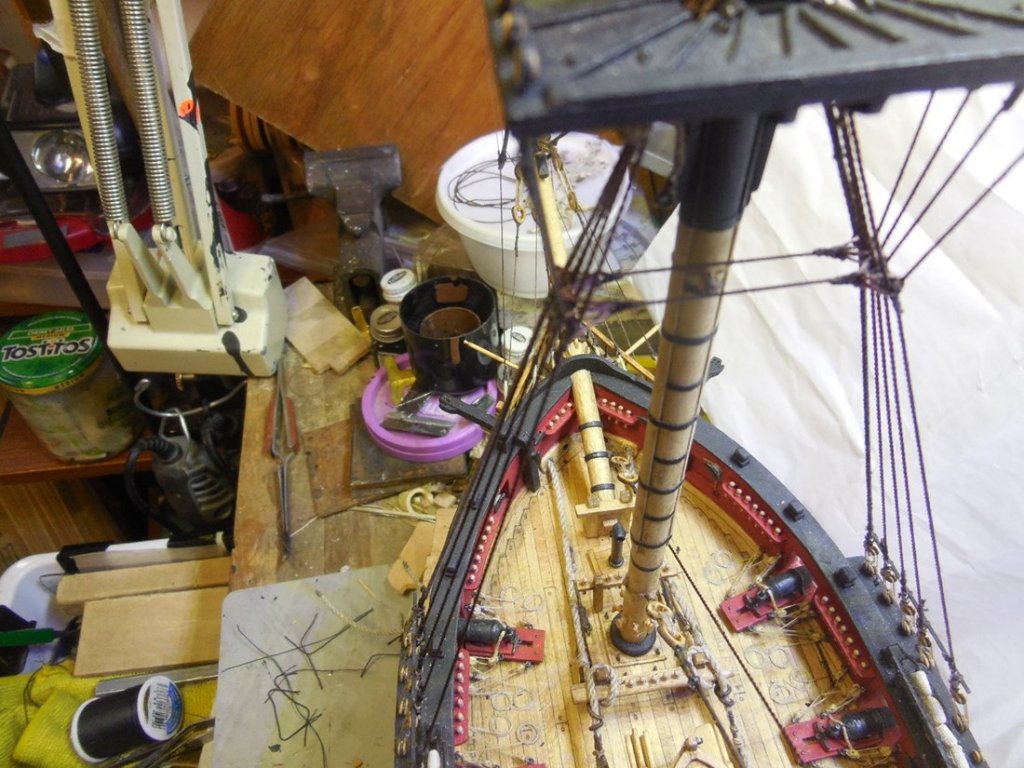
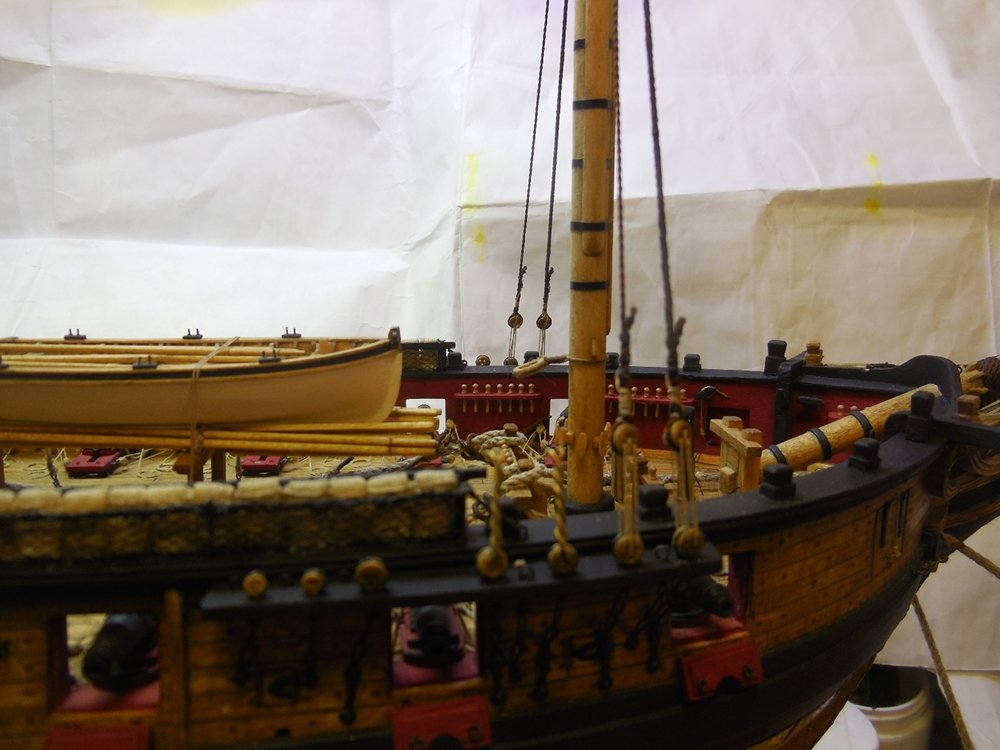
Added the sheer poles fruttock staves and fruttock shrouds. The wood supplied with the kit was too weak for the sheer poles and fruttock staves so I sanded down toothpicks for them, worked much better. Looking at the plans I probably should have the poles about a mm lower but will go with them as they are.
(Somehow the pictures loaded in the opposite order that I added them. They should show from the last one to the first)
Jesse


-
Been catching up with this today Denis. Good stuff as usual!
Jesse
- Piet, Omega1234, popeye the sailor and 3 others
-
6
-
-
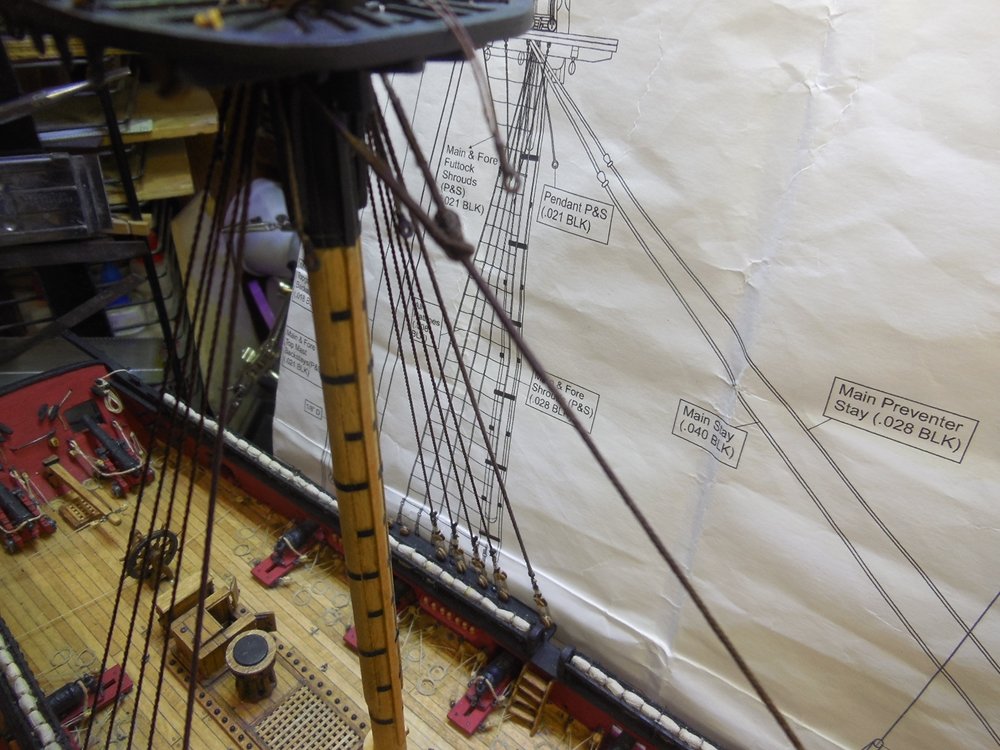
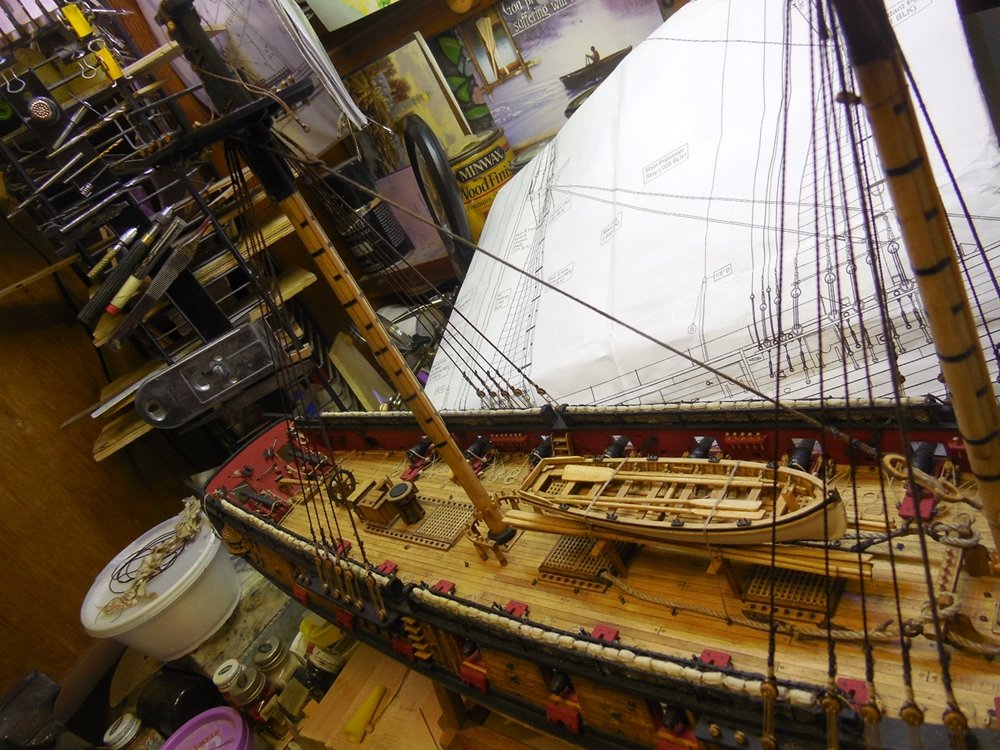
Thanks for all the encouragement and likes!
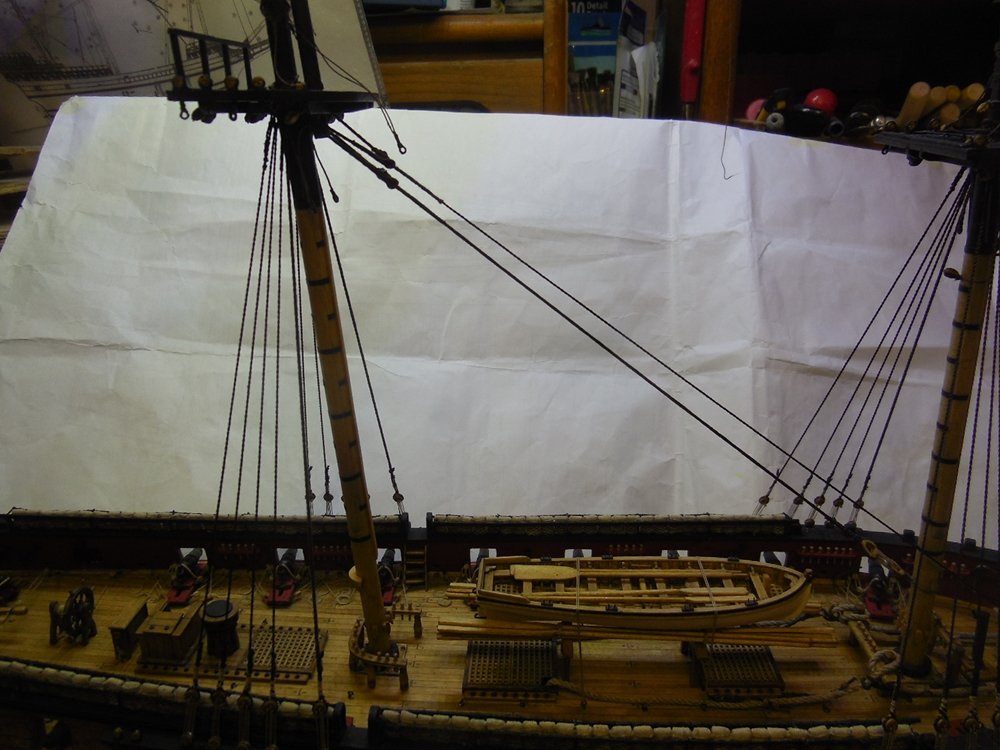
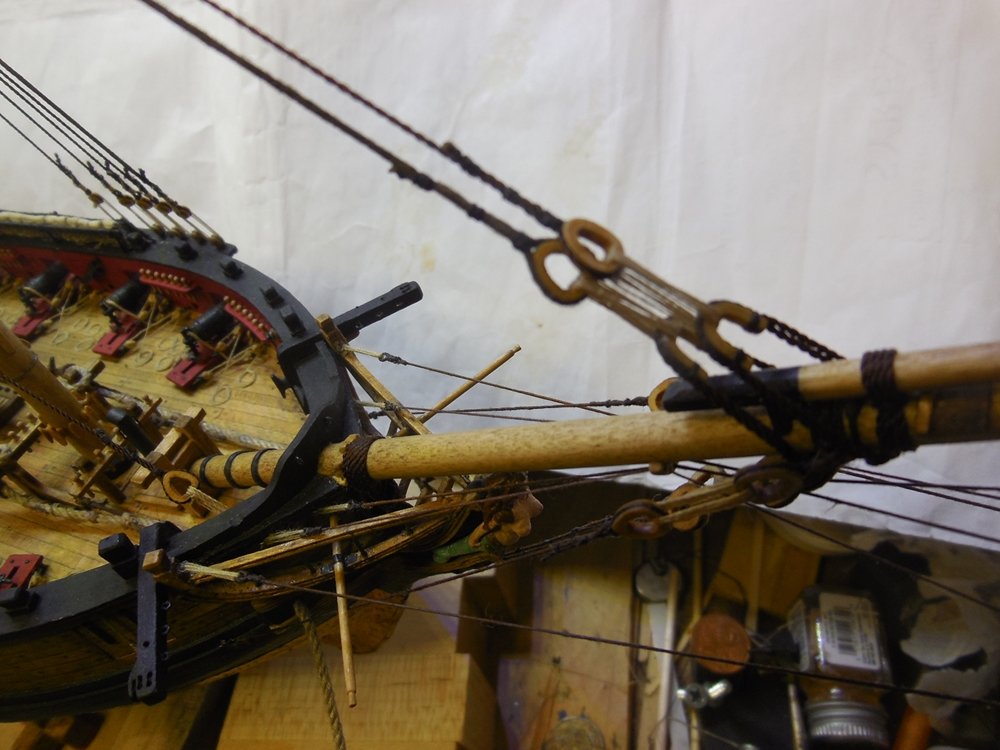
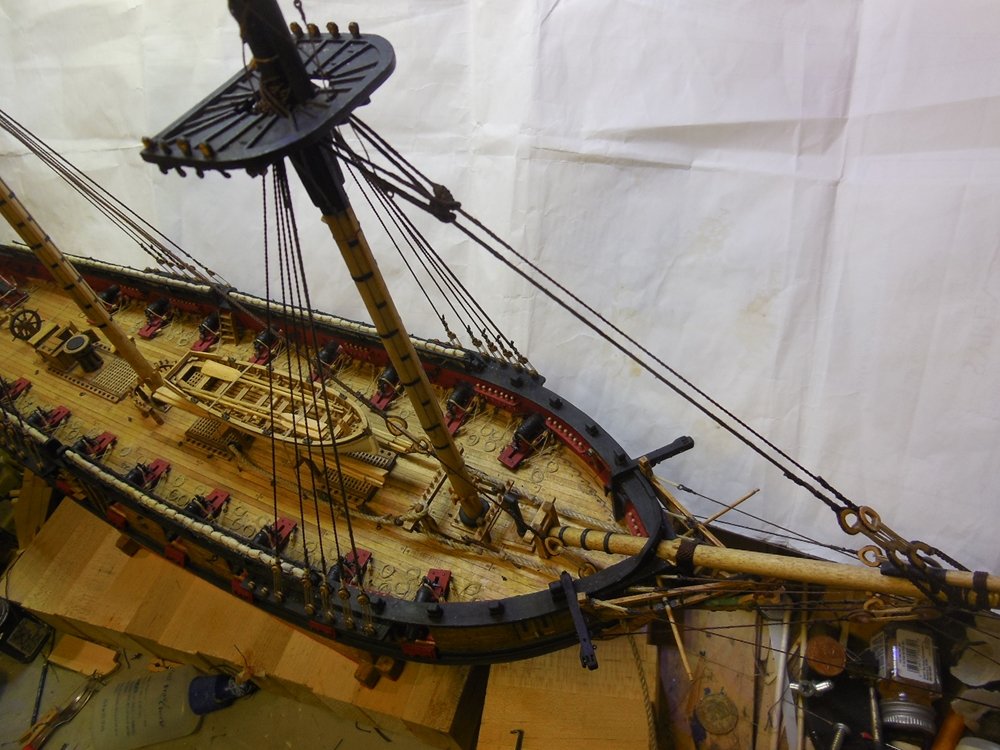
Completed the Main preventer stay, Fore stay and the Fore preventer stay. Same process as the Main stay. I did a much simpler mouse for these and can't visually tell any difference. It was much easier to do the lanyards on the Fore stays because the location of the hearts. If only the rest of it could be this easy to get to, lol. I couldn't find any illustrations on the proper way to tie off the lanyards so I just did what I could on these.
Jesse
- Dee_Dee, Piet, John Allen and 19 others
-
22
-
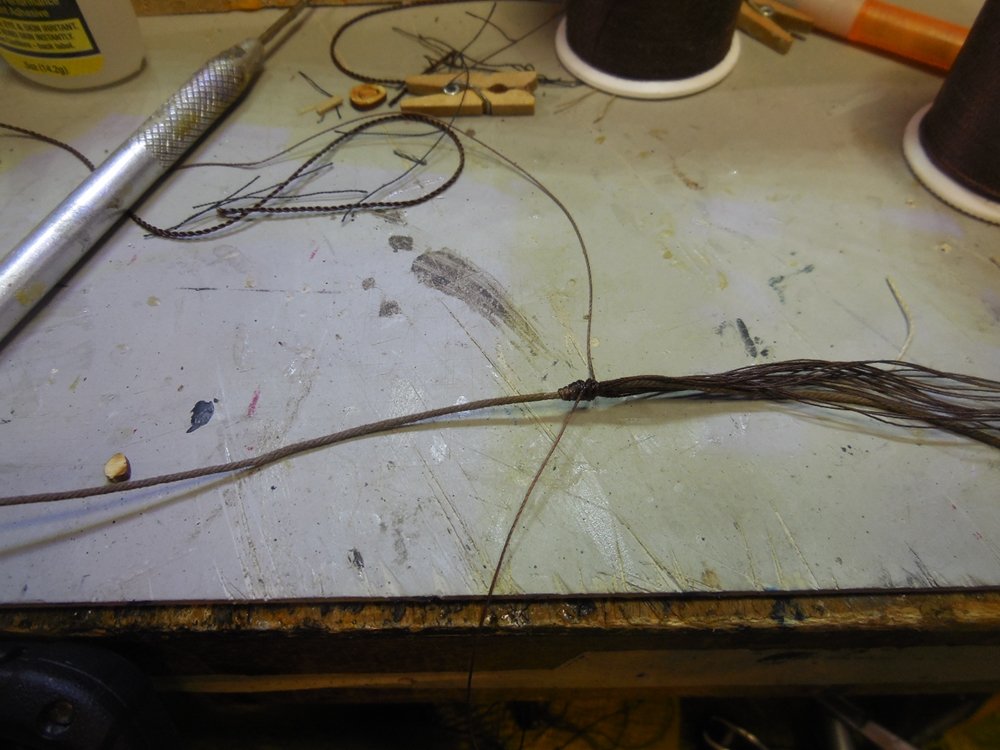
Still trying to get caught up with my build log posting. Seems this Lyme is keeping me in sick bay more than the shipyard. Another bad bout with it this week and had to change a starter while sick, no fun.
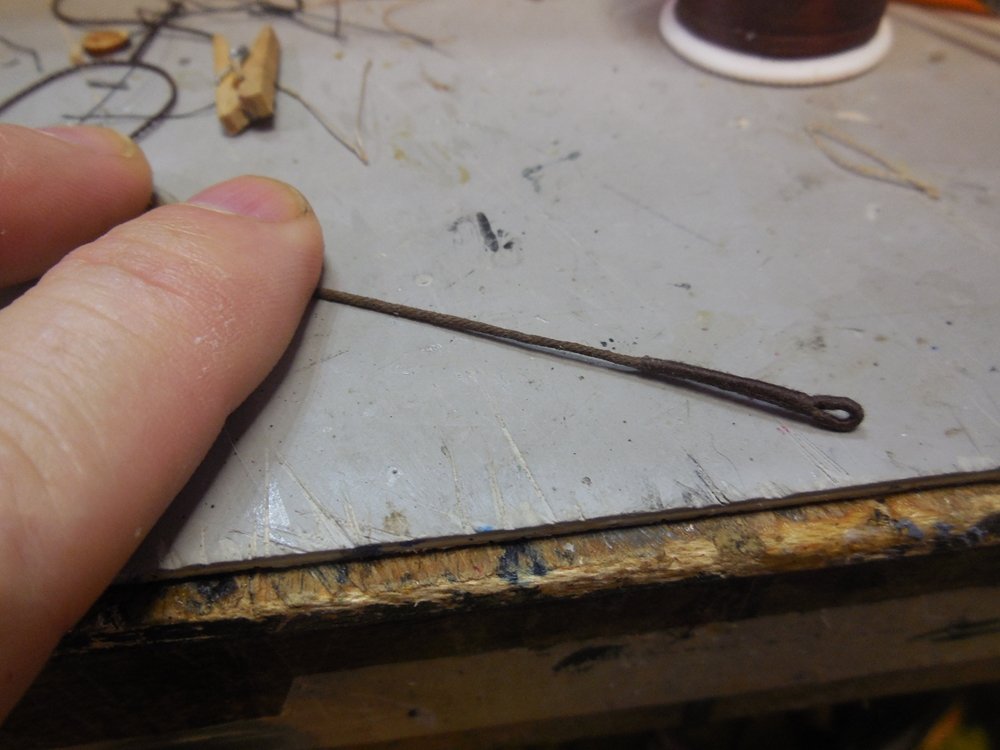
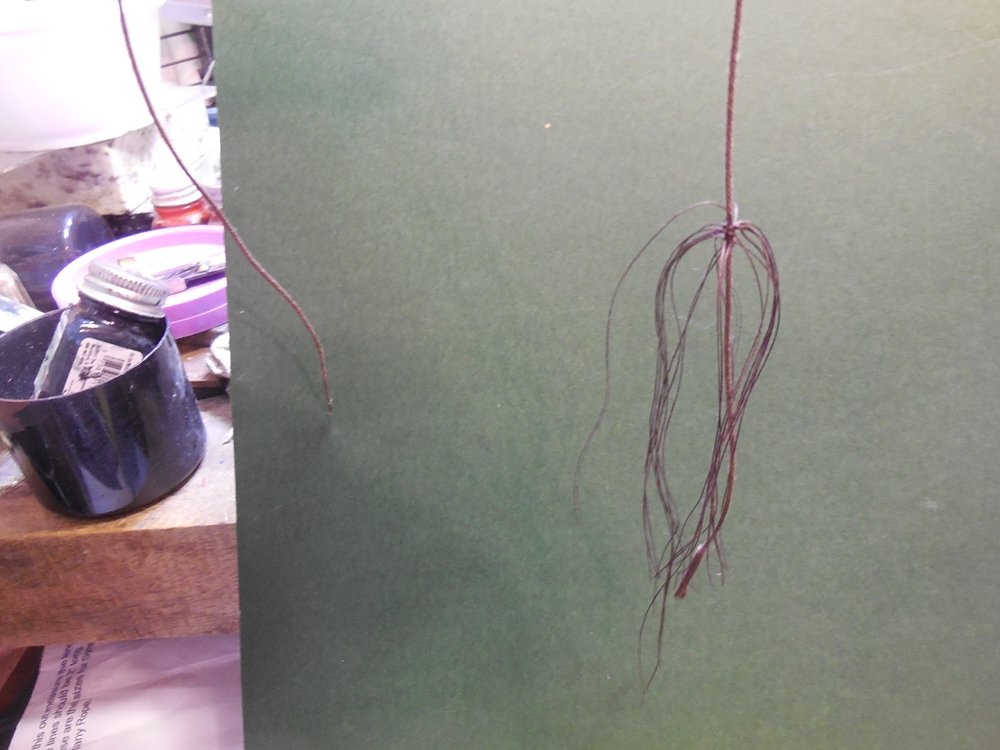
Anyway.....Served and eyed a rope end for the Main Stay. Tried the more elaborate way to make a mouse for it. I have never done this before so I just had to find out how hard it was. Got it done, completed the Mainstay/ lanyards hearts, etc. Even though the heart looks good this way up close under magnification, I just don't see the need for doing it this way at this scale. The next one will be much simpler- winding thread around to proper shape and glue/paint/whatever.
Jesse
-
Thanks guys! Denis, my posting is a little behind from my actual work progress. I tend to get behind on the posting so when I finally do it looks like I suddenly did a lot of work in a short period of time. In reality I have been working on it and not posting like I should and my pictures are building up on the camera and then I start trying to catch up with my posting.
Jesse
-
-
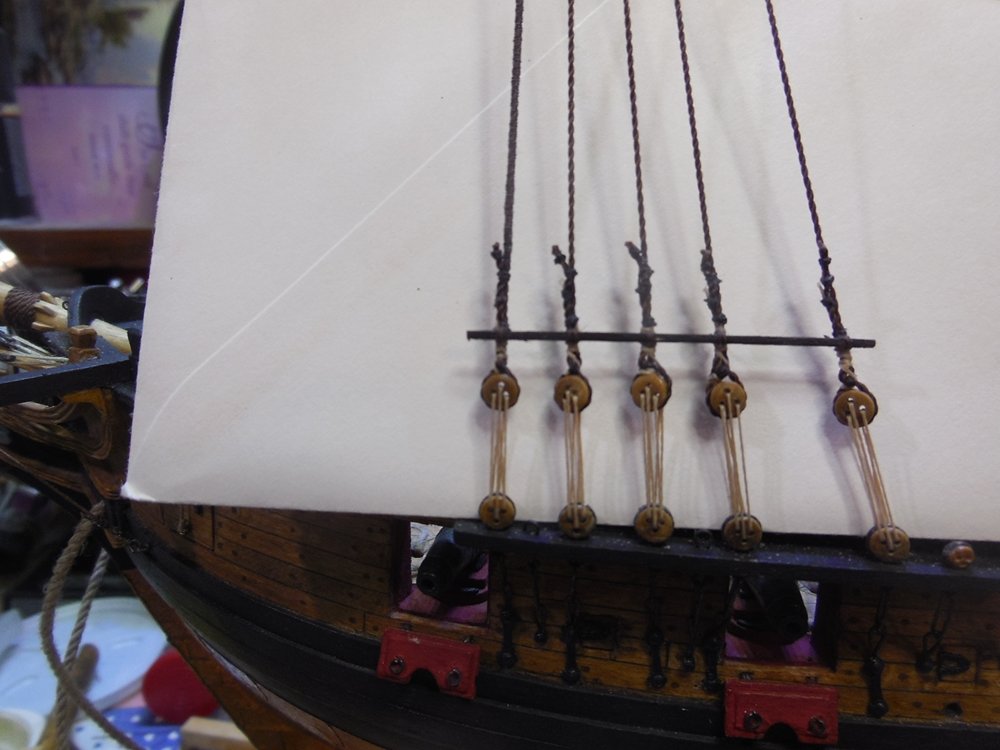
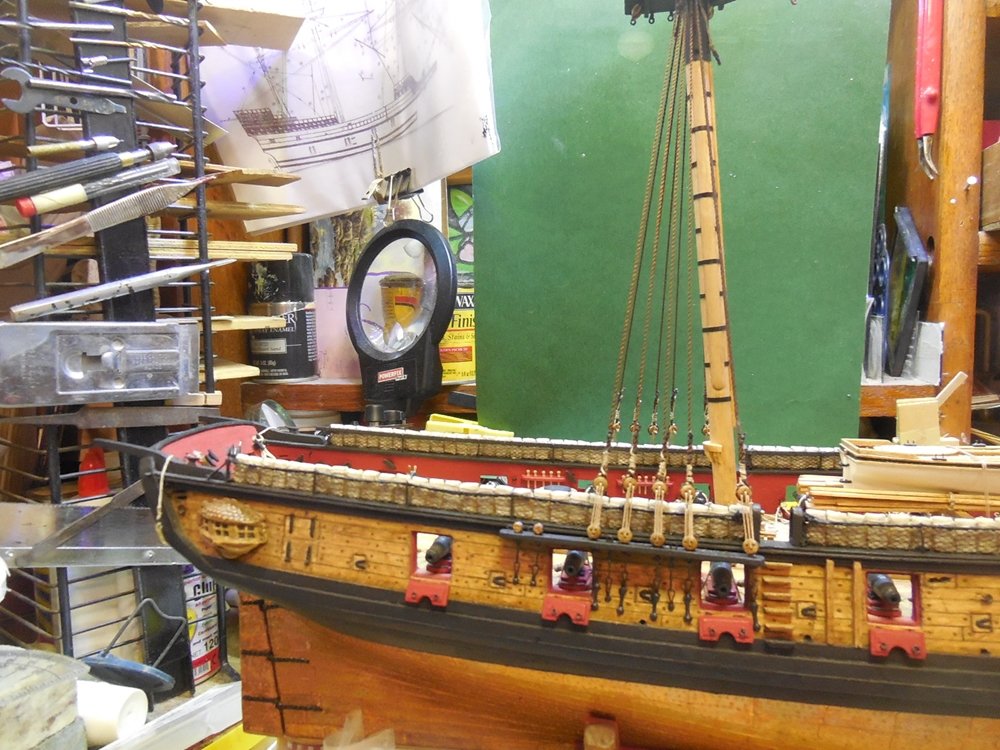
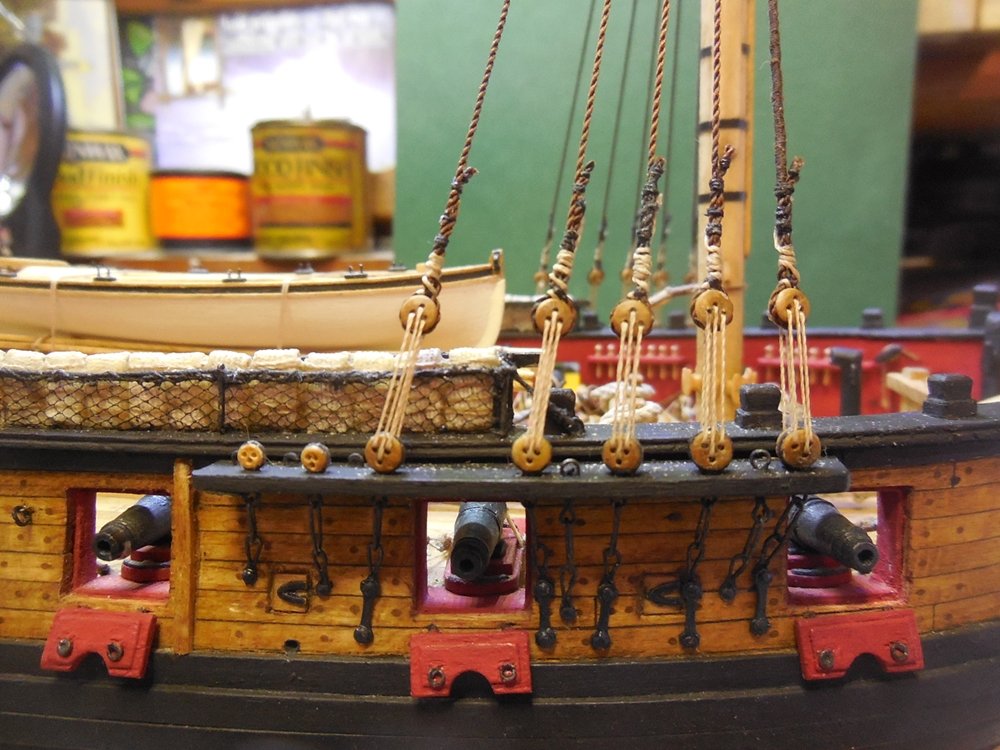
Made brass spacers for the deadeyes. Sorry about some of the pictures not being as clear as others - old damaged camera.

- Tigersteve, egkb, CDW and 16 others
-
19


US Brig Syren by Peter Bloemendaal - FINISHED - Model Shipways - 1:64
in - Kit build logs for subjects built from 1801 - 1850
Posted
Just found this log. This is looking very, very nice!
Jesse