

.jpg.f26acc9a74319261612561bfa7da1303.jpg)
vaddoc
-
Posts
1,528 -
Joined
-
Last visited
Content Type
Profiles
Forums
Gallery
Events
Posts posted by vaddoc
-
-
On 7/17/2020 at 10:35 PM, mauryd824 said:
laying covering material
This is essentially planking of the hull!
Maury, you can do anything you want as long as you can make it work. Planking is challenging but entirely feasible (and for me, fun). If you spend some time working on it, you ll figure it out.
-
This is a very interesting project. 1/16 looks a better scale and allows the use of wood nails. You could also use 1 mm screws, inexpensive and versatile.
-
-
Bob, I am a bit confused, did you have to sand the hull for a second time? It seems that after you sanded off the orange skin, you got the settings right and your paint went on fine.
-
Nice progress Brian, nice touch adding the names of the girls!
Could I ask, why have you chosen to use basswood?
- Keith Black, mbp521, Canute and 1 other
-
 4
4
-
Dear all
Thank you so much for your comments and for sharing this journey with me. The first dot of digital ink was made in Jan 2016 so almost 5 years ago.
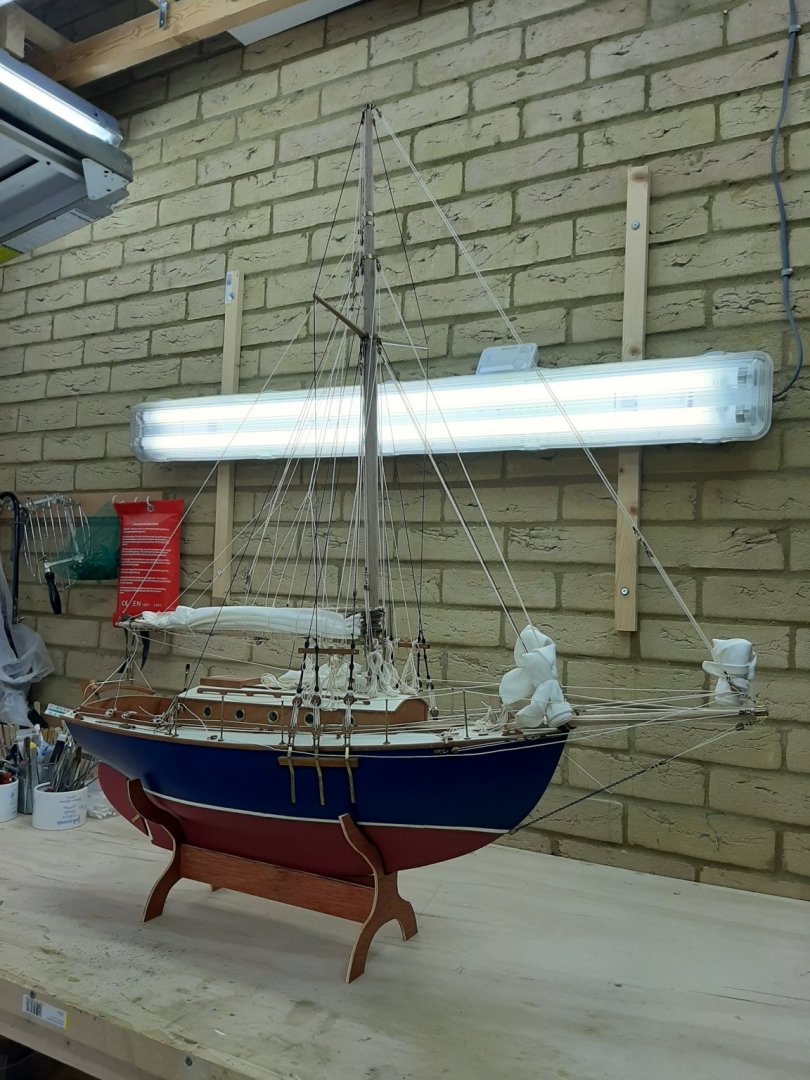
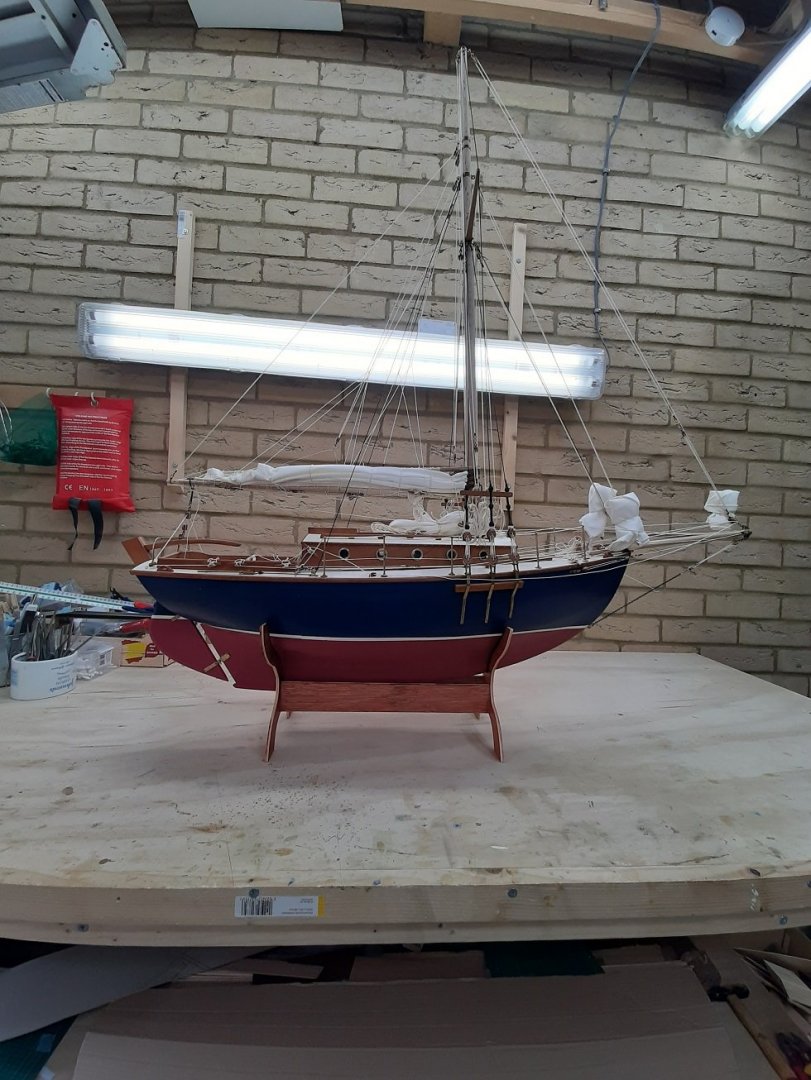
I thought the project was done but thee was a last chapter to be written. It was a calm day with almost no wind and I decided to take teh boat out and take advantage of the sunlight to take some photos. All was going well but suddenly there was a strong gust of wind. The boat tipped over and I only just manage to grab it. It held up remarkably well but suffered some damage, a bent rail and a couple of bits of rigging destroyed.

These bits were rather complex to make so it took two days to repair the damage. Then I furled the sails and took the final photos. These will be in the gallery shortly.
It was great fun building this boat, I think I should contact Mr Whisstock, I wonder if I could be assigned a hull number...😉
Best wishes to all
Vaddoc
- mtaylor, GrandpaPhil, ccoyle and 3 others
-
6
-
Mark, I thought you d enjoy the video! I see now what you mean, indeed there must be a bit of keel especially aft.
The only explanation seems to be that the body plan is to the outside of planks and that the keel has variable width, starting narrow at the bow, very wide midships and finishing very narrow at the stern. Despite being so narrow, a propeller shaft somehow needs to go through. The ribs will have to be half ribs slotted into the keel. At 20' and so beamy, this is actually not a small boat.
What the plans do not give us is how high the keel is, essentially the rabbet as you said initially.
Well, you certainly have some head scratching to do!
- mtaylor and Mark Pearse
-
2
-
Mark, this is very unusual but maybe there was no keel? The plans really do not show a dead wood. Have a look at this you tube video bellow, there is just an apron with the garboard planks nailed on and absolutely no deadwood or keel. The apron seems to stand out a bit proud and that's it.
https://www.youtube.com/watch?v=kMaClFVOf30
At 3:06 they prepare the apron to accept the planks
3:21 to 3:24, no keel whatsoever
Then when they transport the boat, it sits very low on the ground.
Vaddoc
-
-
-
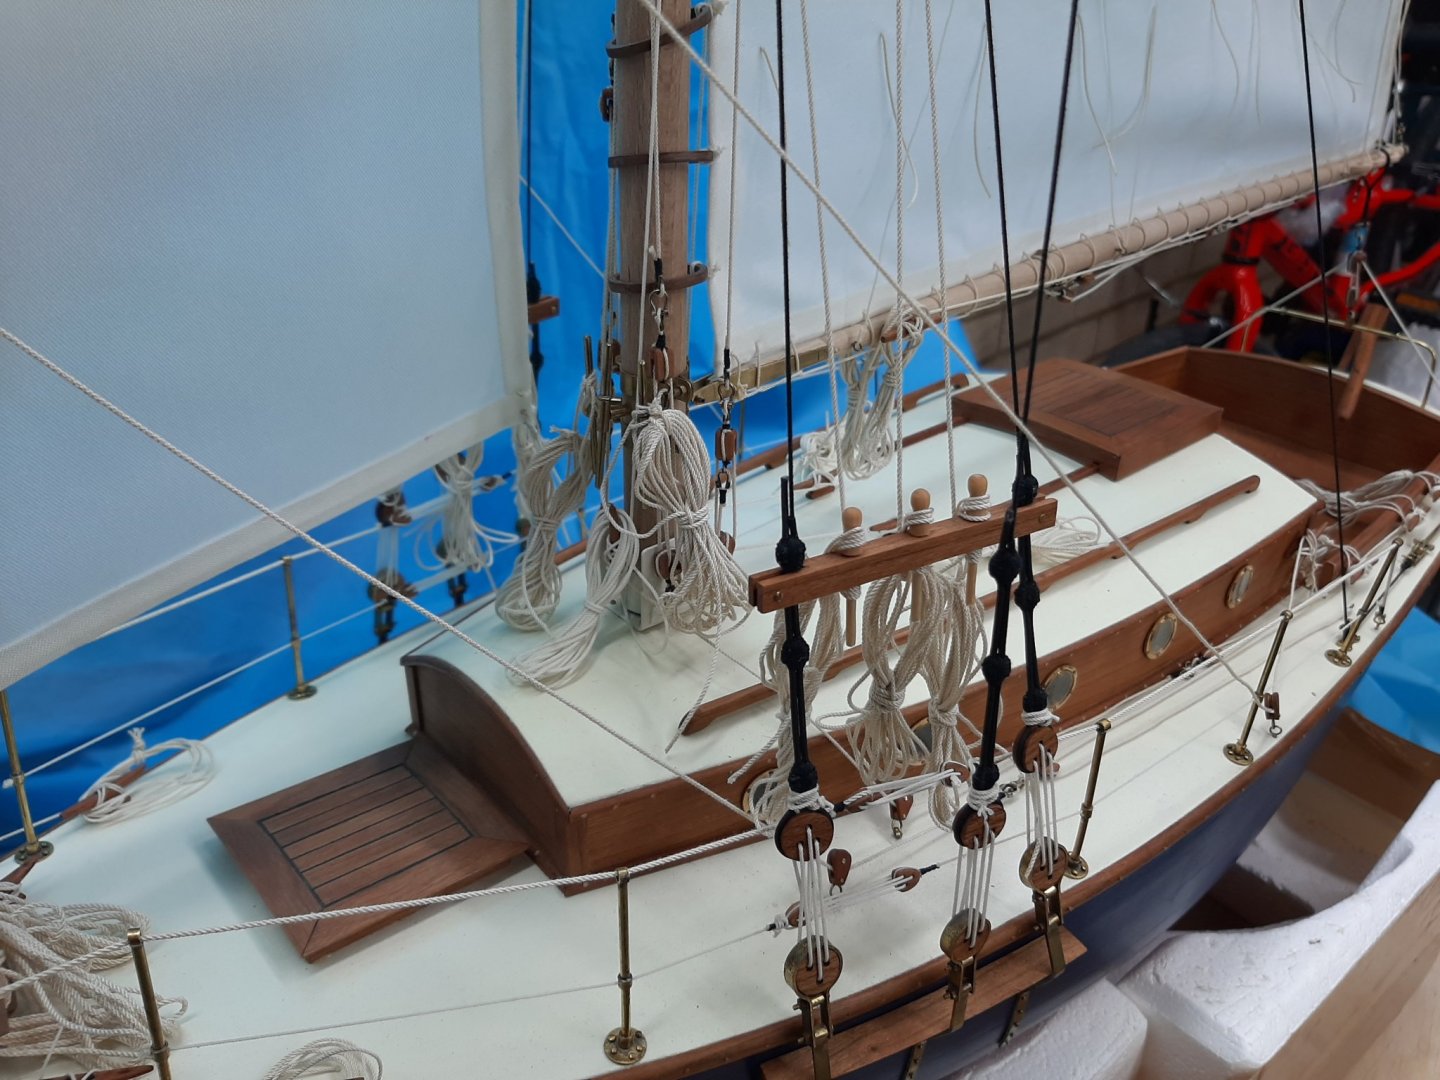
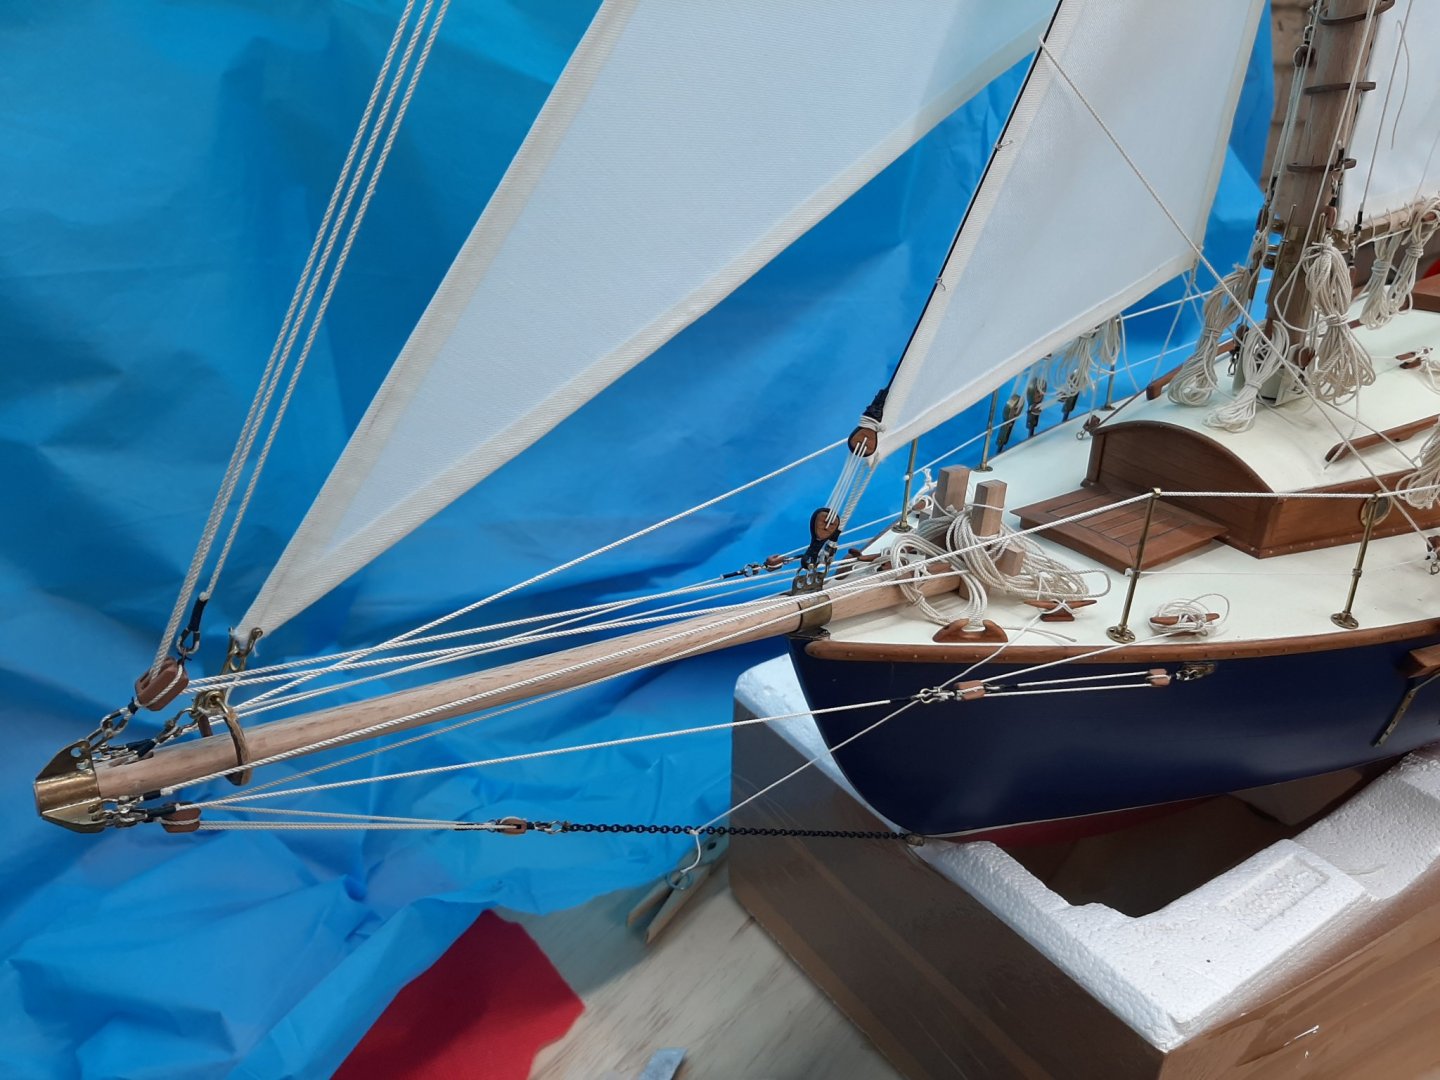
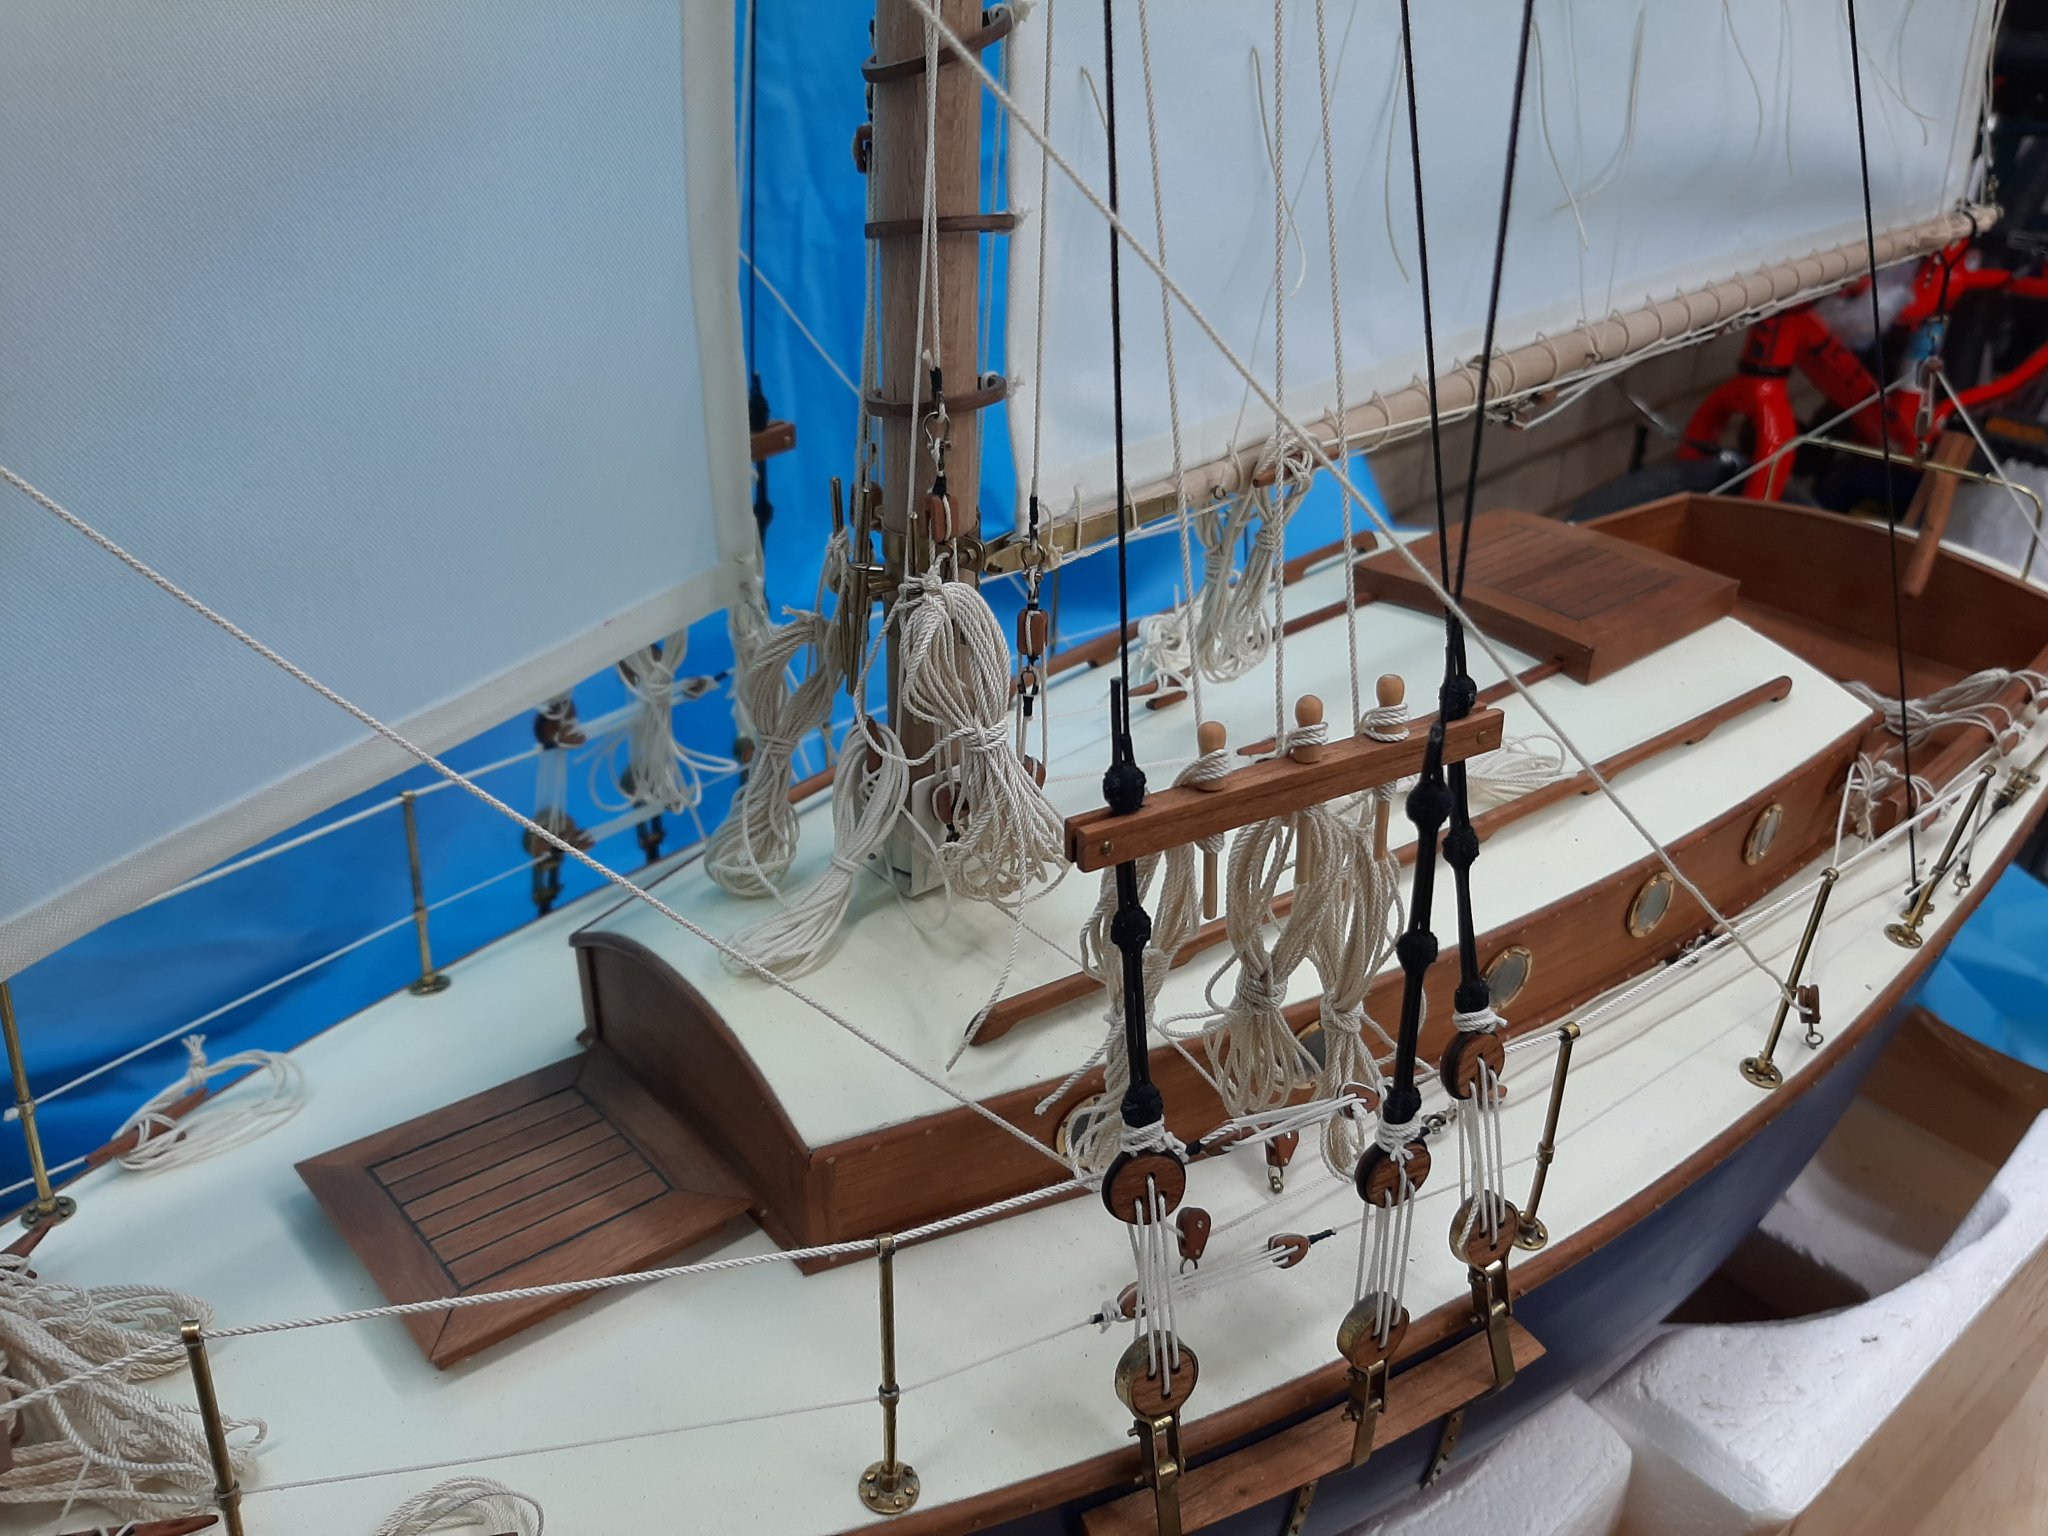
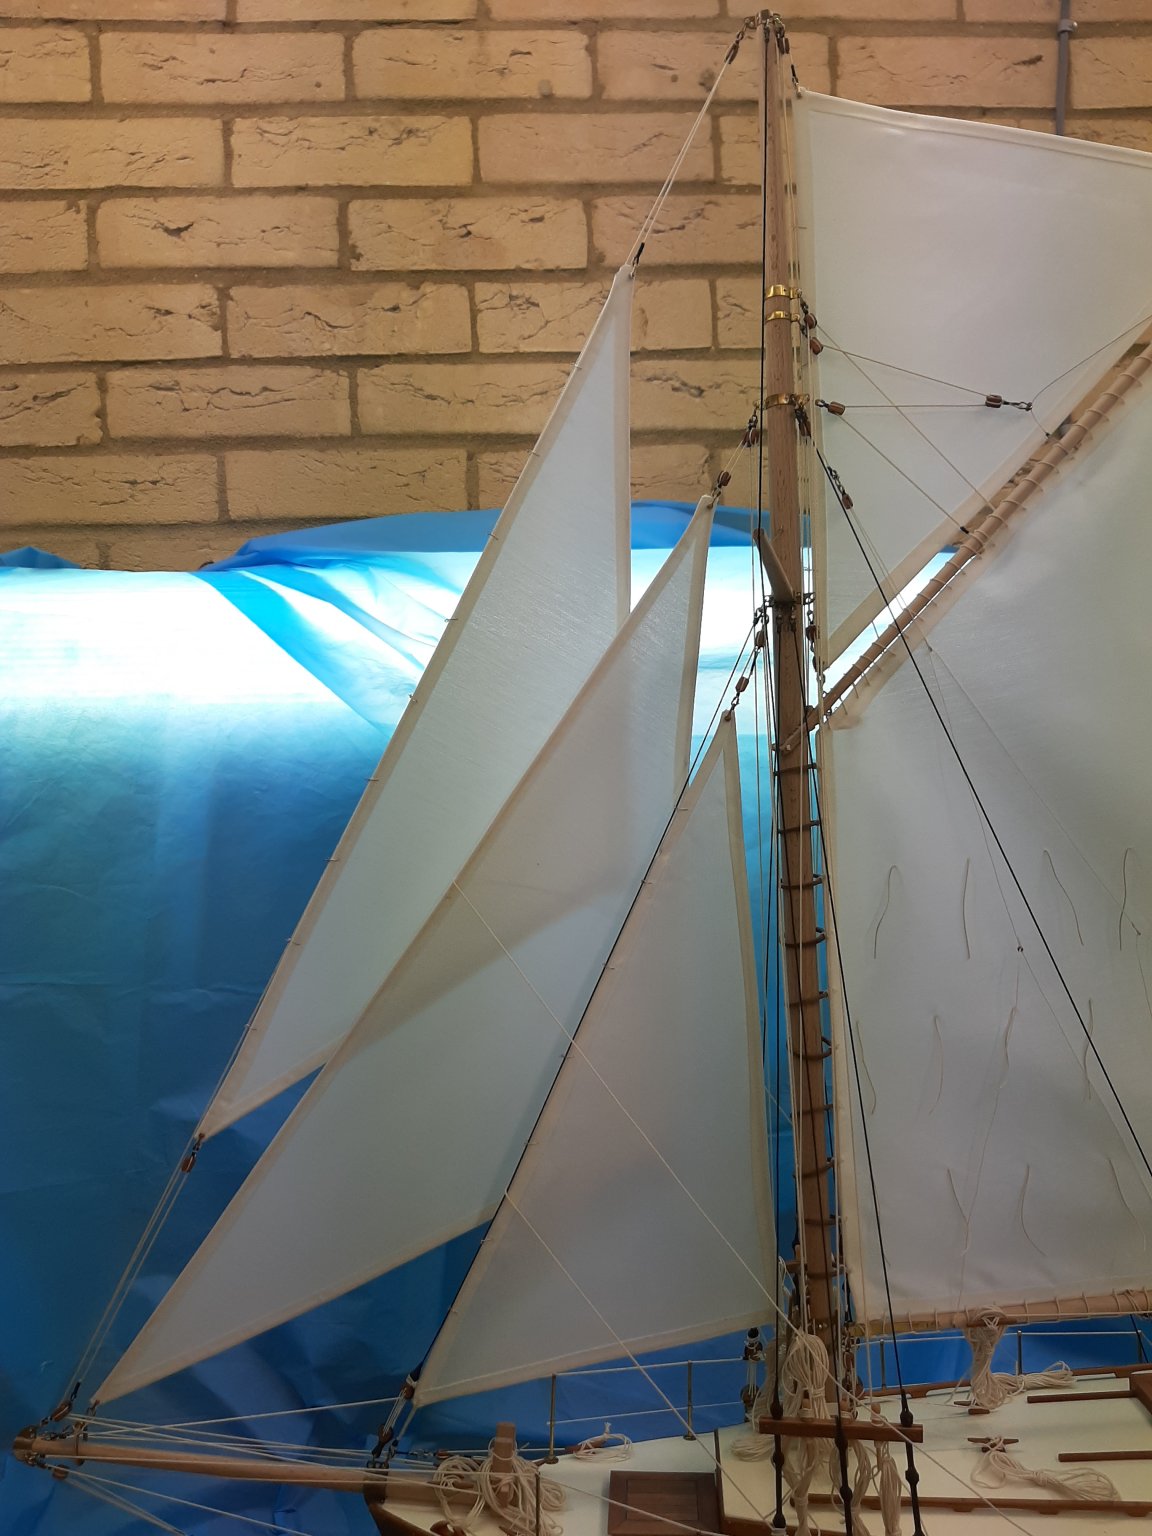
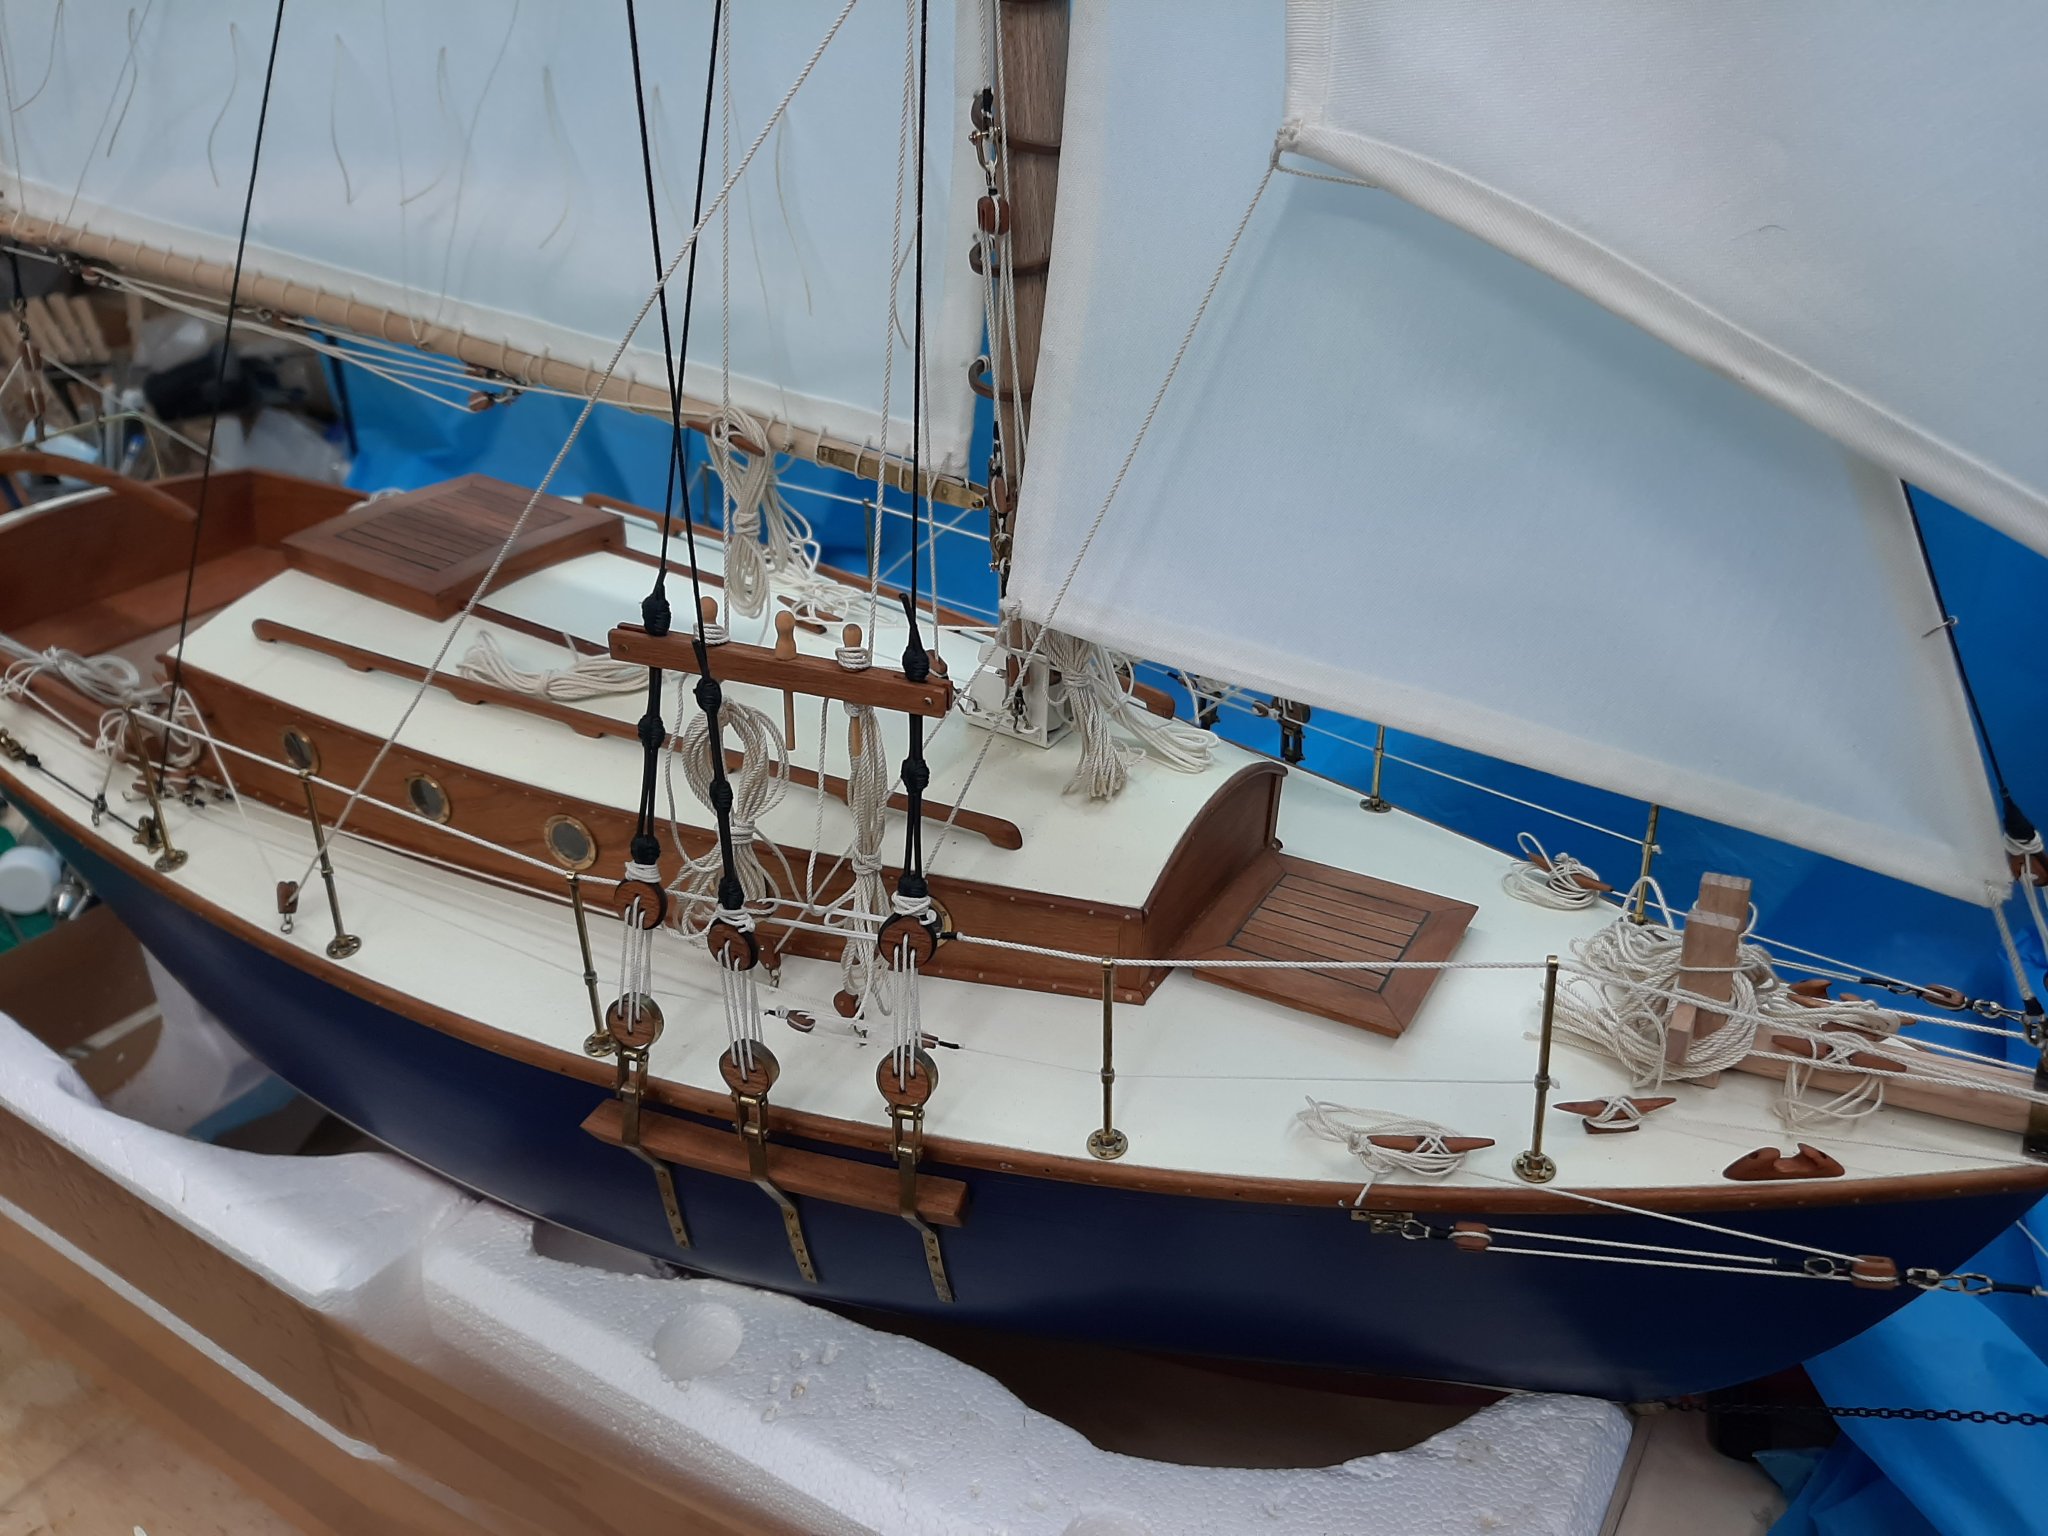
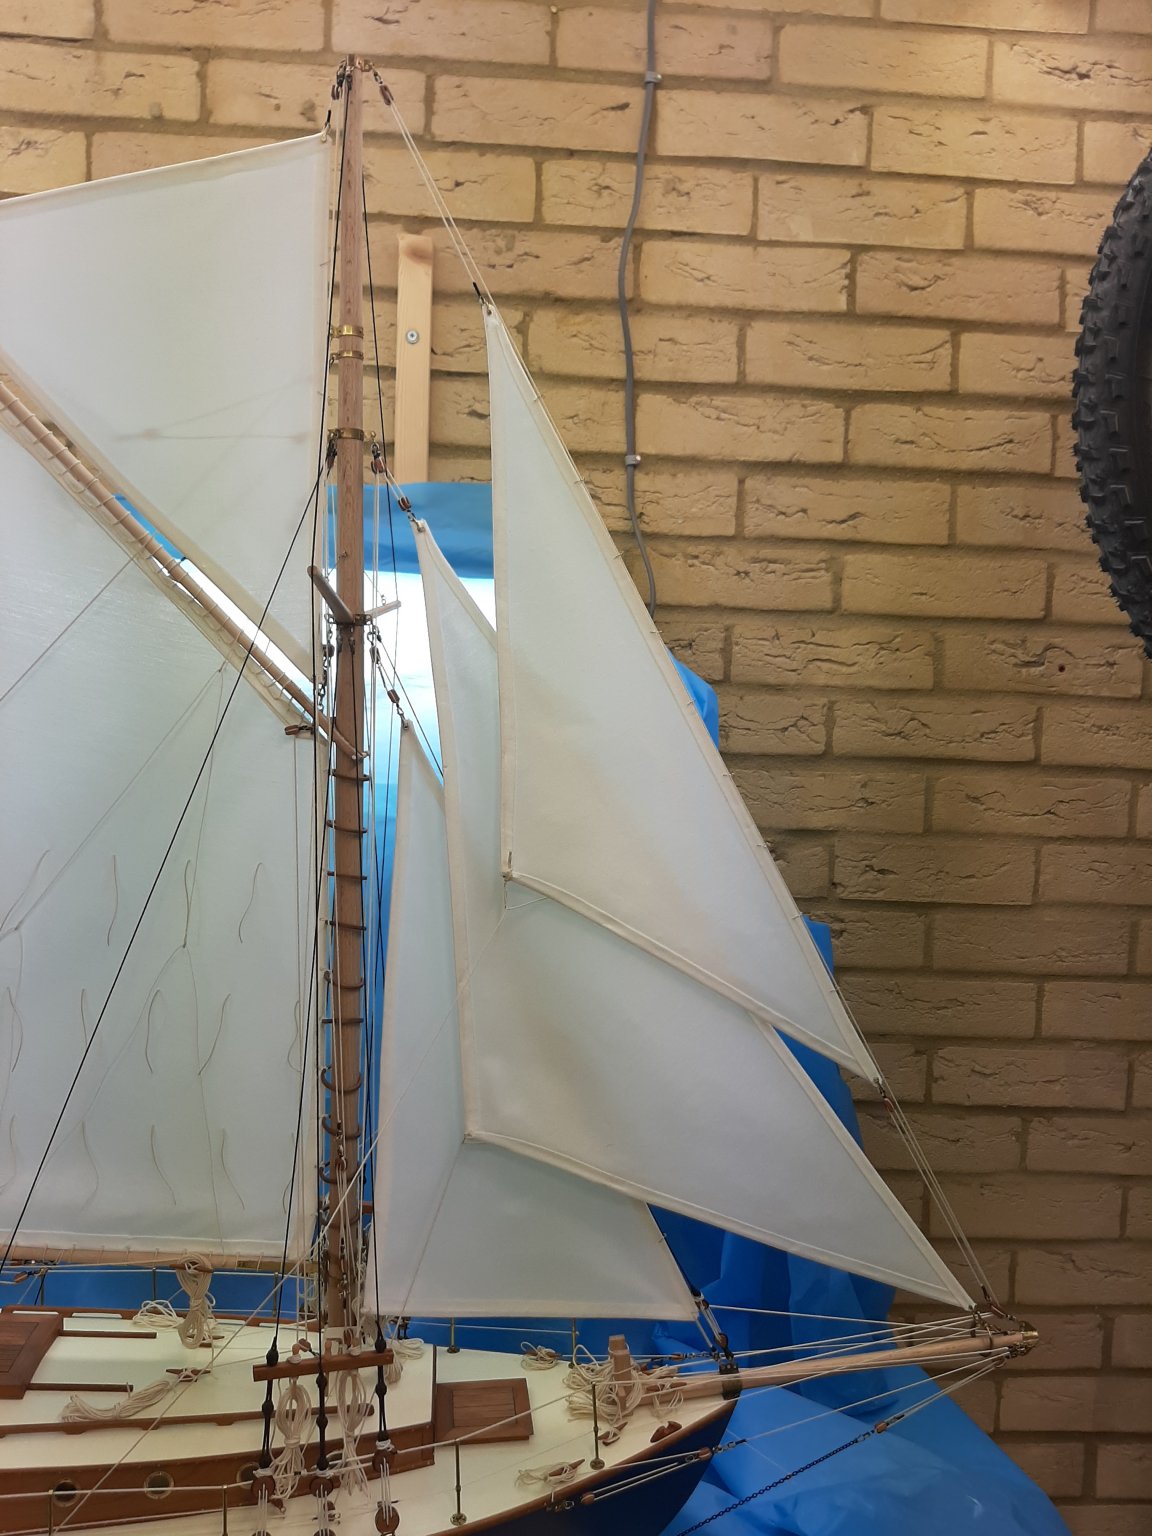
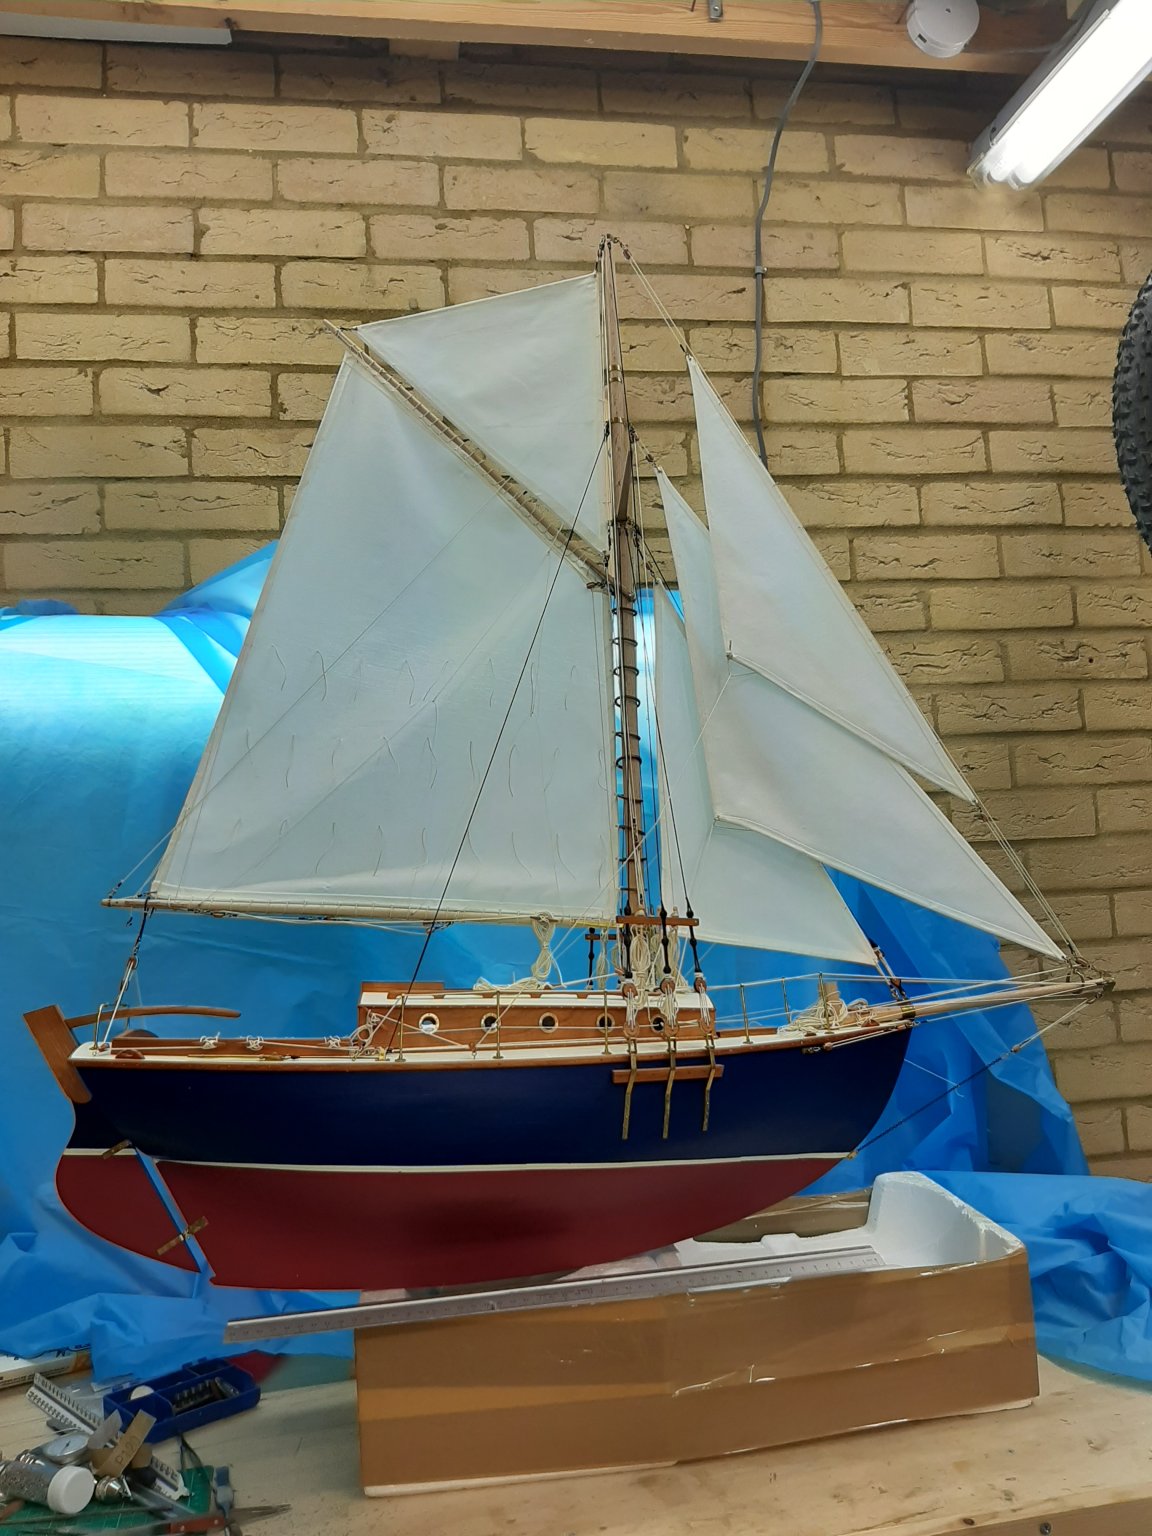
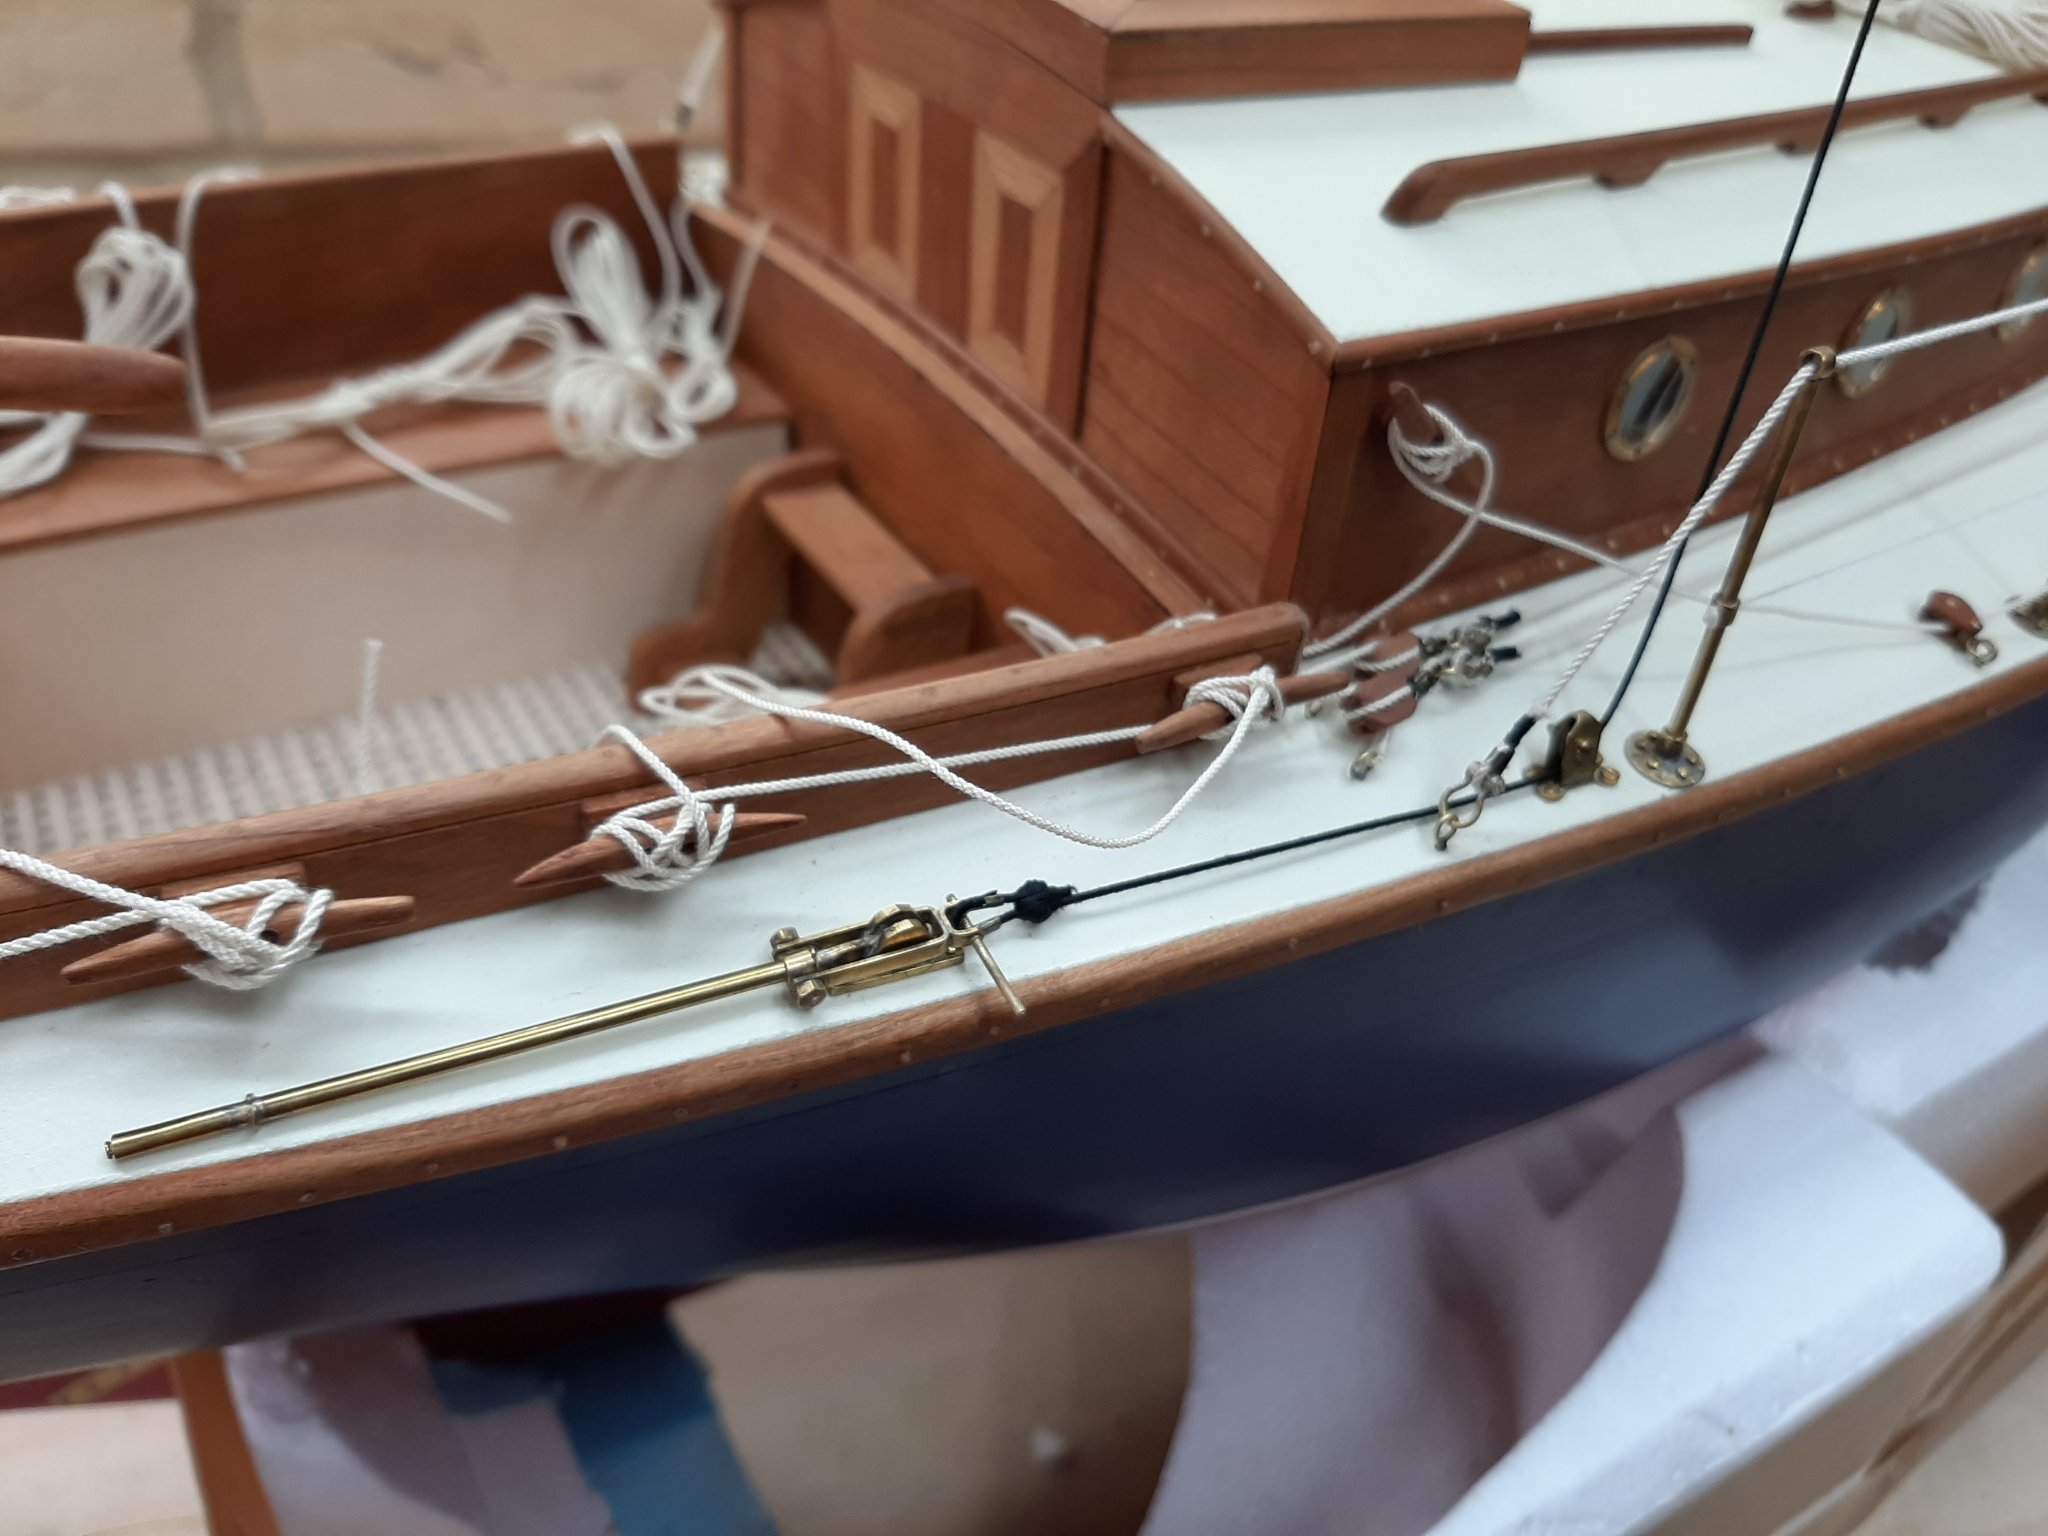
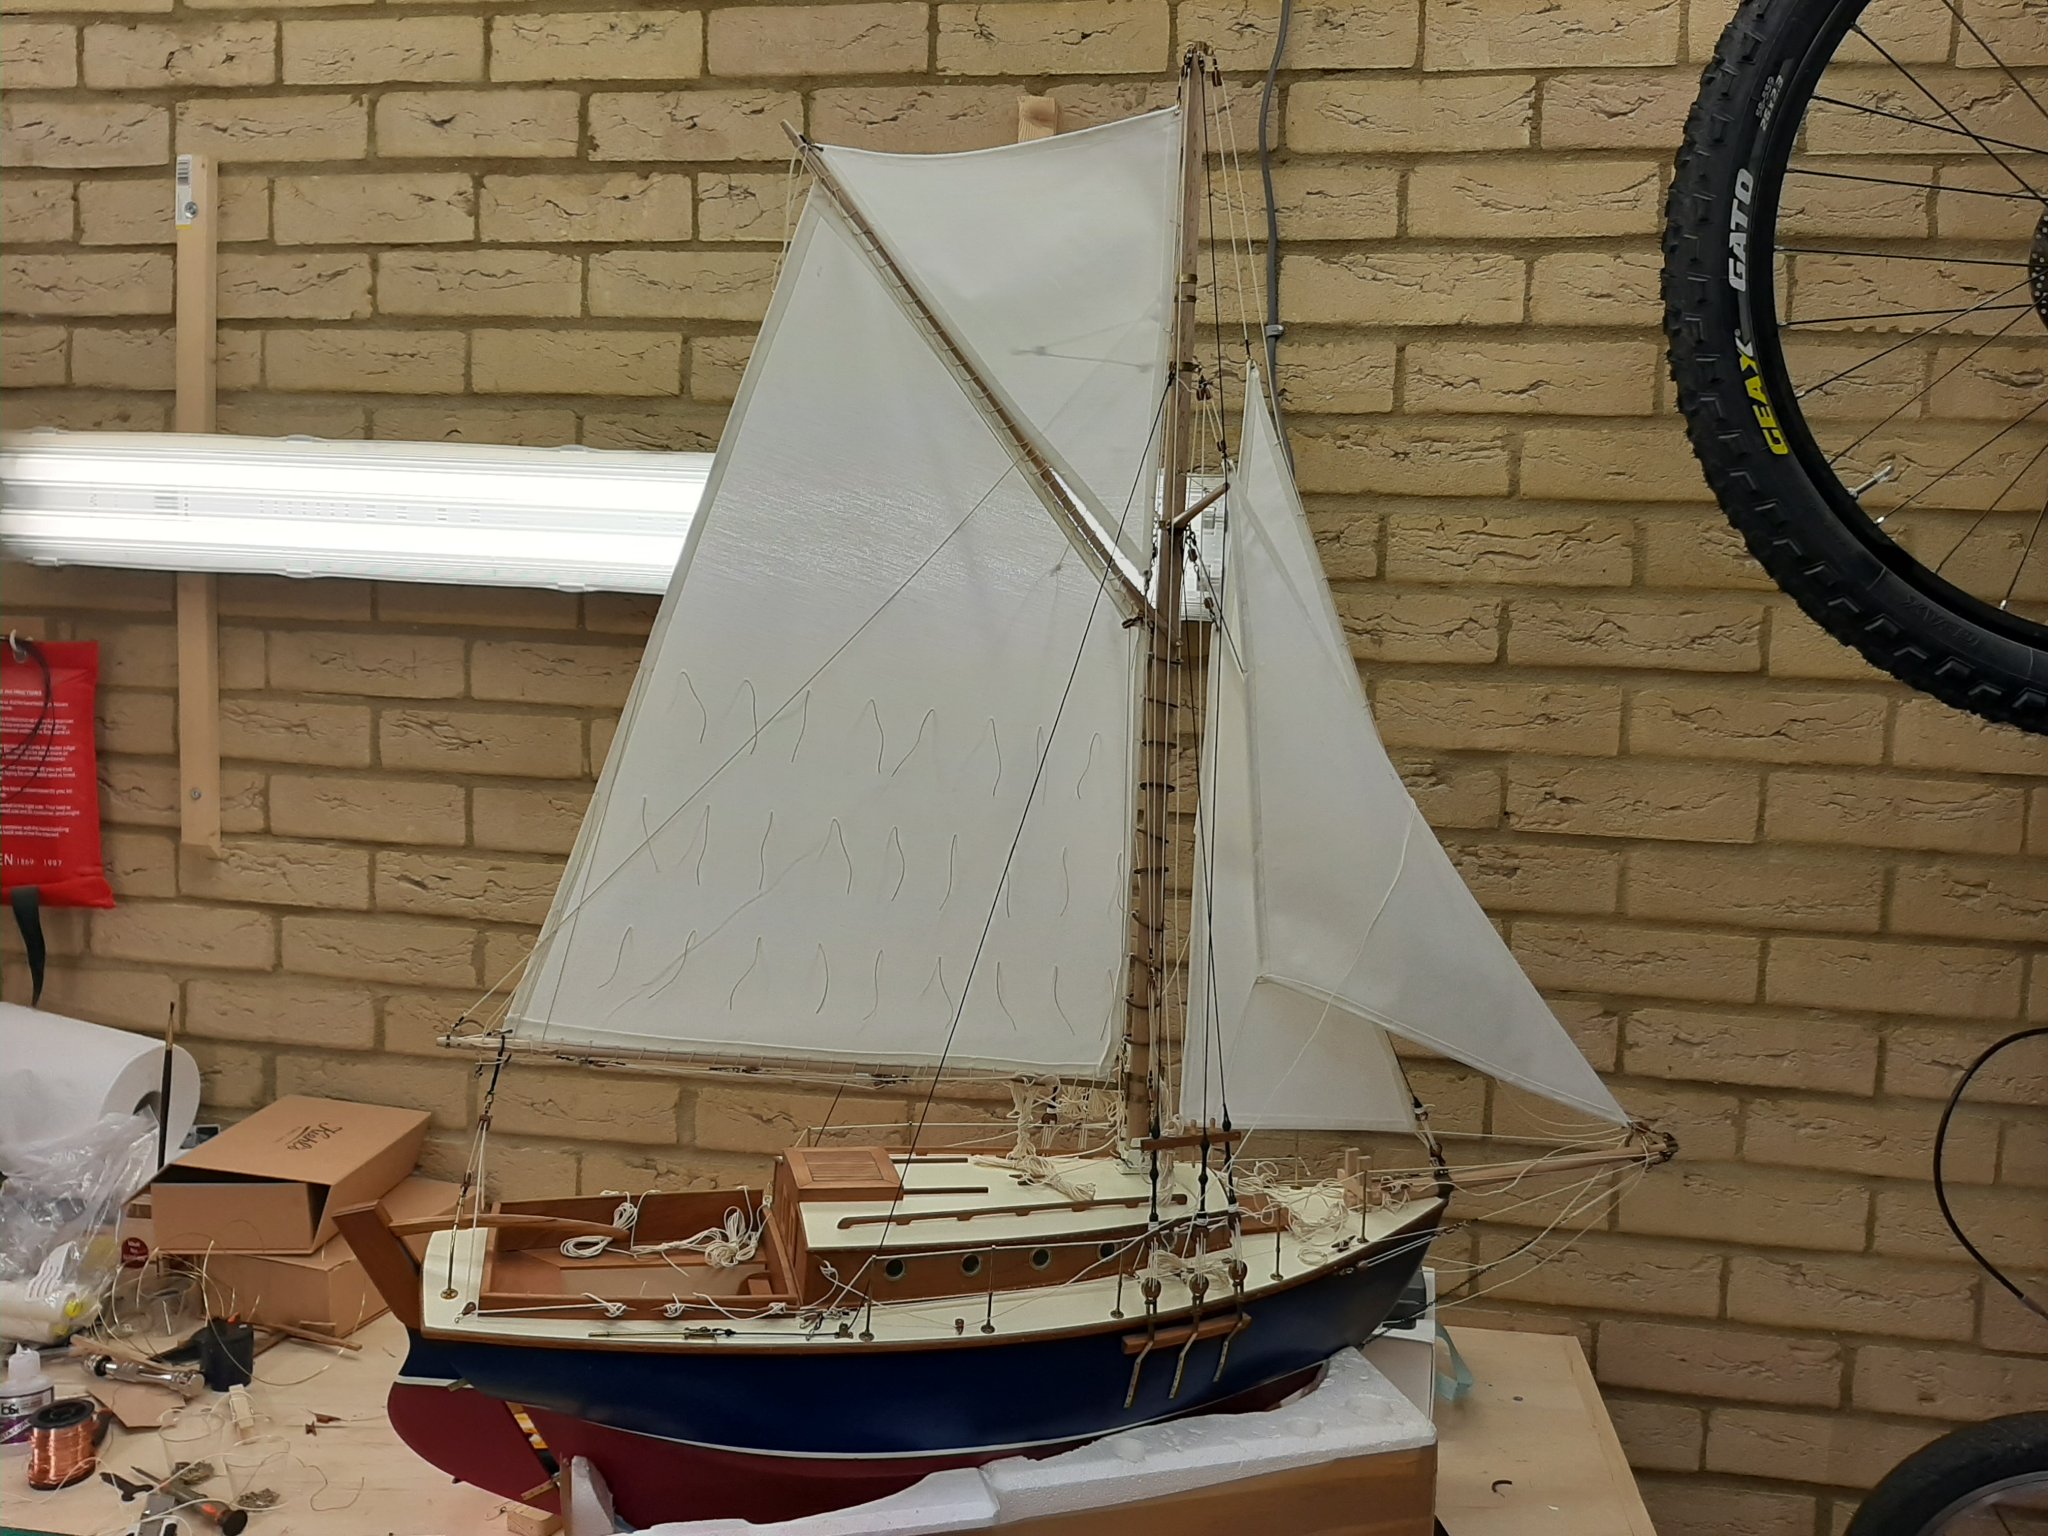
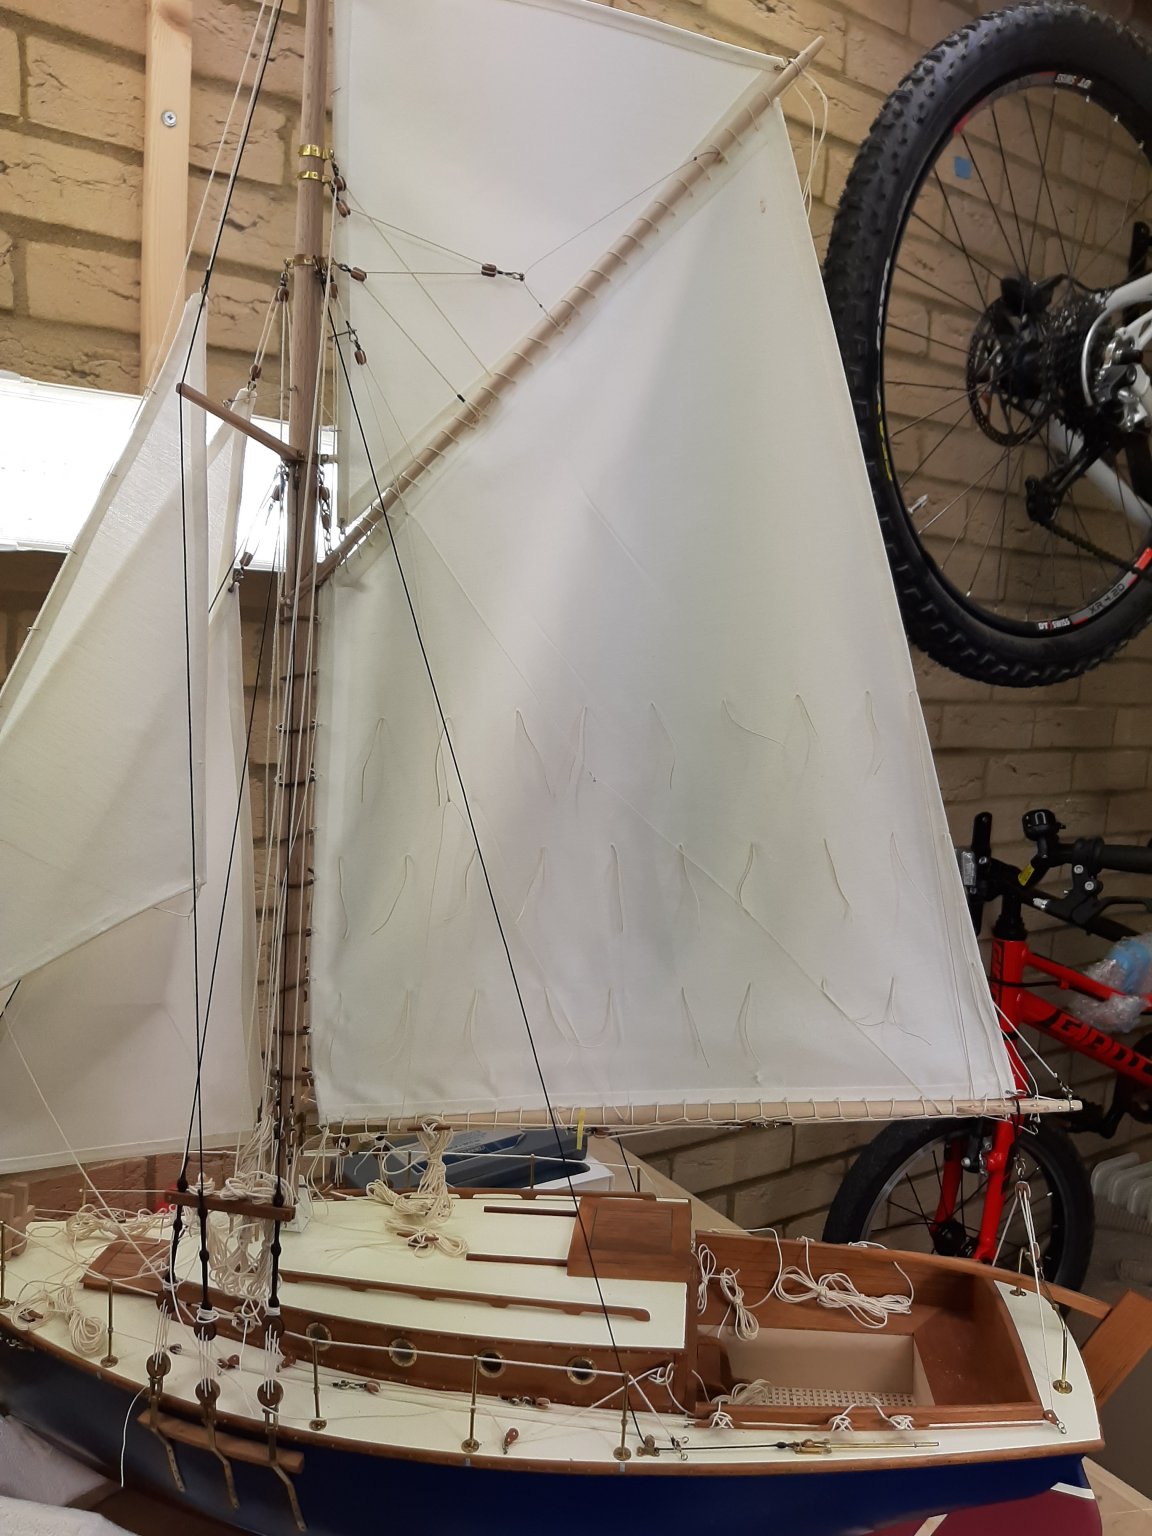
Dear all
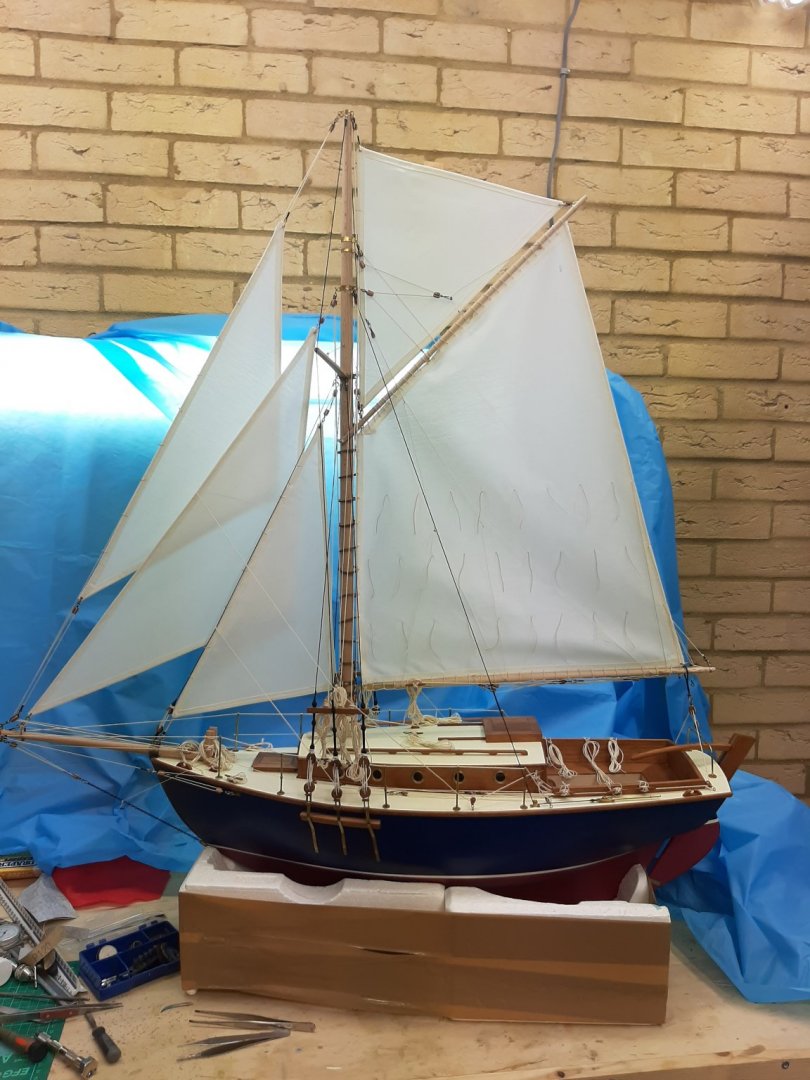
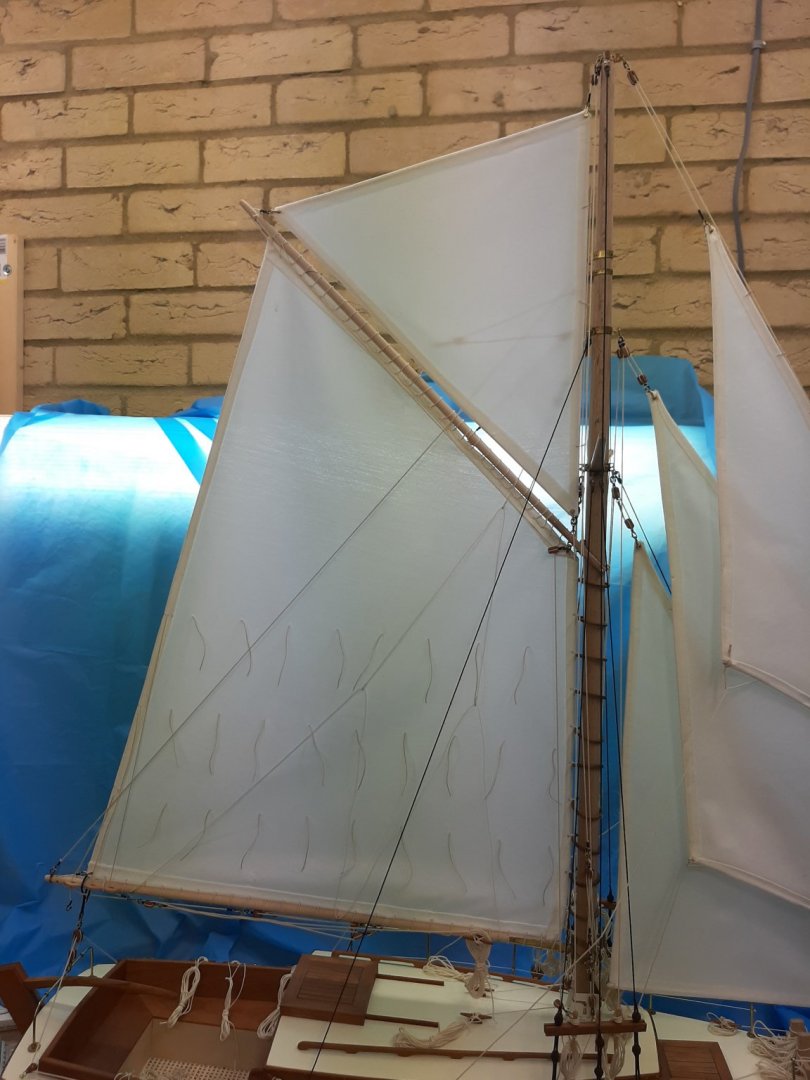
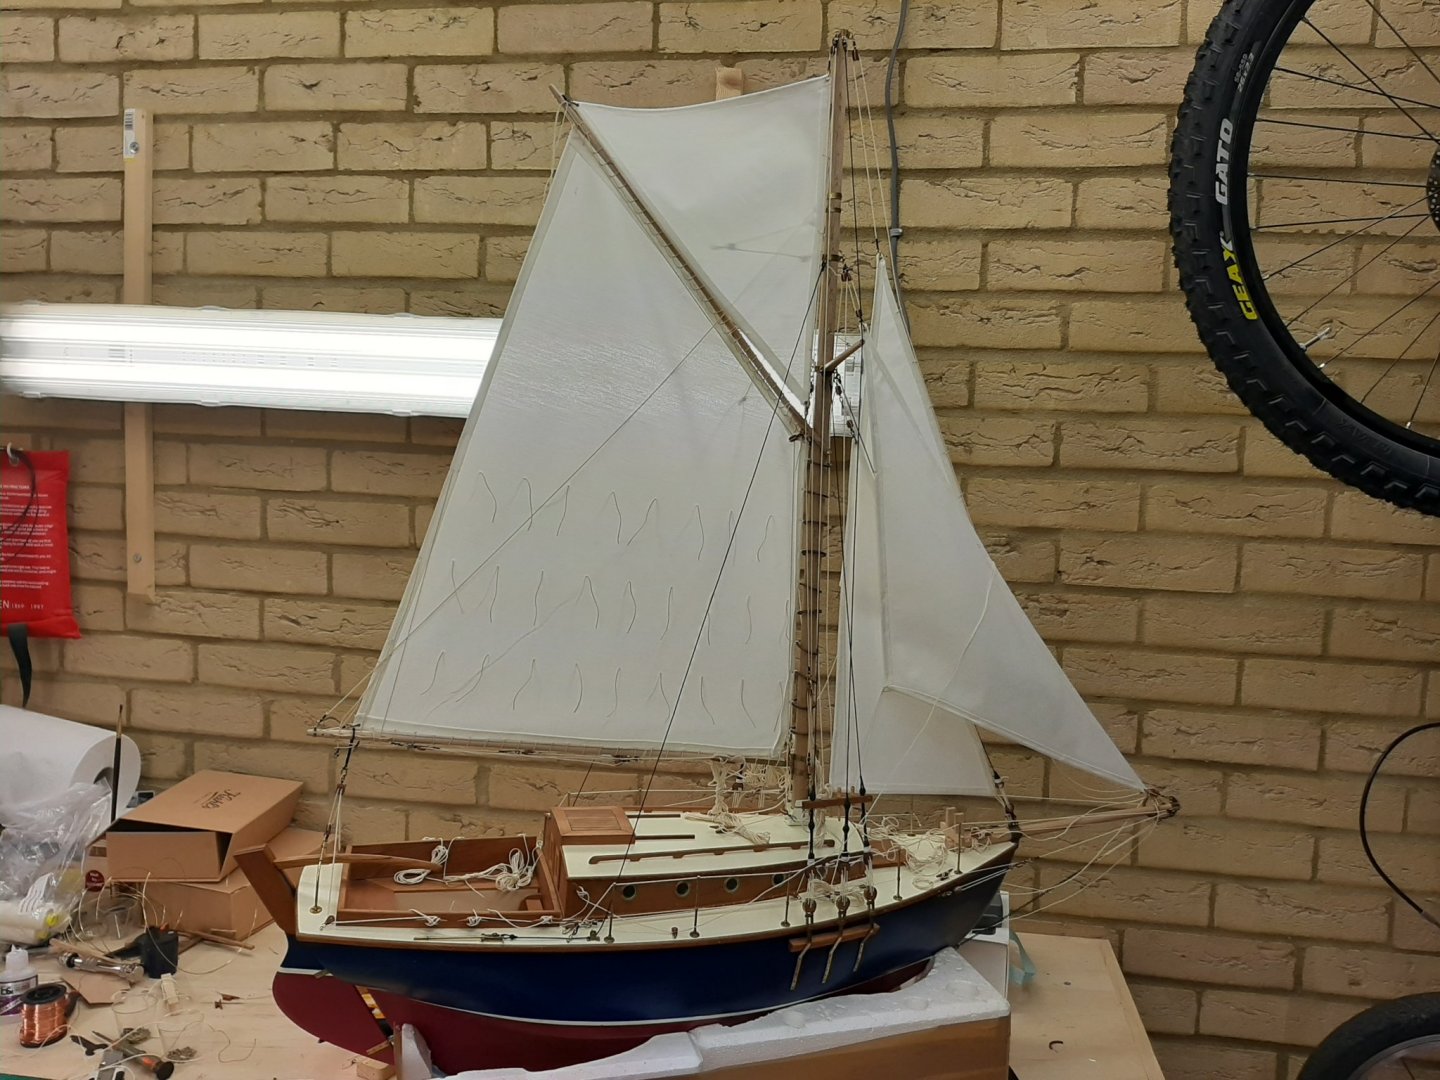
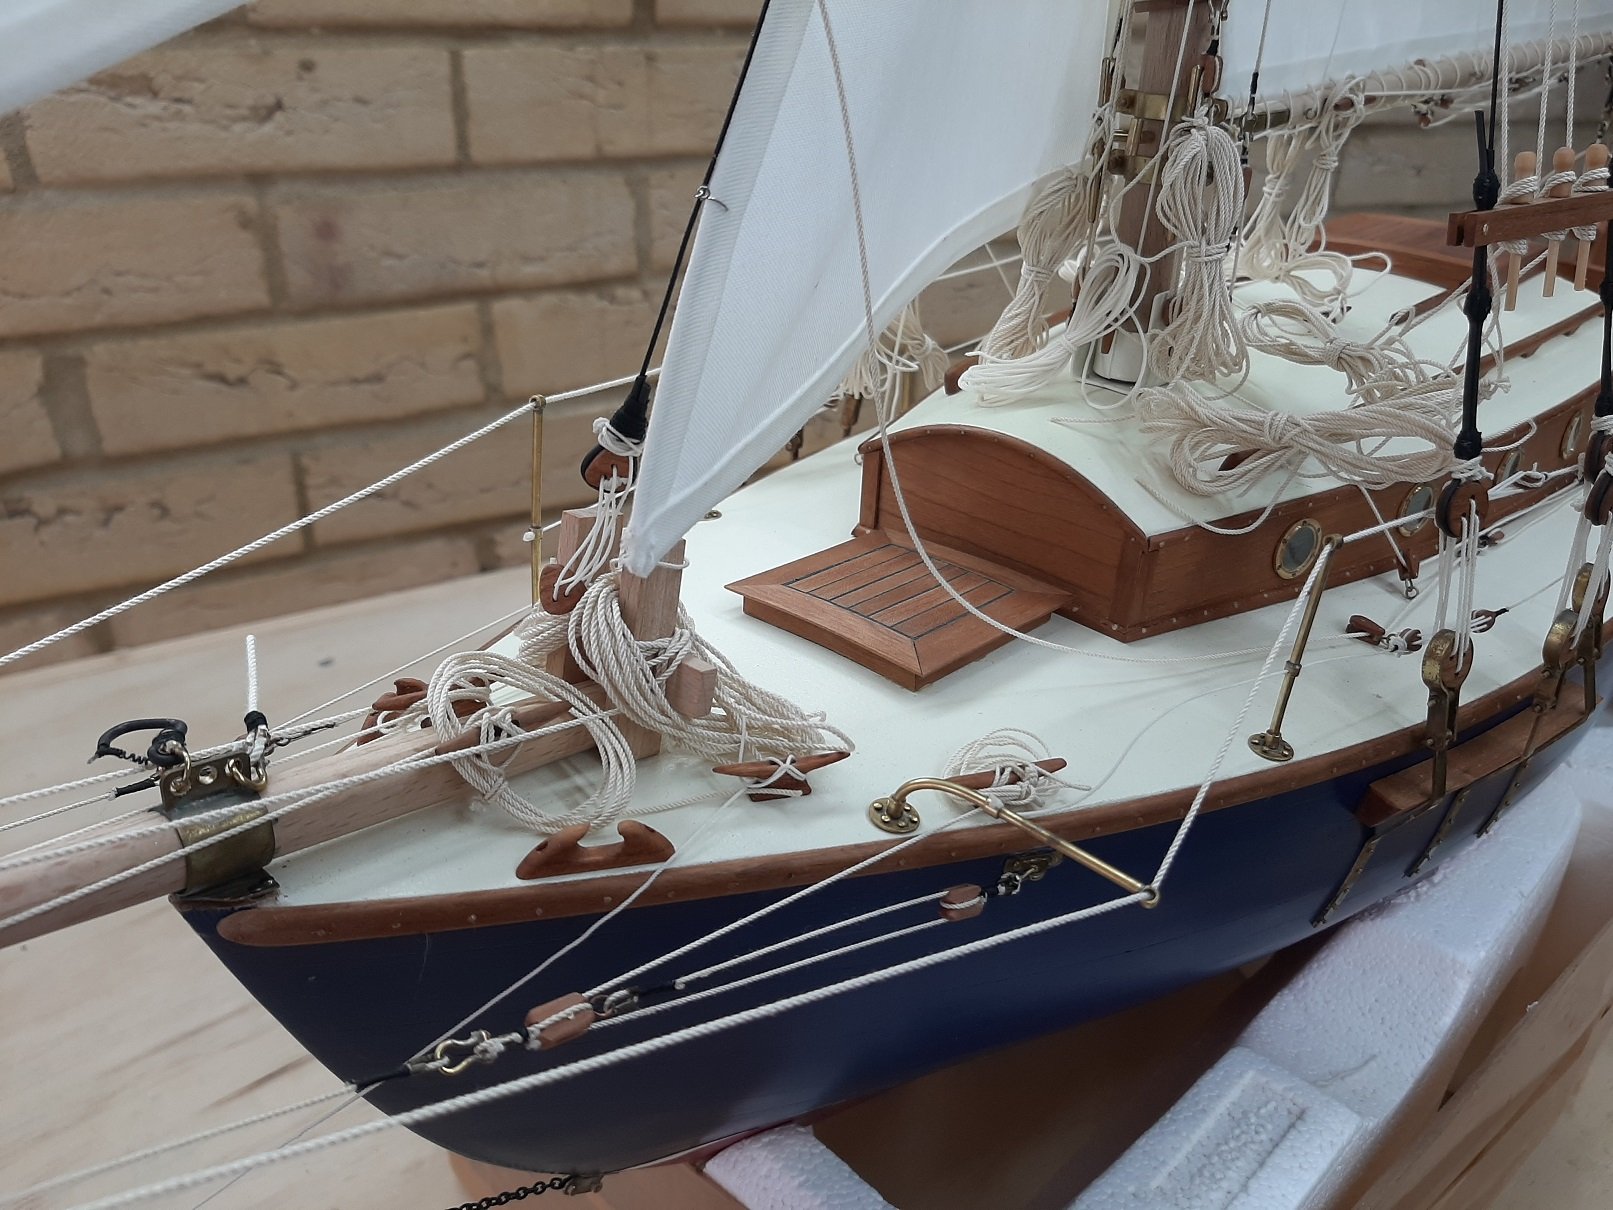
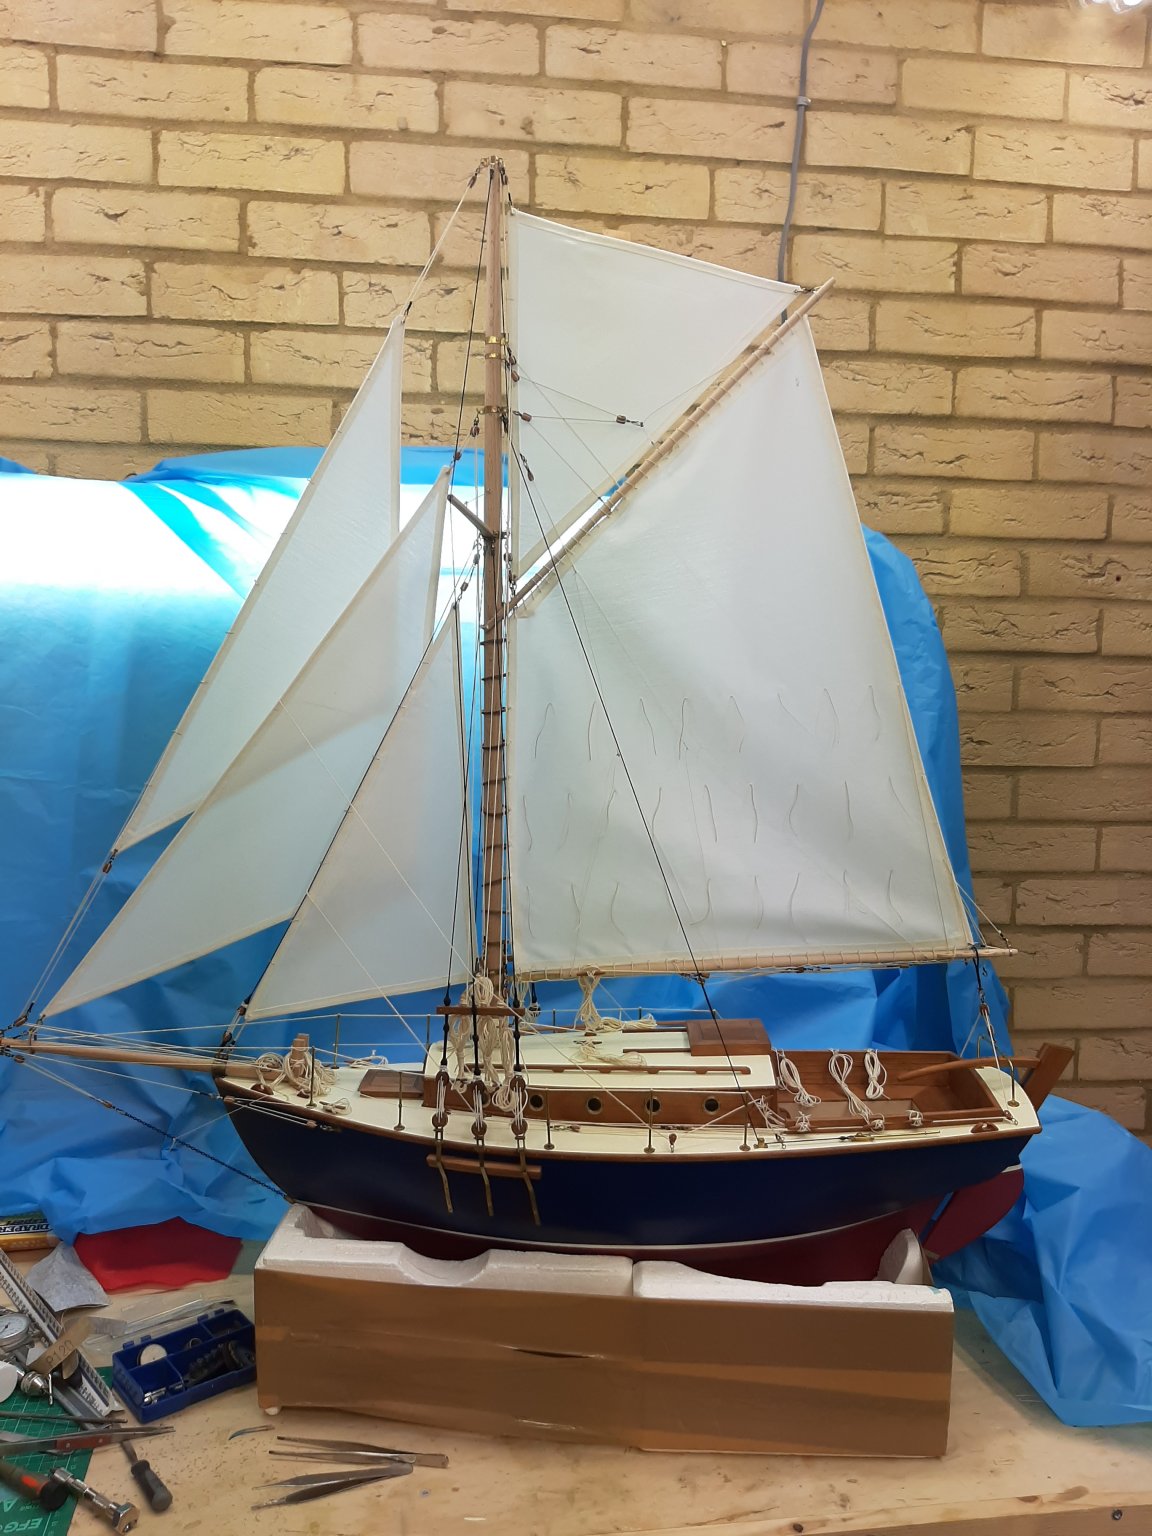
The boat is finished!
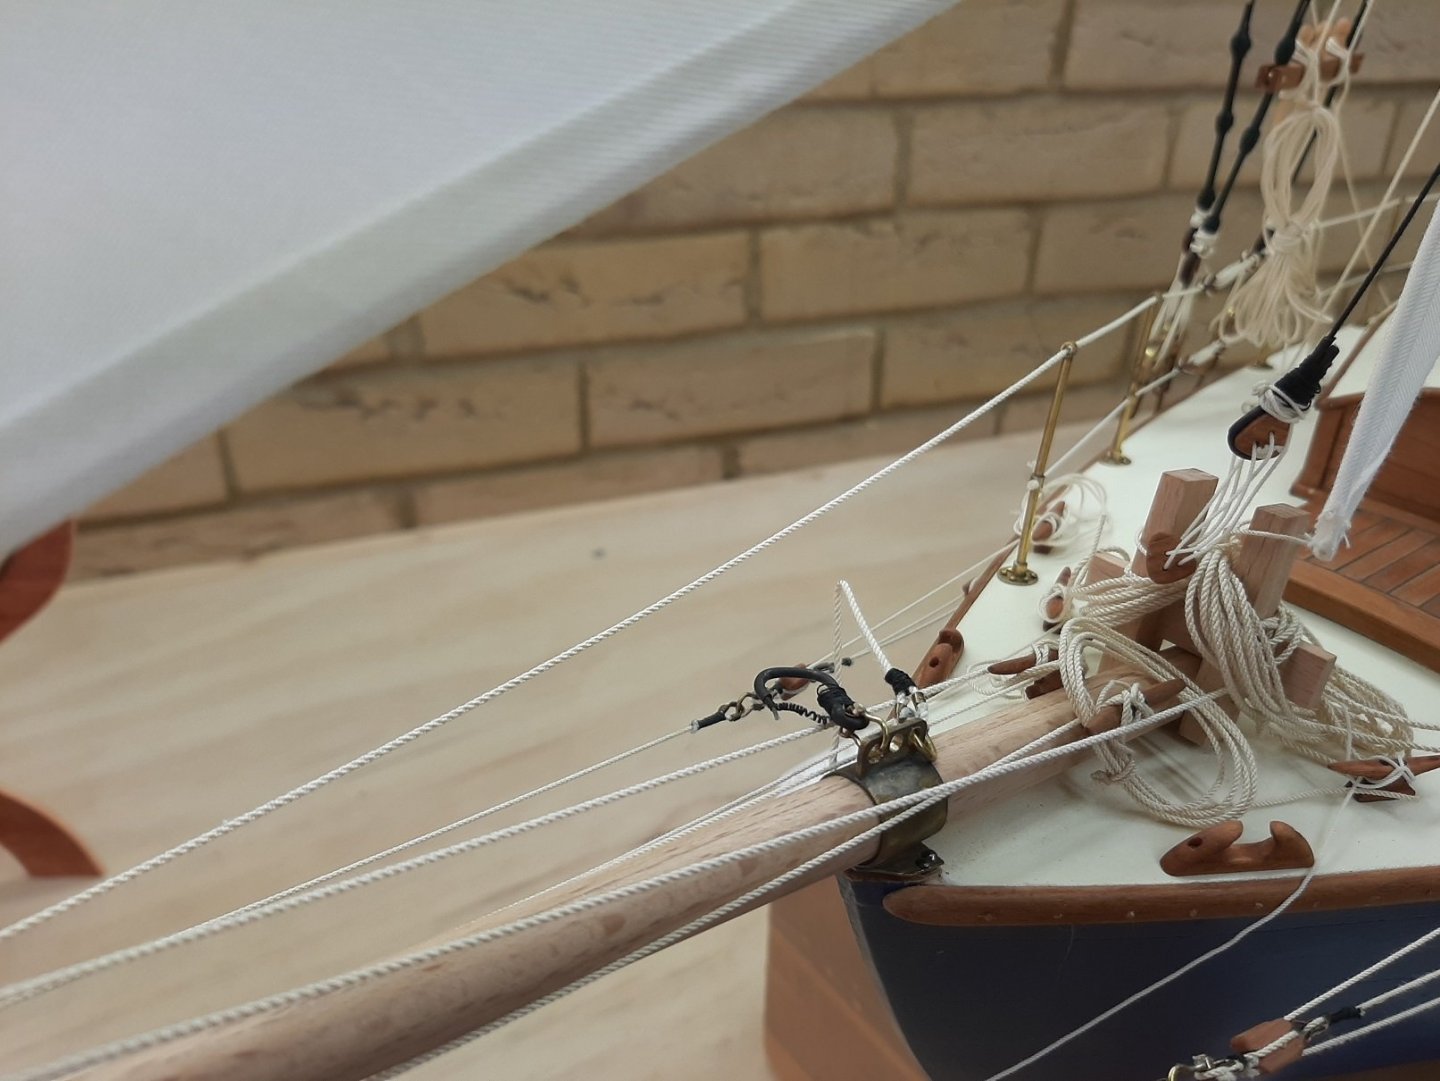
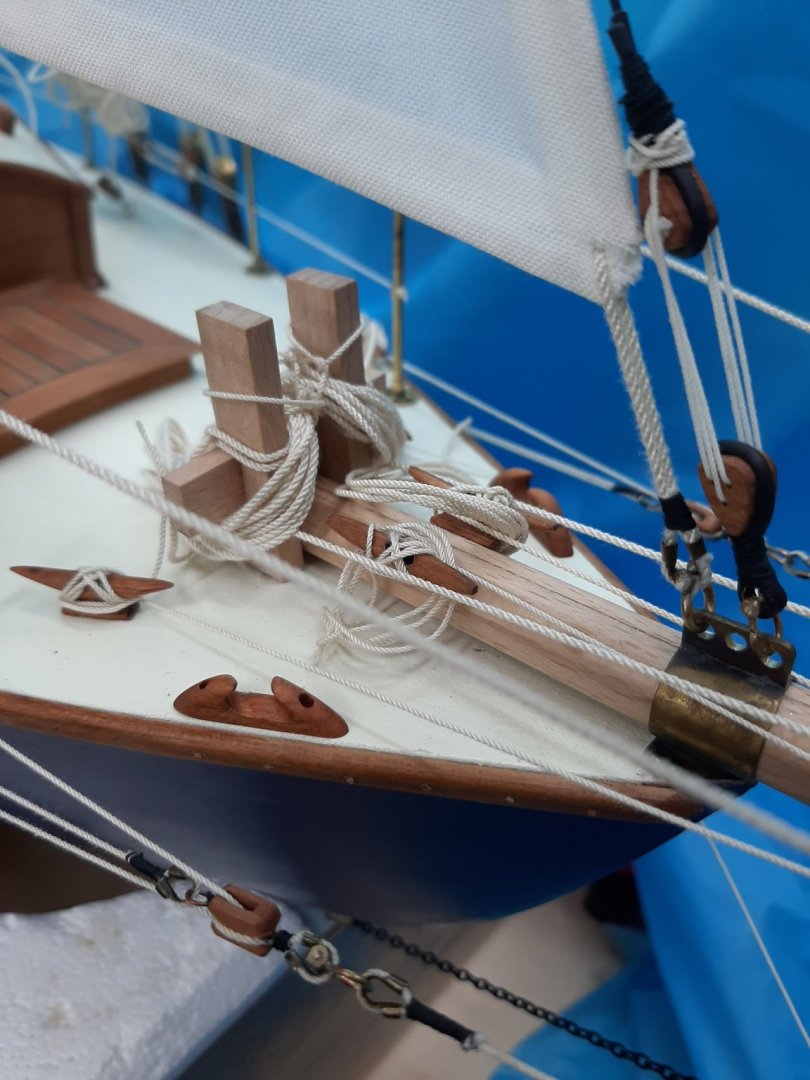
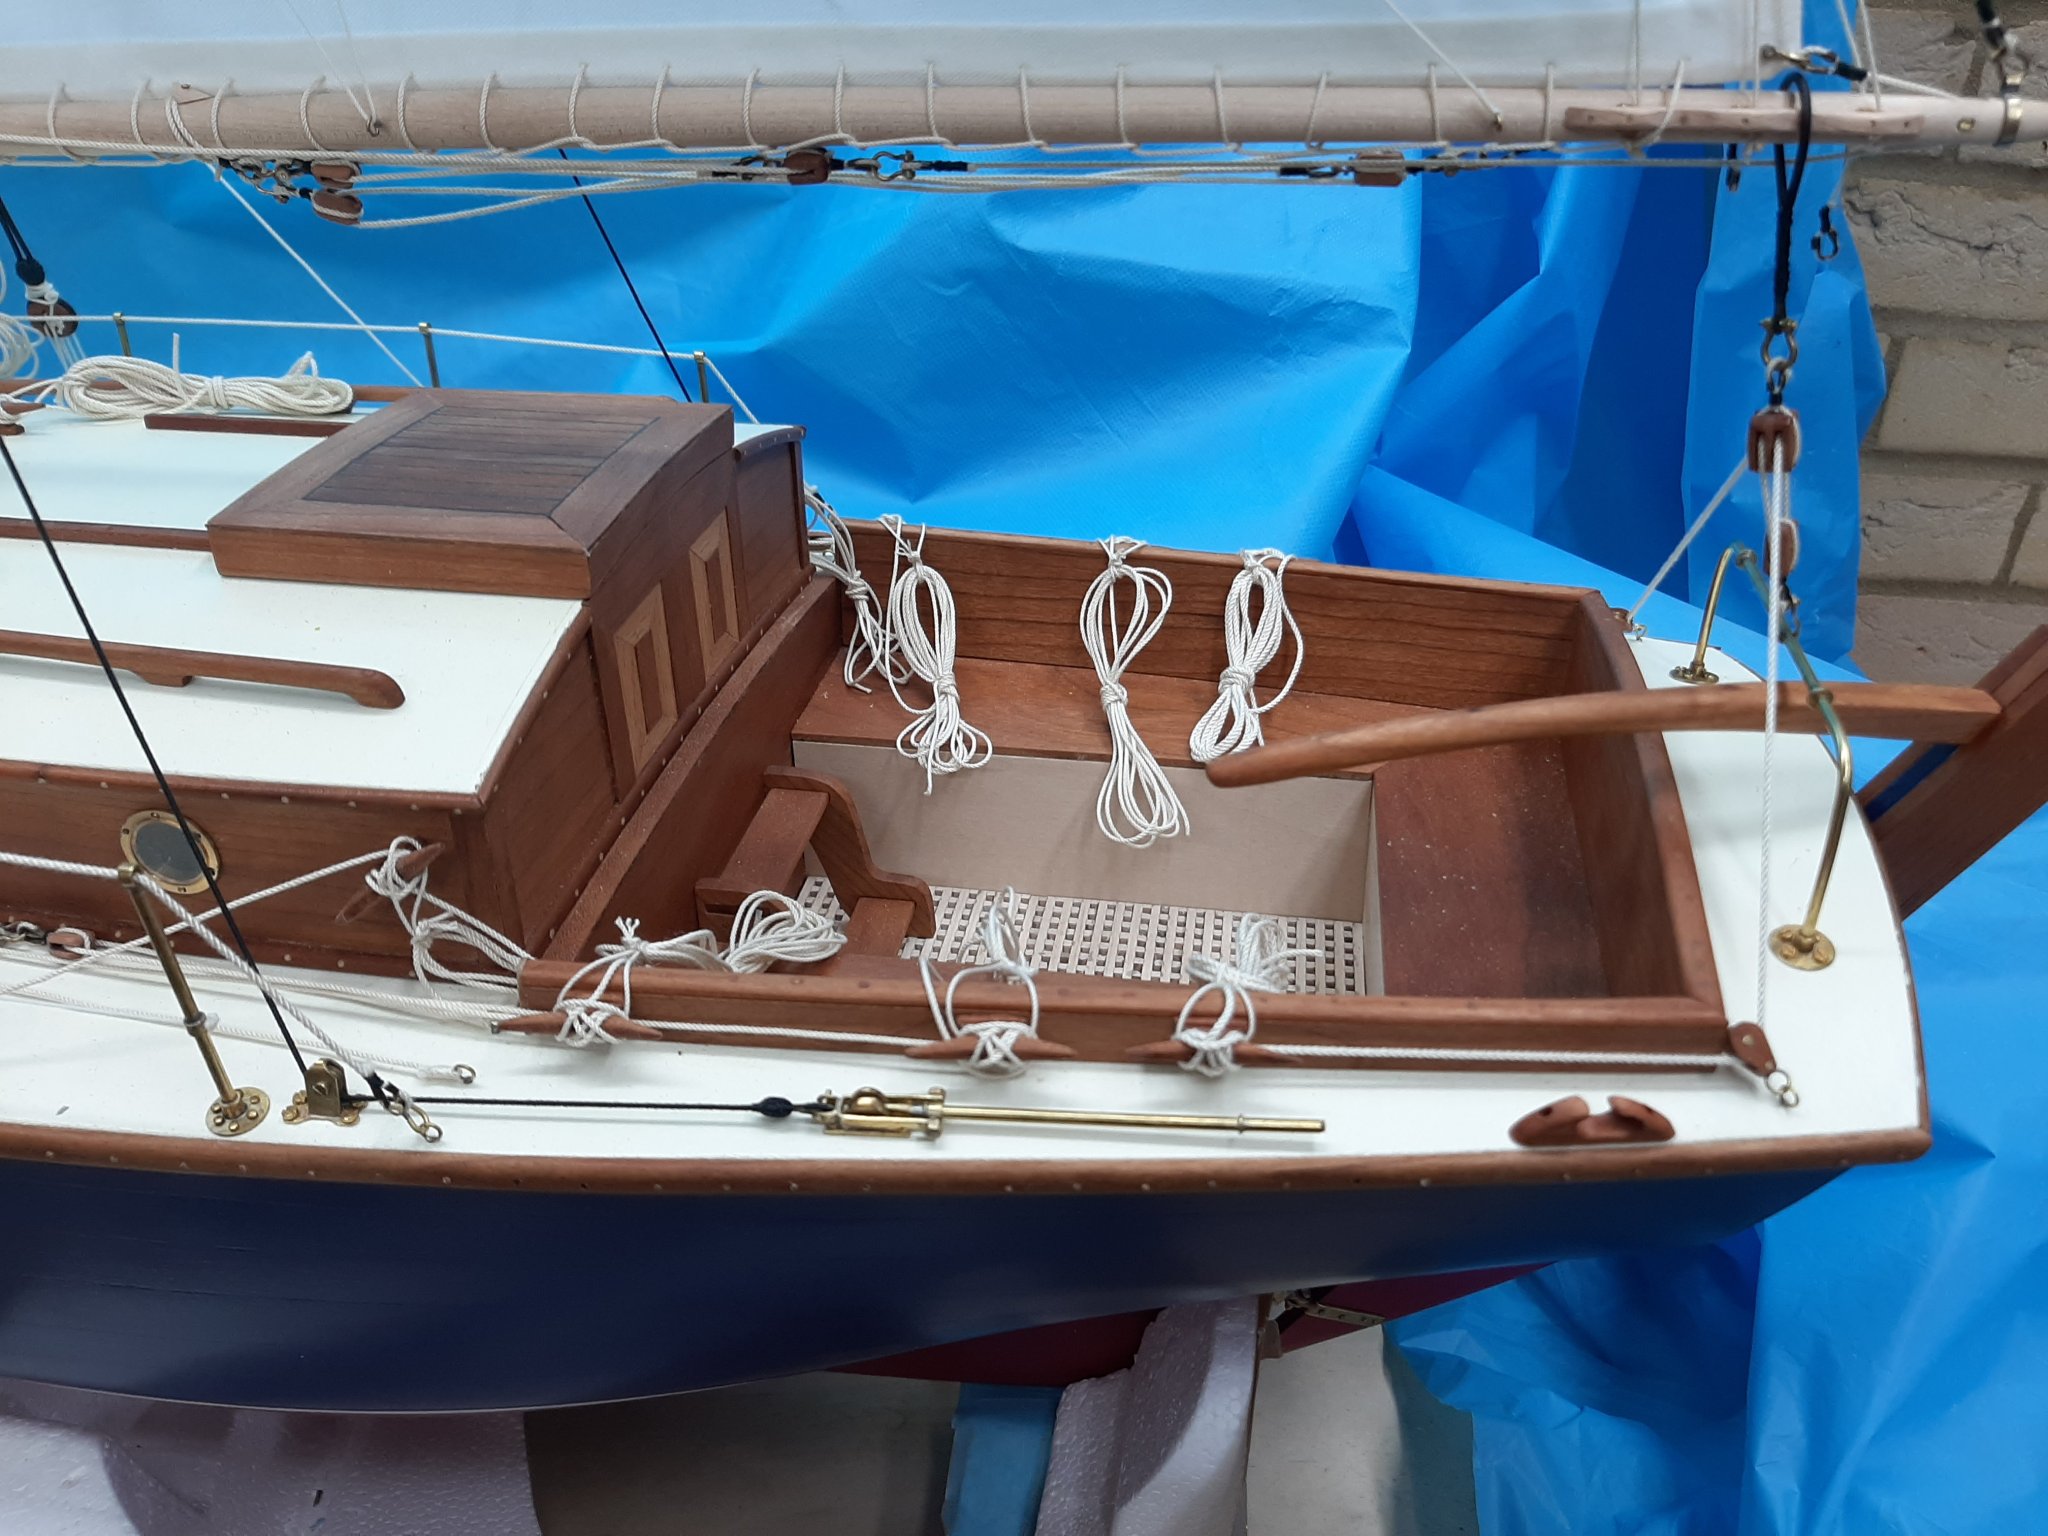
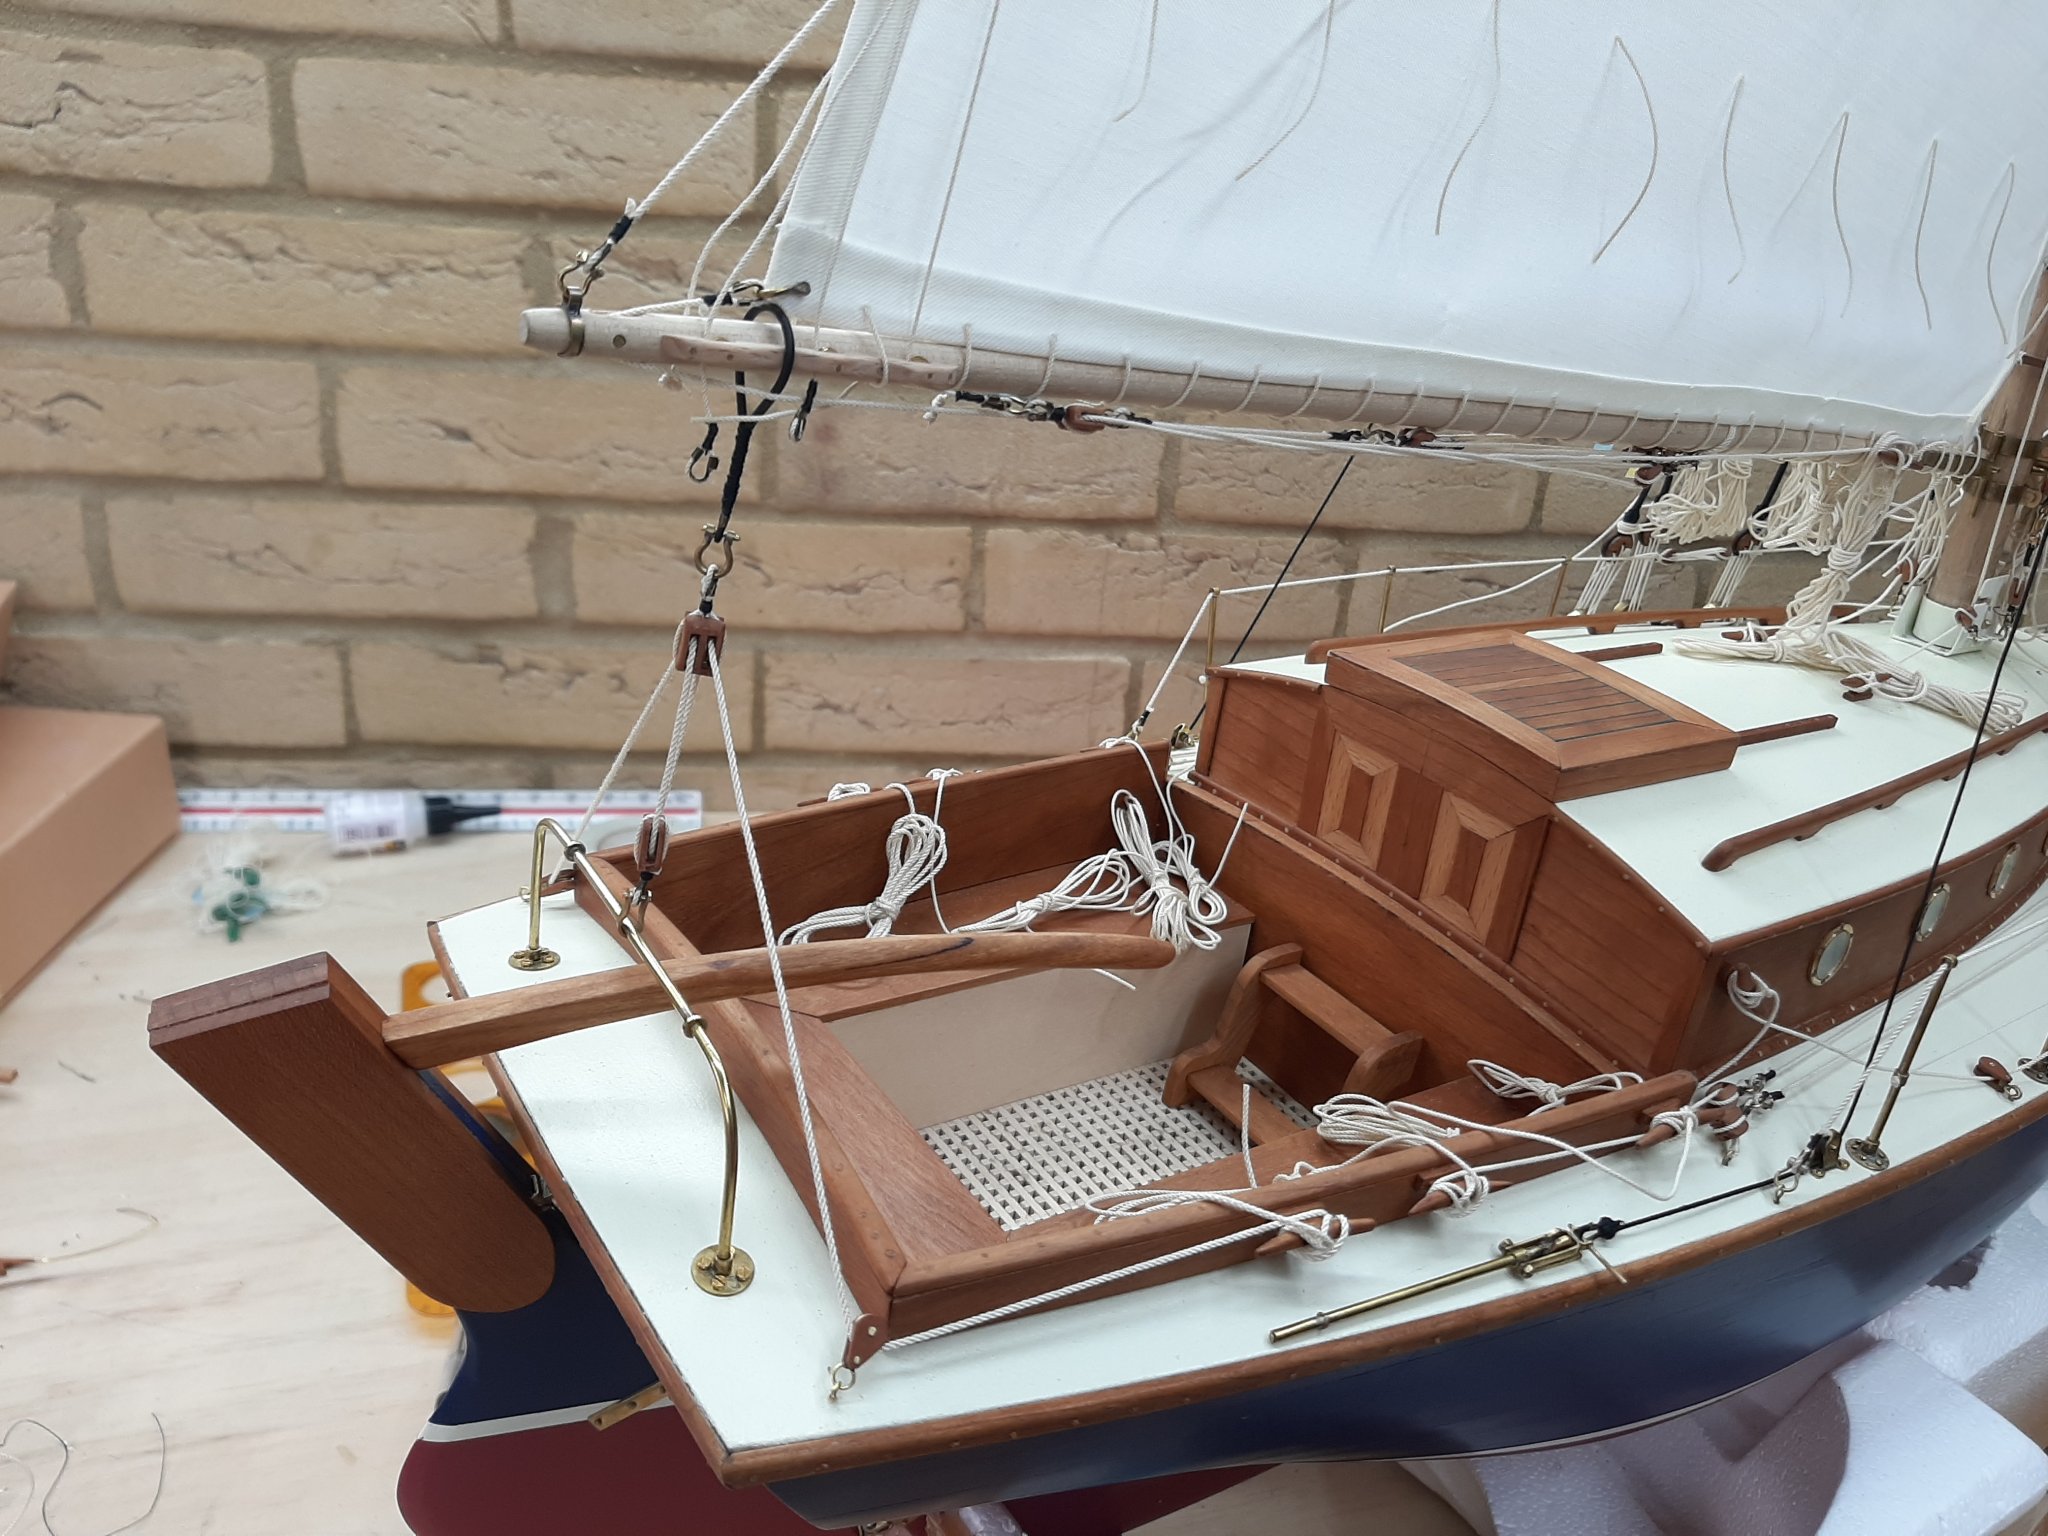
Everything is in place, the rigging done, the ropes neatly (pretty much) coiled. I put as much tension on the standing rigging as I dared but I suspect it could take a lot more-no need to push things though. I ve used rope made from the mara thread for the standing rigging which I hope will not stretch as cotton rope would-we will see.
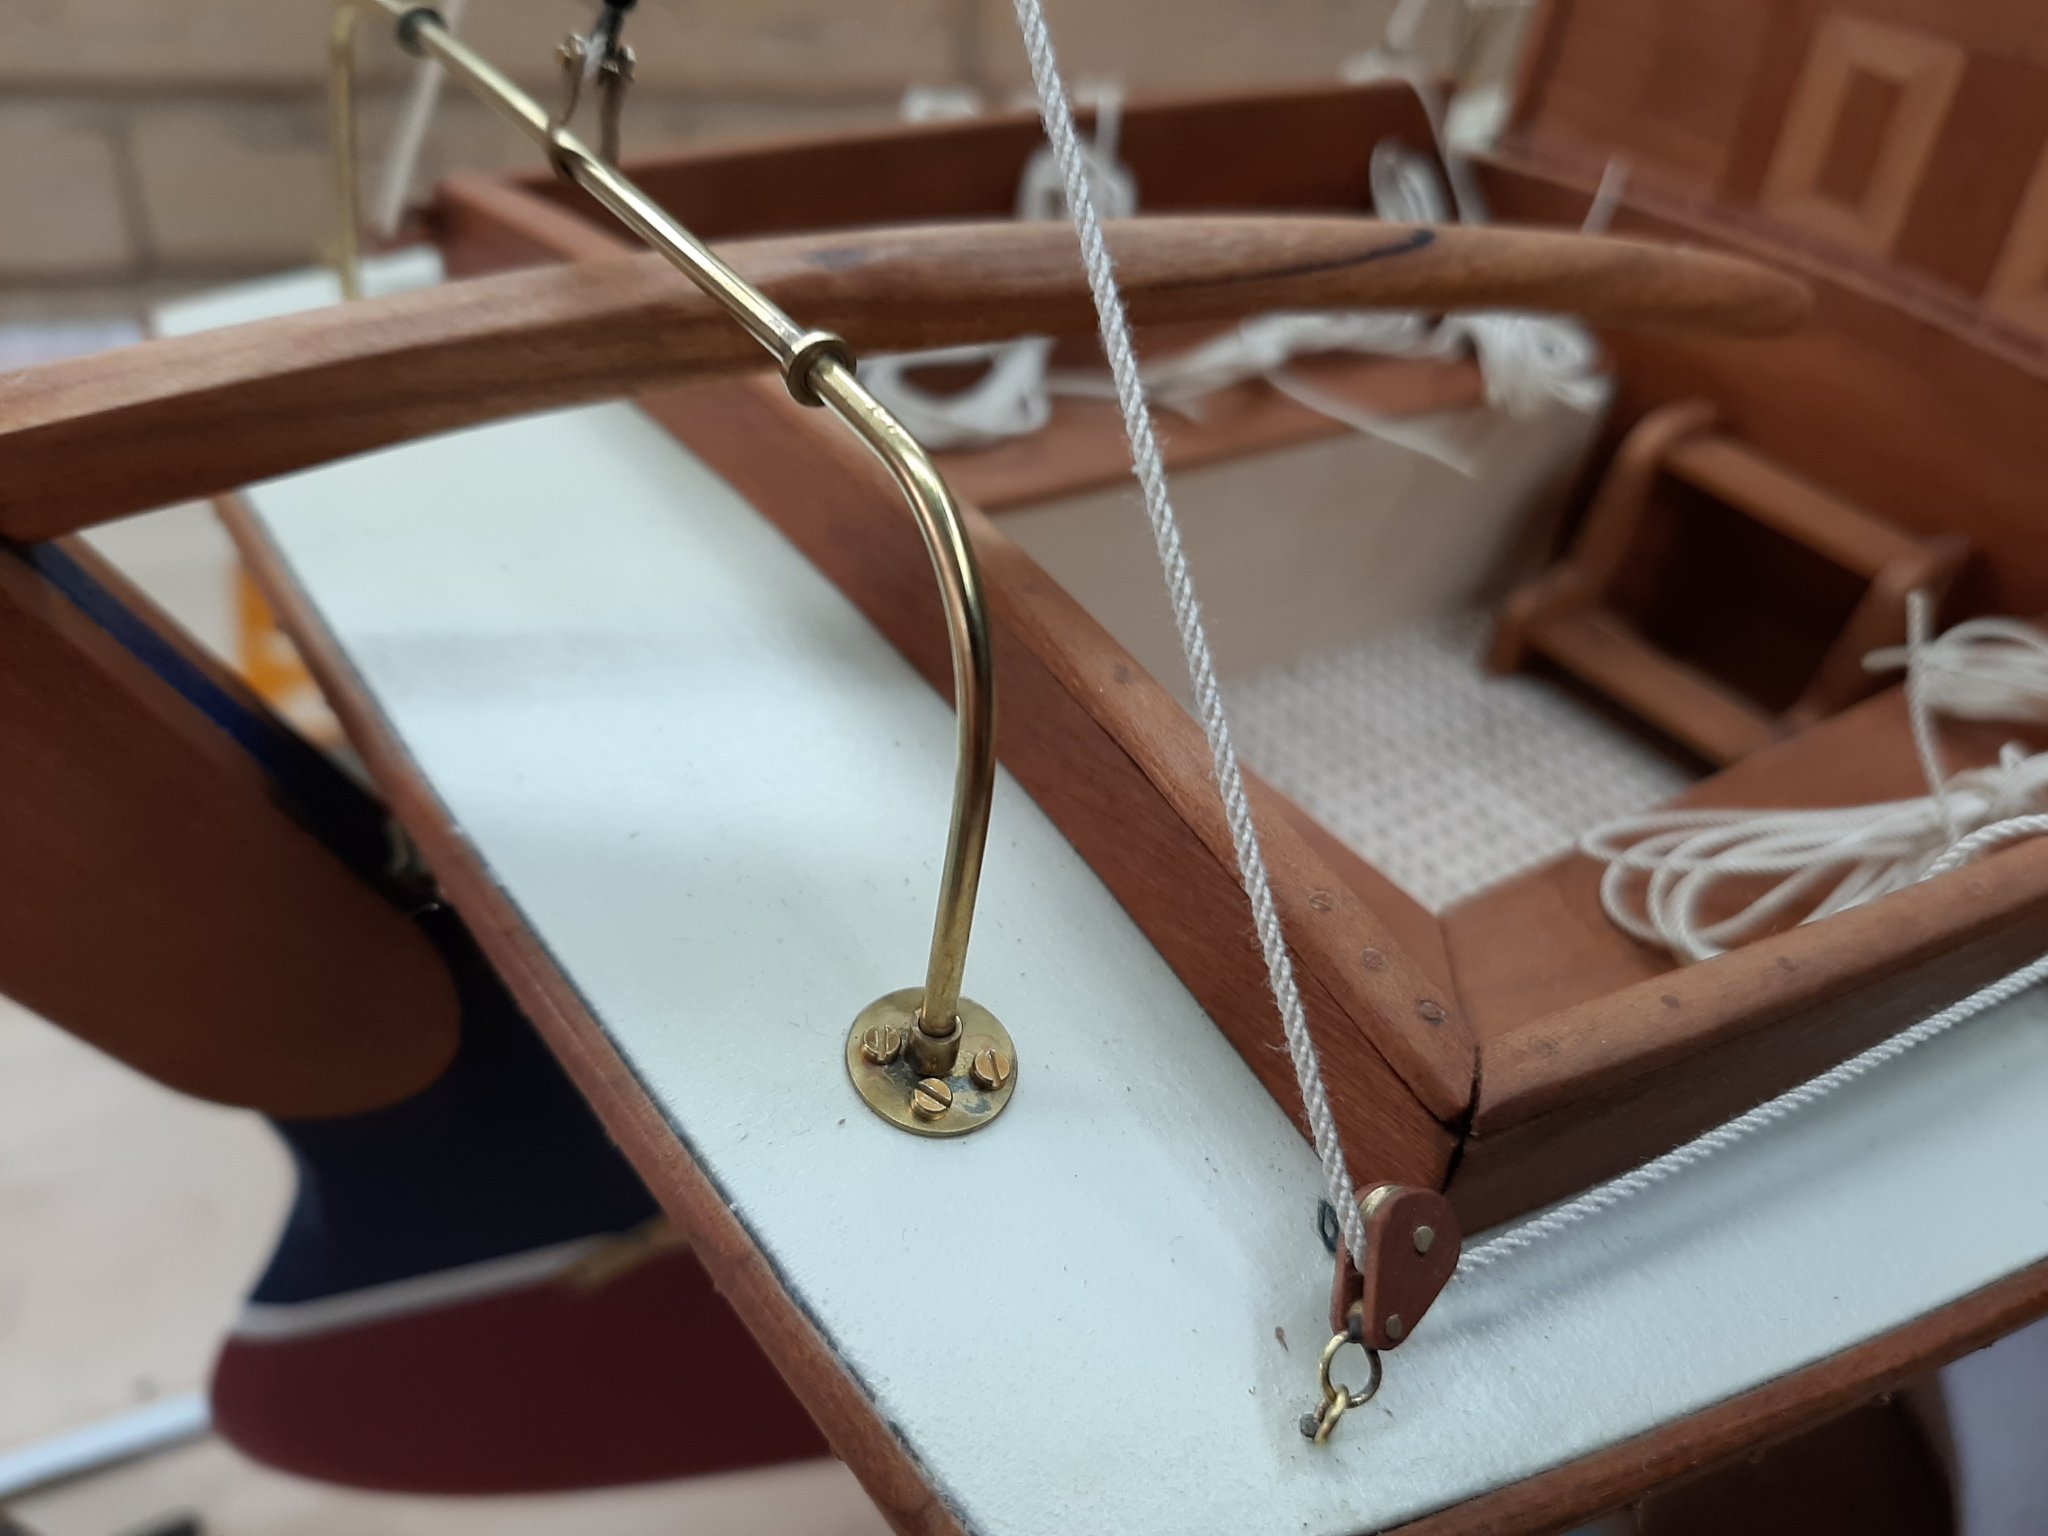
I also made a few fairleads for when the boat needs to dock. I need now to make some kind of base holder but I am unsure how to do it, I would like to make something very simple.
Some photos and a short video showing the function of the highfield levers.


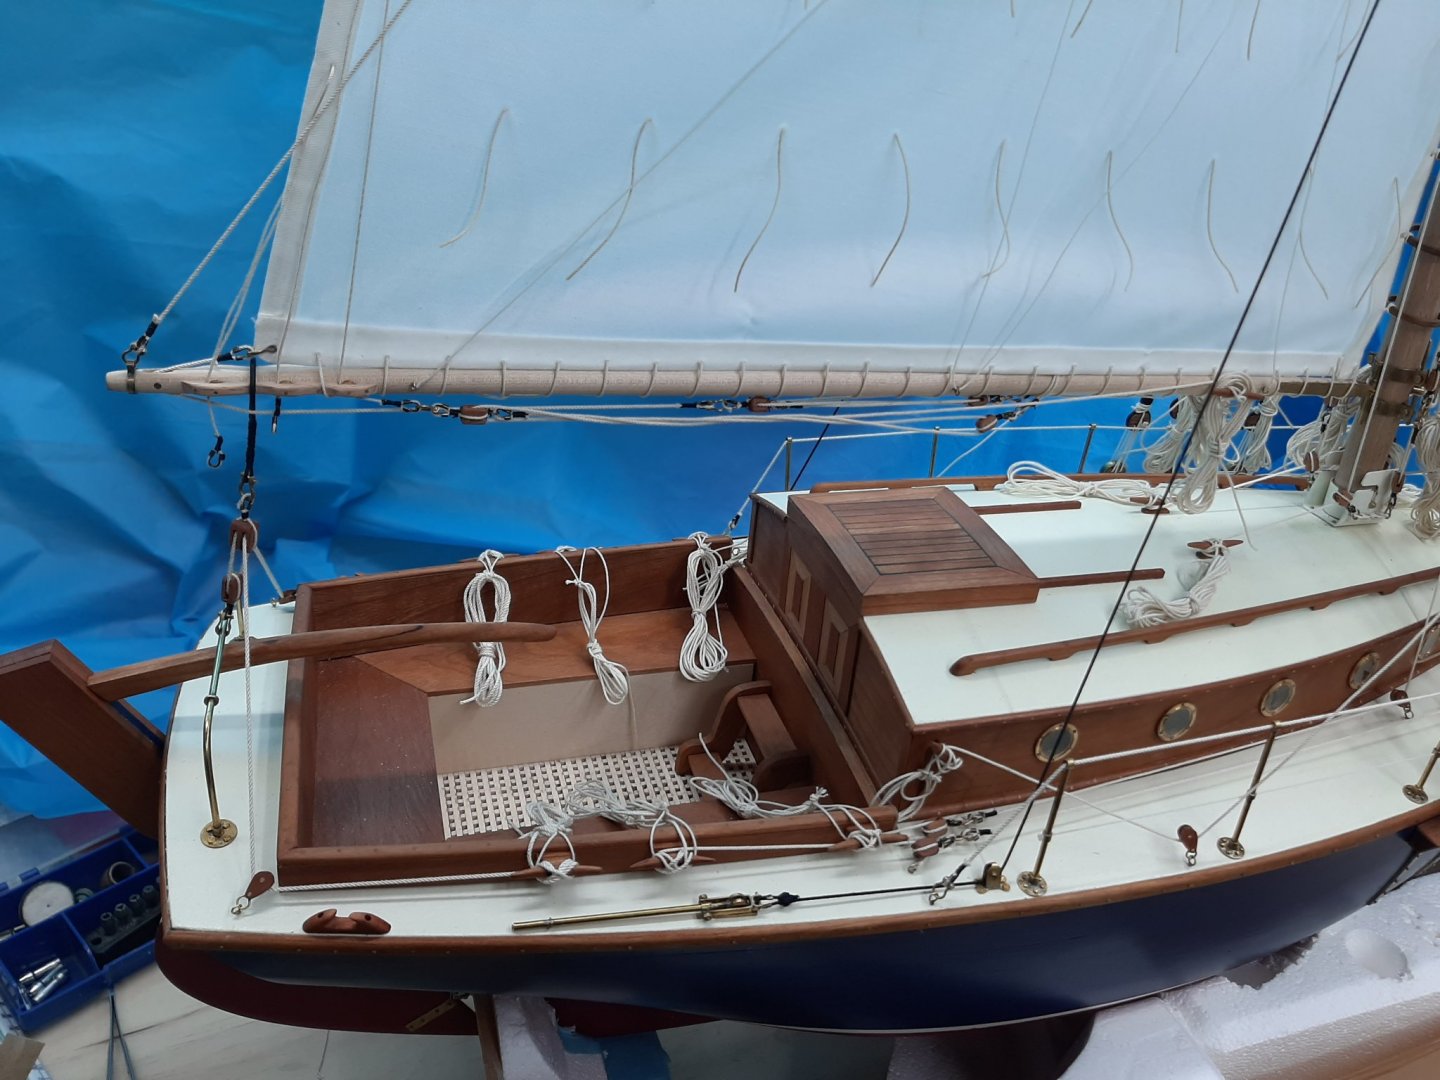

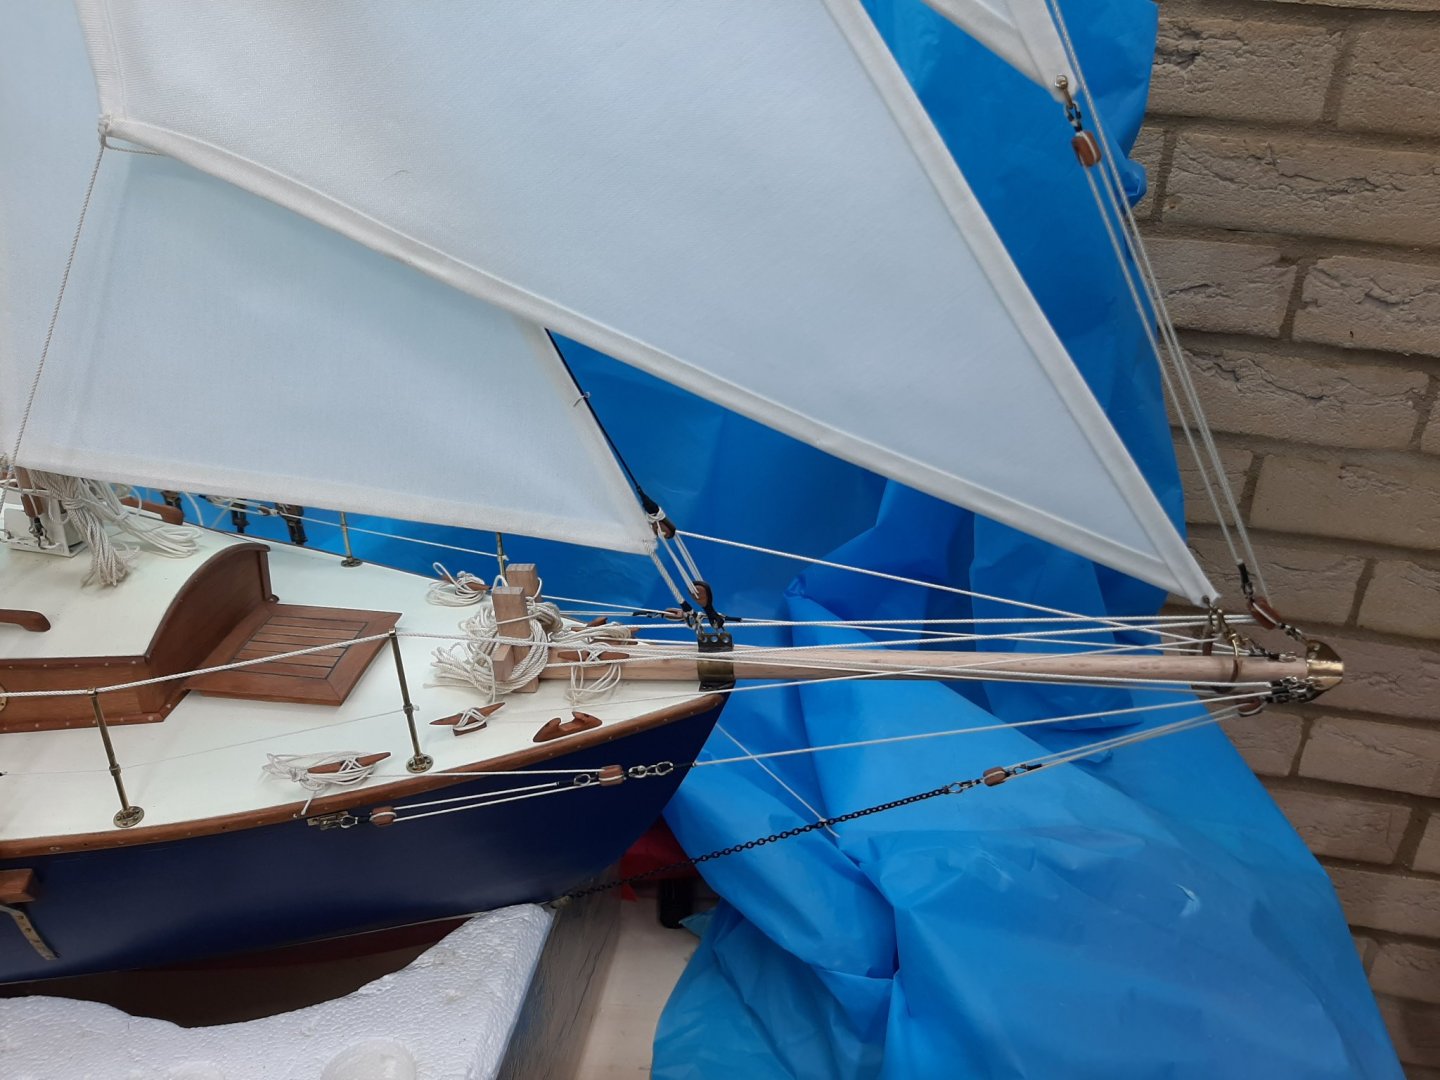


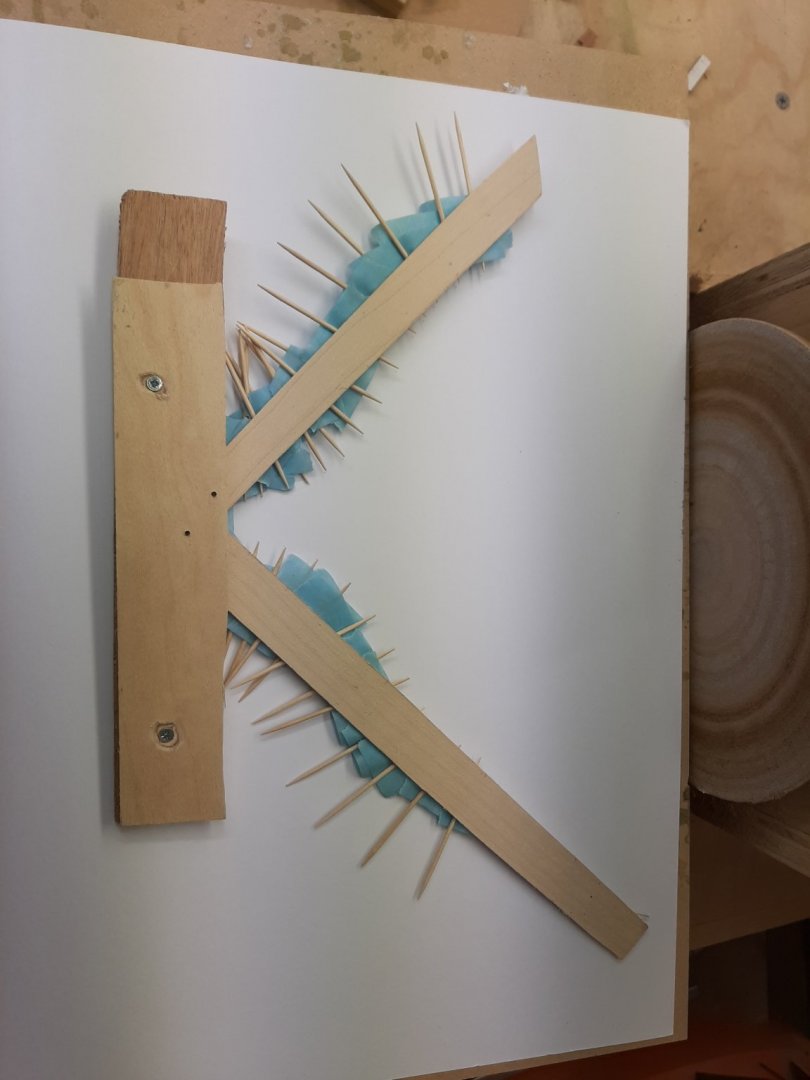
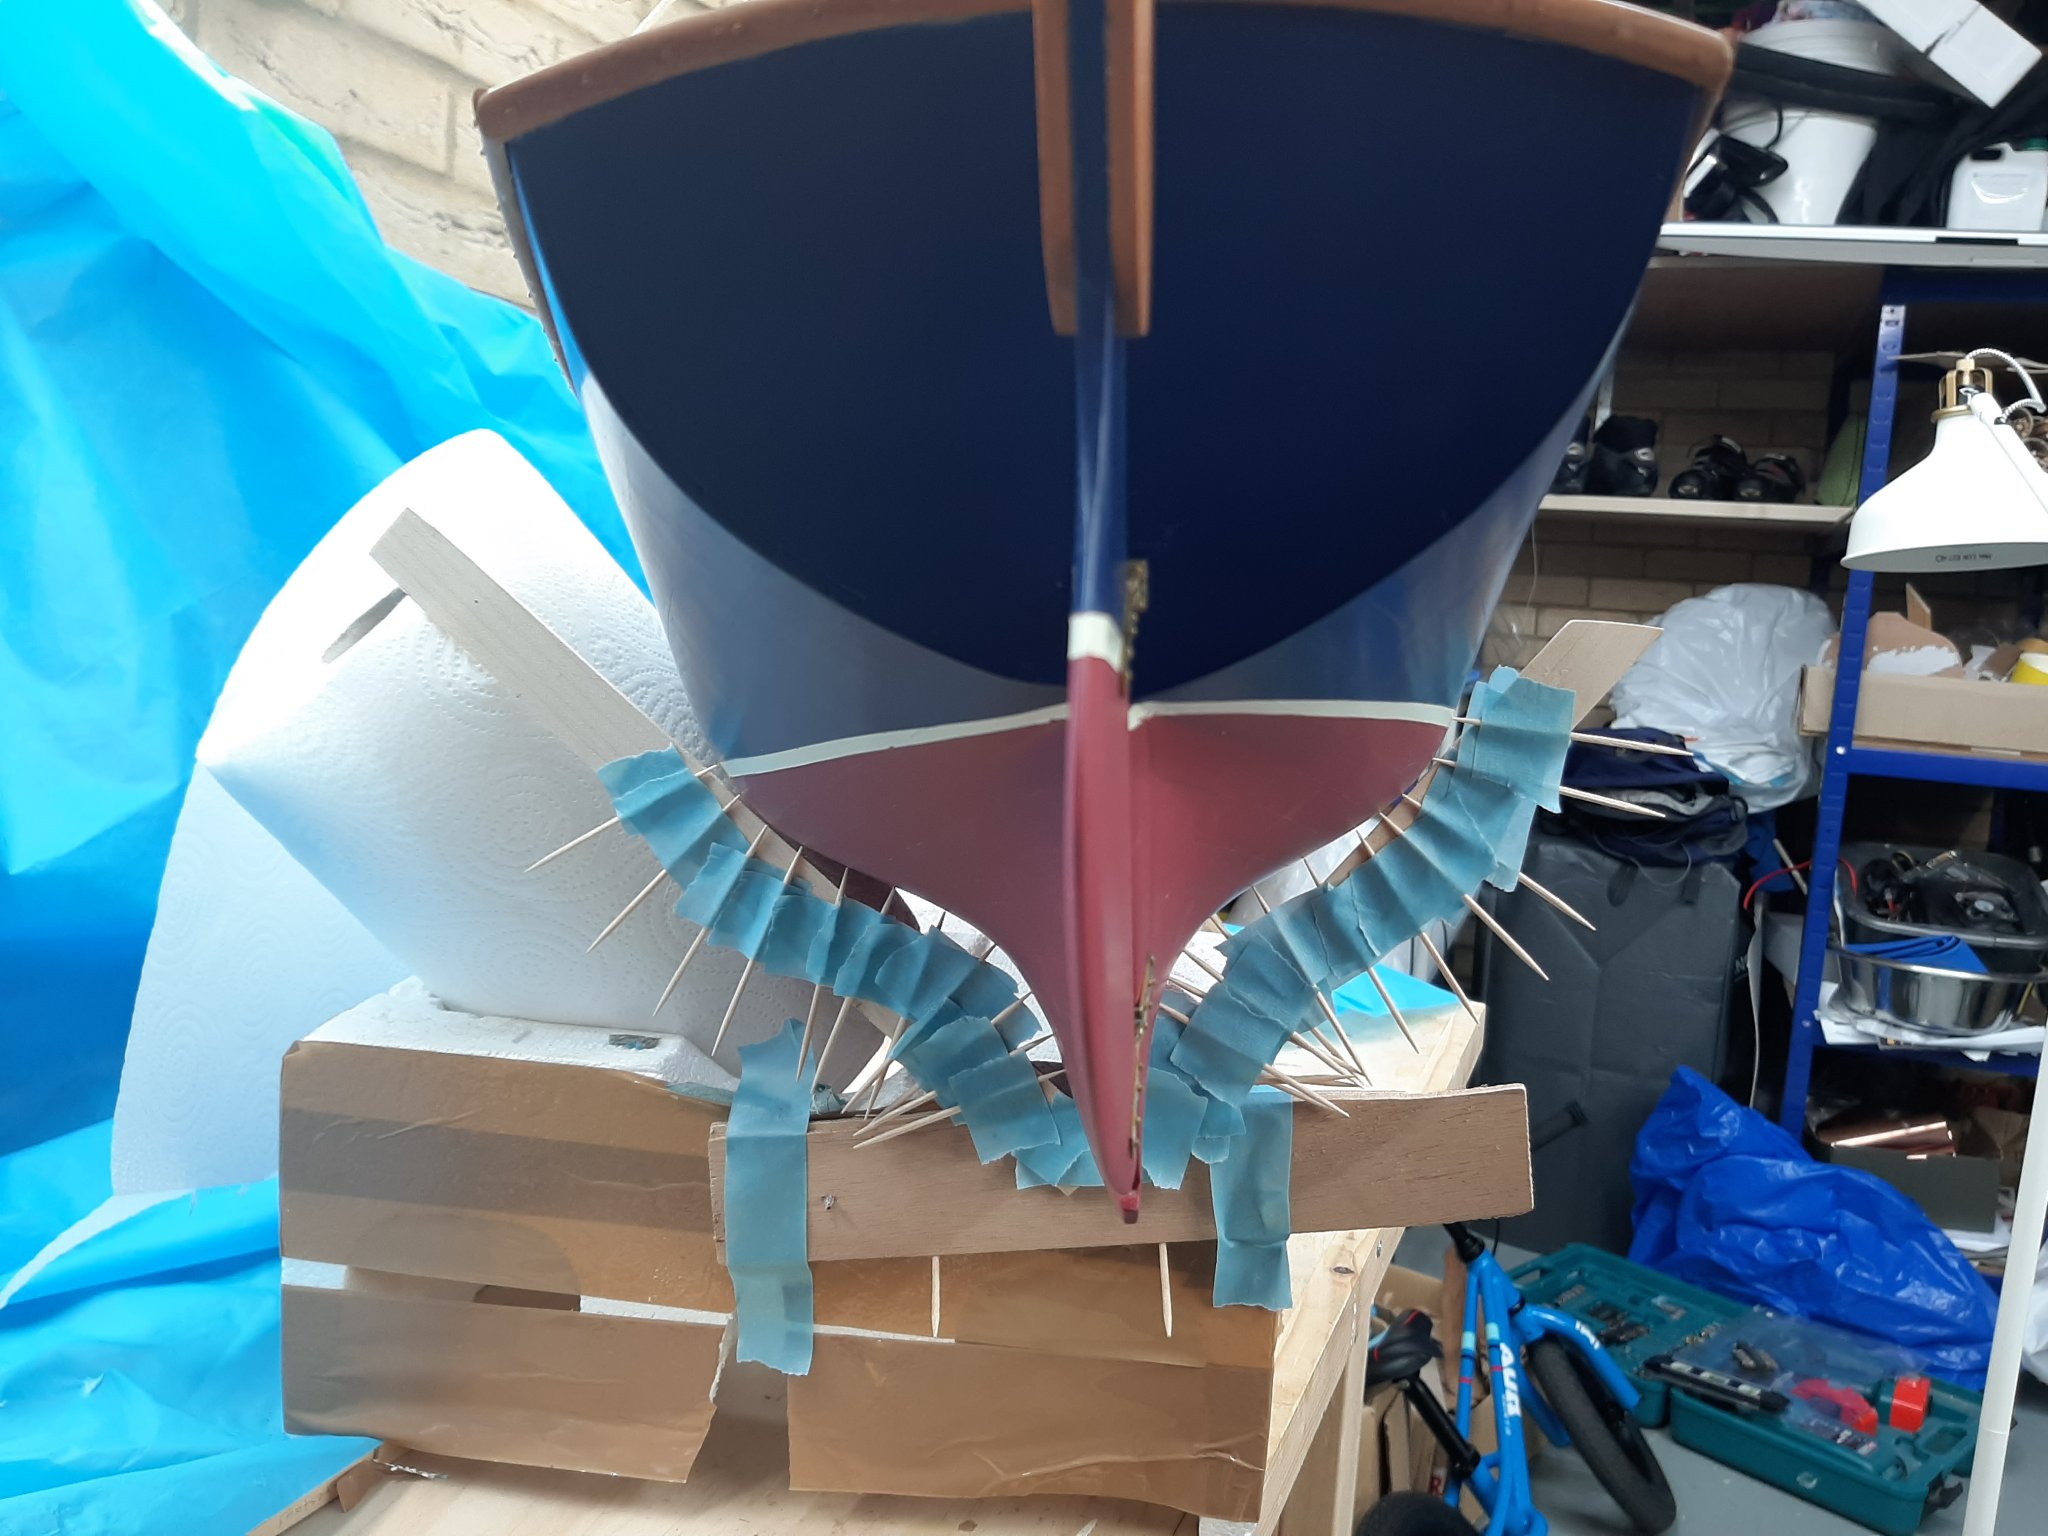
I started work on the base, I made a simple very flimsy jig to obtain the shape of the hull. I ll check tomorrow if the shape is correct but it will certainly be a good starting point.

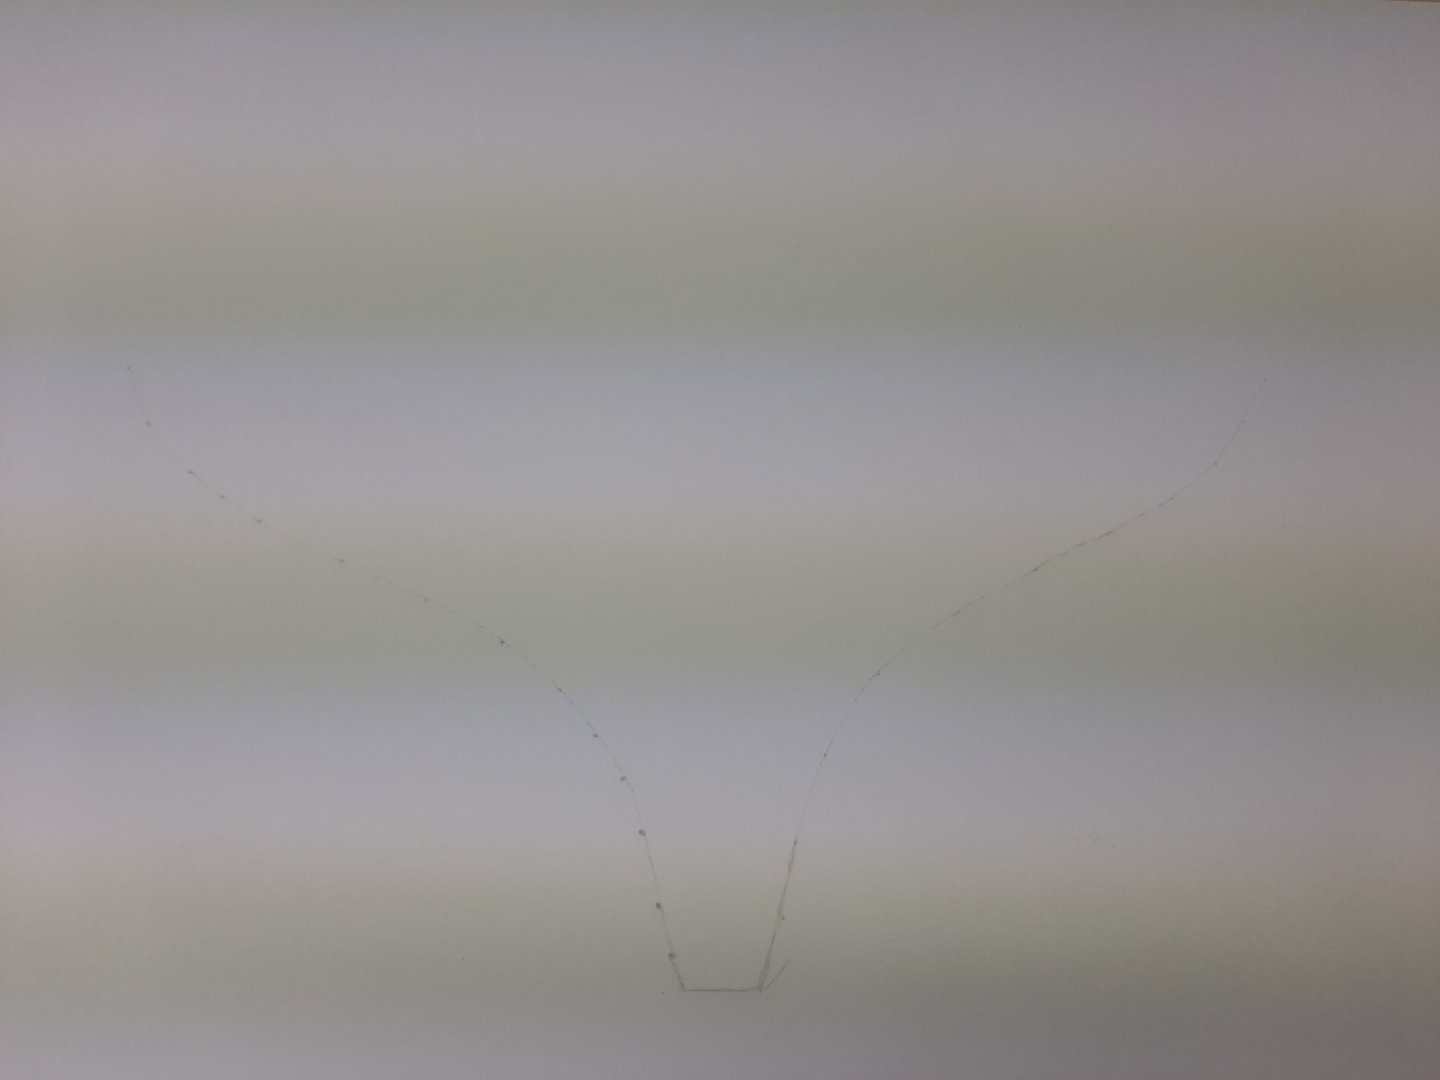
I will post the final photos after the holding base is made. At that time I will lower the sails as the boat will be displayed (kind of) with furled sails. This will actually be a lot of work!
-
English Rebel, thank you!
Bedford, I may take on your offer, especially if I actually build the yawl which will be equally large! I ll take a few pictures with the highfield levers in operation, a bit of measuring is needed but indeed they provide significant leverage and the backstay gets very slack, enough to accommodate the movement of the boom.
Michael, size is relative and this island of ours is tiny. Ah, the vastness of the Americas! I think it will be a long time before I cross the Atlantic again.
Vaddoc
- mtaylor, Mark Pearse and Bedford
-
3
-
Michael, Keith and Moab, your comments are much appreciated.
I think we are almost there!
I made the traveller and installed it. I then installed the main sail sheet and all the blocks and cleats.


I then installed the backstays, immediately the rigging stiffened up.
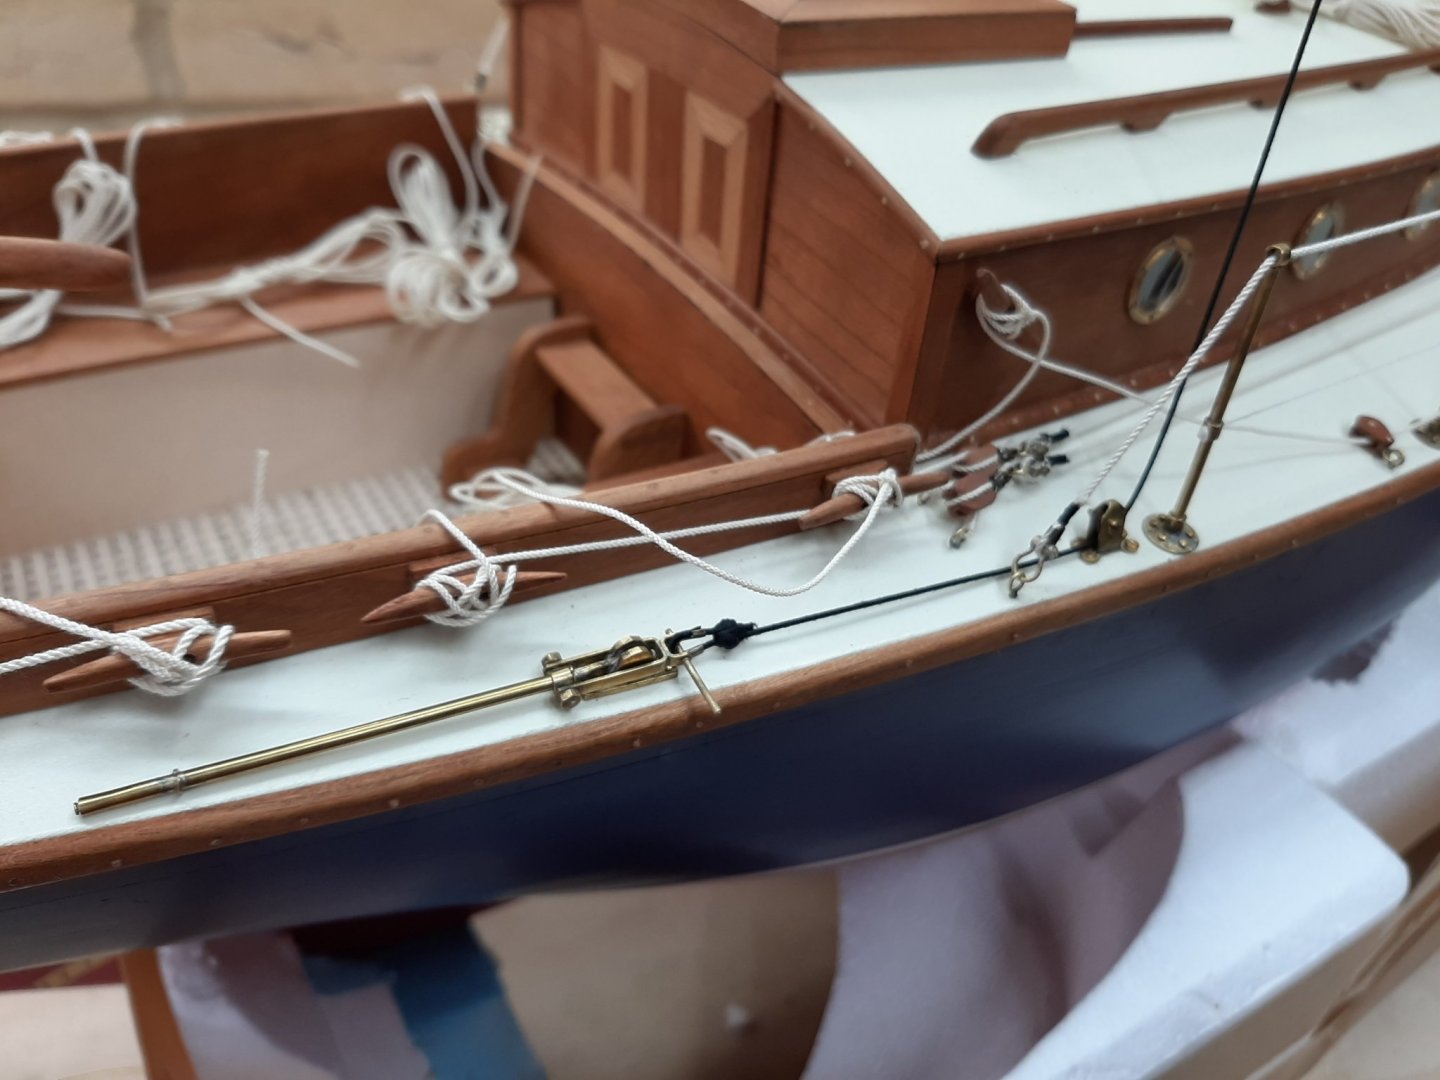
Up to now I used CA glue to secure the pin on the shackles. However, since I got the tap and die set, I actually found that threading the eyes of the shackles is a much cleaner method and actually makes the shackles removable.
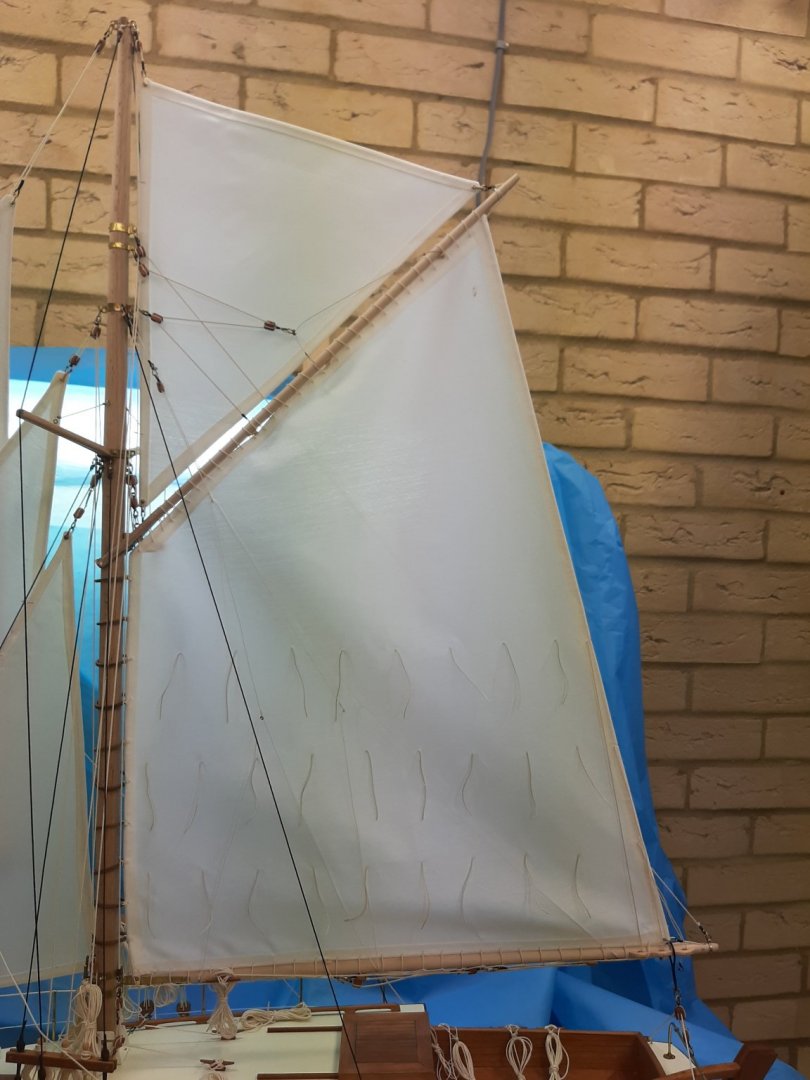
Both the standing and running rigging needs now to come down, re-done, the lines trimmed to length and coiled. The boat also needs a couple more cleats at the bow. However, it still feels there are not enough ropes...so lets install the lazy jacks!
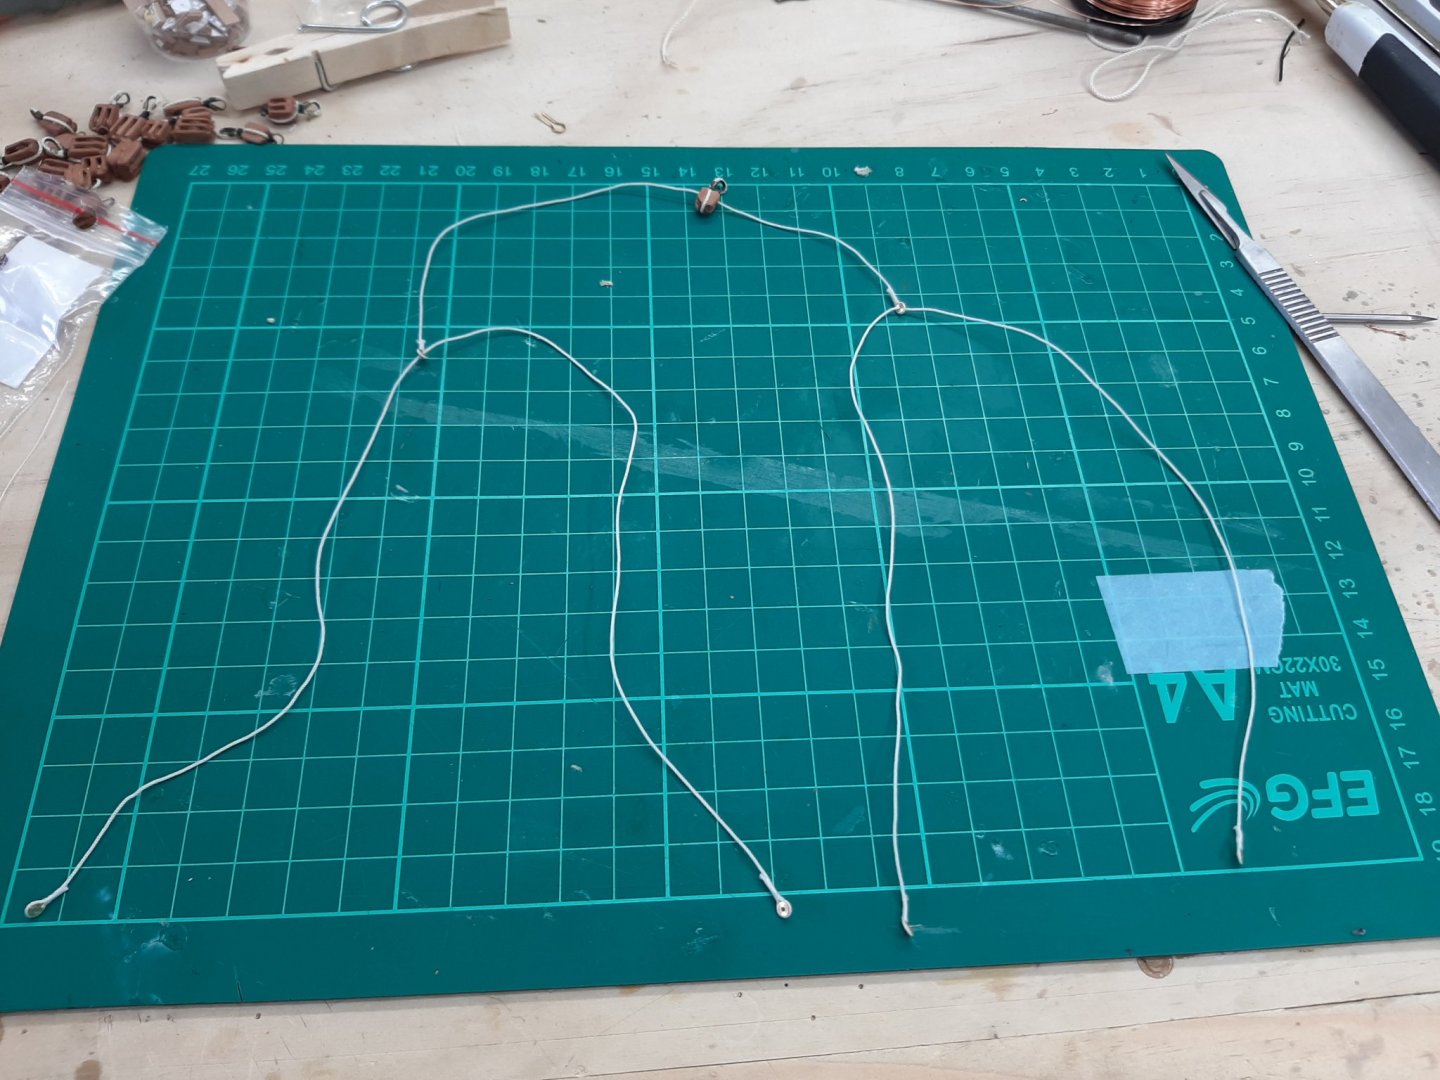
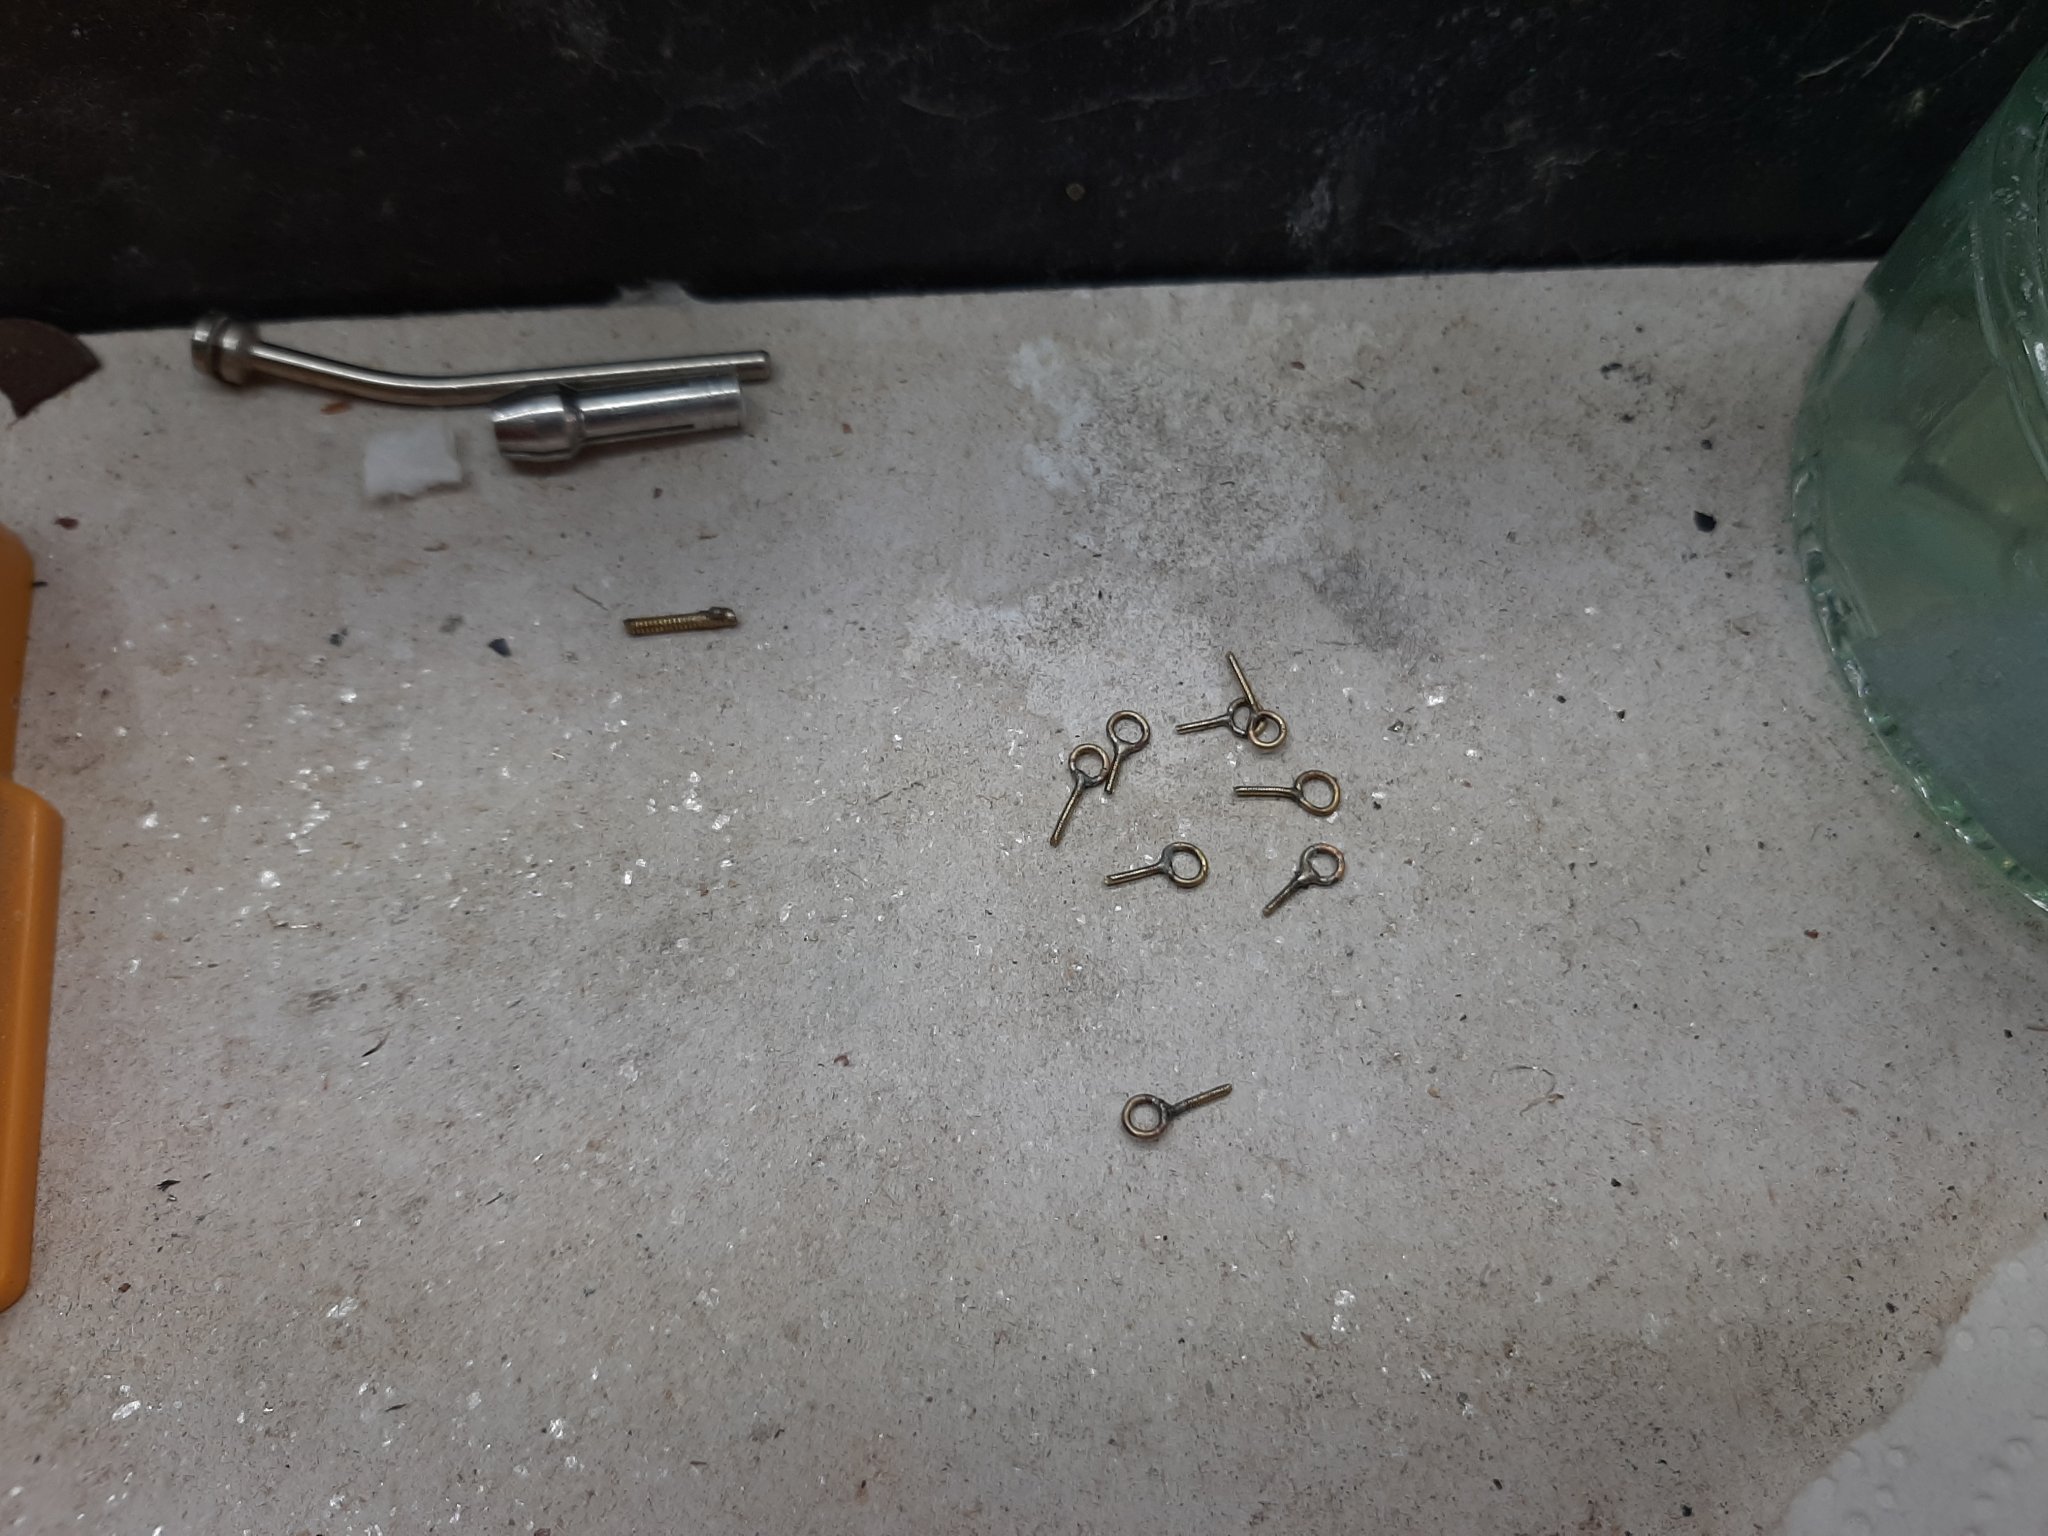
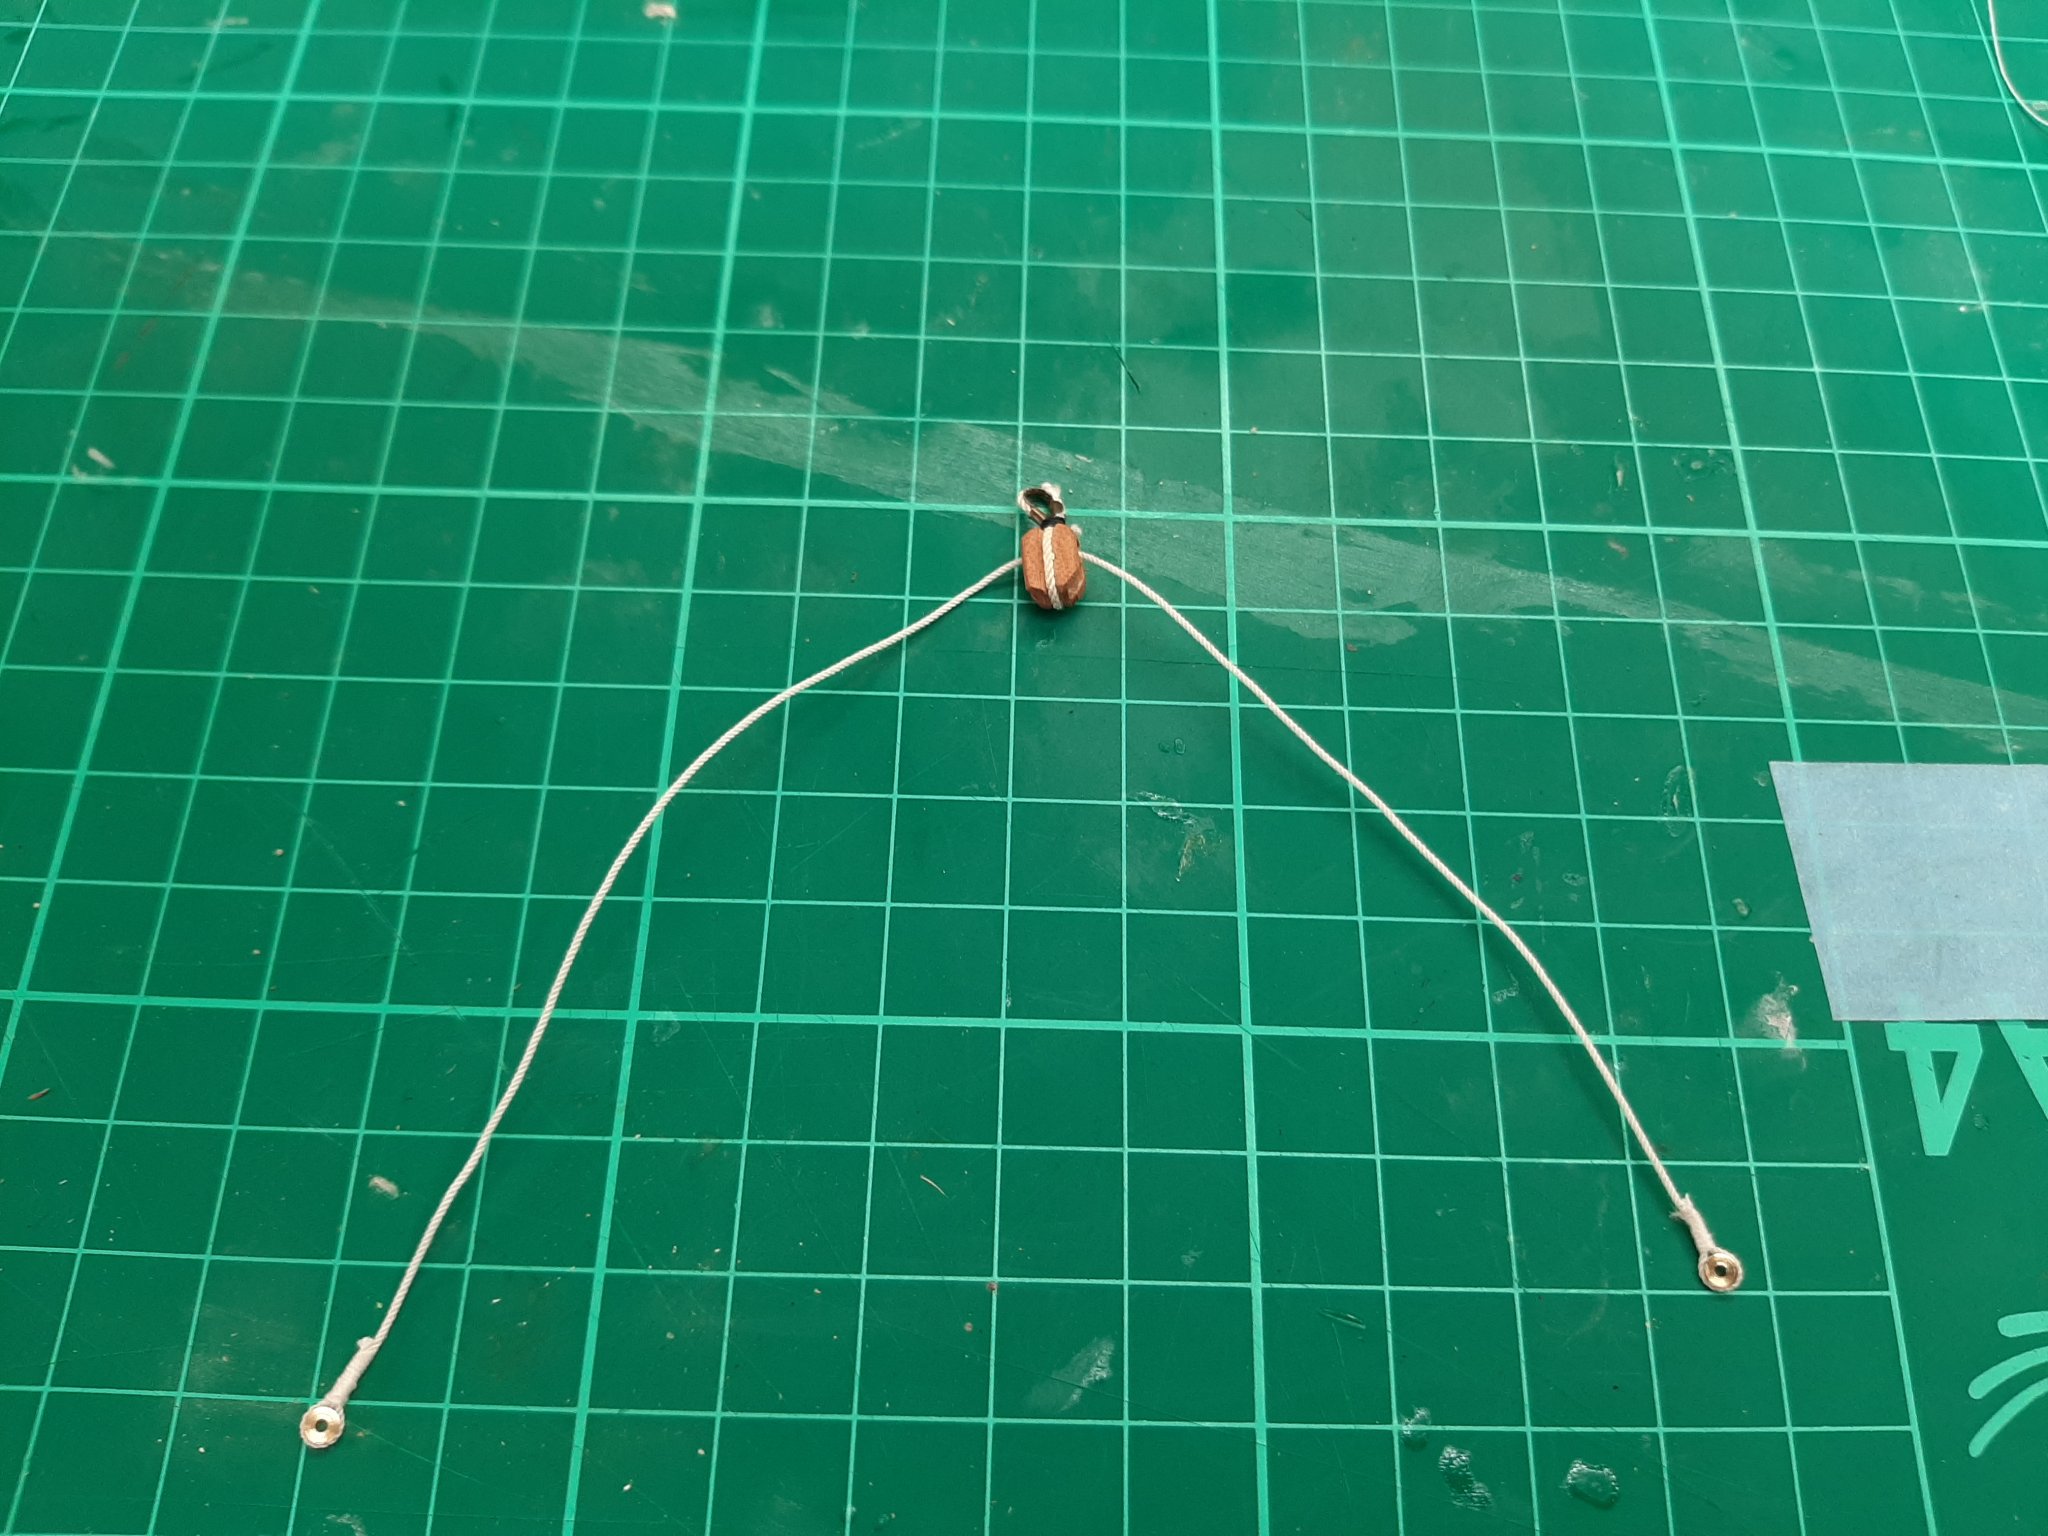
Now, this was a much more fiddly project than I thought. I used rope made from Chuck's Mara thread (for no particular reason really) and 2.5 mm sheaves. The eyes for the boom were made from 0.7 mm brass wire, soldered and threaded. It took a lot of work but came out fine. The first pic that follows is a mock up of how the lines would go so I could accurately measure the length of the ropes.
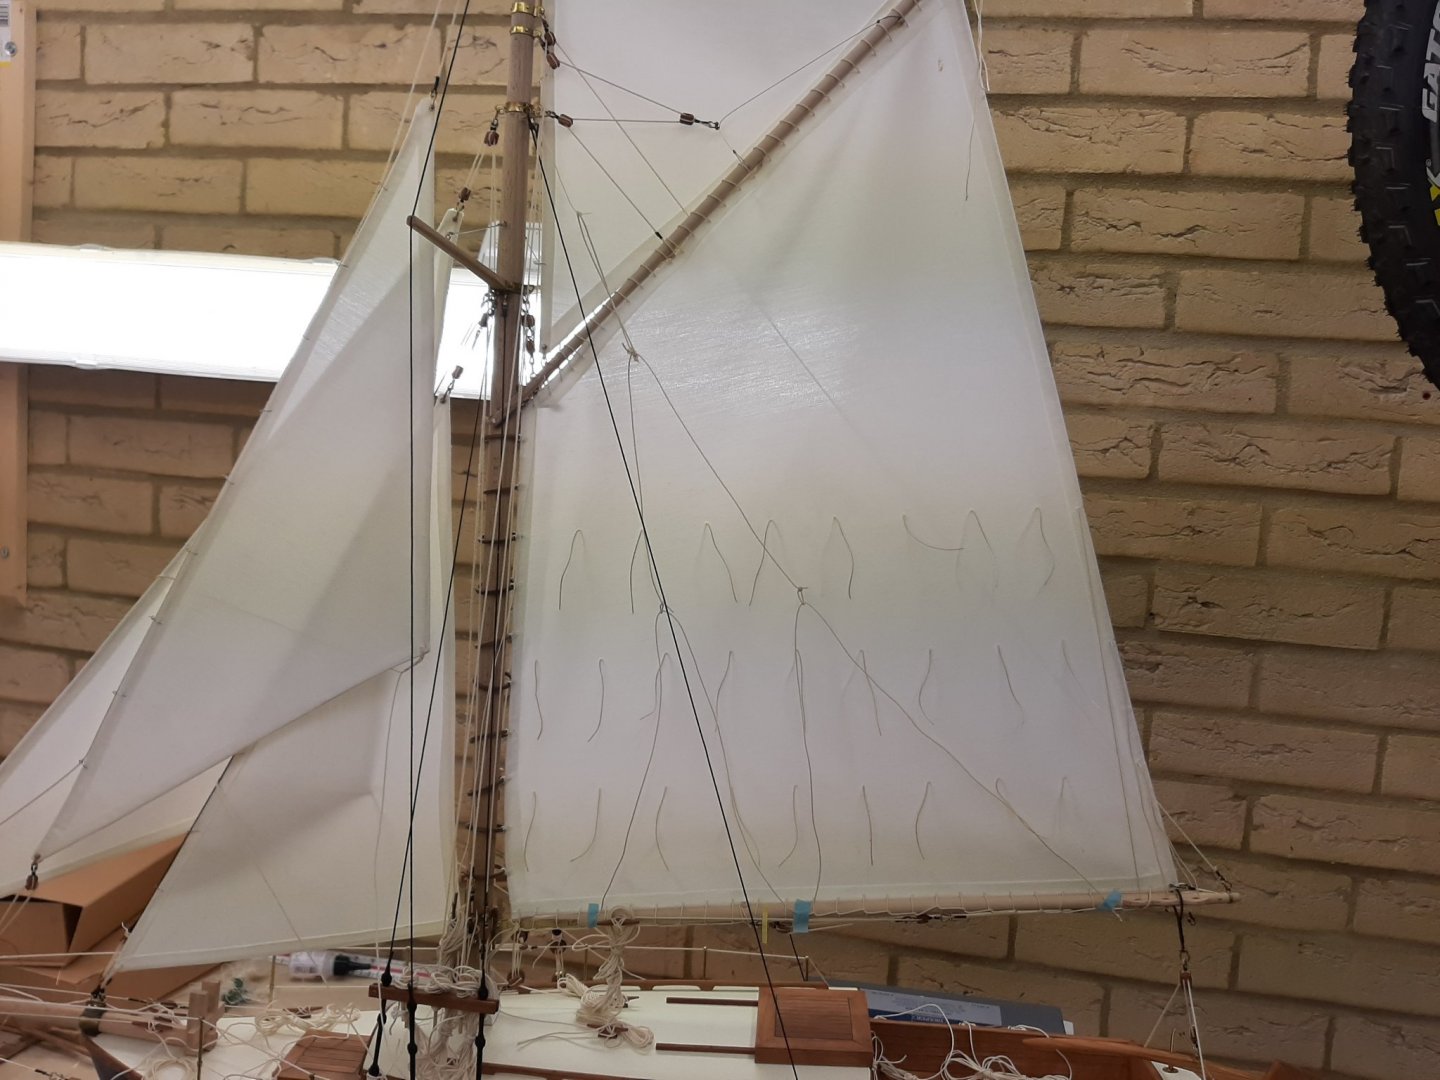


Actually, most of the lines had to be prepared before installation.
Next photo shows the lazyjacks finished, apologies though, the photo is pretty bad

Now three tasks remain
1. Re-do all the rigging, cross the t's and dot the i's.
2. Make some kind of holding base and take photos with sails up and furled.
3. Figure out what to do with this massive model!
- Moab, mtaylor, Mark Pearse and 6 others
-
9
-
-
Bob, I am not sure that the flow improver or the retarder are designed for the varnish. They are to be used with the acrylic paint that is completely different to the varnish.
You should not really have a rough surface after varnish, it should be very smooth. Also, It should not really feel tacky after all this time. I think that either your varnish suspension broke up by using too much thinner (the varnish is not paint, I think you can thin up to 20%) or that the water media evaporated before the varnish touching the hull. The Valejo varnishes have extraordinary self levelling properties. It could also be that these varnishes need water to thin and not the air thinner.
These are only some of my thoughts as there are very little info on the Valejo site or anywhere else really.
-
😁 I think my use of English failed me here
I mean, what is the advantage of mdf over plywood?
- chris watton and FrankWouts
-
2
-
Chris, do you know why mdf will be used and not plywood?
-
I tried Future (or Pledge over here). Not impressed, it is really a very diluted varnish, looks like a form of acrylic or polyurethane. Best to use the proper varnishes.
For the Valejo varnishes, be a bit cautious with thinning. Polyurethane varnishes thin with water but you can only add that much, I think just up to 20% before the varnish bonds start breaking down. It is supposed to be thicker than paint and brushes rough but its levelling properties are amazing. I tried years ago their previous acrylic varnish and was not impressed. I think you have their high end polyurethane varnish, I have not used it. Not sure how these varnishes will react to spraying. The water based varnishes are nowhere near as tough or as consistent on behaviour as the enamel ones but are much easier to use. The matt varnish will need really good stirring, probably constantly as you go along.
Definitely experiment. I had a spectacular failure with my rudder where the polyurethane varnish congealed and separated. Not sure why, I did experiment with various ways of thinning (on the rudder!), adding retarder etc and the varnish did not like one of the combinations.
-
-
This is a fine boat, very nice especially considering it is your first wooden model.
Beside kits there is also the dark side, you could of course scratch build anything you like. A simple boat at a somewhat larger scale could be lots of fun and also educational.
-
-
I d give it a day to be sure. Use the special low tack non bleeding tapes, Tamiya, yellow frog or equivalent. They will not lift the paint but good practice to remove tape as soon as possible as the bond generally gets stronger as time goes by.
I left ordinary masking tape a bit too long and it lifted the varnish from my cabin top
-
Hand brushing I always need more a dozen coats, especially if the surface underneath is a very different colour hence the need for appropriate primer with grey being the more versatile . I leave 15-20 min between coats and put all coats at the same session if time permits.
So airbrushing seems to be 20 times faster than handbrushing.
-
I enjoyed very much going through your log Ilhan. Great job! A very well thought process, looking forward for the rest of the journey
- Keith Black, mtaylor, druxey and 1 other
-
4


Yenikapi12 by woodrat - FINISHED - 1/16 scale - a small Byzantine merchant vessel of the 9th century
in - Subjects built Up to and including 1500 AD
Posted
Dick, my boats are held together exclusively by tree nails( and a bit of epoxy). I use the screws to temporarily hold things together, then proggressively replace with treenails. I have used many thousands!
I buy the screws by the thousand, either from aliexpress or ebay. There are two kinds, I only use the stainless steel ones as they are harder. The ordinary screws are mild steel and the head gets rounded off easily. Easy to tell between them, the stainless steel ones are non magnetic. At these scales I find them very useful. They need a pilot hall with 0.7 mm drill. Extremely strong hold of the wood