


Bob Cleek
-
Posts
3,374 -
Joined
-
Last visited
Content Type
Profiles
Forums
Gallery
Events
Posts posted by Bob Cleek
-
-
1 hour ago, Howard_And_Olivia said:
Thanks, Bob. I did a quick research and found patent 19,693 (Joseph Francis);URL links below.
Guessing from the 19083 vs 19693 (610 difference), I suppose they are likely from the same year?
Quite possible, for sure. The US Patent and Trademark Office has an extensive patent research engine on its website, although I've never figured out exactly how to use it efficiently. I ran a general search for the number and got nothing. That doesn't mean it isn't there. There were many, many maritime patents, and lots and lots of "also rans" that never came to anything. Some are quite entertaining, If you take the time to wade through all the hits for "lifeboat," etc., you may be able to find the patent application that matches this model. Good luck!
-
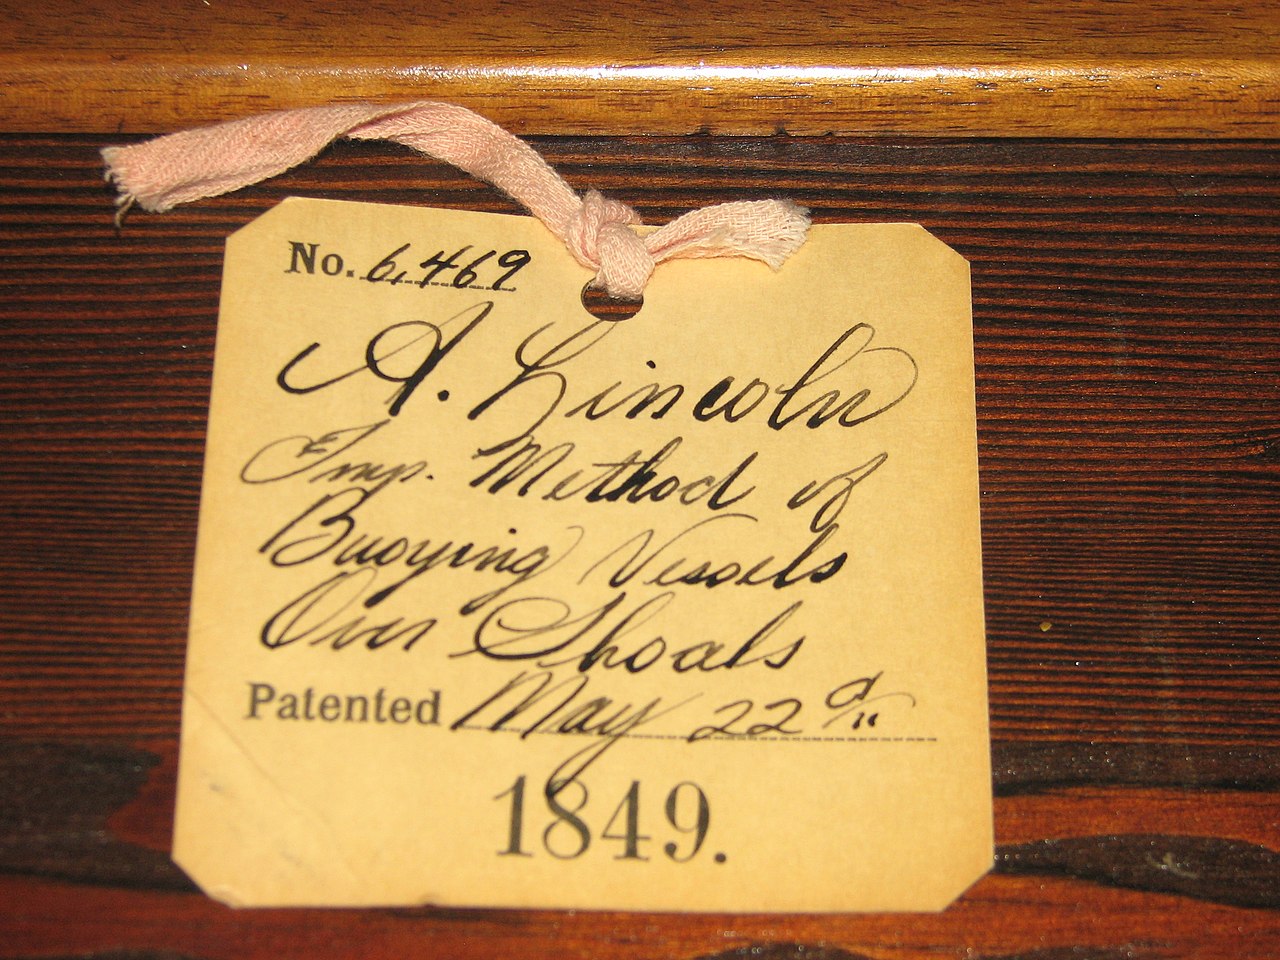
Yes, "patent models" were once required to be submitted with every patent application. The US Patent and Trademark Office had warehouses full of them going back to the beginning of the government. They eventually dropped the physical model requirement and back in the 1970's or so, as I recall, they cleaned house, retaining some of the historically remarkable ones, which went to the Smithsonian, which once exhibited Abraham Lincoln's patent model for his "Improved Method of Bouying Vessels Over Shoals." https://en.wikipedia.org/wiki/Abraham_Lincoln's_patent
The rest of the old Patent Office models were sold off to the public and snatched up by antique dealers, finding their way via the retail market to bookshelves and mantles as decorator pieces. I once had a patent attorney colleague who decorated his large patent law firm's offices with them. This could very well be an old Patent Office Model. The models had to depict the invention that was sought to be patented, so they were often partial models with the focus on the patentable aspect of the thing. In this instance, there may have been something inside the model hull that was the focus of the invention and somebody who wanted the hull pulled that out with the intention of building something else inside the hull, but never got around to it.
- bruce d, Keith Black, Dave_E and 4 others
-
 7
7
-
2 hours ago, Howard_And_Olivia said:
Sorry if this is a silly question-- Just curious, why the old kit models don't have any collector value?
For much the same reason as any other work of art. If an amateur grandparent painted a picture of a subject that had been painted many, many times before (particularly a "paint-by-numbers" or "Elvis on black velvet" work,) it's probably not worth much, but, if it's a nice enough painting to look at that you'd want to hang it on your wall, then it's worth cleaning up and framing and hanging it up. It will never bring a high price at an auction, but you will always have a nice picture "painted by my grandfather" hanging on your wall to give you pleasure. On the other hand, if your grandfather was Pablo Picasso...
- Ryland Craze, druxey, ccoyle and 3 others
-
6
-
Yes. There were 300 copies printed in this run. Anybody who collects modeling books has surely lusted after one. They originally retailed around $3,000 each, but apparently didn't sell well at all at that price point! The few that were sold primarily went to well-endowed academic libraries, from what I've read. I've seen them offered for as little as a few hundred bucks in later years. I suspect these sets were purchased as investments which disappointed. The ads often tout them has having only having the plastic wrapping on one or two of the seven (I believe) volumes having been removed, which indicates to me the owner never looked at the whole set. I've seen photos of the bound set and have ordered individual HAMMS prints from the Smithsonian, but I've always wondered if the bound set includes all the photographic records on the survey subjects, copies of which the Smithsonian also sells, or just the drawings. This would be one set that cries out to be digitized in CD or thumb drive format for on-screen viewing and printing of plans on a large format printer. I doubt that will ever happen, though. The HAMMS and similar collections are probably big profit generators (relatively speaking) for the Smithsonian Institution.
- bridgman, Keith Black, ccoyle and 4 others
-
7
-
Very clever use of the drawer front edge holes and the alligator clips! That trick just went into my memory bank for future use.
She's sure coming along beautifully, Rob. Thanks for sharing. I know these build logs take time and effort.
-
6 hours ago, Roger Pellett said:
Master model maker Harold Hahn developed a system for mass producing frames for POF models from two layers of solid wood. Standardized shapes were fabricated with mitered segments that followed the frame shape to avoid problems with cross grains. The joints in the two layers were staggered. Individual frames were cut from these blanks.
I have been thinking about using this system for producing POB bulkheads. Same as for POF frames except skip the step to saw out the inside of each frame shape.
What would be the advantage of such a system?
It would allow use of inexpensive and readily available lumberyard pine that could be specifically selected for quality.
It would avoid problems with plywood or MDF; warping, fastening into edge grain.
There would be no cross grain to break.
Top timbers could made from high quality modeling hardwoods selectively added to the laminated blank.
Roger
What's not to like about that? I had good success in one instance years ago by laminating three layers of birch tongue depressors (readily obtainable in bulk from crafts stores and dirt cheap) with PVA clamped with binder clips. I used Underhill's method, later further popularized by Hahn, for angling pieces to form the rough frame shape, cutting the joints on a paper cutter, and then jig-sawing the laminated form to shape. It works fine. By overlapping the joints and tight clamping, very solid frames which will resist breakage otherwise due to short cross-grain orientation can be made. The only issue I had with it was that when finish shaping the frames on the drum sander, the PVA adhesive tended to melt with the heat of the sanding and gum up the abrasive. That was pretty easy to keep ahead of by slowing the speed of the drum and regularly cleaning with a crepe abrasive cleaning stick, but in the future, I'd look for an adhesive that was harder and less prone to gum up when sanding.
-
If you keep your eyes open, those Plano type boxes (originally designed for the fly-fishing people, I believe) are sometimes offered for sale at the "big box" hardware stores like Lowe's and Home Depot as "loss leaders" at greatly reduced prices.
- thibaultron, mtaylor and Dave_E
-
3
-
My thread stays on the spools it came on and stored in a closed box. Laid up line is coiled in 4"-5" coils in the same fashion as full-size rope, with a half turn twist in each coil so it lays perfectly flat without kinks or hockles. This is stored in a zip-lock sandwich bag which contains a piece of card stock cut to the size of the inside of the sandwich bag which gives the bag rigidity. On the card stock is written the type of thread used in the lay up, the number of strands and direction of the lay and any other information necessary to duplicate the line stored in the bag. The bags are kept in a box similar to a large index card box, so they can be "flipped through" and the one desired easily selected. The plastic bags keep the line clean and dust-free. Easy and cheap solution.
-
1 hour ago, ubjs said:
Caldercraft is 1/72 and Billings is 1/75, I think its 4 cm on the length.
Is that a big difference for a model ship?
The price for Caldercraft is twice as much than Billings.
Twice as good?
I think this is one instance where the maxim "You get what you pay for." really applies. Your mileage may vary.
Use the forum search engine and look at build logs of each brand and draw your own conclusions as to the relative qualities of the two kit options.
- Bill Morrison, Dave_E and mtaylor
-
3
-
I suspect that on the return voyage the coopers tended to the barrels. They may well have required some maintenance after being filled and stowed in the hold. They were known to leak on occasion. Hoops needed to be set down to tighten them occasionally. Just a guess, though. I've no historical authority to cite.
- Keith Black and mtaylor
-
2
-
-
5 hours ago, mtaylor said:
As for the Glade's model and the English wherry, I'm not sure there are any kits for those so you may have to scratch build on those.
Given the subject matter, I doubt the boat in the famous painting was modeled after any actual boat, but was instead a product of the artist's imagination. There are lots of close up photos online of the vessel. You may wish to take and existing British type and add the stemhead ornamentation of the pictured boat. You will find a wonderful compendium of all similar small craft in Inshore Craft: Traditional Working Vessels of the British Isles, by Basil Greenhill. https://search.yahoo.com/yhs/search/?hspart=pty&hsimp=yhs-browser_wavebrowser¶m2=13a0c110-4dfc-4d18-beab-bcd933c51603¶m3=wav~US~appfocus1~¶m4=d-cp12177353273-lp0-hh6-obgc-wav-vuentp:on-igUHErMLUsbnTbmZQ-ab32-w64-brwsr-ntb-ntp~Chrome~inshore craft of the british Isles~B2D7D7656EB4E5153688637C8FBF7B49~Win10¶m1=20210529&p=inshore craft of the british Isles&type=A1-brwsr-~2021-22~
This book contains lines drawings of many of the entries and these should be sufficient to scratch-build a model at any scale one desires. That will require a certain degree of lofting (drafting,) boatbuilding, woodworking, and modeling knowledge that will require some study given your stated experience level. Unfortunately, the scope of ship model kits is market-driven, and, consequentially, many beautiful craft go unrepresented by kit manufacturers. On the other hand, that's what makes well-done scratch-built models so appreciated and valued.
A "dollhouse scale" 1:12 miniature of the boat in the painting, including the pillows, candles, lantern and such (available from dollhouse supply catalogs) would be quite an interesting model.

It does look like someone has actually built a full-size replica of the boat in the famous painting.

-
Jaager's historical narrative certainly seems accurate. I'd add the theory, as to European manufacturers particularly, that packaging may have been a factor in their favoring plank-on-bulkhead hull construction. Carving hulls out of large, flawless, prime basswood blocks meant that the manufacturer had to pass the cost of all the waste wood to the customer and had to box the solid hulls in larger boxes. The plank-on-bulkhead models eliminated much of the expense of the carving waste and the expensive machinery to do it, reducing the materials to some thin ply, dowels, and strip wood. All of that could be packaged in a smaller flat box that took up much less volume when shipping the European kits to the Americas and meant more available space on retailers' shelves. Those who recall the old Model Shipways "yellow box" solid hull models will be familiar with this difference.
- Roger Pellett and mtaylor
-
2
-
She's certainly coming along nicely, Rob! Great work at such a small scale. I've never seen a better job on a coppered bottom at this scale. You've achieved a compellingly realistic effect. Anybody who undertakes to copper a bottom at this scale should take a close look at your work.
- shipman and ClipperFan
-
2
-
On 3/6/2022 at 2:20 PM, nates said:
Thank you for the insightful information on the various ship curves. I have a set of Lyman Radius curves
Although they are not ship curves, I know they are highway curves and they are quite a few for sale on line.... I have searched the web, and the US patent office and have found nothing about their origin nor who designed them...let alone how one actually used them... I was hoping someone on this site might be able to tell me a bit more about them.
Any information would be most welcome...here is set similar to mine on worthpoint...
https://www.worthpoint.com/worthopedia/vintage-engineering-lyman-radius-
Those are "radius" or highway/railroad curves. They were primarily used by highway and railroad engineers to lay out fair curves of various radii when planning highways and railroads. They are, as marked, segments of circles with the radius indicated on the individual curve. Lyman's Radius curves are distinguished by the clever way they stacked up and stored, but are otherwise identical to any other make of radius curve. You use them by using the curve edge to draw a segment of a curve with a radius of the indicated length. They come in handy for large radii curves and eliminate the need for a long beam compass and the large drawing table required to accommodate, for example, a 48" radius beam compass. They are handy in ship modeling for determining deck and cabin top camber at various stations on a hull without doing a lot of math to adjust for the width of the deck at the various stations. You can just find the curve that matches the camber for one station (which is all that is given in most plans) and then fit it to all the other stations. (Draw a line as wide as the deck at the subject station indicated in the plans, generally the widest at the deck or sheer line, and draw a perpendicular line as high as the camber height in the middle of the deck width line. Then, by trial, find a curve that touches the two ends of the deck line and the top of the camber height line and use that curve to lay out the deck camber at every station.) As a practical matter, the camber on larger vessels at smaller scales is so small as to be negligible, but if you are building smaller vessels at larger scales, such as yachts and small working craft, the camber each deck frame is often a significant detail.
-
There's nothing wrong that I can see in using India ink to blacken rigging thread. That said, an inadvertent drop or splatter of India ink landing on the model could ruin your whole day, no? I'd suggest applying the ink off the model, rather than applying it with a paintbrush directly above your bright finished decks. The common technique is to put the India ink in a small straight-sided bottle, like a pill bottle, for example, containing the India ink and sliding a piece of wood the width of the inside of the bottle with a slight "U" notch cut into it down into the bottle just short of the bottom with the string to be colored run around the bottom of the wooden piece and held in the center of the wooden piece by the "U" notch. The wooden piece holds the thread down in the India ink as the length of thread is pulled up out of the bottle. The "dry" uncolored thread is drawn into the bottle by pulling the "wet" side of the length of thread. You can devise your own method of wiping the excess India ink as the "wet" thread comes out of the bottle, if need be. The length of string can then be hung up to dry. India ink is very useful, but wicked stuff. When the bottle says "Permanent," they mean it. You want to be careful to keep it where you want it and nowhere else.
-
42 minutes ago, DavidEN said:
I believe that in reality the painting of names on ships after 1771 was more nuanced than your bold statement would indicate.
I'm no expert on this period, but as the prohibition on painting names on British naval ships after 1771 was, as I recall, for the purposes of security (so enemy spies would not be able to accurately determine the whereabouts of specific vessels,) it would seem the practice wouldn't have been "nuanced," but rather strictly enforced. It's a fascinating question, though. Do you have any historical references for the regulation being ignored?
-
3 hours ago, allanyed said:
There are a lot of beautiful models in the build logs that are ruined when cloth sails are rigged.
I've got one of those, a pilot schooner, from over forty years ago. I keep it around as a personal memento of that time in my life. Every so often, I think about re-doing the offending sails, but the urge soon passes.

-
2 hours ago, druxey said:
These draw plates are designed for pulling metal only. They will not work well for other materials such as wood!
Wire drawplate holes are actually "funnel shaped." The wire is inserted in the larger side of the hole and drawn through the narrower side of the hole, thereby stretching and compressing the wire to the smaller dimension as it's drawn through. (This is why the wire ends up longer than it was before drawing.) Wooden drawplates shave the wood off the piece with their sharp edges, so, if one is using a metal drawplate, the wood is inserted in the small side of the hole and drawn out the large side of the hole so the sharp edges of the small side shave off the wood to the desired dimension. If one wants to use a wire drawplate for wood shaping, it's advisable to lap the face of the "narrow side" so that the edges are sharpened. (Making your own draw plate for round wood pieces is a simple matter of drilling the desired size hole in a metal plate and lapping the face of the plate.)
-
Contenti has one as small as 0.3mm, but that's the smallest I could find searching my database of the "usual suspects." See: https://contenti.com/square-drawplates-10625#_
-
Acrylic is often more difficult to sand than oil based paint, but it can be done if it's fully dry. Very fine sandpaper, followed by a hand rubbing with rottenstone and pummice should work, but extreme care would be required to avoid taking too much of the paint off and ensure that the rubbed finish is uniform on the entire hull. That's how the old school pros used to do it. It's time consuming and tedious. Nobody'd fault you if you left it as is. Many's the model that's been messed up by trying to get one little thing just absolutely perfect. You could easily end up re-painting the whole hull by the time you were through with it. The thinner masking tapes, like 3M "fine line" or Tamiya tend to minimize this problem.
-
15 minutes ago, Mirabell61 said:
I`m also not sure if she had a coppered bottom at time of early duty, but I like the appeal of sheeted underwater skin for the model and it corresponds with to days overhauled vessel.
I went down and watched Hal Sommer and the guys sheath Wander Bird's bottom in copper because it was something I wanted to "study up on" at the time, since it wasn't done very often back then and that was as much of an "apprenticeship" in coppering a bottom anybody was going to get. There were still a few old timers around who knew what they were doing and you could learn something if you stayed out of the way and kept your mouth shut. In those days, many of the old maritime trades were disappearing. I seem to recall that was the first time she'd been coppered. I don't recall them stripping the old copper off, but I'm not positive. That was like fifty years ago now.
-
It's sure looking good, Rob! Thanks for sharing the build with us.
-
18 minutes ago, Cathead said:
Not necessarily. Shorelines change naturally all the time, especially if there's a river mouth nearby dumping sediment into the area. Waterfronts also routinely get filled in by humans to make more usable land. For example, a significant amount of downtown Boston is built on fill and its modern shoreline would be nearly unrecognizable to 18th century residents. So it's pretty easy to imagine the anchor being lost in a harbor area 200 years ago that has since filled in. Reading the Spanish account, this was found along a seafront promenade, so a variety of scenarios are possible, from it being dropped in an area that's since filled in (naturally or anthropogenically), to it being washed ashore and buried by a long-ago hurricane (to which the Yucatan is prone), to even theoretically being abandoned on land as naval stores and buried.
Quite true. Although anchors, by their nature, usually stay put where they first fell unless moved by human intervention. The other thing is that large anchors like that one which are lost in harbors are usually lost in water shallow enough to have been recovered by free divers at the time they were lost. Iron was a sufficiently precious commodity that a big hunk of it like that would have been worth recovering. An origin from a ship blown ashore and wrecked before the area was settled may be more likely. That could have put it ashore and it could have been covered over by beach sand. I'm very familiar with the archaeological excavations of Gold Rush Era ships which were sank for fill on the shoreline of San Francisco. We don't find much in terms of nautical artifacts. There's often lots of garbage, bottles and china shards, but it seems anything on the ships that was useable was stripped for recycling when they were abandoned. The same was true for unburied sailing ships left to rot on the mudflats. I suppose we'll have to wait for more information to know anything more about this anchor.
- Canute, Cathead, thibaultron and 1 other
-
4


Poly rope - Which adhesive product?
in Masting, rigging and sails
Posted
Add my vote for clear shellac. I've used thinned PVA, which has a drying time longer than I prefer and is very difficult to undo once it's dried if a mistake is made in the rigging. I also used thinned nail polish, but it also is somewhat difficult to reverse if one wishes to do so. Thin CA spreads everywhere and is not easily undone once cured. It also can conflict with other coatings with which it comes in contact.
I've found thinned white (clear) shellac has the following advantages over the other options:
1. Low cost and universal availability.
2. Also a universal sealer for wood which hardens the surface and permits sanding without bringing up any "fuzz" in softer woods (e.g. basswoood,) making it great for topcoats of both solvent and water-based varnish or paint. This means one less specialty product container on the shelf.
3. Non-toxic. Although prepared shellac is undoubtedly thinned with denatured alcohol, you're safe so long as you don't drink it. The alcohol fumes are nontoxic and less flammable than acetone fumes from nail polish. Shellac itself is actually edible and when produced in "food grade" form is used for imparting a shine to jelly beans, among other things. (Sorry if I spoiled anybody's love of jelly beans by revealing that they're coated with beetle excretion!)
4. Thinned shellac is very viscous and penetrates very well. When the alcohol evaporates, the shellac creates a hard matrix between the fibers of the thread that binds the knots and holds the shape intended. As the alcohol evaporates and the shellac "thickens," lines can be easily formed into any shape desired, which will take a hard set when the shellac is fully "dry." It takes a matter of a few minutes for the alcohol to entirely evaporate, so there's no inconvenient delay waiting for it to set, but enough working time to form shapes desired.
5. Thinned shellac does not leave a glossy finish. If a thick coat of shellac dries glossy, it is easily wiped down with alcohol to remove the glossy excess.
6. Shellac is easily reversed by liberal applications of alcohol blotted up with a bit of paper towel or a cotton swab. When softened with the alcohol, previously shellacked knots can be untied while the shellac is "wet" and soft if you wish to redo the work or adjust the tension on a line.
7. Shellac is very easily cleaned up with alcohol, so you can use whatever size brush suits your fancy and easily clean it.
8. Shellac has been proved over thousands of years to be archivally stable.