HOLIDAY DONATION DRIVE - SUPPORT MSW - DO YOUR PART TO KEEP THIS GREAT FORUM GOING! (Only 51 donations so far out of 49,000 members - C'mon guys!)
×


Old Collingwood
-
Posts
12,098 -
Joined
-
Last visited
Content Type
Profiles
Forums
Gallery
Events
Everything posted by Old Collingwood
-
 Your welcome, keep up the great work you are doing. OC.
- 28 replies
-
- 2
-

-
- Black Pearl
- Zvezda
- (and 2 more)
-
That will look Superb with washes and highlighting to bring the bones out - could you not remove the base from the bottom of the Pearl and use the Two legs pushed into Two gaps on the above skeleton bases - it would look Amazing (Totally like Nothing else that anyone has done) keep up the great work. OC.
- 28 replies
-
- 3
-
-
- Black Pearl
- Zvezda
- (and 2 more)
-
That looks smart Denis - Really nice finish and the decals really pop. OC.
-
Thank you Edward. OC.
-
Looking very very nice - and how you have done the mist is Amazing, you should put some pirate figures on aswel.😉 OC.
- 28 replies
-
- 1
-
-
- Black Pearl
- Zvezda
- (and 2 more)
-
Have you any wood stock - dowels? I shaped some to go inside the plastic masts and even made the masts yard arms out of wood, to help the strength for when the ropes go on. OC.
- 28 replies
-
- 3
-
-
- Black Pearl
- Zvezda
- (and 2 more)
-
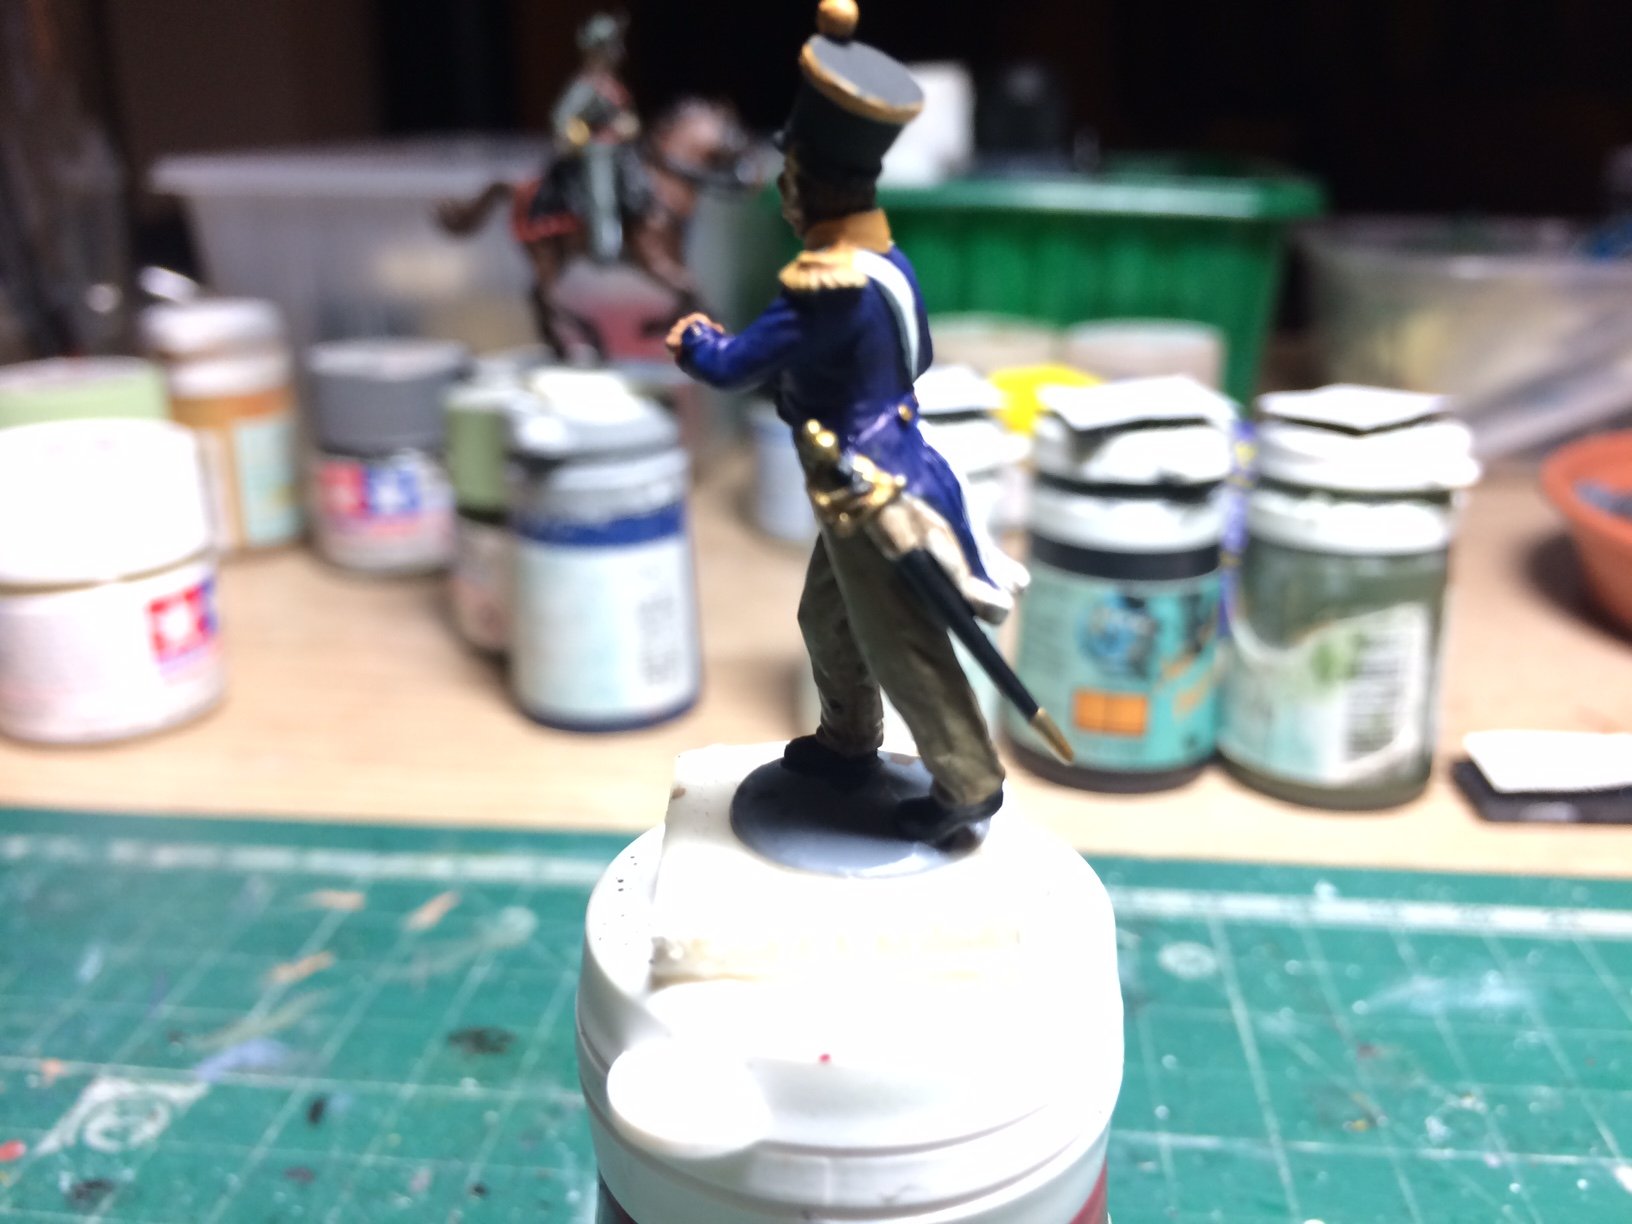
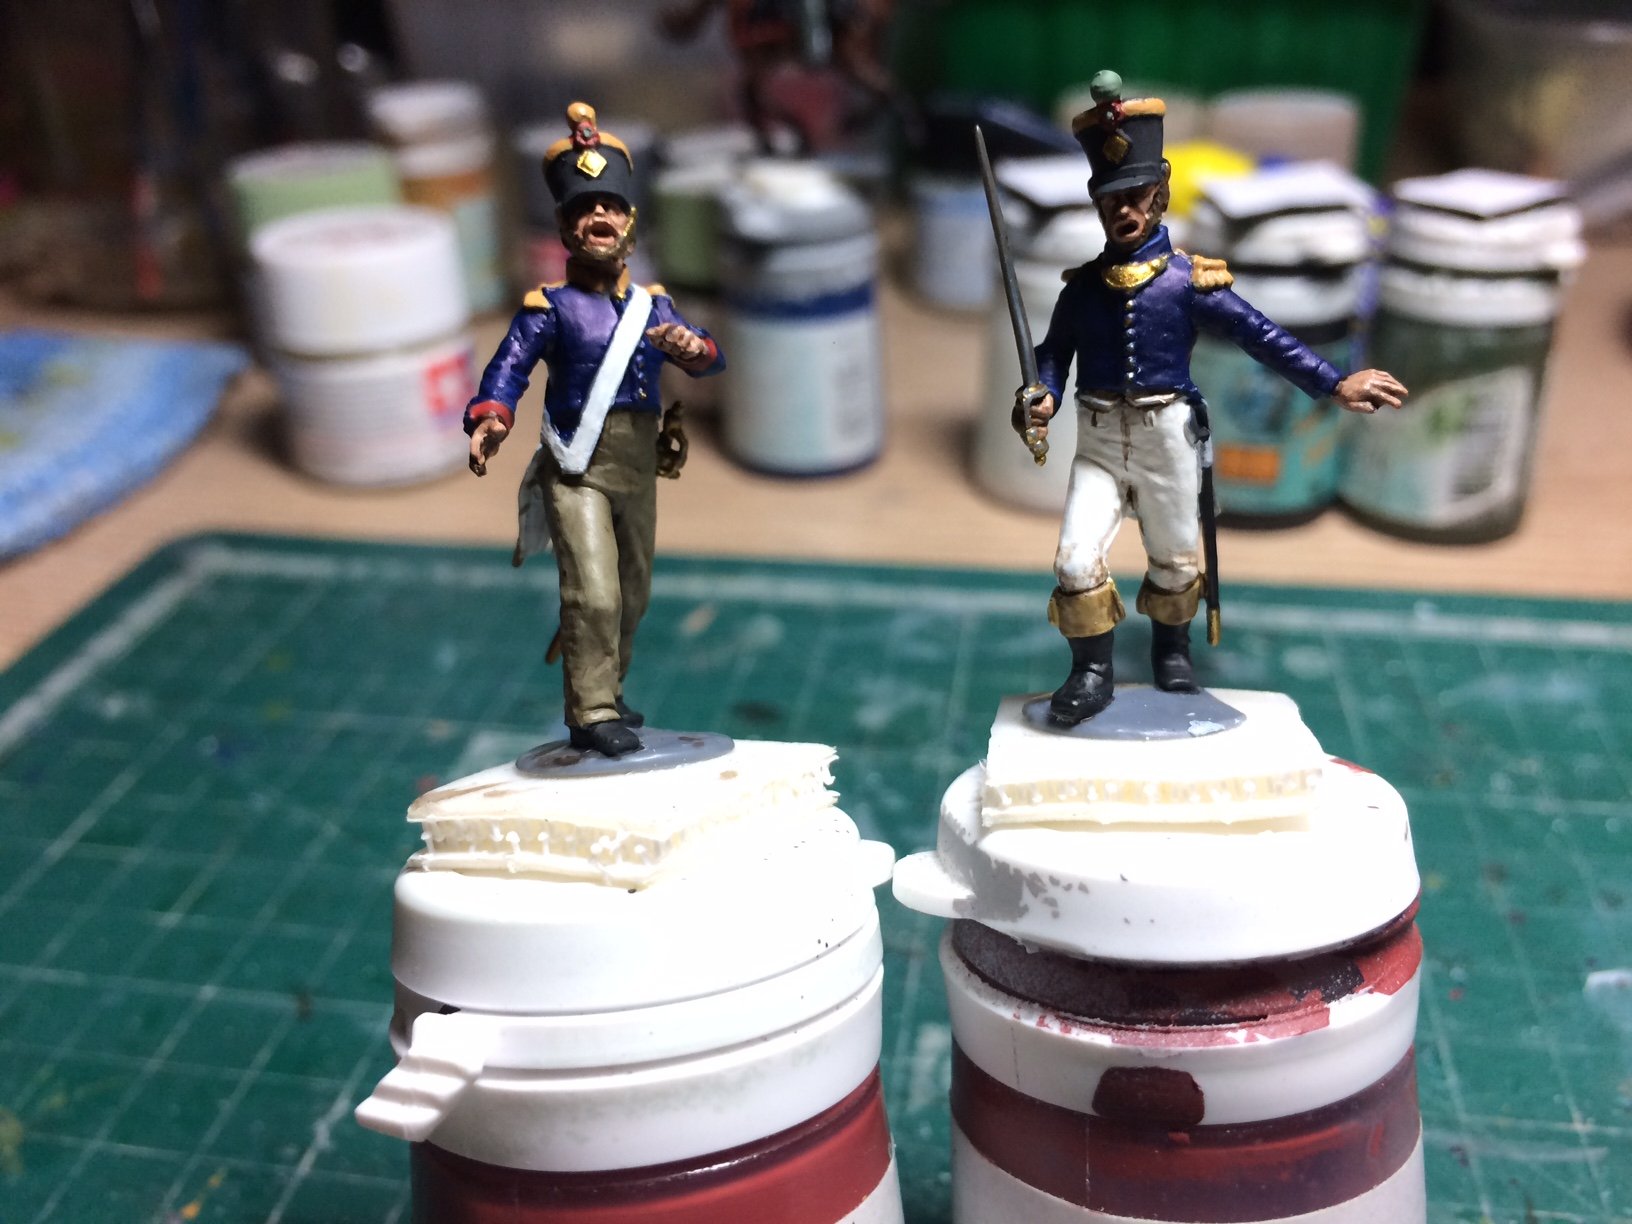
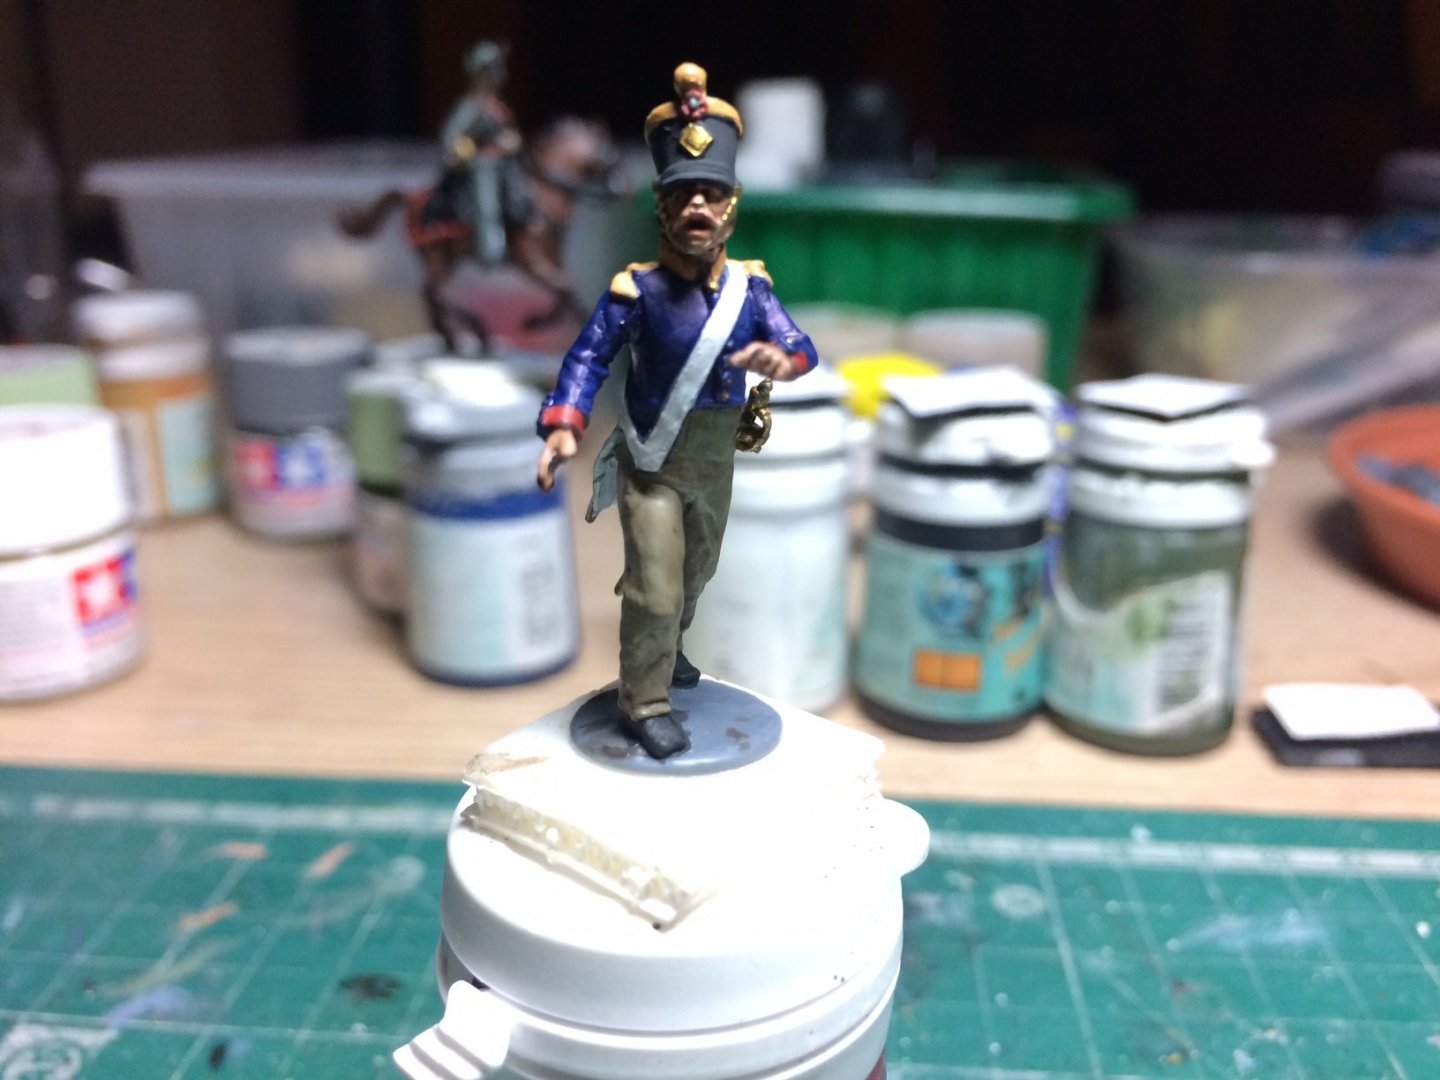
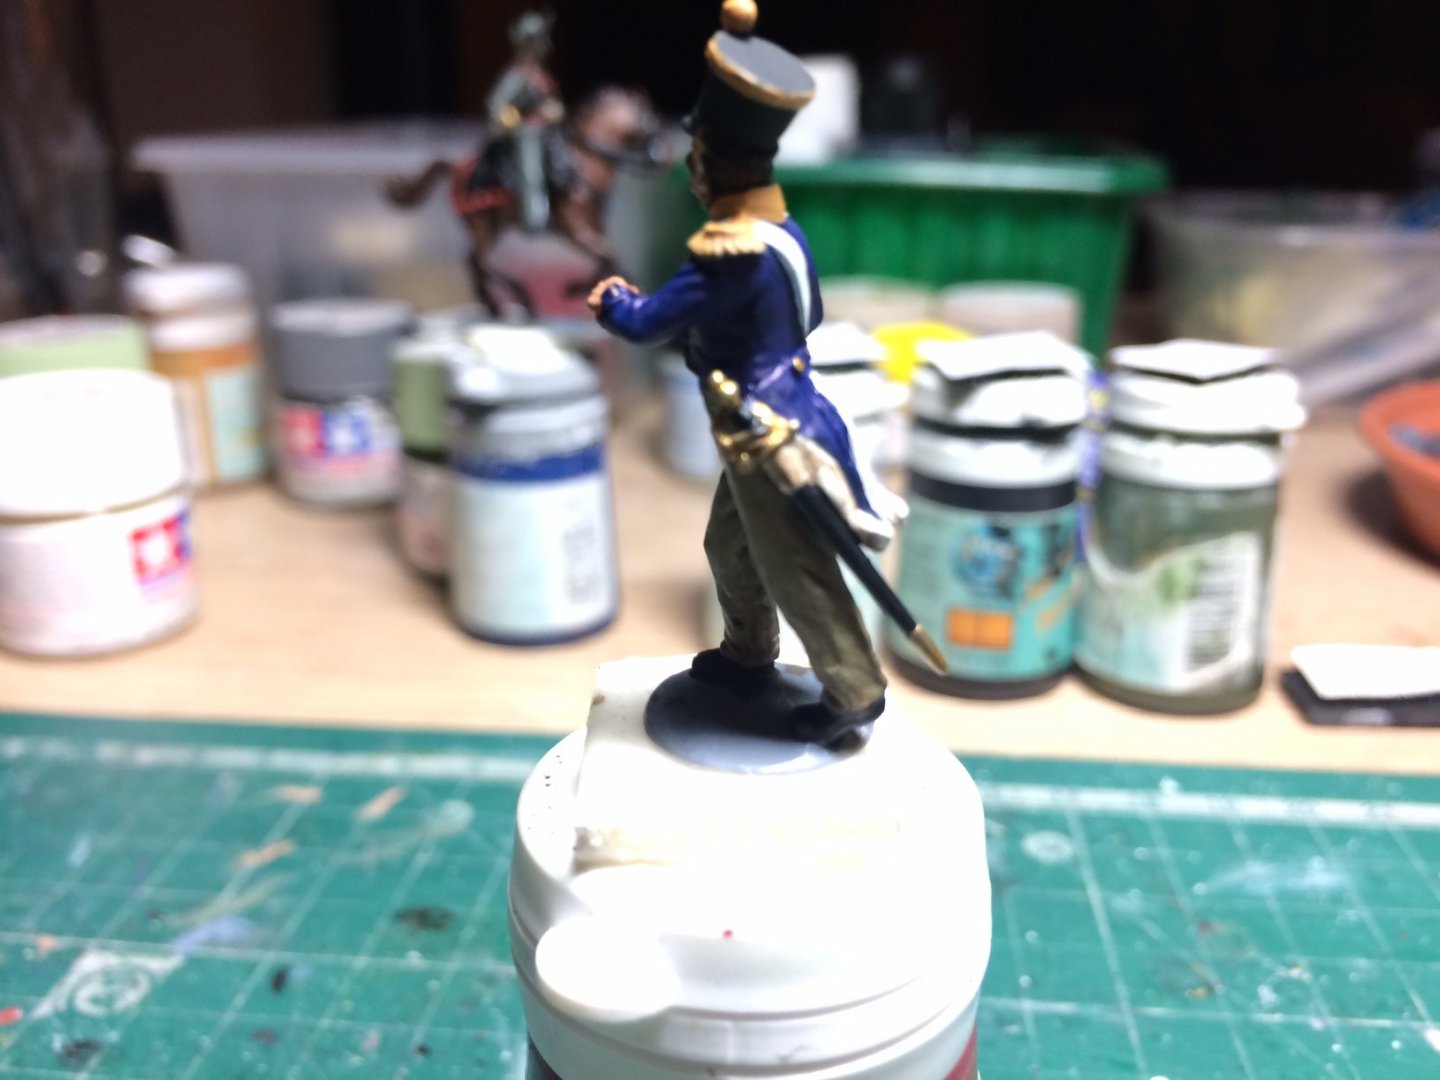
Evening all, more good progress today - I finished my Voltigeur Officer he can now be flat coated tomorrow (wether permiting) along with his 55th Ligne Officer collegue. OC.
-
Hiya Denis, thank you kindly, did you mean the pendant infront? that is my Wolf Pendant its sits on my bench all the time with me. OC.
-
That photo of the actual turet is a Shore establishment called HMS Collingwood, it was/is a Royal Navy training base for weapons, I was there for a week doing school experience training. OC.
-
That is looking Smart and really tidy paintwork. OC.
-
Evening all - firstly thank you for the likes and remarks, so on with the figures - this time an officer from the 55th volitigeur regiment. similar dress to the other officer just slightly different colours. OC. OC.
-
We have a Pool, not an intentional one - just lots of rain on the patio. OC.
-
Sounds like a Plan Mike, can't beat a Dio😉 OC.
-
I dont just "Second that emotion" I Third it. OC.
-
Superb work Mike - they are so lifelike. OC.
-
Not gonna like it Chris, but you will sort it. OC.
-
Great work Bob - Really First Class. OC.
-
Amazing work - Top Notch craftsmanship. OC.
-
Thank you kindly Edward. OC.
-
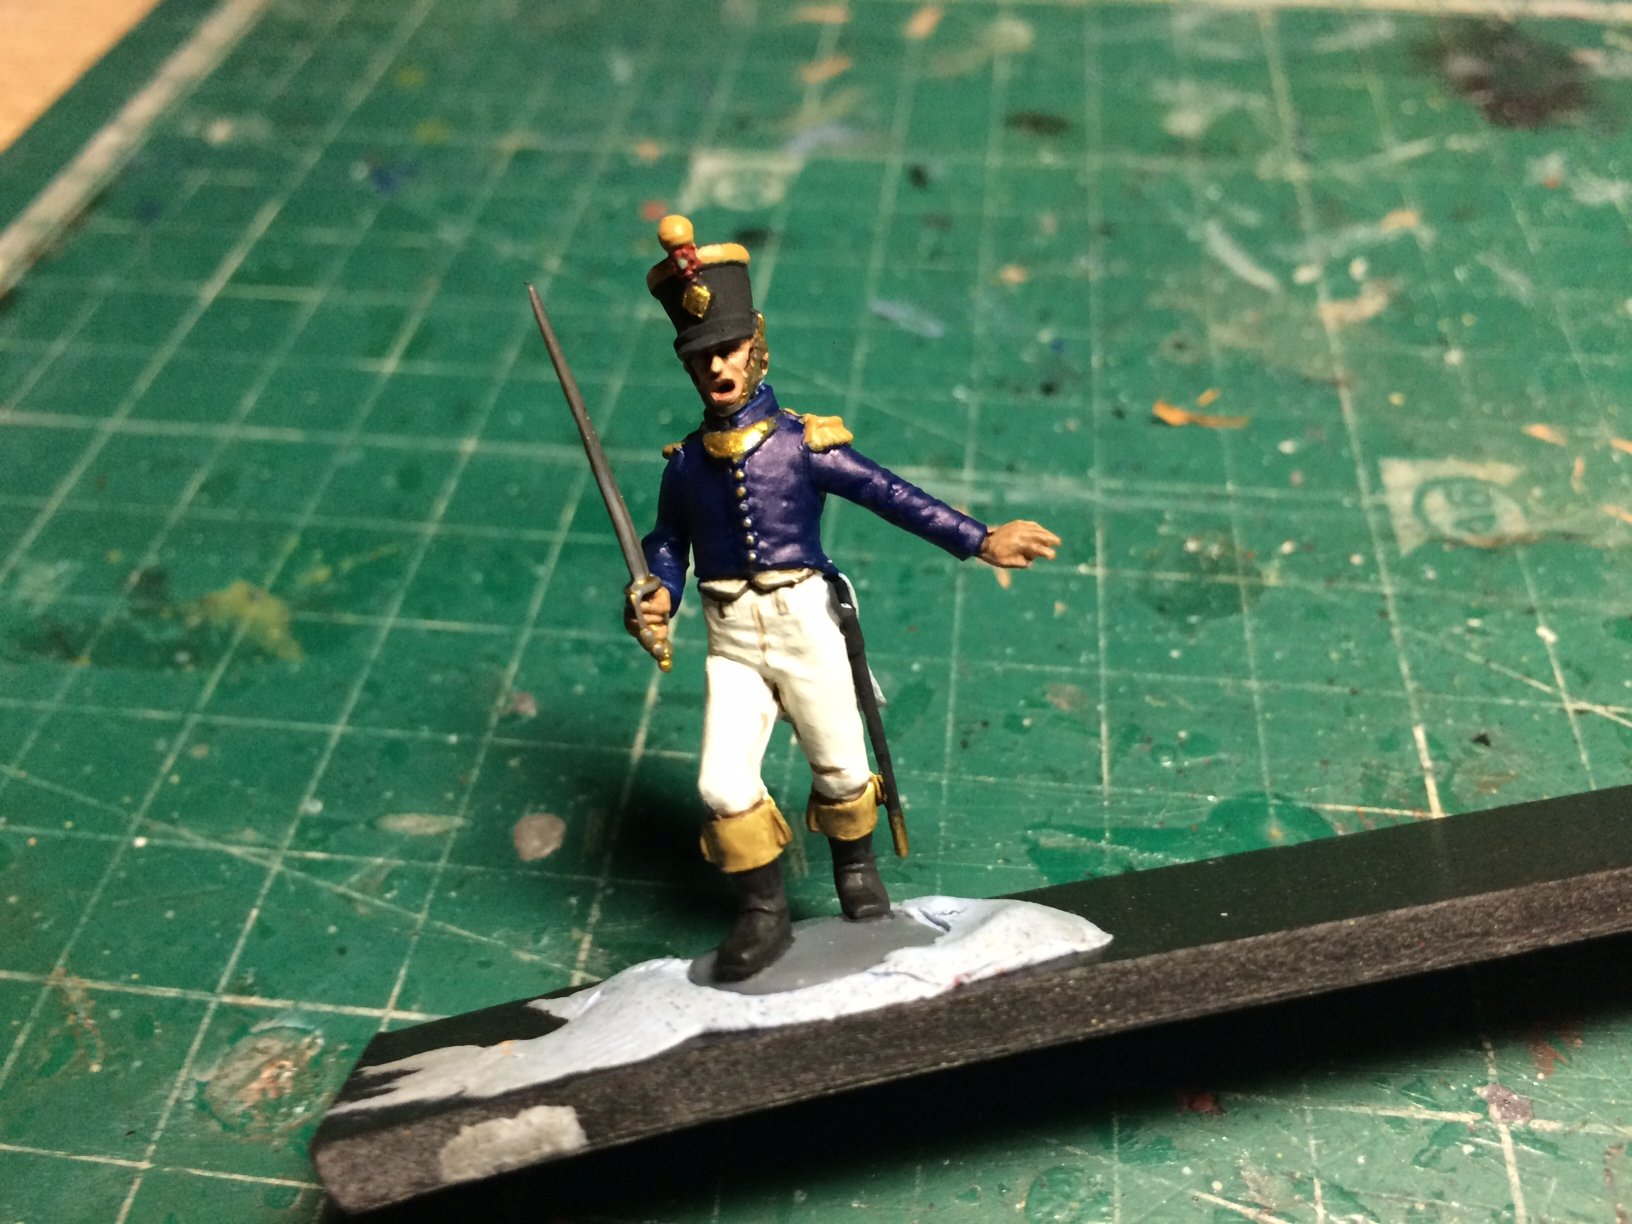
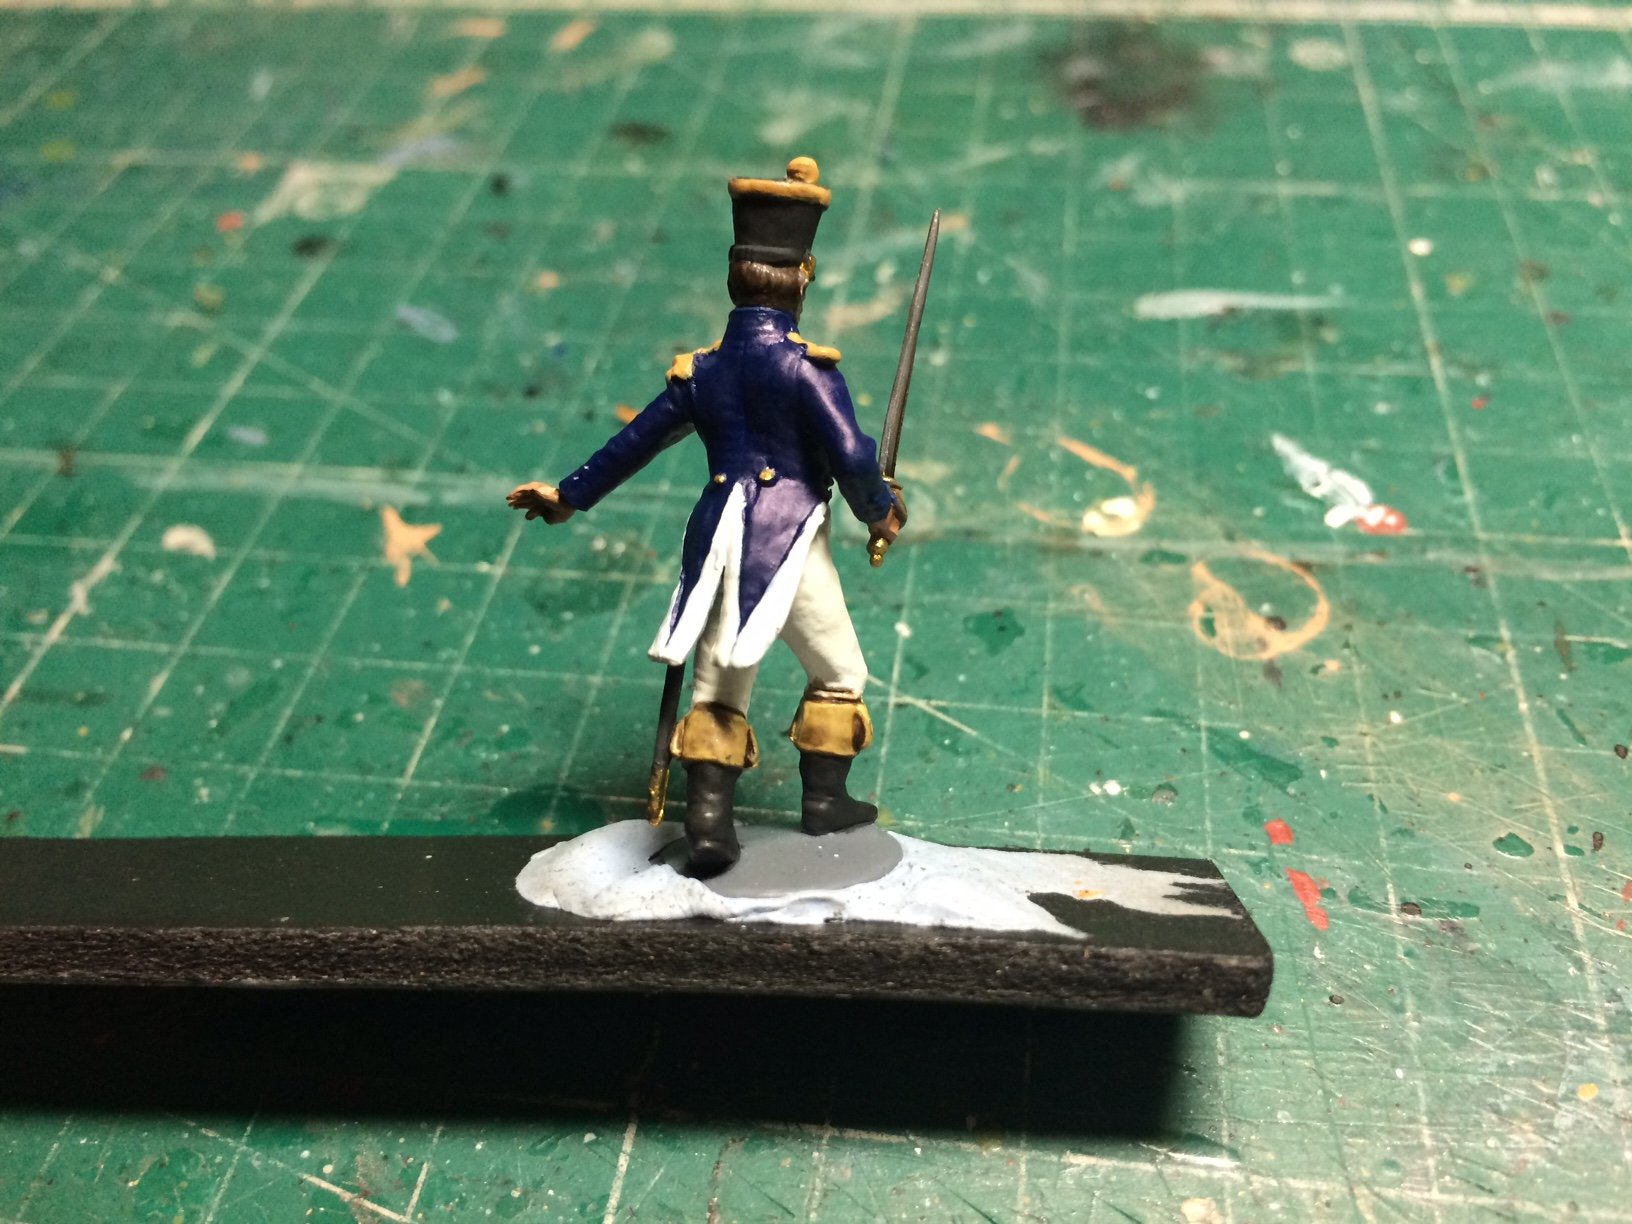
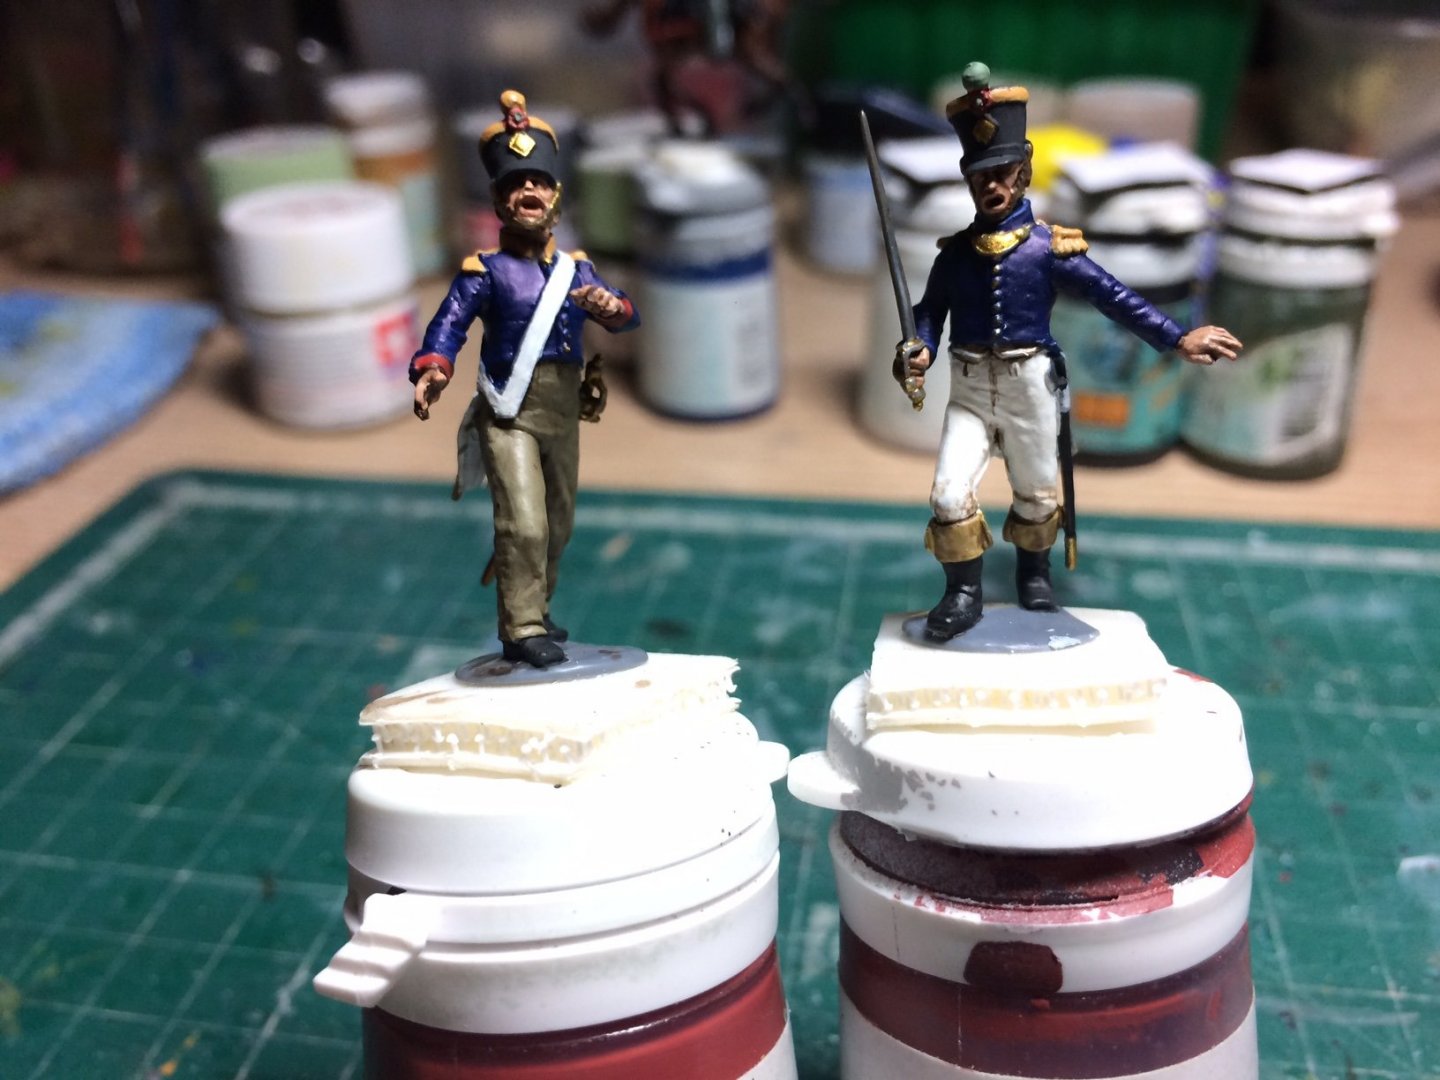
Evening all on this very wet day, so more progress and the result - I have finished the 55th Ligne Officer, still needs flat top coat - but I am waiting for dryer weather. OC.


-
Always a tricky area getting the line of planks right - practice I guess, you will do it mate. OC.
- 740 replies
-
- 2
-
-
- Tudor
- restoration
- (and 4 more)
-
We will have to sing some Sea Shanties while we are waiting - who's gonna start? OC.