HOLIDAY DONATION DRIVE - SUPPORT MSW - DO YOUR PART TO KEEP THIS GREAT FORUM GOING! (Only 20 donations so far - C'mon guys!)
×


Old Collingwood
-
Posts
12,098 -
Joined
-
Last visited
Content Type
Profiles
Forums
Gallery
Events
Everything posted by Old Collingwood
-
 That Avatar of Foxy made me think - Isnt it about time we had a fresh new series film on Nelson and his life. :) OC.
 -
She is looking really nice the head on shot stands out so well - you can imagine how frightening that would have been for the folk being attacked. OC.
- 473 replies
-
- 5
-

-
- greek bireme
- dusek
- (and 1 more)
-
More work again today - just a couple of hours, doesn't need photos as it just bits and pieces of small fittings like Ammo boxes either side of the forward 20mm shields, and sanding flat the tops of the bollards, and the additional small vent or two added free hand by first making a drill hole then dropping the vent into it. Next stage will be the vertical vents attached to the two larger 15inch mountings, then adding a bit of two tone shading to them. OC.
-
Hi greg. I might do a small amount just the normal dark pencil for shadows, and a darker shade of paint on some of the inside edges of some of the fittings, I will also add a bit of dry brushing with white to highlight the edges, not sure about more dramatic weathering - rust salt deposits etc, I dont really feel comfortable going to far. OC.
-
On another forum I was looking at the Pontos update set for the 1/200 scale HMS Hood kit - Amazing level of detail and talk about large 4.5 Feet long :o OC.
-
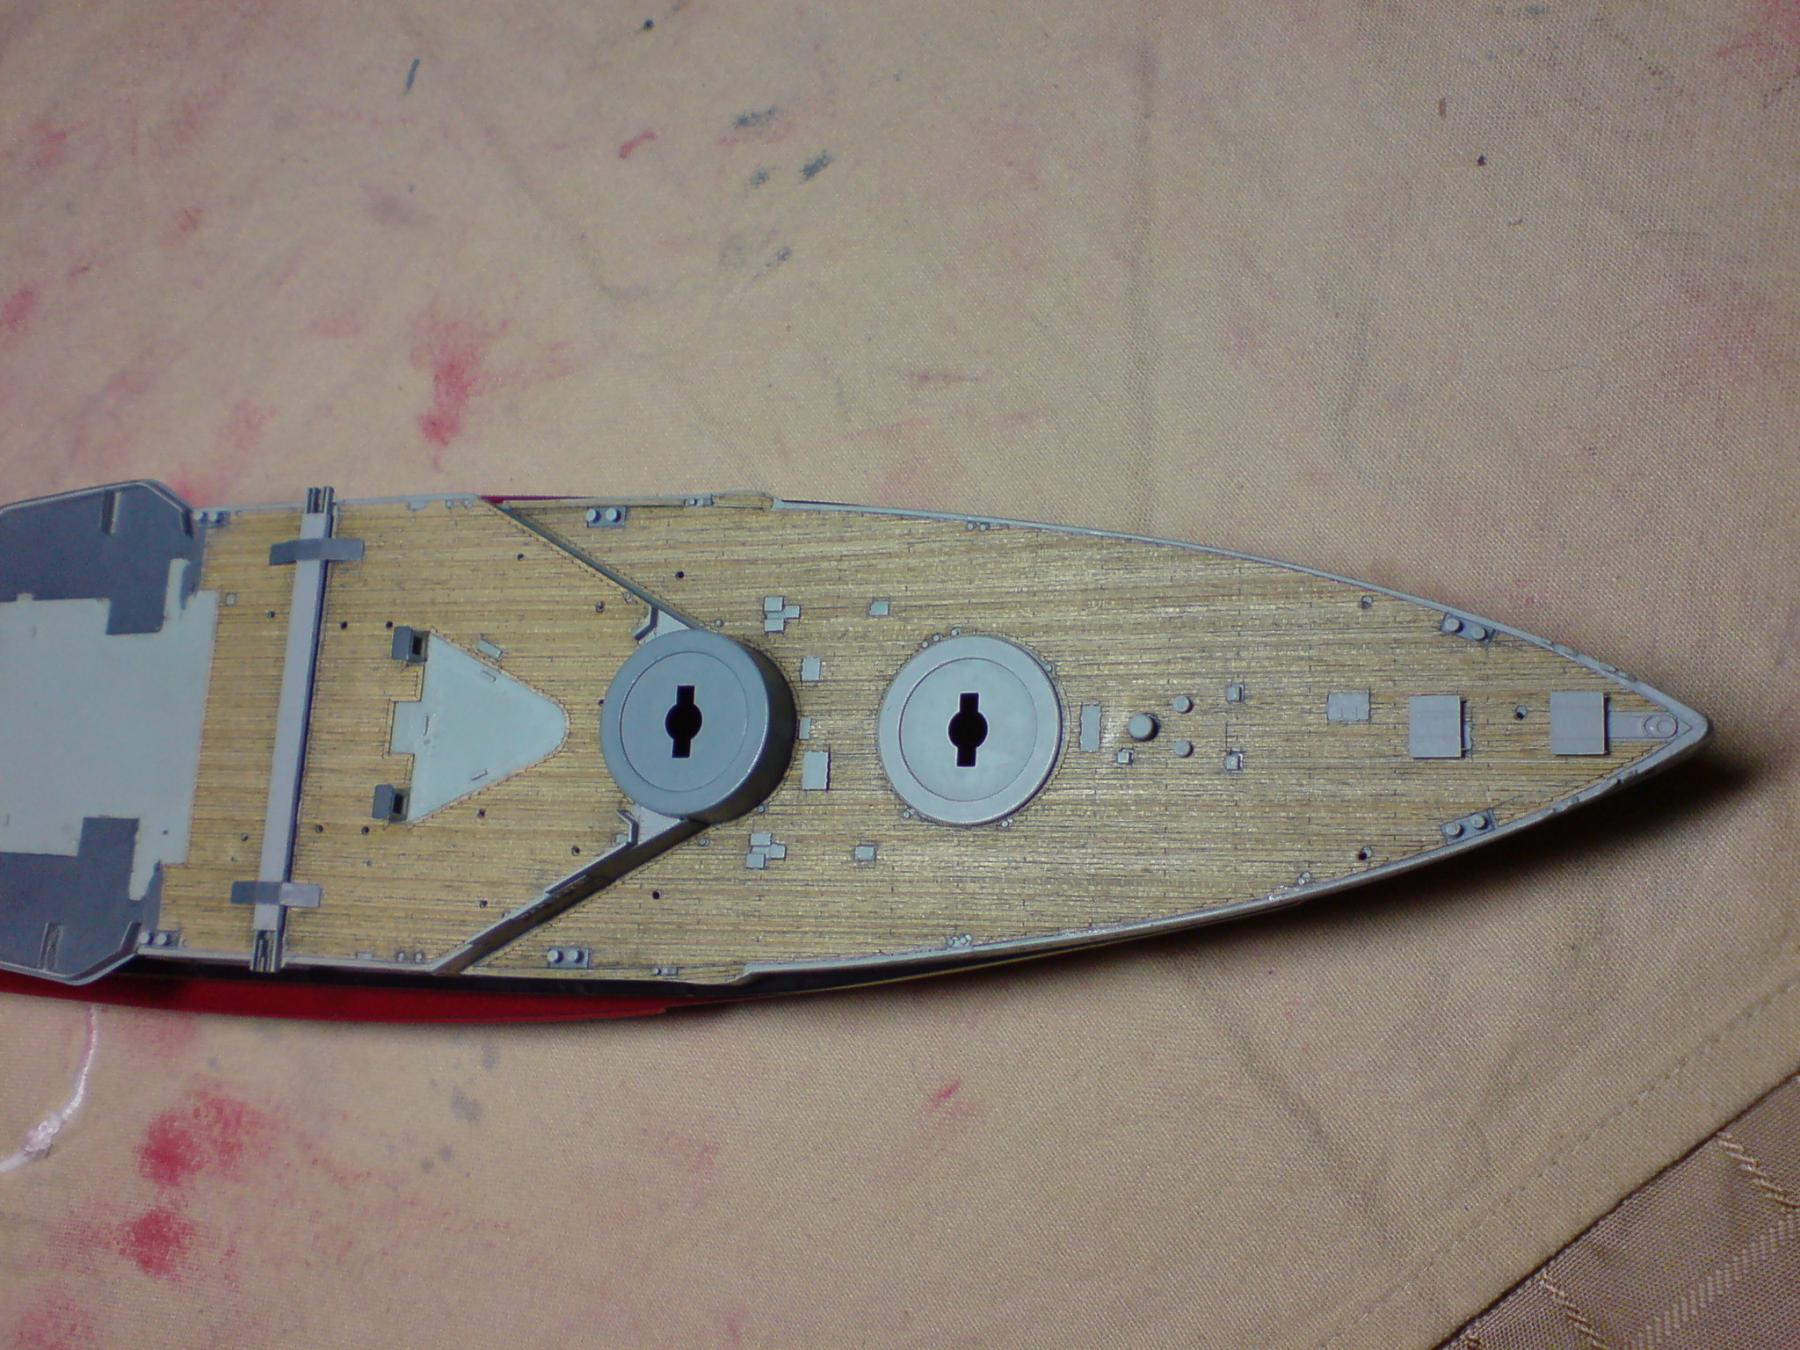
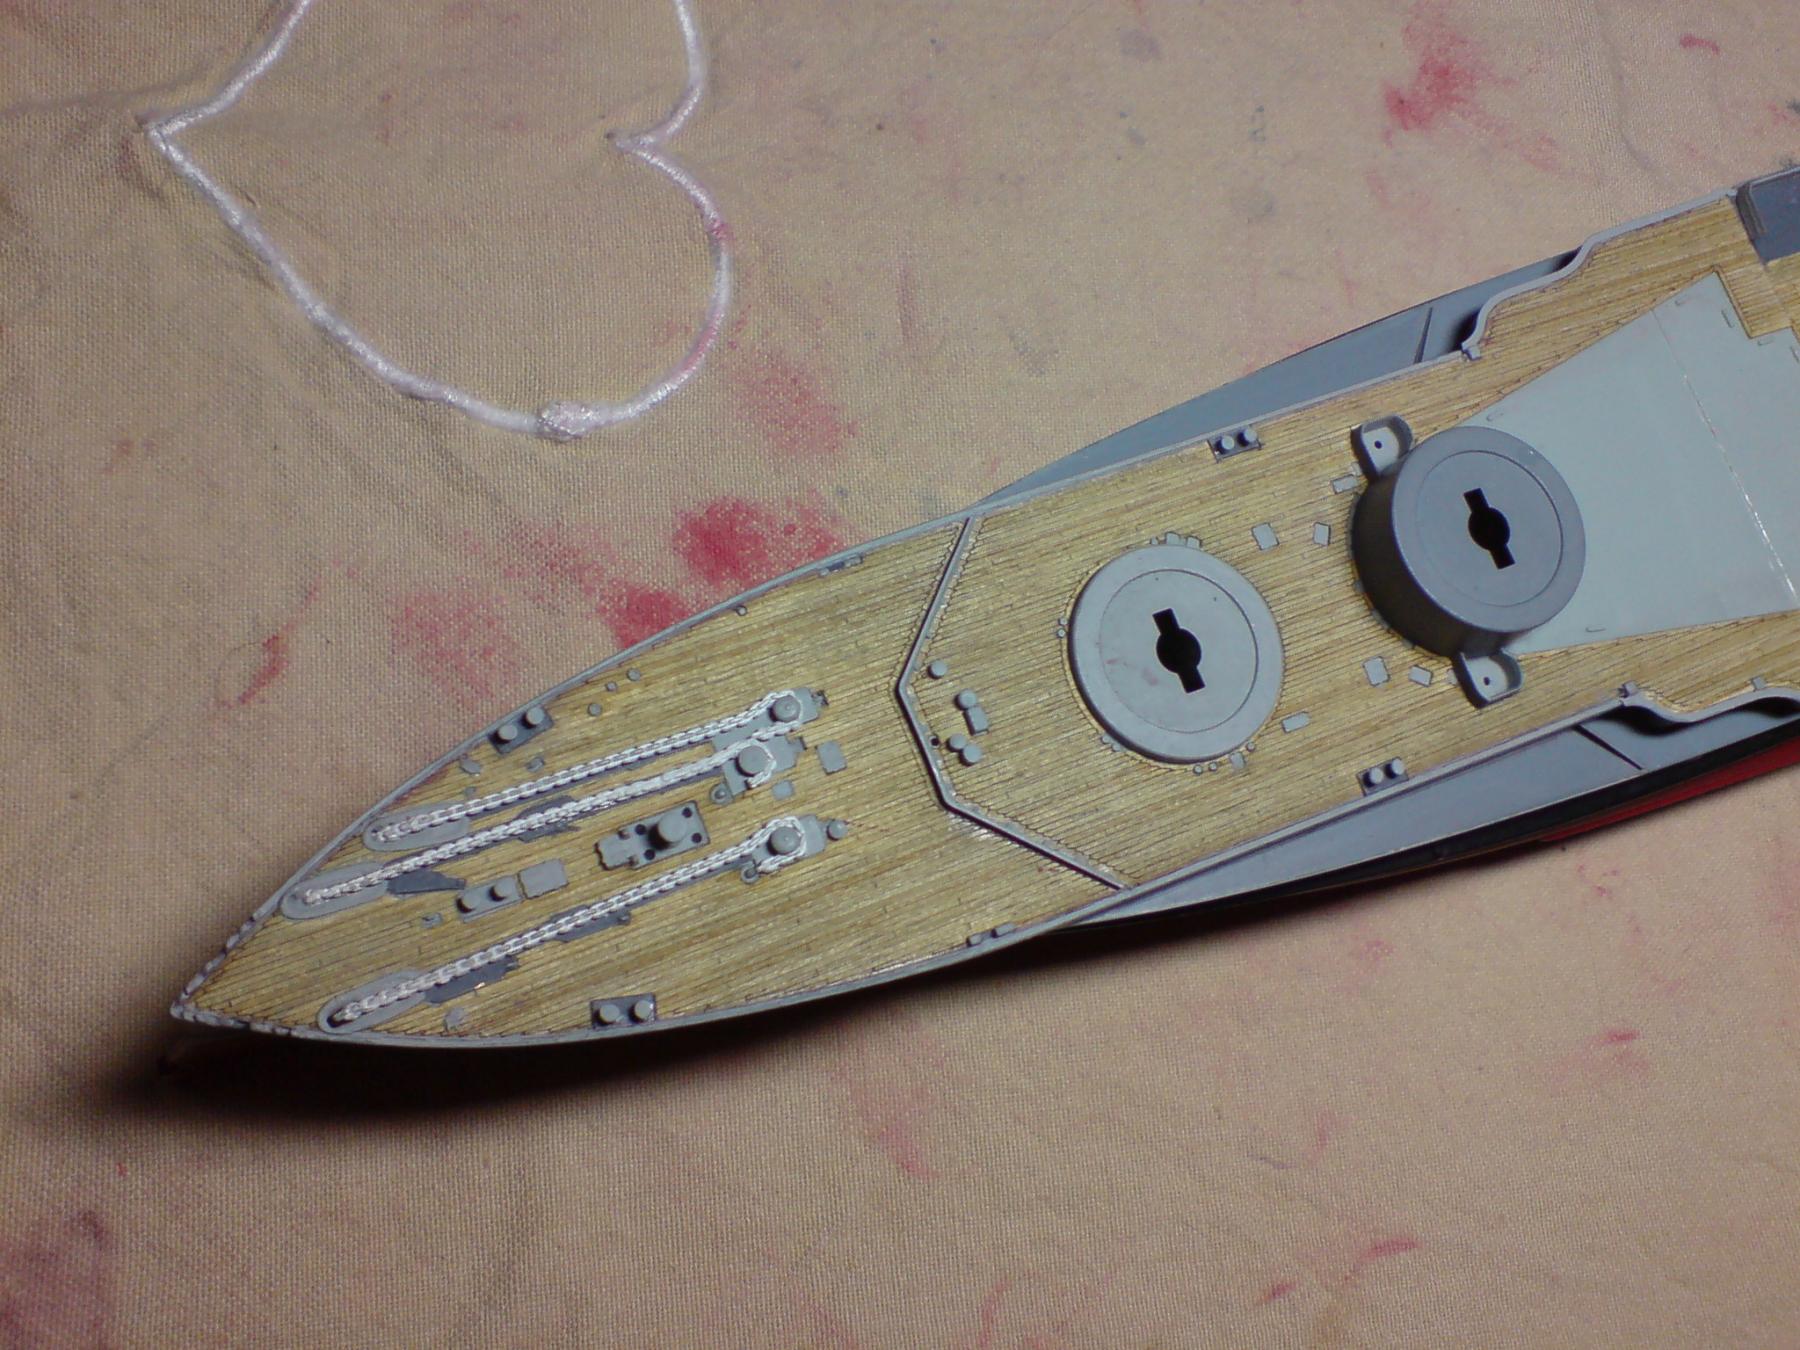
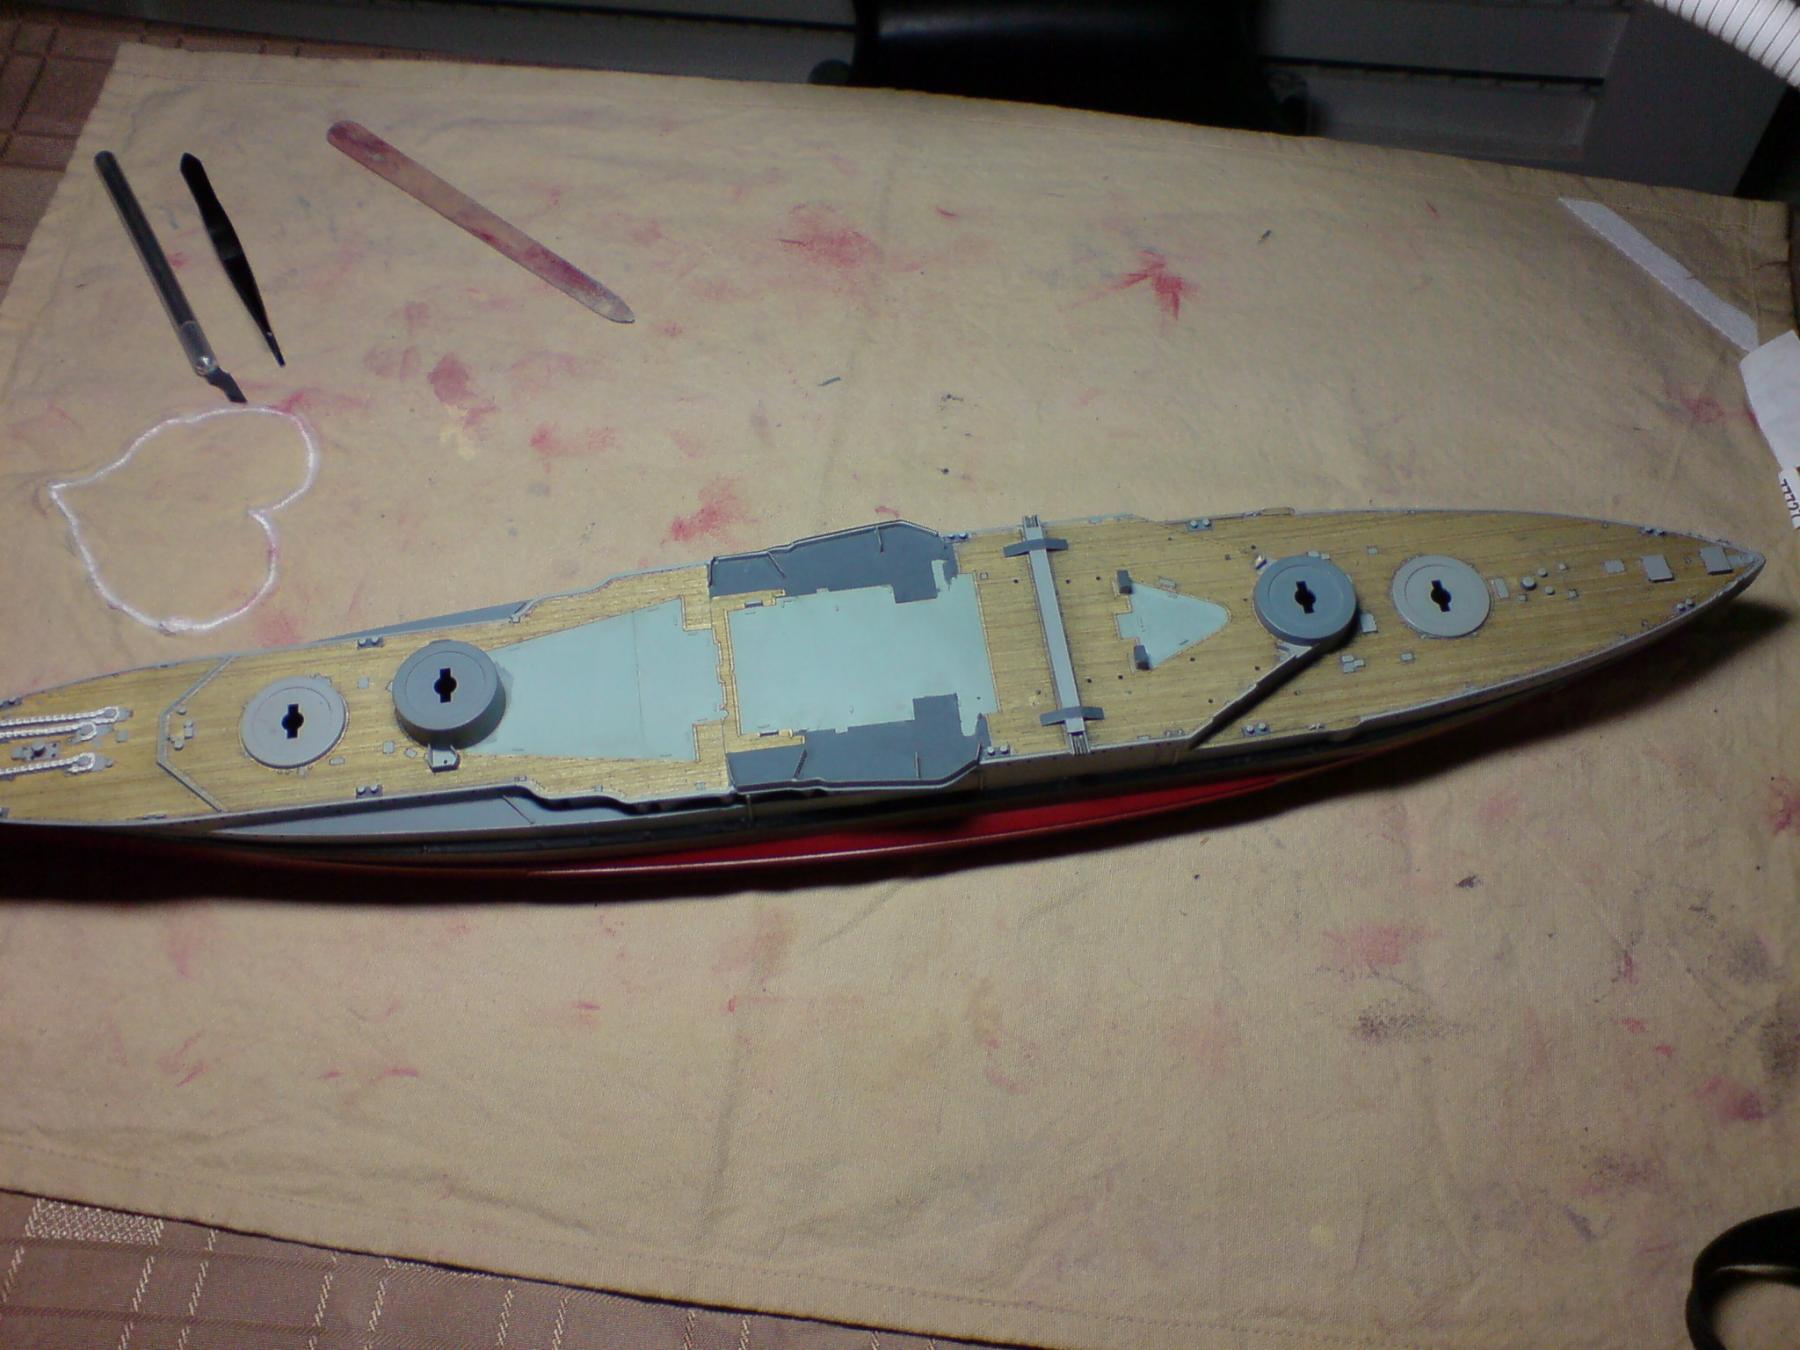
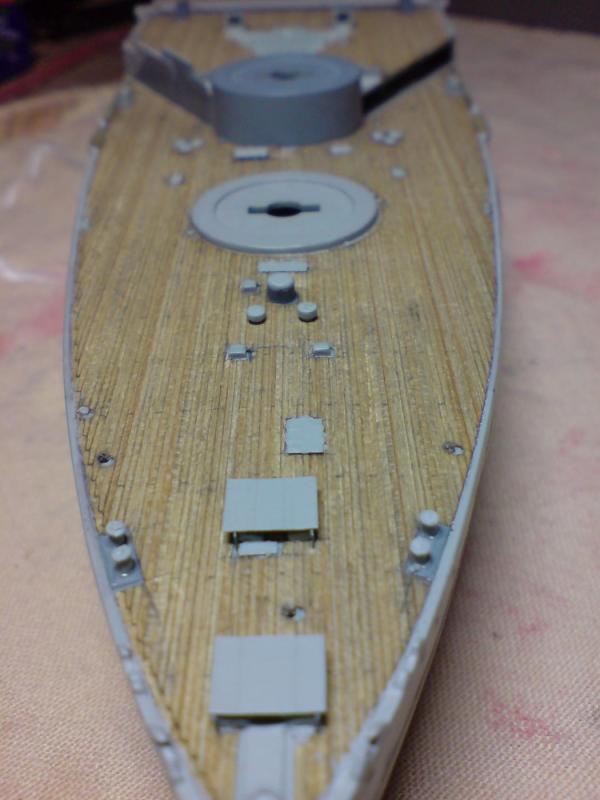
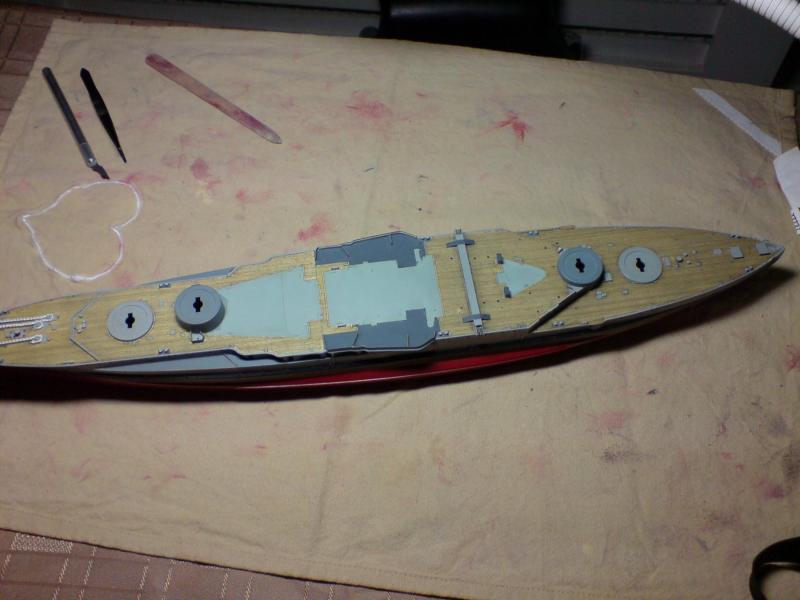
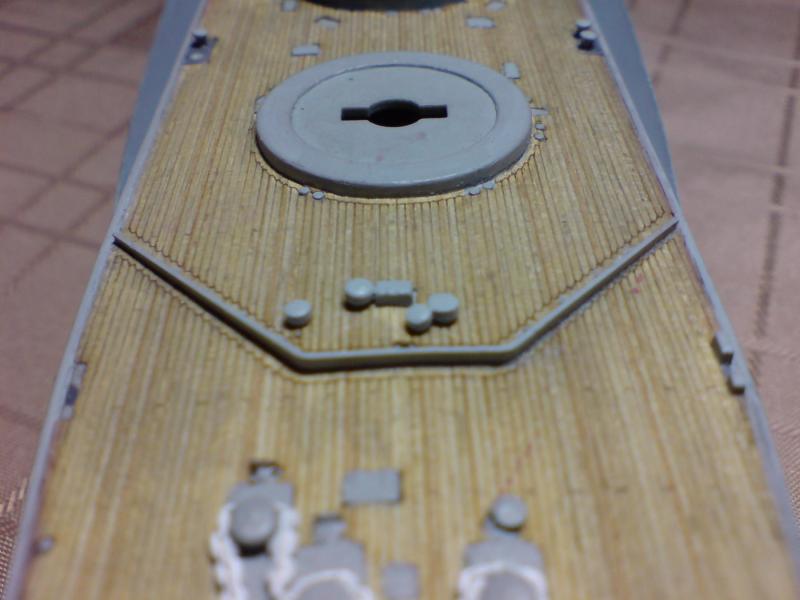
More reclaiming mojo time cooked and eat a curry and then on all sytems go - so I carried on by replacing some of the bollards that had been knocked off, then on the rear deck - she had two assistant capstans that needed there mountings drilling into deck then placing. Here are a few pics folks showing the work and a general view over the ship. OC.

-
Supern work my friend - I couldn't find the right words to come up with as I was Trawling your build, its the cods honest truth - Im Battered by the skill in your build just hope you find some Place to put it when built. Great Work OC.
-
WOW - Now she looks a beauty you have done a marvelous job there :) OC.
- 517 replies
-
- 2
-
-
- Endeavour
- Artesania Latina
- (and 1 more)
-
Absolutly loving the deck planking - Super Work clean neat and tidy OC.
-
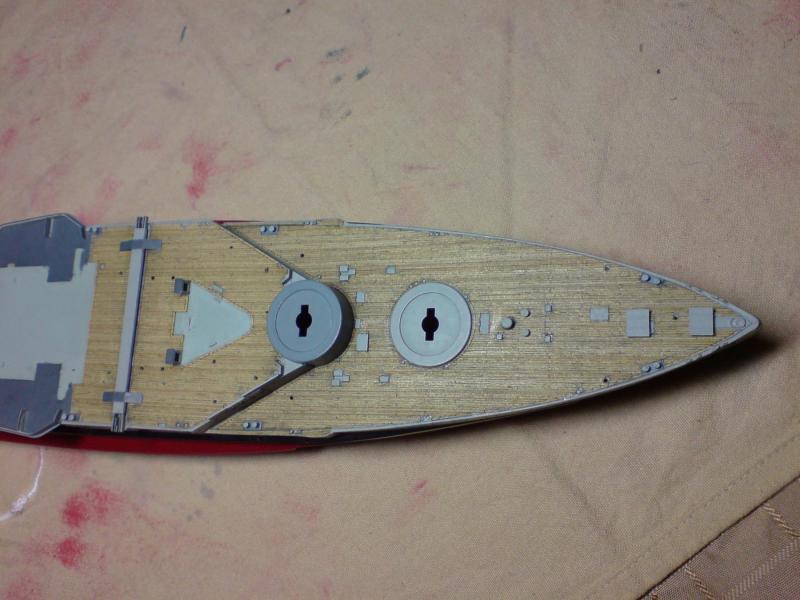
Hello again folks long time no speak - think i have been suffering from that SAD condition, as i just have not felt like doing anything let alone the build, and poor ole lady has been sitting there wondering what she has done So today i gave myself a kick up the behind and had a go from where i left off - I continued with the rear starboard section and added another sheet of brass etch that had been cut to shape, next off was working on some of the front deck bollards and capstans, these required painting prior to removing from the plastic fret, then a little bit of cleaning of the holes on the deck ready to take the lugs on the bottoms of the bollards etc. Just the two pictures folks. OC
-
This is looking very nice david, lots of clean detail especially the deck joints. OC.
-
I did this build about 3-4 years ago on here but the original MSW, i got as far as part planking the hull but lost all info when the site went BANG, its an interesting kit keep your eye on getting all the editions. OC.
-
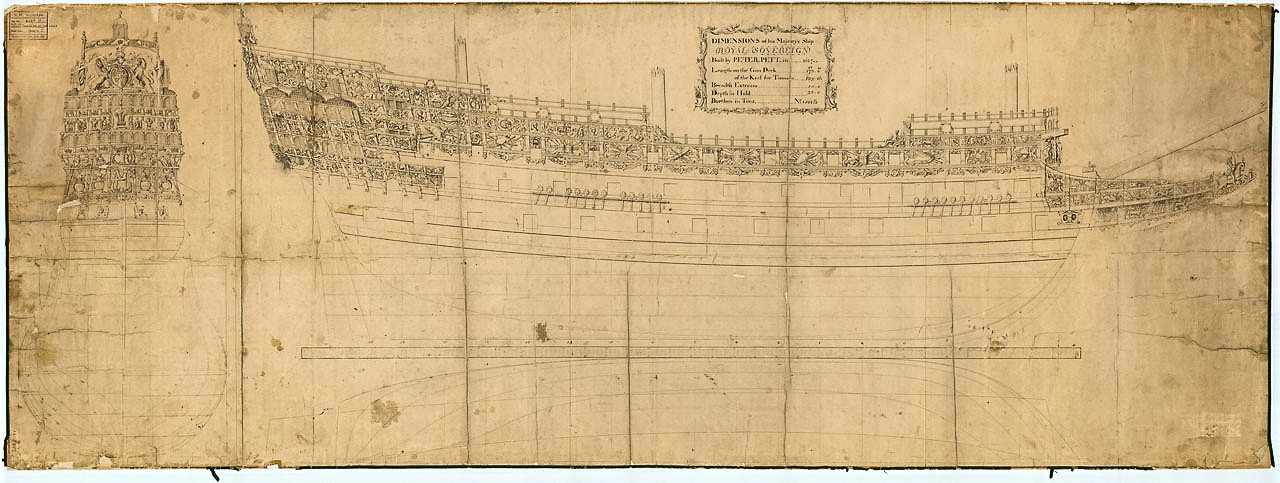
I wondered if you might find this of use I came across. Regards OC.
-
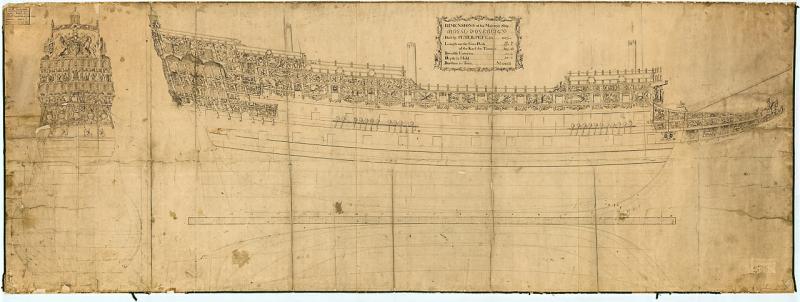
Hi there please excuse me if this sounds like a silly question, in the above picture did you build that actual large ship? OC.
-
Thank for the reply and sorry for the keyboard spelling - must teach mine to spell. Interesting what you said - she only seemed to have them during 1944 - nothing shown prior to that. OC.
-
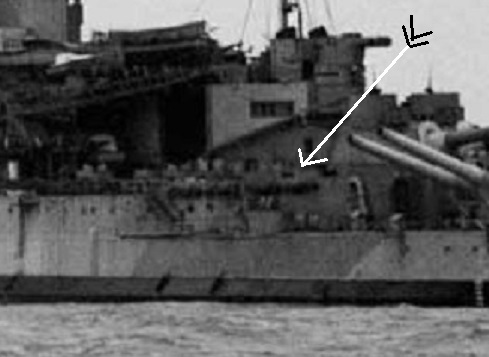
Geag what i was thinking was - on photos I have seen of Warspite at Dunkirk she has a lot of rolls of what look like possibly sand bags in in quite long rolls, I wondered if what you have put around the gun mounts are similar. OC.
-
Any idea what the scale length of those taupe rolls would be - you show on the edges of the gun mount shields ? OC.
-
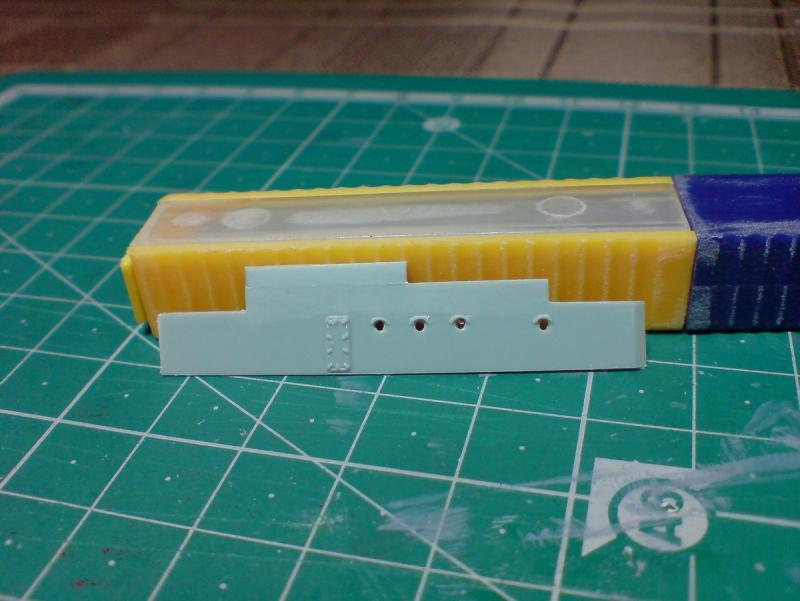
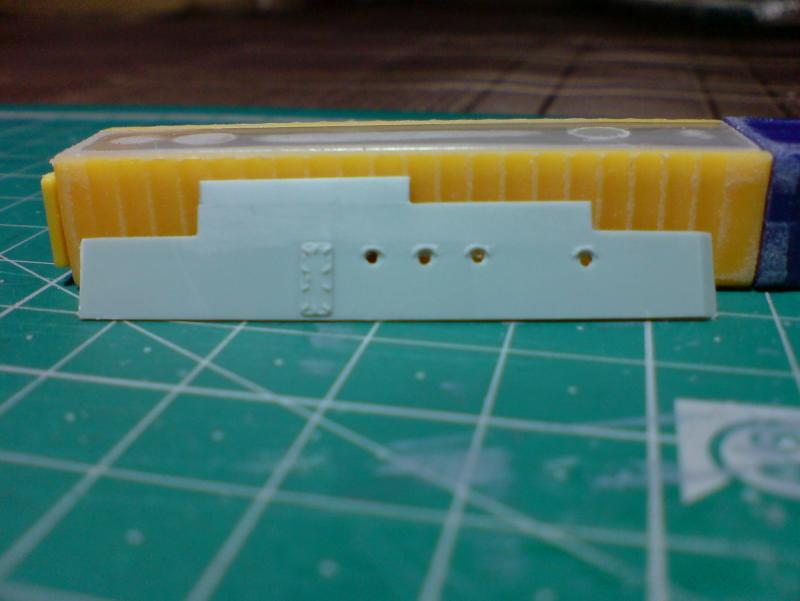
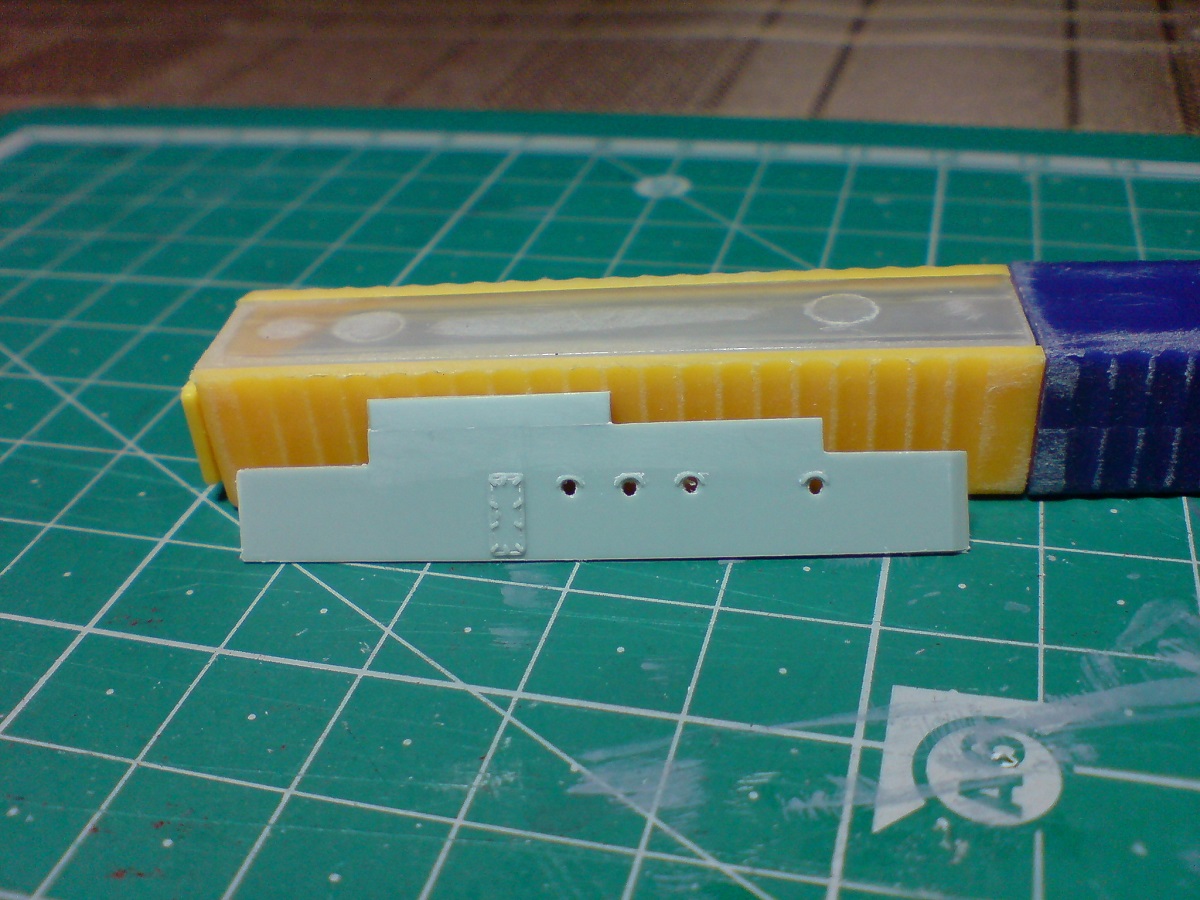
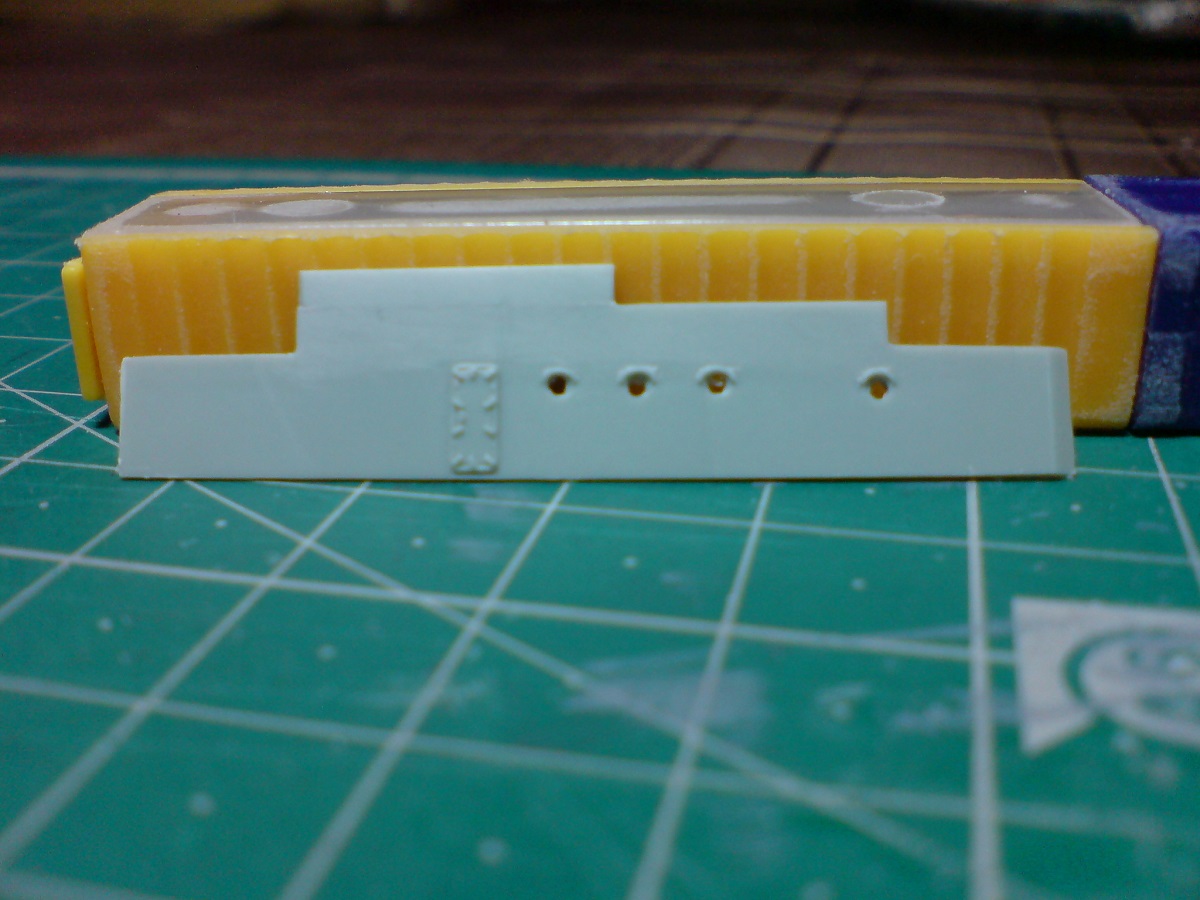
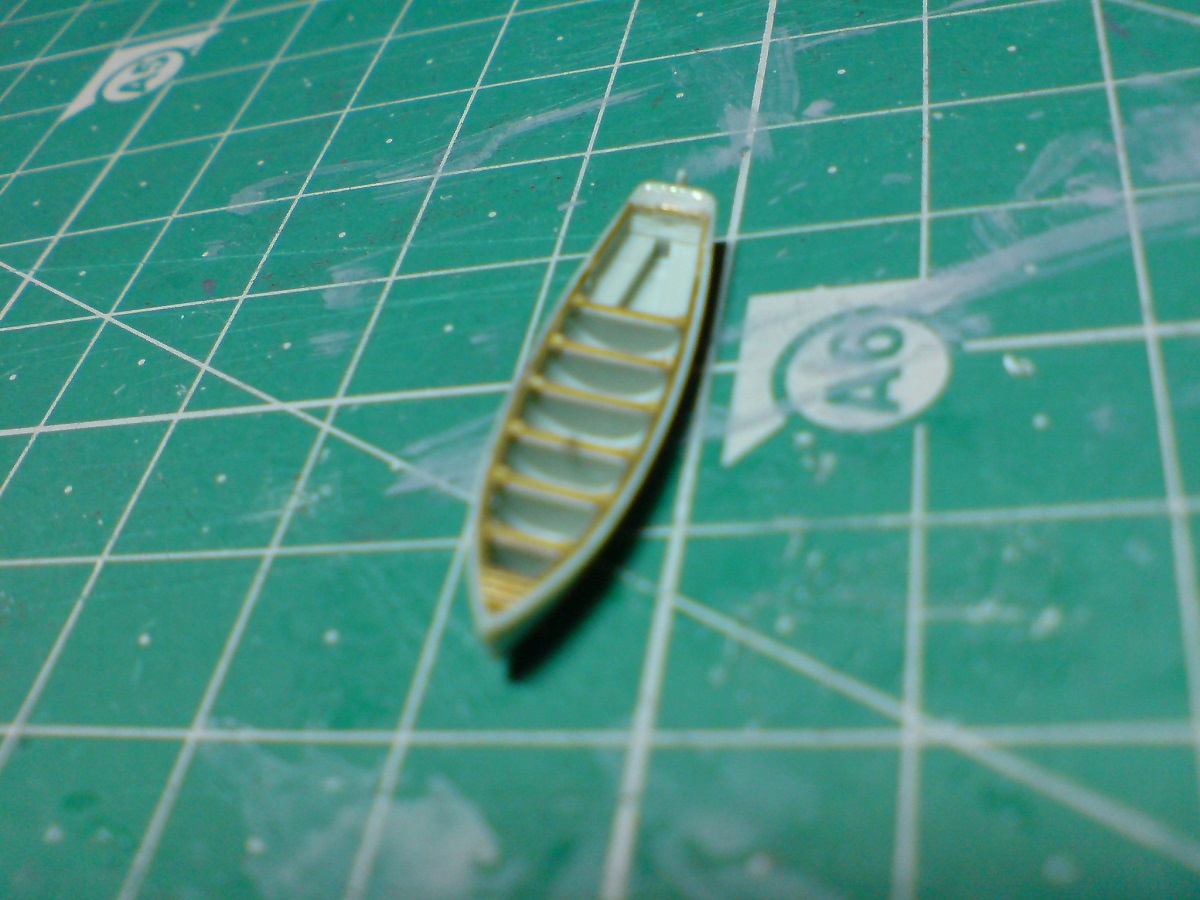
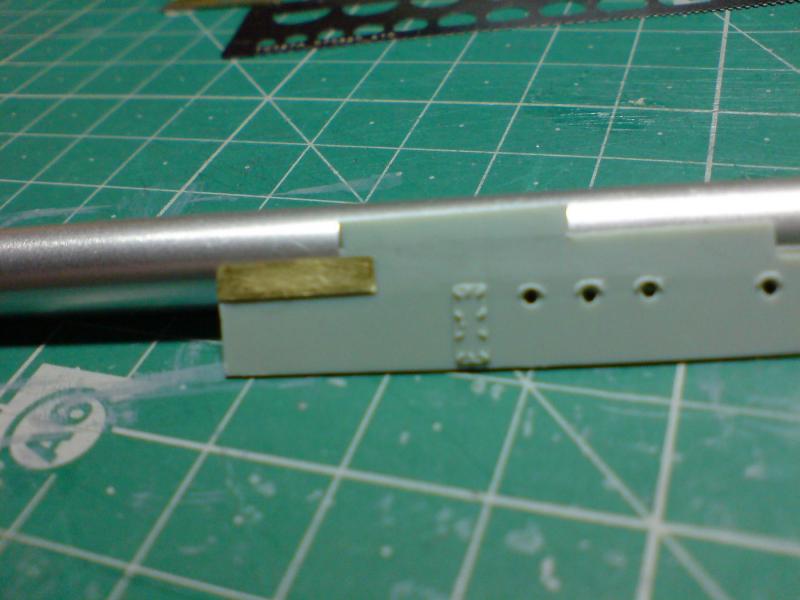
Hi folks evening to all - I started work on the other side(starboard) rear deck balkhead, again I cut it from the fret and added a small strip of plastic ontop, when set using revel glue I sanded the top down to reduce the hight to match what I had done on the Port side, I also drilled through the port holes and then sanded back the join on the top plastic section I added. Here are a few pics also including one of the boats with the kit that will be detailed. Wonce again - many thanks for reading and liking my work. OC.