


Stuntflyer
-
Posts
1,132 -
Joined
-
Last visited
Content Type
Profiles
Forums
Gallery
Events
Posts posted by Stuntflyer
-
-
-
I've been waiting patiently for a Saturday get-together. They are always lots of fun and it will be great to see everyone. As much as I worry about packing it safely into the car, I will bring the Winnie.
M
-
Nicely done, as ALWAYS!
Mike
- FrankWouts, glbarlow and Chuck
-
 3
3
-
Nice work, Frank! Are the two battens at the same position, height wise, at the stem?
Mike
-
45 minutes ago, Matt D said:
I assume you wrap them around something several times and then cut to separate them.
Yes, that's basically how I do it. I wrap the wire around the shank of a drill bit and then use a very fine blade on a fret saw to separate the rings.
Mike
- FrankWouts, Matt D and egkb
-
3
-
The eyebolts and split rings for the bulwarks and gun deck are done. Boy! I just love making those🤥 I made them as small as I could. The ID the bolts are around .025" which conforms to the smallest round nose pliar that I have. Just enough to get the 24ga rings through. Be careful not to drill too deep into the bulwarks against the plywood bulkheads. It wouldn't be hard to snap a bit if you did.

Mike
- marktiedens, Jorge Diaz O, druxey and 19 others
-
22
-
Looking quite nice, Rusty! Interesting colors too.
Mike
- Rustyj and FrankWouts
-
2
-
Thanks, Matt,
I'd gladly do those lids anytime over having to do those pesky window sills. They were a pain!
- FrankWouts, Matt D and druxey
-
3
-
I thought it might be a good time to get this post in as it covers a number of tasks that I've been working on.
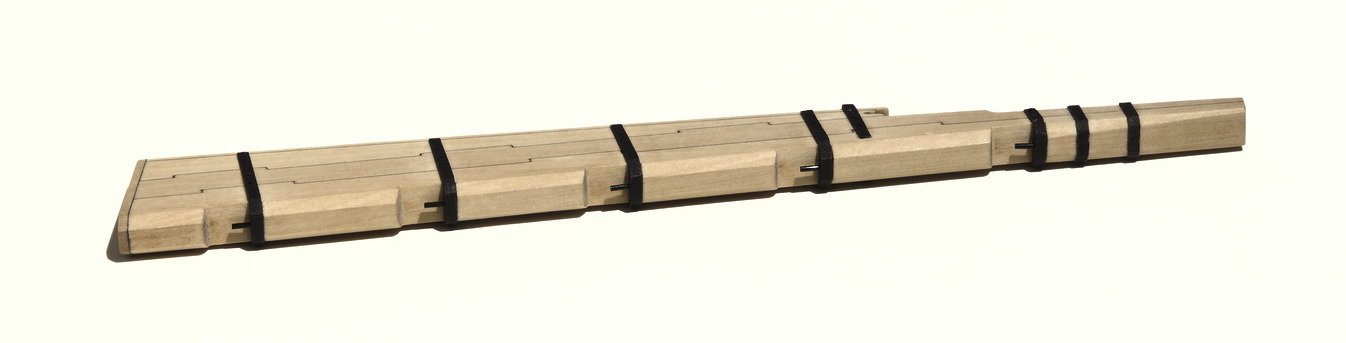
Starting with the gun port lids.
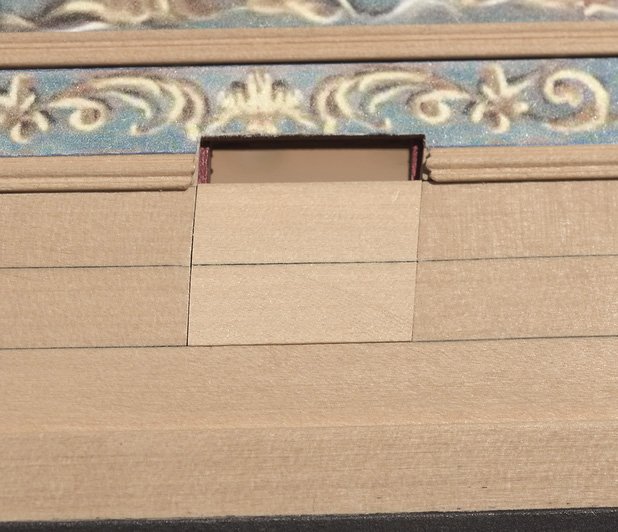
The first step was to get these two planks fitting correctly
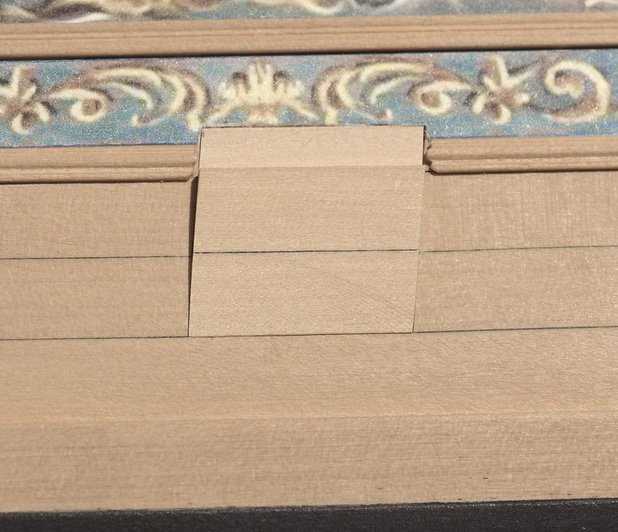
The last plank is placed underneath so that the bottom edge can be traced
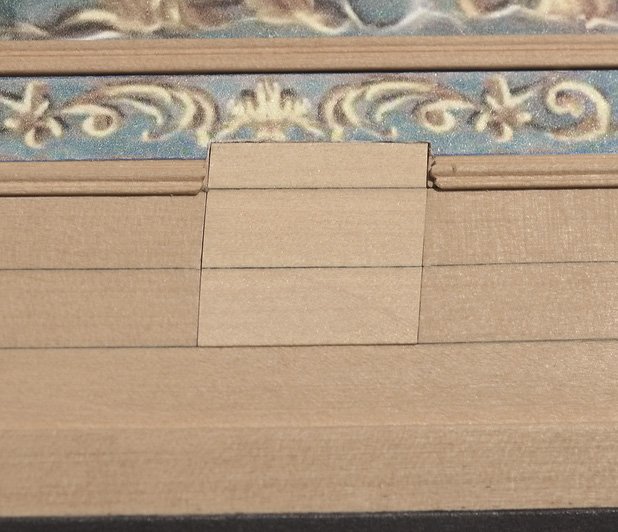
The final result with all three planks in place
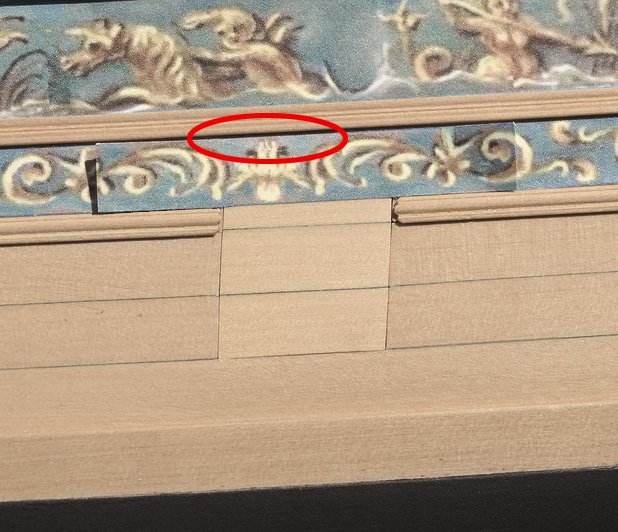
When adding the frieze, the top section is cut away so it can be registered with the frieze below.
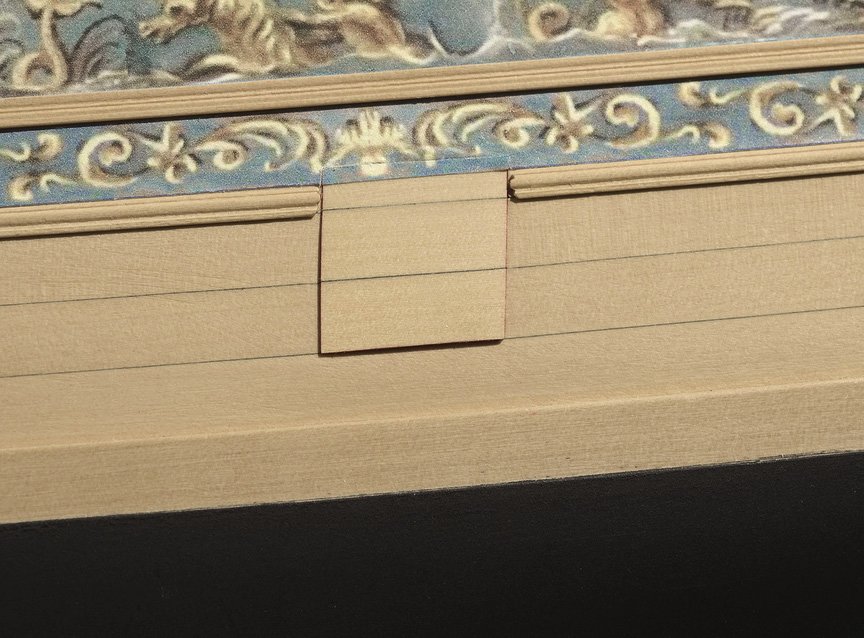
Final result with lid lining attached, painted and ready for hinge
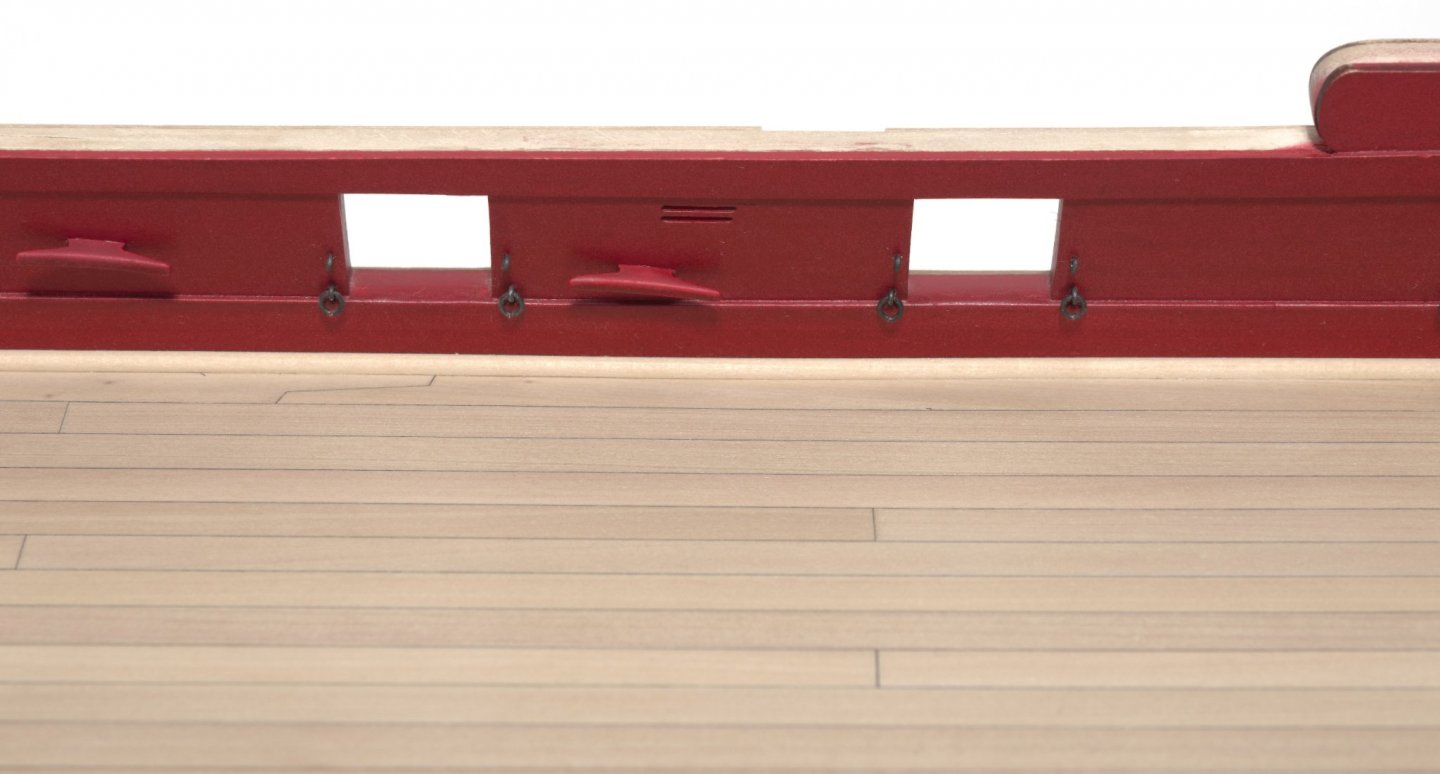
Pinned cleats to the bulwarks.
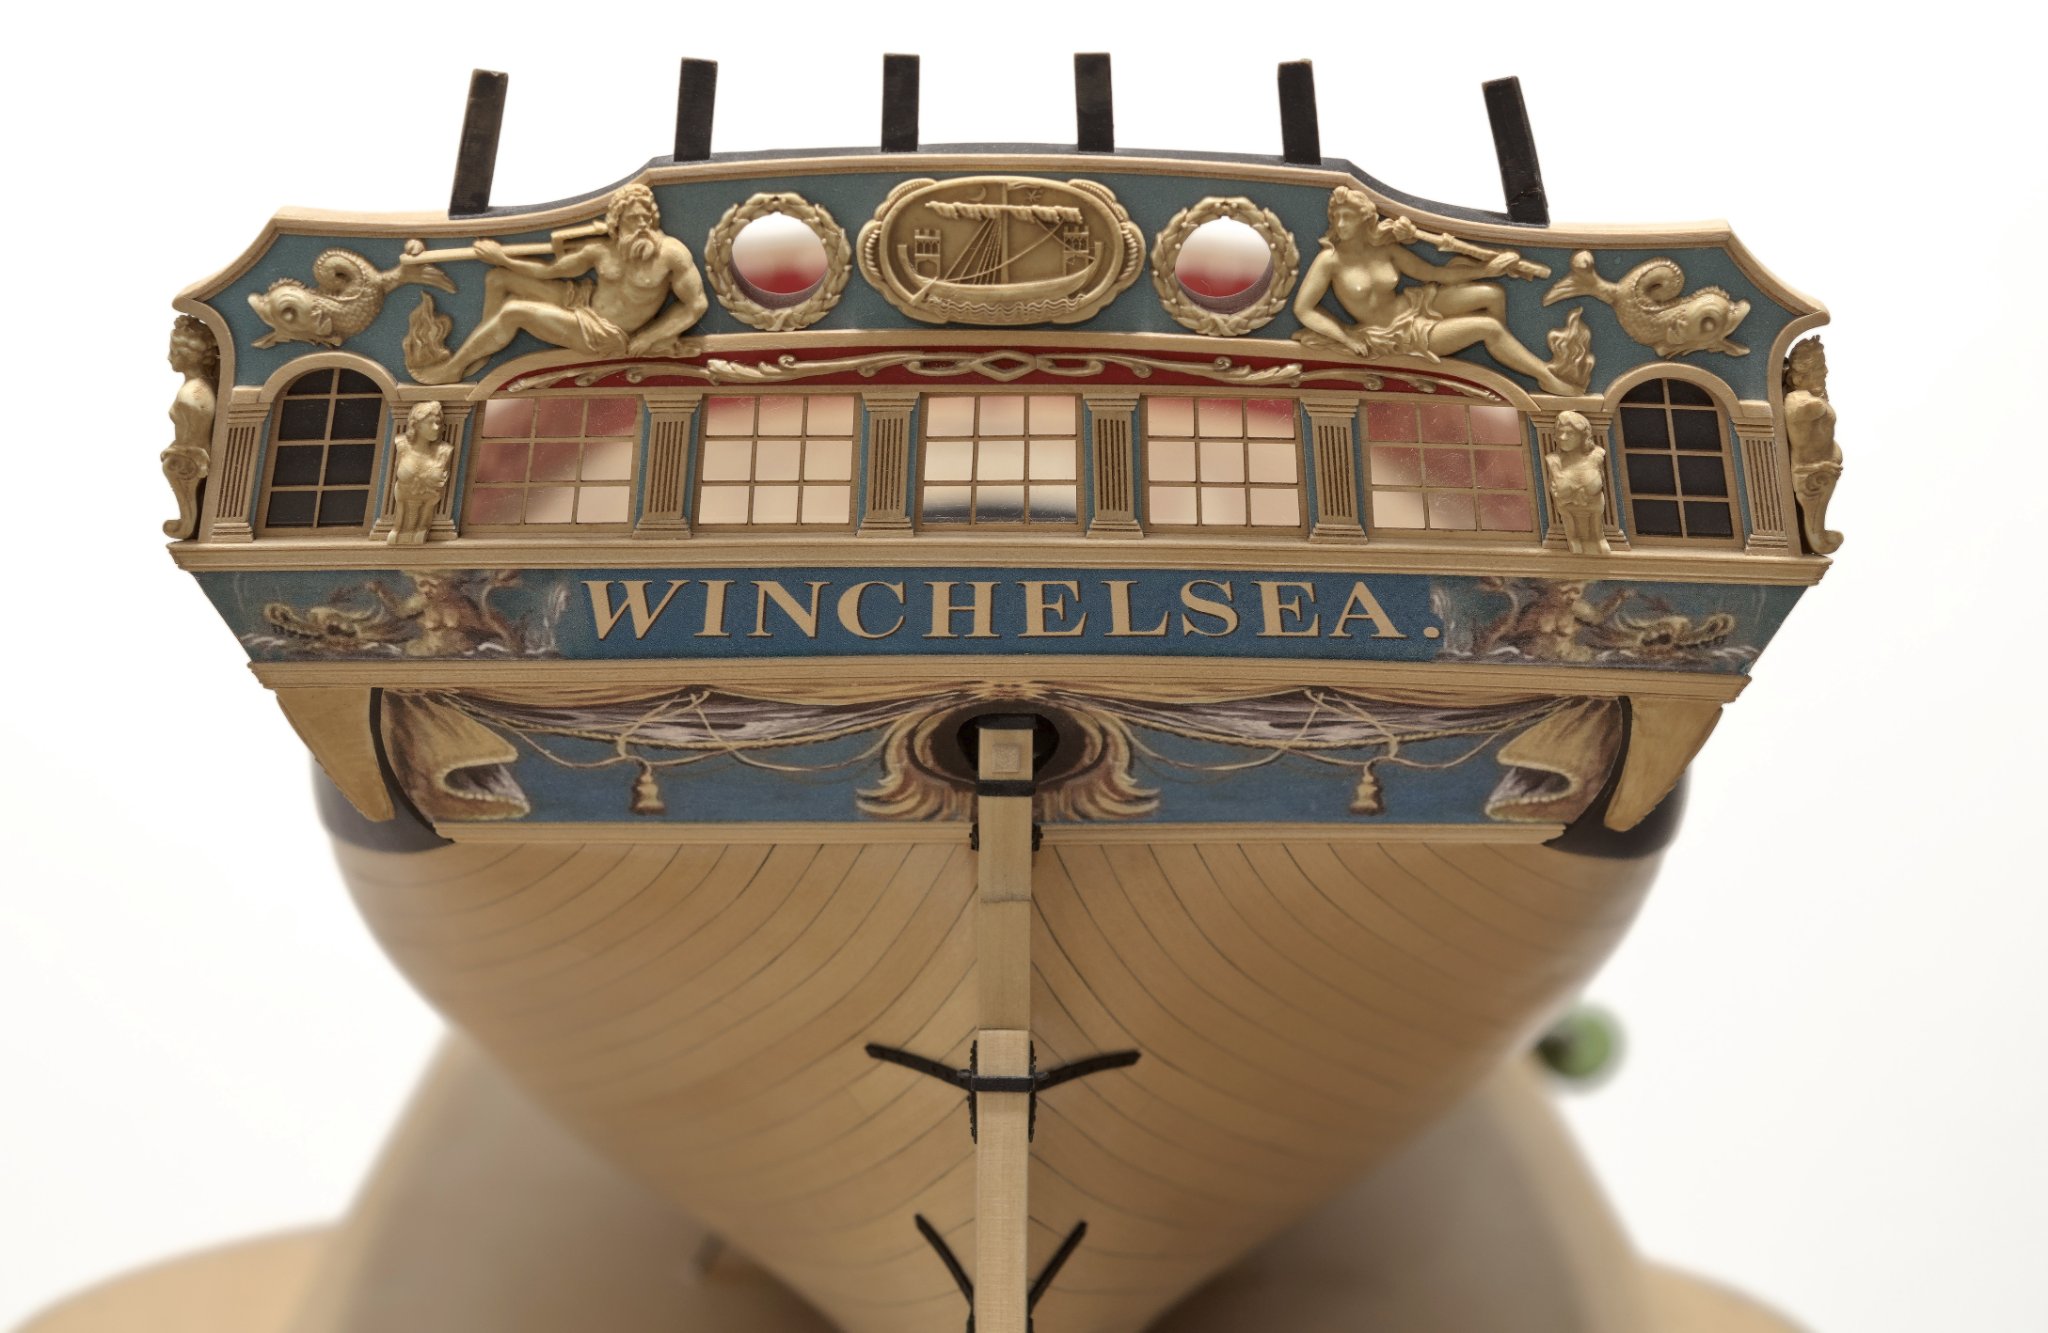
Transom windows and sills
Mike
-
Chuck,
How many of hanging knees need to be made?
Mike
-
All the more reason now to keep things neat down below.
- Dowmer, FrankWouts, Chuck and 1 other
-
4
-
Nice, Chuck! That's an improvement from the last template I saw the other day at your place. The one that made it difficult to see anything down below.
Mike
-
3 hours ago, scrubbyj427 said:
All the reference marks look good as well.
JJ
They do, though slight variations from those marks might occur when you set the batten. So, use the marks as a guide.
Mike
- Chuck, scrubbyj427 and FrankWouts
-
3
-
Thank you all for the comments and likes. Very much appreciated!
Mike
-
-
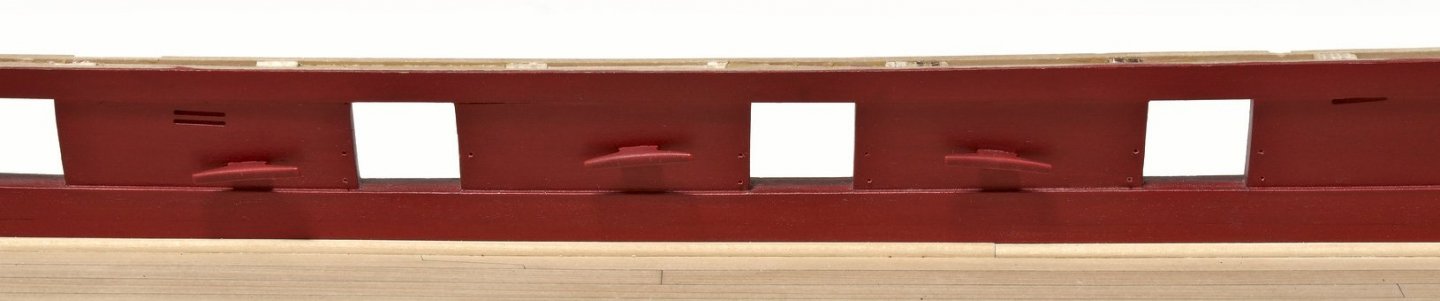
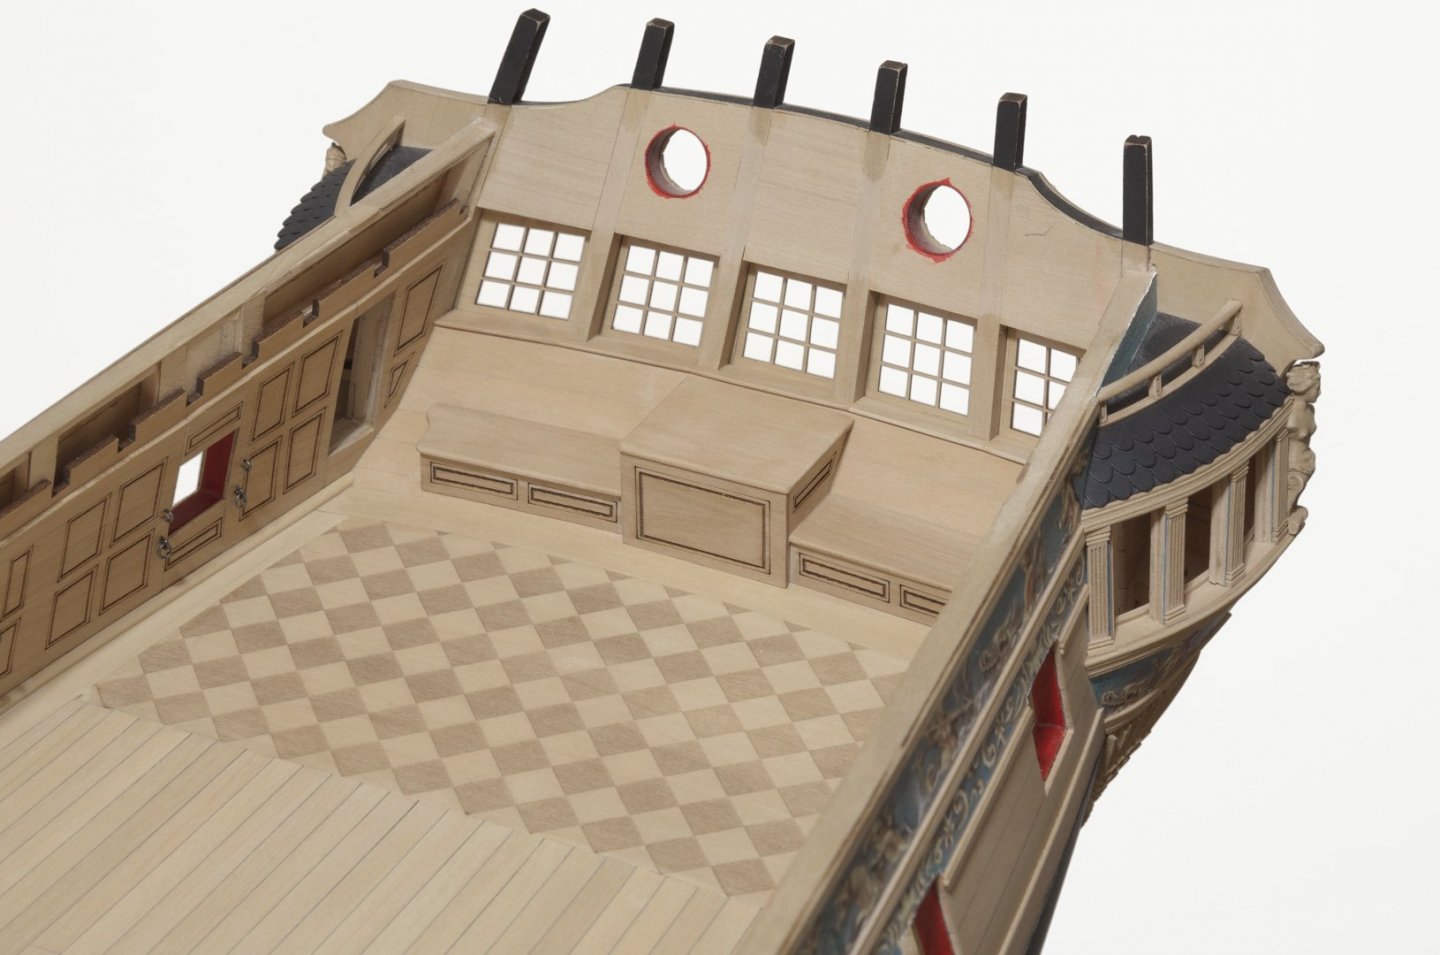
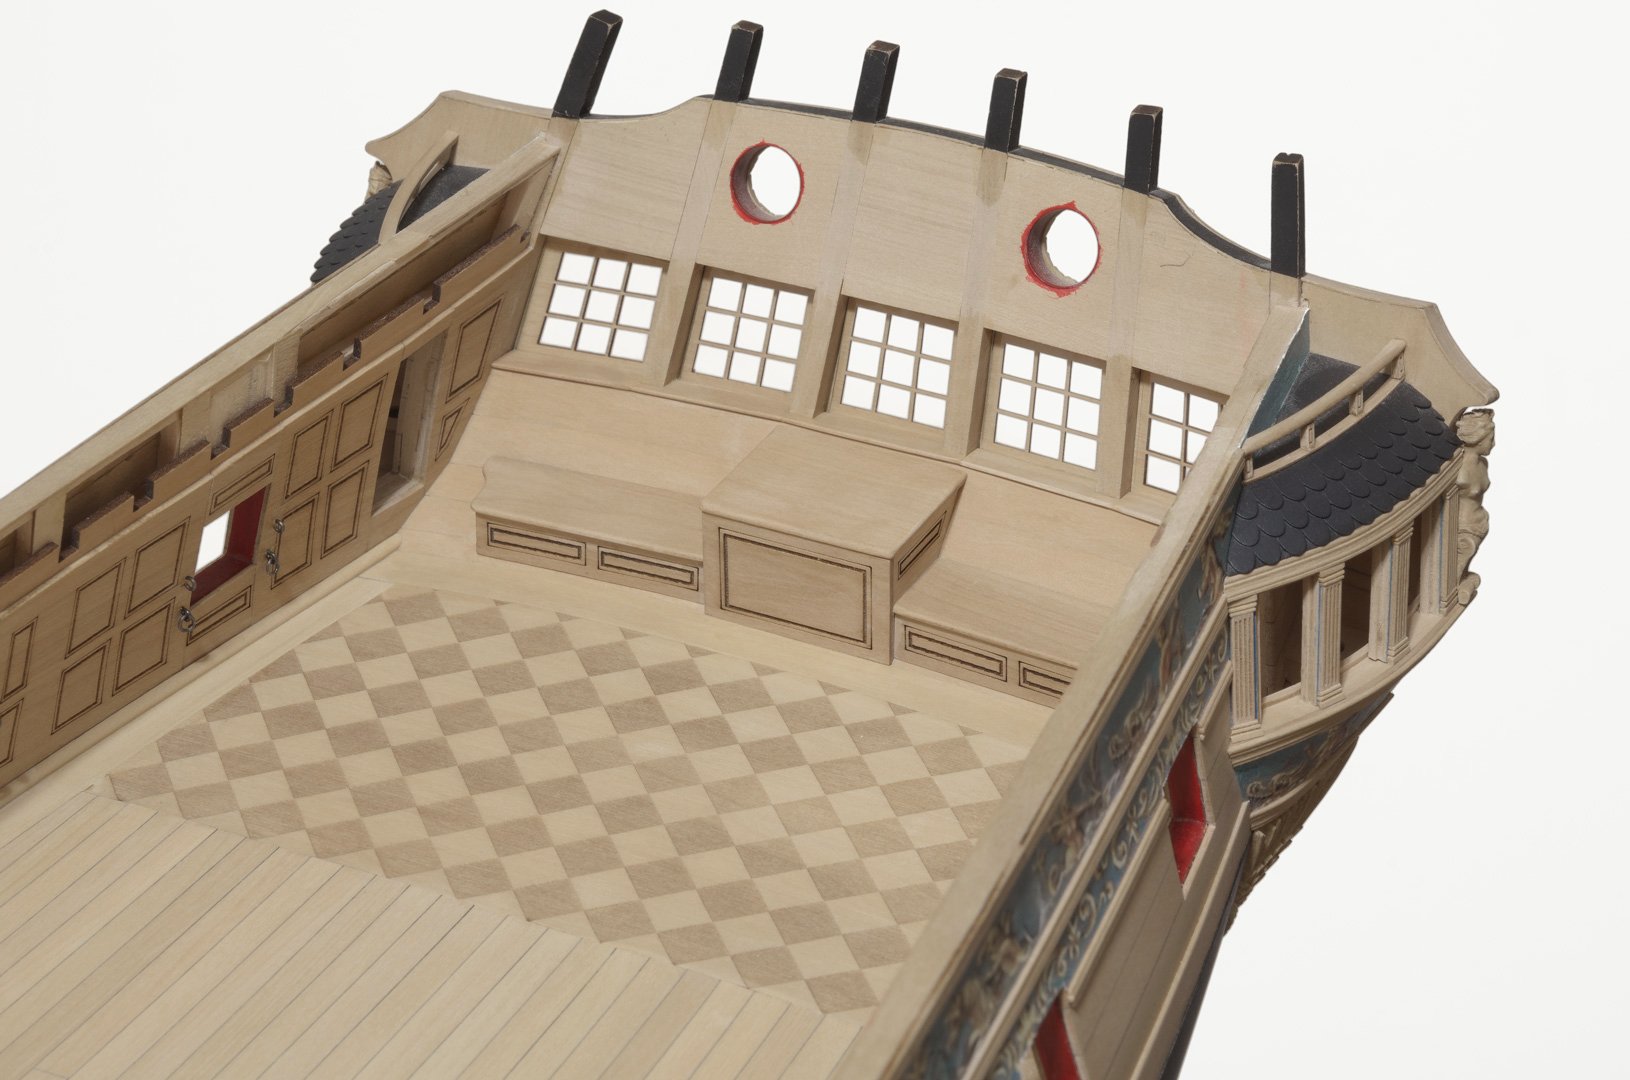
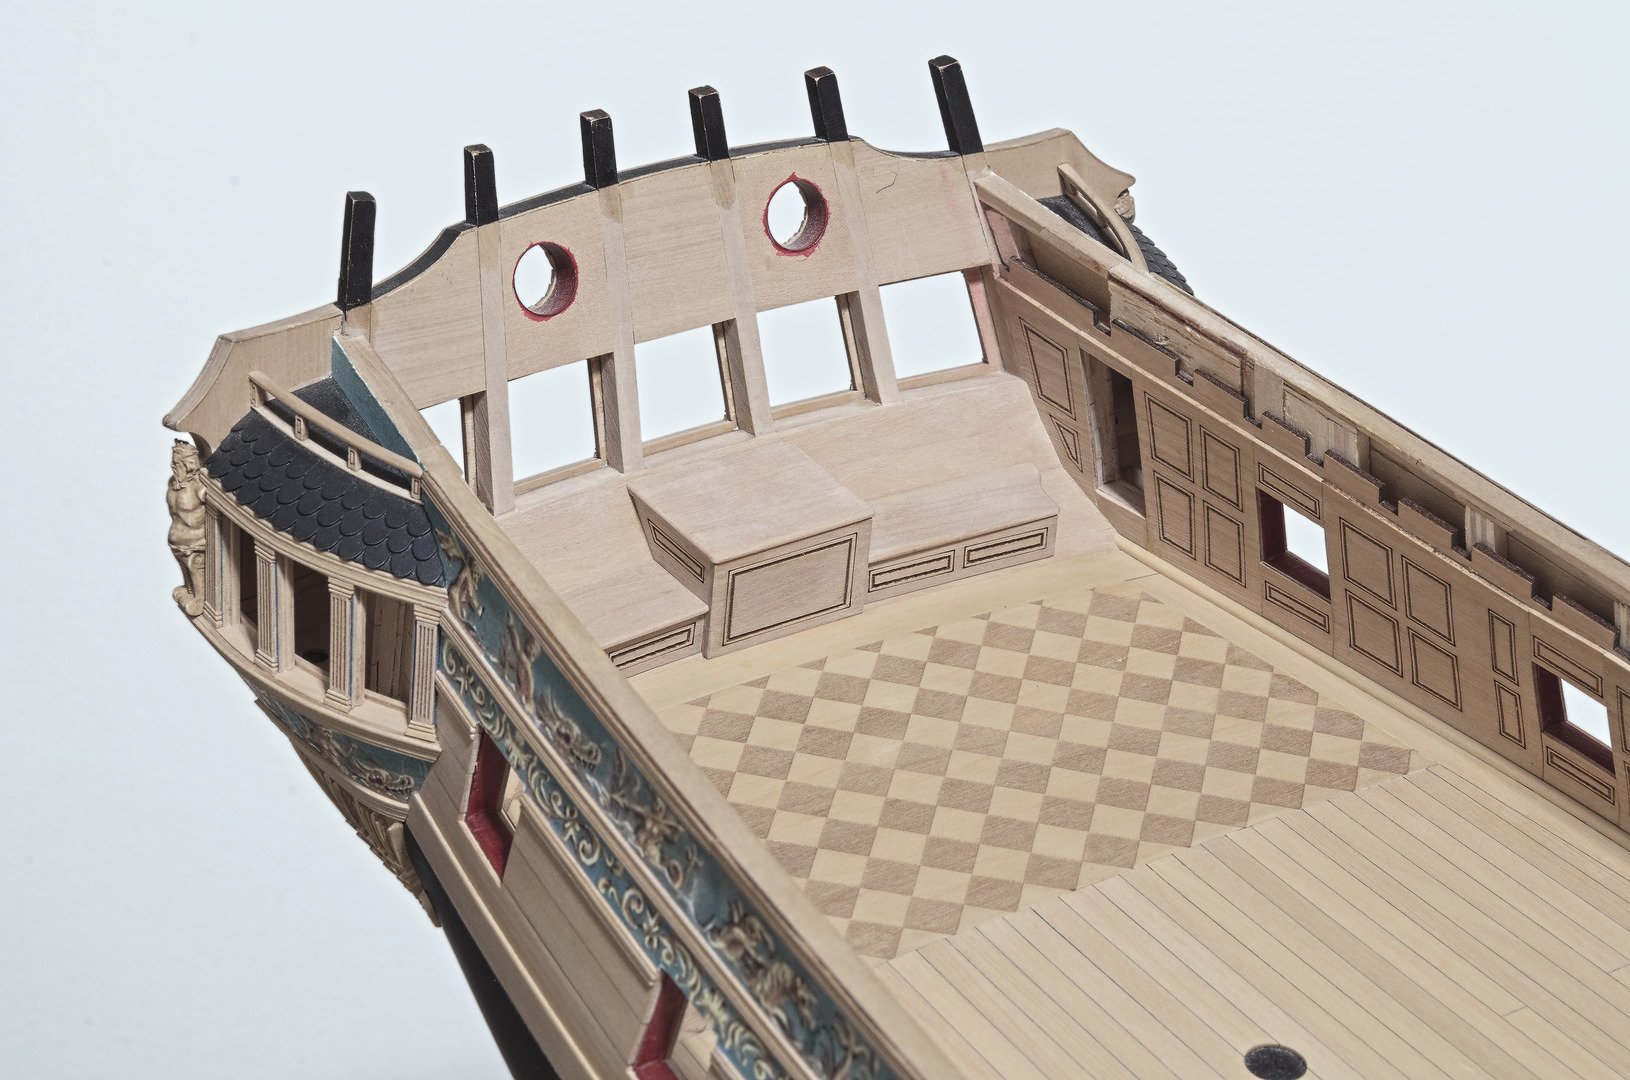
Over the weekend I worked on the rudder trunk and benches. Of course, Chuck's laser cut parts made things relatively easy. The tricky part was getting a tight fit between all the parts. The top of the rudder trunk needs to be angled where it sits up against the transom. I had to sand the bevel almost to a point in order to get a clean joint. When it came time to add the benches, I found that I needed to sand the bottoms slightly curved in order to match the camber in the margin plank. Further adjustments were made to insure that the benches did not sit on the deck.
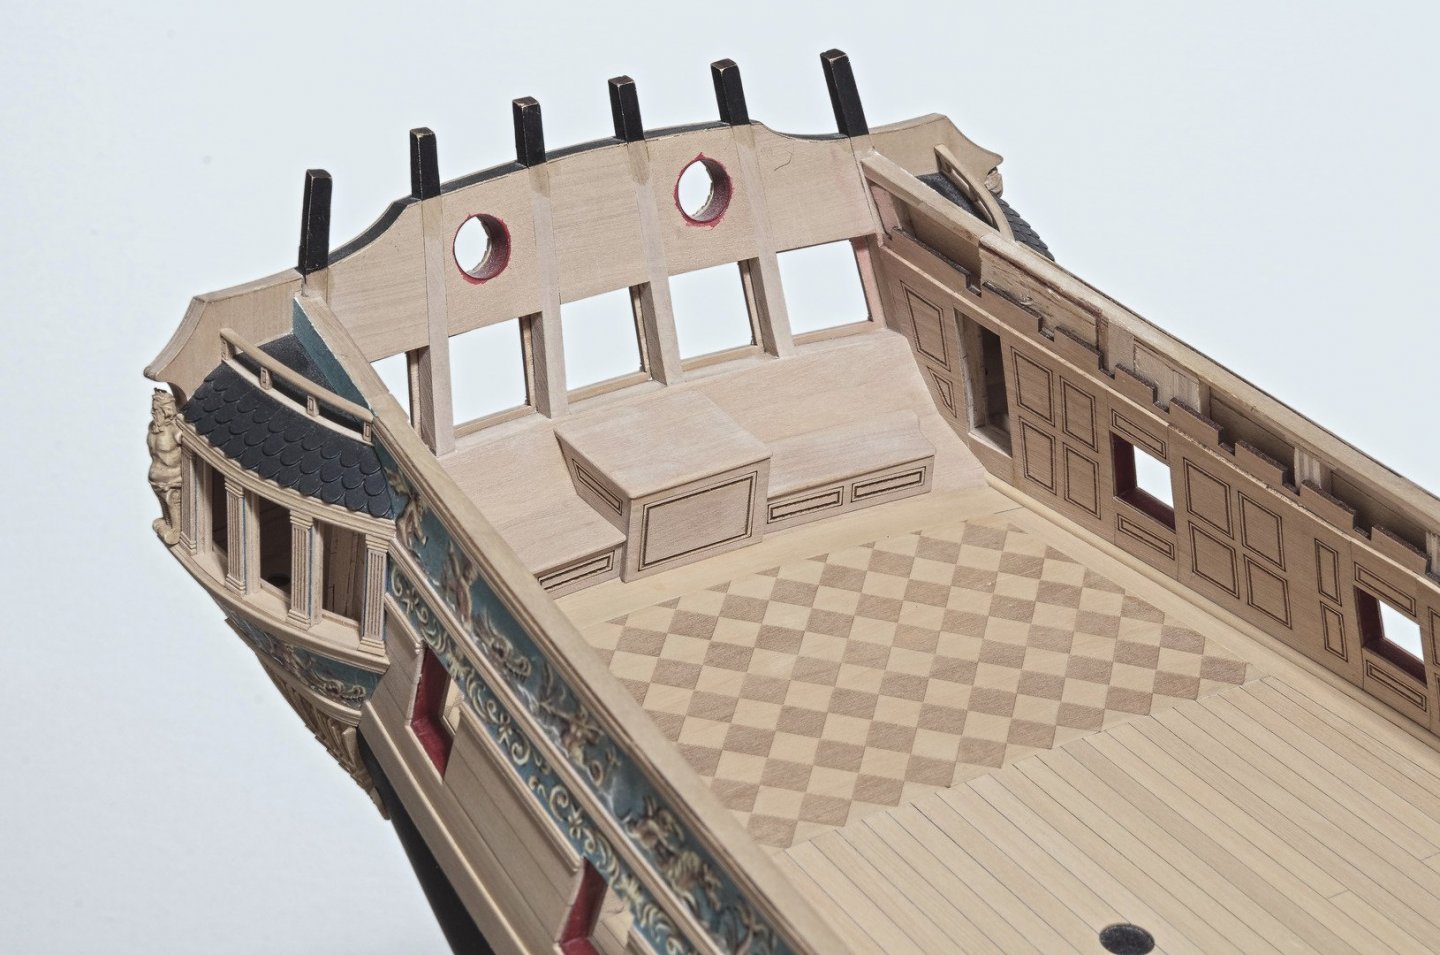
Mike
- Nunnehi (Don), KenW, Dowmer and 23 others
-
26
-
6 hours ago, jfhealey said:
I thought the marks faced aft on the bulkheads from midships back and forward on the bulkheads from mid ships forward.
Correct!
-
How time flies! It's been over three years since I seized a block. I would have to start making them again so as to remember the way I did them. Sorry I couldn't be more helpful.
Mike
-
-
After adding the two ring bolts to the rudders spectacle plate, I moved onto the the gudgeons and straps. These were made in the same way as I did for the rudder.
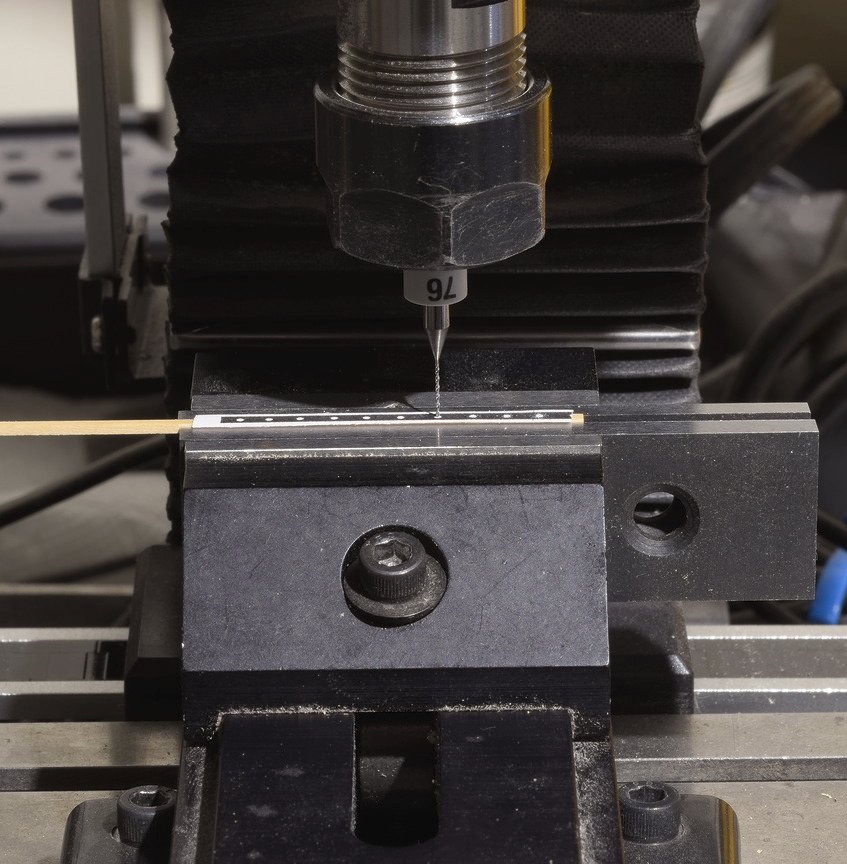
The mill comes in handy for drilling the strap holes.
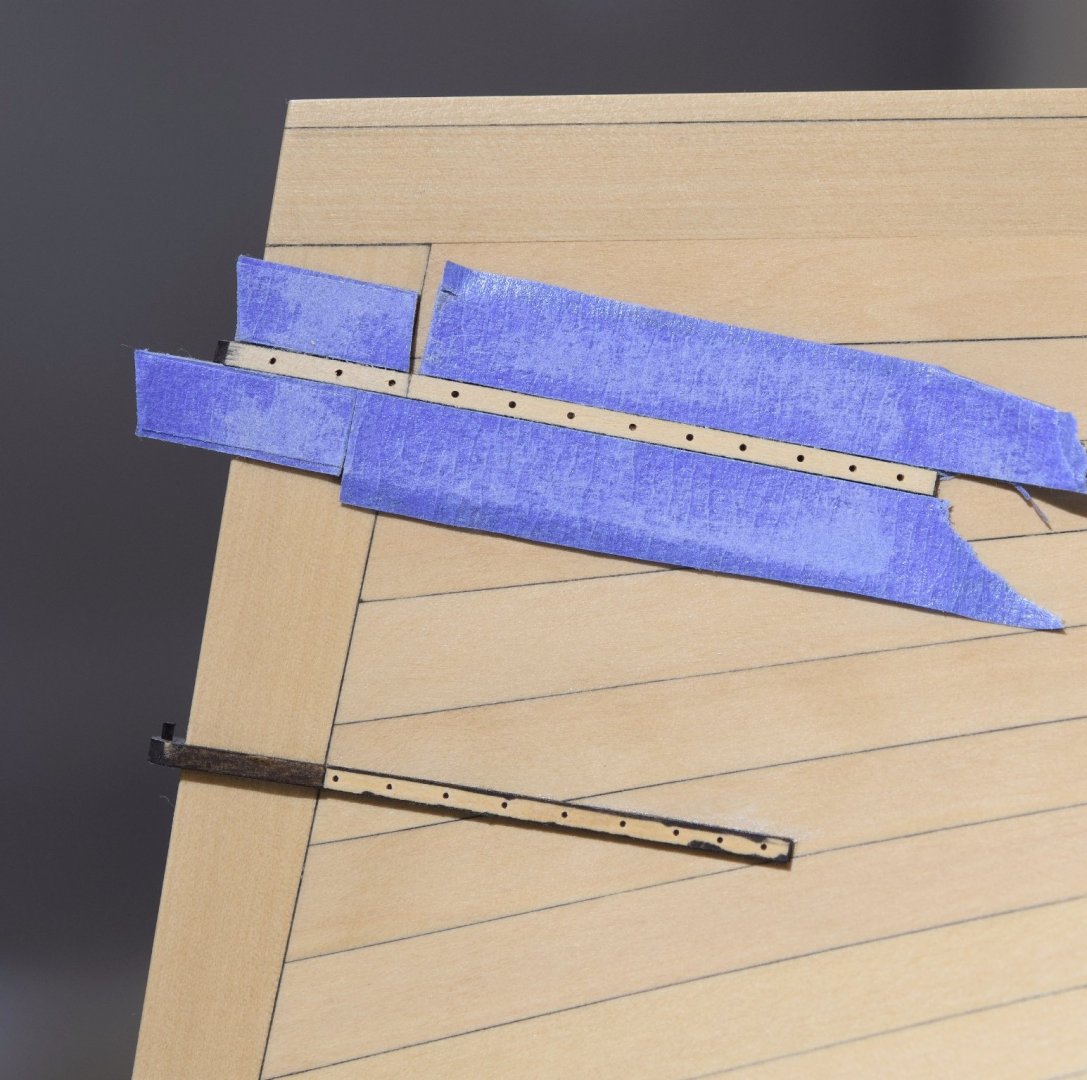
7 layers of masking tape give the right thickness to sand the gudgeon and strap down to 1/32" before tapering.
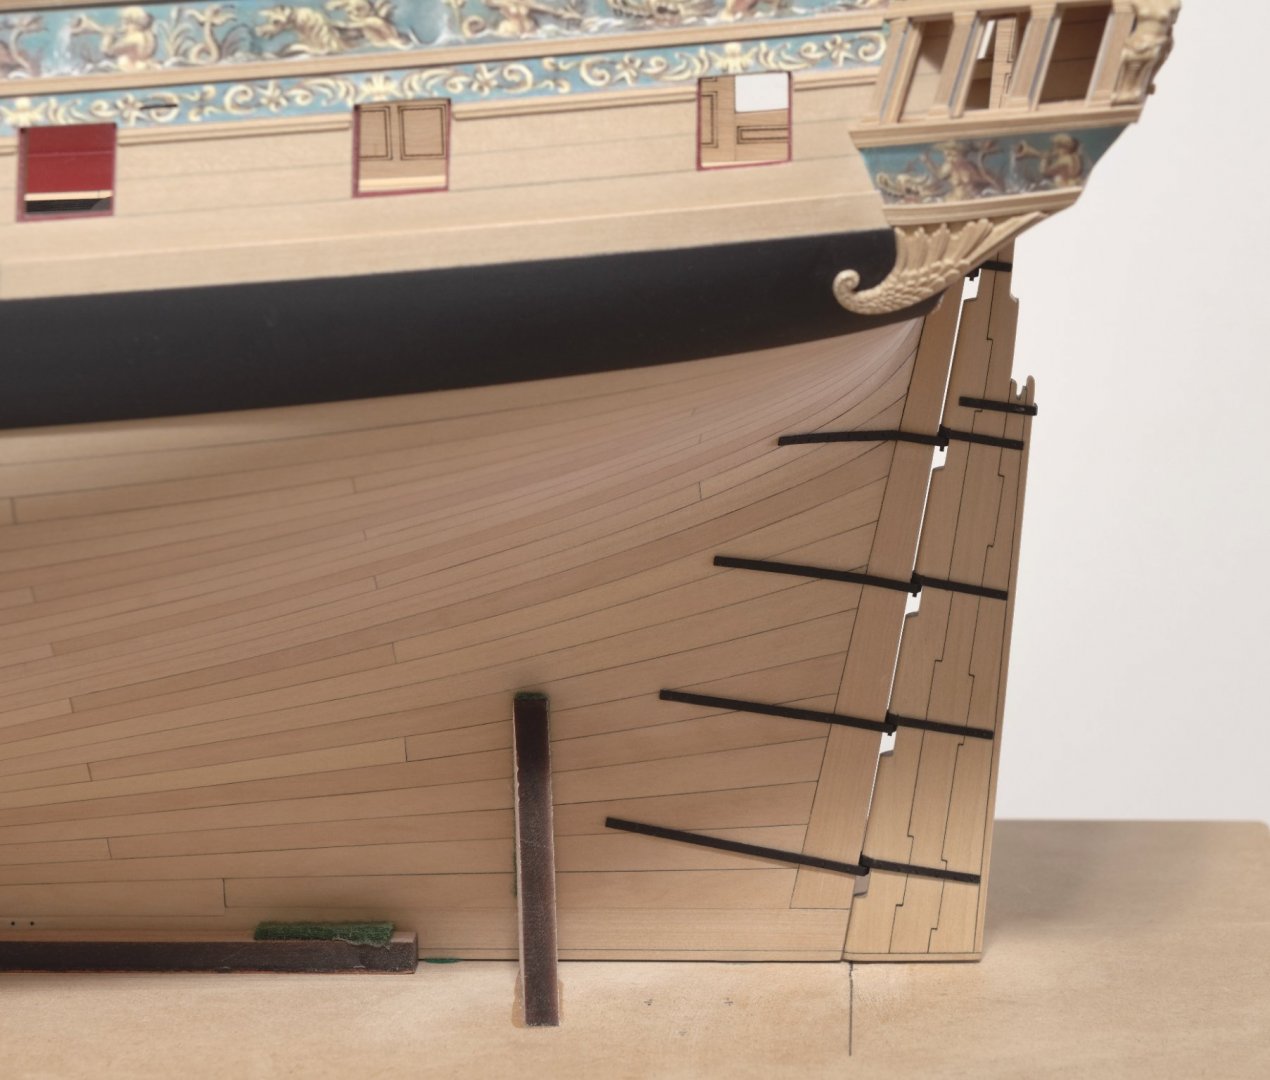
The only working hinges are at the top and bottom of the rudder. The other three are faked by gluing the pintles into the gudgeons.
Mike
- FrankWouts, Matt D, Jack H and 26 others
-
29
-
Looks really nice, Frank!
Mike
-
That looks great, Chuck. I was wondering what that last beam was going to look like. Actually it's much wider than I thought. Will you remove it before you paint the inside of the transom?
Mike
-
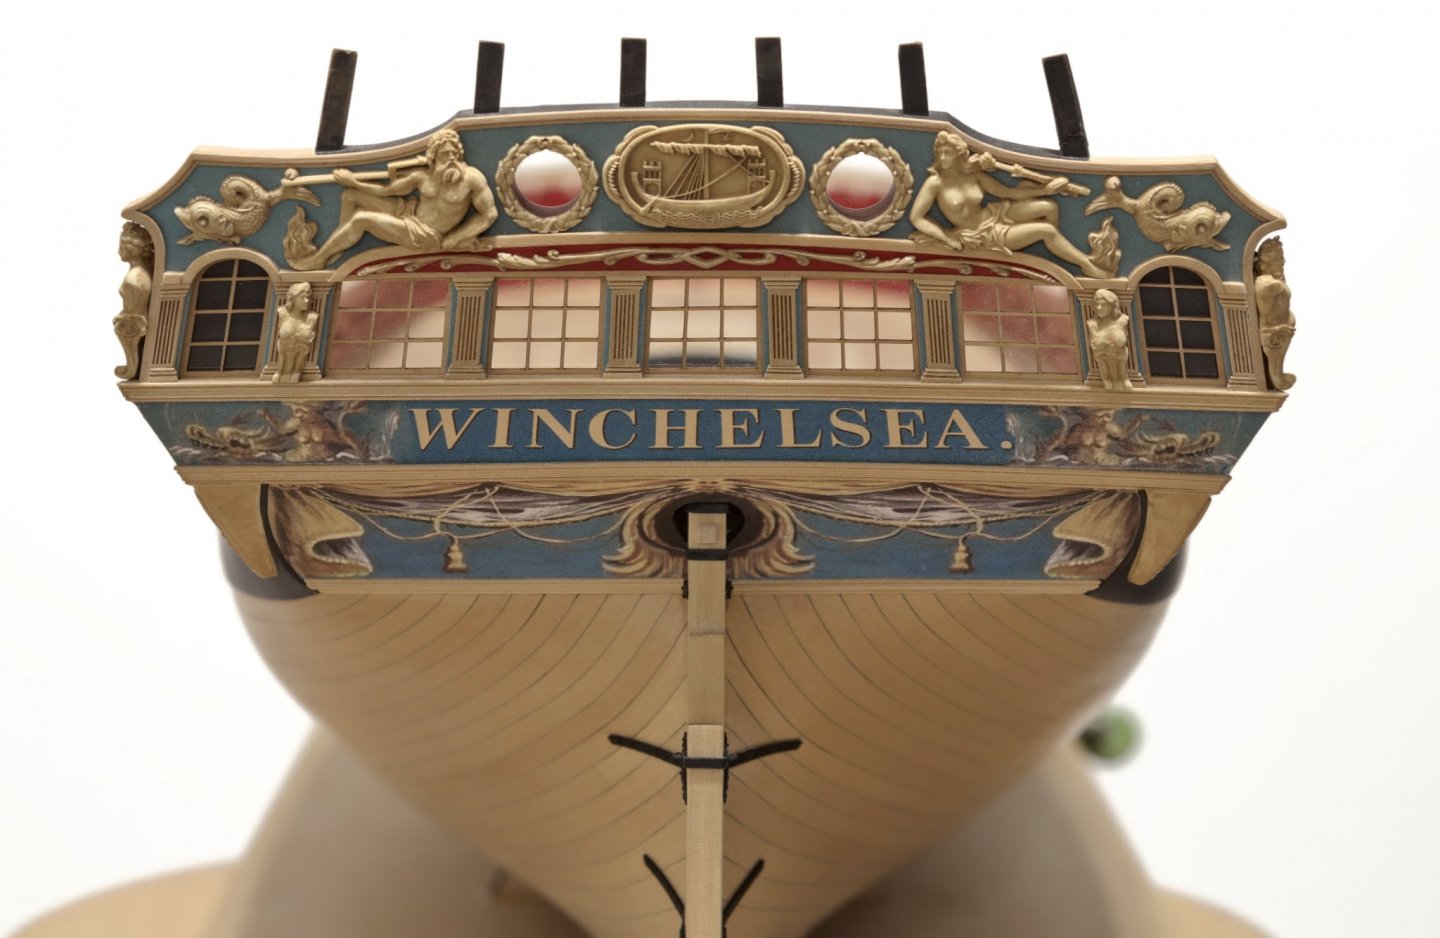
Much to my surprise, Chuck was able to laser cut the rudder from 1/4" boxwood. From what I understand it took some experimentation with the settings in order to achieve a good result. I think that you will agree that he did a great job.
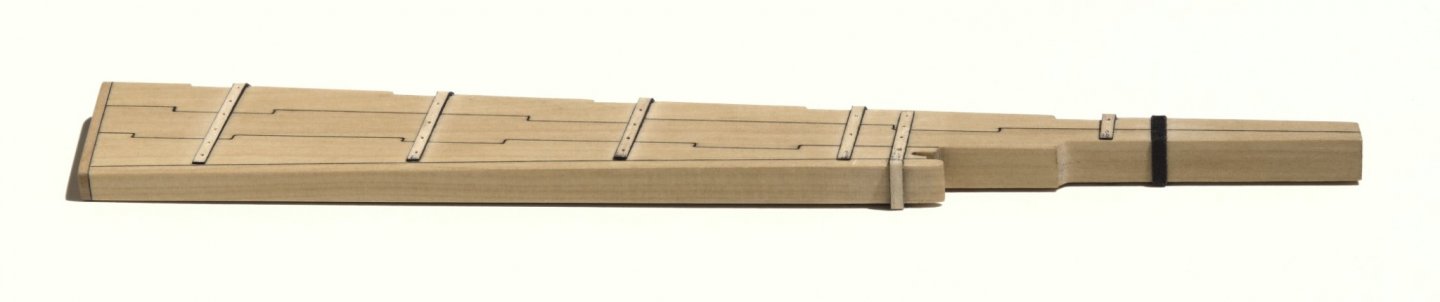
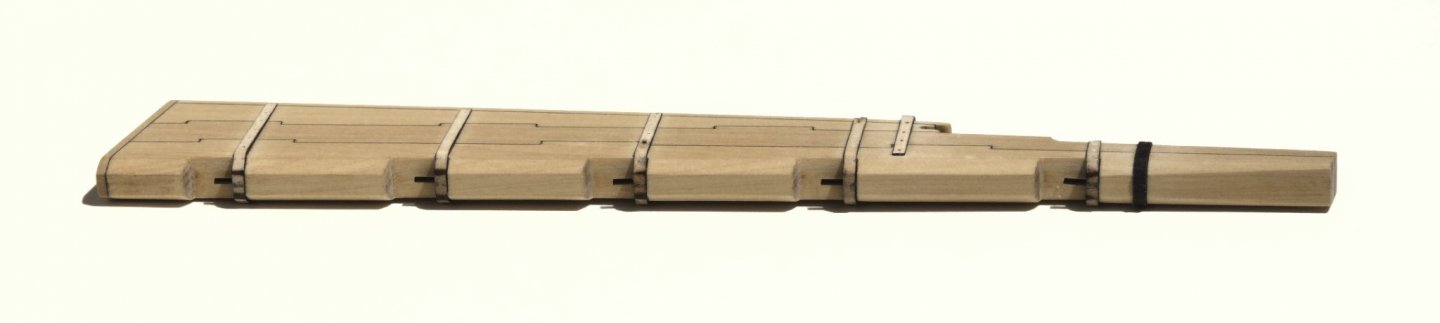
The black painted straps were first thinned down to 1/32” and then tapered aft down to 1/64”.
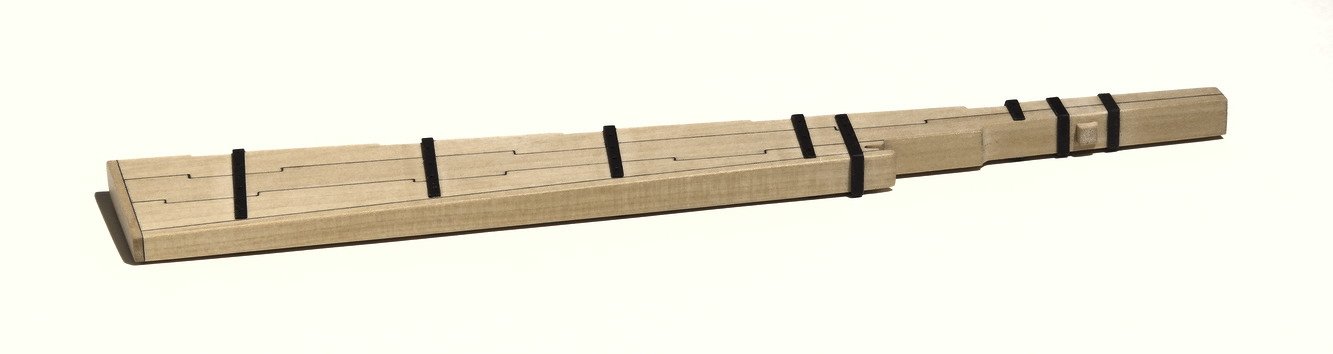
The strap bolts were made from 20lb mono and are press fitted deep into the drilled holes, but not bottomed out. No gluing necessary. I added only two hoops at the top of the rudder. These were made from a thick, pliable cardboard type material that I found in a package for a mini miter box. They were wrapped around the rudder in one piece and the ends joined at the leading edge so as not to be seen. The uppermost hoop was omitted as it will be hidden by the rudder trunk.

I used a .010 brass strip to help in getting the bolts to stand proud consistently. I drilled an oversize hole in the strip. The hole was placed over the mono and then the mono was flush cut. Before removing the brass strip, I pushed down on the mono with a small dowel to make sure it was flush with the strip.
Mike
- egkb, dvm27, Hubac's Historian and 19 others
-
22
-


HMS Winchelsea 1764 by Trussben - 1:48
in Member Build logs for the HMS Winchelsea
Posted
Looking really nice, Ben. Lining off pays off.
Mike